
I was pretty excited that this month's Speedhunters theme was collectables. Having just being forced to hang up my racing boots due to other commitments, I had recently discovered the joys of building model cars instead. While I certainly don't consider myself to be an expert, I thought it could be a cool idea to go through a build diary of sorts and let everyone know some things that I have picked up from both building models and searching the net on different techniques to customise model cars.
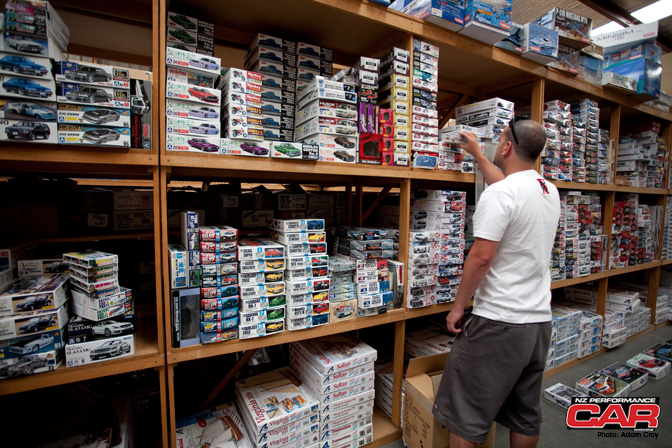
With this in mind I headed down to see my friend Gavin from NZ company Toymod, who import a variety of different models including Aoshima and Fujimi.
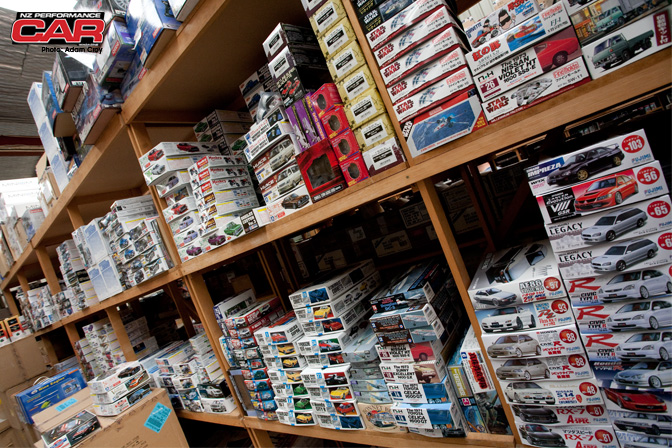
Their range is huge, and it took me quite a while to sift through the different cars to find something that I thought would be good for this build.
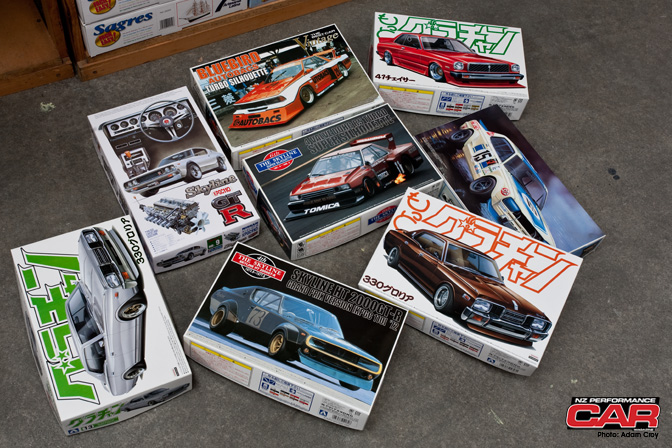
I had narrowed my selection down to this grouping. Did I want to go for the history and detail of a Super Silhouette racer or the straight up cool of a low slung Japanese classic?
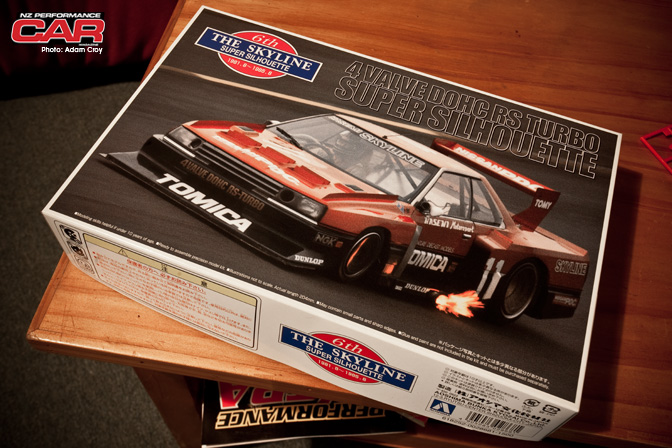
In the end I decided to go for something a little different to what I have been used to building and chose the TOMICA Skyline. I haven't really had much experience with putting on decals.
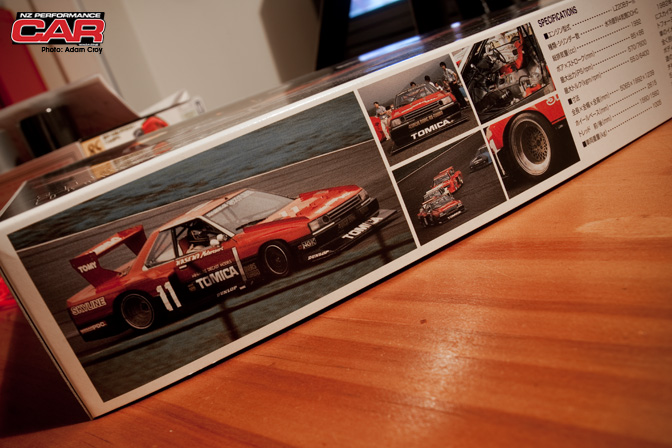
One of the best things you can do when trying to put together a model like this is research. Finding a good photo of the interior of a race car can make all the difference if you want to get the coloring correct. The images on the box for this particular model were very good and meant that I didn't have to spend a lot of time on the net. Although I did spend some time looking at Dino's recent post of the real thing!
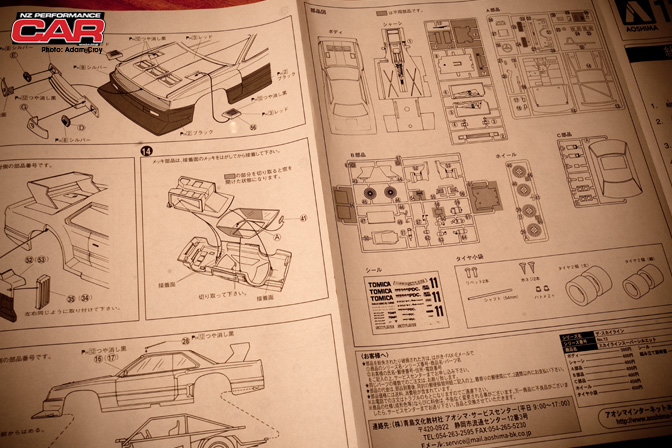
With the instructions for this model being completely in Japanese, figuring out the colours needed was time consuming. Surprisingly though that was the only real set back. The images are very easy to understand and assembly didn't look like being too much of a problem. Of course if you are going to customise your model then you can probably just bin them.
There are two main parts to putting one of these things together in my mind. Painting and Construction. The painting can be very time consuming but I highly recommend being as patient as possible. Brush strokes especially will show up a lot more if you don't let the first coat dry fully.
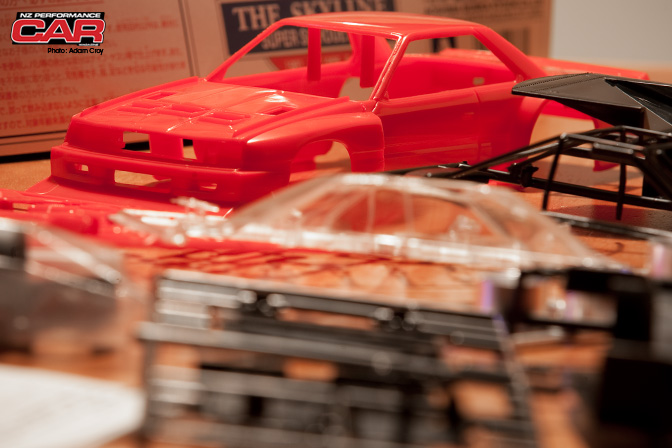
This particular model isn't amazingly complicated so I was looking forward to taking time to try and focus on the detail.
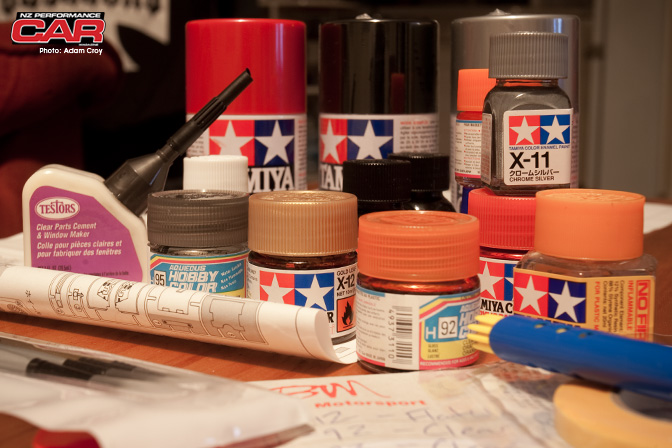
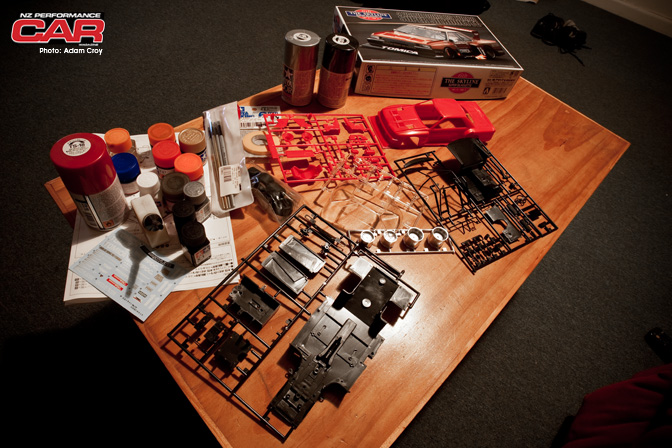
Choose your equipment carefully. Stick to one type of paint. I find the enamel a lot easier to use and requires less working. I have still yet to master the technique of brushing though. If there is anyone out there who can help me with this let me know. The spray cans are great for the bodies and larger pieces but can get costly if you want to get that sort of finish for every piece. Obviously for those who are very keen and talented then an airbrush set up is the best way to go.
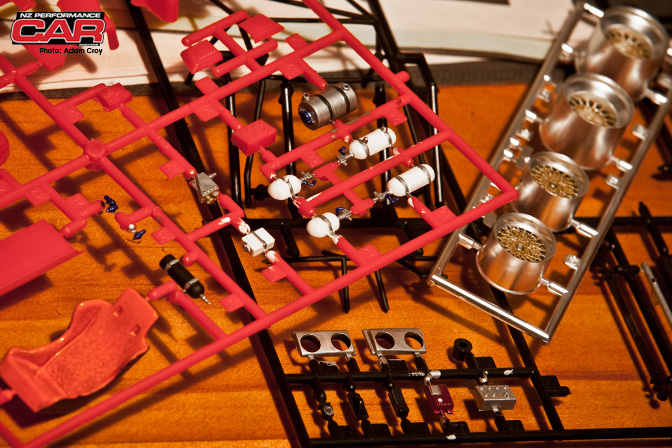
I prefer to paint as much as I can whilst it is still on the sprue and then just do a few touch ups once the pieces have been removed.
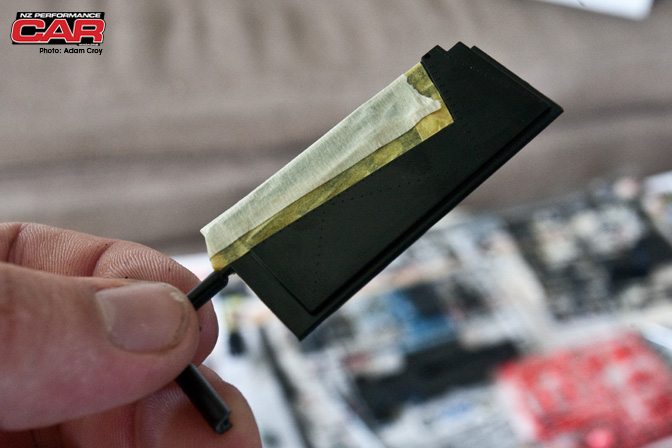
I can't say enough about masking. If you can get your fingers in there to mask something then it will make a huge difference to the final look. Steer well clear of normal masking tape however and get some specific model tape. Its a lot thinner and and gives a more accurate finish.
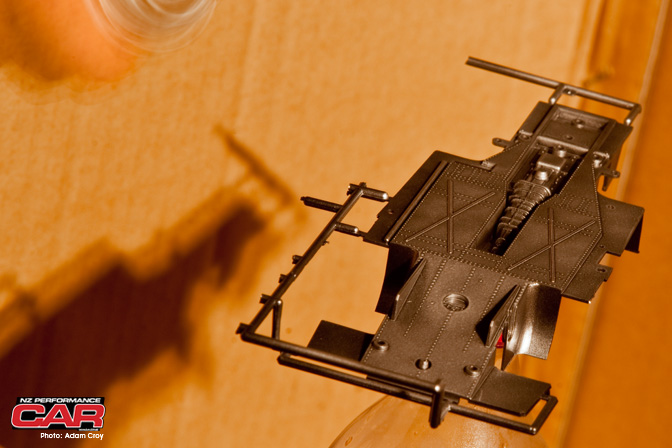
There are many different ways to add weathering to a model. I spent a lot of time searching the net for different examples. Model shops do sell kits ready to go but there is a lot of stuff you can do with things from around the home. The best thing to do is experiment. For the undercarriage of the Skyline I liked the worn look given by using a thin coat of paint. I then did the same to the interior and other aluminum parts.
I found a very good forum for tutorials here. If you know of any others please share them in the comments section!

Prepping the body for painting is exactly the same as prepping a real car. I skipped the primer coat this time but if done can add depth to the paint finish. This is also where patience can be tested. Start by focusing on the cracks and detail areas (like the bonnet on this particular model), give them a quick dust over and let dry before putting on the first coat.

For a deep finish, sand back the paint after each coat. I used a 1200 grit paper. With metallic pints this will really make the pearl jump out.
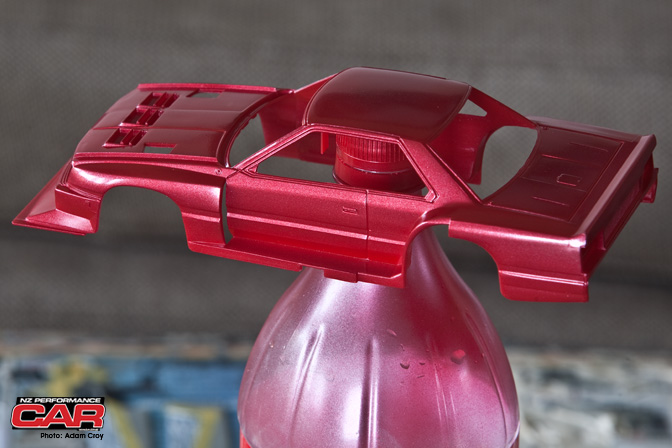
This is the body after three coats with a sand after each one. For a real show car finish you can use car wax to cut the paint back again at this point and then add a coat or two of clear.
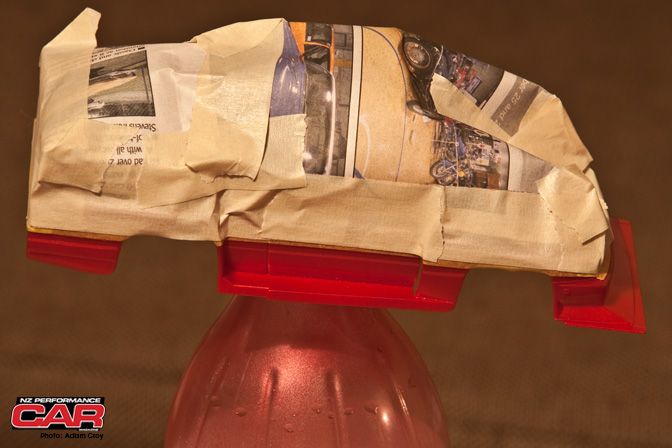
Masking for the black two tone look.
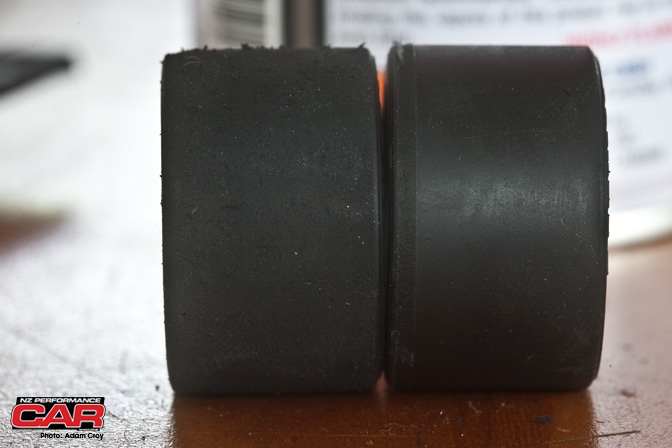
While I waited for the first coat of black to dry I took to the tyres with some 400 grit sand paper. Just enough to get rid of the manufacturing marks and take the shine off to give them a scrubbed in look!
I you have any questions or tips, post them in the comments section so we can all learn a little bit more and I will be be back soon with part two and a completed model soon.
- Adam Croy