

I know, I know, it's been WAY too long since I've updated on my project, but lots has been going on. Not as much as I hoped, but at least it's moving forward. More on this lovely picture in a few moments.
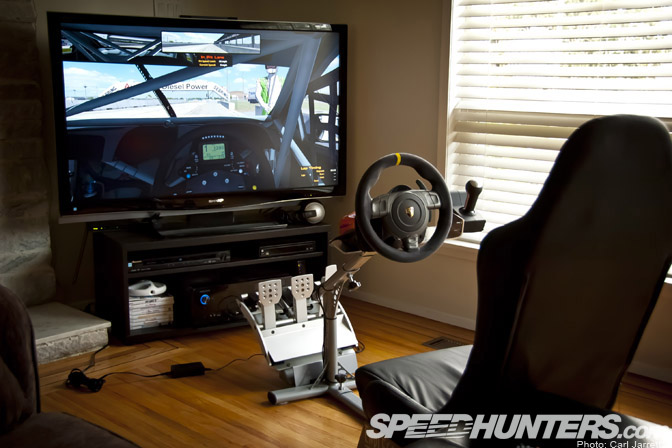
My last update was summer of last year, and a lot has happened since then; I built a deck on my house, broke my foot, travelled half-way around the world, got a metal shard stuck in my pupil, got some stitches, and played a &*$%load of simracing. Combined with all of the above, work on our latest NFS project has been intense and extremely busy, but also really rewarding. I'm more excited about the game we're working on now than any Need For Speed I've worked on in the past. And in my free time, I was able to get some work done on the FC!
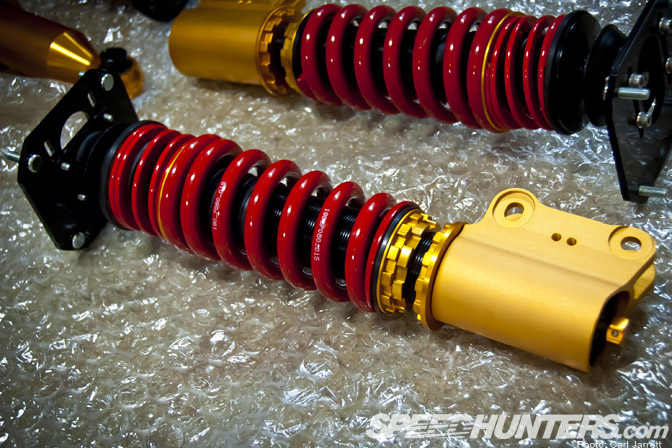
I've been busy researching and collecting the components that will help me go fast, or at least help me avoid hitting any large stationary objects. Check out the coilovers I recieved a couple of weeks ago from Pettit Racing down in Florida. These are one of, if not the first set of Pettit Trak-Pro Competition Series for an FC they've released. Externally adjustable, with 15kg/mm springs front, and 12kg/mm in the rear, pretty stiff, but with the helper springs the small high frequency bumps shouldn't upset the car too much while controlling roll very nicely.
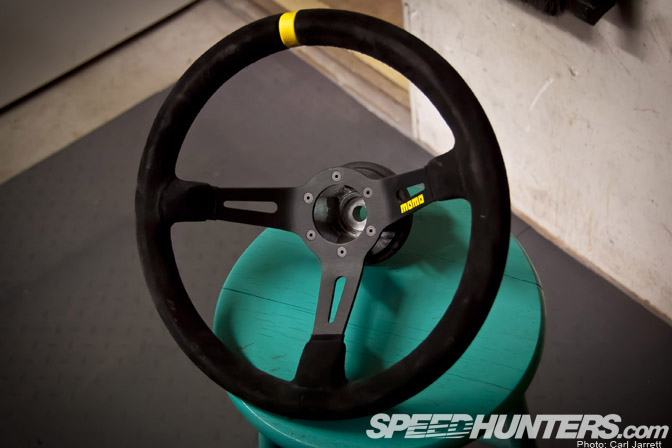
I've always had trouble finding the optimal seating position in production vehicles, being 6'3"ish with longer legs and apparently a shorter torso, I always find either my legs are cramped or the steering wheel is too far away to get any decent leverage. I needed a steering wheel with a lot of dish, or I'd have to come up with a custom steering linkage which is just too much of a PITA at this point. So I picked up a Momo Mod 8 with a 90mm dish, the suede is a nice touch too.

Onto the seat dilemma. I looked for months for a seat that would fit me well with no luck. I borrowed a Sparco Rev from a friend to get the seat mounting finished, but even without the base seat pad I was sitting too high, the harness ports were way too low, and could be a safety issue if there ever was an incident.
Obviously our cat liked it. Trouble is, a few seat manufacturers make seats for big guys, but they are generally for guys who are tall and wide, not guys like me who are tall and narrower.
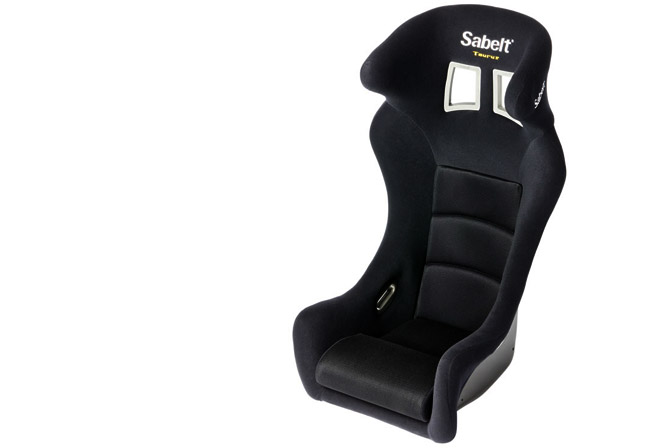
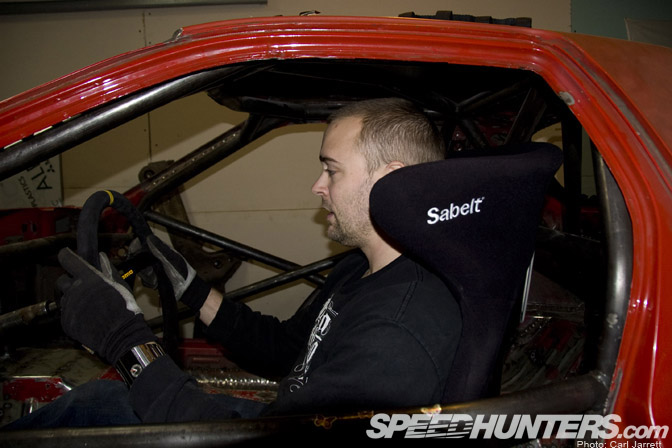
Alas, I found my perfect match. Sabelt makes a seat that is much taller than anything else I tried out, and is a perfect size for tall guys under 220lbs, if you're having trouble finding a suitable seat, try this one out! I brought the seat home and put it in the car with my steering wheel in place, good fore/aft, good left/right, head hits the roll cage, without a helmet, without any roll bar padding, huge problem. The FC isn't a big car to start with, but there had to be a better way to do this.
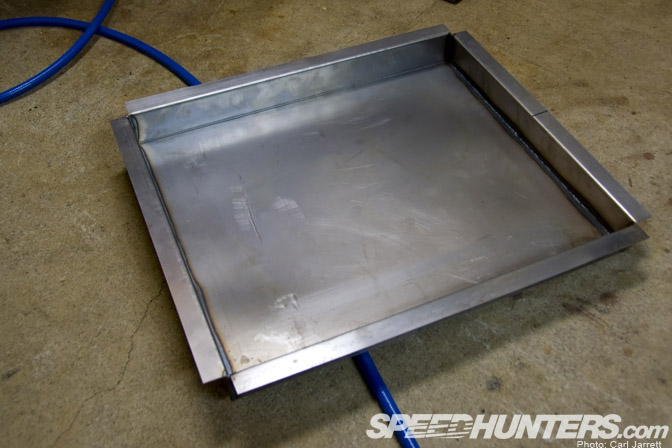
I called up my buddy Dave who works with sheet metal for a living, asked if he could build me a box to drop the seat down a couple of inches. He showed up at my place with this perfectly sized box for the FC. We cut the floor out of the car and welded it in place in a few hours and re-tested the seat fit, just about right. I modified the OMP seat brackets slightly, and canted the seat back a few degrees, which gave me the perfect fit.
Check out all the head room now, and I can get even lower by thinning out the seat pad if I need to. Being 100% comfortable in this car now, is such a relief, I can't stress how important that is in a track/race car. The best mod I ever made on my FFR Cobra was replacing the stock seat with a proper bucket and getting the seating position right.
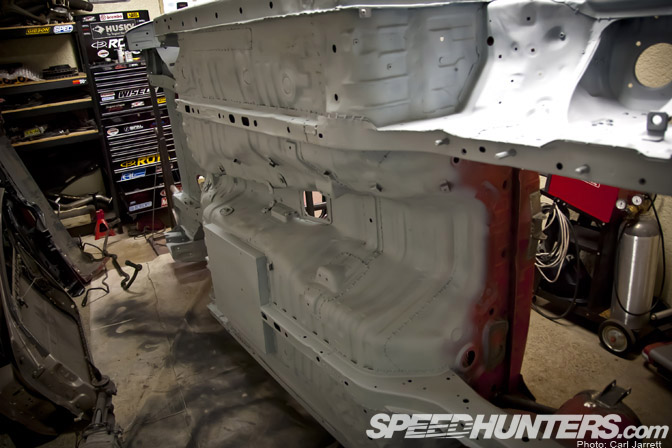
You can see the drop-box installed here. I've started painting the car, but have only gotten as far as to put a few coats of primer on the underside. It's amazing how toxic an entire house can get from just a little epoxy paint! My dogs were going nuts, so I think I will have to wait until everyone is out of the house to do any more painting, either that, or buy my dogs and the cat some respirators.
One of my favorite parts of the build so far, the wheels! I picked up a set of 17×8.5" BBS RS's from VR Wheels in Cali, who import wheels from Japan. The wheels were in decent shape but needed some TLC, not to mention 8.5" just isn't wide enough for this car! I picked up a set of 3.5" replacement lips for the wheels and decided I would refinish them as well.
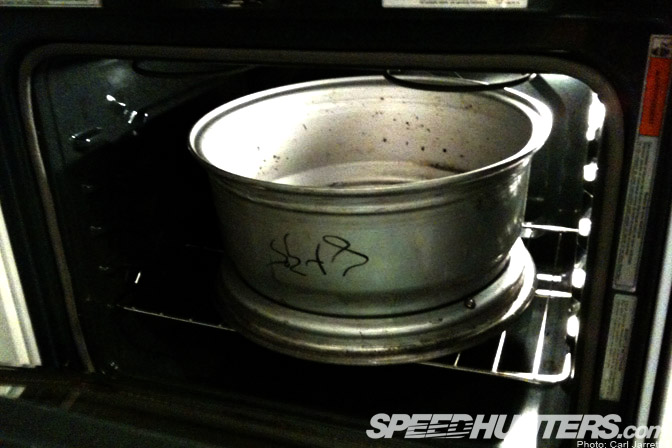
To take the multi-peice wheels apart, you'd think you would just have to remove all of the hardware and pry them apart, but no such luck. They are sealed up with black RTV which is hi-temp silicone, it holds extremely well! So I shoved them in the oven and baked them til they were nice and crispy…
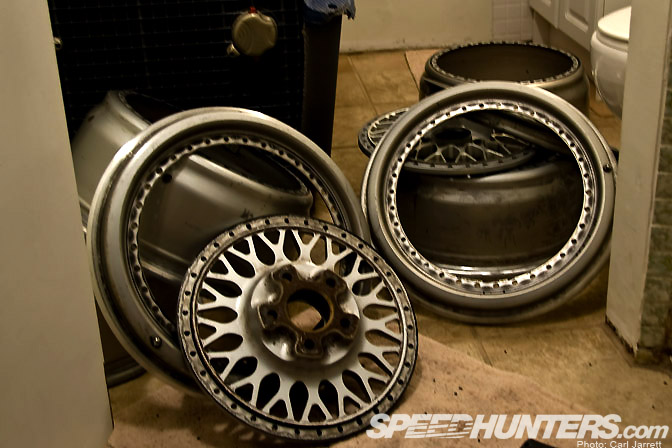
…and carried the hot wheel down to the basement and hammered the lips and centers out with a rubber mallet! You'll notice the toilet in my makeshift workshop, it was late, and that was the quietest room in the house I swear!
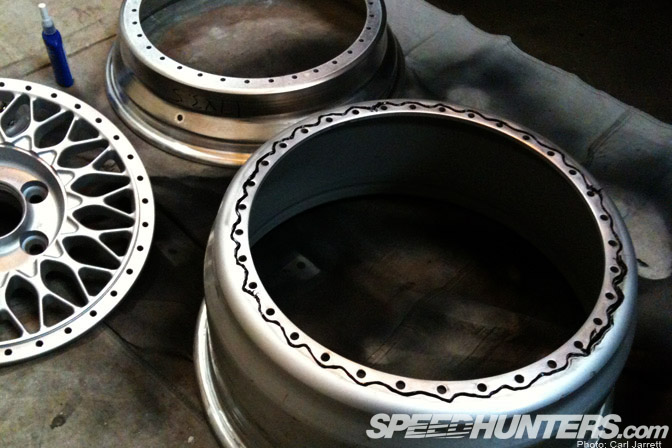
Once I had the wheels apart I cleaned up the barrels, and centers, and then re-sprayed the wheel centers with metallic wheel paint, classy!
Dave came by again to help re-assemble the wheels and do some other work, 3 peice wheels with big lips are a LOT easier to assemble when you have a set of hands on each side of the wheel! Check out that LIP!! I know the RS's are a bit trendy right now, and not a pure race wheel, but I have always loved deep dish meshies! And at about 20lbs for a 17×11.5" wheel? Hard to beat those specs for the price.
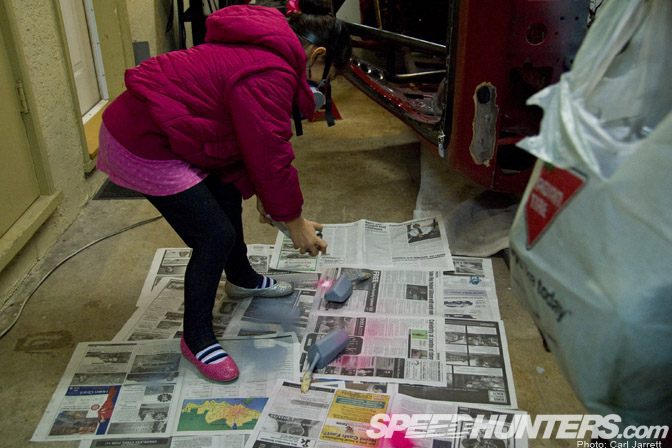
I picked up a set of racing mirrors off E-Bay, and during that time my little girl was wanting to help out with the project, so I told her she could paint the mirrors any color she chose if she did it herself. I took her down to the local auto parts store and bought some rattle can paint of her choice, and you'll never guess what color a little 7 year old girl picked… hot pink!
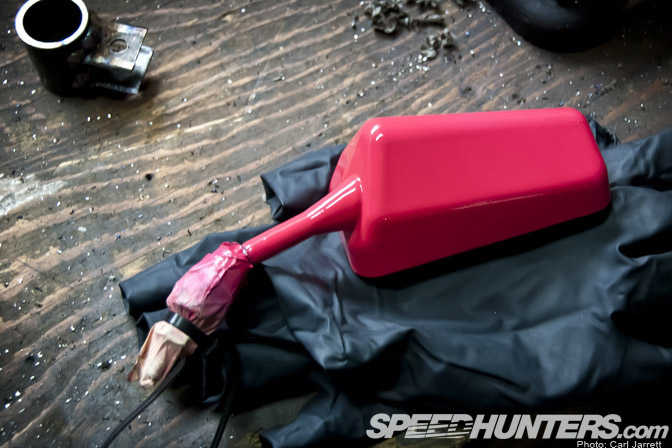
I helped her mask off the mirrors, gave her a respirator, and let her go to town! I think she did an awesome job, now I just need to do a bit of wet sanding and polishing on them. She's put her 'touch' on a couple other parts of the car too, including some glittery butterfly stickers on the roll cage.
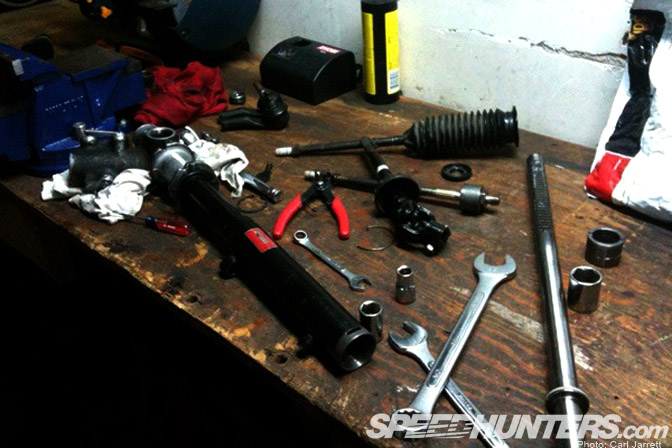
The steering rack I had came out of the '90 coupe I bought for parts, this particular model was a power steering unit with a 17:1 ratio, whereas some of the other models had either a 20:1 ratio, or a 14.x:1 ratio. The 17:1 would be just right, remembering the 15:1 manual rack in my Cobra took a bit too much effort out on the track to make quick inputs, and the 20:1 would be just too slow.
Since it was a power rack, and I wanted to run manual for better feel and the reduction of weight from all the ancillaries, I needed to convert it to a manual rack. In the Mazda/Koyo rack's there is just one seal that causes a de-powered rack to push air in and out and increase steering effort. Disassemble the rack, cut off the metal seal with a cut-off wheel, clean, re-grease, and re-assemble! I won't be doing any enduro's or 24 hour races in this car, so I'm not too concerned about the extra effort, steering feel is worth the work out.
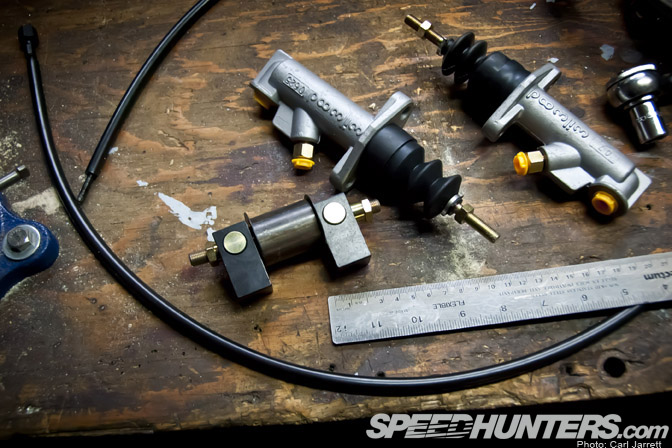
I talked to a fellow race/builder on RX7 Club, JGrewe, who helped recommend the sizes of master cylinders I would need to run if I wanted to run the stock FC brakes with a dual MC adjustable setup. I picked up a couple Wilwood MC's along with thier balance bar and remote cable adjuster, 0.700" front and 0.625" in the rear which should provide a good starting point to dial in my brake bias.
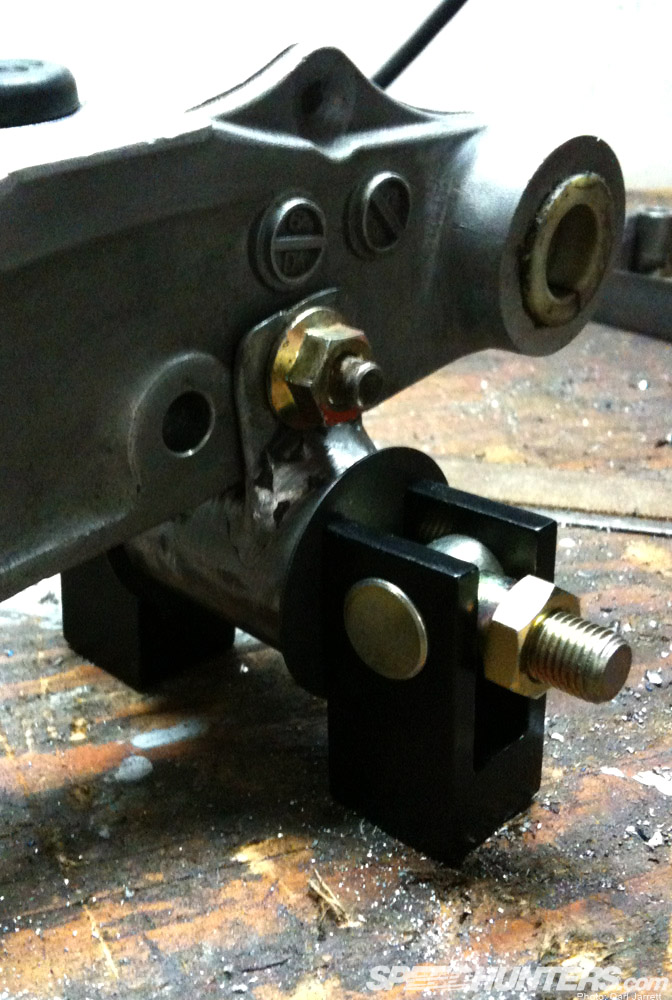
Wilwood recommends that you run a pedal ratio of 6:1 with manual brakes for appropriate brake pedal pressure, since my FC had power brakes from the factory, this would require a bit of work. The stock pedal is set up at around 4.9:1, so I moved the fulcrum a quarter of an inch closer to the pivot to get right to 6:1.
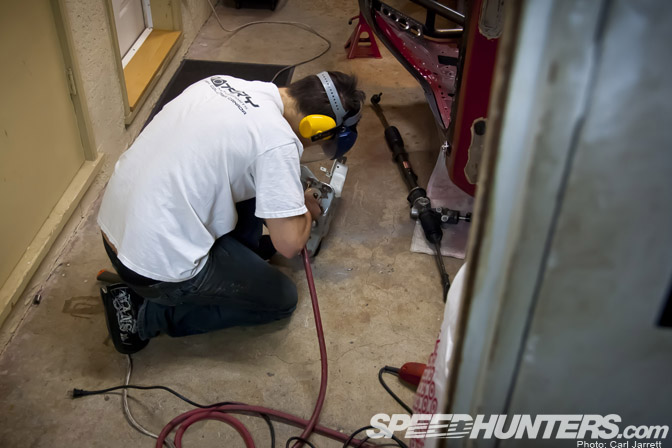
Dave slaved away cleaning up the pedal box so that both MC's could be mounted correctly.
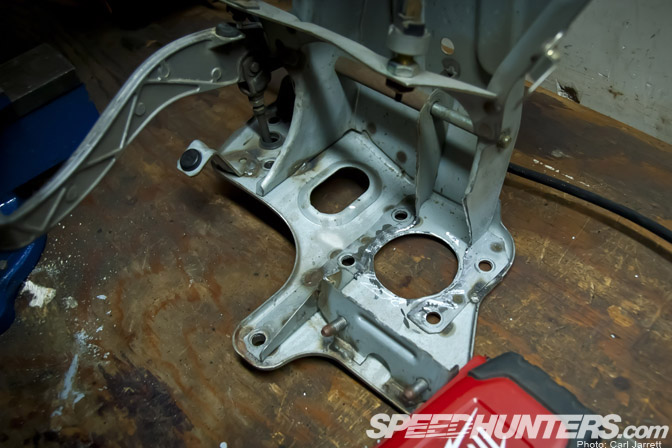
Time to drill out the new holes for the new dual MC setup, and re-weld the bushings on the rear to make sure everything is mounted up nice and solidly.
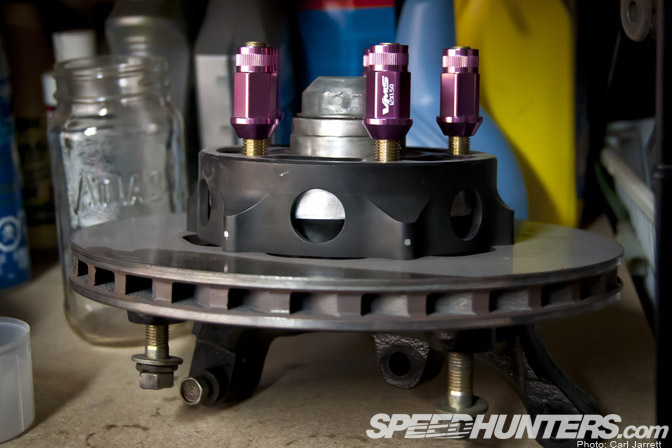
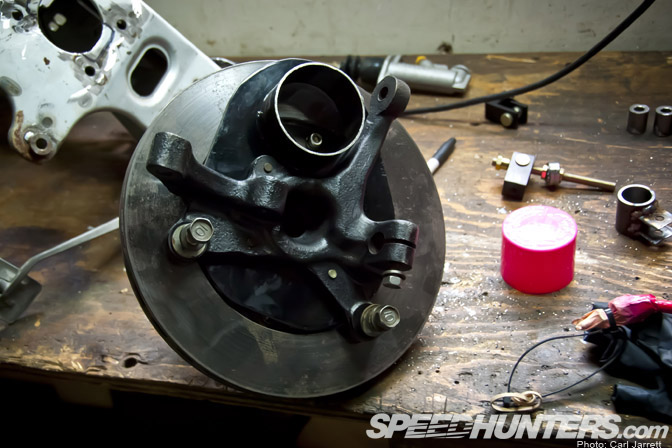
To complete the brake package I also aquired a set of AWR brake discs. These are made for the E-Production race cars, but until I can afford a pricey big brake kit, these will be a great upgrade to the stock solid rotors. The aluminum hats reduce un-sprung weight, and rotating mass. I rebuilt the hubs, cleaned up and painted the spindles, and re-packed the bearings so I'd be ready to bolt these on the car.
I also picked up a set of longer ARP wheel studs which come in handy for longer lug nuts, with more threads exposed which should give just a little extra measure of safety. Have you ever seen the video of the RX-7 whose lug nuts weren't fully seated?
AWR also sells a brake duct kit that bolts nicely to the front of the FC, just need to settle on which pad's I should run.
Lots of other updates, but this post is already too long. Expect more soon!