
You probably know this already butI’m going to preface this anyway by saying that you probably shouldn’t take my word as gospel. In fact, I would strongly recommend that you don’t take what I’m about to write as definitive. I would suggest that you might pick something up to add to your own learning process. Back in September I put together a short post documenting a life in the day of a car show photographer. It was intended as a quick and easy behind the scenes piece, but it seems that a lot of you were much more interested in the photography aspect than I ever would have thought. With all of this in mind, when shooting Toyota Ireland’s GT86 I tried to document some further behind the scenes stuff, along with more in-depth photography related details. Read on …
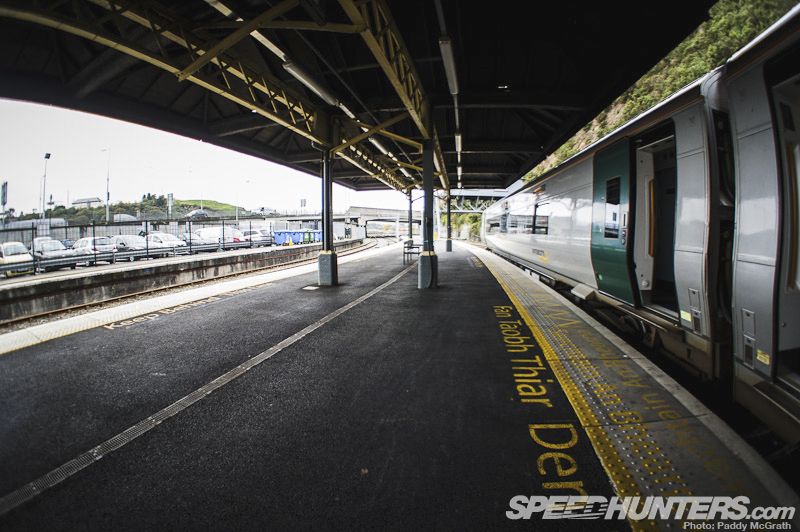
The whole GT86 experience actually started here on a rather boring train platform in my home town.
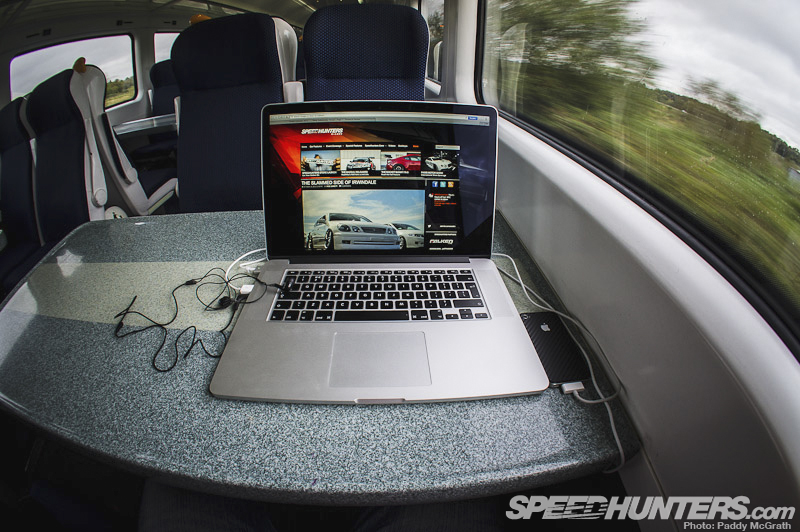
It has been absolutely years since I last travelled on a train – I think the last one was coal powered – as I don’t do public transport too well. It’s a bit different these days what with Wi-Fi & electricity at each table, I could almost get used to it. Almost.
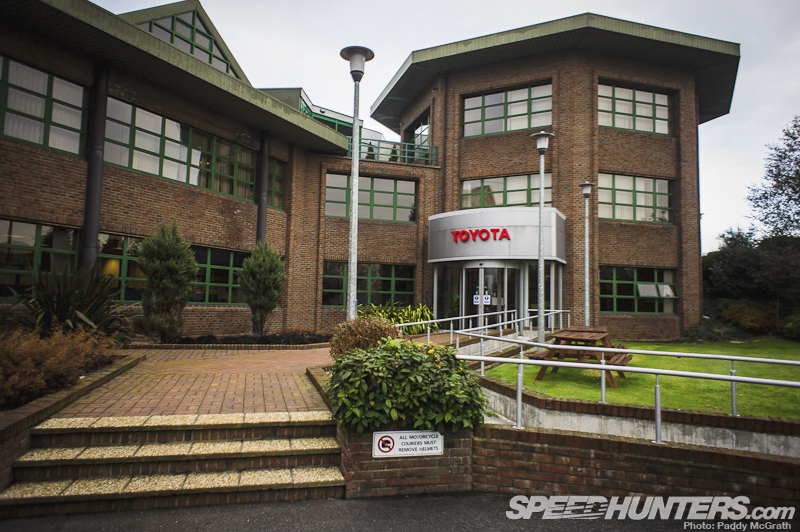
Anyways, this way my destination – Toyota Ireland’s headquarters in Dublin.
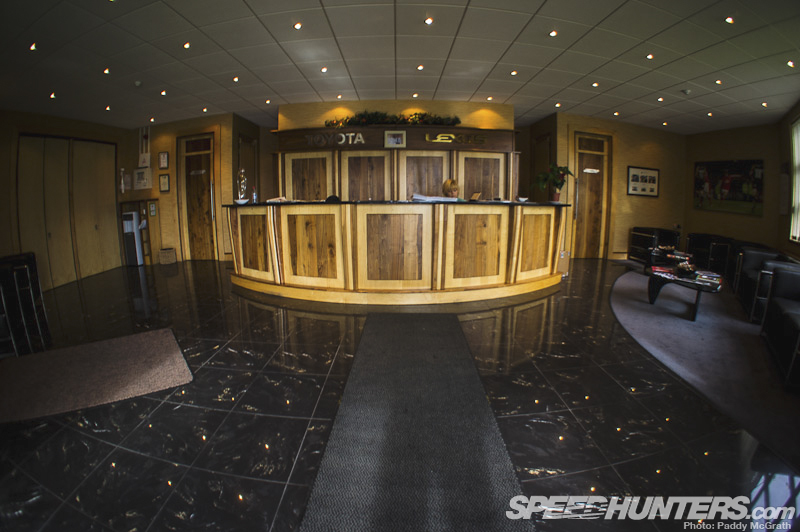
Their HQ is staffed by some amazingly friendly people.
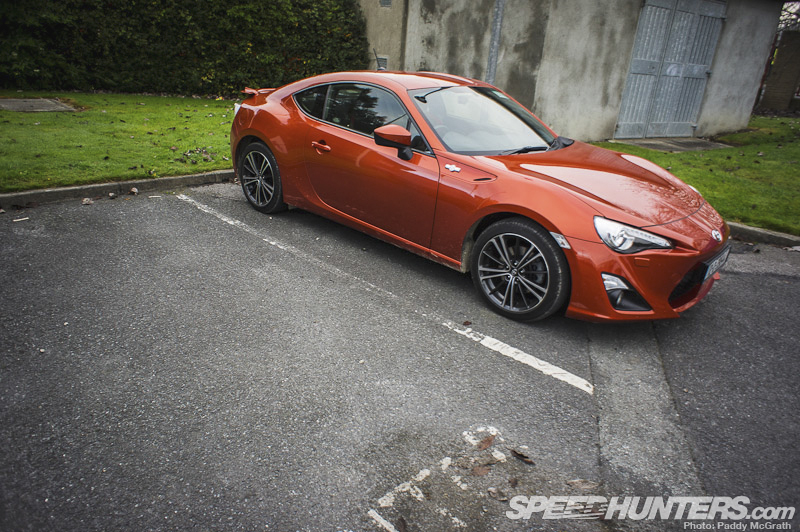
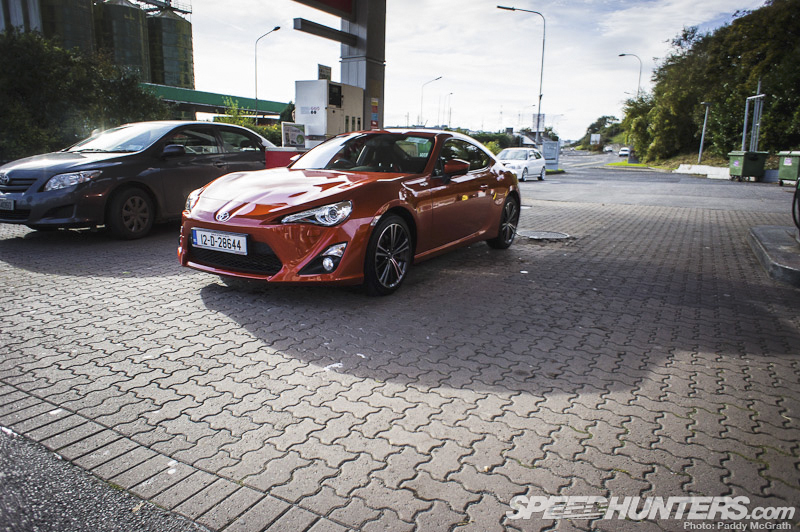
Even better was that they were waiting to give me the keys to this – mine, all mine for an entire seven days. In the interests of full disclosure, I actually shot this photo when I was handing the car back as I was too excited when collecting the car and forgot to take photos. In my defence, it was in the same spot just a lot cleaner.
When road testing a car, before I even start to think about taking photographs, I drive them. With the GT86 in particular, I actually drove it for two or three days solid before I raised a camera in anger.
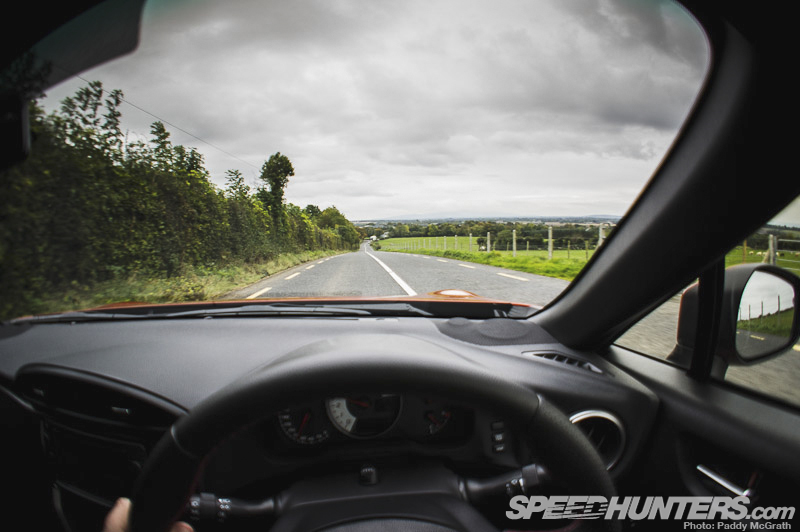
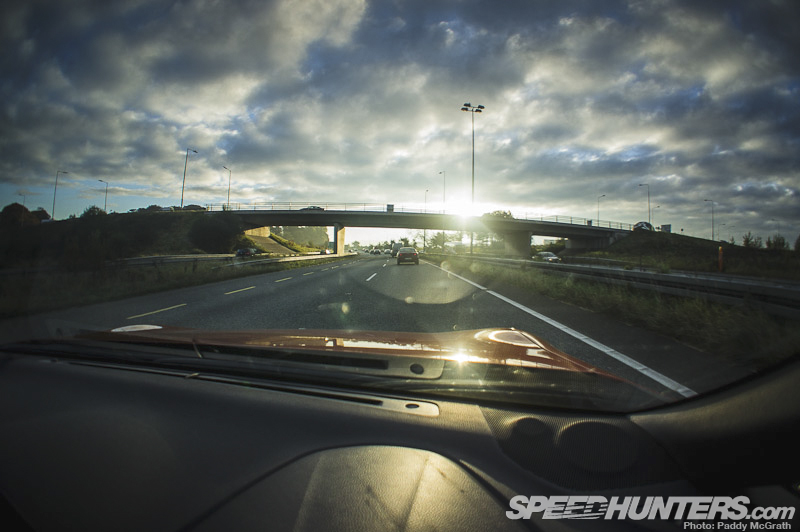
As this would be my only source of transport for the duration of my time with the car, it’s pretty important to make sure you know where everything is beforehand.
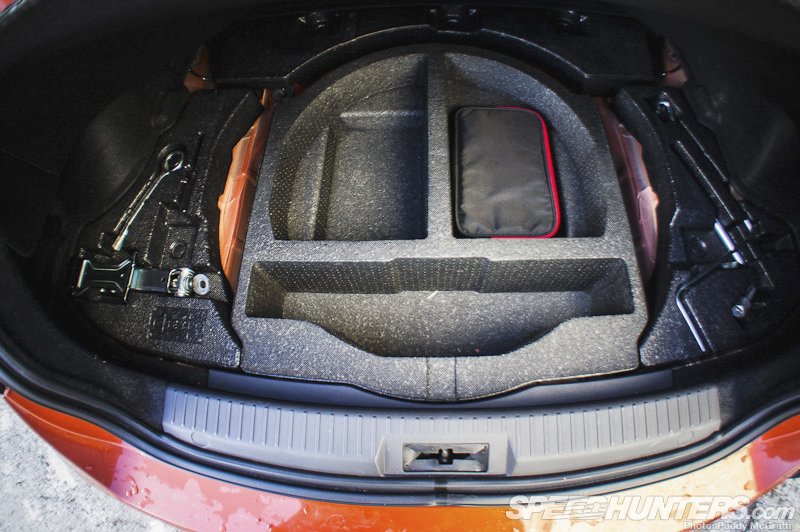
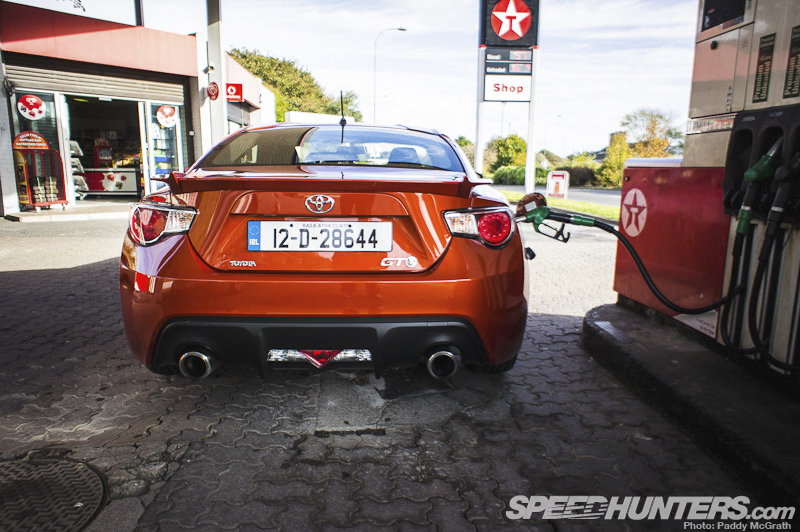
Like my regular daily driver, it’s best not to get a puncture.
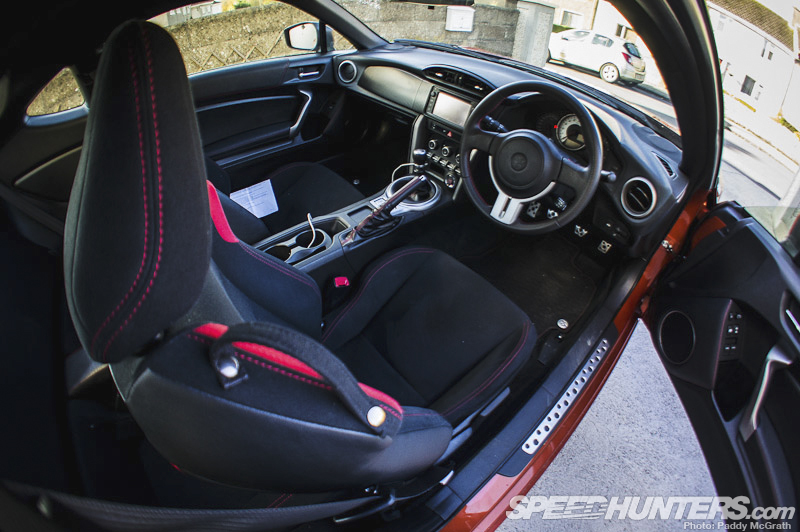
The interior was present and accounted for.
I did a lot of this during my week with the car. It grew tiresome quite quickly but I only have myself to blame, that 7,400RPM rev limit is just too tempting to seek out.
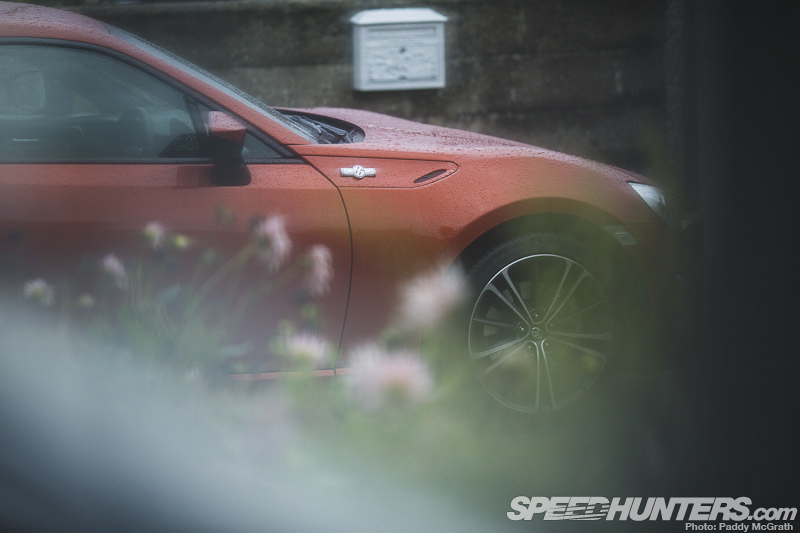
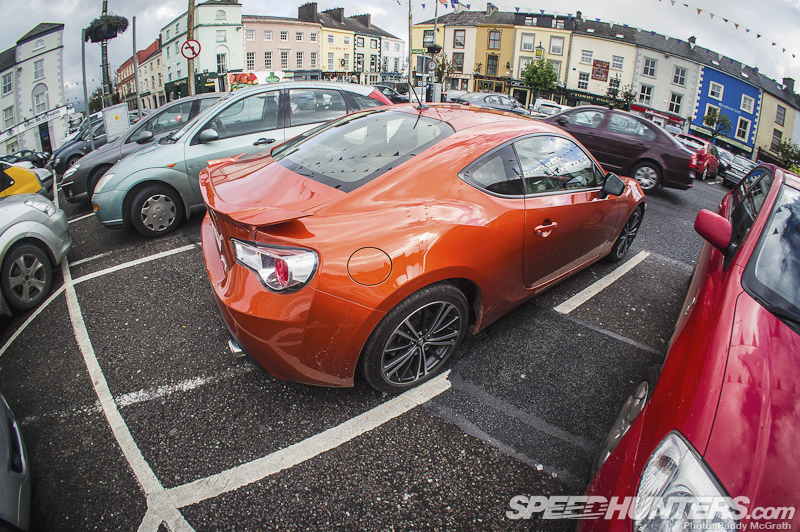
I often found myself walking away from the car and looking back at it. I’ve always thought that this was a sure sign that a car is leaving an impression on you.
Unfortunately, I managed to collect the car during the worst week of weather we had all year. This played havoc with a pre-arranged schedule & shot-list I had put together the week before collecting the car.
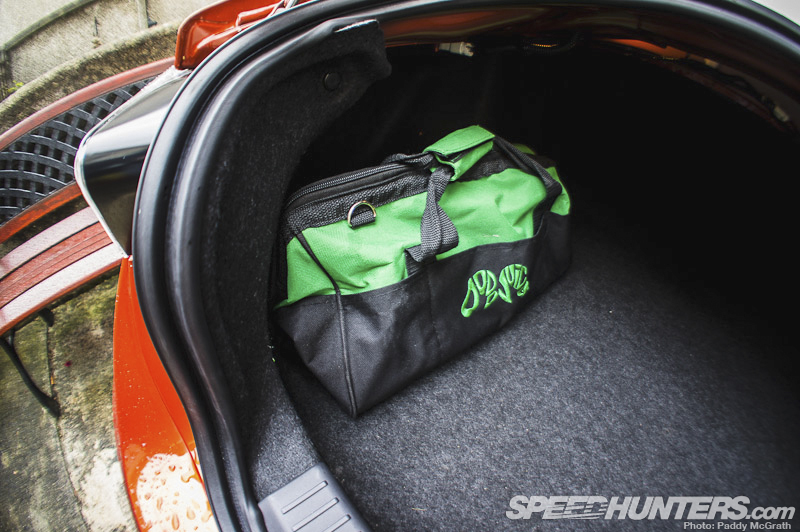
Armed with some cleaning gear …
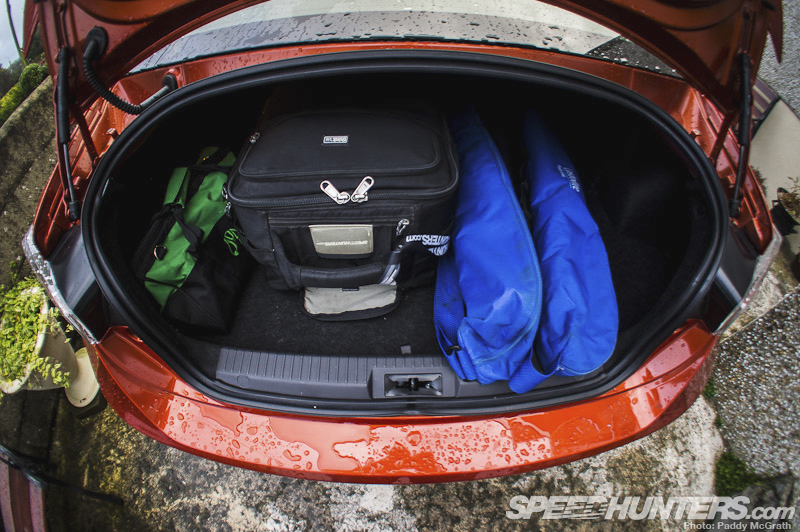
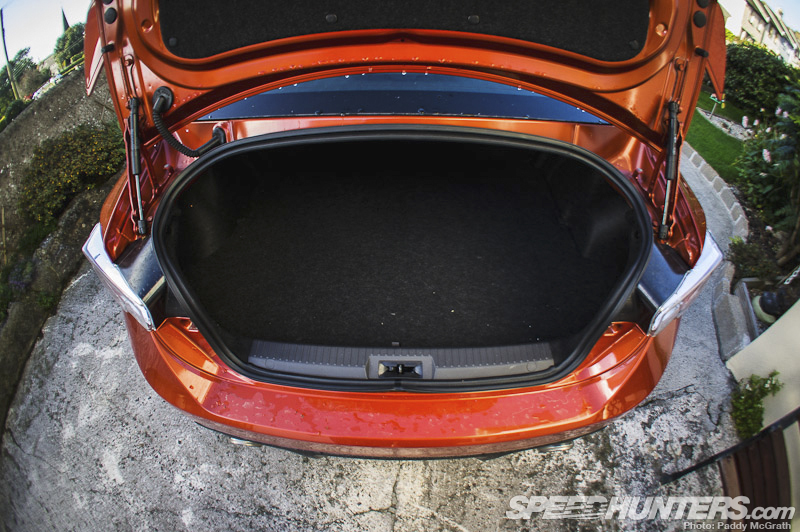
… and some camera equipment which occupied the entire boot (trunk for my American friends).
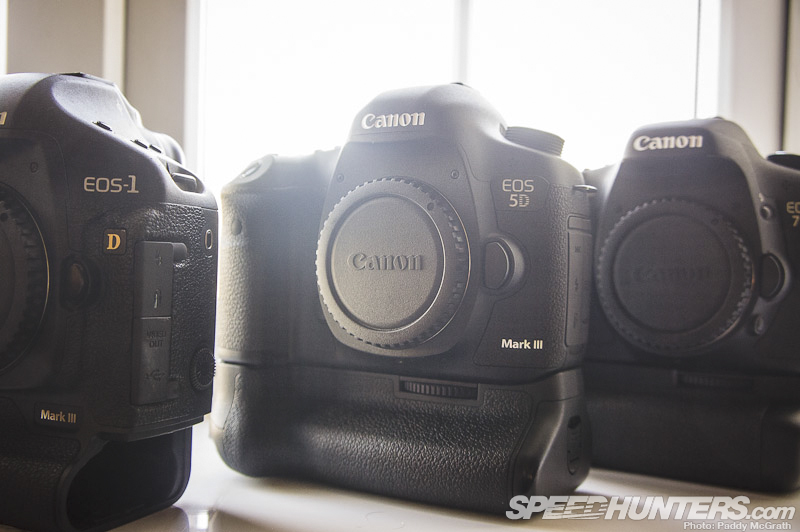
On the subject of camera gear, there were a couple of questions in a previous post asking that I detail what I used for the shoot. Here’s your answer – my Canon 5D MKIII. The 1D MKIII was used for some action shots but the 7D was saved for another day. I always, always bring back-up cameras as going by my luck with my equipment this year, they’re usually needed.
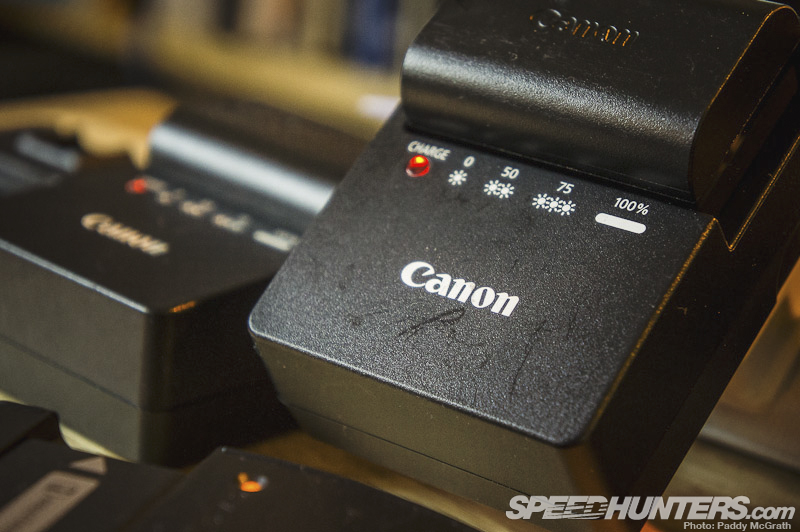
I find the Canon cameras quite good on batteries, I can’t ever remember a time where a camera died on me due to power exhaustion.
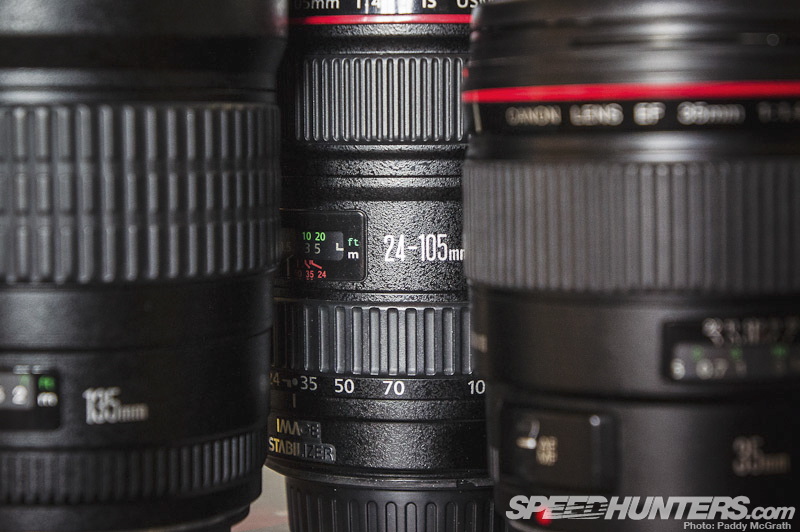
Most of the GT86 shoot was carried out with my recently deceased Canon 24-105 f/4 L IS coupled with the 5D MKIII. I was aiming for a sharper and more commercial look with this shoot so the limitation of f/4 wasn’t a problem as I would shoot stopped down slightly anyways.
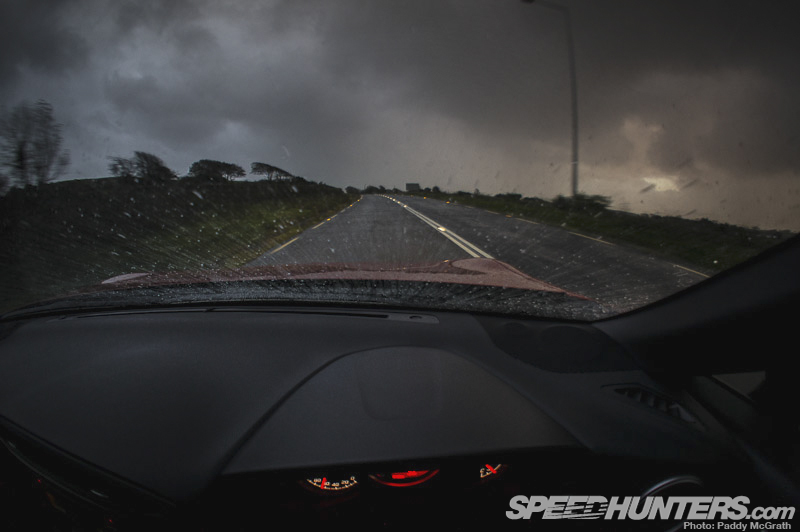
The rain kept on coming …
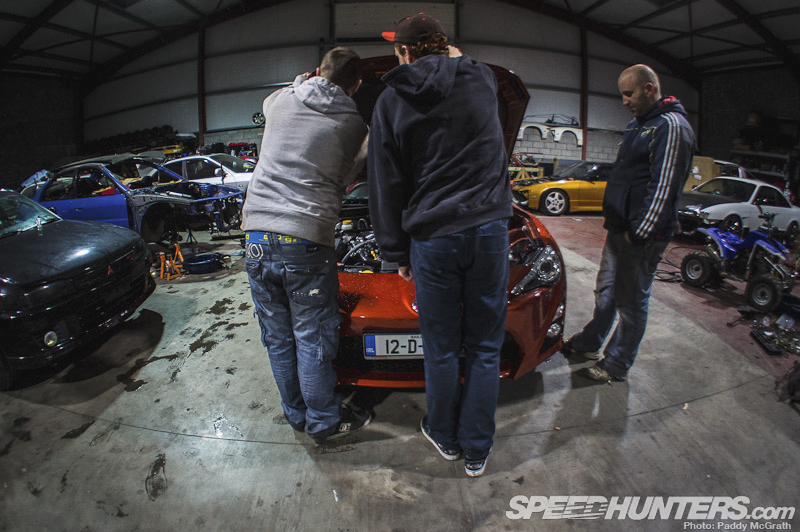
… but it did give me a chance to visit a few people who I thought might be interested in the car. It was great getting feedback from people I would consider to be genuine and passionate car enthusiasts.
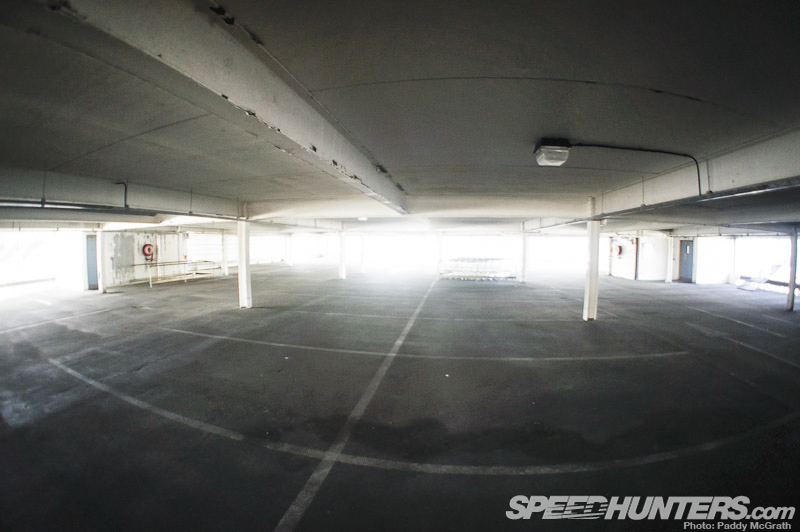
I collected the car on a Monday and it was Thursday before I could start ticking off items on my shot-list. I had scouted this top floor of a local multi-storey car park for some shots, but wasn’t sure how it would work with the brightly coloured GT86.
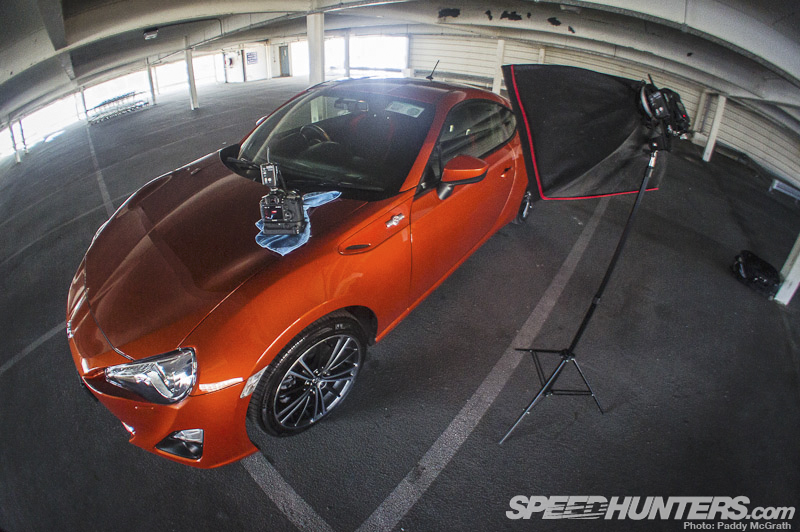
I started by getting all the detail shots done first as the ambient light was quite low – much lower than what was exposed in this photograph.
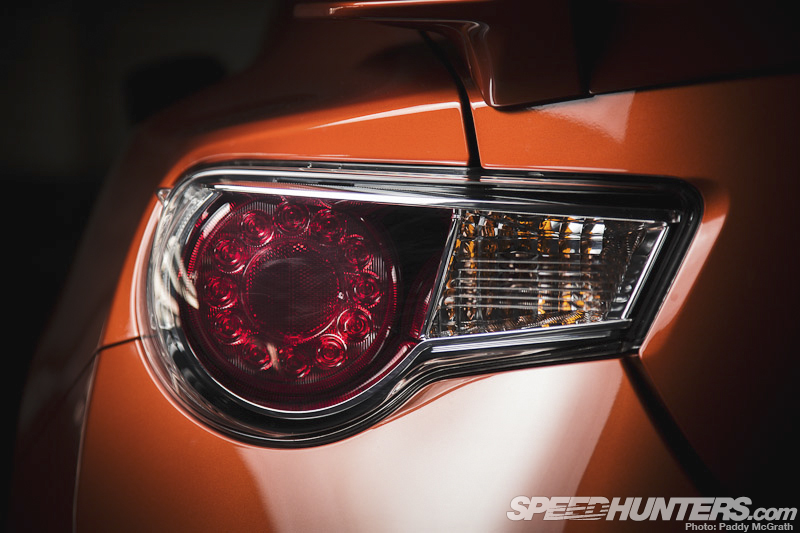
With a single strobe, in this case a Canon 580EX II, fired through a small soft box and triggered with Pocketwizard Plus II Transceivers, I made my way around the car picking off each detail that I liked. I’m not going to bother posting the EXIF information (although it should be embedded in the photo file) because unless you find yourself in the exact same place, at the exact same time, with the exact same lighting conditions the camera settings will be useless to you. Instead of asking ‘what settings’ start looking at photographs and try to figure out a rough idea for yourself.
Look at the above for example – the background is quite soft and out of focus, did he use a shallow depth of field? I did. The colours are a little muted, did he turn down the saturation a little? I did. Is there more to it than that? There is, but it’s up to you to figure out.
This recce shoot showed up a few things I wasn’t expecting. It’s no secret that press cars live tough lives, but the orange peel and swirl marks on the paint were so bad that anytime I hit the car with a bare flash, every defect would light up and the shot would be pretty much unsalvageable.
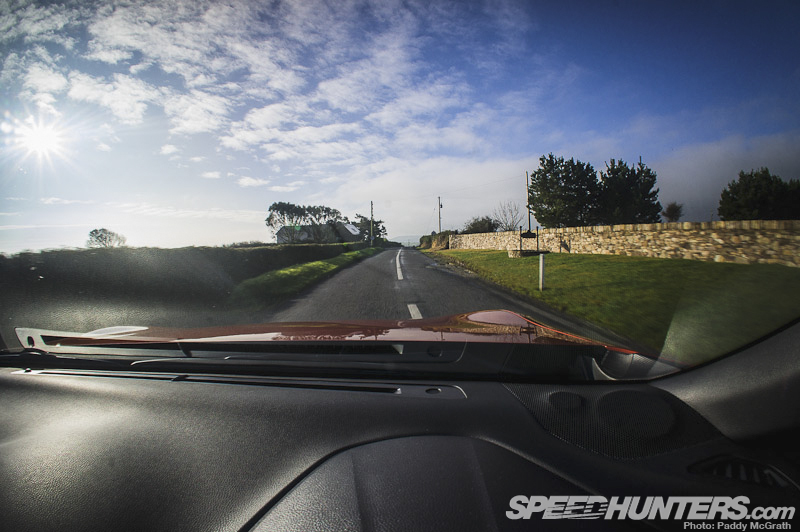
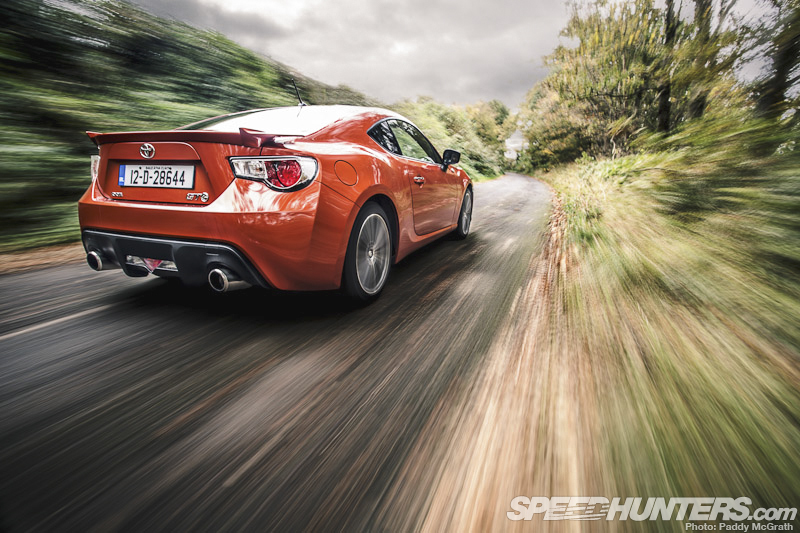
When we eventually hit the road, I knew that I would be leaving the flashes at home and shooting with whatever light was available at the time. The upside to this is that you can shoot a little bit faster. The downside being that you have little control over the lighting of a scene and as such, you have to adapt to each location individually.
We left home at around 8AM on the Friday morning and by lunch time, we were starved. When I say we by the way, I mean the very lovely Neil Shen and I, who would be my pseudo-assistant for the day. Neil also runs the the quite awesome Juicebox site, one which is dedicated to car culture. His knowledge of all things Japan is quite frankly terrifying.
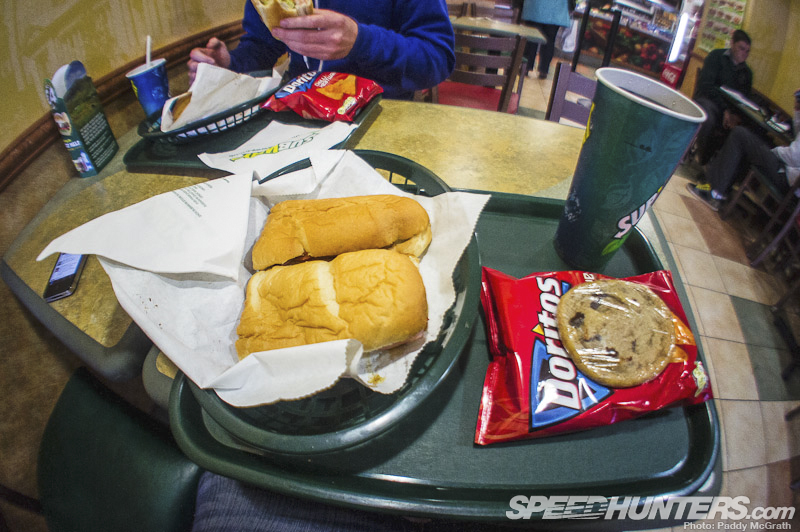
A hearty and healthy meal kept our minds fresh and active!
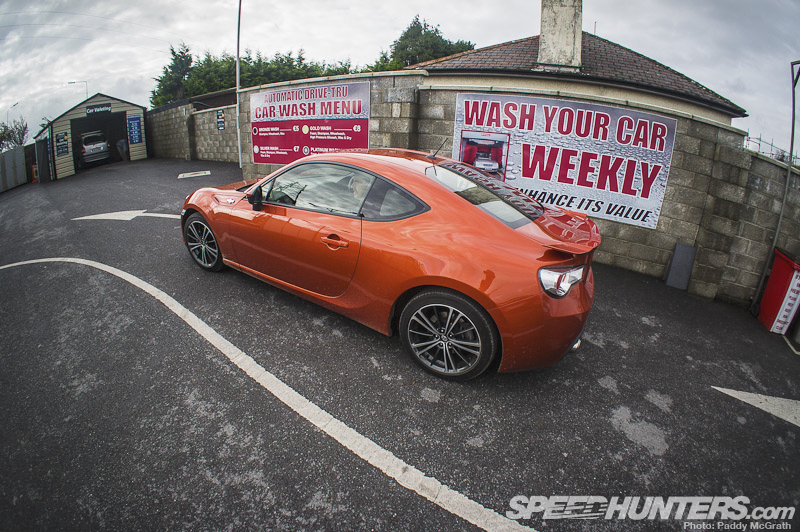
For those of you who are into detailing and paint correction, you might want to look away about now. During the course of one day, I reckon we washed the car about four times. We needed washed and dried in the most time efficient way possible. I think you know where this is going …
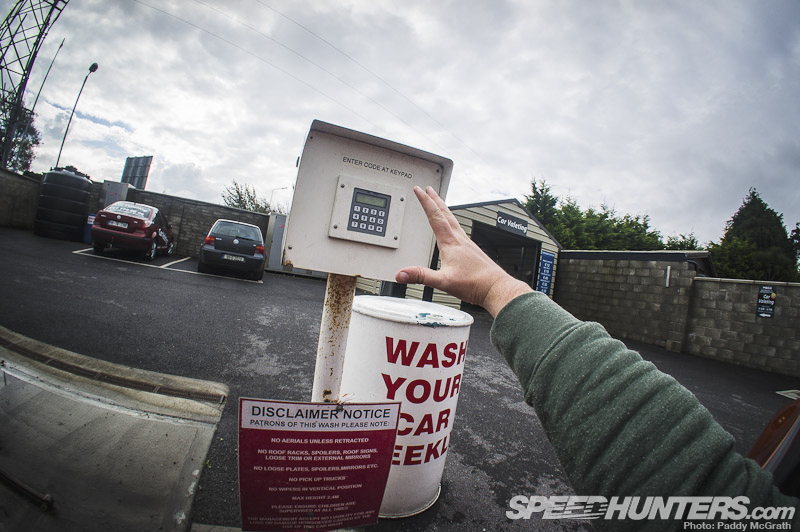
… even the GT86 protested by being too bloody low to reach the keypad. However, its protests were futile.
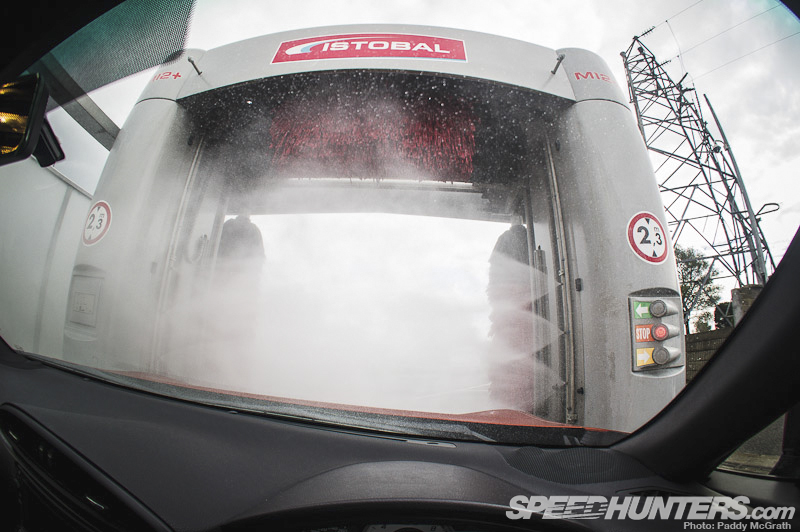
For there is no escaping the RoboWash. For the record, I would never, never ever put my own car through one of these and you shouldn’t either. I just hope when 12D28644 is retired, she’s treated to a two bucket wash, de-tar, clay, multi-stage machine polish, along with many coats of sealants and waxes of her choice so she can live out her days in glory. Larry if you’re ready this, I’m sorry.
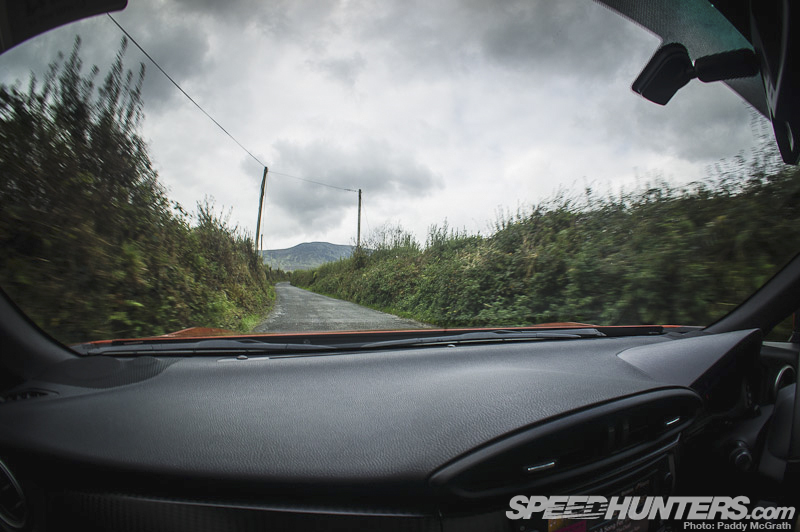
Still feeling guilty, we took to the mountains for next part of the shoot.
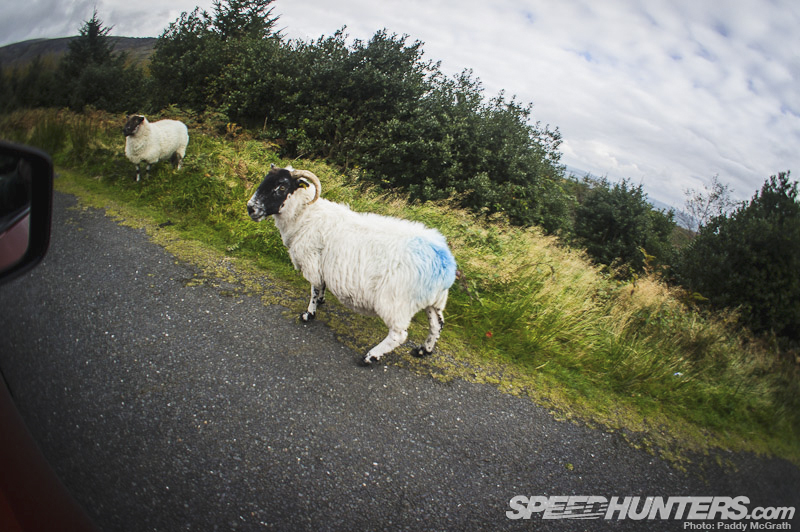
Irish sheep have serious attitude problems.
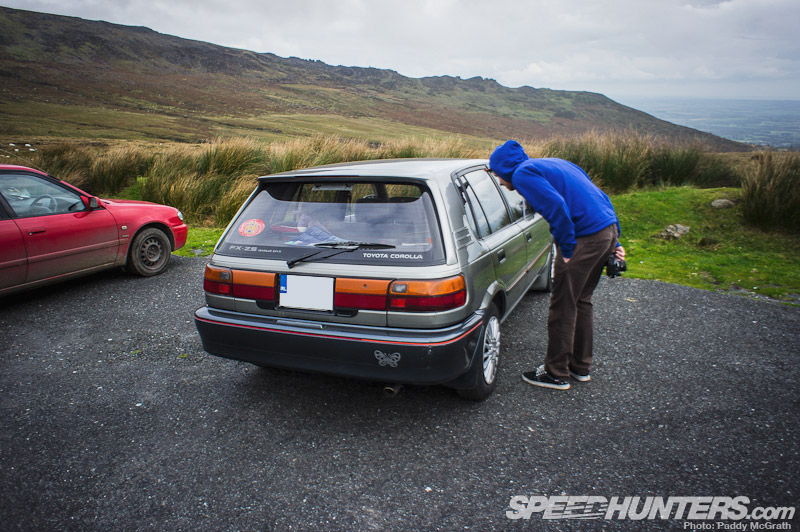
Whilst I was busy setting up, Neil got distracted by this Corolla FX-ZS.
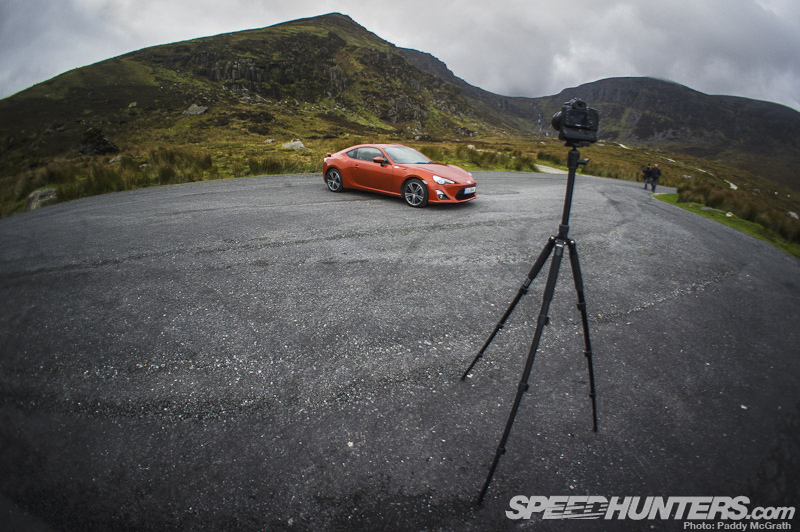
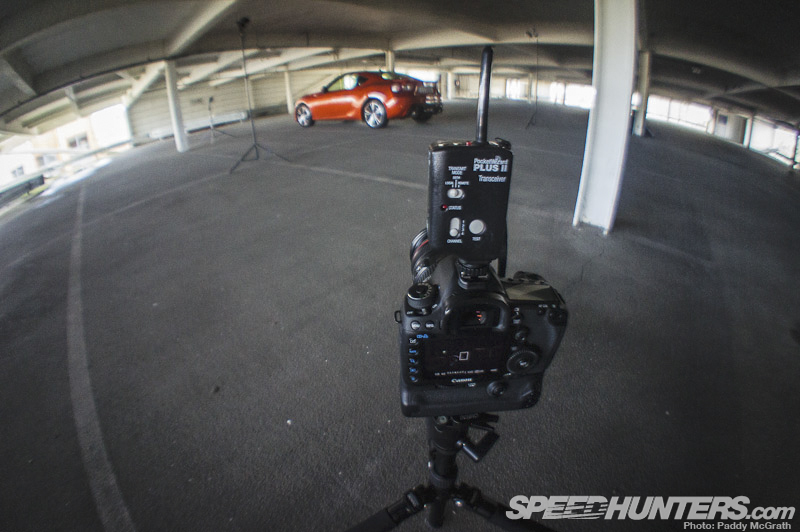
When he was finished drooling (I’m not exaggerating this BTW, he has issues) he guided me into place. It took us around twenty minutes of inching the car forwards, backwards, left and right before we found an angle we both liked. It’s incredible the difference it made because when we first set it up, it just didn’t work at all but after we spent some time with it …
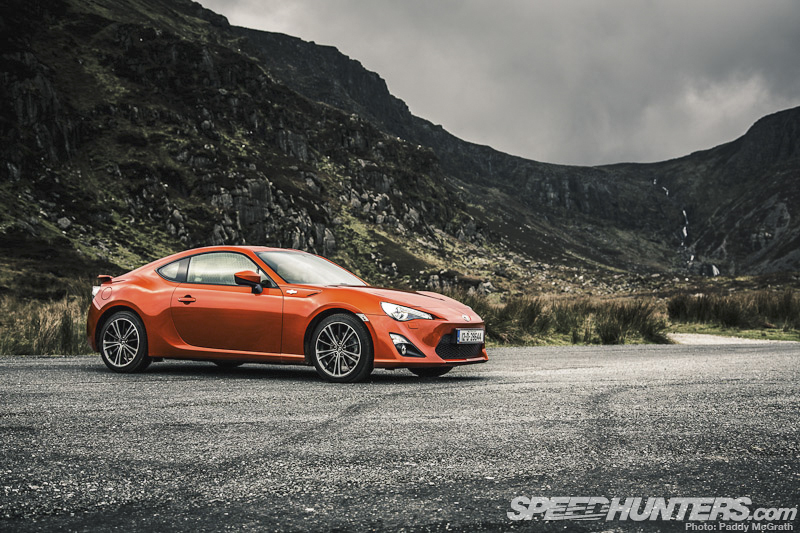
… everything fell into place. As you can see by the behind the camera shot above, there were no lighting modifiers or lights used for the shot. The camera was positioned a lot lower to the ground and the above result is from one single RAW exposure. What I think helped this image pop was how it was treated in post processing. Usually I edit everything as a single image, but for this set I edited the car and background separately before masking them together. It was actually this shot that defined how every other shot in the final set would be edited with regards to exposure, colour, contrast etc.

Classic parking skills, Irish style.
I don’t usually shoot much rig work anymore as it’s both a major pain in the backside and hugely time consuming both to shoot and process.
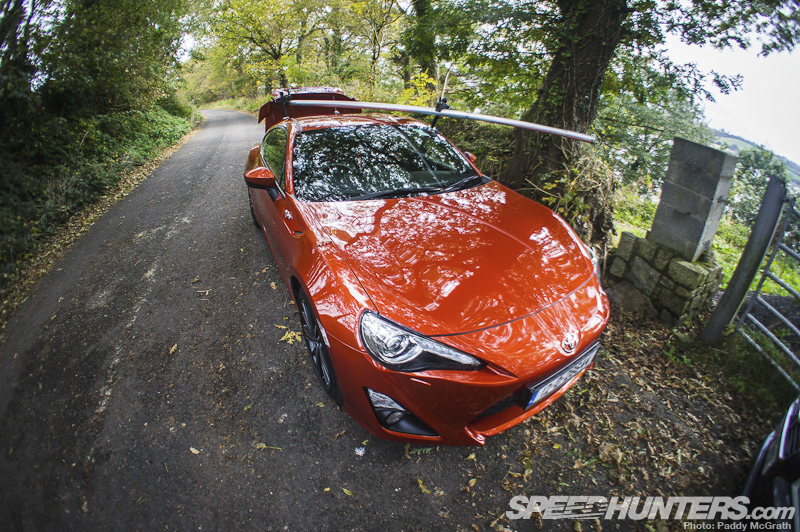
I remember when this used to be the most kept secret in the photography trade but now anyone with a camera and a near-by DIY shop can try it out. My own setup is two heavy duty suction cups with a six metre long aluminium boom which is split into 1 x 2-metre section and 4 x 1-metre sections and can be joined together quickly and easily. You really need to be careful working with this though, as all it takes is for one suction cup to lose grip and things can get very expensive, very quickly. I’m currently working on re-designing this so it runs under the car, rather than over it. I’ll let you know how I get on.
I meant to say that most of these behind the scenes shots were taken on a Sony NEX5 with a 16mm f/2.8 lens with a fisheye adapter in case any of you were wondering. I had an amazing week with the little Toyota that could and learned a lot along the way. There are things I would do differently if I was to do it all over again, but that’s another talk for another day.
I don’t really know what else to add but if you have any questions, I’ll do my best to answer them in the comments section below.
Thanks for reading.
–
Paddy McGrath
paddy@dev.speedhunters.com