Between Larry and myself, we’ve pretty much covered everything you need to know about shooting cars. The one thing we’ve purposely left until – almost – the end, is to talk a little bit about the equipment we use to hunt speed. Reason being, we don’t want people becoming bogged down with thoughts like ‘If I don’t have X lens, I can’t take good pictures’. This is of course, complete and utter nonsense. I could give Larry my camera phone, send him away to shoot a car and he’ll come back with better results than an amateur with the best camera equipment money can buy. The most important part of any camera is the twelve inches or so behind the viewfinder.
The purpose of this particular guide will be to show you the benefits and drawbacks of particular pieces of equipment, some maintenance tips and to help you identify what equipment will benefit you the most with your next purchase. For the purpose of clarity, all of the following equipment is my own, which I’ve bought with my own money over the best part of the last decade.

At any particular event, I’ll usually bring three camera bodies with me. It may seem like overkill, but let me explain why. The first of the three is my Canon 7D. This camera is usually used for ‘hero’ work (i.e. suction-mounted to the exterior of moving cars). It offers fantastic value for money in that it’s a hugely capable camera in its own right and can be picked up second hand for reasonable money. Another advantage is its fast autofocus and 1.6X crop sensor. The latter of which extends any lens’ reach by a factor of 1.6 (a 100mm lens becomes a 160mm lens for example) whilst retaining the same maximum aperture. This comes in handy at particularly large race venues where I may want to extend my lens’ range without using a teleconverter.

I shoot the bulk of my action work on my Canon 1D MKIII. At 1.3x crop, it gives me a great balance of that little bit of extra reach but with a larger sensor for superior image quality. It’s also built like a tank and can take pretty much anything you could throw at it. Its party piece is its ability to shoot at 10 frames per second. I’m not a spray and pray sort of person, but knowing that ability is there is a huge comfort.

My main work camera is my Canon 5D MKIII. I honestly couldn’t live without this camera. Its full-frame sensor (check out the mirror size in each camera for a guide as to the size of each camera’s sensor) produces the most beautiful images. Its ability to handle noise is mind-blowing and it’s a tough SOB to boot. I actually dropped this camera before the Grand Prix at Spa last year and split the casing clean in two. Some electrical tape and glue and it performed like a champ for the full race weekend. Of course, once back in the UK I had it re-bodied by Canon but it’s a testament to its build quality that it could take such a bang and keep working without issues.

Obviously modern DSLRs are reliant on electricity. In saying that, they’re quite good on batteries, provided you don’t chimp on the rear screen too often. As a recent example, I’ve still something like 40% battery left on the 5D MKIII’s batteries after shooting three feature cars, two workshop visits and all the images for this post. I always bring spares with me though – even one extra battery could be the difference between getting that shot or going home early. I personally recommend sticking with official batteries made by the camera maker.

Seeing as most DSLRs are worth quite a lot of money, it’s in your best interest to ensure they’re kept in the best possible condition. Although most modern cameras have a built-in sensor cleaning system – which usually vibrates the sensor to remove dust – particles of dust can still stubbornly attach themselves to it. For most people, the idea of manually cleaning your sensor is a terrifying prospect. They’re very delicate and using the wrong materials or equipment can render your camera as an expensive paperweight rather quickly.

Most of the Speedhunters team won’t have the time to constantly visit a store or service centre to have their sensor cleaned (especially during an event), so we need to do it ourselves. More often than not, a rocket blower will remove most of the dust inside. For anything more stubborn, I use a VisibleDust Magic Butterfly. It’s simply a brush with extremely soft and fine bristles attached to a small motor. Prior to using it, you switch on the motor which spins the brush and creates a static charge on the bristles. You then simply turn the motor off, and carefully run the brush across your sensor. The statically charged bristles then pull any dirt off the sensor. It’s a genius solution which removes 95% of sensor dust. Don’t try using a regular brush though as you will damage the sensor. The grey object is a loupe with LED lights for inspecting the sensor before and after.

You’ll often get dirt appearing in your viewfinder too. Don’t worry though as it’s only cosmetic and won’t appear on your image as it’s only on the camera’s mirror system. Should you want to clean it, use a blower. Don’t rub or brush it as the autofocus system depends on the mirrors to be perfectly positioned for accurate focusing. If you get overeager with a brush or a swab, you can shift the mirror and end up with lots of out of focus shots in the future. If there’s something stubborn in there, bring it to a professional.
The glass
There’s no point in having the best camera body in the world, unless you have the lenses to make the most of it. I’ve always told anyone who has ever asked, to invest your budget in good lenses over good bodies. You could easily keep and use a good lens indefinitely, whereas you could change bodies every couple of years. If you’re not in the market for expensive lenses, you can still use this part of the guide to give you an idea as to what each focal length or lens’ speciality is.

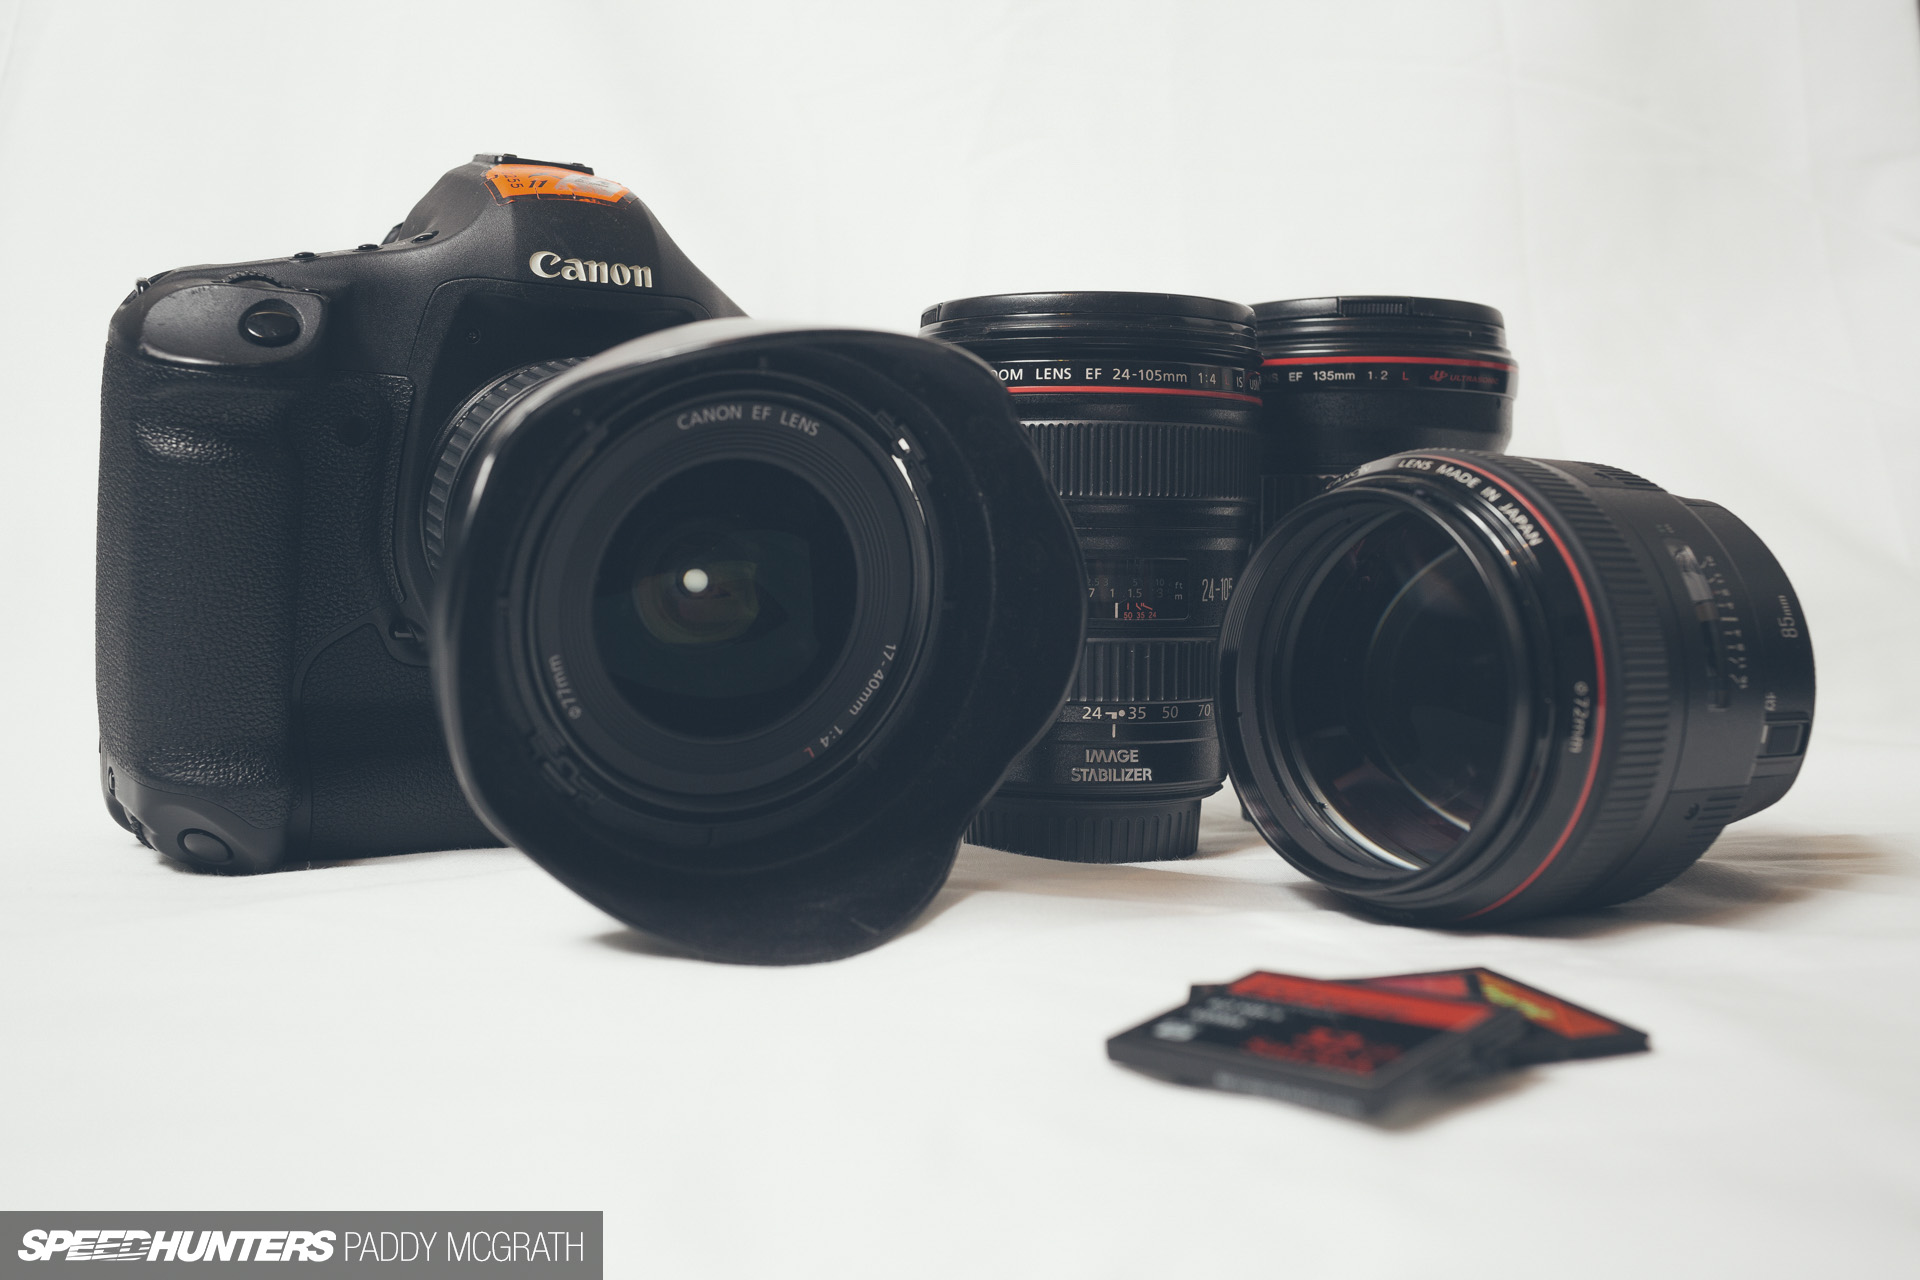
I’m going to go through all of my current lenses, starting with the widest focal length first. The 17-40 f/4 L is Canon’s lightest lens – the last time I checked anyway. For an L lens, which uses Canon’s best quality glass, they can be purchased for reasonable enough money. There’s particularly good value in them secondhand too. Although its maximum aperture opening is only f/4, I didn’t need the benefit of f/2.8 on its more expensive sibling, the 16-35 f/2.8 L.

On a full-frame camera, it’s a wide lens without being fish-eyed or heavily distorted. Because it’s so wide, you don’t really get the benefit of the shallow depth of field that you would with say a 35mm or 50mm+ lens. This photograph was shot wide open at f/4 and you can see that it’s pretty much sharp from front to back.

Whilst I never really consider the 24-105 f/4 L IS as my favourite lens, it is the dark horse of my camera bag. For some reason, I always end up using this lens when shooting feature cars as it’s spectacularly sharp, especially when it’s stopped down to around f/7.1 and beyond.

Its versatility is amazing. It’s just such a reliable piece of glass that has never let me down. I would love to try a 24-70 f/2.8 in its place in the future, but I’m in no rush. It really is one lens to do it all.

This is probably my favourite lens: the 35mm f/1.4 L. Its focal length is just perfect for most uses, it’s discreet, it’s light and it can practically allow you to shoot in complete darkness.

When coupled with a full-frame camera, the results are always impressive. It’s quite a traditional focal length, always seeming to be just what you need in most situations.

Where the 24-105 is the one lens to shoot everything in the paddock, the 70-200 f/2.8 L IS is the motorsport lens of choice for trackside work. So it doesn’t have the reach of its elder prime lens brothers, but it more than makes up for it with its versatile usability.

It’s the first lens that should be on any wannabe motorsport photographer’s shopping list. You will be tempted by cheaper imitations or the lesser f/4 version, but resistance is futile as you’ll just end up buying it at some stage in the future regardless. There’s no other lens that comes close to the 70-200 as the backbone of any serious photographer’s camera bag.

The 85mm f/1.2 L is a complete and utter extravagance of a lens. It’s heavy and slow to focus. And I mean SLOW. Its minimum focusing distance is almost laughable but once it locks on, it will absolutely blow you away.

Even wide open at f/1.2, within the mere millimetres of its depth of field, it’s razor sharp. Anything that falls outside of this area of focus, is lost in the most beautiful bokeh you will ever see. It’s a lens that will both frustrate you and inspire you in equal measure.

At almost half the cost of the 85mm L, is the 135mm f/2 L. I honestly don’t know how Canon offer this lens for what they do, because it should be double the price it is. I’m finding less and less use for it these days, but when I dust it off and use it, I’m usually left speechless and kicking myself for not using it more often.

Like the 85mm, its ability to separate subject and background is unrivalled. Get on your belly with this lens on your camera and you can instantly make anything look good when shooting from low down. It’s also one of those special lenses that just seems to be tack sharp, all the time. I will say that the 70-200, purely for its convenience, often gets picked over the 85mm and 135mm. That’s more laziness than anything though and something I’m aiming to resolve this year.

The longest of my lenses, and the most expensive piece of camera equipment I own is my 300mm f/2.8 L IS. For most of the Irish and UK circuits, it’s the perfect long range prime lens.

Even using a 1.4x converter, it remains superbly sharp and fast to focus. I would say that it’s more versatile than a 400mm. It’s certainly easier to carry about due to being around seven thousand tonnes lighter. Armed with a 70-200 on one body, the 300mm on a second body and a 1.4x in my pocket, I would be confident walking trackside at any circuit in the world that I would have more than enough to deal with what was happening in front of me.
Take a fool’s advice
Like your camera bodies, your lenses need care too. I try to shoot with filters where appropriate (usually circular polarisers) to protect the front element. To remove any dirt that does makes it through, I usually go with the routine of blower, then a light brush, cleaning solution, lens pen and a micro fibre cloth to finish. It’s a simple series of steps that have served me well over the years.

On the subject of filters, I honestly don’t think you can shoot cars without a circular polariser. They can control reflections on any reflective surface and also boost contrast in an image. For what is a simple piece of glass, their impact cannot be underestimated. Avoid cheap ones like the plague however, as they will cause you more grief than anything else with image softness.

Memory cards are another area you should do your research on beforehand. I’ve never had a bad experience with SanDisk so have stuck by them. It’s a good habit to format a card to your camera before you start shooting as this reduces the chances of a card corrupting.

Whilst I rarely shoot with flash these days – I’m still learning and want to improve first – I always keep two Speedlites and a full compliment of PocketWizard radio triggers in my camera bag. Just recently, they got me out of a massive hole, when I got stuck indoors shooting a car due to a storm. It’s one of those things where sometimes it’s better to have and not need, than to need and not have. You can put together a small strobist kit for really cheap nowadays, so it doesn’t need to be a big expense for you.

One of those small tips that nobody ever tells you about, until something belonging to you has been accidentally re-appropriated by someone else, is to label everything! I didn’t have a label-making machine when I had this realisation but I did have a nifty gold marker pen. I’ve initialed and labelled all my lens and body caps along with any batteries to ensure someone else doesn’t take them in error. When you’re in a press room and everyone dumps their gear in the middle of the table, it’s a common occurrence for mix-ups to occur. Don’t be a victim of lens cap loss!

It’ll only be from your own experiences that you will learn what you need to have with you at all times when shooting. Certain things are obvious whilst others aren’t.
I’ve amassed my equipment over quite a long time and by doing so in a relatively logical order. I know it can be intimidating to someone who is just starting out, looking at really expensive equipment and thinking do I really need all that stuff? The answer is both yes and no. If you want to pursue a career in photography, then you will likely be investing large sums of money in your equipment. But you’ll also be using this equipment to make a living, so it works both ways. On the other hand, if you just want to enjoy photography as a hobby, you don’t need anything more than a simple point-and-shoot camera. It really is up to you how serious you want to take things, but remember to keep in mind why you started taking pictures: for the joy it brings.
For next month’s guide, we would like you to send in some photography-related questions that we can try and answer for you. Maybe there’s something that we’ve not covered or an area that you’d like some further clarification on. Either way, post them in the comments section below.
For all previous photography guide posts, you can visit the links at the bottom of this article.
Safe shooting.
Paddy McGrath
Twitter: @PaddyMcGrathSH
Instagram: speedhunters_paddy
paddy@speedhunters.com
The Speedhunters Photography Guide
Photography related stories on Speedhunters