
After finishing the 90-day marathon that is the Scion Tuner Challenge, you might think that the last thing I’d want to do is turn a wrench on another FR-S. The truth is though, I couldn’t wait to get back to working on my own car.
I had collected a few parts for the FR-S before the STC began, but had to put my plans on hold for the impending SEMA Show deadline. I had two areas I wanted to address: maximizing the performance from my Innovate supercharger, and getting the car lower courtesy of Air Lift Performance.

Bill Knose of Delicious Tuning has supported my personal FR-S project since day one. He also tuned our Cosworth-supercharged STC car, and we’ve collaborated on Airaid and HGMS projects in the past too. Bill is one of those guys who I can call a friend even though we’ve only spent a few hours talking in person. Since we’re in different states, our correspondence has been through countless emails and texts, but we finally got to meet up when he visited Arizona for the holidays.

Bill has tuned my car remotely several times, but I always wanted to see if he could get that last little bit of performance out of it in person, on a chassis dyno. Fortunately, my desk at Airaid is about 10-feet away from our in-house Mustang dynamometer.
To further sweeten the deal, Delicious Tuning had just announced the availability of its own Flex Fuel kit, which enables the car to run on nearly any octane, once you have the accompanying tune flashed to the ECU of course.

The real beauty of this setup is the ability to pour E85 in the tank without busting out the test tube to check ethanol content at the pump and hoping you have the correct tune loaded to run the fuel. With this little fuel sensor the system can determine the octane rating and adjust on the fly using variable tables that are built into the tune. Got half a tank of 91? Go ahead, top it off with E85 and enjoy some extra power!

In case you’re not familiar, and thus not sure why I’m so excited about using E85 in my car, it basically has a higher octane rating and burns cooler, enabling a supercharged, high compression engine like mine to make significantly more power. The tuner can run more aggressive timing to take advantage of the properties of E85, and it’s not uncommon to see a 30 to 50 horsepower gain on a car like mine. Plus it smells weird.

I ran to the nearest E85 station to fill the gas cans while Bill kindly installed my Flex Fuel kit. He was more than happy to do the honors of pouring in the first can of corn juice too.

Less than 30 minutes later we were ready to do our first dyno pull.
It’s kind of funny, I walk past the dyno every day, but haven’t strapped my own car down since we developed the Airaid intake for the FR-S.

With a few tweaks the car gained over 40 horsepower! That’s power you can feel, and it’s enough to test the limits of the stock clutch too. I think I’ll be installing a performance unit soon.
Just A Few More Things
Bill mentioned that my specific combination of parts seemed to work really well with a PPE equal-length header. A few phone calls later and mine was on order, even though I hated to lose the boxer rumble of my unequal-length header.

Paul Prentiss of PPE personally installed the header for me, complete with thick flanges, beautiful TIG welds and a nice black ceramic coating.

Since the front O2 connector was being used by the Delicious Tuning Flex Fuel kit anyways, I ordered a plug and removed the O2 sensor altogether.

PPE also fabricated and installed a 2.5-inch front pipe with a high-flow cat for me. This really opened things up, but made it a lot louder too. To finish things off, Paul will be prototyping a custom ‘dual mode’ muffler on my car that’s switchable on the fly between loud and quiet.

In my haste to install my new RAYS Volk Racing ZE40s a few months ago, I used the lug nuts I had on-hand. It always bothered me how they sat out past the spacers, so I forked over a bit of cash when I came across these low profile equivalents.

It also bugged me that the adapters were silver and stuck out like a sore thumb, well to me anyway.

While they were off the car I sprayed a little black paint to make them disappear.

I also took a few minutes to install the new all-aluminum CSF radiator filler neck. Some day all those plastic factory fill necks are going to start breaking and everyone will buy this aluminum one!

Speaking of aluminum parts, you might remember the lightweight crash beam we made for the Scion Tuner Challenge FR-S. I’ve been considering putting this part into production so I had another one made and test fitted it on my car while it was on the lift one day.

The lightweight version weighs 5lbs instead of 15lbs, but obviously is not rated for a crash either. I would never recommend to run it on the street, in fact I won’t even run it on my own car, but it could be useful for a track car.

It also buys tons of room for intercooler piping, and some of the cut-up crash beams I’ve seen are practically useless anyway.
AutoPilot Enabled
Ever since I cut my fenders for the KM4SH kit I’ve wished my car was lower. I maxed out my coilovers and shaved my bump stops, but the car just didn’t sit low enough for me. I was unwilling to accept a harsh-riding suspension so I set the coilovers as low as possible while still maintaining a comfortable ride for a daily driver, but was still bothered by that last bit of fender gap.

I have experienced the new wave of suspension kits coming out of the Air Lift factory, and I’ve walked away impressed. Impressed enough that I wanted to put one in my own daily. Unfortunately the kit arrived just before I started building the STC FR-S, and had to sit waiting for nearly four months until I had time to install it. Speedhunters problems…
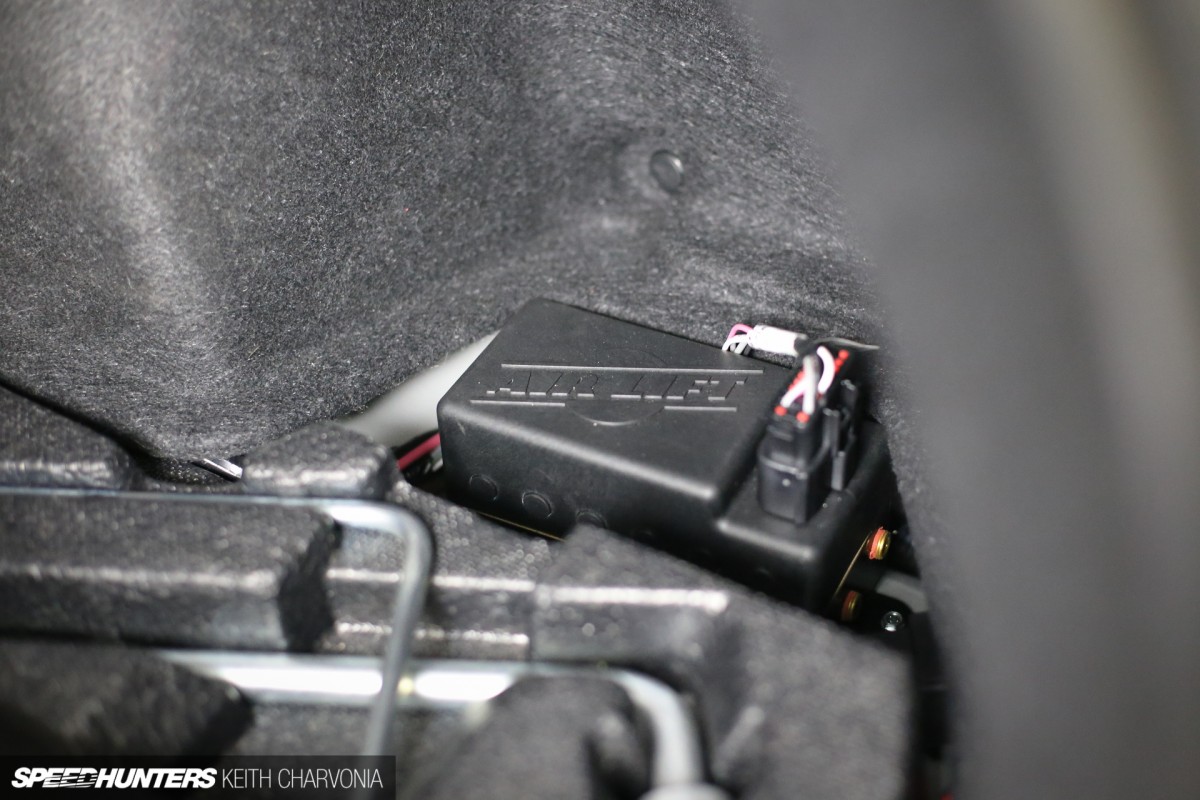
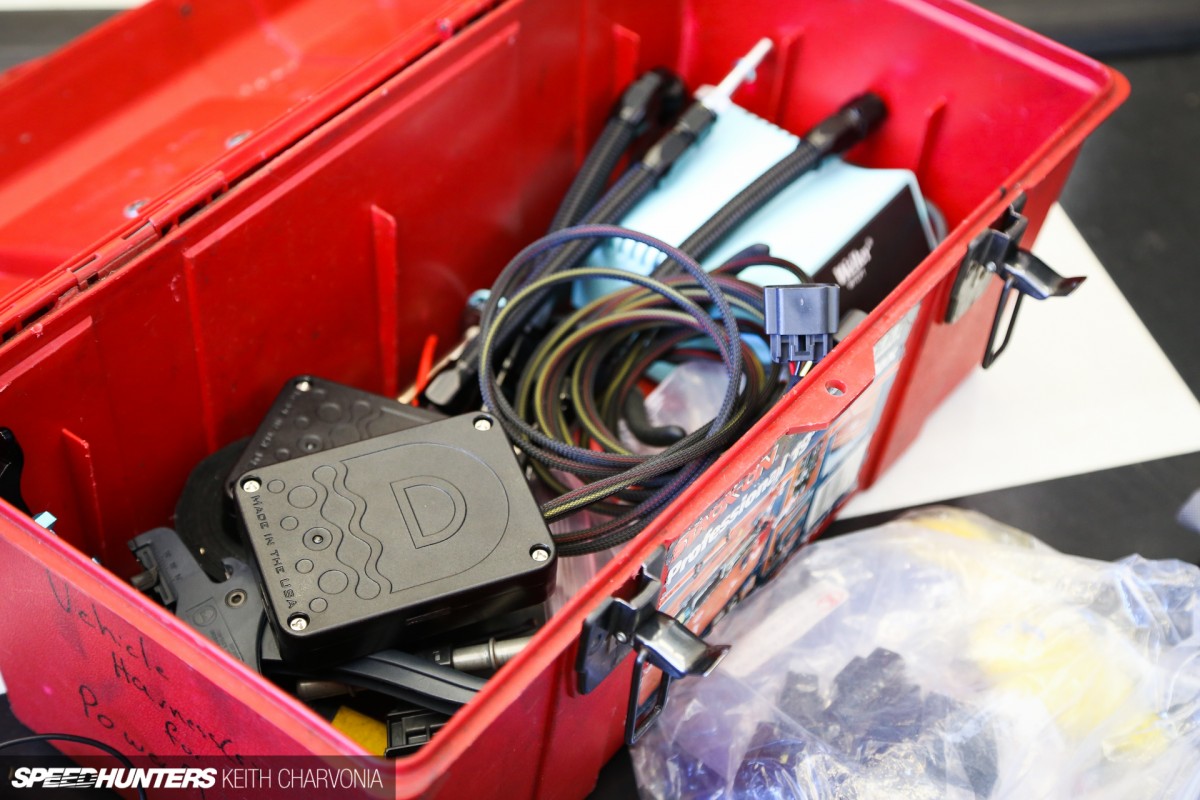
I’ve installed plenty of air suspension kits over the years, and one thing I’ve learned is to install the complete air management system before ripping out the coils. This way you can still drive around if it takes longer than planned (doesn’t it always), and you aren’t forced to rig something up to get to work. I found a nice little home for the Air Lift AutoPilot V2 manifold in the corner of the trunk that was out of the way but still easily accessible.

While a trick, hard-lined installation in the trunk crossed my mind, this little ZN6 is my daily driver and I use whatever utility it offers to the fullest. I couldn’t give up my spare tire or any space in the trunk, so I took off the rear bumper and looked for places to put things. Fortunately there’s a nice spot on either side behind the rear wheels.
I was about to hang the Viair compressor upside down when something inside me said I’d better check the directions. And sure enough, you can’t mount them that way. Come to think of it, the last compressor I hung upside down blew the head right off! I found this mounting bracket online and postponed my installation once again.

I had a small aluminum air tank left over from the Double Down RTR installation and it looked like it might tuck in perfectly behind the rear bumper.

With some creative use of my jigsaw, I made it fit.

The plumbing was simple and clean, with just one line from the compressor and one line to the V2 AutoPilot manifold. Minimal weight, and less potential for air leaks down the road too.
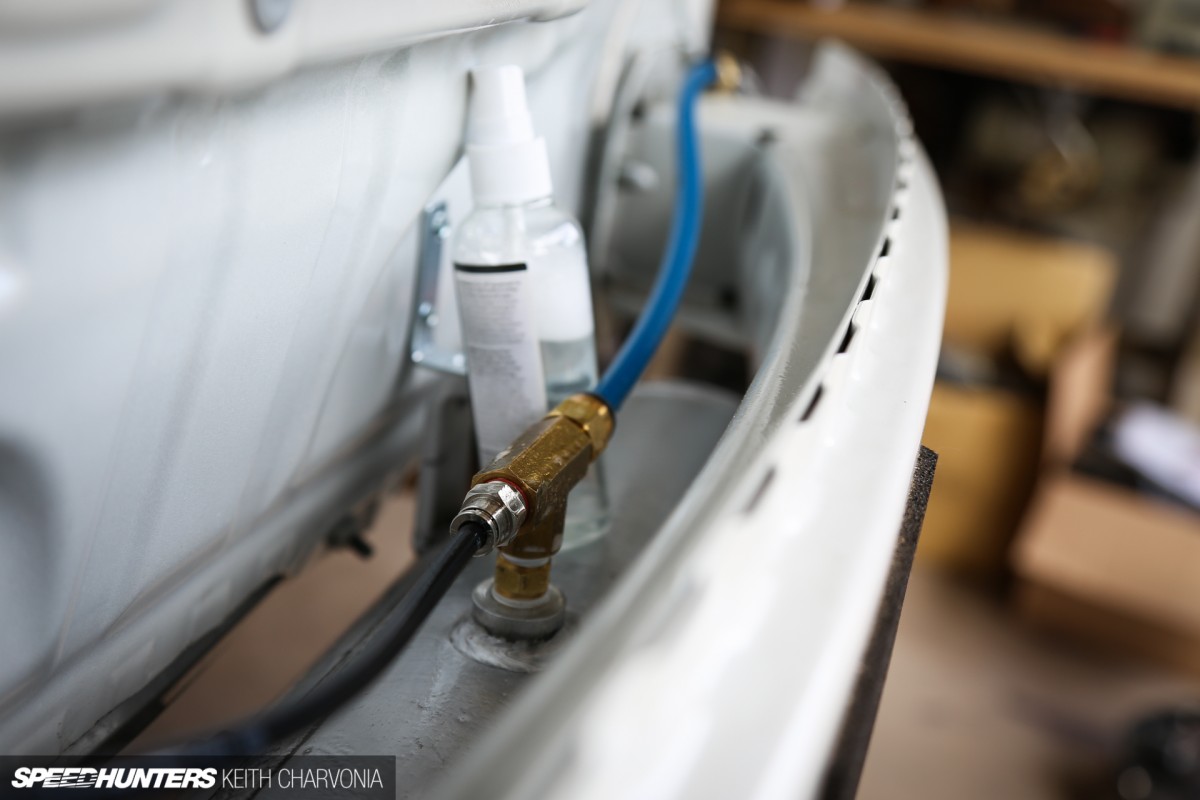
This should be obvious, but I didn’t put it into practice until I installed the Double Down RTR’s suspension with Air Lift engineer Brian Vinson. As I assembled each part of the system, I pressurized it using shop air and a ball valve, then sprayed the connection with soapy water to check for leaks. It’s much easier to fix a leak while the car is still apart.

I also used masking tape to mark the tank’s pressure gauge and checked it the next day for leak-down. None found.

When I went to reattach the rear bumper I realized the stock reverse light was no longer going to fit with the air tank mounted in its new location. Removing the light, I realized the tank would be visible through the hole, but there was also a threaded port that could be seen. I assembled a couple of fittings to an air gauge I had laying around and came up with this.
It’s been a polarizing mod for sure: Some people hate it, but it seemed everyone at Severed In The Southwest loved it. I personally like Easter eggs like this, because someone who knows about air suspension will get it right away. I’ve since ordered some nice black fittings and I have my eye on a nice gauge on eBay too. What do you think?
Drop It With Air Lift
With the air management installed and working flawlessly, I was finally able to move on to the actual suspension installation. Since I was happy with the way the car got down the road as it was, the first thing I did was record my current alignment settings using my SPC Fastrax alignment gauge. It’s always good to have a baseline.

There’s a bit of bench assembly that needs to happen before you bolt in the air struts.

Since the front struts turn with the wheels, Air Lift provides a tough, braided leader hose that must be installed.

Again, the connection was pressurized and leak-tested off the car before installation.

We’ve all heard the merits of modern air suspension, so I won’t go into here. I’ll just point out that this system uses a threaded-body, machined aluminum shock, an adjustable camber plate and has 30 clicks of adjustment. This ain’t your granddad’s helper spring.

The front assemblies bolt right in, plus they weigh less than the stock coilovers.

I’ve long praised the modification friendliness of the ZN6 chassis, and here’s another reason. Pull up the sill plate and you’ll find a channel with extra room in it, perfect for a 1/4-inch air line.

With the line routed to the trunk, I could tether it all down using rubber lined clamps. I made sure to leave a loop near the strut to allow for movement during suspension travel and turning. It’s a good idea to cycle everything and keep a close eye on the air line.

I was on the fence about reinstalling the factory fender liners, but once I saw how they covered and protected the air line connection I was convinced.

I grabbed a chunk of my son’s Play-Doh to check the clearance from the front tire to the chassis, and found that there was room to spare. Must… go… lower!

This is where the threaded shock body comes into play. I unbolted the two camber bolts and spun the lower mount up the threaded body until I found my desired ride height.

Now I understood why Air Lift included adjustable swaybar end links too.

The rear installation was straightforward with just a few nuts and bolts. Setting the car on the ground, I saw that more trimming was going to be needed for the rear fenders.

I started with a rough cut so I could see how much cutting was required.

To me there’s nothing worse than a bagged car or truck that rubs tires. I wanted the fender to be well clear of the tire when the car was set all the way down.

Left and right-handed tin snips did a nice job cutting the metal into the final radius.

I used duct tape to make a template for the sheetmetal filler panel.

Then I cut it out on my Eastwood Throatless Shear. It’s much easiest, faster and straighter than using handheld tin snips.

In order to avoid warping the thin factory sheetmetal, I ground away the paint every couple of inches and placed one tack weld in each spot.

This would be enough to hold the sheetmetal in place and create a strong repair without adding too much heat to the panel and causing damage.

To finish off the job I used 3M Seam Sealer, which is very tough stuff. I always keep a tube on hand for jobs like this.

Some rattlecan truck bed liner sealed it all in, and I went ahead and sprayed the whole wheelwell to match.

At last I could lay the car out and see how low it would go. I finished the installation the morning of the Severed In The Southwest minitruck show, and the car fit right in with the new air suspension, even winning first place in the Scion class.

Another benefit of air suspension is the ability to lift even higher than stock to clear speedbumps and curbs. I won’t be driving the car in either of these stances though.

My goal is actually to have a completely hands-off experience with this suspension. This is entirely possible thanks to a ‘rise on start’ feature that always ensures the car is at your chosen ride height when you turn the key.

The second setting that ensures I never need to adjust anything unless I want to is the ‘preset maintain’ feature. The V2 ECU monitors air pressure and maintains the requested settings at all times. If I wanted to, I could literally hide the controller and throw you the keys and you would never even know the car is on air.

With the installation of the Air Lift suspension system, I now have the ability to infinitely adjust ride height to my liking, fine tune compression and rebound at each corner, and best of all, enjoy a nice smooth ride for my daily driver. There’s no reason to cringe when approaching a pothole, and if I want to slam the car at a show, I can do that too.
Keith Charvonia
Instagram: SpeedhuntersKeith
keith@Speedhunters.com
The Speedhunters Scion Tuner Challenge build
More Scion-related stories on Speedhunters