I can’t lie, progress has been slow on this. But for good reason…
When I had my previous BMW E90 project car, I made the mistake of getting overexcited and just doing things for the sake of it. Some of the modifications I made were ultimately reversed, so there was a lot of money wasted in the process.

This is a mistake that I don’t want to ever make again, so to avoid doing so I’m constantly reminding myself about the purpose of my GTI. That is, it’s my one car to do all things, and that all changes need to either improve or at the very least not detract from it. I’ve spoken previously about the expense and difficulty of running anything remotely interesting in an automotive sense, which still rings true.

That being said, I still want to put my own mark on the car. Being exposed to varying car cultures around the world on such a regular basis – through these very pages – has pushed me towards a slightly different path than most other MkVI GTI owners. I’m sure it’ll become clear over the coming months, but don’t worry, it will be tasteful and retain its purpose…
Sound & Vision
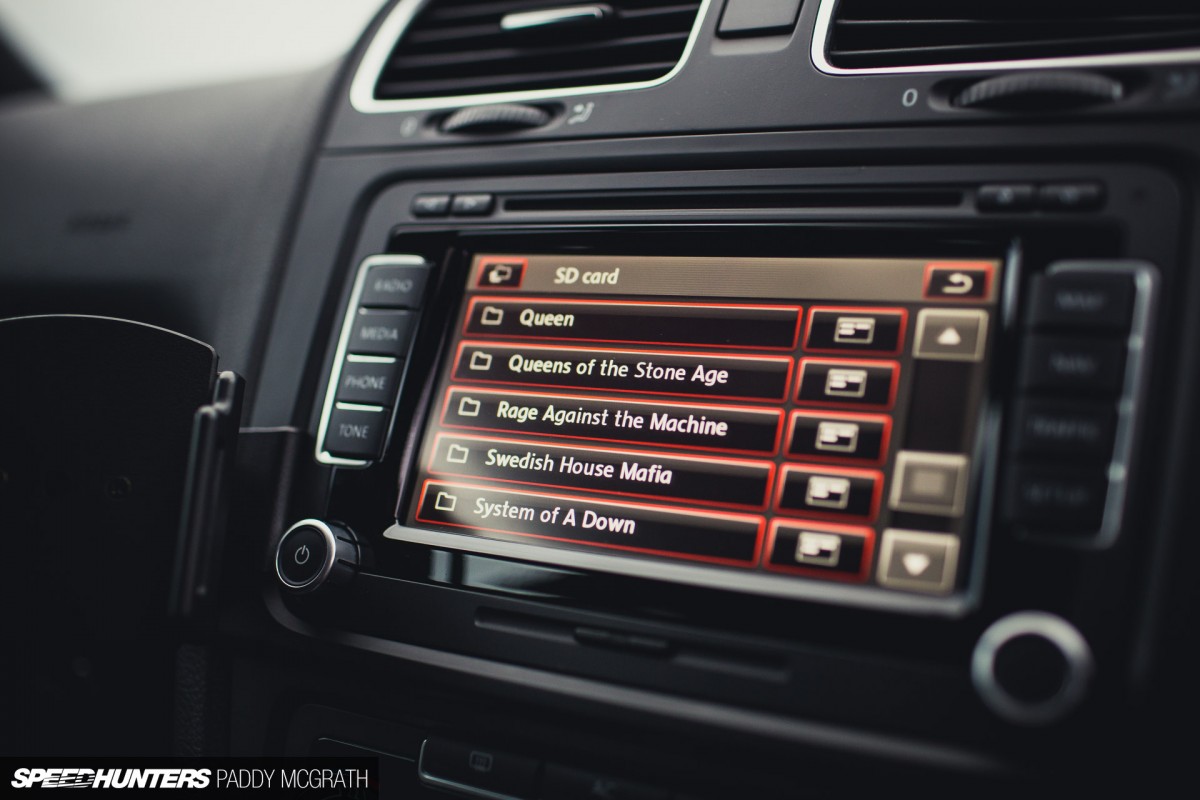
Since the last update, which feels like an eternity ago, I have at least made some progress. With a decent amount of mileage and seat time already put up – with much more to come – I started with some of the simple upgrades to make my life just that little bit easier. I enjoy technology so will always try and incorporate a modern touch where I can. Needless to say, the stock RCD310 head unit was the first on the list to go.

I was considering going for a more expensive aftermarket option, but when a used late-model RNS510 (Volkswagen’s factory radio/navigation unit) came up for sale in great condition and at a good price, I jumped on it. I’ve spoken to some people about the RNS510 and it seems like a bit of a ‘Marmite’ unit. Some love it, some hate it. With this being a recent revision, it features the LED screen and is capable of handling larger SD cards.
It’s also a hilariously easy swap, which took probably the guts of 15 minutes in my driveway with minimal tools.

Once installed, there was no drama once the ignition was switched on. Everything booted nice and quick and the GPS locked on pretty much instantaneously.

Because it’s a factory option, it seamlessly integrates with the rest of the car. A quick bit of coding was required (thanks, Rob) to allow the car and radio talk to each other, but it was literally the case of just ticking a single box within VCDS. There’ll be a running theme throughout this project, but you’ll soon discover that I like making sure that things work properly. Cars are meant to be enjoyed, not endured.
After living with the RNS510 for a couple of weeks, I’m actually pleasantly surprised by its performance. It does exactly what I need of it plus a few bits more. It also leaves the option of future OE retrofits possible, such as the reversing camera which hides behind the rear badge or a Media-In port.

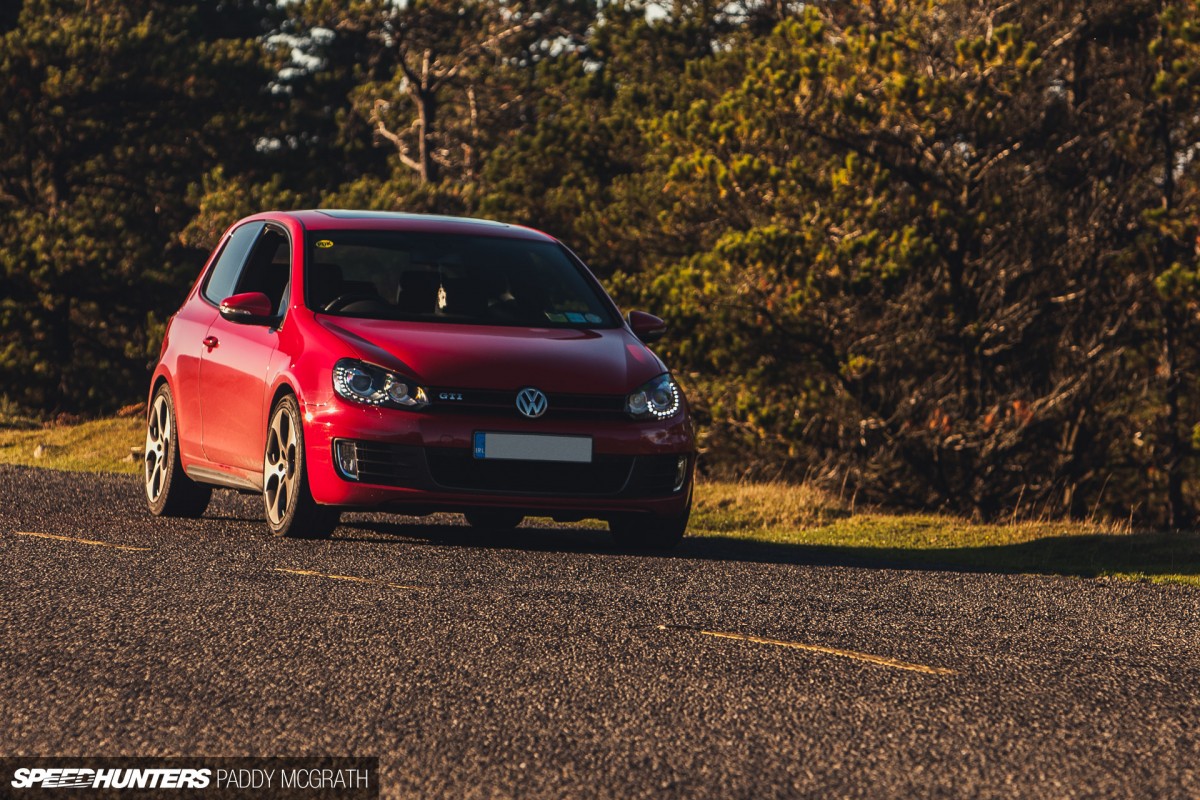
The next bit of business was to address the headlight situation. I can’t really say that the stock halogen lights were poor, but they weren’t brilliant either. I also think that halogen lights can age a car quite significantly, so had been on the look-out for options since purchase (xenons were on my original wish list when shopping for the GTI, but proved an almost impossible option to find).

I could have gone the full factory retrofit route, but it would have involved considerable expense and work. On my searches, I found a company in the UK that build its own replica headlights specifically for halogen-equipped MkVIs. These replicas are impossible to tell apart from the OE xenon lights and even feature the same LED daytime running lamps (DRLs). The added bonus is that because they are designed for halogen cars, they’re a perfect plug-and-play installation with no extra wiring required.

I had to sneak in a a shot of Amanda’s ex-T50 Japan AE86 which is mid-restoration too. I’ll bring you a closer look at the car and a little bit about the history when it’s finished.

Back to the Golf headlight situation… The replacement units’ fitment once installed was perfect too, and they only needed the slightest of adjustment to ensure that they sat the same on both sides, with the gaps to the body identical to the factory lights.

All plugged in, everything came to life. Not only do these units feature the same 15-LED DRLs, but they also have 6000K HID bulbs and ballasts installed, along with a fully functioning bi-xenon setup. I’d prefer a slightly warmer bulb, but they match the DRLs perfectly.

The beam cut-off and pattern, which is the most important aspect of any light, is absolutely superb. I was really surprised at this because completely exceeded my expectations. My E90 had custom-built lights with high quality aftermarket projectors which wouldn’t have matched these for sharpness.

They’re comfortably sharper than the OEM lights too. There was a bit of trial and error with the coding aspect of the lights in order to get them working in harmony, but we (again, thanks, Rob) eventually got them to work the same as they should from factory, including the DRLs and automatic functions.

And not a single warning light on the dashboard. You have no idea how happy that makes me.
Surprise
If you’ve made it this far, then I applaud your commitment to this post. Don’t get me wrong, I love these small changes but can appreciate that they don’t make for the most exciting of reading unless you’re truly hardcore. The remainder of this post will definitely make up for it though…
Even though you might not see much happening, I’ve been pretty busy behind the scenes putting my plans for Project GTI into action. One of the first things I arranged when I bought the car was to dump the original wheels. As it turned out, they weren’t even OE wheels but replicas, which I was less than pleased about. The genuine VW Detroit or Monza style wheel comes in at 18×7.5-inch with an ET somewhere in the high-40s or low-50s. Mine were 18×8-inch ET35. Whilst they were more aggressive, I had no idea where they came from or how strong or reliable they would be. They would not stay on the car a minute longer than required.

Regardless of RAYS being a Speedhunters partner, I knew I wanted to run the Golf on Japanese wheels from the get-go. I had considered sourcing a set of used Enkei RPF1s and having them re-drilled (or running adapters) for Golf fitment. I looked at Work Meisters too, but didn’t want the dished look.

TE37s, despite their legendary levels of awesome, were too obvious of a choice and I wanted something different. It also helped that the wheel I finally decided upon came in the correct stud pattern, and I know that I’ve yet to see a set in person in Europe either.

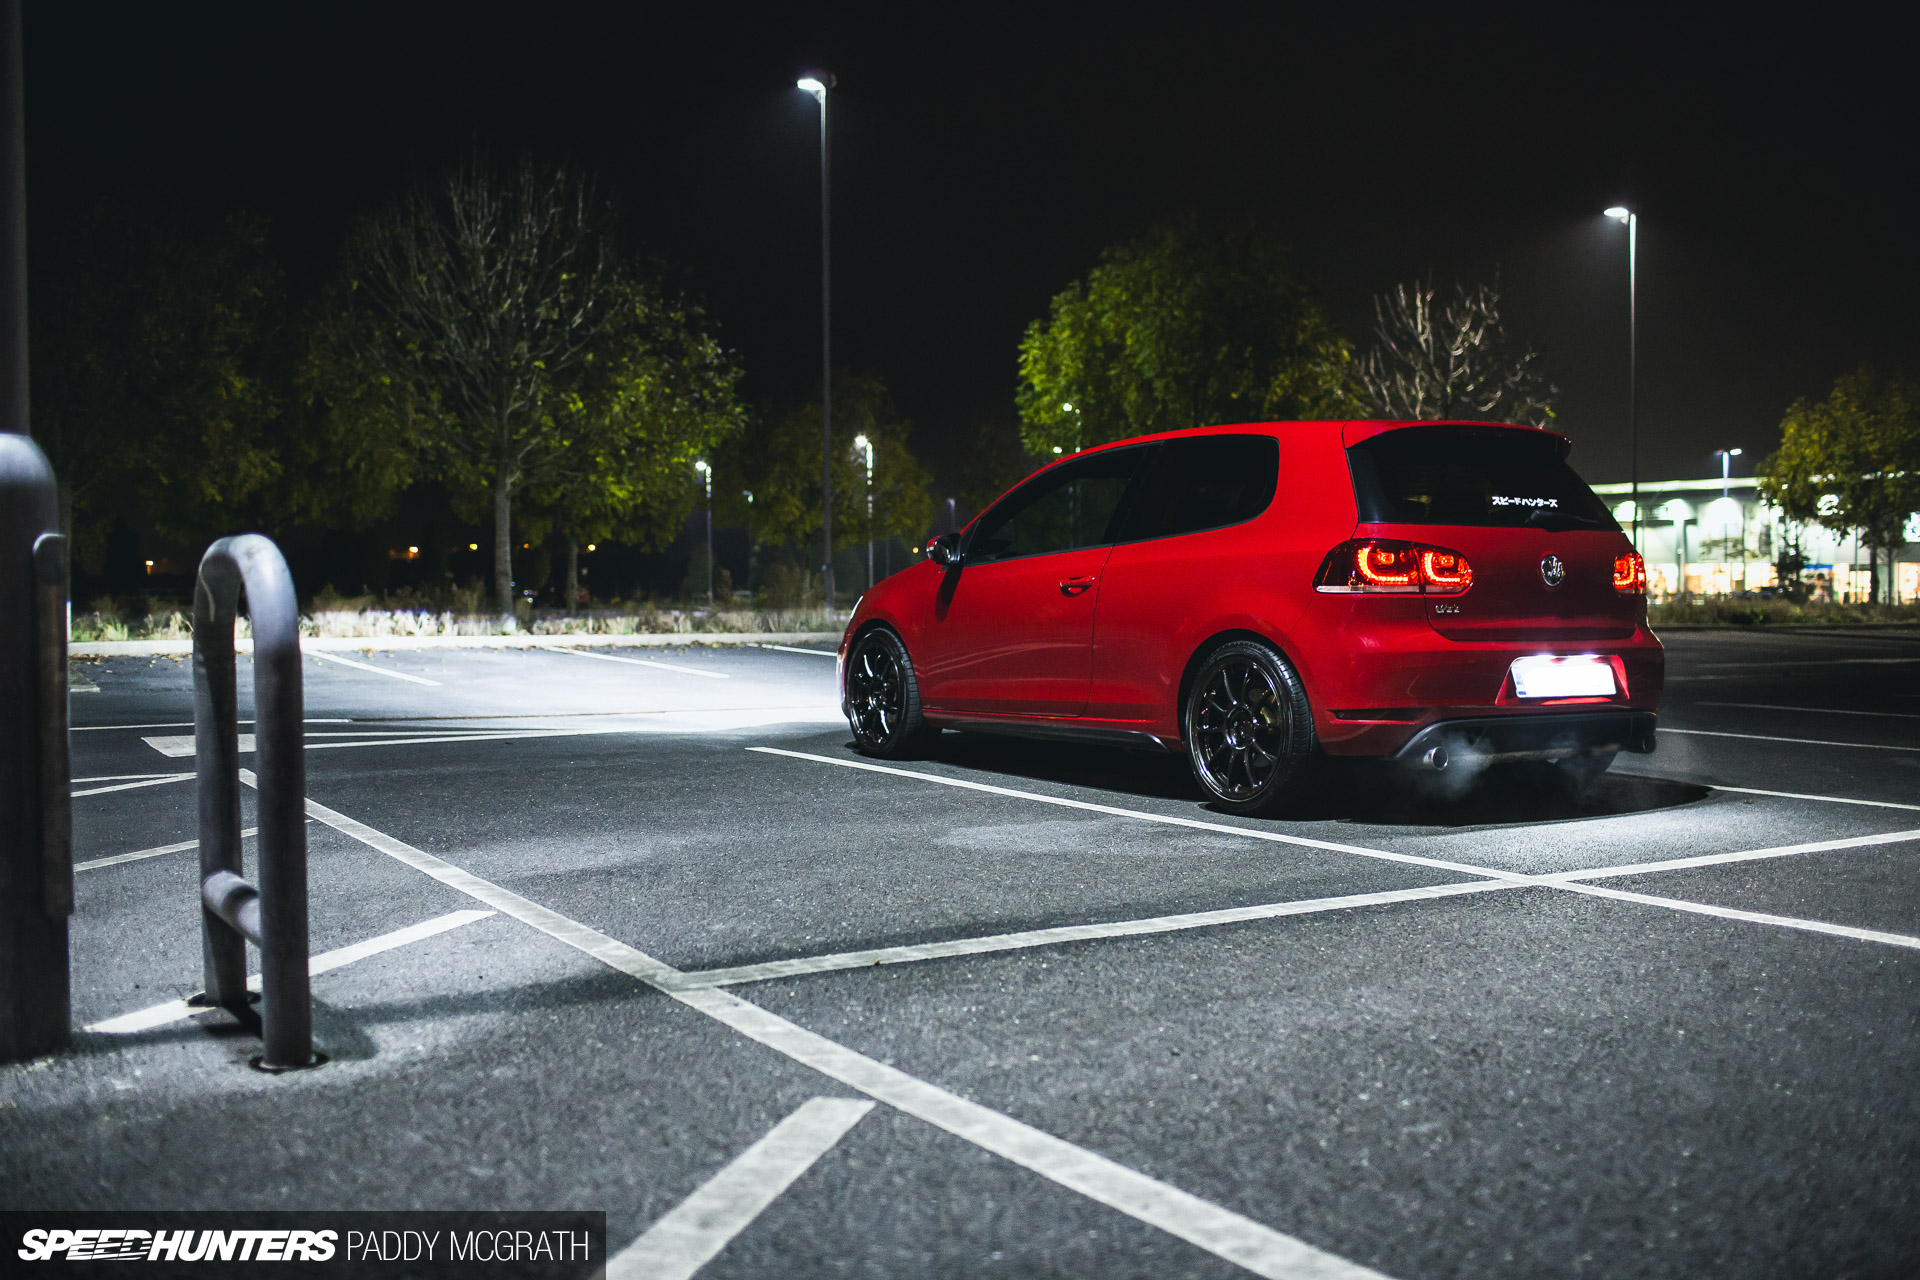
Say hello to my brand new 18×8.5-inch Volk Racing ZE40s in Diamond Dark Gunmetal; ET44 offset for those of you who are curious.

I can’t tell you how long I spent just looking at them once they arrived, around a month earlier than I expected too. I’ve been through a lot of wheels over the years, but these are my first forged wheels. They’re lighter and stronger than anything I’ve owned before.

The weight saving over the ‘stock’ wheels is something else too. Genuine Detroits weigh in at around 13.1kg (28.8lb) apiece, so I can only imagine my replicas were at best the same weight despite being a half-inch wider. The ZE40s? 8.1kg (17.8lb) each. That’s a saving of at least 5kg (11.0kg) of unsprung weight at each corner of the car, which is nuts.

The difference in driving the car is immediately noticeable. Not an over-the-top difference, but definitely noticeable.

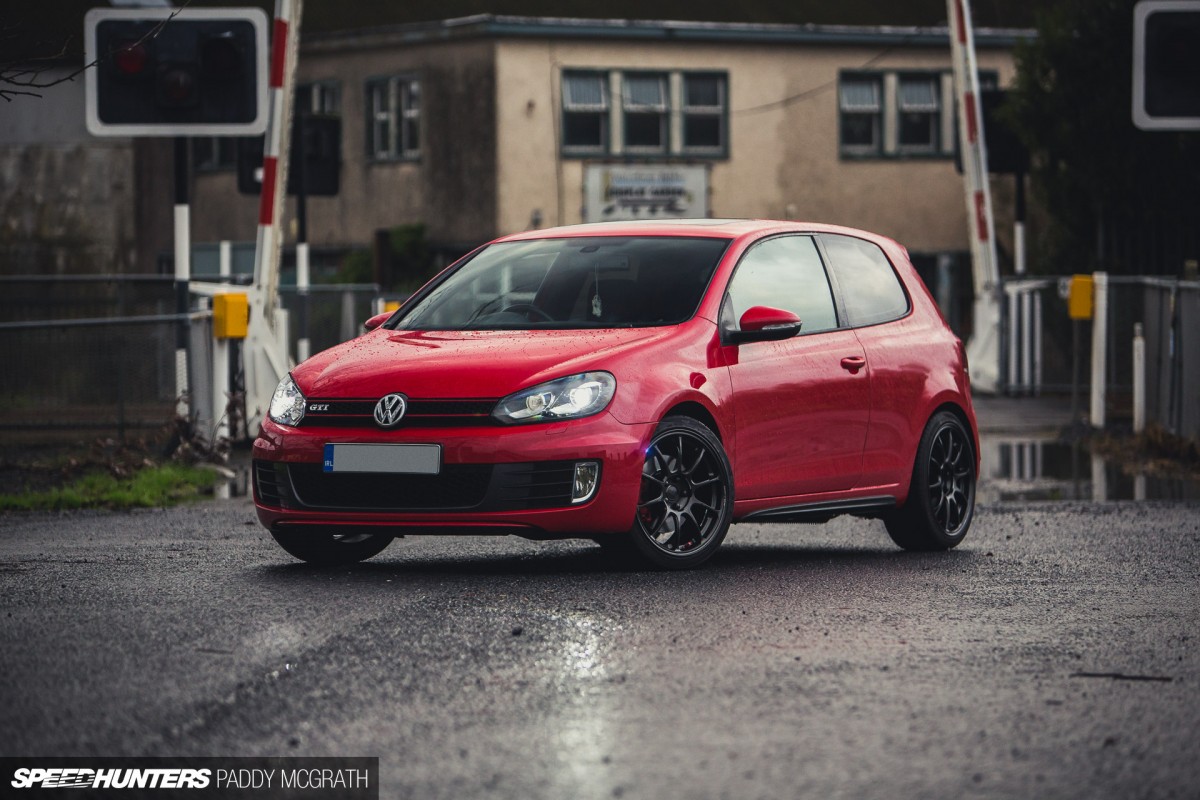
With the tyres swapped onto the new wheels – I’ve retained the 225/40R18 Kumho KU39s for now – and the wheels re-fitted to the car, the tired-looking brake calipers and hubs stood out like sore thumbs.

It doesn’t look too bad here, but the red calipers – in particular the fronts – had turned a shade of pink from the heat generated by braking.
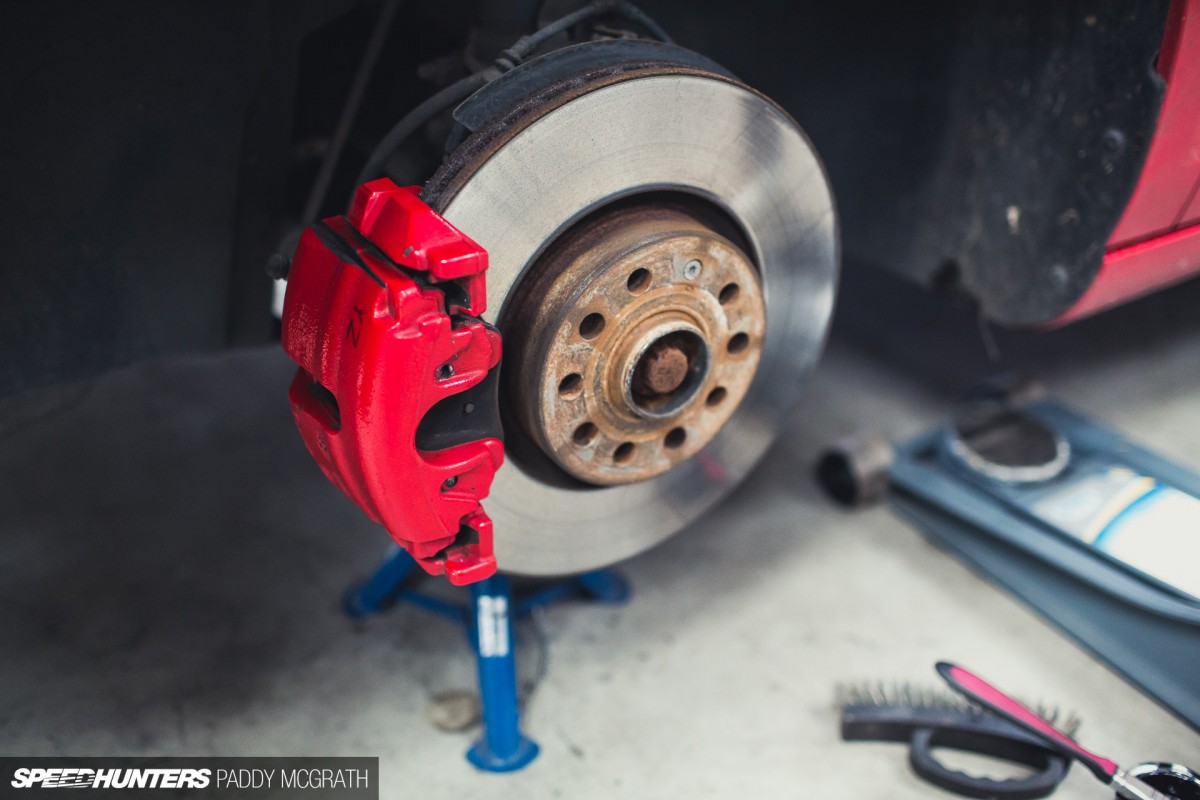
I cleaned the surface rust from the centres of the discs with a wire brush and then painted them with a direct-to-rust black paint. The calipers came up pretty good with just a quick polish using some compound that I had lying around. They’re far from perfect, but a huge improvement when you look through the wheel spokes. I’ll be upgrading the brakes in the near future, so this will at least tide me over until then.
I also used the opportunity to seal the wheels properly whilst they were off the car, something I should have done beforehand but forgot in my excitement.

The finished result.

For a car sitting at stock ride height, the wheels are a perfect fitment. Not too proud or too shy, but just right.

I’ve actually become quite fond of the stock height lately. I longer grind my teeth or clench my butthole when approaching obstacles or rough road surfaces, which is nice. Although, I do park around 700 metres further away from the kerb when parallel parking. You know, just to be safe.

The last few weeks have seen the car develop probably a little bit faster than I had expected, much to the horror of my bank account. So far, at least, every change has been pre-planned with probably more thought put in than I’d like to admit. For the first time though, I’m starting to feel like this is my car now. I’m really starting to bond with it too, something I was worried wouldn’t happen.
I now have a very clear idea in my head for how I want the car to look when finished and an approximate idea of the required level of performance too. Hopefully, by the time we next talk about Project GTI (it really needs a catchier name, I know) I’ll have had the opportunity to get some track time in and hopefully have freed up a few extra horsepower too.
Thanks for reading.
Paddy McGrath
Instagram: pmcgphotos
Twitter: pmcgphotos
paddy@speedhunters.com
Project Car stories on Speedhunters
Cutting Room Floor