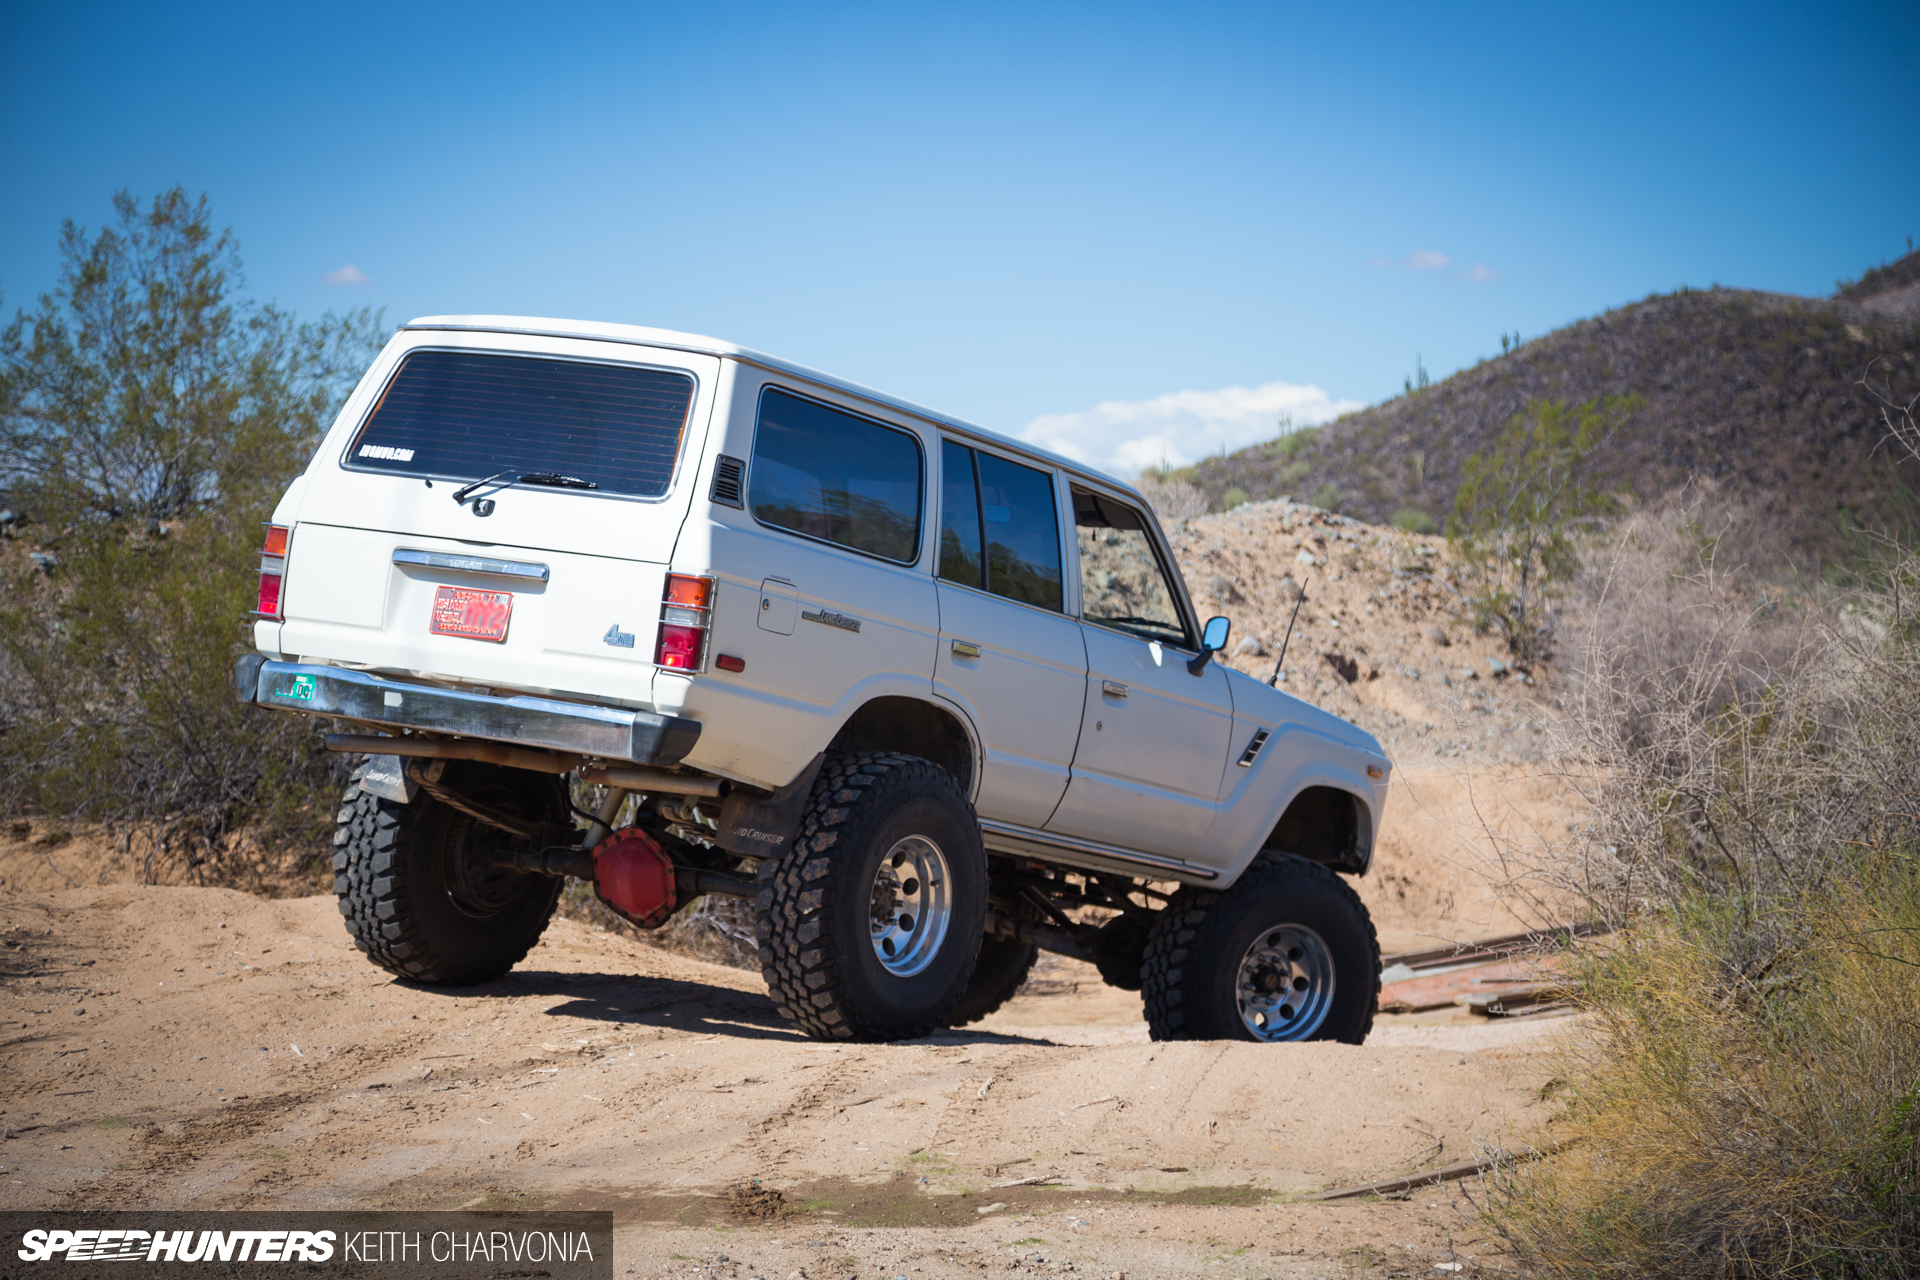
In the last installment of my Project Trailhunter FJ60 build I addressed removal of the body-lift and installed a set of Flowtech headers to make everything play nice. Since then I’ve been focused on dealing with all the little broken and worn out parts on the truck in an effort to bring it back to 100 per cent, or at least as close as I can get…

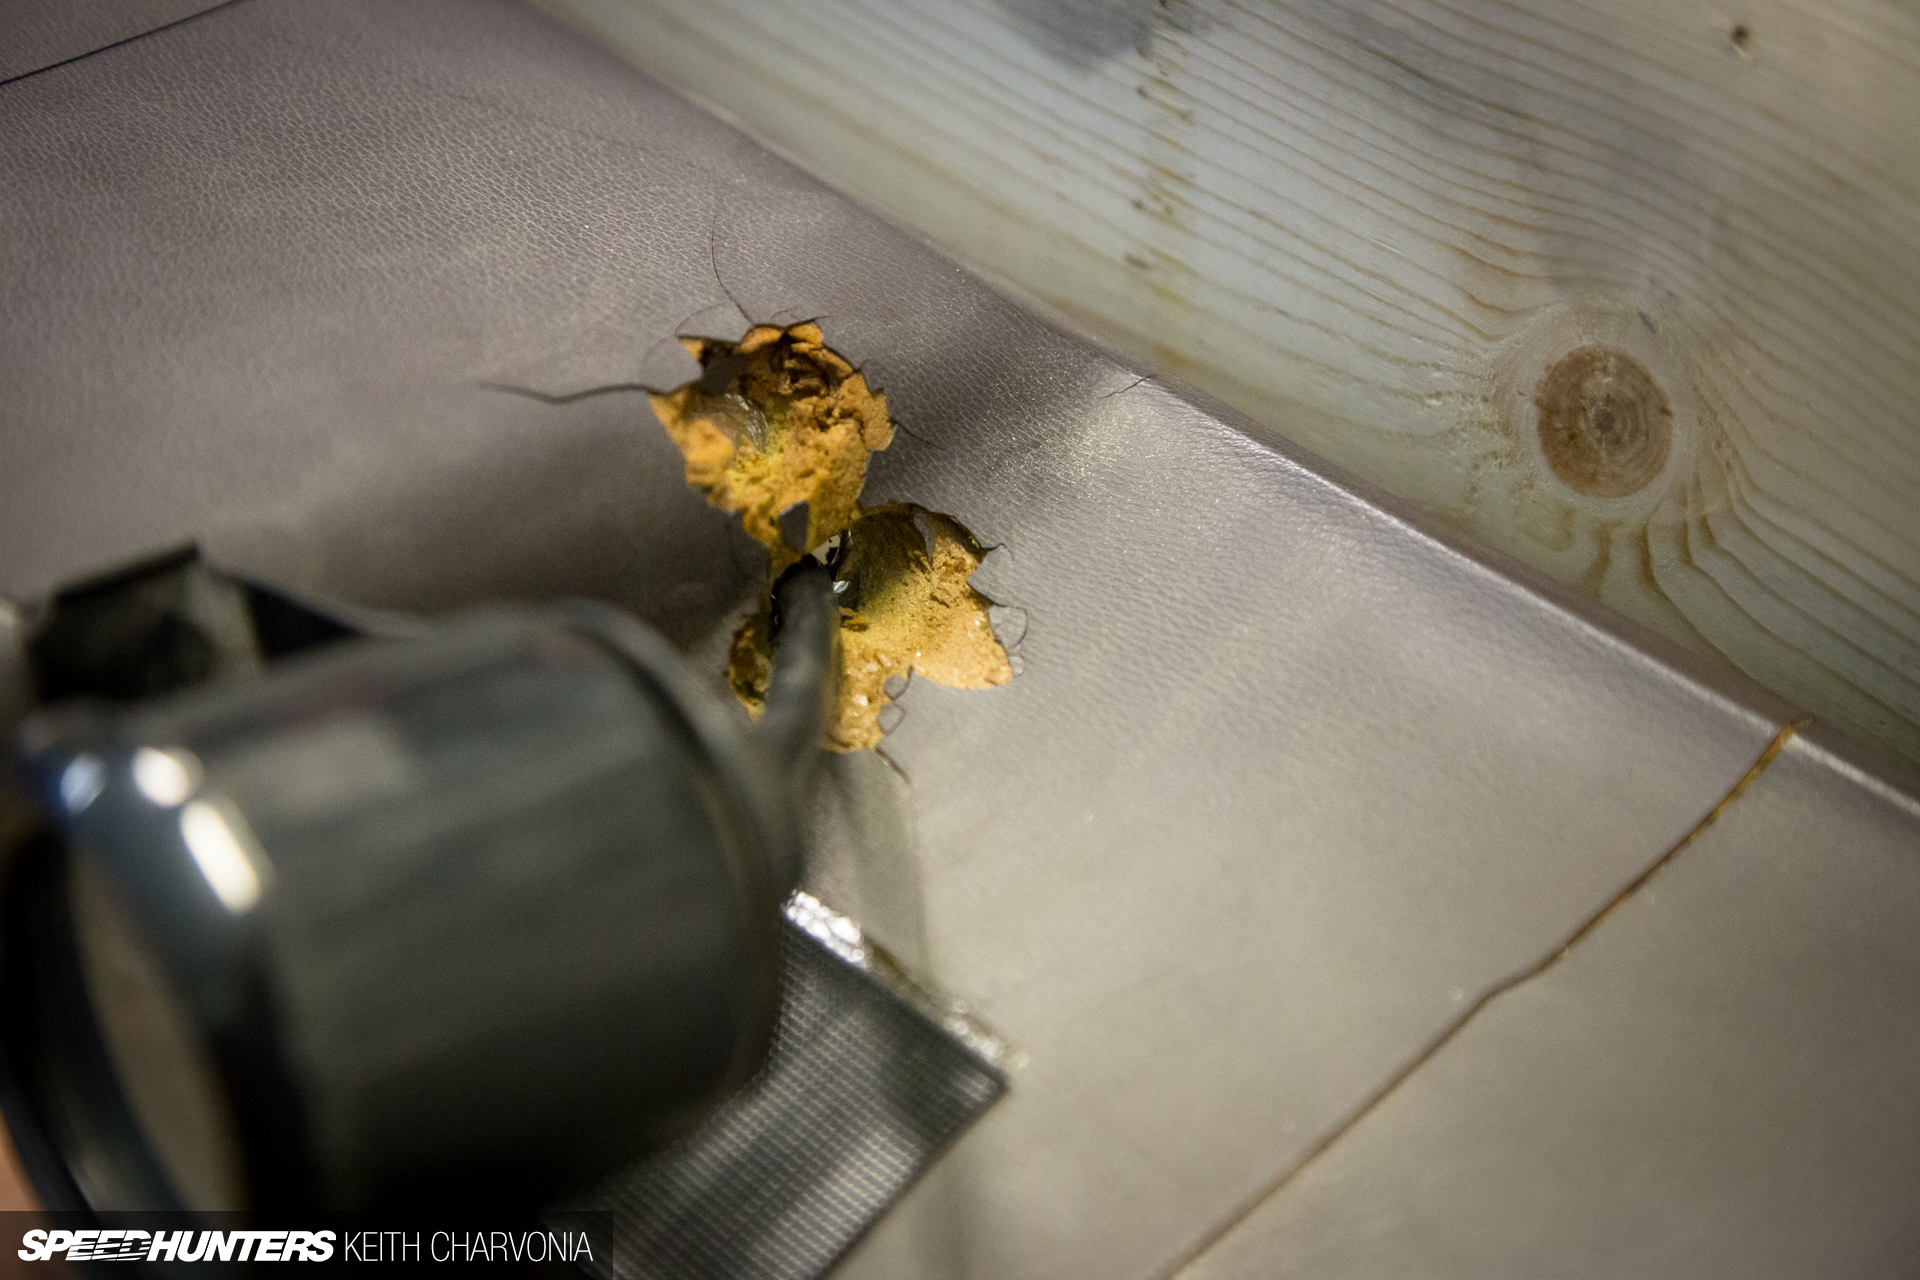
The FJ has a 1-ton Chevy drivetrain in it, including a big block and an NP205 transfer case. The previous owner thought this green skull shifter on the t-case was pretty sweet, but I had other things in mind. The rubber ‘cover’ for the shifter hole was letting in hot air, but the upside was I could easily see when I was in four-wheel drive by peeking down and watching the front driveshaft spin.
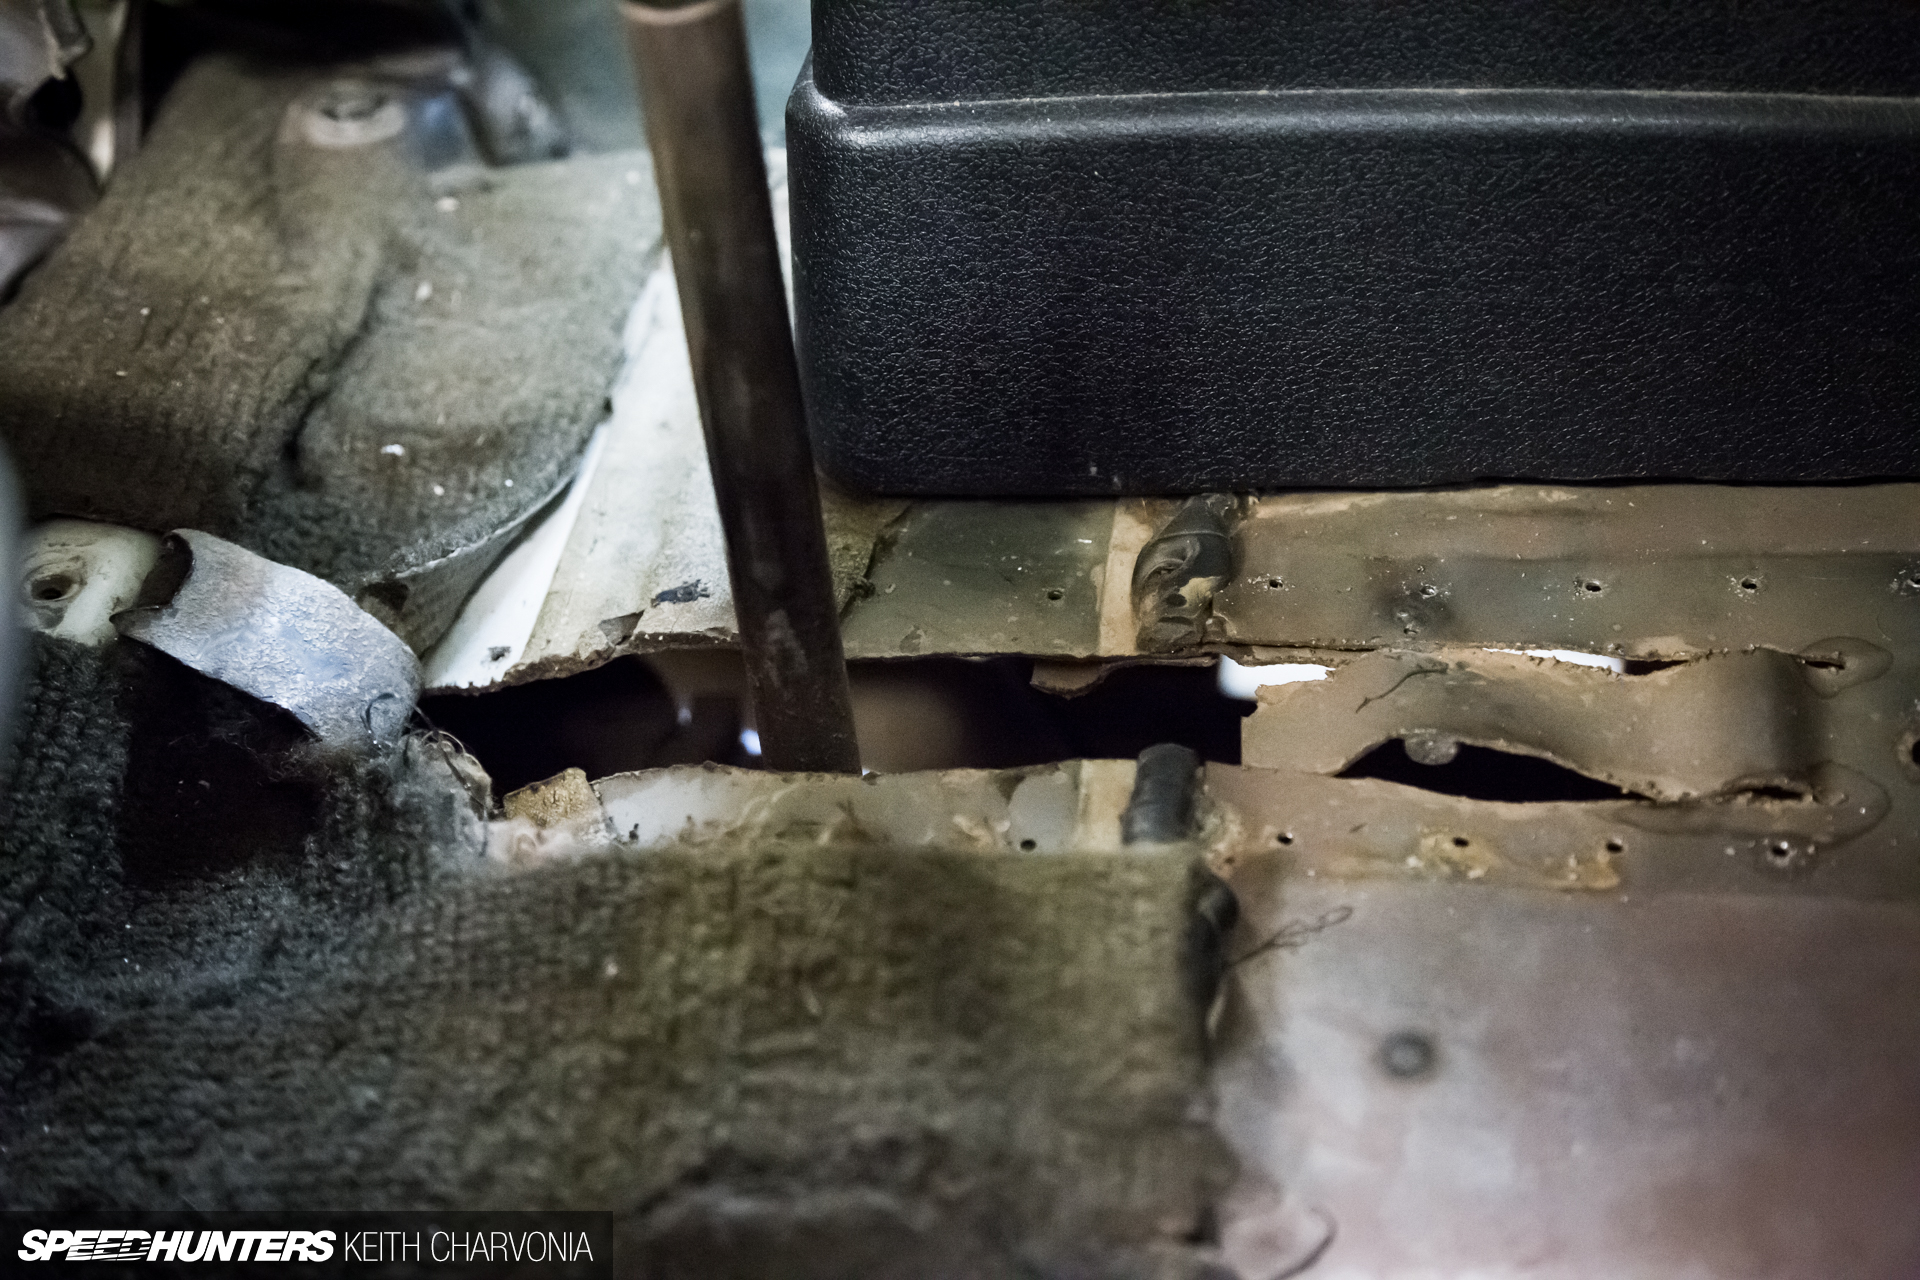
Removing the homemade cover revealed the usual hackery one would expect.
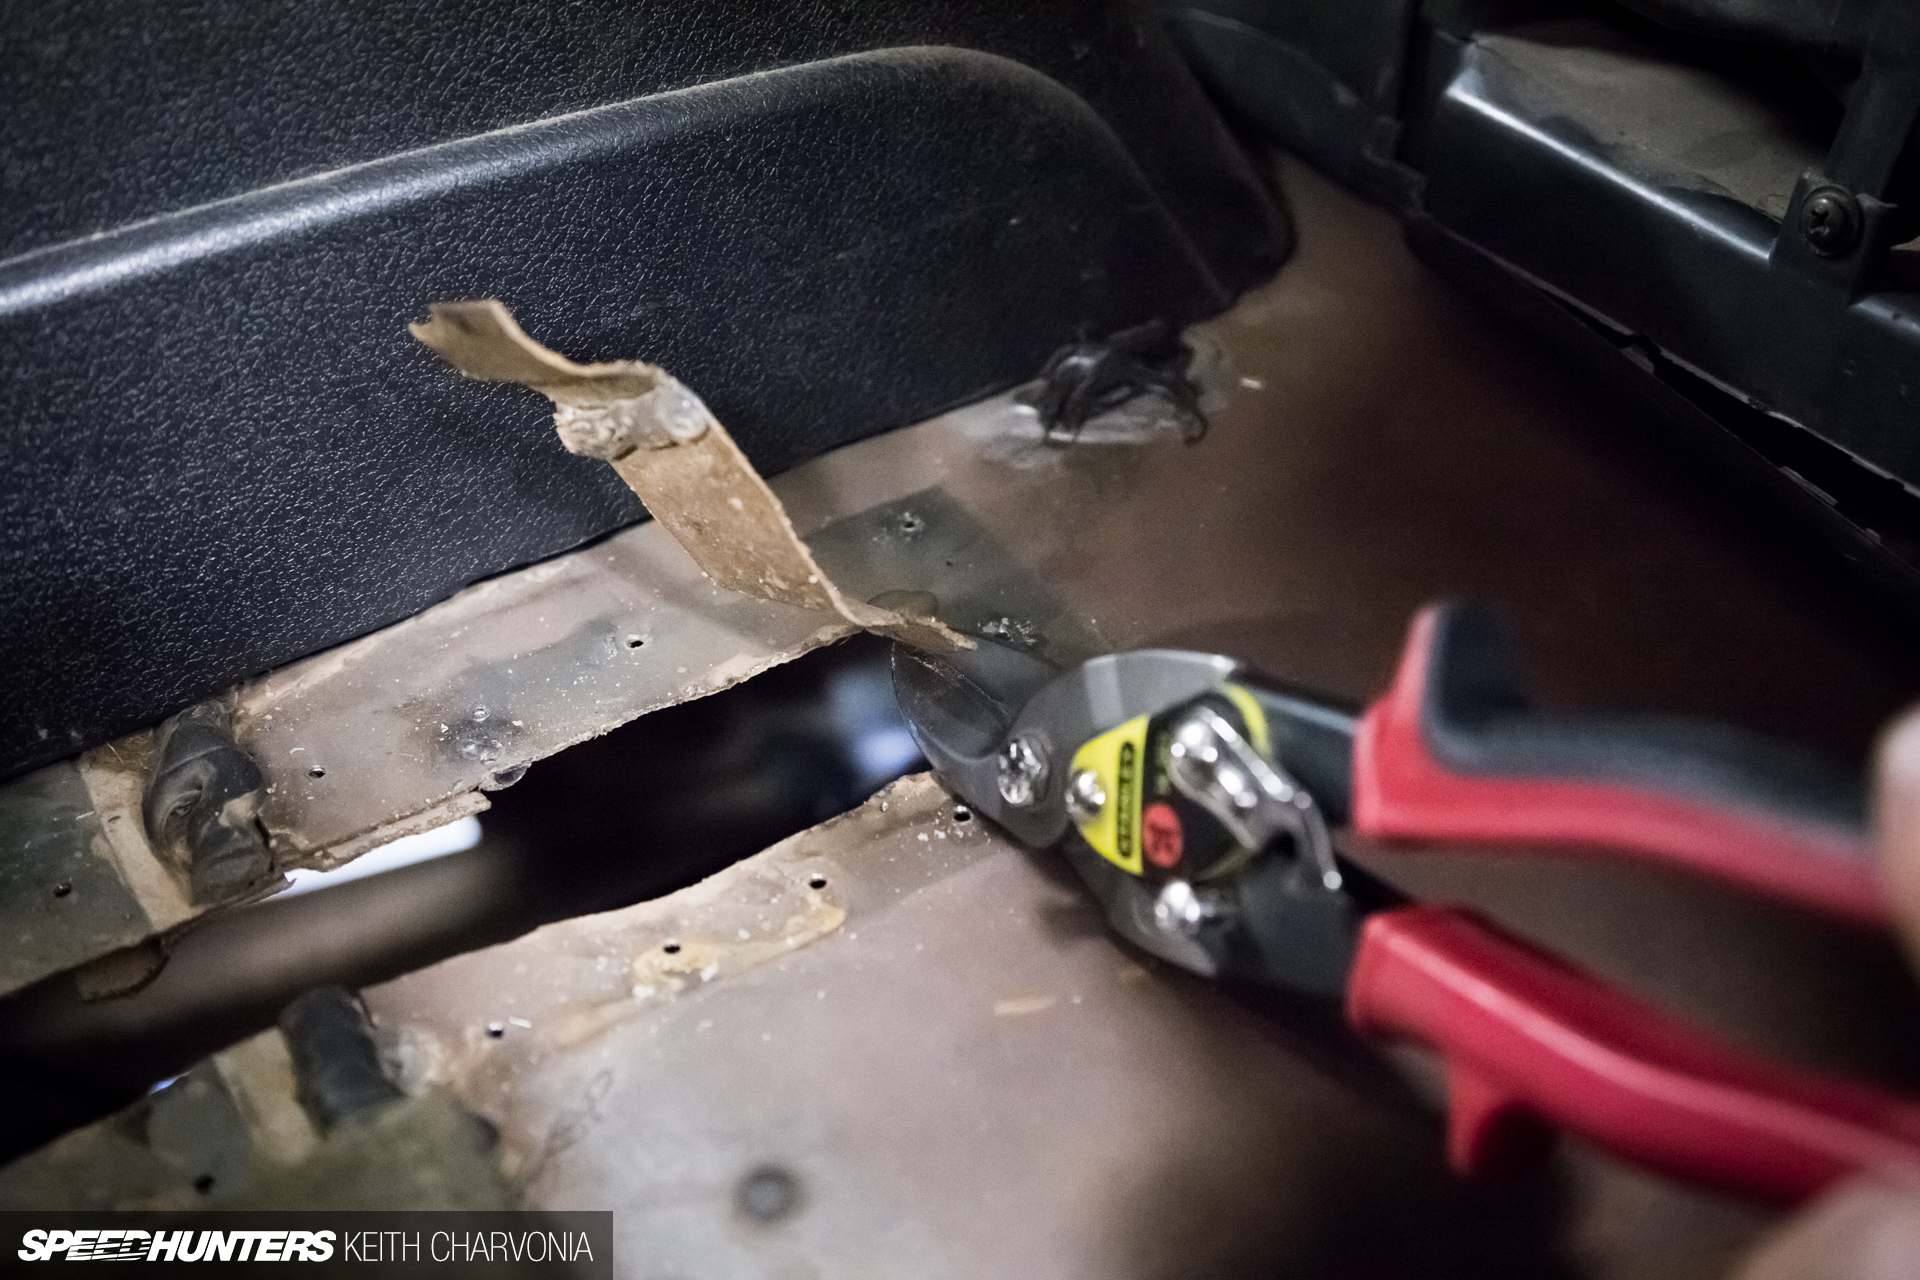
I trimmed away the mangled metal.
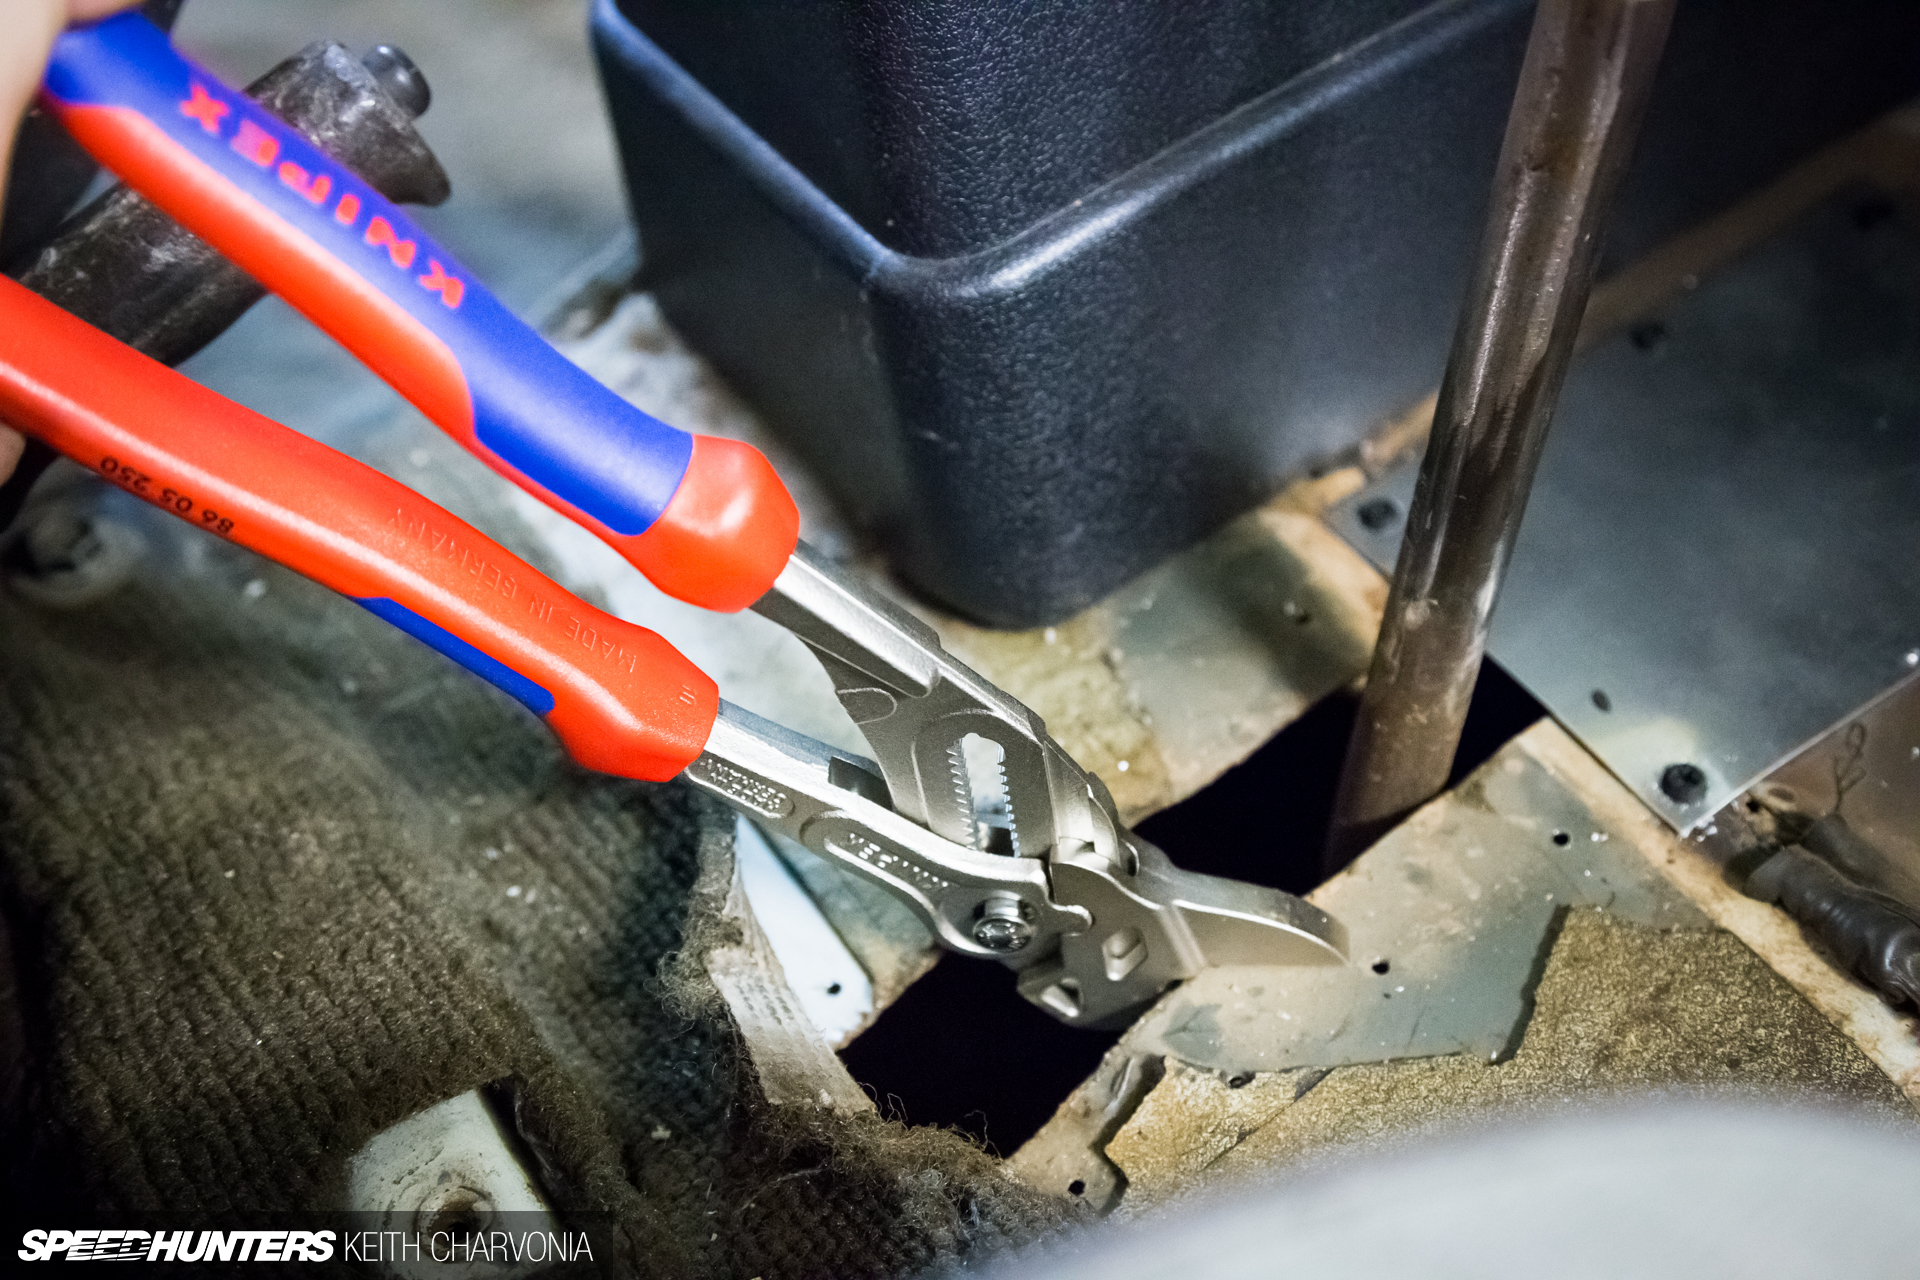
Then I straightened it with my Knipex adjustable crescent wrench plier thingies. I’ve used these to bend sheetmetal plenty, but strangely never to remove a fastener.
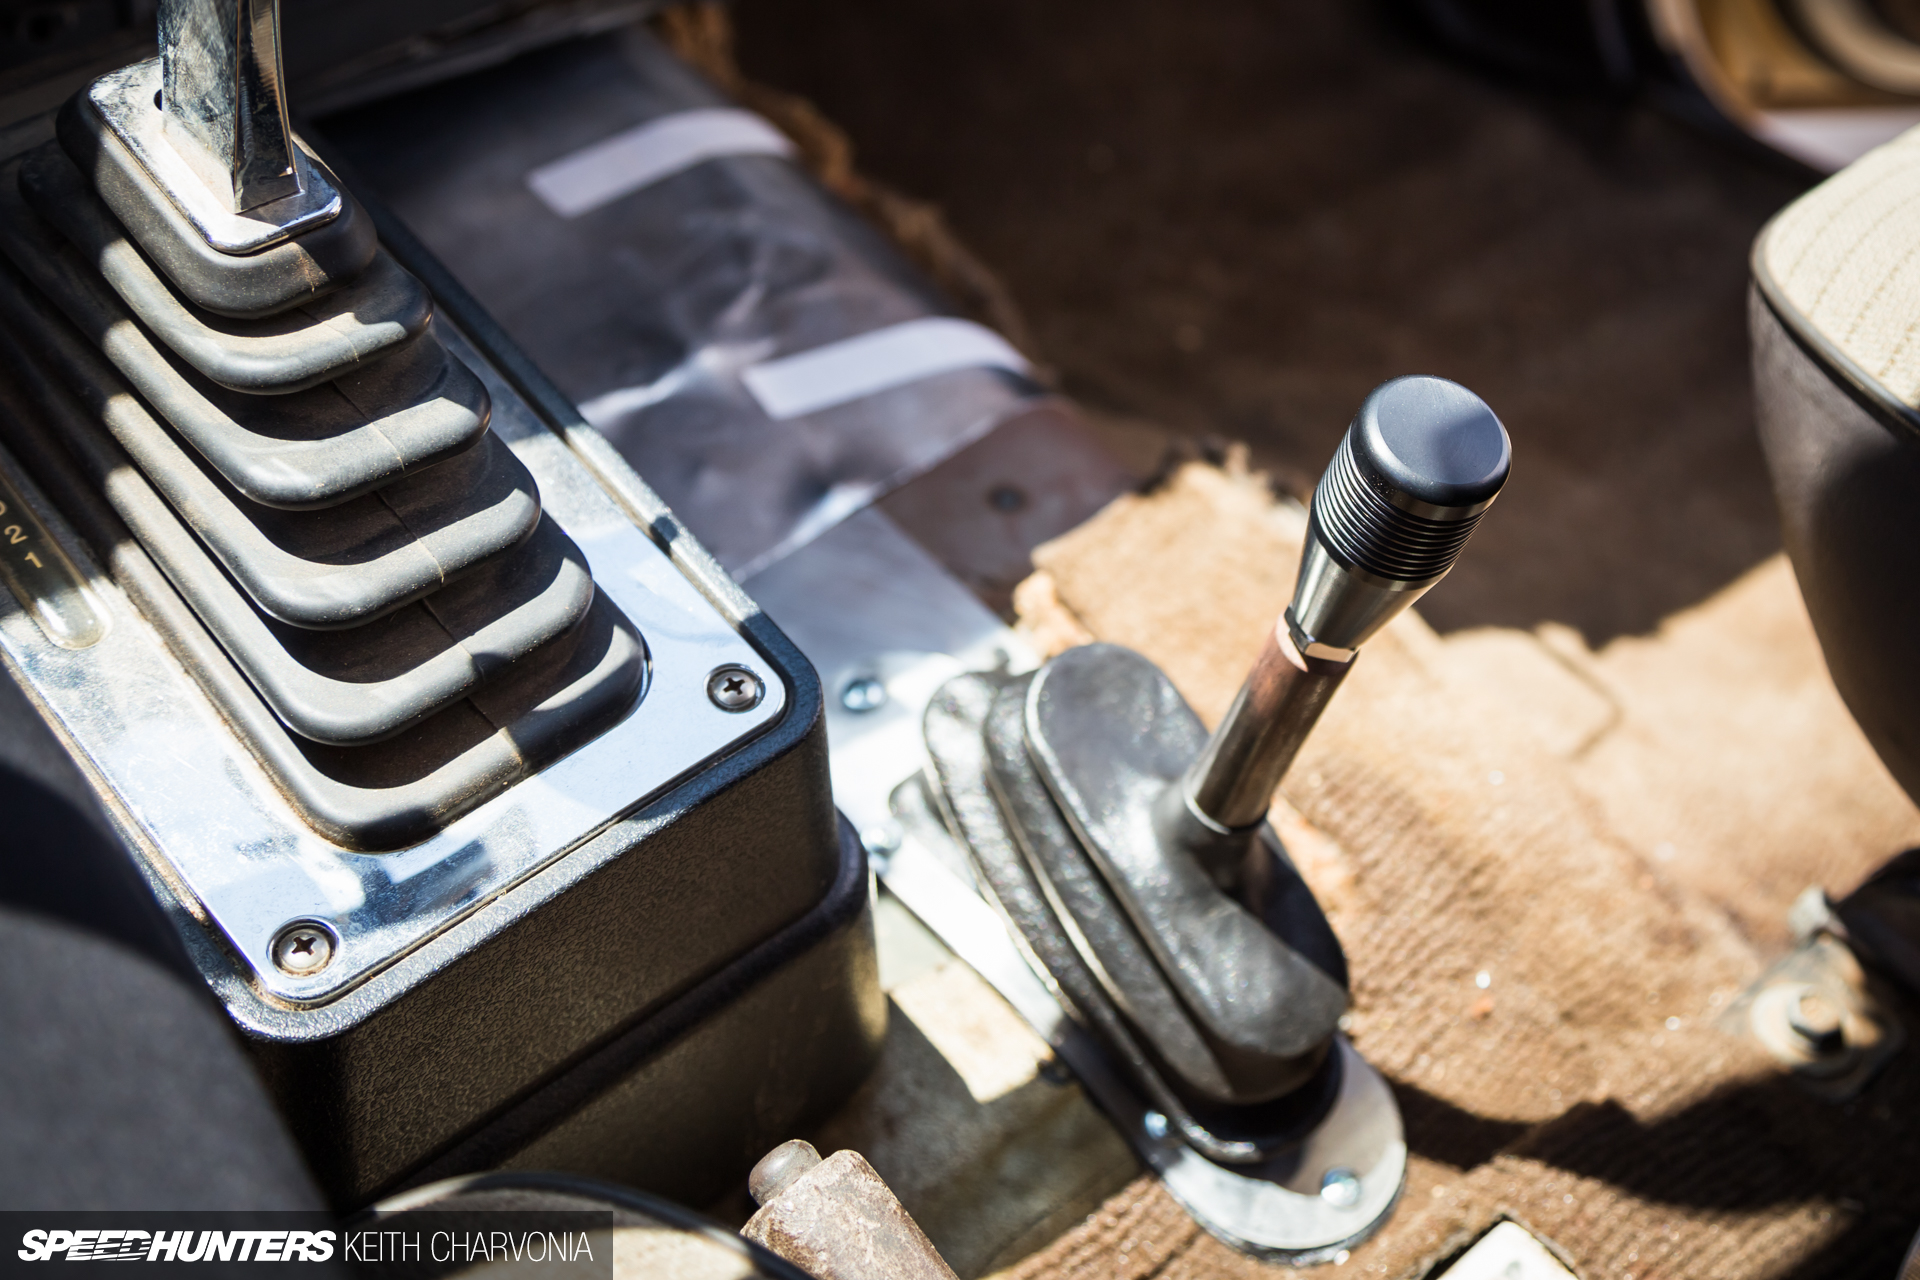
I tracked down a shifter boot and machined aluminum knob from JB Fabrication. The good news is, when I go to a twin stick I can buy a second boot and shift knob to match.
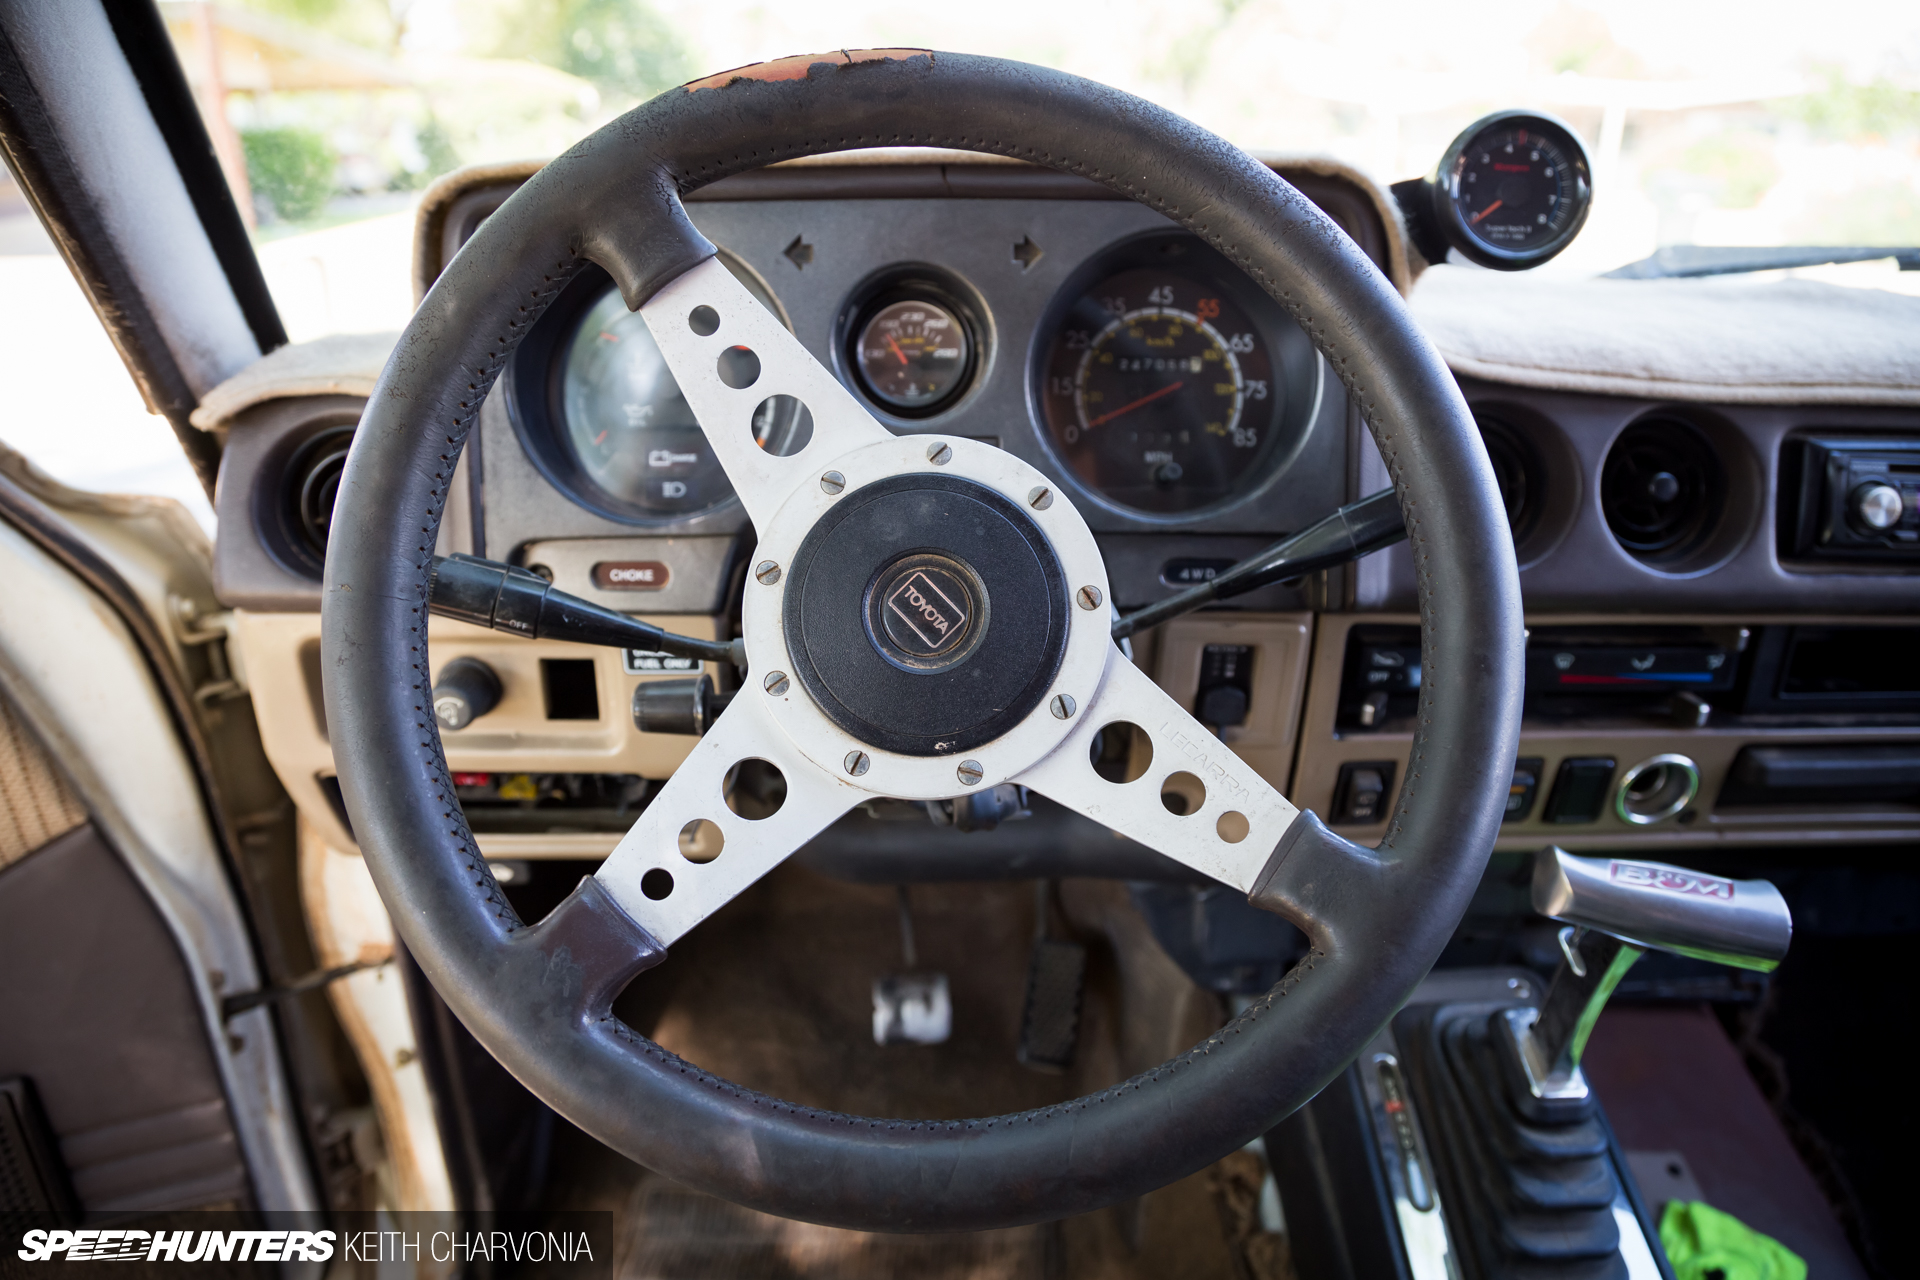
Like the shifter, this steering wheel was driving me absolutely nuts. This is how it sat while driving straight, and I couldn’t help but rip at the hole in the leather as I motored down the road. I looked for a factory steering wheel, but they were all priced too high and I didn’t feel like waiting for a deal to come along.
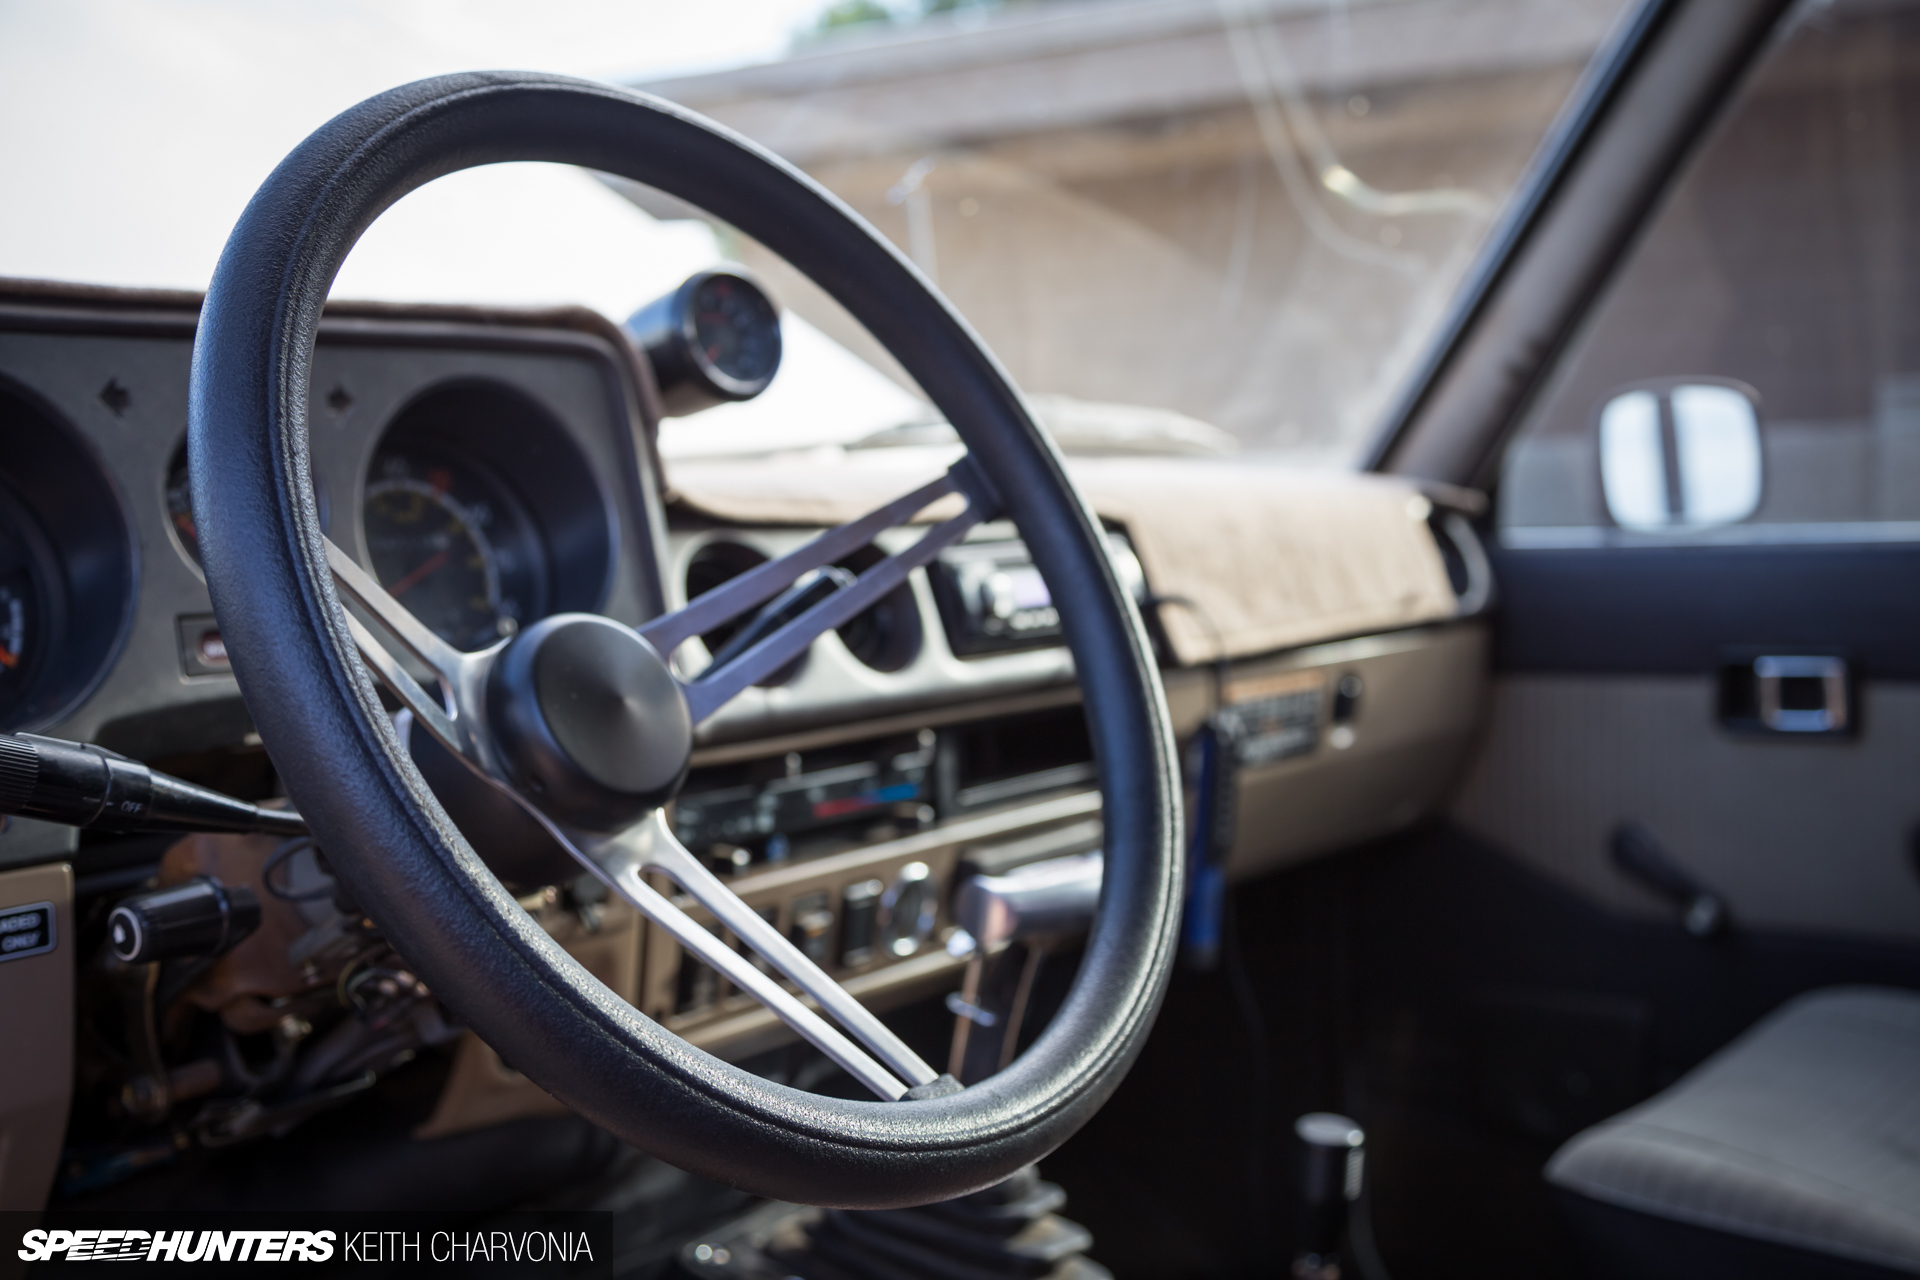
I did however happen across this vintage, deep-dish wheel that’s very ’60s muscle car. A perfect match for the 454, I thought.
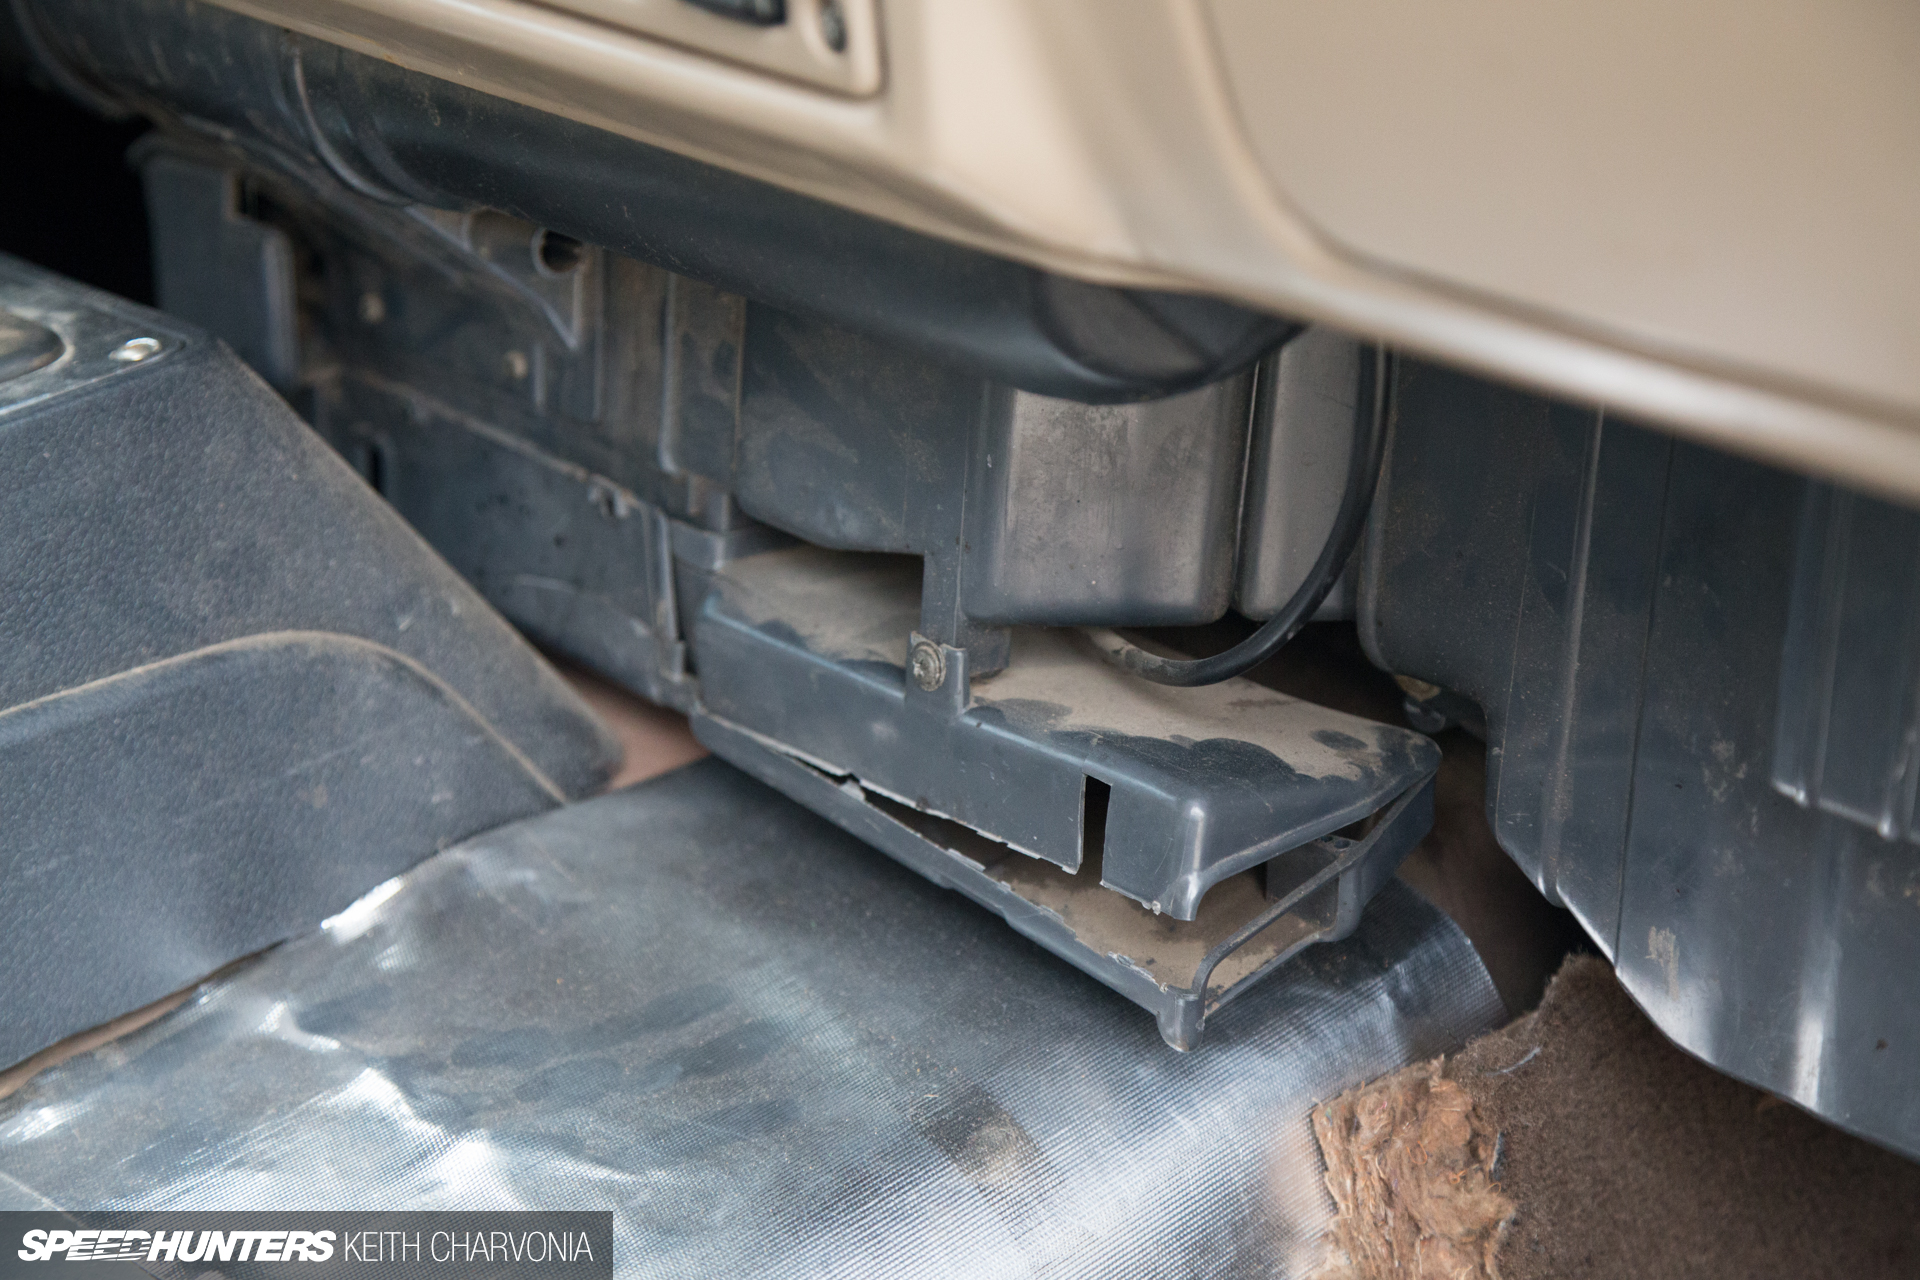
I may have mentioned this before, but searching ‘FJ60′ on eBay is now one of my favorite time-wasters. I’ve been able to find the best stuff though! Like a replacement for the broken floor vent that someone surely kicked while climbing in.
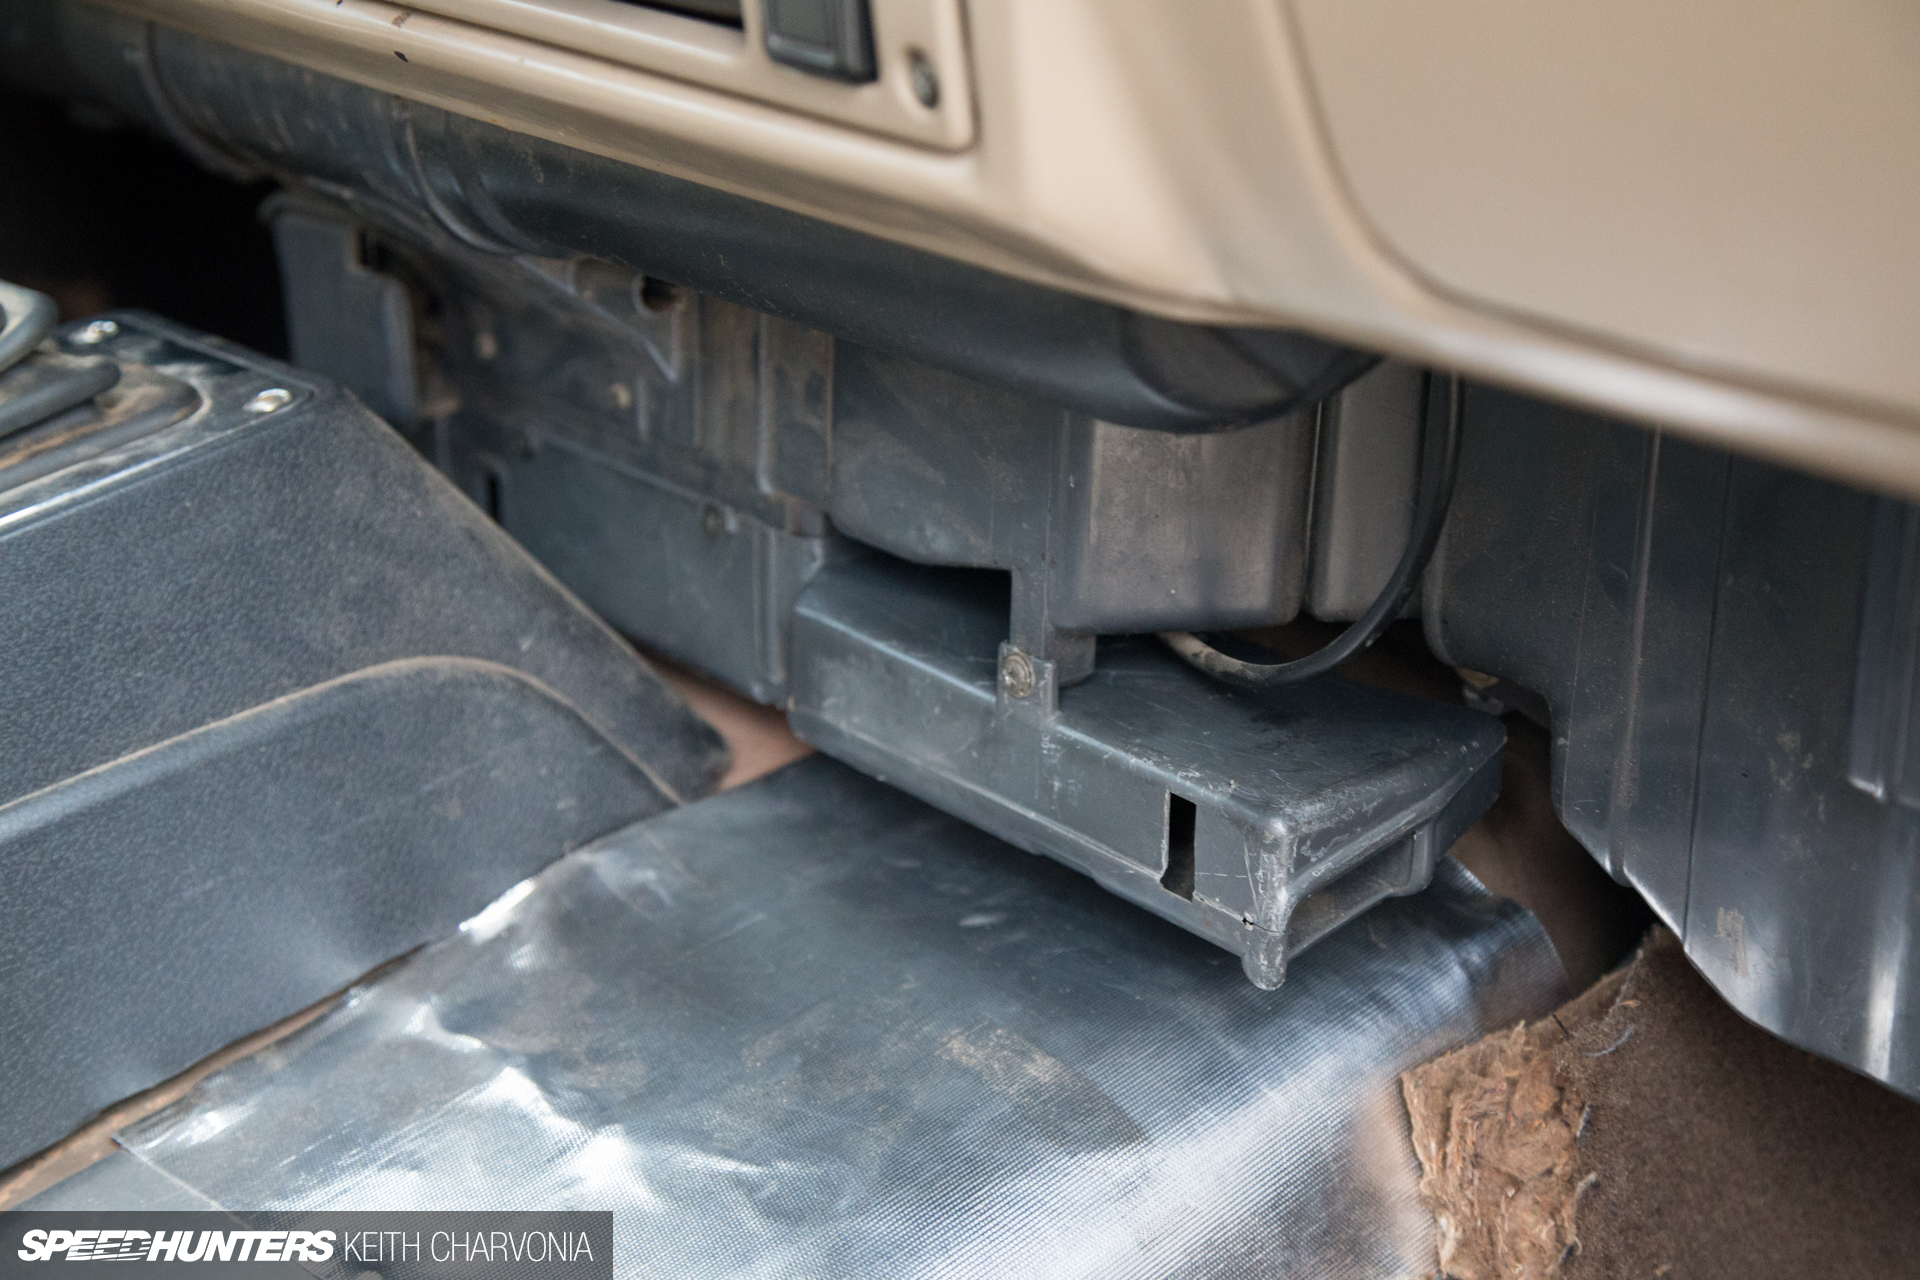
The eBay replacement is a little knicked up, but at least it’s not broken.
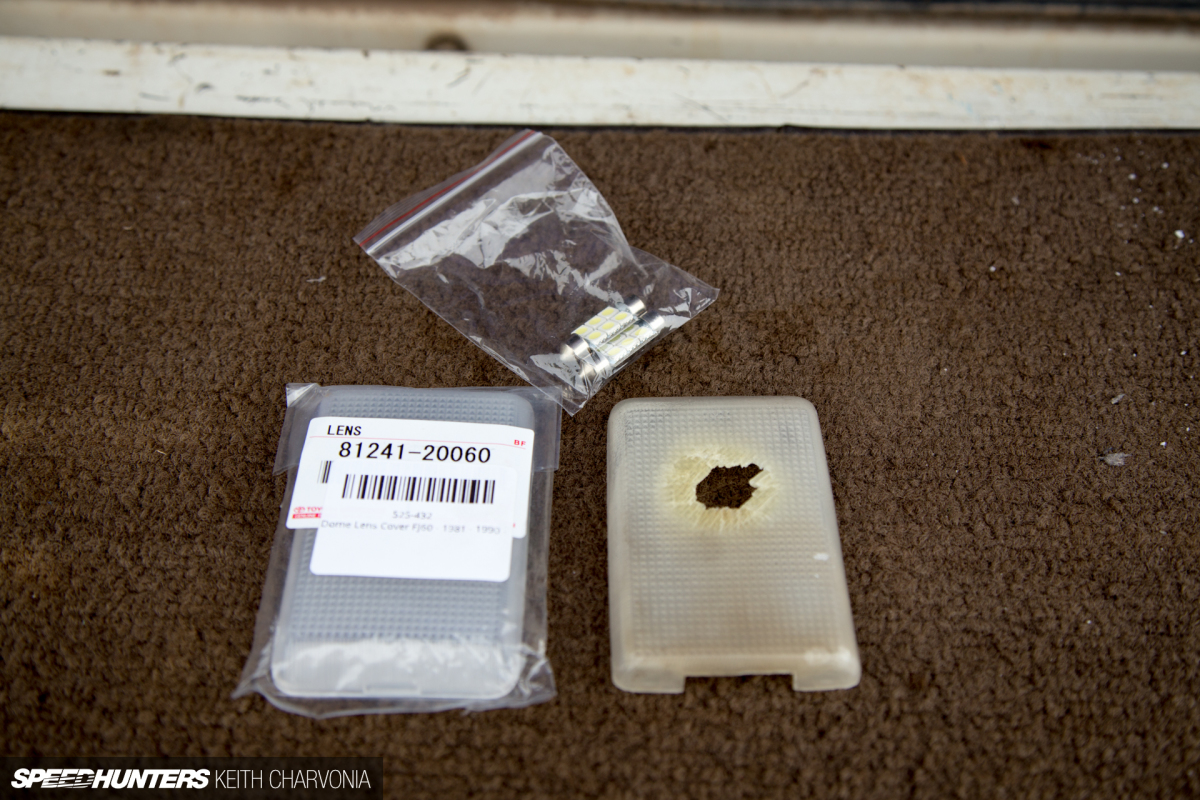
Hot bulbs wreak havoc on the plastic dome light covers in these trucks, especially when they’re accidentally left on overnight. Fortunately, a factory replacement is still available though. I installed an LED to solve the heat issue and also provide more light.
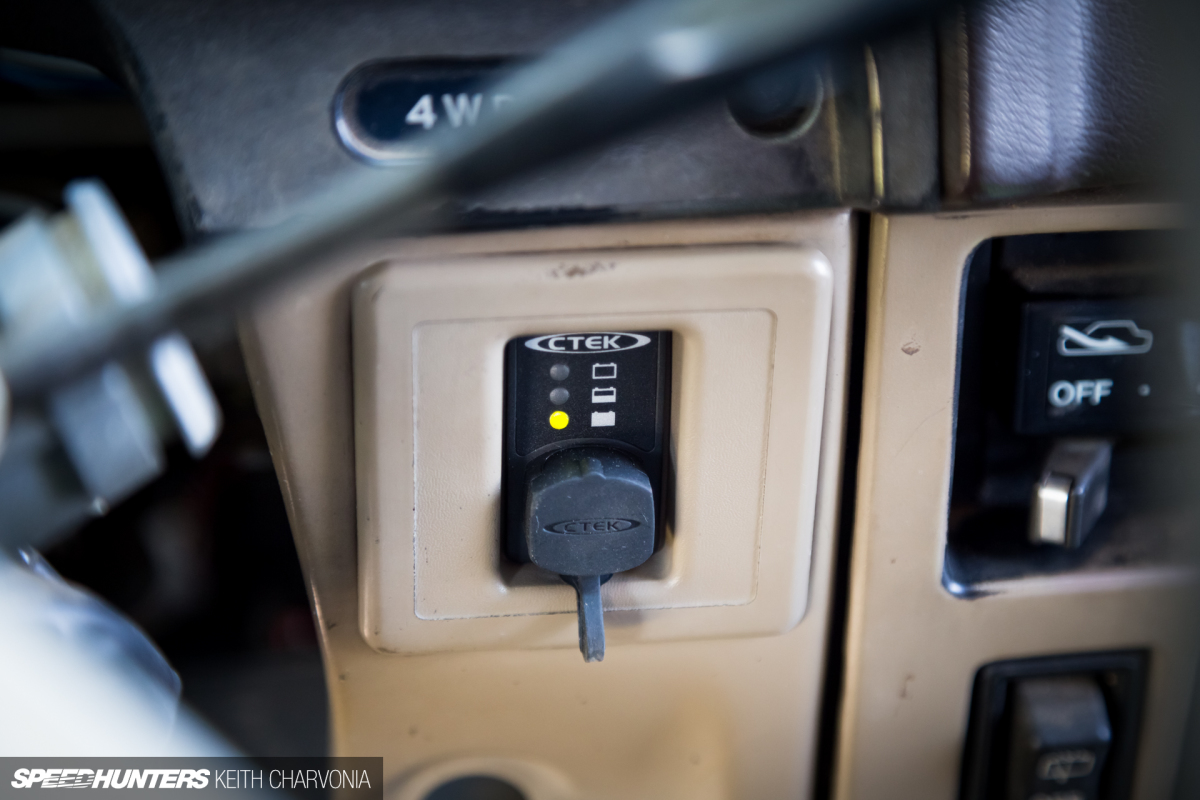
I use CTEK chargers on all my cars, and I recently picked up this charging port that fit perfectly in a blank spot on the dash. It tells me the condition of the battery with a flashing LED, and is an easy way to connect the charger to top off the battery when I don’t drive the Trailhunter for a few weeks.
Cool Down & Clean Up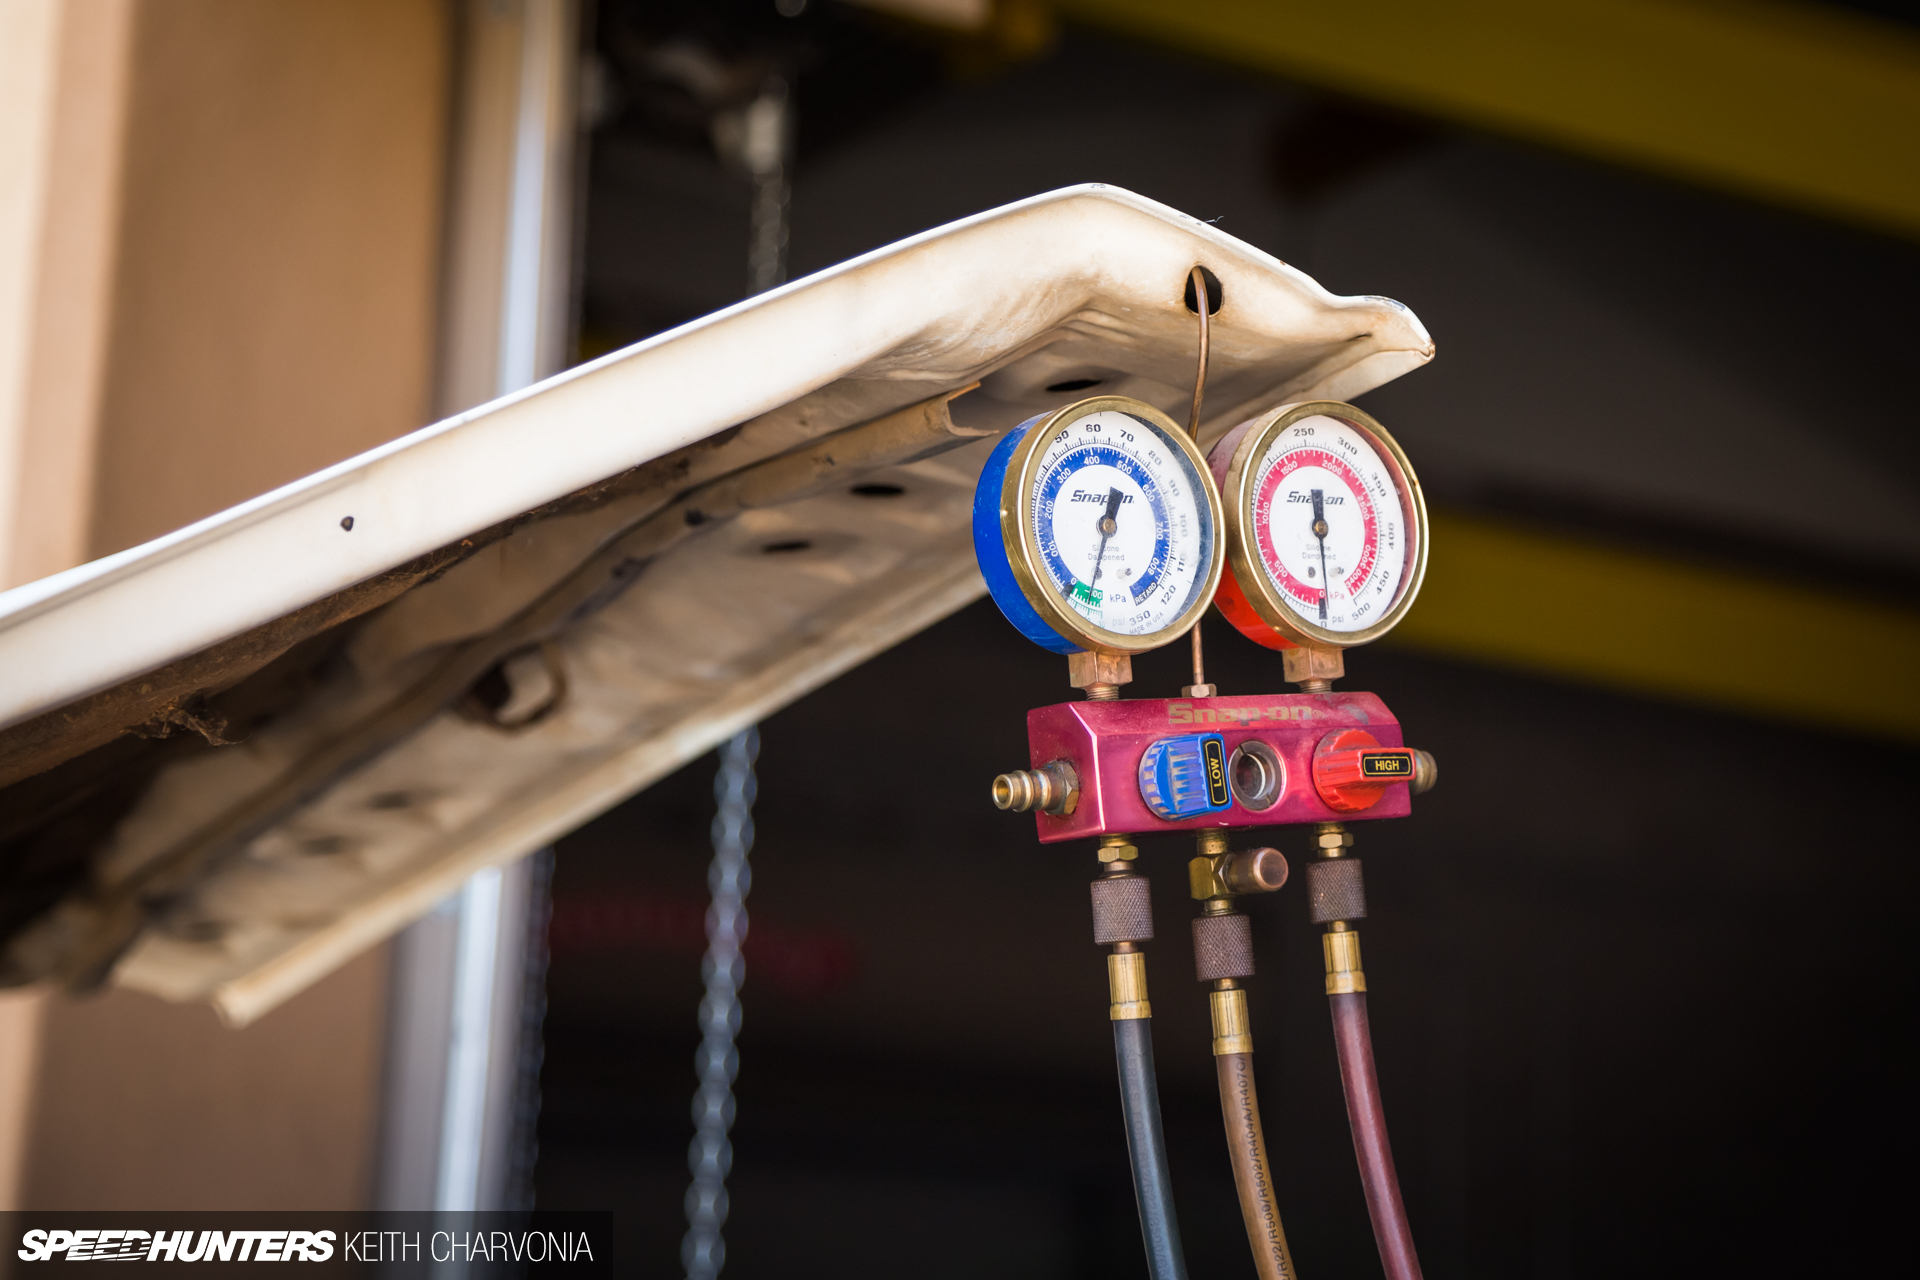
The 454 in my FJ had an AC compressor installed and everything seemed to be intact, yet the air didn’t blow cold; so I figured why not pump some Freon into it and see if it worked.
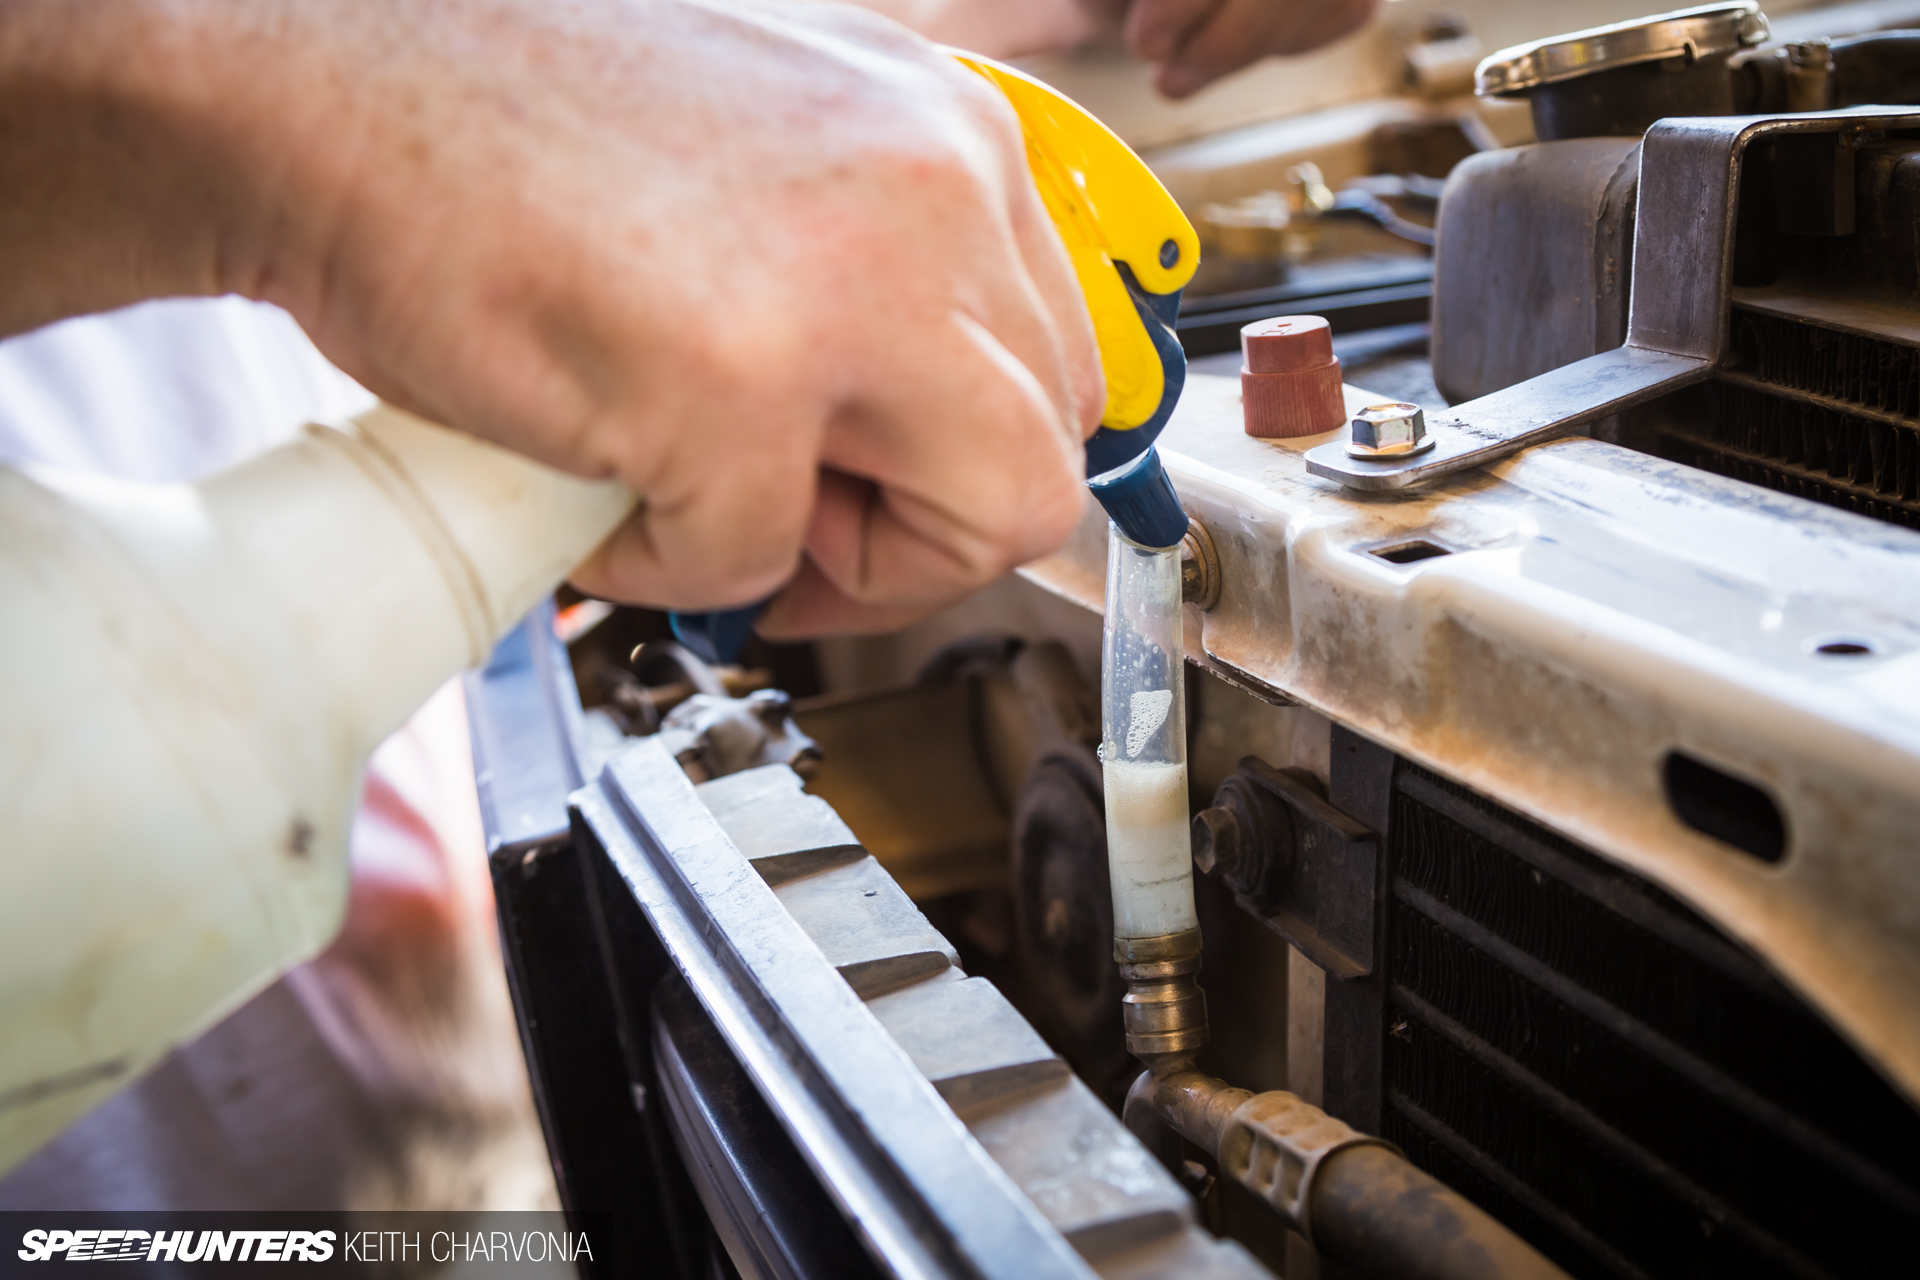
Here by buddy Phil shows his method for checking the o-rings on Schrader valves. A clear vinyl tube filled with soapy water will reveal the tiniest of bubbles.
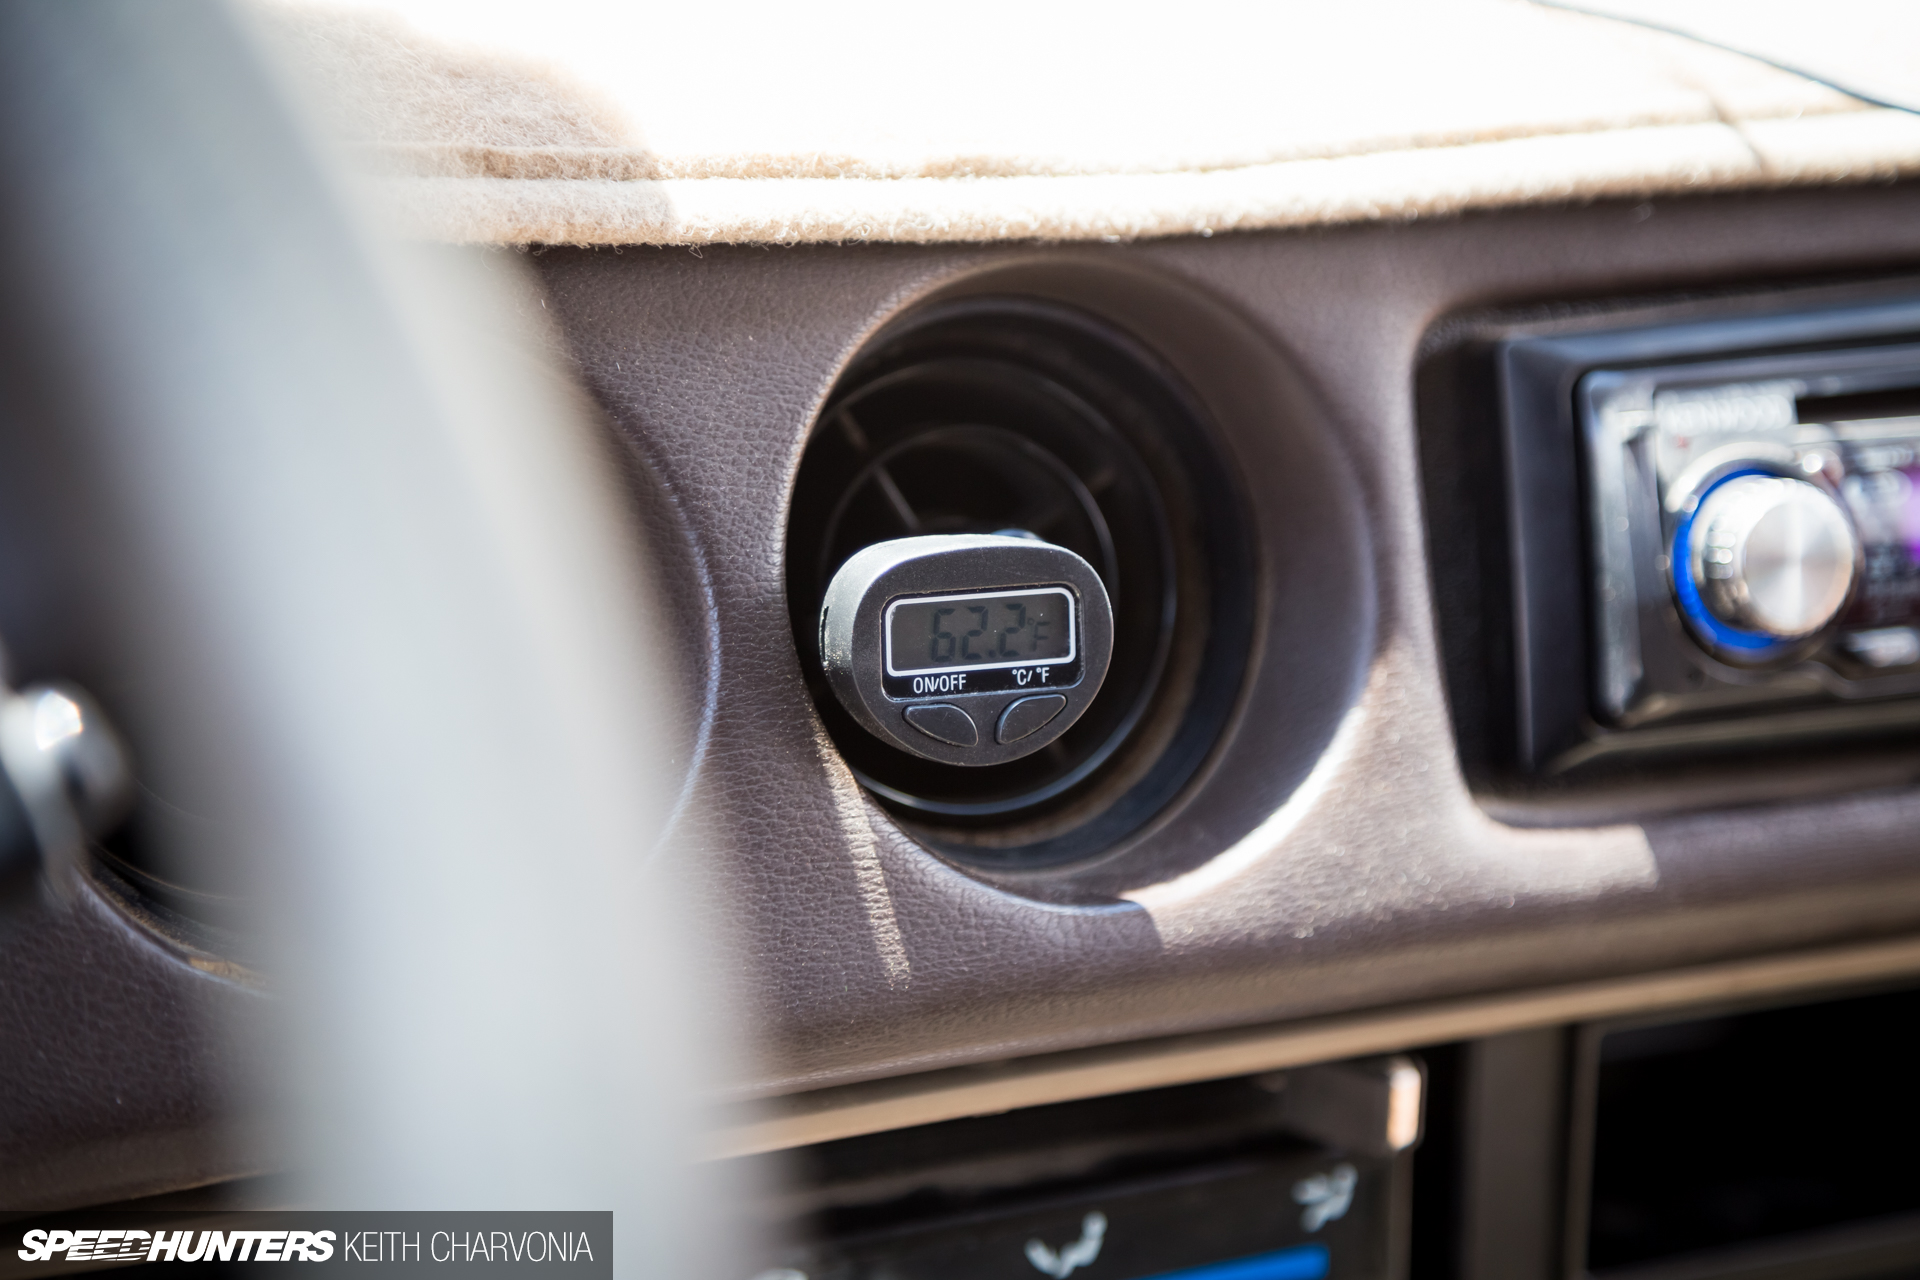
Soon we had it blowing cold again!

The previous owner had rattle-canned the grille and headlight bezels with black spray paint, but after enough miles the paint was chipping off, really making the front of the FJ look ratty.
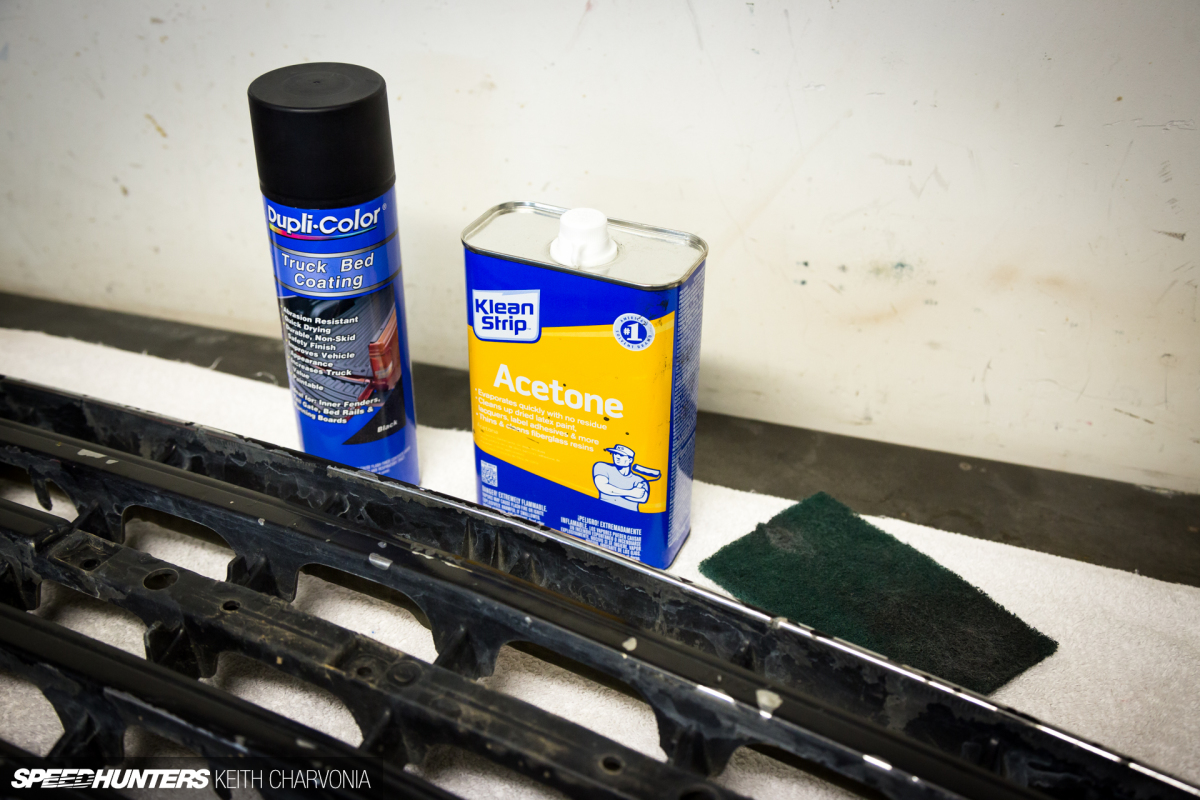
I used acetone on a Scotchbrite pad to quickly strip away the paint, while also roughing up the finish. This Dupli-Color Truck Bed Coating is one of my favorite paints; it can lay down a variety of textures depending on how you apply it, and is much tougher than spray paint. I figured it would look good on the grille.
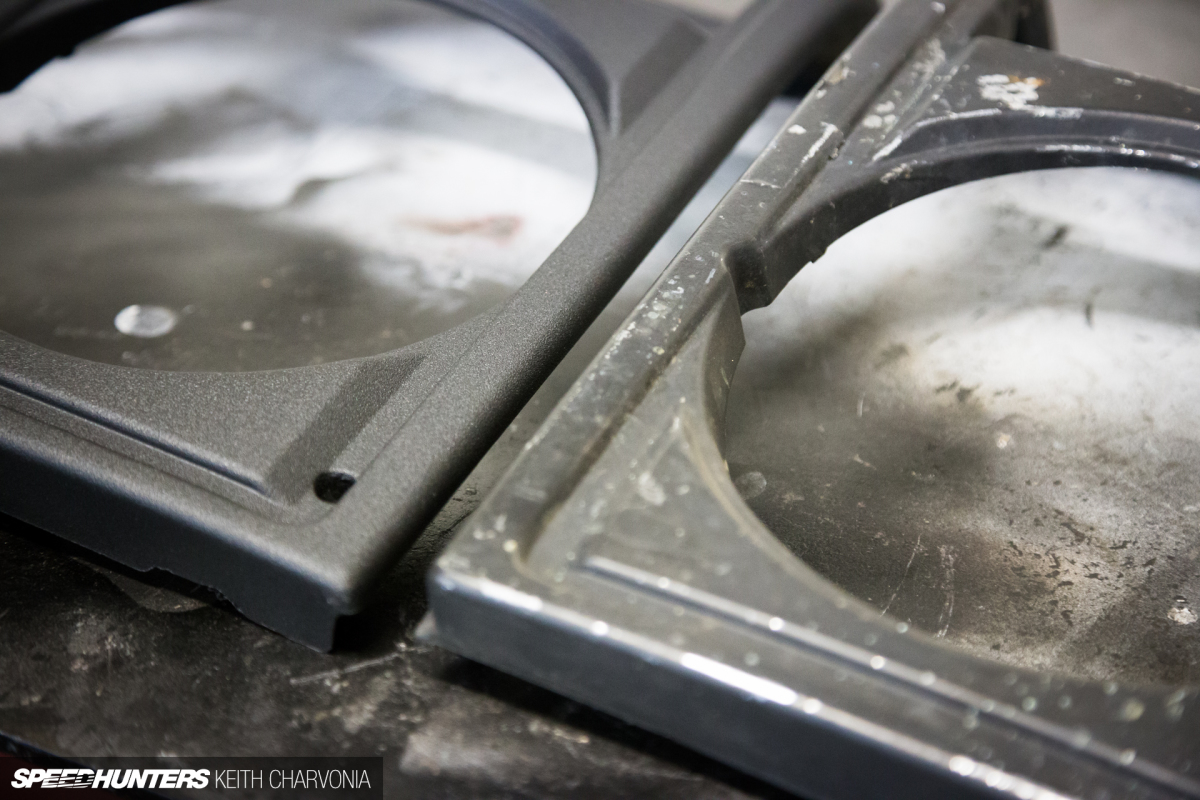
Here’s a before and after of the headlight bezels. Much better!
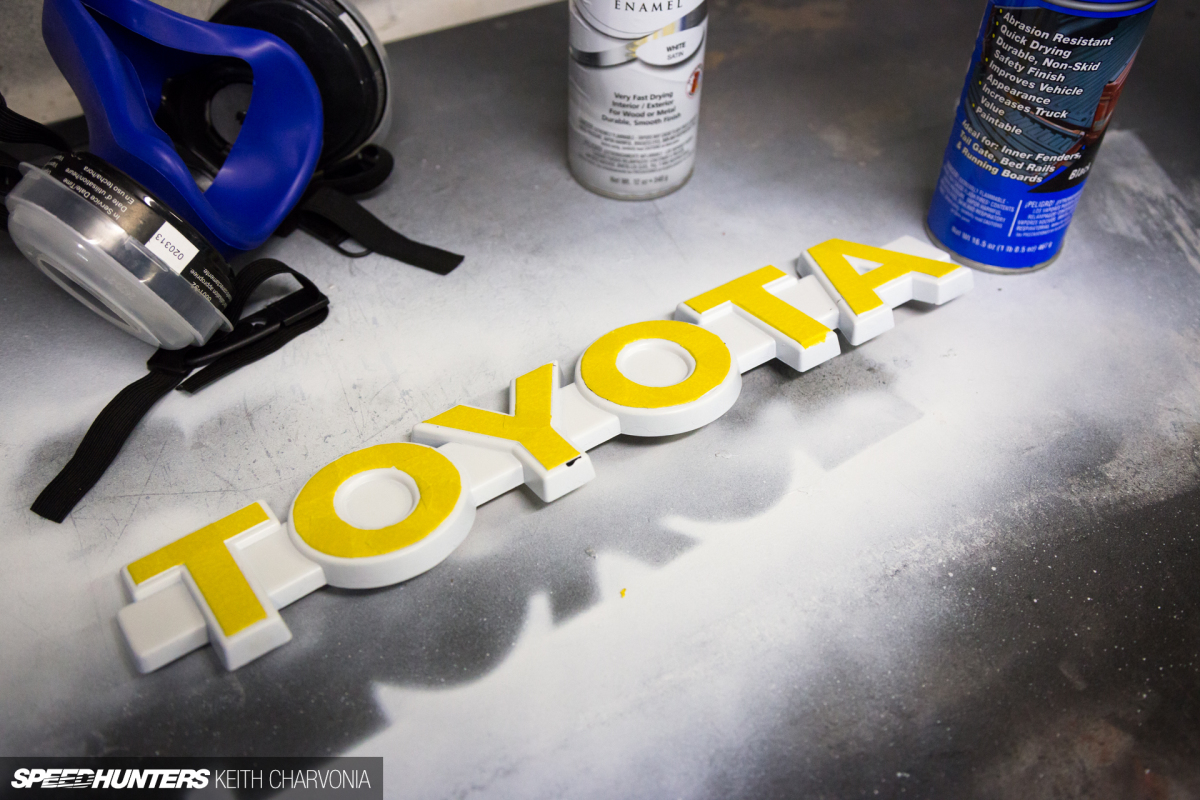
I looked for a new emblem, but found them to be exceedingly pricey as well. So instead, I opted to spray the whole thing white, then mask off the letters and paint the outside edges with matching Dupli-Color bed liner.
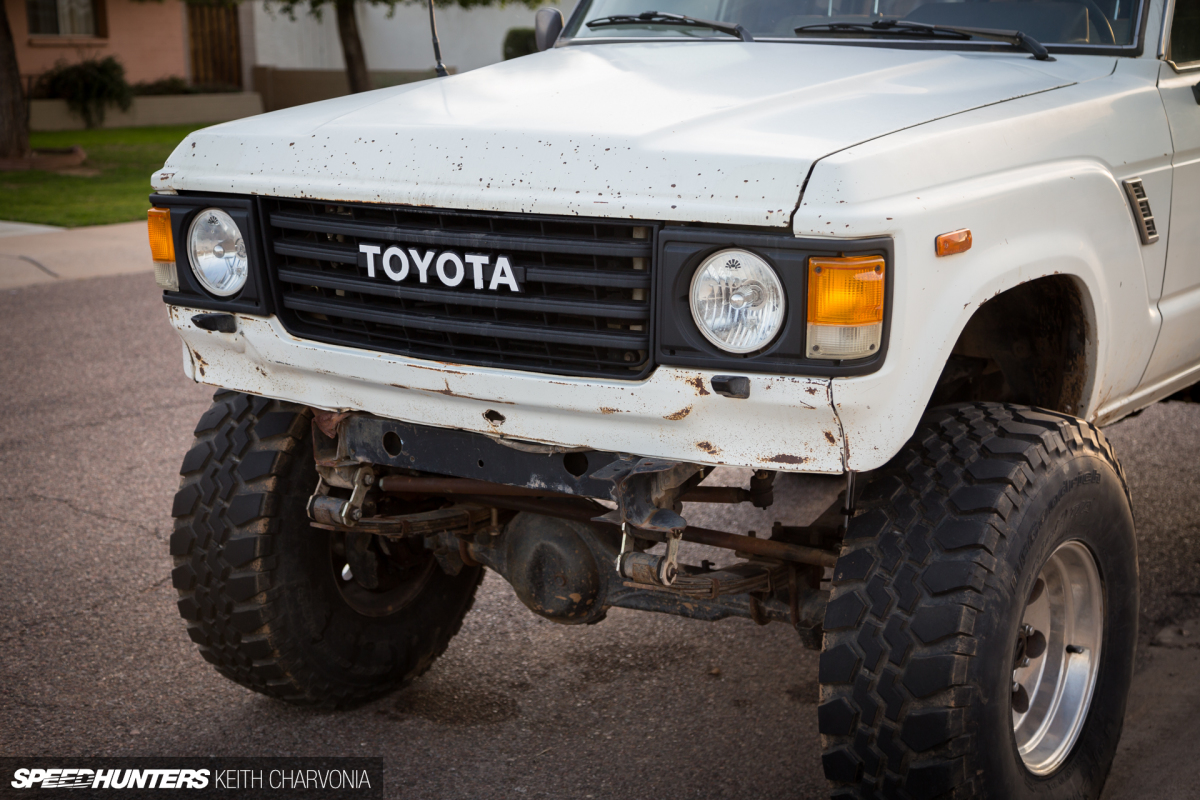
The finished product cleaned up the front end nicely.
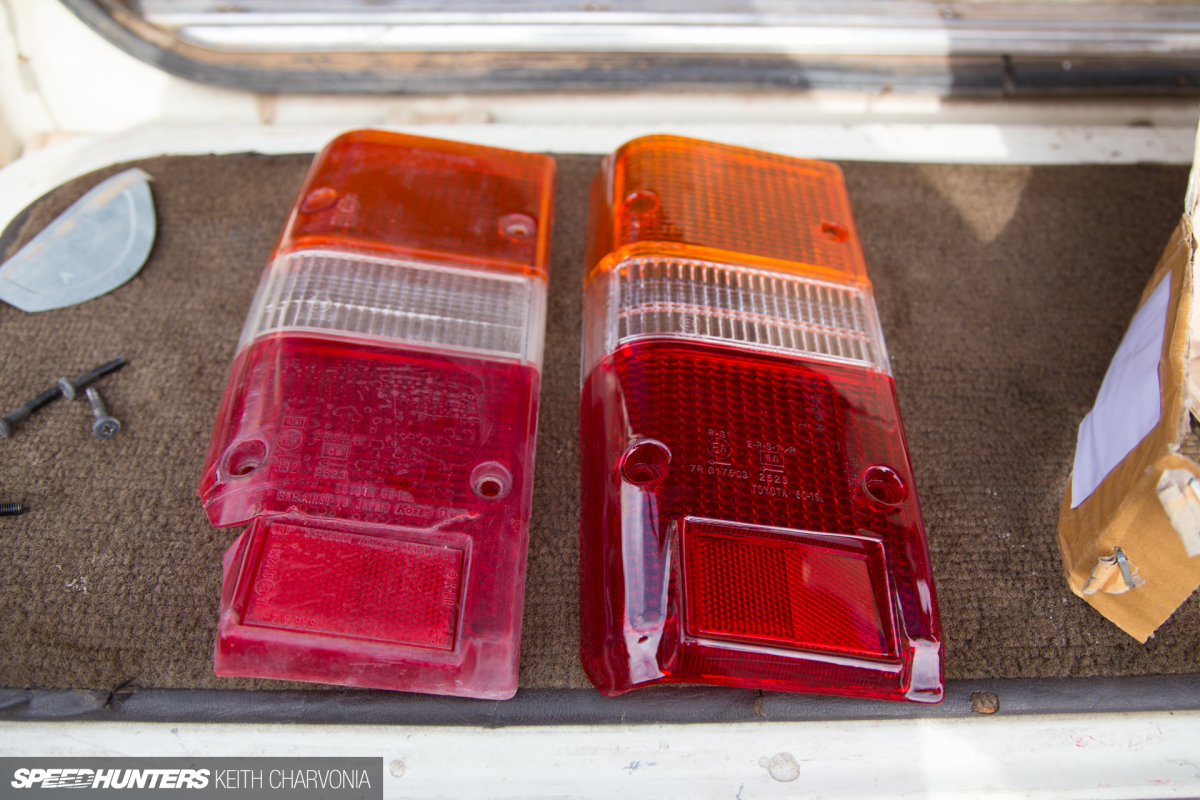
One of my eBay finds was a new set of taillight lenses. Mine were broken as you can see here.
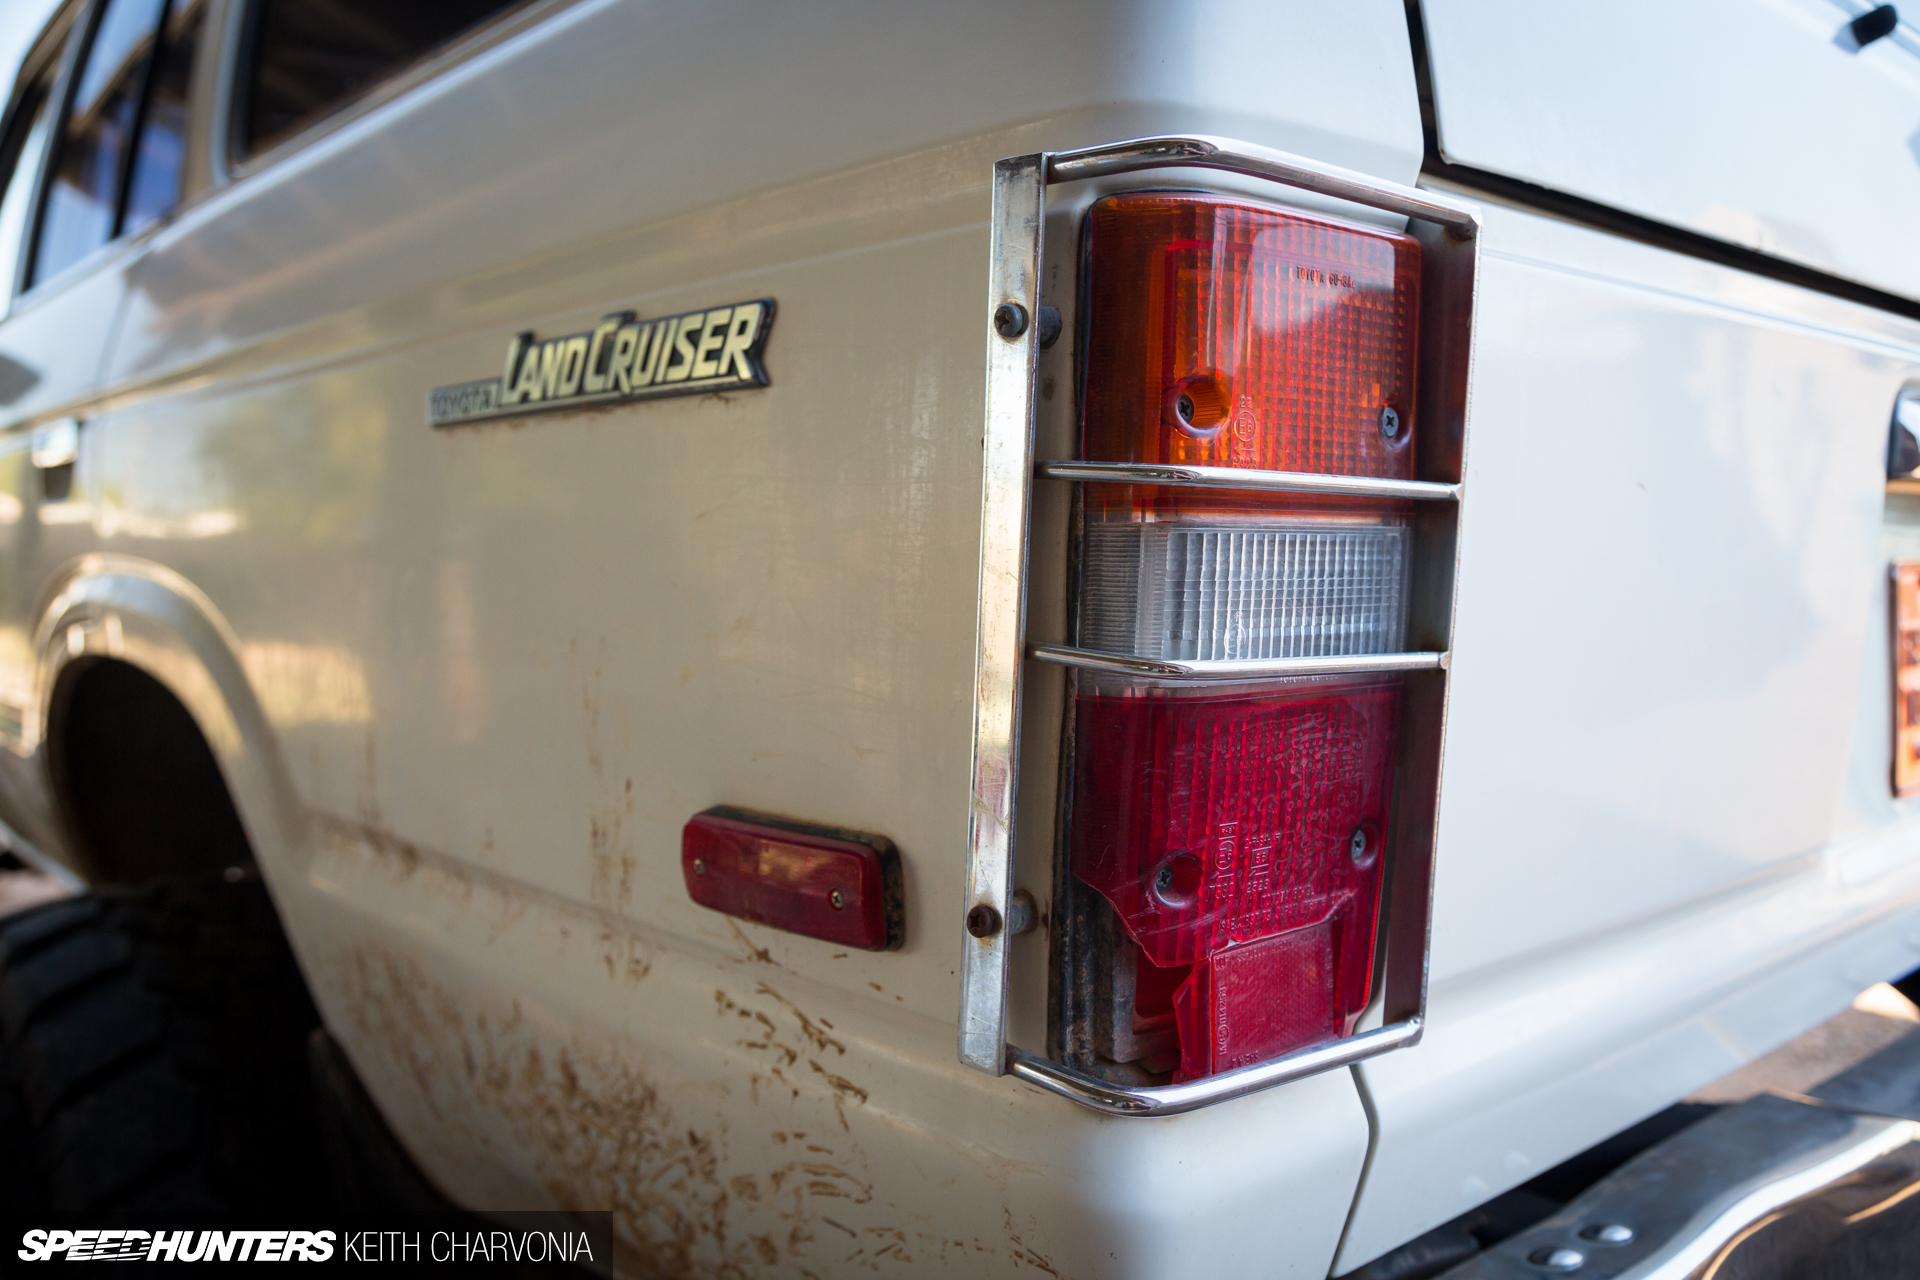
Unfortunately, someone installed these taillight guards, aka ‘damage multipliers’, at some point, which involved drilling holes into the sheetmetal to screw them in. If I decide to paint The Trailhunter I’ll weld the holes up, but if not I’ll just have them powder-coated black and reinstall them.

For now at least I have fresh lenses, and I’ll live with the screw holes in the body. I figure all these little things should add up, and one day I’ll look at my FJ and realize it’s in pretty good shape.
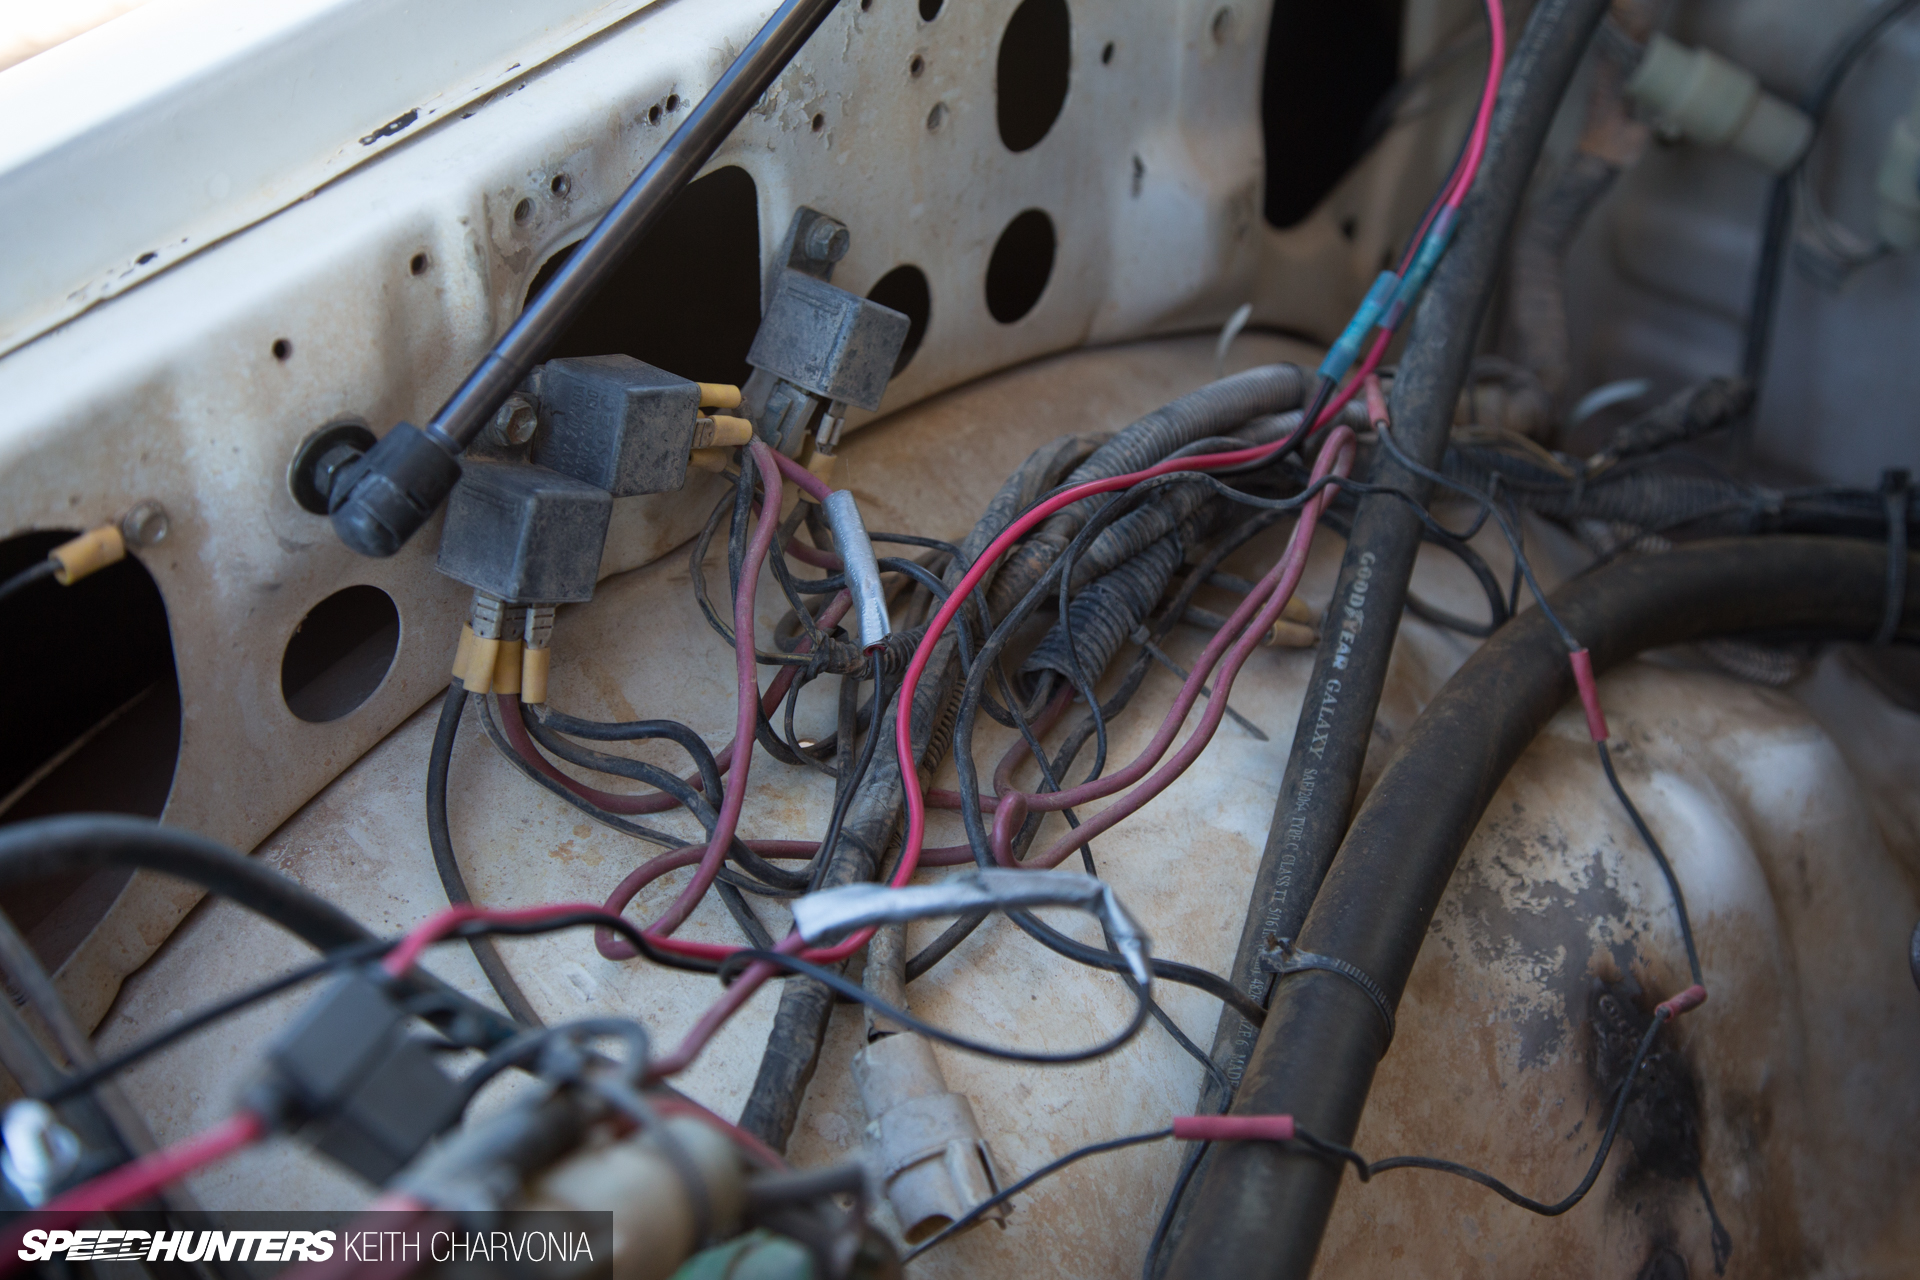
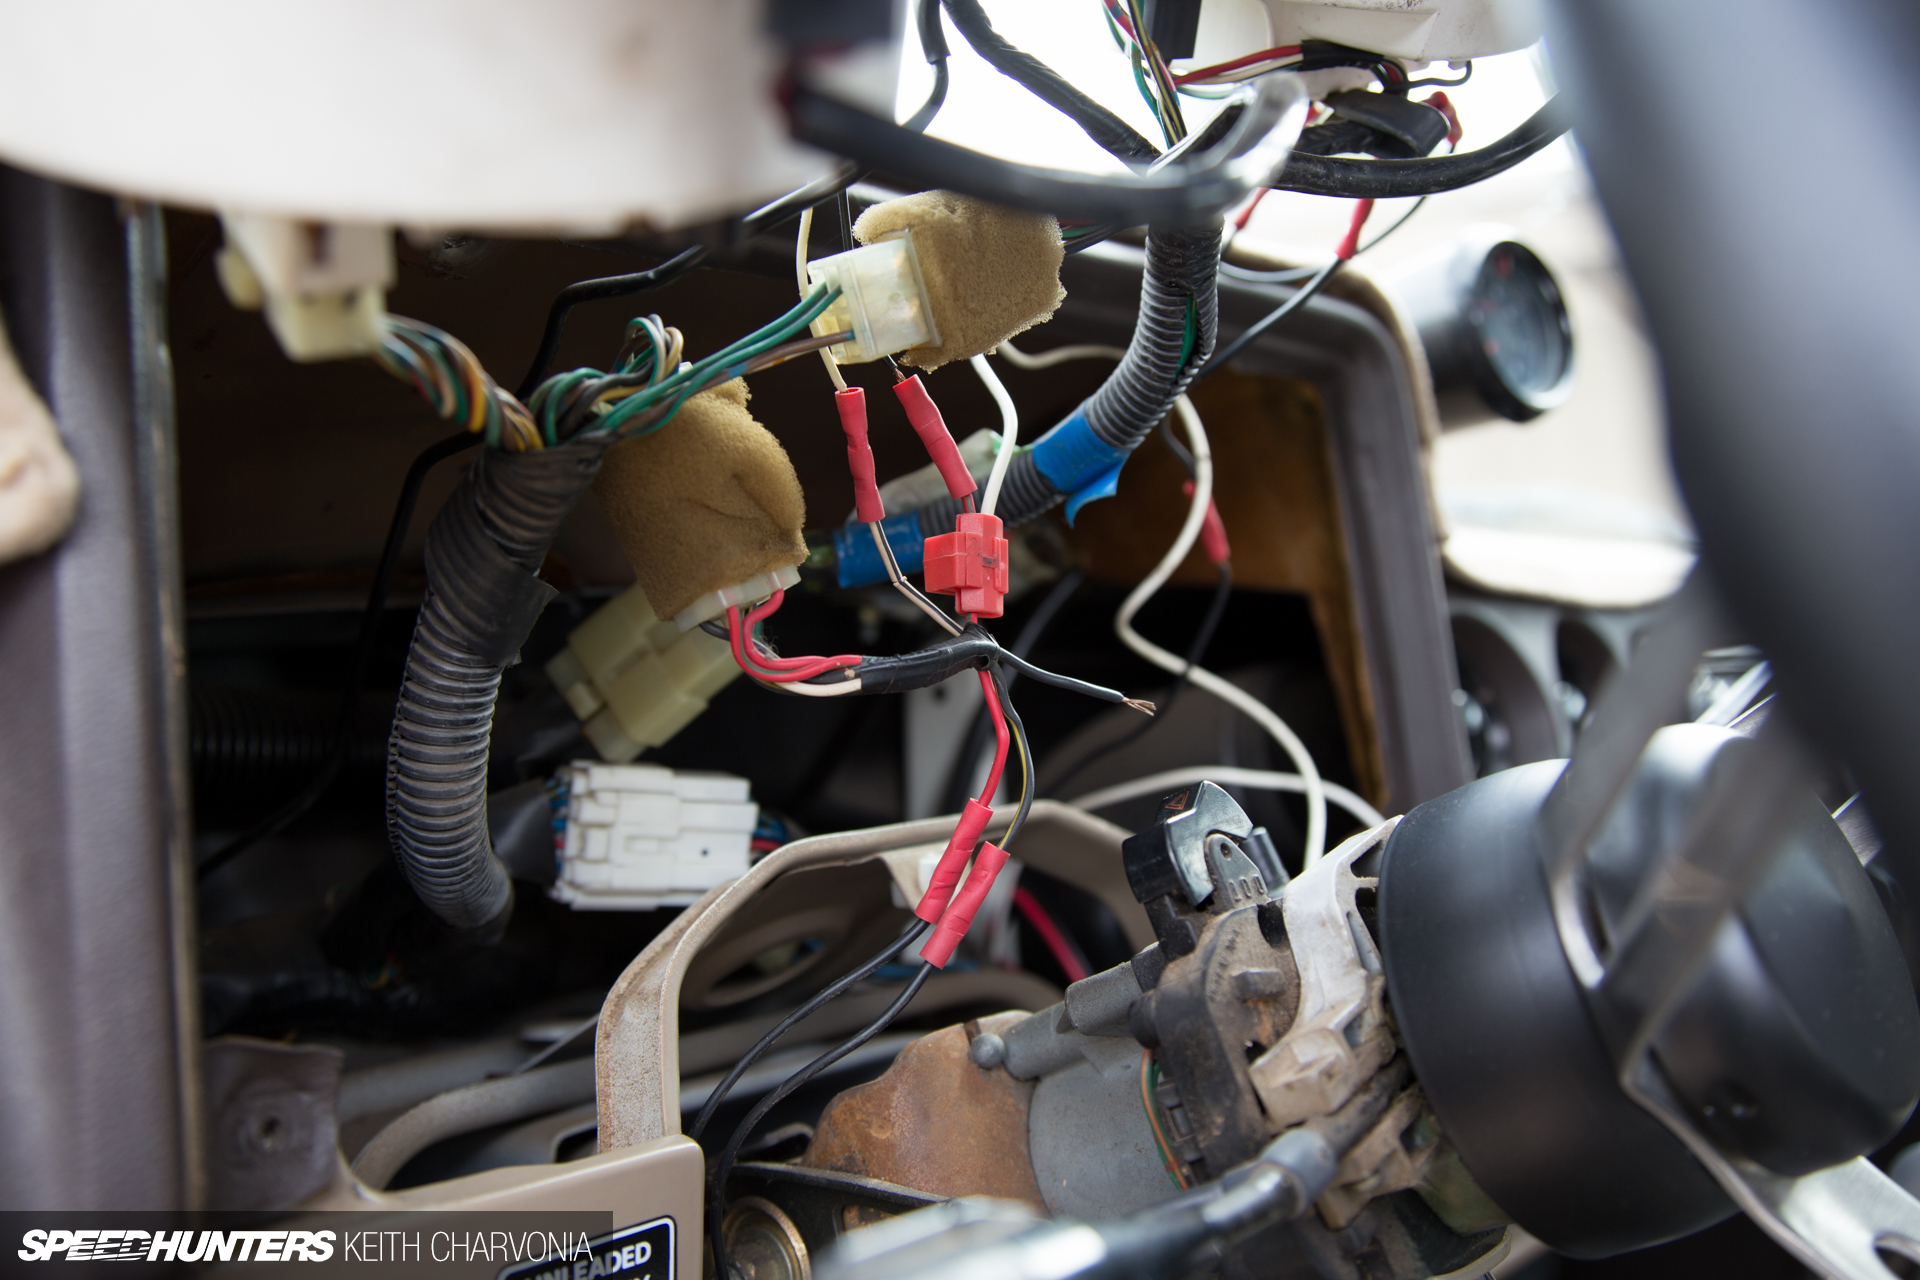
The factory looms are mostly intact and still functioning just fine, but the wiring done when the 454 was installed is, well, simply horrendous. Relays were used to power everything, even when they weren’t needed. Look closely to see the multitude of splices; it’s like someone only had 3-inch sections of wire, yet plenty of butt-connectors to spare.
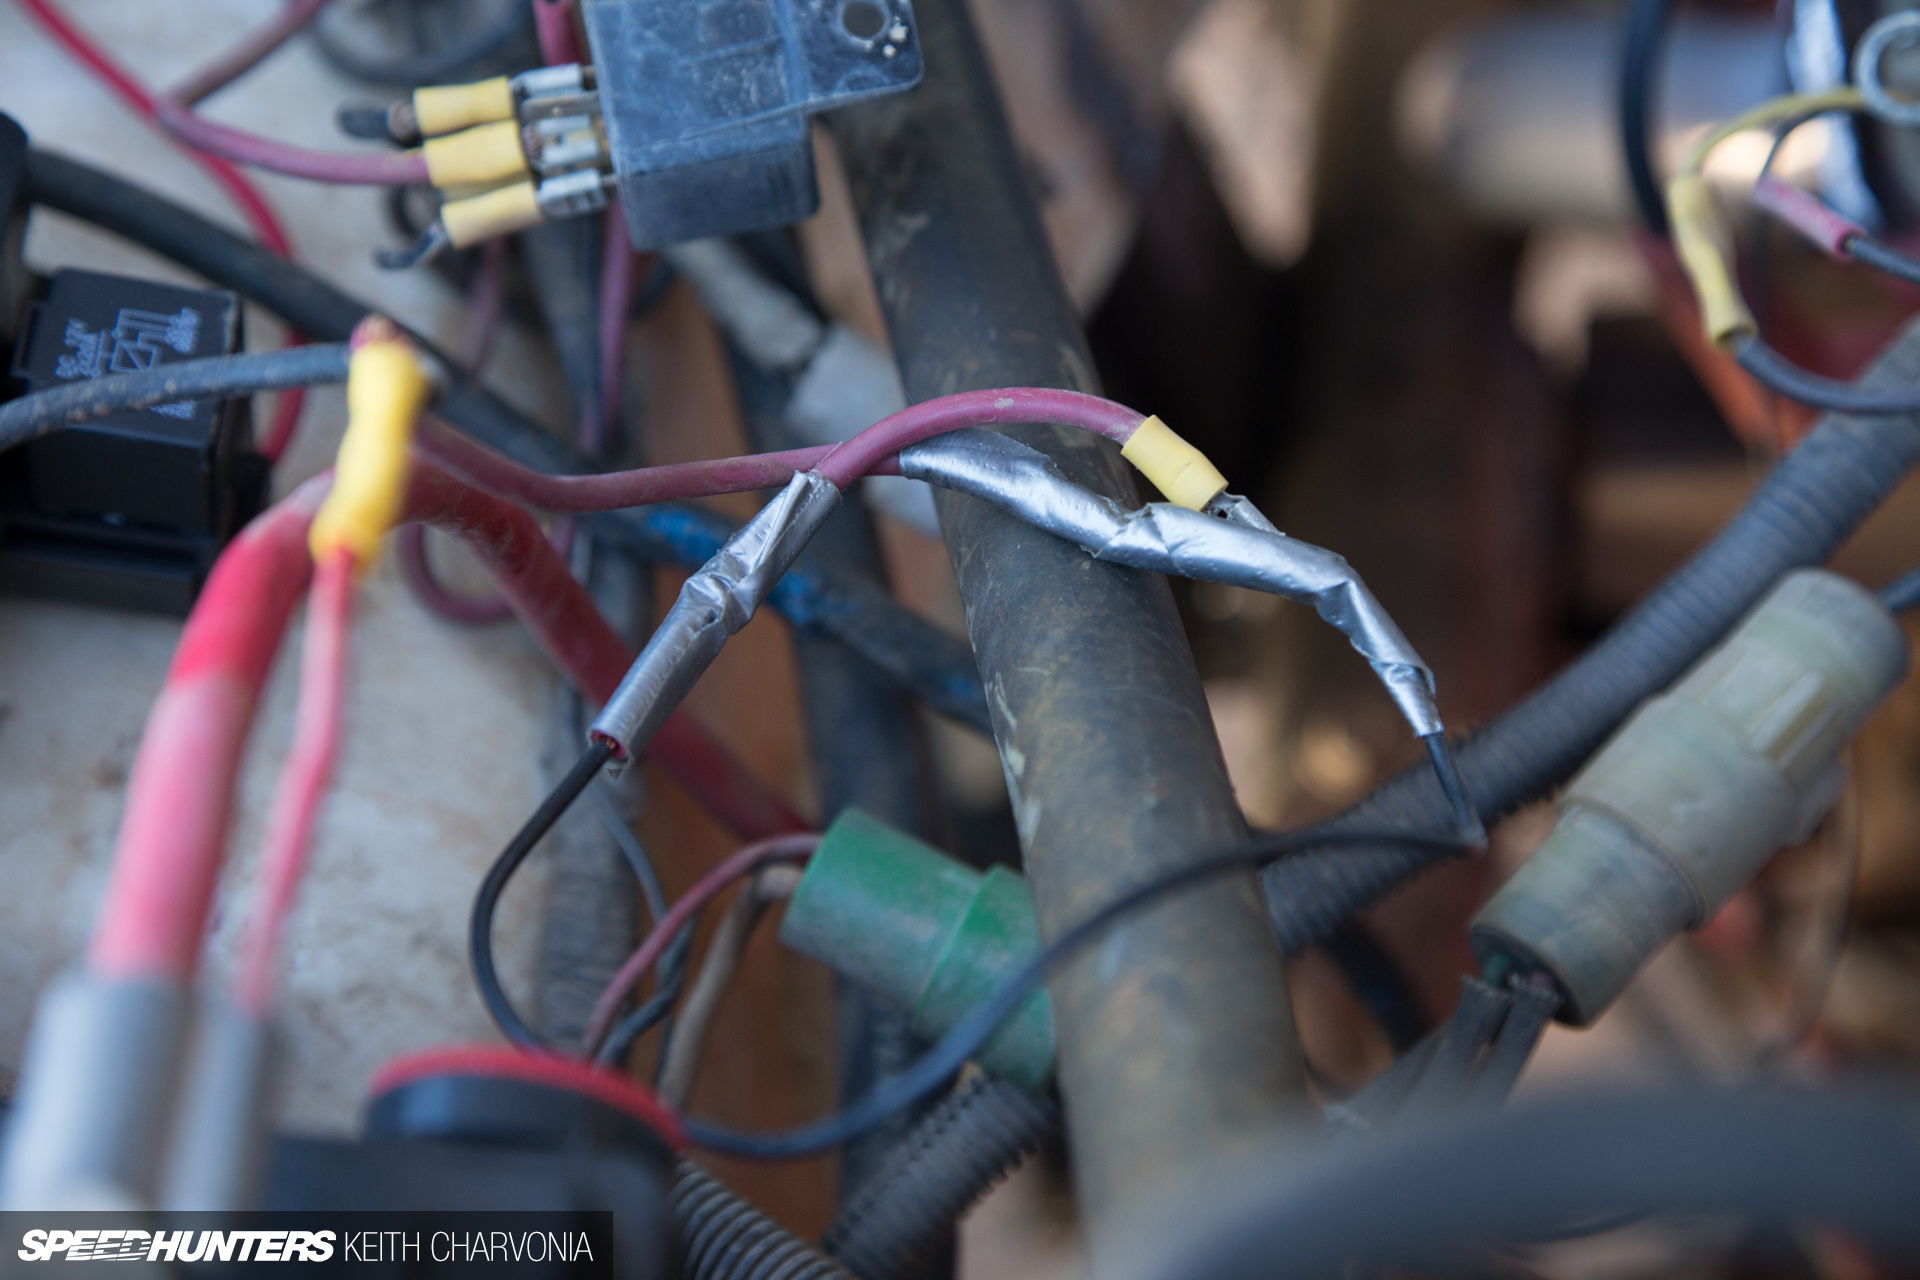
Multiple gauges of wire were twisted together, and even wrapped with duct tape in one place!
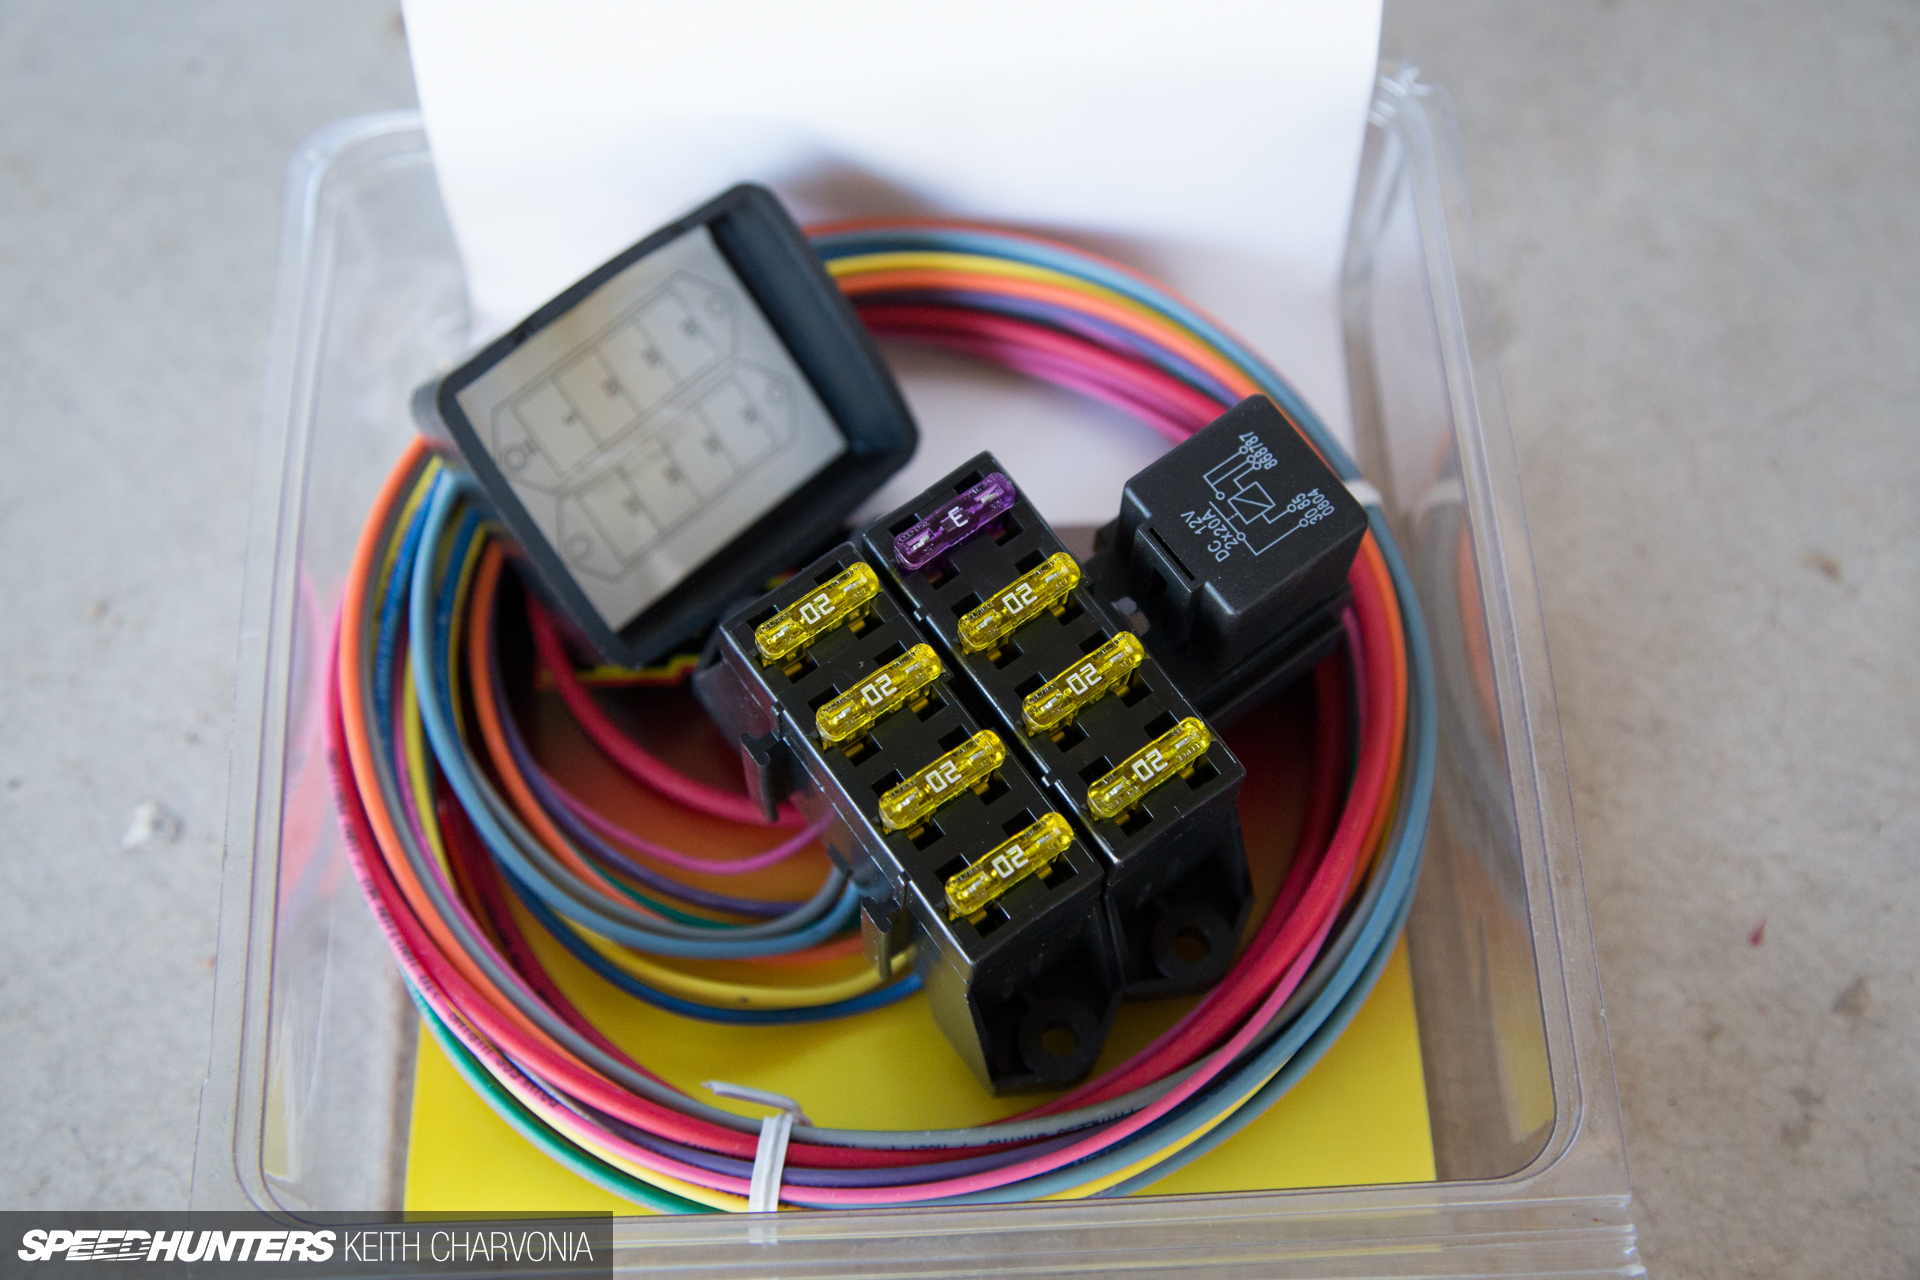
Fortunately, I had a Painless fuse block hanging around, and this was the perfect time to use it. One relay switches half of the circuits, with the other half being hot all the time.
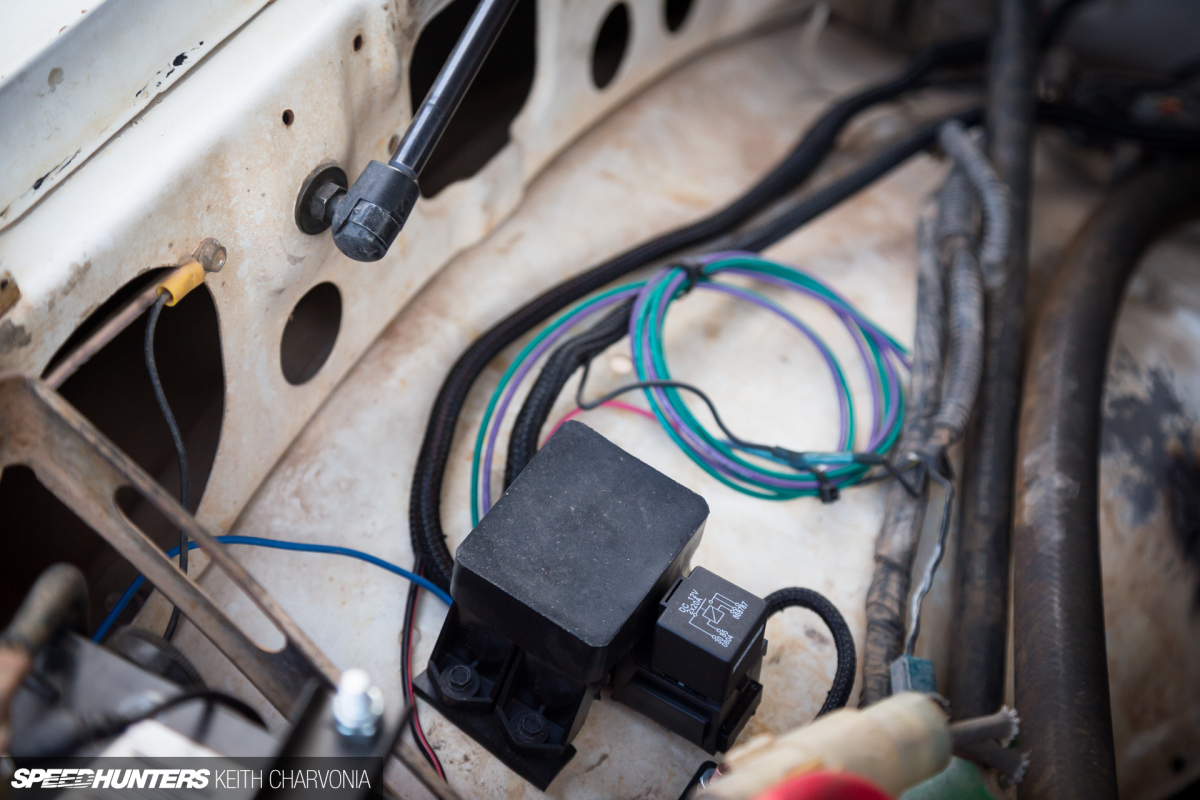
I left the unused wires zip-tied in a bundle since I’m not done cleaning up the wiring. For now, this is much improved.
A New Dash & Restored Gauges
One huge benefit of buying an Arizona car is that it’s very dry here, so they don’t rust. The downside though, is that plastic and rubber get destroyed by the heat and constant sunlight. My FJ’s dashboard was a perfect example.
I guess since it was already cracked someone decided this was a clever way to install a tach. Luckily I found a perfect replacement on, you guessed it – eBay.
Pulling apart the dash, I discovered more hacked wiring, but thankfully it was only to install an aftermarket temperature gauge and tachometer, both of which I would be removing.
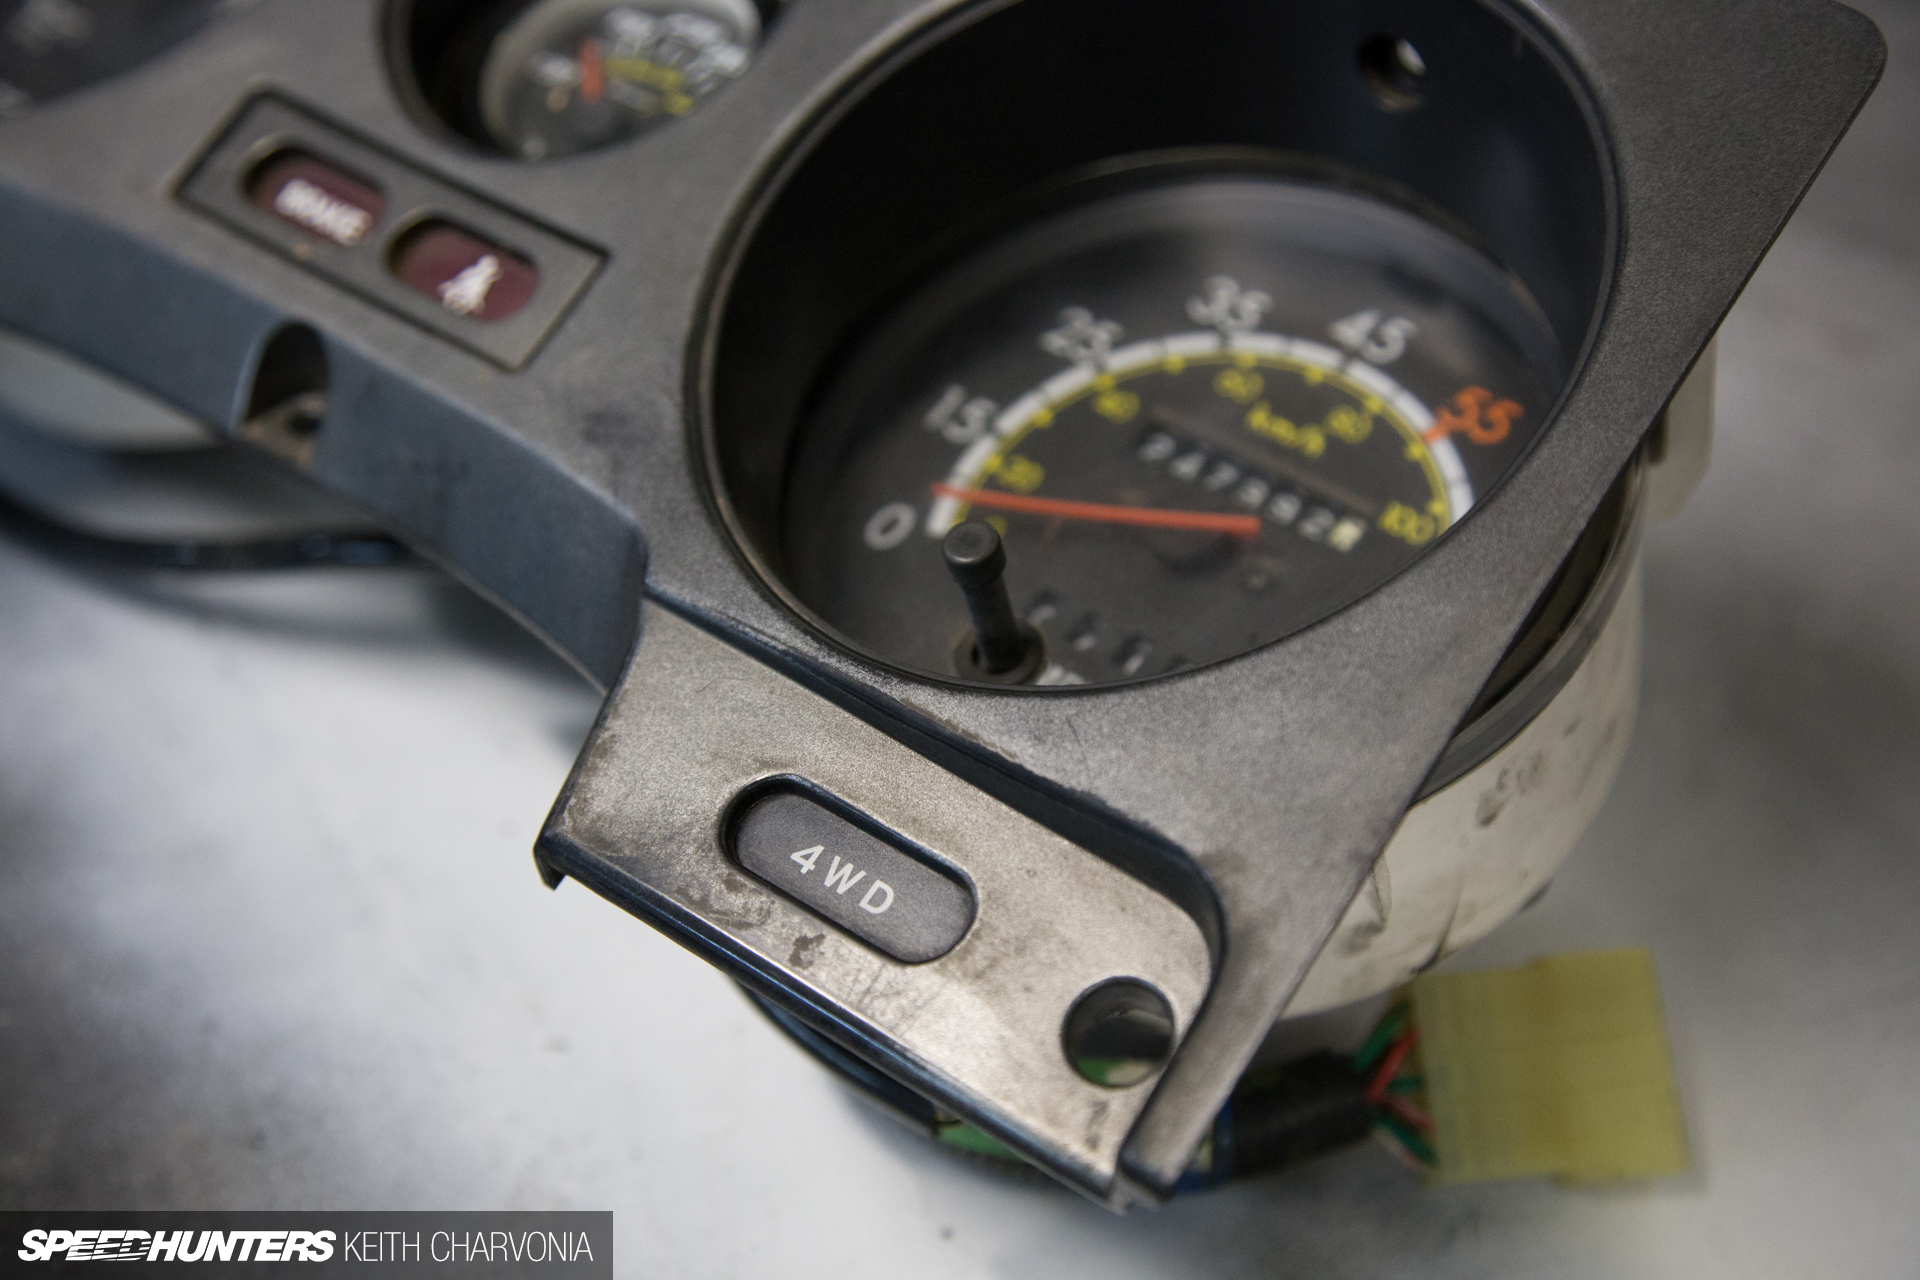
The gauge cluster was pretty grimey, so while it was out I decided to restore it.
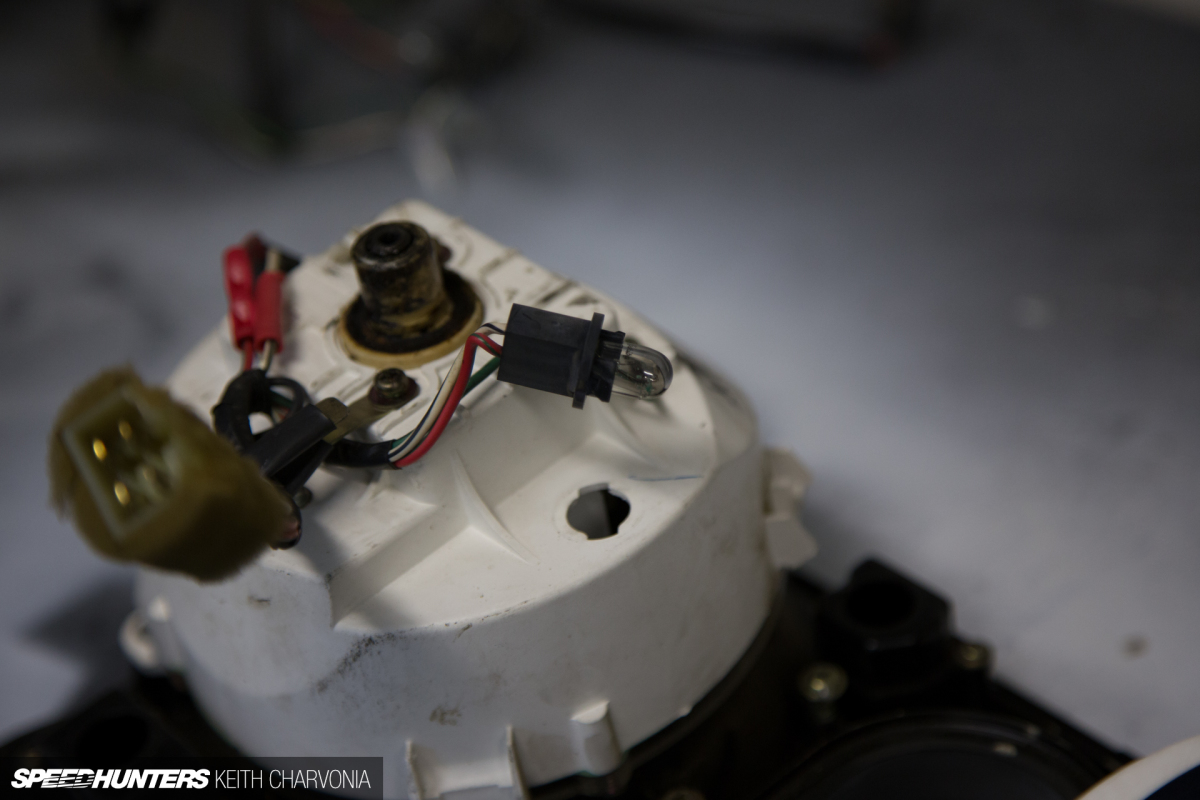
This was the perfect time to replace all the burned out bulbs too.
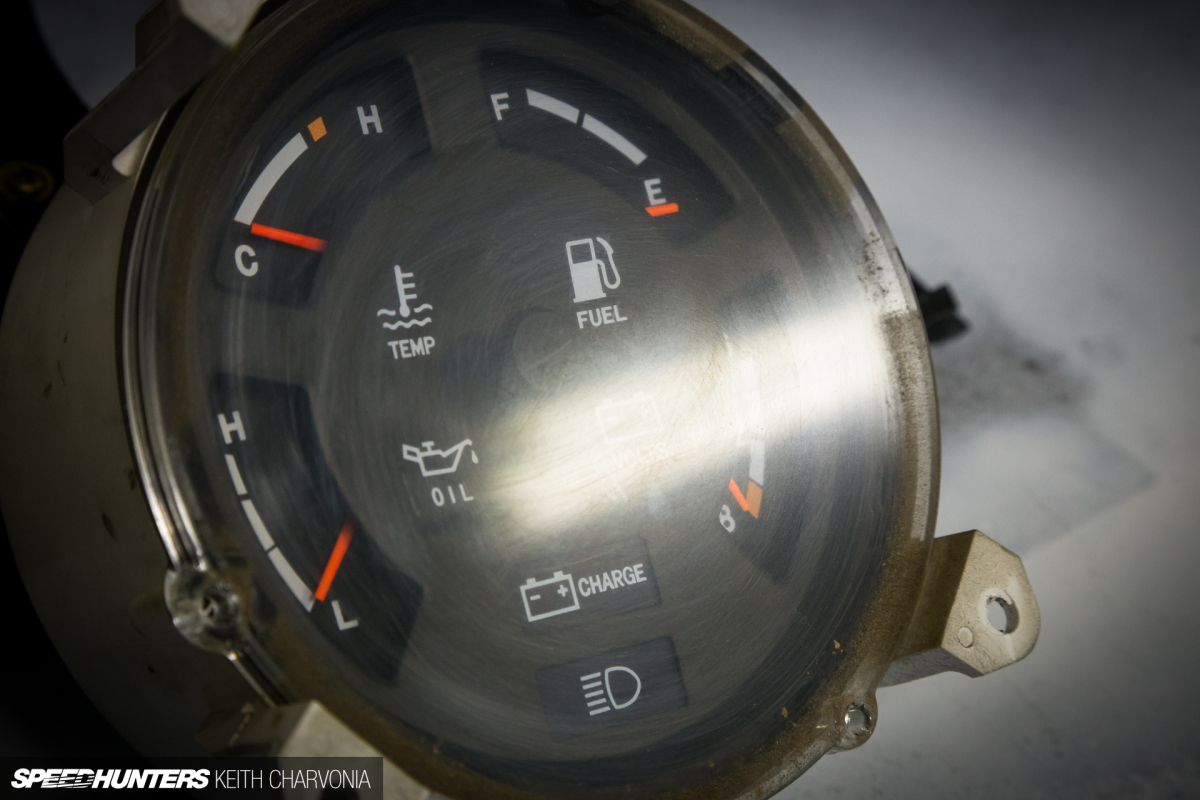
The clear lenses over the gauges were extremely scratched and hazy, no doubt from giving them a quick wipe of the sleeve while covered in dirt.
Would I be able to save them? Only one way to find out…
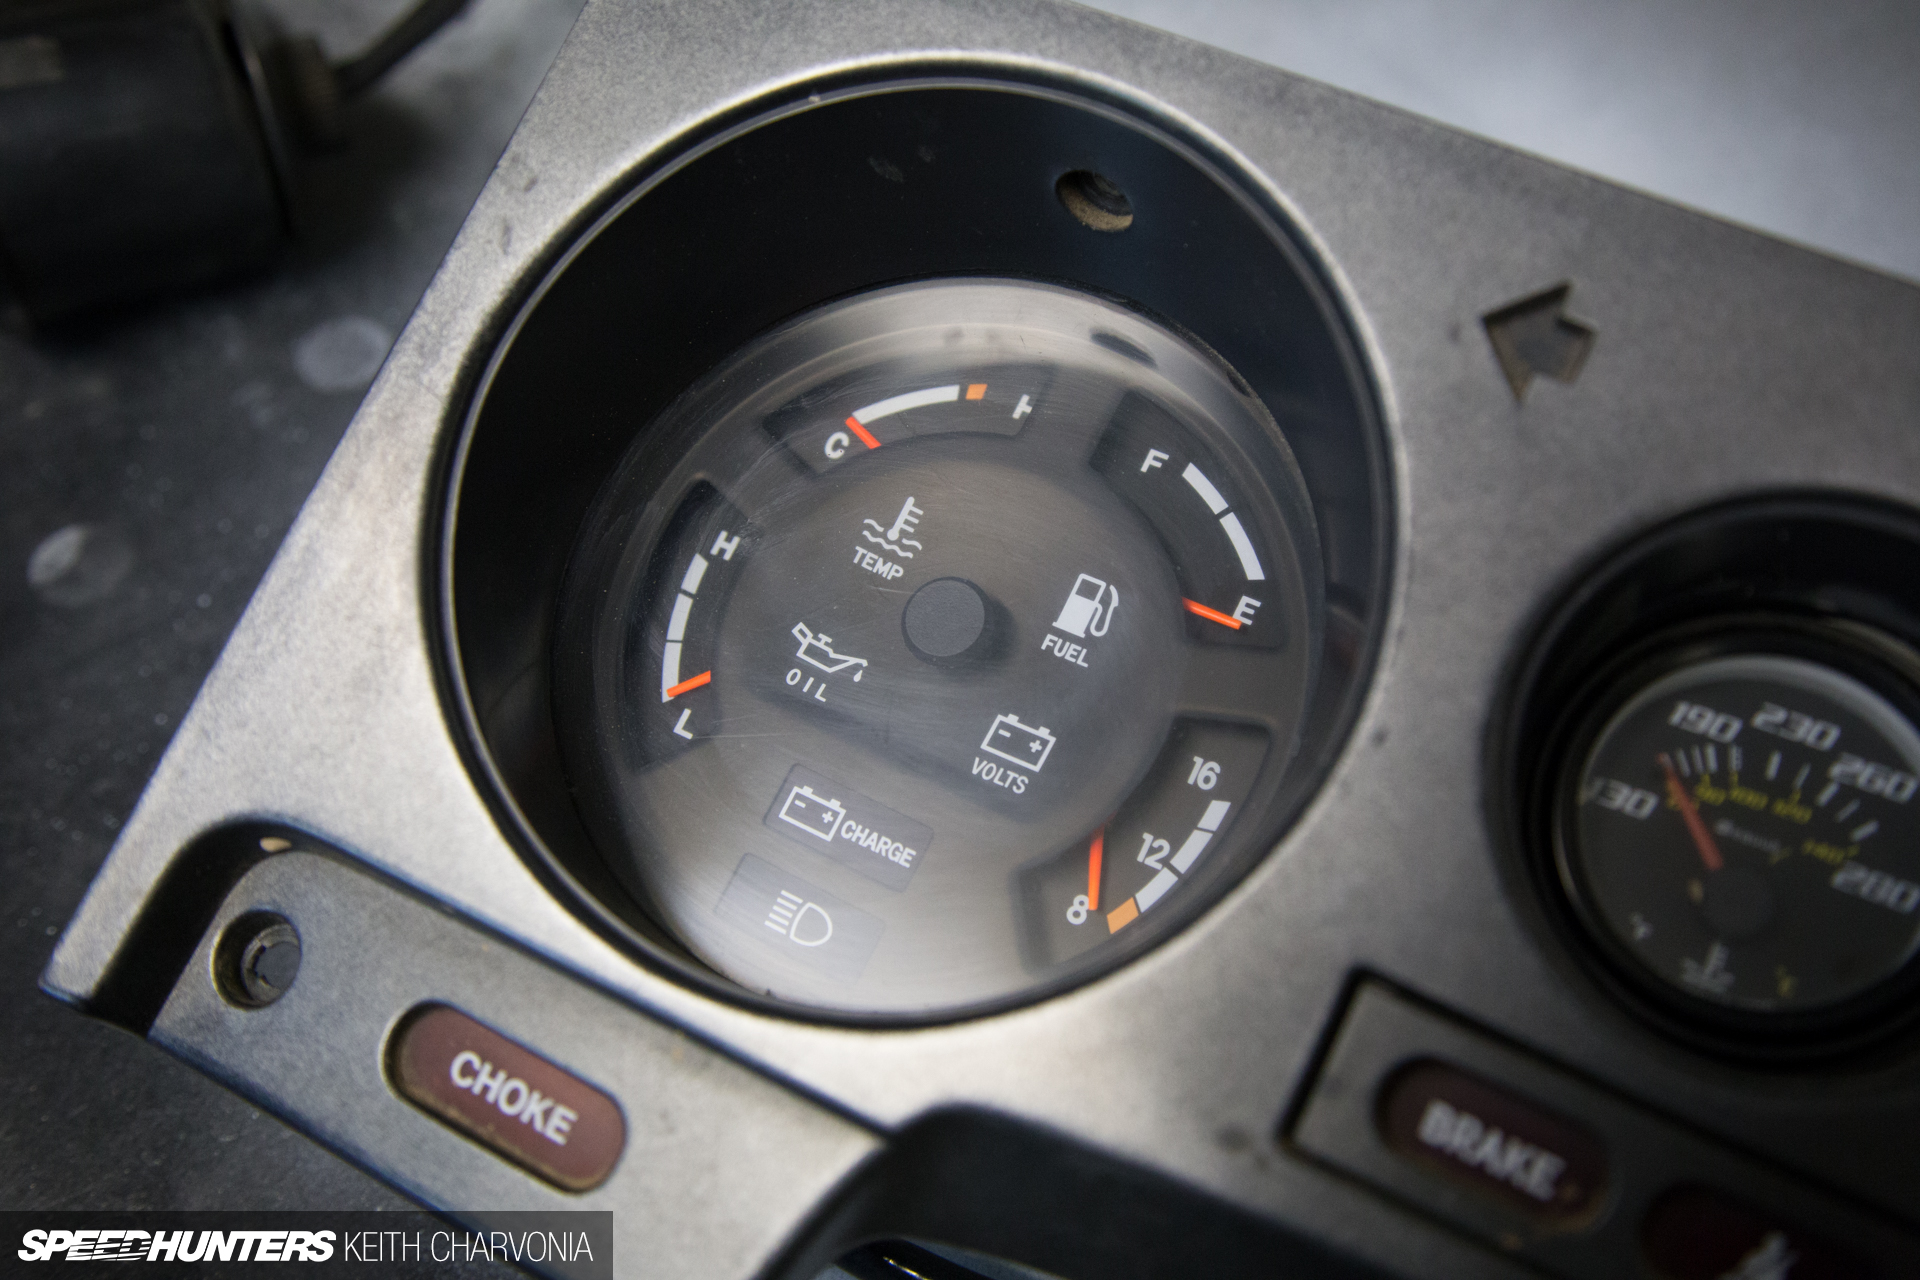
I was pleased to find that the actual gauges were in mint condition.

All I had to do was buff out the lenses. I like to use plastic buffing compound followed by Meguiar’s PlastX on a dedicated die grinder set up to hold a buffing wheel.

I looked at the tired trip odometer needle and figured it needed a shine too, so I chucked it up in a drill and hit it with the polishing compound.
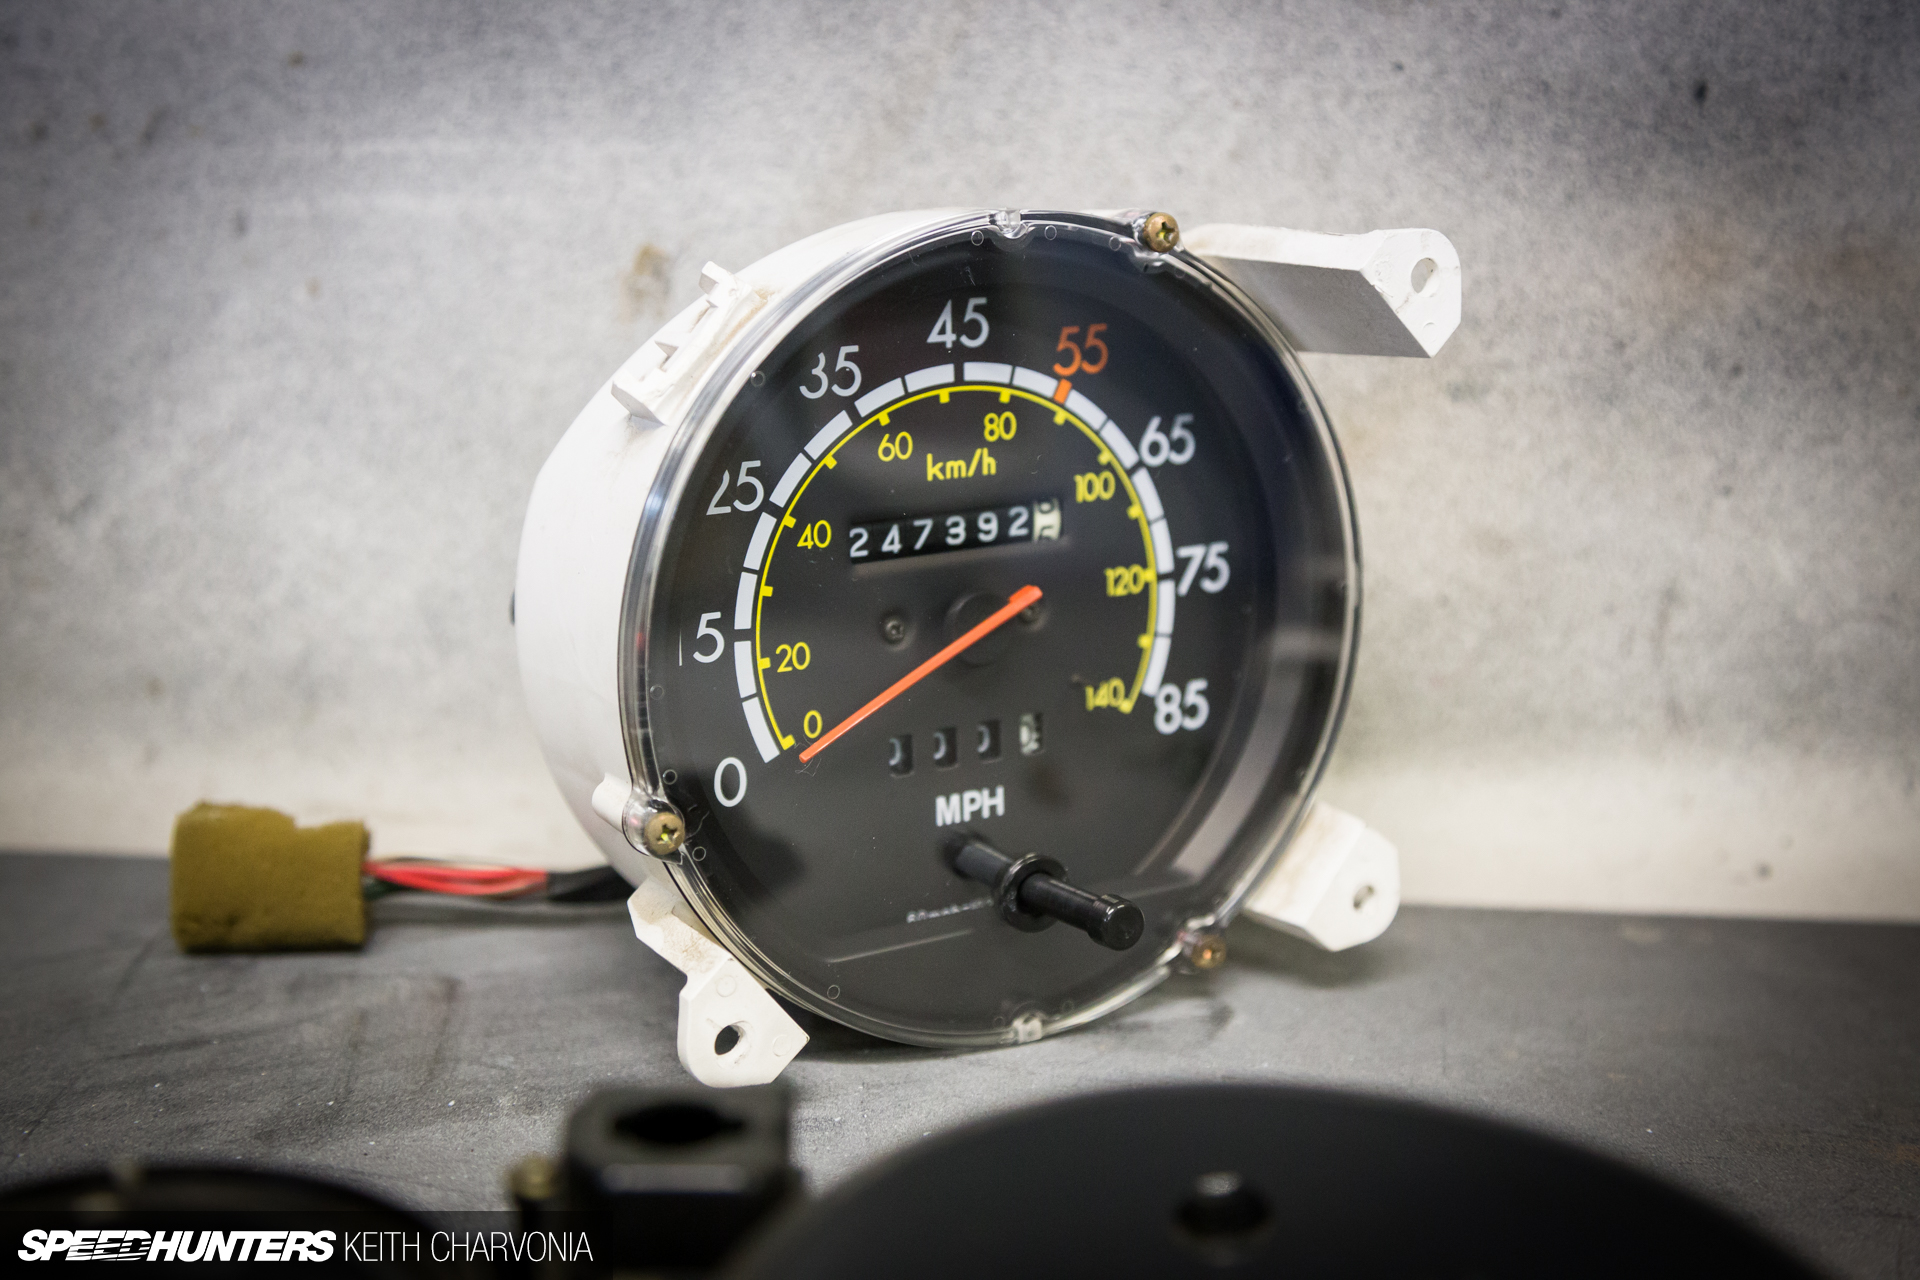
Nearly a quarter million miles and the gauges look brand new again.
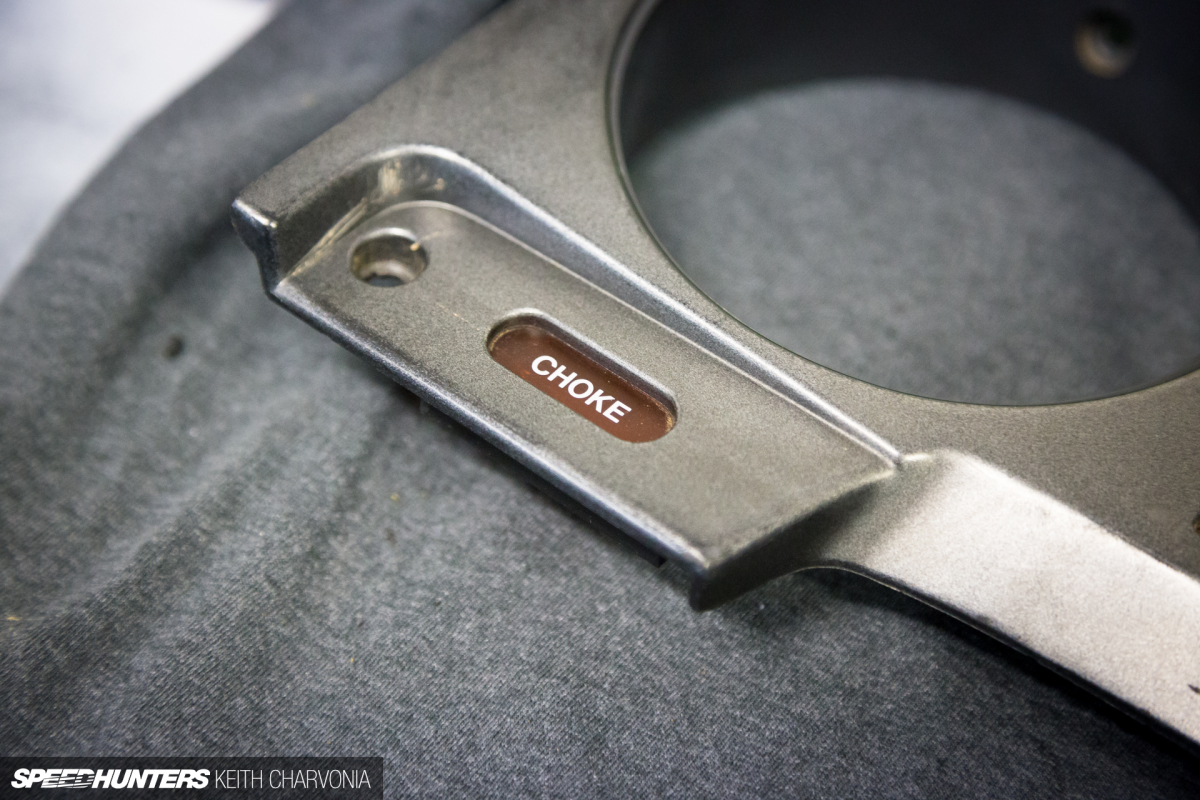
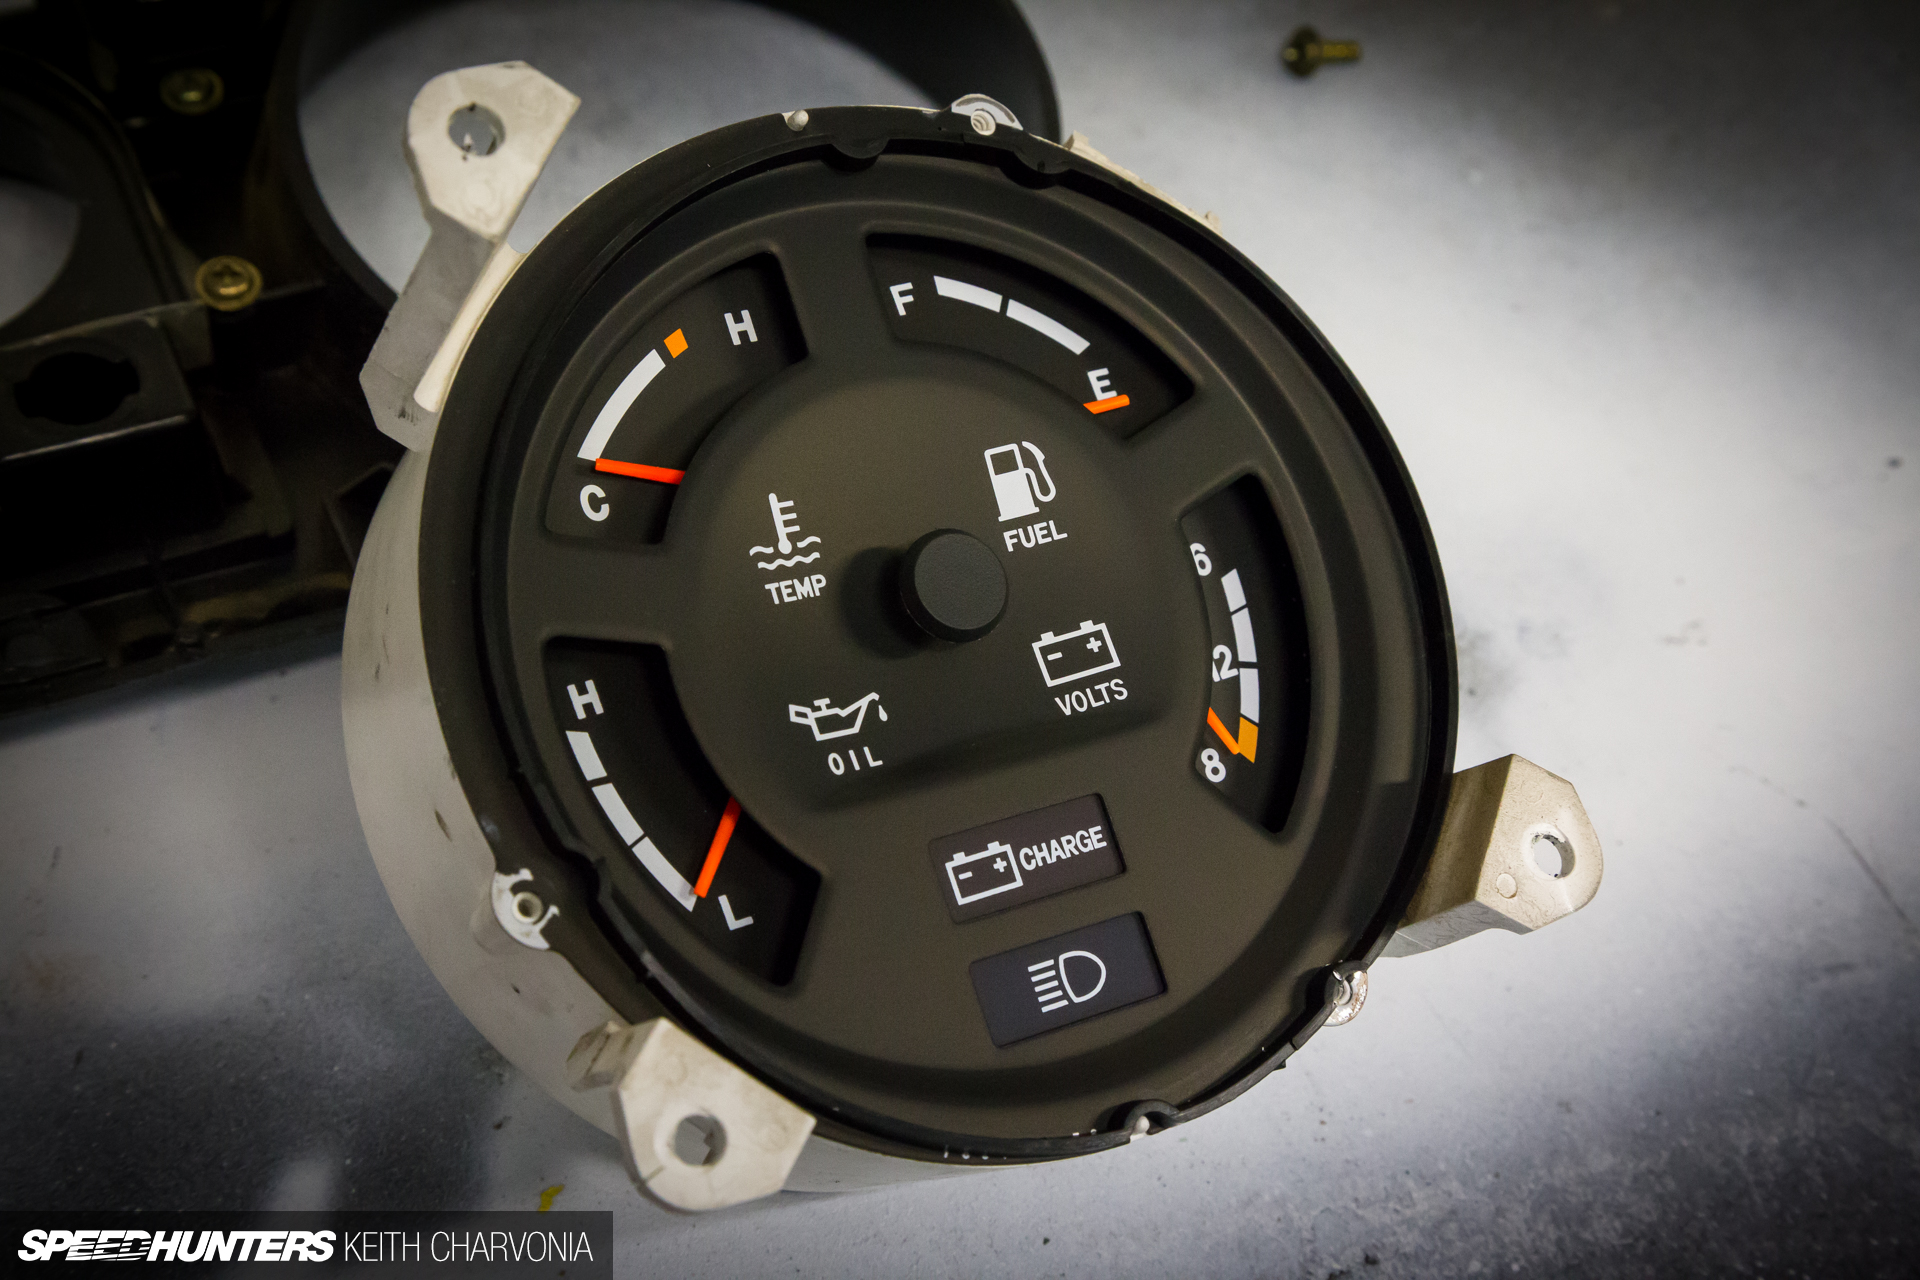
I planned to use some gunmetal spray paint to restore the bezel, but immediately hit a snag. Masking off the warning light lenses would never turn out looking good.
I dug deeper to see how they were held in.

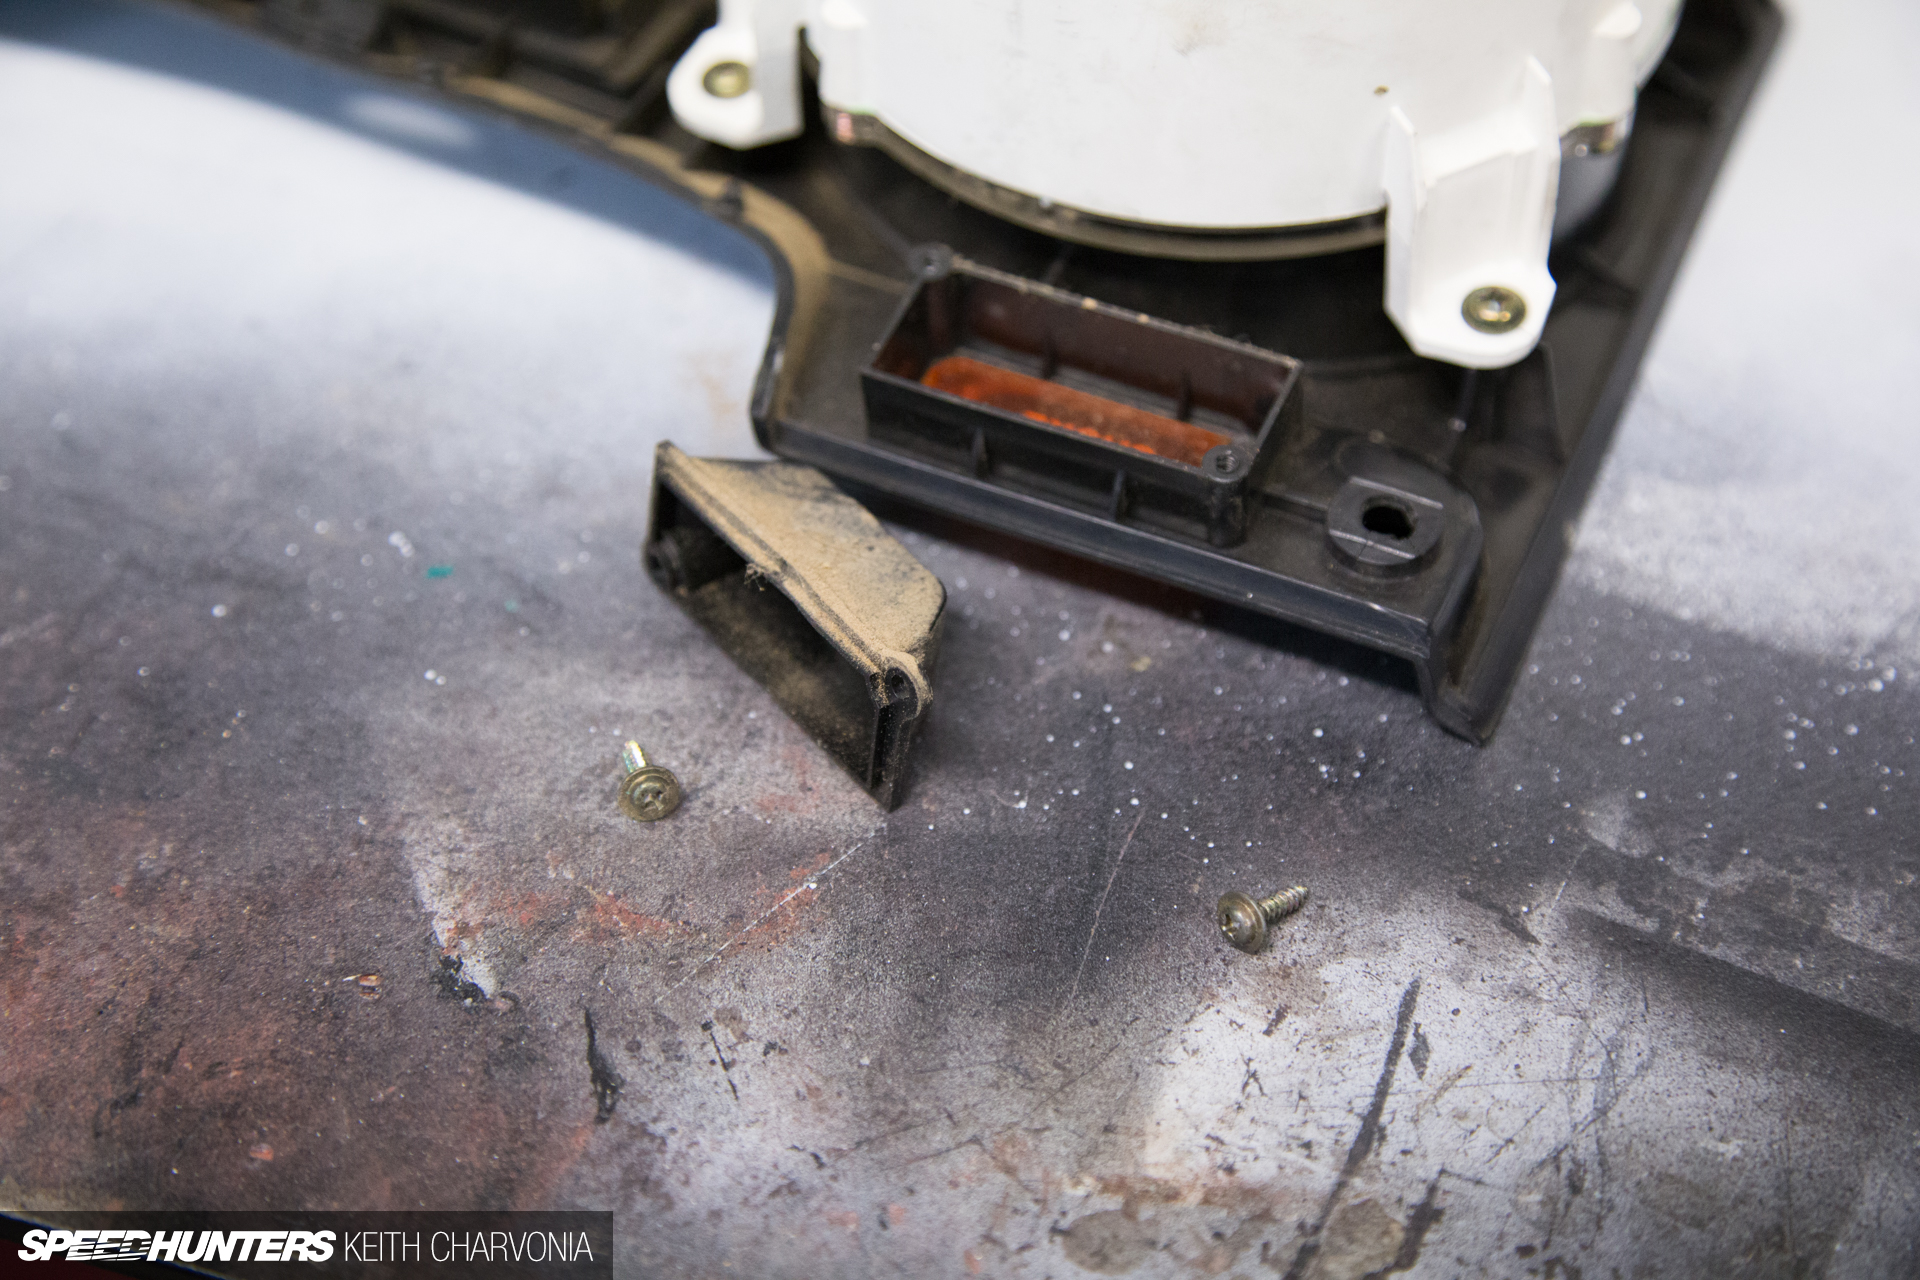
Turns out they sat on plastic posts that were heated and mushroomed to retain the lens. I use my Dremel to grind away the domed plastic until the lens could be removed. I did this sparingly, so as to leave enough material to melt the lens back into place later using a soldering iron.
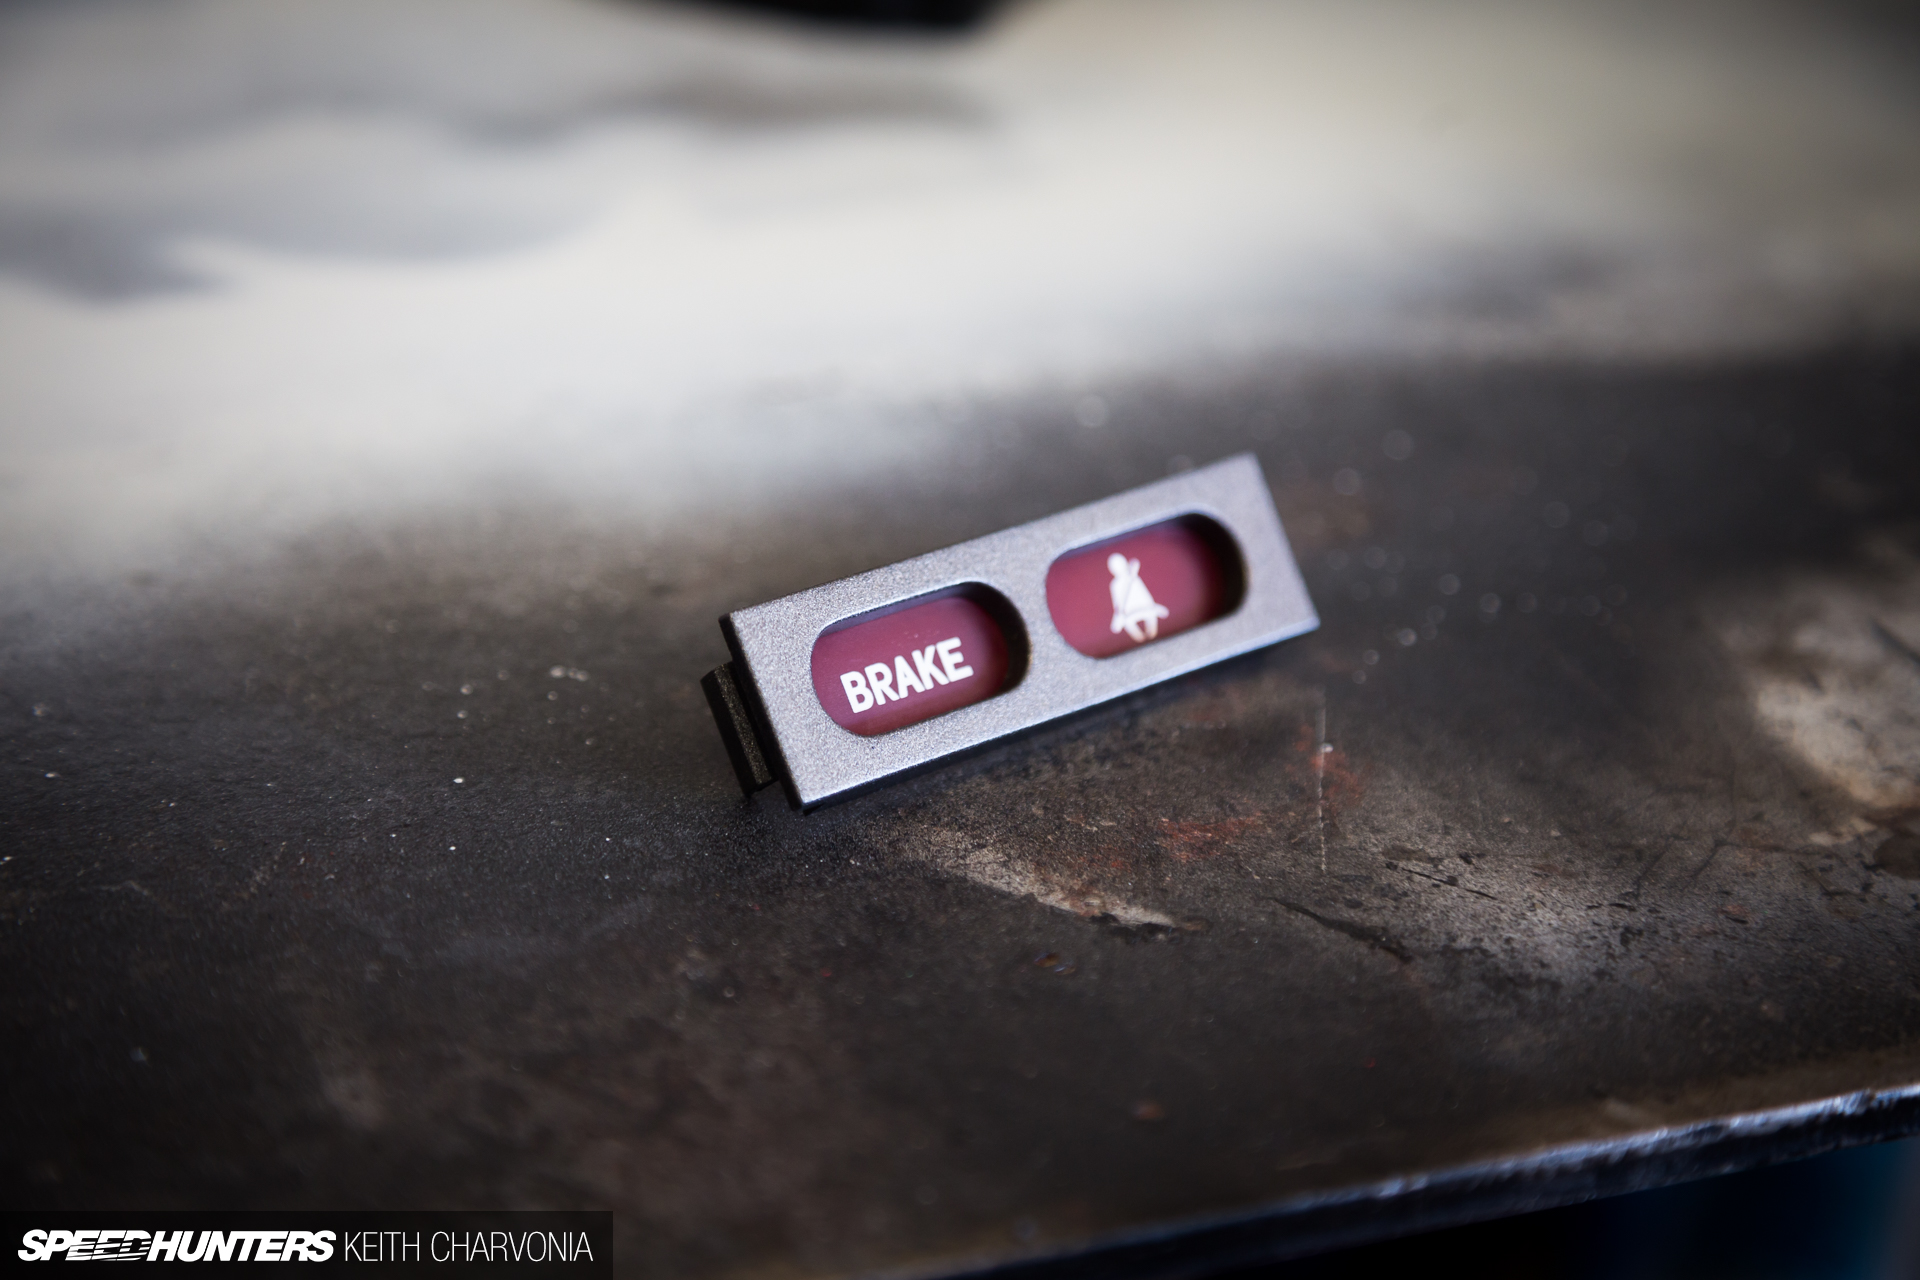
This small panel was removable, so it was my test run.
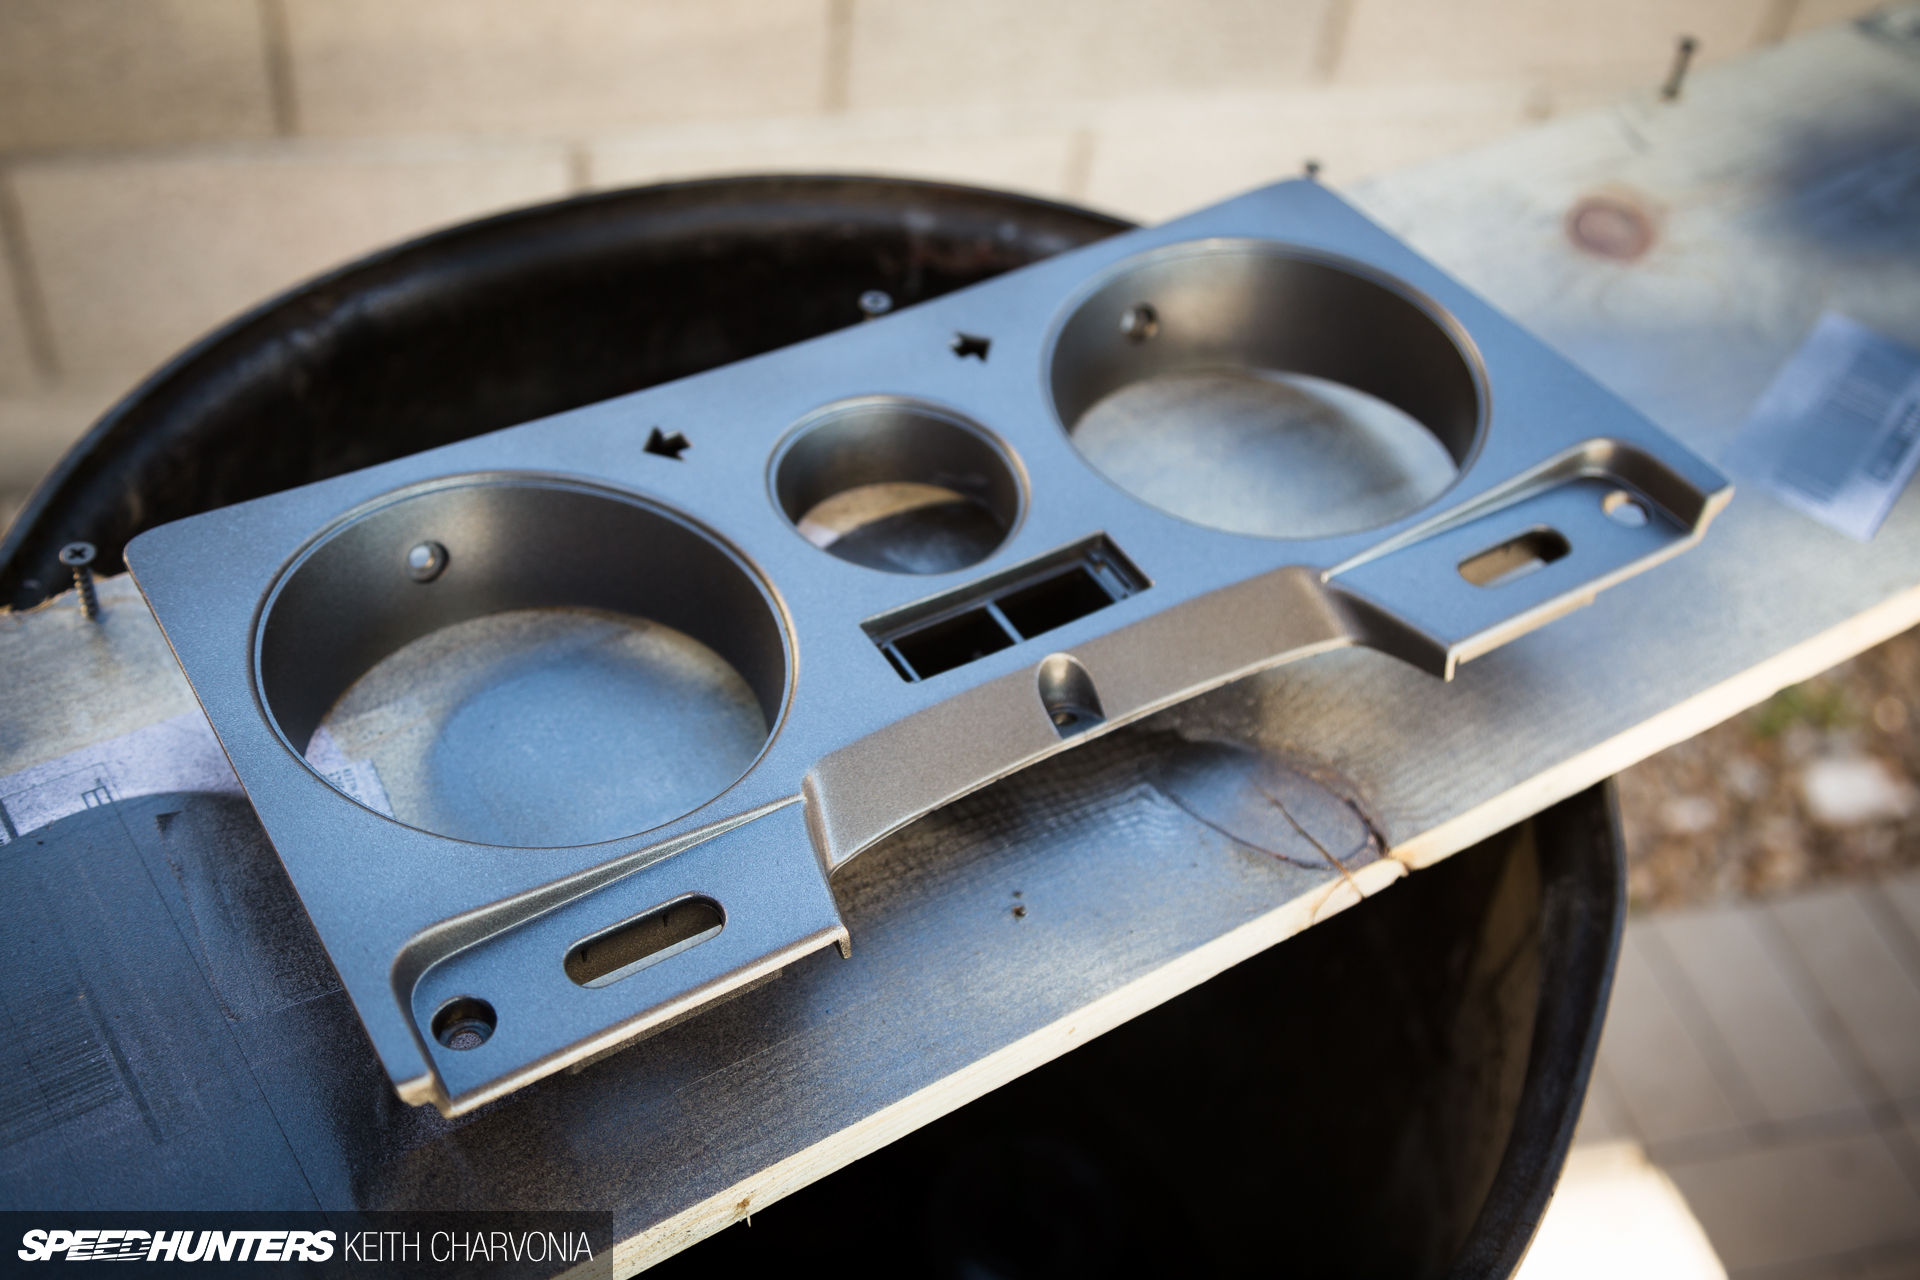
I sanded the bezel with 220 and applied a couple coats of paint.

Soon I had my gauge cluster completely restored, and for just a couple hours of work. I removed the aftermarket temp gauge that sat in the tachometer hole, and now I’m on the hunt for an OEM tachometer.
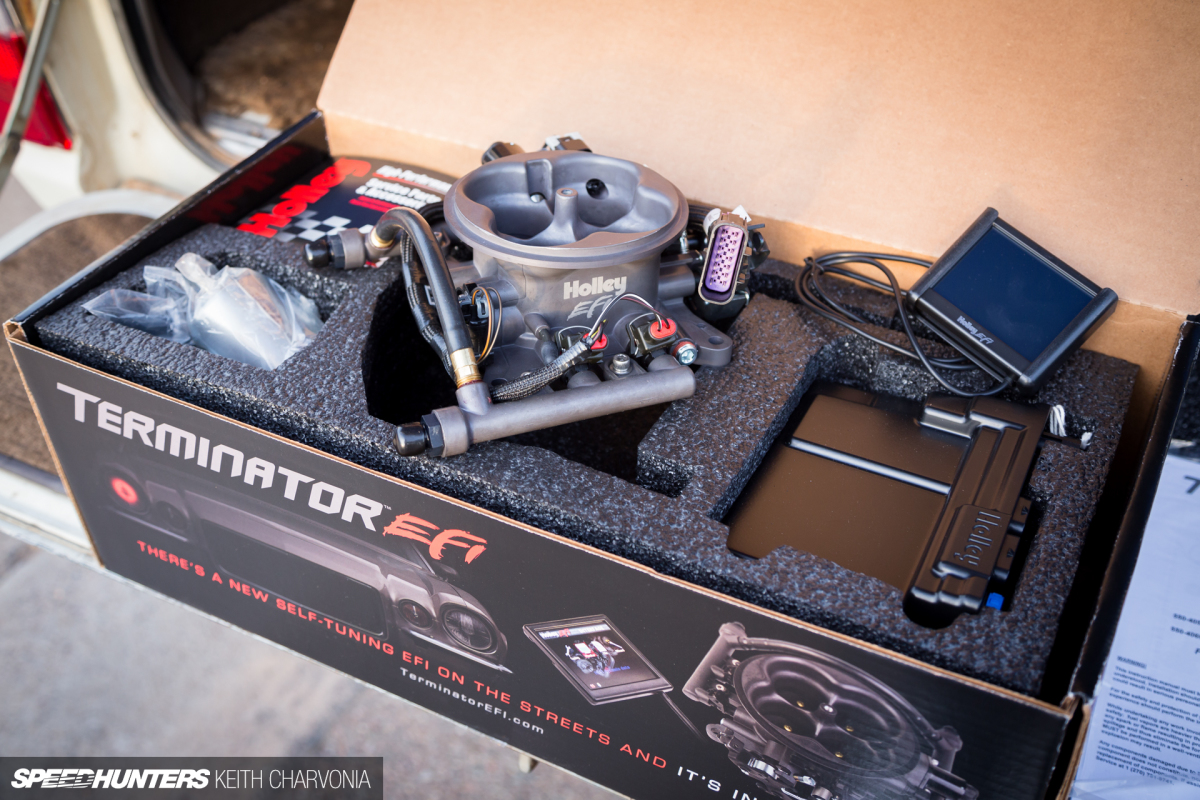
I’m planning to monitor coolant temp using the LCD display on my new Holley Terminator EFI setup that I’ll be installing soon, and I’ll try to get the factory gauge working too.

The new dash is in much better shape, and combined with the gauge resto it gives the FJ60 a much nicer feel.
The goodies are piling up, and I have lots more in store for my FJ! Hopefully I can get it out in the desert and wheel it soon too, but for me it’s just as much fun to work on it.
Keith Charvonia
Instagram: SpeedhuntersKeith
keith@speedhunters.com
More Speedhunters Project Car stories
Off-road related stories on Speedhunters