
A couple of months back I introduced you all to Project KP61, my long term (inadvertently, of course) project build based around a 1981 Toyota Starlet that I’ve owned for a significant period of my life.
Since then life’s been moving forward at a hectic pace. With a full-time day job, media tasks for both Speedhunters and other print media outlets, and the arduous task of purchasing a home, it feels like time spent in the garage tinkering has been minimal at best. But somehow, progress has been steady.
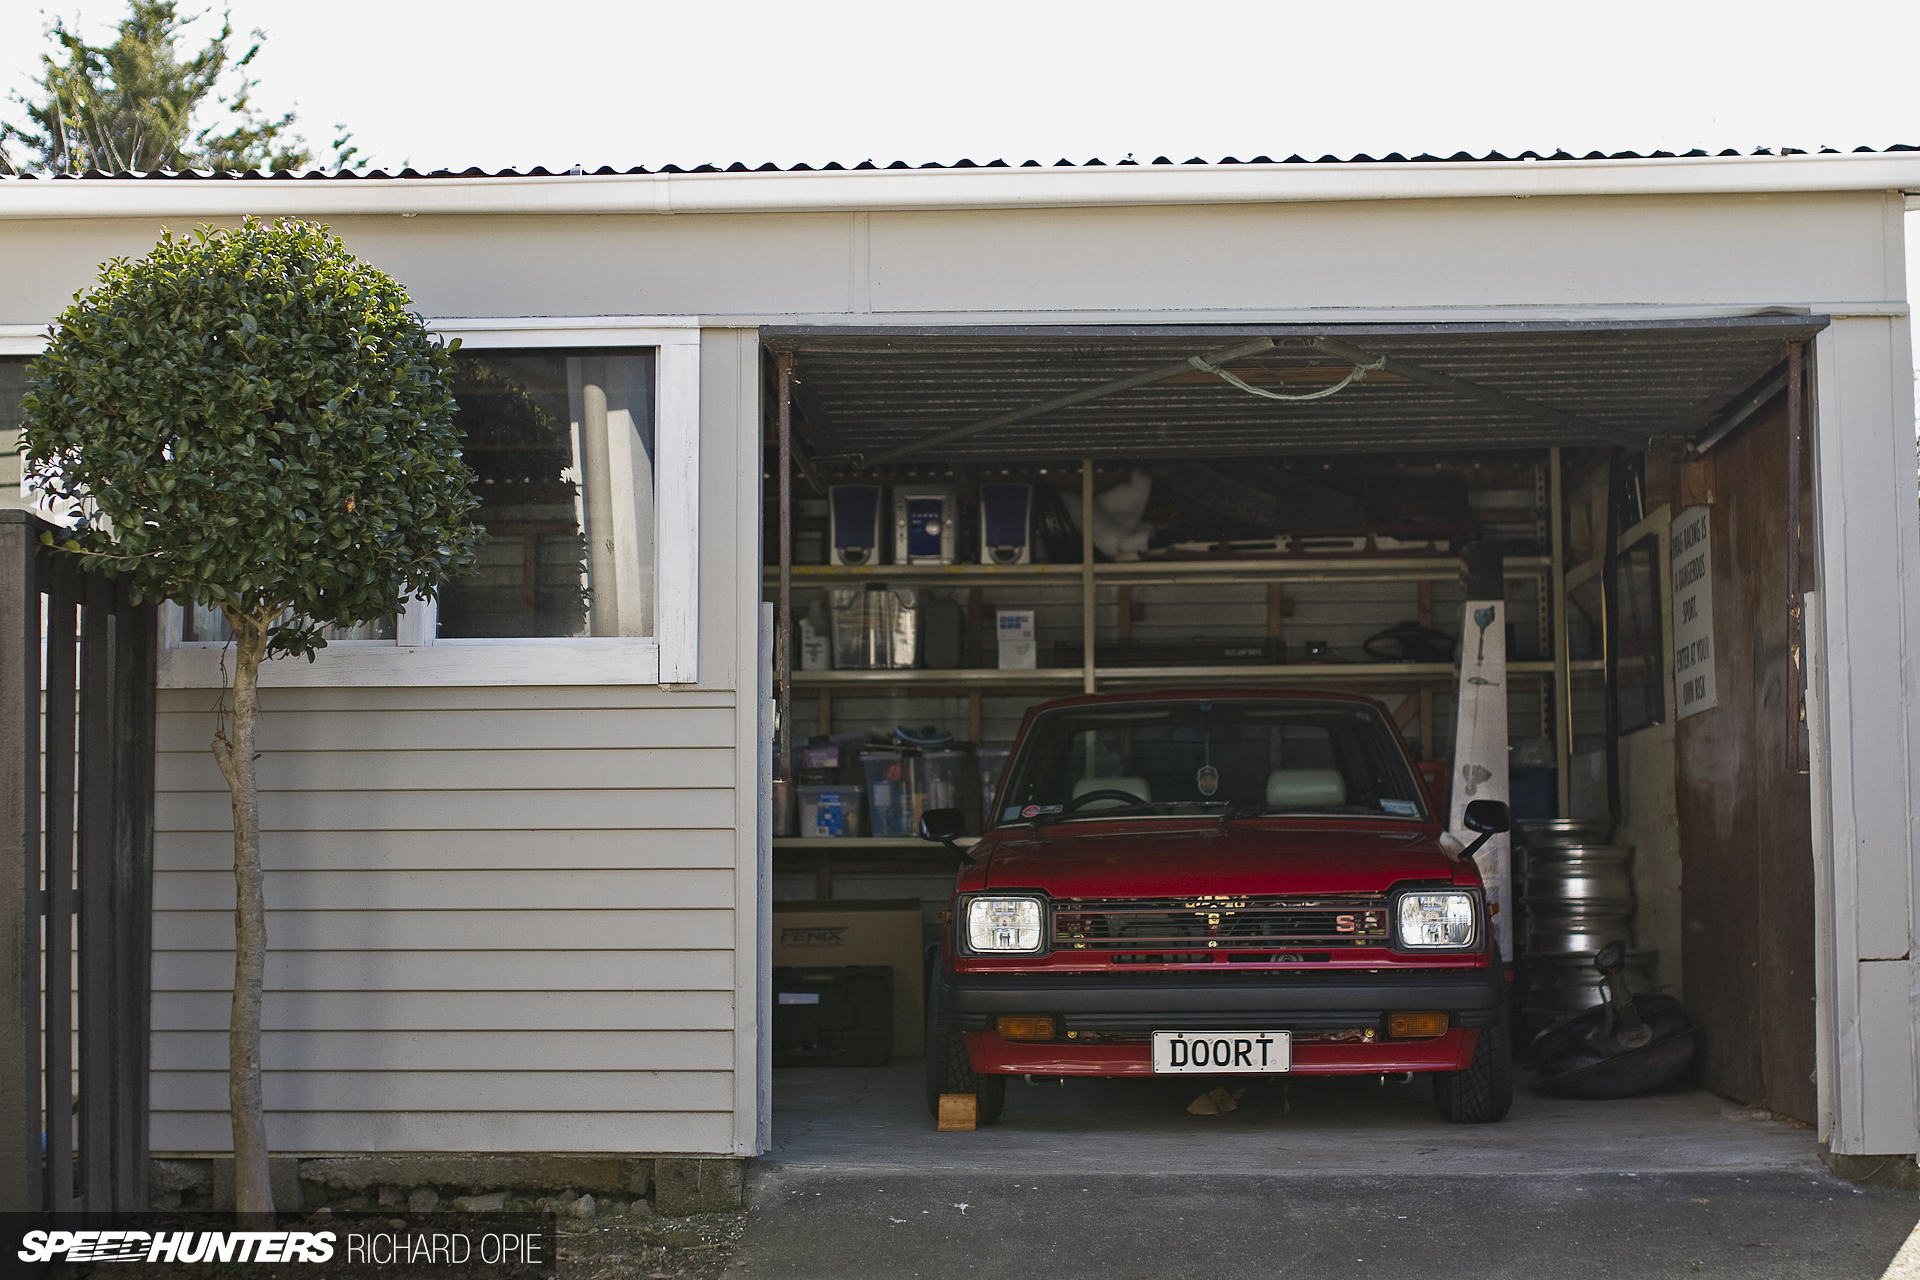
One of the perks of buying a home is that I’ve now got a garage to call my own; albeit small, ramshackle and without power for now. So Project KP61 has a home too. I also indulged in one of those ‘love it or hate it’ accessories – a personalised license plate. Given the ITB setup should make a bit of a racket, the KP now wears the onomatopoeic tags, DOORT.
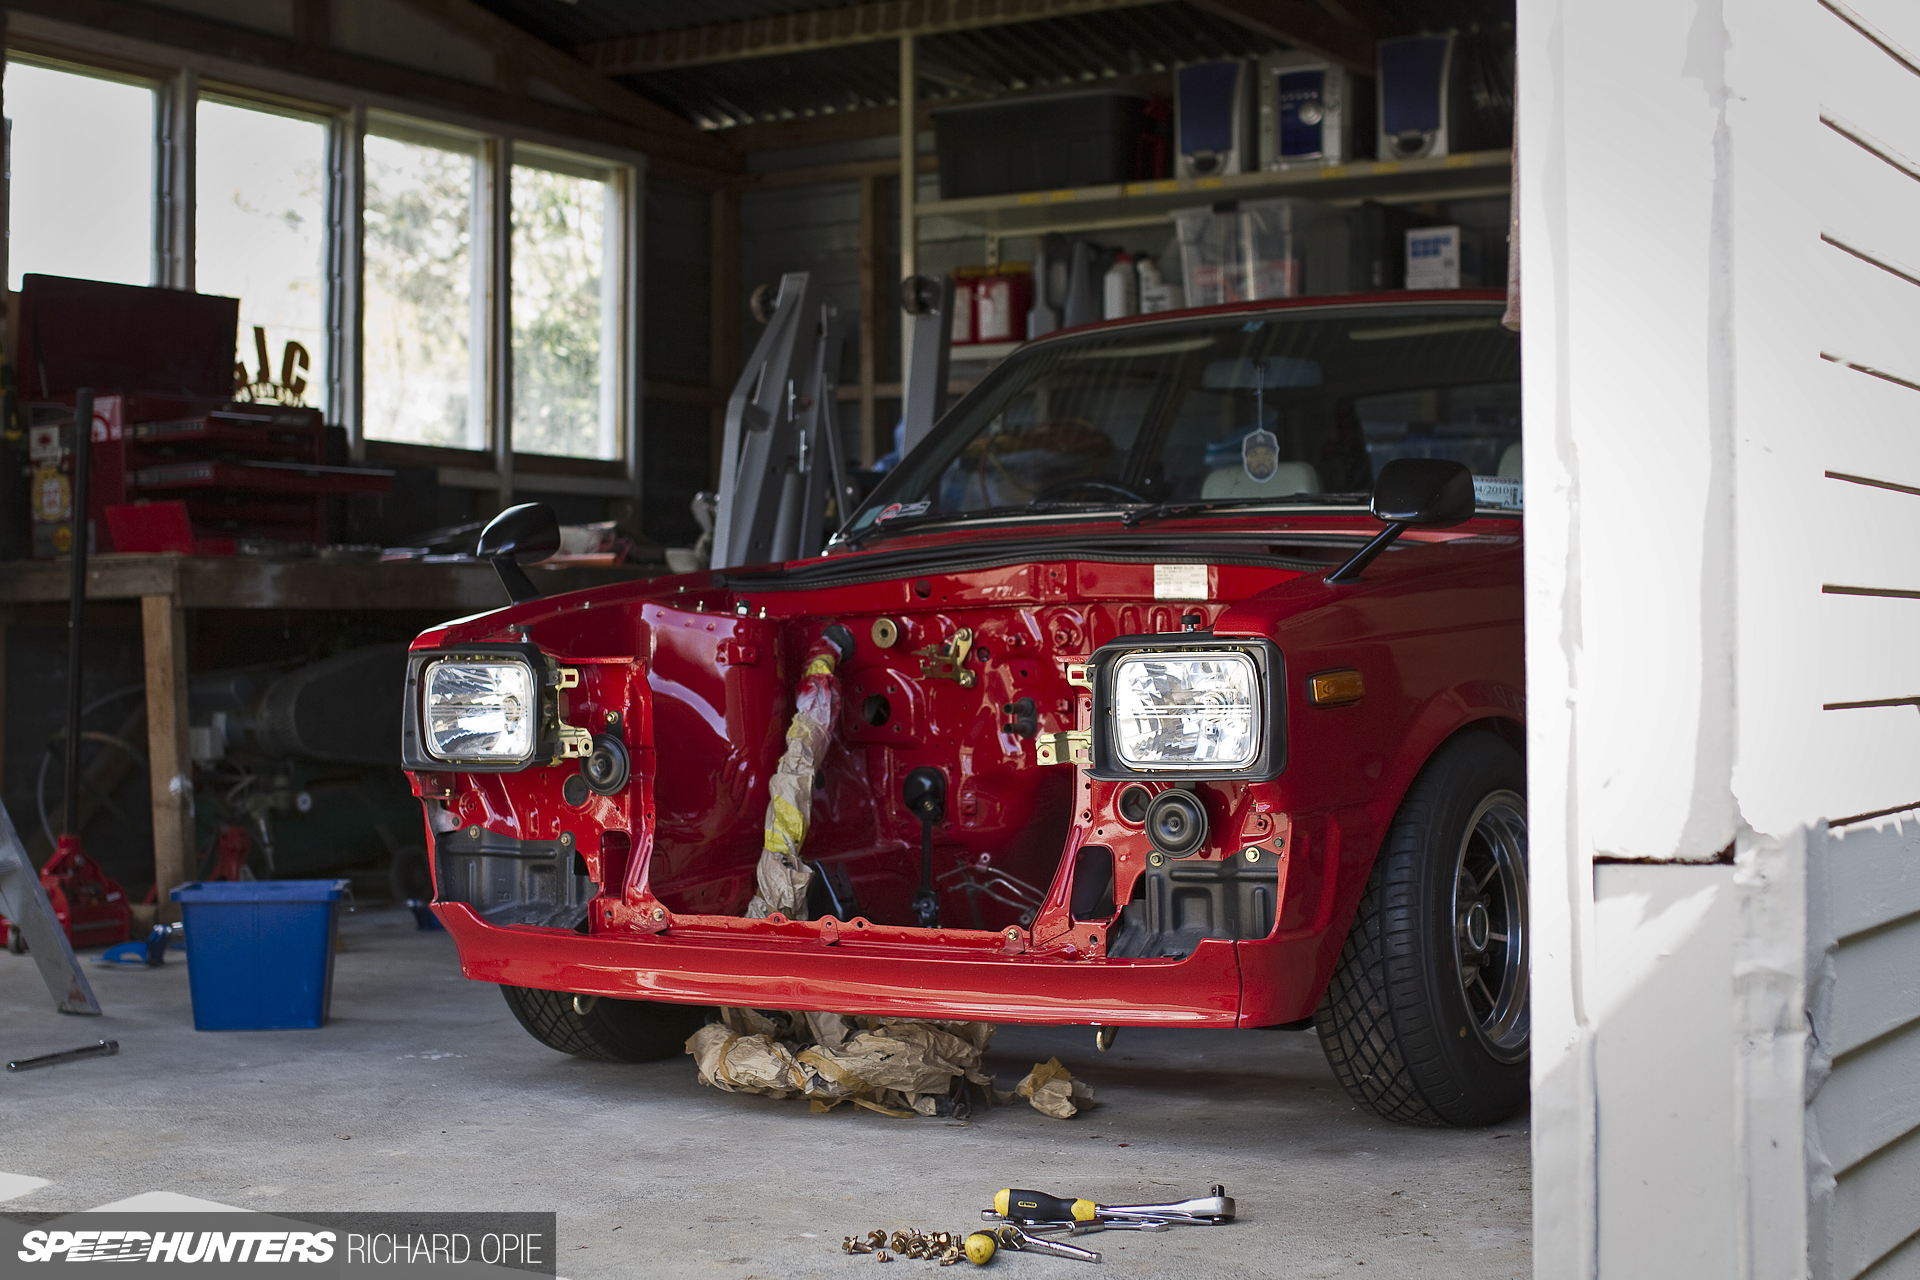
Not long after the shift, the call was made to get the 4A-GE into the hole. With a currently assembled front end, in order to get the engine in with the least amount of hassle and risk of damaging the engine bay paint I elected to dismantle the nose and open things up. Removable slam panels are an old car tinkerer’s best friend – well played Toyota of the ’80s!
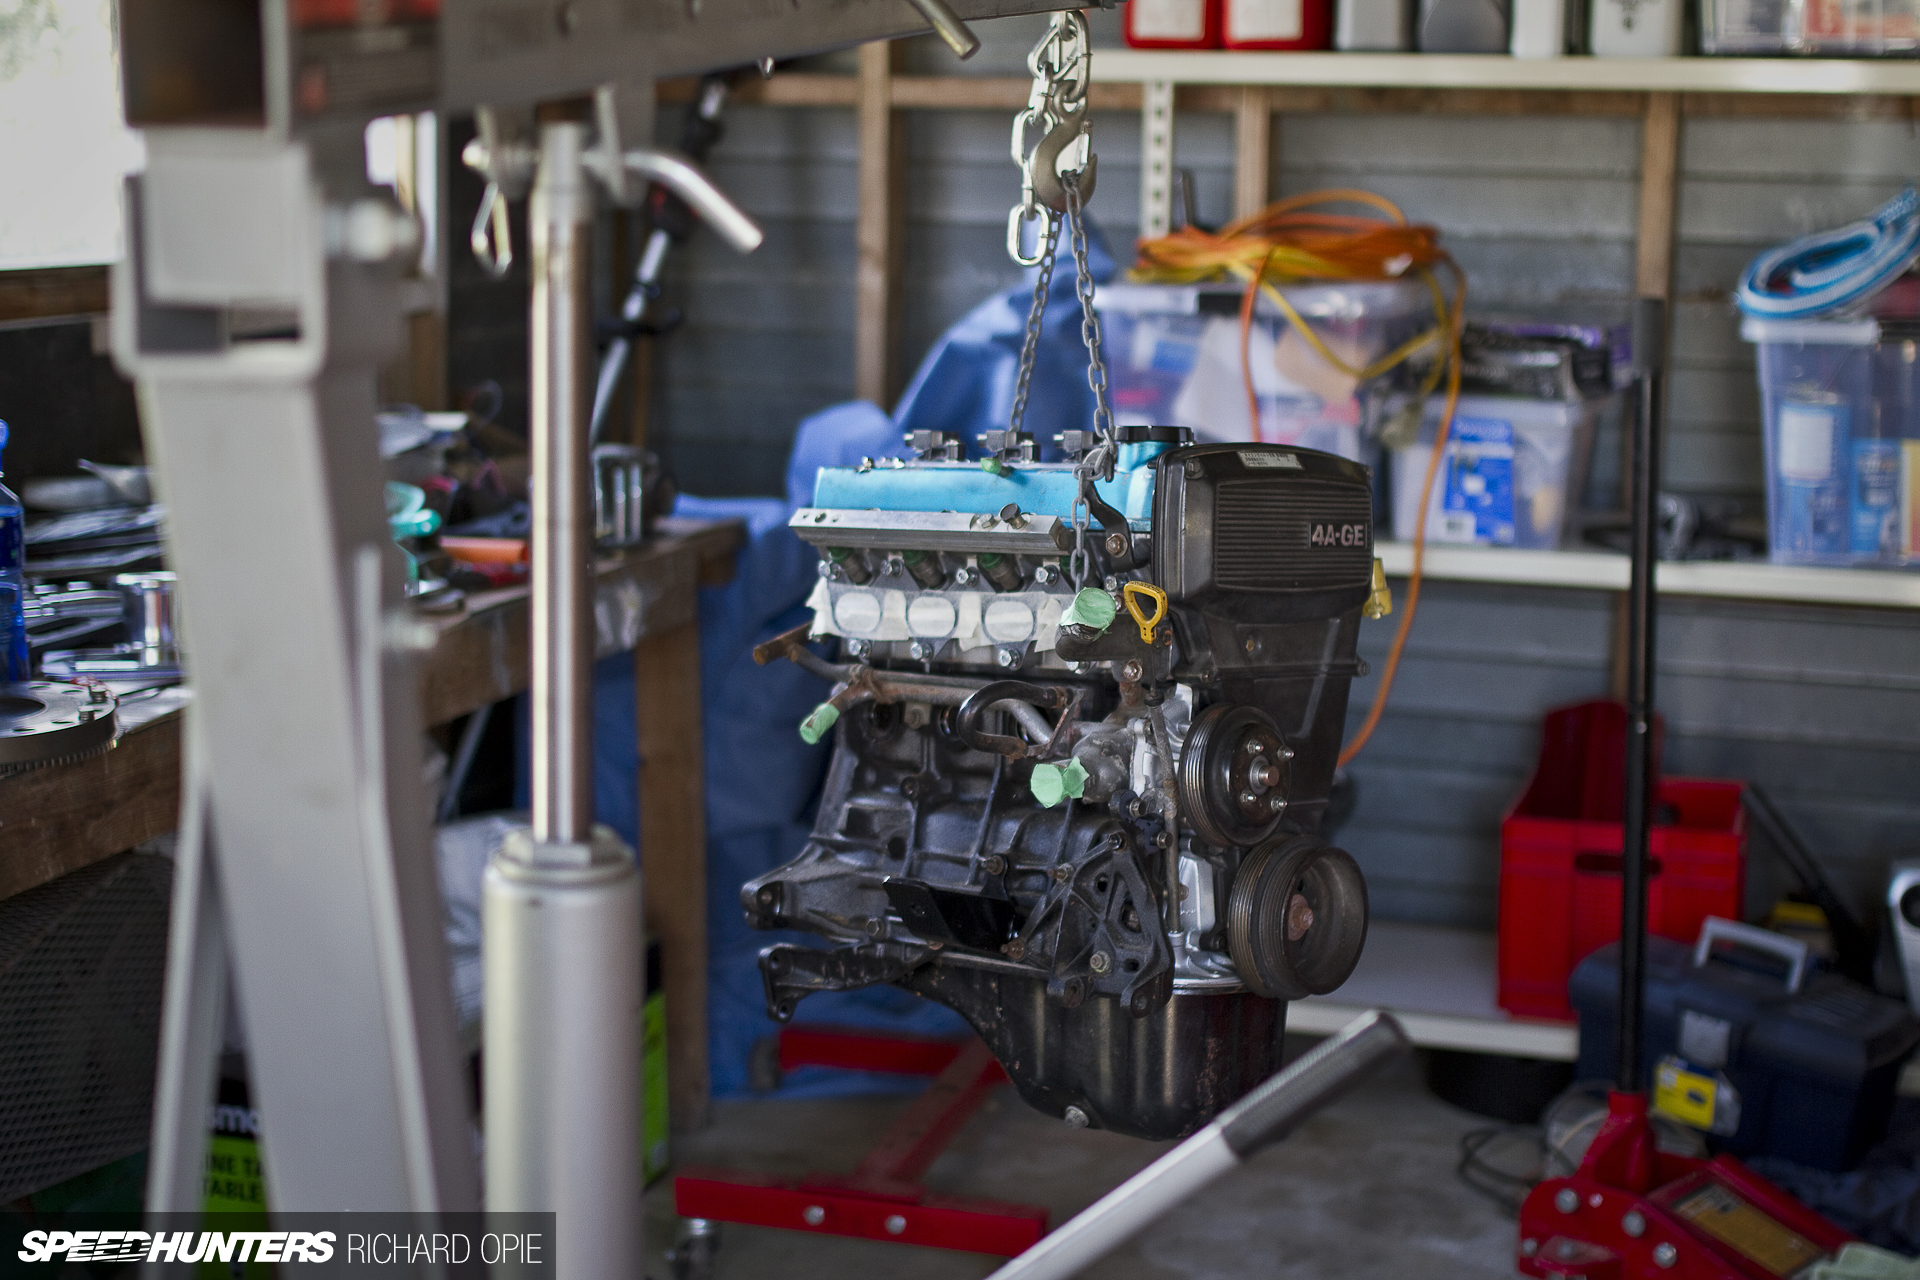
With the help of the requisite hydraulic crane, we lifted the engine from the stand, but not before removing as many of the ancillaries as possible to further the ease of installation.
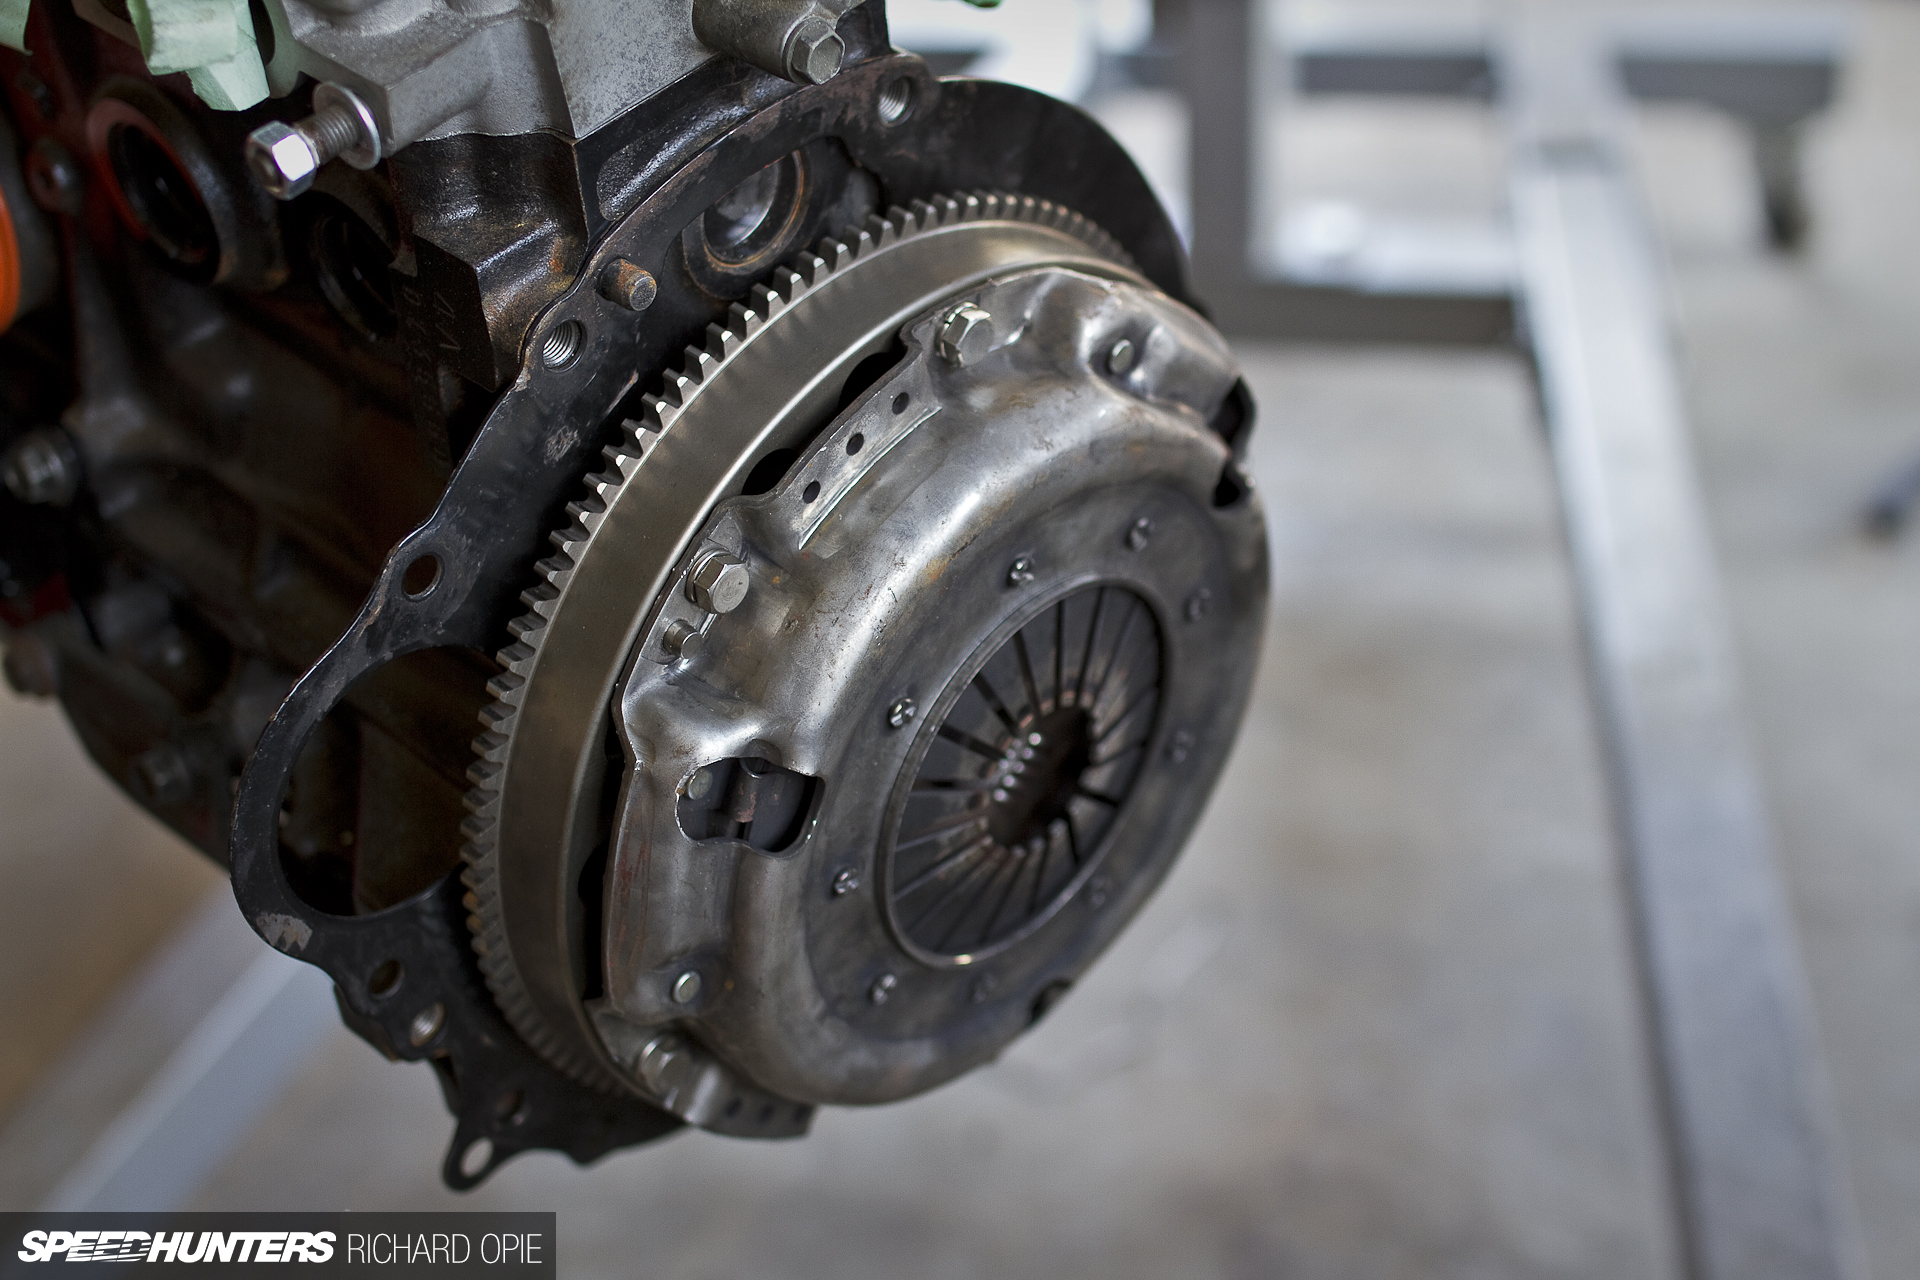
By no means a final fitment, the call was made to fit up the Toda lightweight chrome-moly flywheel and old 3-puck clutch that came with the engine as a test fit, and to give the input shaft of the gearbox something to engage with.
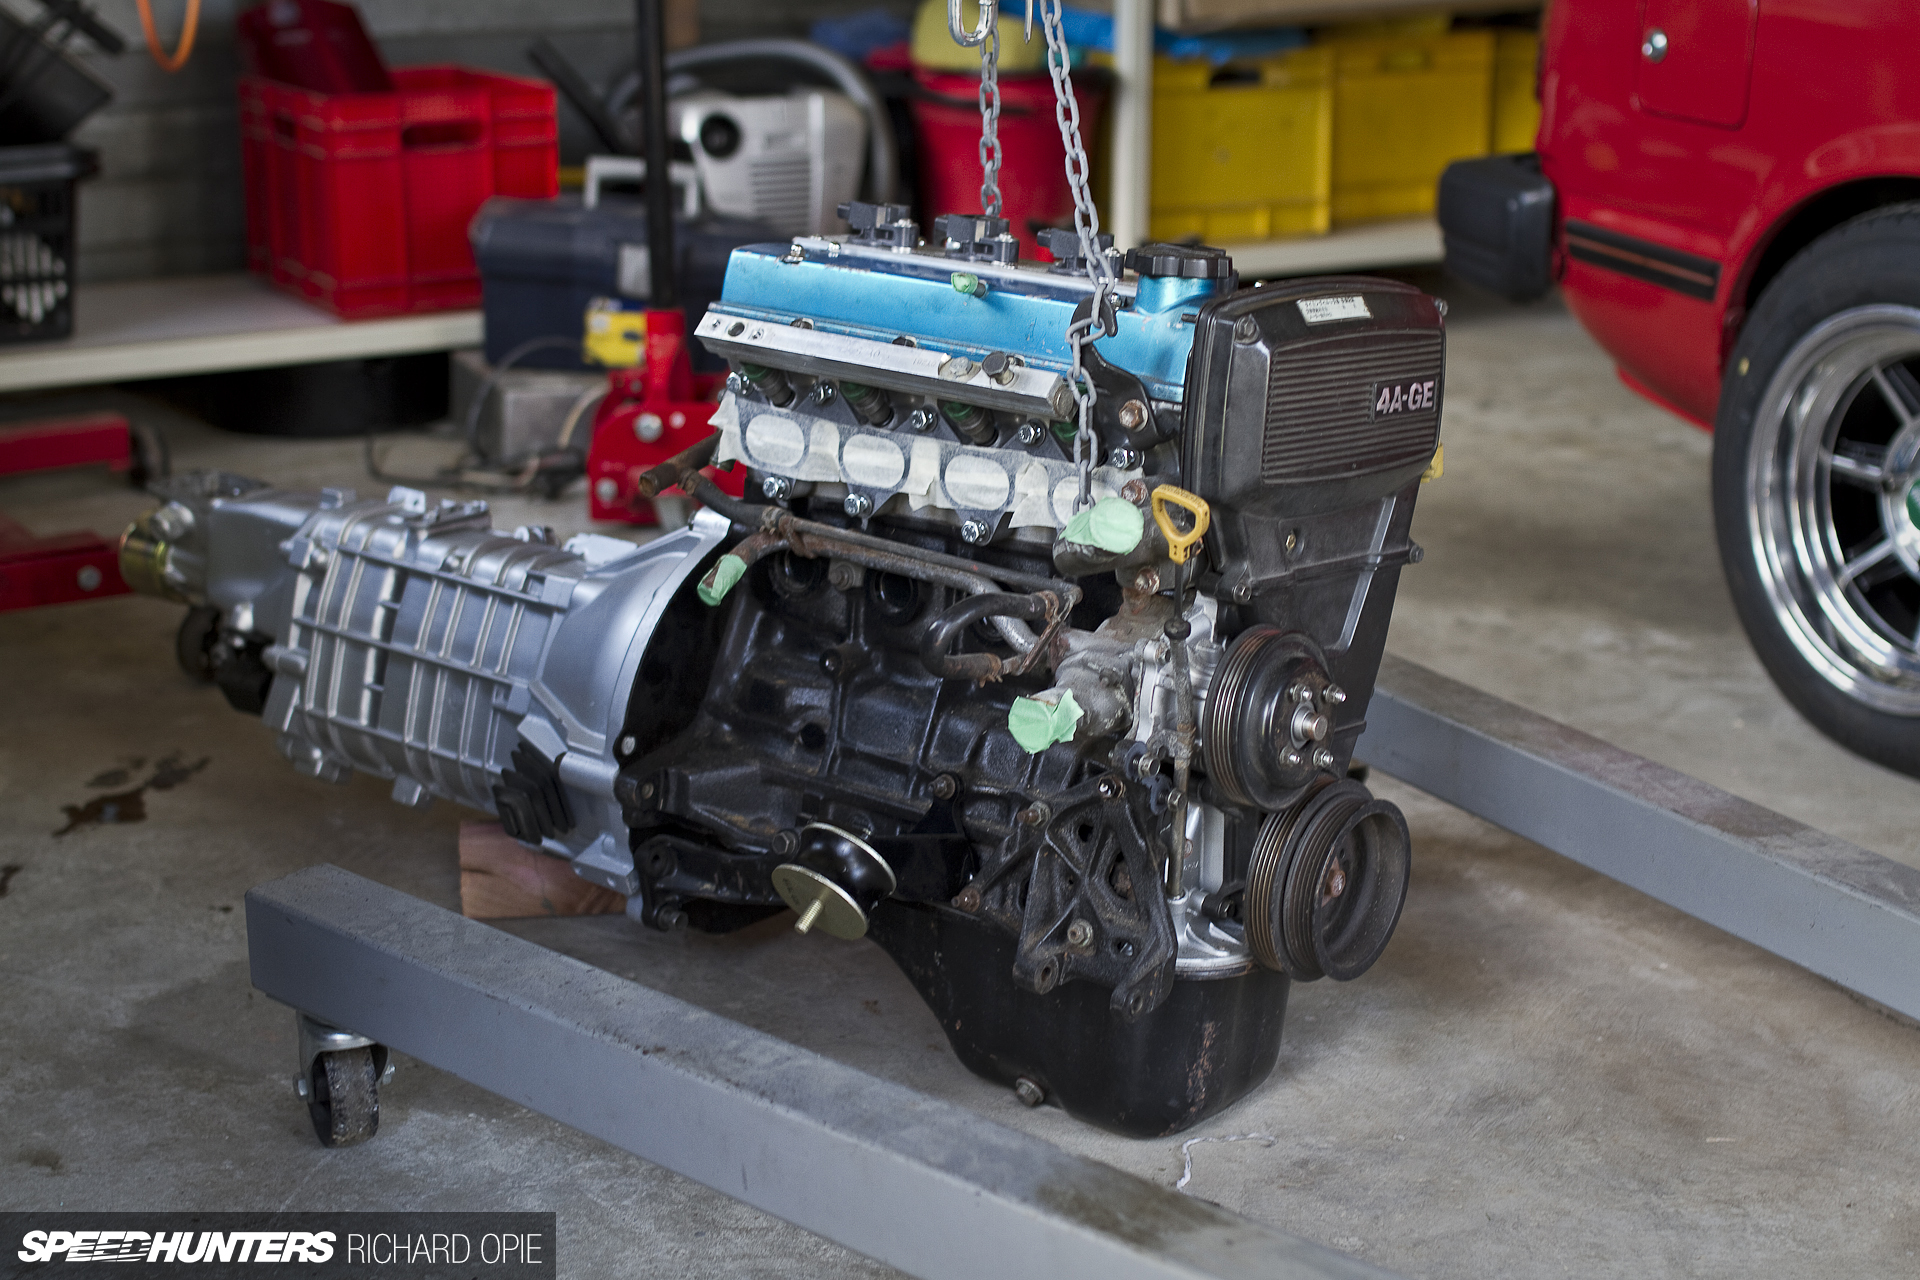
Lining up the clutch friction plate with the input shaft splines of the gearbox is one of those tasks that either goes well or is a massive nuisance to get right; especially if you’re like me and your clutch alignment tool is the handle of a 3/8″ drive ratchet or similar. I really should just plonk down the cash for the right tool one of these days, but then the ‘find something that fits’ method usually works and everyone’s happy. Well, it worked seamlessly enough this time… A few jiggles and the T50 gearbox slid home onto its dowels and the bell-housing bolts were duly tightened.

With limited space available in the shed, the journey from workbench to the front of car was made gingerly as the whole engine and gearbox combo swung perilously from a chain a few inches from the ground. Yes, the front of the car is resting on blocks of 2×4″ timber, but only because the legs for the crane wouldn’t otherwise slide under the valence or crossmember.
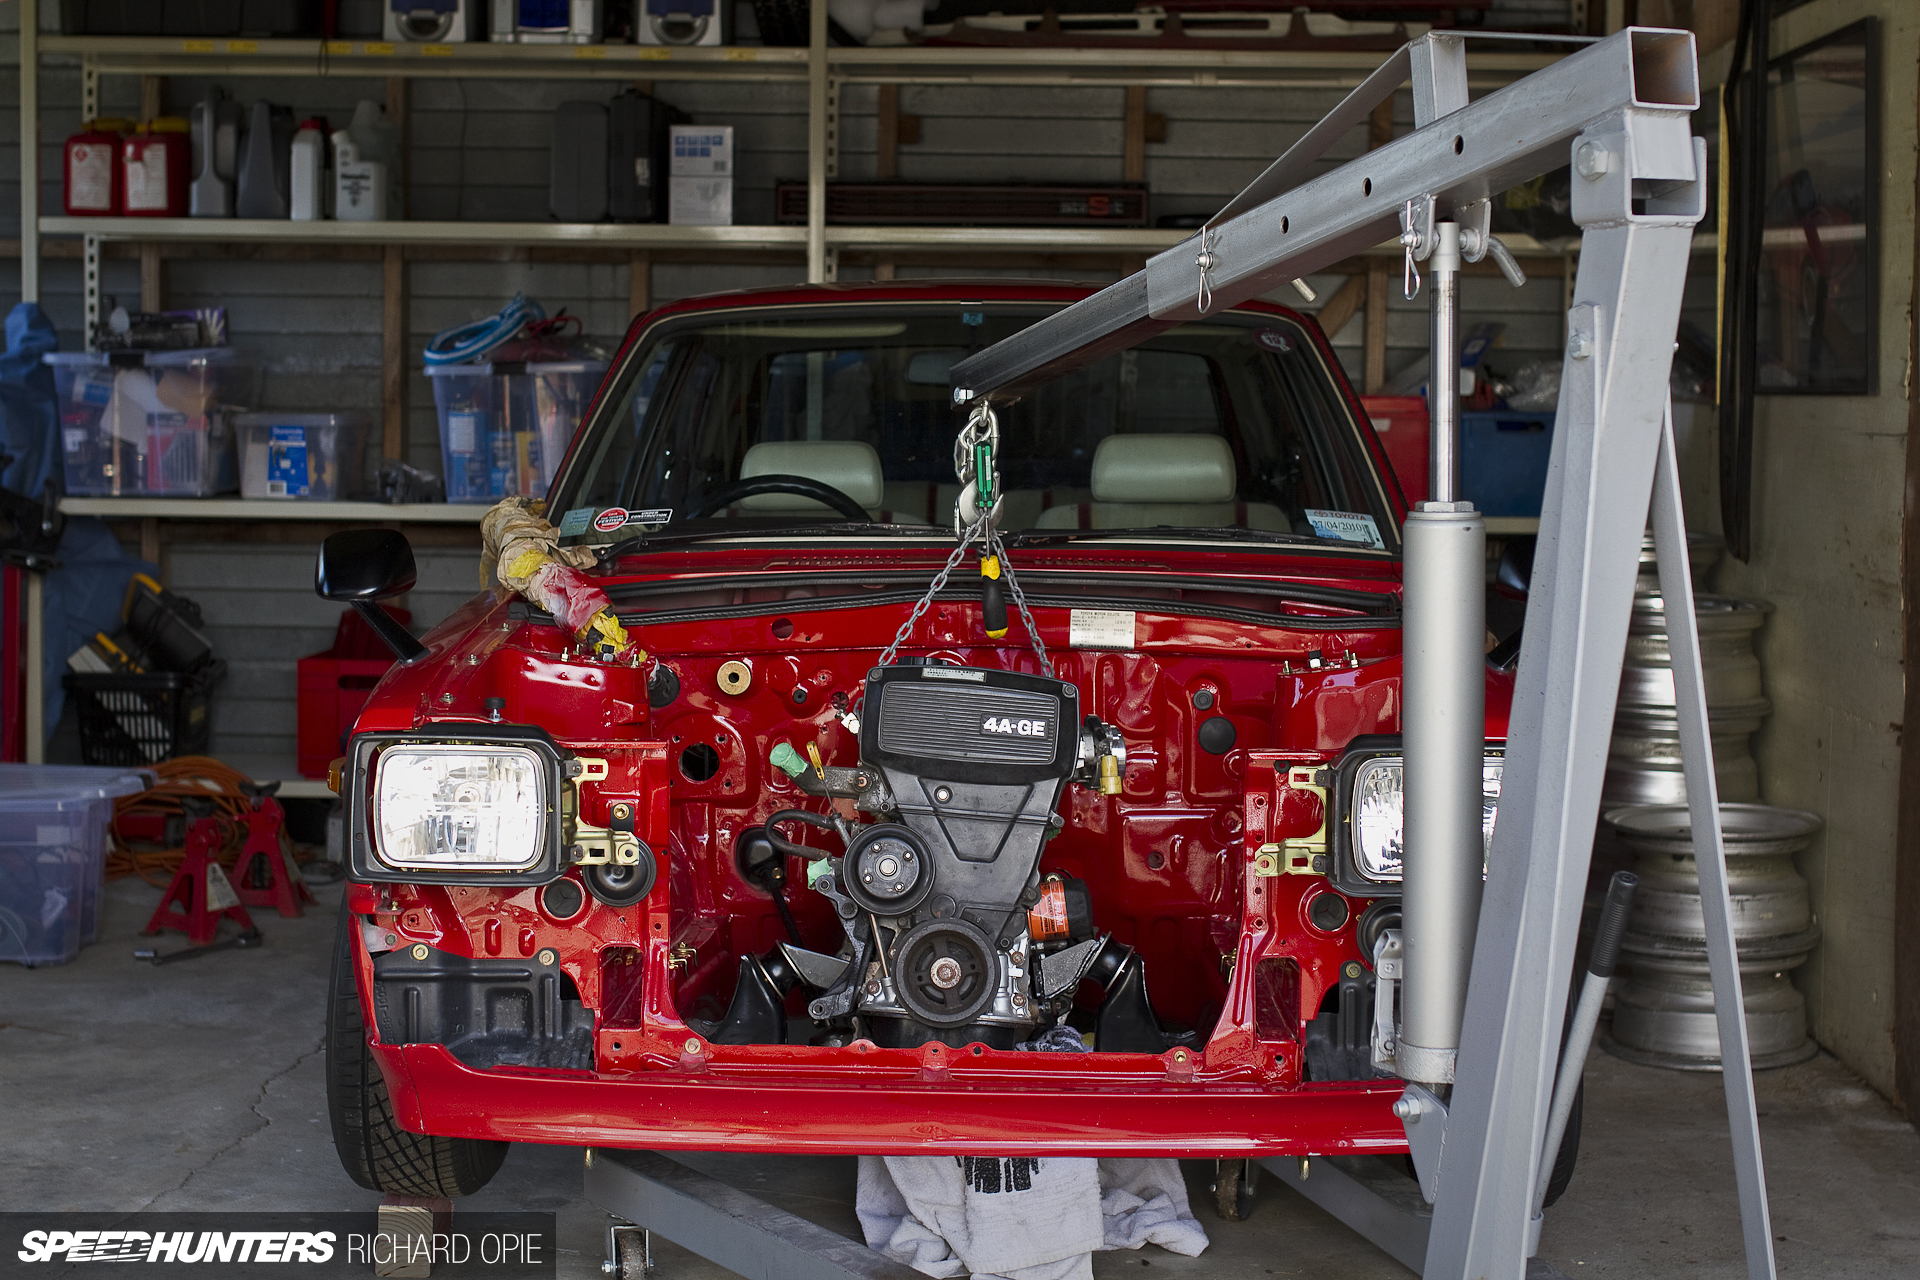
This was a two man job. I guided the engine into place on the slotted mounts while ‘Sheepers’ manned the release on the hydraulic ram. An exercise in patience, it took several minutes to get it into place, but as shown in this photo, the ‘bolt in’ engine mounts I’d purchased online left the engine canted towards the passenger side at a less than desirable angle. They also prevented the engine from mounting as low as I would have liked.
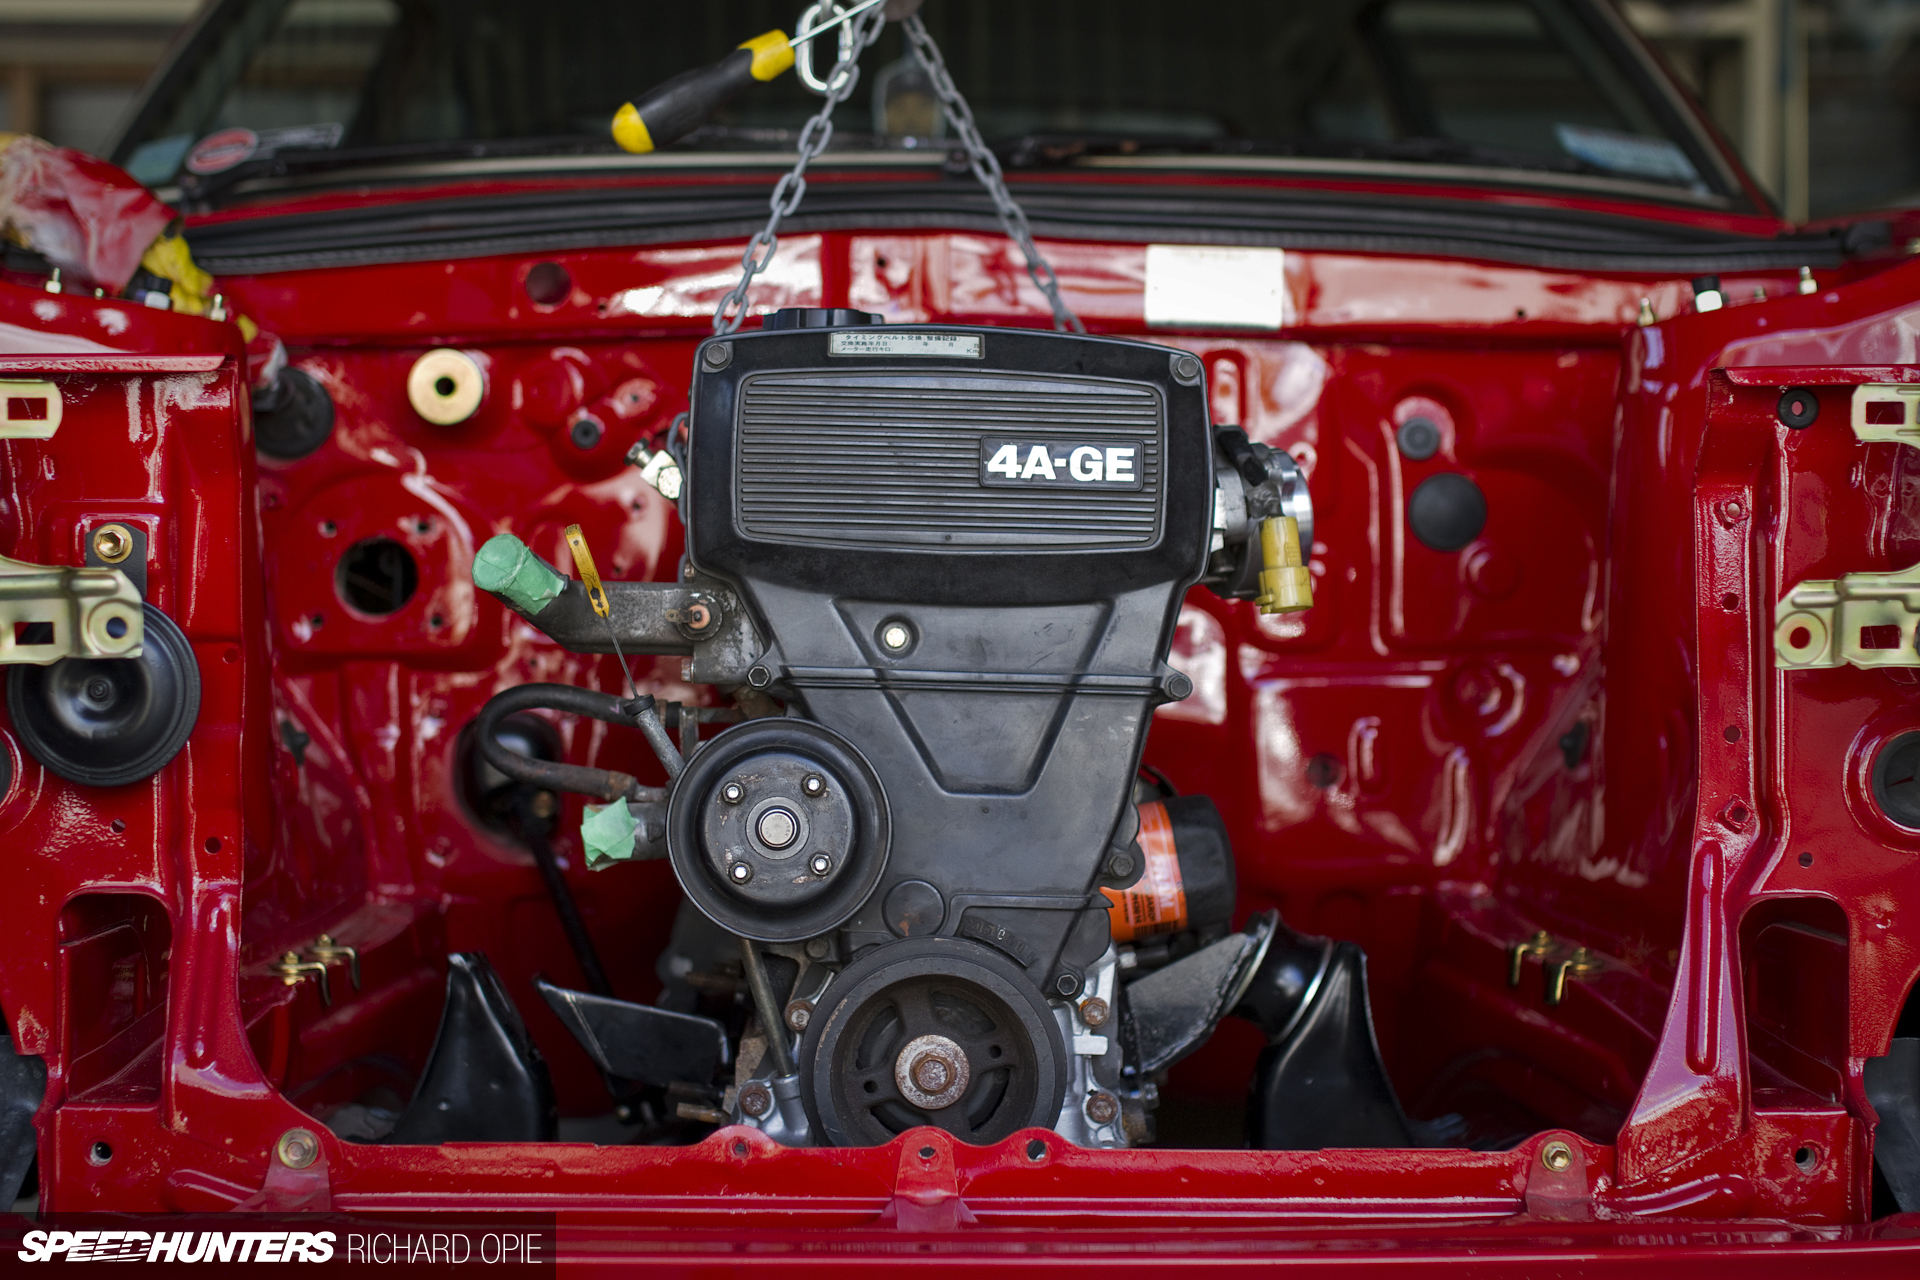
This image shows where the engine needs to be. Note the lack of urethane isolator on the driver’s side mount, and the scribed line in the same side’s engine mount. This enabled a quick, simple method to remove and modify the mount to allow the 4A-G to sit exactly where it needed to.
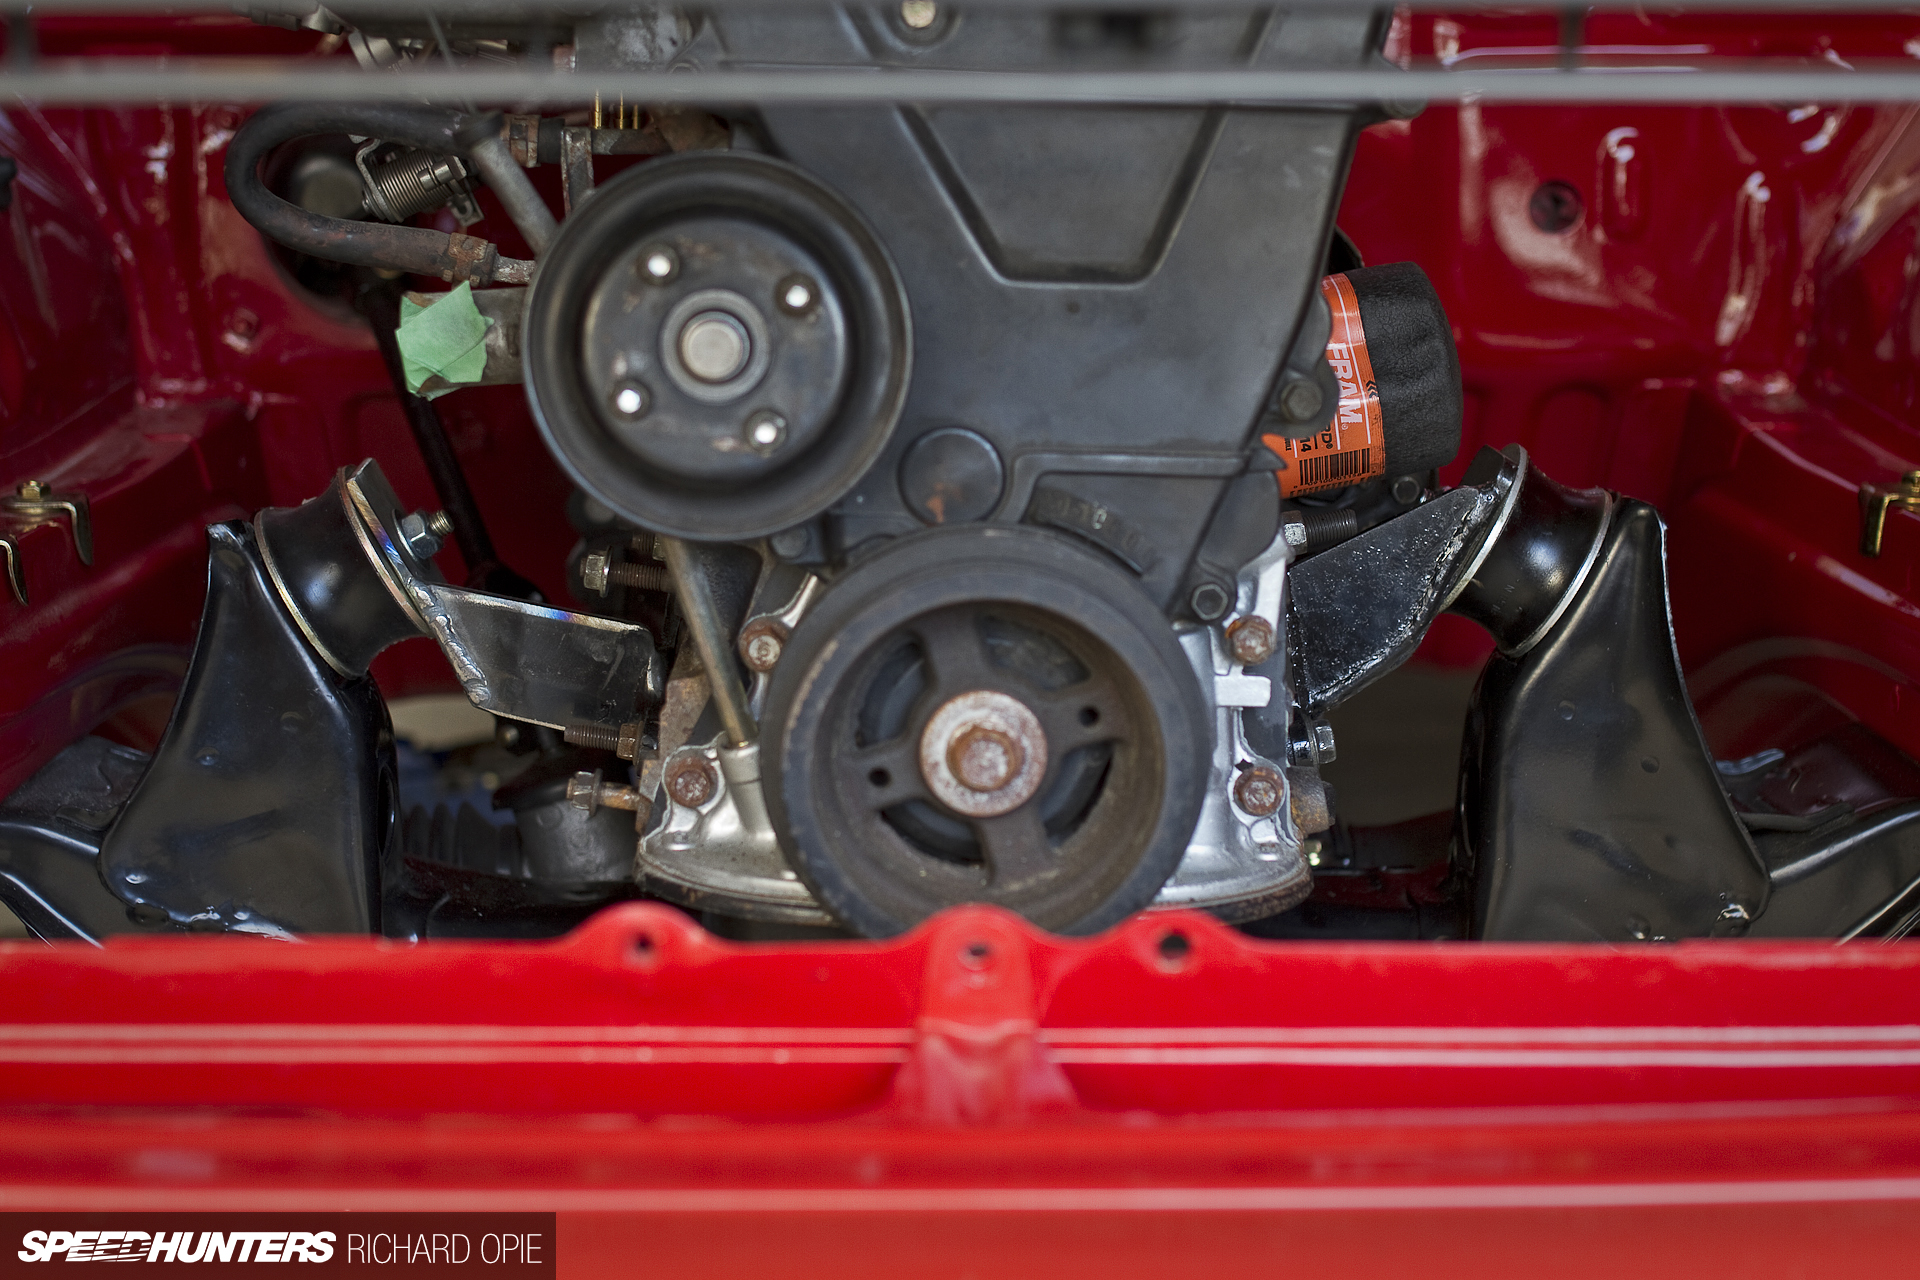
We’ll just jump forward slightly to a freshly modified mount. Although not in its final form, this is good enough for the first fit as there’s still work to be done to the engine which will require its removal from the bay.

Add an inlet manifold and ITBs and it all looks right at home. But what of the gearbox crossmember? That’s currently bolted in with a combination of scrap flat bar and angle iron as the car’s going to need to travel to another shed to have that fabricated up in a later update.
Maybe I Should Check Into Rehab
As my girlfriend routinely says, I have a problem. A wheel problem. With easy access to Yahoo Auctions Japan and contacts to collect and ship products, I’ve long had an ever-changing wheel collection. One of the latest purchases? A full set of Enkei ‘Dish’ wheels measuring 13×7-inch with an offset of +2 on all four corners.
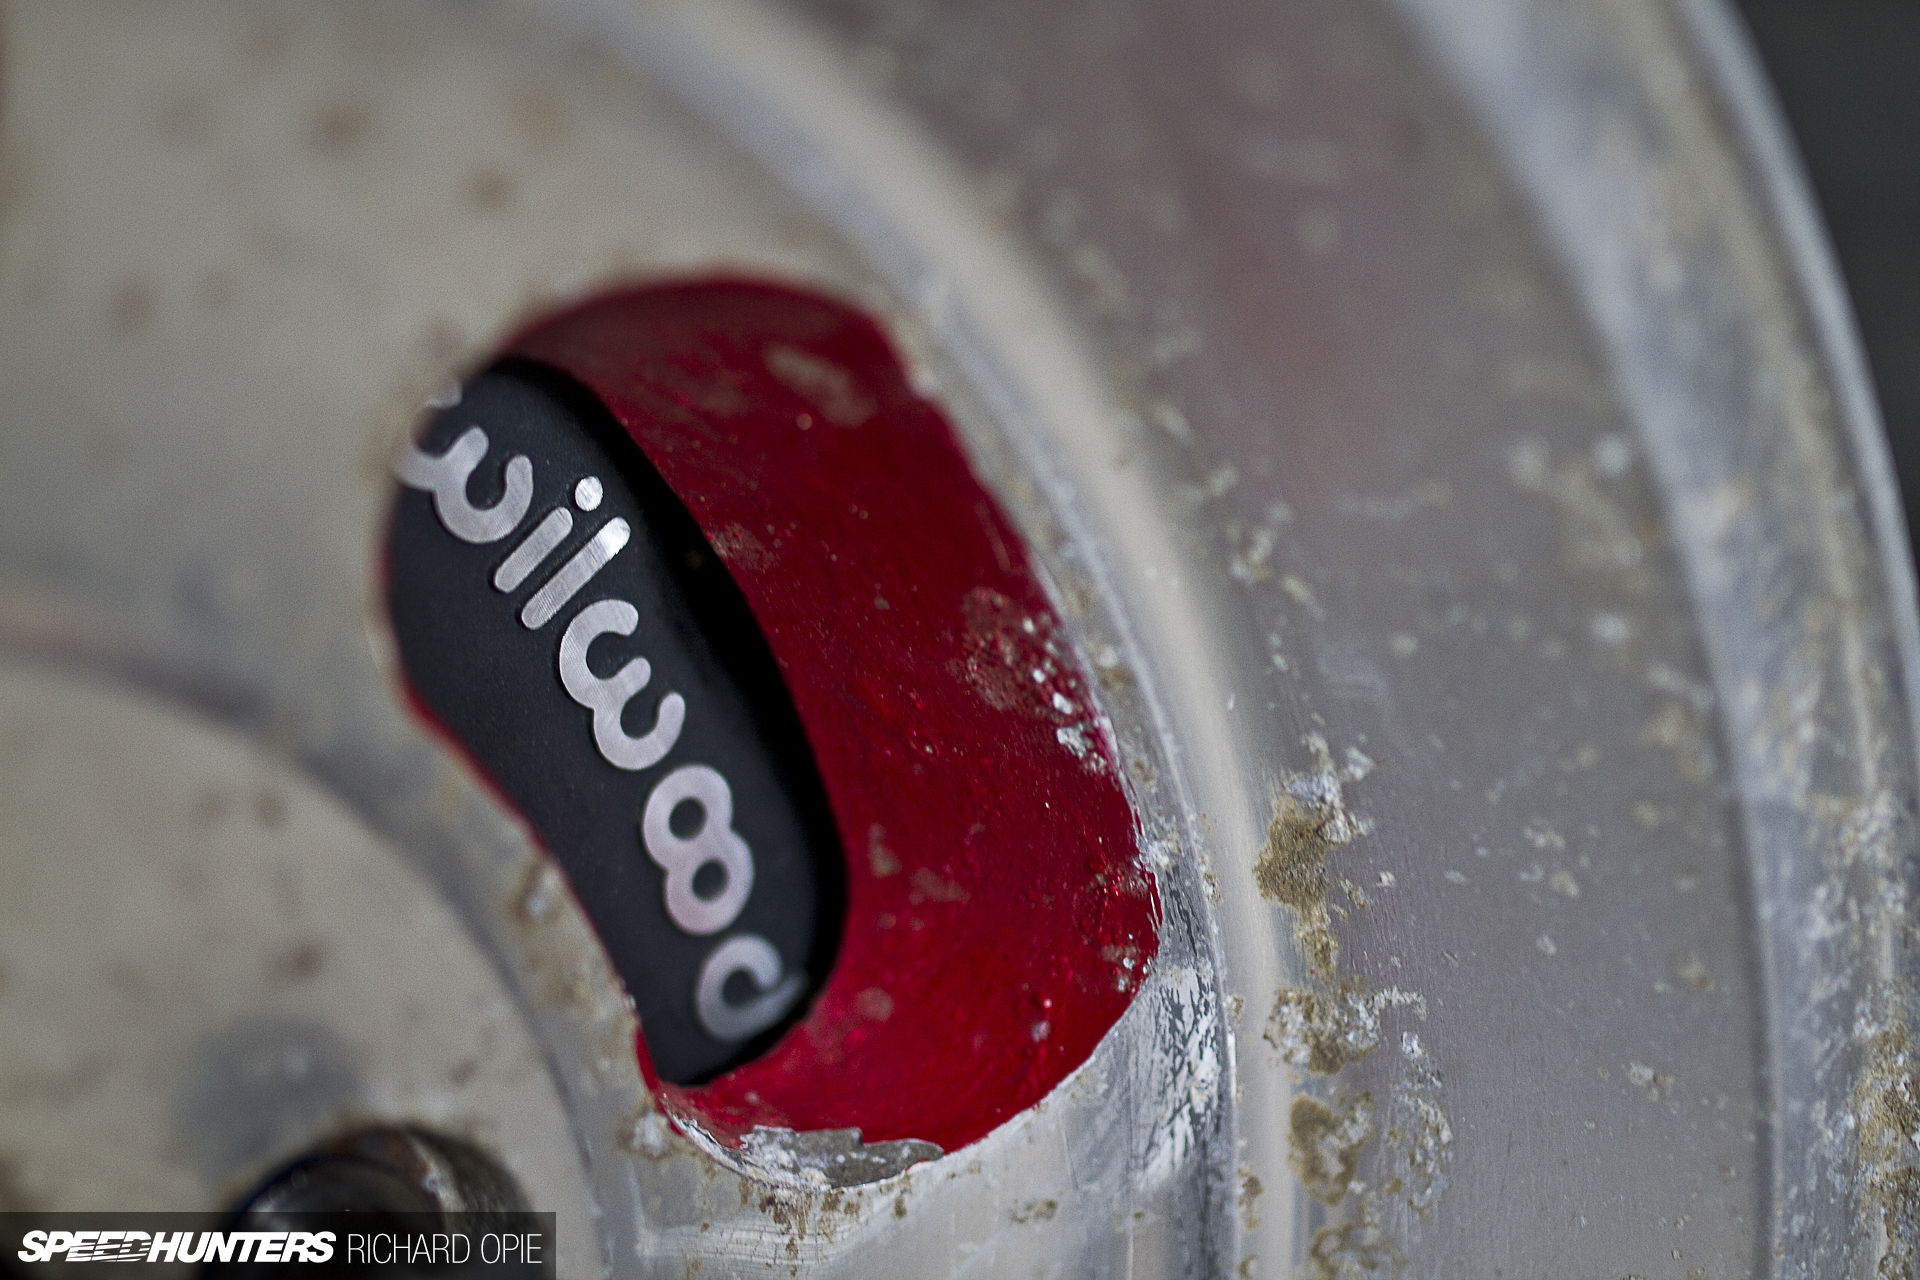
As the Japanese take on the globally popular ‘slot mag’ type design, these have been a bit of a wishlist item for a while. A quick test fit shows clearance for the 4-pot Wilwood calipers, but the wheels are fairly badly oxidised and in need of a restoration, something I’ll tackle myself over summer.

Not in need of restoration however, are these. I managed to prise these out of the hands of a friend and fellow wheel hoarder – although at some expense – and landed them in the country just prior to the Christmas break. If I say the name ‘Watanabe’, the first thought that springs to mind is probably the classic 8-spoke RS wheels, right?
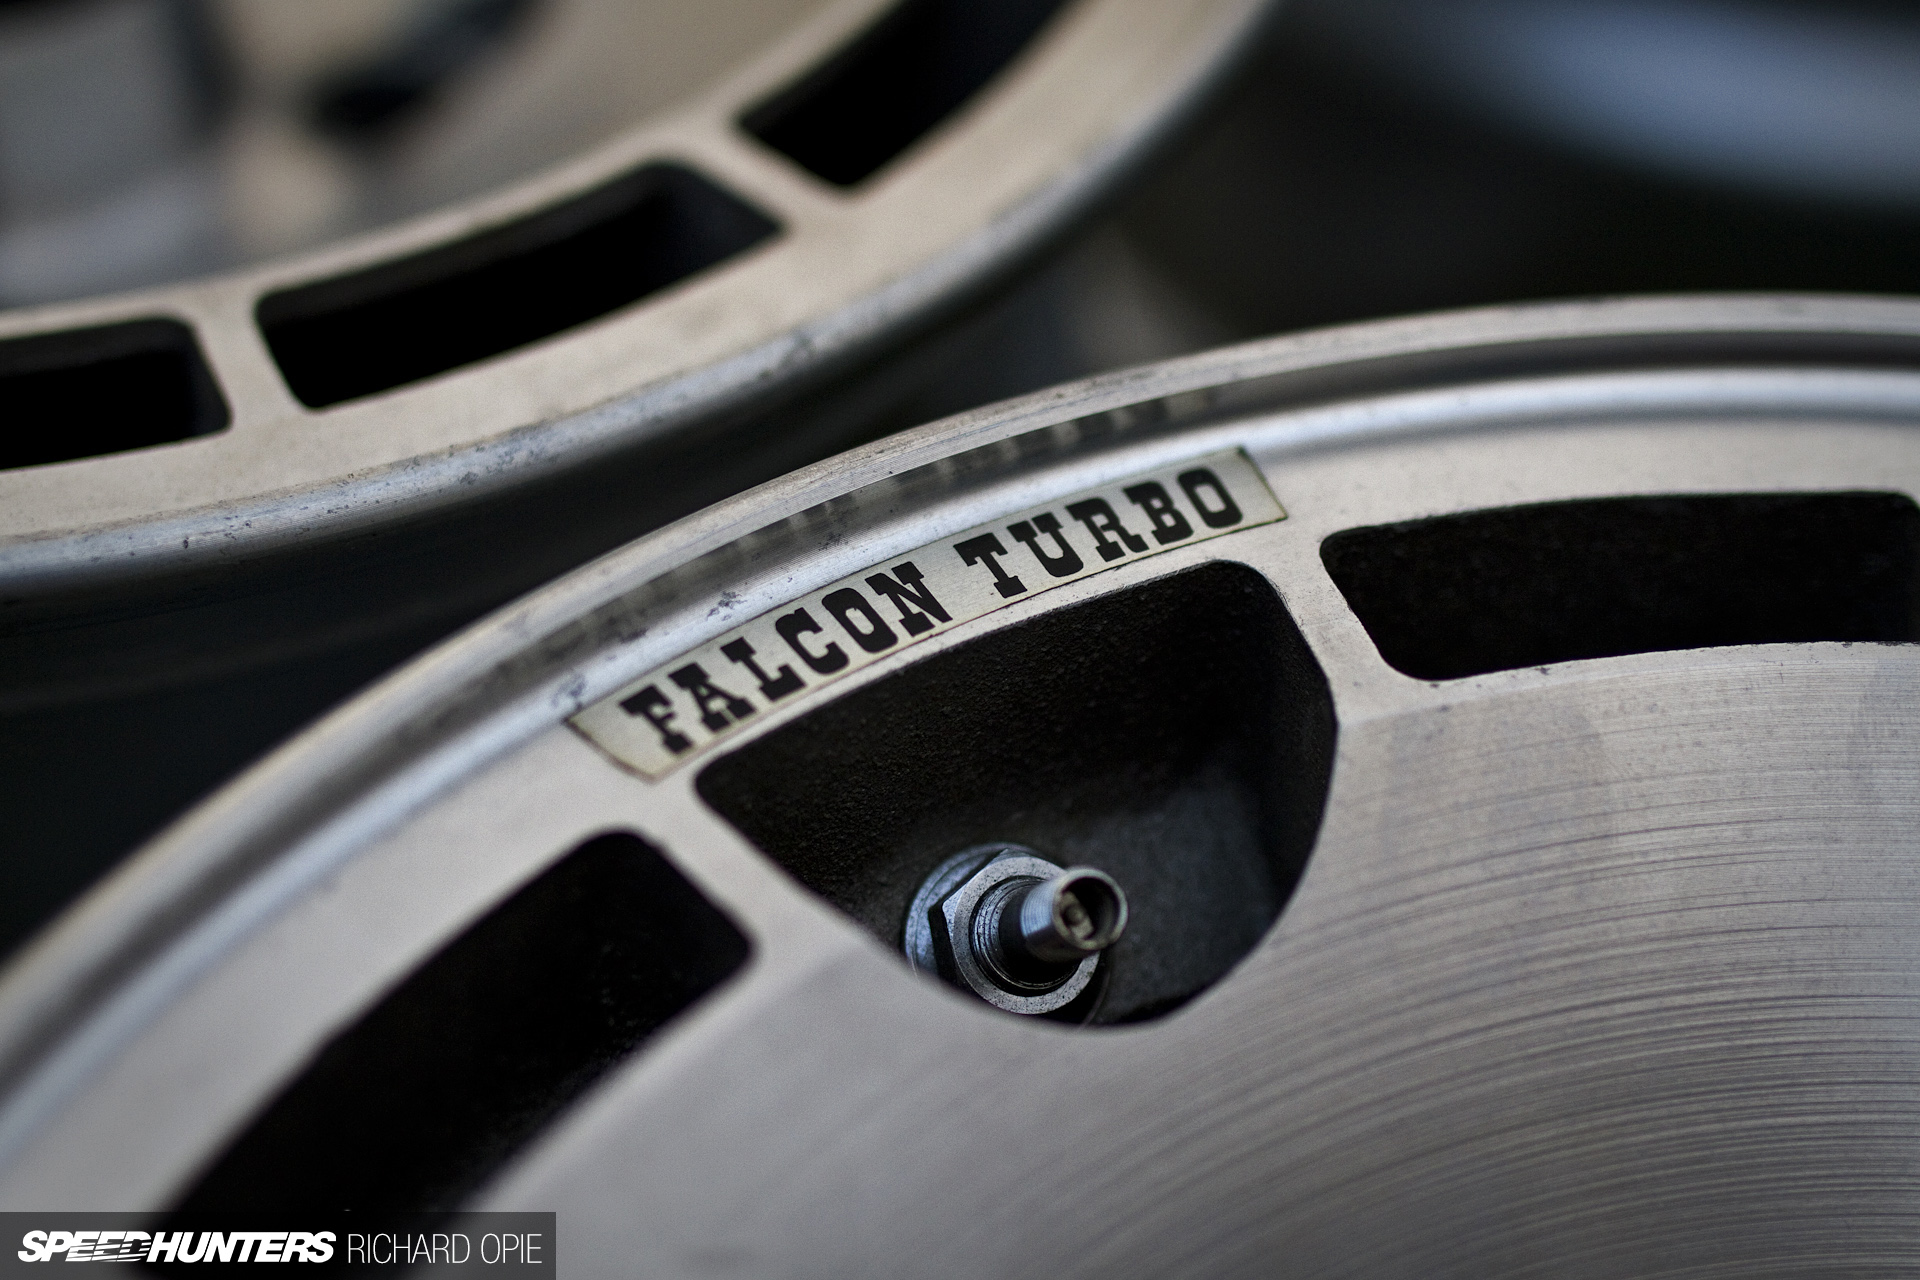
During the 1980s, Watanabe also produced this wheel, the Falcon Turbo. A variant of the popular ‘turbo’ style wheel (think Ronal), these particular wheels are new old stock (NOS). They had never been on a car; the machined finish is unblemished save for light tarnishing, and subsequently they’d never met a curb in their life.

Not one to hoard things for the sake of it, I had a set of 175/60s fitted up and promptly wheeled the KP out into the sunlight for a fit. Things don’t get much more ’80s than this!
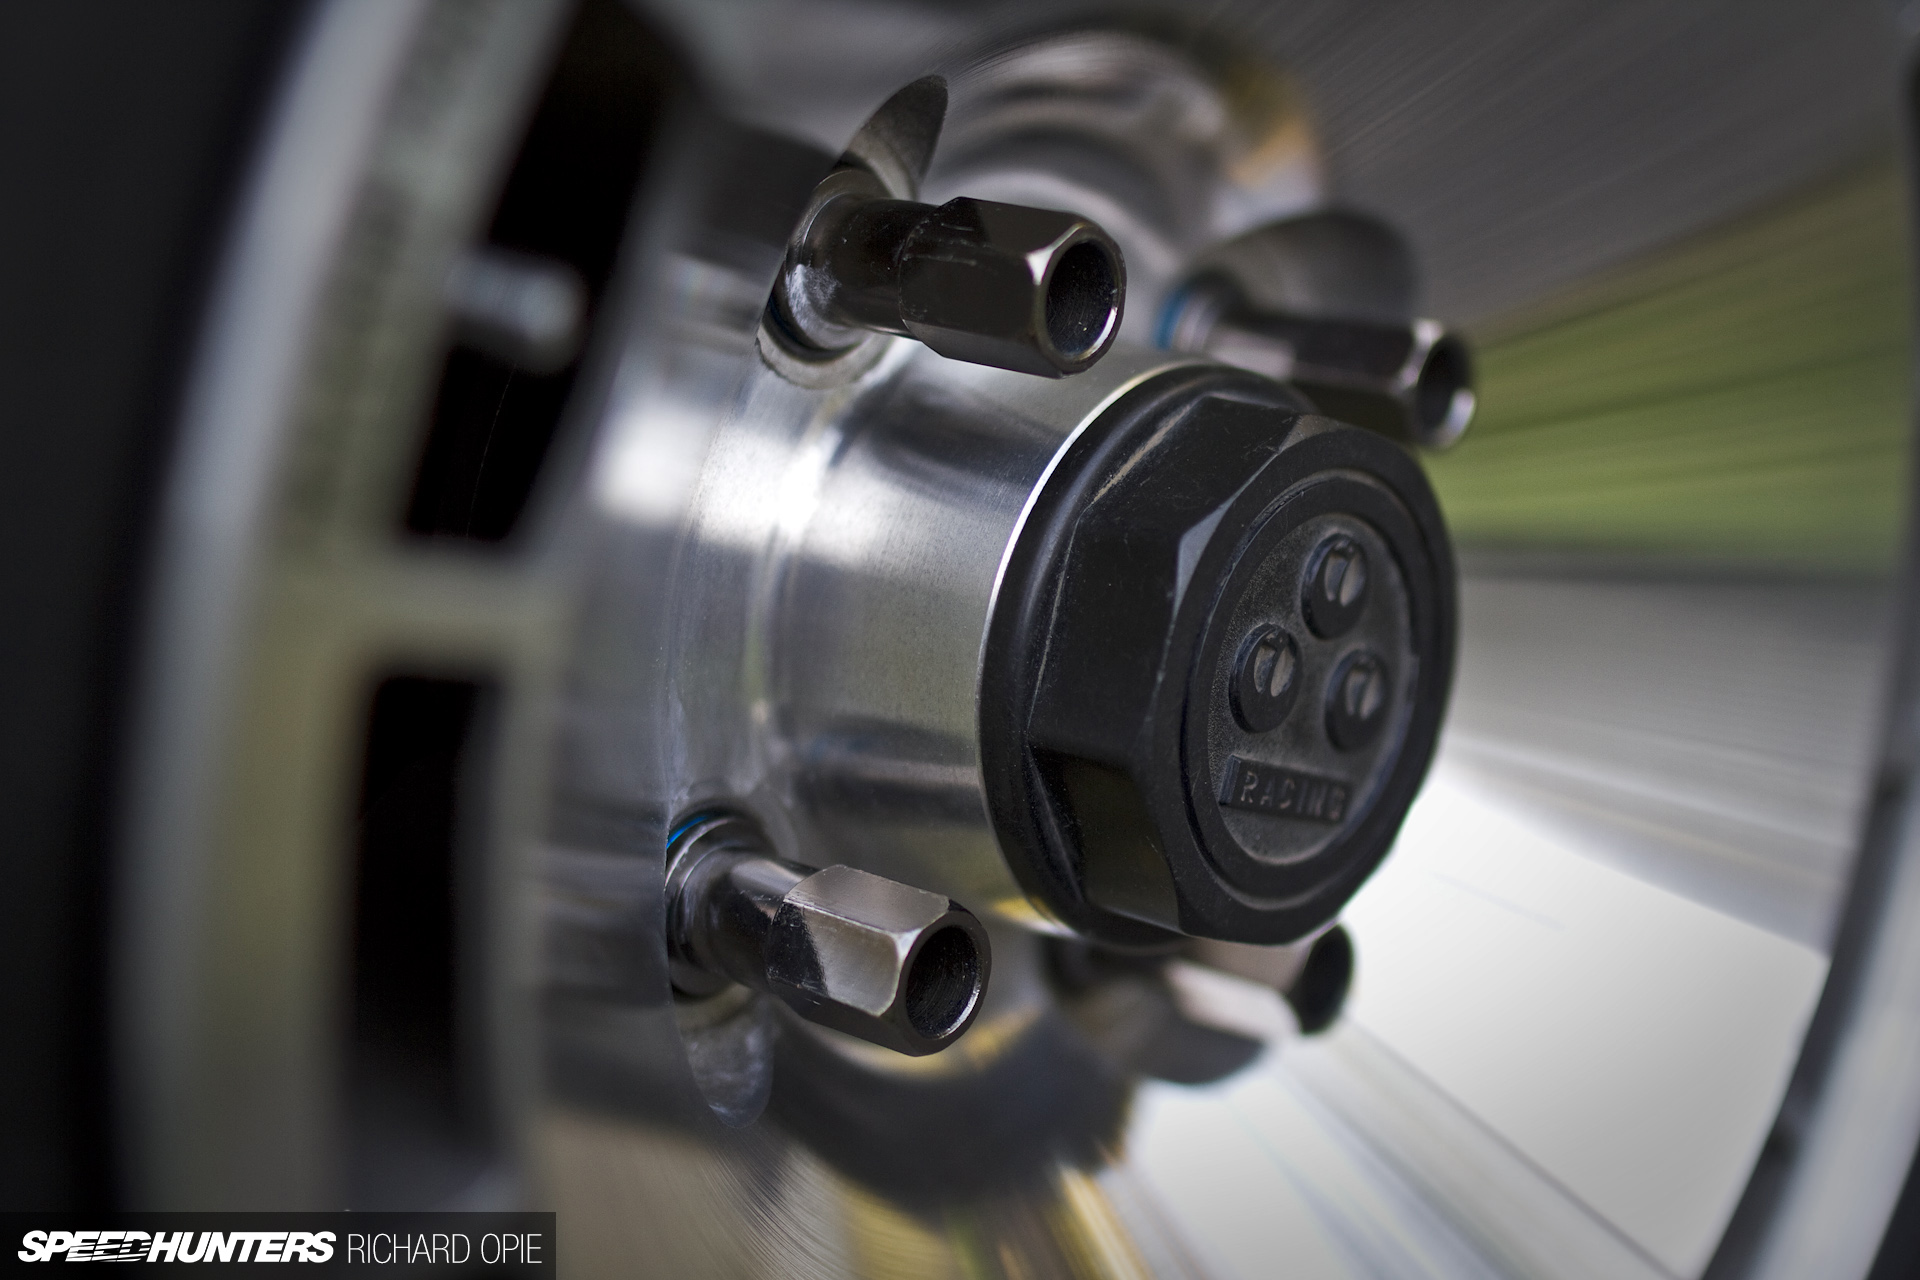
They also came complete with a set of center caps – a rarity for vintage Japanese wheels. After a brief polish with a fine paste, the deep conical centers gleamed like the day they were boxed up in 1980.
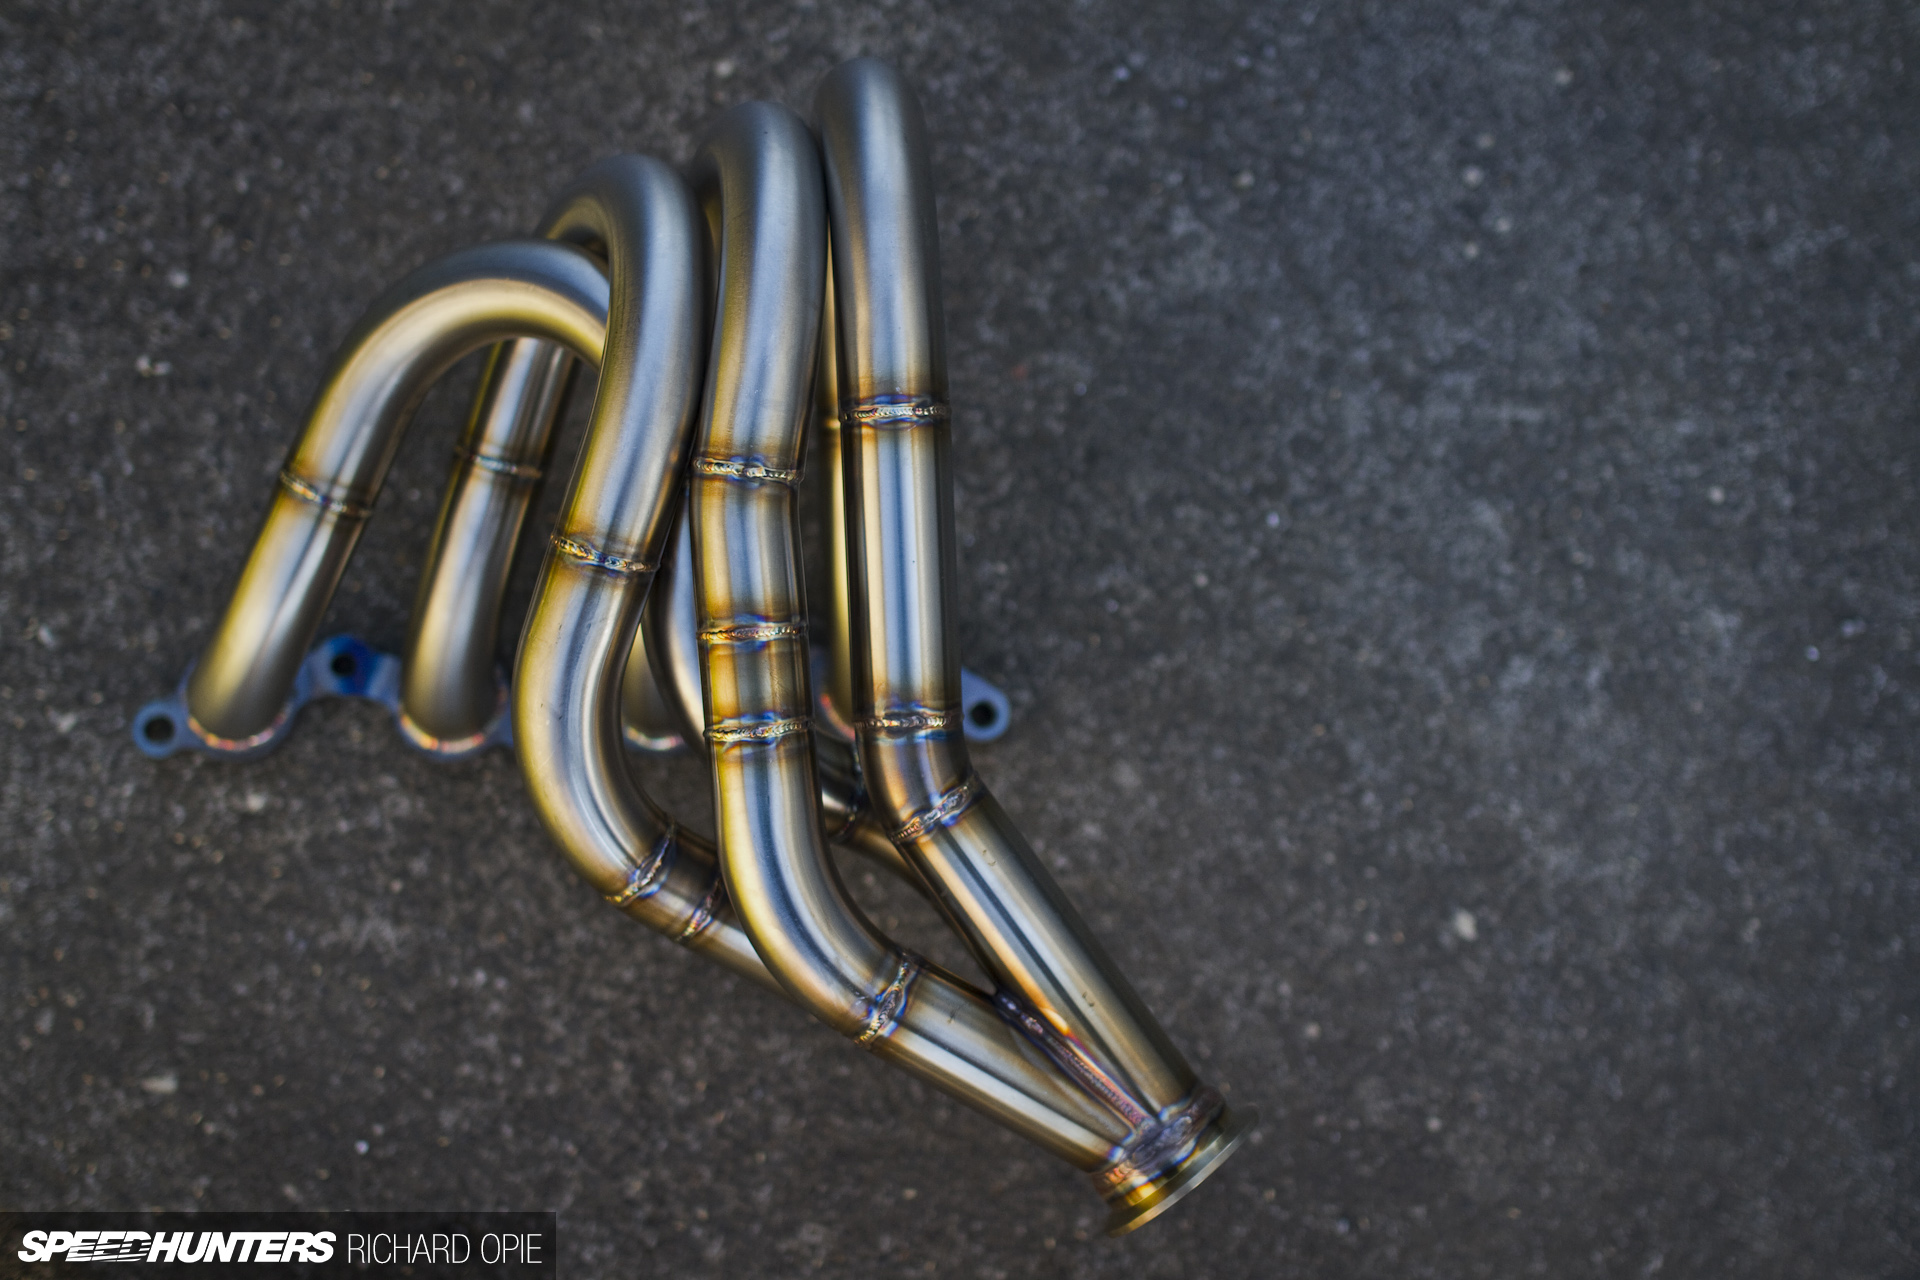
With the engine mounted, the opportunity to fabricate a set of custom exhaust headers was also seized. After explaining my required application and supplying engine and cam specification (and the car itself), Brendan Duncker of Convert Ltd, himself a revered tinkerer with retro Toyotas and long time stalwart of the Kiwi drift scene, glued together this set of takoashi-styled 4-1 stainless headers for me.
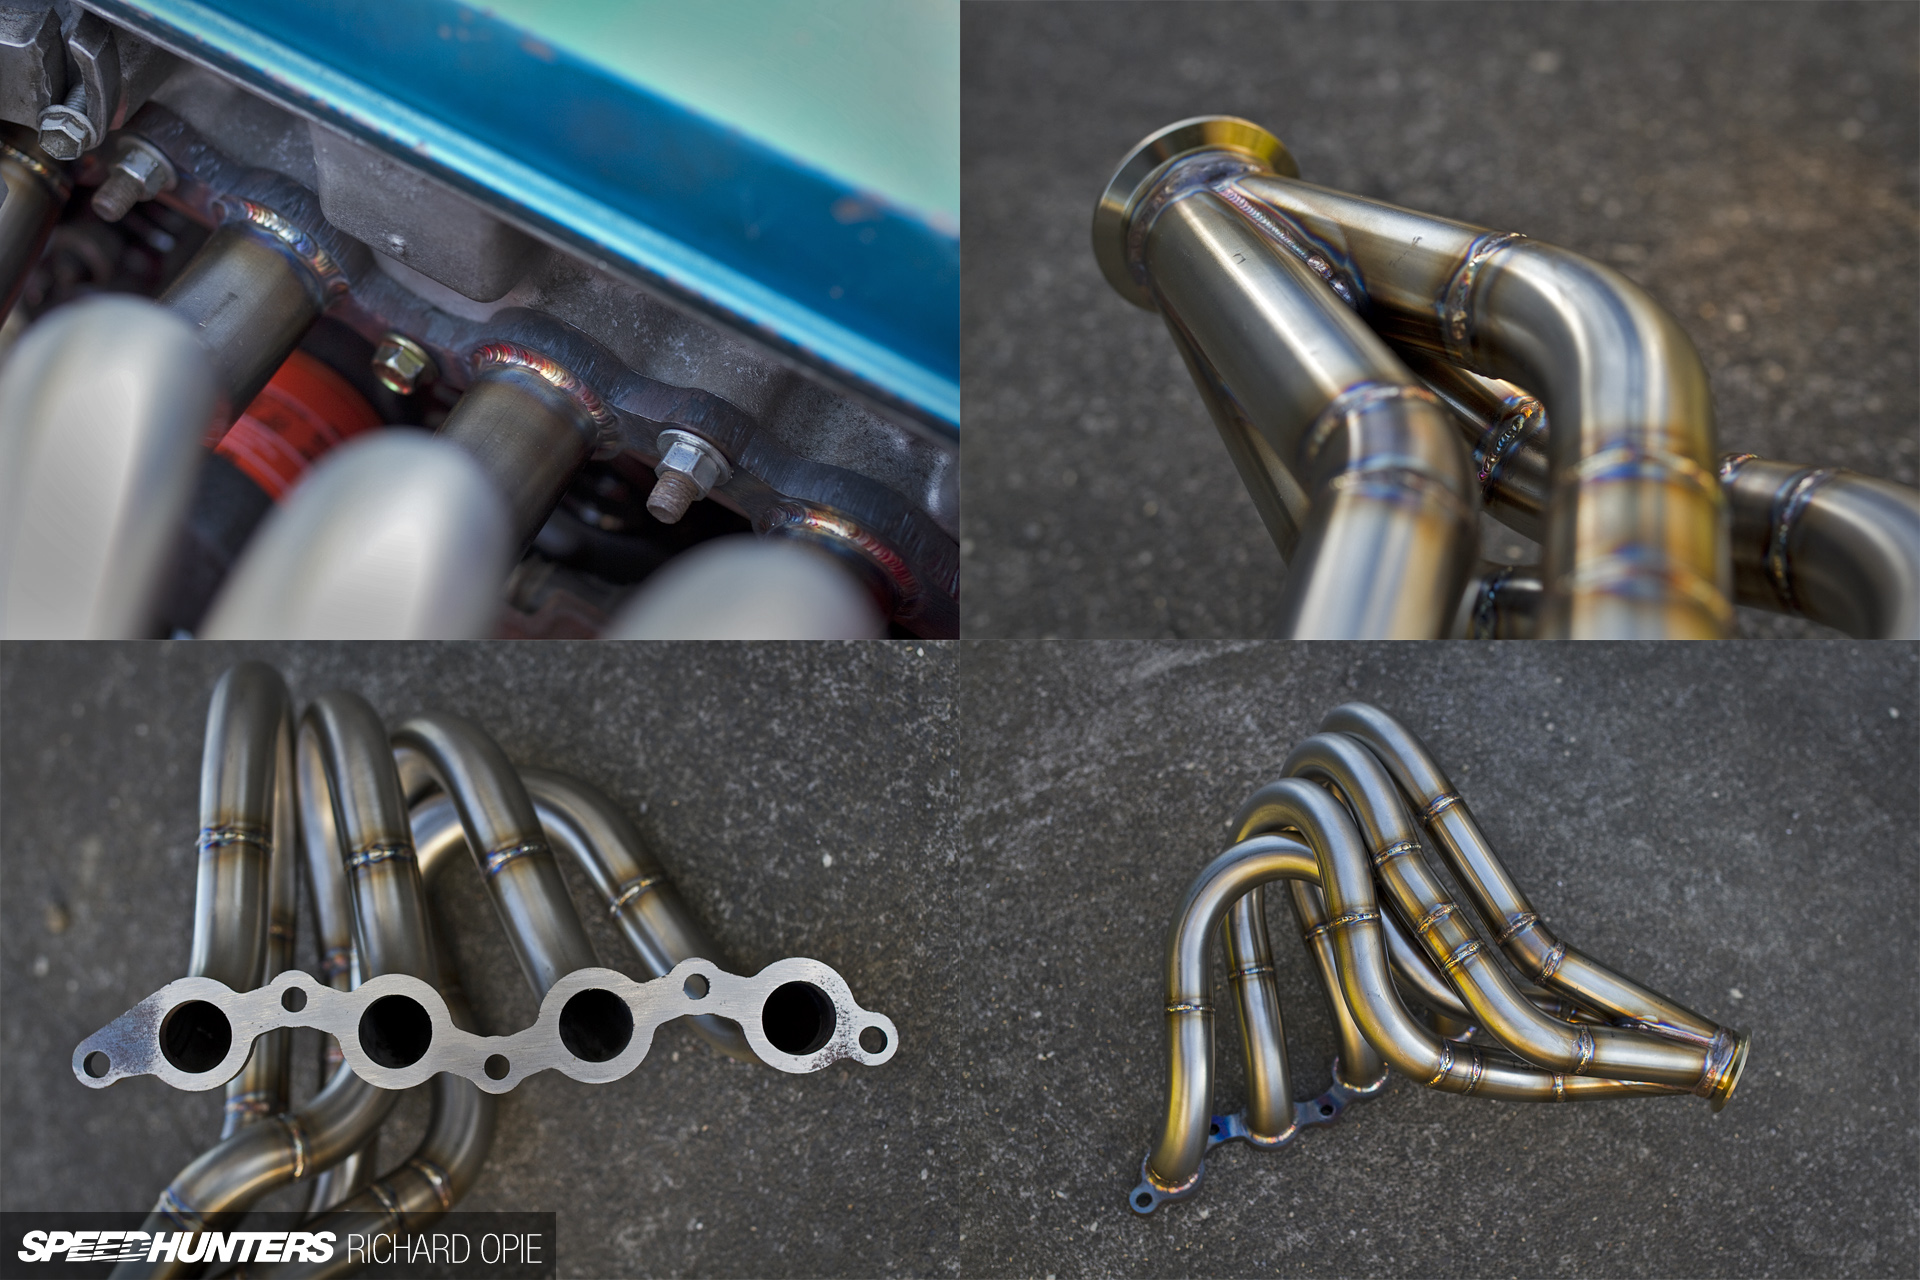
The attention to detail is second to none. From the beautiful welds to the mild steel flange, the completely scratch-built collector mated to a V-band flange and even the millimetre-perfect facing of the gasket surface, I couldn’t be any happier.

Featuring a 38.1mm (1.5-inch) primary, the headers are designed to maximise mid-range torque and work in harmony with my chosen cam spec, which I’ll touch on later when the headwork progresses.
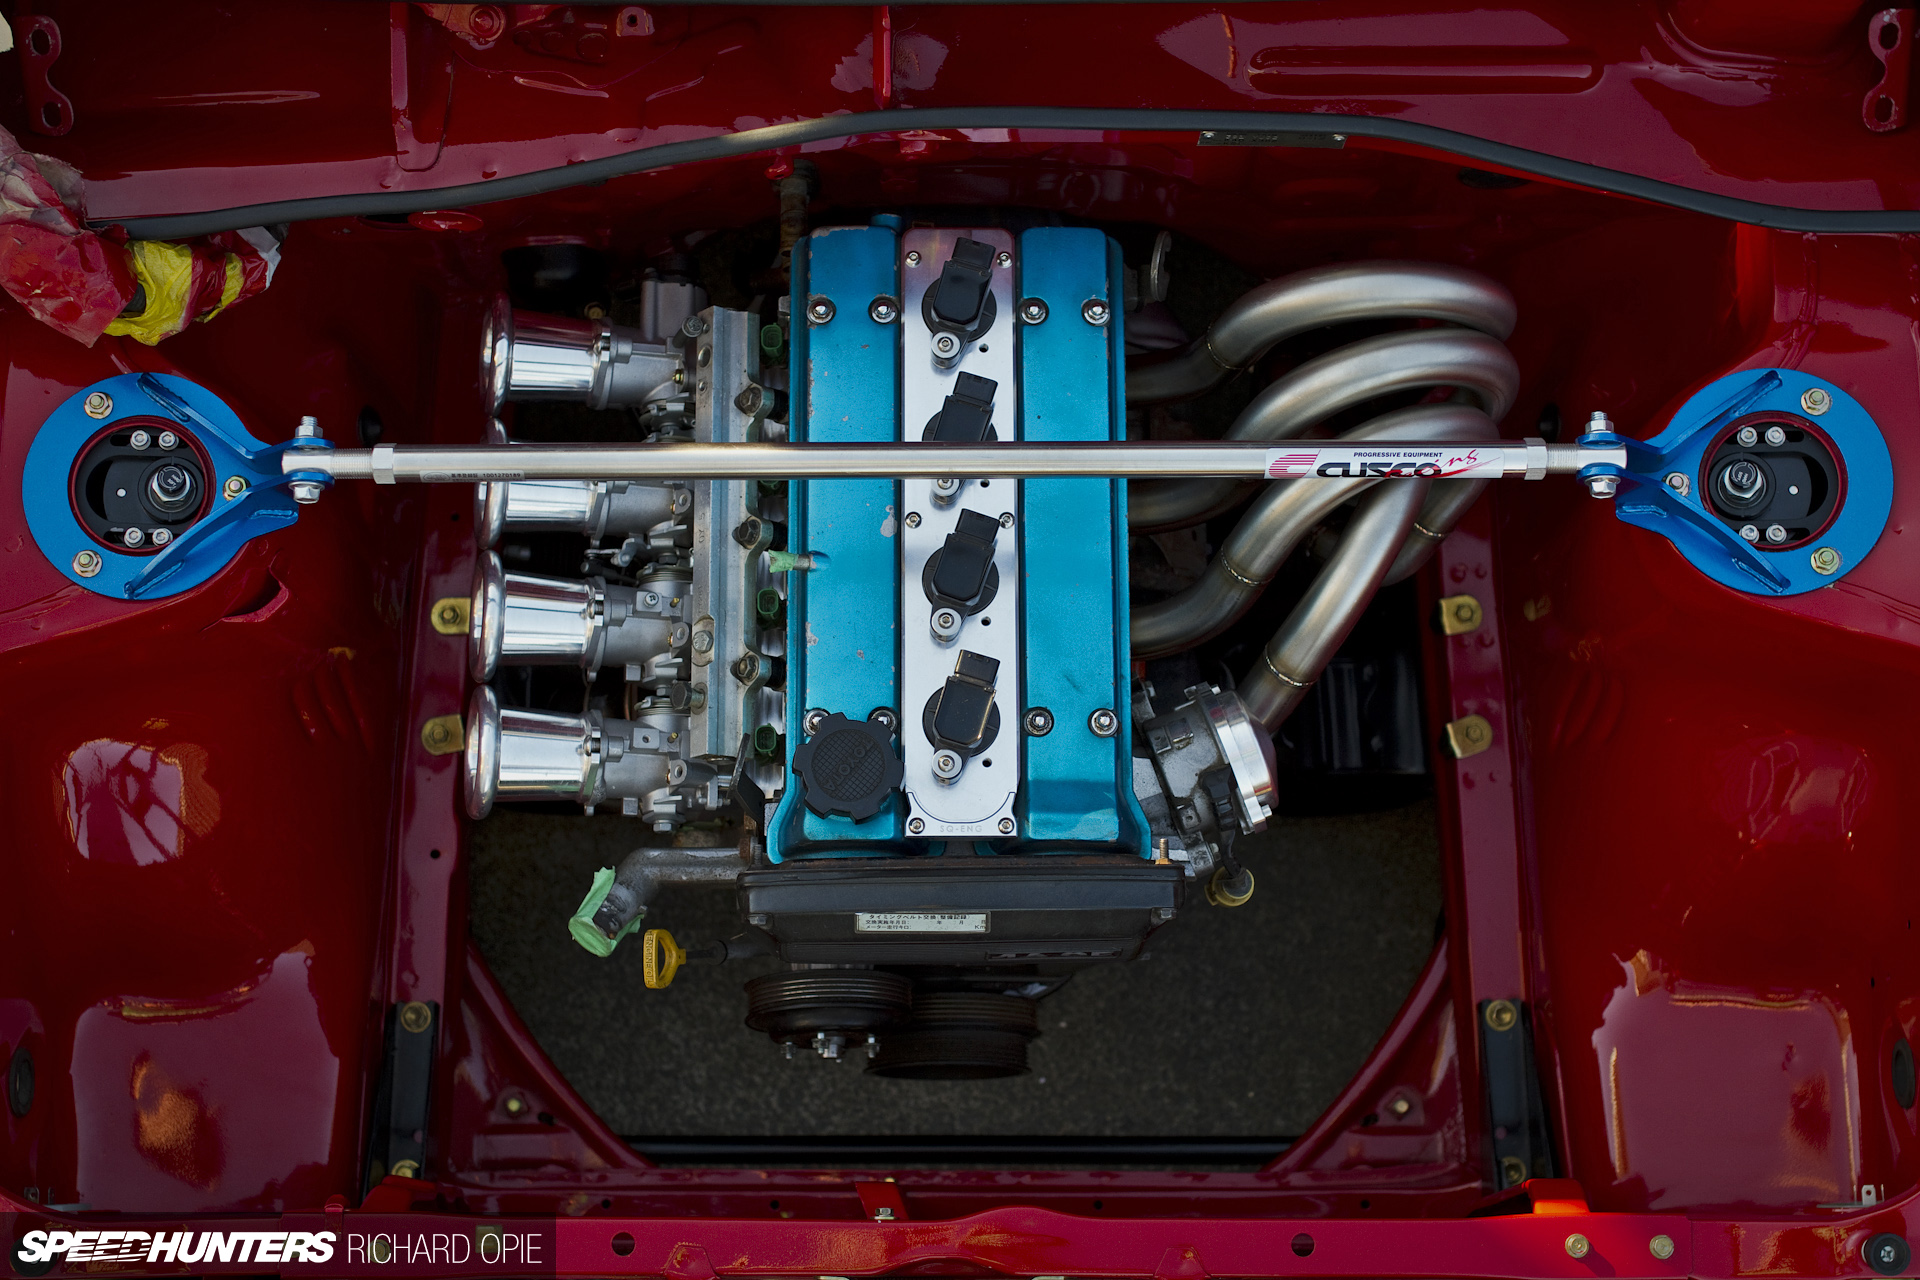
I know it’s incomplete and there are still items like cooling, wiring and a few other odds and ends to add to the bay, but I think the aesthetic is simply incredible. The aim is to keep this as clean as possible, which means a complete de-loom and unfortunately a repaint of some areas in the name of removing holes and smoothing things out.
They Say You Have To Break A Few Eggs…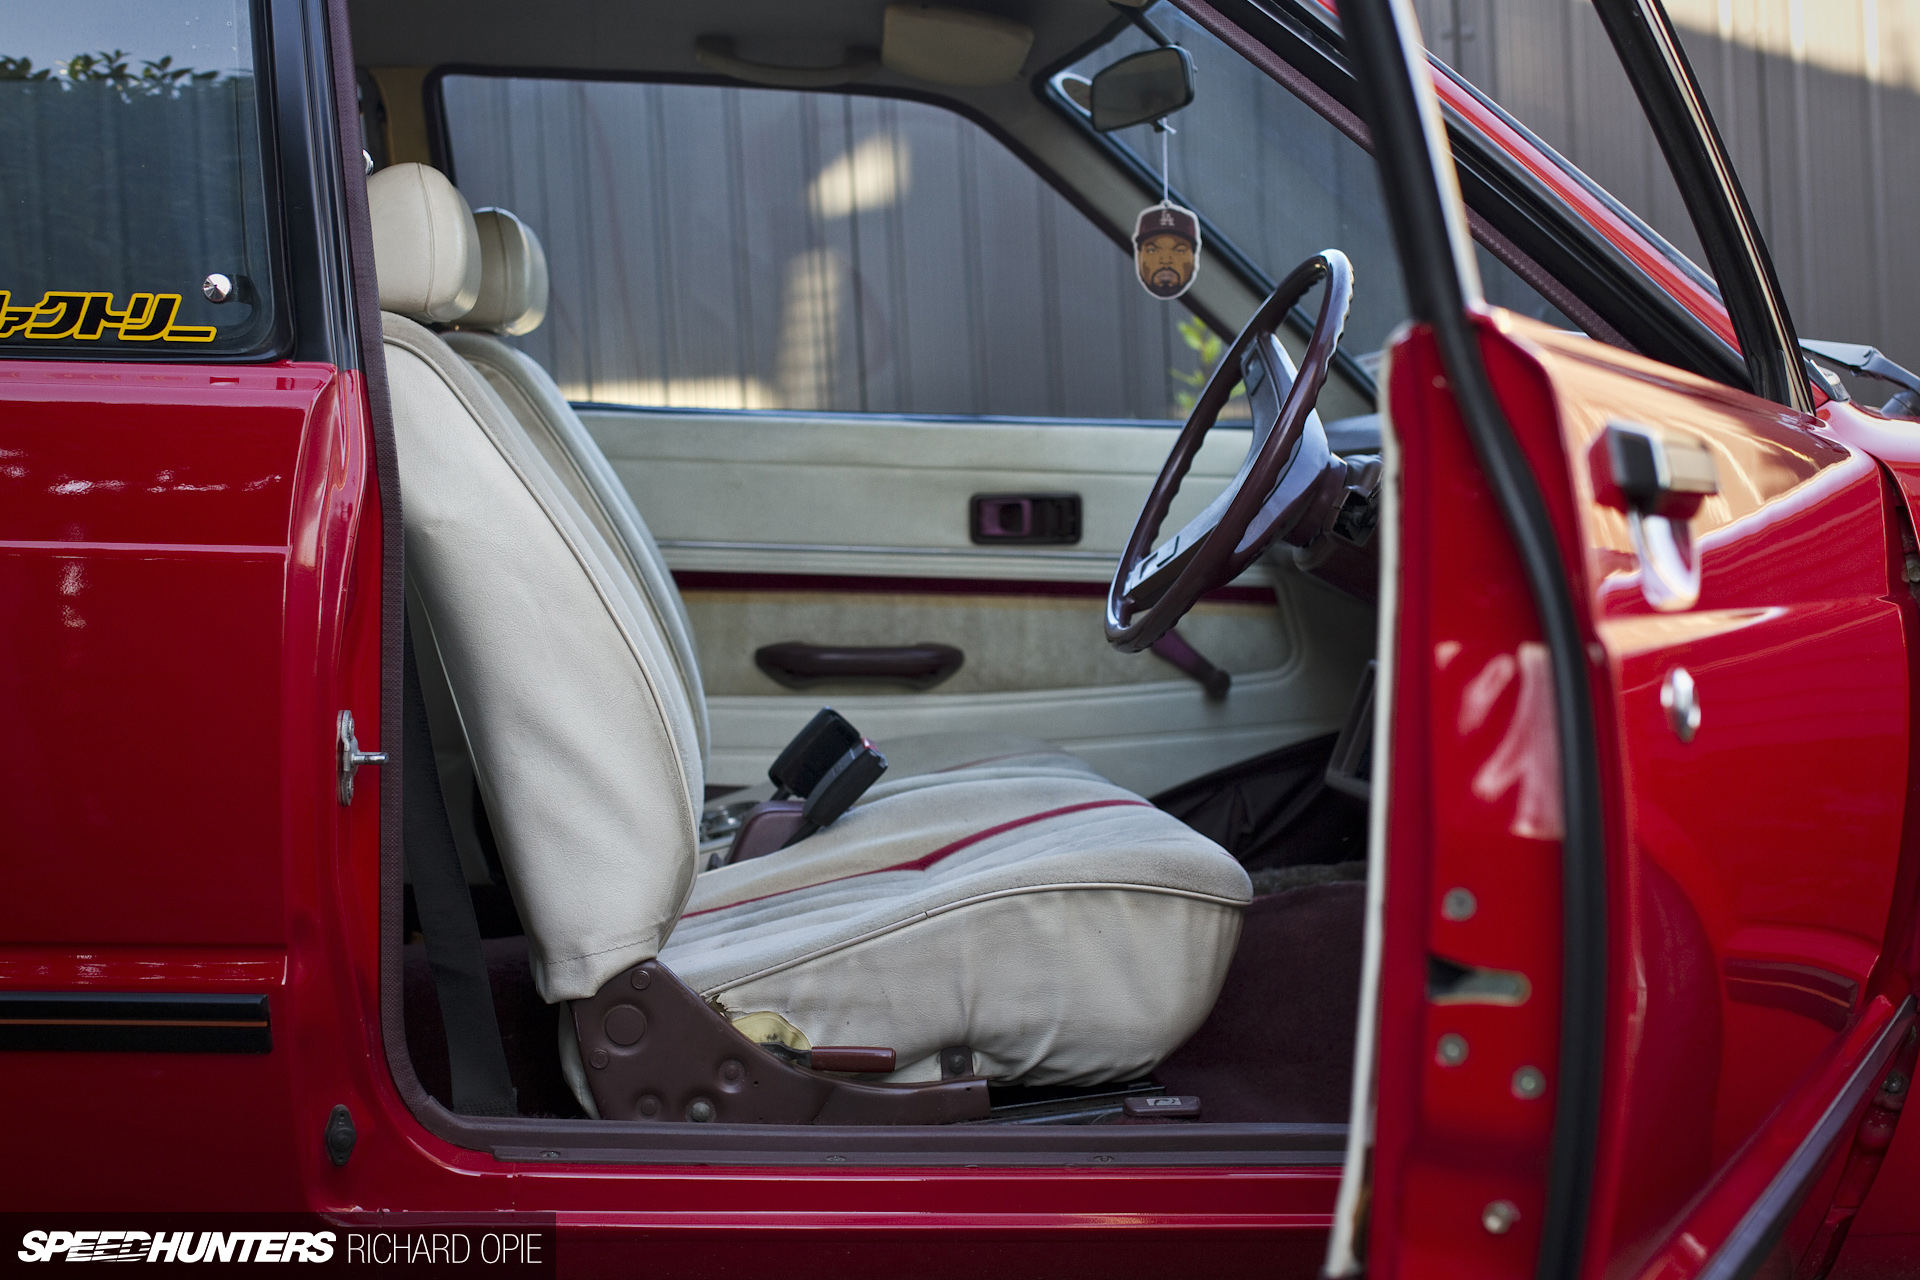
The final step, and bringing this project completely up to date, is the dismantling of the interior to facilitate some more bespoke fab work. I’m not a huge fan of removing old interiors; the plastic and fabrics are usually brittle and as a result fragile, meaning high potential to damage irreplaceable parts in the process.
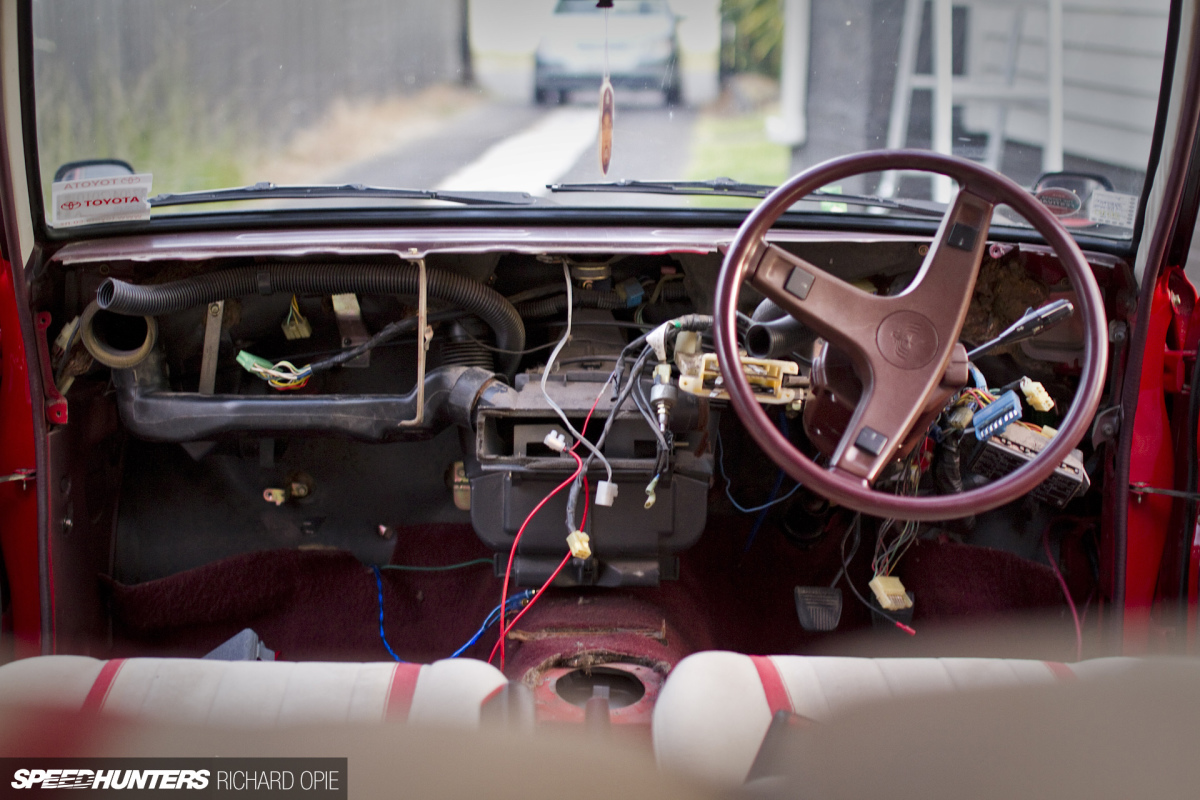
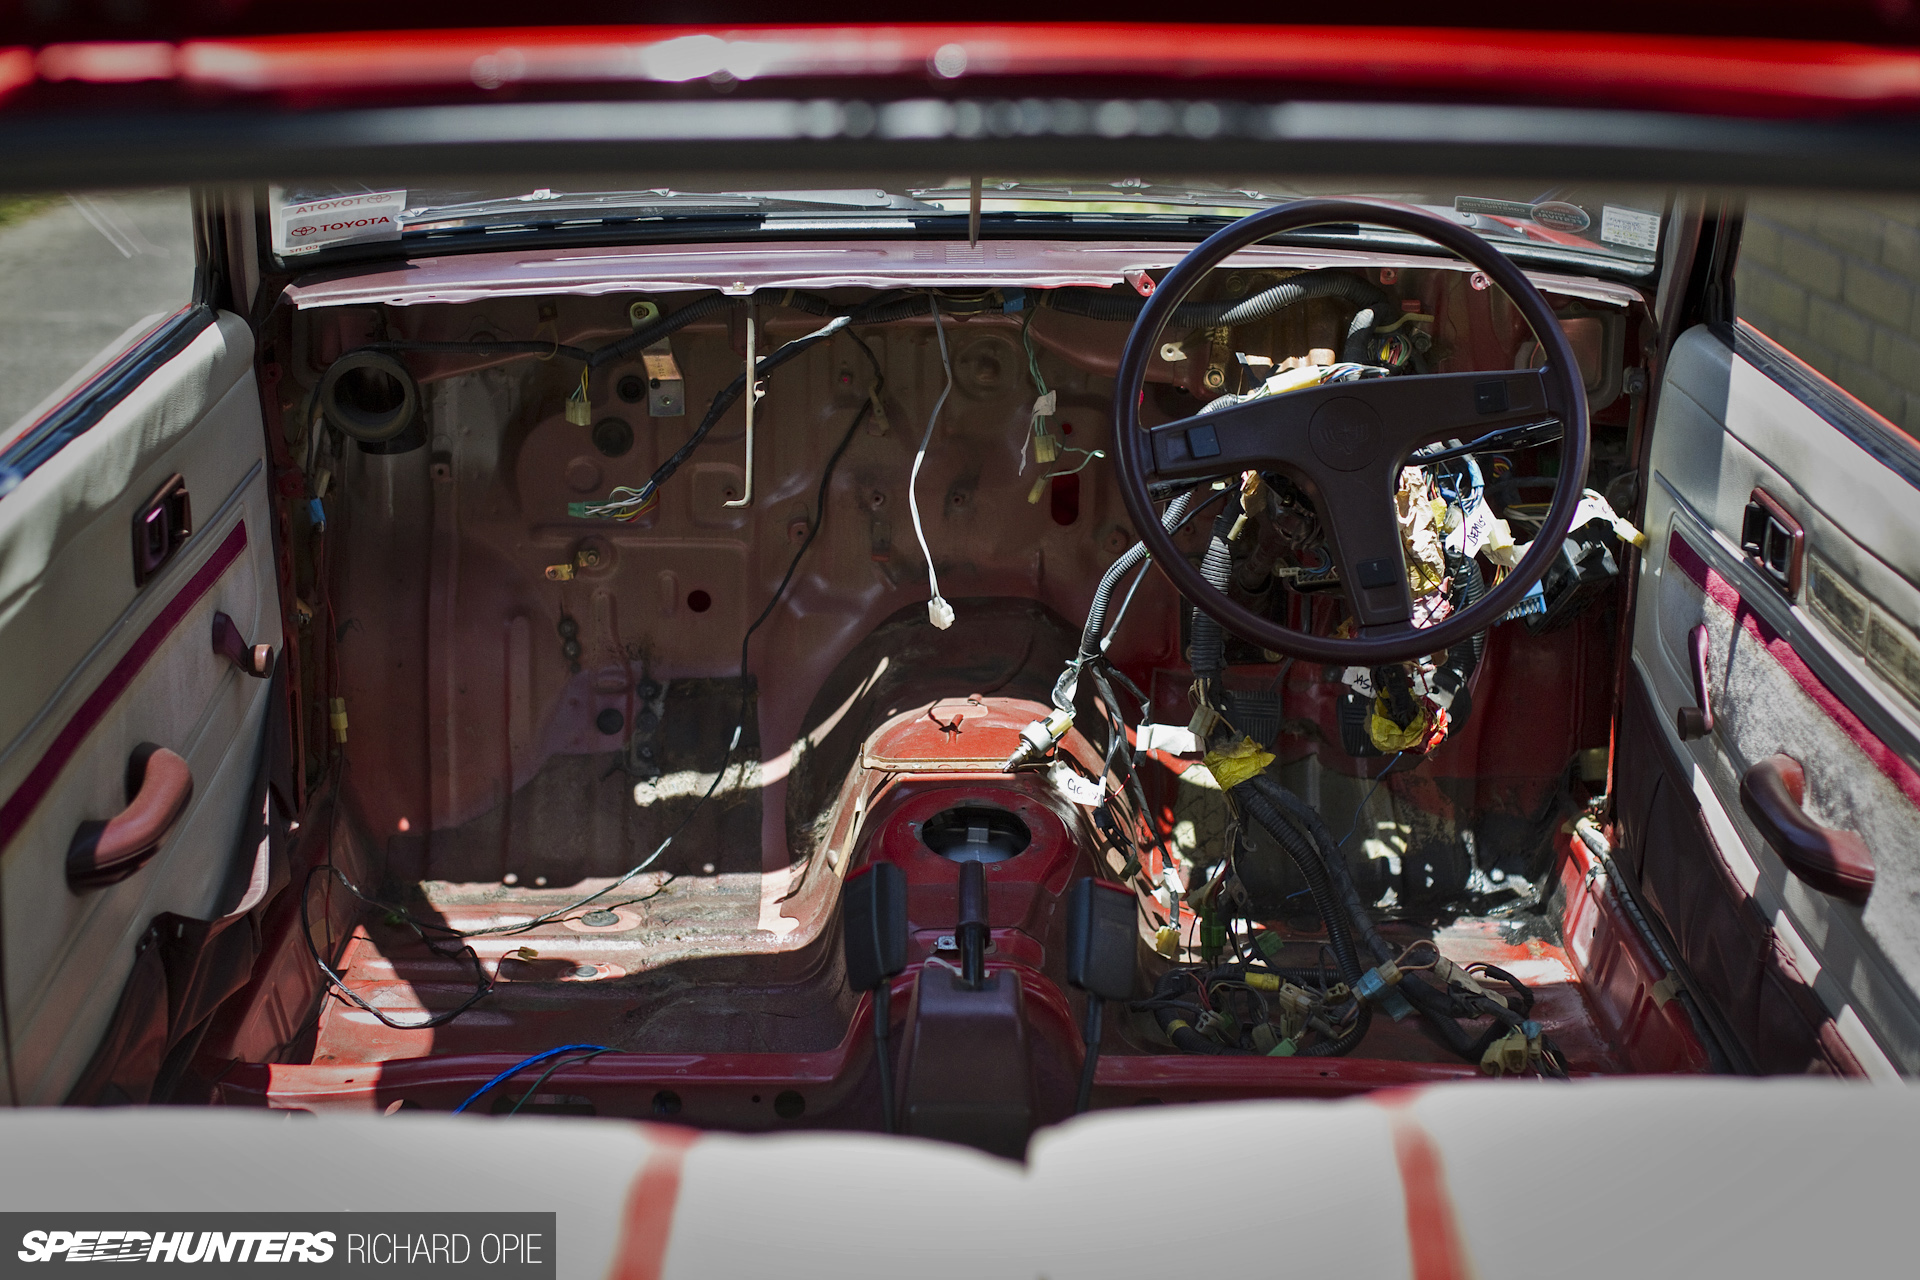
Nevertheless, it had to be done. So I soldiered on, sweating profusely under the New Zealand summer heat while cramped up inside the compact Toyota glasshouse. At this stage I’d just figured out how the main dashboard frame was removed from the jigsaw puzzle…
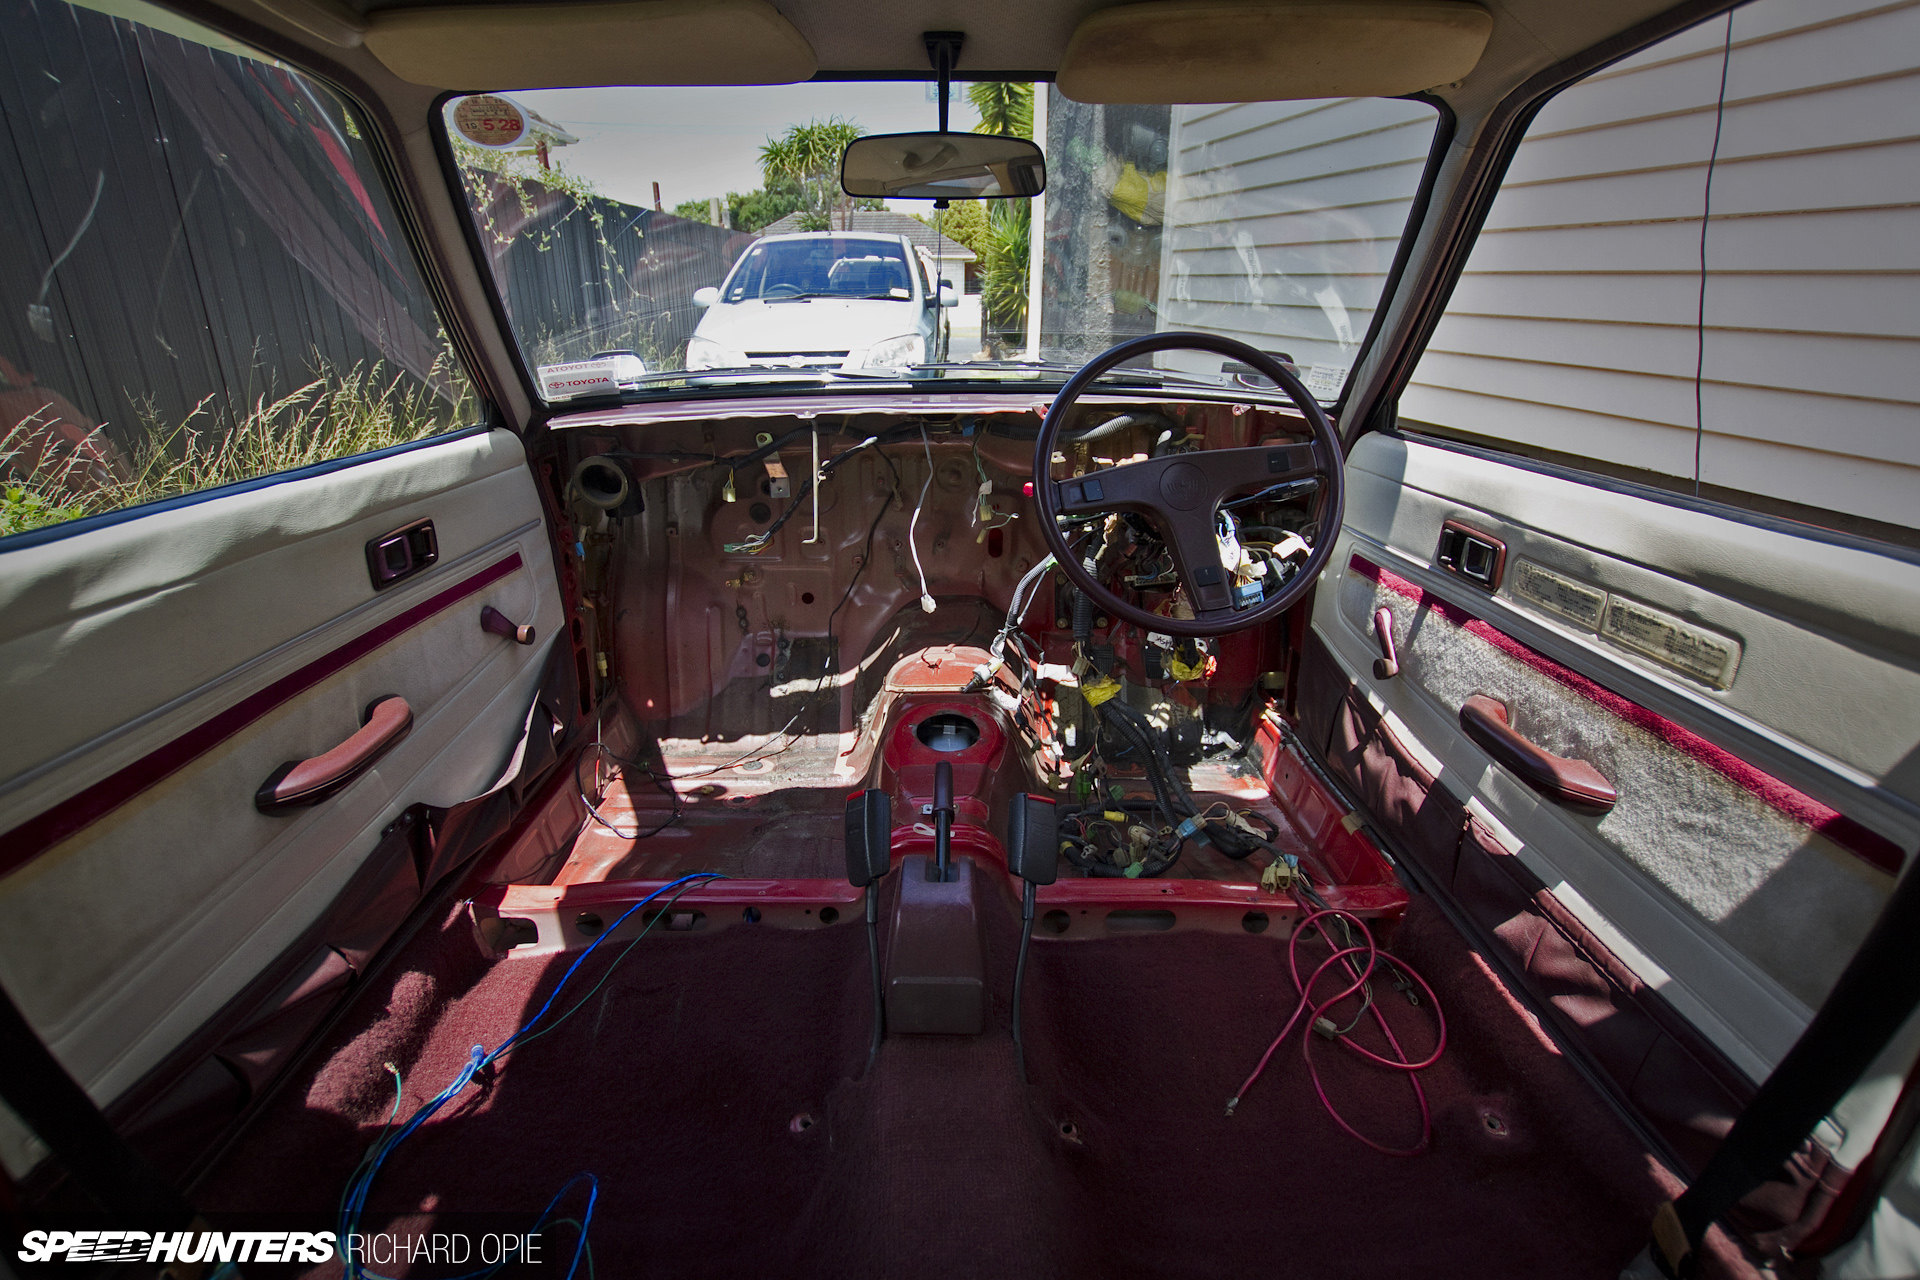
Then, all of a sudden the cupboard was bare. After about five hours work I’d carefully removed, well, everything, leaving nothing more than a barren firewall and steering column.
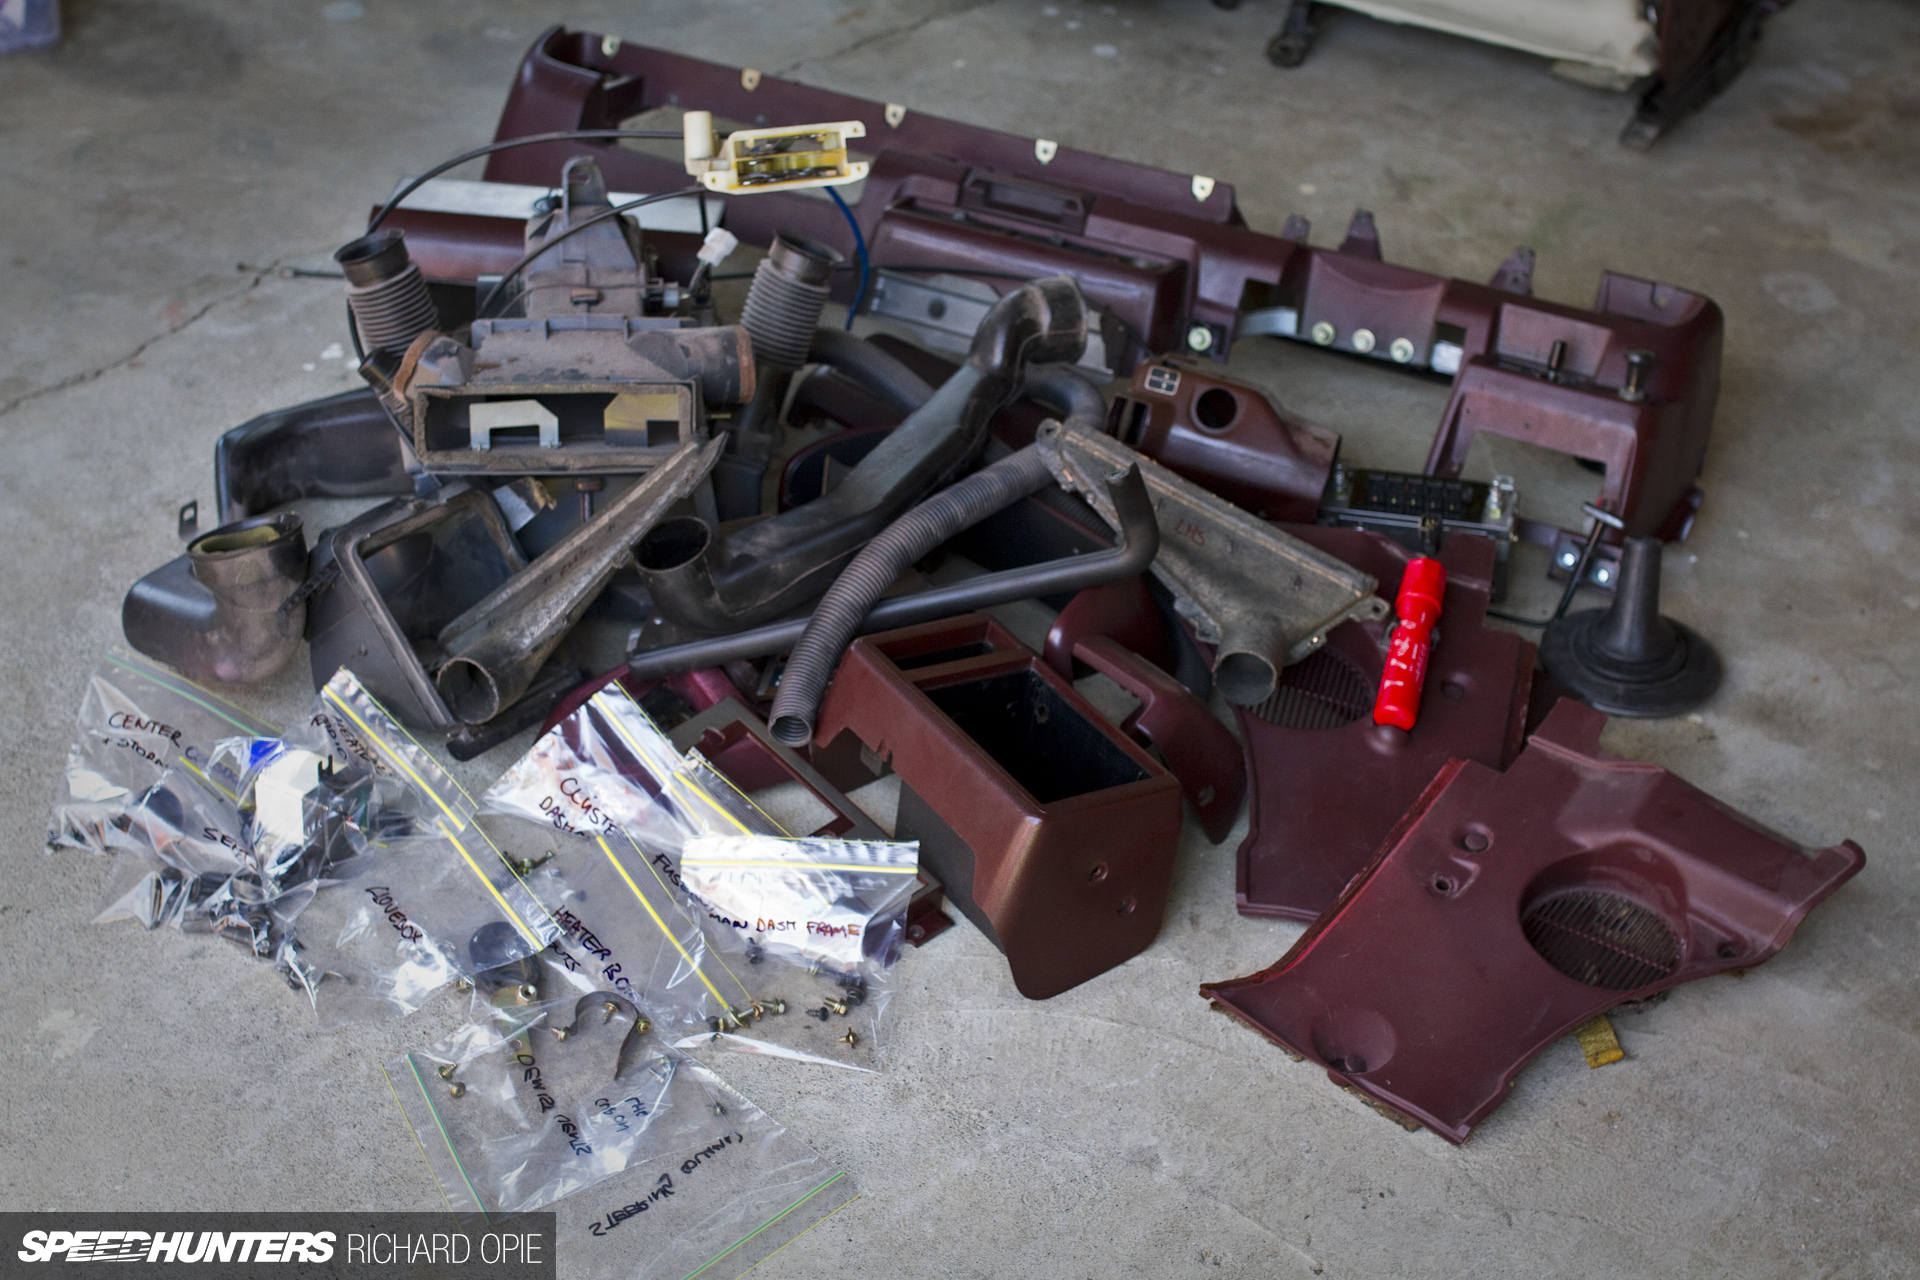
Which then left me with this ungodly mess of succulent maroon interior panels – all ripe for a thorough clean before reinstall. As you can see, I also clearly bagged and labelled the fasteners in the hope that when it all goes back together, things will go smoothly with little swearing.
So for update #2 this is where we say goodbye. With the cabin stripped, the next step is to fabricate a mounting frame for the Wilwood reverse-swing pedal box I’ve had stashed away for months now, as well as thinning out the chassis loom to the bare essentials before re-wiring the car to suit the 4A-G and fuel injection.
They say you have to break a few eggs to make an omelette; well, after smashing through the whole box, I sure as hell hope this is going to be a tasty one!
Richard Opie
richy@speedhunters.com
Instagram: snoozinrichy