
Of all the questions I get about our Scion Tuner Challenge-winning FR-S build, by far the most common is “Where can I get that rear diffuser?”
(HINT: Now you can buy it here!)
After receiving that email at least a dozen times, I figured it was time to give the people what they want and put the diffusers into production. I never thought so many enthusiasts would be willing to cut into their cars to install my part, but hey, I’m not going to discourage it.
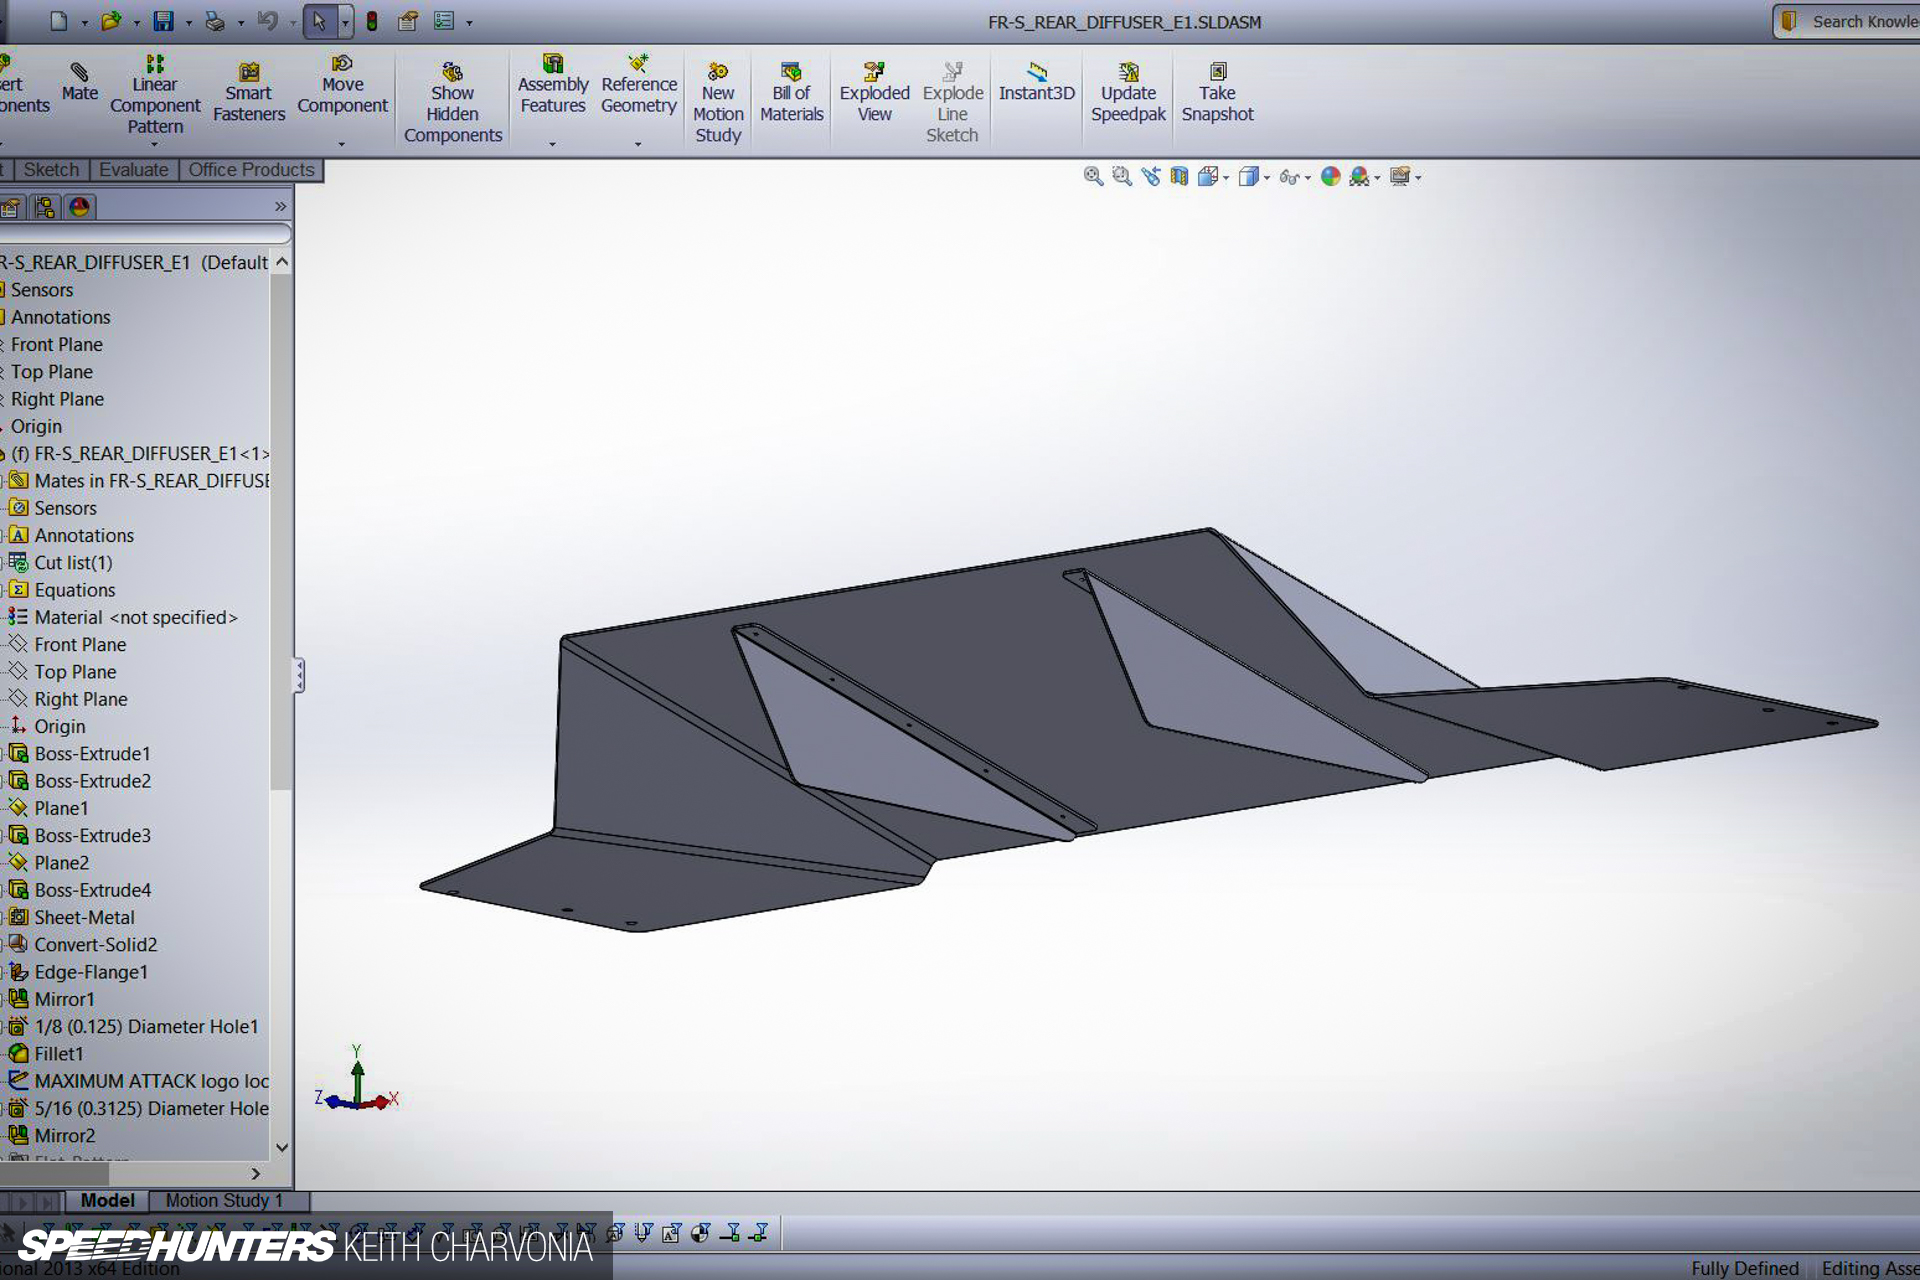
Since this was a one-off part, I verified some measurements while the car was back in my shop for some final touches before making an appearance on Jay Leno’s Garage. I then updated my Solidworks model, split the diffuser into a shipping-friendly three piece design and produced the first batch. They sold out instantly, and now people all over the world have Charvonia Design diffusers on their FR-Ss, BRZs and 86s!

With the diffusers now flying off the shelf, the next most common question became “How do I install it?” After guiding several folks via email, I decided I had better get my hands on a local FR-S and document the fitting process.
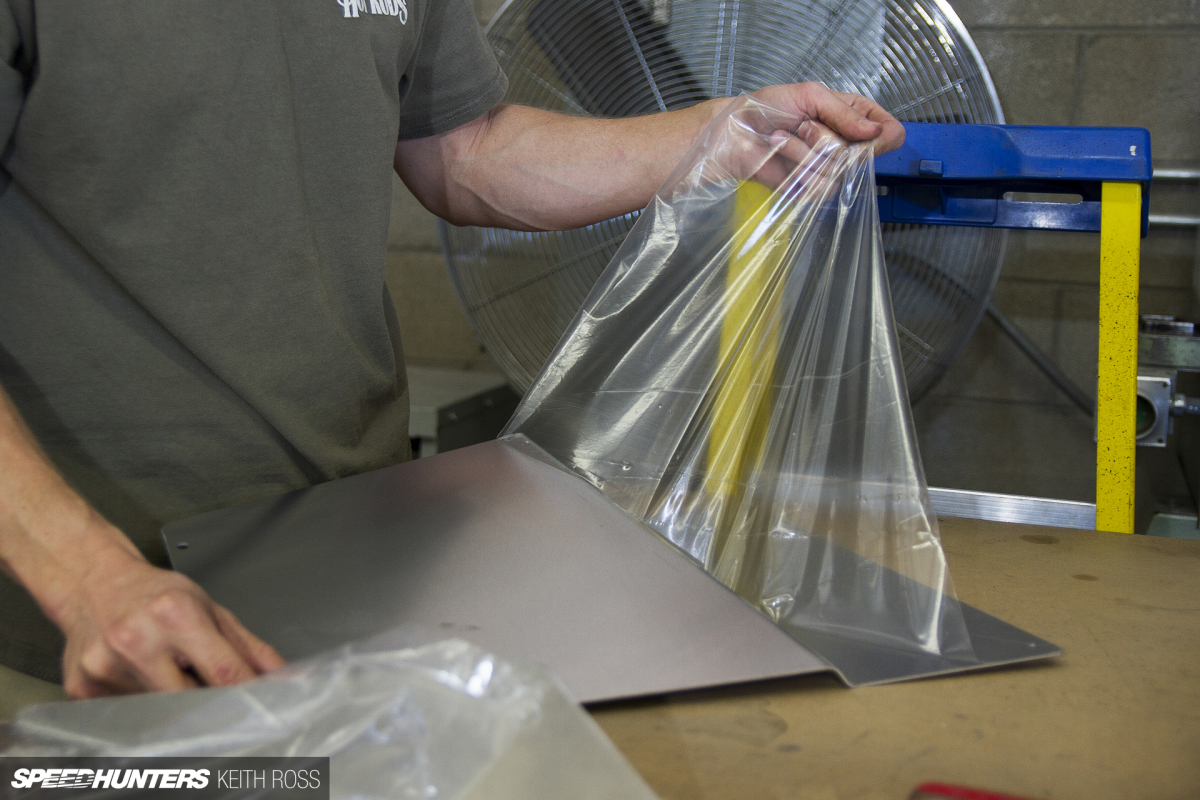
The first step is to unwrap all the parts and peel away the protective coating from the brushed 5052 aluminum panels. There’s no finishing required, unless you desire a different color. A couple guys have threatened to powdercoat their diffusers black, but I haven’t seen it yet.

The hardware comes kitted in a heat-sealed plastic sleeve by yours truly, so cut the poly bag open and organize the stainless steel fasteners
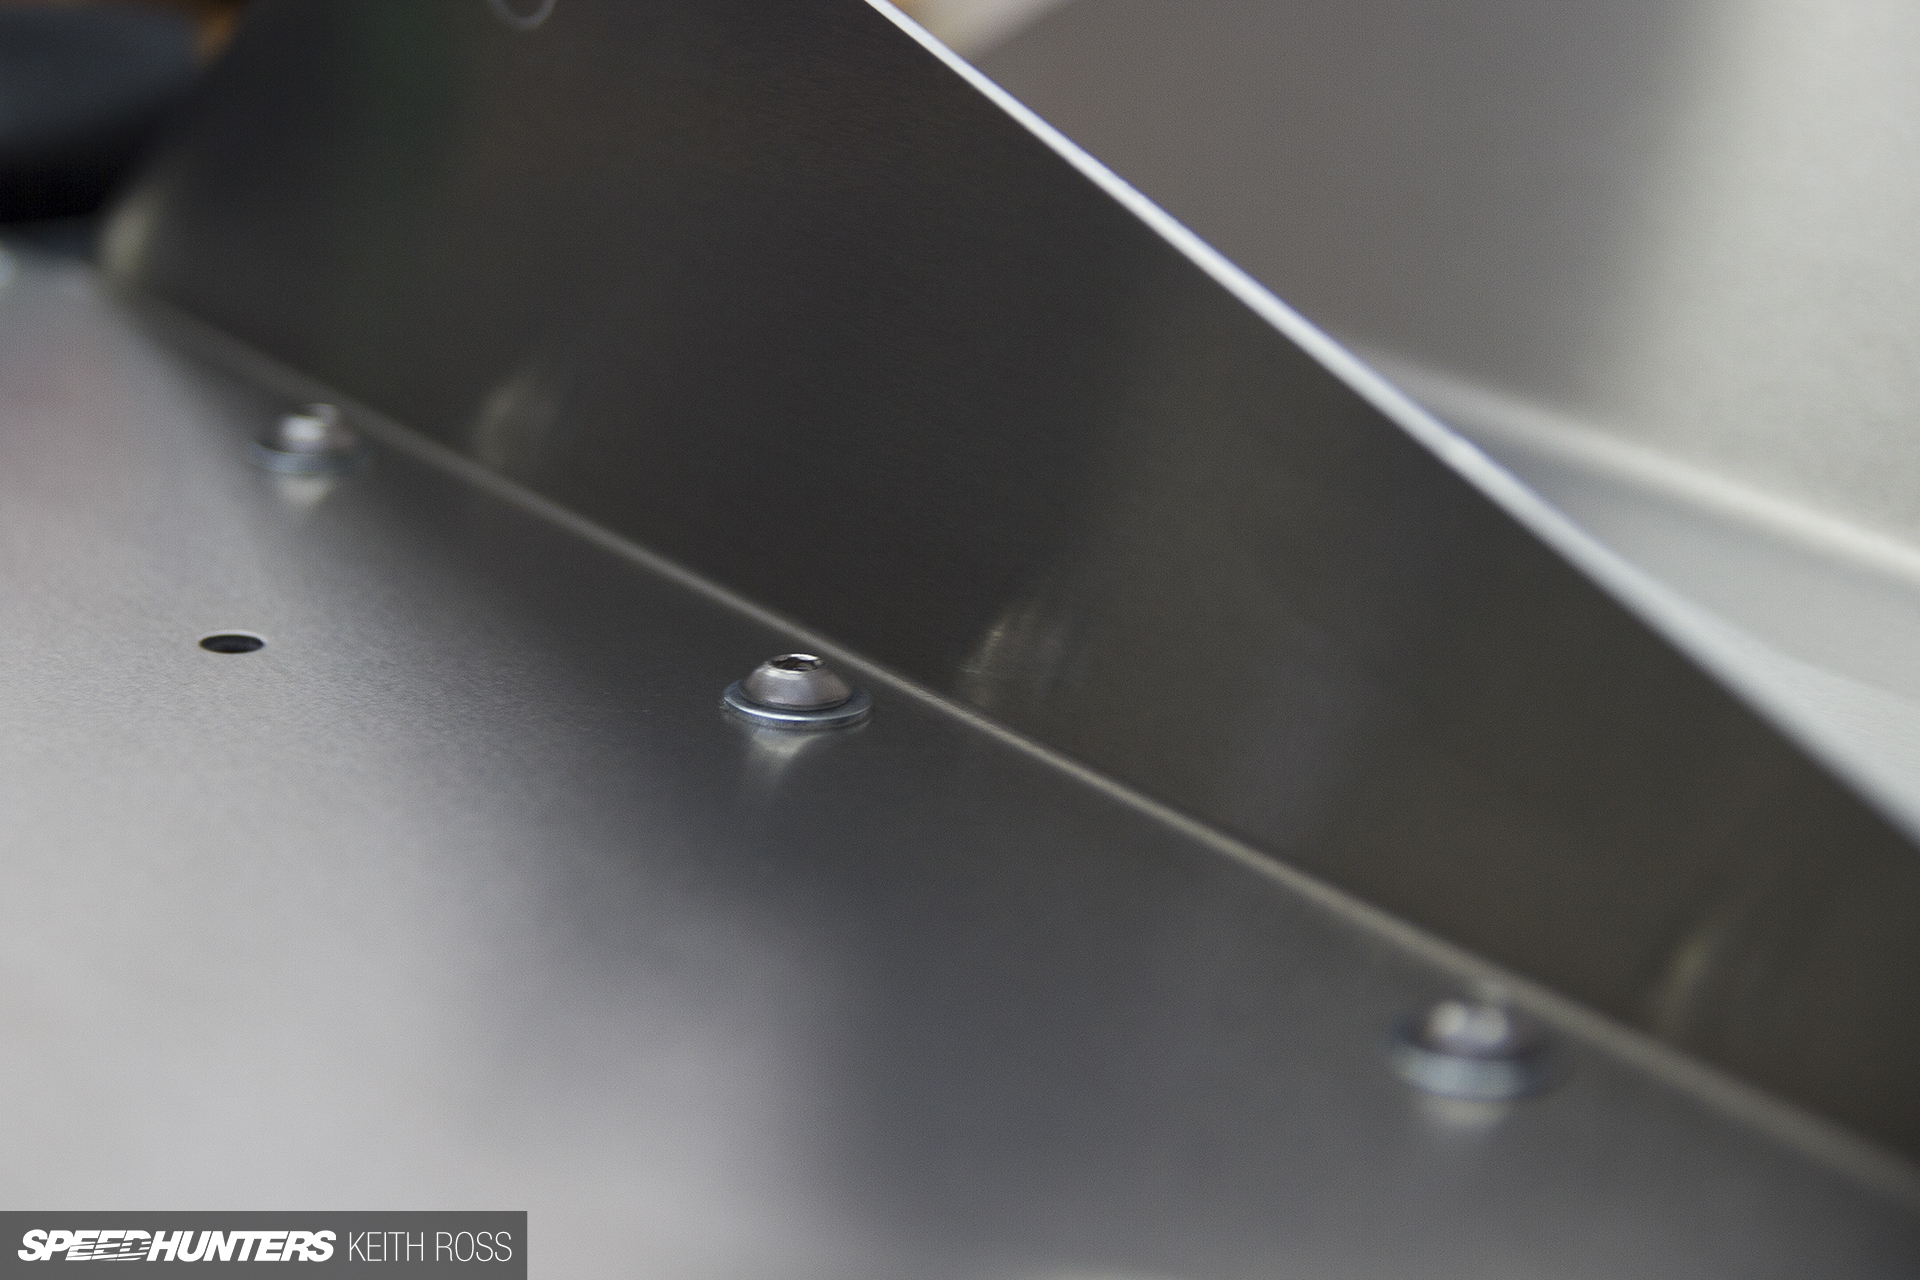
I mostly used 1/4-20 stainless button head cap screws for assembly. These will accept a 4mm or 5/32″ Allen wrench. Place the flat washer below head, and make sure the sharp edge faces down, otherwise I might have a fit when I see your car.
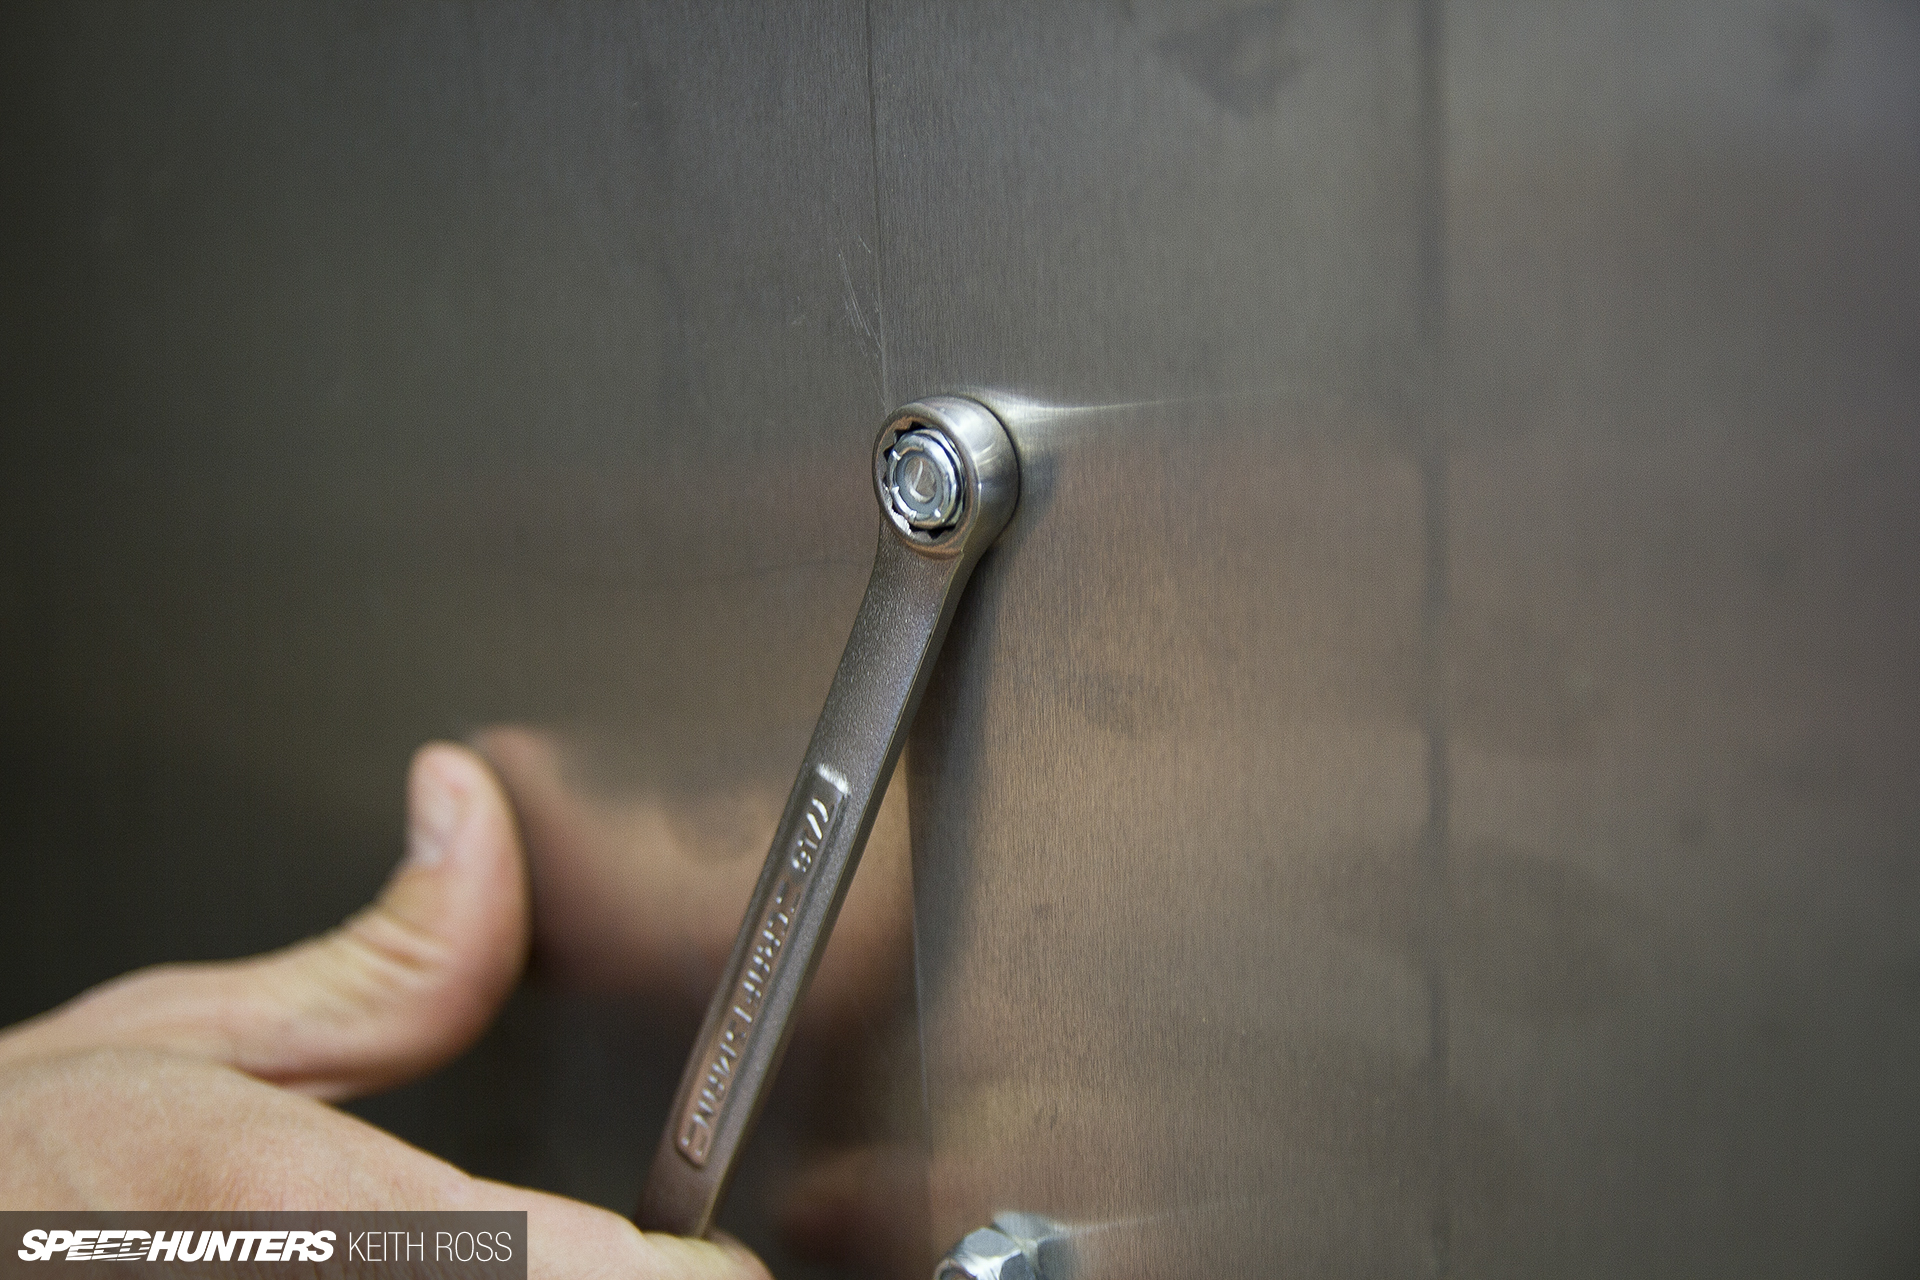
On the other side of the diffuser, you’ll secure the screws with a nylon locking 1/4-20 nut using a 7/16″ wrench or socket.
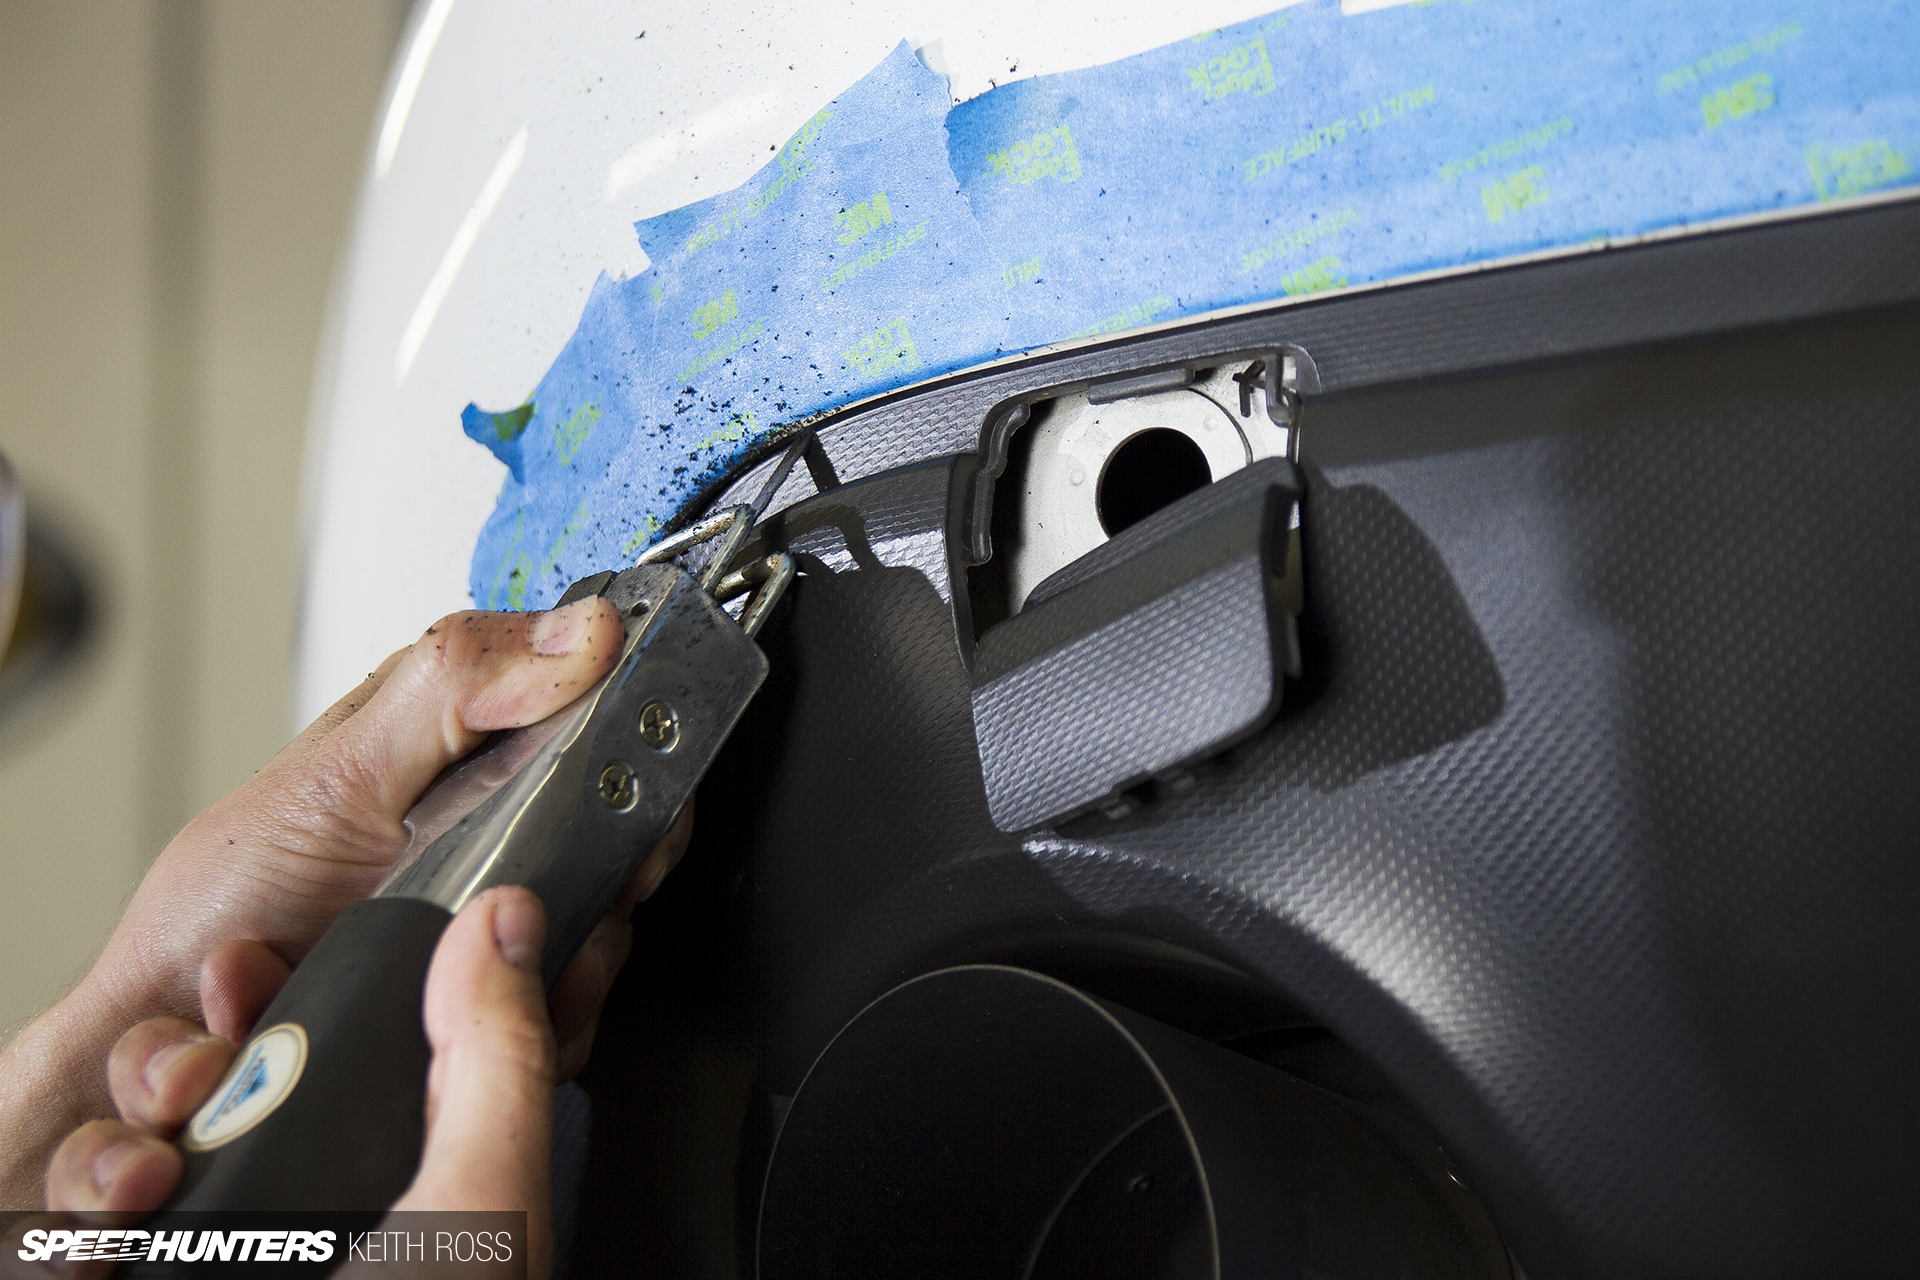
Now comes the fun (and totally not scary) part of cutting out the plastic portion of the rear bumper. I like to use a pnuematic body saw because it’s easily controlled and the plastic won’t melt back together as with a cut-off wheel or Dremel.

As you can see, I taped off the painted portion to prevent any mishaps. Then I slowly and patiently ran the saw along the crease between the textured black plastic and the painted part of the bumper. This took a solid 10 minutes of pretty intense concentration.
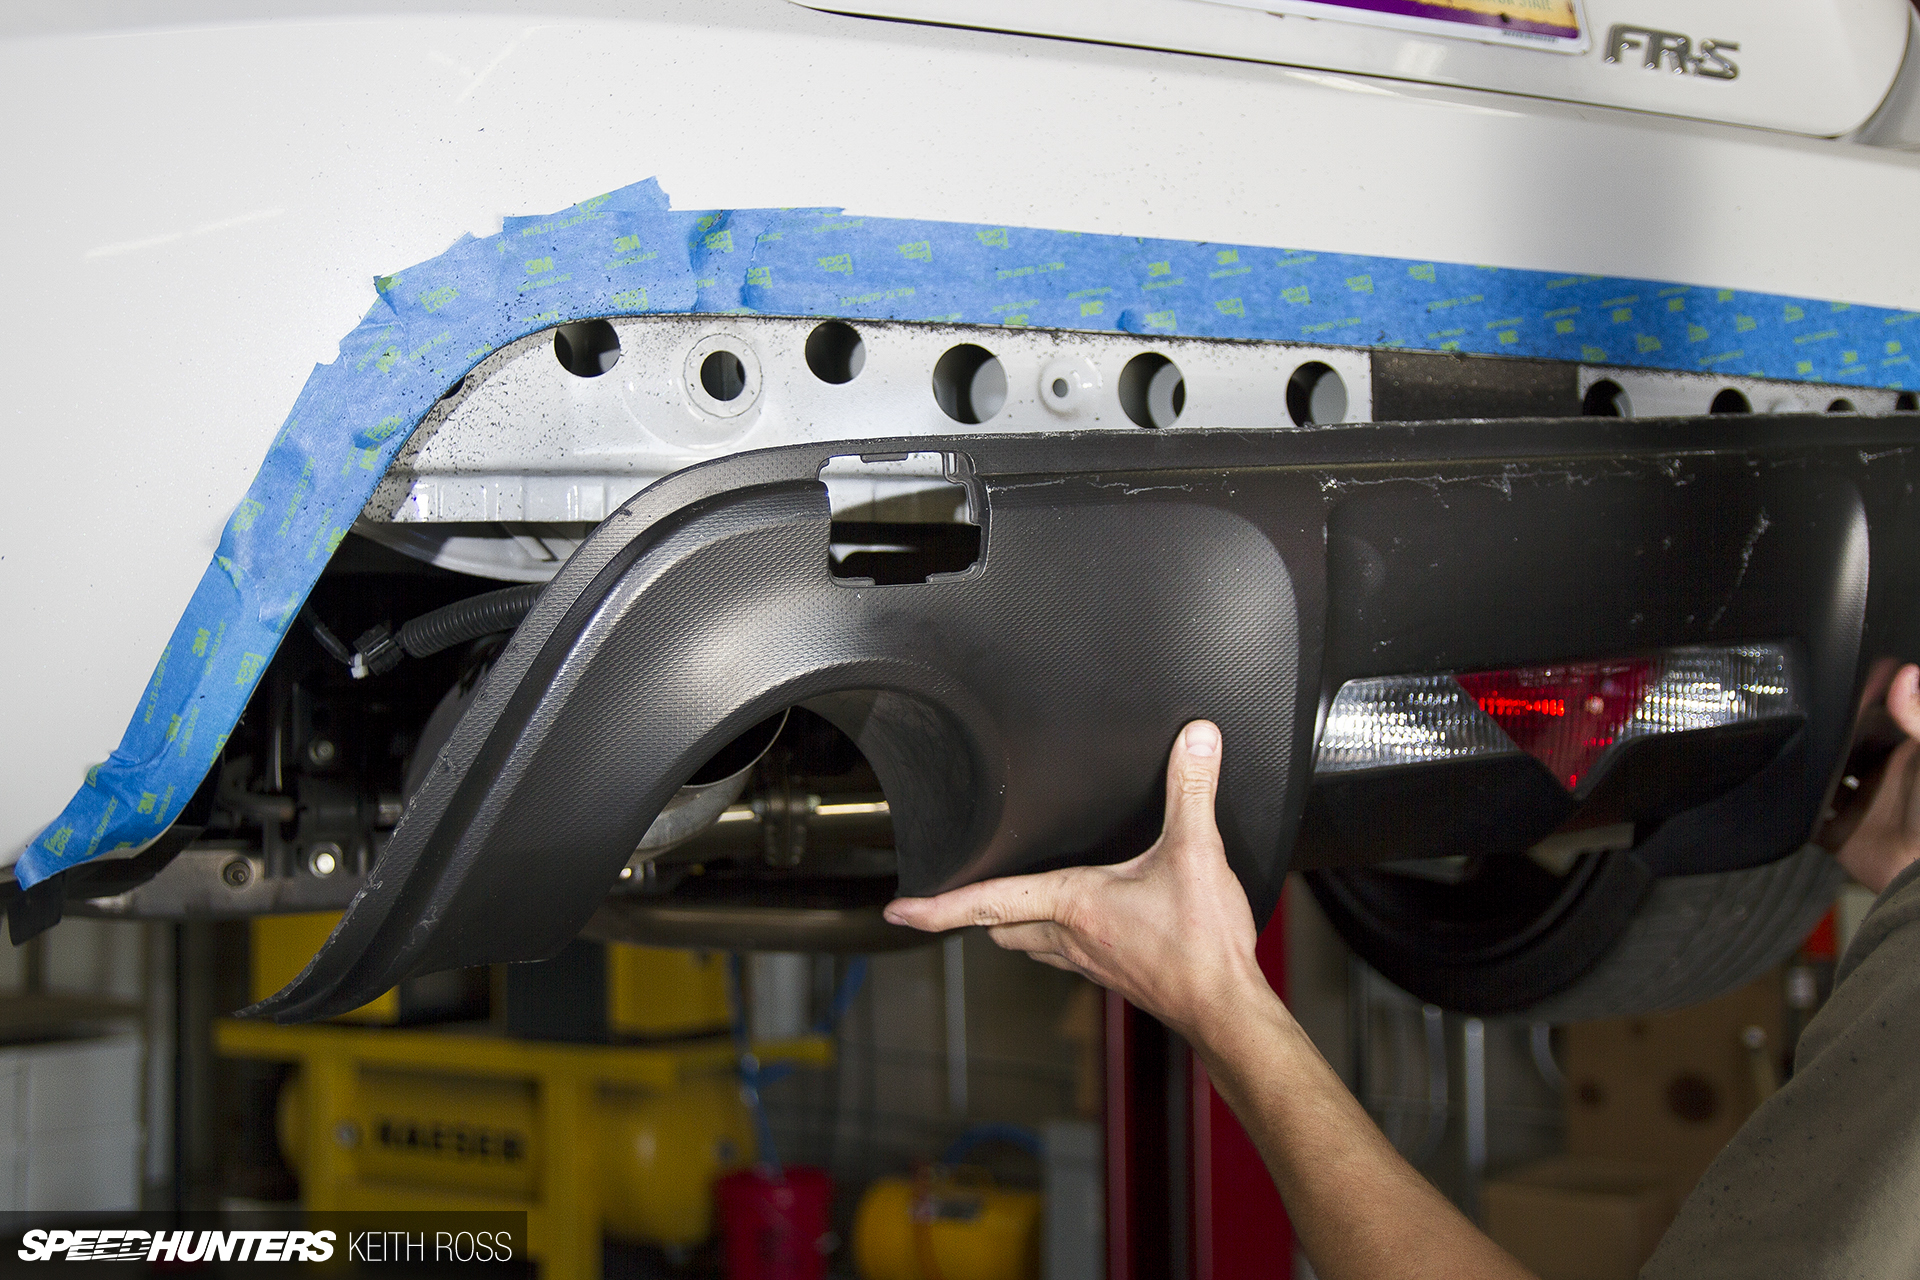
Okay, now you can take a breath and remove the plastic part. Unclip the reverse light wires and chase them up into the trunk to disconnect the plug. If you want to keep your reverse lights, check out this kit that relocates them into the tail lights.

This is the plug you want to disconnect to free the reverse light harness. It’s the white plug shown here, accessed by removing the plastic panel you immediately see when opening the trunk.
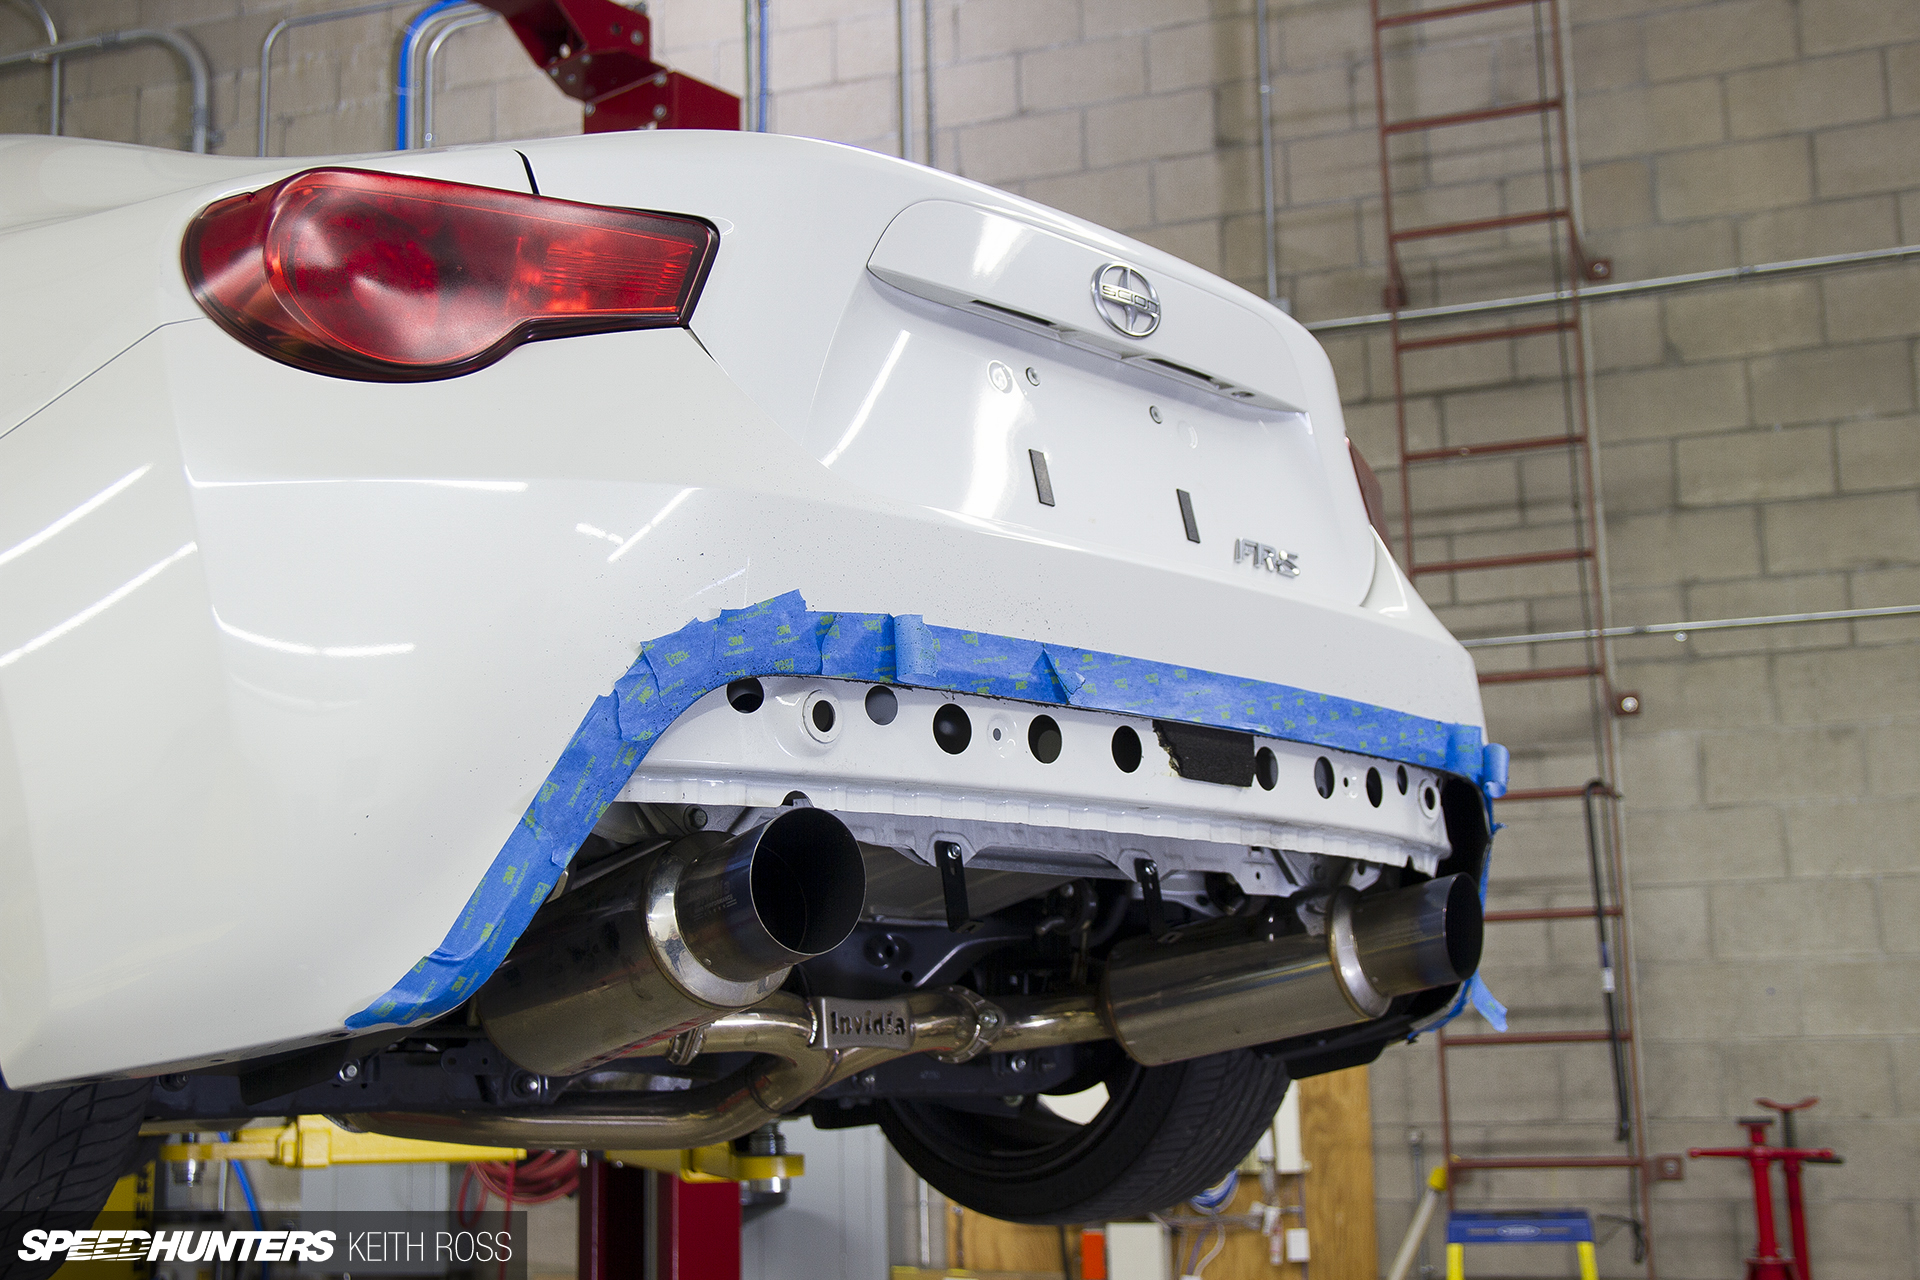
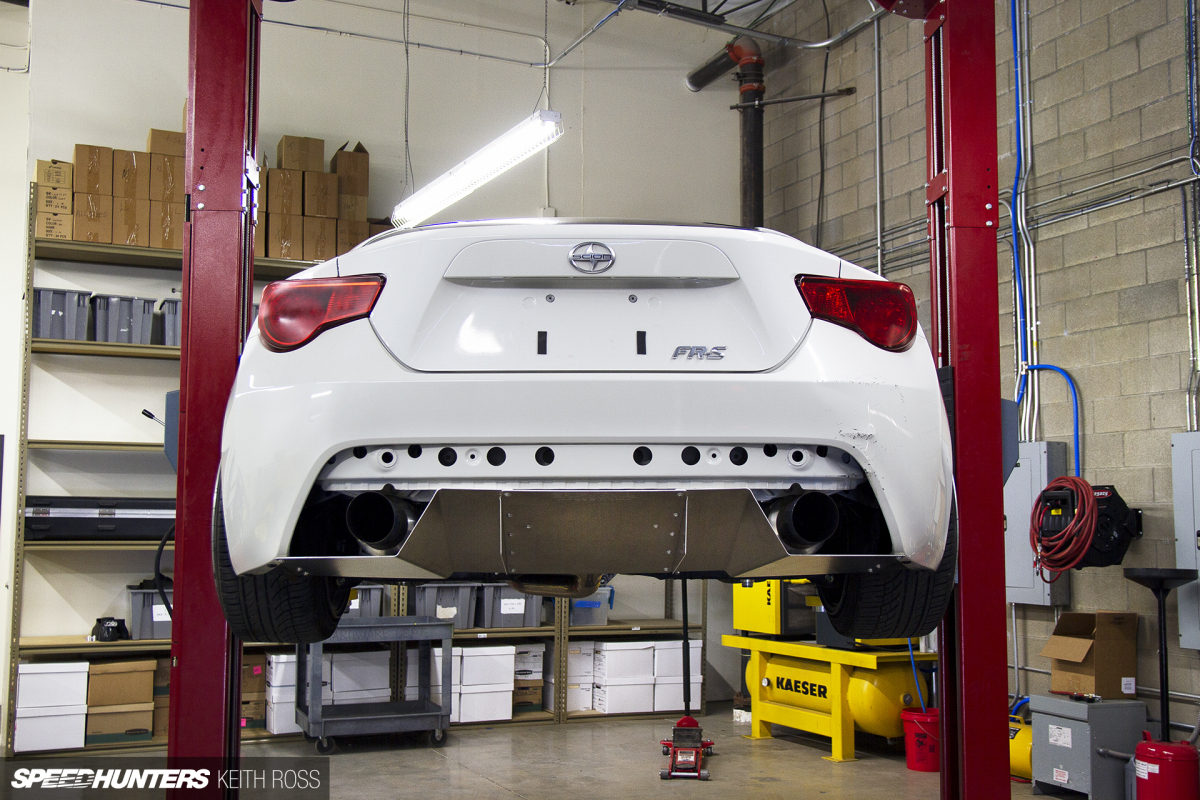
With the plastic portion now out of the way, you’re greeted by the new stripped-down, mechanical looking rear end of your FR-S.

You won’t be needing these brackets anymore, so remove them. Notice the 6mm threaded stud on the left side of this image. That’s where you will attach the L-brackets.
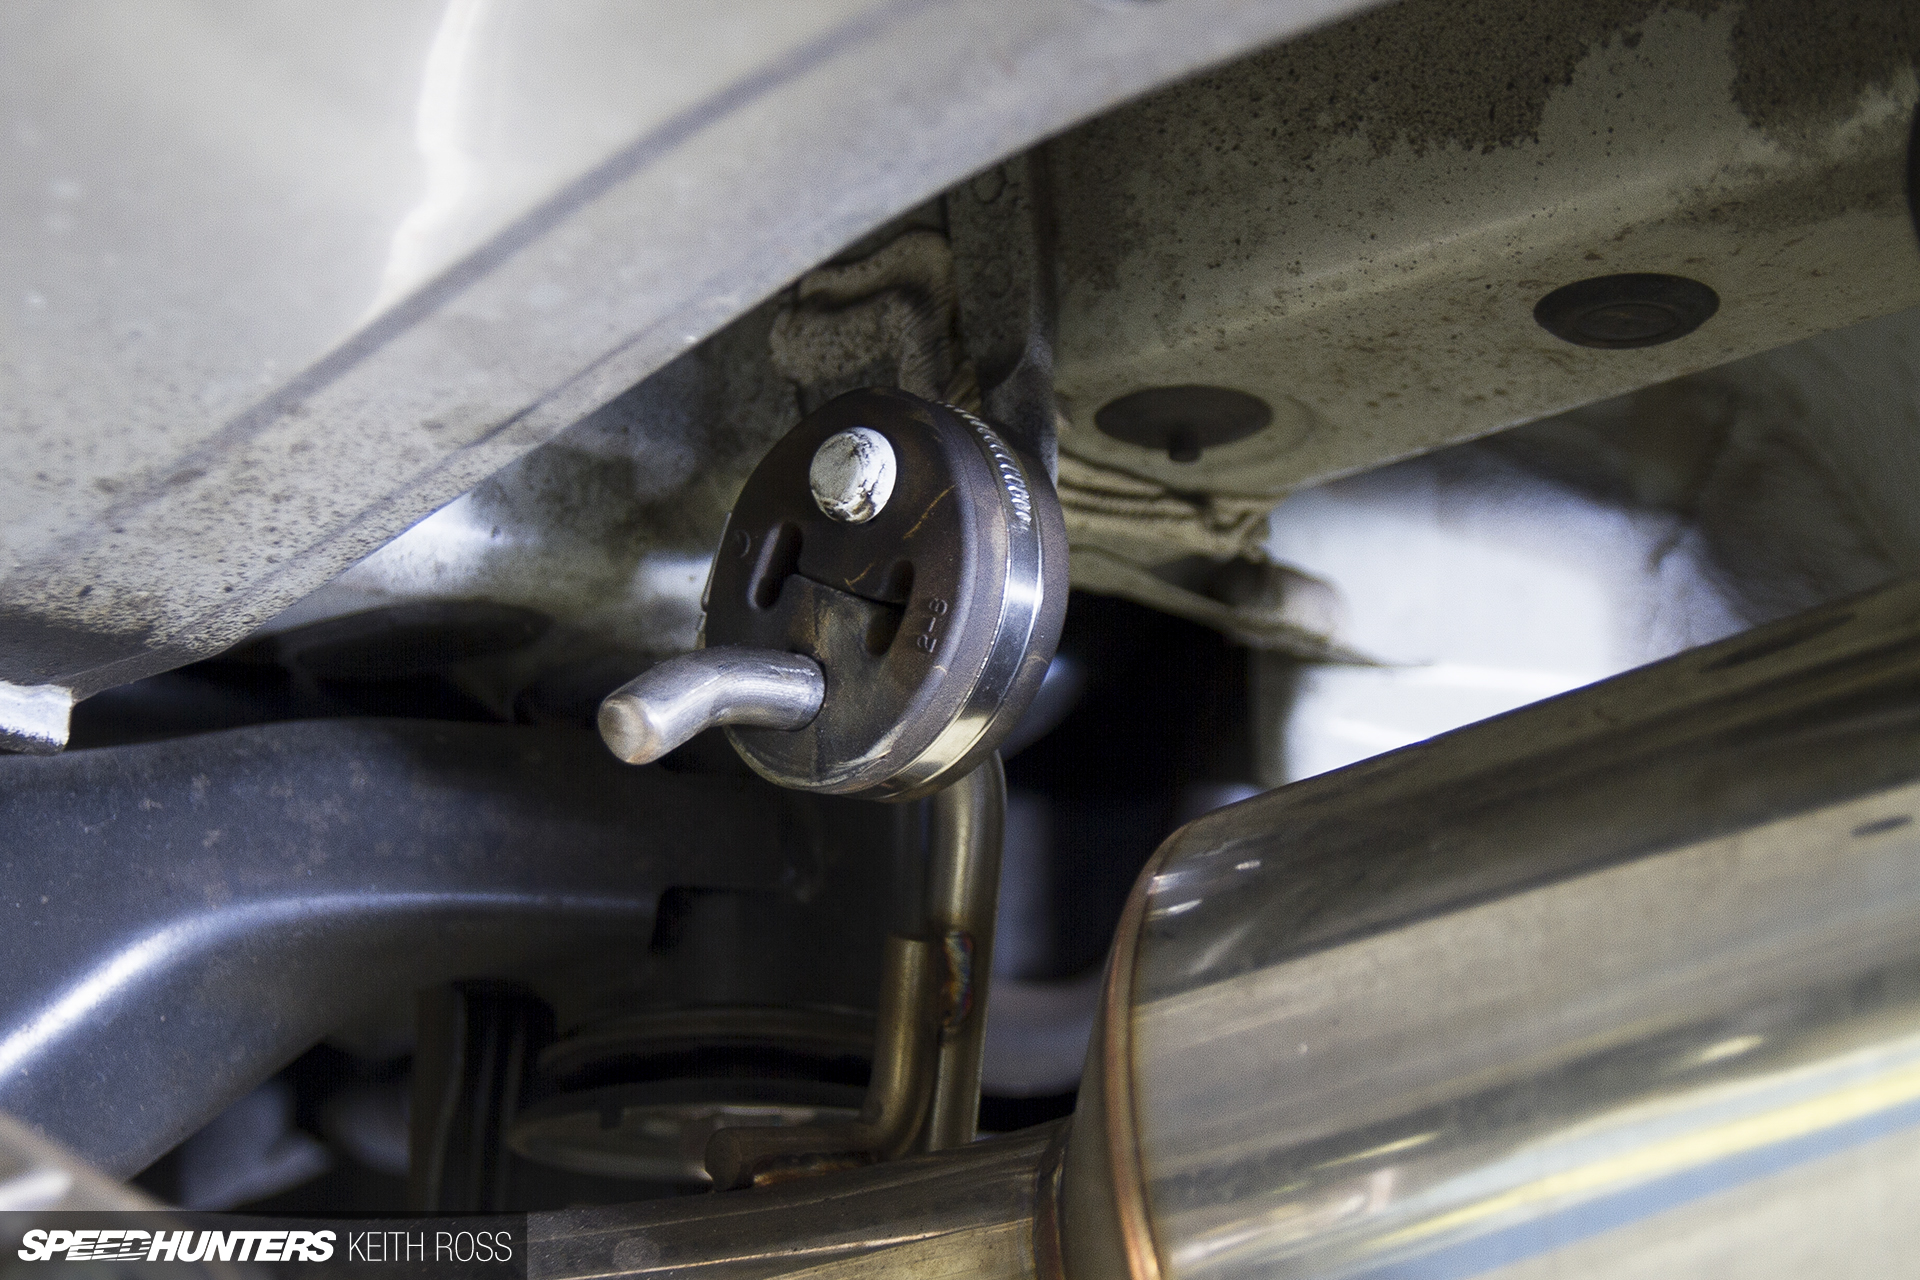
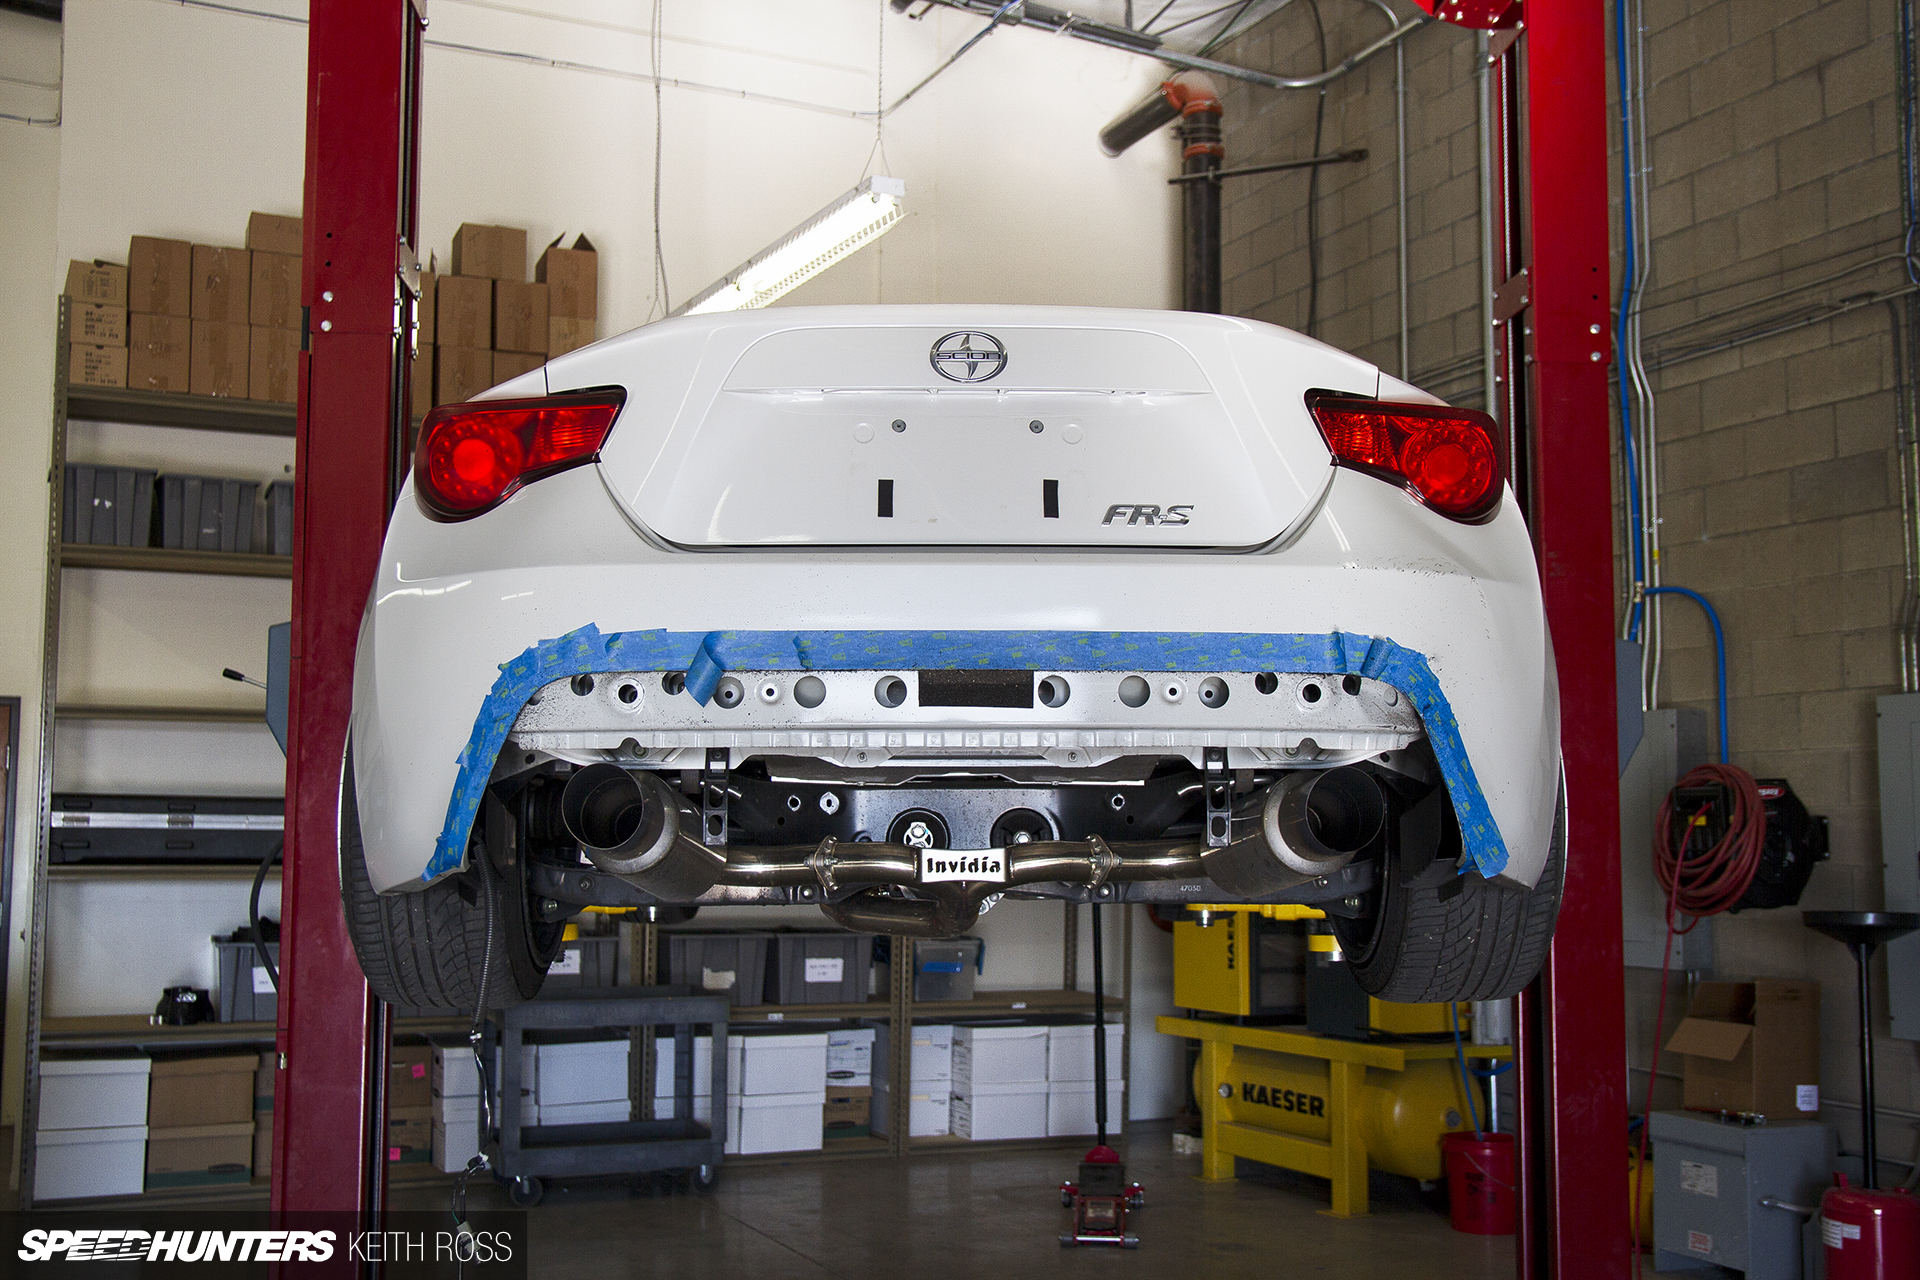
This Scion had an Invidia N1 cat-back exhaust, which just barely squeezes in above the diffuser. I compressed the front exhaust hangers using hose clamps and moved the rear hangers to the middle hole to fine tune the height of the mufflers. Other exhausts that are known to fit are the Nameless Track Pipe and Berk Muffler Delete.
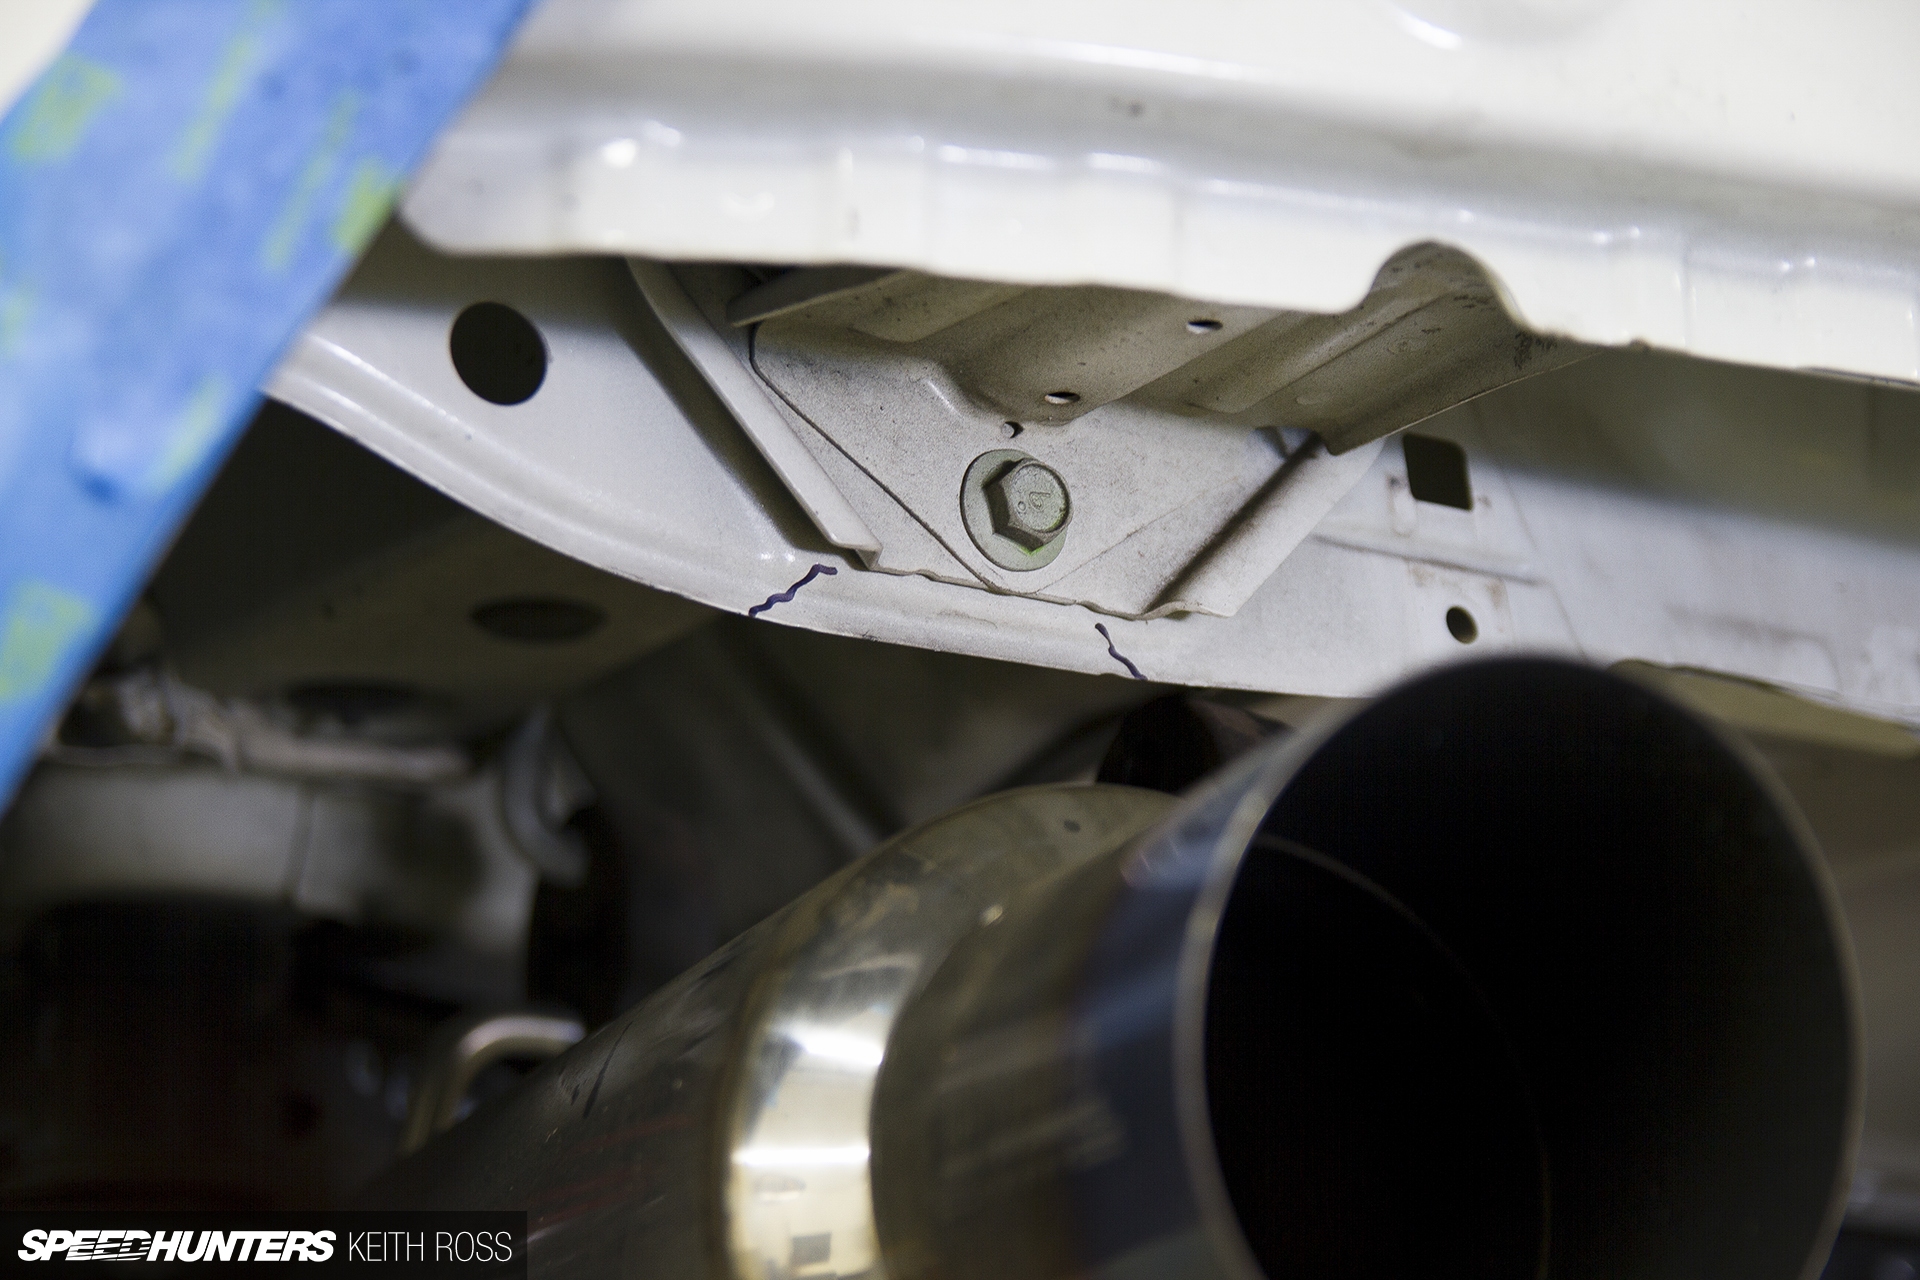
The Invidia mufflers were also too close to this sheetmetal, so I marked it, removed the mufflers and carefully tapped the metal up at a 90-degree angle to buy some valuable space.
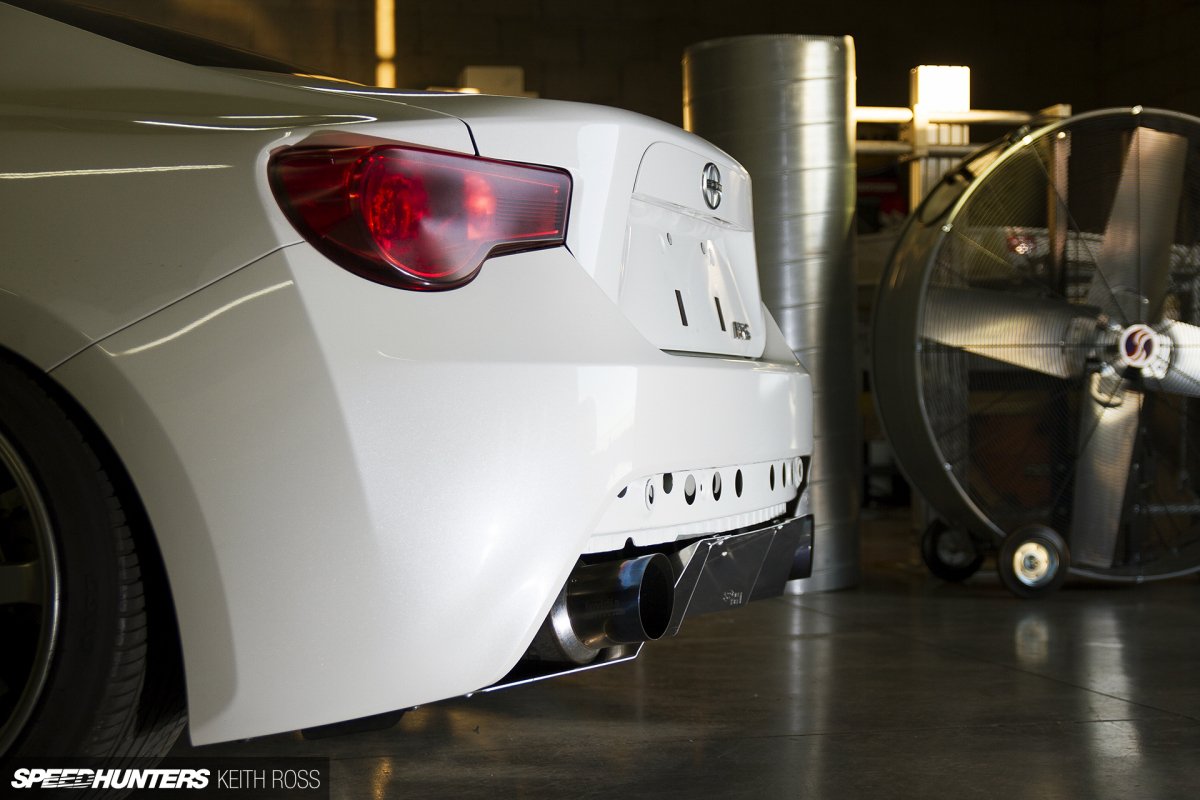
Here’s the Invidia cat-back in its new raised location, which will now fit with the Charvonia Design rear diffuser.
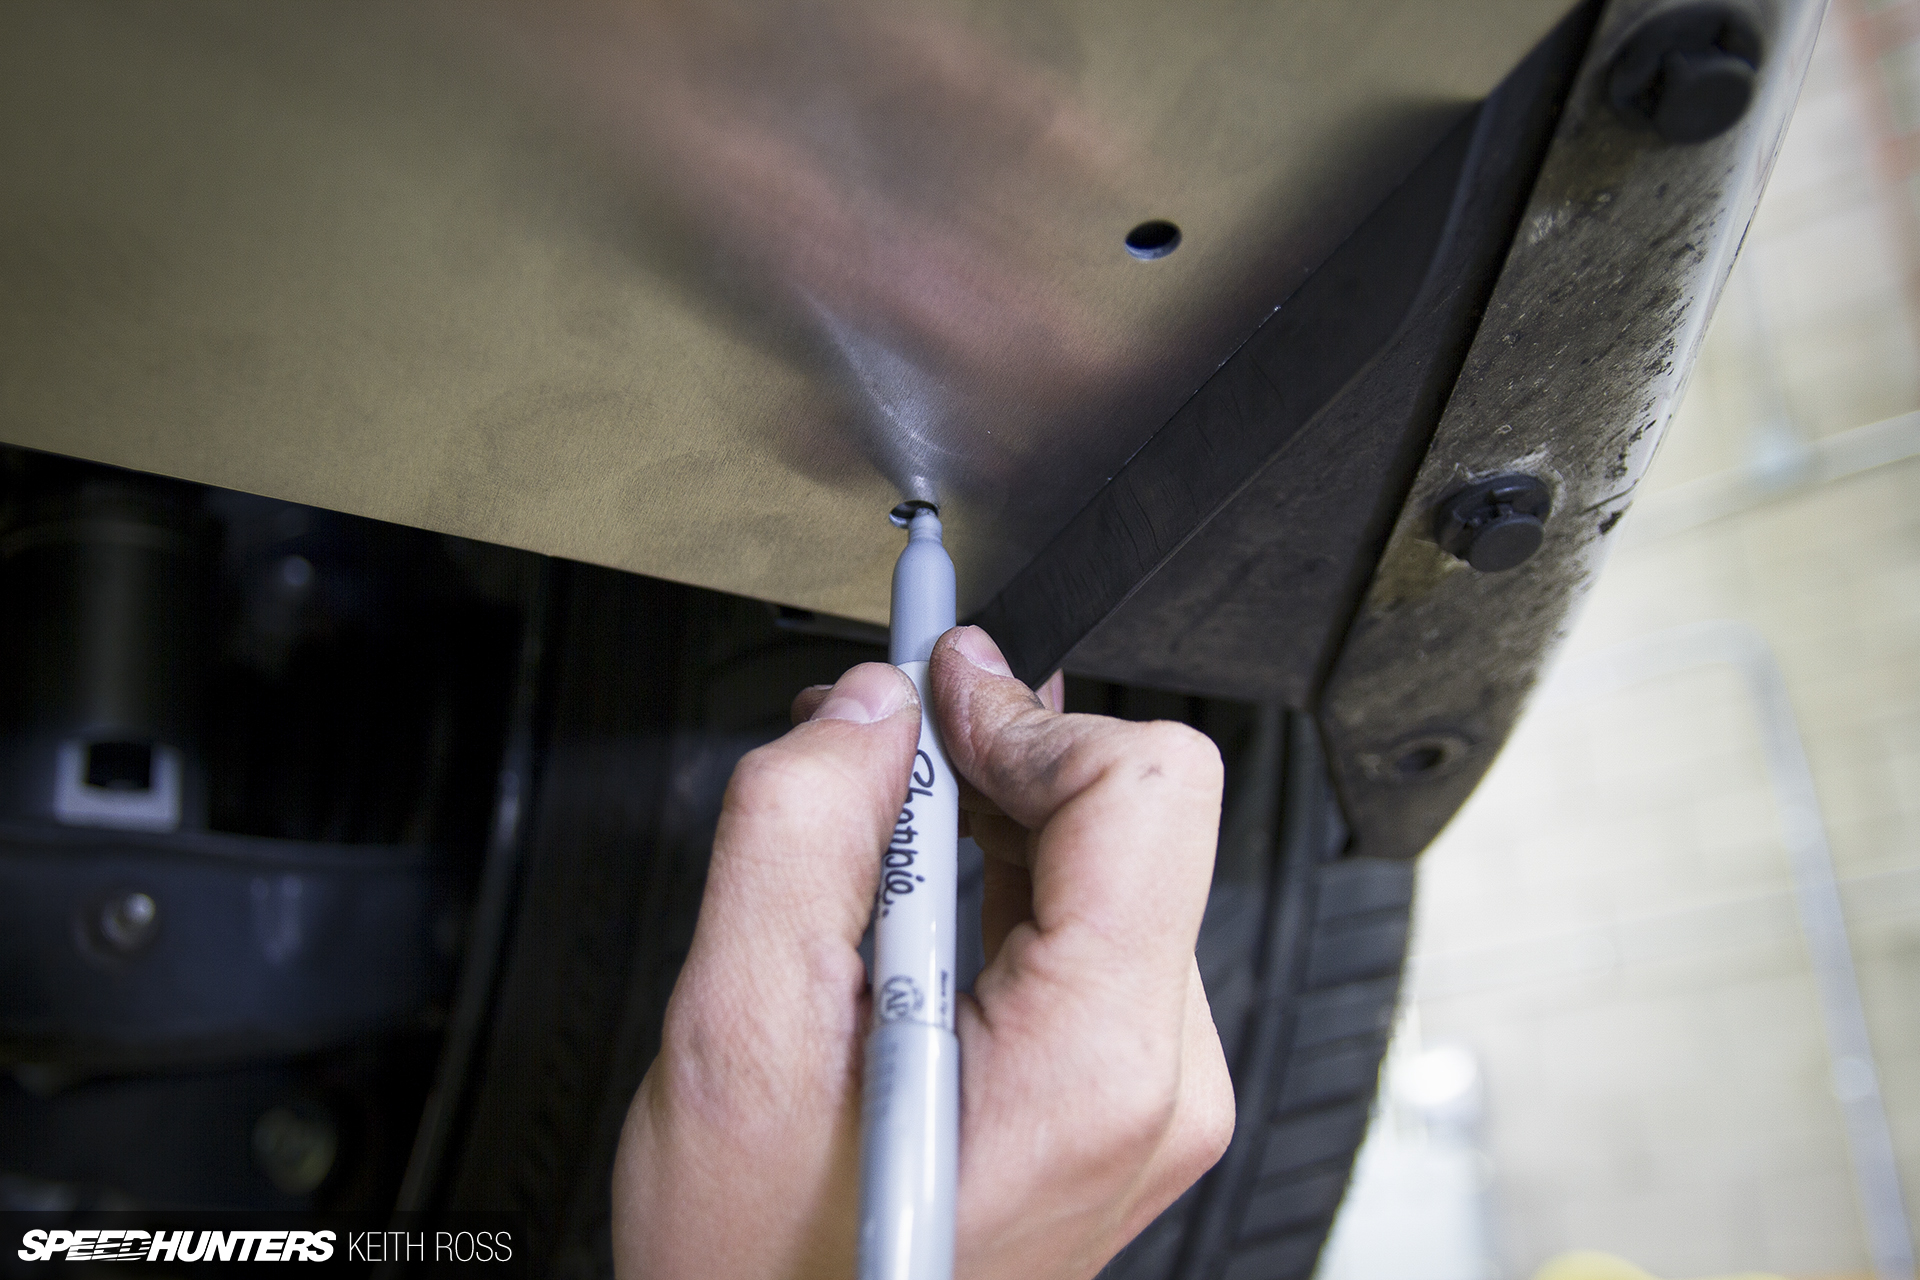
With the help of a friend, or maybe just some jack stands, hold the diffuser up against the bottom of the car. Using a silver Sharpie, mark the three holes on each side. Two will land on these black plastic boxes, and one will end up on the painted bottom edge of the bumper.
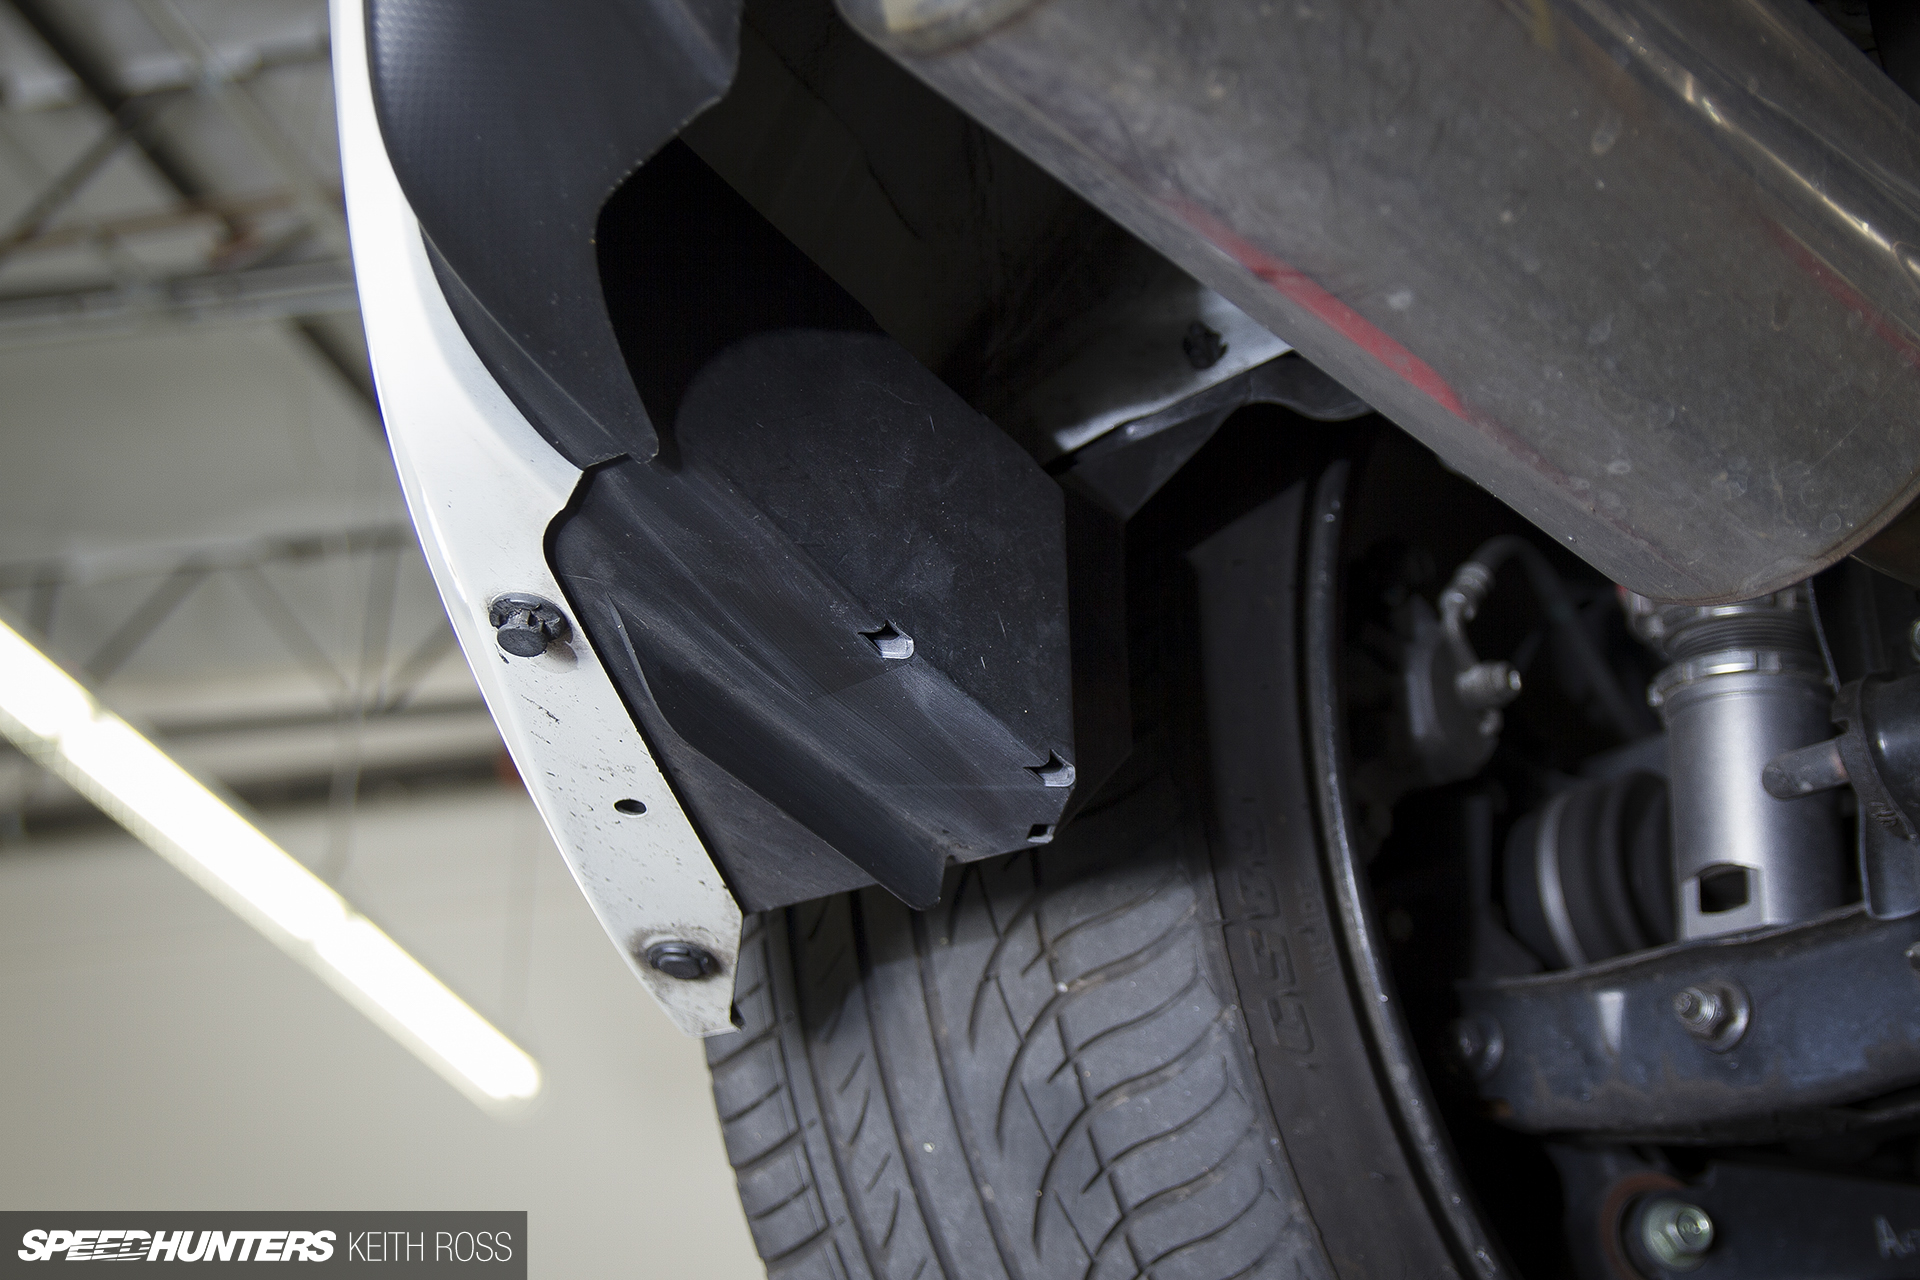
The next step is to remove the black plastic boxes from either side of the bumper. You can use a flathead screwdriver, but my favorite tool for this is a set of push pin pliers. There are a couple retaining pins up top too, so use a flashlight to identify them. I’ve found it’s easier to reinstall the upper push pins backwards when you put it all back together.
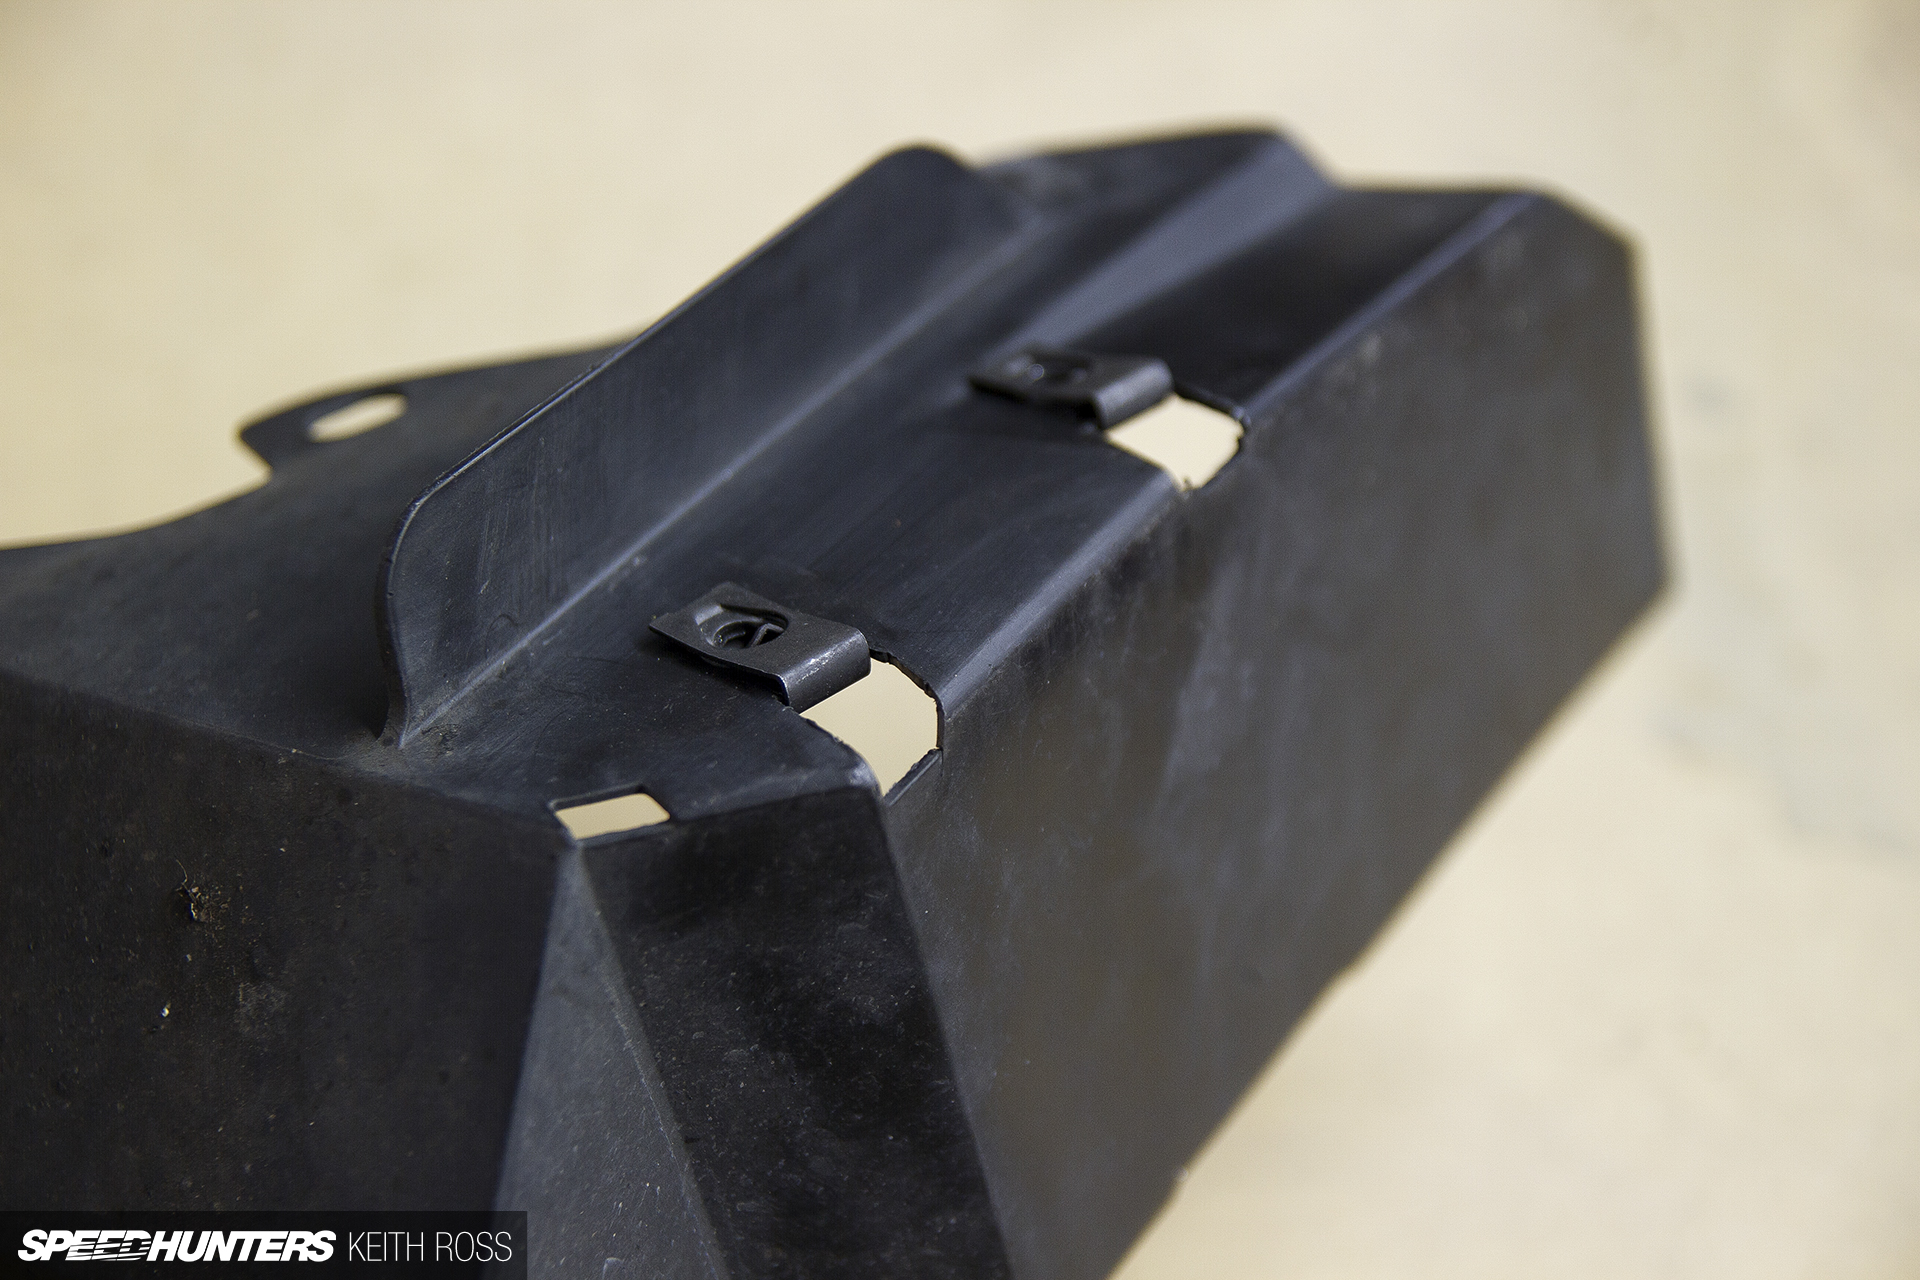
Drill 5/16″ holes on your silver Sharpie marks, then trim back the plastic until the provided 1/4-20 speed nuts fit in the correct position.
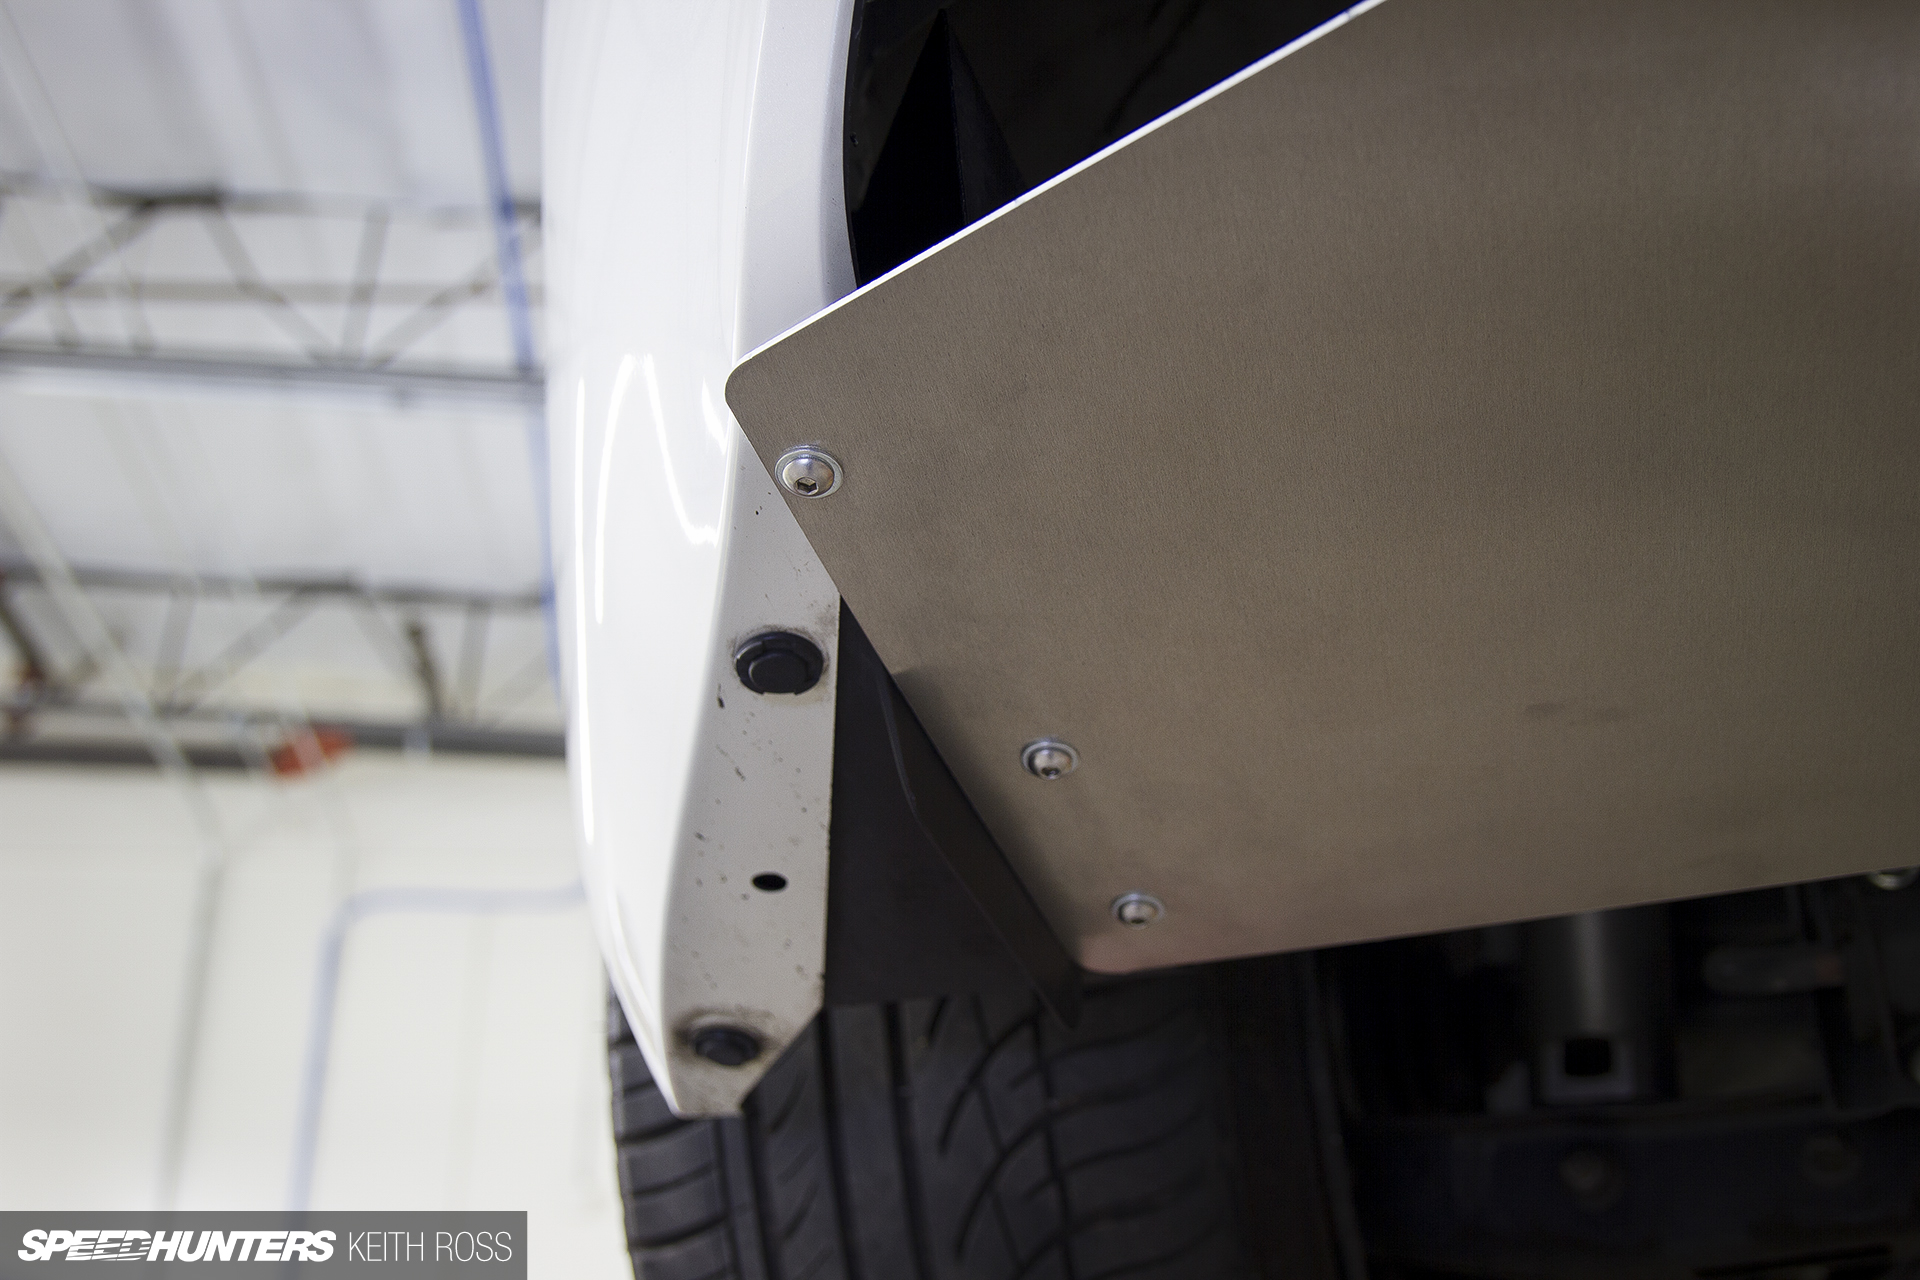
Now you can bolt up your Charvonia Design diffuser! Spin the 1/4-20 x 3/4″ long button head cap screws into the speed nuts, then use a fender washer and nylon locking nut for the screw that goes through the painted portion of the bumper. You’ll also need to install the two provided L-brackets (not shown) in the center of the diffuser, and use the 6mm nylon locking nuts to secure them to the body.

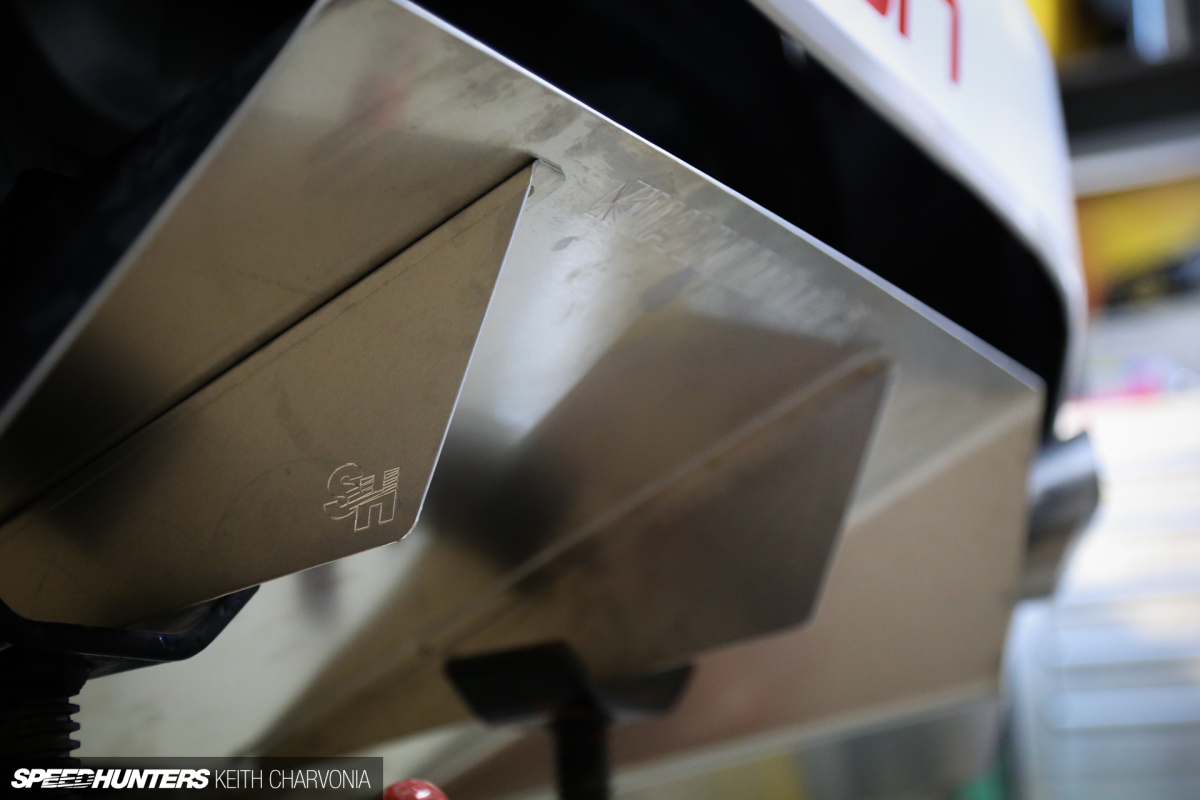
On the underside of the FR-S rear diffuser you’ll find the Charvonia Design logo has been engraved.
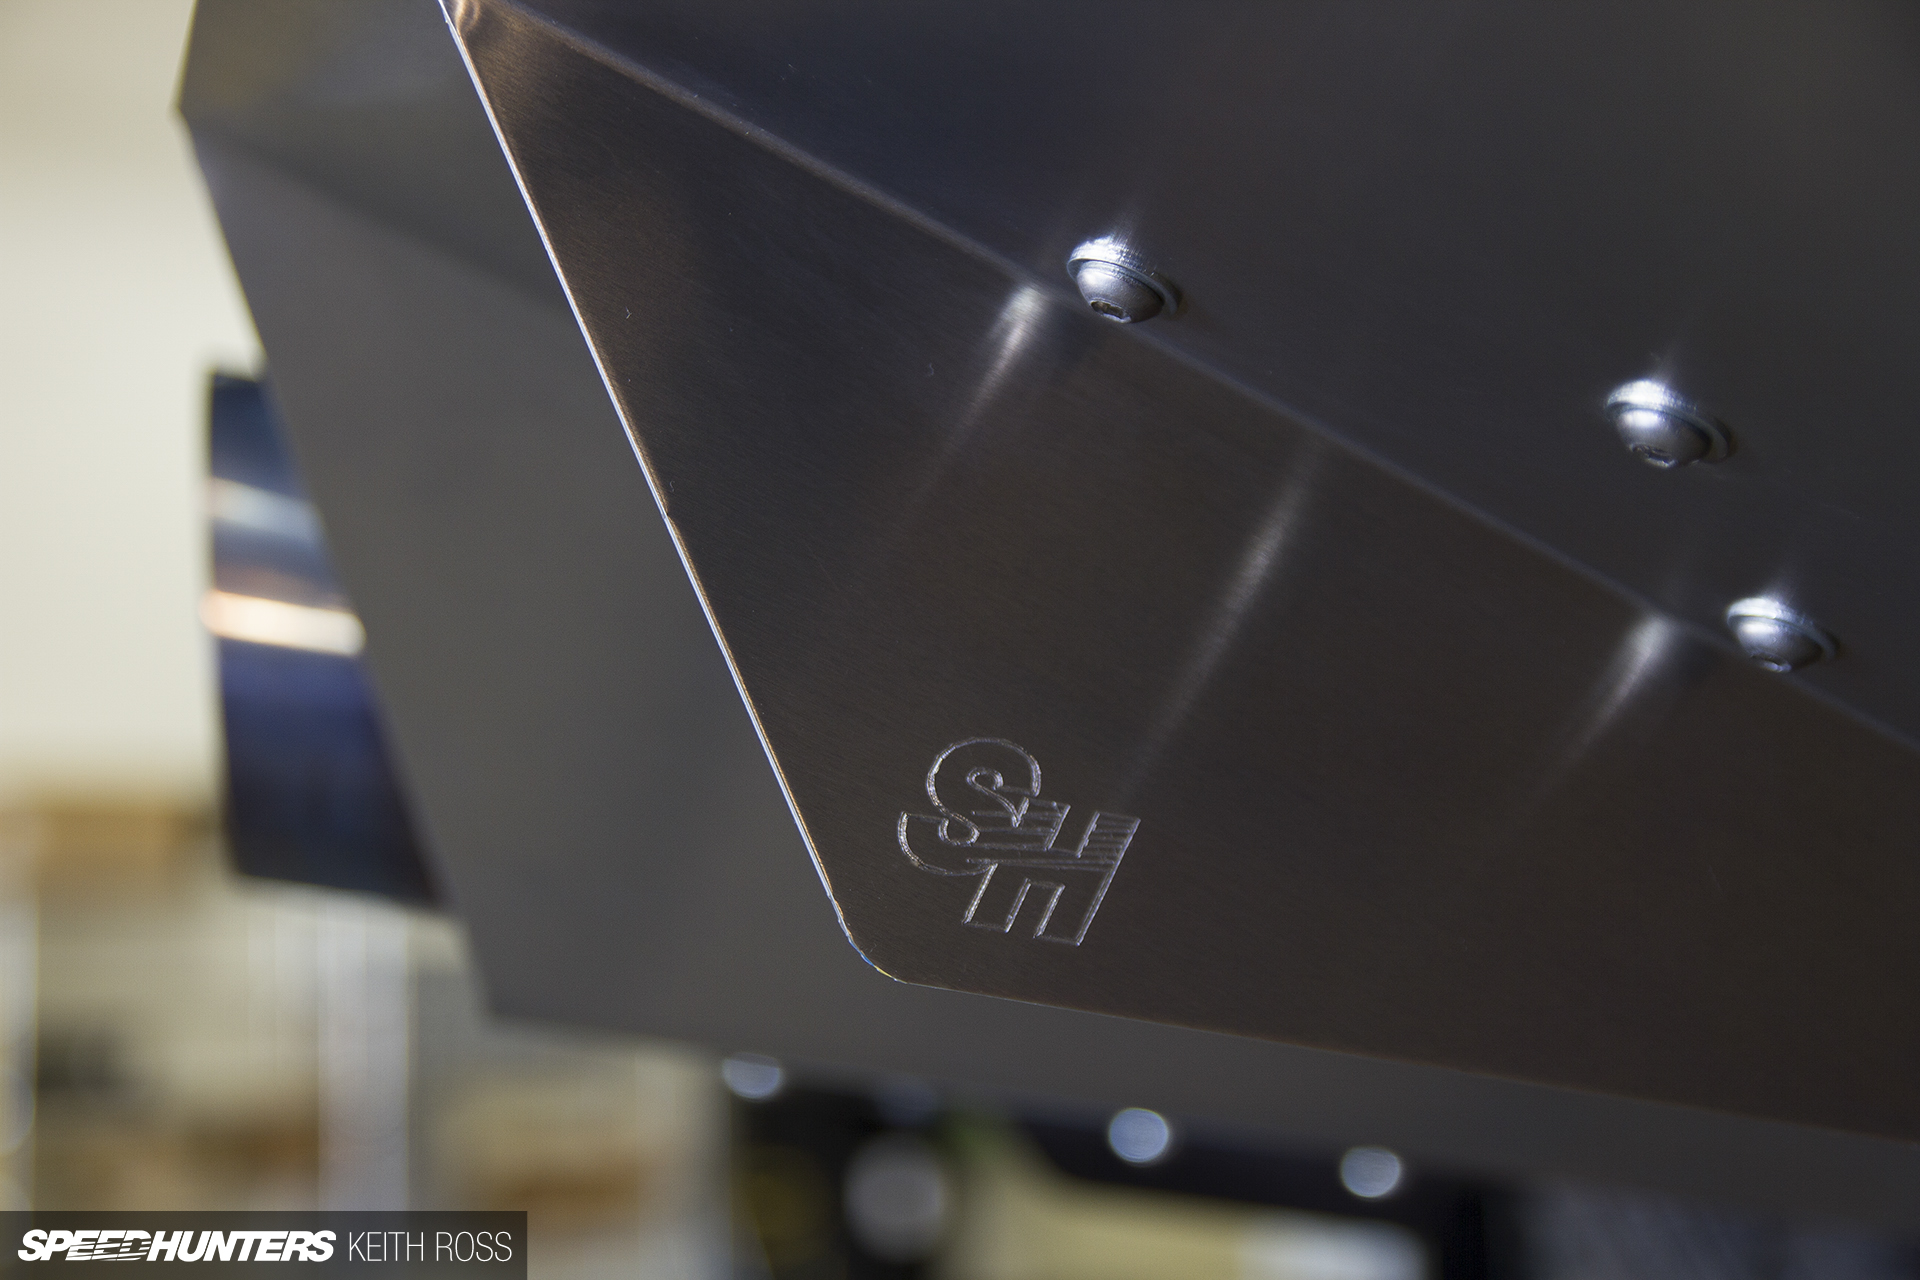
And on each fin, the diffuser proudly wears the SH Speedhunters logo too!

Since this is a street-driven car, we opted not to remove the factory crash beam for safety and liability reasons. If it’s a track car, go ahead and shed the weight, at your own risk of course.
The factory crash beam could also be painted to change the appearance. Black will make it less visible, or you can clean up the color-matched factory paint and let it blend in with the body.
Thanks for following along to see how installation of the rear diffuser is accomplished. Hopefully this takes some of the mystery out of the process and gives you the confidence to tackle this project at home. As always, I’m down to help in any way, so shoot me an email with your questions.
If you’re ready to get your own Charvonia Design x Speedhunters Scion FR-S Rear Diffuser, you can purchase it HERE.
Keith Charvonia
Instagram: SpeedhuntersKeith
keith@speedhunters.com