Sometimes with these project car updates, I need to over elaborate on things to achieve the desired word and image count. It’s likely down to my ambition exceeding my ability to get things done, but it frightens me how often these posts come around.
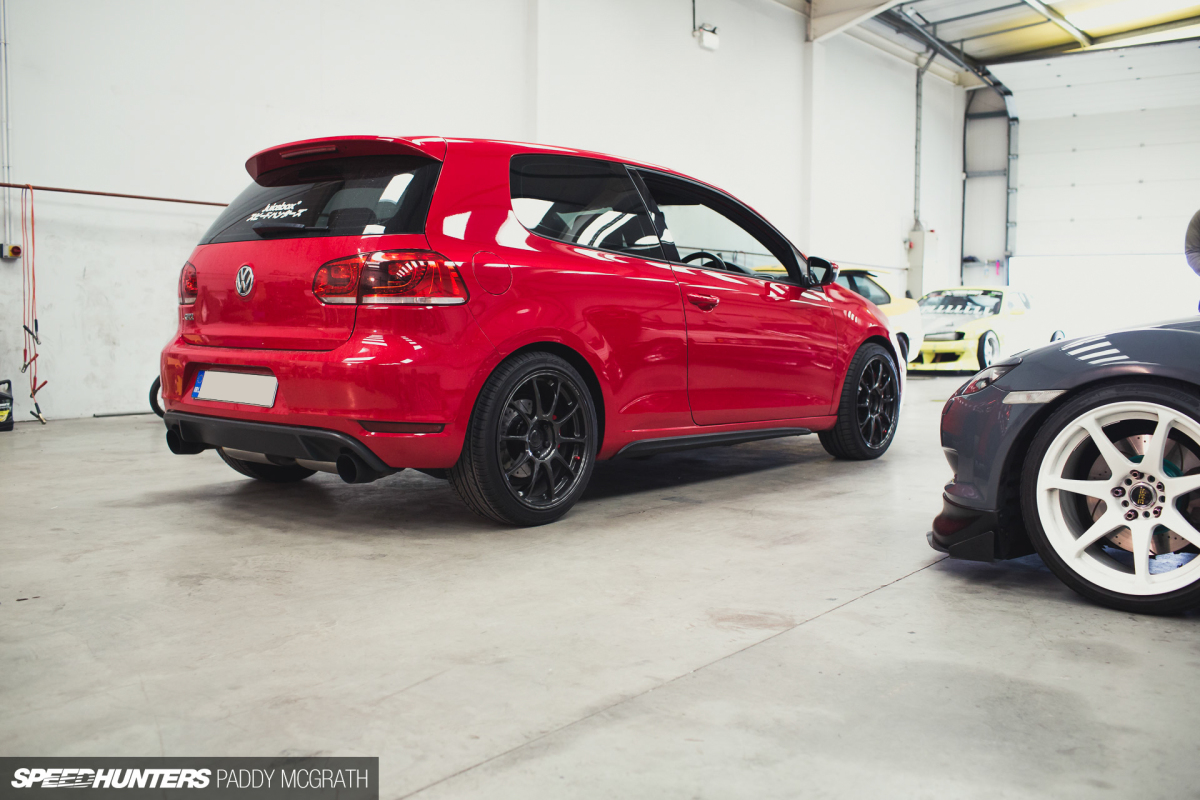
This is the seventh consecutive monthly instalment on Project GTI in the ninth month since I bought it, but it’s probably the first time I’ve looked at the car and started to see things coming together.
Last month, we gave the car a bump in power courtesy of Revo Technik and TG Performance NI, but with power comes great responsibility as a wise uncle once said.
The stock brakes on a GTI are adequate and perfectly fine for road use, but start to hammer them and they come undone pretty quickly. I tried a pad upgrade beforehand, but ultimately decided to do things right and do it once, so that I never have to worry about upgrading the brakes again.
I’d seen Tarox brakes being deployed on a couple of MkVII GTI and R Golfs in the UK, and having spoke to a few owners and getting great feedback, I felt that this was the direction I wanted to go. In particular, seeing them on a friend’s Golf R was the ultimate decision maker.
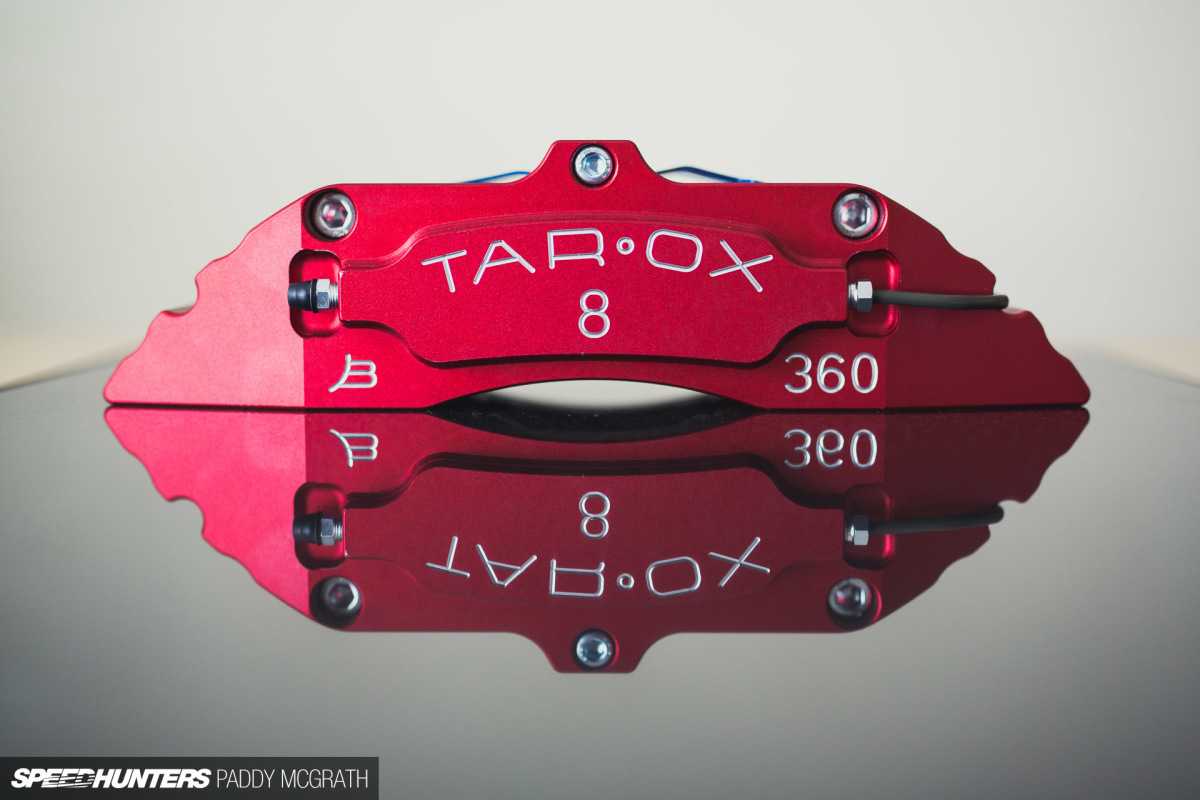
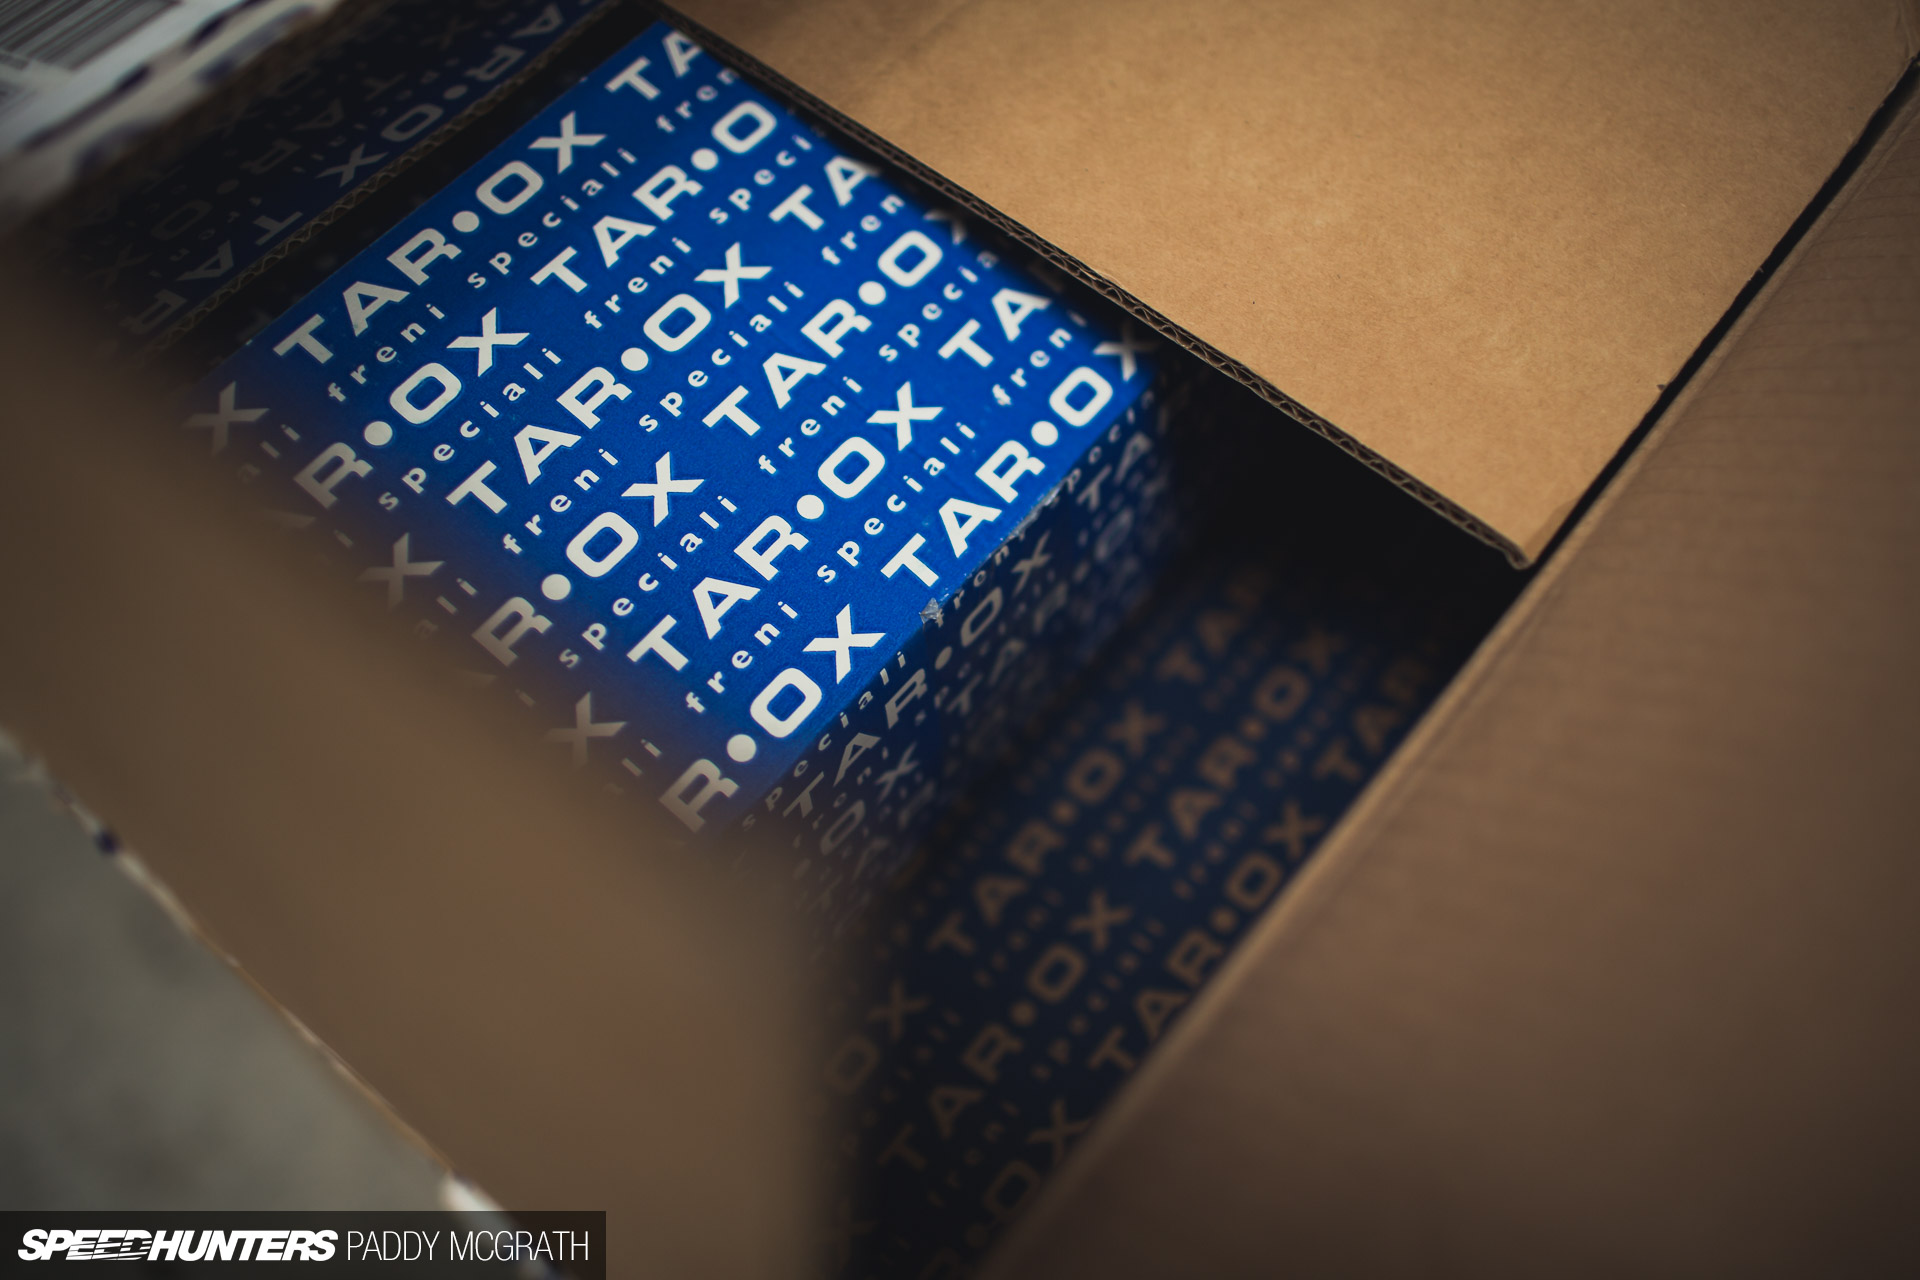
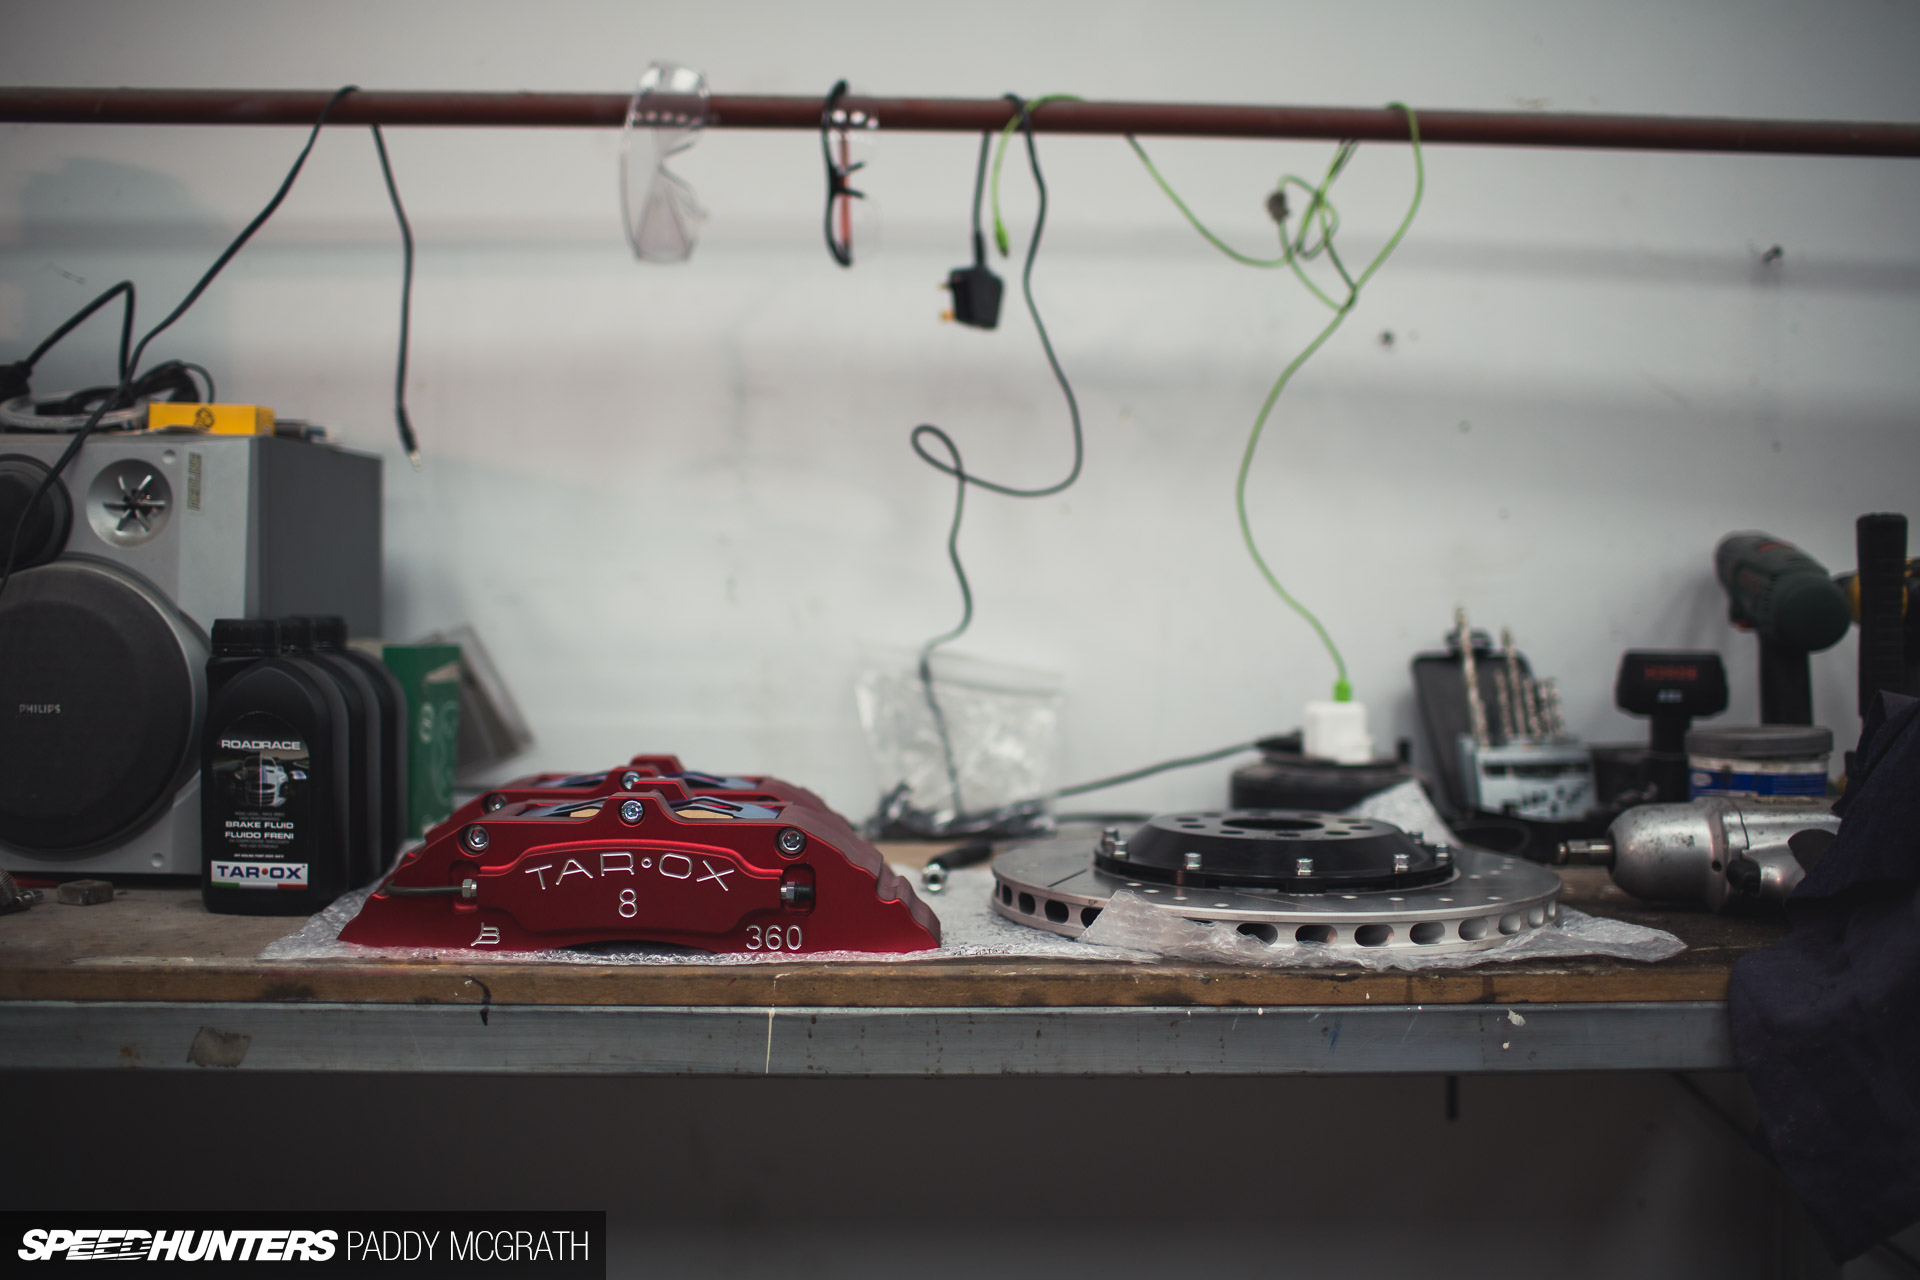
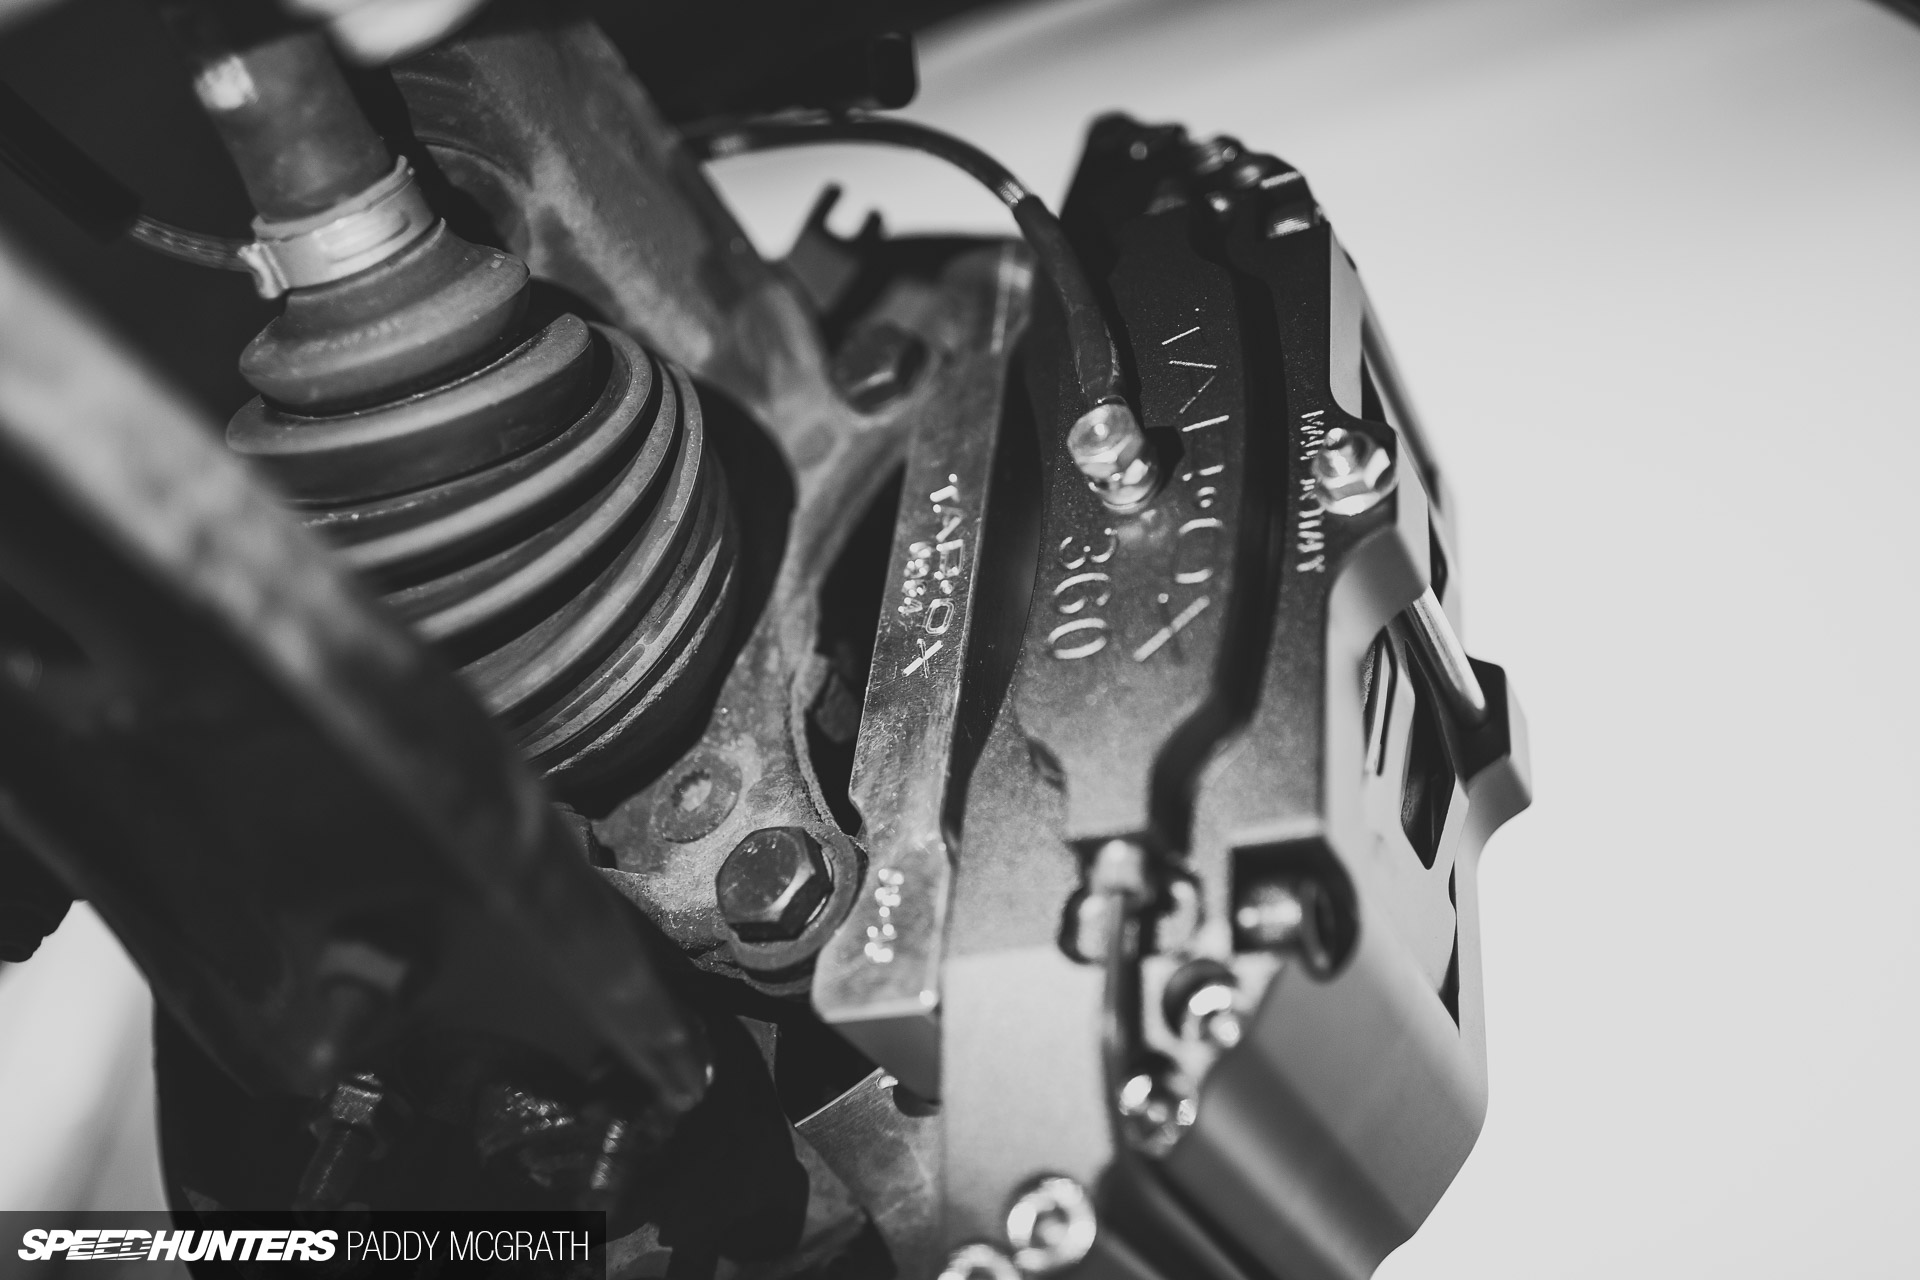
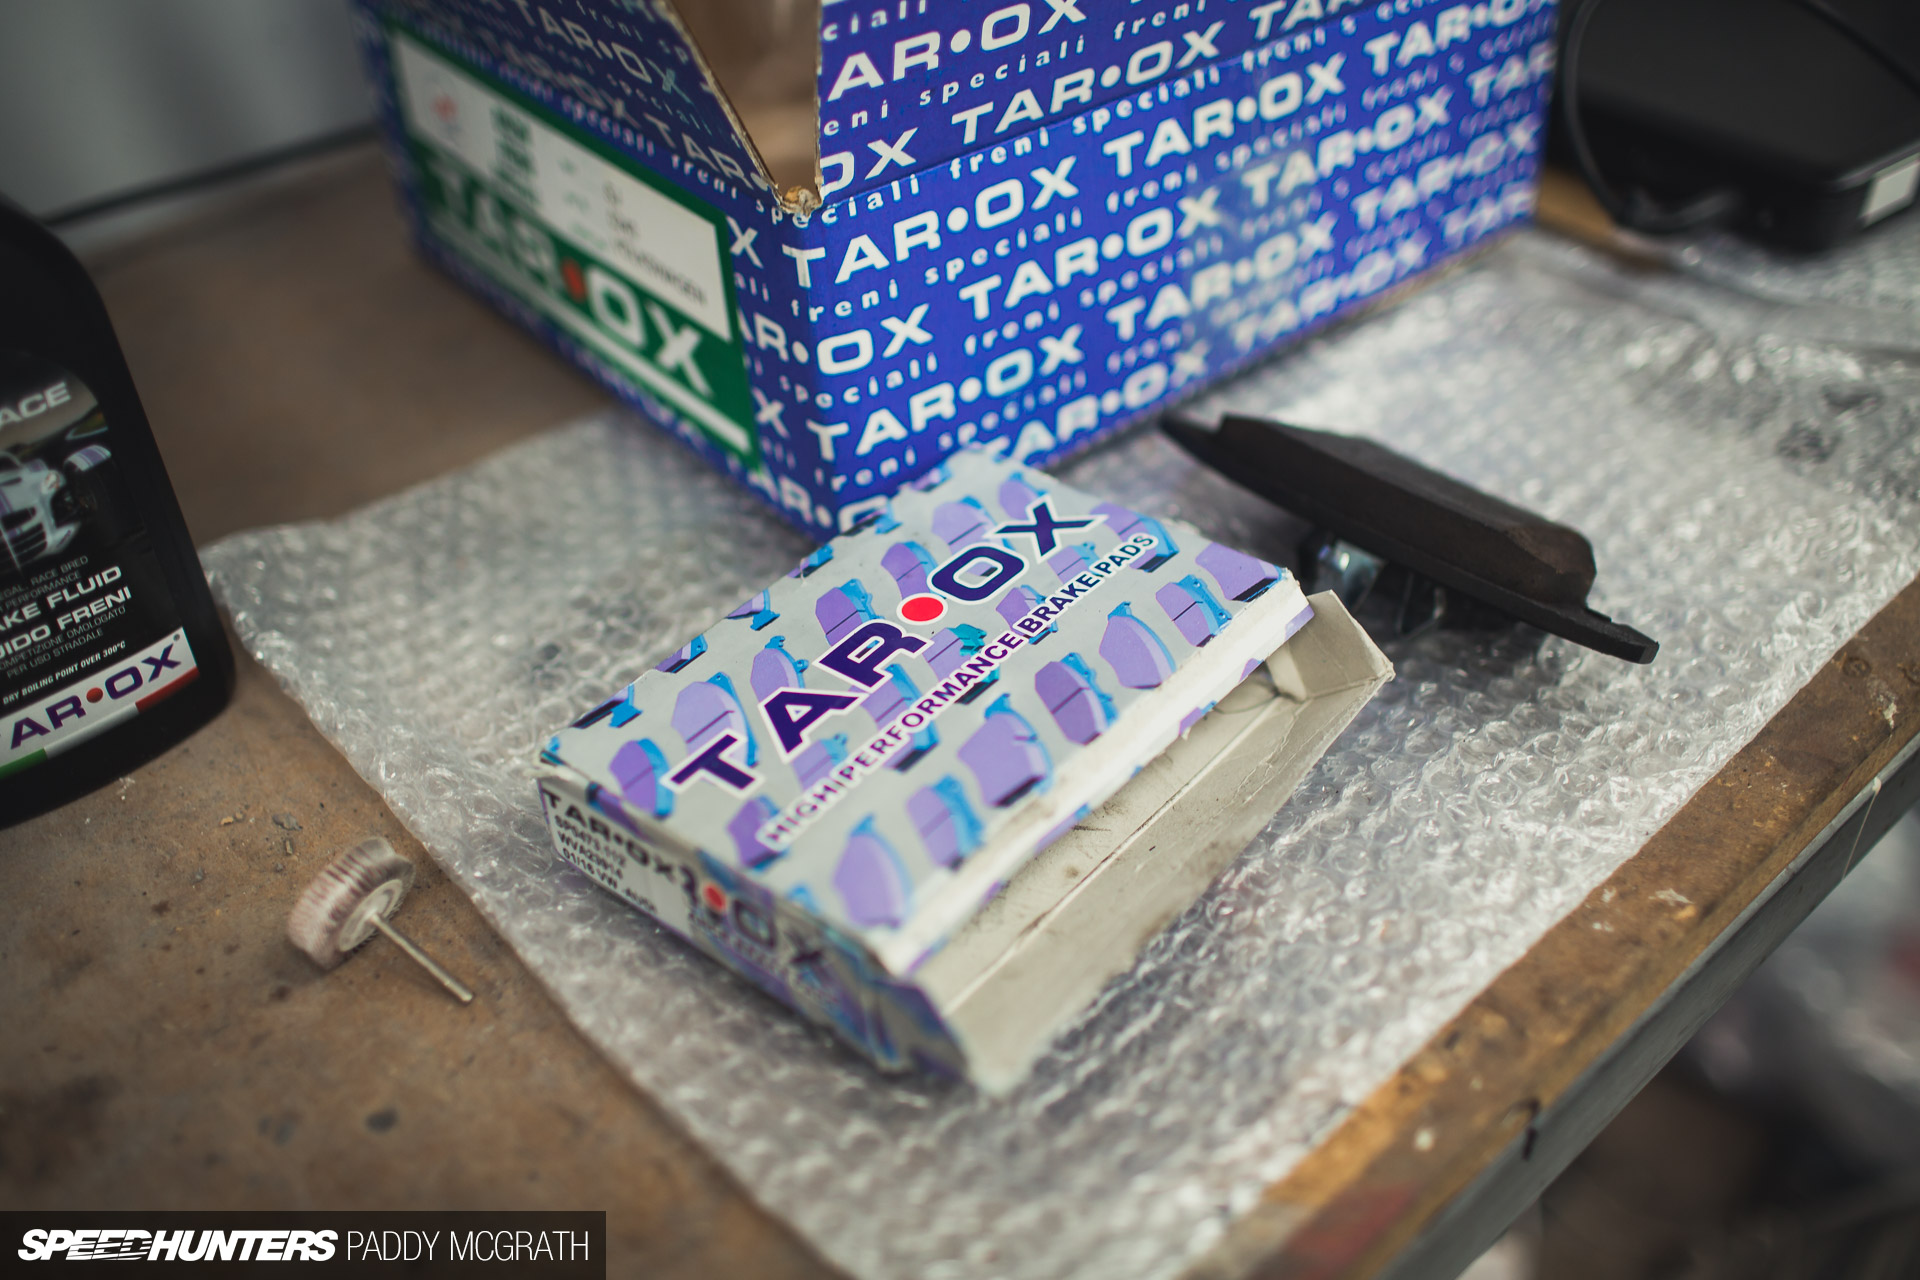
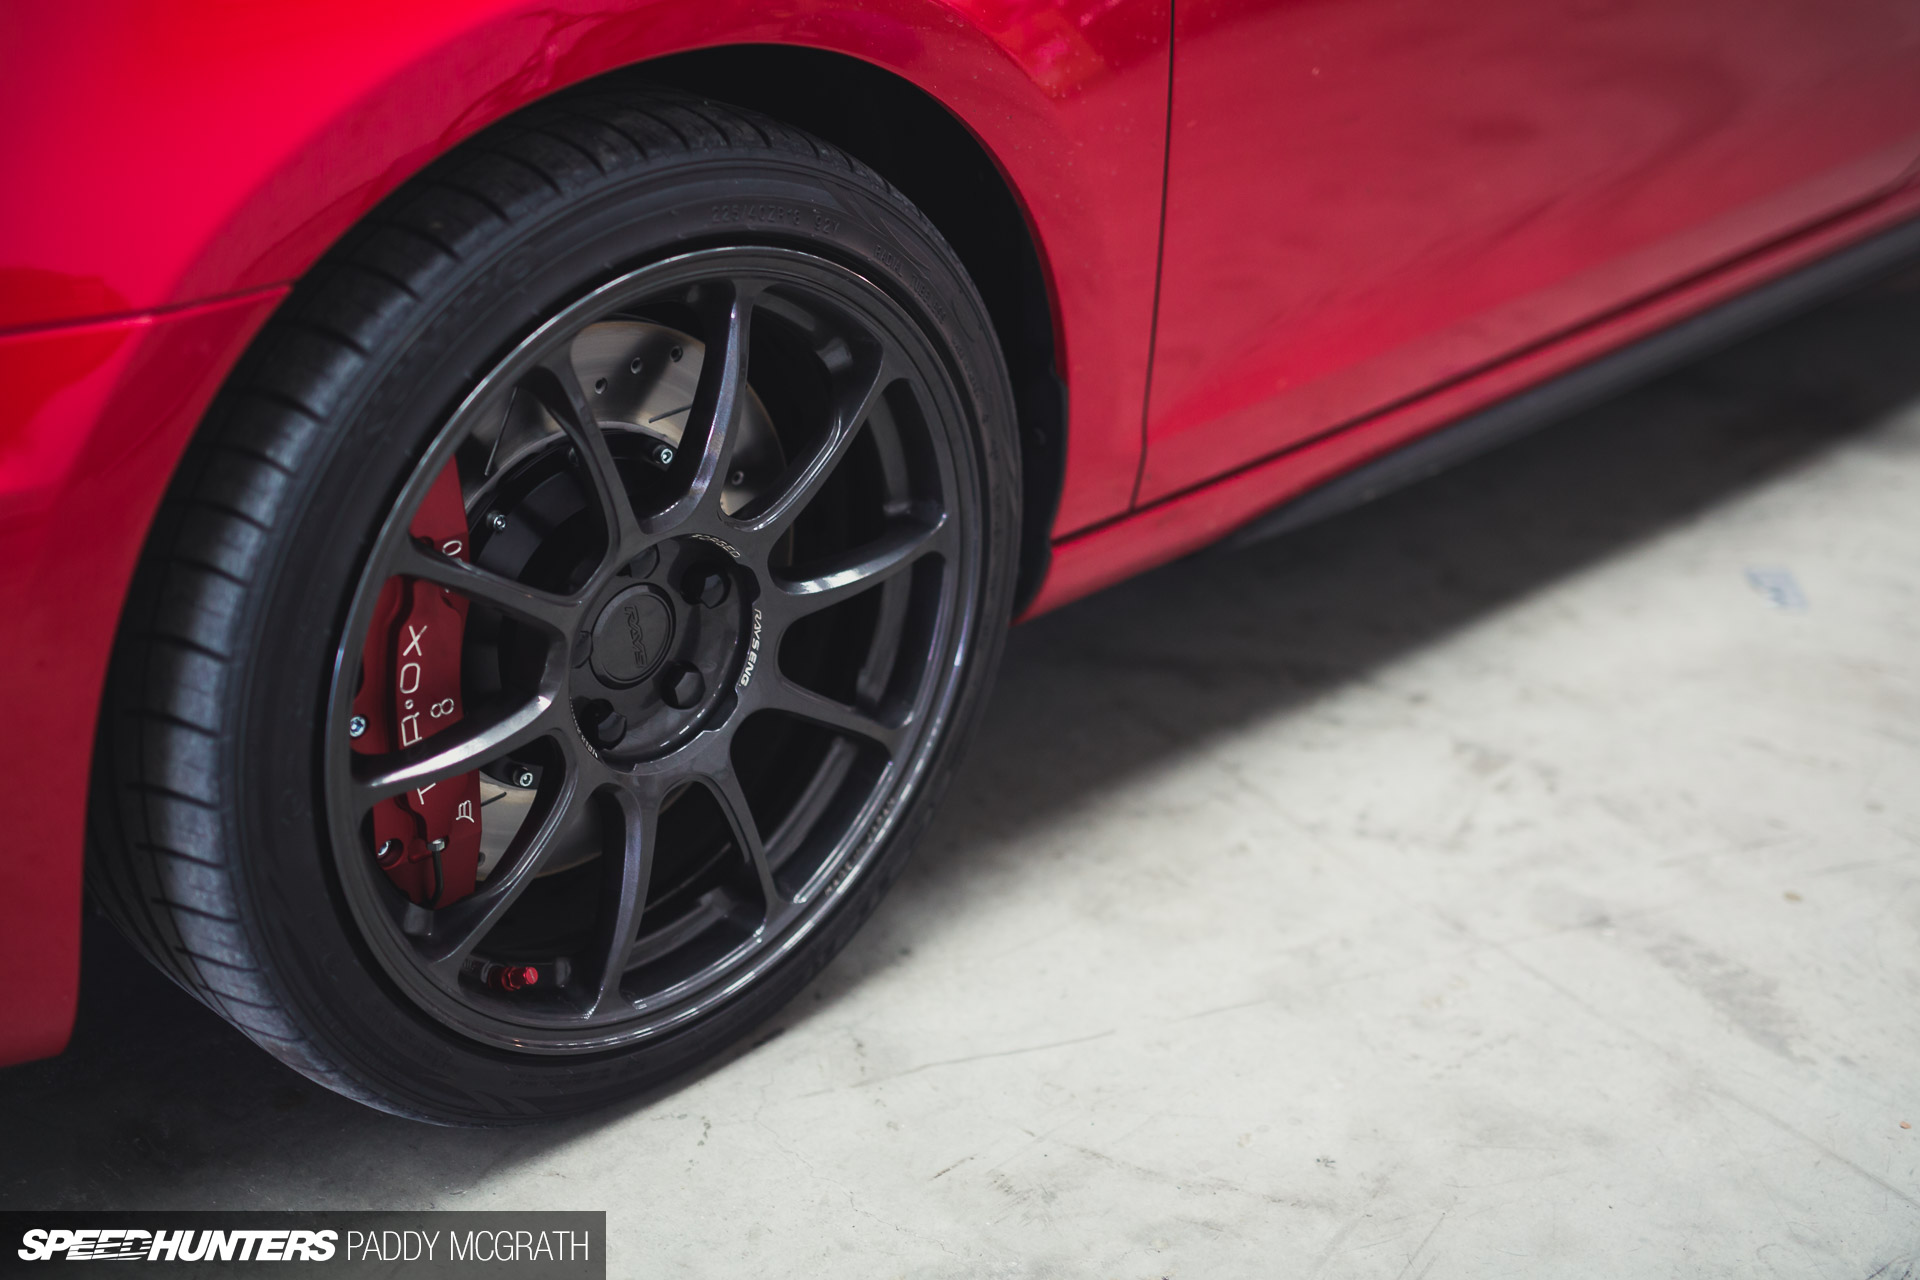
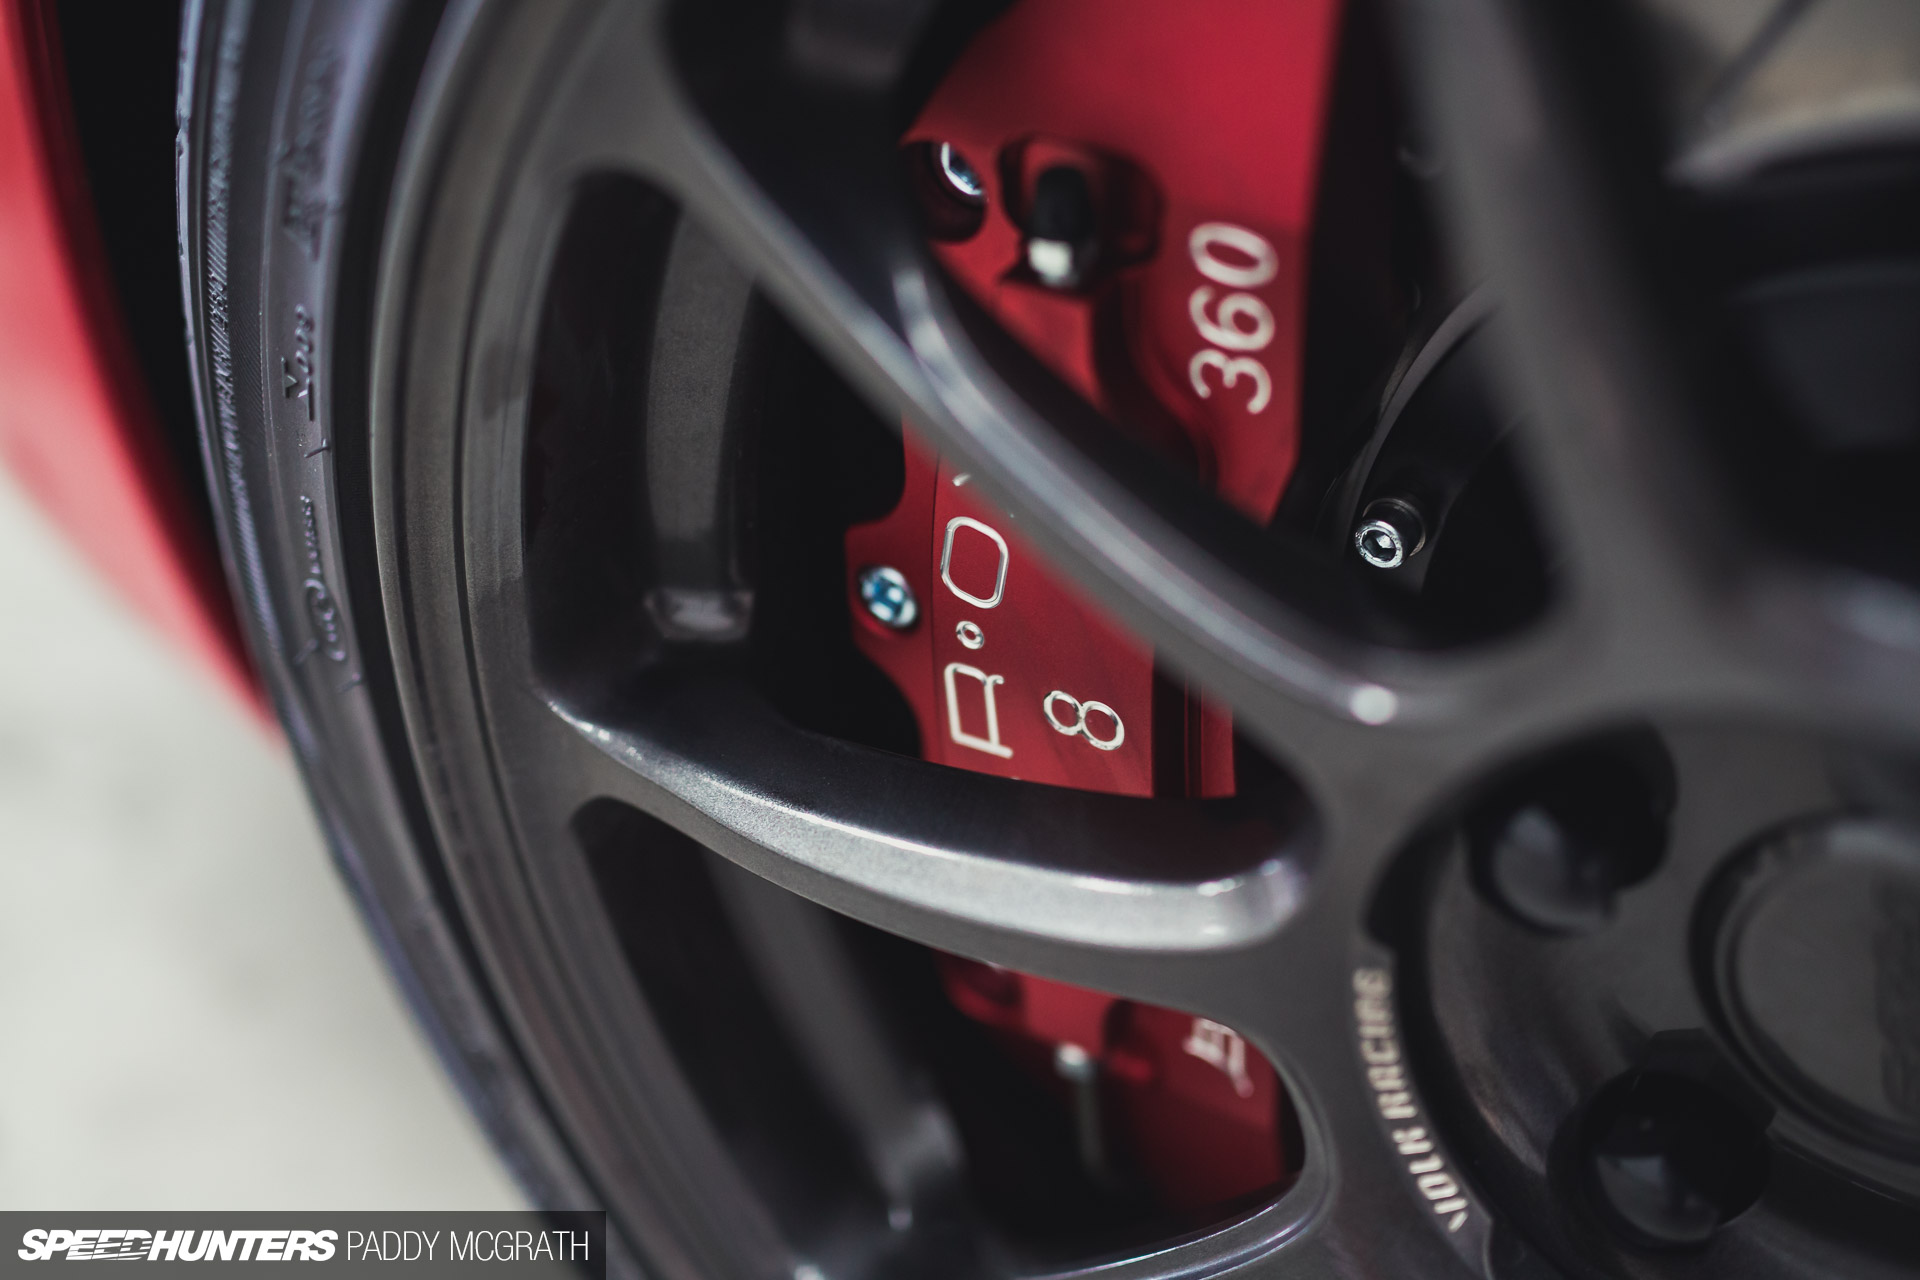
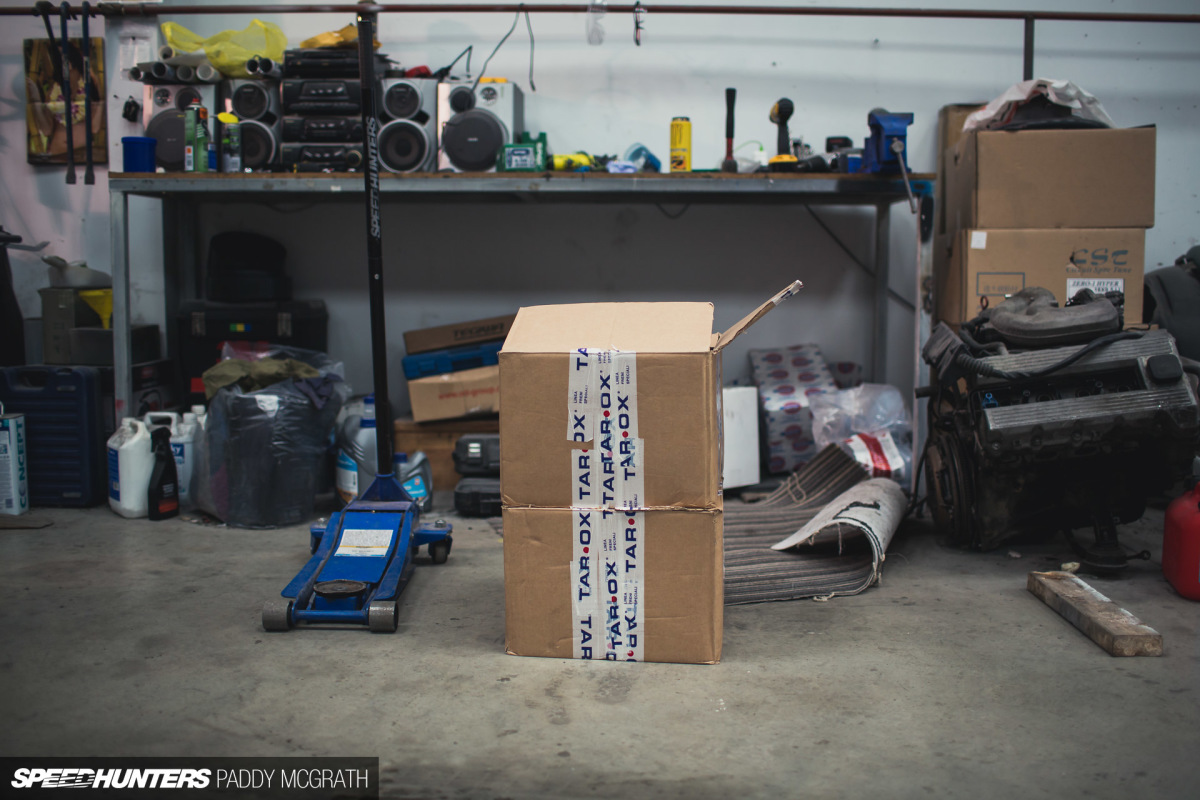
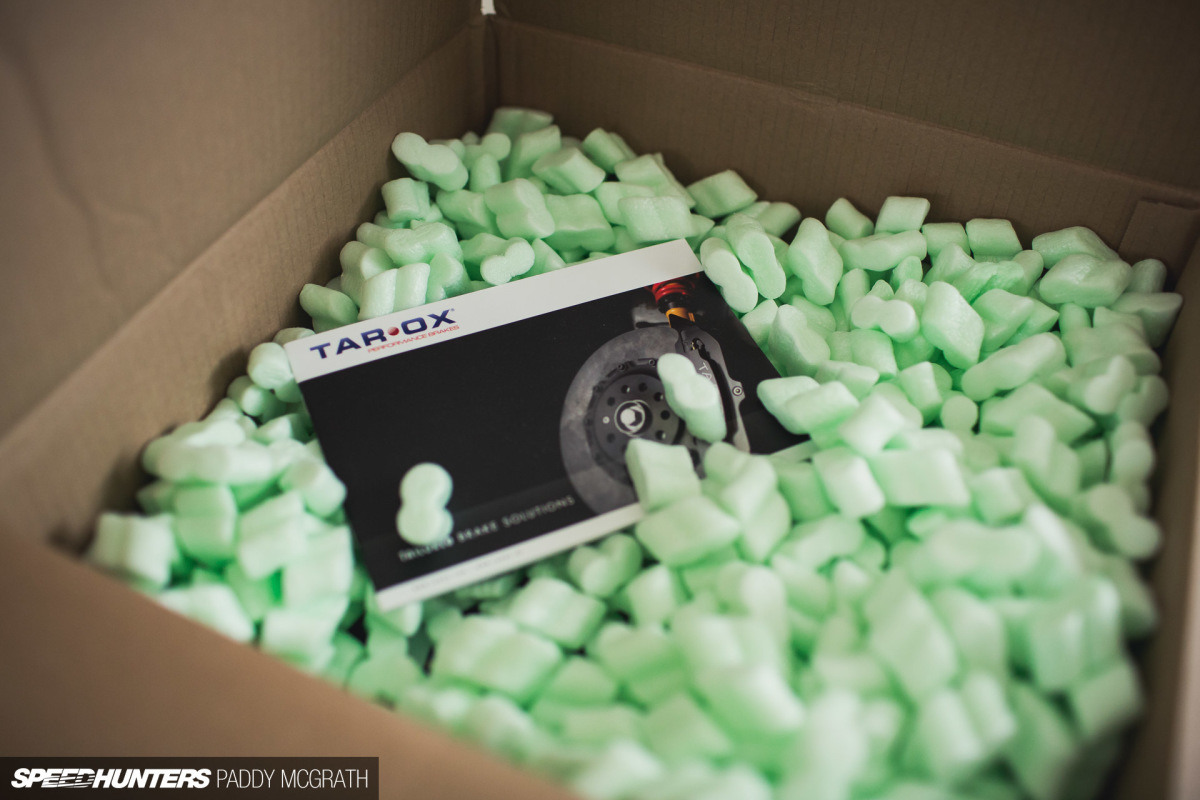
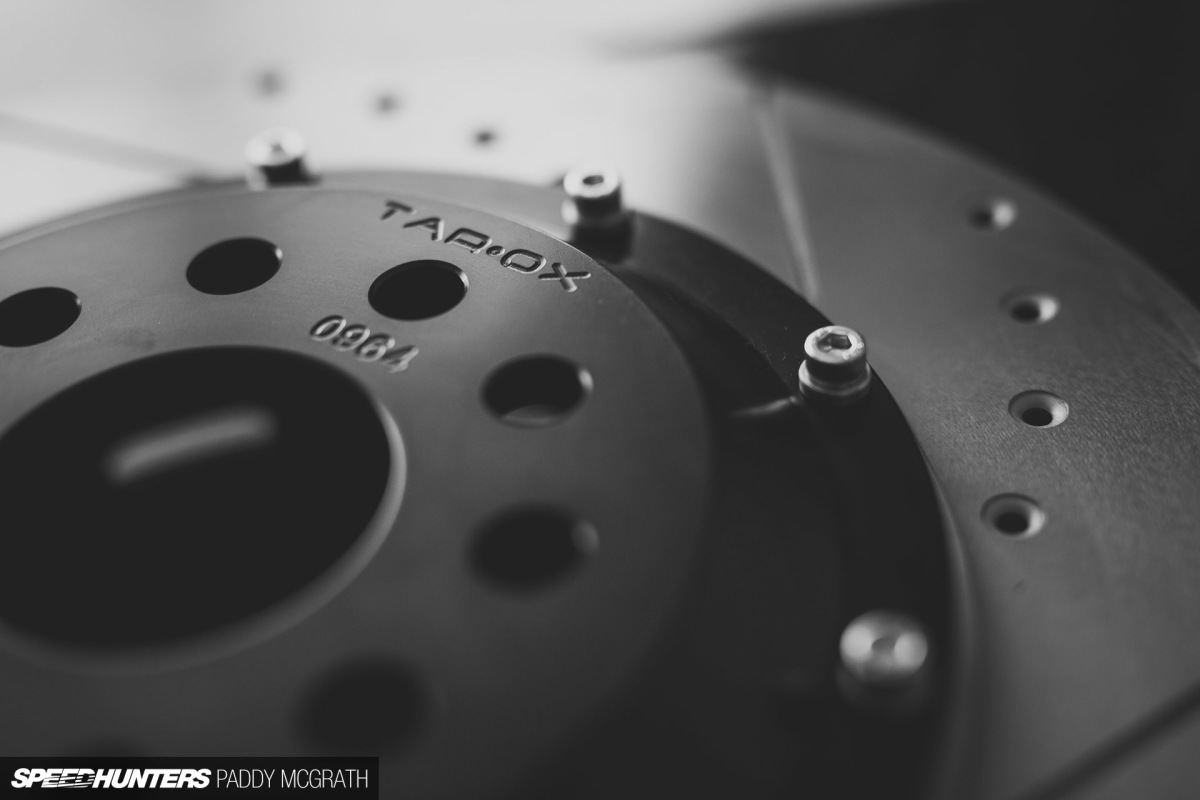
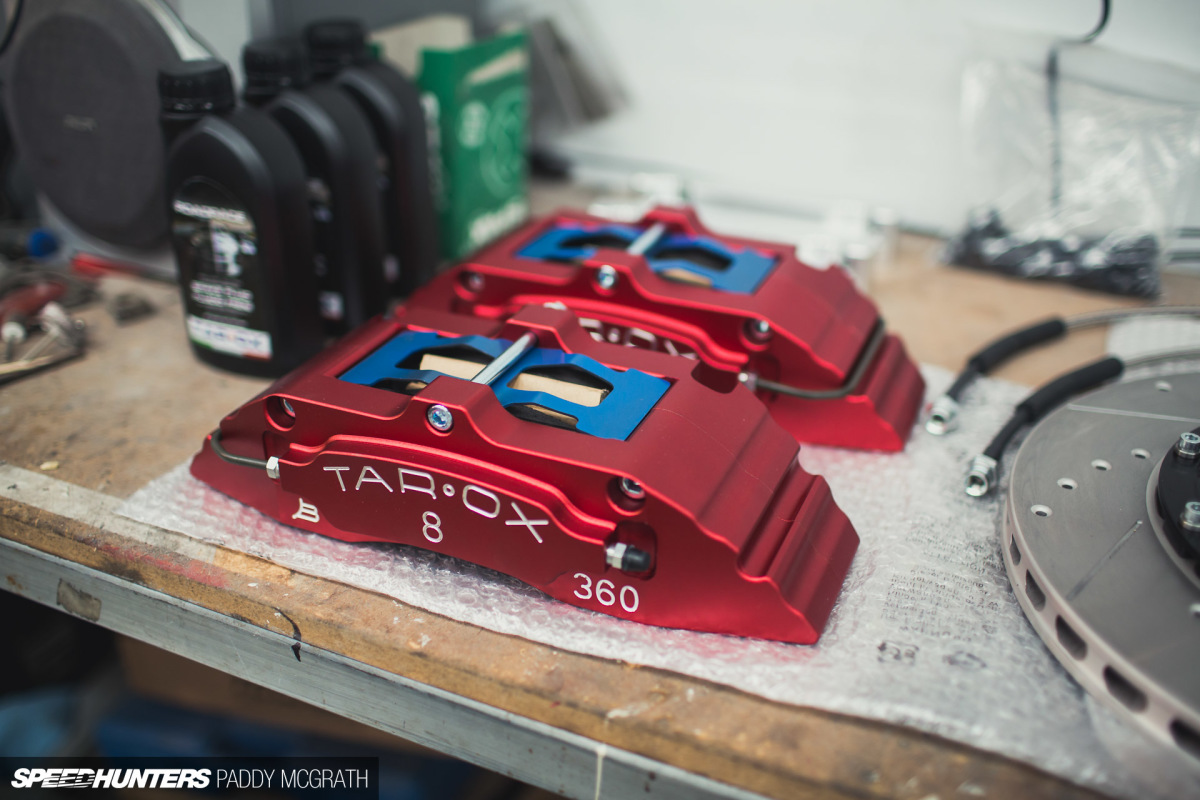
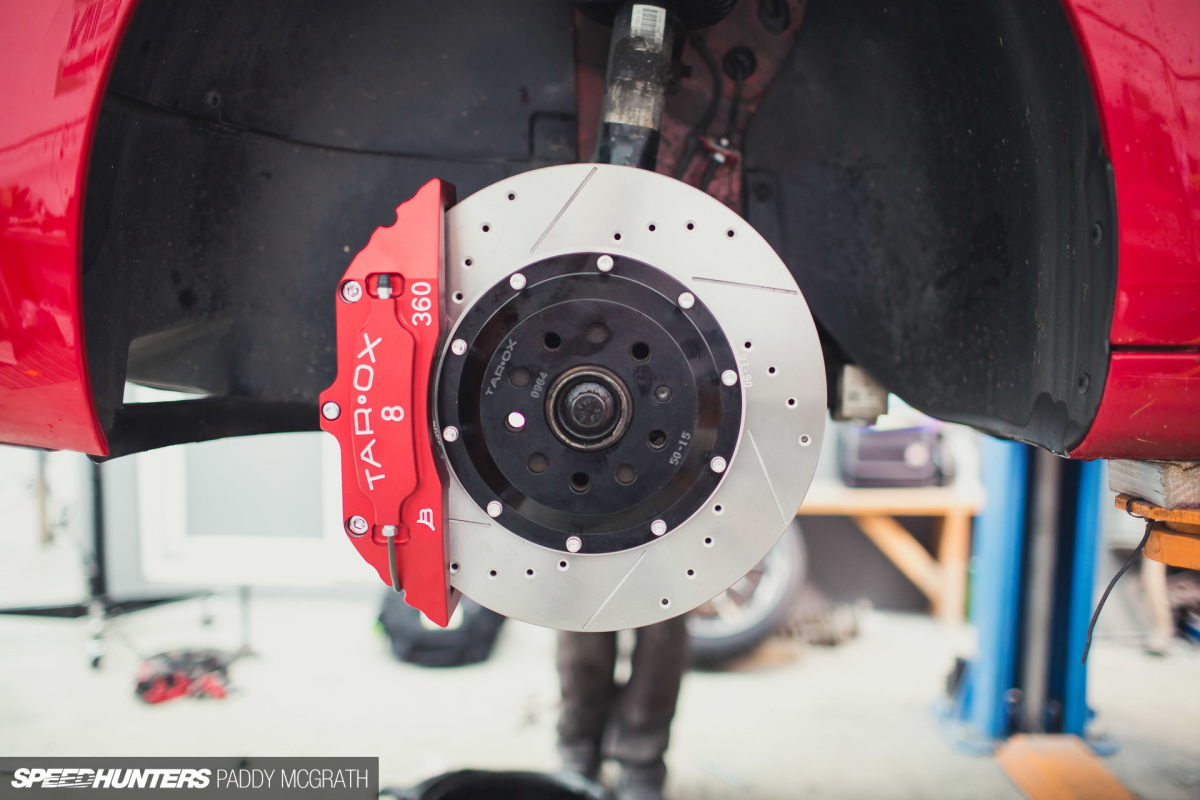
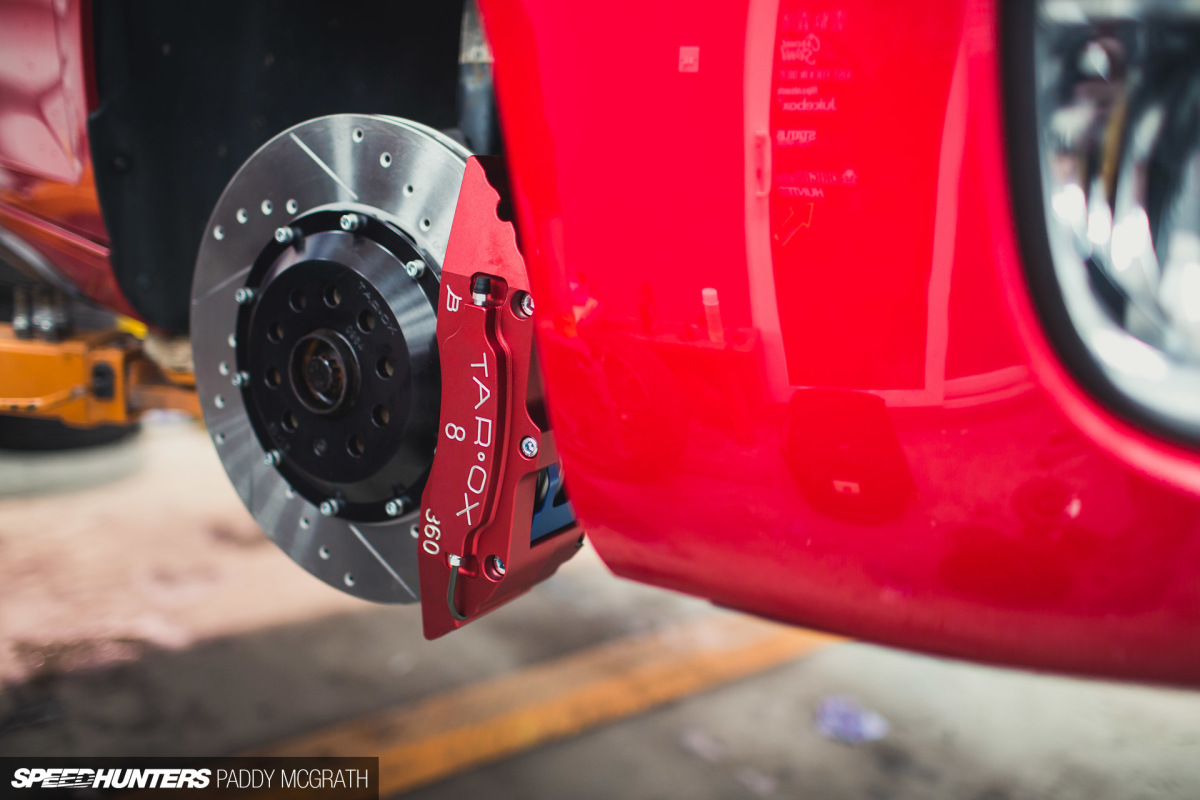
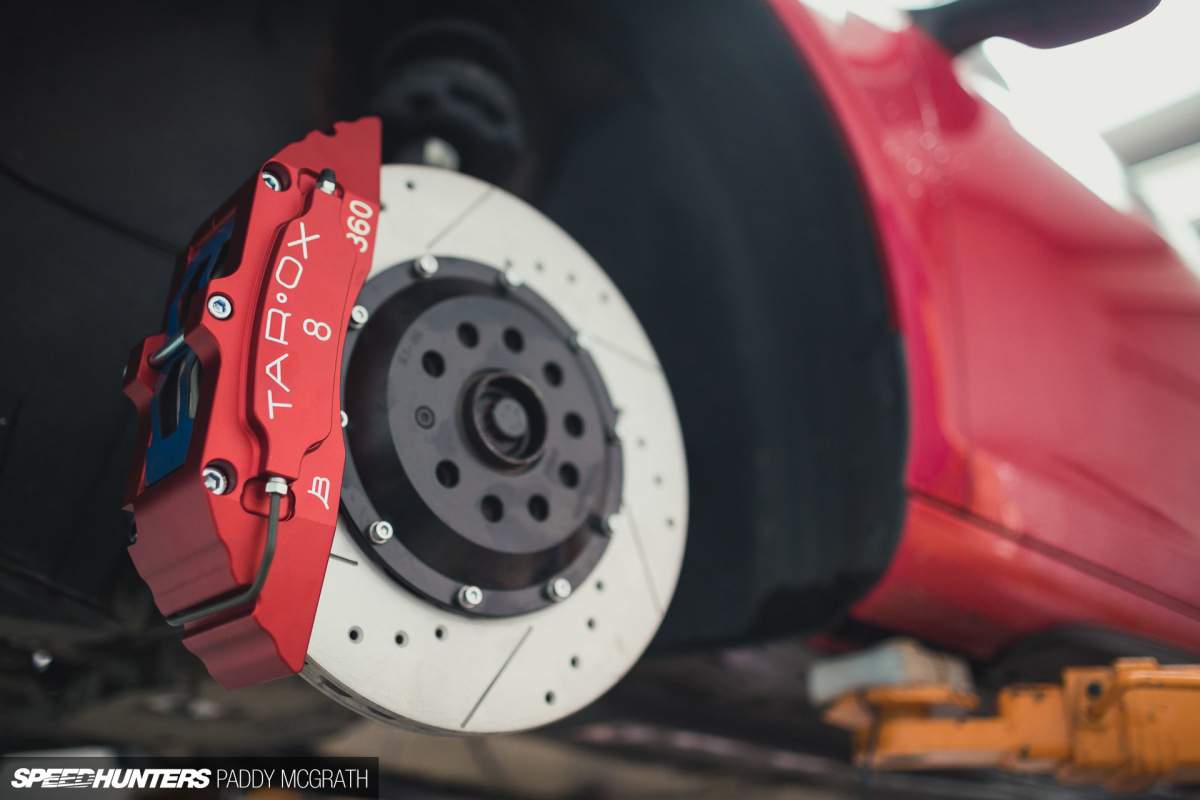
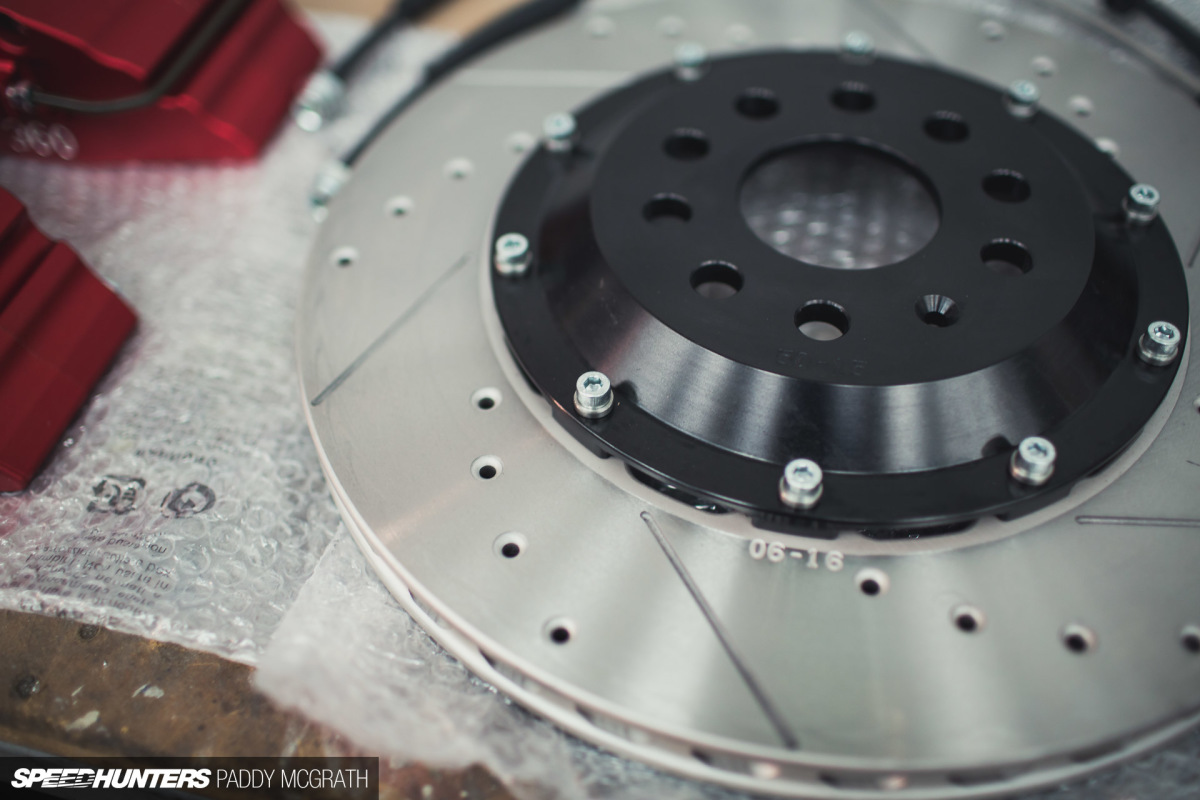
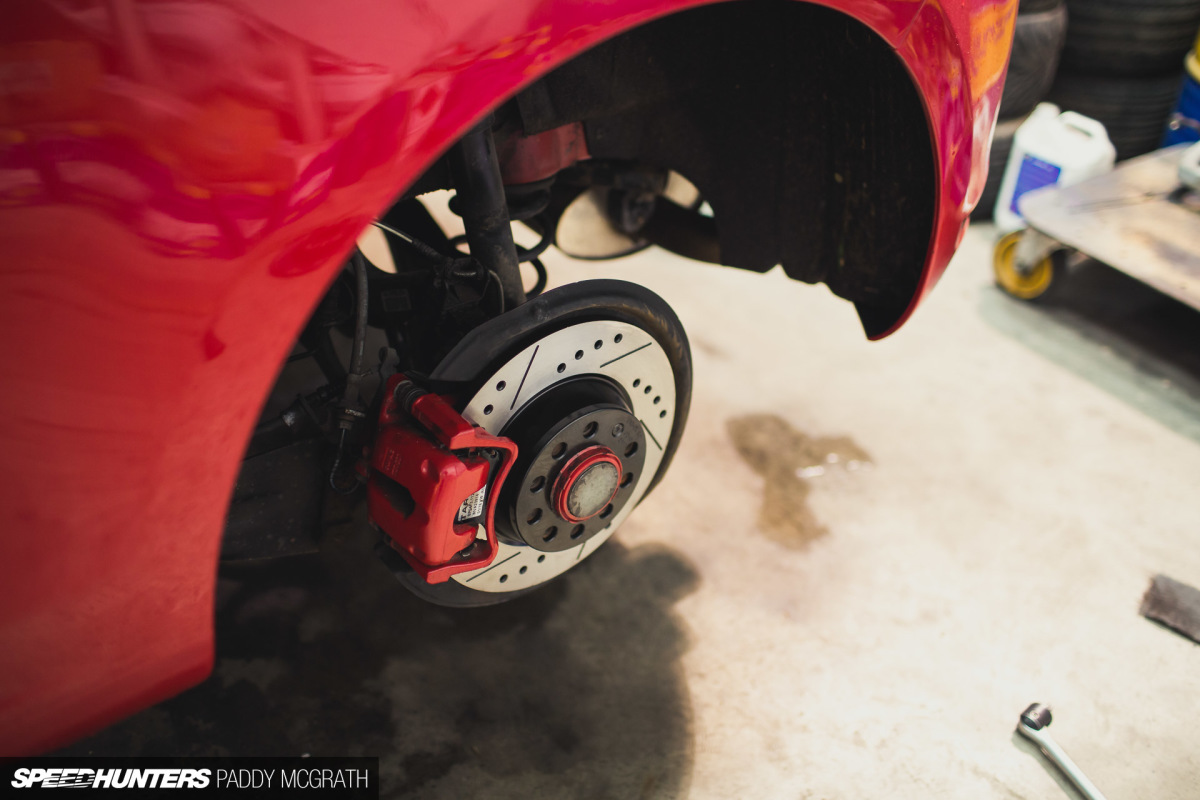
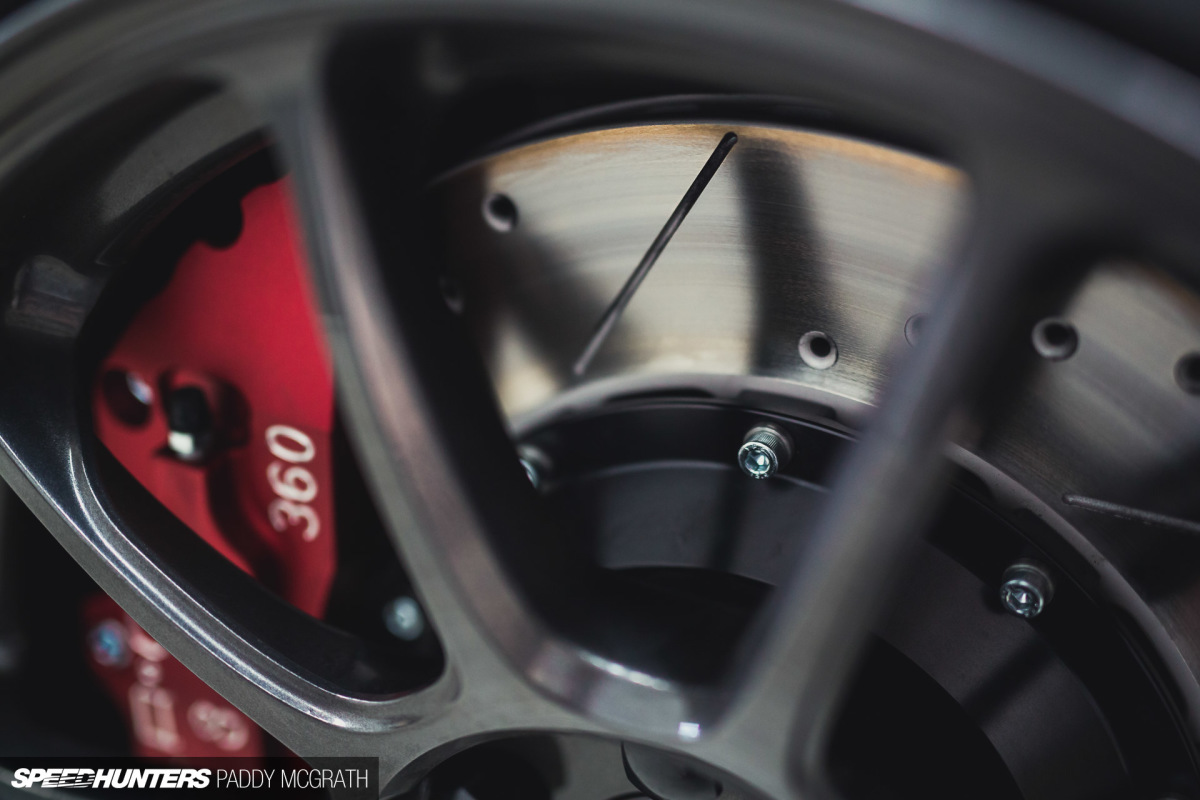
A couple of phone calls were made, some e-mails sent, and after a little bit of time I was the owner of brand new set of Tarox B360-8s Super Sport calipers with 360mm 2-piece discs. I did say I never wanted to worry about brakes again…
Install
I was actually on holidays for the last two weeks and a bit (went to Florida, hired a Mustang, did a skid, came home) so could only set about getting them onto Jessica (she has a name now, think Jessica Rabbit) this week. Honestly, we only set about installing them earlier today.
Sorry about missing that deadline, Pedey.
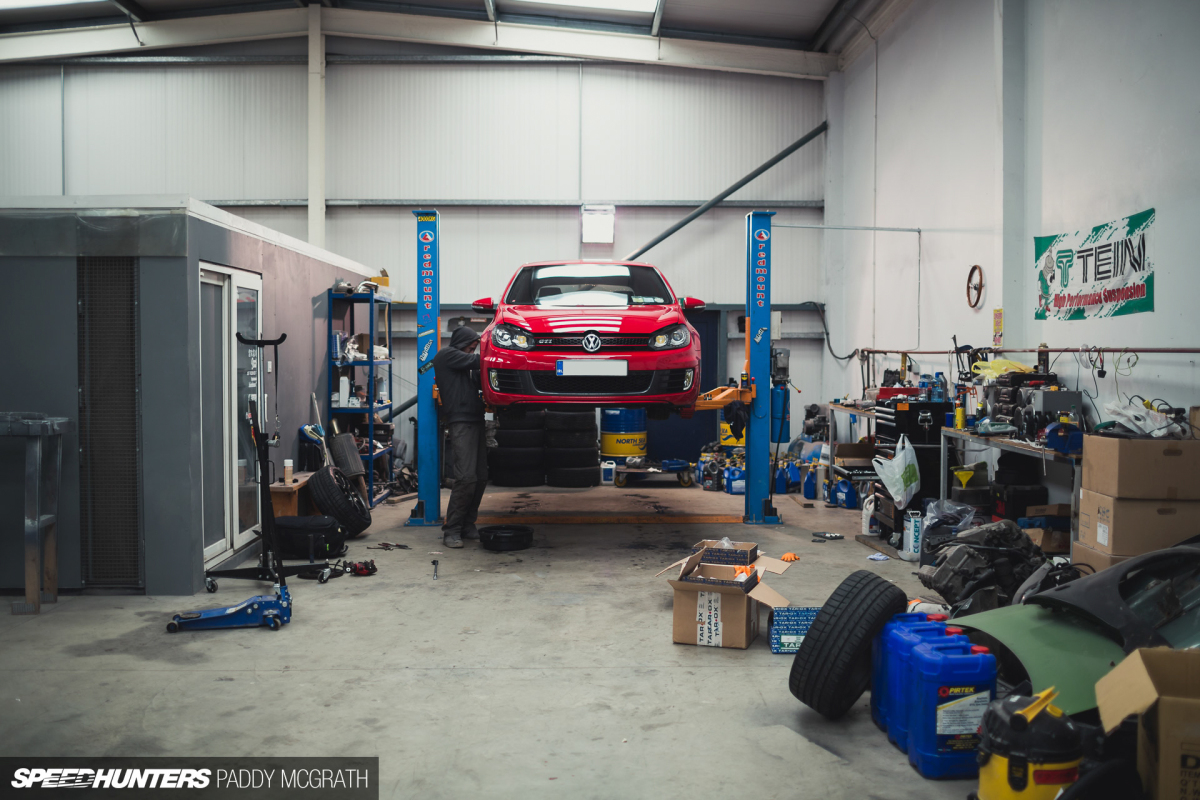
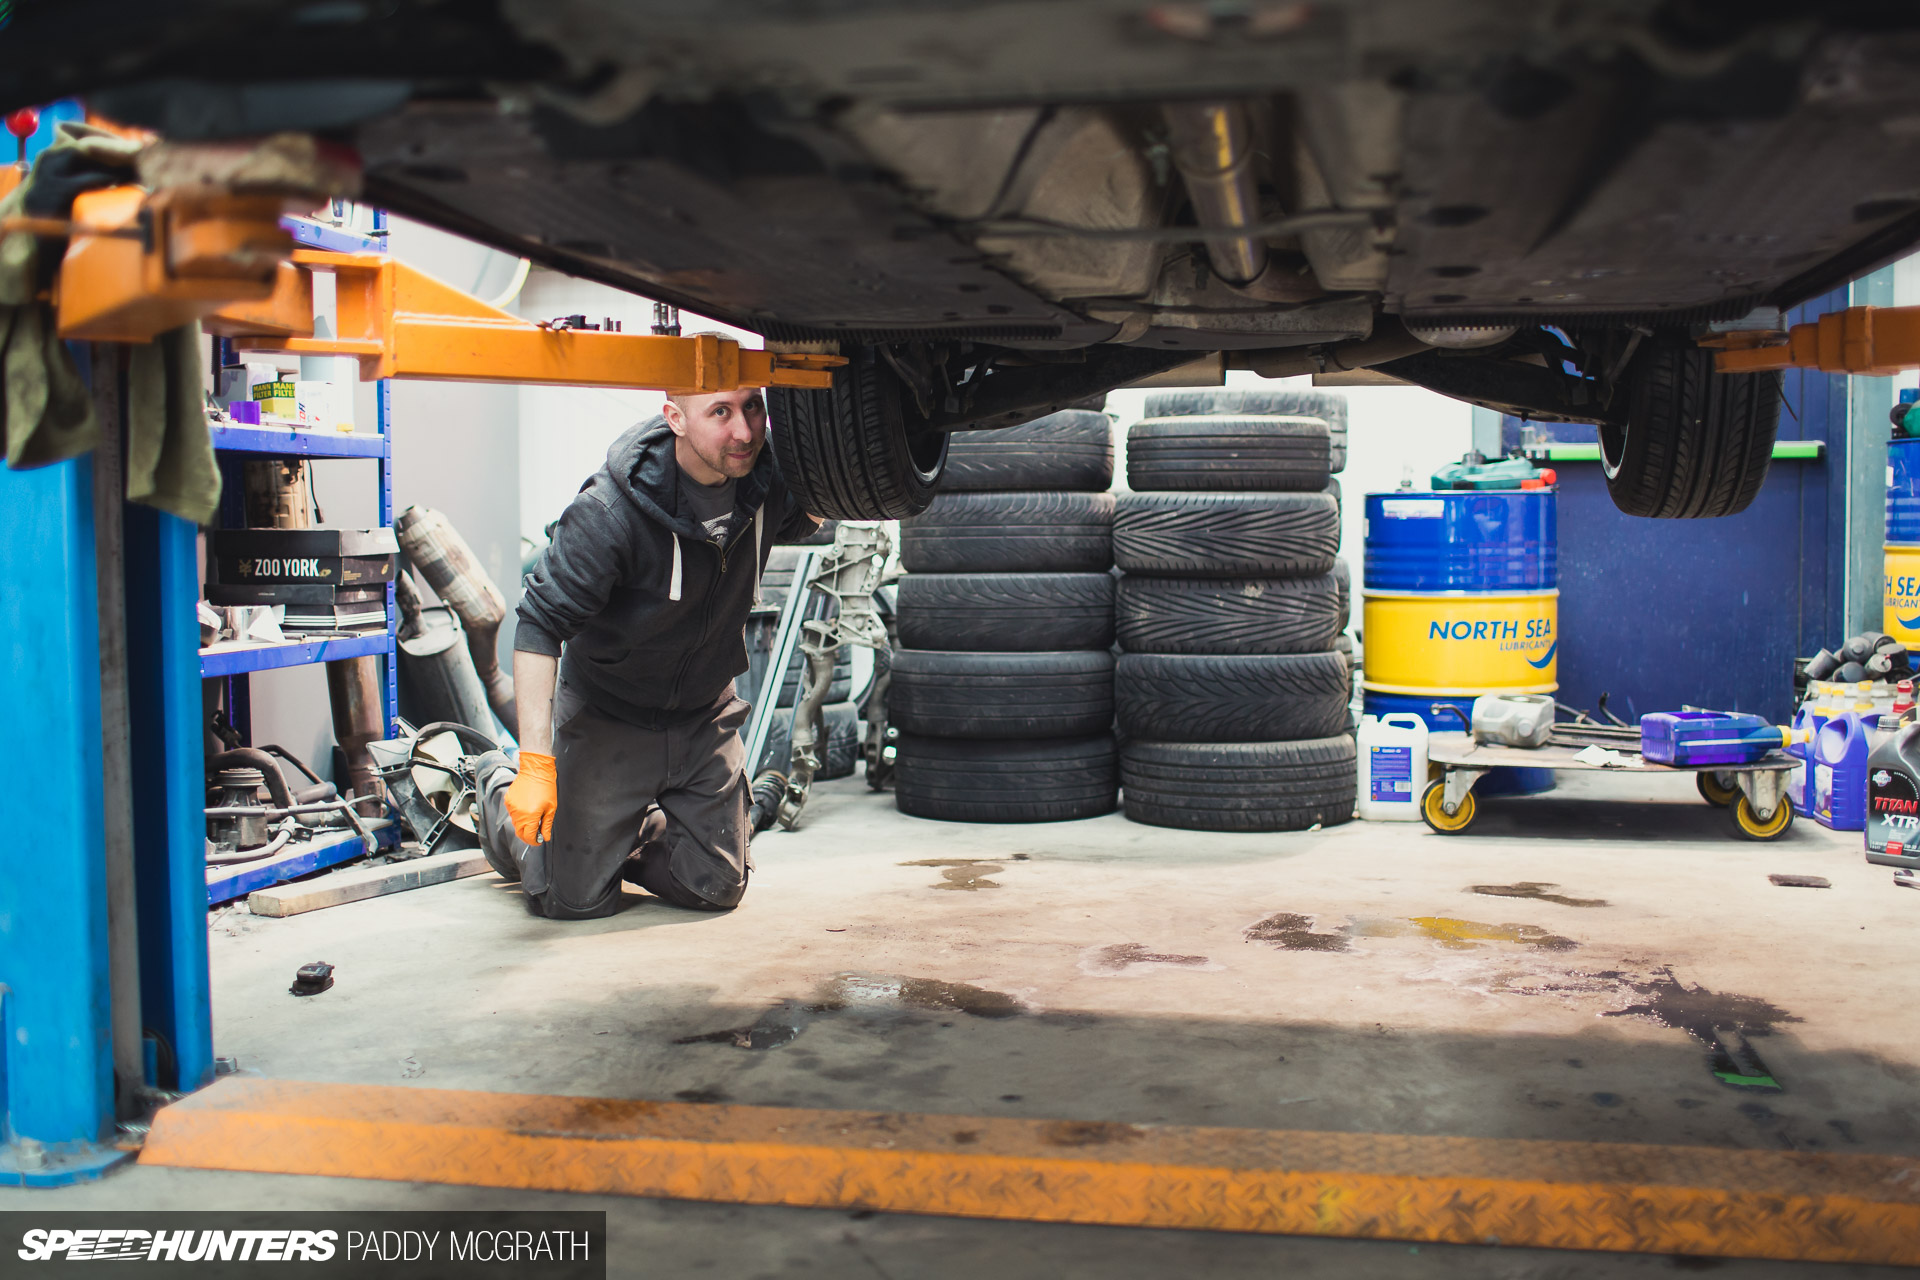
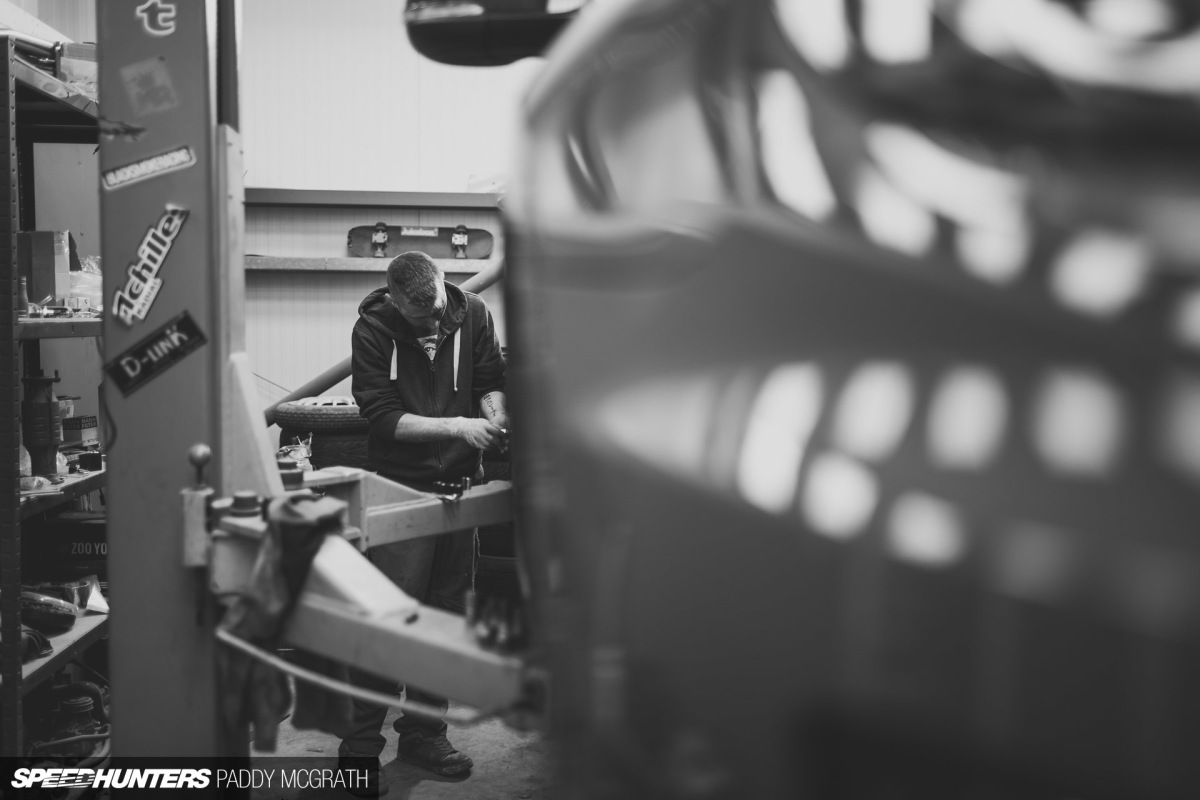
I’ve no problem tackling small things on the car, but when it comes to critical parts I much rather leave it to the professionals. Plus, it’s far easier to take photos of someone else doing the work than trying to do everything yourself.
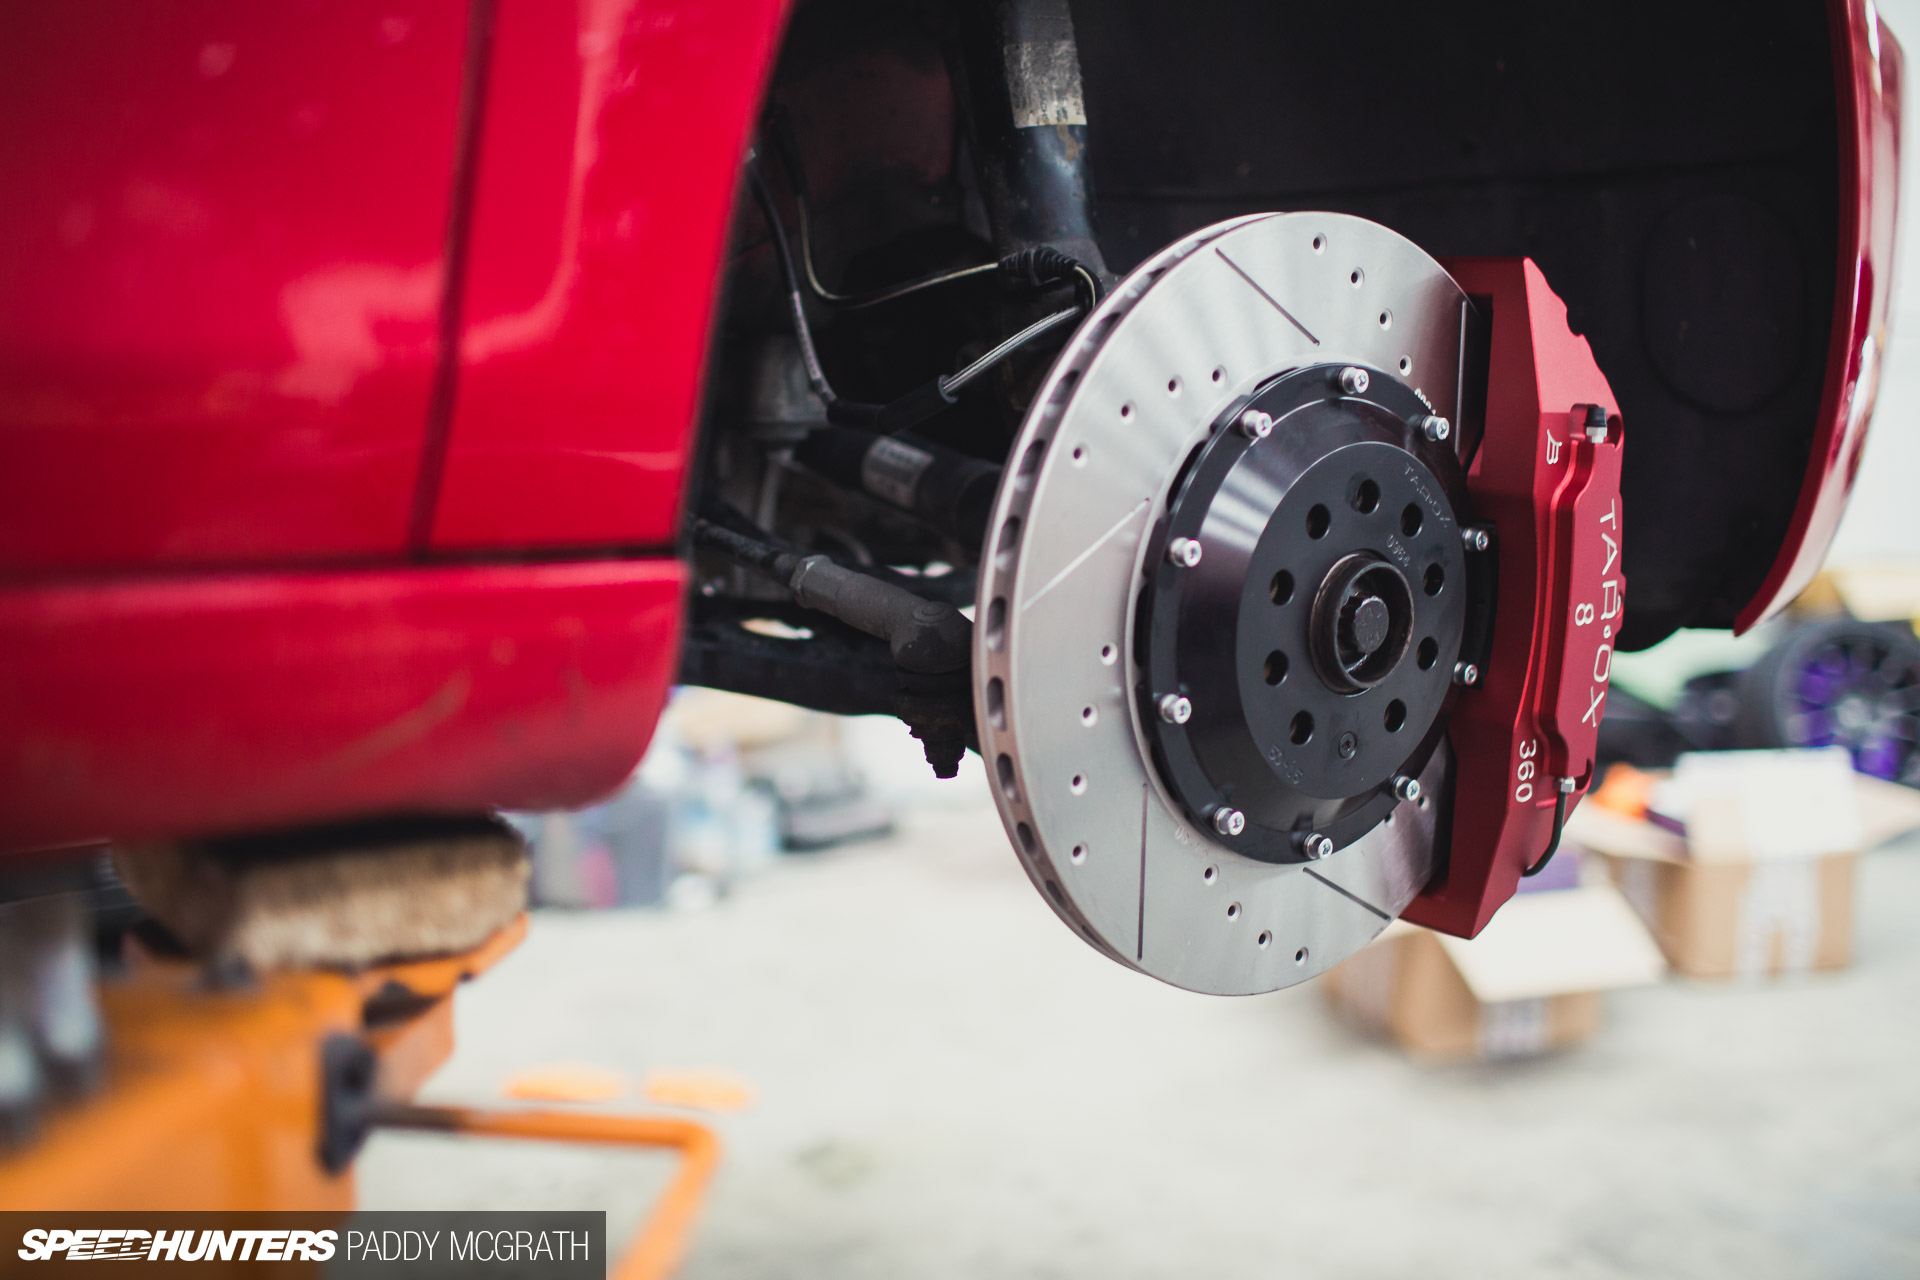
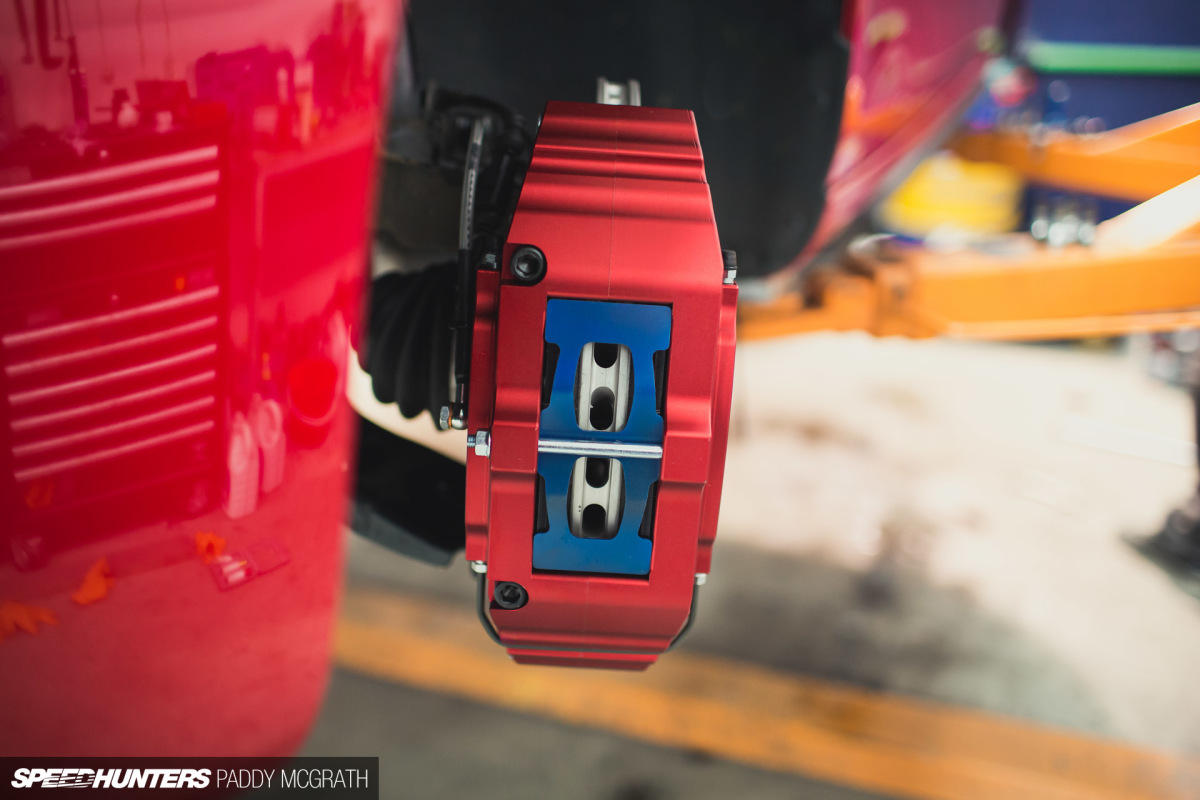
So, we would be pretty much overhauling the majority of the braking system on Project GTI. The front axle would be treated to the new 8-piston calipers, plus 2-piece discs, Tarox Corsa pads and braided lines.
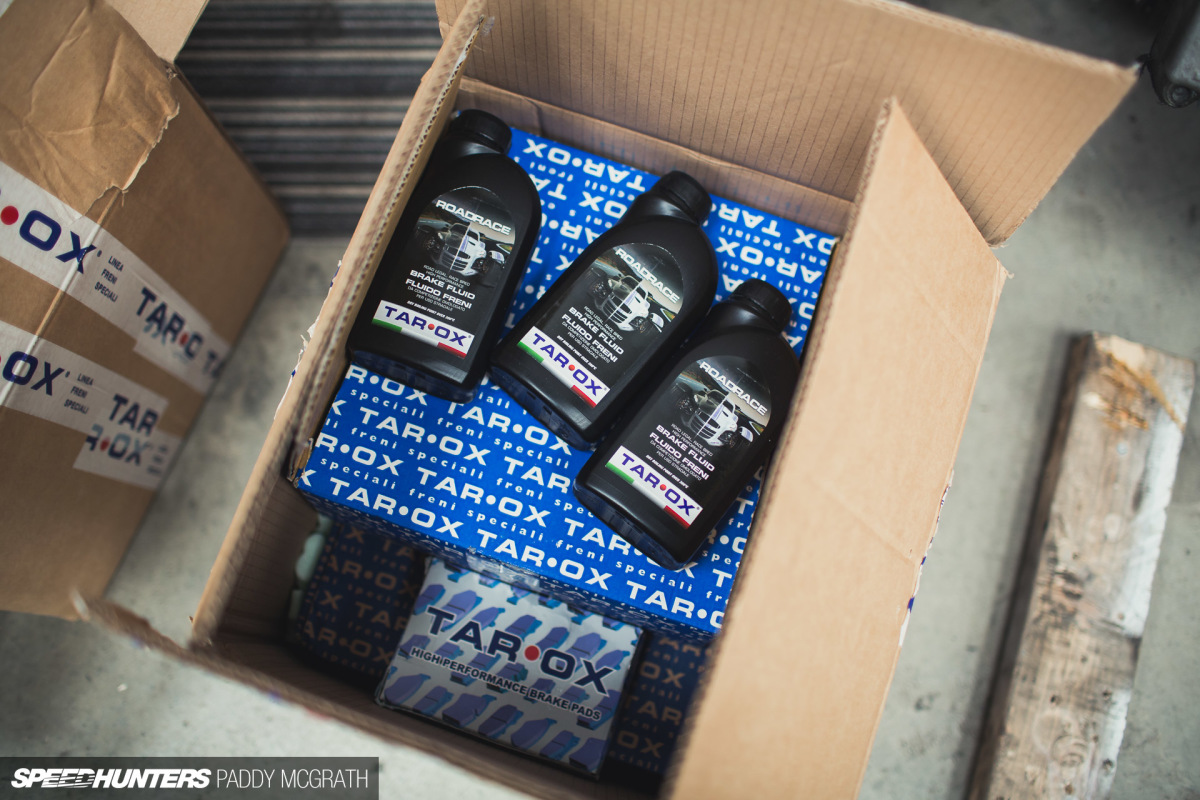
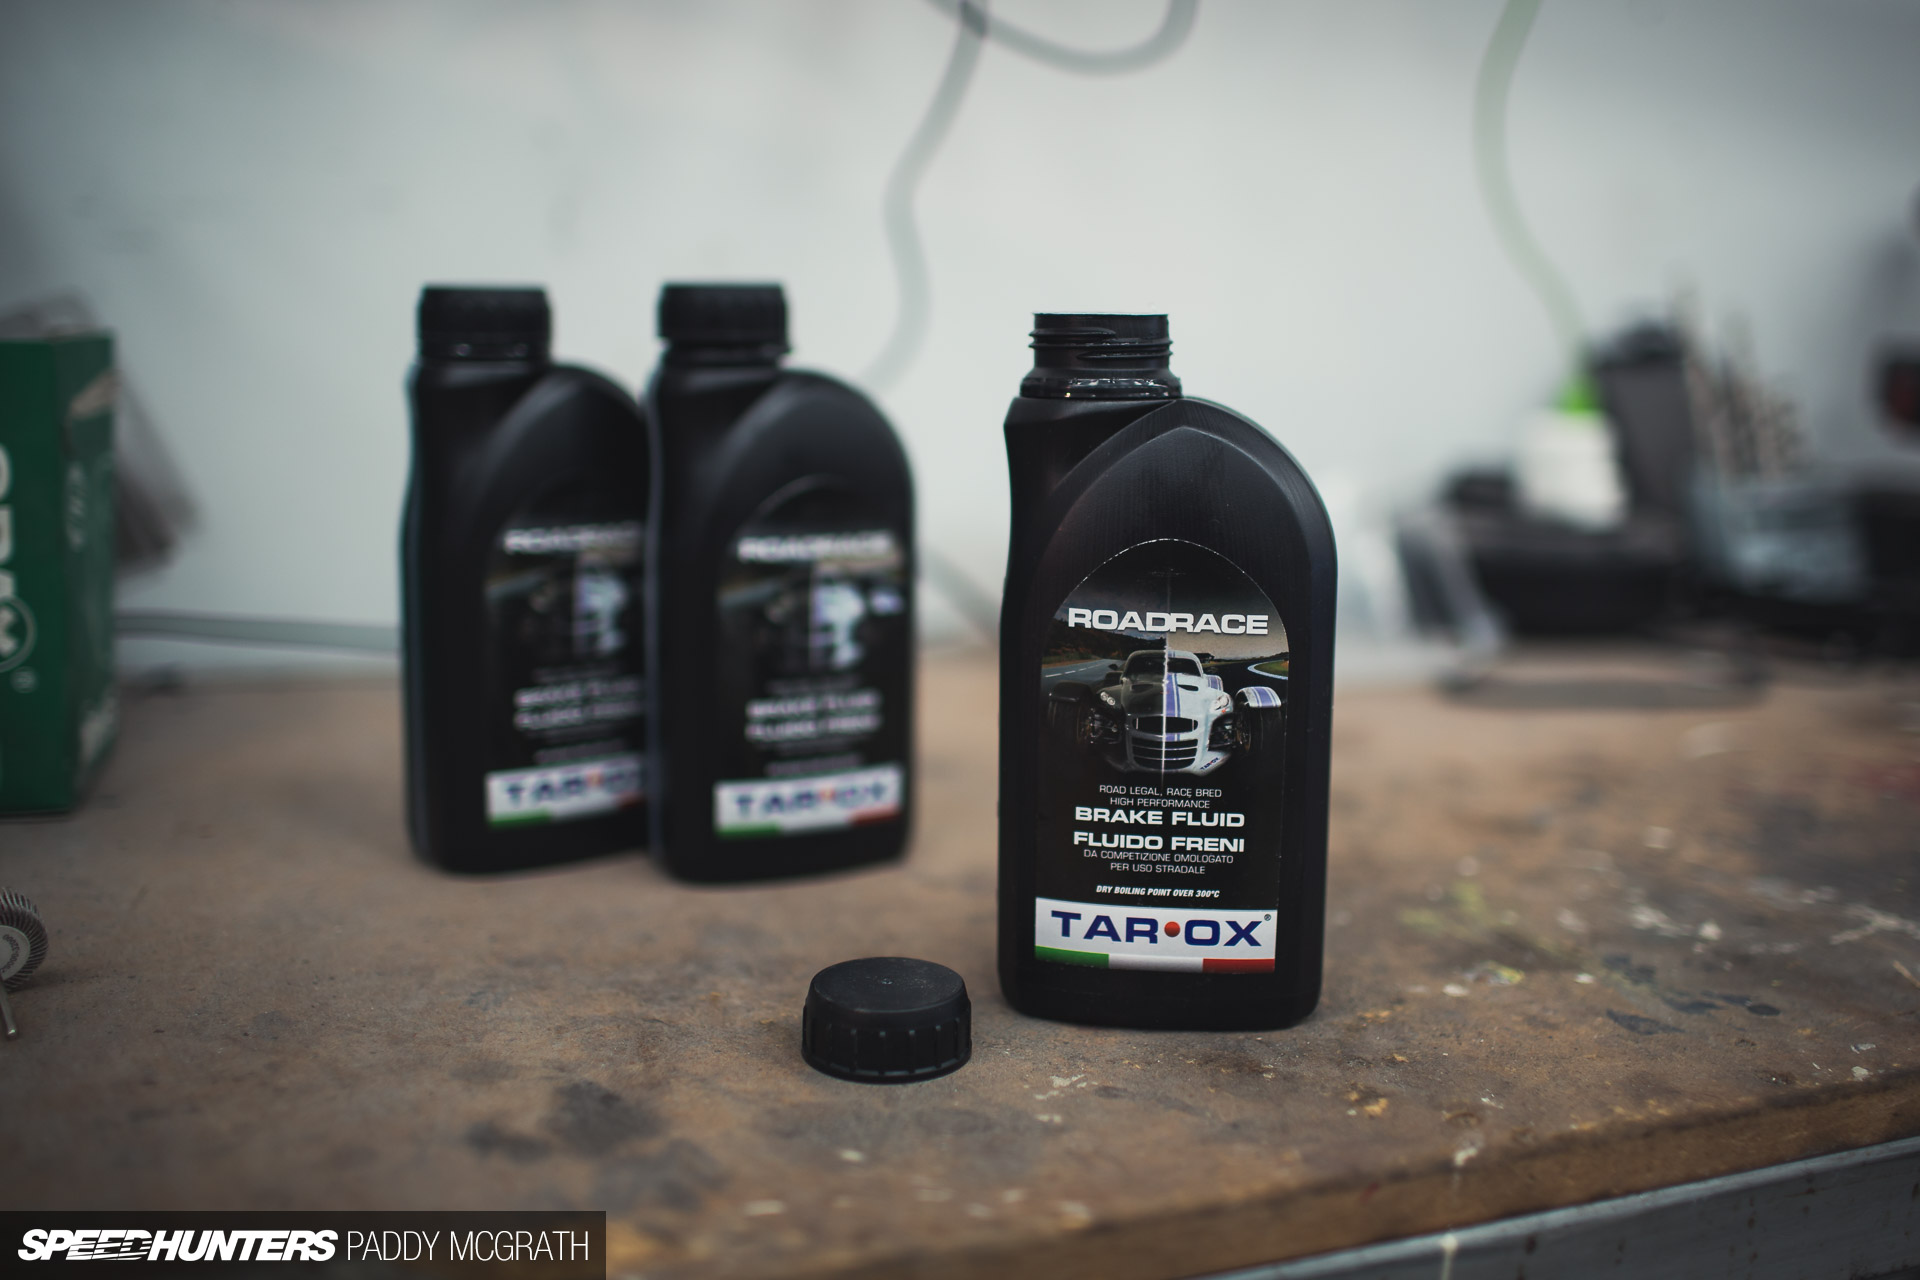
The rear would get upgraded discs and pads whilst retaining the stock calipers. The rear brakes on a front-wheel drive car don’t need to deal with even a fraction of the work that the fronts do, so I felt retaining the OE calipers was the right decision. We would also flush the standard fluid and replace it with Tarox’s own high performance fluid.
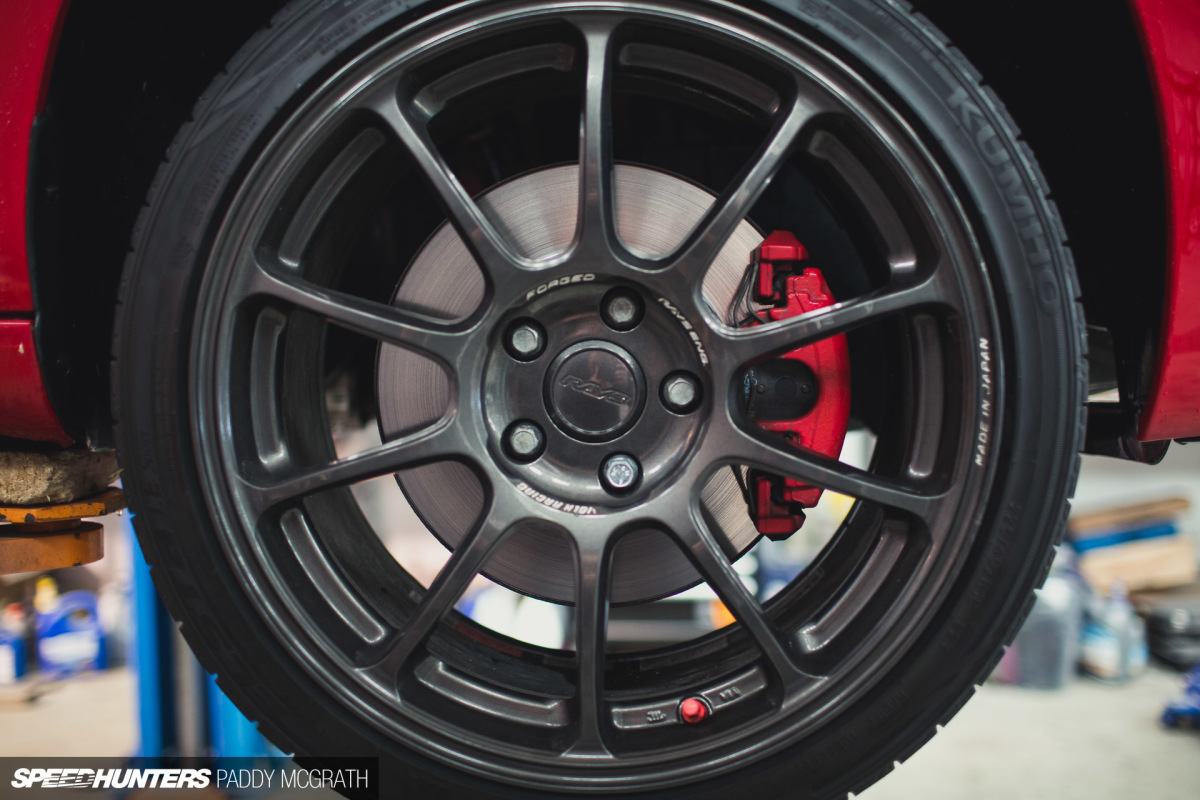
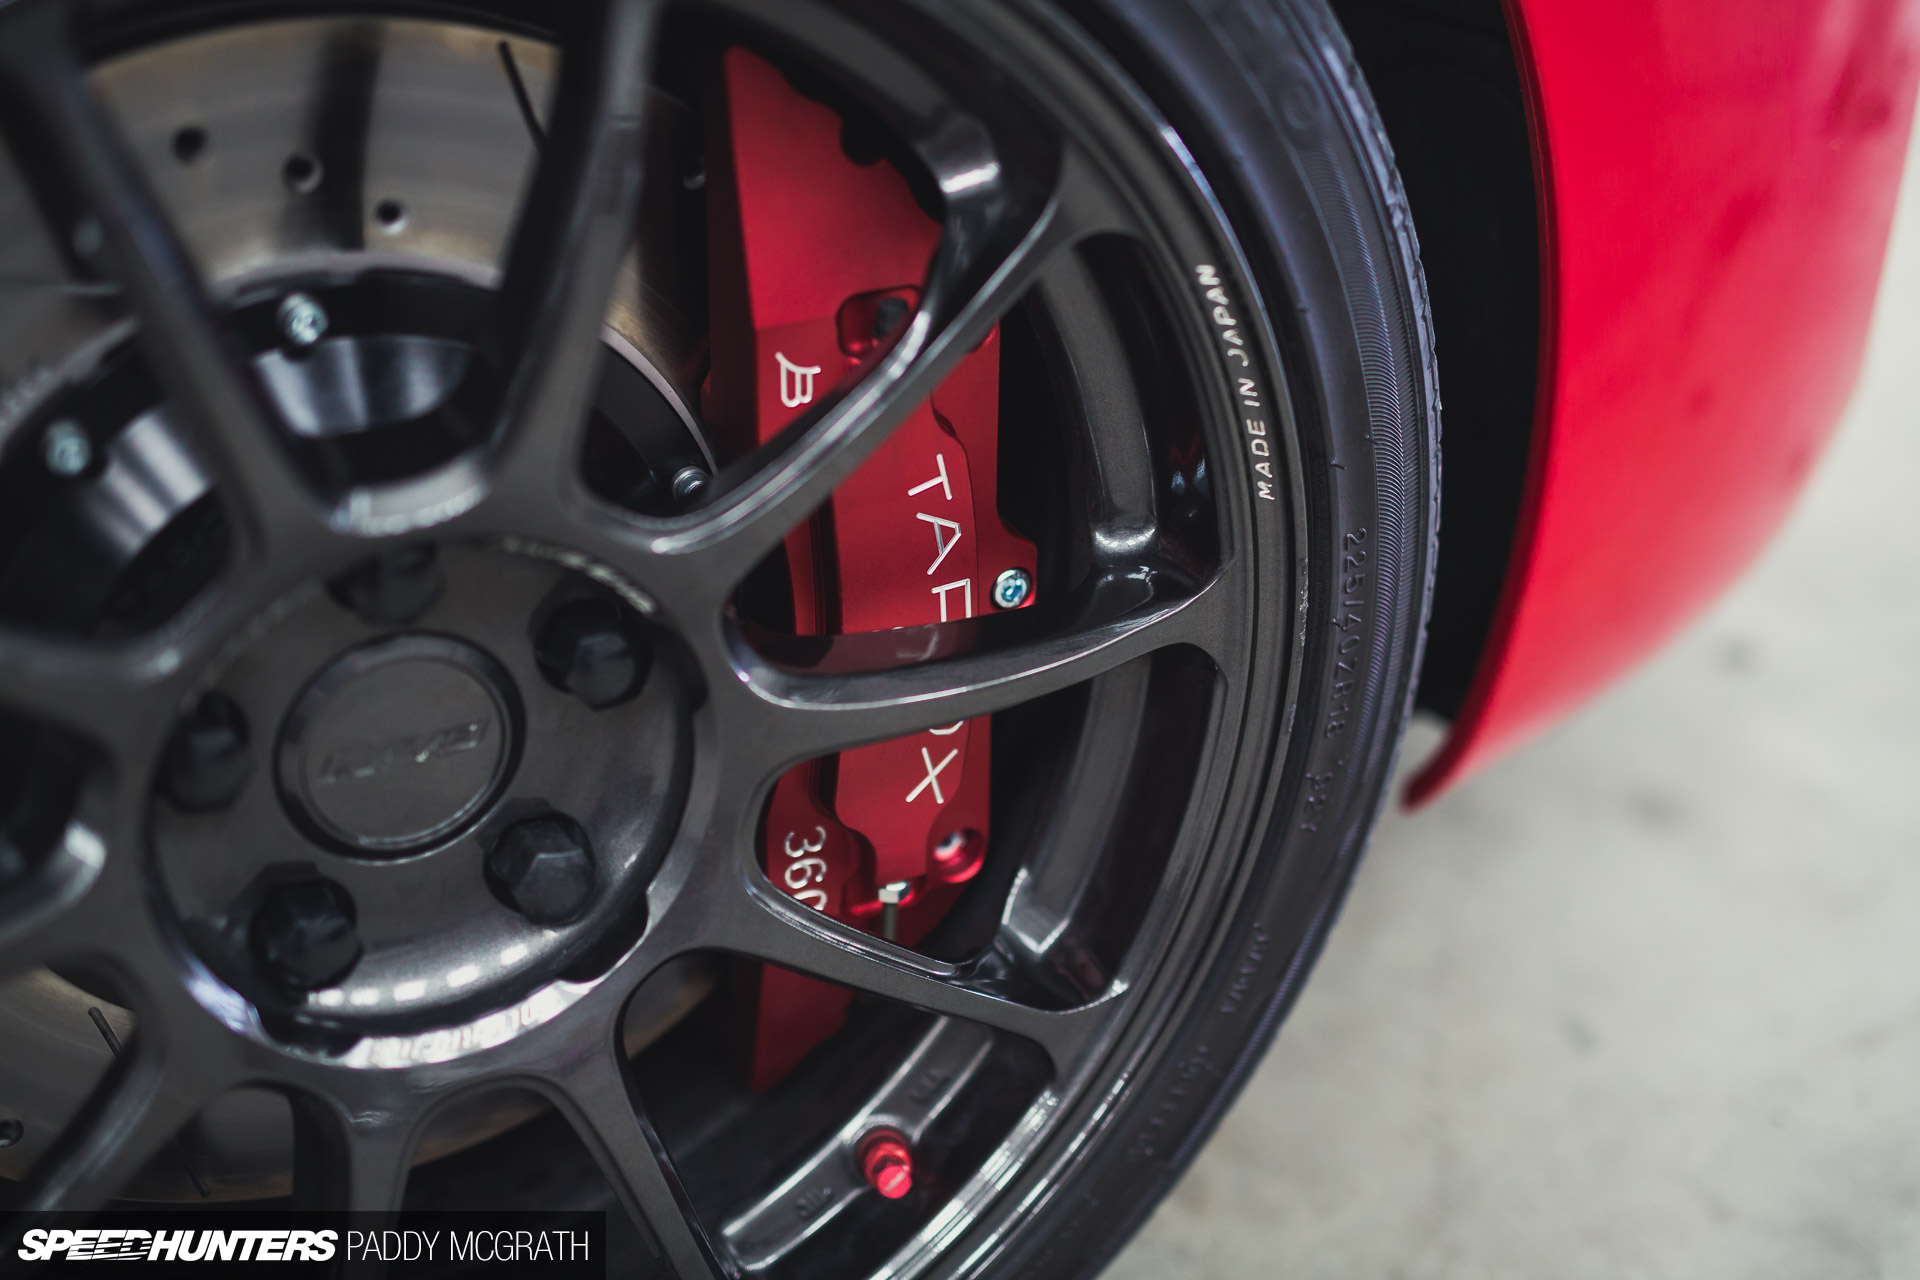
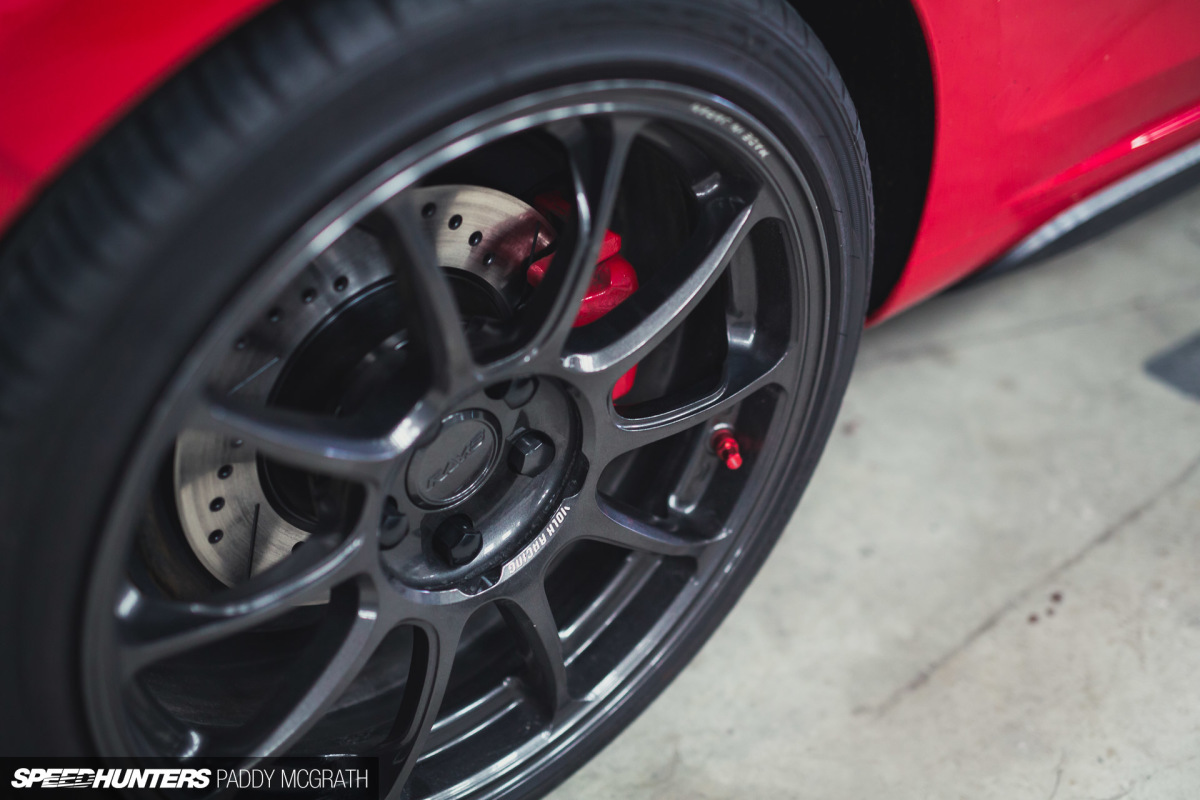
I’ve already cut considerable unsprung weight from the car with the RAYS Volk Racing ZE40s (5kgs per corner), so I was conscious of how much bulk the new setup would add. Both the new calipers and discs are considerably larger than the stock items.
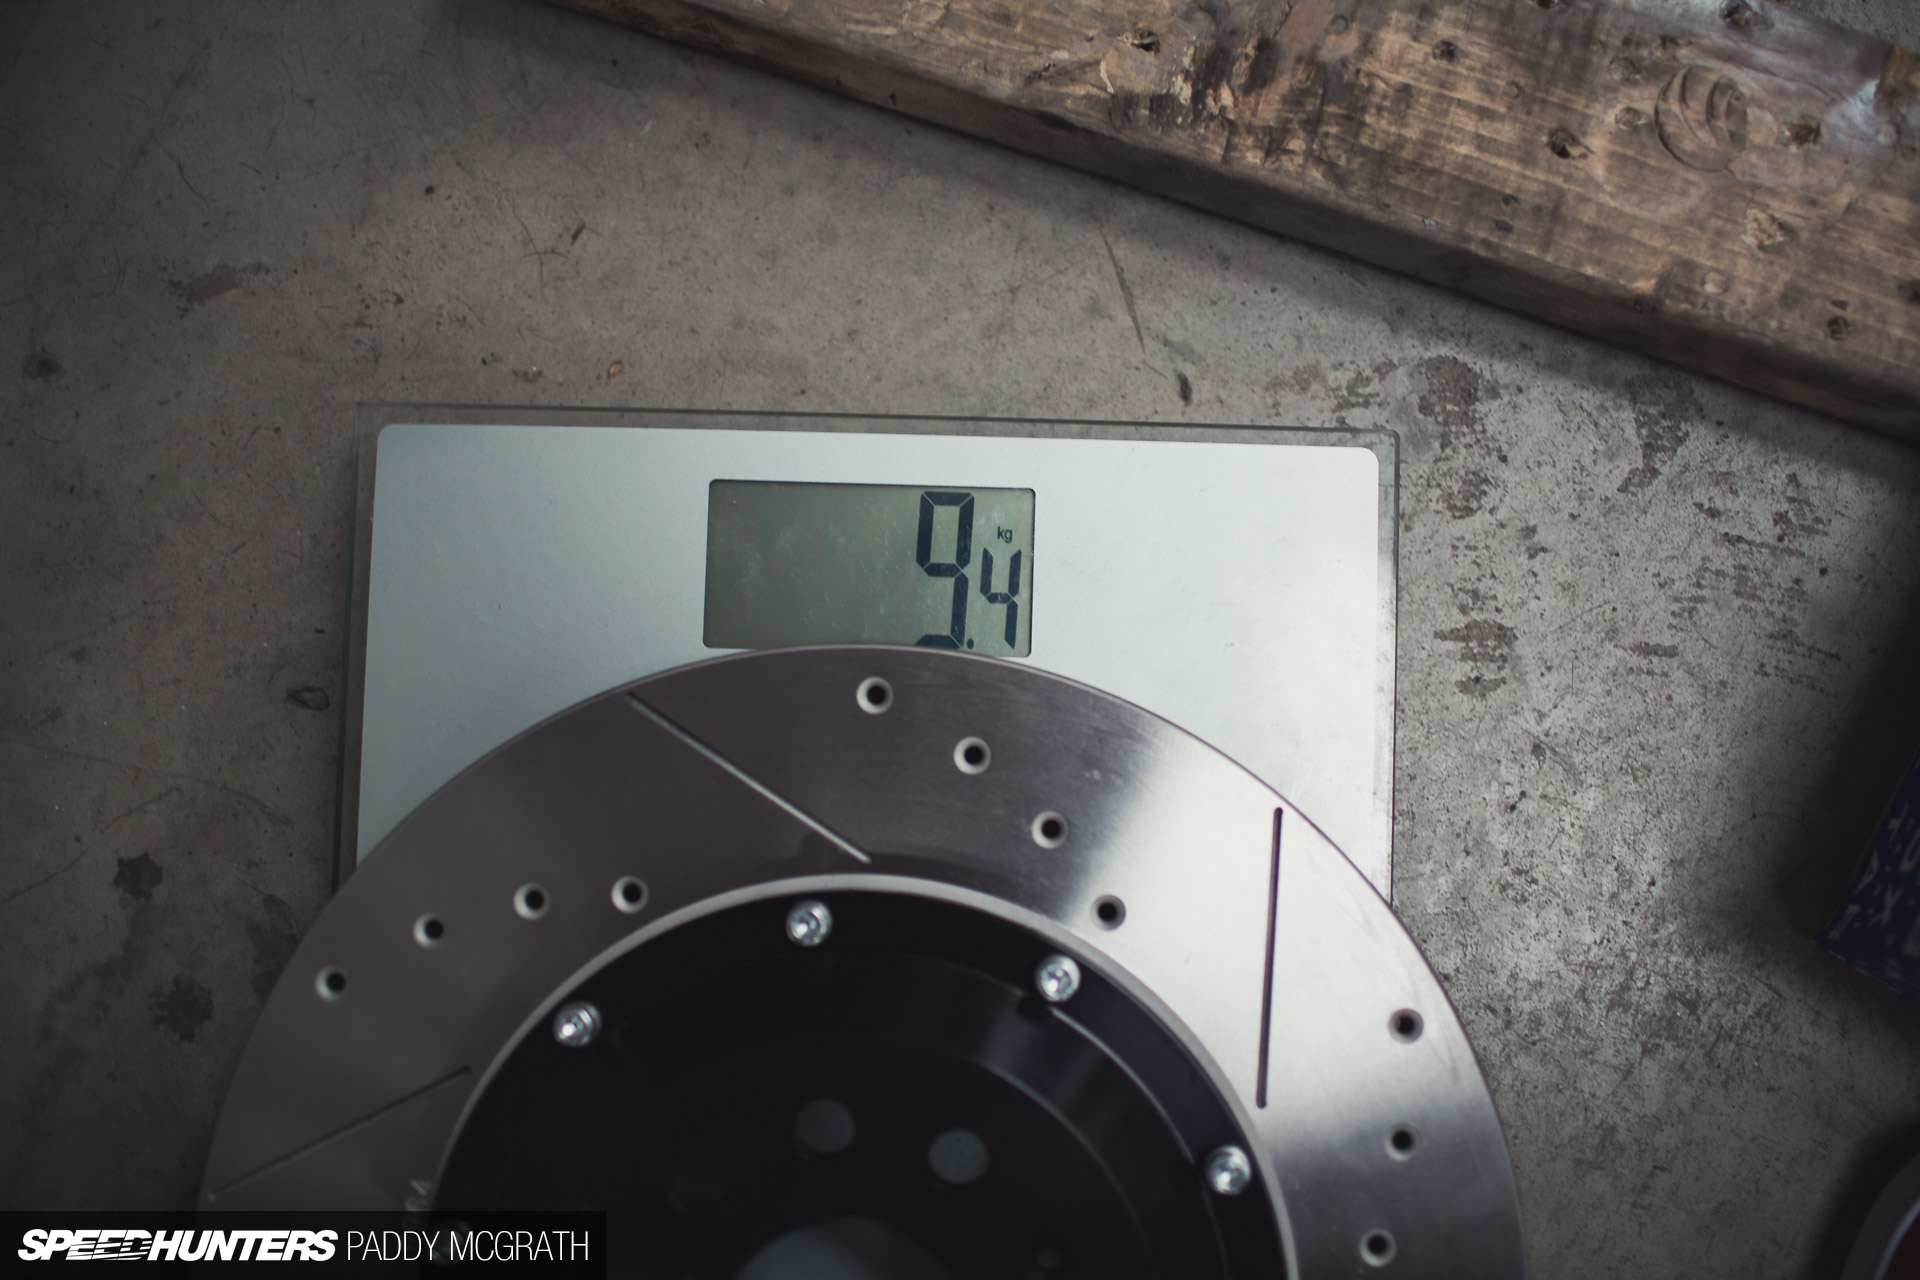
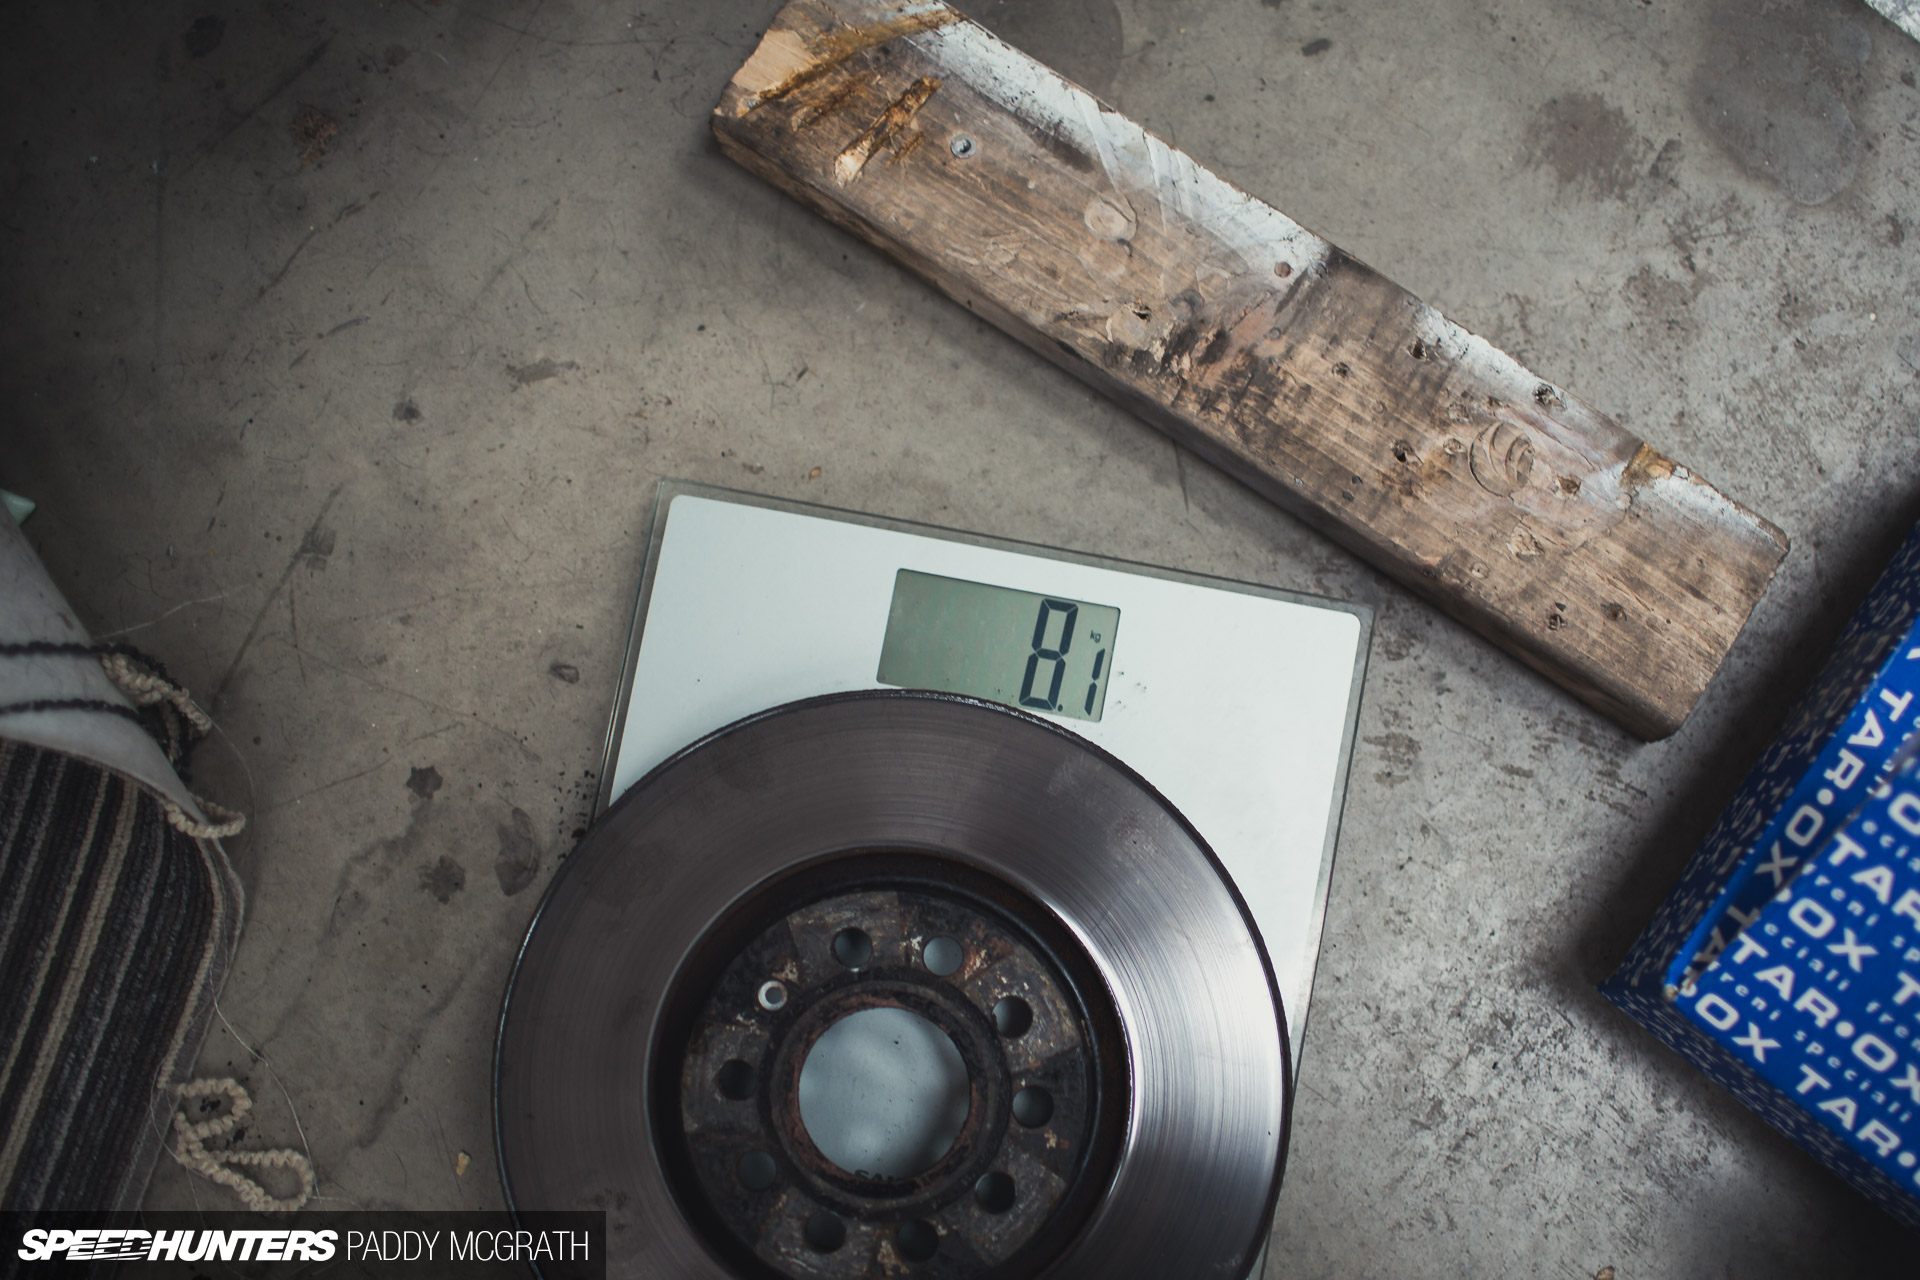
Remember this photo later for comparison purposes.
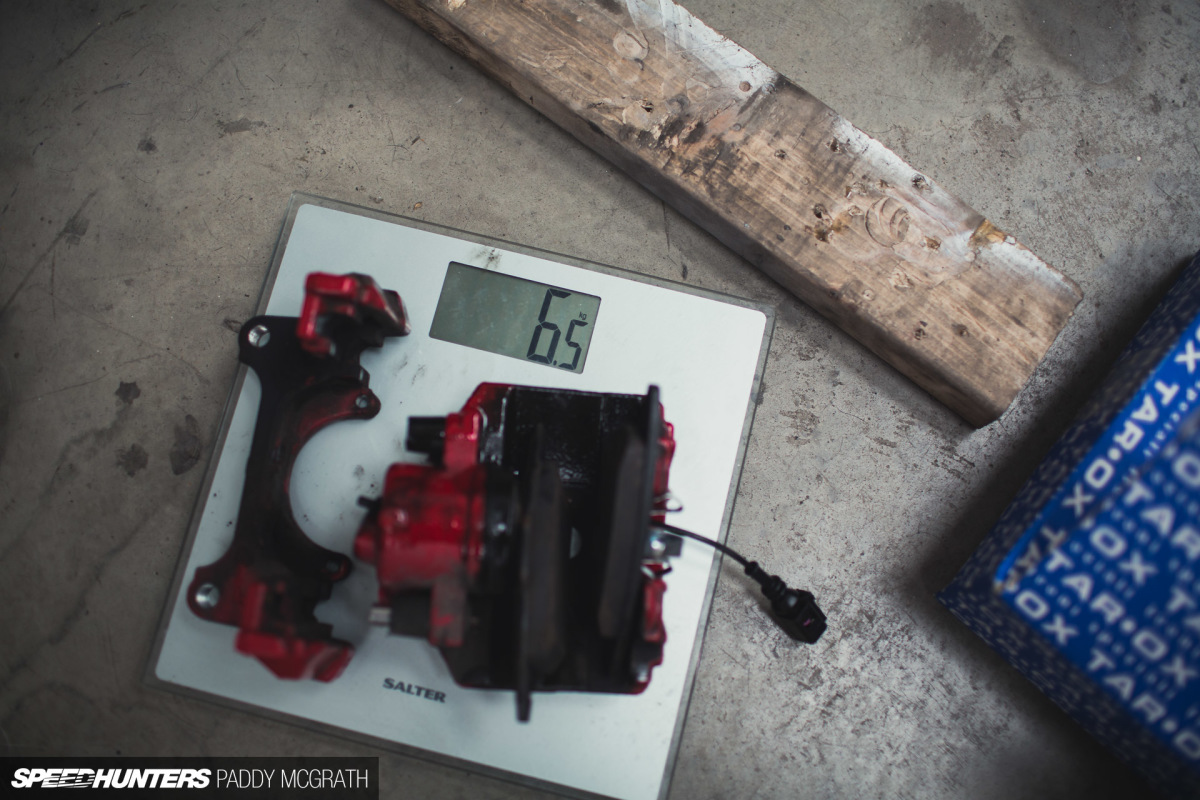
For the sake of science, I ‘borrowed’ the bathroom weighing scales from home to carry out this test. That’s the stock front caliper with pads included weighing in at 6.5kgs.
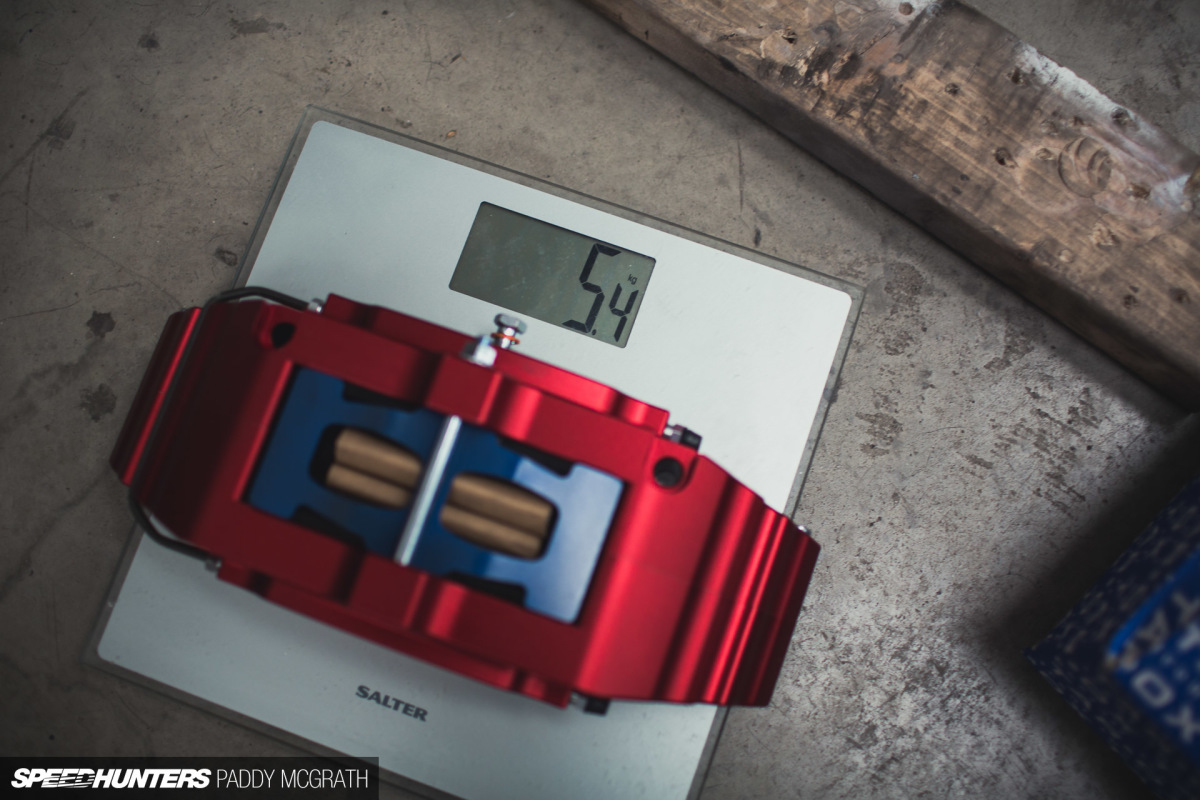
The Tarox caliper weighed in at 1.1kg less, which was a pretty big surprise if I’m honest. The discs were a slightly different story, with the significantly larger 360mm discs weighing in at 1.3kg more than the standard (and heavily worn) discs. In total, I’ve added around 400gm of weight to the front axle, which in a fully-laden street car is actually pretty insignificant. When you weigh up (sorry) the performance benefits of the new setup, it’s a cost that I’m happy to pay.
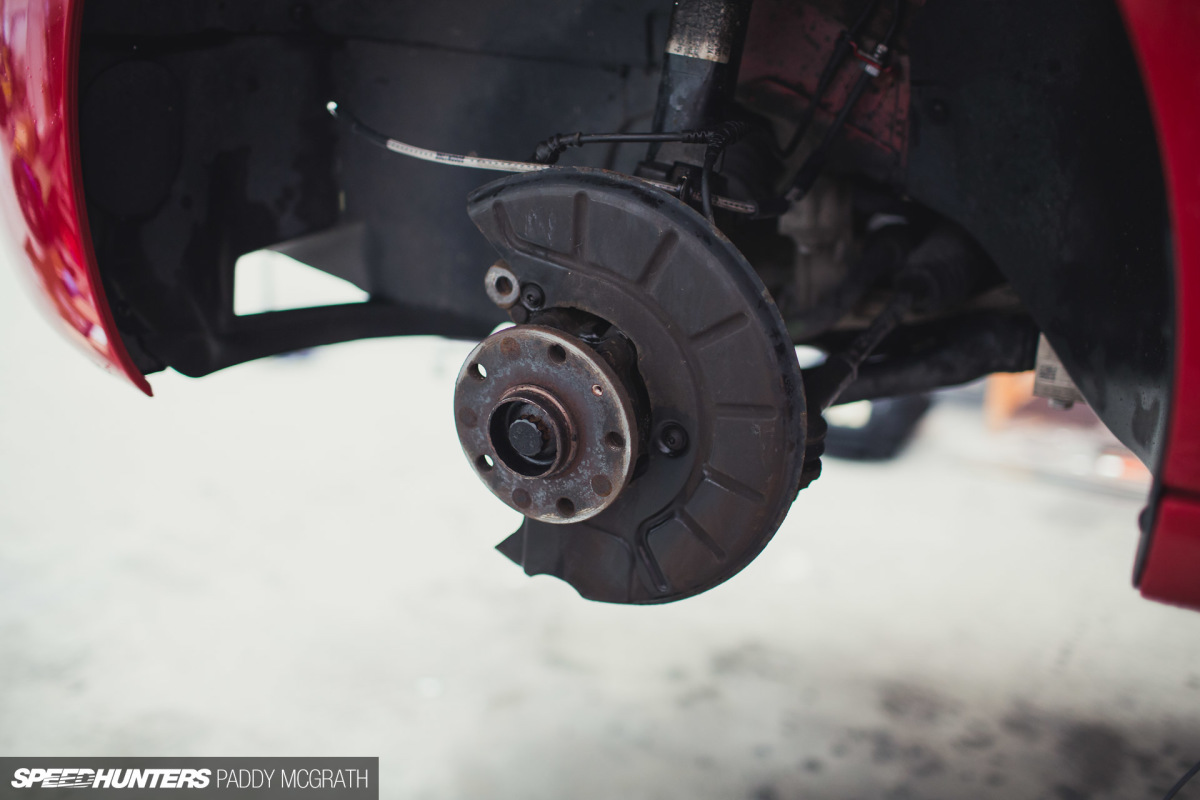
The original brakes came off in a straightforward manner, so we could immediately set about getting the new parts on.
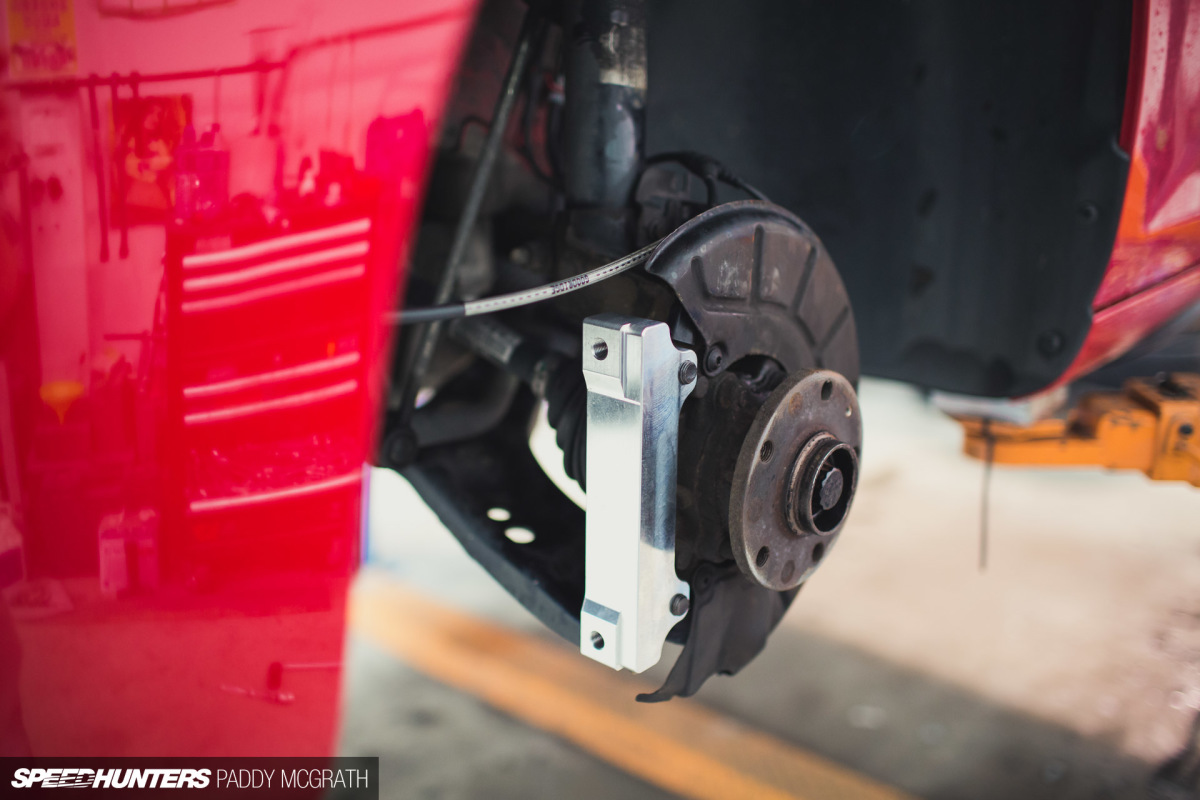
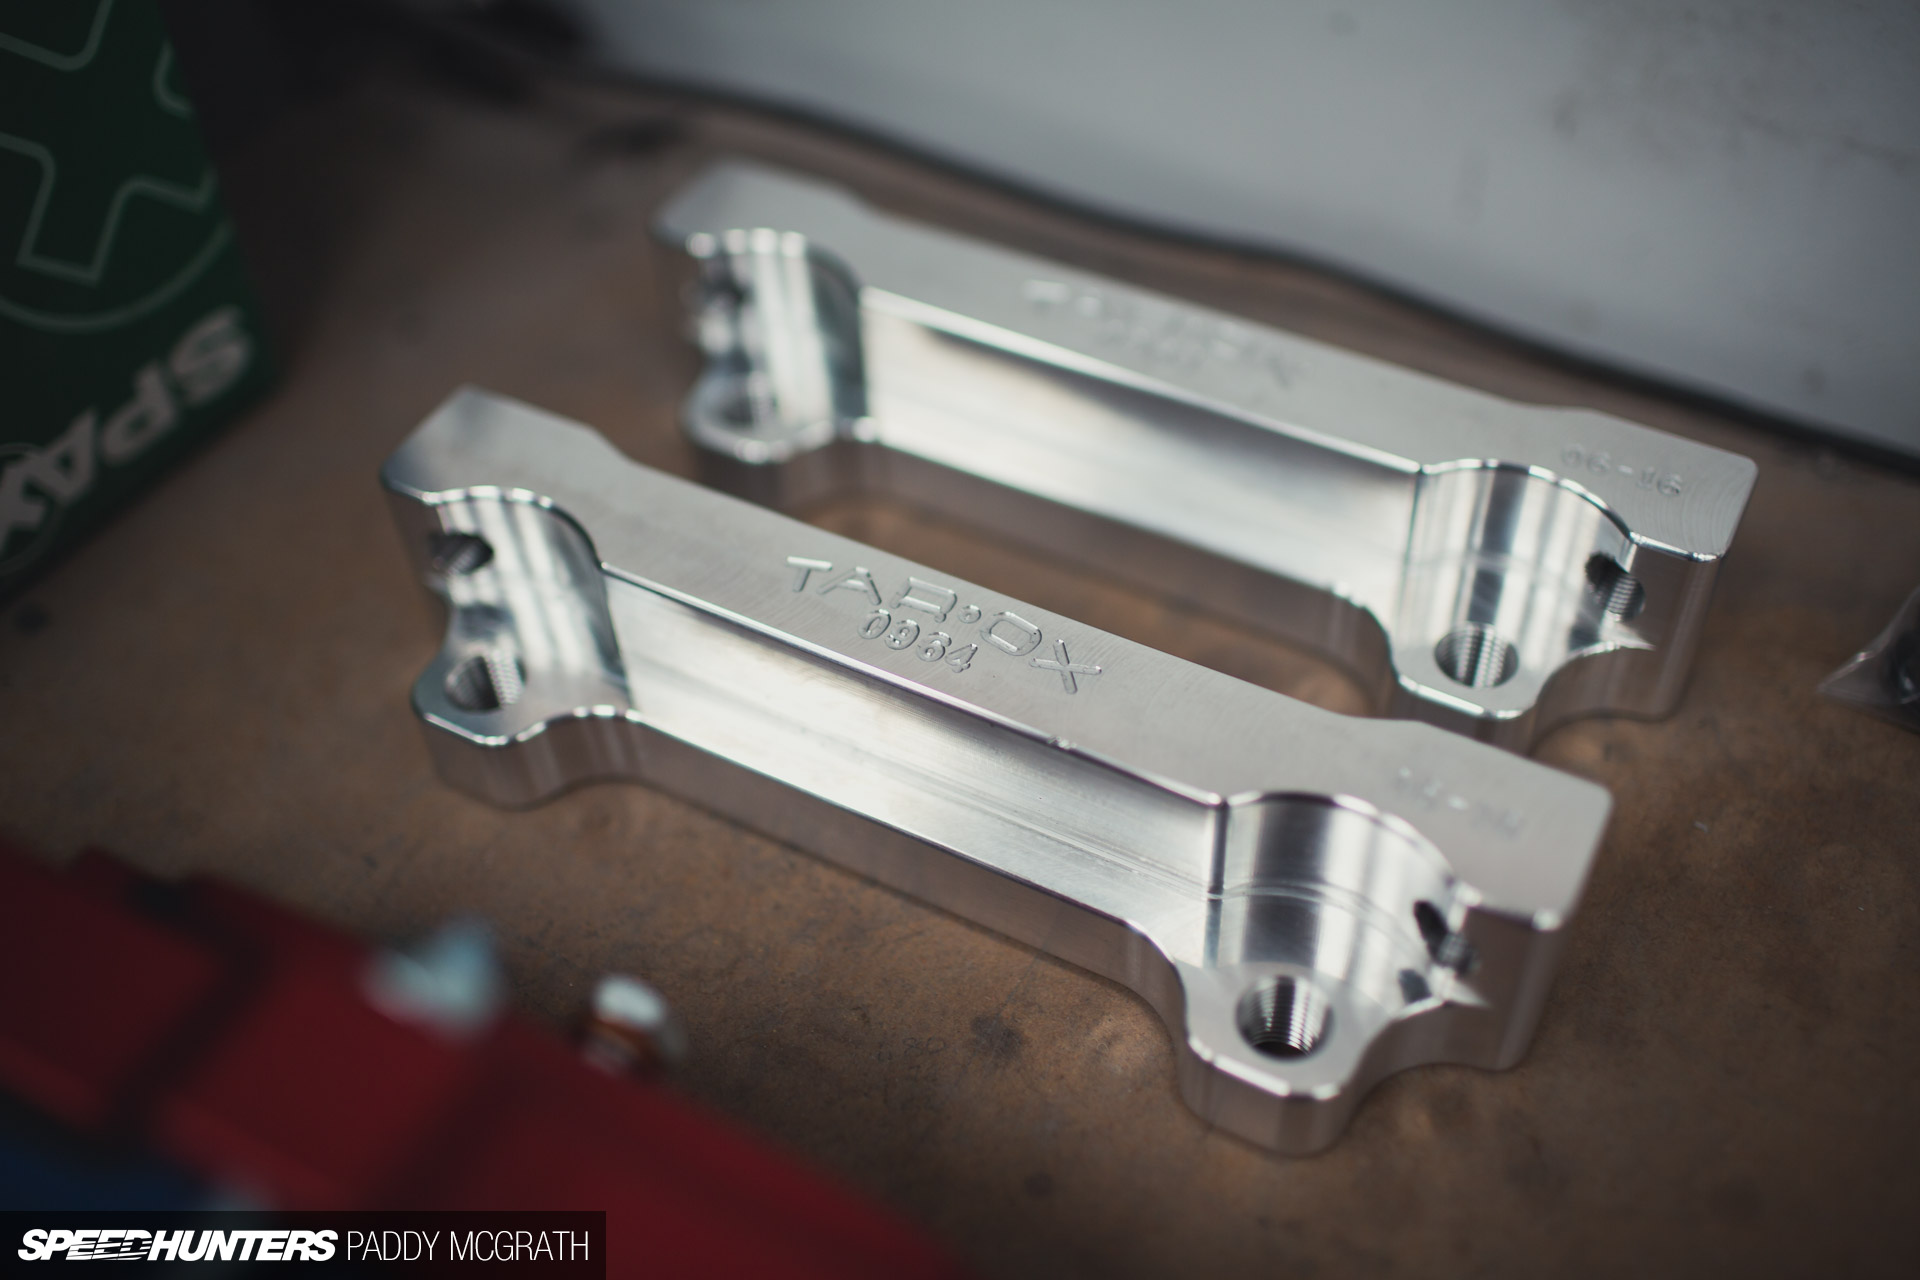
Everything was included to make this a bolt-on direct replacement. No fabrication was needed at any stage, just simple assembly. In fact, it was considerably more difficult to get the original parts off. This bracket is required to allow the caliper to sit precisely on the new disc. The flexible rubber brake line has been replaced with a stainless braided equivalent.
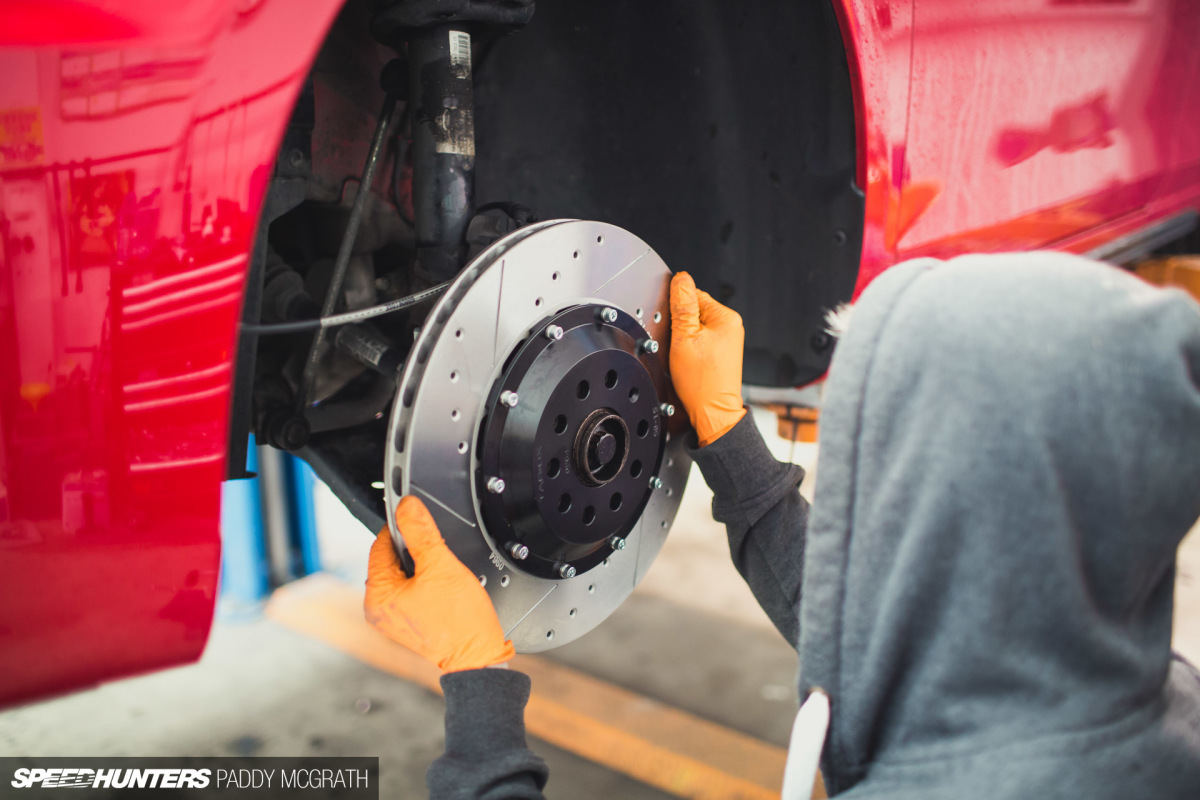
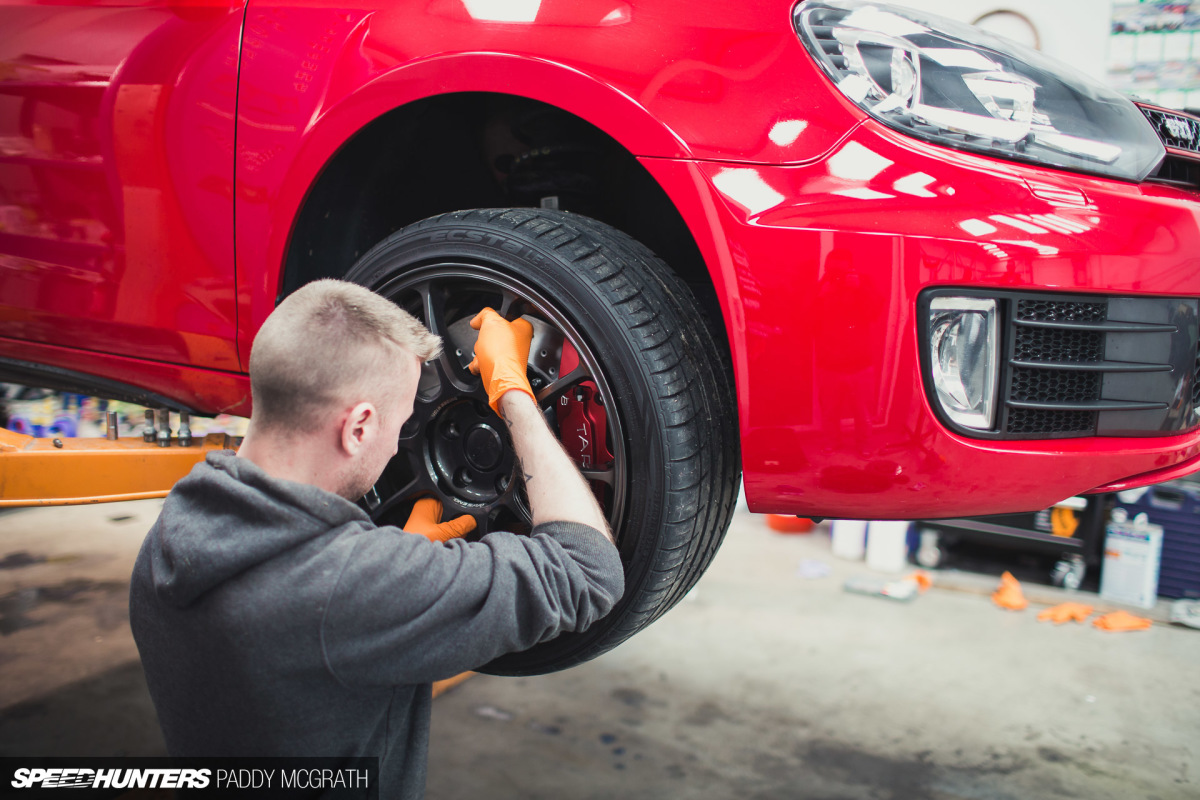
With everything trial fitted and double checked for clearances, we (actually, just Flip) set about installing everything permanently.
The MkVI GTI – as I’m sure other generations and models too – runs a fairly simple brake pad wear sensor solely on the front passenger side wheel. It effectively works as a circuit until the pad wears down enough to break the circuit and it triggers a warning inside the cabin on the instrument cluster. It’s redundant for anyone who keeps an eye on these things anyways so we decided to bypass it.
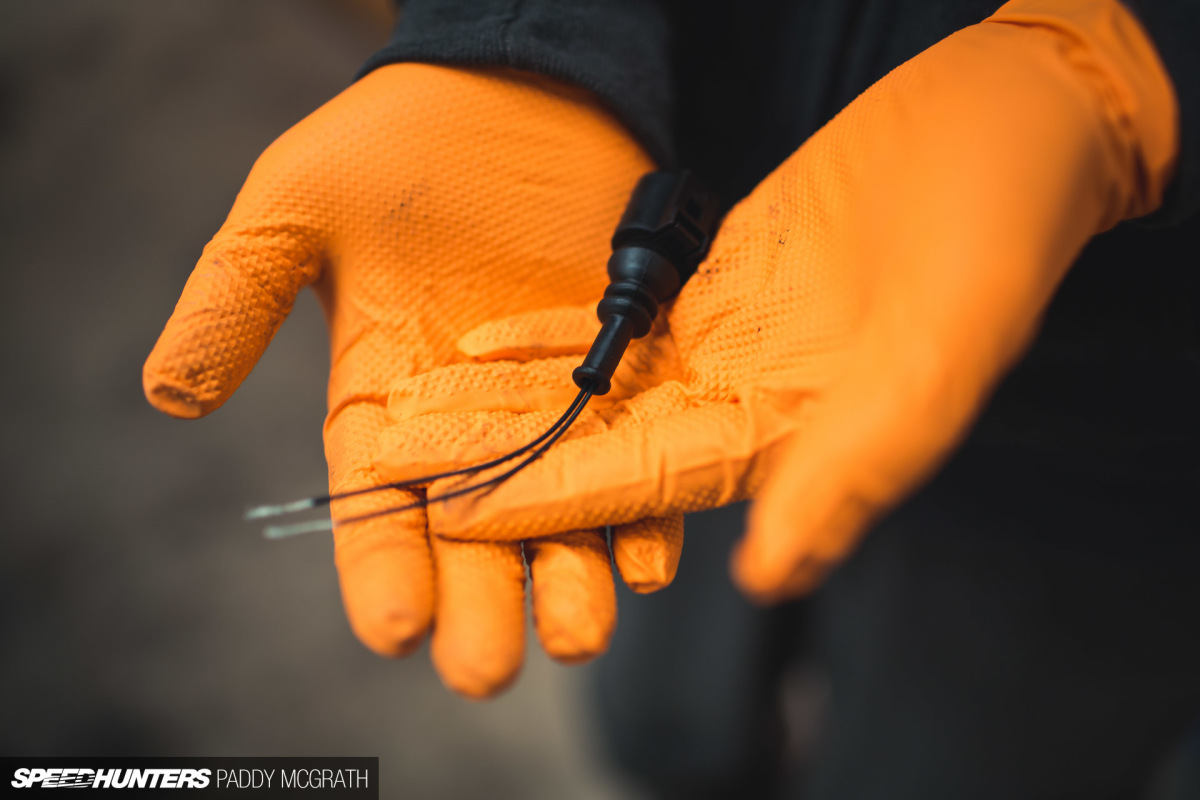
We removed the wear sensor from the previous pads, cut the wire, opened the insulation and joined the two wires inside together before re-insulating them and reconnecting it to the car whilst securing it in a good location. Once the circuit stays complete (which it will now do indefinitely) I don’t have to worry about any warning lights or the car’s electronics throwing a hissy fit.
I think it’s the first brakes I’ve ever owned with a quick change system for the pads, which should come in handy in the future.
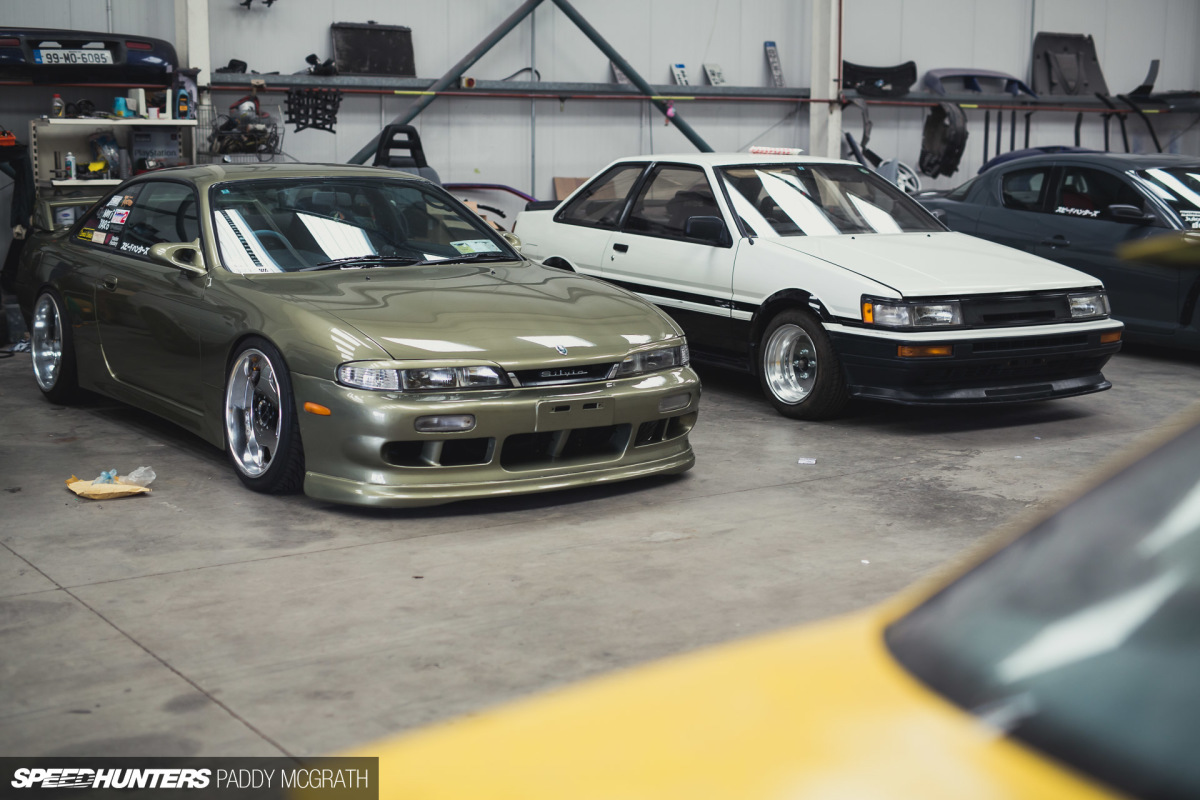
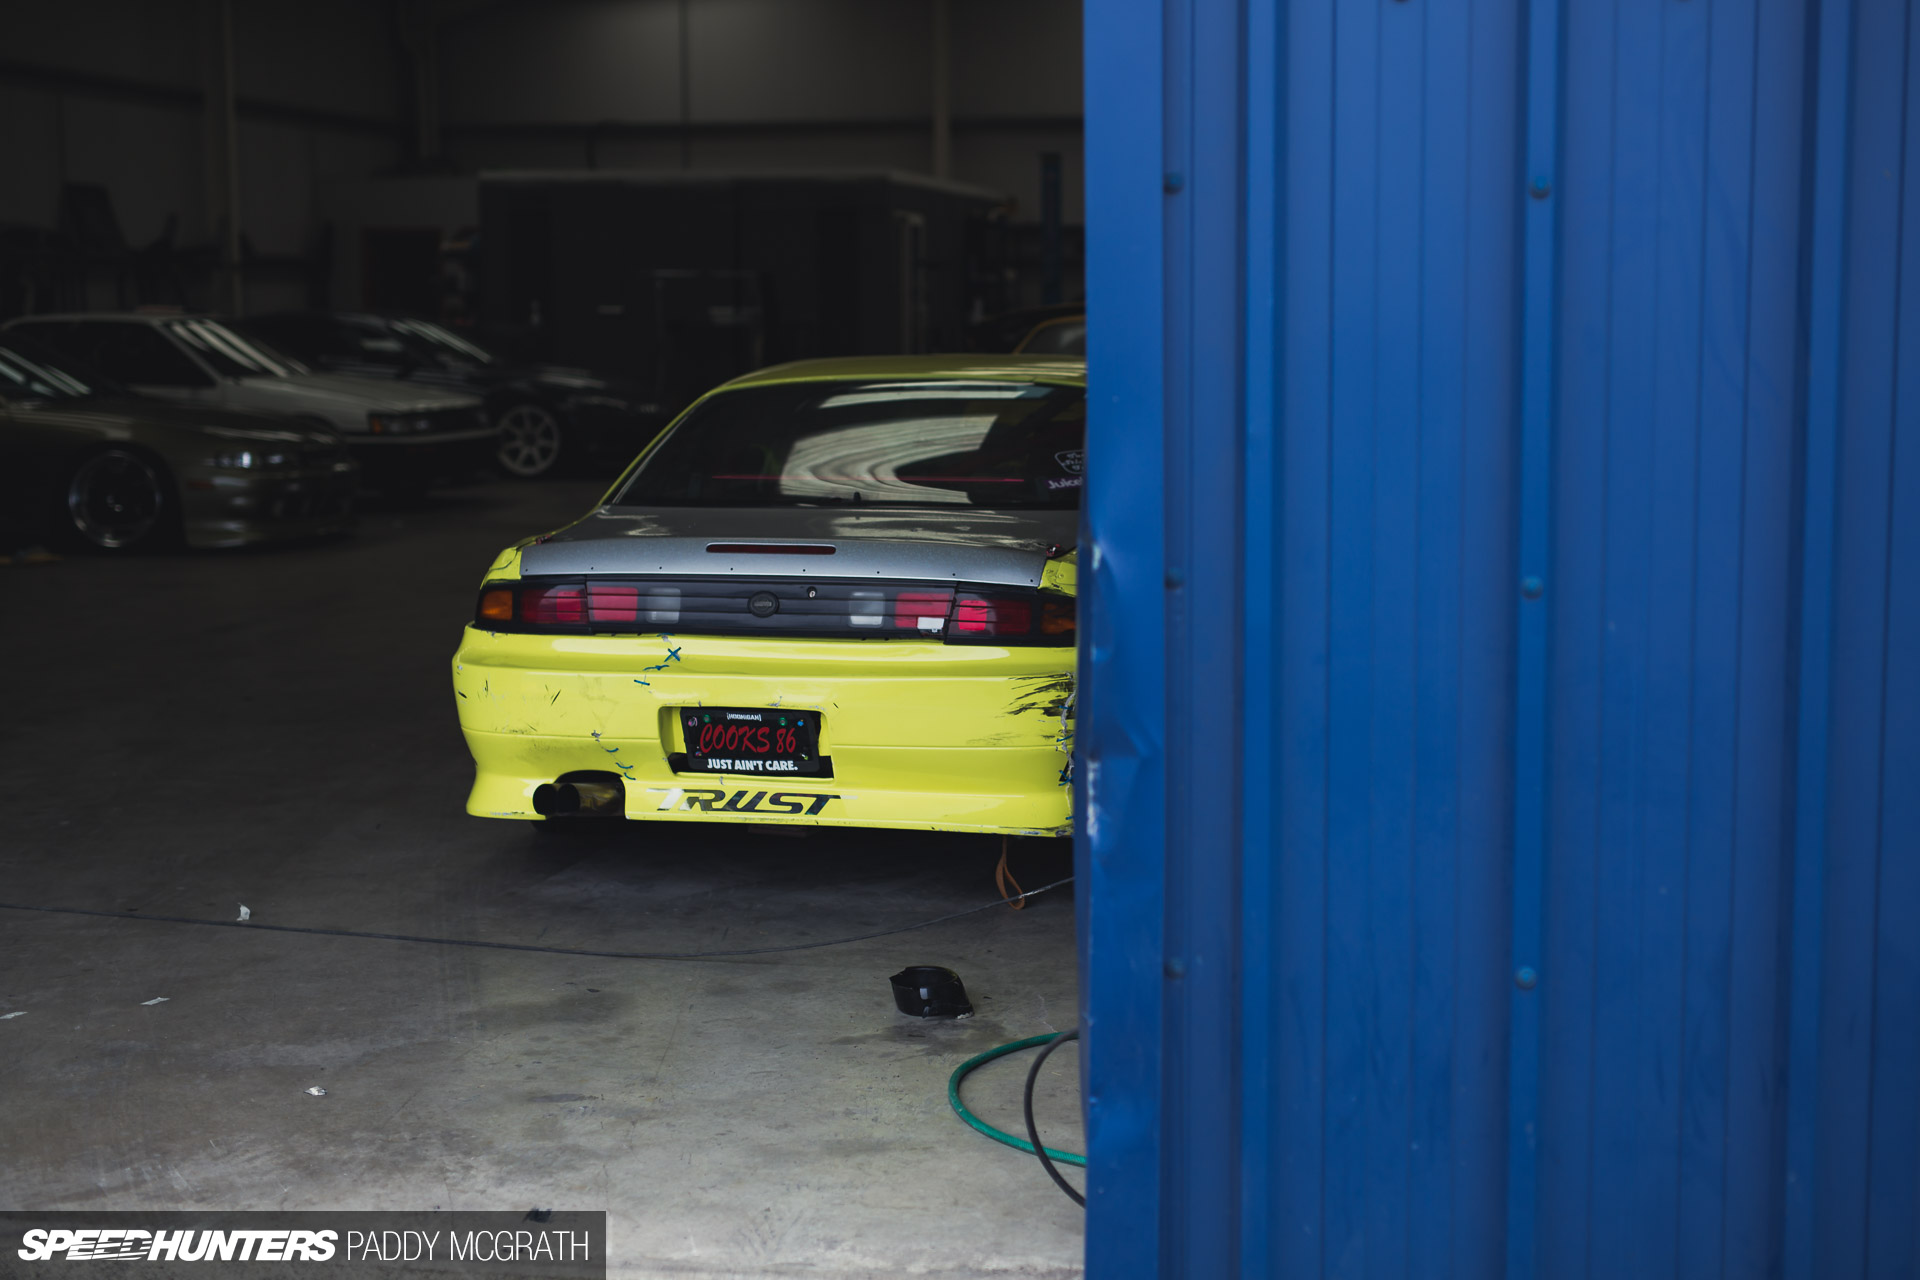
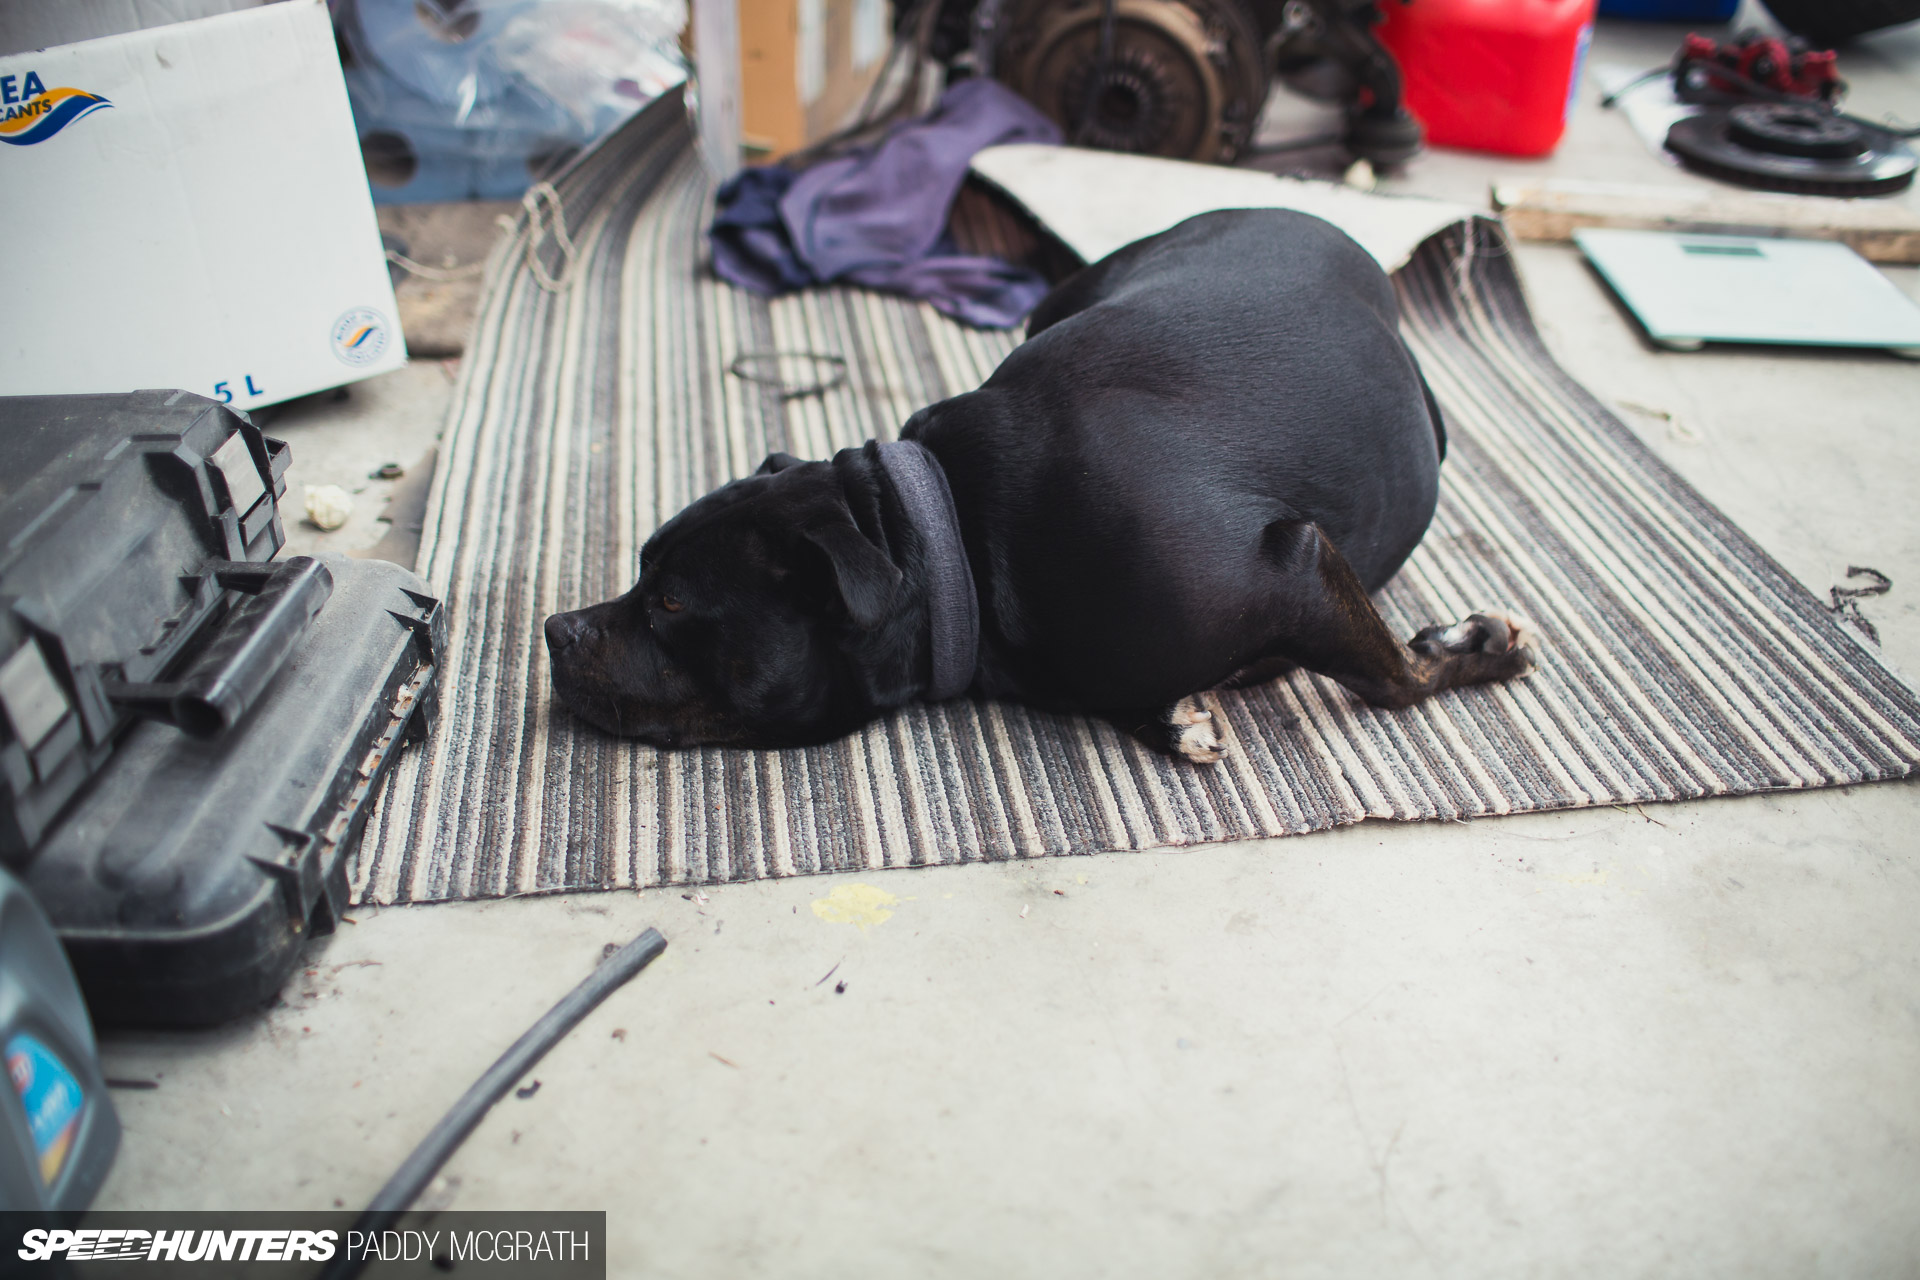
Whilst Flip set about doing the opposing side, I went for a look around the workshop. That AE86 is new…
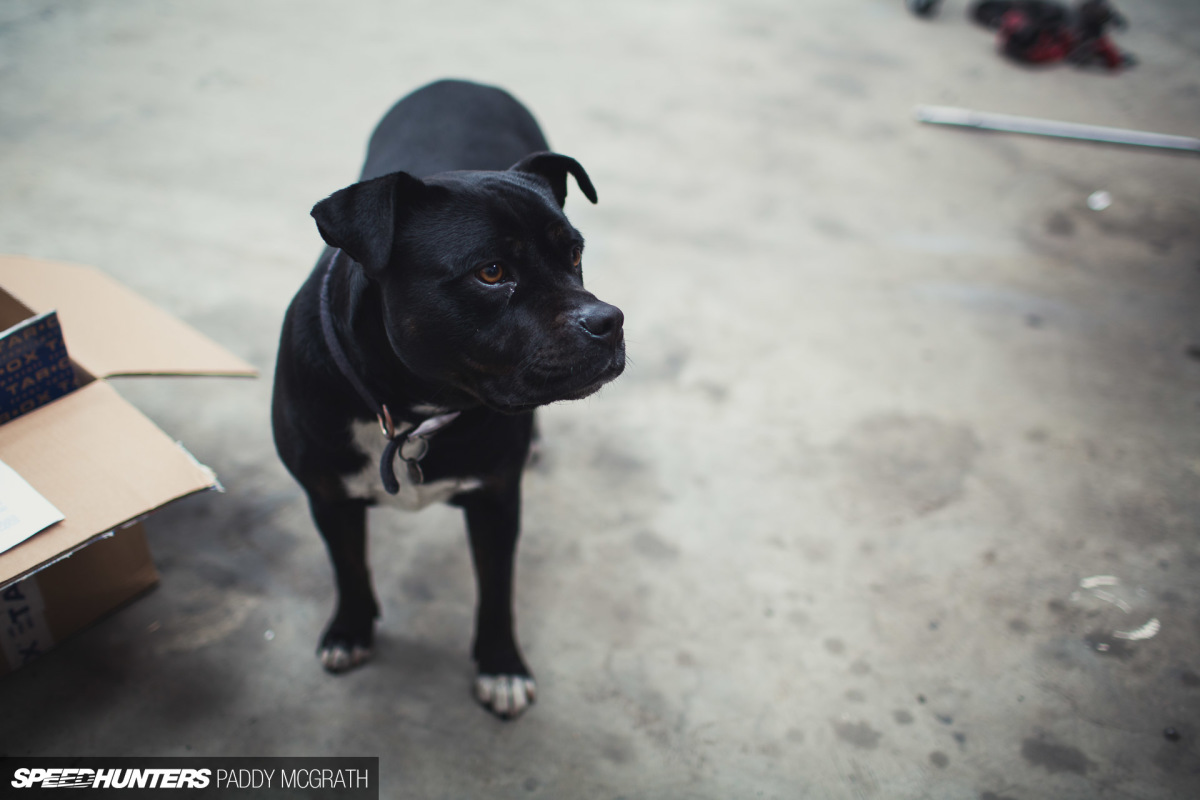
I was joined on my adventure by shop dog, Kouki. She’s great for chasing invisible things and eating my sandwich. Good dog.
Meanwhile, Flip was finished with the driver’s side and already moving onto the rear. I’m clearly of great help as you can tell. Whilst he works on the rear, I’m going to fill you in on a couple of things I learned whilst researching these brakes before ordering them. I’m keen for this not to sound like an advertisement, so please bear with me for a bit.
As I said previously, there were a couple of things that swayed me towards Tarox. The company has a solid motorsport heritage; Keke Rosberg’s F1 World Championship-winning car ran Tarox brakes back in 1982. Each brake caliper is hand built and hand inspected before being shipped, and every brake kit is tailored to suit each specific chassis and to work with that car’s exact setup. Tarox make everything in-house, so they have full control over their product.
One of the things I only learned afterwards is interesting too. I was led to believe that drilled discs can suffer from structural instability after some usage, where the discs can begin to crack around the holes. This is still true, but what Tarox has done differently is to countersink the holes to stop this from happening. It’s a real anorak detail, but one that I now really love.
And back to Flip, doing his thing.
Removing the rear caliper carrier – so as to remove the original rear disc – turned out to be the most difficult part of the job due to one of the spindle-type bolts being both awkward to get at and really, really stuck. Once off, it was a simple case of installing the new rear discs and pads.
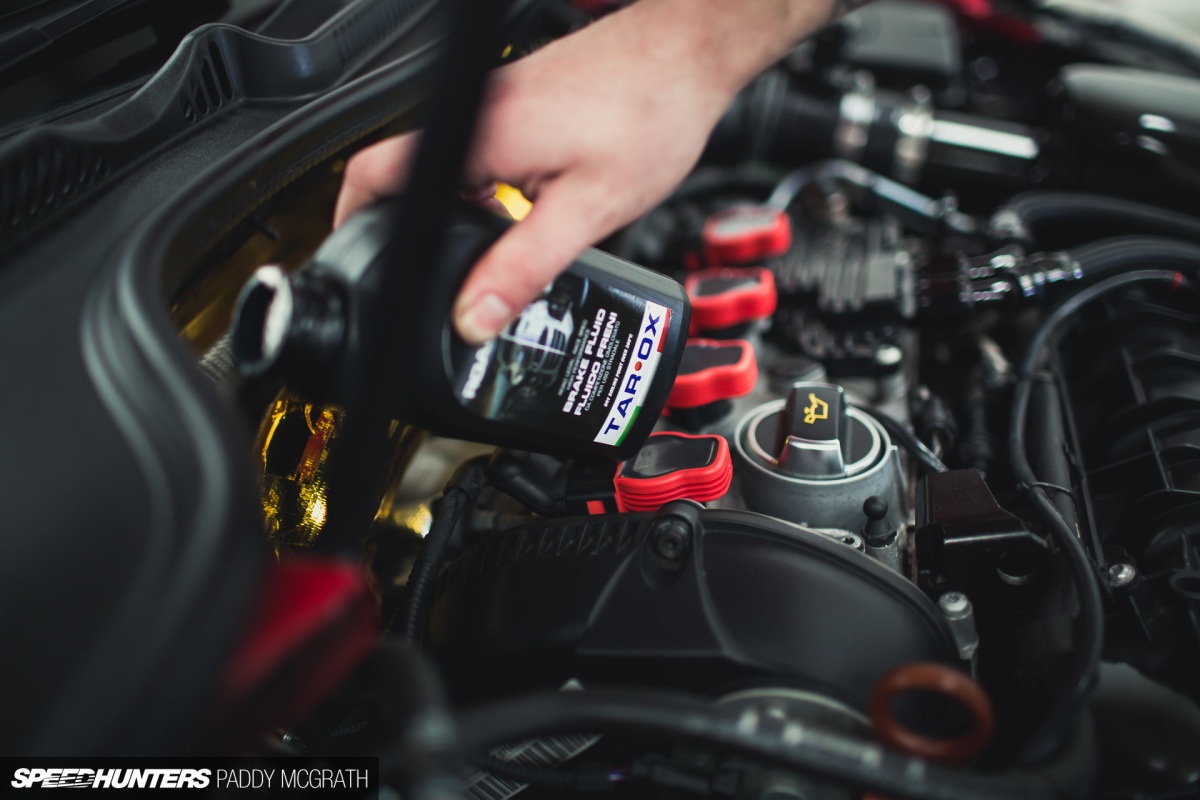
With everything fitted and everything double checked, it was time to flush the old fluid out and refill with new stuff. Tarox quite kindly supplied plenty of brake fluid for this task, so I got into the car and pumped that brake pedal until it came back to life; and then I pumped some more.
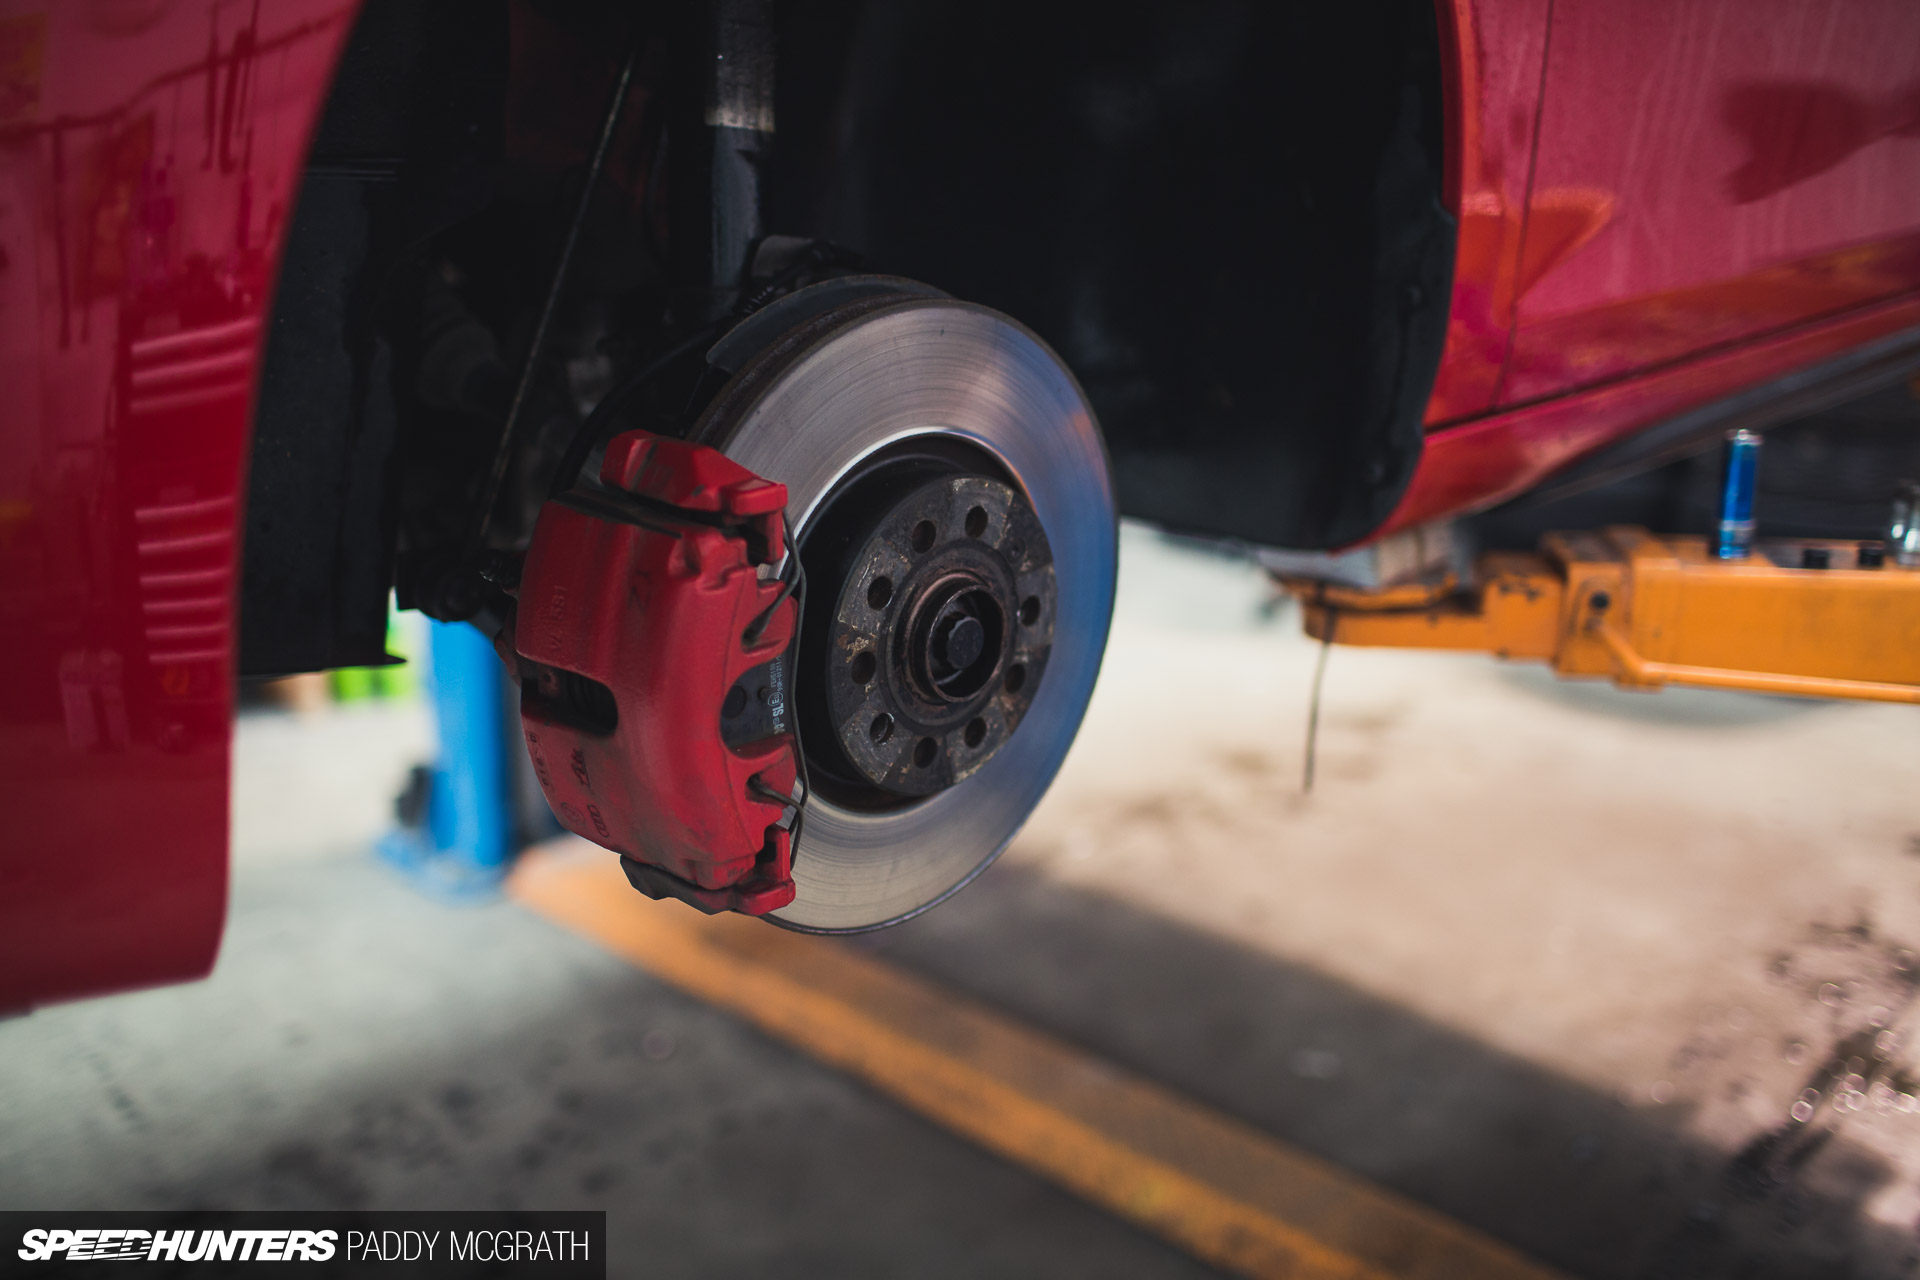
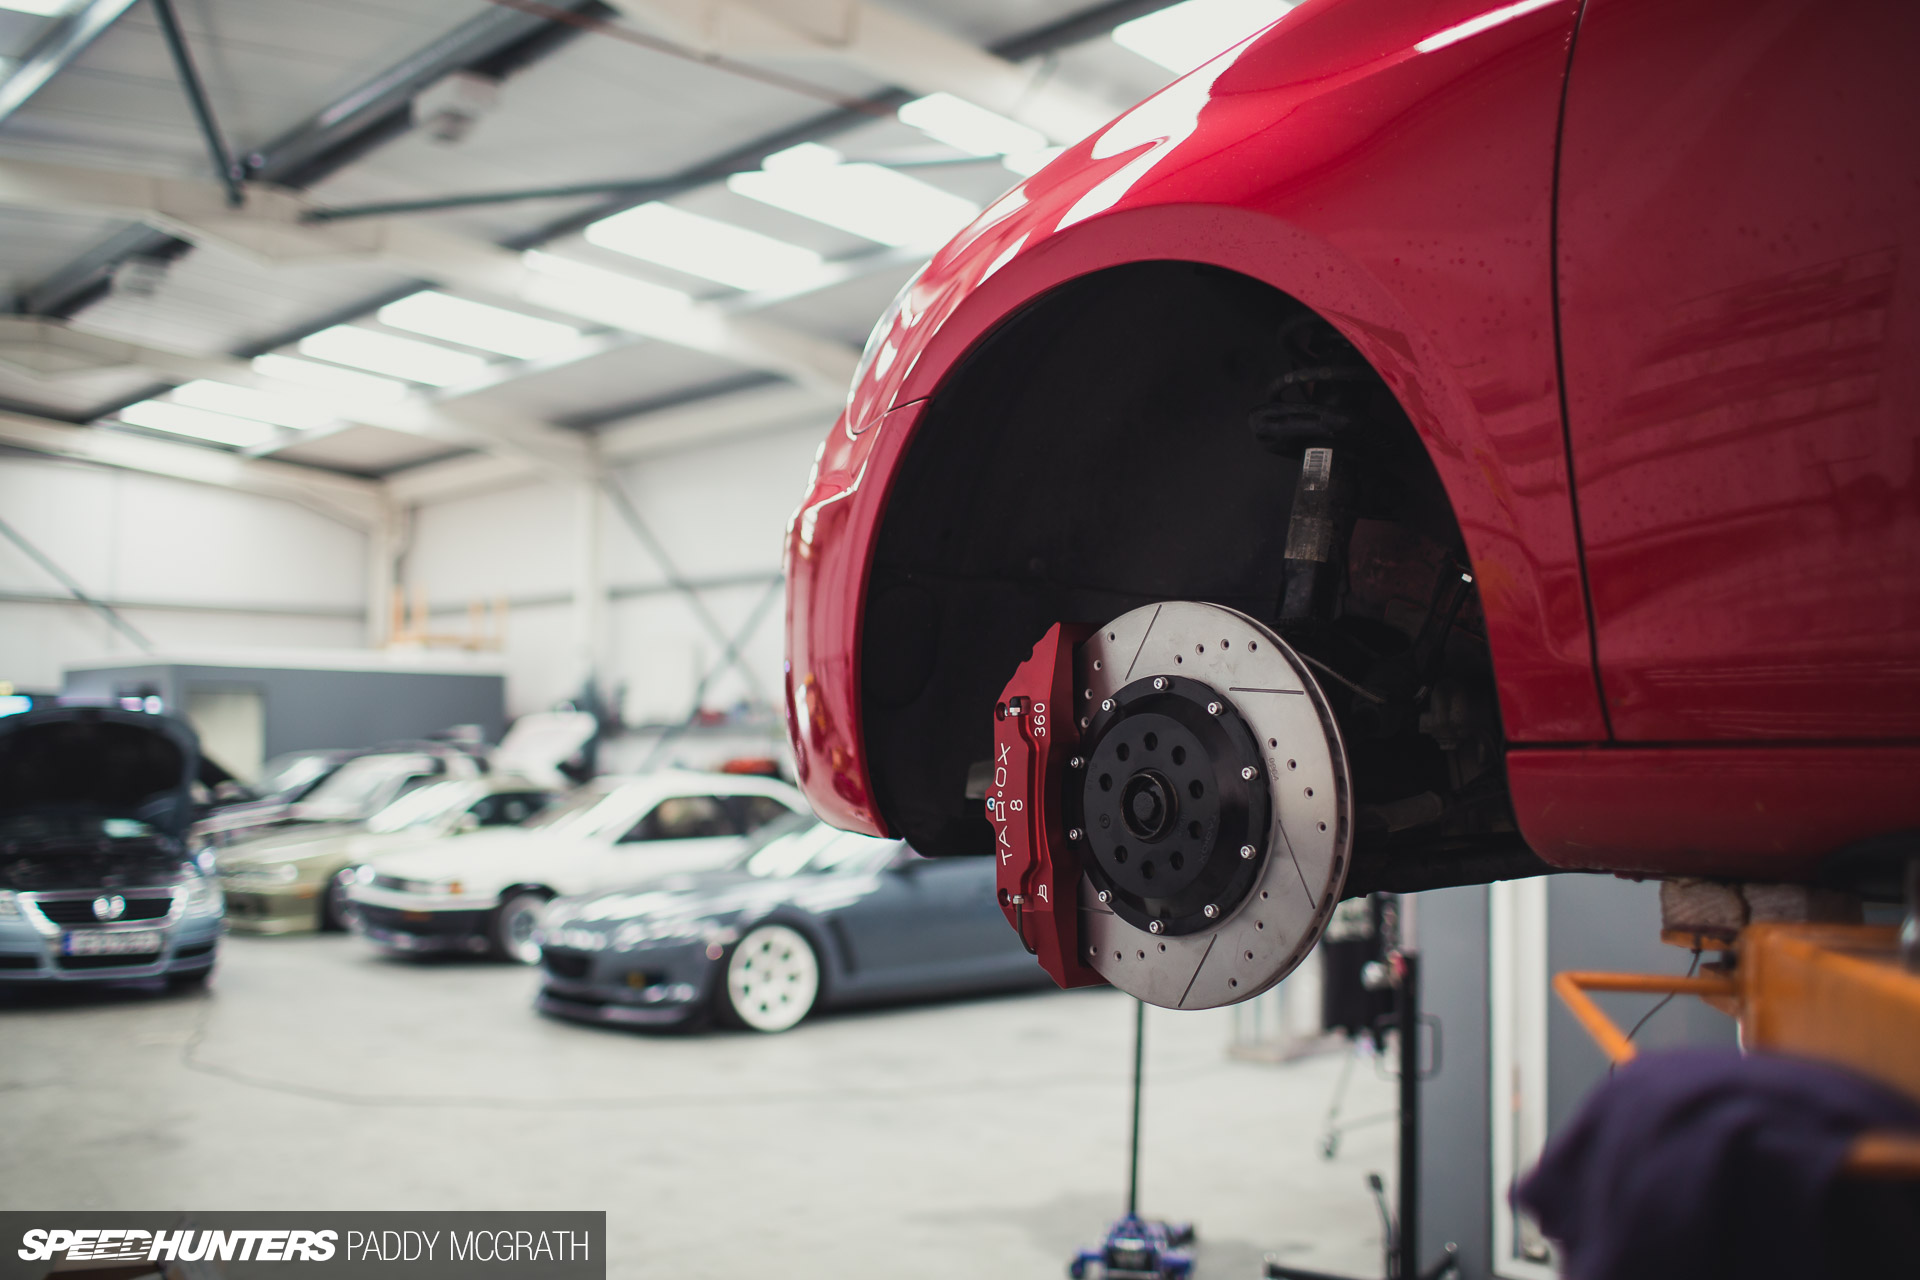
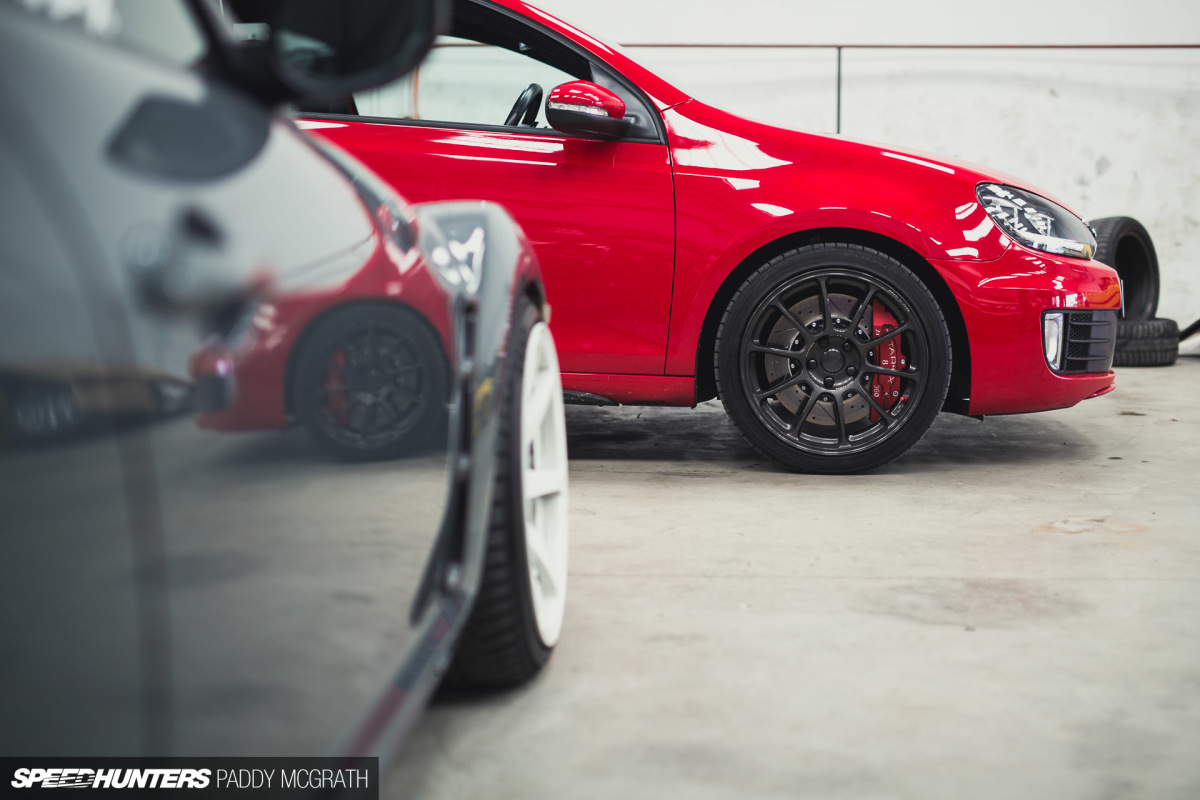
Once my legs muscles could support me, I was able to watch the proverbial cherry being put on the cake. One of the reasons I chose the ZE40s was for their exceptional amount of room to accommodate a large brake setup.
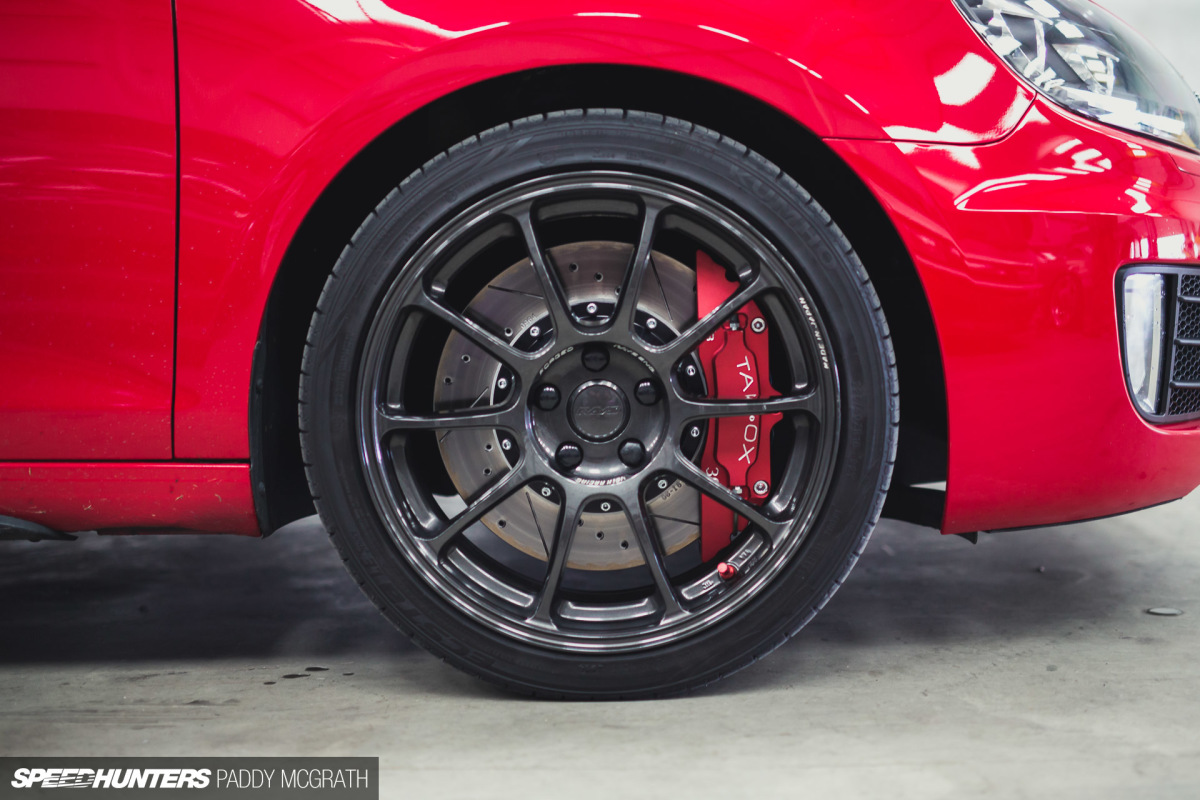
Needless to say, I won’t be running smaller wheels on the front any time soon. Whilst it’s definitely close, it’s not too close if that makes sense, and there’s enough breathing room between the caliper and the wheel that it’ll never be of any concern.
The rears remain the same size but look much fresher.
With everything torqued up, I went for an easy test drive to make sure everything was working properly. Out of the box, the performance is seriously impressive. Moving in slow traffic, they’re light and easy to modulate; they’re not grabby or anything. In fact, they could pass for the stock brakes for feel under normal driving circumstances, which is a great thing in my opinion.
They’d literally only been fitted a few hours before I sat down to write this post, so I can’t give you the full picture of their performance just yet. At least not an honest version, so that will have to wait for a little bit further down the line. Initial impressions though are that they’re perfect for daily driver purposes (they work great from cold), but when you lean that little bit harder on them once they’ve warmed up, they start to come into their own. I’m excited to see how they hold up.
In Other News
It’s not been just brakes this month, we did make some other upgrades to allow for the Revo Technik software.
Since I’m on the subject of Revo, I made a short video to demonstrate the capabilities of the SPS Pro unit that was installed during last month’s update. Warning! This is a video for the hardcore automotive nerds and is intended to demonstrate just some of the features of this nifty piece of hardware that can convey ECU data through the car’s MFD in a clear and logical manner. There’s also some diagnostic and comfort features, along with a stopwatch that can be used to time accelerations sprints or lap times. Everything can be controlled easily with the car’s MFSW buttons and all of the factory menus and screens are retained.
Oh, you can also change your engine map back to stock or update it to suit a better fuel source. Groovy.
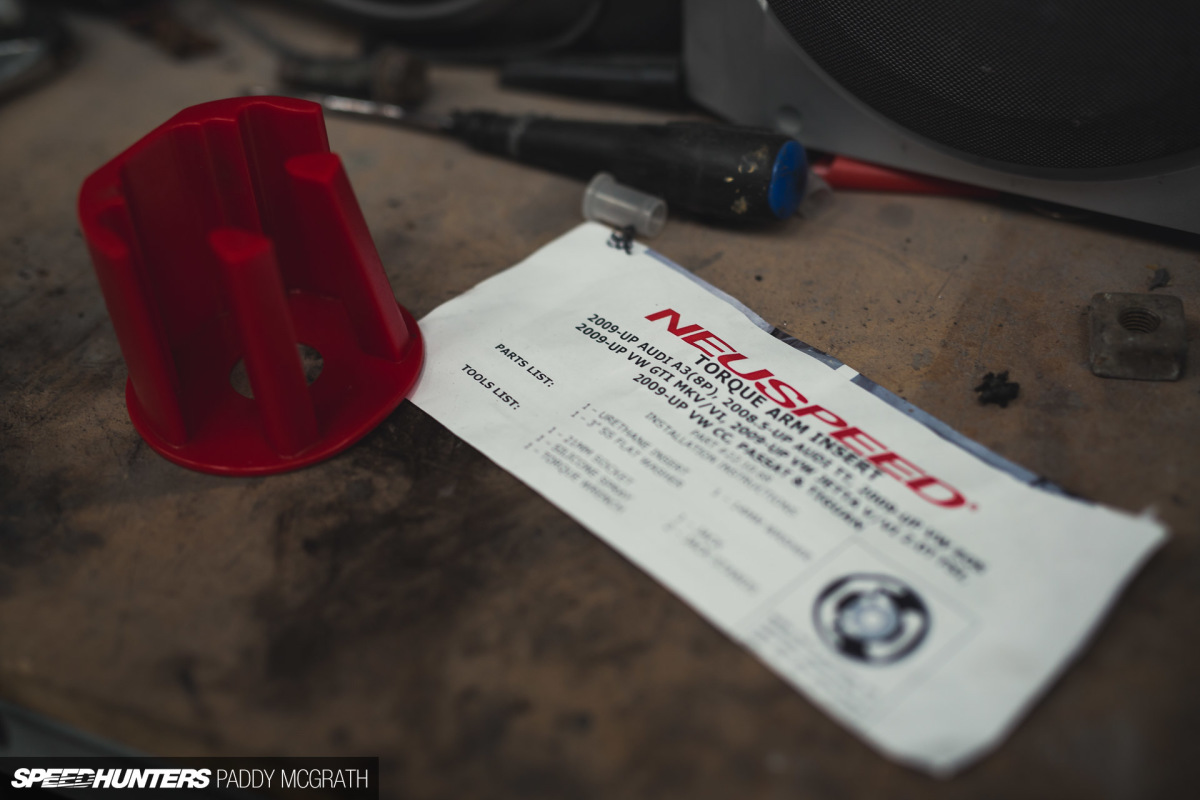
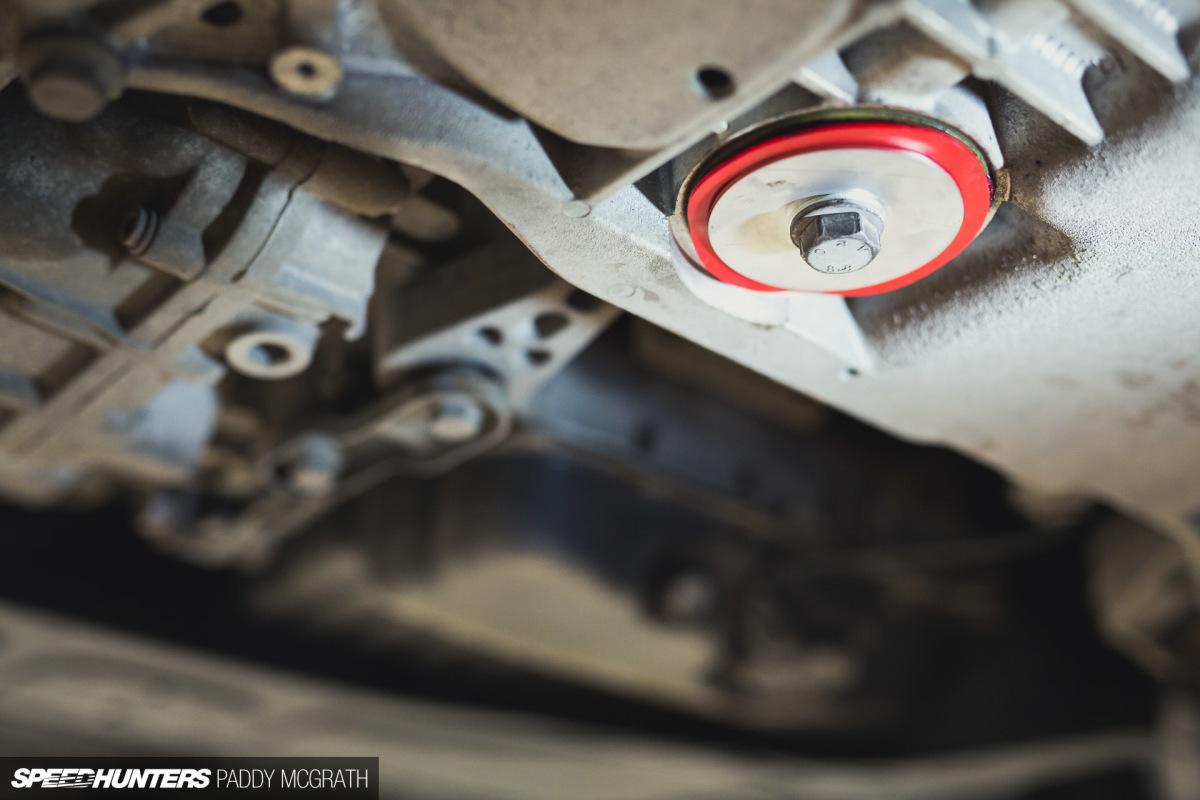
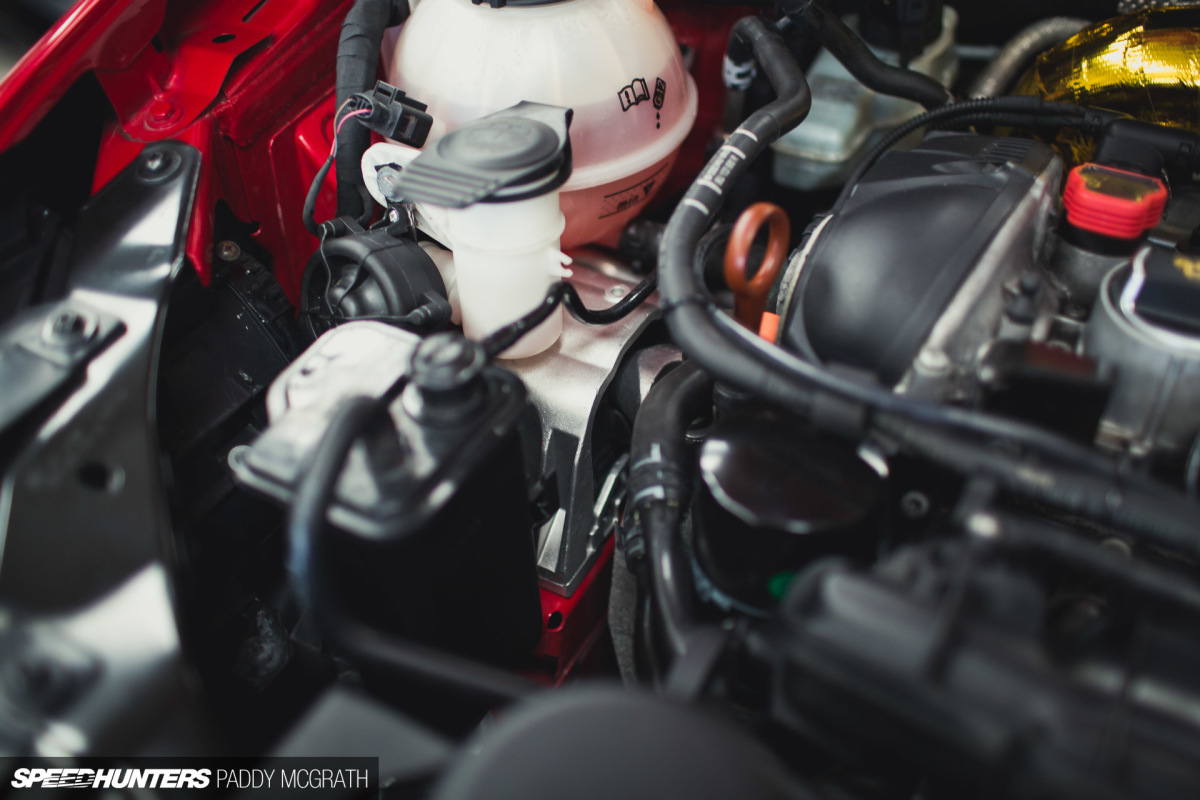
The main goal here was to remove some of the slop and movement out of the drivetrain, without negatively affecting noise, vibration or harshness (NVH) in the cabin.
The Neuspeed torque arm insert is a simple and cheap modification which reduces a lot of the slop in the gearshift. Even with a DSG box, you can get a slight delay and a little jolt especially going down through the gears. This has completely eliminated it and gearshifts are both crisp and almost imperceptible now. It has introduced a tiny bit of NVH in reverse gear, but it’s hardly noticeable already and something that I’ve no issues with.
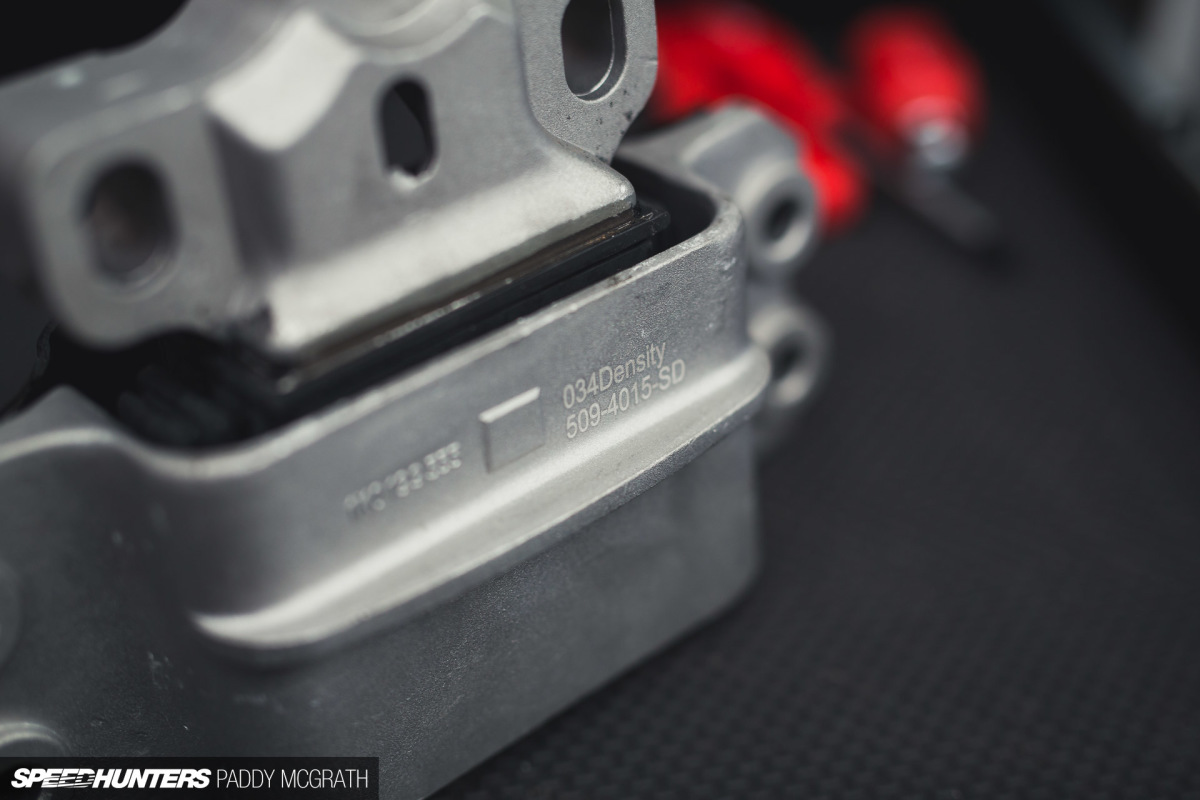
We also changed out both the engine and transmission mounts for 034 Motorsport Street Density grade mounts. I done a lot of research on these and ultimately decided on the 034 based on reviews from others about their advantages versus their downsides.
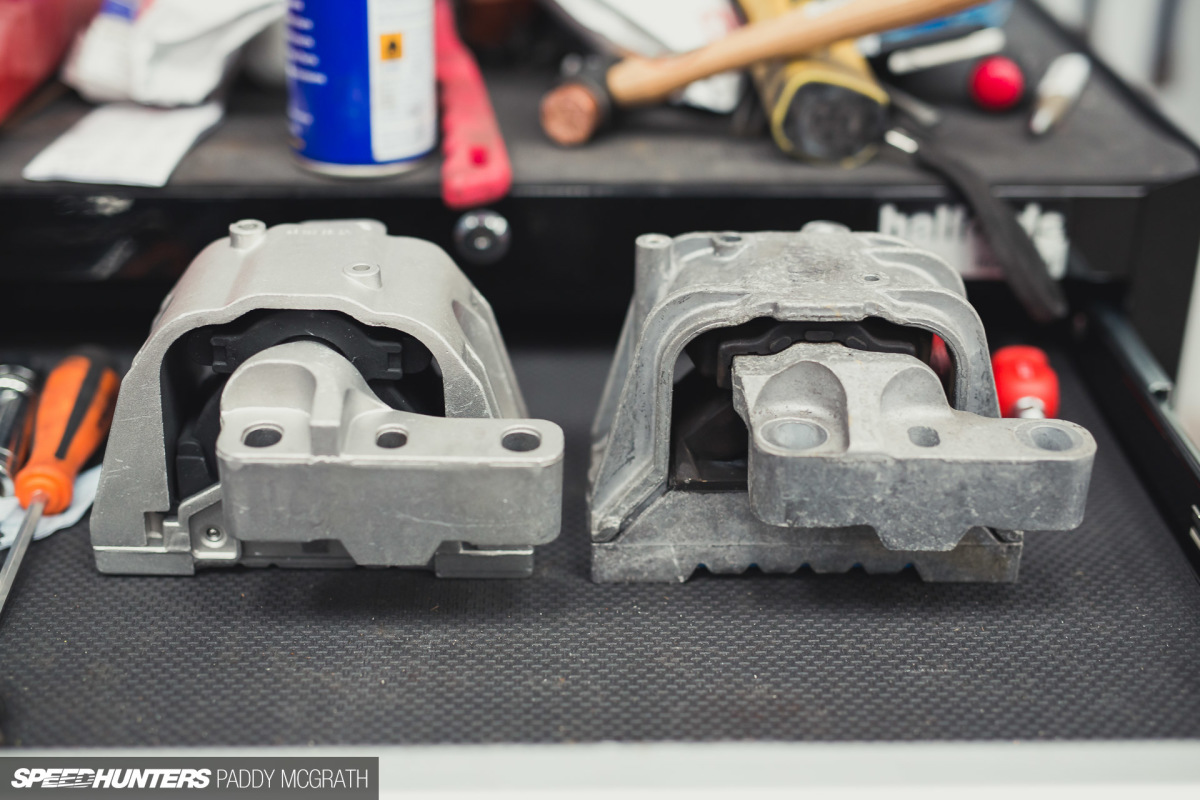
034 engine mount on the left, stock on the right.
As to be expected with a more solid mount, there’s the slightest increase in NVH, but again I only notice it because I’m in the car every day of the week. It’s already faded away so I can’t feel it anymore (or I’ve gotten use to it already), but it’s another case of being happy to take the downside (even calling it a downside feels like an exaggeration) for the advantages.
The advantage being that my engine doesn’t feel like it’s trying to escape from the car anymore. Which is good. It’s also future proofed the car in that regard if I ever go for a K04 turbo upgrade.

This was a productive month and I feel as if I’ve rambled on for long enough at this point, so it’s time to say goodbye.
Goodbye.
Paddy McGrath
Instagram: pmcgphotos
Twitter: pmcgphotos
paddy@speedhunters.com
More Speedhunters Project Cars
Cutting Room Floor