In case you aren’t up to speed with this project, you might want to catch up with last month’s update first. Done? Good, let’s kick things off. There’s quite a bit to get through…
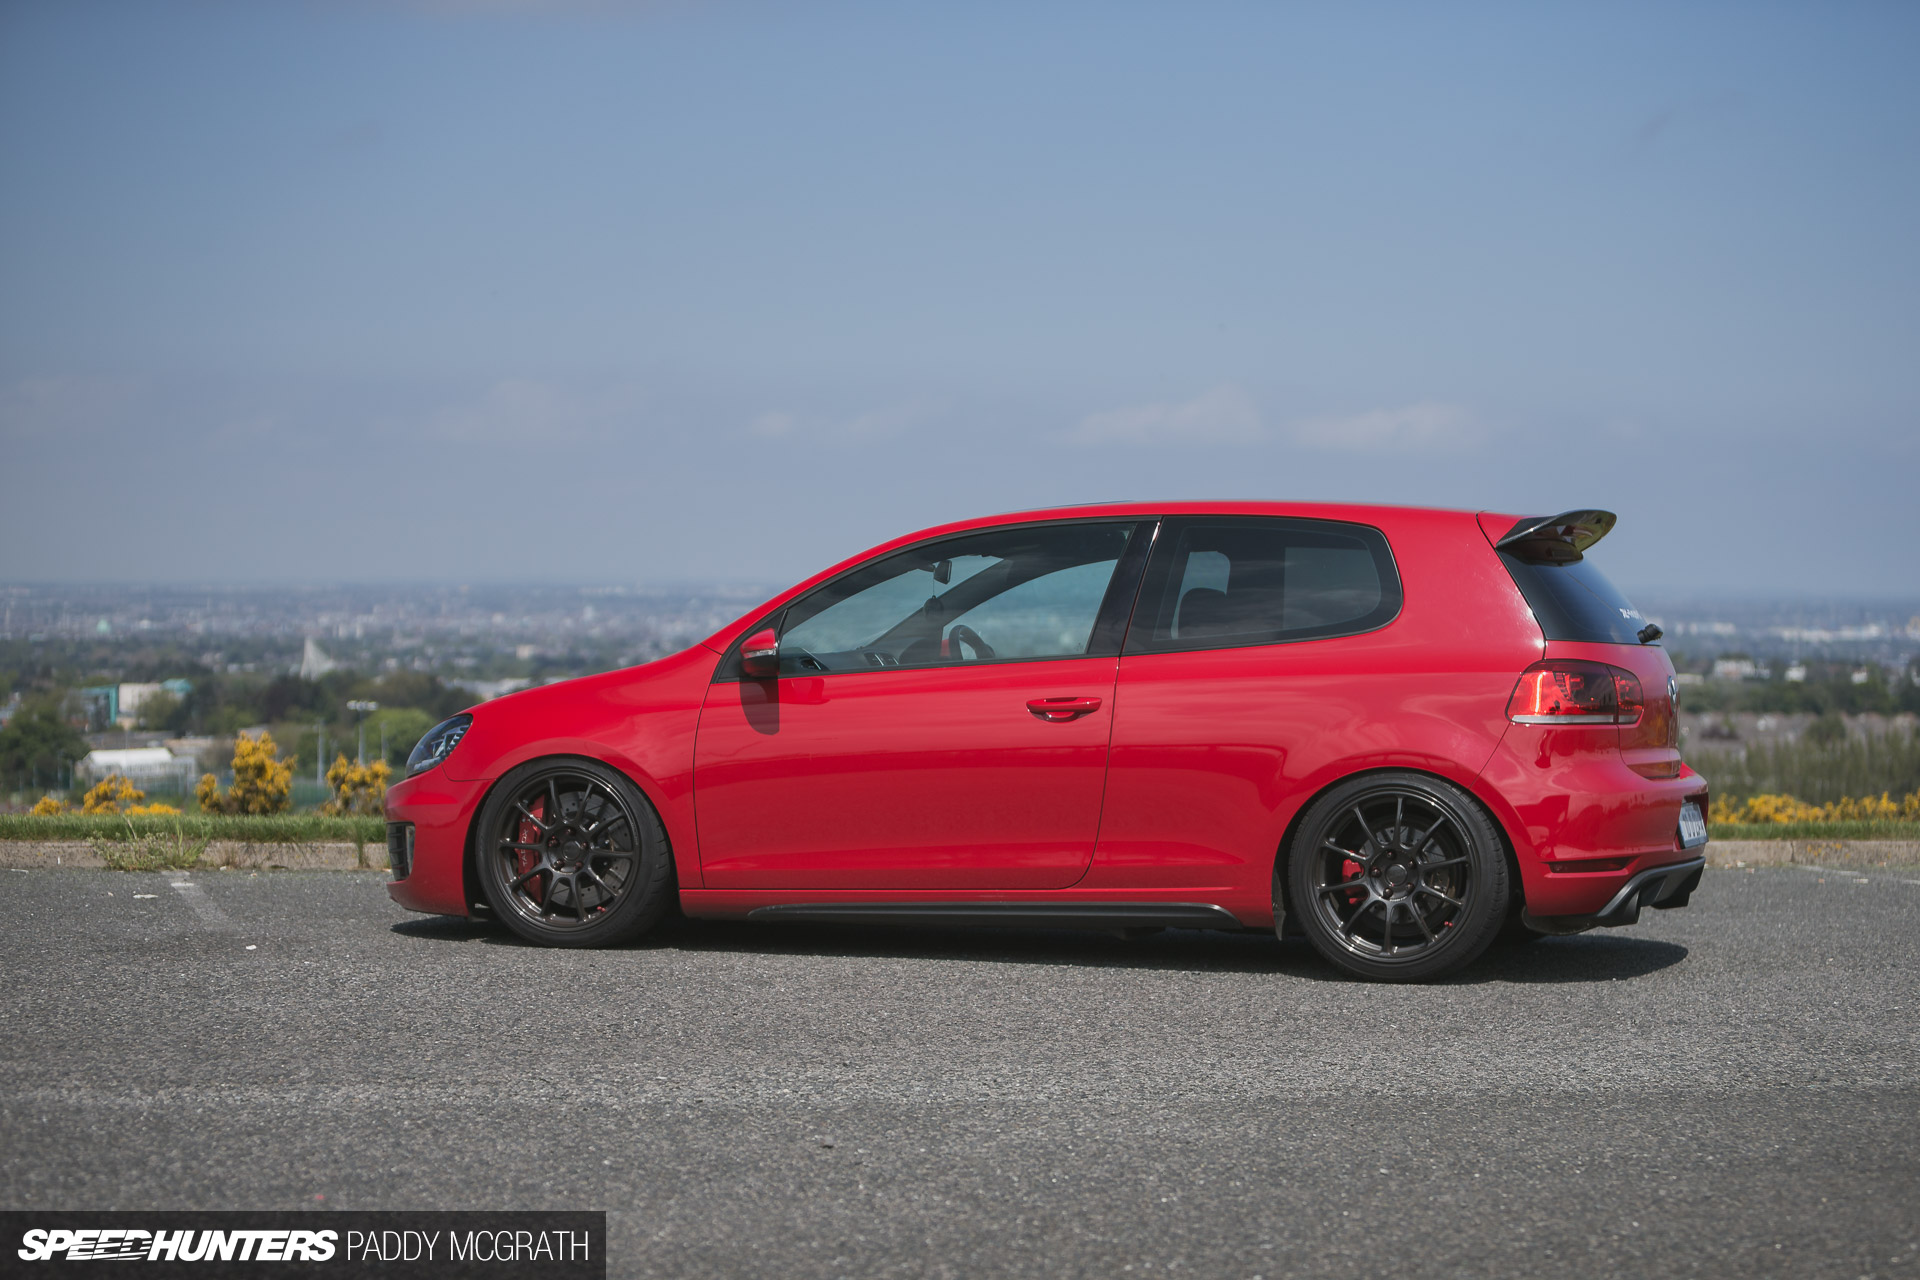
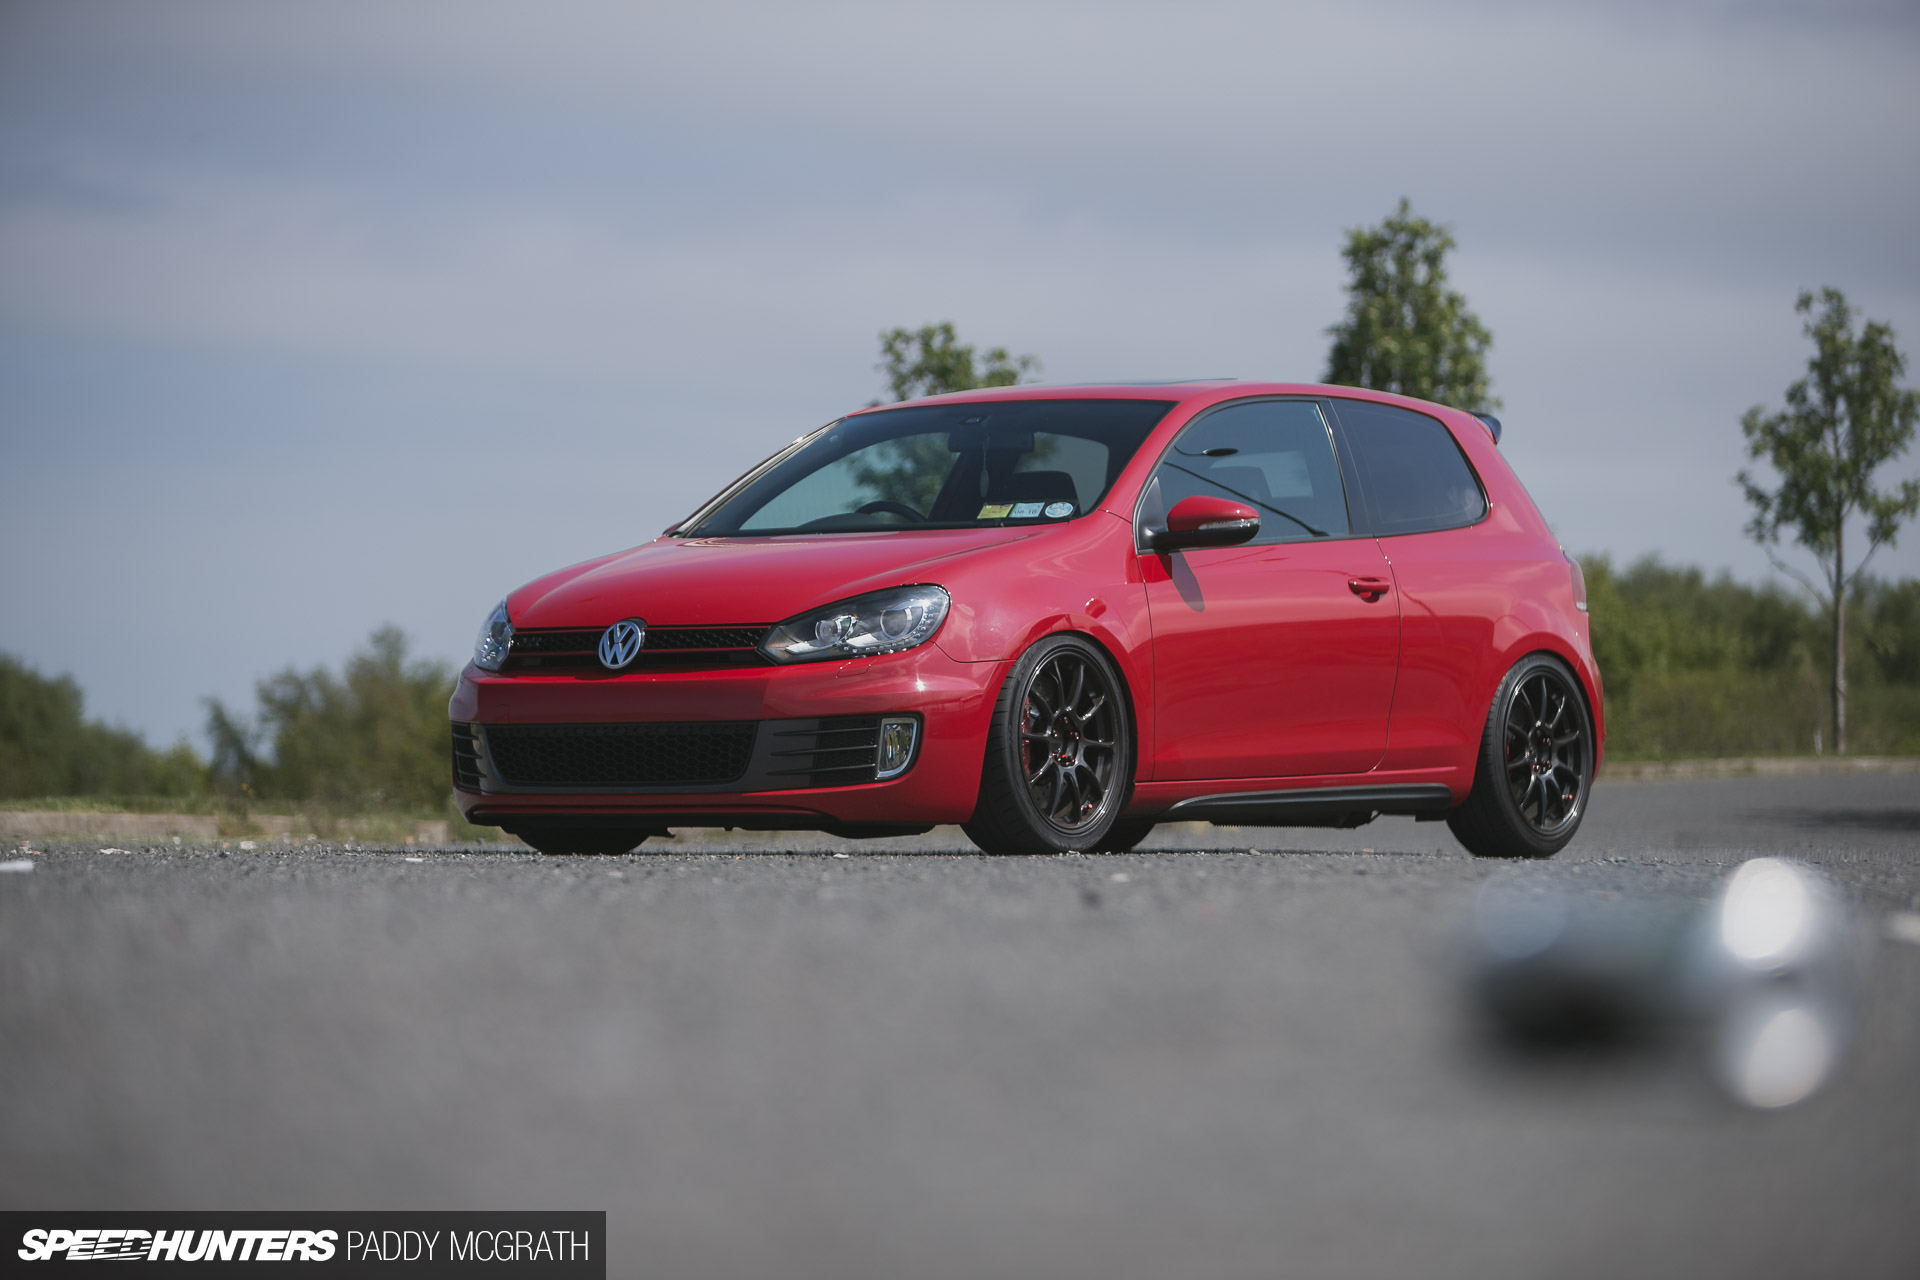
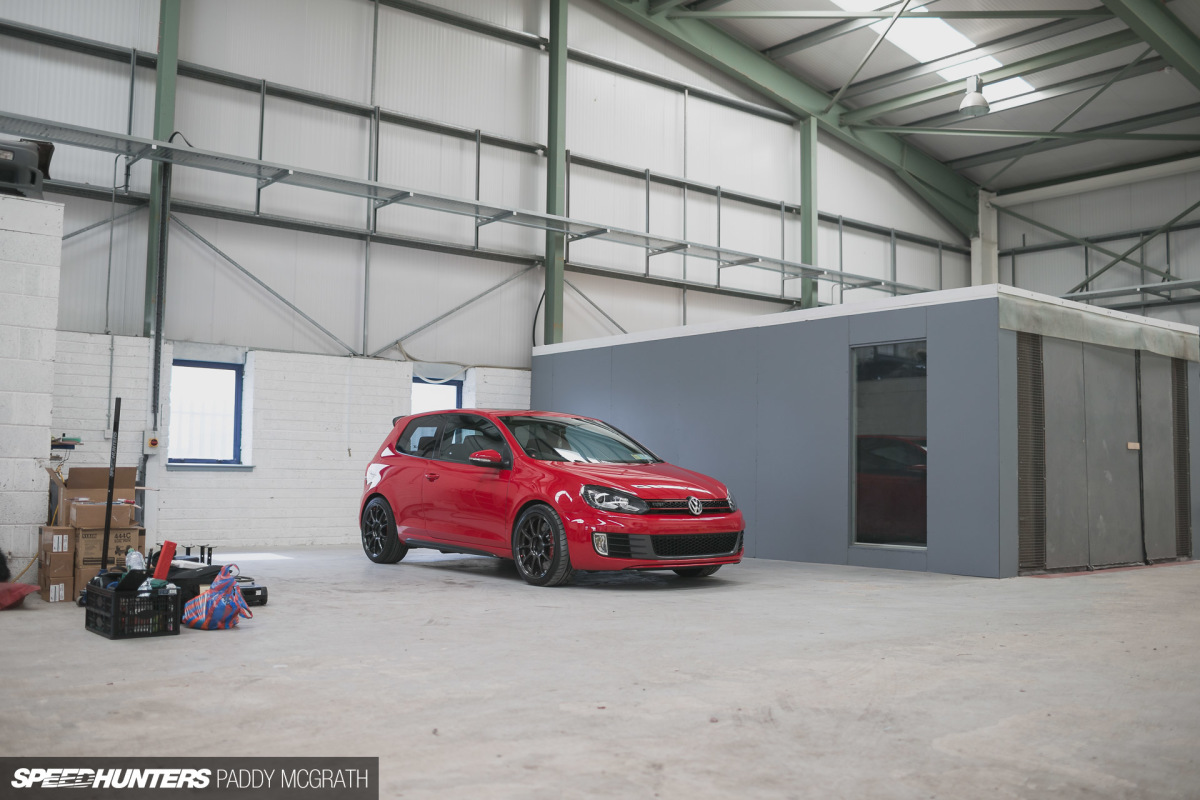
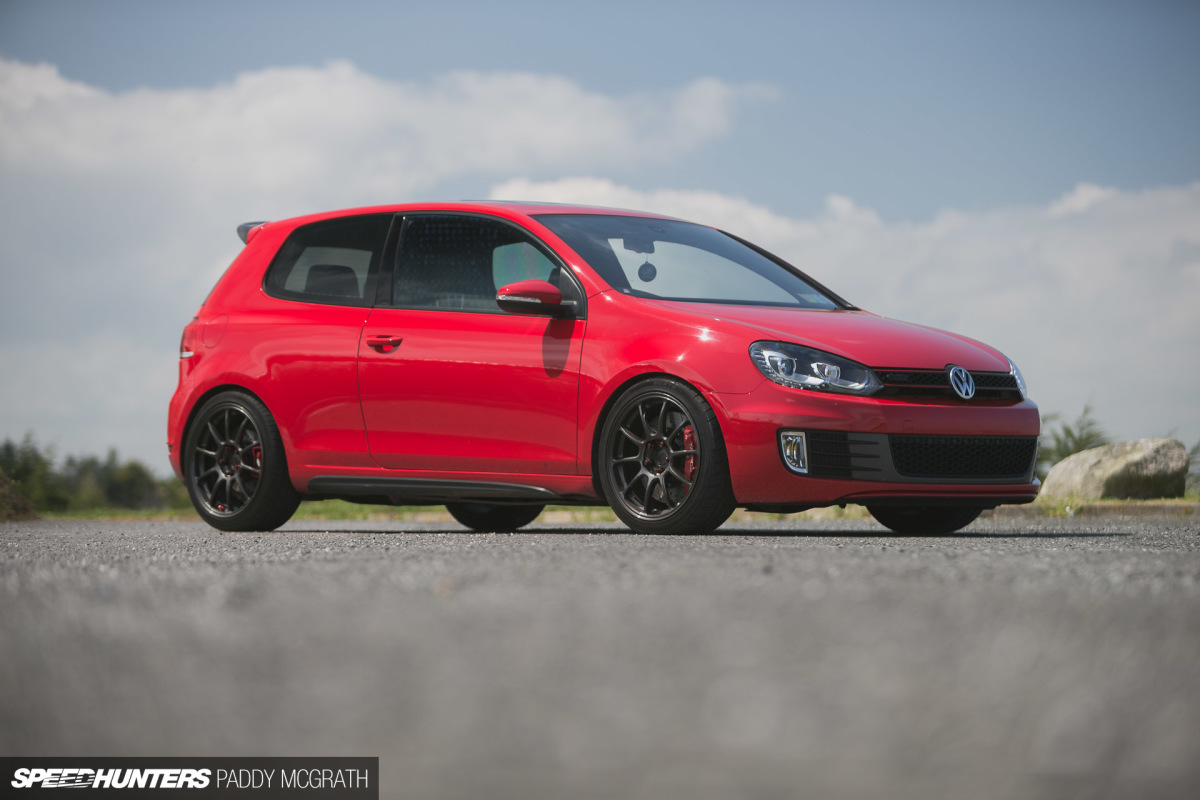
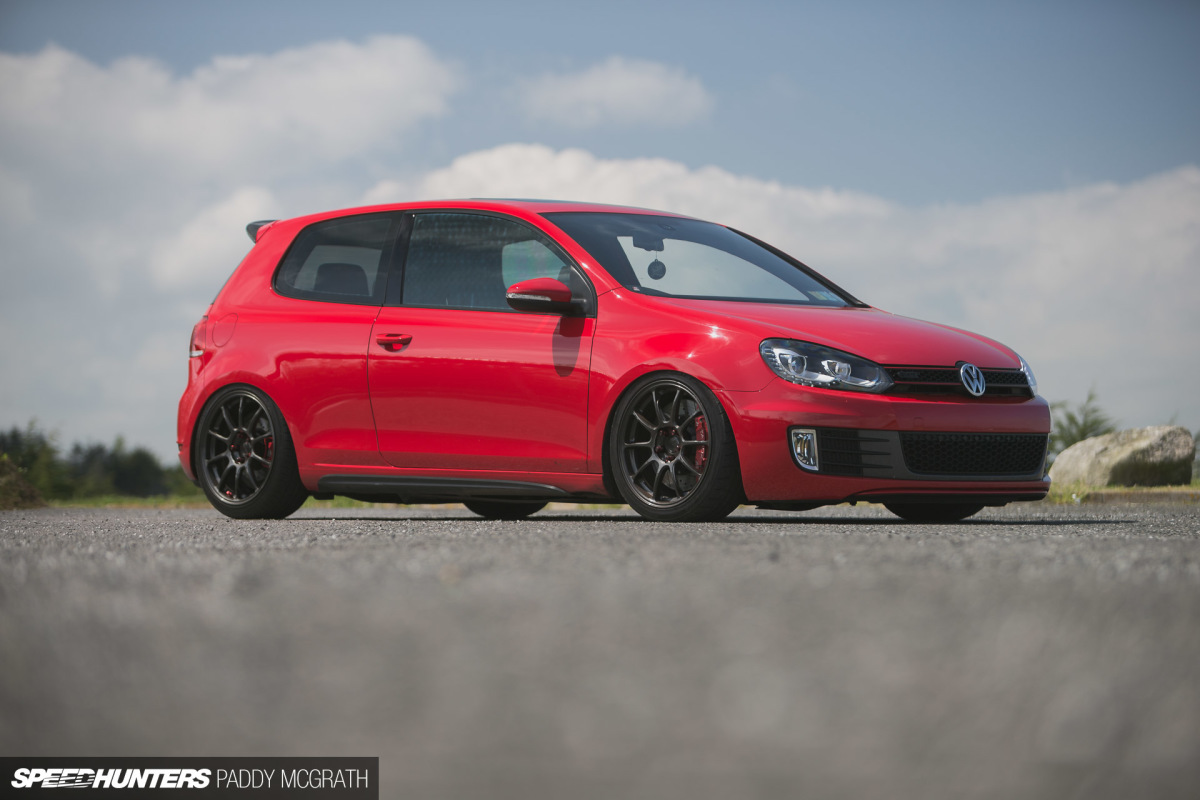
I’ve already made my case for why I think an air suspension setup is the correct path for my car, so it’s not something I want to go into too much detail about again. My Mk6 Golf GTI is daily driver and occasional track day car with a key focus on usability; it needs to be the car that can do everything and do it well.
I had originally planned on having a recognised Air Lift Performance installer complete the installation and just photograph the before and after. Something was nagging at me though. The system was to be installed in my car, and as such I wanted to know every little detail about how everything works, where the lines were routed and how everything would be set up and calibrated.

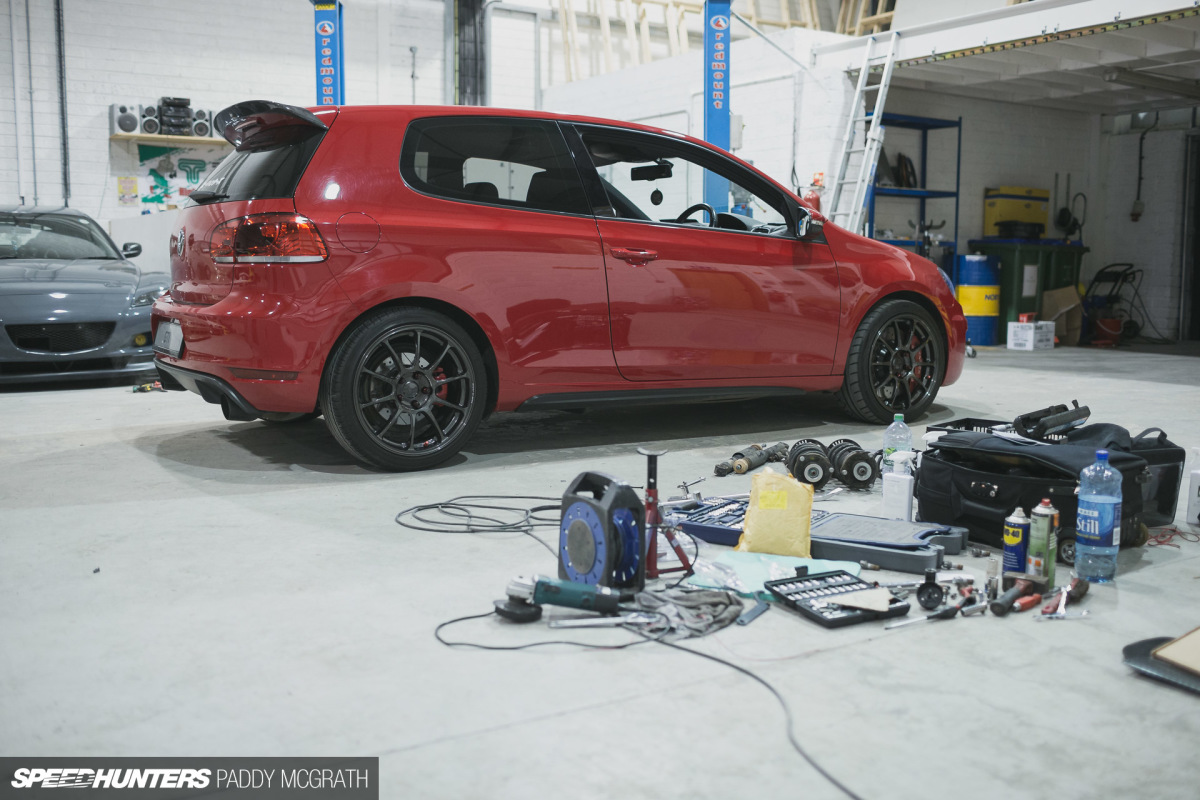
I’m not the most capable when it comes to working on my car. I’m not completely useless either, but I would still rather rely on those with more experience when dealing with critical areas of the car. With all the parts gathered, it looked like an intimidating install if I’m being honest. The closer we looked though, the more logical and straightforward it appeared to be.

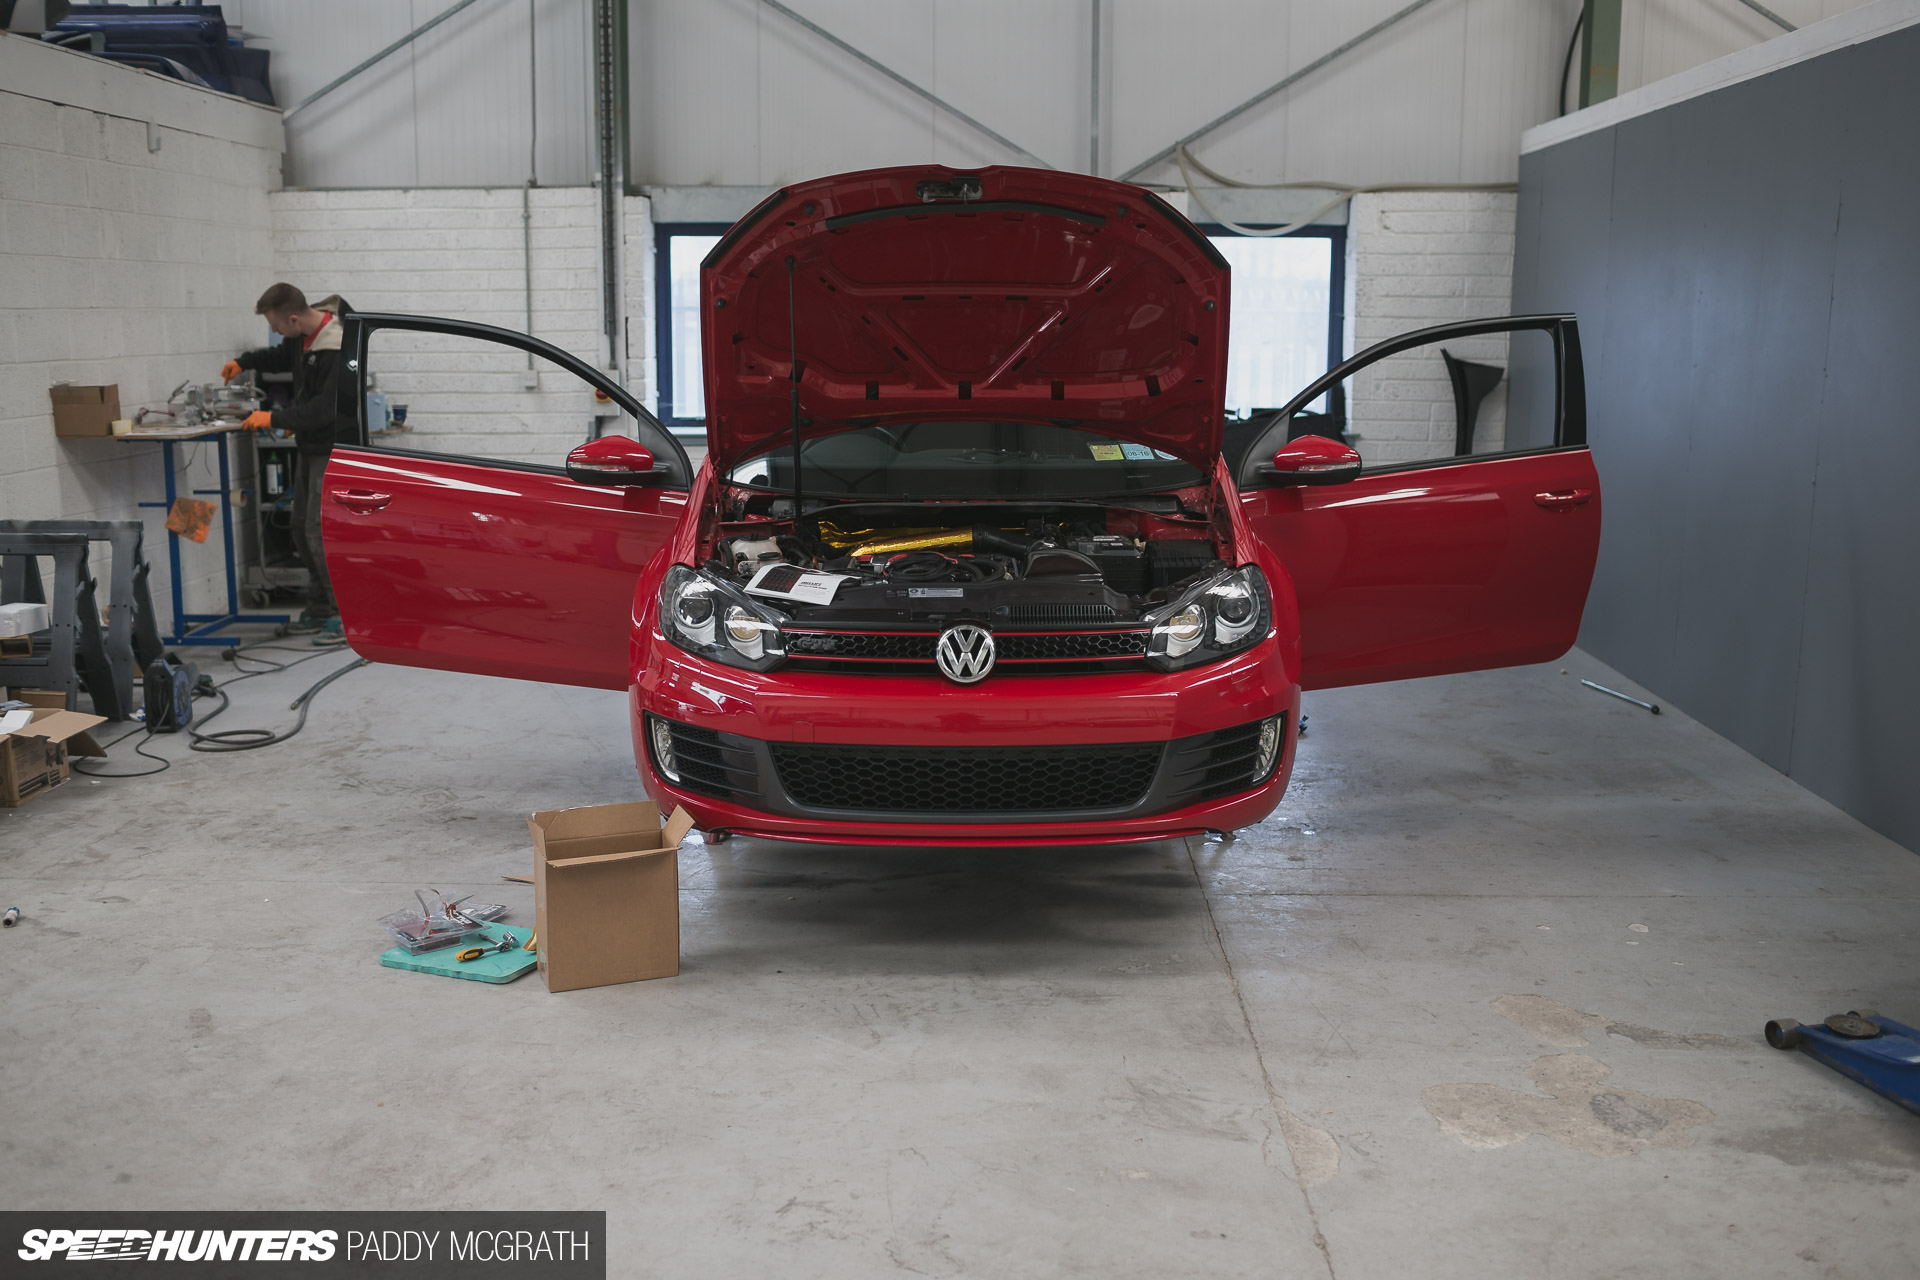
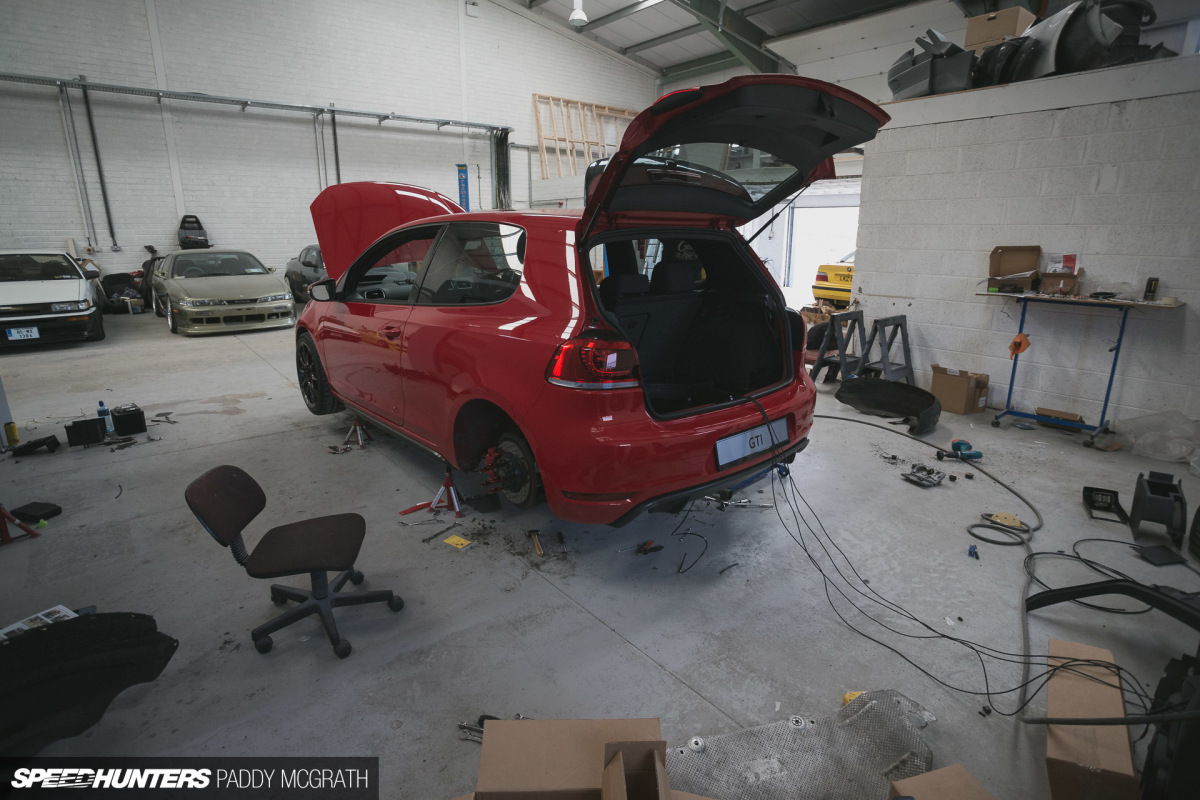
Whilst we did have a lift handy, we chose to raise the car on the floor as it made it easier to access the interior when running wiring and lines through the car.
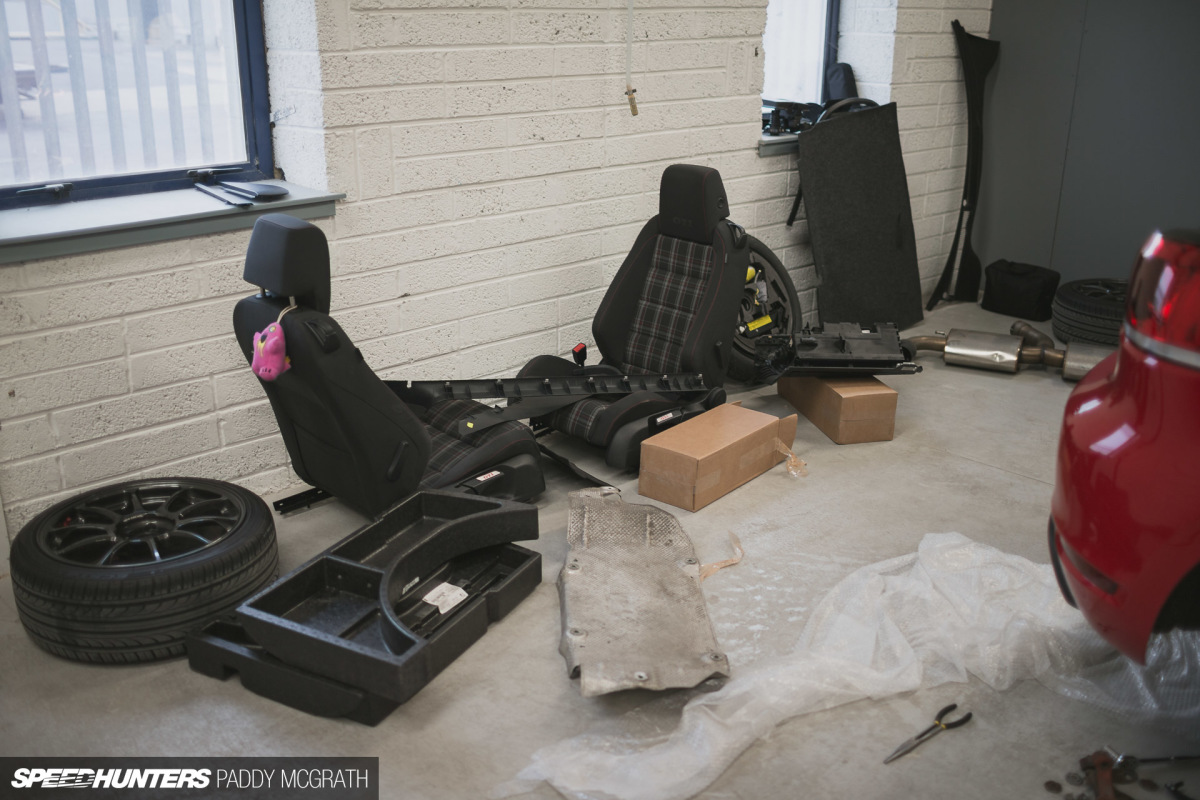
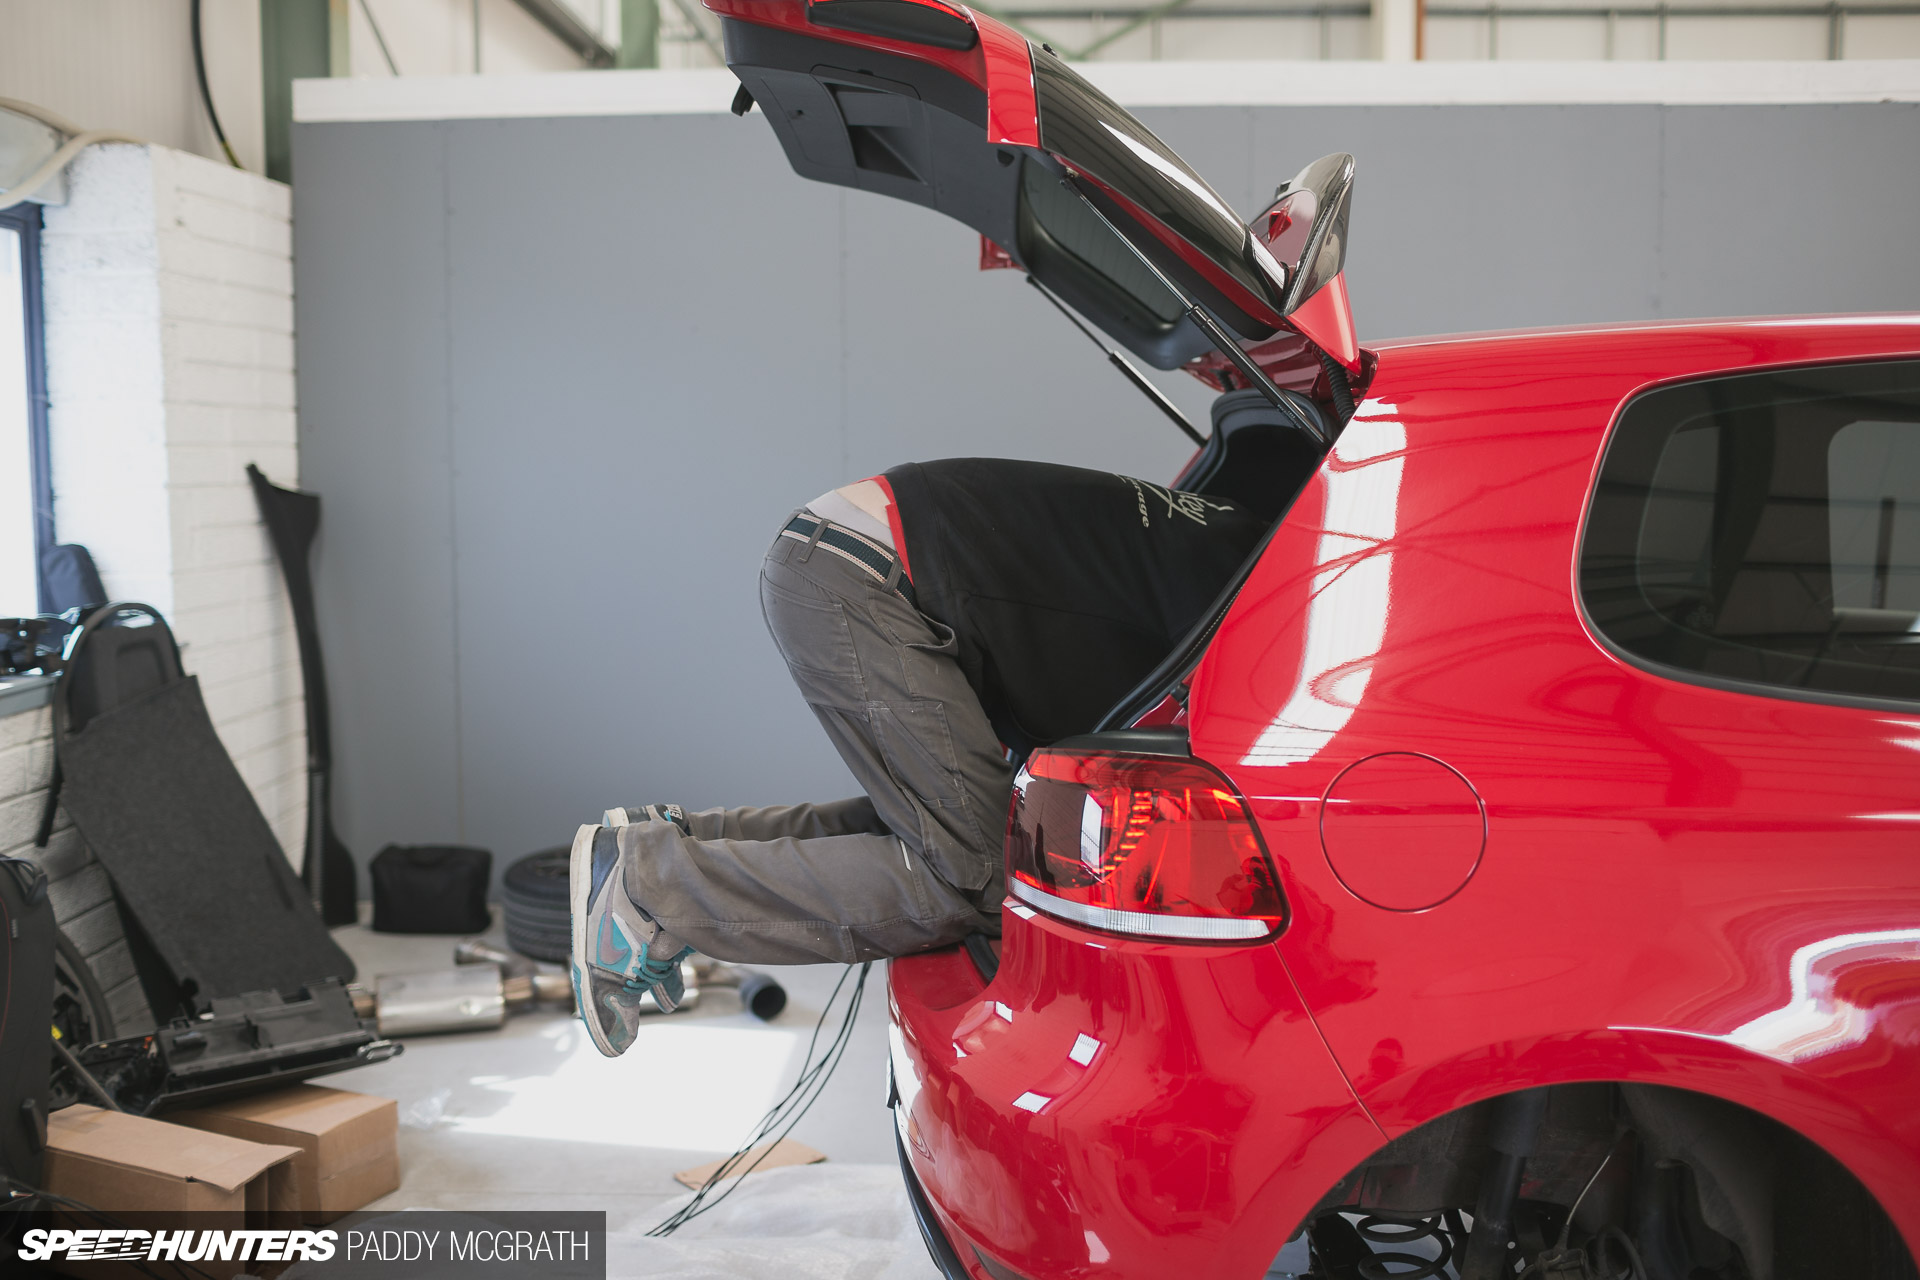
Before we got started, we made the decision to strip out some of the interior and to remove the rear section of the exhaust to make our lives easier. It’s not something that we had to do, but something I think saved us time over the course of the installation. It looks much worse than it actually is, but it probably only took an hour to put it all back together again.
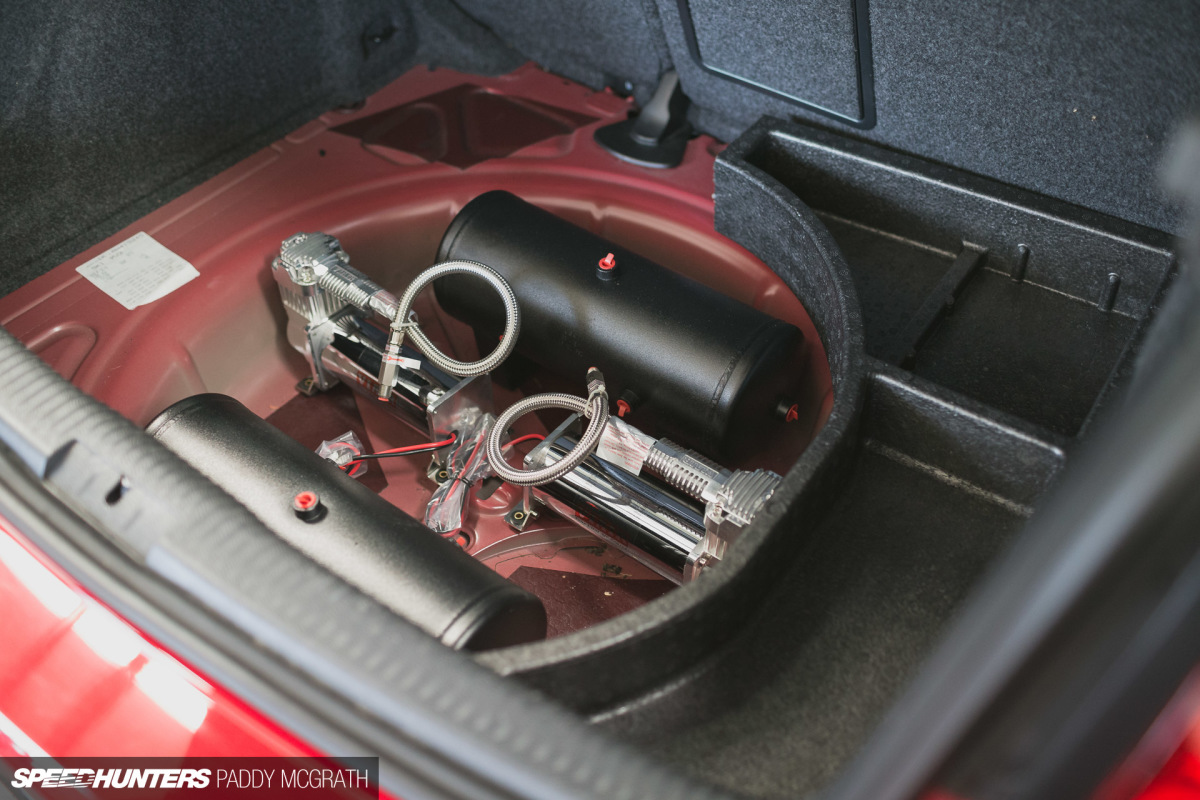
It’s at this point I’ll tell you that this was our first time installing air suspension, so it was completely new ground for all involved. In the days prior to the installation, I had sketched out ideas for how to make the most use of the spare wheel well. European Mk6 Golfs differ from their US counterparts by not having a raised hump in the middle of the wheel well, and this gave us a relatively flat base to work with. You can also see one of the OE foam underfloor dividers that we would use to raise the boot floor to clear the air tanks.
Ultimately, we decided on a longitudinal and symmetrical layout. The goal here was to have everything hidden under the boot floor in a clean and as simple as possible manner. This wasn’t going to be a hard-lined show install with leather and polished tanks; it was very much about function and cleanliness.
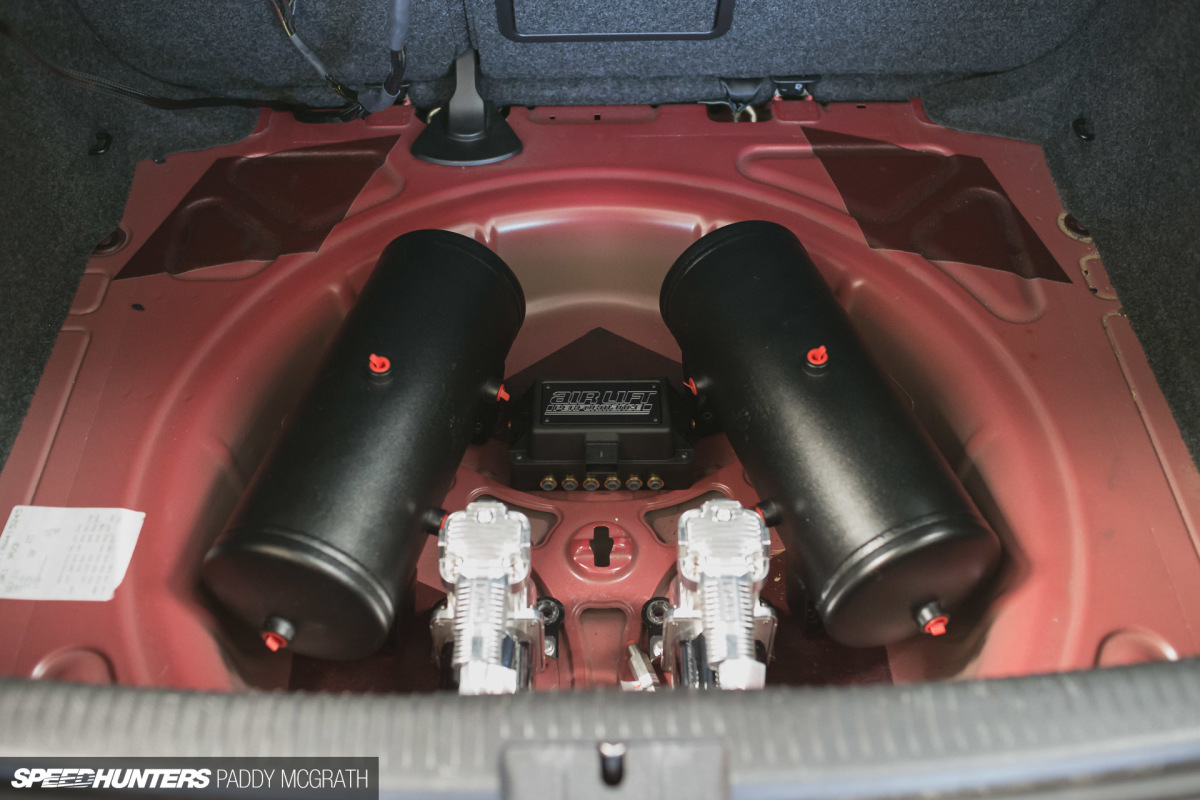
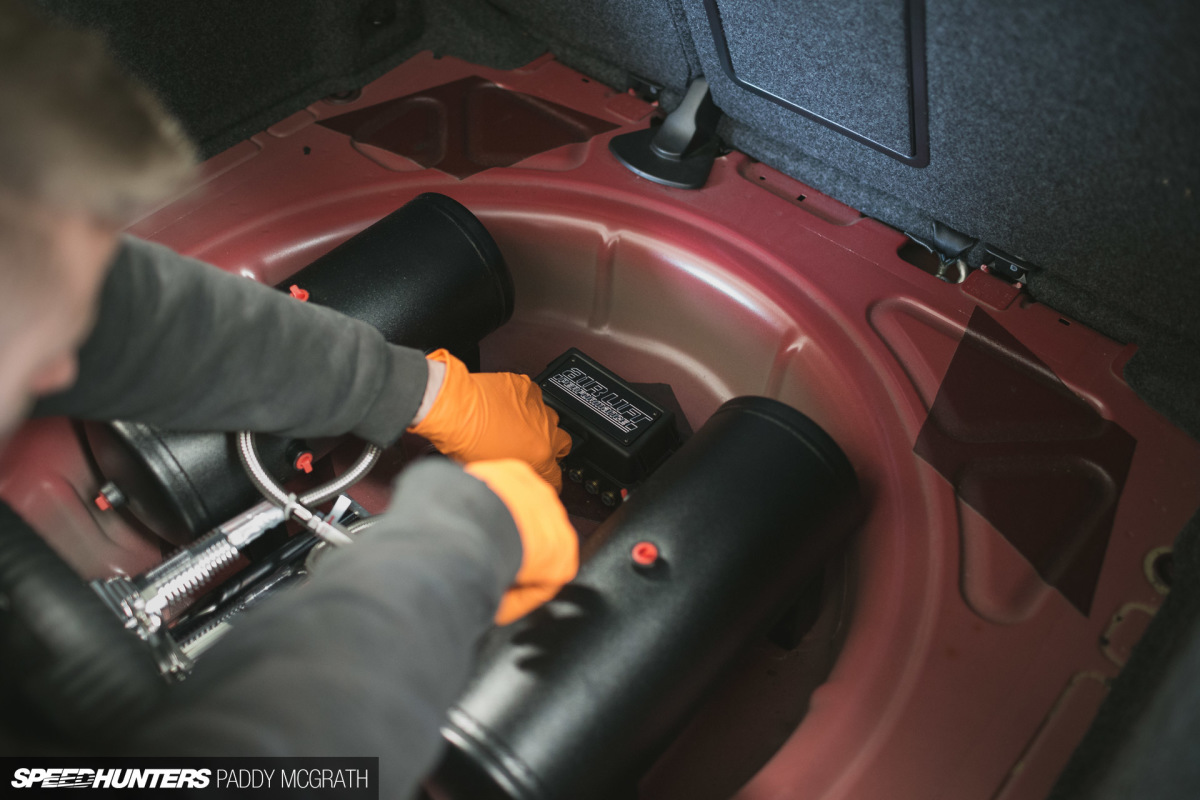
This is the final layout which allowed us to run everything as neatly as possible, whilst keeping the airlines away from the compressors as best we could. We talked about painting this area to freshen it up, but decided against it, as being honest, it might look like the rear floor had been repaired for whatever reason.
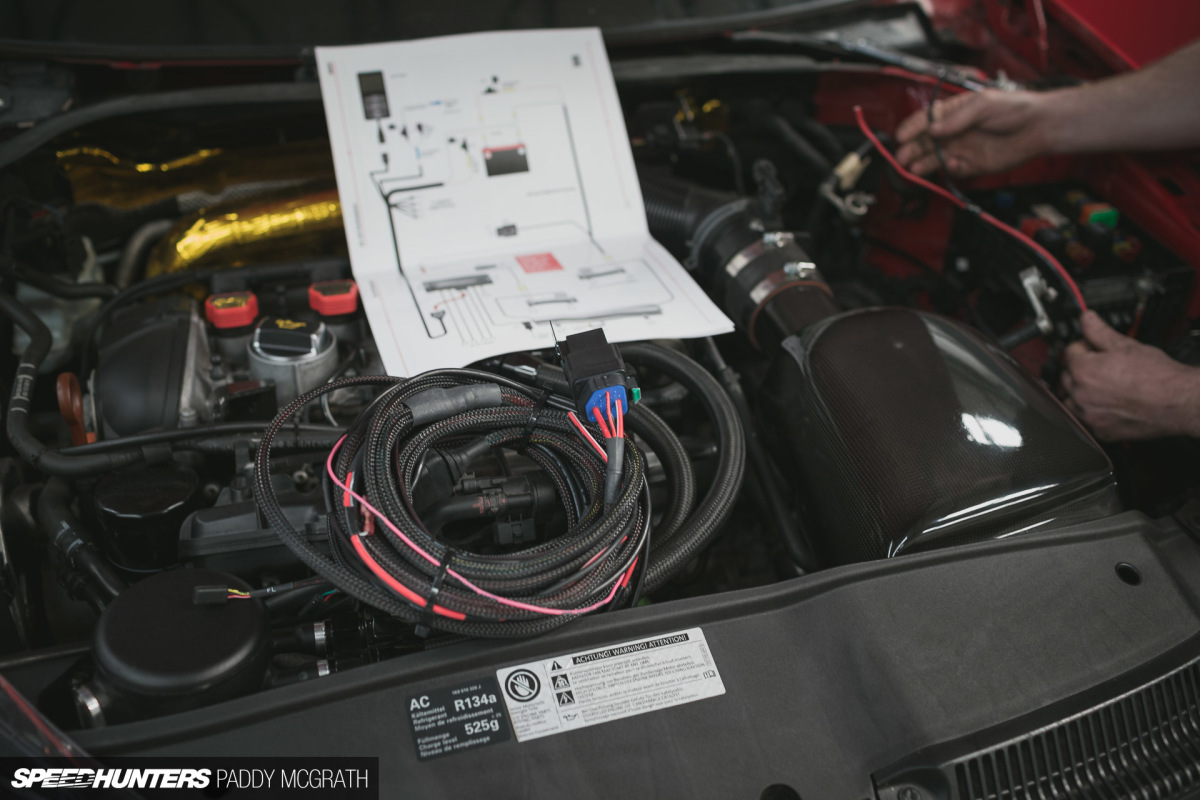
Next on the list was to plan how we would run the wiring harness through the car. Following Air Lift Performance’s guidelines, we kept it simple and routed everything down the battery side of the car, using OE grommets to break into the engine bay.
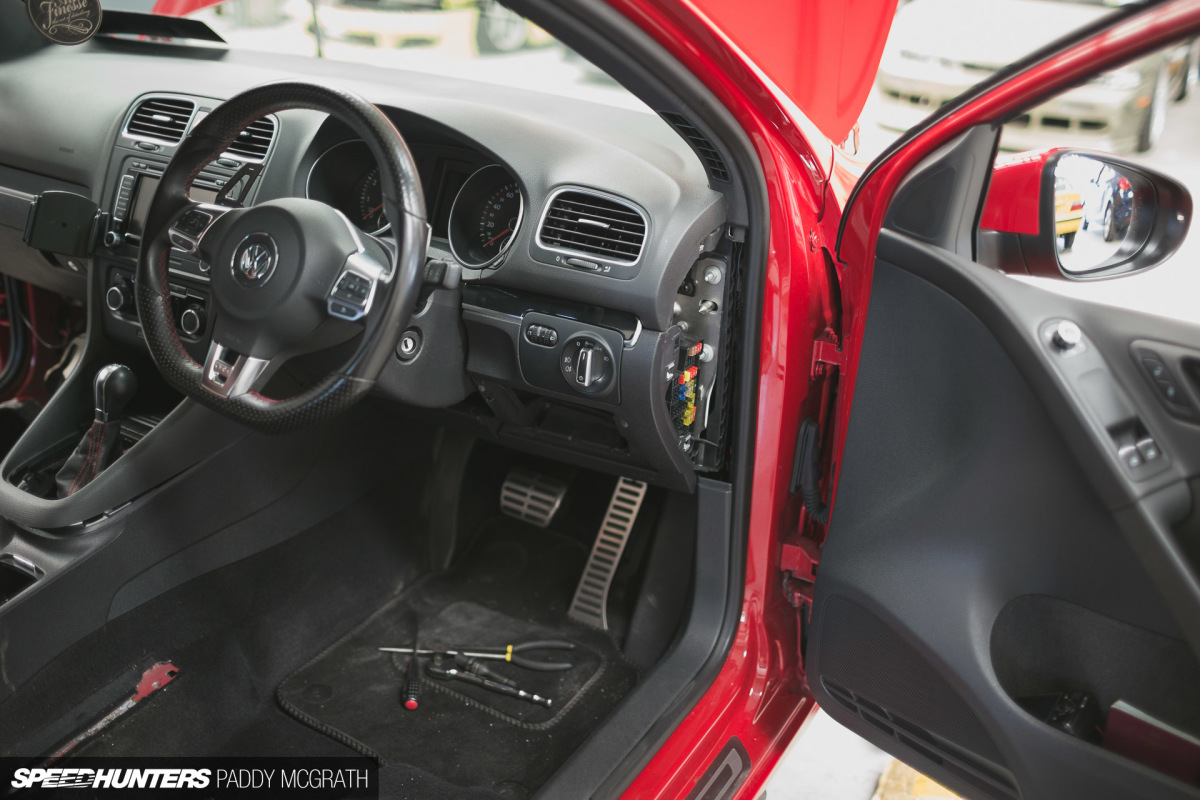
To find an ignition source, we just ran the relevant wiring behind the dashboard and straight into the fuse box. The wire for the controller also needed to be brought across to the driver’s side of the car, but we chose to run that underneath the carpet behind the front seats and have it sit freely beneath the driver’s arm rest. With all of the planning out of the way, it was time to make it happen.
Stubborn VW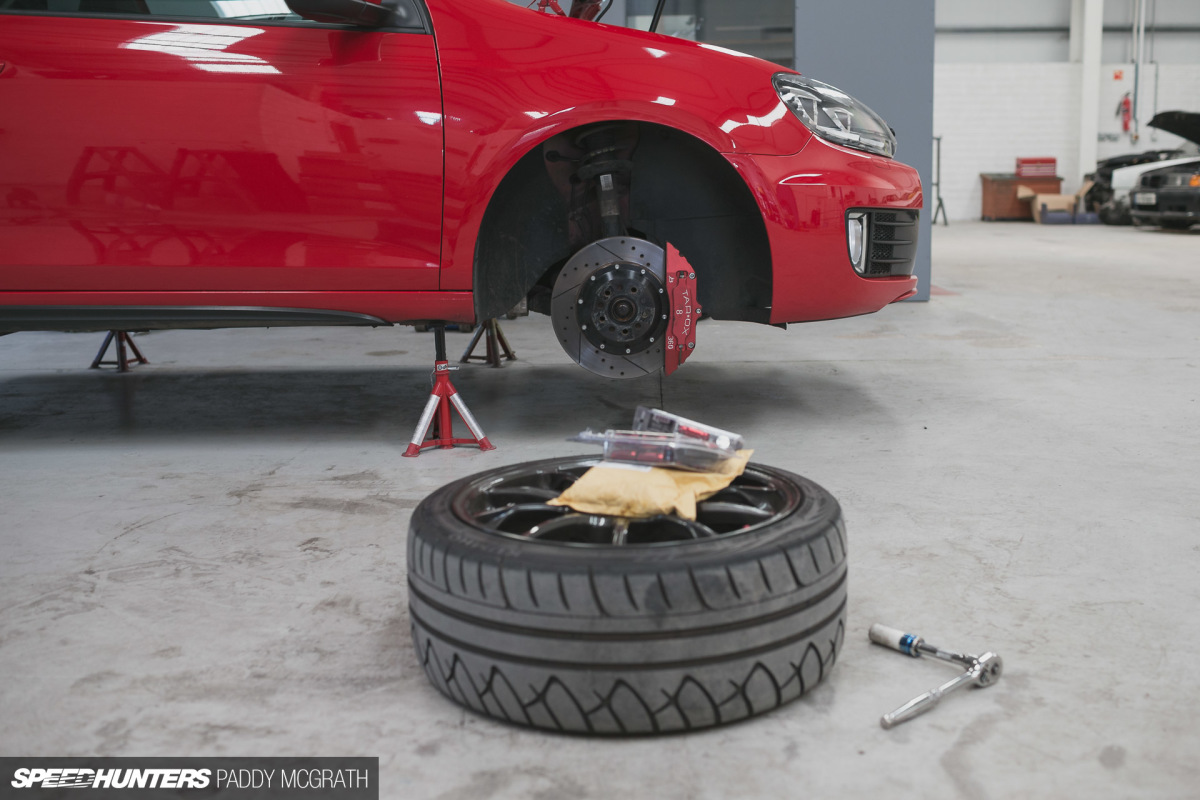
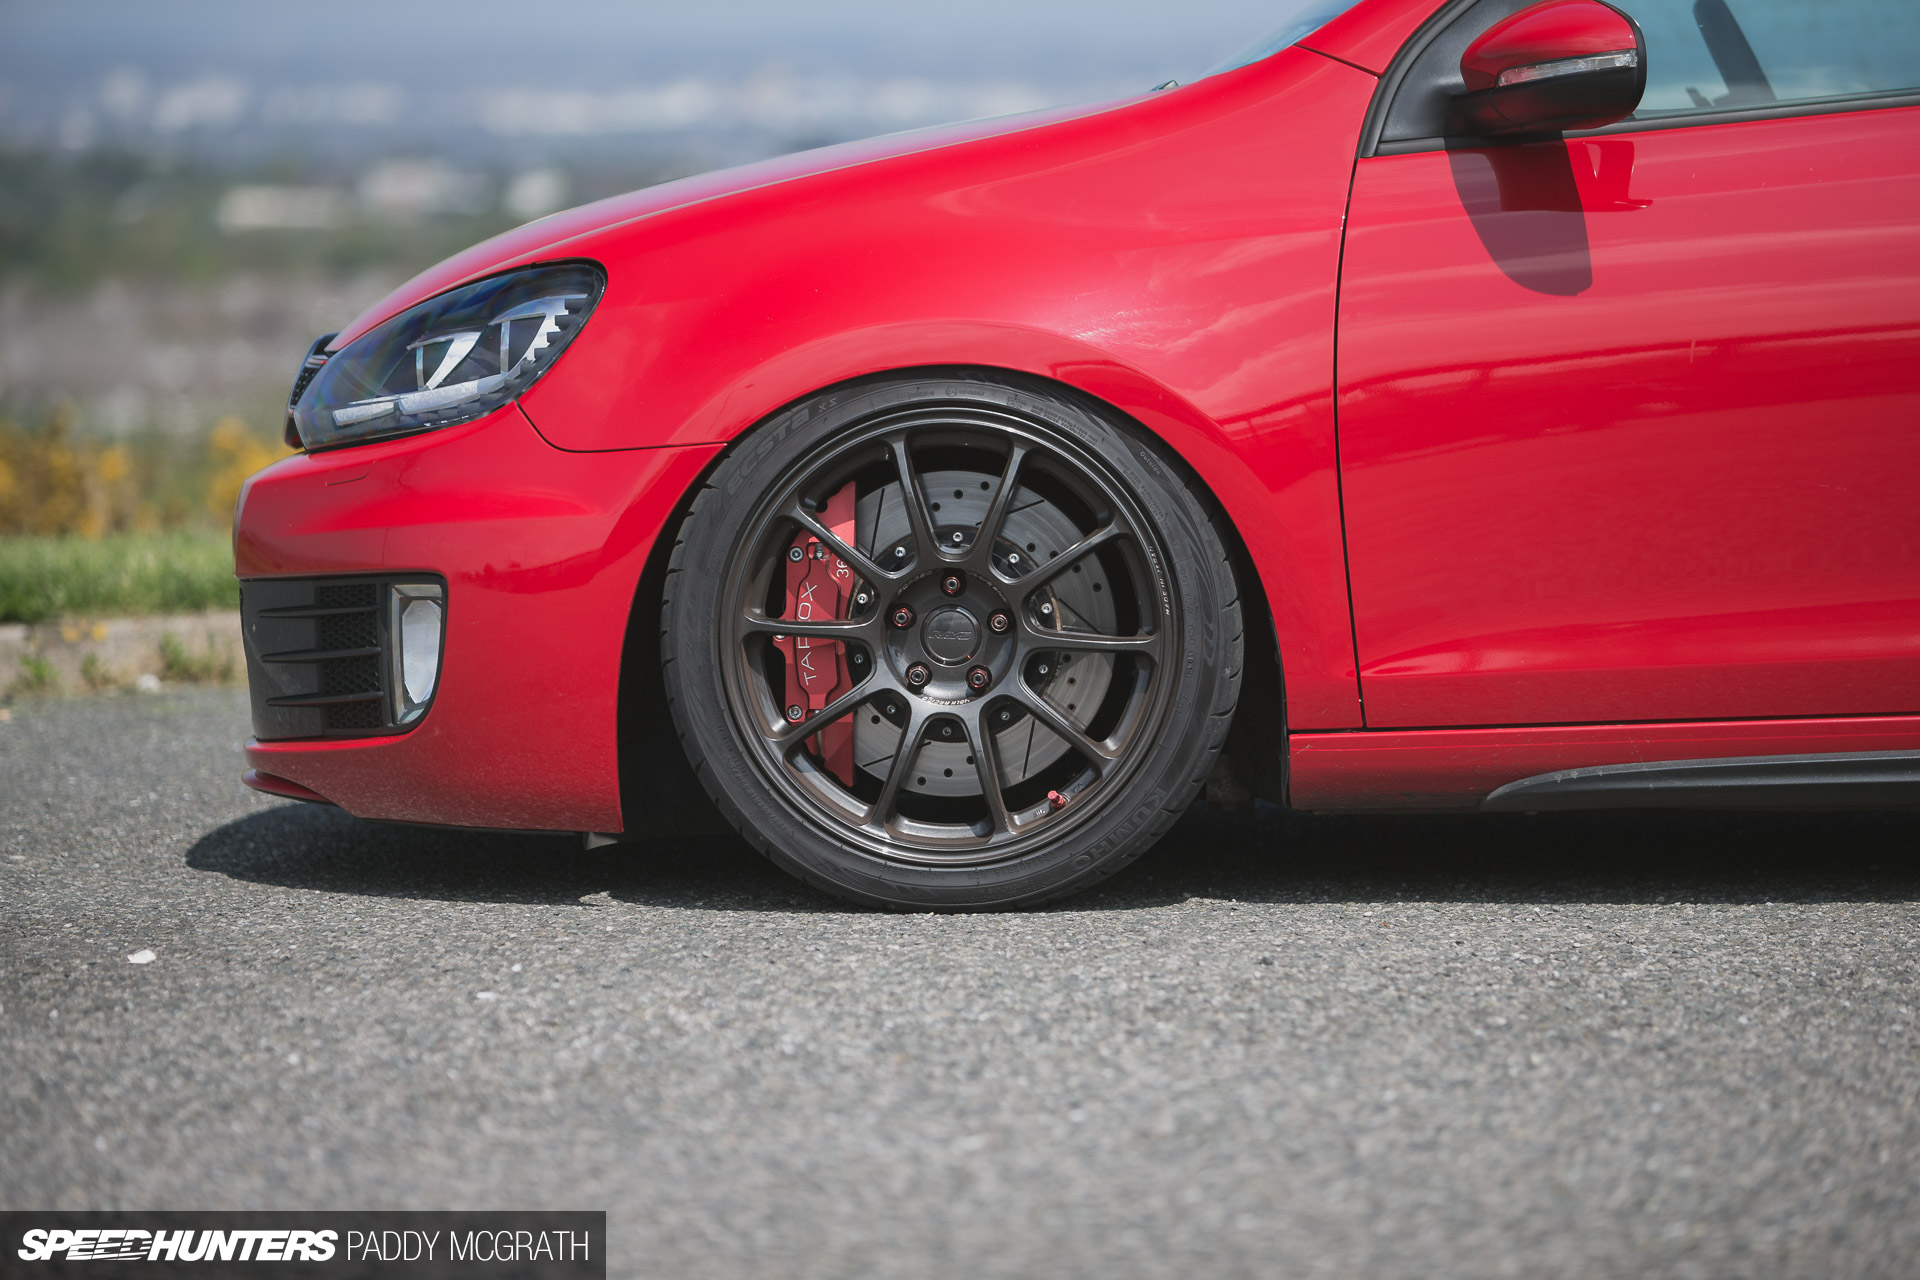
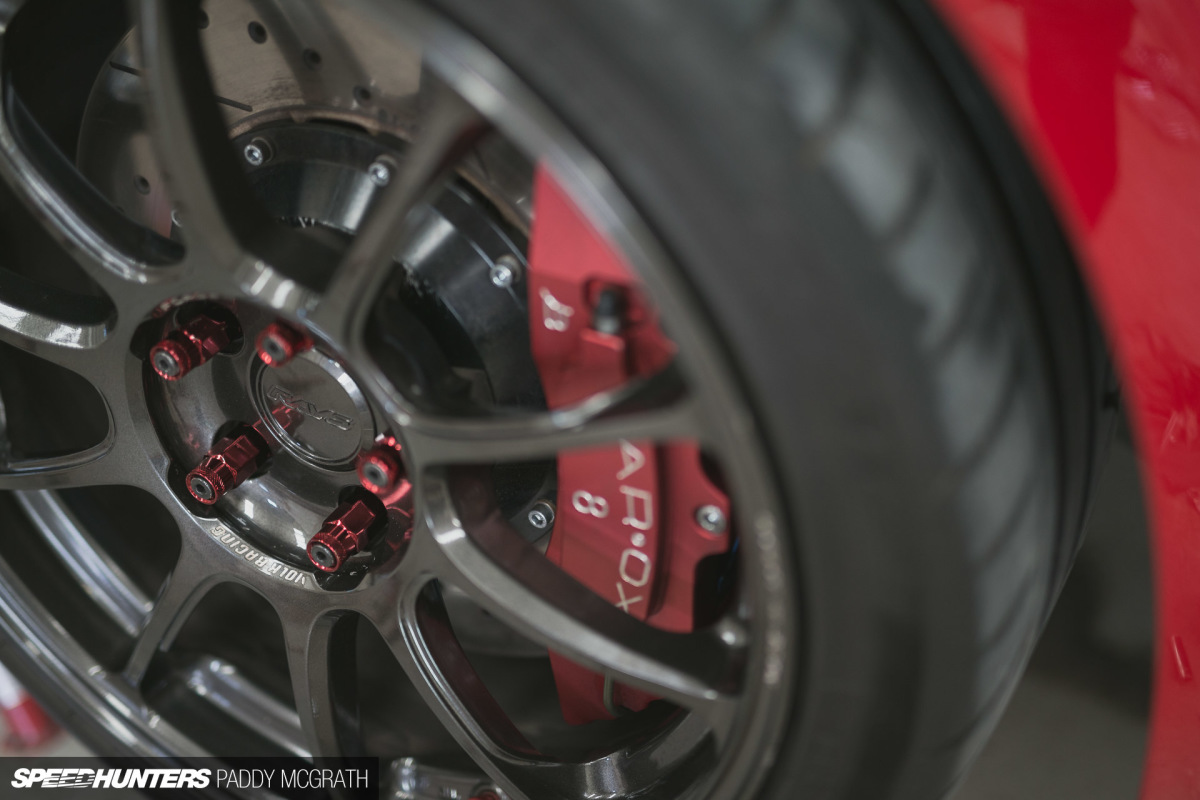
Whilst the guys started on the suspension install, I took the opportunity to quietly and easily convert the car to a stud configuration.
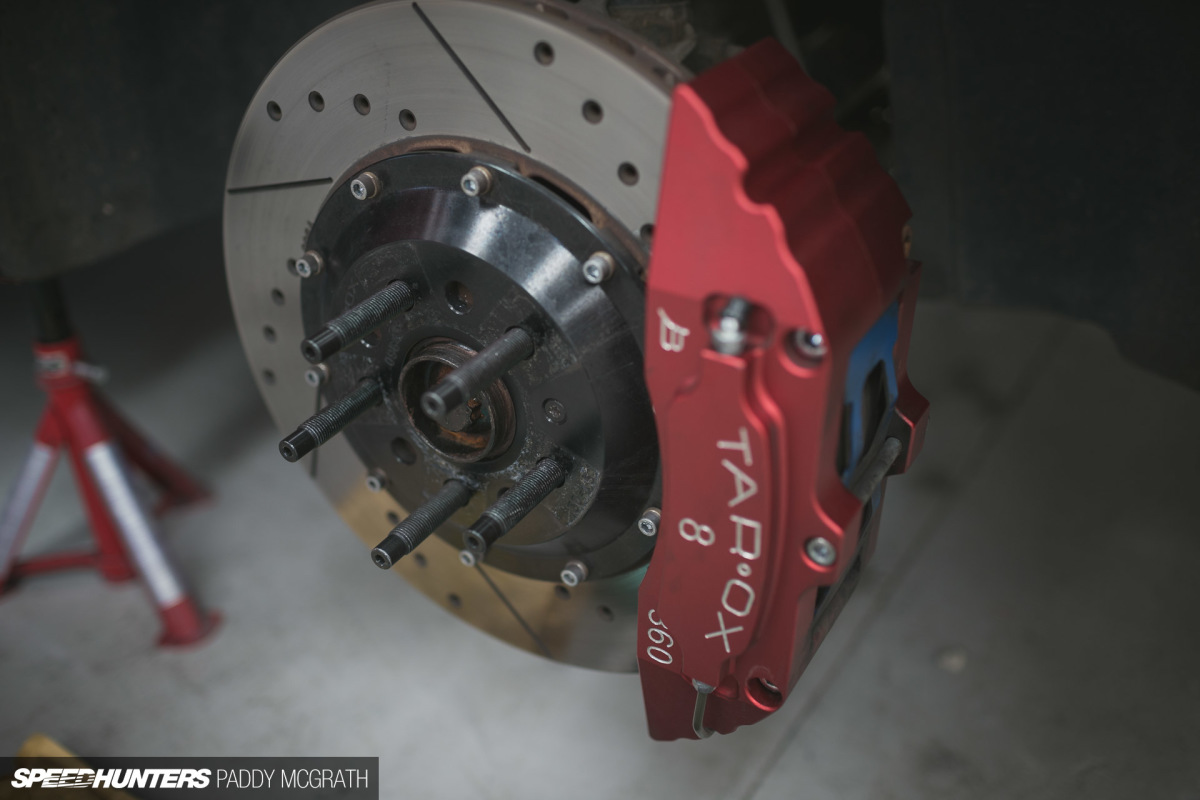
Garage Midnight supplied the conversion kit, which does away with the annoying factory wheel bolt setup and simply replaces them with a stud and nut solution. Asides from easier mounting, a stud and nut conversion provides better clamping along with the benefit of being able to run different size spacers without having to buy extended wheel bolts. I just applied some permanent thread-lock and tightened them via their allen key head. A simple and worthwhile upgrade.
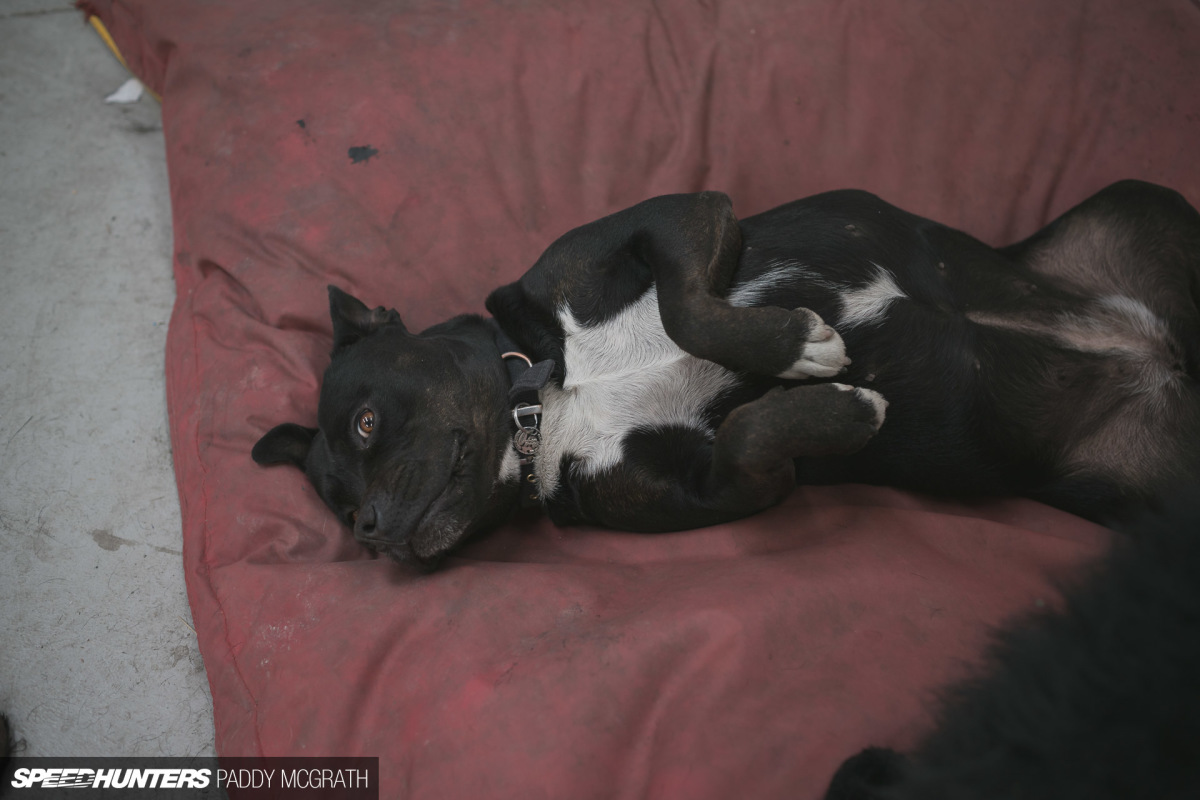
Even Kouki was impressed. That, or she was terrified at the sight of a ratchet in my hand.
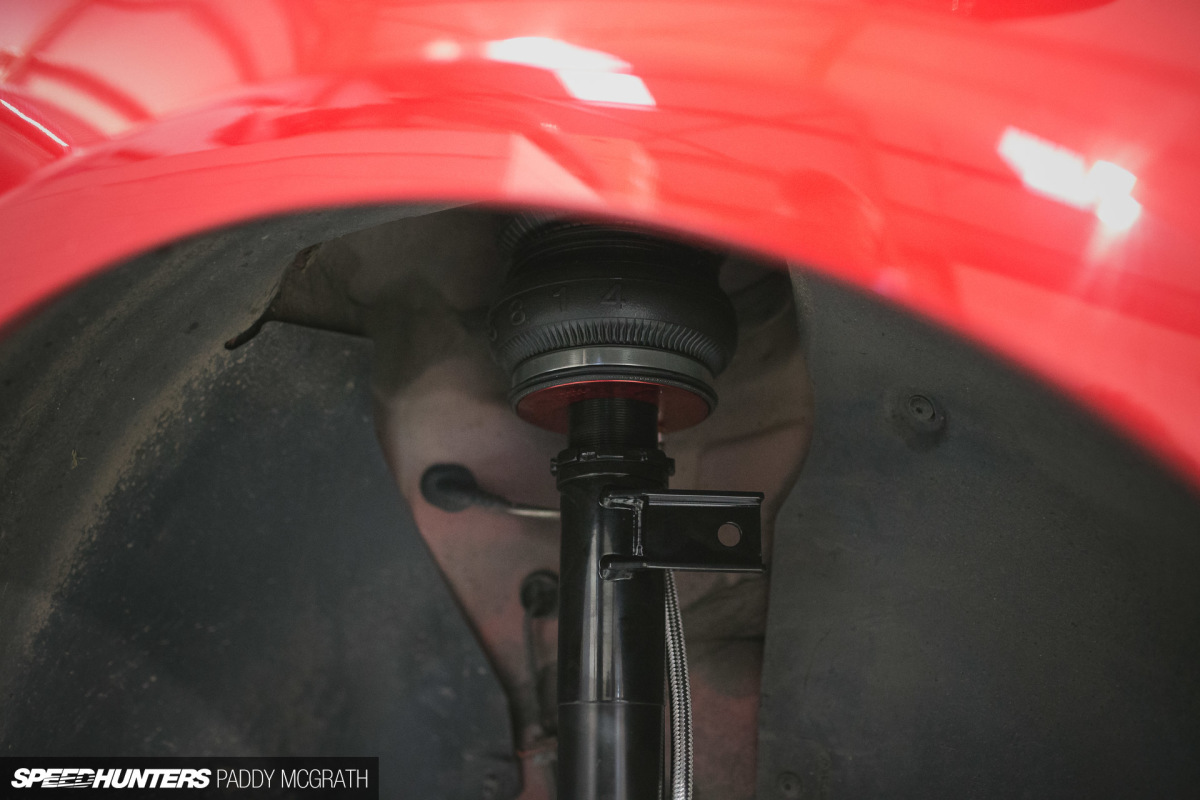
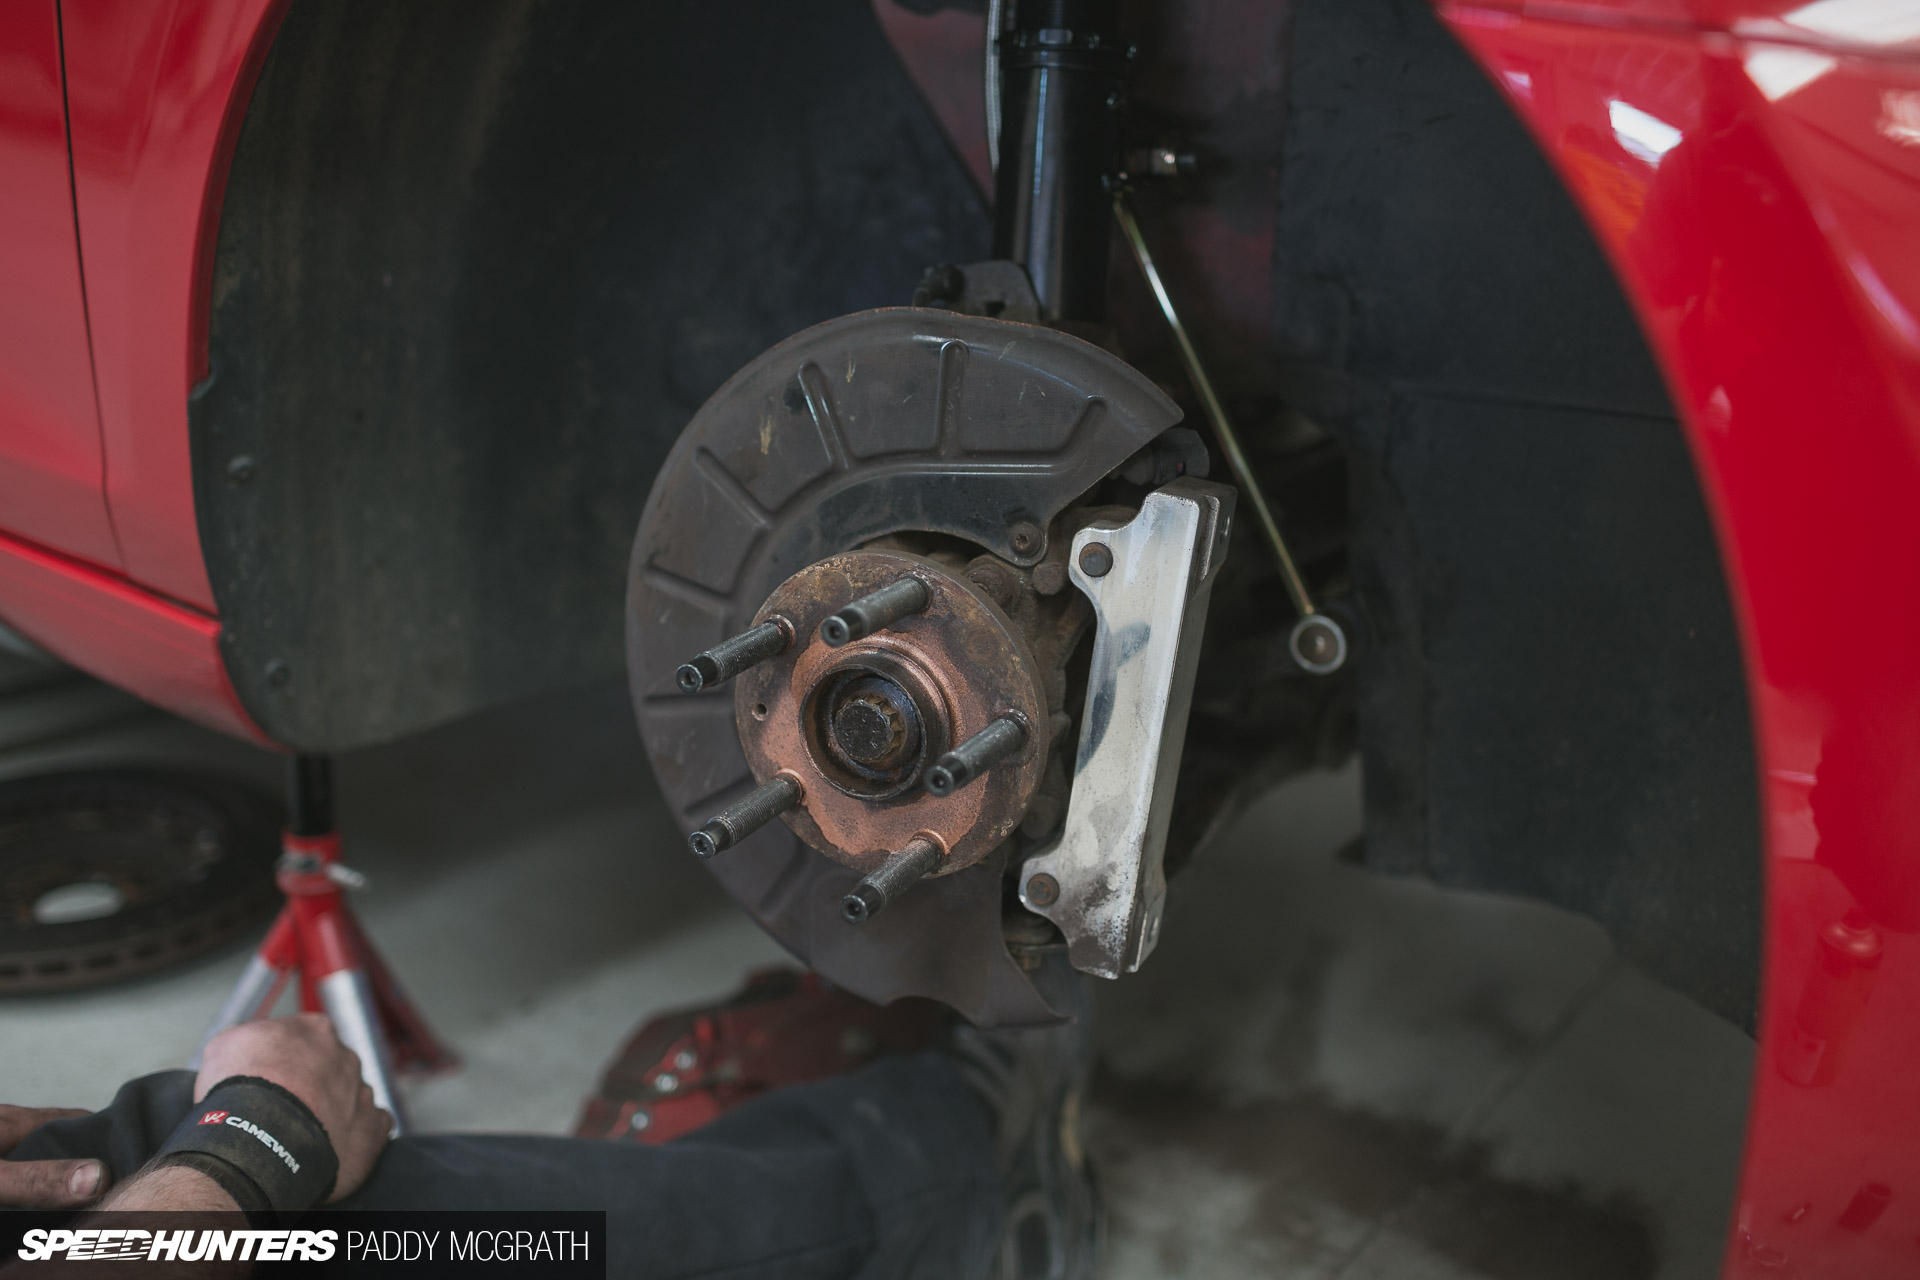
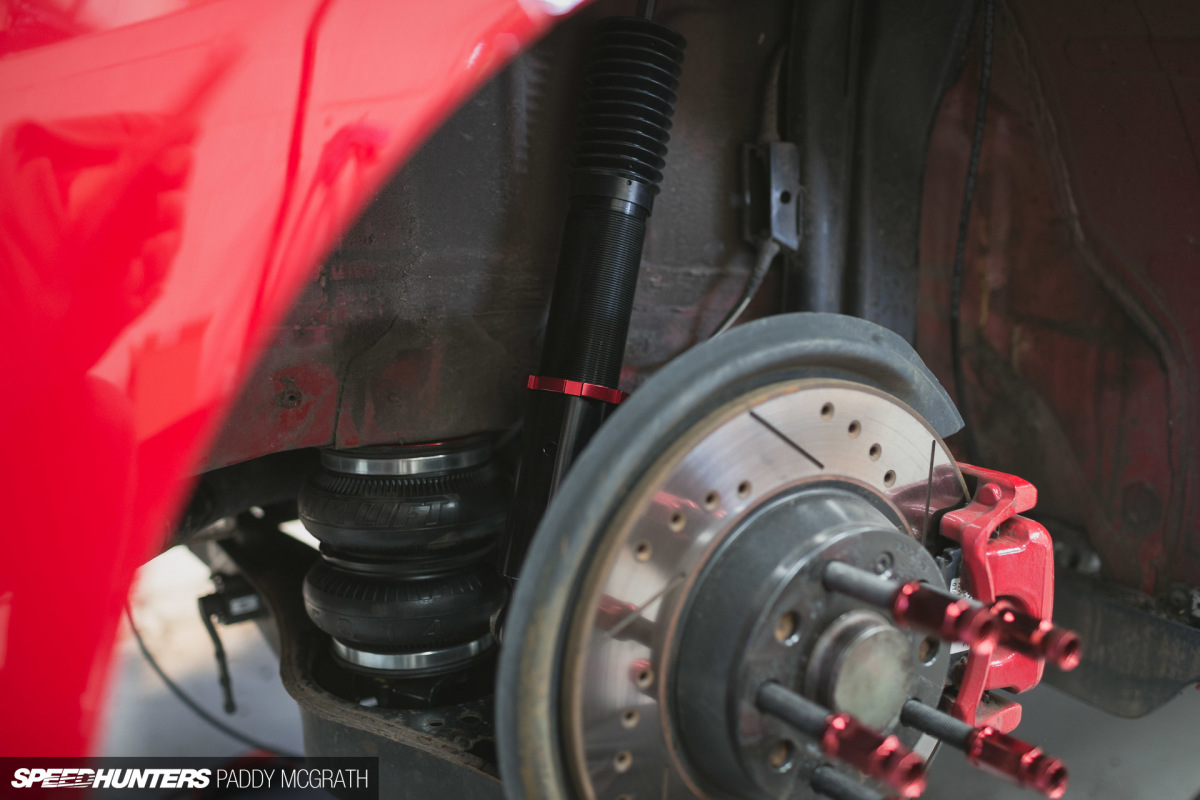
After freeing the factory front struts – something that took longer than anticipated no thanks to seized hub nuts – the new bag-over-struts were bolted in position. We set the camber adjustable top mounts to dead centre and threaded the shock body out to show three-inches of thread either side. From research, those who like to sit the fender on the wheel lip typically run around two-inches of thread, but ultimate low isn’t my goal. We also weren’t planning on notching the chassis leg for driveshaft clearance, so this little bit of extra height gave us plenty of breathing room in this area.
The rear install was completely straightforward.

The installation instructions and guidelines couldn’t have been any clearer, right down to scribe lines on the rear bag brackets so you can trim them appropriate to your setup.
For the air lines, we followed factory routing alongside the brake lines, protected by the plastic floor under the car. Once we had run everything to the boot, we could finally secure it all into position.
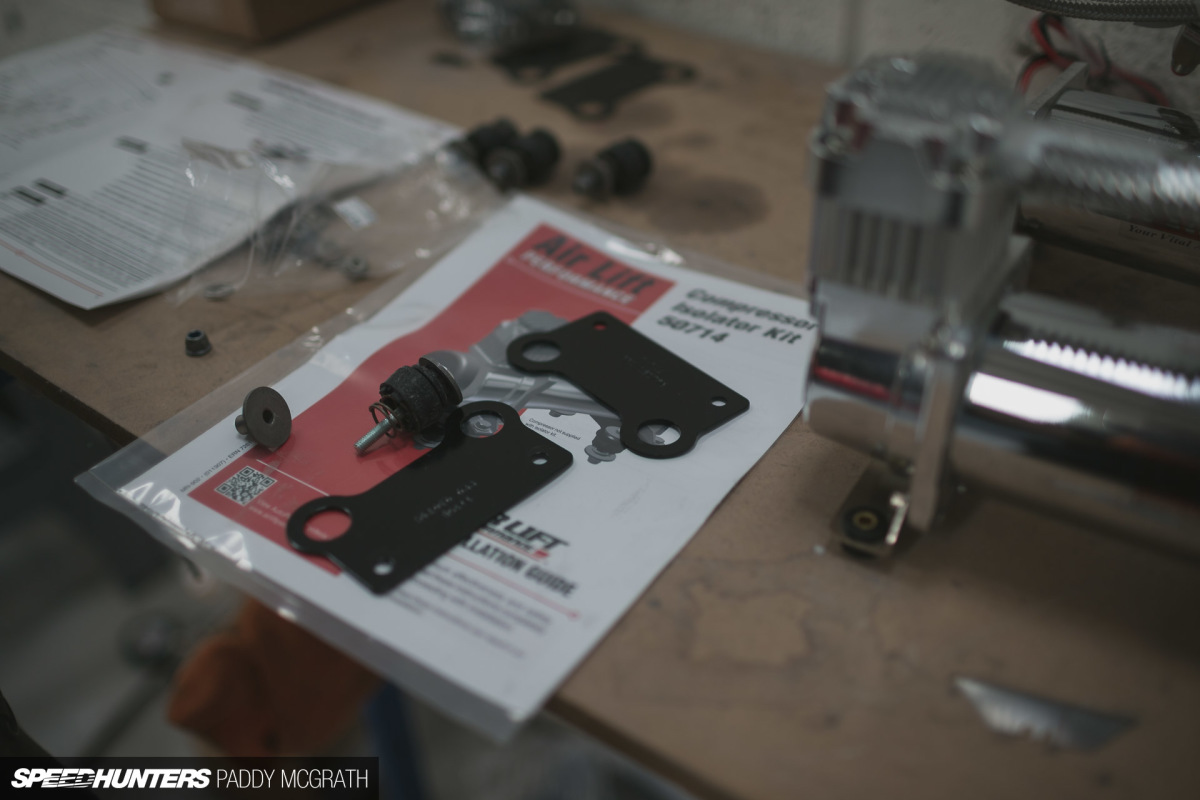
The compressors were mounted onto their isolators before being fixed to the boot floor.
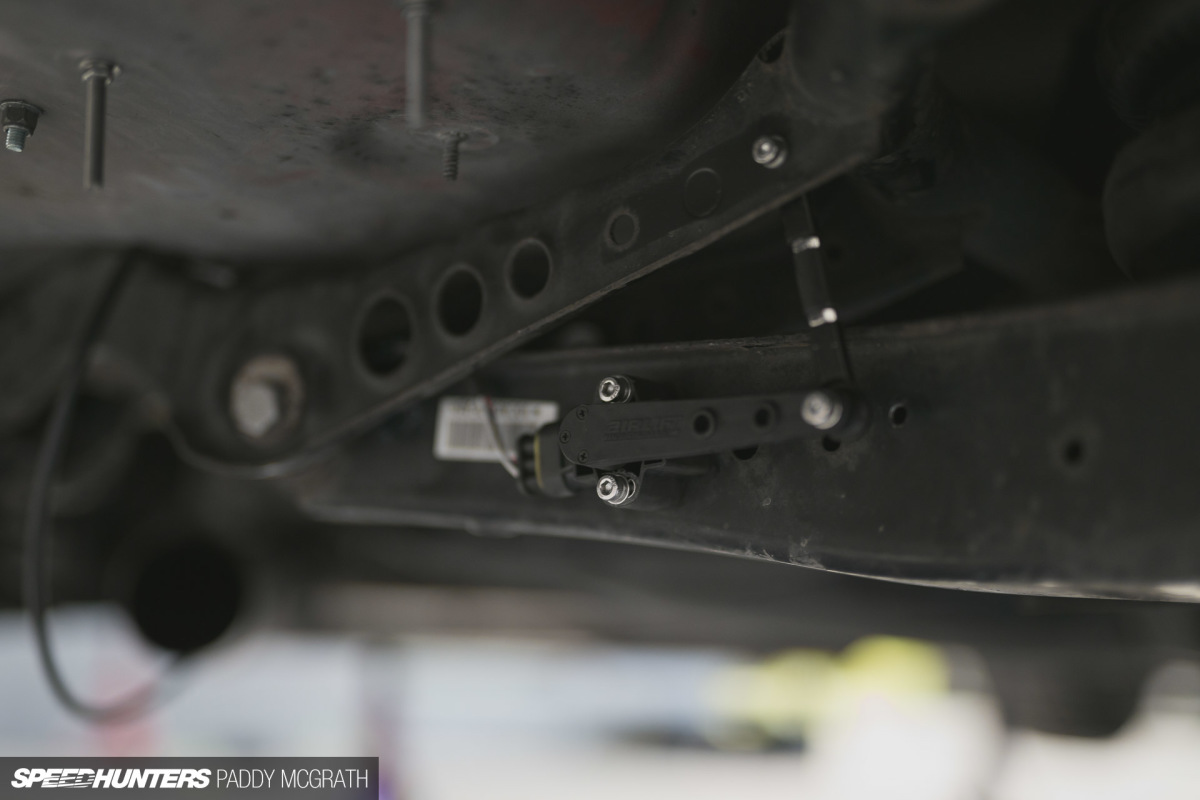
The height sensors – which play a huge role in the vehicle’s performance on air – were measured, temporarily installed, measured again and finally fixed into position. You can see some of the bolts protruding through the wheel-well floor; these would eventually be trimmed down and each bolt covered over with sealer before the factory heat-shield and exhaust were re-installed.
At this point, I was beginning to get very excited. We spent a lot of time measuring suspension travel to ensure we would be operating in a solid performance window. I can’t recall the specific measurements, but at ride height, the car is sitting just about bang in the middle of its full suspension travel. This would bode well.
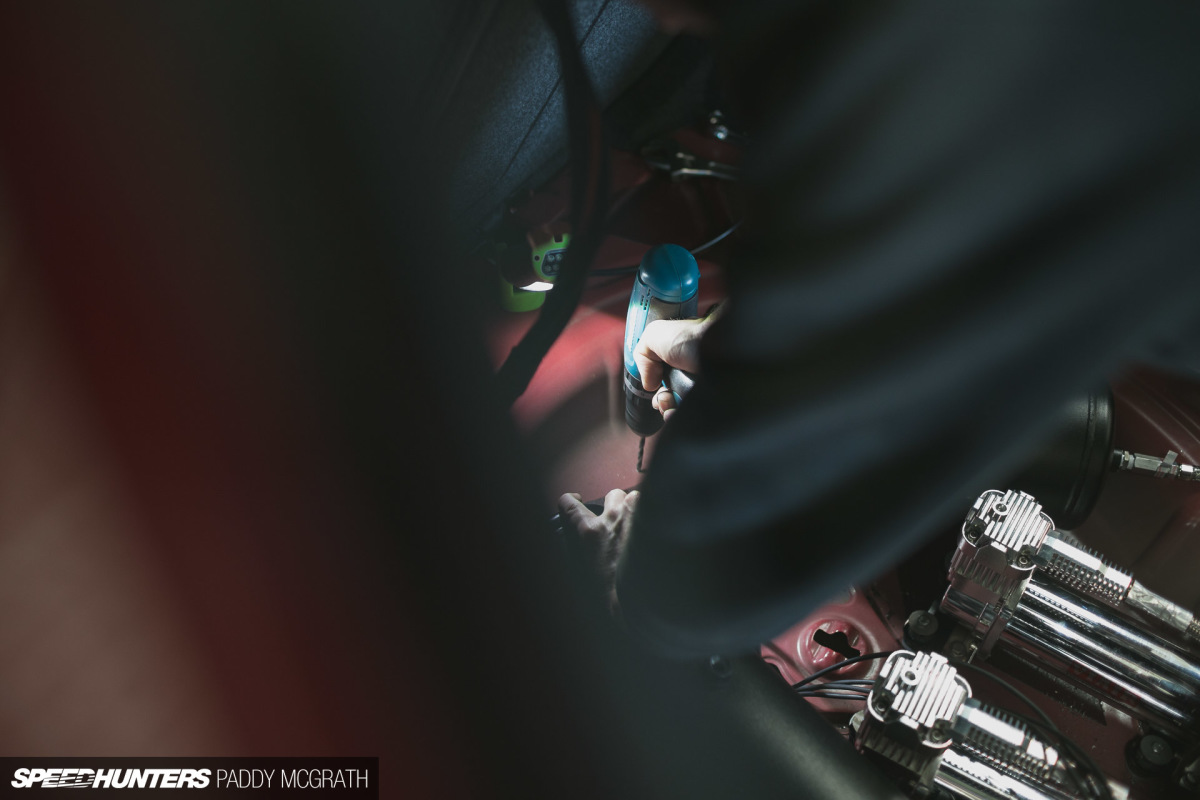
At this stage, it was time for reassembly and to plug everything in.
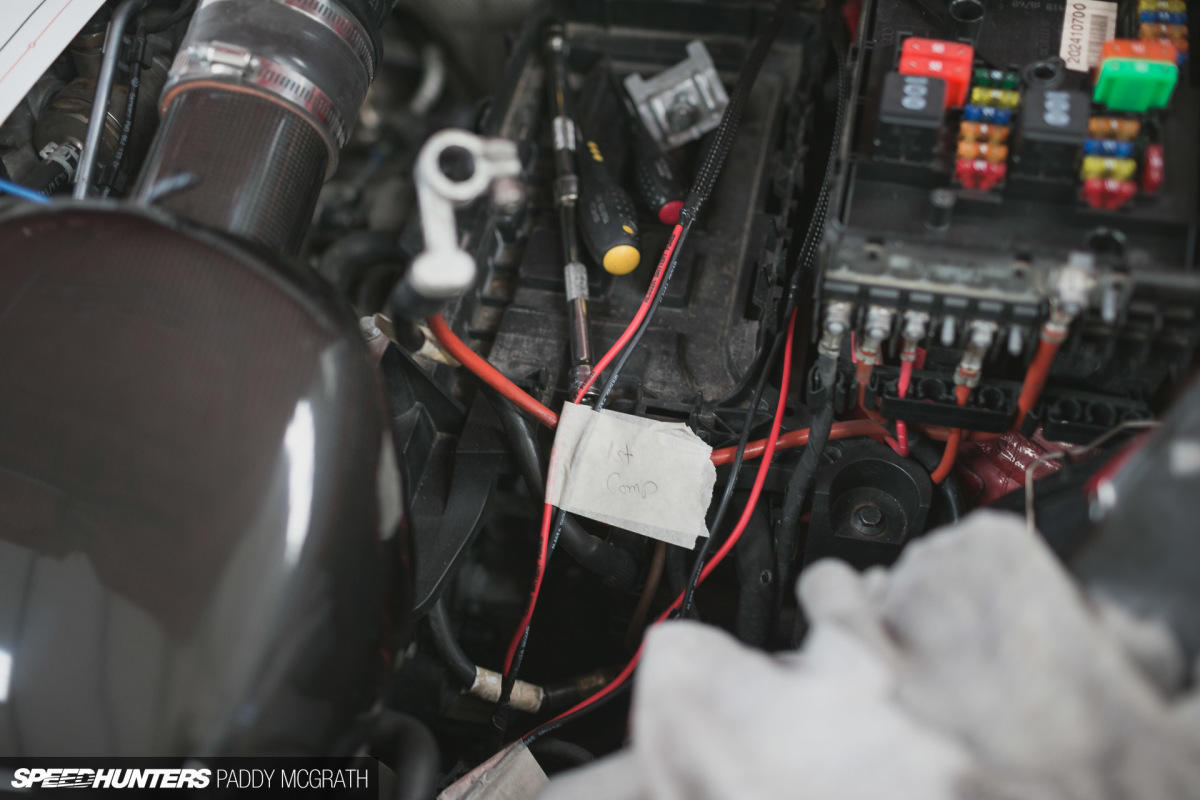
Wiring terrifies me, but even so, this looked as straightforward a process as you could ever make it. I still didn’t touch it mind you, but I could at least understand what was happening. We just labelled the compressor wiring that we had run into the engine bay so we knew which was which, gave them both a live and and earth and that was about as complicated as it got. Everything else was plug and play.
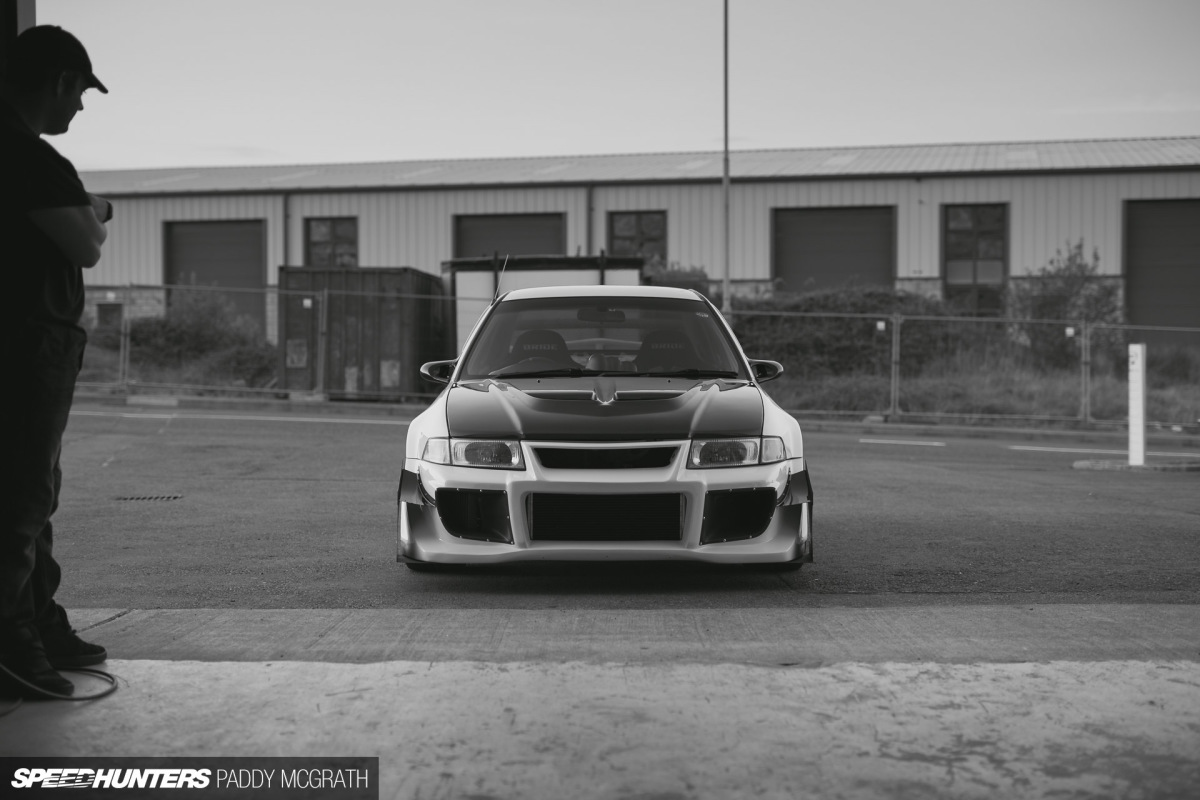
It was around this time that a wild Evo appeared, and I sort of lost track of time for a bit. Still, you wouldn’t turn down a drive in one either, would you?
On The Floor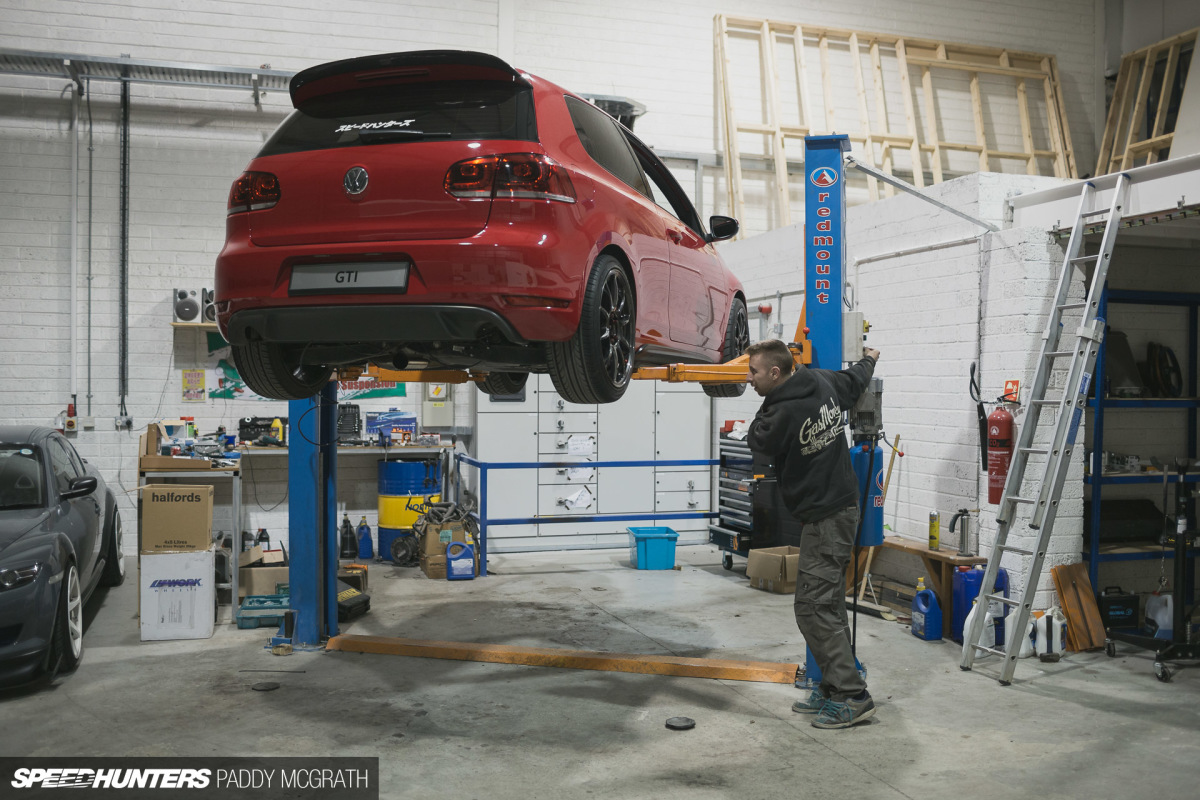
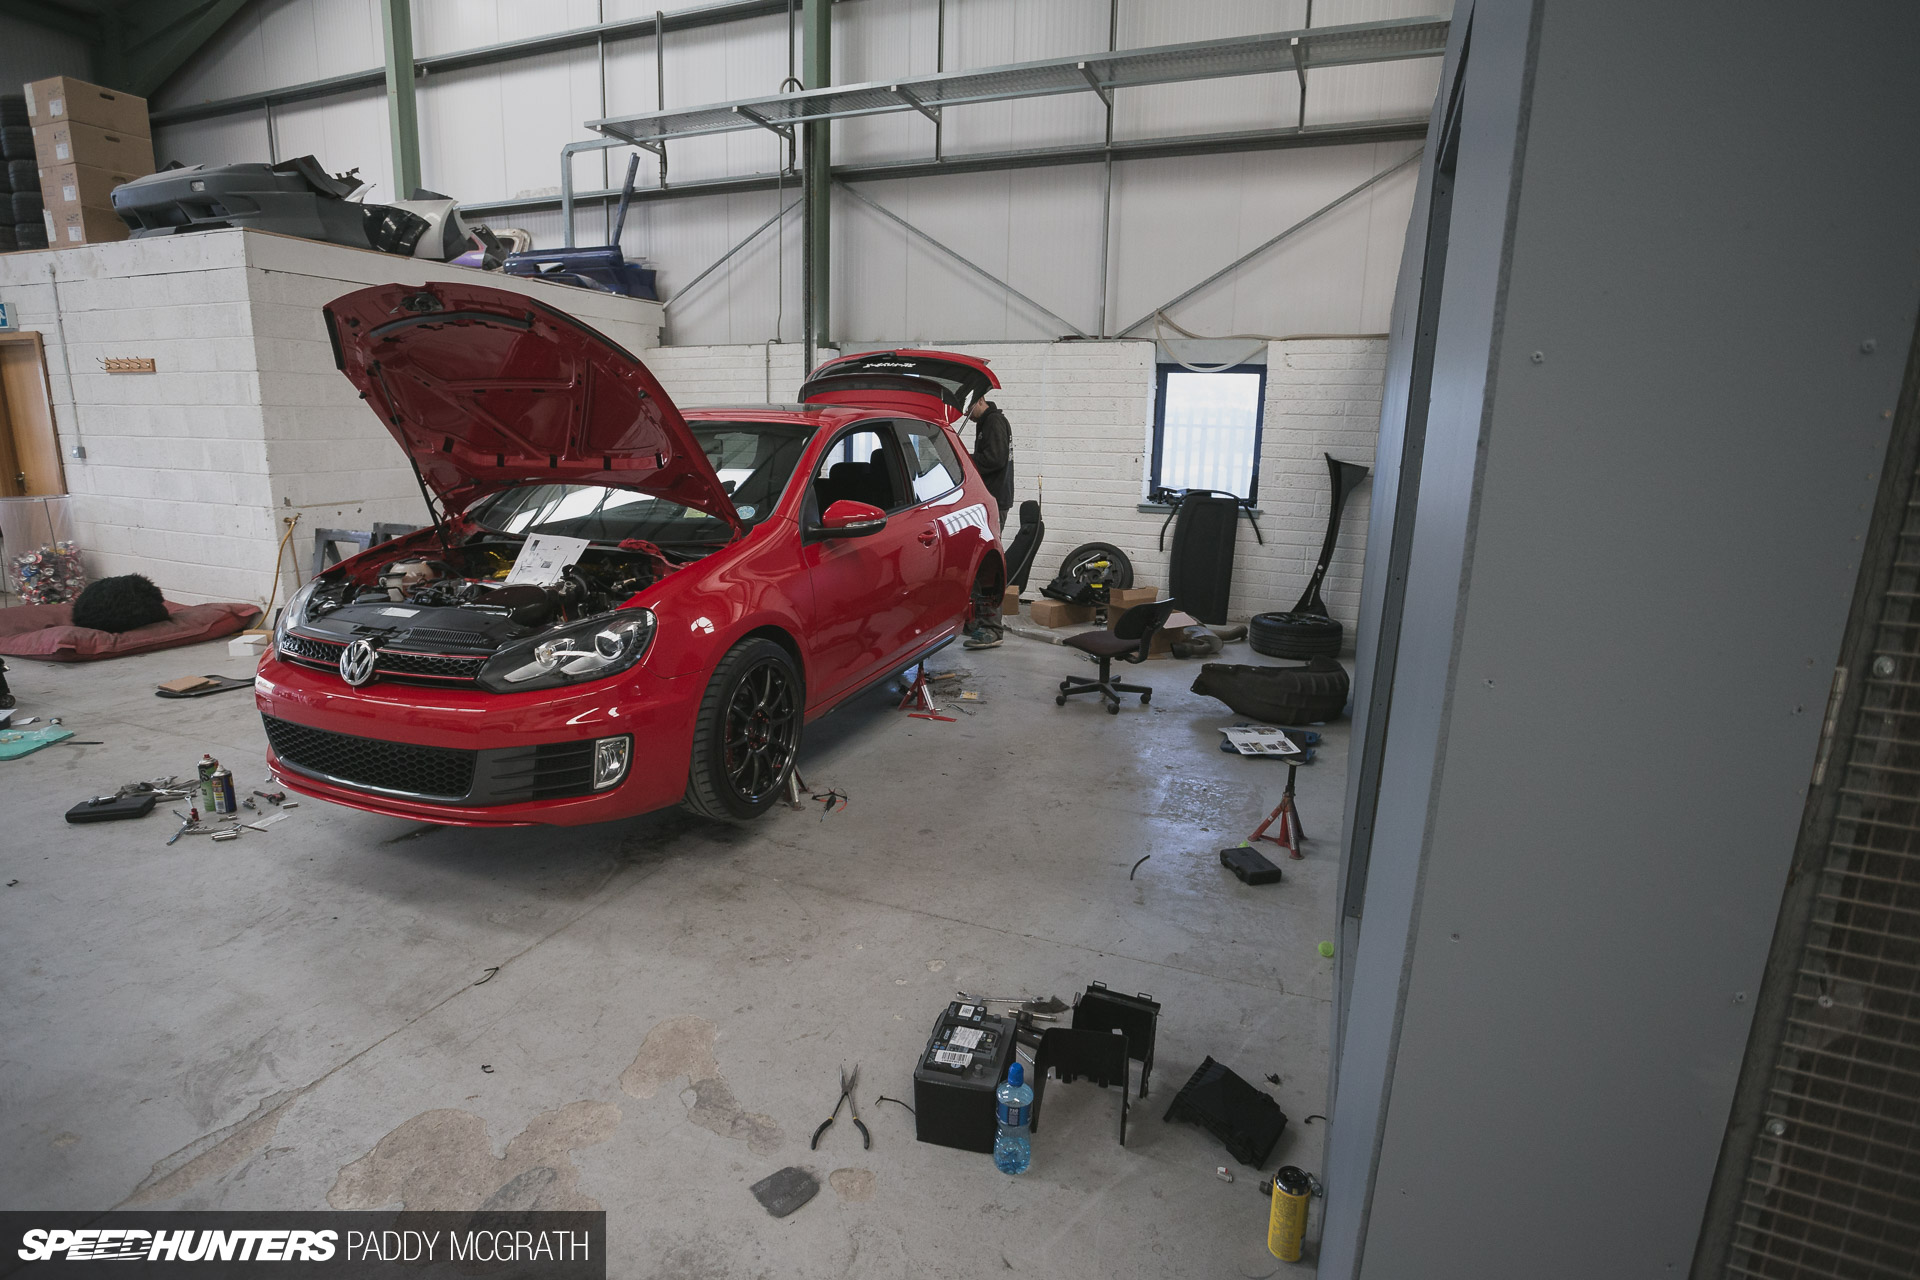
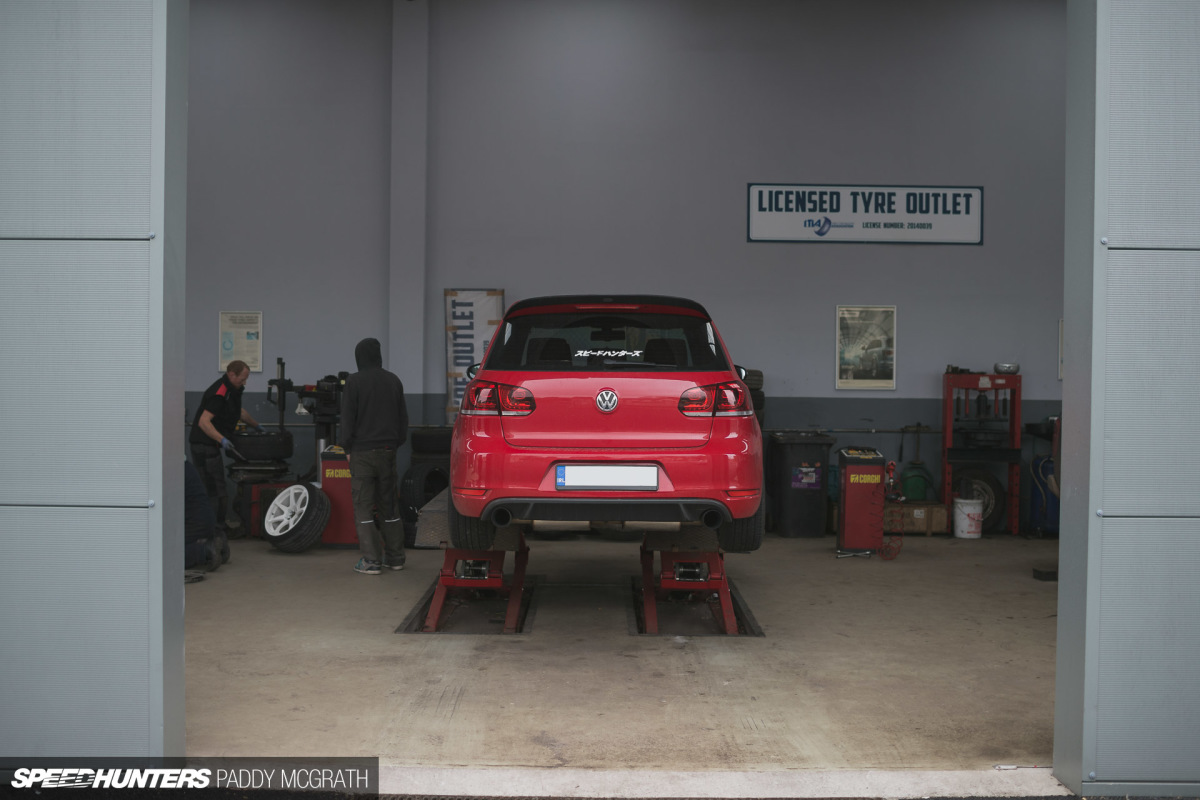
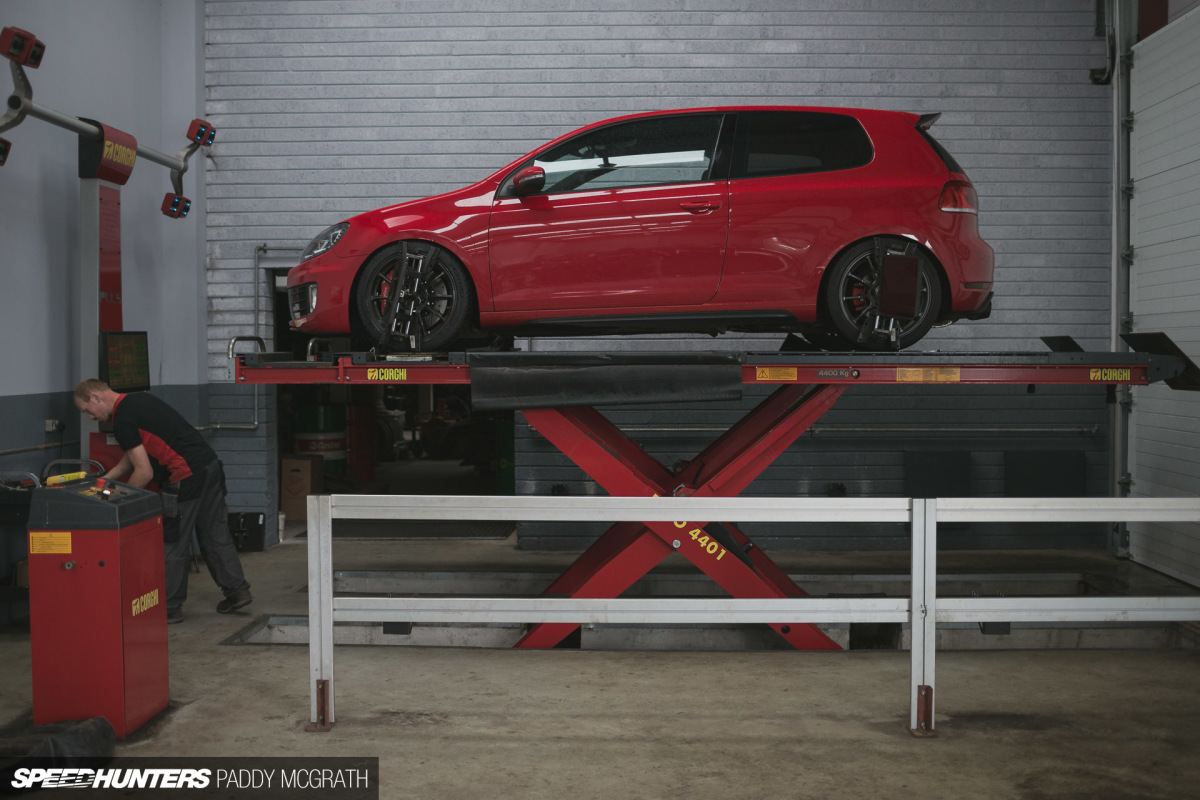
I returned from my exploits to find my GTI had moved from one side of the garage to the other and was now on the lift for the finishing touches and to double-check that everything was in good order. Lines looked good, no leaks, fittings were tight, and all electronics were working correctly; there was only one thing left to do.
Put the car on the floor and calibrate the system.
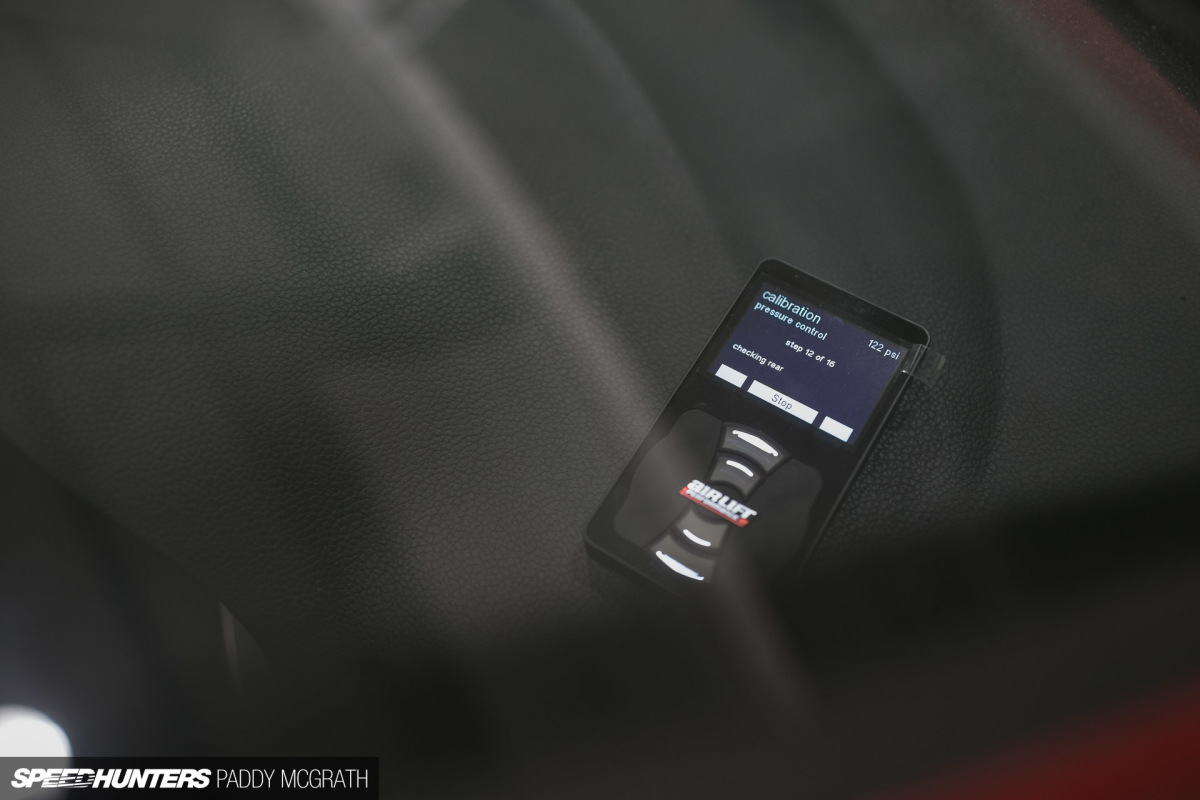
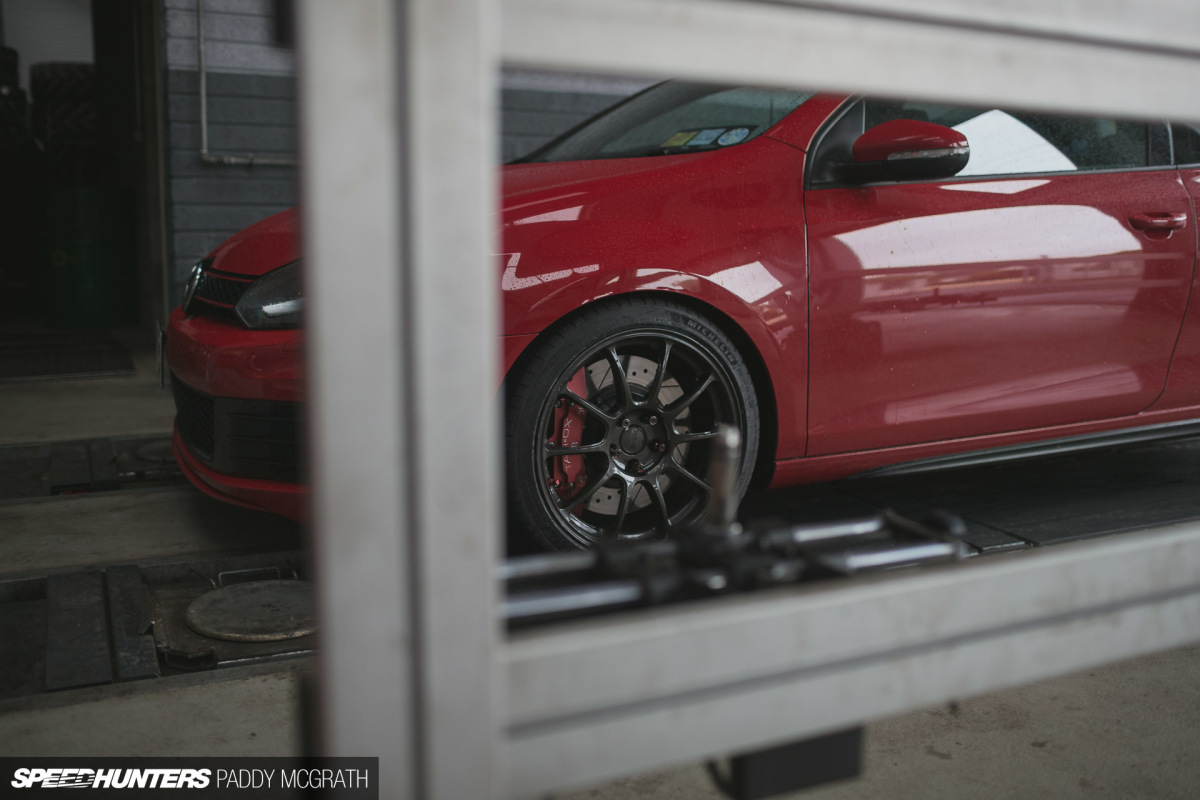
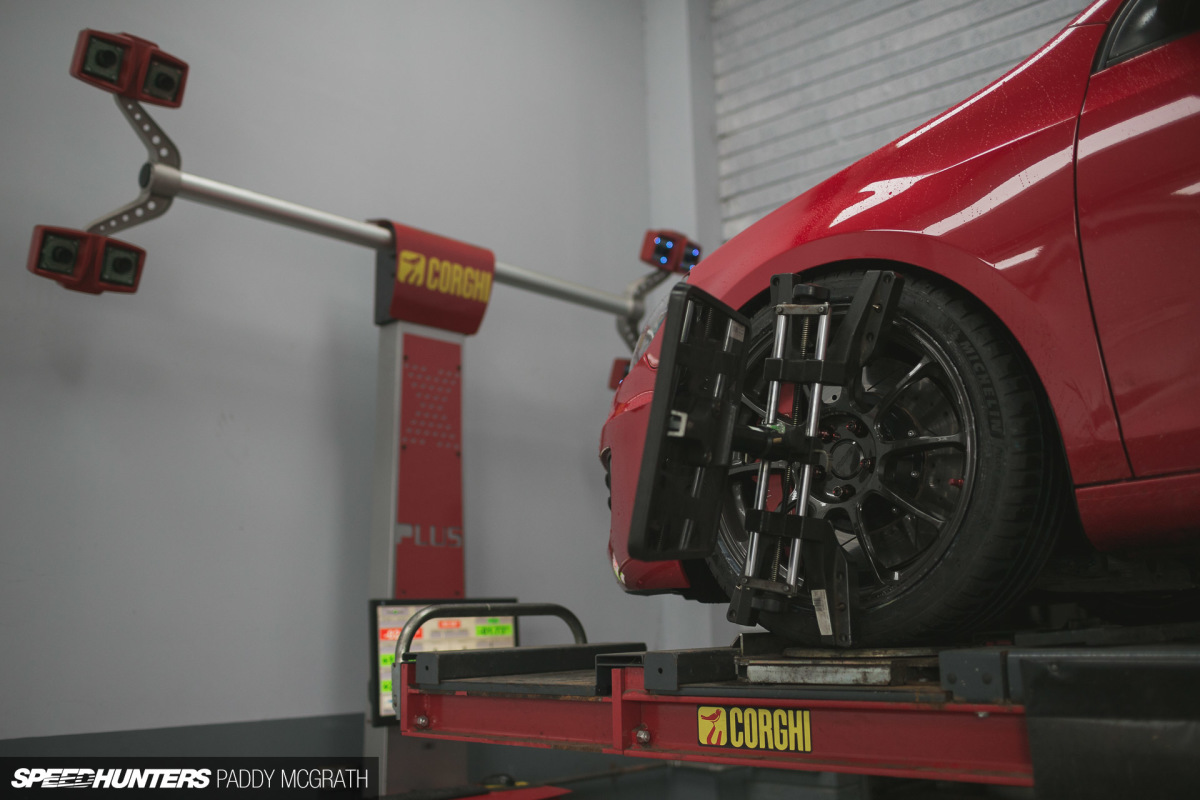
As the car cycled its height, a few issues were highlighted. Firstly, because I don’t want to run stretched tyres we would need to roll the front arches as the broad-shouldered Kumho KU36s were just meeting the inside of the metal. That was something easily sorted with an arch roller. We then had an issue where the car would fail height calibration which left us stumped. It was now into the early morning; we were tired and nothing was going to be achieved with fatigued minds. Luckily, the 3H system can run on either height or pressure-based sensors, so I was able to easily set up some pressure presets and drive the car home in comfort. I was extraordinarily tired, but I had one hell of a sh*t-eating grin on my face.
The next day, I contacted Air Lift Performance’s helpline, explained the issue and was offered a solution over the phone after using the sensor tool built into the handheld controller to diagnose the issue. Within minutes, we knew what the problem was: we had cut the connecting rods between the sensor and suspension mounting point about an inch short. With the two front wheels removed, we were able to quickly and easily extend the connecting rods, reinstall everything and run calibration once more. This time, it passed everything and was fully operational. The smile on my face was bigger than ever.
Because I was able to put some miles up in the meantime, we were able to pore over the car once more and double-check that everything was in solid working order. There was a small leak at the tank, which I managed to cure on my own with the help of a soapy water solution and fresh PTE tape. At this point, everything was perfect on the car. It was time for a drive.
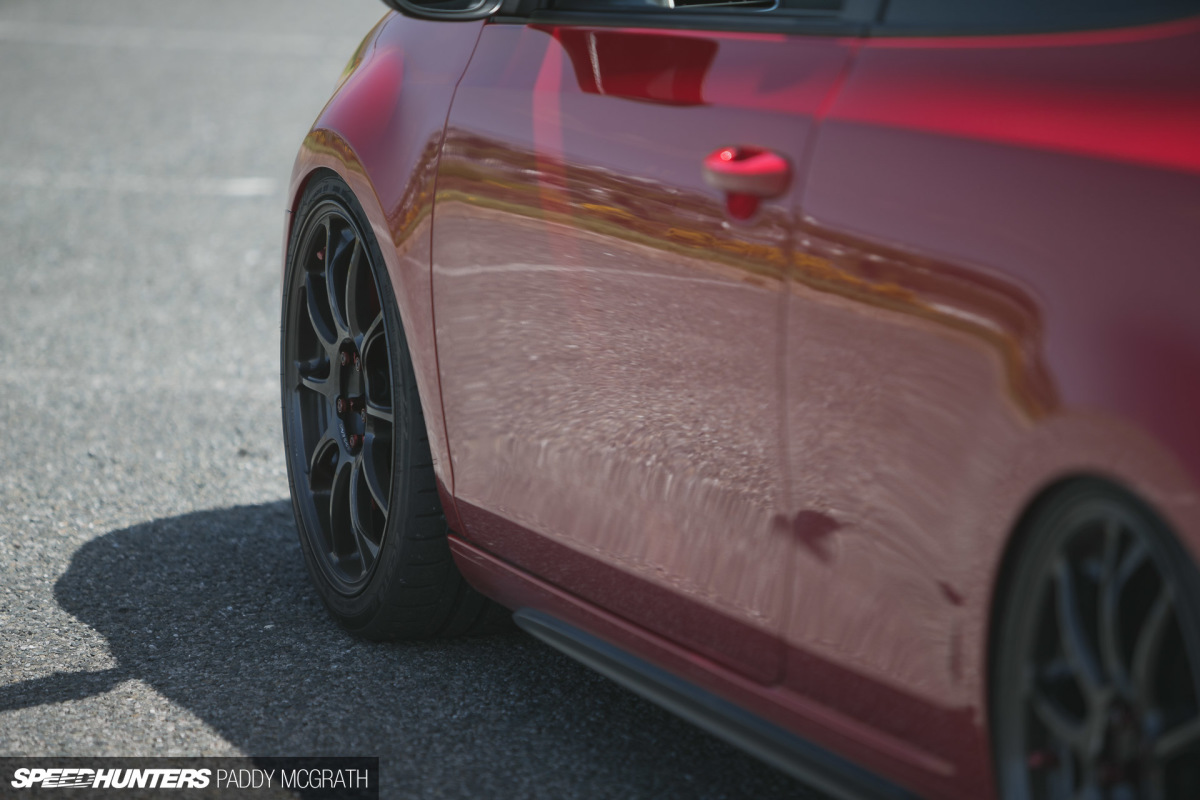
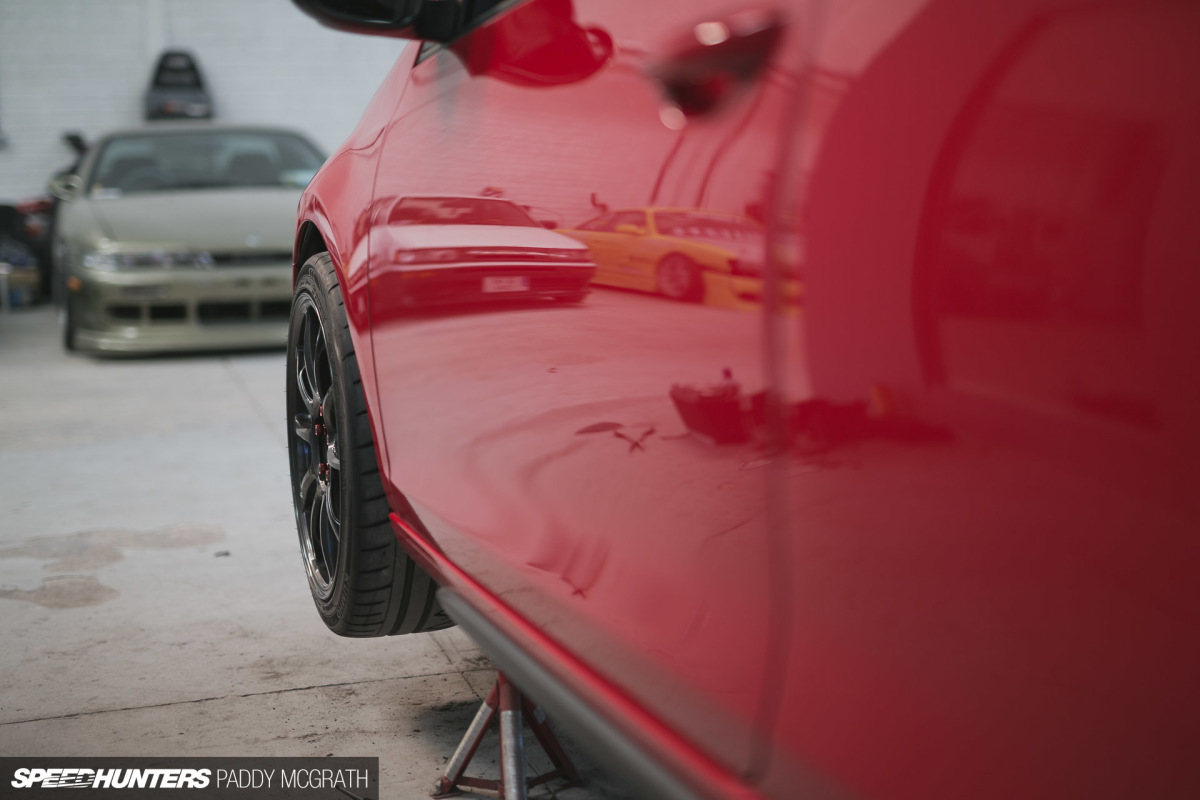
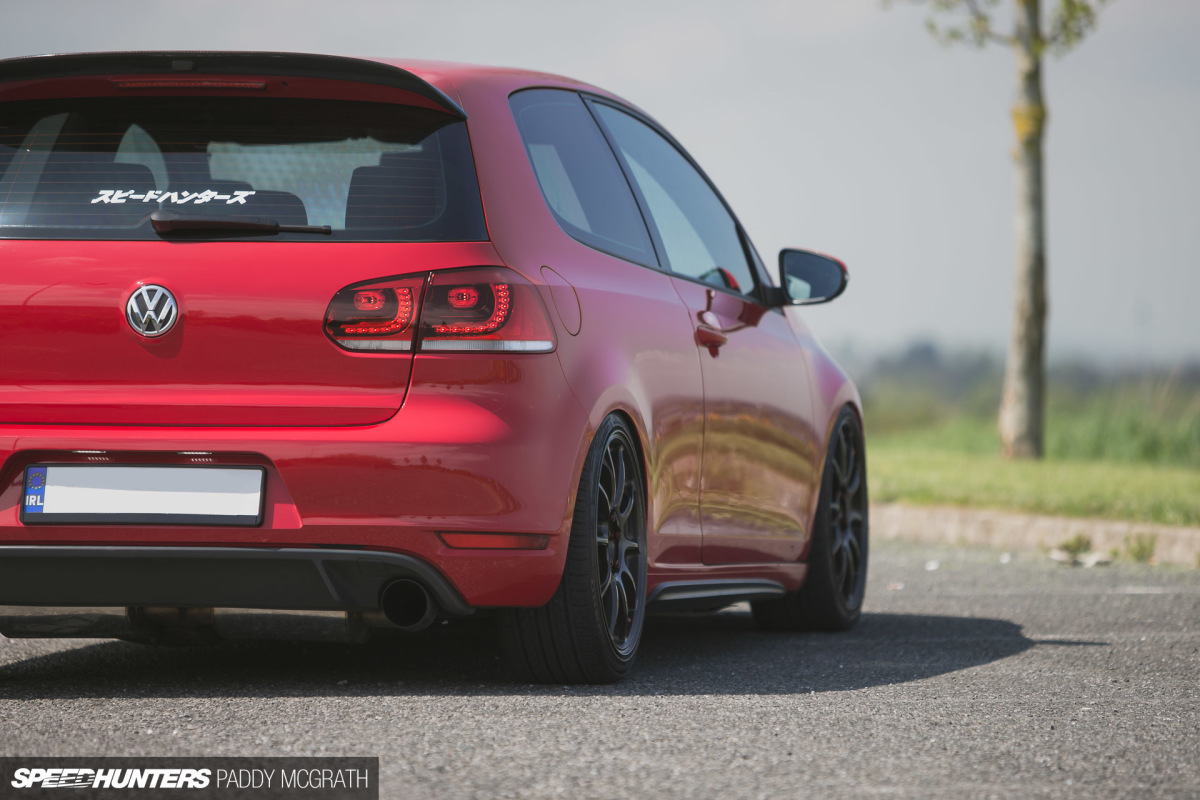
Ultimate frame-laying low was never my goal with this build, although any lowness I could extract would be a bonus. Low cars look good, just not when they’re smashing their bodywork, grinding their arches or evacuating the contents of their sump onto the road after an unsighted speed bump.
Even before I managed to get the car re-aligned and fit fresh rubber, my immediate reaction was that of being impressed. The car drove incredibly well, certainly better than it did stock. It was firm (I set the dampers to 20-clicks hard front and rear) but it wasn’t harsh. It’s quite a hard thing to explain, but imagine the reassuring stiffness of a coilover setup but without the drawbacks. There’s no crashing or banging over imperfect surfaces; there’s no sudden jolts or shocks through the car which cause you to grit your teeth. It just soaks things up so well.
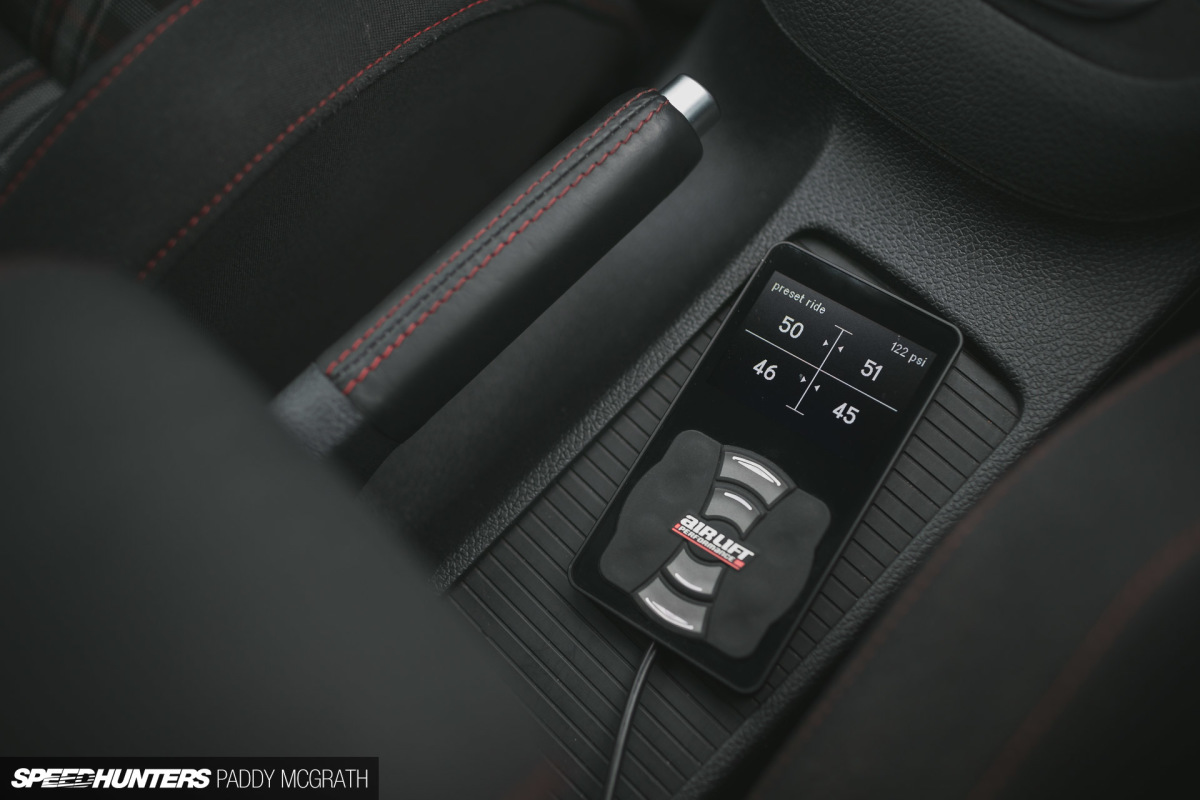
How quickly and easily height adjustments can be made is impressive too. I haven’t really been fooling around with it, but I have had to use it in a couple of situations where I know from experience that I would have scraped quite badly if I was on a static setup. With the height sensors, I just picked my height from outside the car with the app on my iPhone over Bluetooth, saved it as my driving preset and don’t really have to think about it anymore. When I get into the car it maintains its height. When a passenger or two get in, it continues to automatically maintain its height. The same goes for adding luggage; the management looks after everything for you.
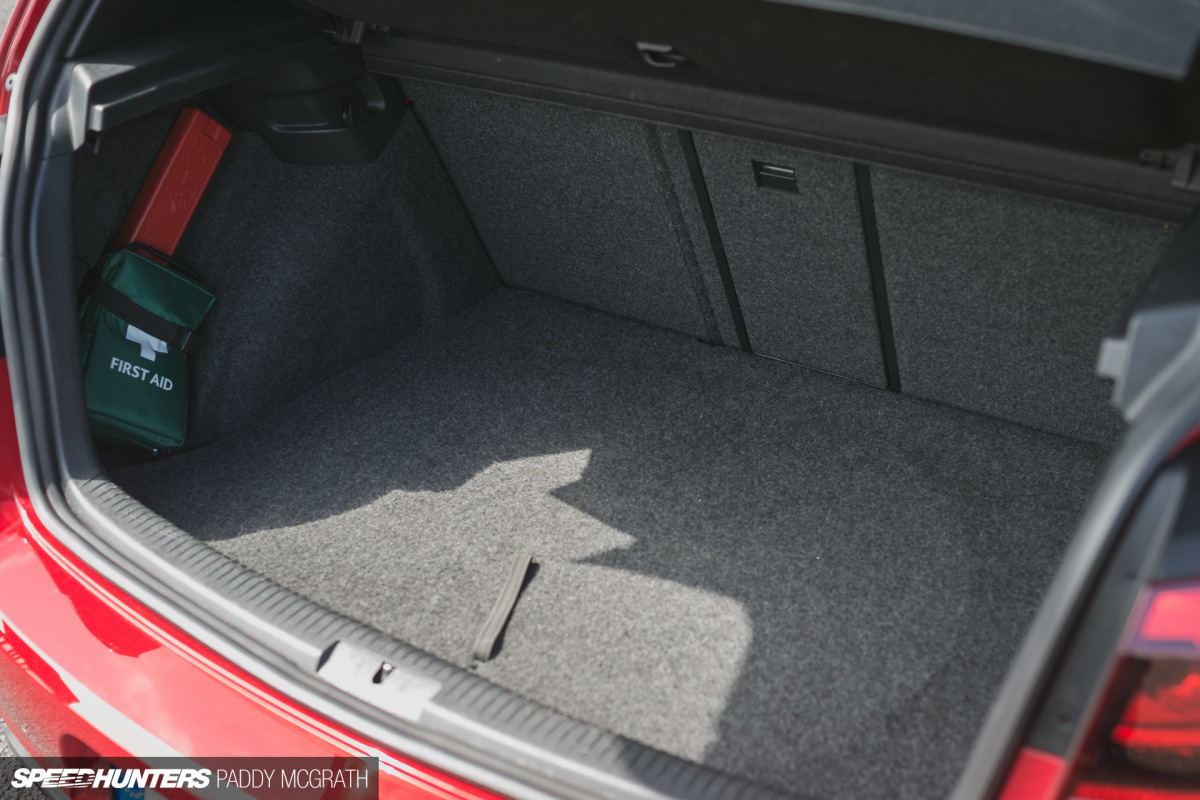
As for the completed install? This is how it looks; completely invisible, without sacrificing boot space either.
I’m still gathering my thoughts, as it’s only been in the car for a little over a week now. I want to avoid using superlatives and instead find the correct words to give you an accurate account of what a ‘life on air’ means today.
At the time of writing, I have just had new tyres and alignment completed on the car before a track day next month. It’s awful early to have a car ready, but I’m away on Speedhunters work and won’t see the car for the next two weeks.
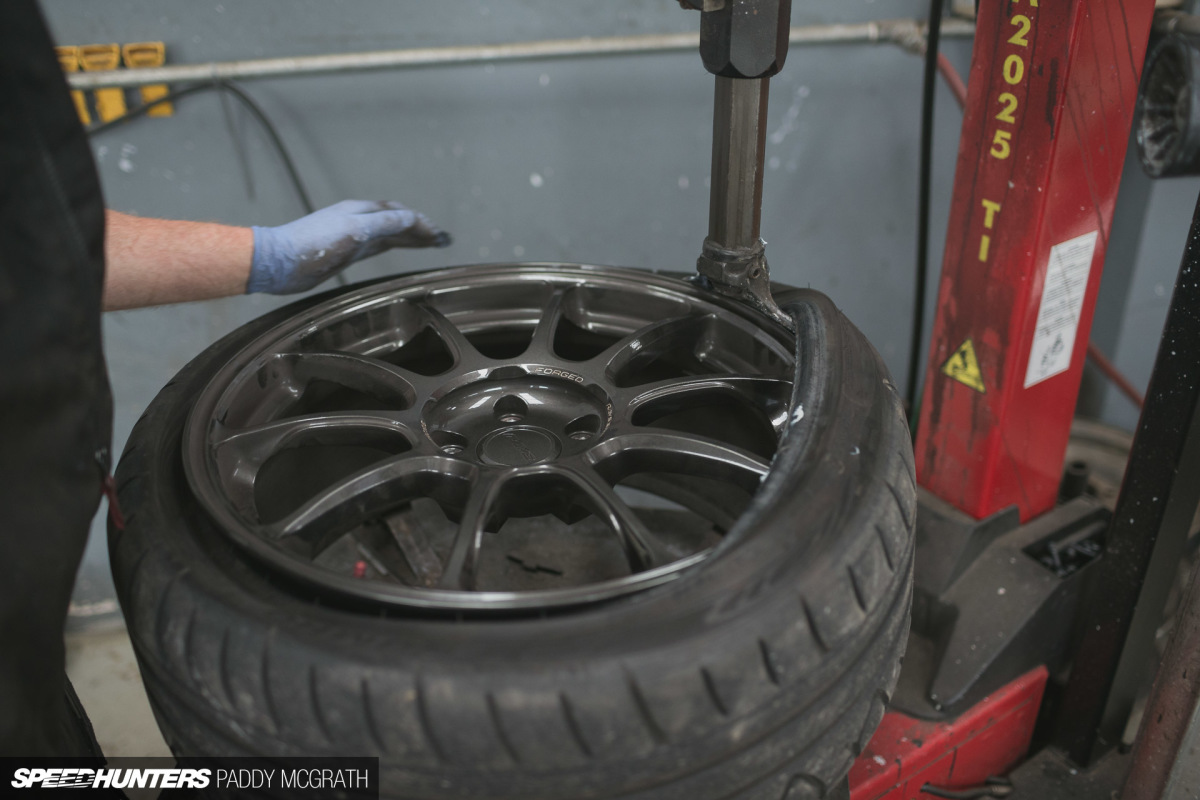
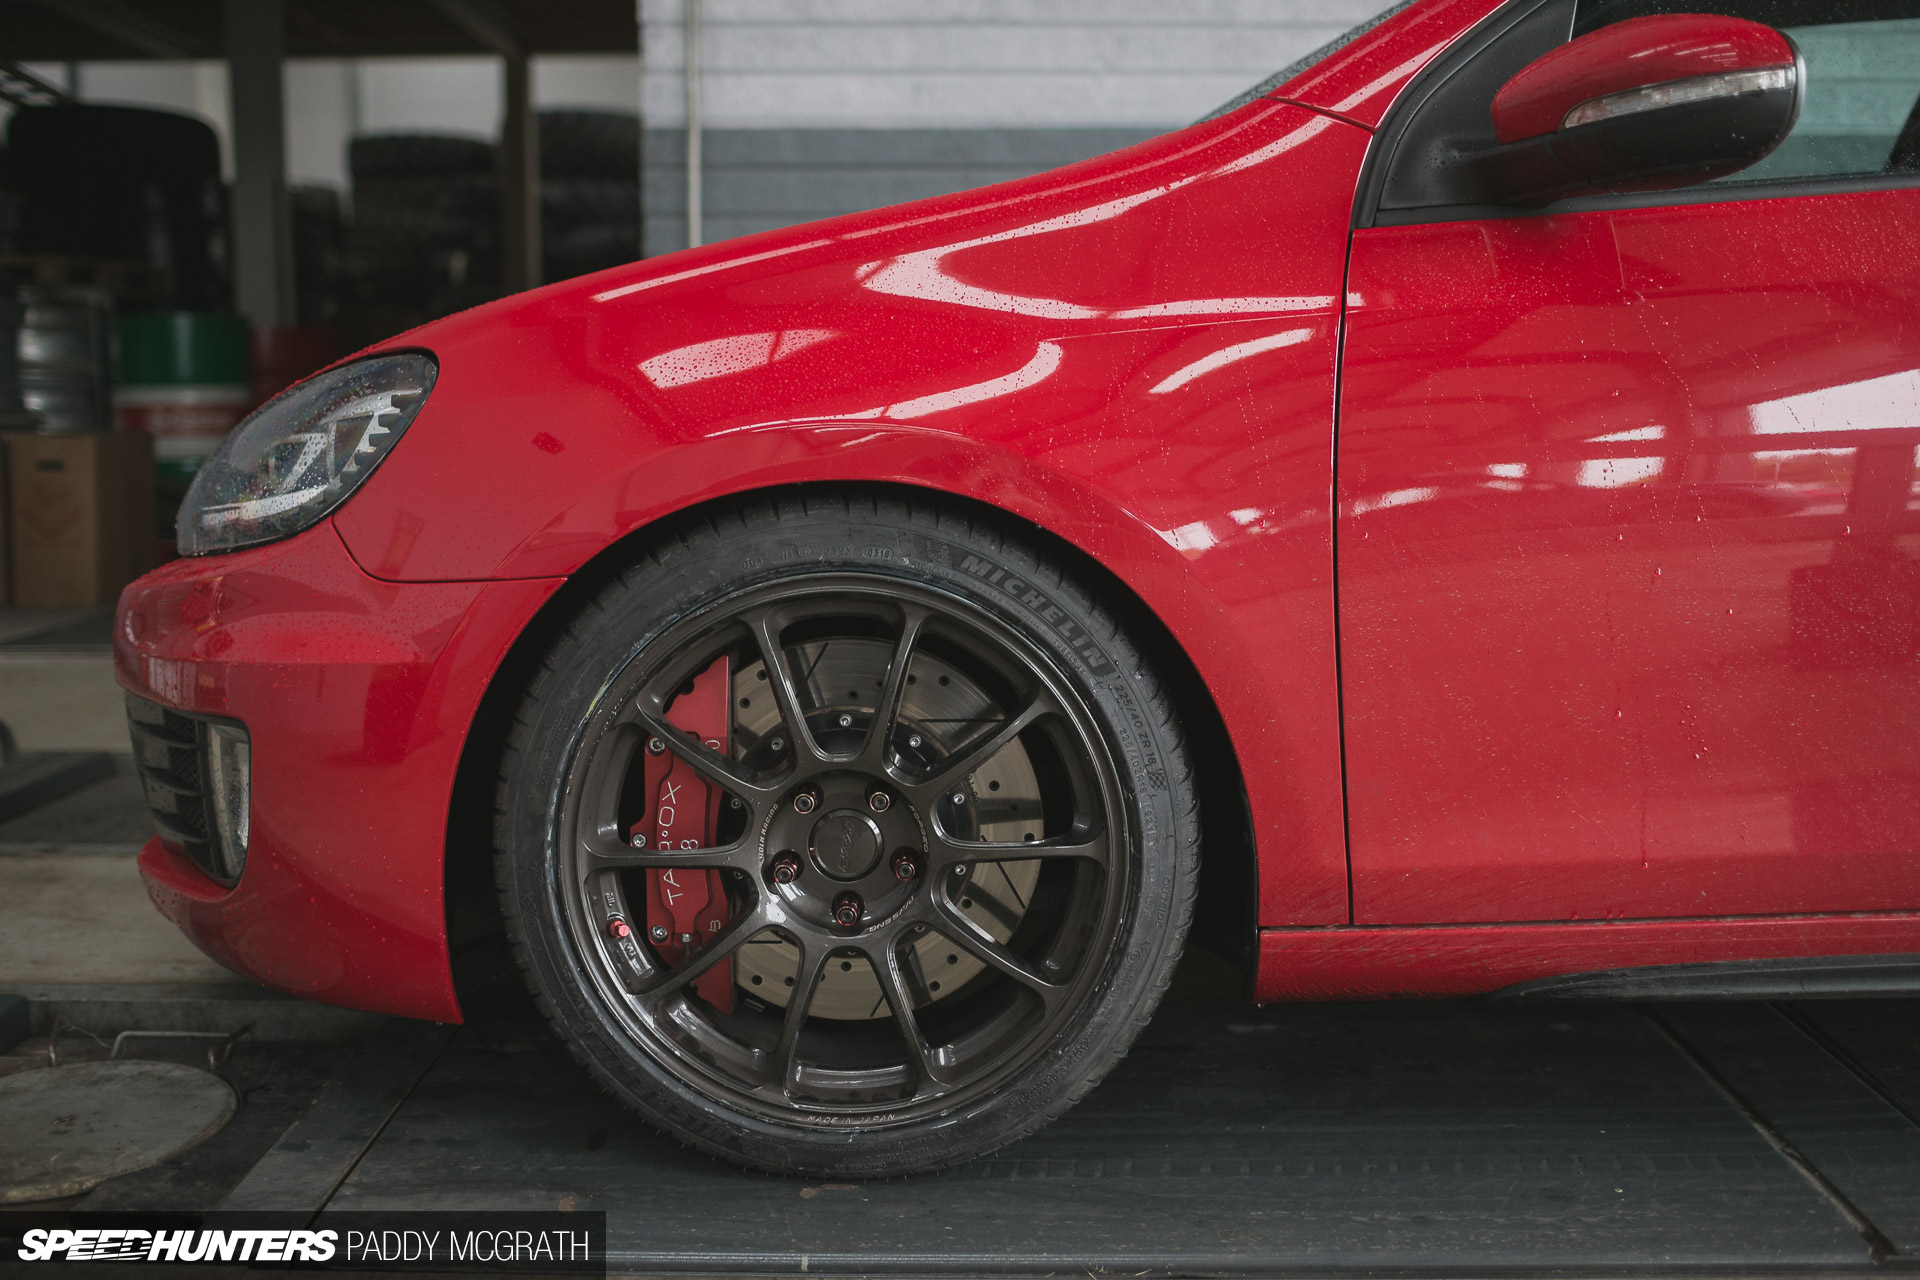
In order to find some traction, I temporarily tried some Kumho KU36s on the front of the car. For their price, they offer fantastic performance. I found them good in the wet but superb in the dry. I’m doing a lot of mileage which doesn’t suit their soft compound (they’ve a treadwear of 180), so sold them to a friend whilst they still have some life in them. I would definitely run a full set of them on a second set of wheels for track days though.
In their place I’ve opted to try a full set of Michelin PS4s in the same 225/40R18 sizes. I’ve always heard and read good things about the Pilot Sport range, so I’m excited to put some miles on them.
Having finally decided on my driving height, we were able to align the car correctly. As it turns out, it was pretty much perfect post-install, but it was certainly no harm double-checking this and removing any doubt. Thanks to the height sensors, I can reliably return the car to the same height at the push of a button or even the turn of a key if it’s parked below this height.
As I’ve already said, it’s still early days and I haven’t even come close to exploring the full array of features on this Air Lift Performance 3H setup. By the next update, I’ll hopefully have had some track time to really gauge the performance benefit offered by 3H. When I originally came up with the idea of running a daily/track day car on air, I thought it was outlandish to a certain degree. Now that it’s installed, it feels like the most logical and straightforward choice I have made so far.
Roll on Goodwood.
Paddy McGrath
Instagram: pmcgphotos
Twitter: pmcgphotos
paddy@speedhunters.com
More Speedhunters Project Cars
Cutting Room Floor