I’ve installed and driven on all sorts of suspension setups over the years, ranging from simple drop springs to frame-dragging old school air bags, and more recently the modern breed of performance air ride and coilovers.
I’ve found myself coming back to the KW V3 coilover again and again, with this being the third set I’ve owned. First, I installed a set to lower my Scion FR-S back when it was an Airaid SEMA vehicle. Next, my built STI came with a set of KWs, and I felt no need at all to change them out.

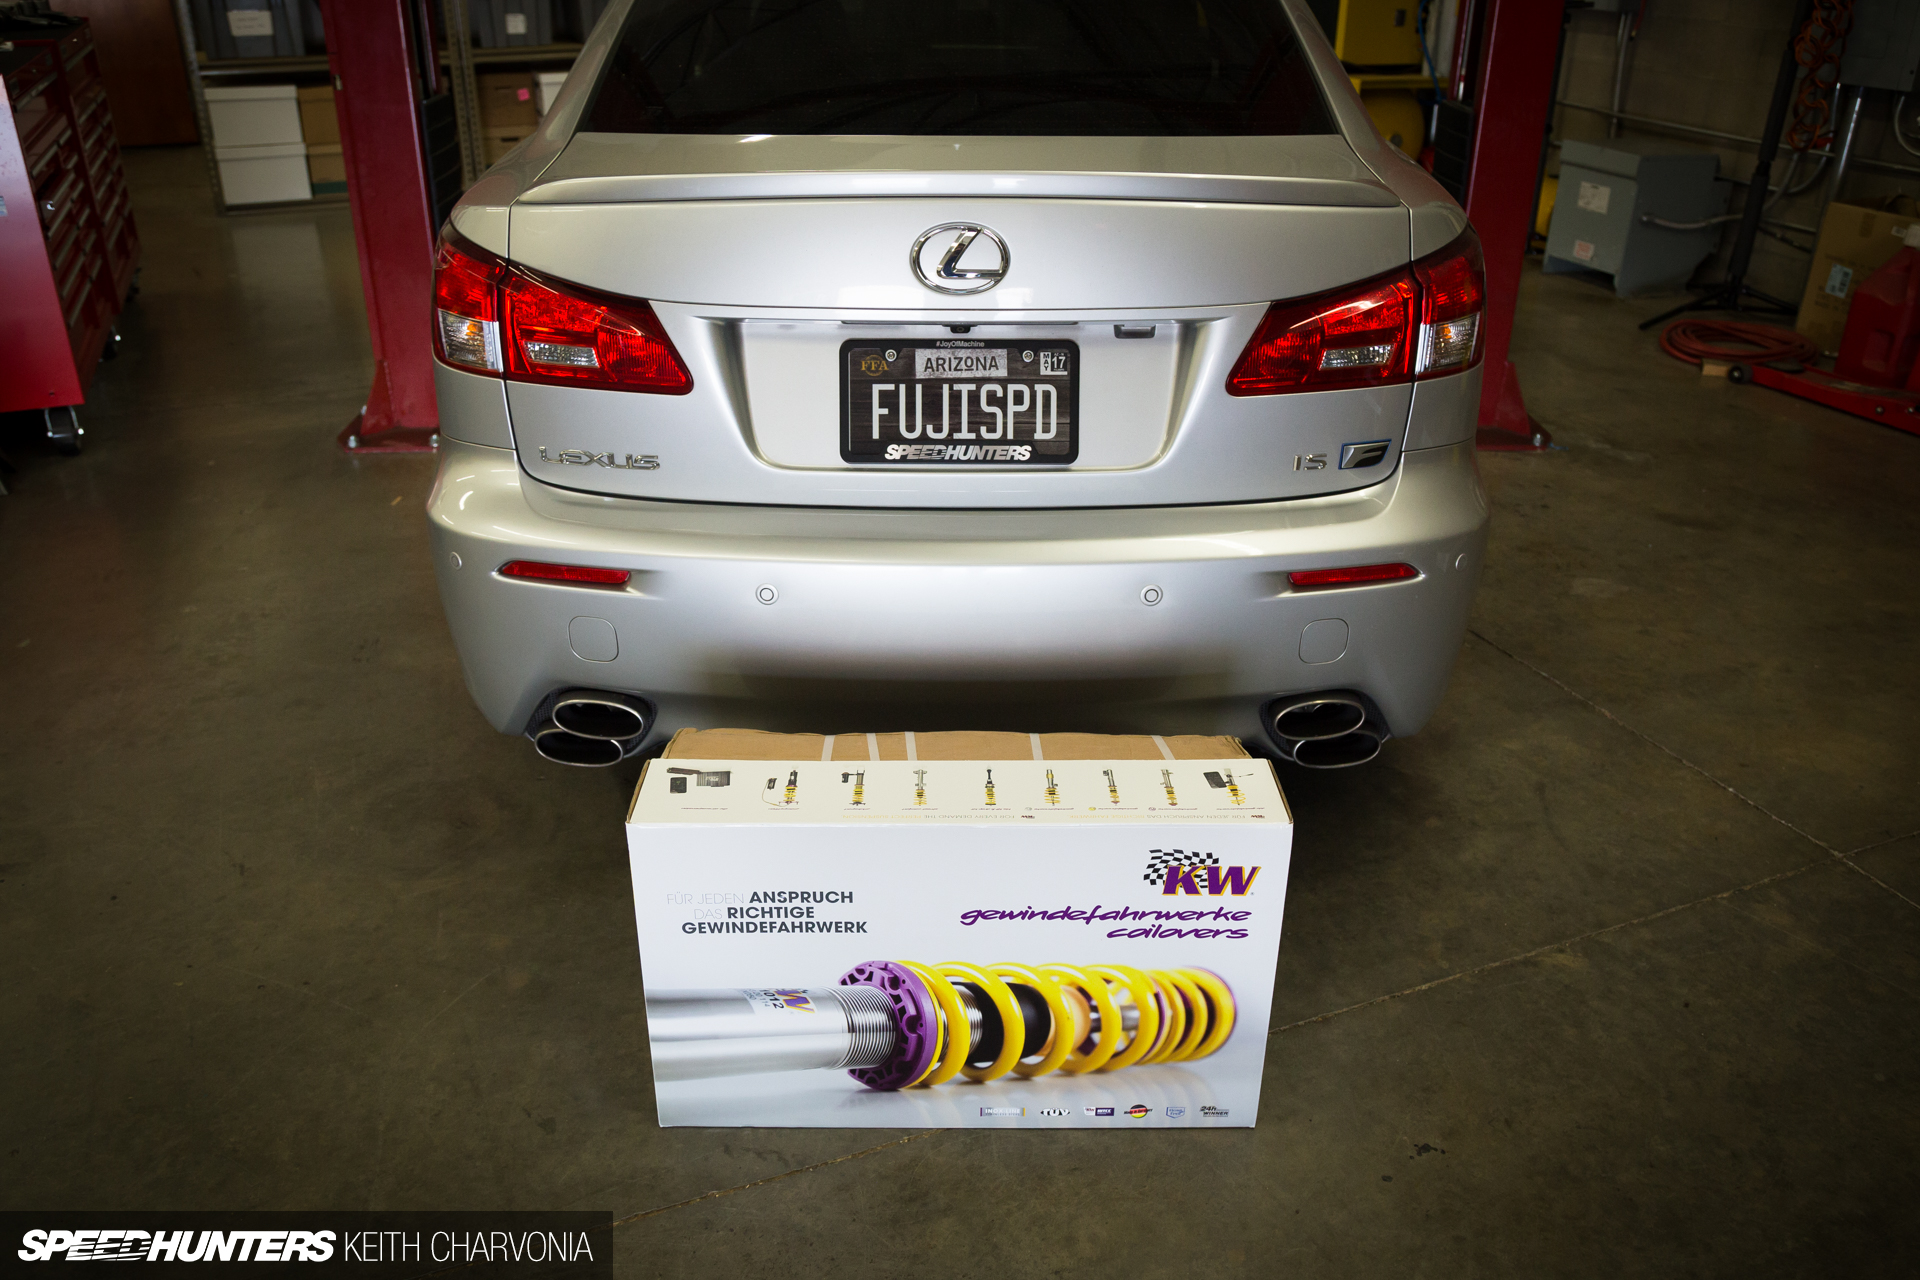
Finally, we have my newest project, a 2008 Lexus IS F known as FujiSpeed.

Project FujiSpeed came from the previous owner with a set of Swift Sport replacement coils, which rode pretty decently even on the stock F shocks. The early IS Fs have been criticized for having a harsh ride from the factory, but it felt just fine to me, having driven lowered cars since I was 16. That didn’t mean there wasn’t room for improvement though.

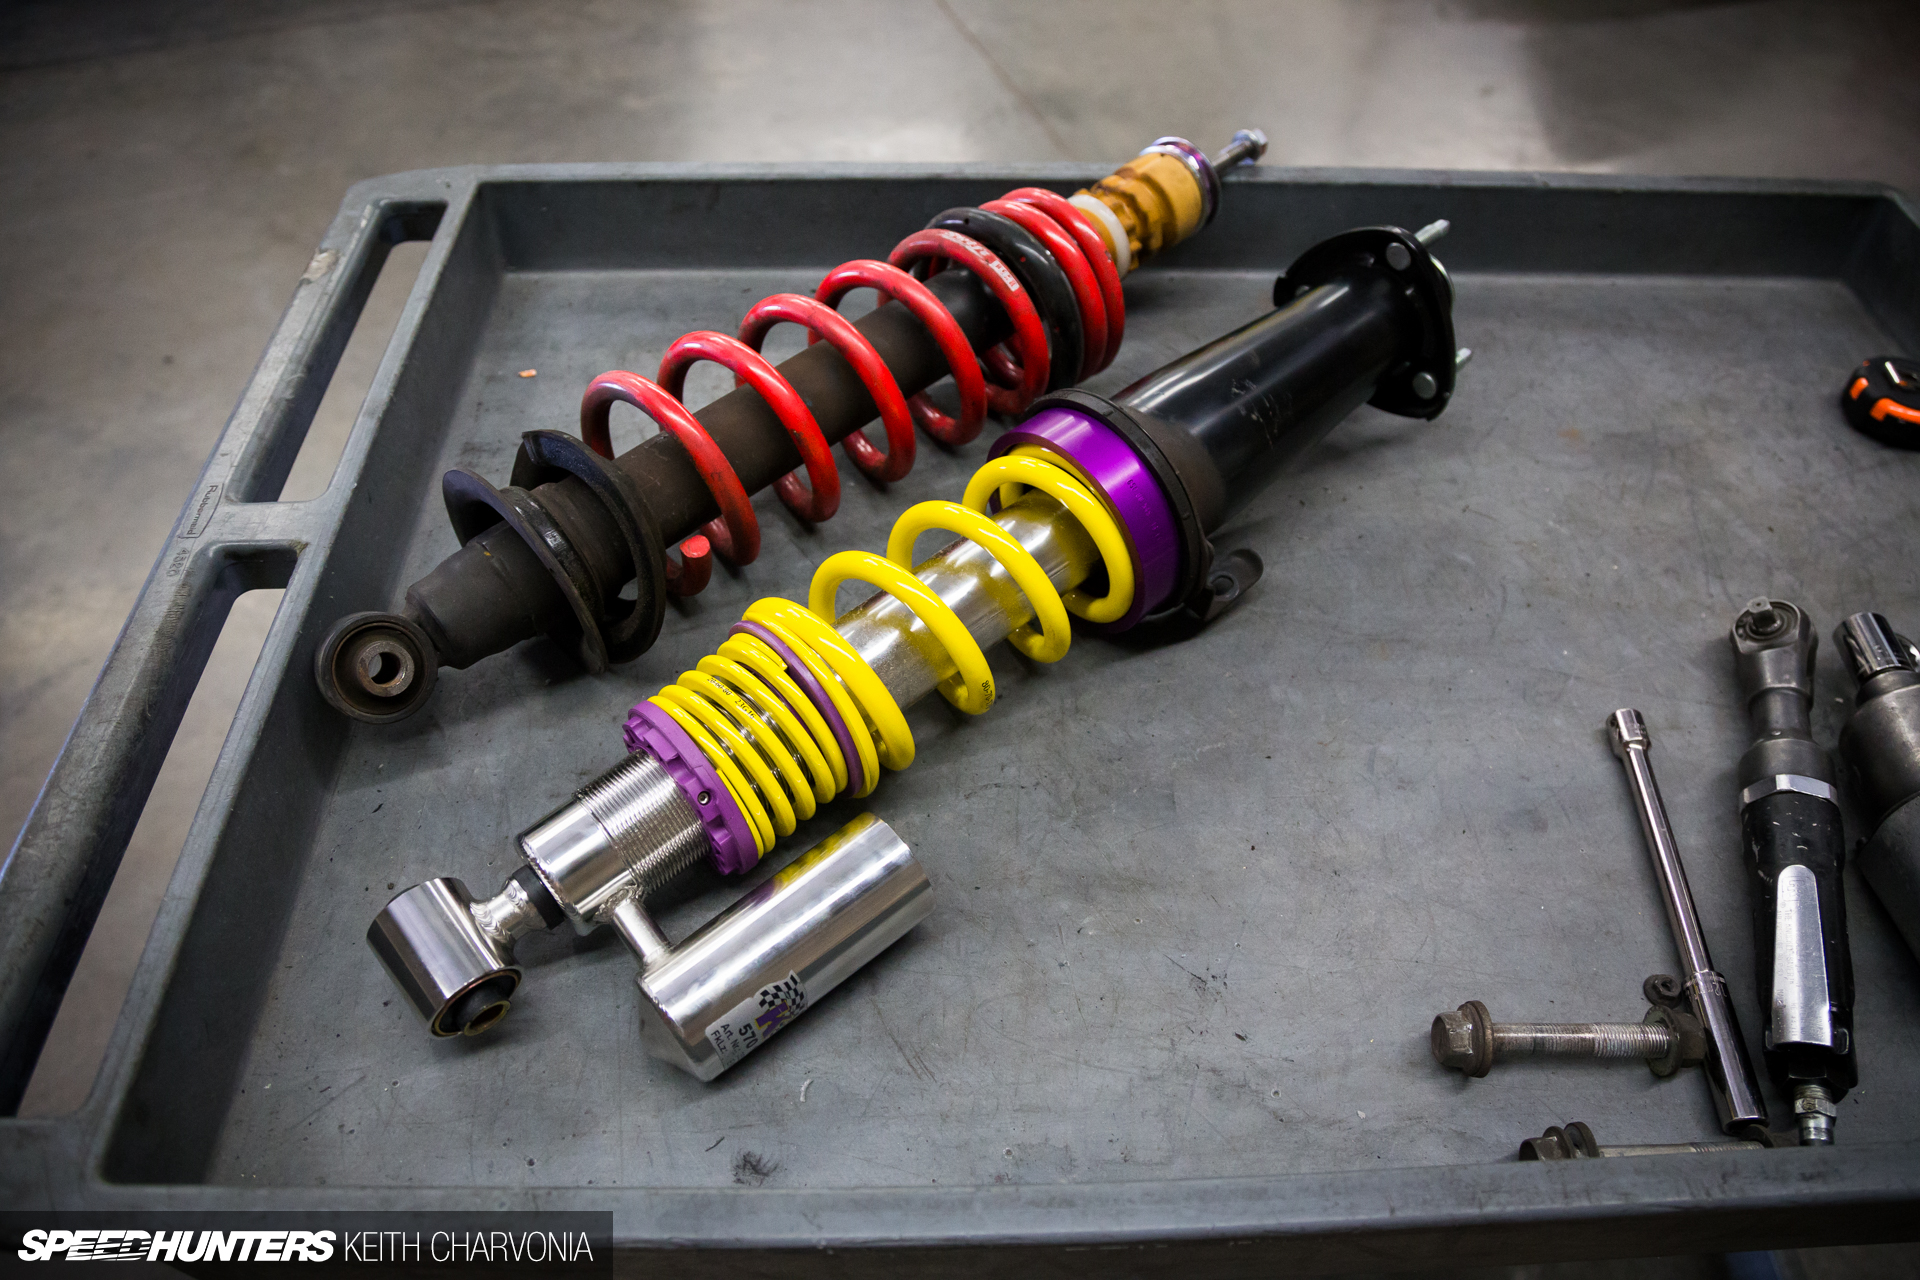
With the Swift springs the car’s height wasn’t adjustable, and neither were the compression and rebound. And then there was the fact that the OEM struts had around 65,000 miles on them. A fresh set of Variant 3s seemed like a very nice upgrade with their full stainless steel construction, adjustable valving and variable ride height so I could dial things in once I fitted aftermarket wheels.
Put It In The Air
I’ve mentioned before that I’m very fortunate to have access to a two-post lift in my shop at Airaid. This meant I could put the car in the air and work on it during my lunch break.

Once the IS F was racked, I tore into the KW box. Inside I found the familiar toolkit that I’ve stowed away in my last two cars as well.
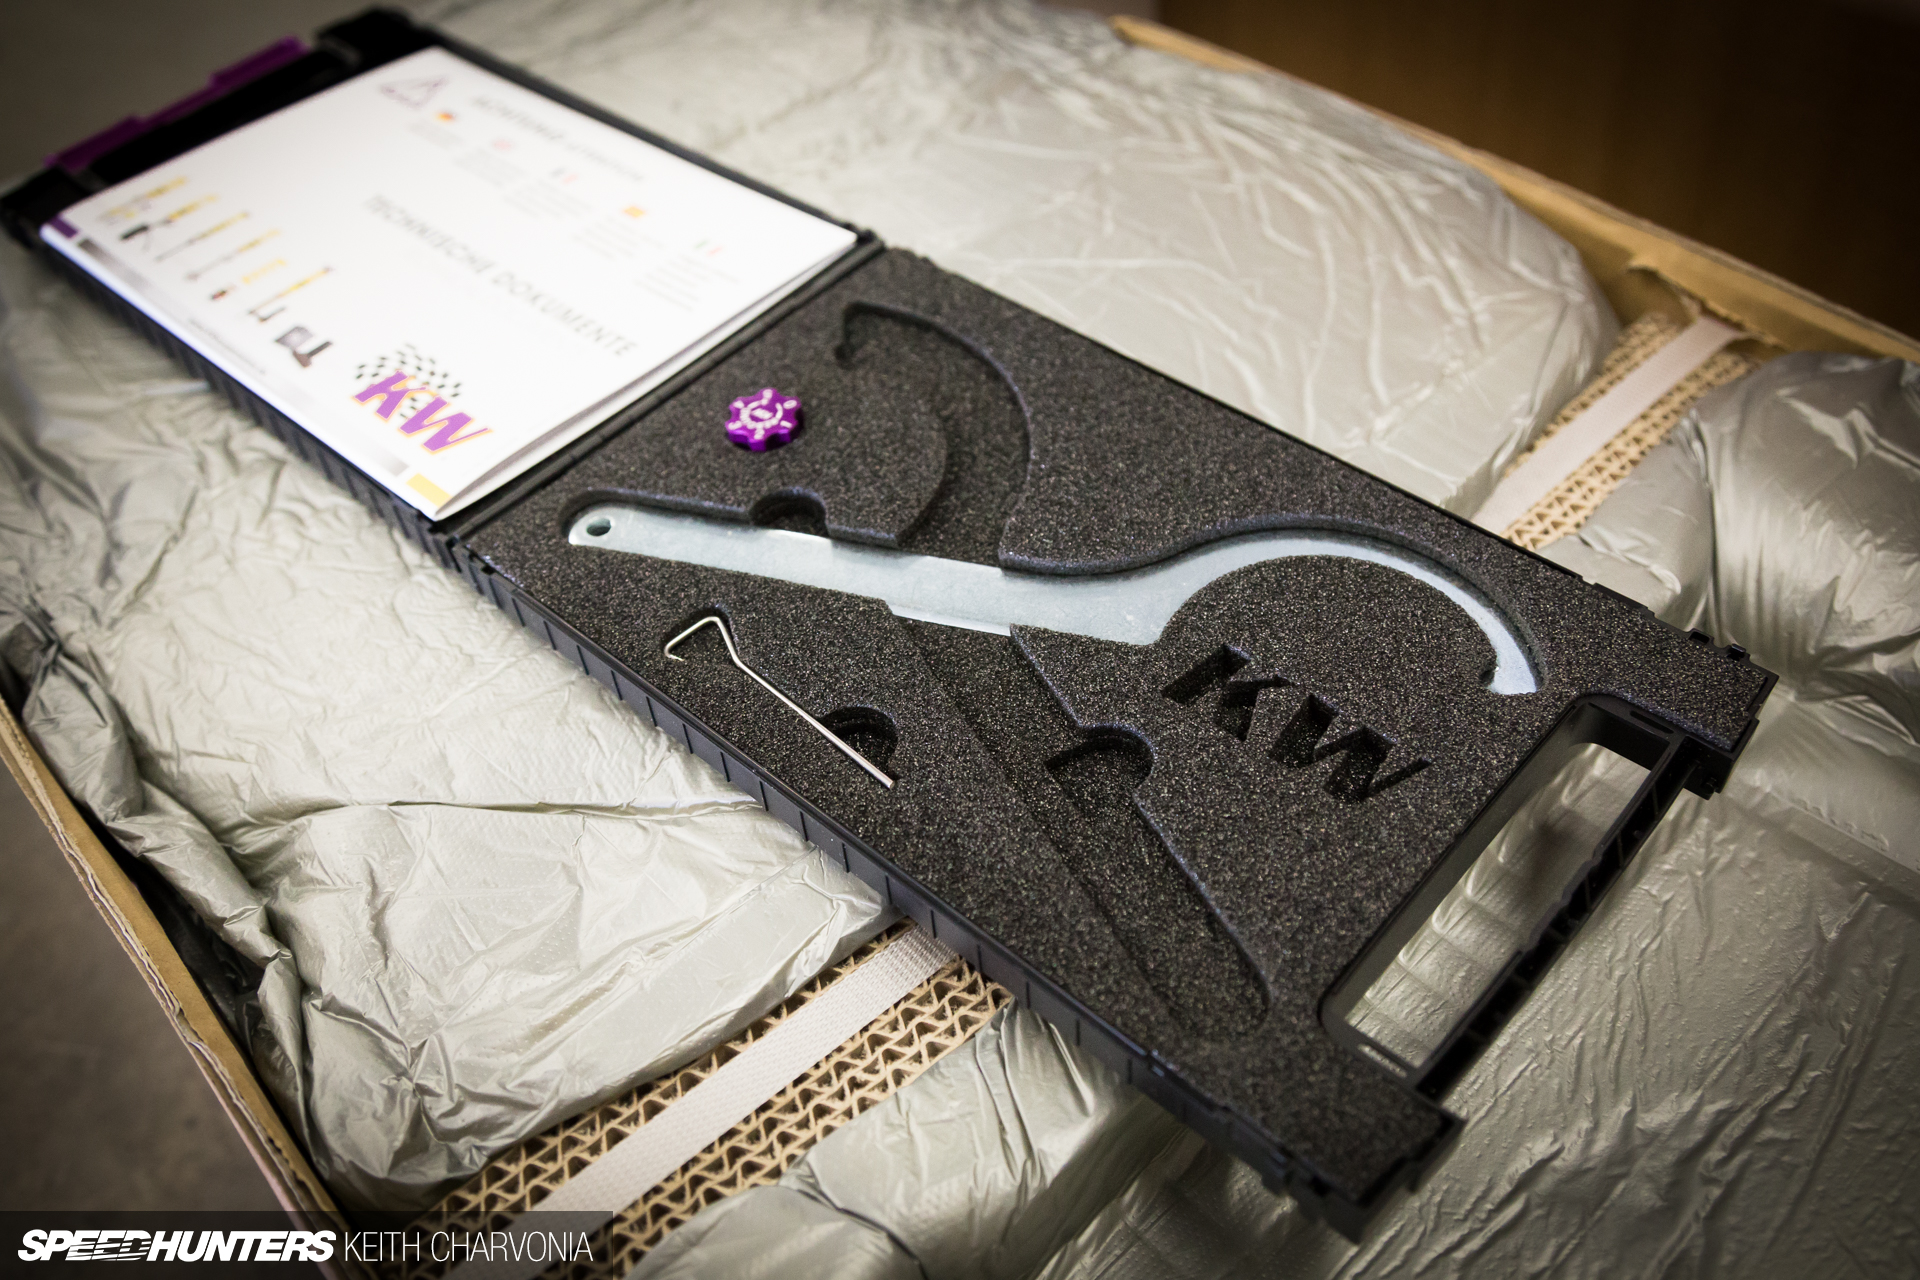
The nice little padded case includes a spanner to adjust the collar, although in the past I’ve simply loosened the set screw and spun them by hand – more on this later though. Inside the tool case I also found a pin for adjusting compression using KW’s patented two-way bottom valve, and an anodized rebound adjustment tool for the top of the shock.
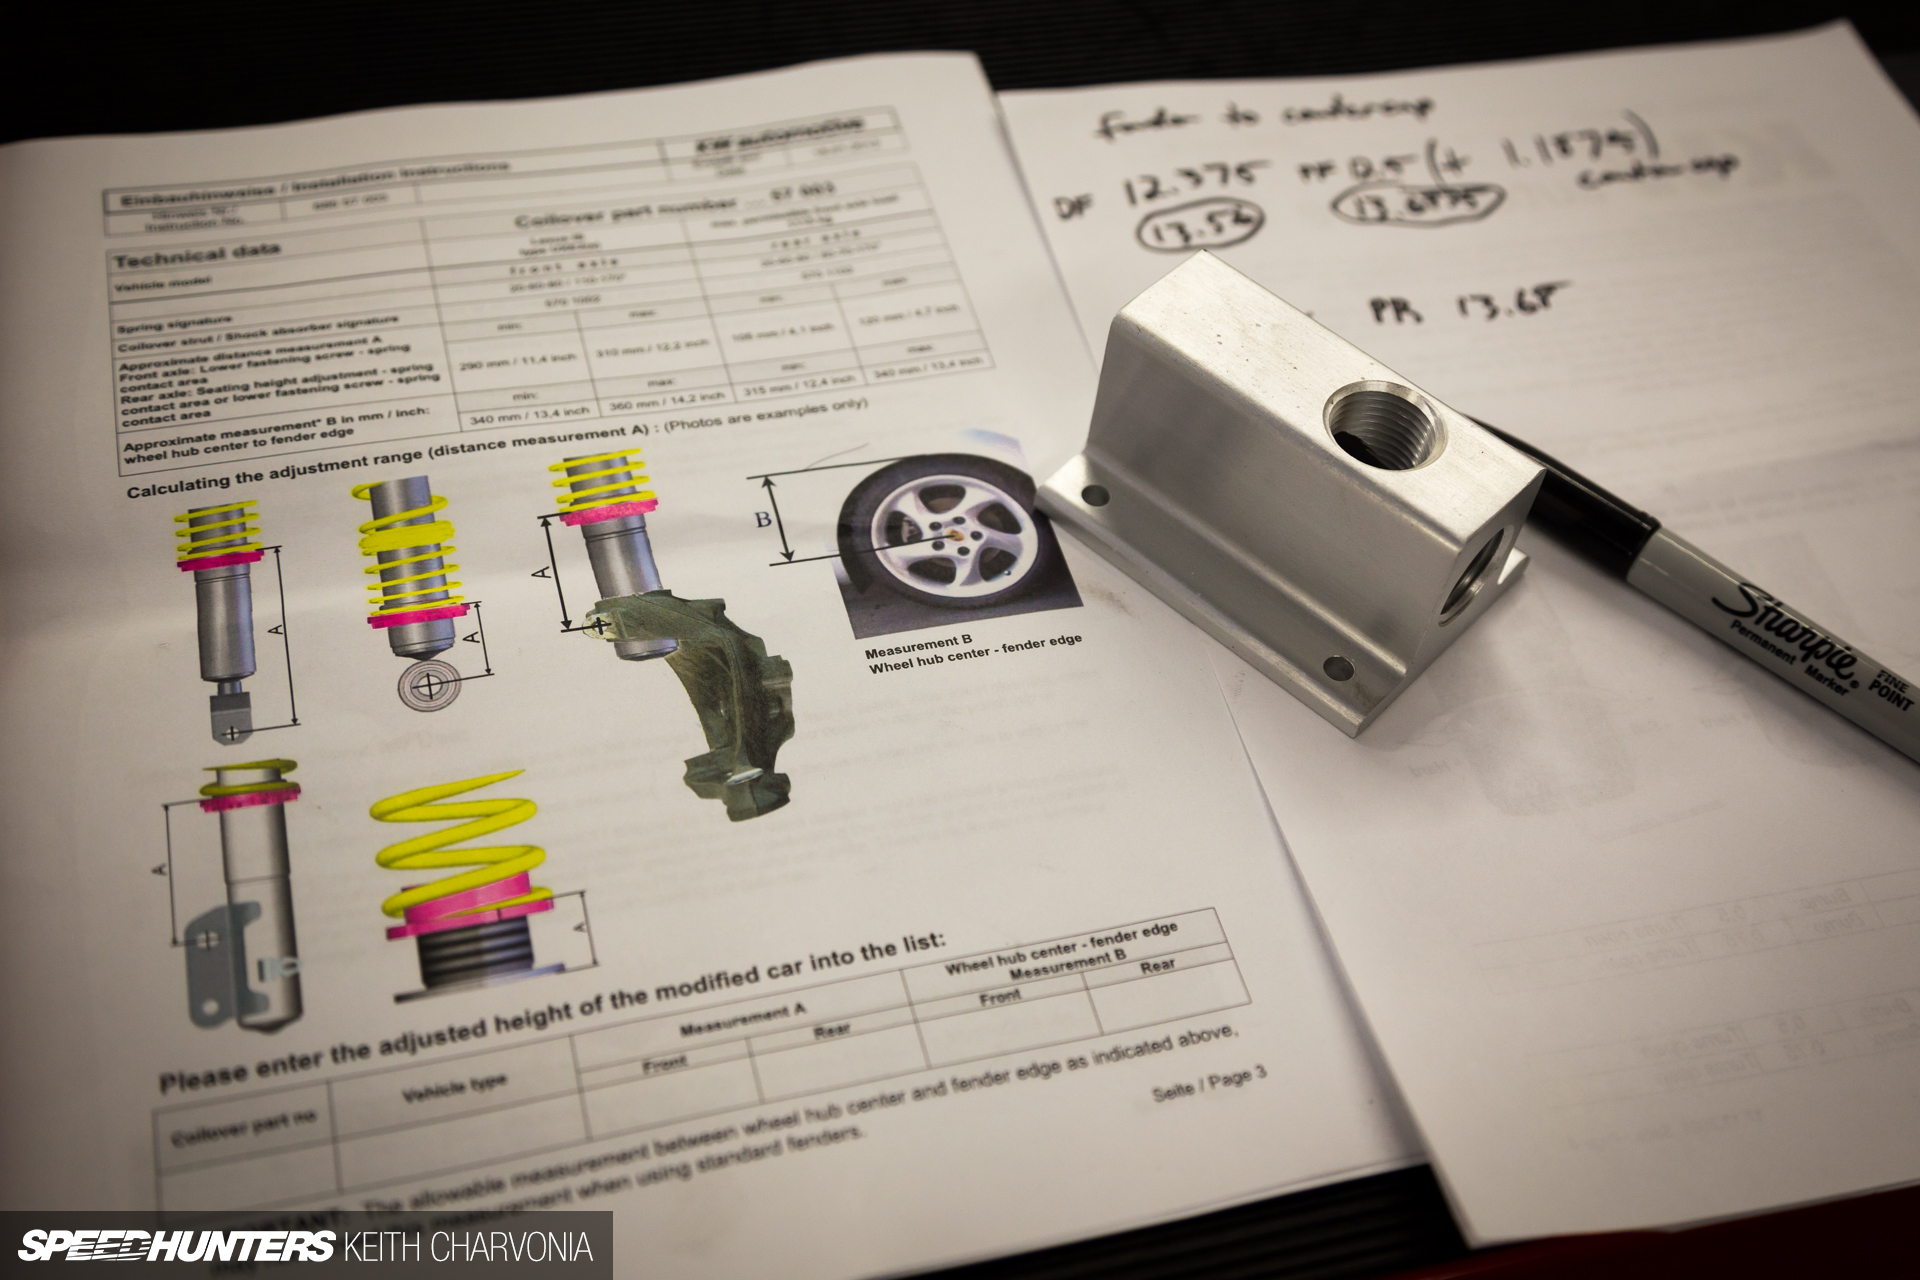
As with nearly any other automotive job, the results will only be as good as the prep. I slowed down at this point to record my current height at each wheel, making sure it was within the spec of the V3s, and also seeing that I had room to adjust higher or lower once I fitted more aggressive wheels. The other reason to recording my current ride height was to put the car back as close to this spec as possible, so a trip to the alignment shop wouldn’t be so hard on my tires.
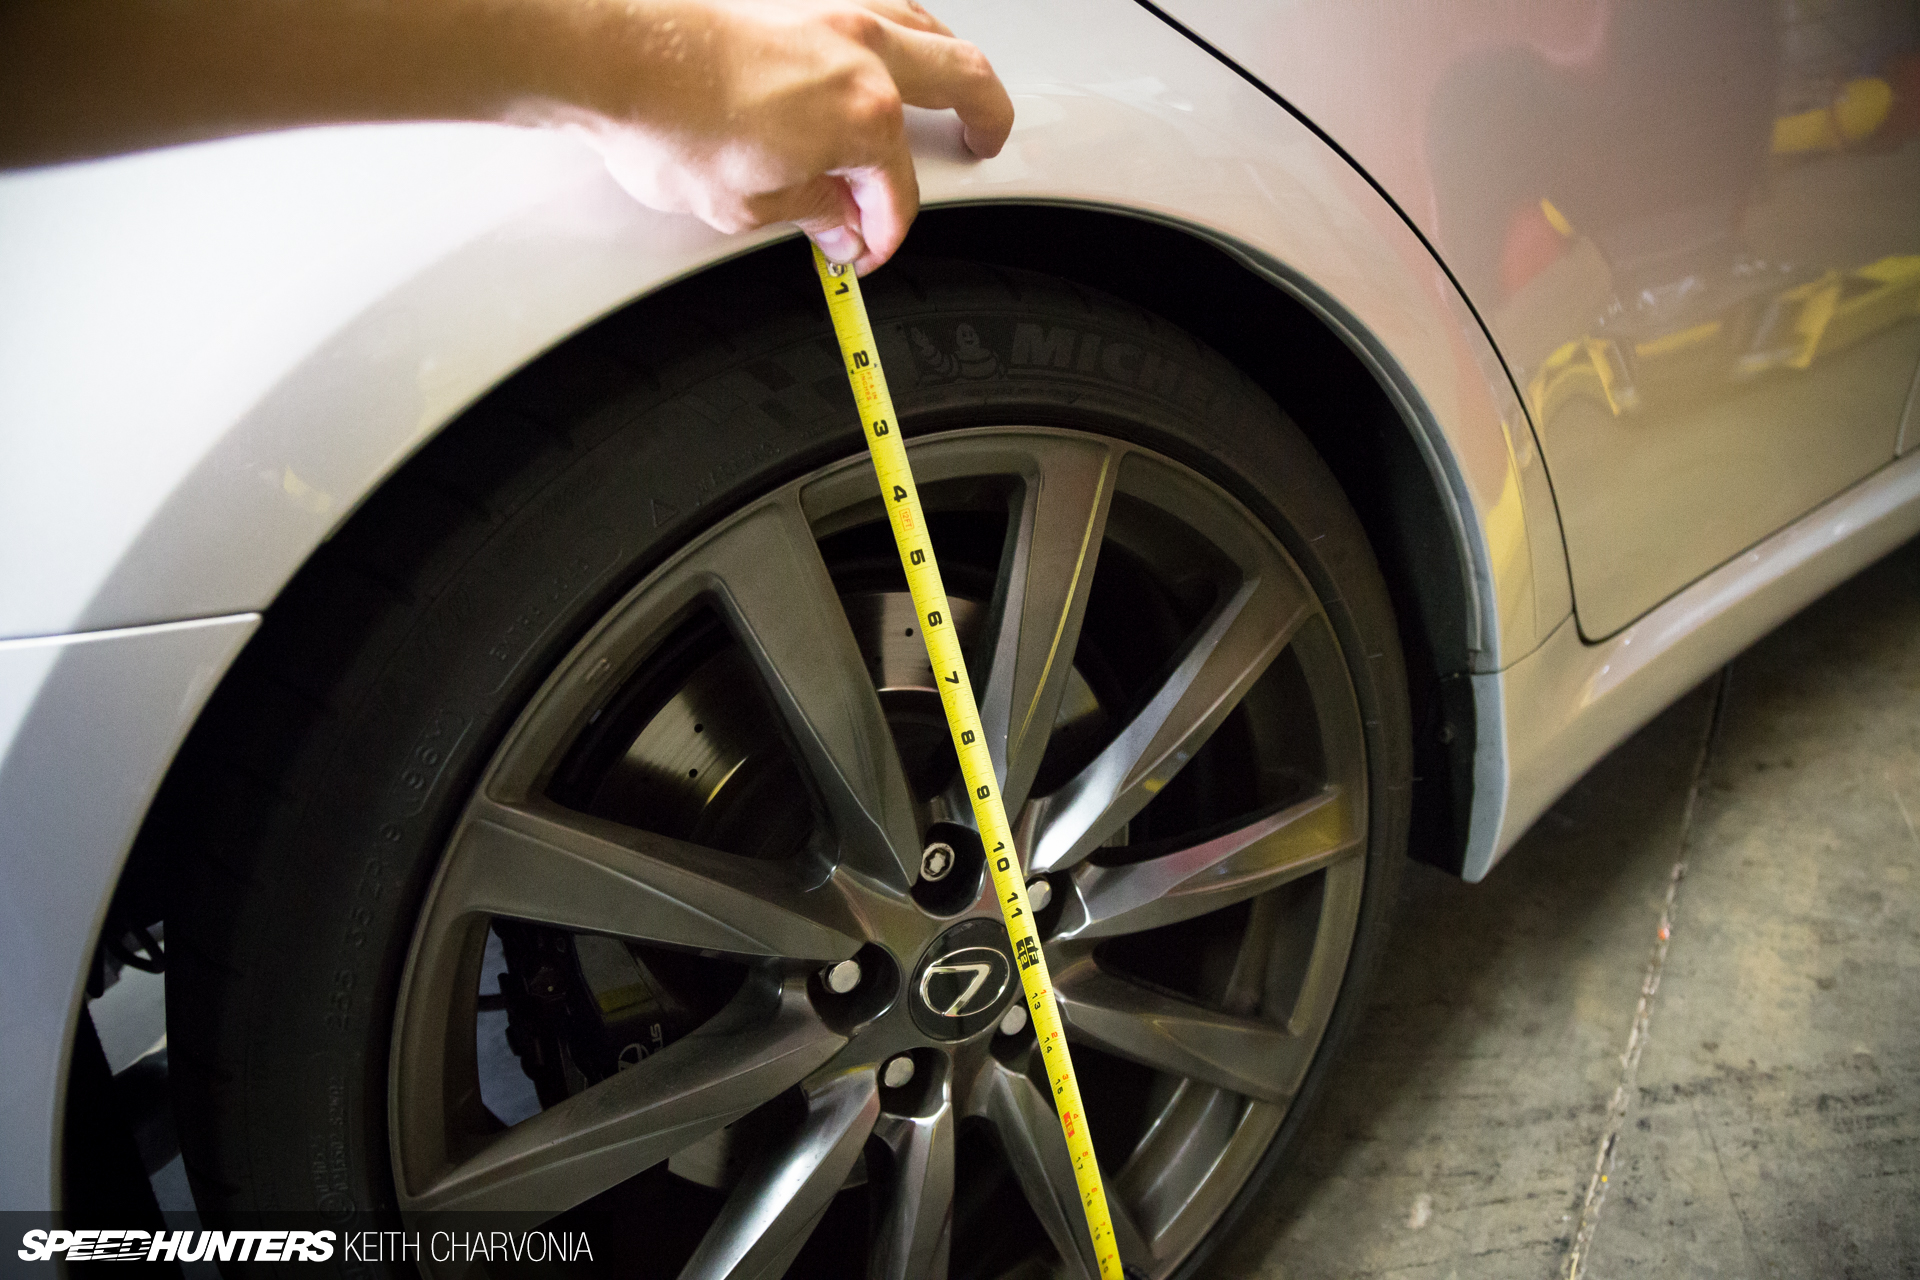
I used a tape measure to check each corner, measuring from the fender lip to the center of the wheel, then recording it right on the KW instructions for later reference.
Lunch Break Day One: Rear Suspension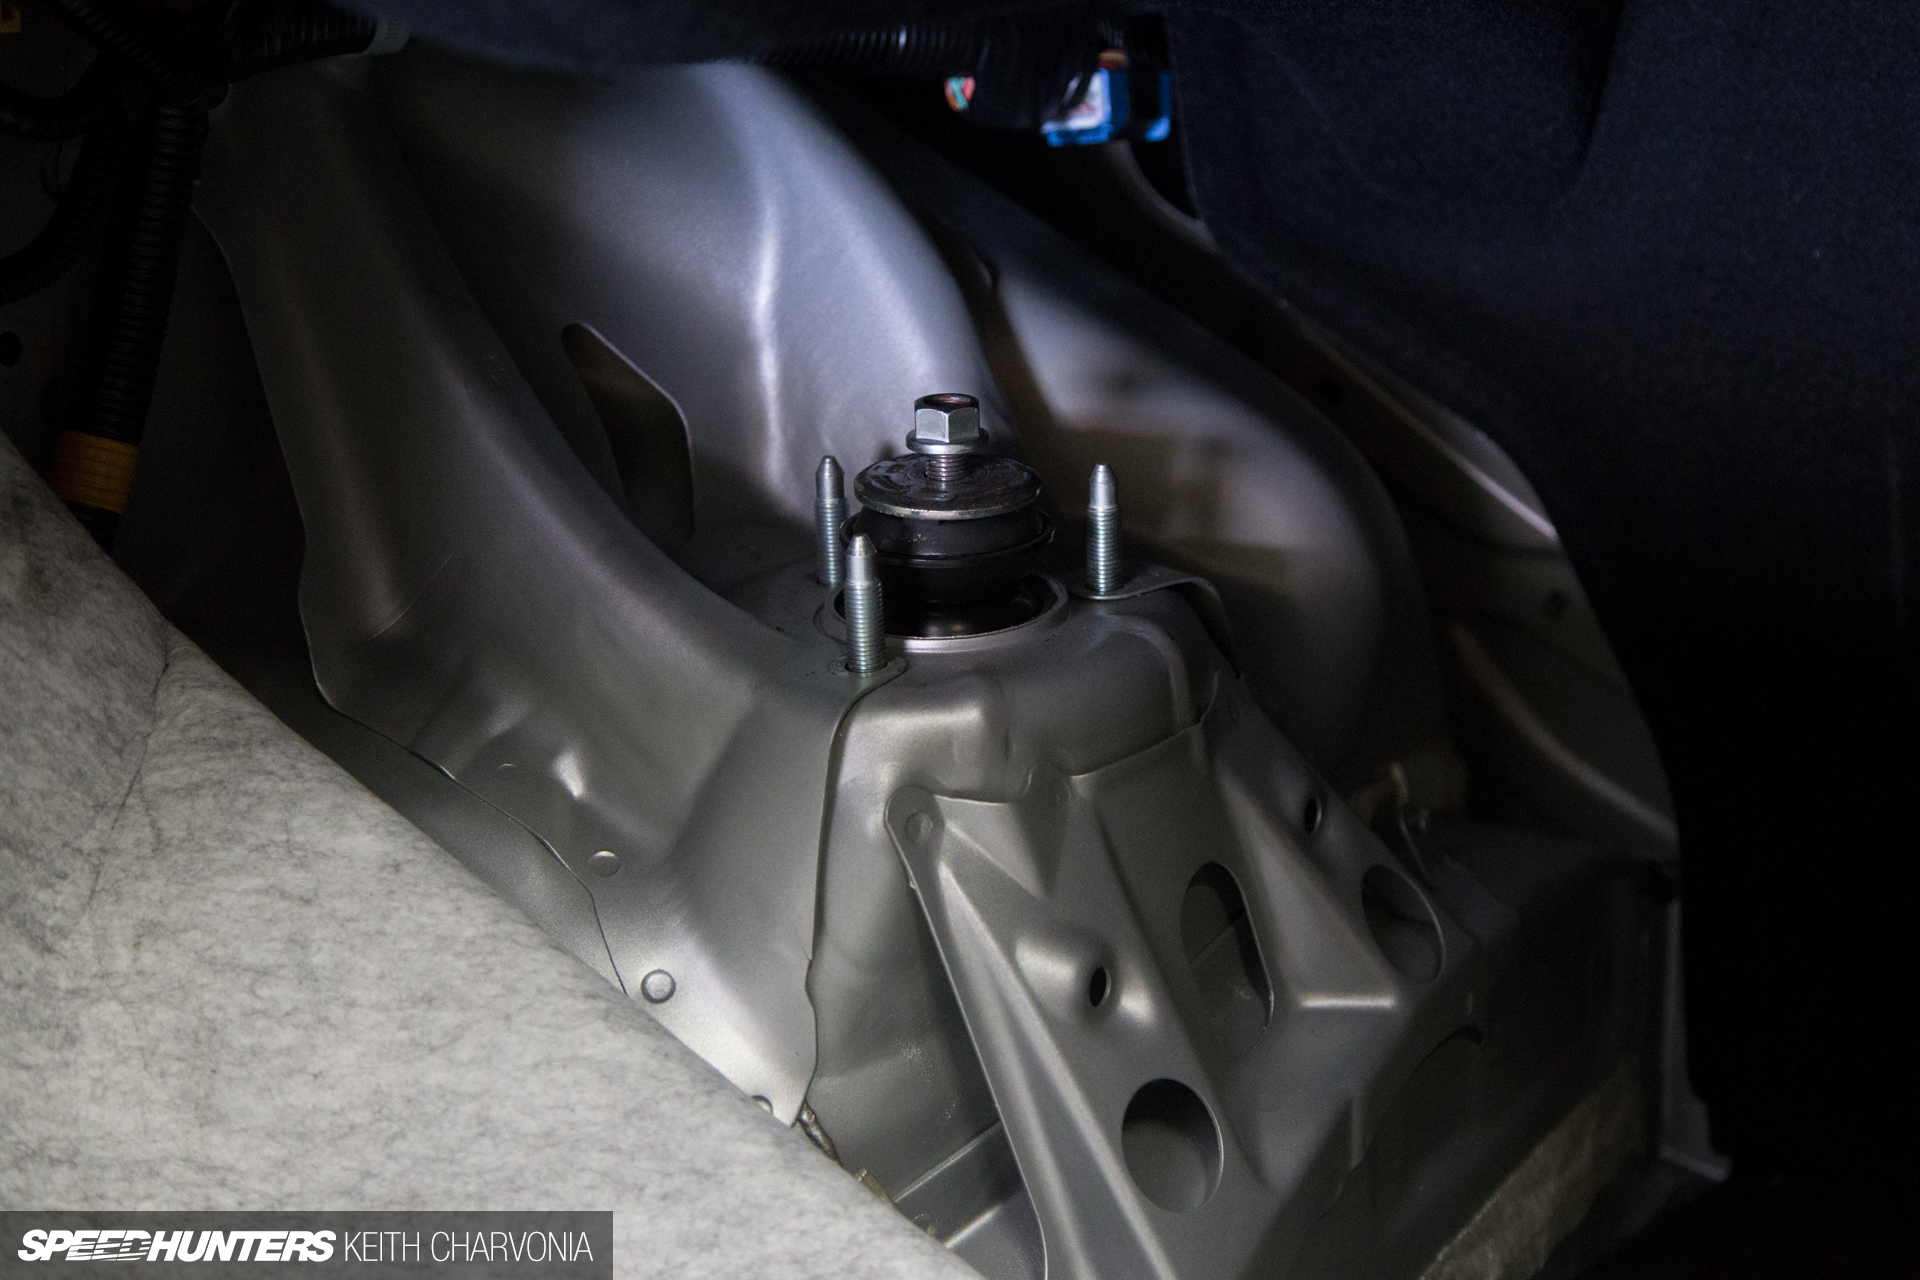
With all the prep done, it was a simple task to remove the rear struts. I zipped off the three nuts per side in the trunk, then I went ahead and loosened the nut holding the coil onto the strut while I was in there. There was very little preload on the spring, so I determined this was safe to do at this point.

Back under the car, I pulled back the felt fender liner to reveal a large steel top mount. Notice the spring is already loose on the strut assembly.
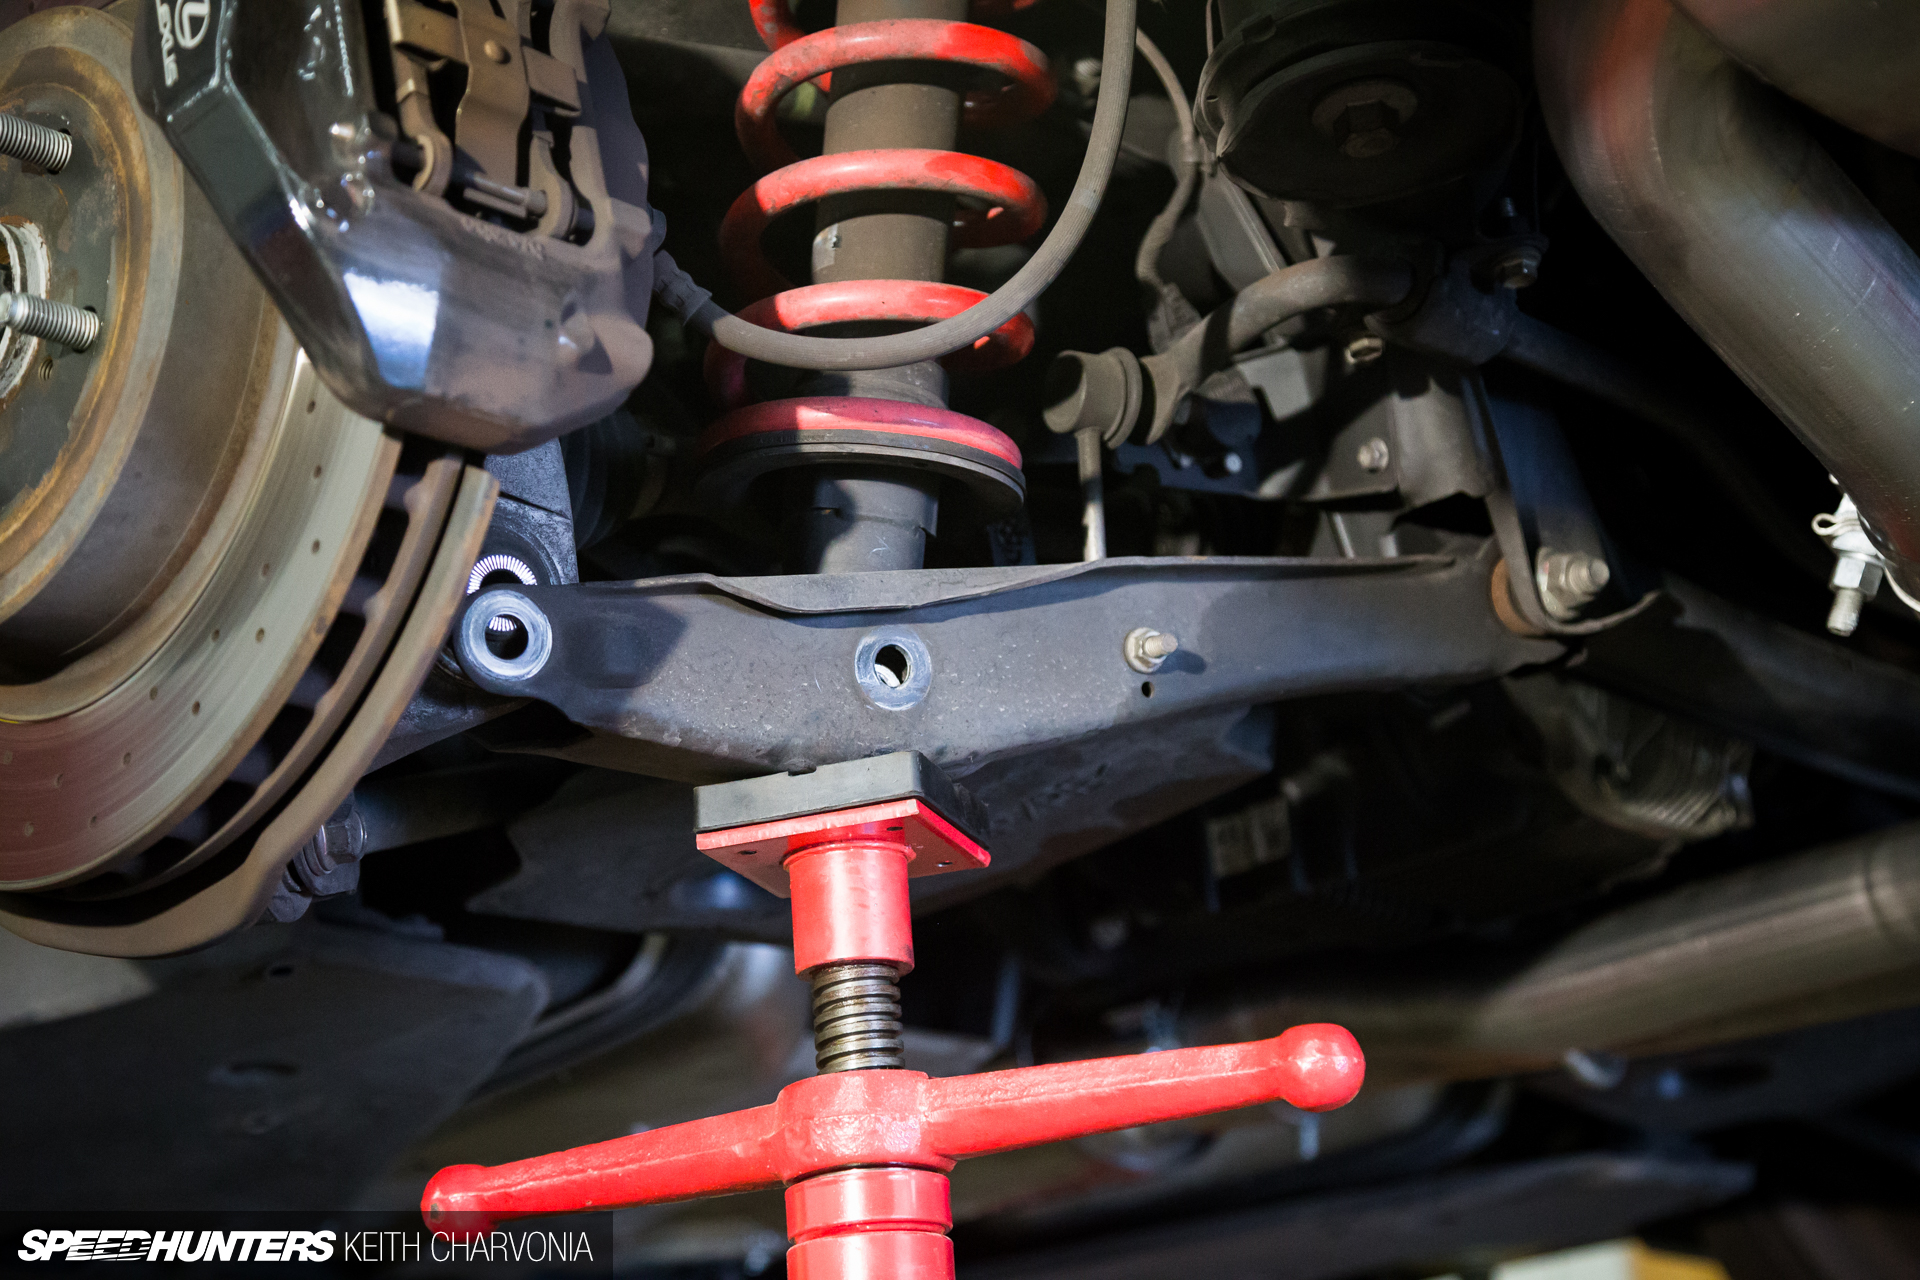
With a screw jack under the lower control arm I could easily remove the bolts for the strut and knuckle, allowing the control arm to swing down a bit.

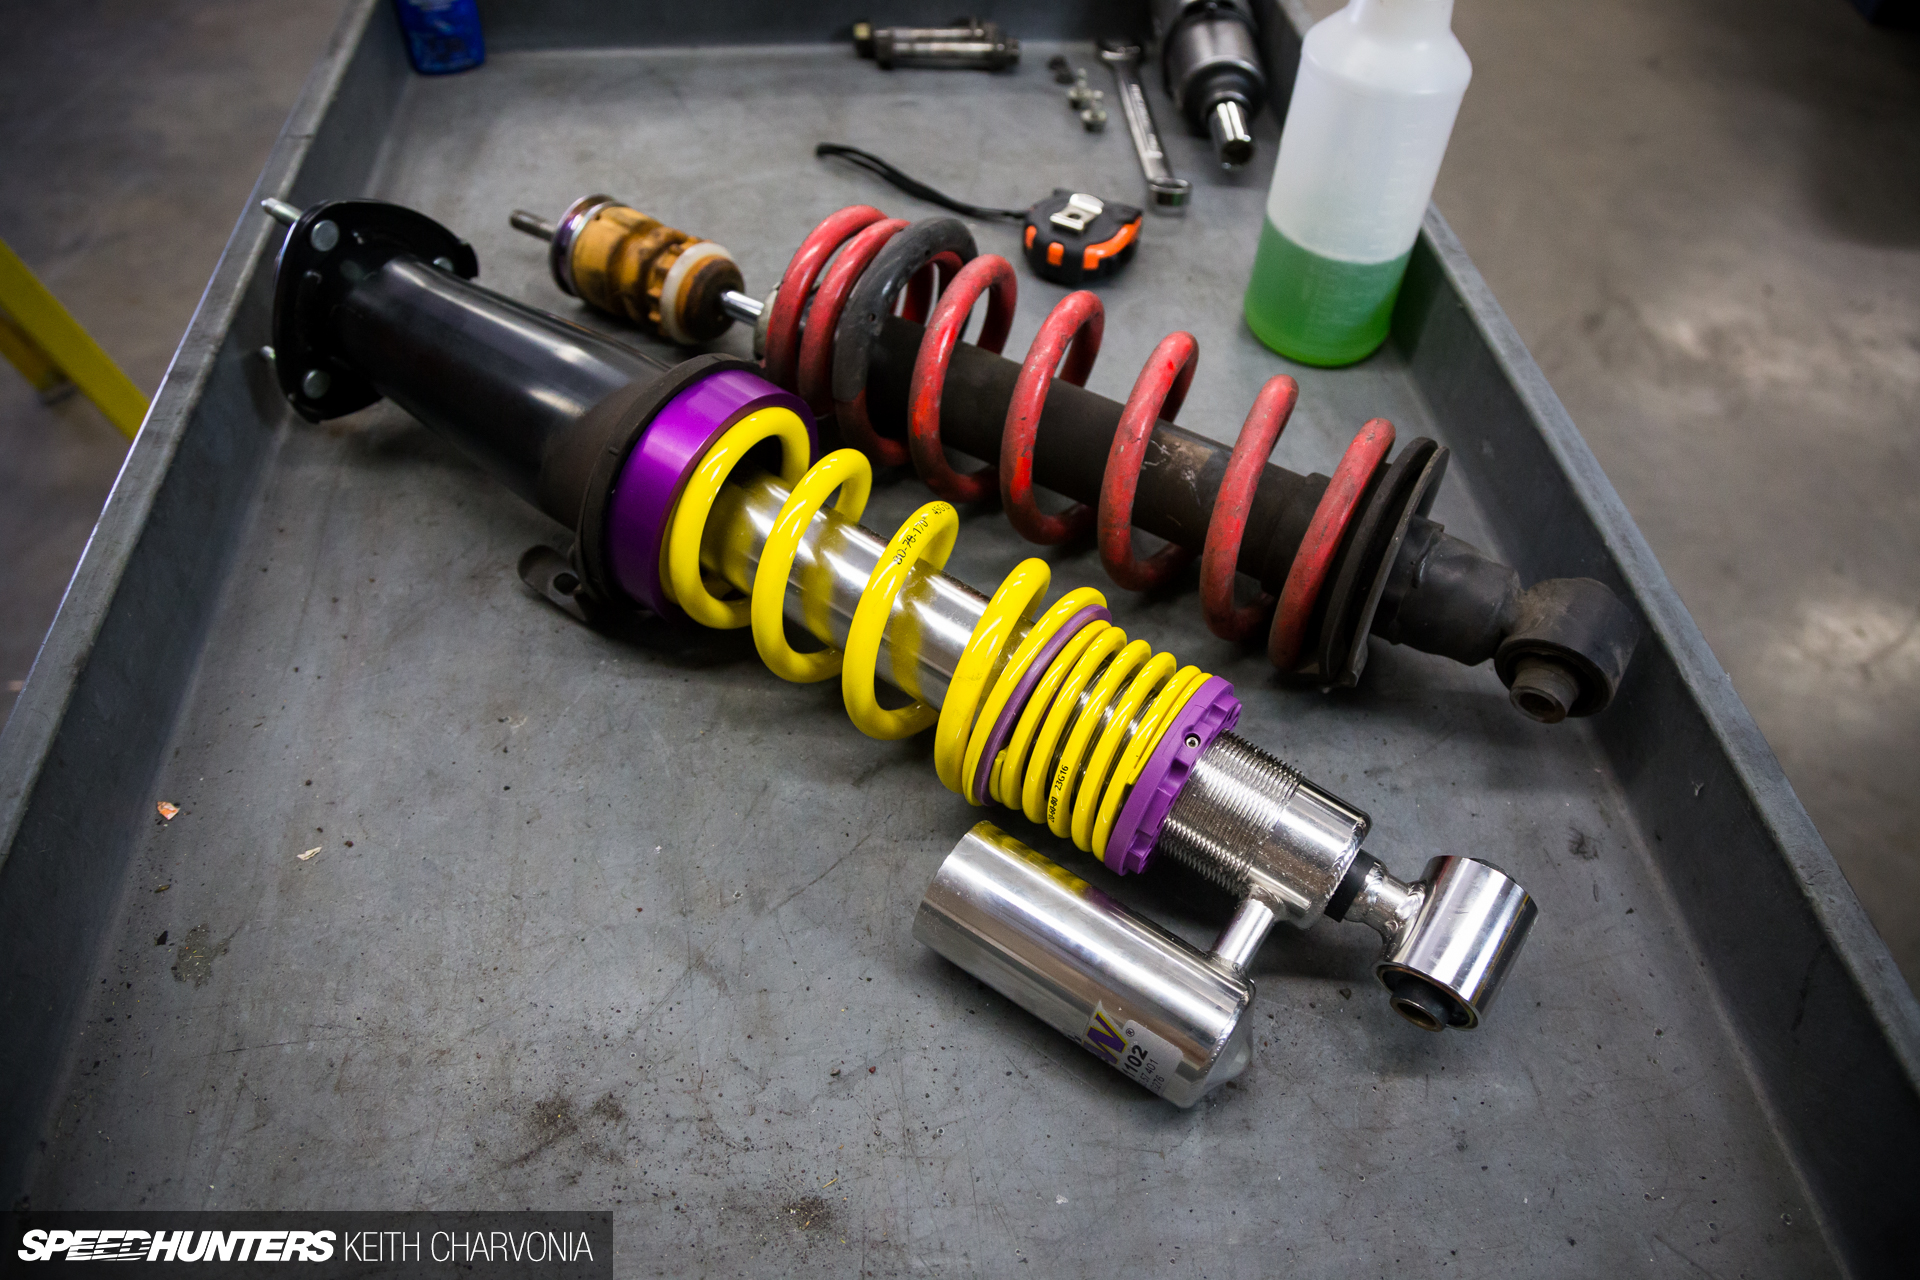
I removed the top mount to be reused on the KW coilover and gave it a quick cleaning with Simple Green and a shop towel. You can see the Variant 3s even come with an appropriately tuned bump stop instead of reusing the stock piece.
Reassembly was simple. Once the top mount was installed and the nut torqued to spec, I turned the adjusting collar to a predetermined height by referencing the KW instructions and approximating the ride height I wanted. This turned out to be far more accurate than I would have guessed.
I mentioned the ease with which I’ve been able to turn KW’s composite adjusting collars in the past, even after many miles. I’ve never even used the provided spanner, just wiped off the threads and loosened the set screw before spinning them by hand. Of course, if the weight of the vehicle is loading the suspension you might need a spanner, but I’ve always jacked the car up to access the coilover.

Anyways, I’ve had coilovers with aluminum adjusting rings that were so stuck I used a torch and a three-foot long cheater bar to break them loose. Running this by my buddy Chris Marion of KW, I learned the reason why they’re so easy to adjust. “KW uses a threaded ring made of a resistant polyamide composite material with a stainless steel insert. Even if dirt particles such as brake dust or sand grains hit the polyamide collar it will not be damaged.”

Chris continued: “When anodized aluminum spring perches are used, after repeated lowering adjustment, friction from any contamination may cause micro-cracks on the anodized surface. If the unprotected aluminum threaded ring directly touches the steel or stainless steel strut thread oxidation may occur. In the worst case, height adjustment will become impossible. The durable KW polyamide collar solves this problem.”

I buttoned up the rear install on my lunch break and set the car back on the ground. I would be driving the car home with the old stock shock and Swift spring combo up front, and the KWs in the back. The difference was unbelievable, as the front and rear suspensions were clearly mismatched.

No worry though, I was just driving to and from work one time, and would resume the installation the next day.
Lunch Break Day 2: Front Suspension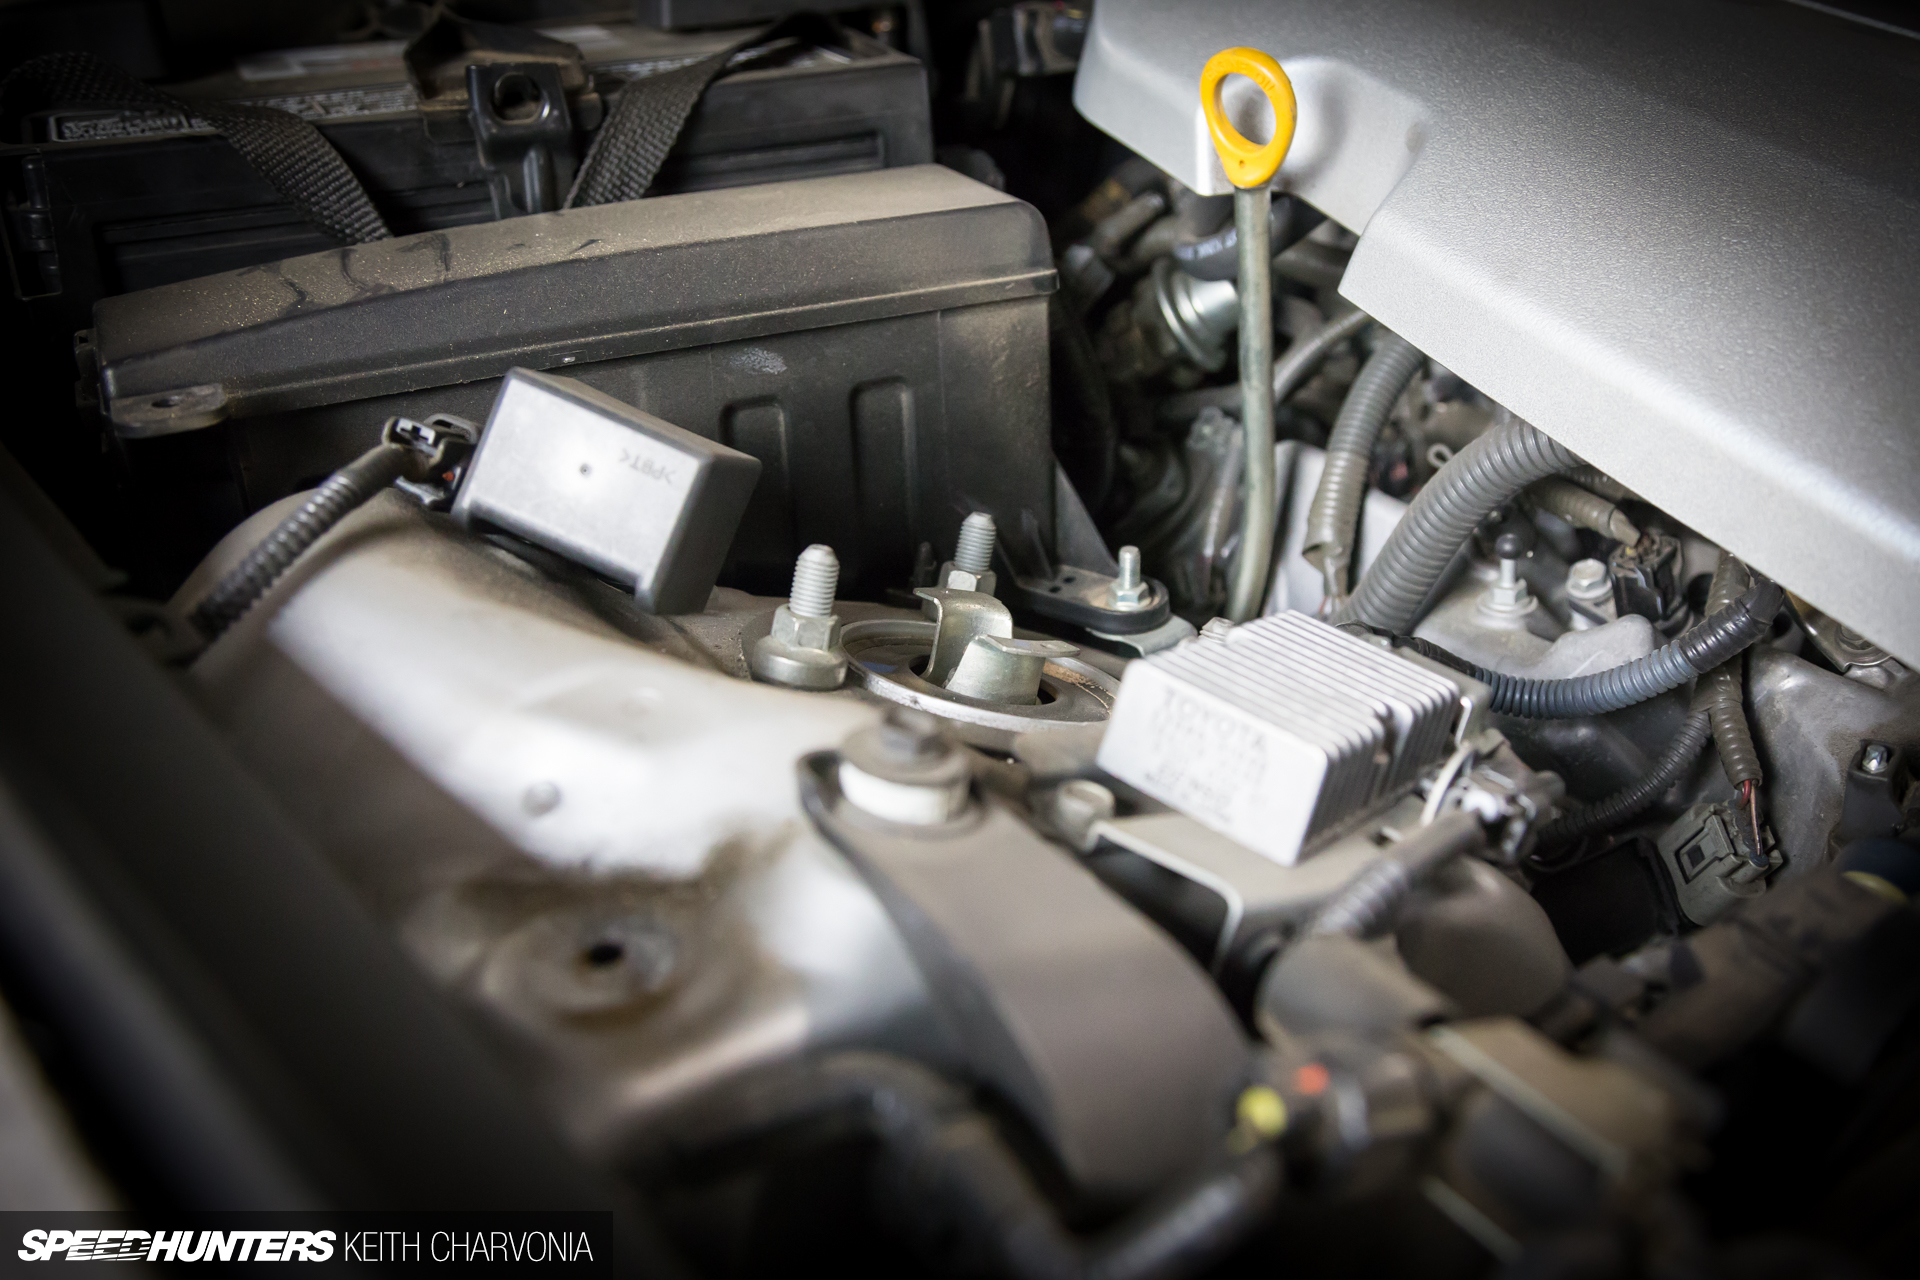
So far I was only an hour into my KW installation, but I knew the front was going to require a bit more work, so I planned to stay late and finish up after work on day two.
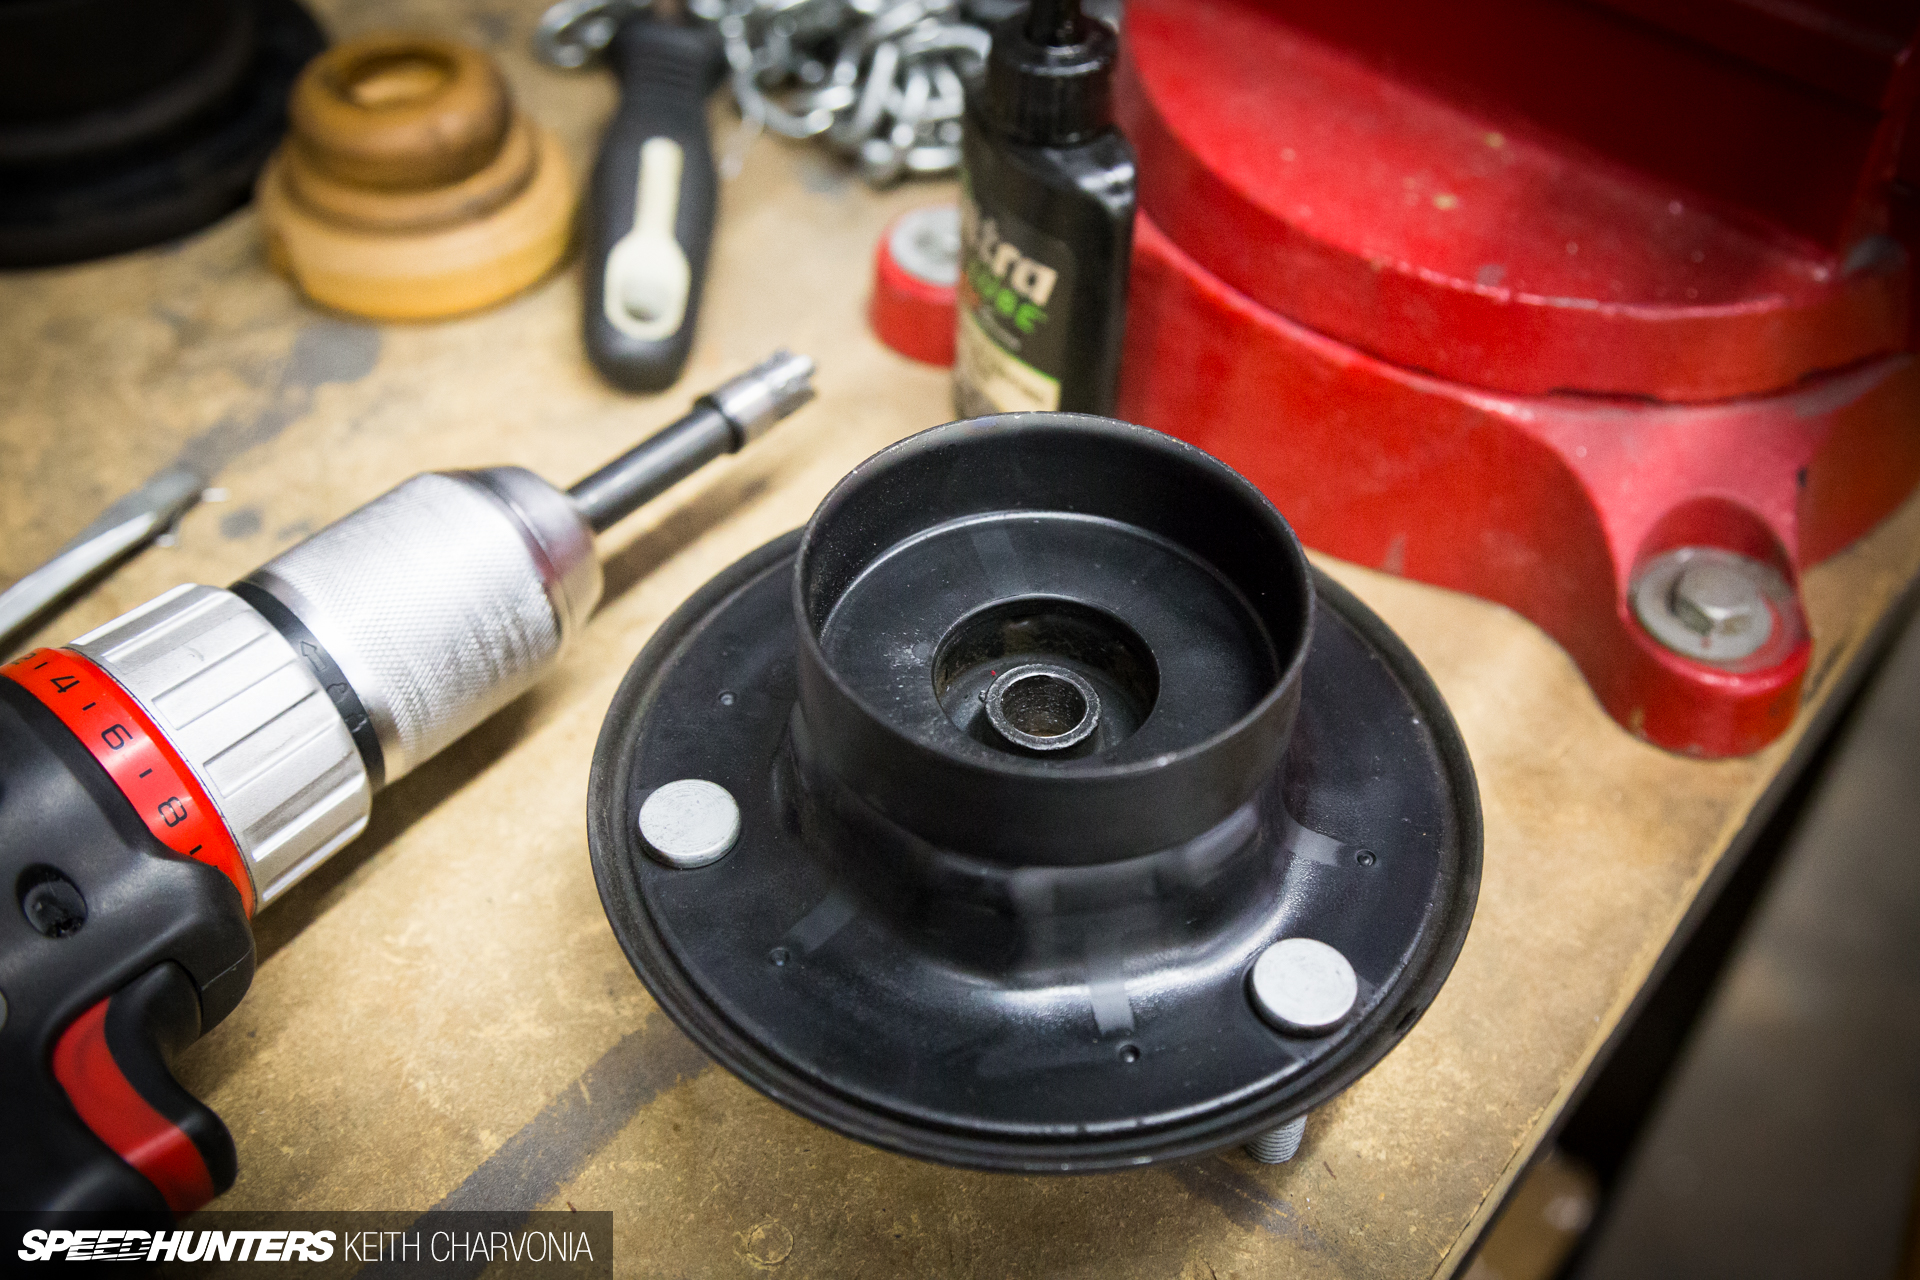
Reading the instructions beforehand, I learned that the front would require some holes to be drilled and spot welds to be cut. This flat-sided hole on the upper mount needed to be made round, for example.
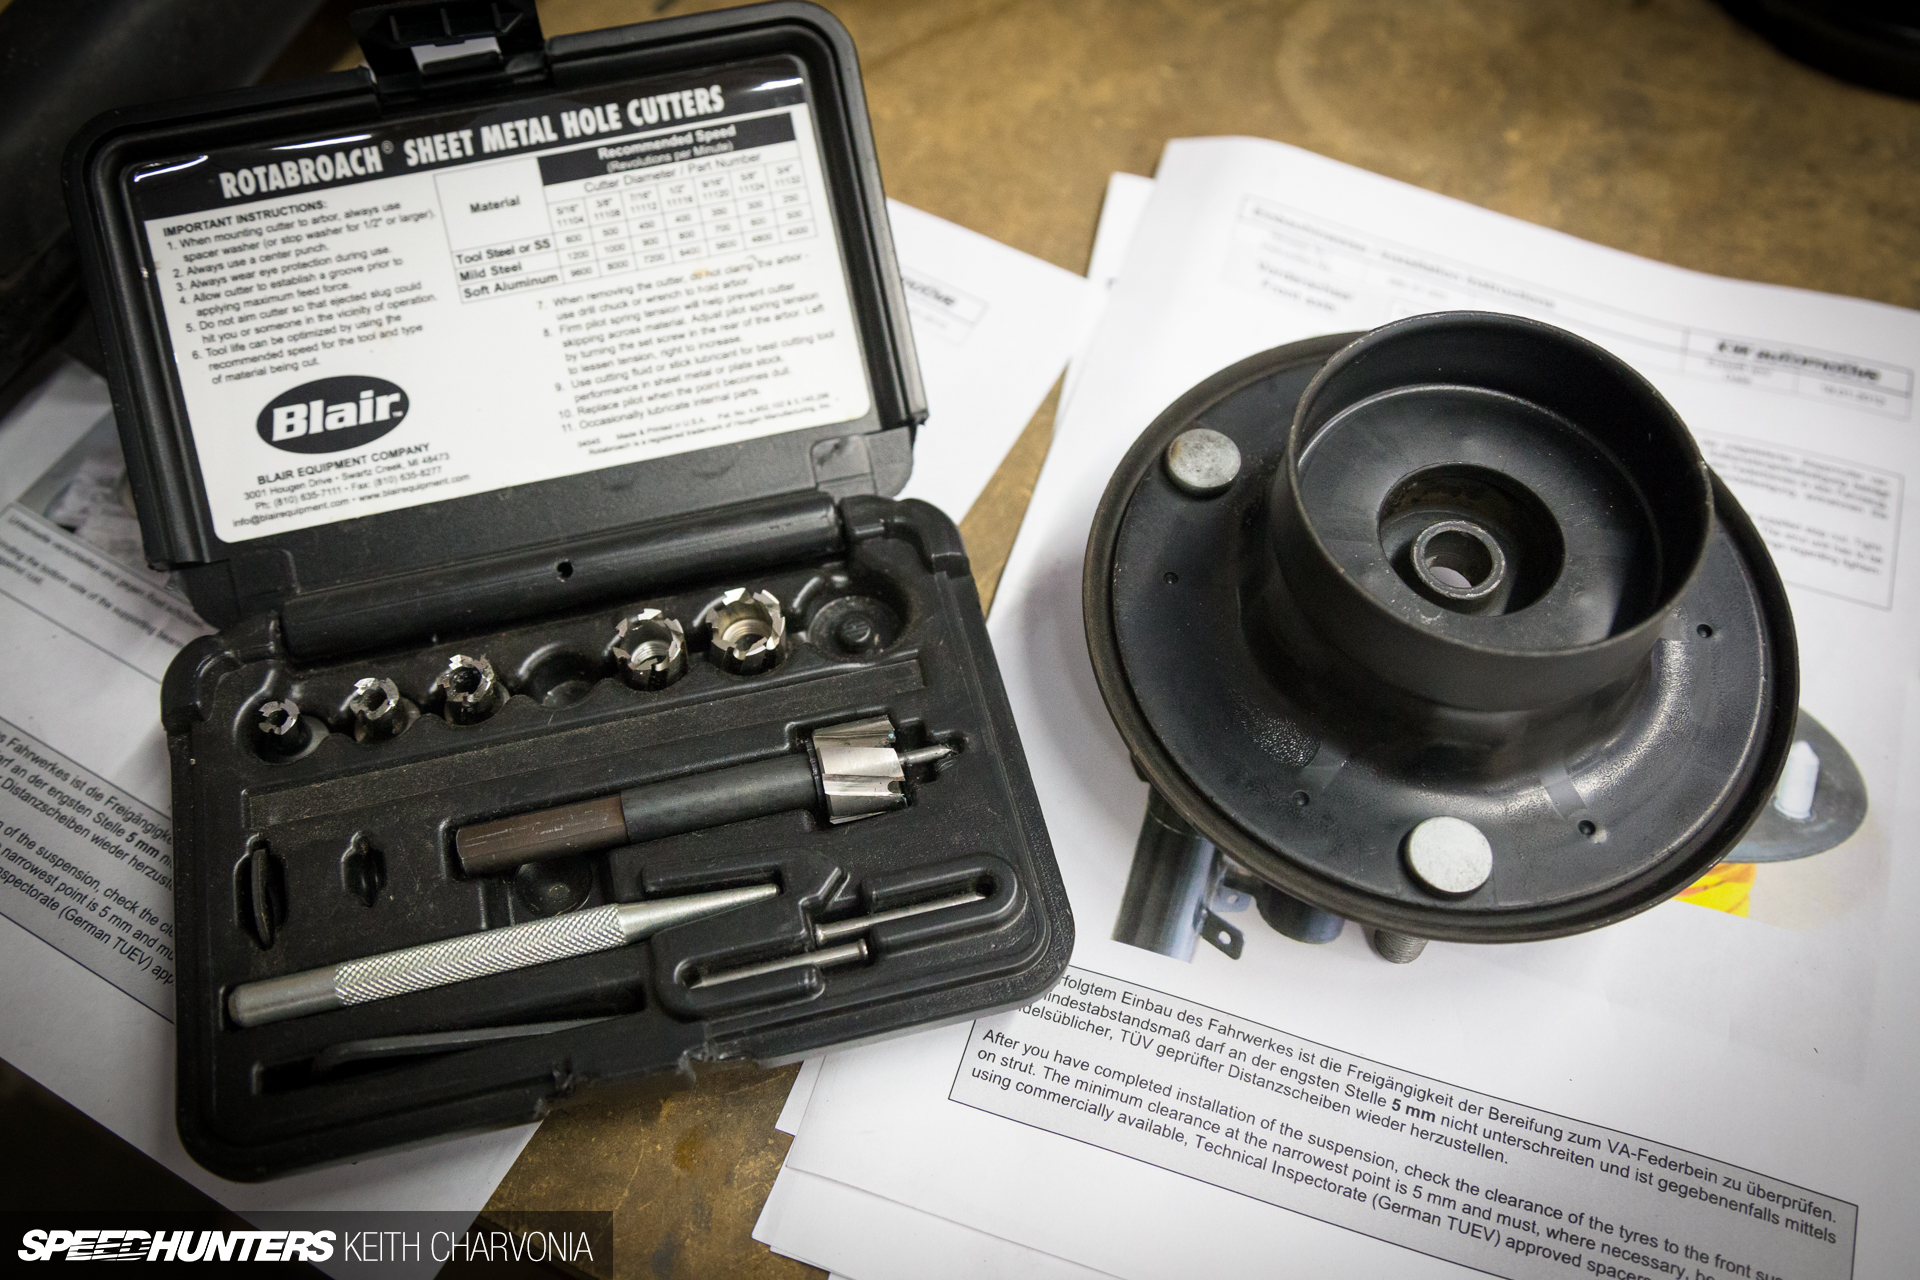
I invested in this Rotabroach set a few years ago, and it continues to pay off. Imagine using sharp, durable miniature hole saws instead of regular twist drills and you’ll get the idea.
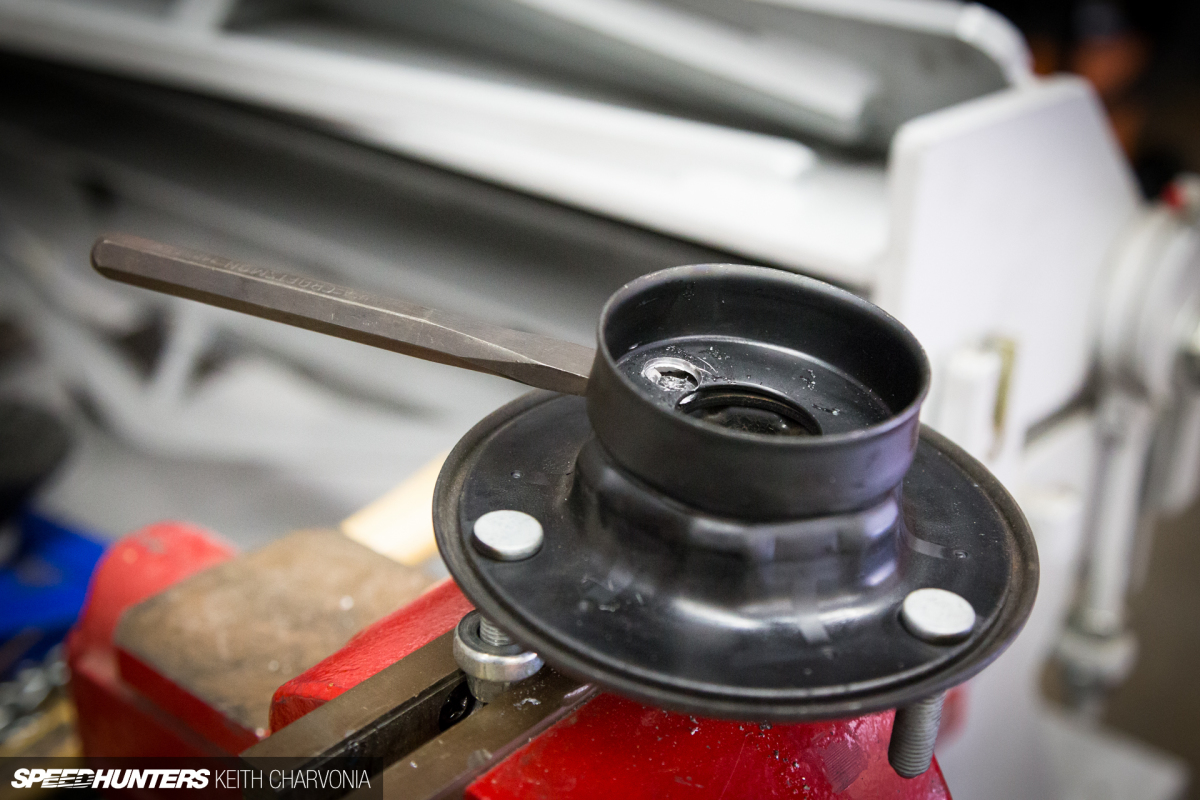
The Rotabroach worked perfectly for this job. I could imagine a two-flute twist drill jamming against the flat sides instantly, whereas my Rotabroach sat inside the existing bore and cleanly removed the two flat sides.
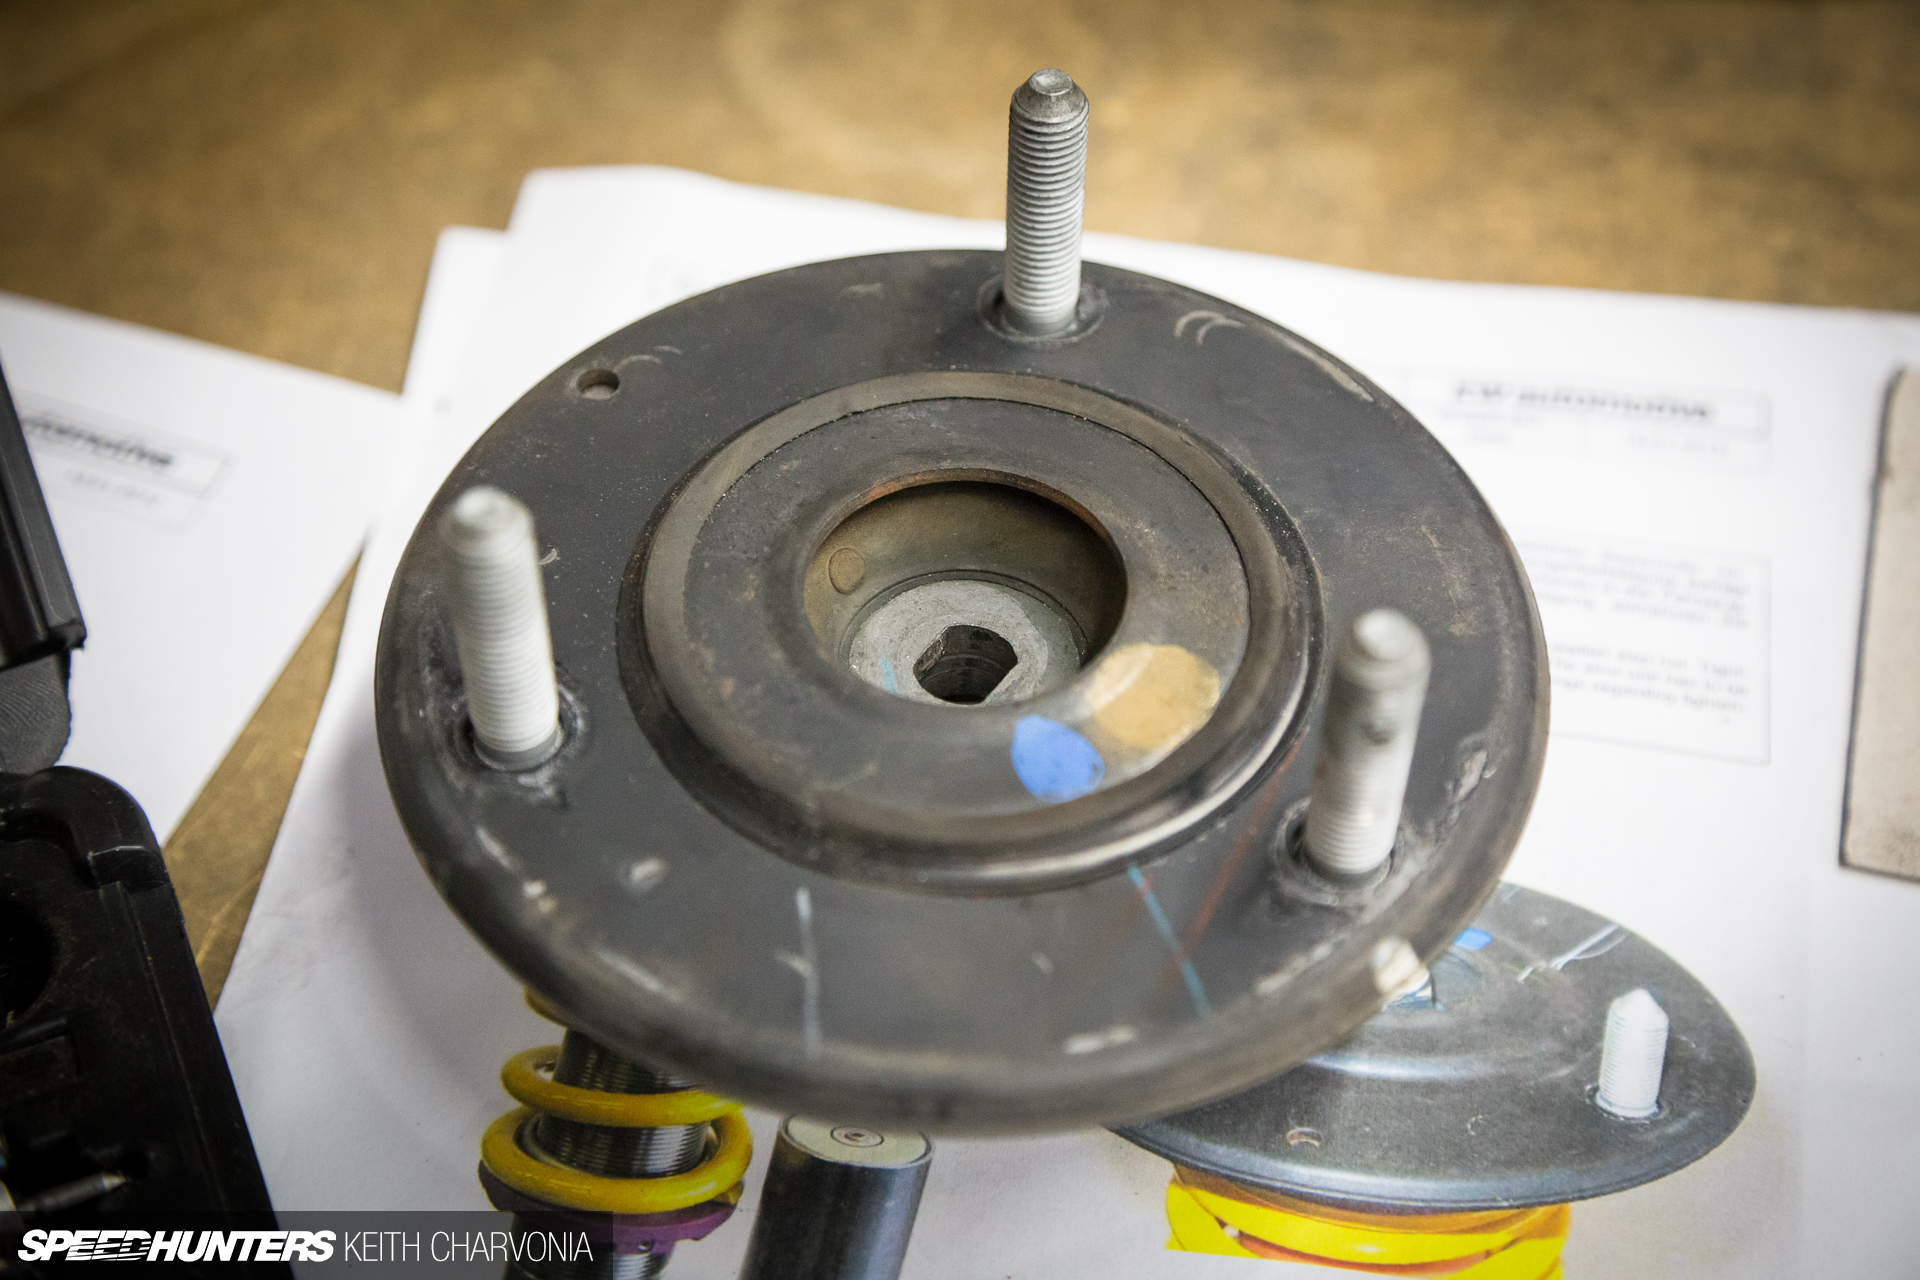
With the hole drilled out to accept the KW’s shock shaft, I turned my attention to the next step, removing this sheetmetal cup.
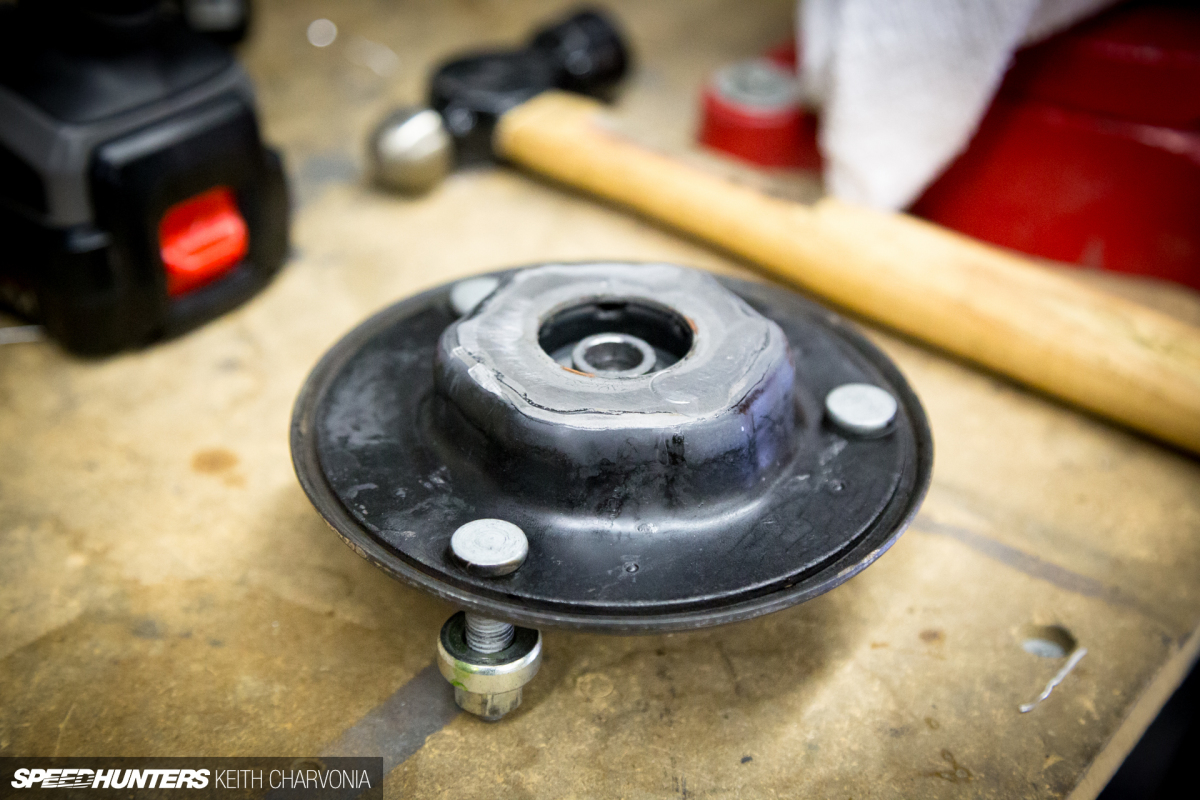
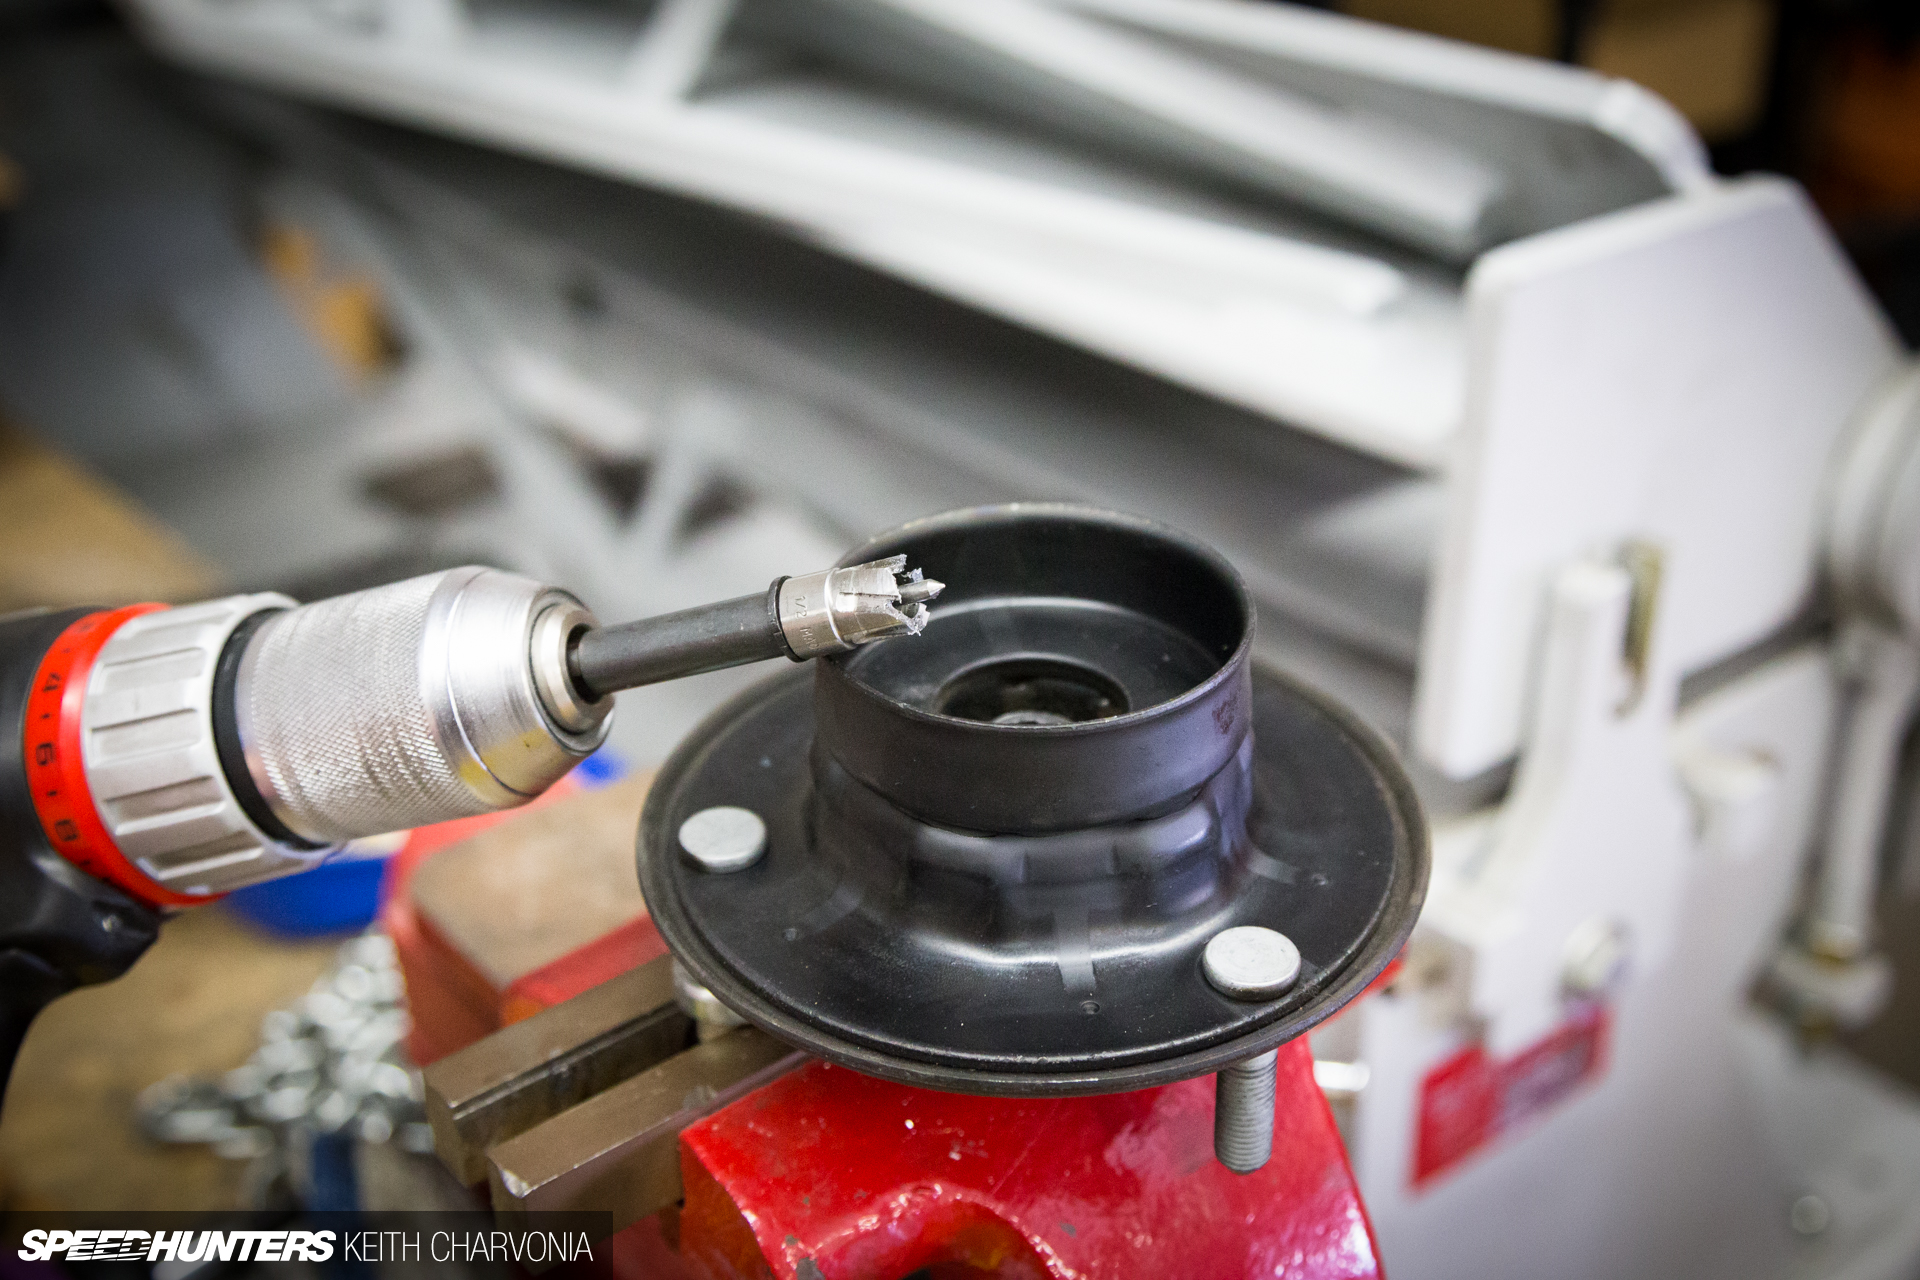
I actually used the same bit to cut the spot welds. If you don’t have a Rotabroach set you can pick up spot weld cutters pretty affordably that will do the same thing with less precision. Next, I simply used a chisel to remove the cup, then sanded the surface smooth and hit it with some black spray paint.
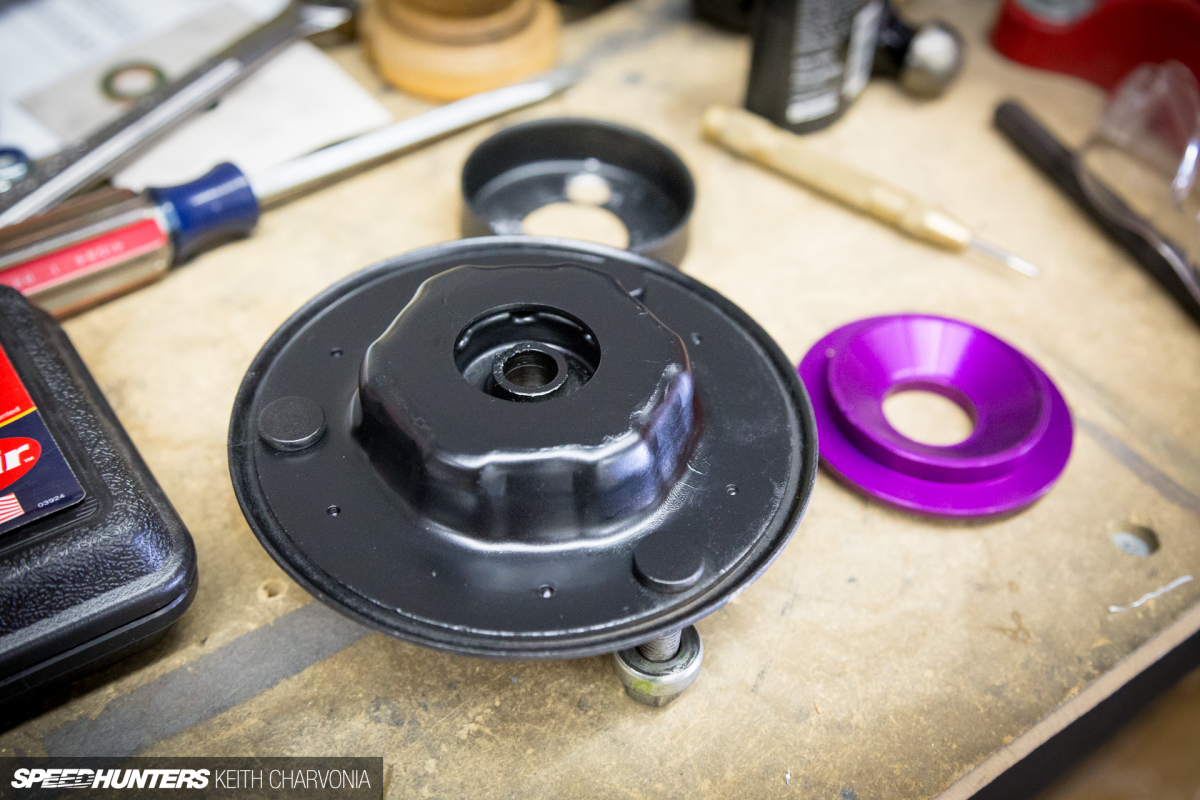
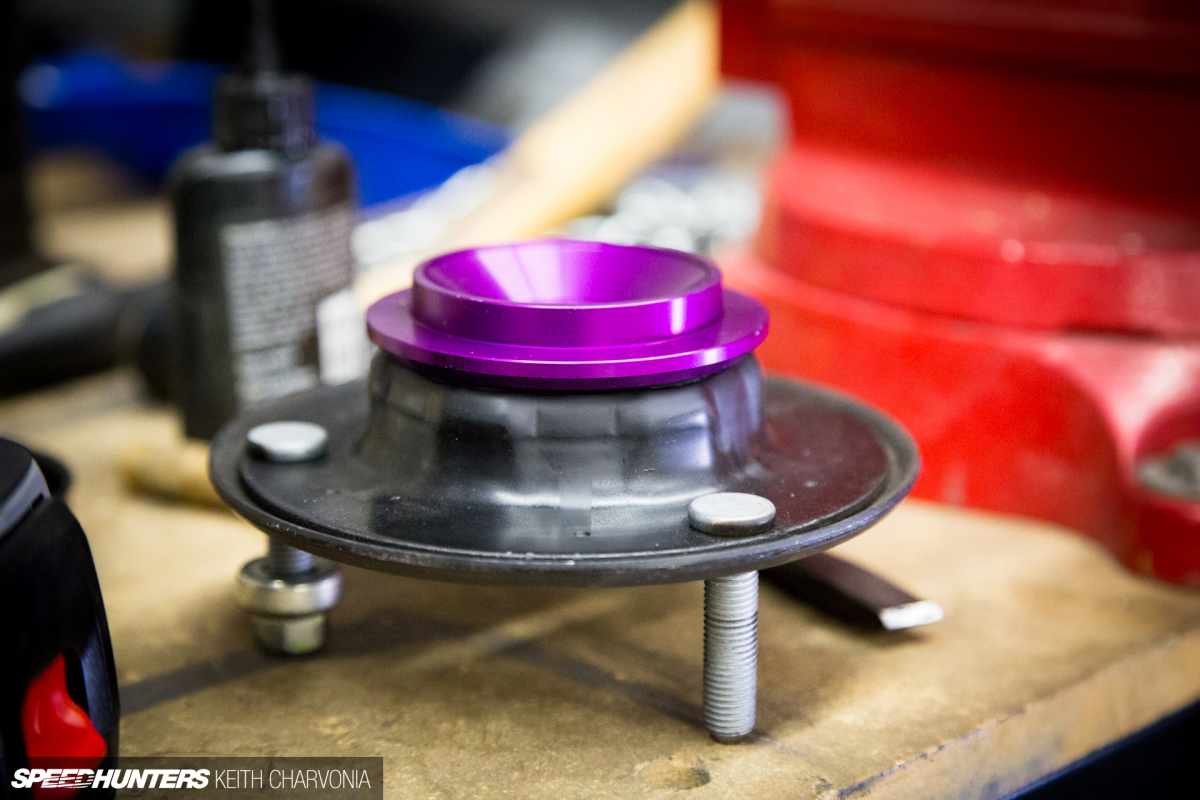
Now you can see how the nice, machined and anodized KW cup fits against the OEM upper strut mount.
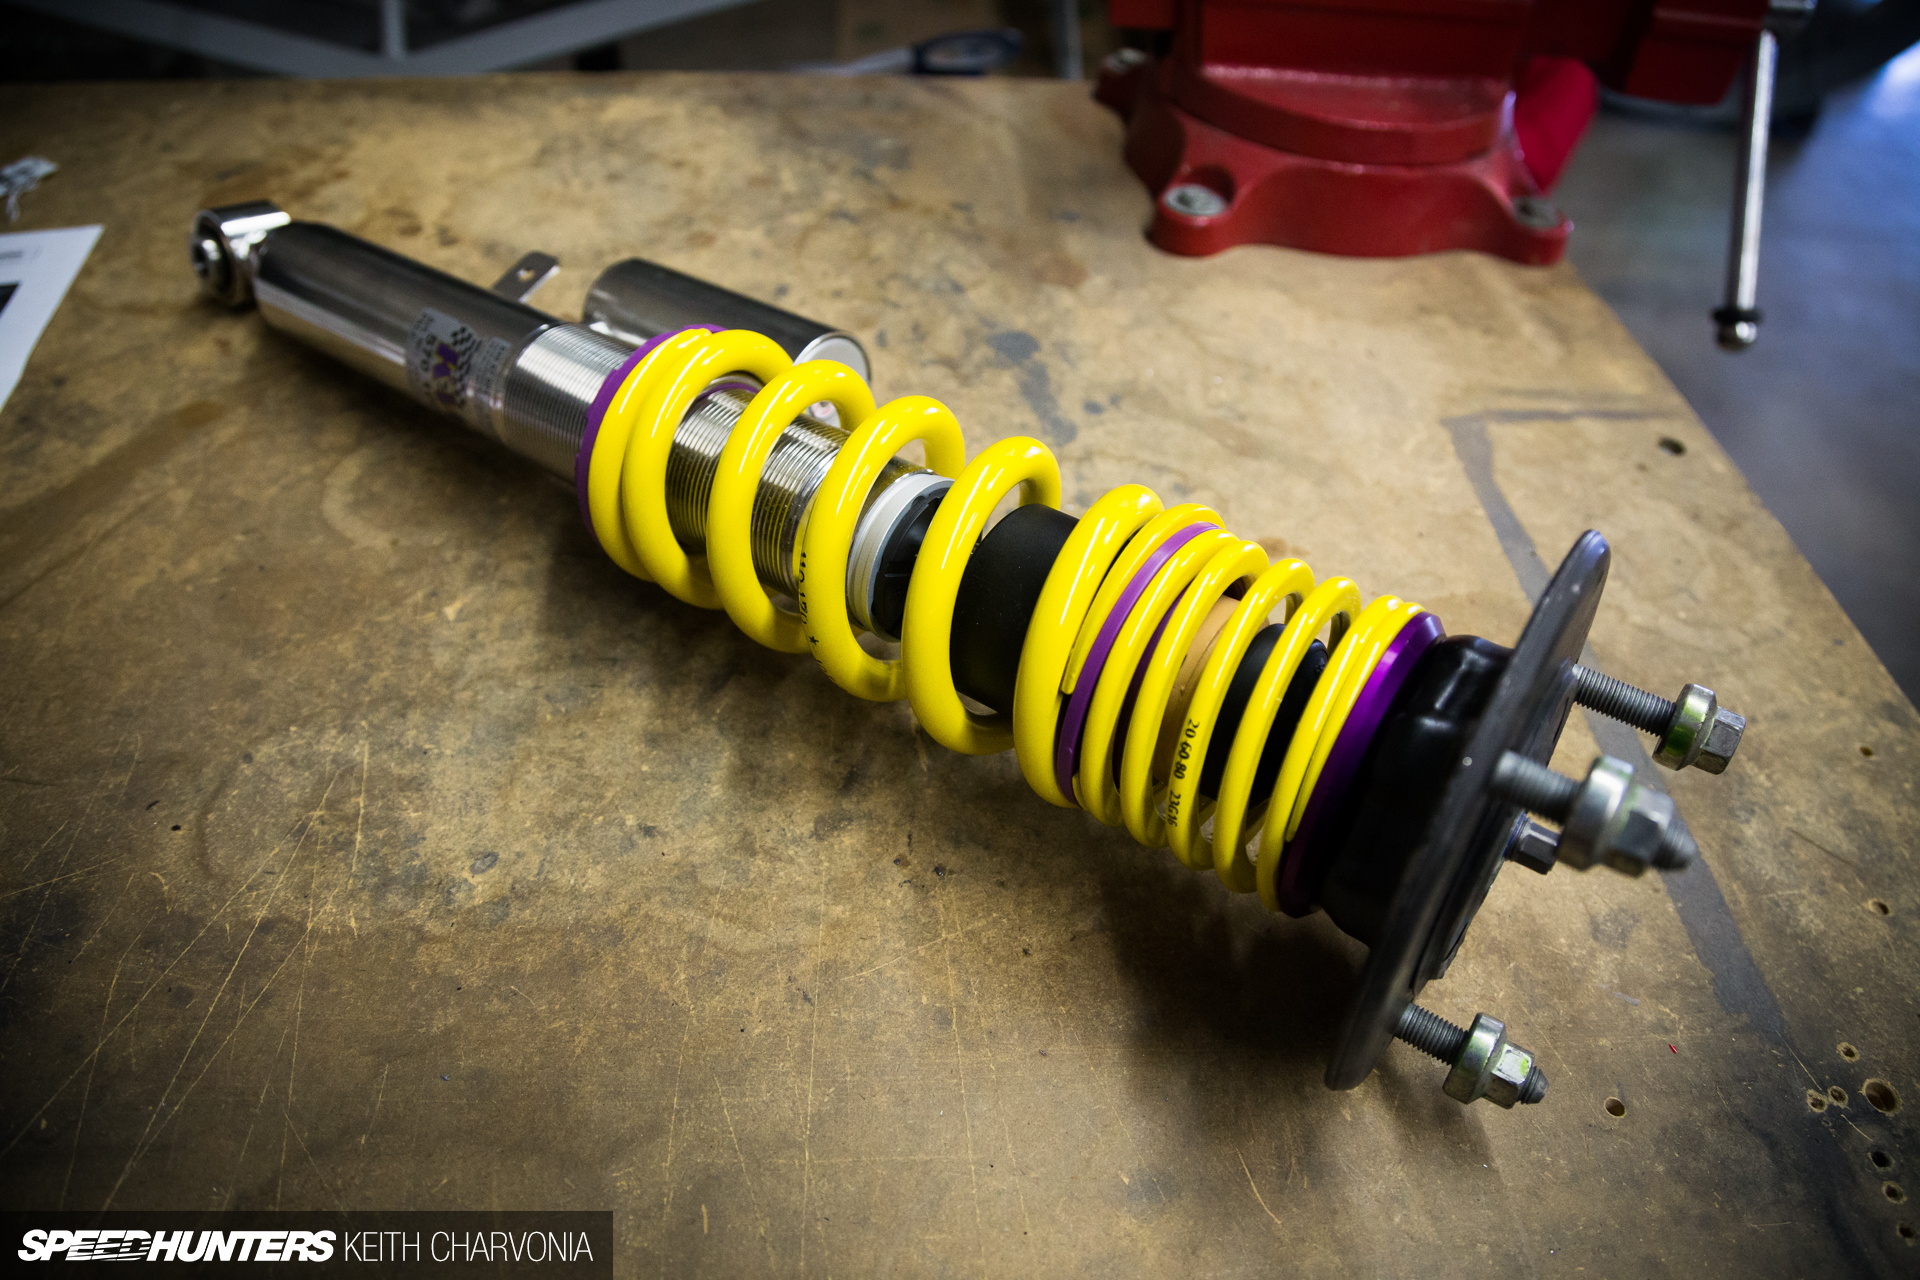
Just like the rear, the front strut went together with ease at this point. Notice the keeper spring on top that holds the main spring in place and avoids rattling over bumps. The polyamide intermediate ring is not just there to separate the two springs, it also minimizes noise from the springs and isolates road noise.

With the installation complete, I test drove the car and wasn’t surprised one bit: it rode and handled just like my last two cars on KWs, firm and confident, but at the same time never harsh or ‘crashy’ over bumps.

Thankfully, the strut housings of my new KW coilovers are made of high quality, corrosion resistant stainless steel, because following the installation we hit the road for a 2600 mile family road trip in the IS F!
Stay tuned for a first-hand account of road-tripping through the entire state of California in a performance sedan with a couple of kids car seats in the back.
Keith Charvonia
Instagram: speedhunterskeith
keith@speedhunters.com
Introducing Project FujiSpeed
More Speedhunters Project Car stories