
About two weeks ago, I introduced you guys to my new money pit, otherwise known as Project Bunta.
At the end of that post, I asked for your thoughts on how I should approach this project, and the response was quite overwhelming. You guys had all sorts of ideas, from bodywork and cosmetic touches to engine and mechanical choices. I read all the remarks and spent a good amount of time chatting with some of you as well, so thanks to everyone who took the time to comment.
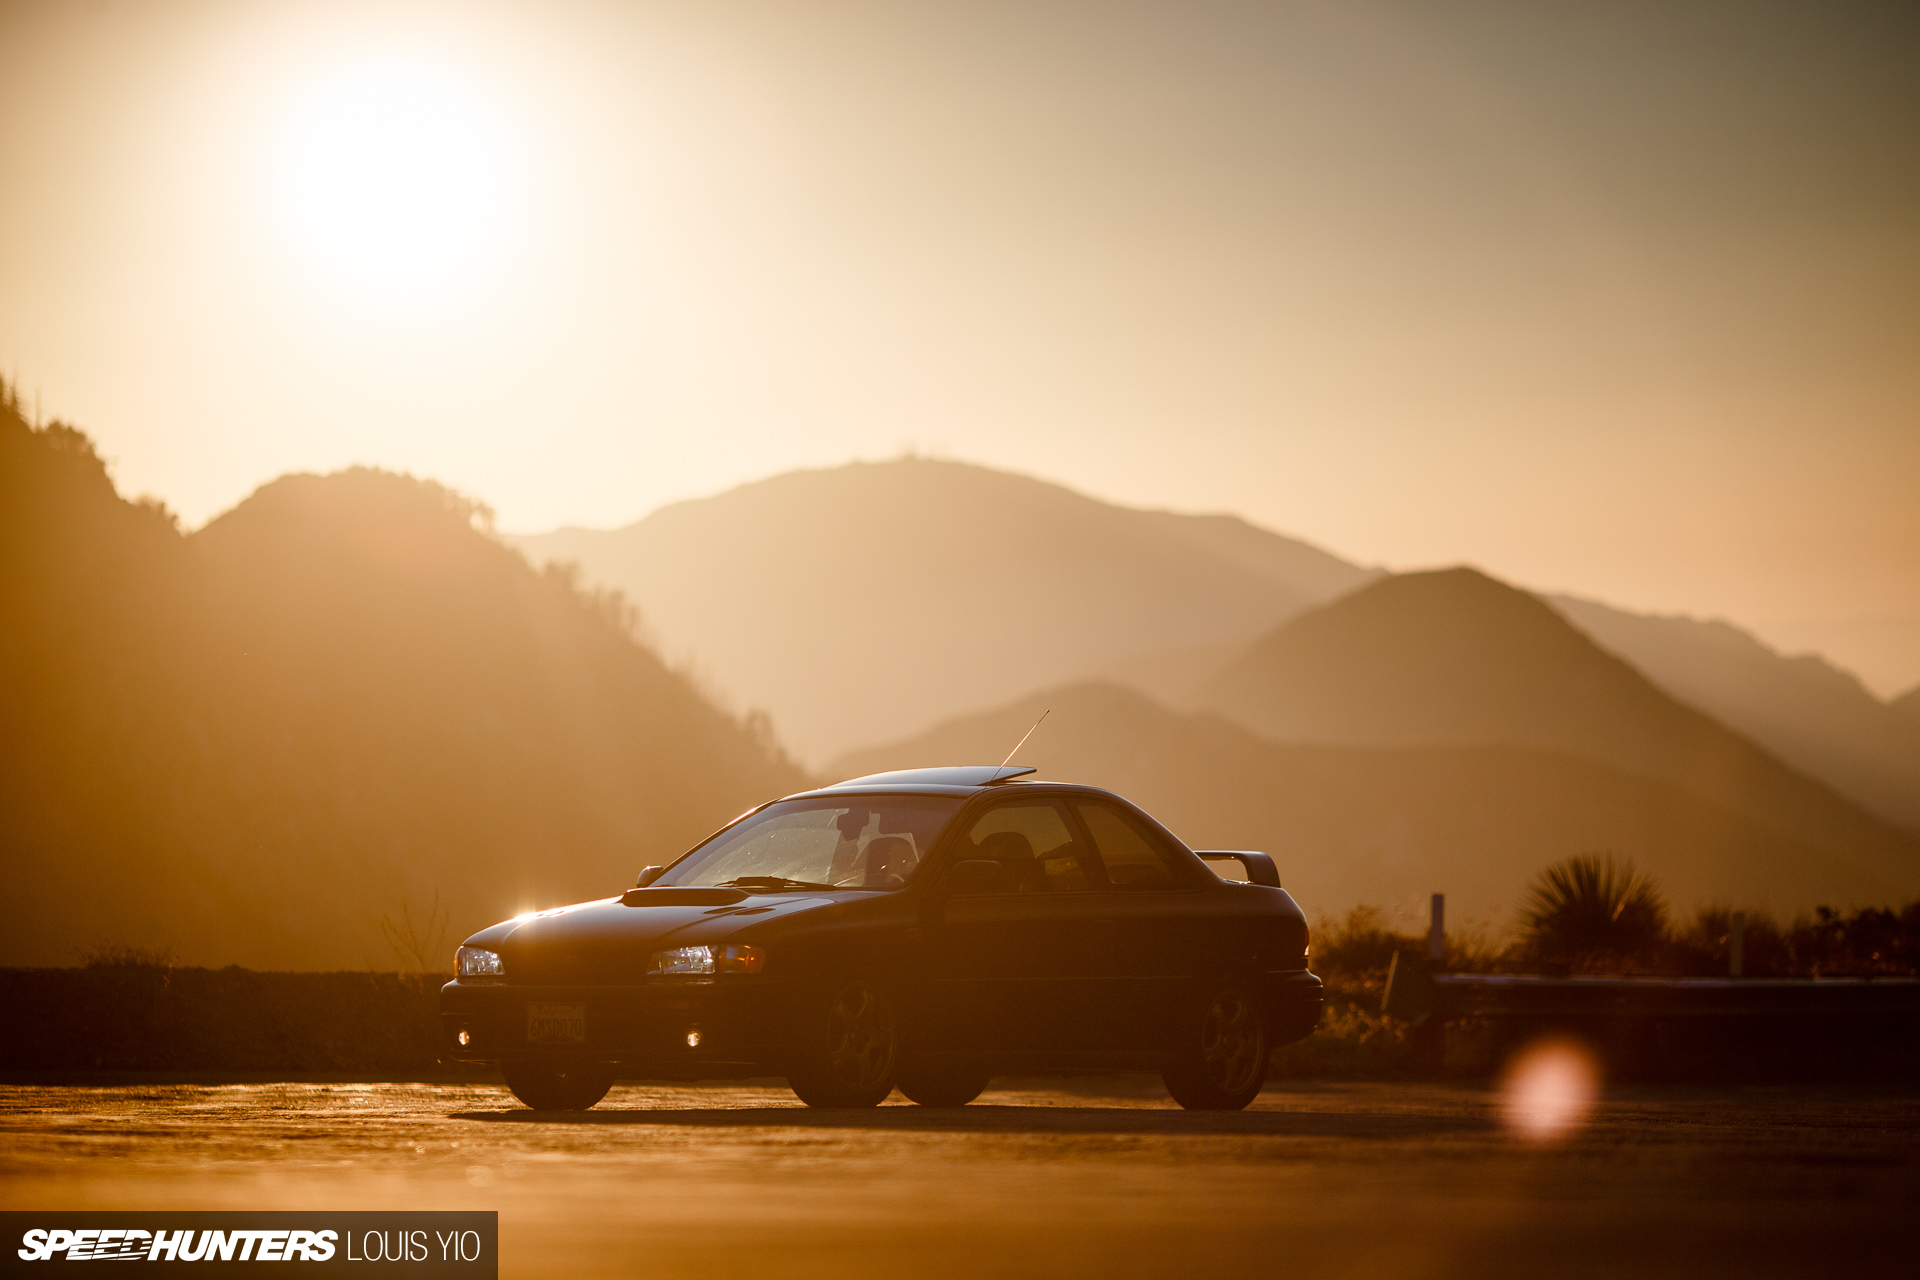

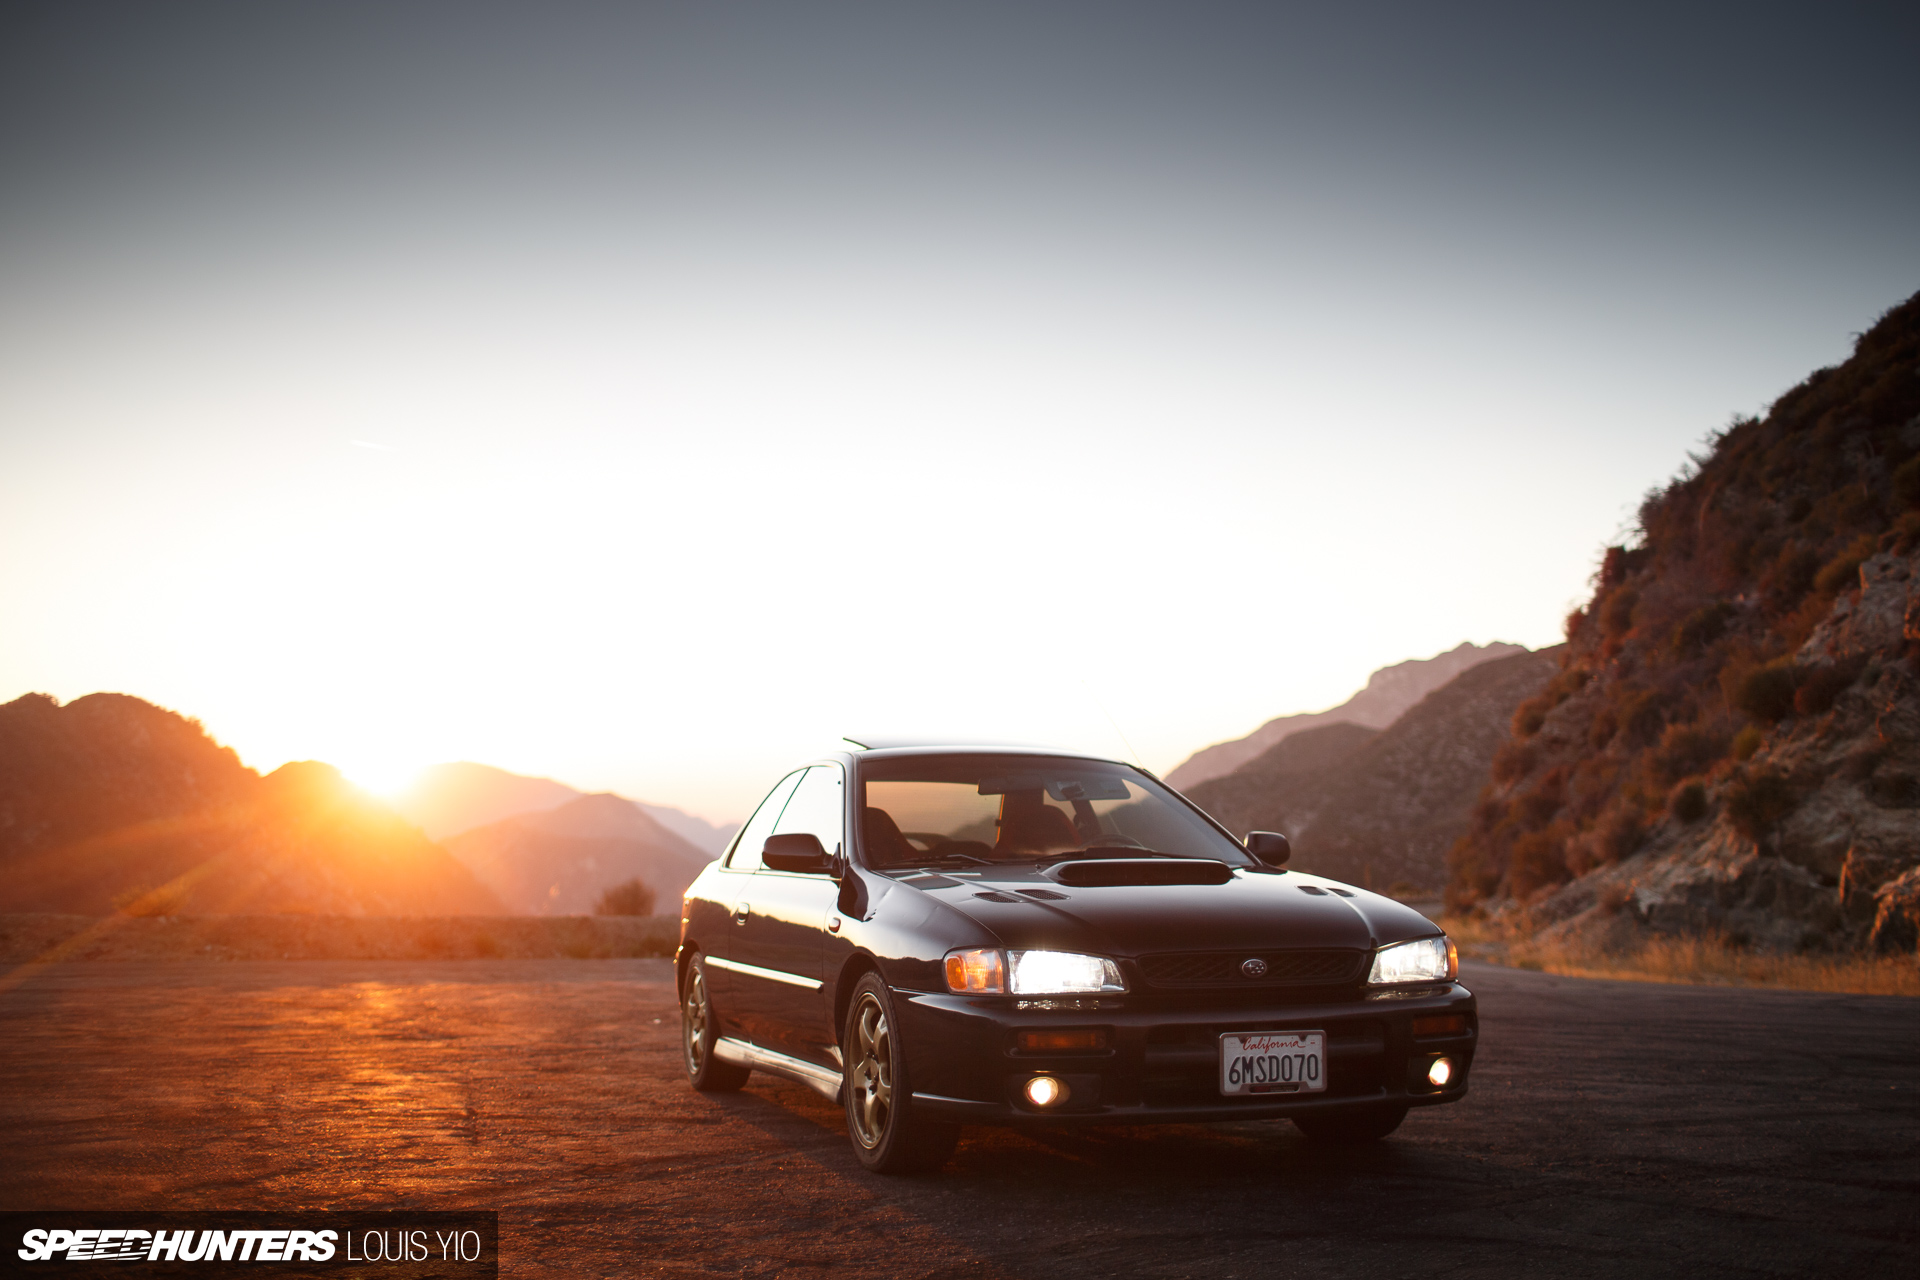
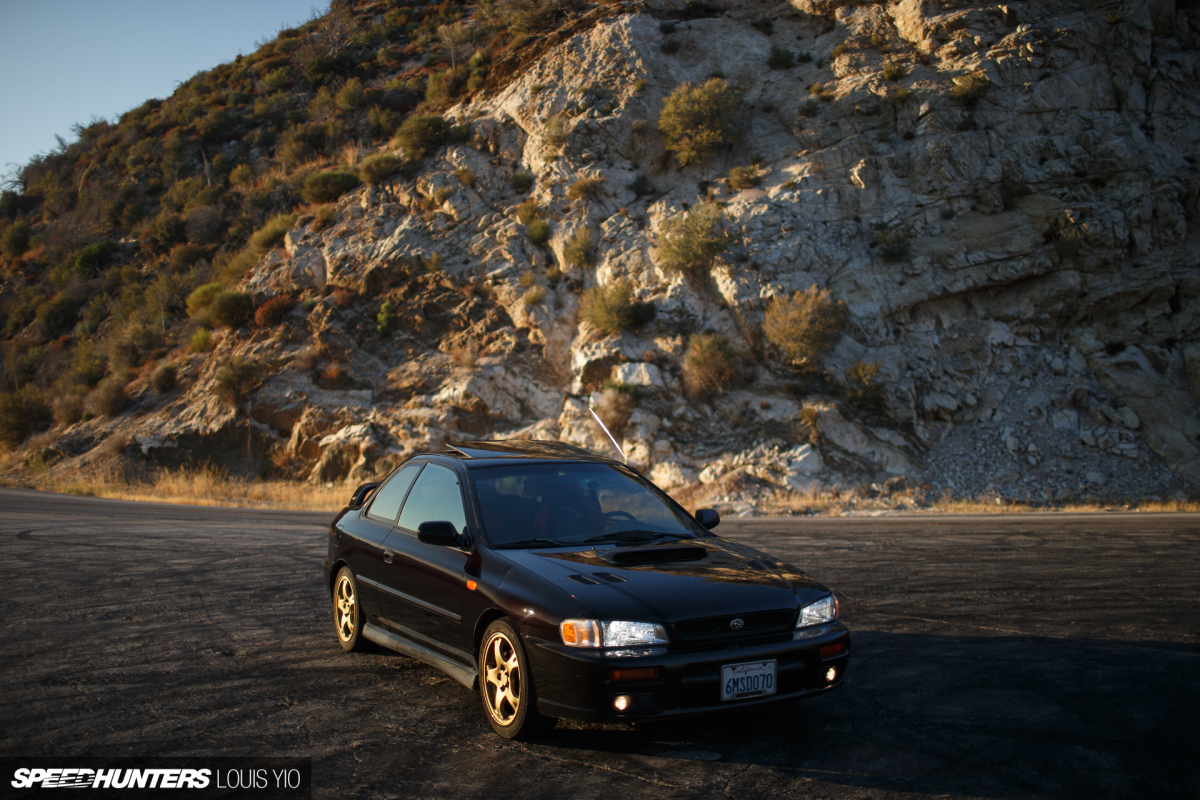
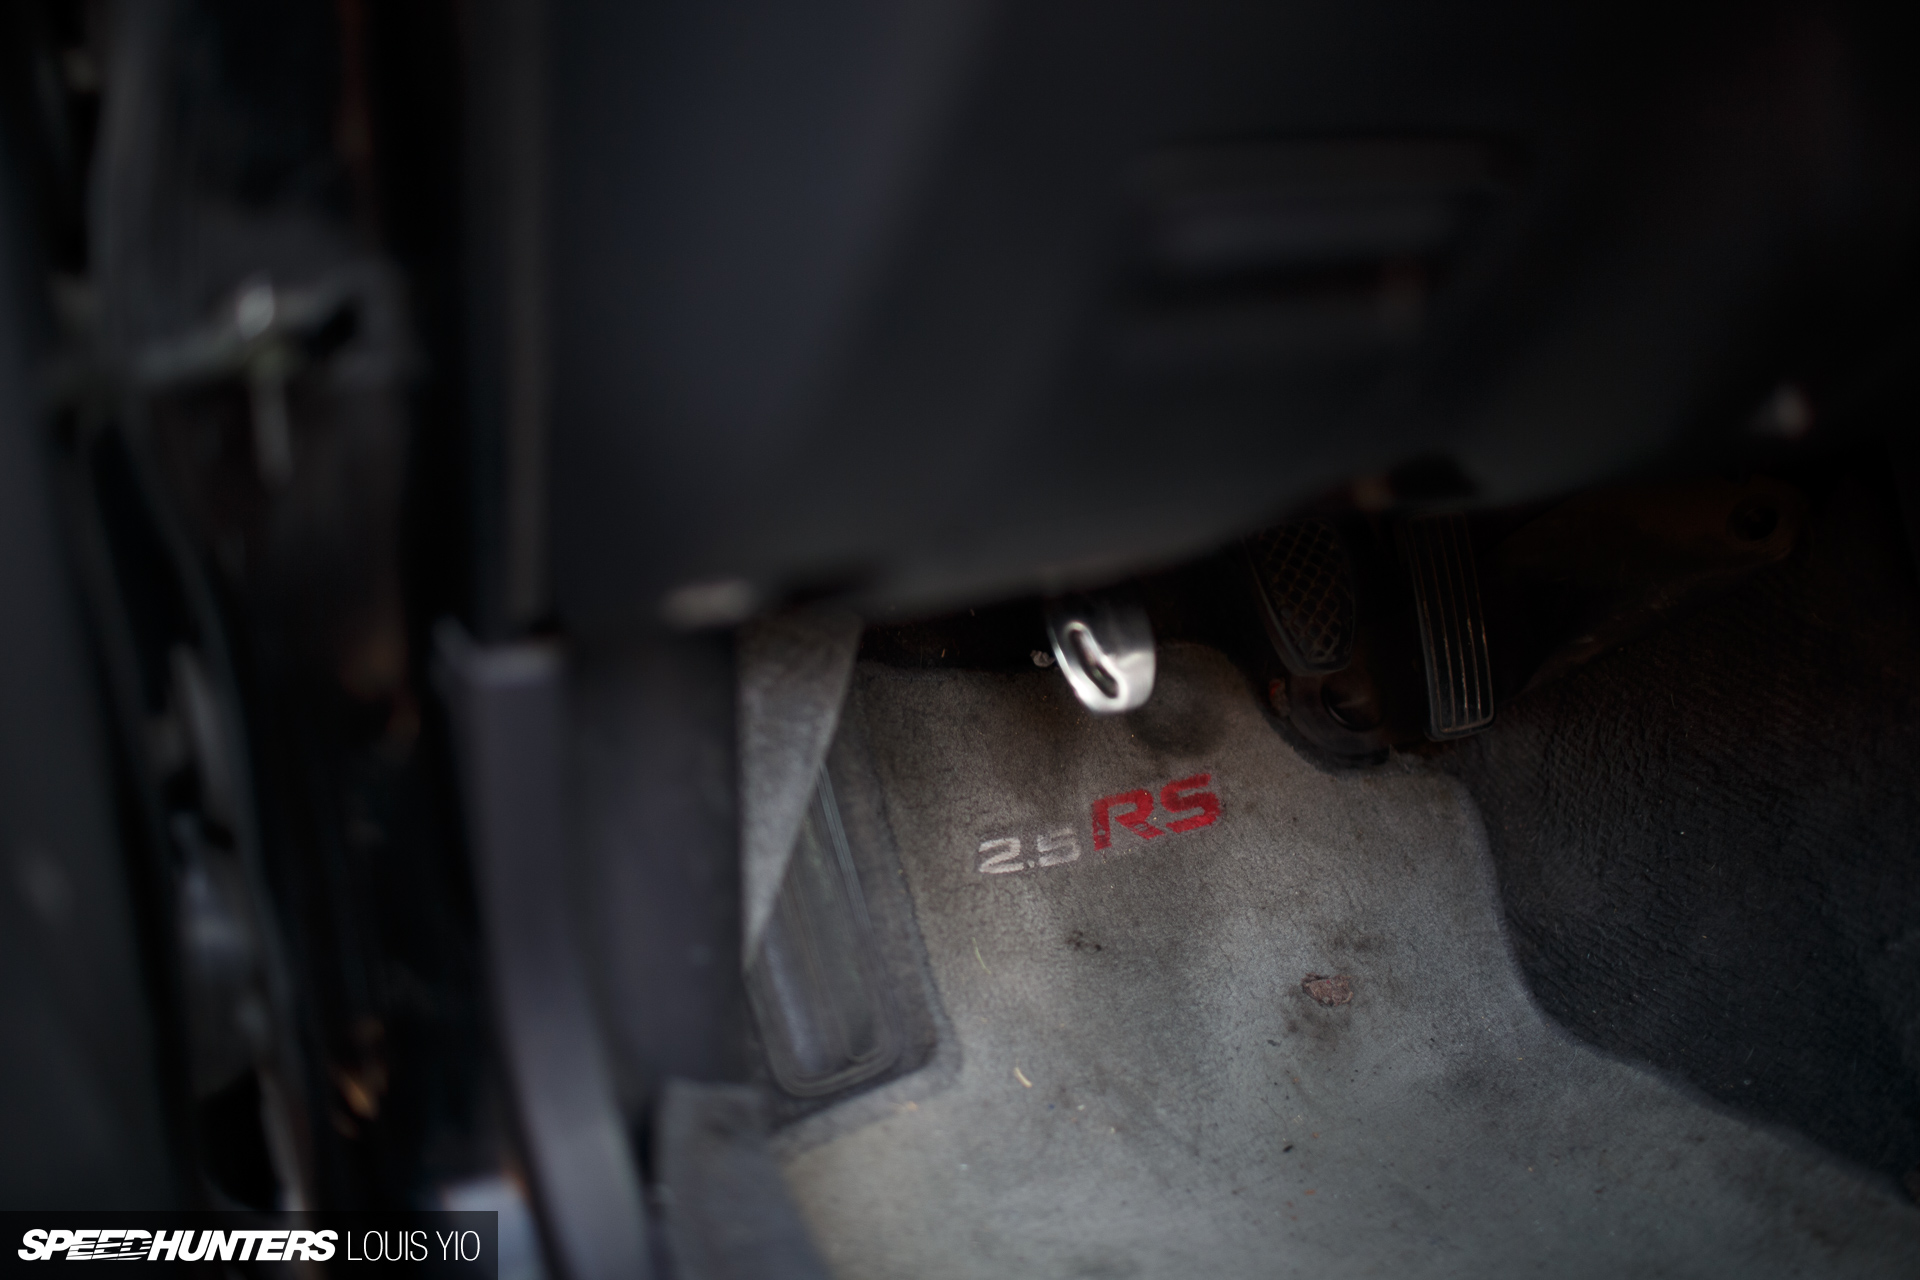
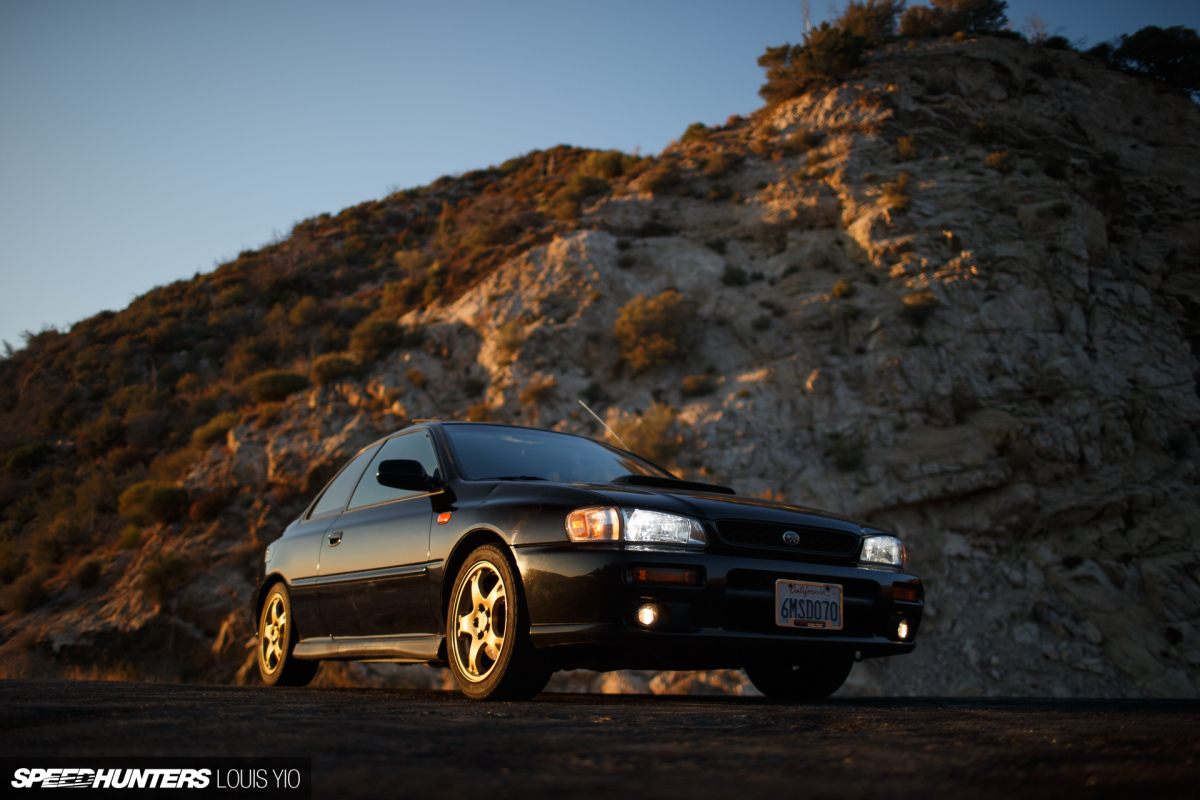
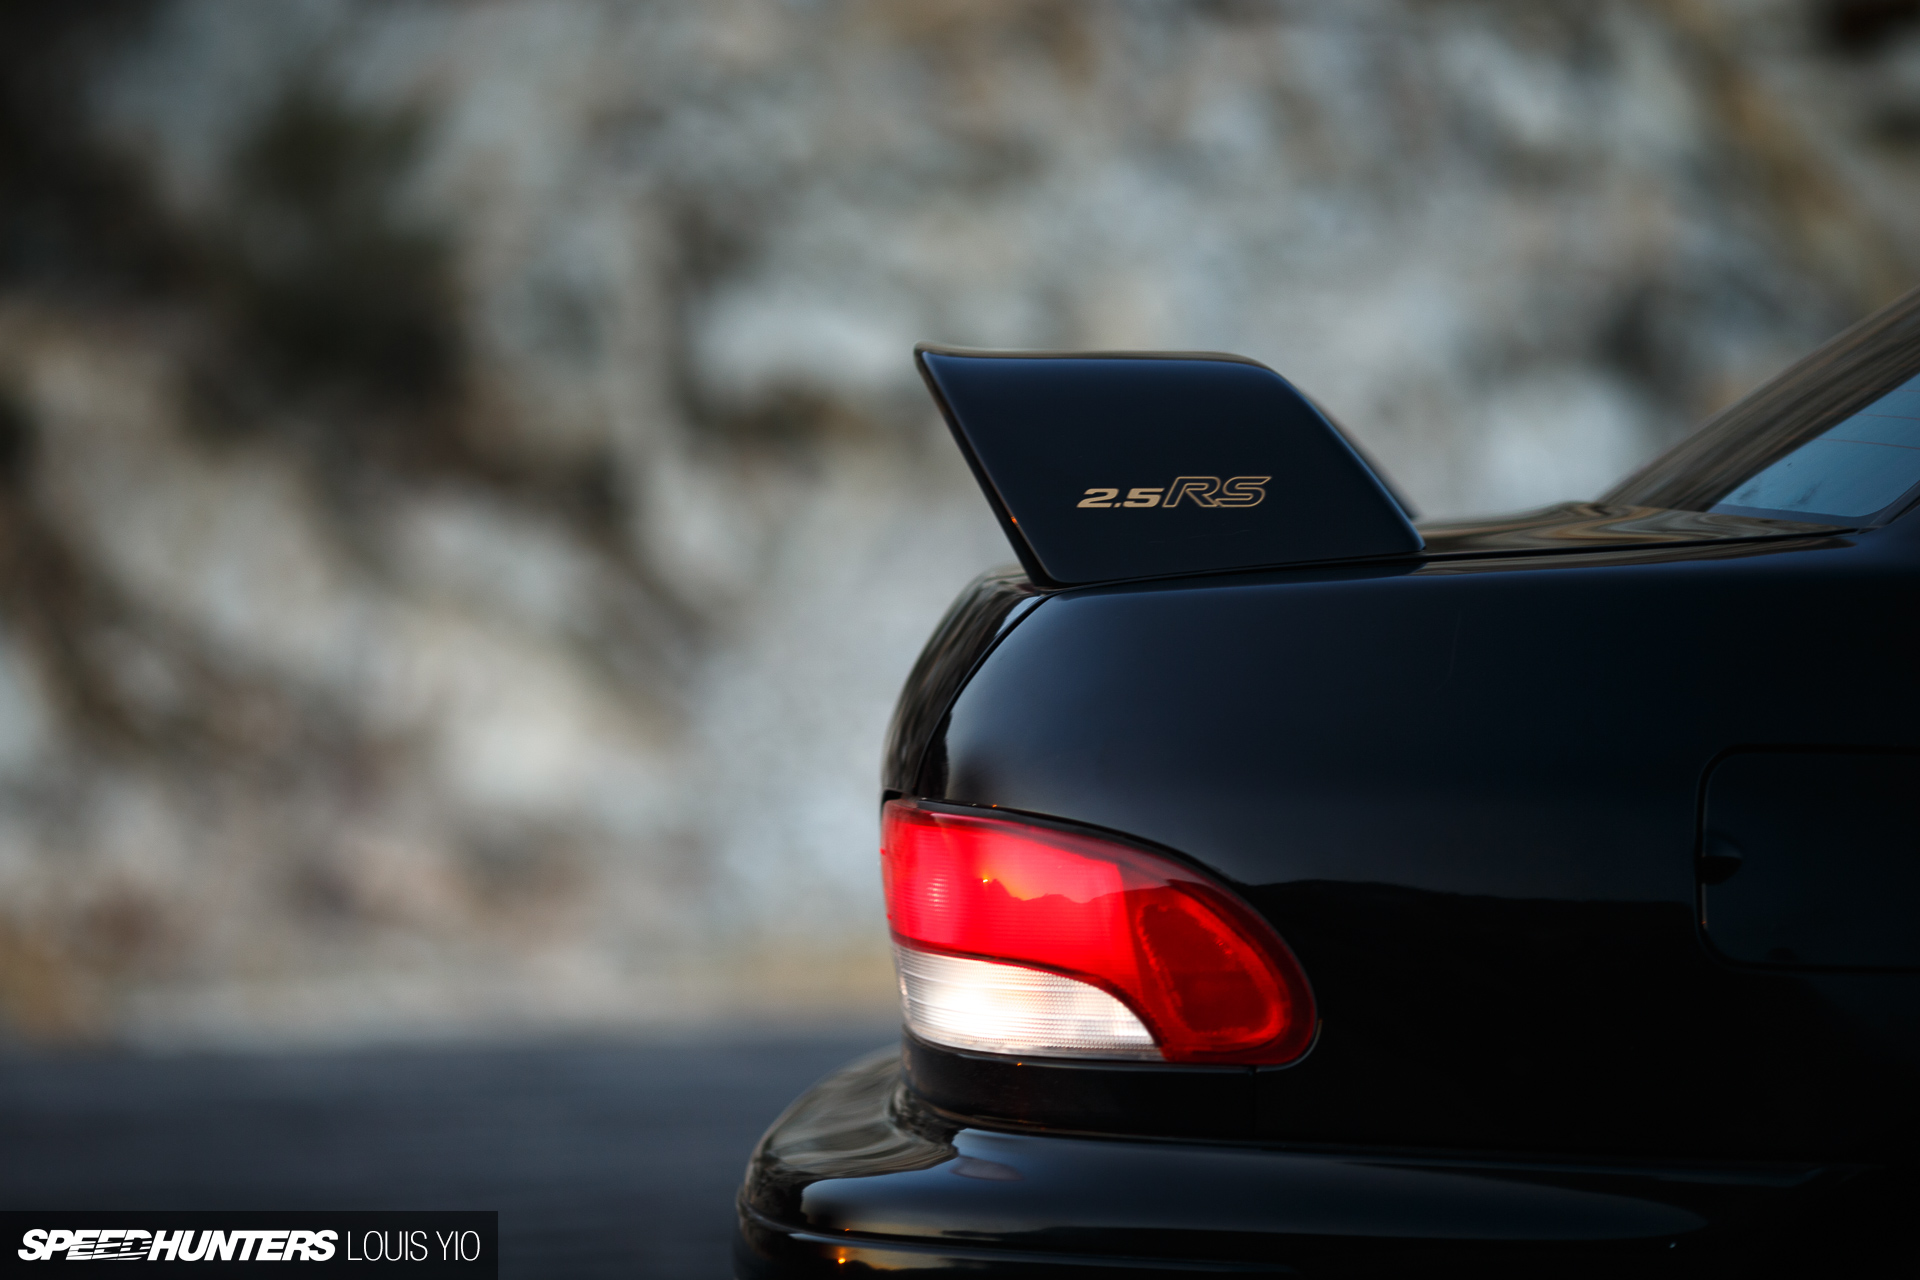
I’ve owned Bunta – a USDM 1998 Subaru Impreza 2.5RS – for about nine months now. In that time, all the important repair work and maintenance was taken care of at Tsukasa Gushi’s workshop, and I’ve made a few upgrades to simply enhance the driving experience. It’s the latter that I want to share with you today.
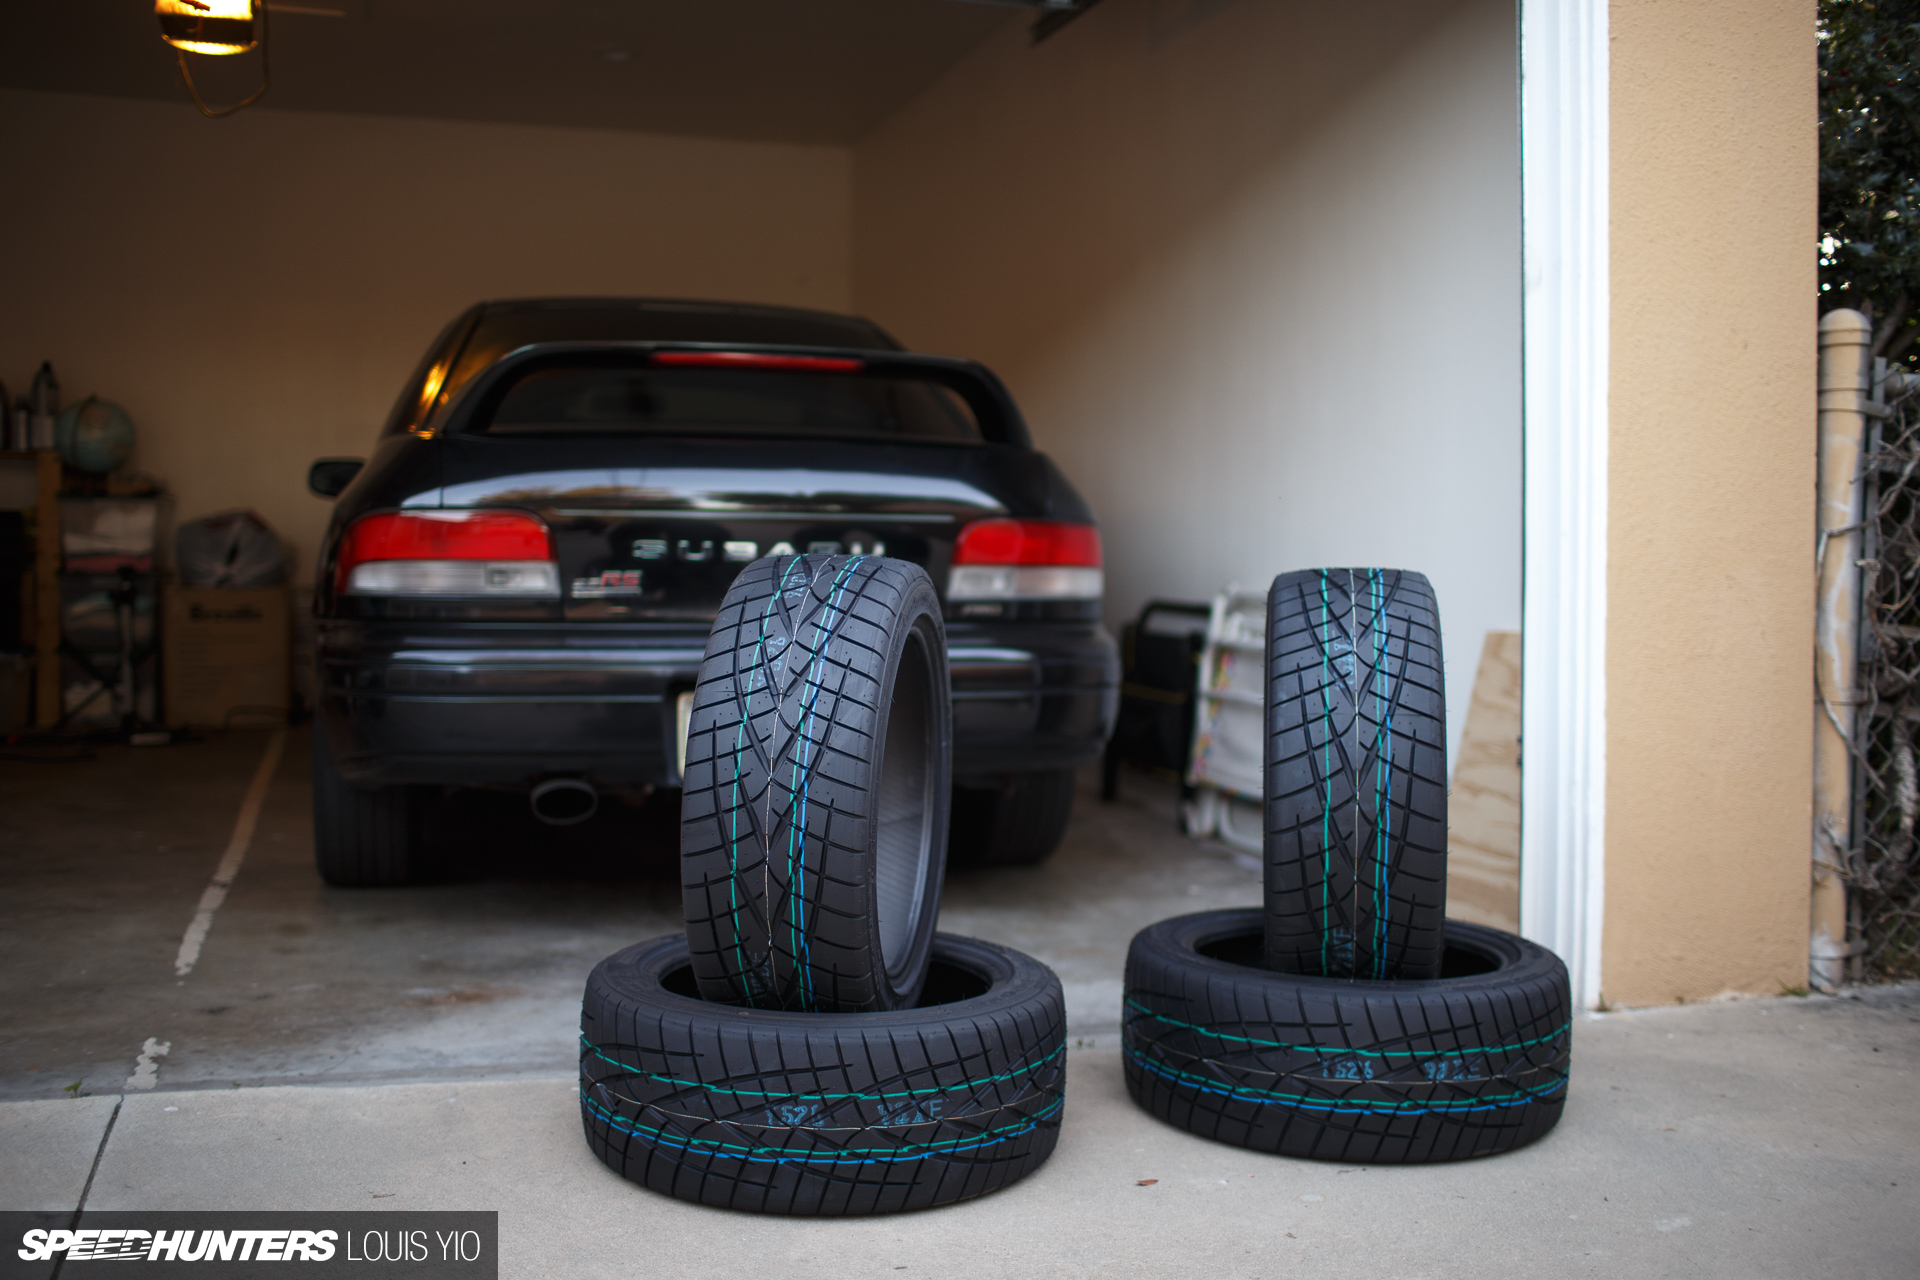
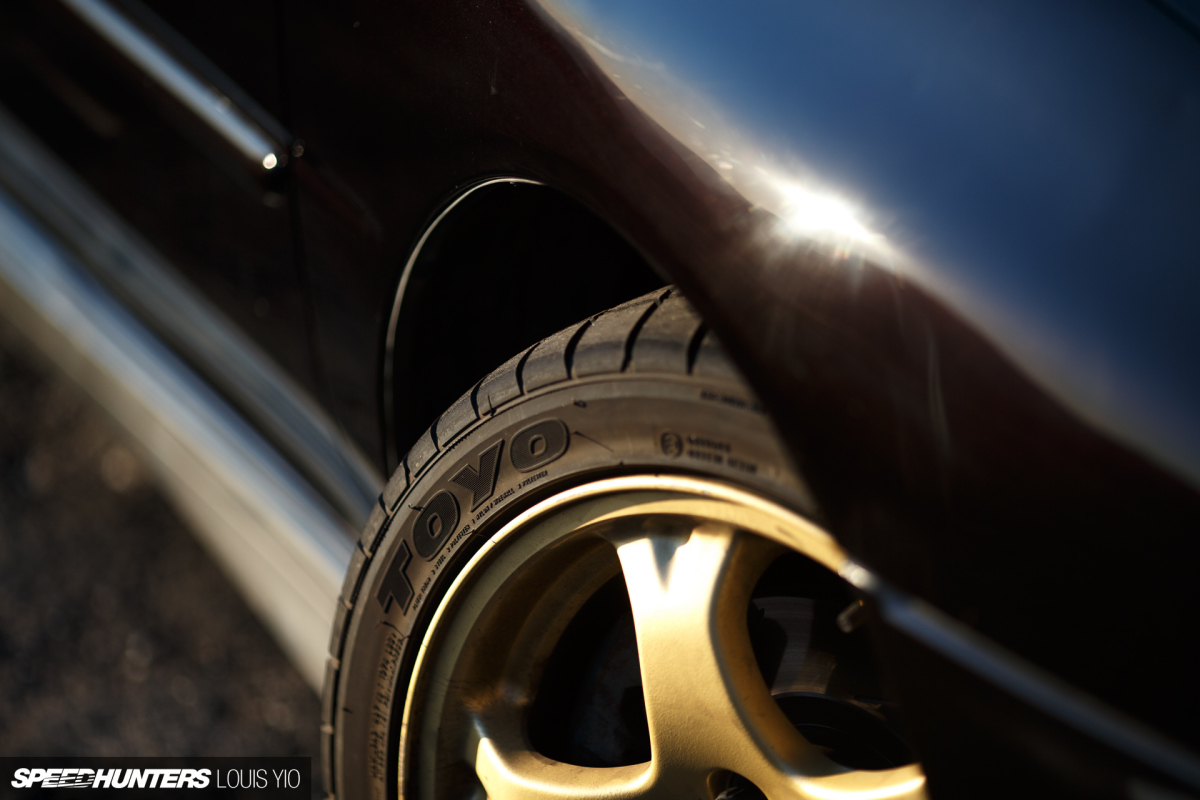

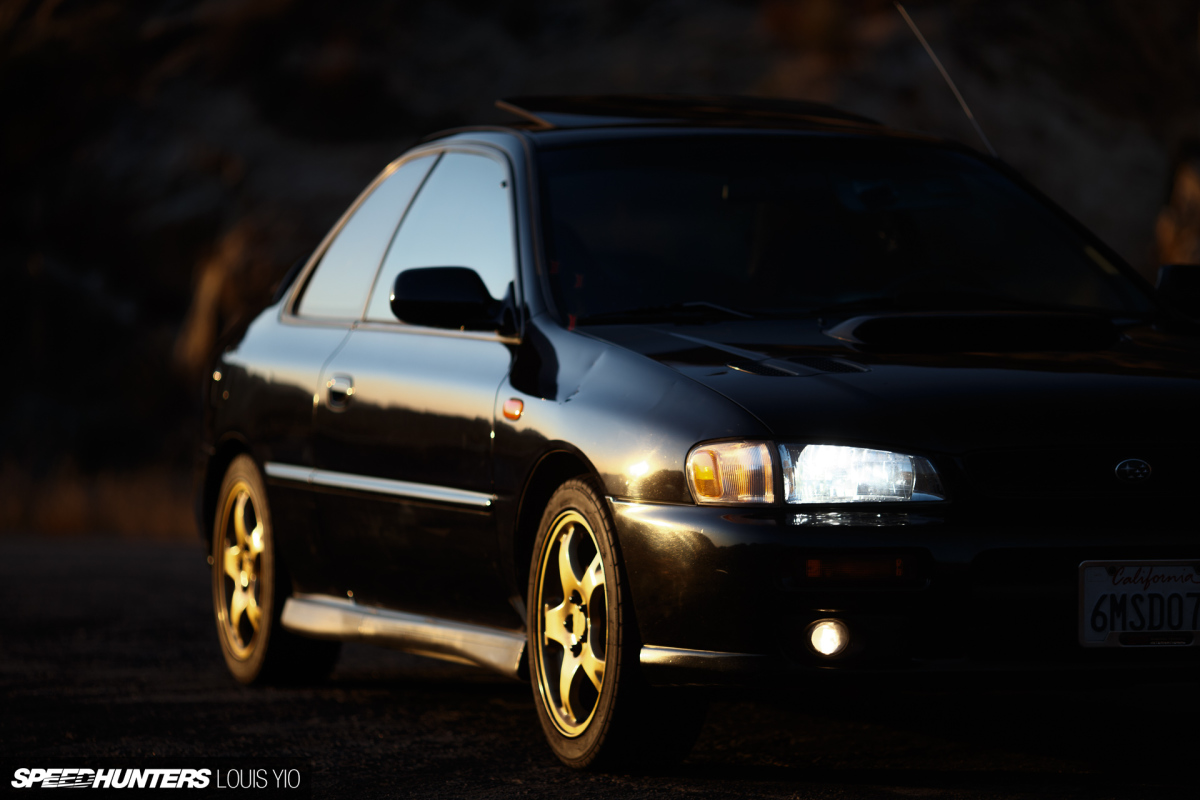
After getting my car back from Gushi-san, the first thing I did was pick up a set of brand new Toyo R1R tires. The tires that had come on the car were well past their use-by dates; they were all pretty much down to the wear indicators, and one even had major cracks in its sidewalls. To make matters worse, they were all different; one was a Bridgestone, one was a Nankang, another was a Kumho, and the final tire wasn’t branded at all.
The R1R is Toyo’s top high performance summer street tire, sitting just below the road-legal R888 competition tire. Since fitting, I’ve put a few hundred miles on the new tires around the city and through the canyons north of Los Angeles, They’ve performed really well so far, even in the wet which really surprised me. It’ll be interesting to see how they wear.
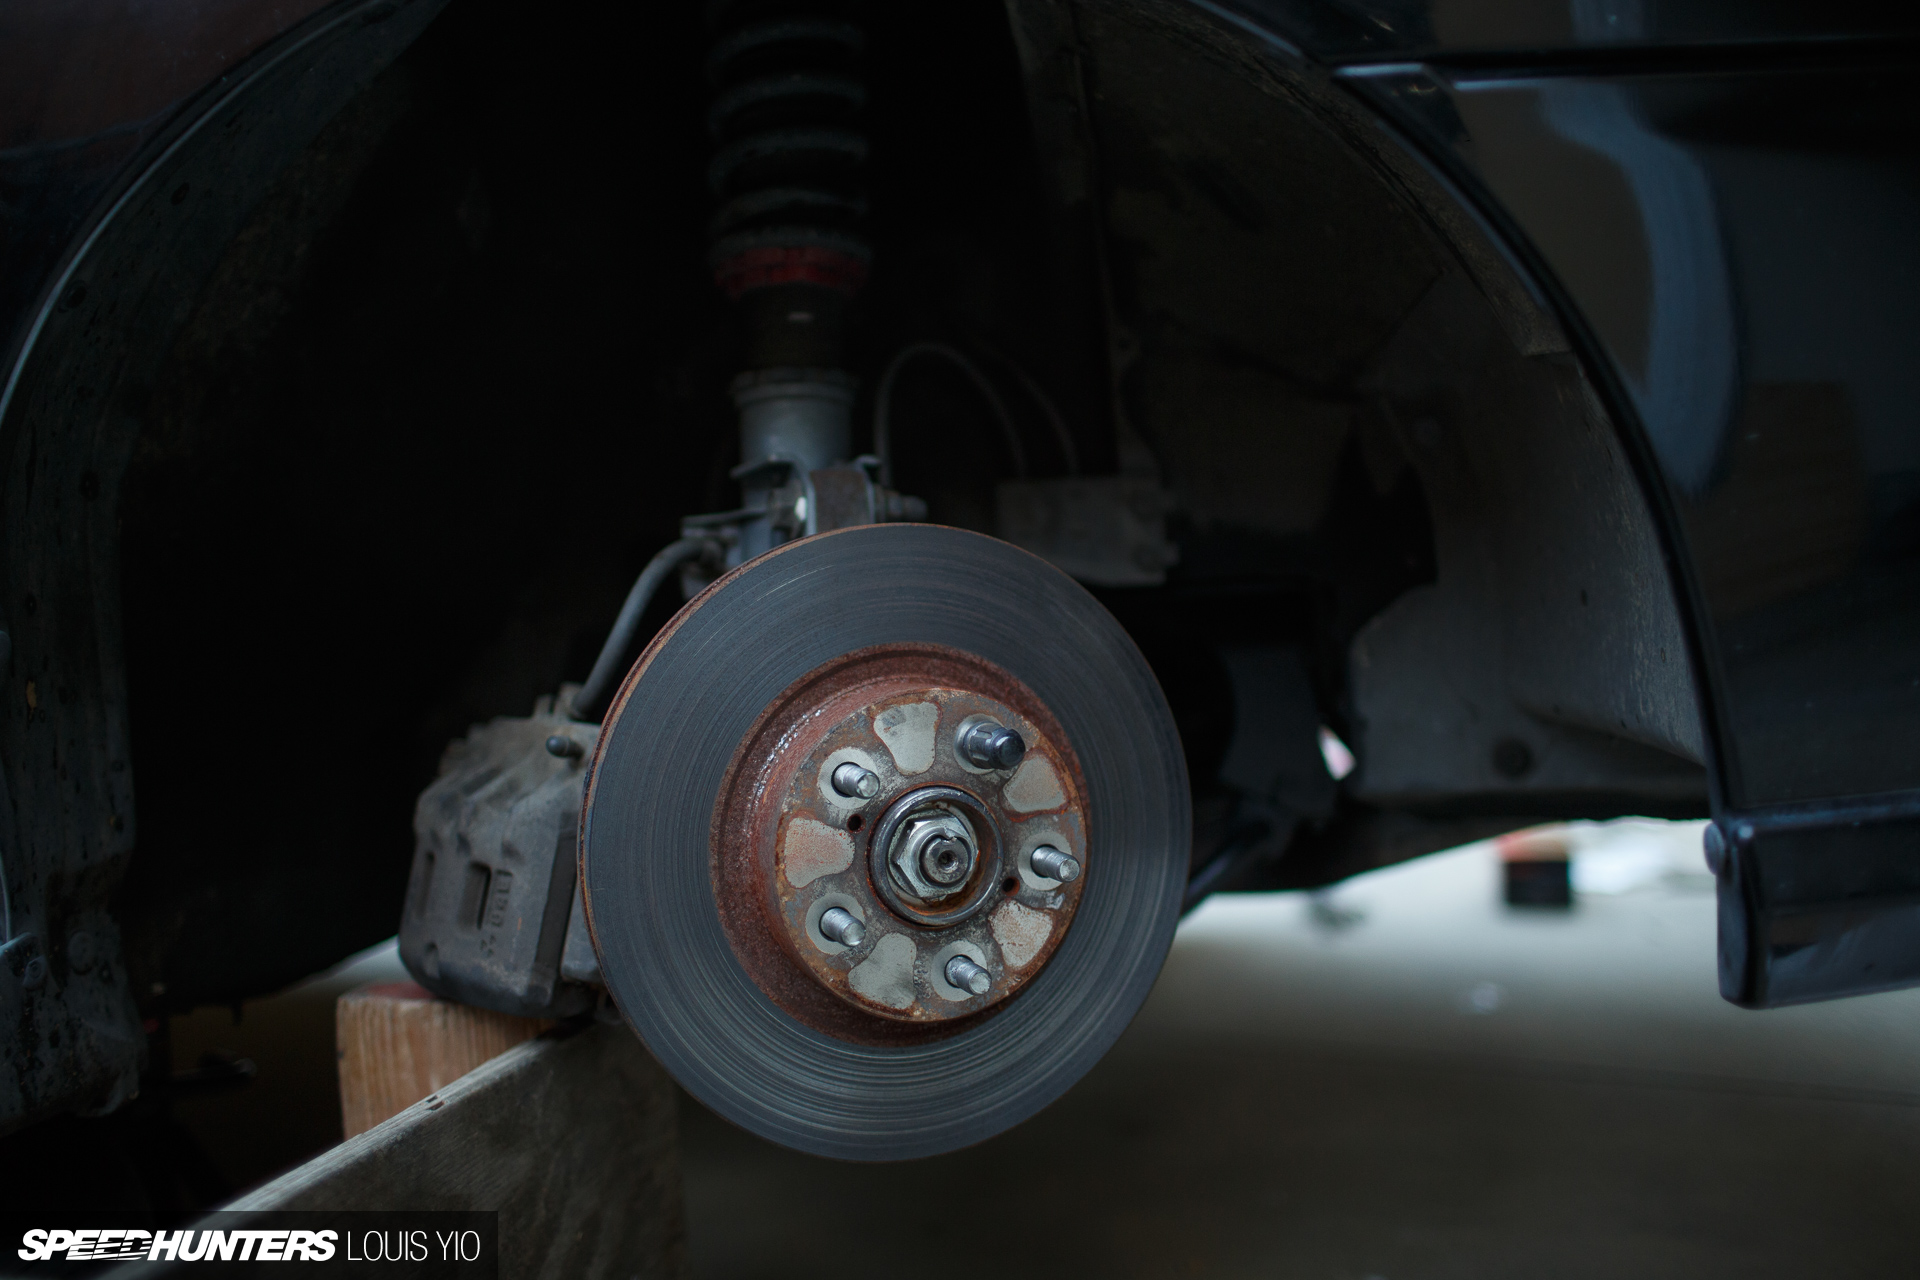
As soon as the R1Rs were on, the brakes were given an overhaul, too. While they were working adequately, I just couldn’t see them holding up for fast road and track use, which is ultimately what the car’s destined for.
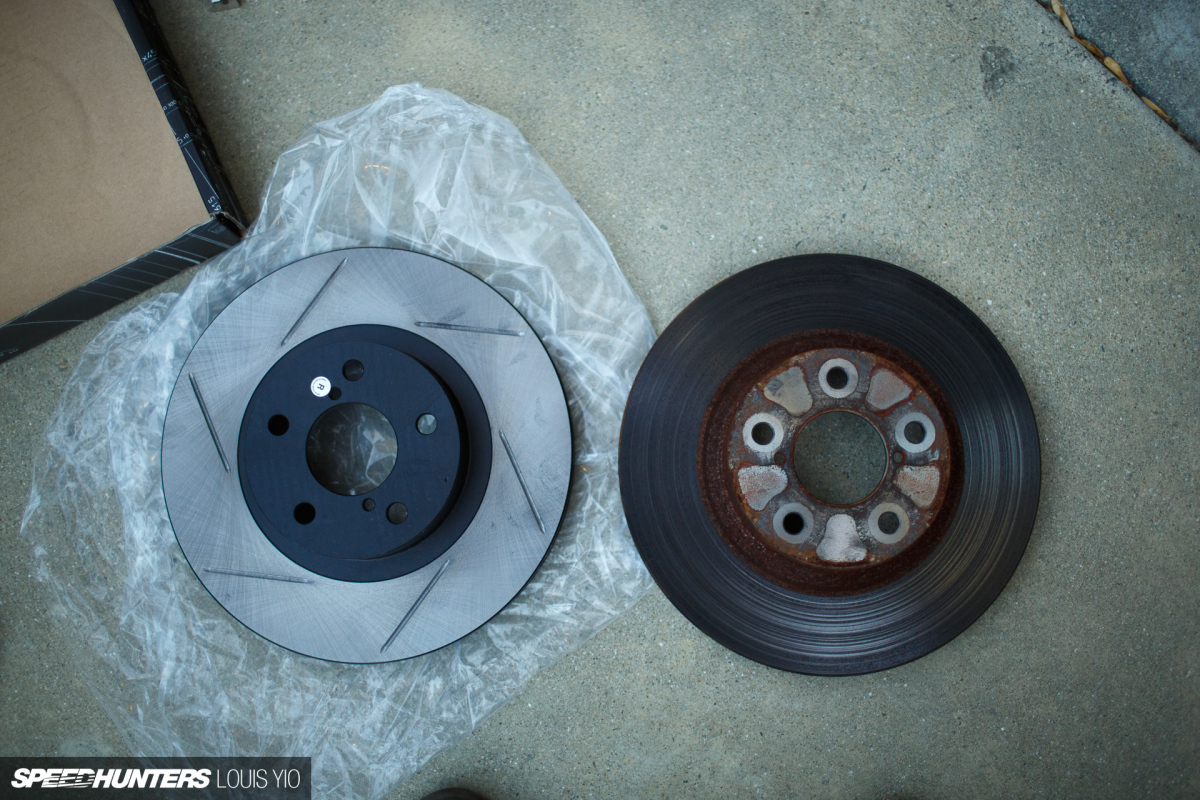

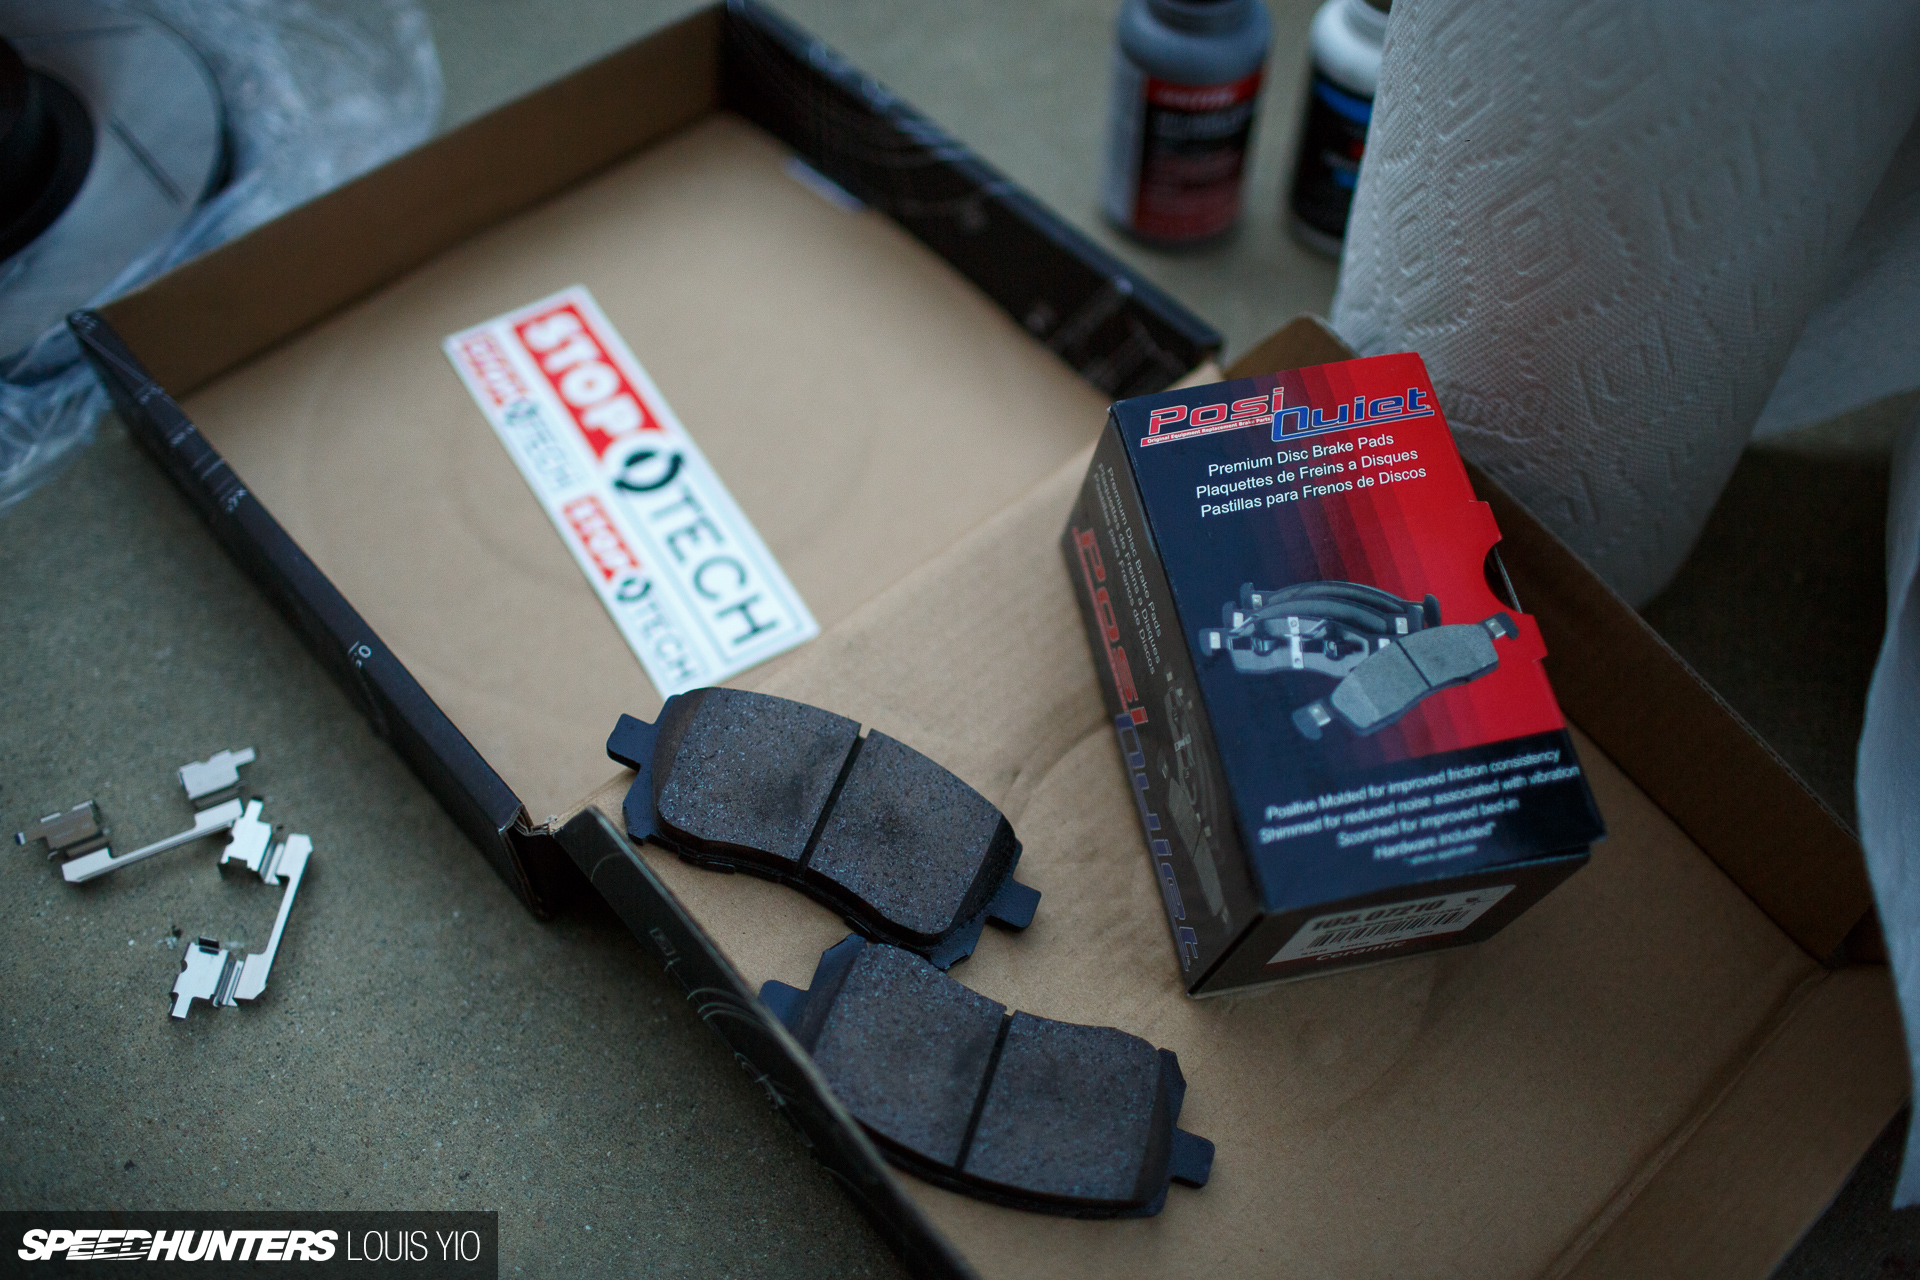
One of my friends suggested that I go all-in with a BBK (big brake kit), but I figured that would be overkill at this stage (remember, the car is still naturally aspirated). Instead, I opted for a package that would retain the factory calipers, but upgrade everything else. The StopTech Sport Kit included a set of PosiQuiet semi-metallic pads, slotted rotors, and steel-braided brake lines.

I could have got this kit with drilled rotors, but I went with the slotted option after reading discussions on the NASIOC (North American Impreza Owners Club) forum.
Whilst drilled rotors are better at dissipating gasses thanks to the holes in the surface, they are also more prone to cracking. It’s perfectly normal to get crazing and cracking on the surface of a brake disc, you’ll see this on just about any track or race car you come across. Drilled rotors allow these cracks to join up, like a dot-to-dot, eventually requiring replacement. I’d never really thought about it before, but this is why you usually see endurance cars with slotted rotors. Slotted rotors are more resistant to cracks, so hopefully I will get some longer life from them. Not that I’m likely to work the rotors hard enough to get to that stage, but it’s nice to have this covered.

Fitting the new steel-braided brake lines gave me an opportunity to also replace the brake fluid. Once again, I was guided by recommendations on the NASIOC forum, and picked up a 1L container of ATE Type 200. With a DOT4 rating, this racing brake fluid has a much higher boiling point than the conventional consumer stuff, meaning that the fluid will continue to perform to a higher temperature.

After the upgrade was complete, I took Bunta to San Gabriel Canyon Road to bed the brakes in; there is a 1/4-mile-long stretch of road near the end of the canyon that’s perfect for this sort of thing. Although there are various ways to bed brakes, I followed StopTech’s online guide.

A few days later, I took the car up Angeles Crest Highway for a little shakedown run. I immediately noticed how much better the PosiQuiet pads were biting on the rotors, and stopping power was also substantially improved over the stock setup. Thanks to the new fluid, it took a solid 15 or so minutes of hard driving before I noticed any sign of reduced performance – and then it was only very slight. I’m definitely happy with the brakes as they are now.
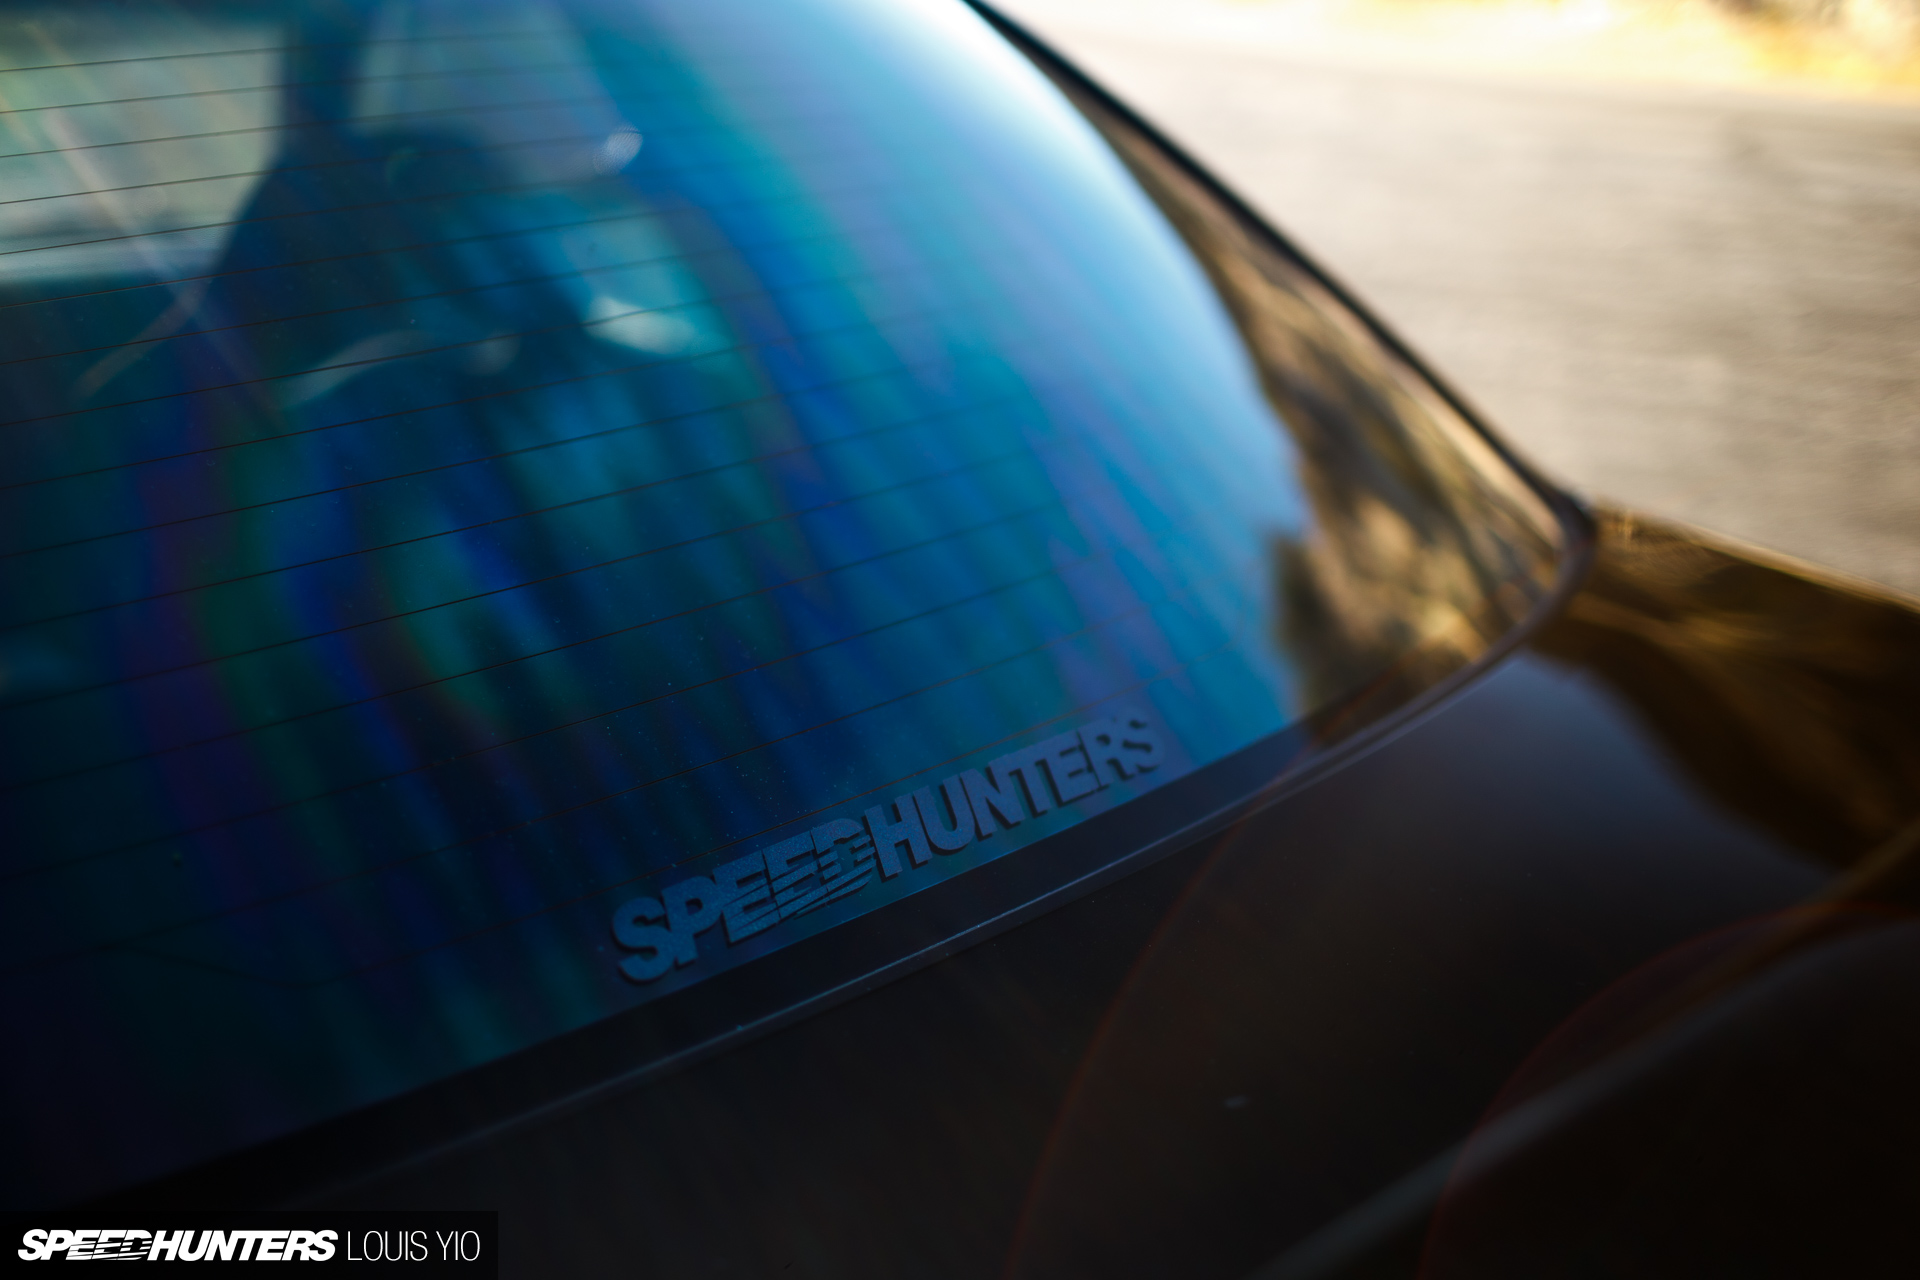
Of all the modifications I’ve made so far though, the most bang for buck has come from the Speedhunters sticker I added to my rear windshield. The sparkles in the letters add 3hp on top of the 5hp from the sticker itself, so that’s a whopping 8hp increase. Fact!

One thing I didn’t like about the interior was how bland it looked. I mean, just look at it!
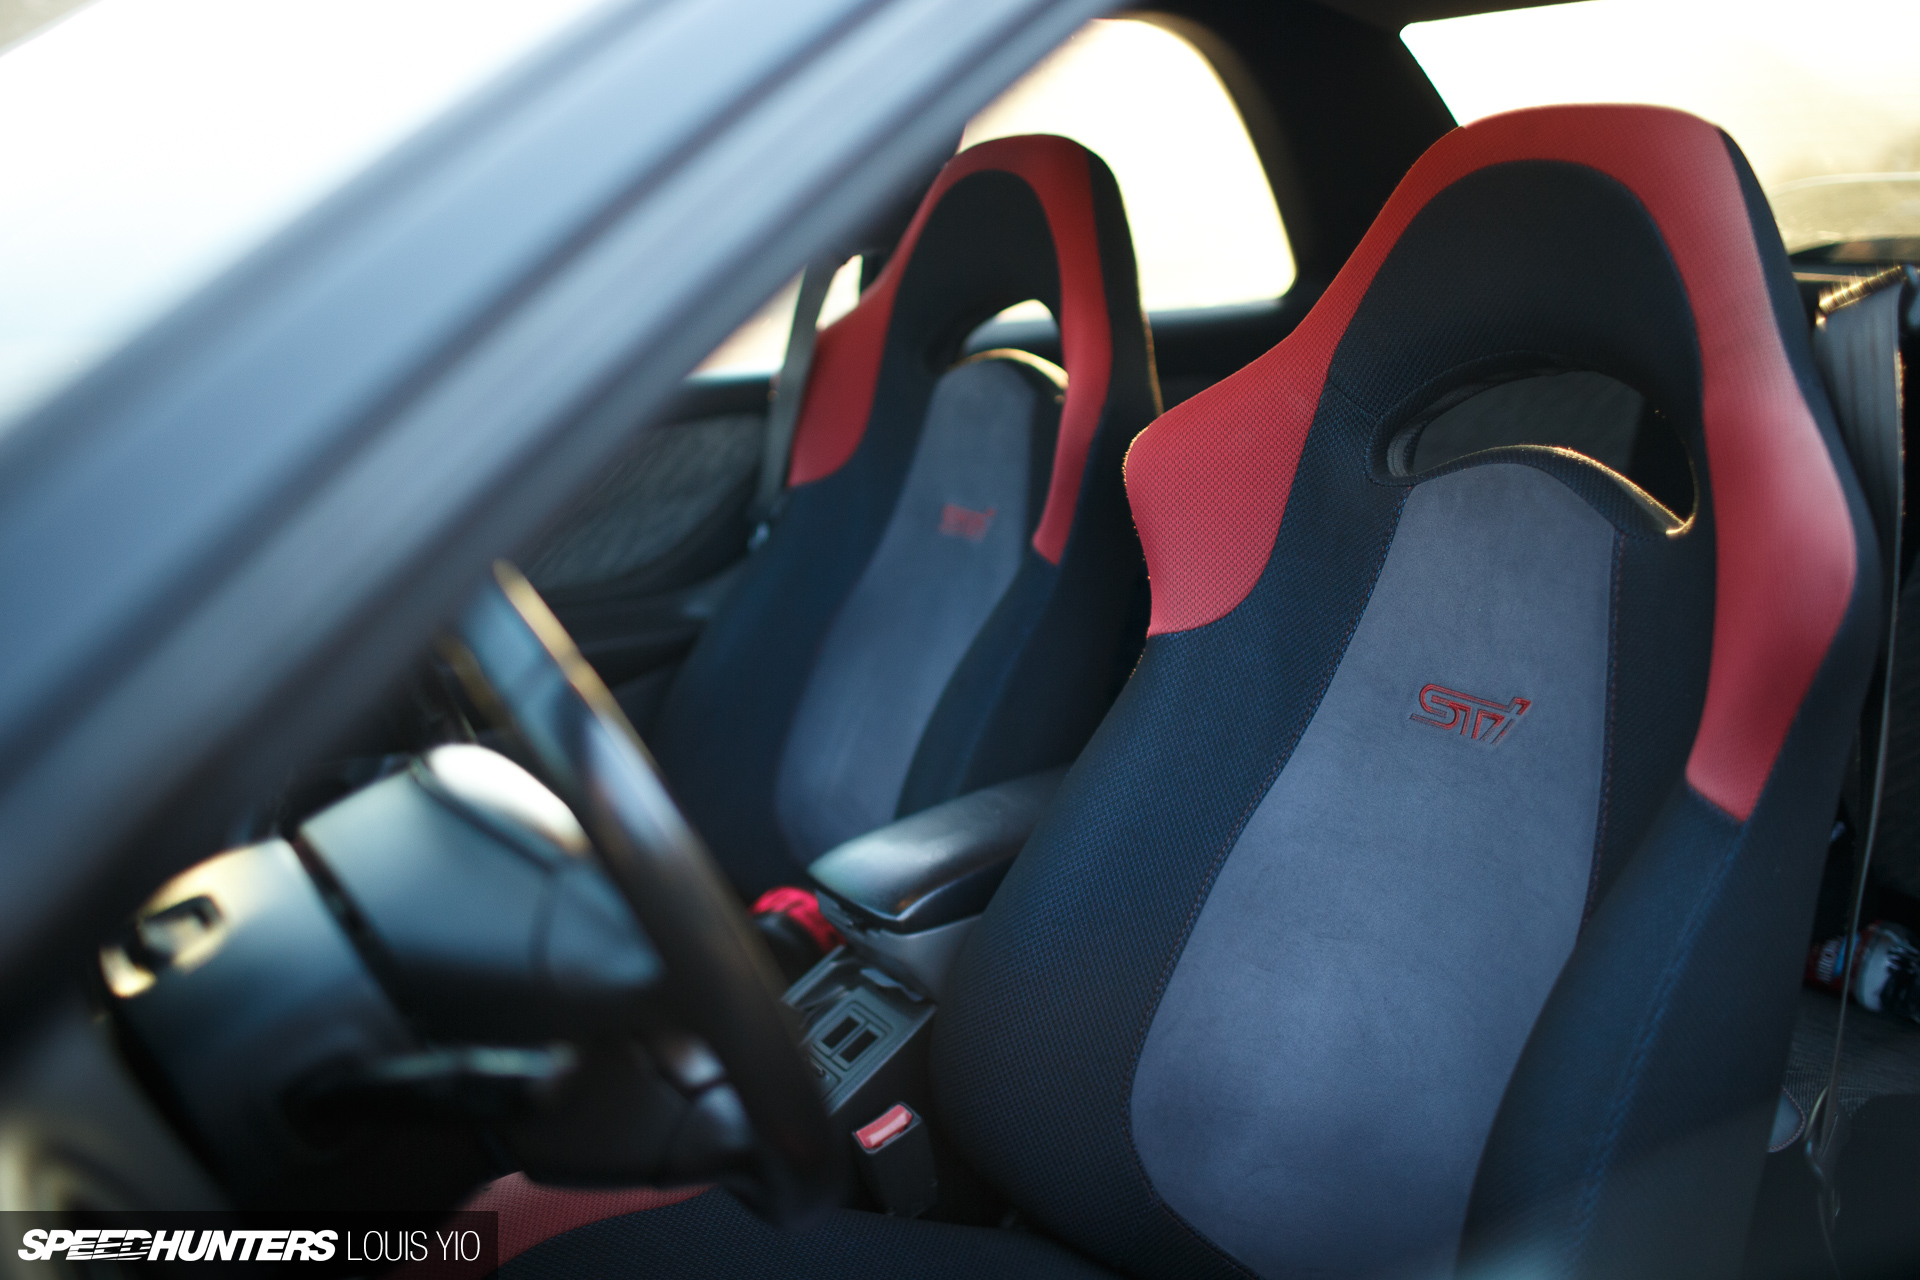
The stock 2.5RS front seats, while very comfortable, provided absolutely no lateral support for spirited driving, so I went ahead and picked up a pair of JDM STI Version 6 front seats from JDM California Motors, a local Los Angeles importer of all things JDM.

Because Japanese people drive from the wrong side of the car (and also drive on the wrong side of the road), the JDM passenger seat (US driver side seat) was in mint condition. The same can’t really be said about the JDM driver seat, but I’m totally fine with that. Most importantly, the new seats definitely do their job in keeping you planted.

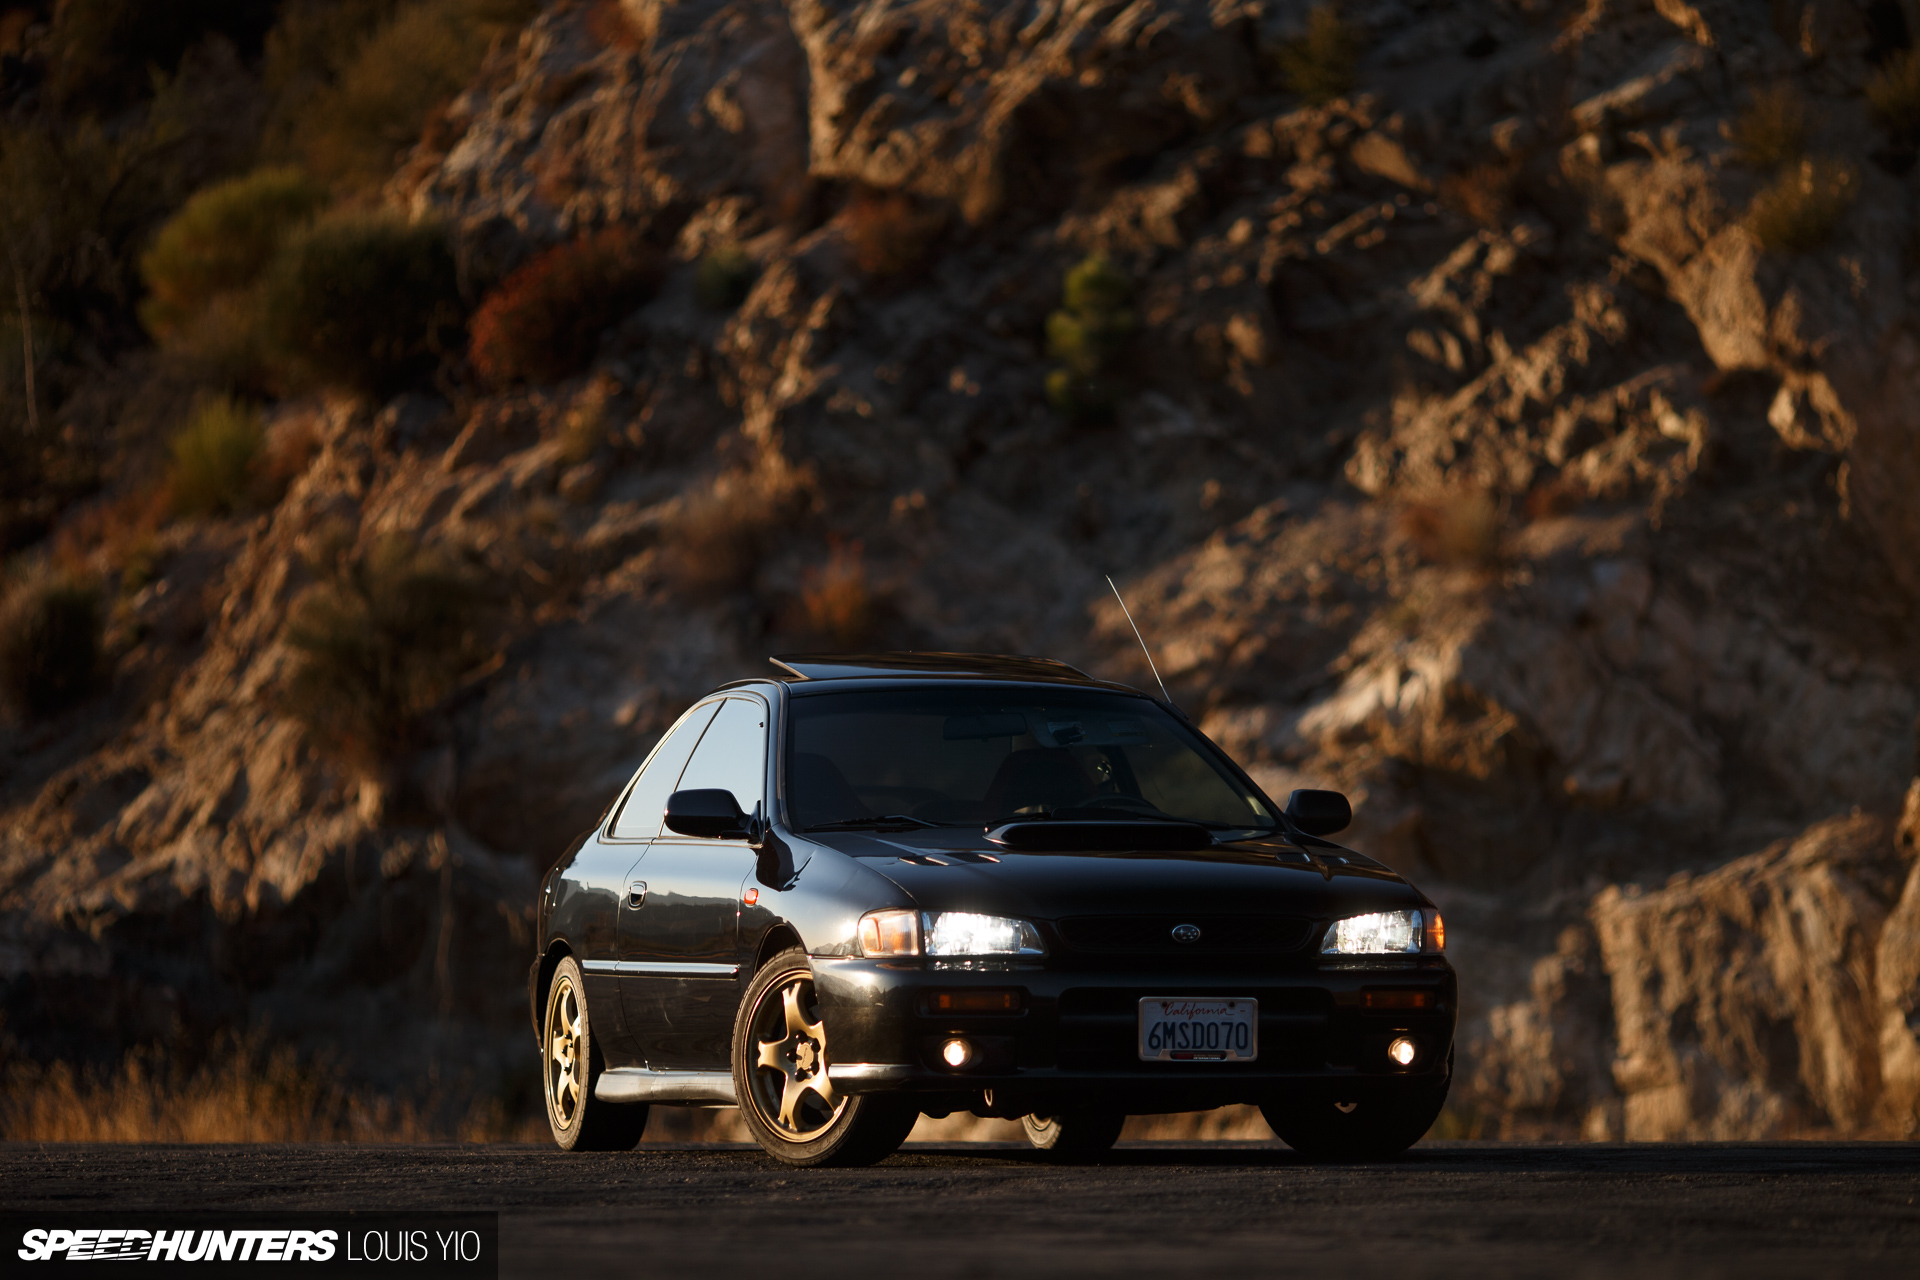
Next, I picked up an STI Version 7 Momo steering wheel. Side note: you can see my new wheels to the left of the image. Who wants to take a guess at what I went for?
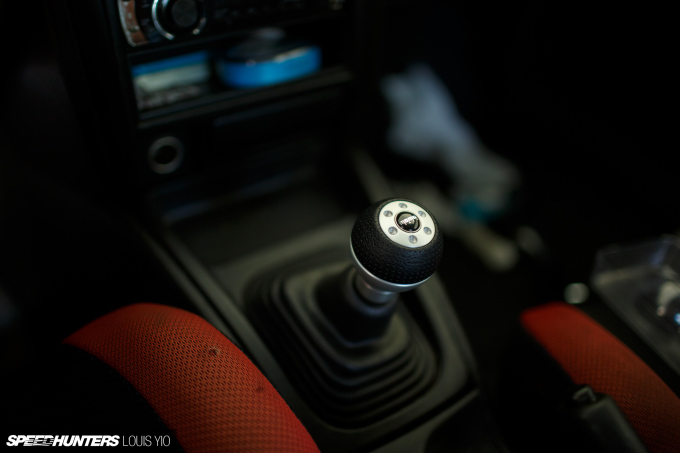
Even though the Momo wheel came from an Impreza, it looked totally out of place with the rest of my interior, so I picked up a matching Momo Airleather shift knob.

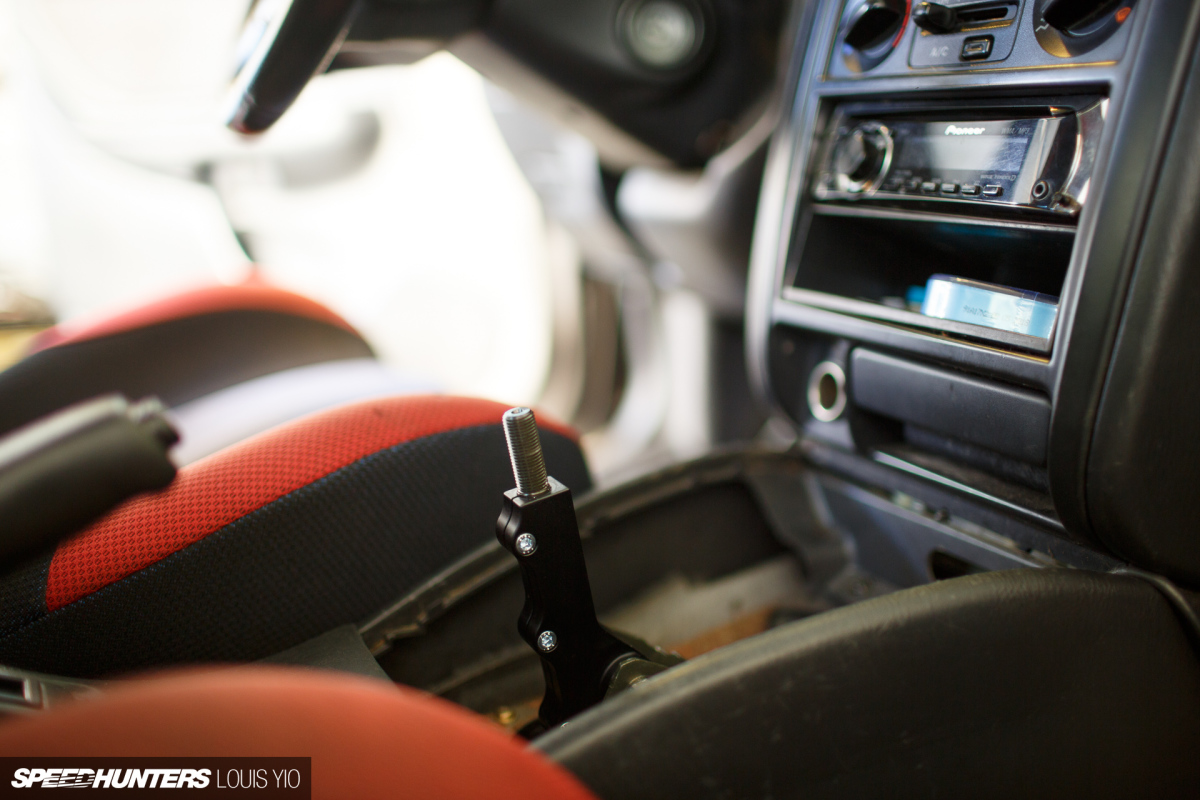
After installing the shift knob, it sat a little too high and just didn’t really look right. The solution? An adjustable Cobb short shifter. I’d been meaning to get a short shifter for a while, but now I had a proper reason to fit one.
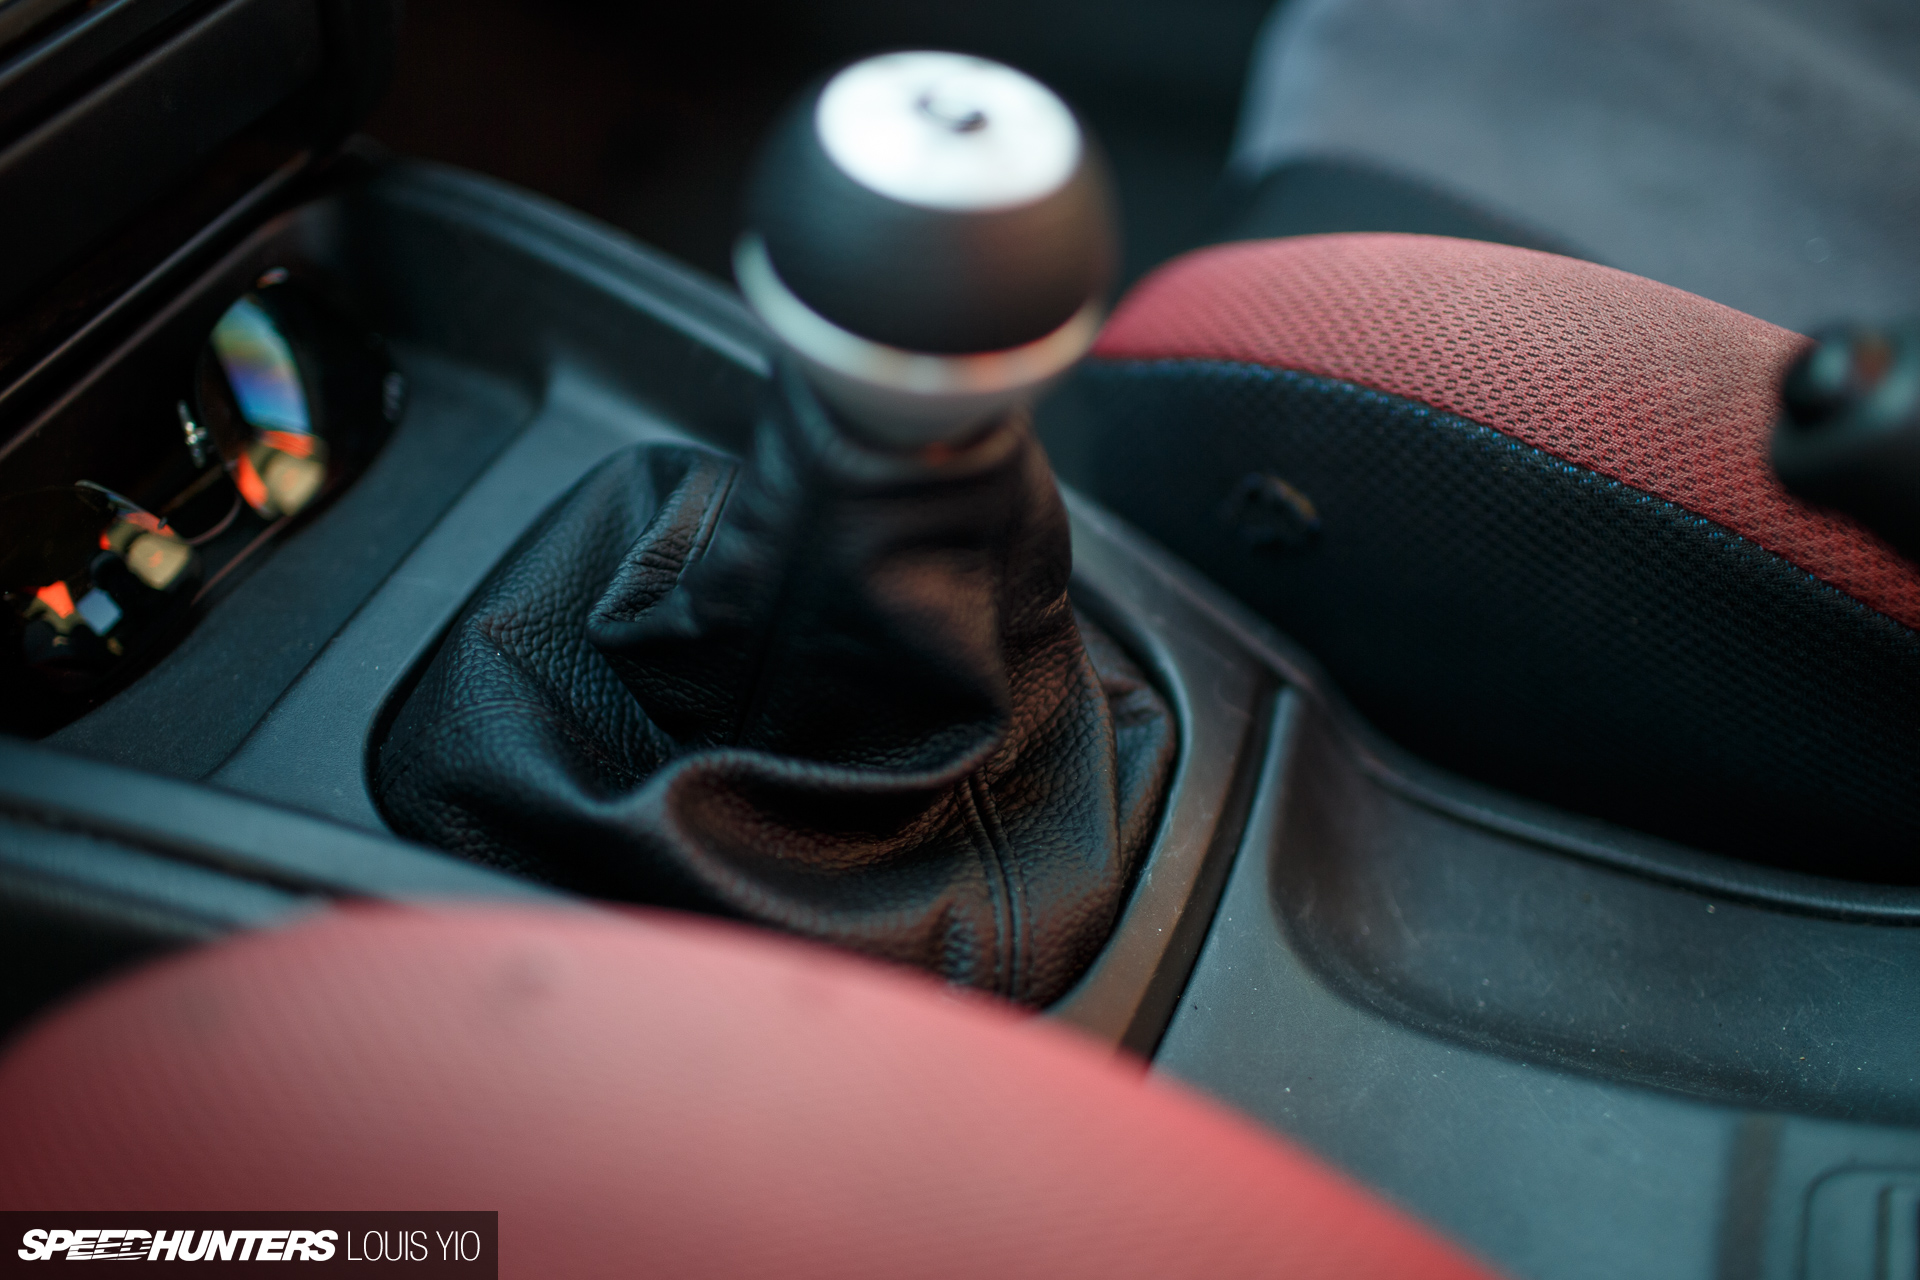
However, there was an problem: Given the new shifter was a lot shorter in height, it didn’t clear the OEM rubber shifter boot. As much as I liked the factory accordion-style boot, I had to swap it out, so I went ahead and ordered a leather shifter boot online. It smells like one of those expensive leather purses so it’s probably the real deal.
I also bought a floor mat for $5 to cover up the ugly ripped carpet.


That’s pretty much it with the interior as there’s nothing else I need right now. I will likely pick up better seats and a harness once I start to run some local time attack events, but that won’t be happening for a while.
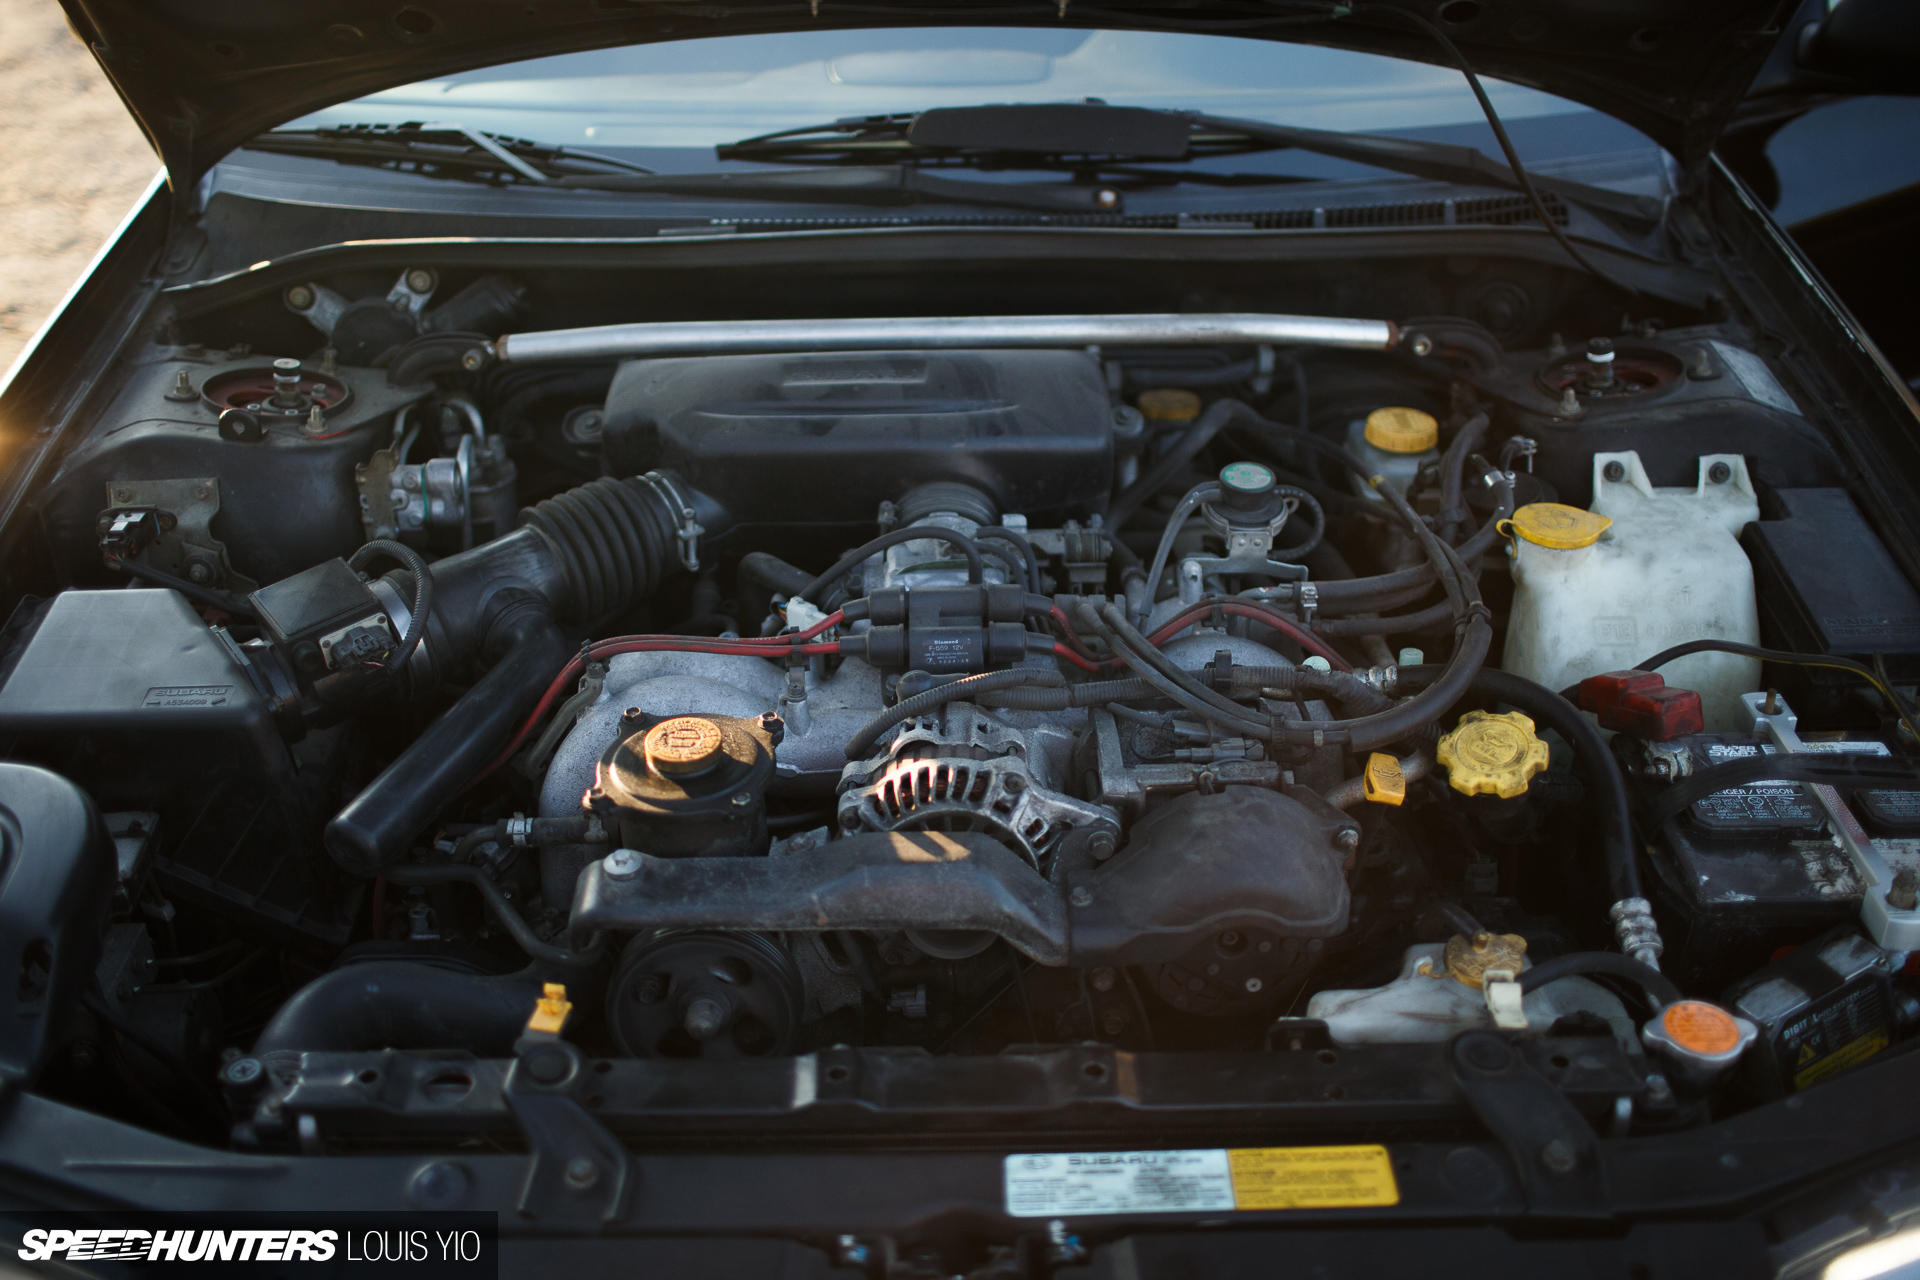
Under the hood, it’s a bit of a mess. The engine bay could definitely do with a clean, and I’ll get around to it eventually. Hopefully I’ll have an STI turbo motor sitting in here soon…
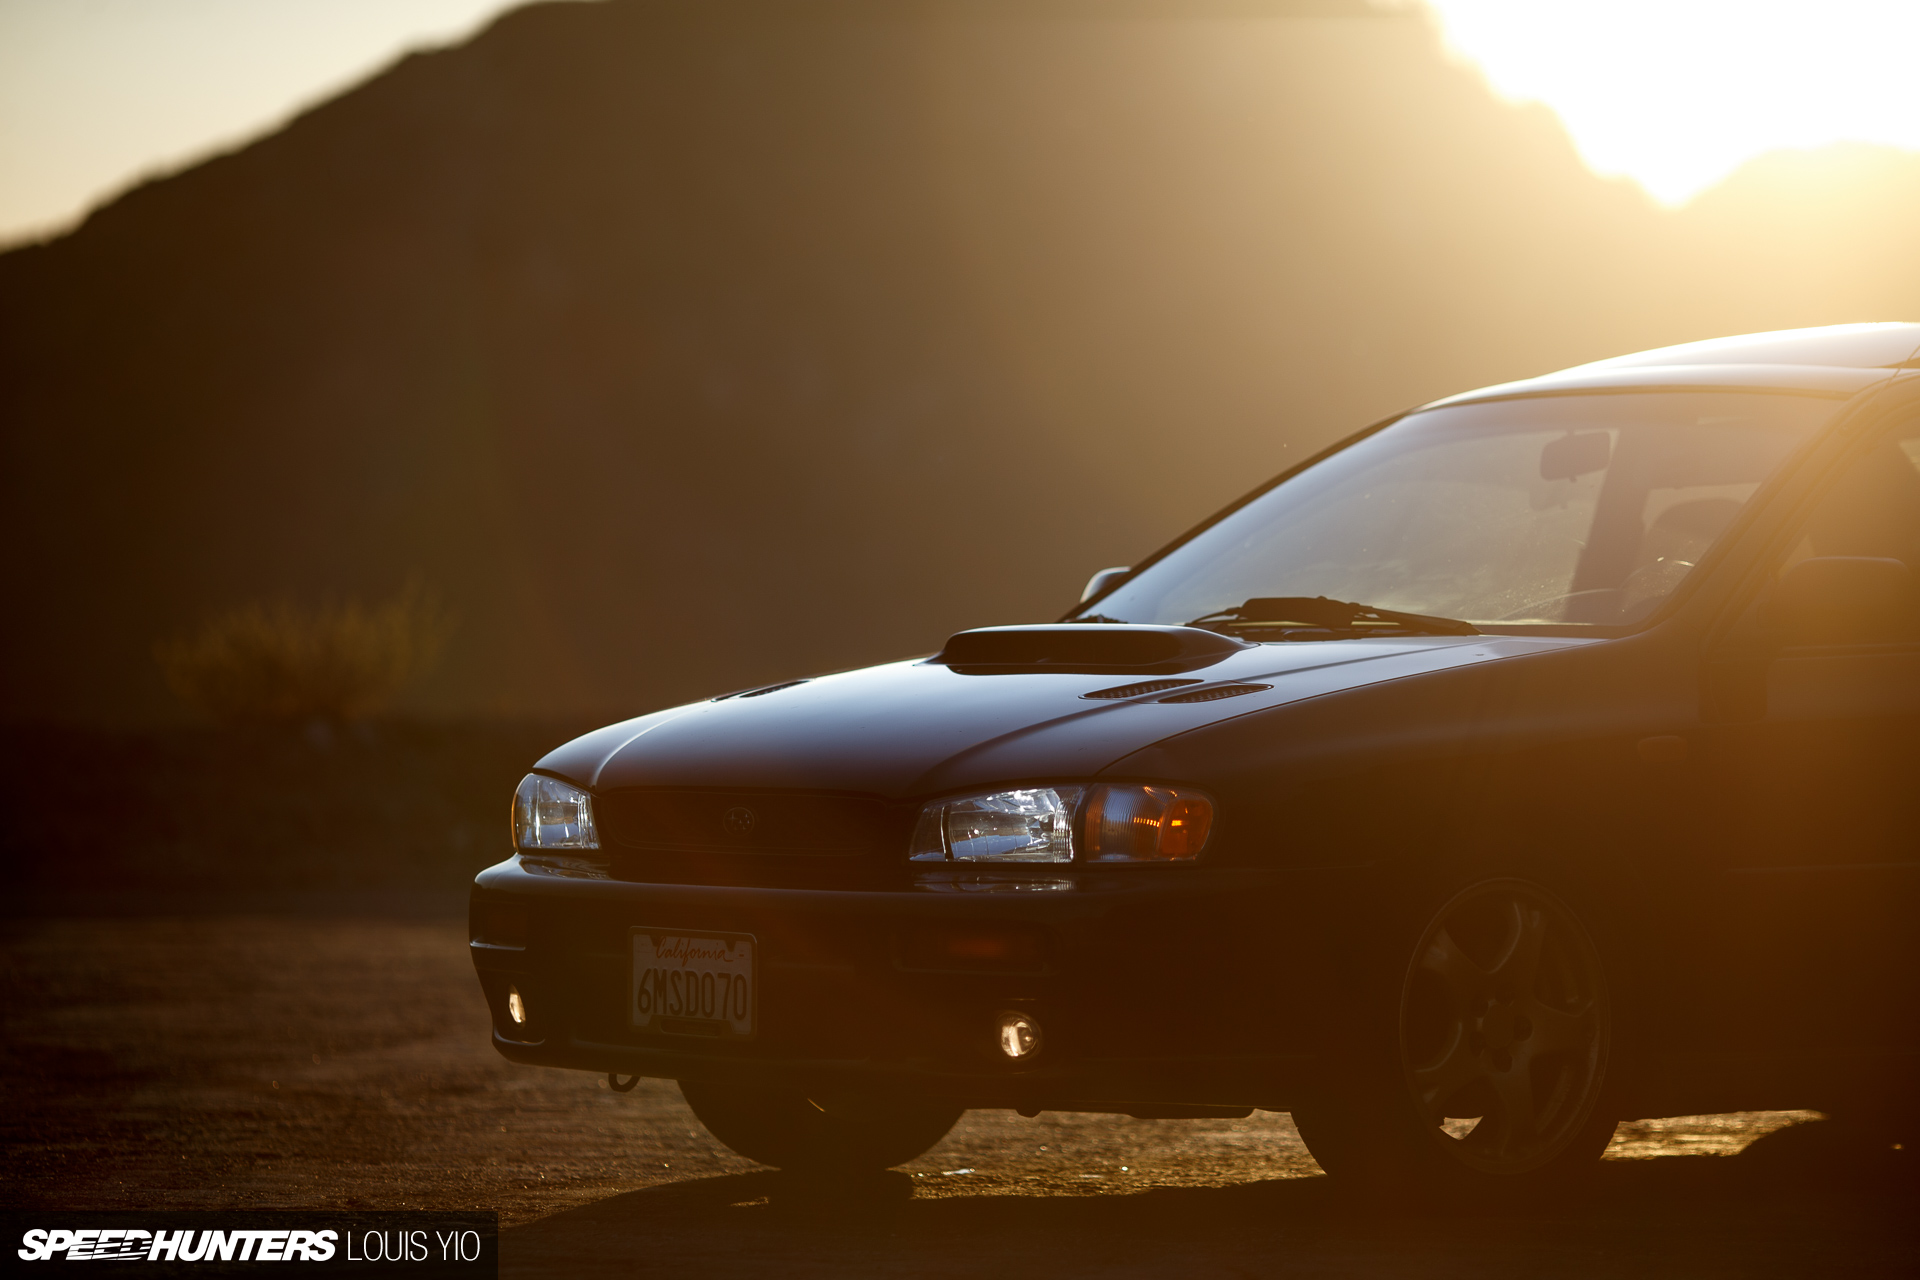
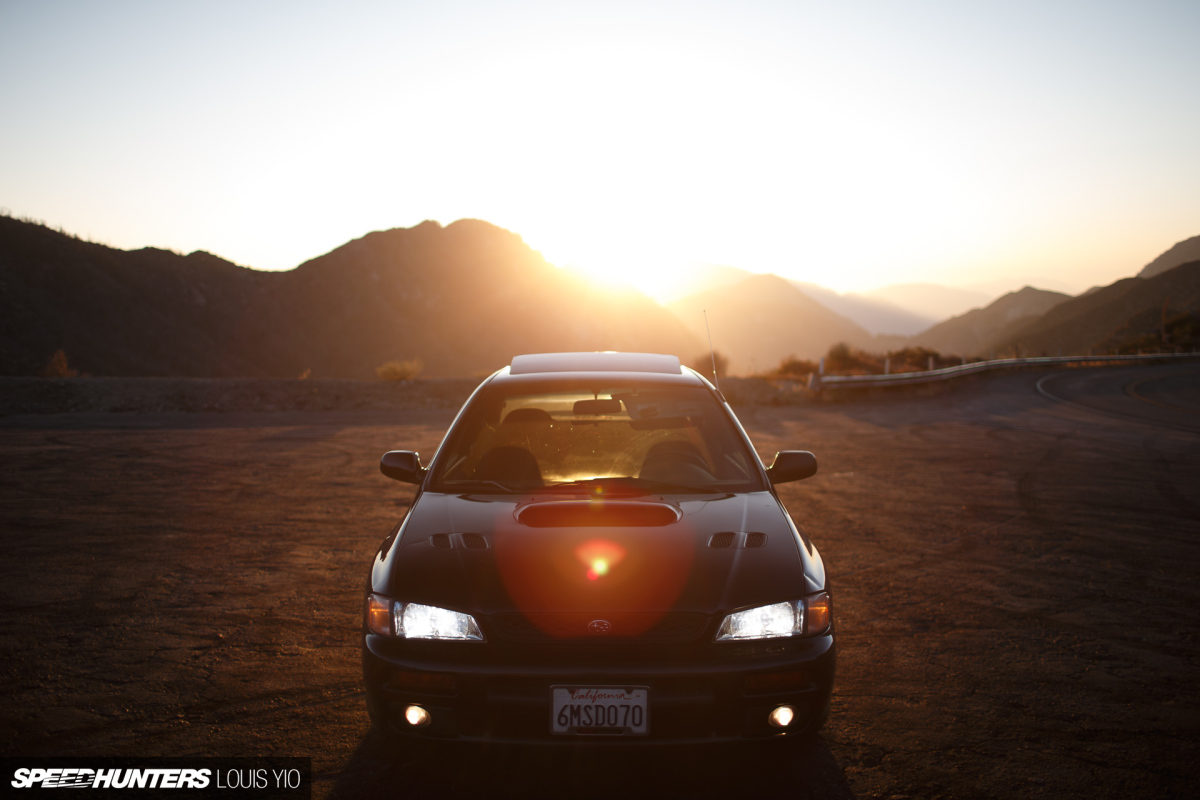
In my next update, I’ll be delving into the handling – one aspect of the car that really needs work. A previous owner had fitted Megan coilovers, but they’re absolutely shot; my back still hurts from the drive up Angeles Crest Highway to this sunset spot. That was a 45 mile roundtrip of me being bounced up and down on my seat with even the slightest bump in the road, so you can imagine how sketchy things get when you take corners at speed. I can’t wait to make some huge improvements here.
Aside from the suspension upgrade, I have an updated front bumper to make Bunta more like the car it’ll eventually become – an ‘RSTI’ – and minor bodywork and paint is also on the list. But more on all that in my next project update.
Louis Yio
louis@speedhunters.com
Instagram: lusciousy