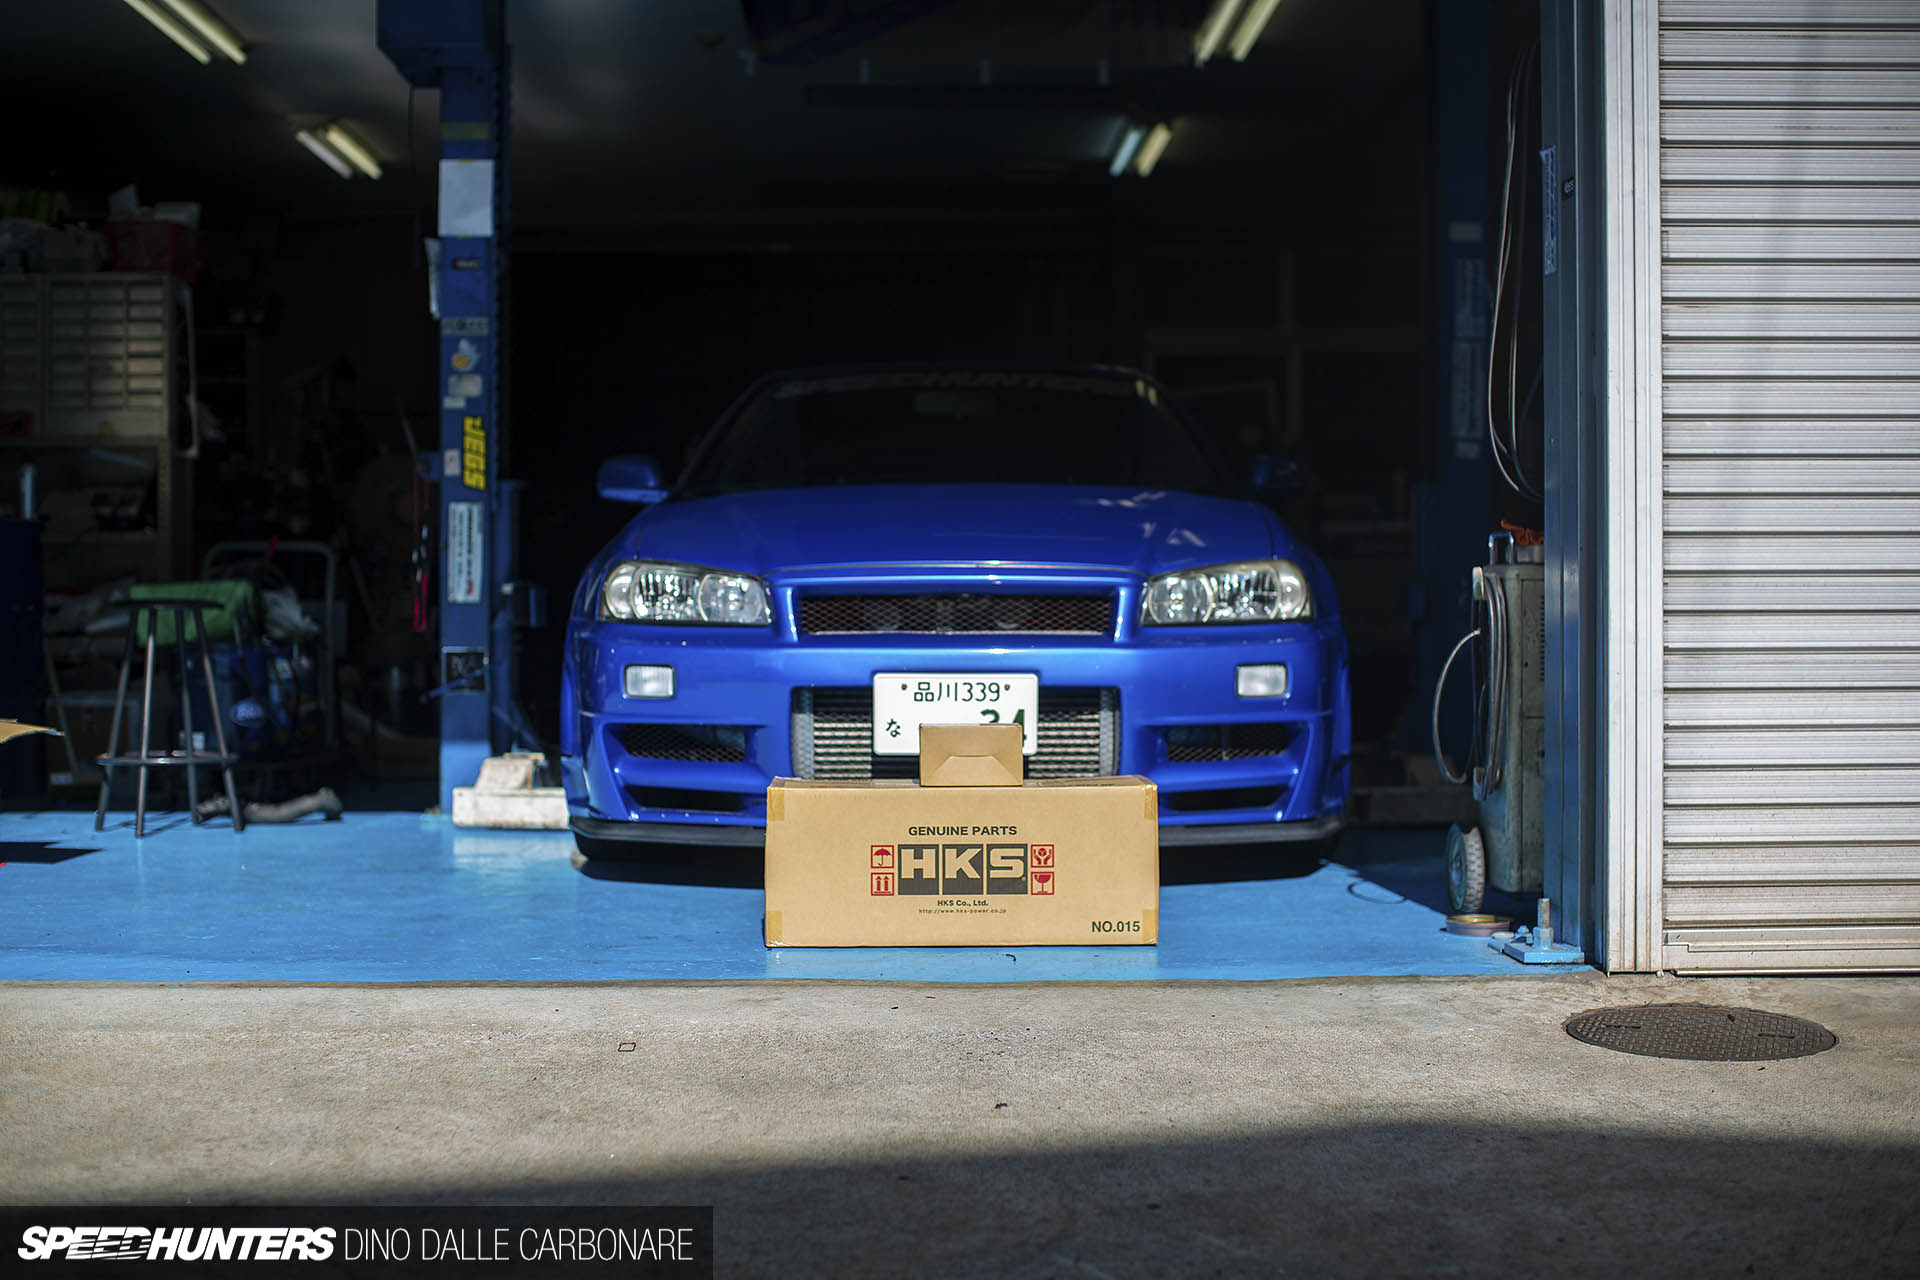
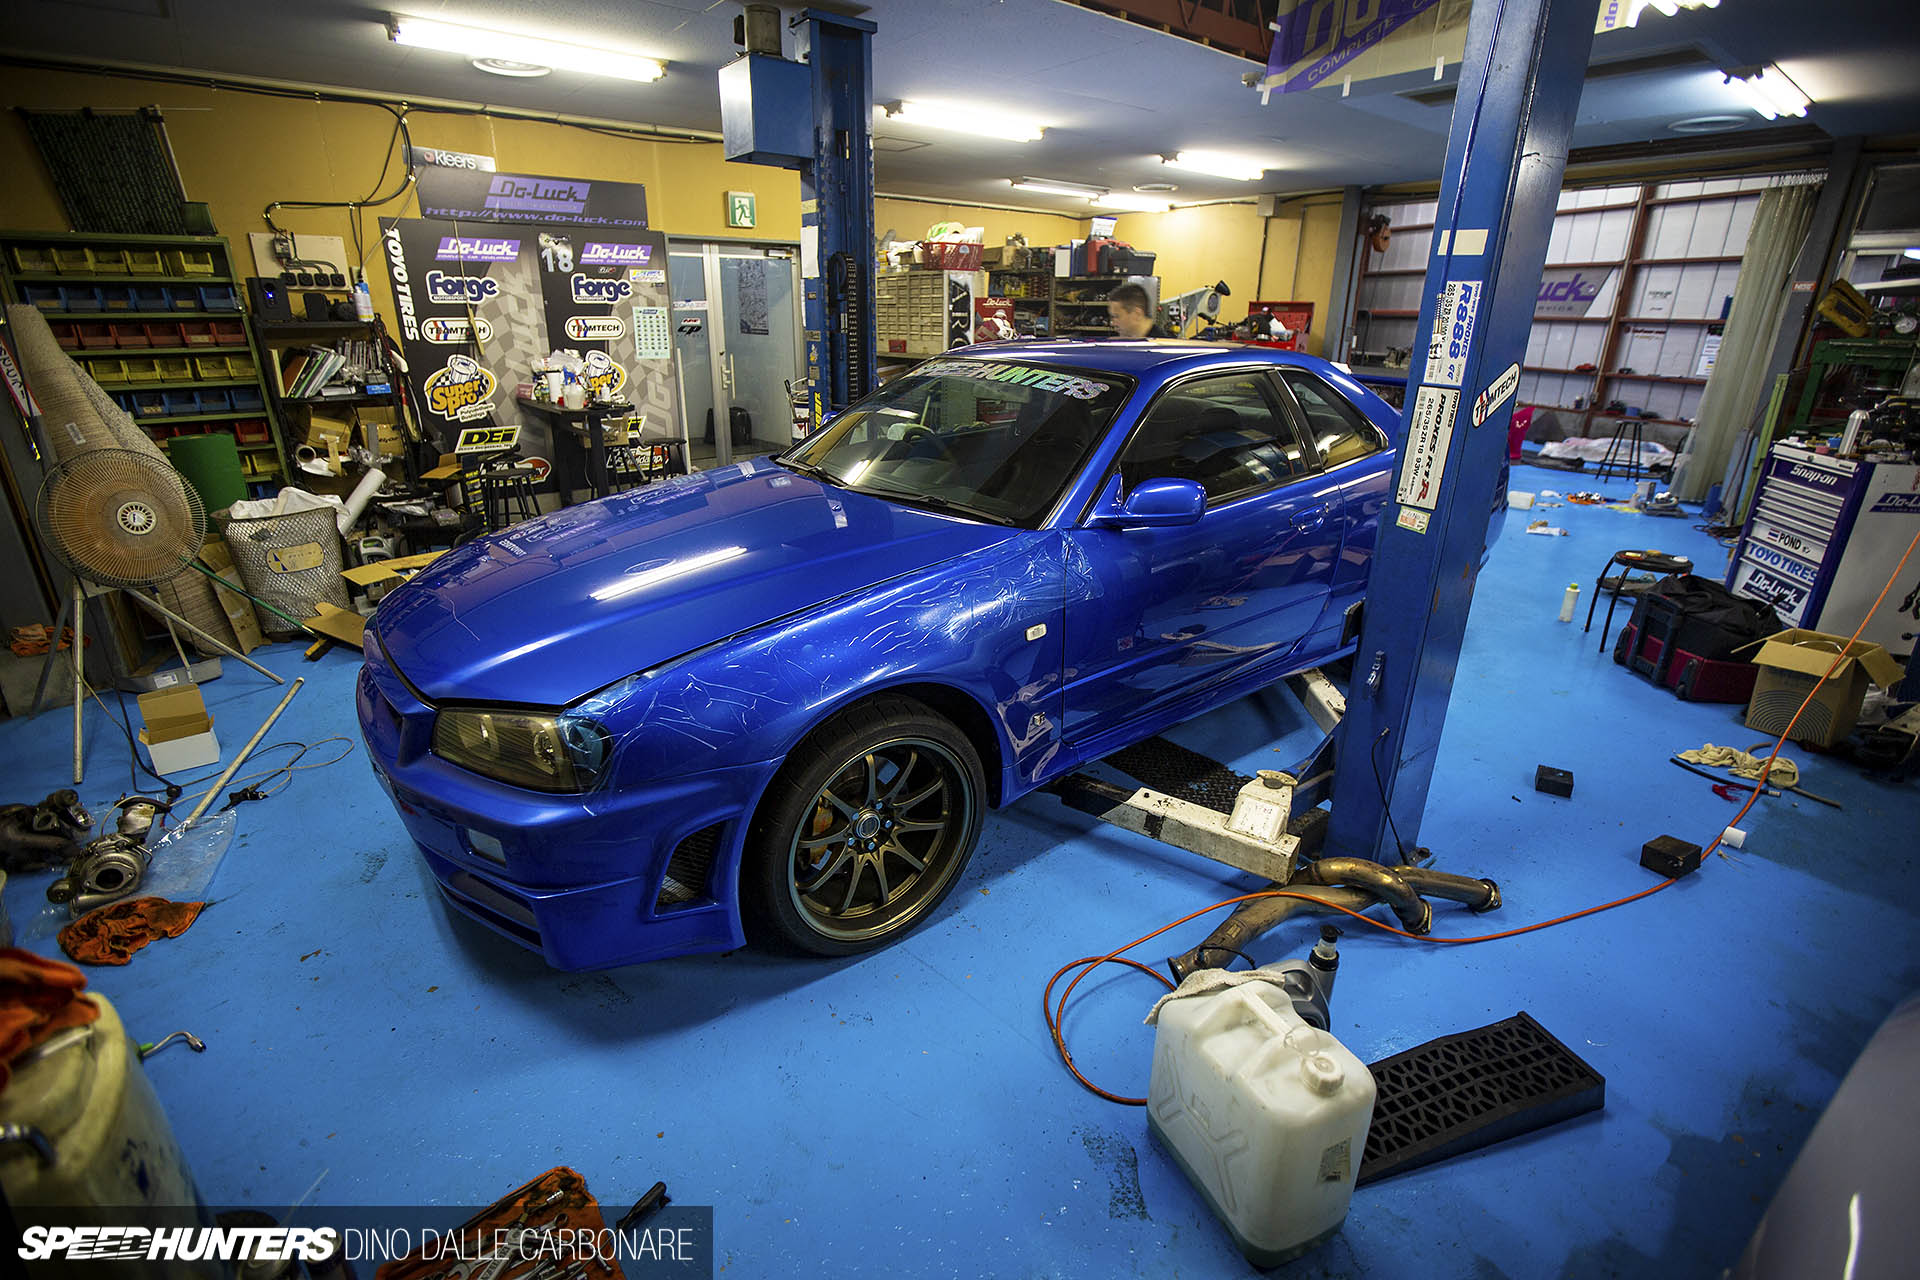
This has been a long time coming. No, Project GT-R has not been stripped of the green wrap applied for Tokyo Auto Salon; not counting the three to four years’ worth of parts-collecting, we just have to take a step back a year and a half to fully catch up with all the modifications I’ve made thus far.
I’ll admit it, I was naive to think it would all get done quickly, but once you factor in waiting for parts, changing one’s mind, finding new solutions, and then deciding to try out things for the first time, well, the delays just pile on. Add to the fact that in my private life I’ve been more than busy; twins came and in the process ate up the little free time I had left, so it all became a bit of a juggling game. On top of it all, I have to rely on Ito-san of Do-Luck’s own free time to get work on my car done.
But it’s OK. Yes, the car is progressing at a very slow rate, but at least it’s almost there. In fact, I’m only one step away from calling this first engine step complete, if you can even use that word when it comes to a project car. You’ll see what I mean once I’ve put together the few updates needed to bring everyone up to date.
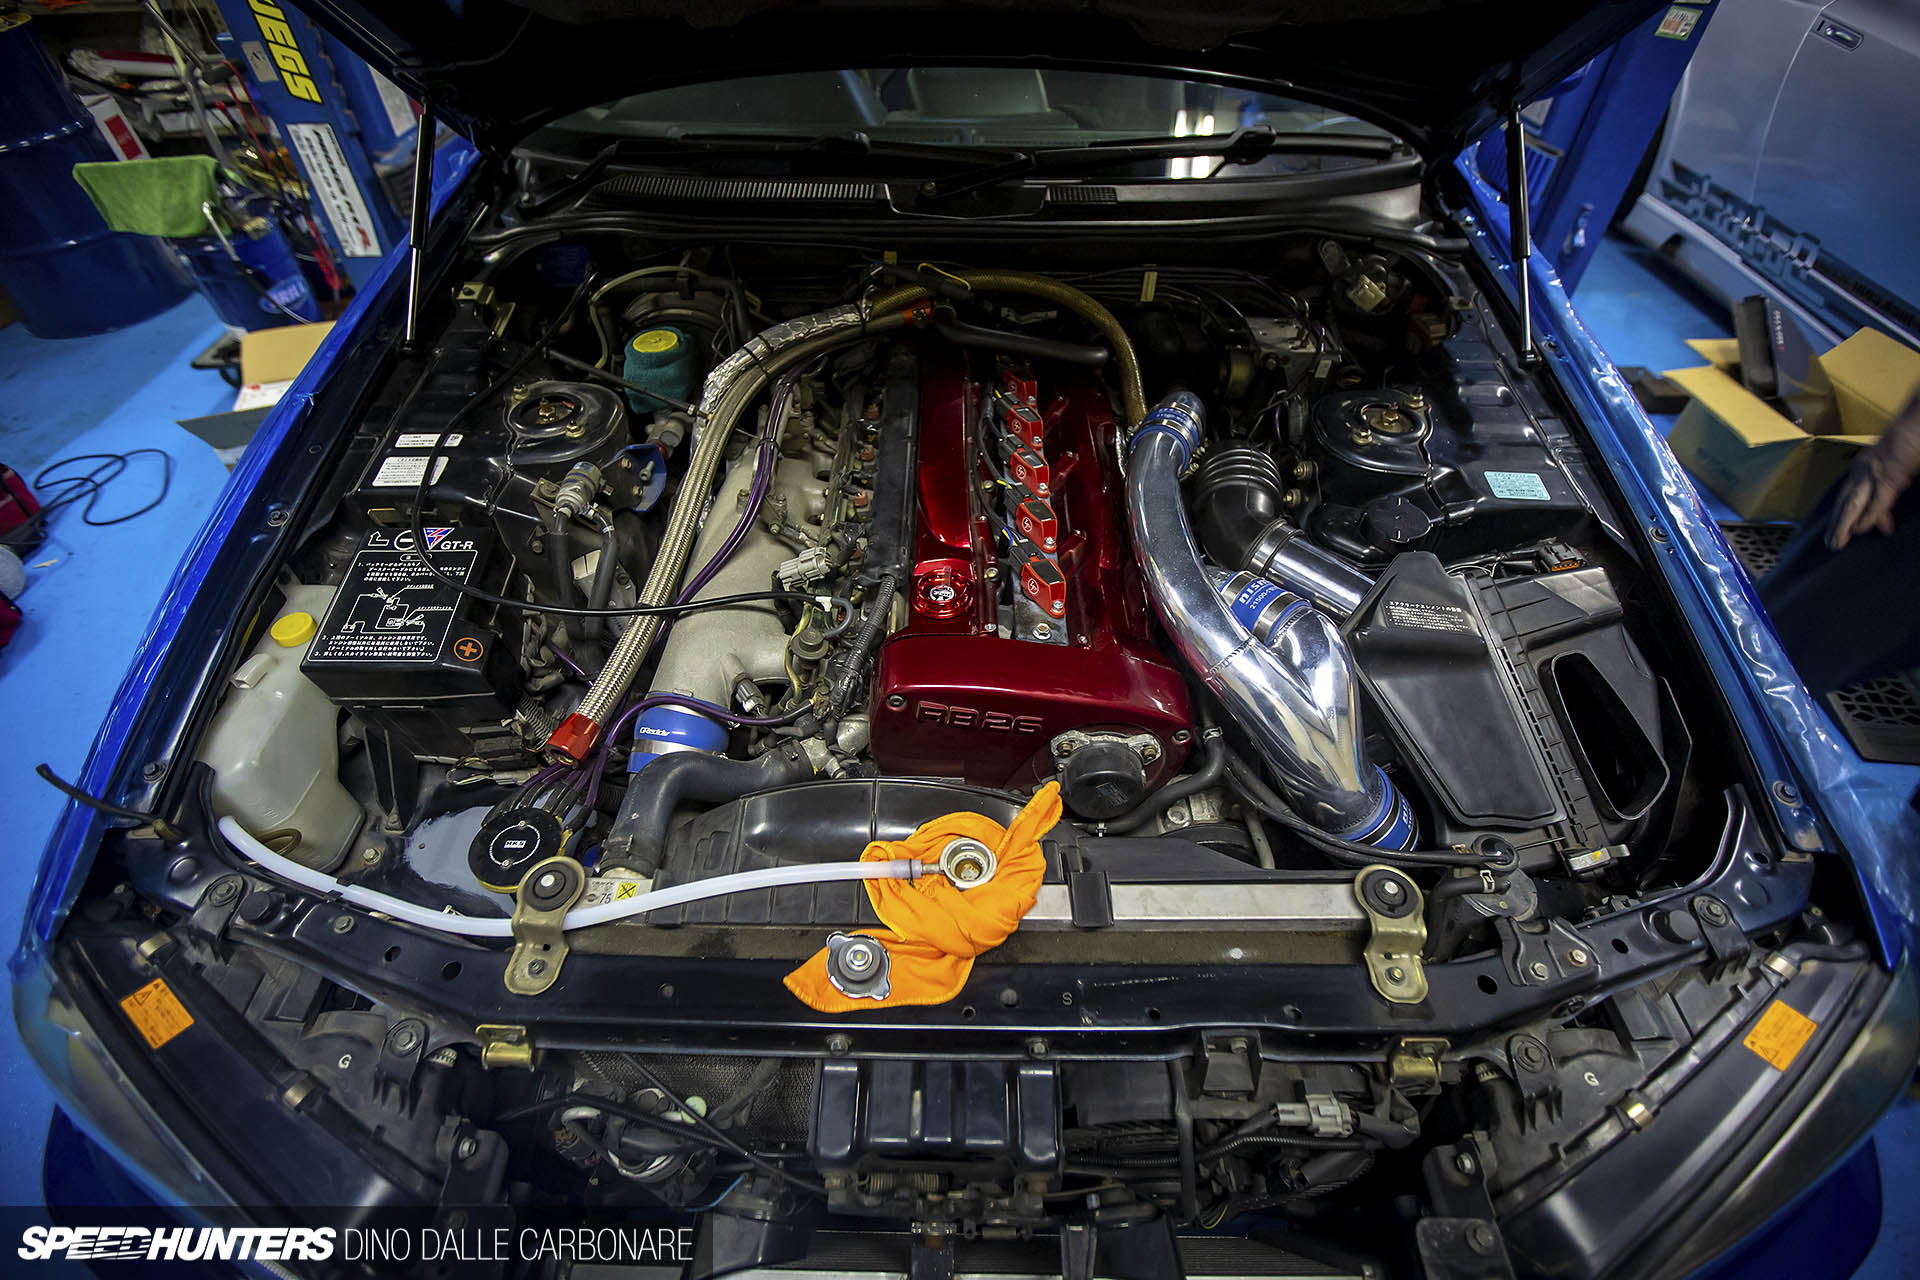
So to get back to where we left off on the engine side of things, what you’re seeing in these images are the days leading up to the 2016 R’s Meeting. We were supposed to work non-stop on the car and get it completed for the event, which meant removing the factory twin turbos and fitting a new pair from HKS, upgrading the fuelling, and adding hotter cams and a metal headgasket.

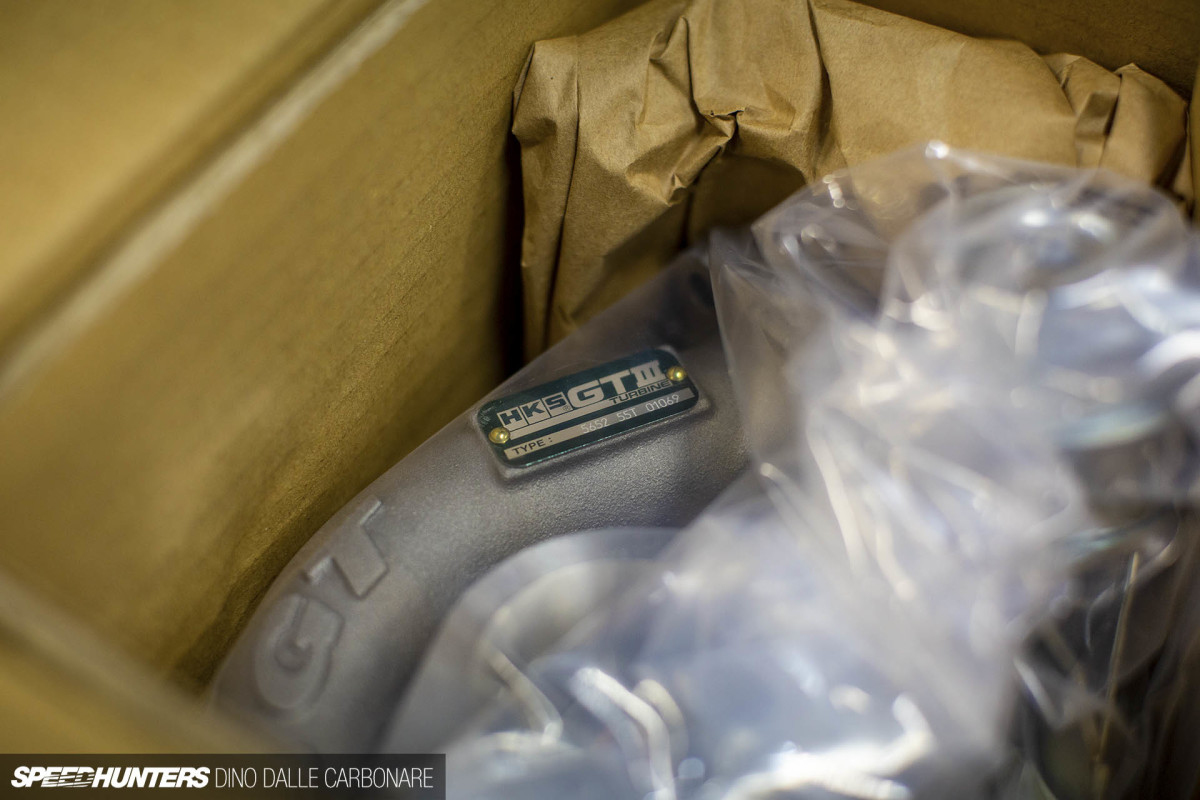
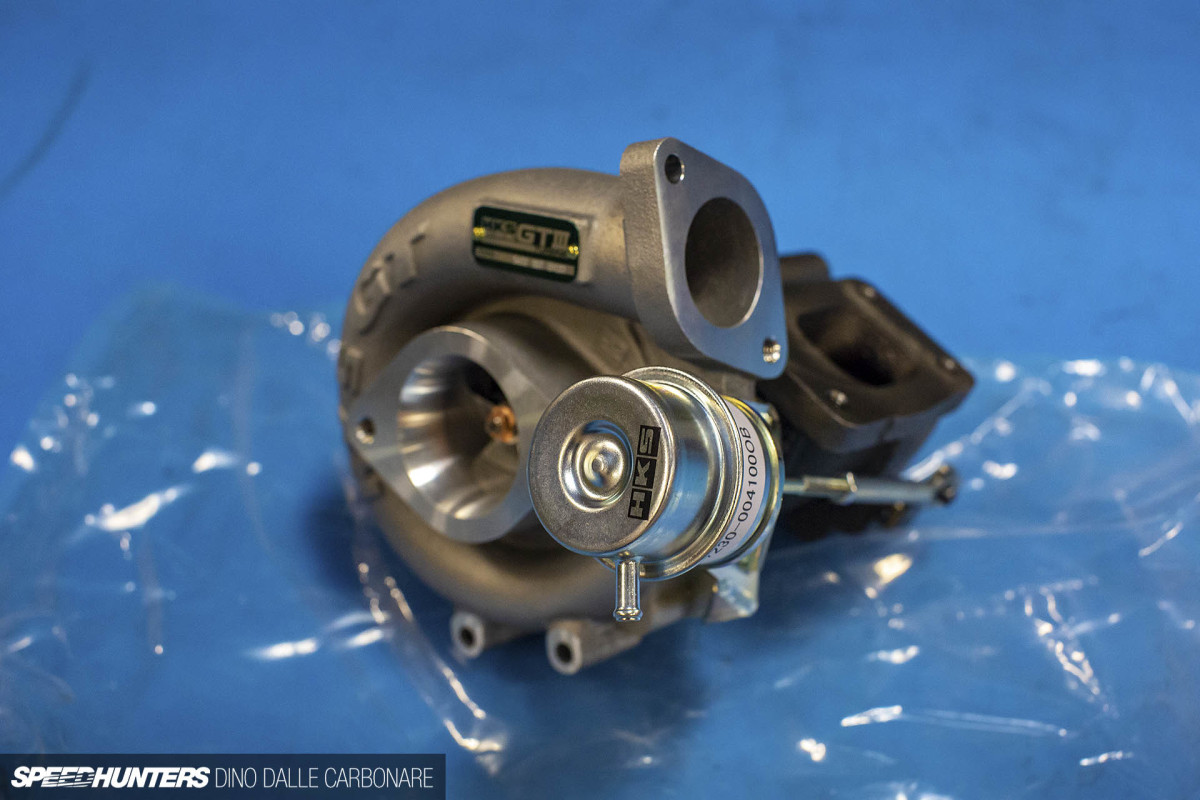
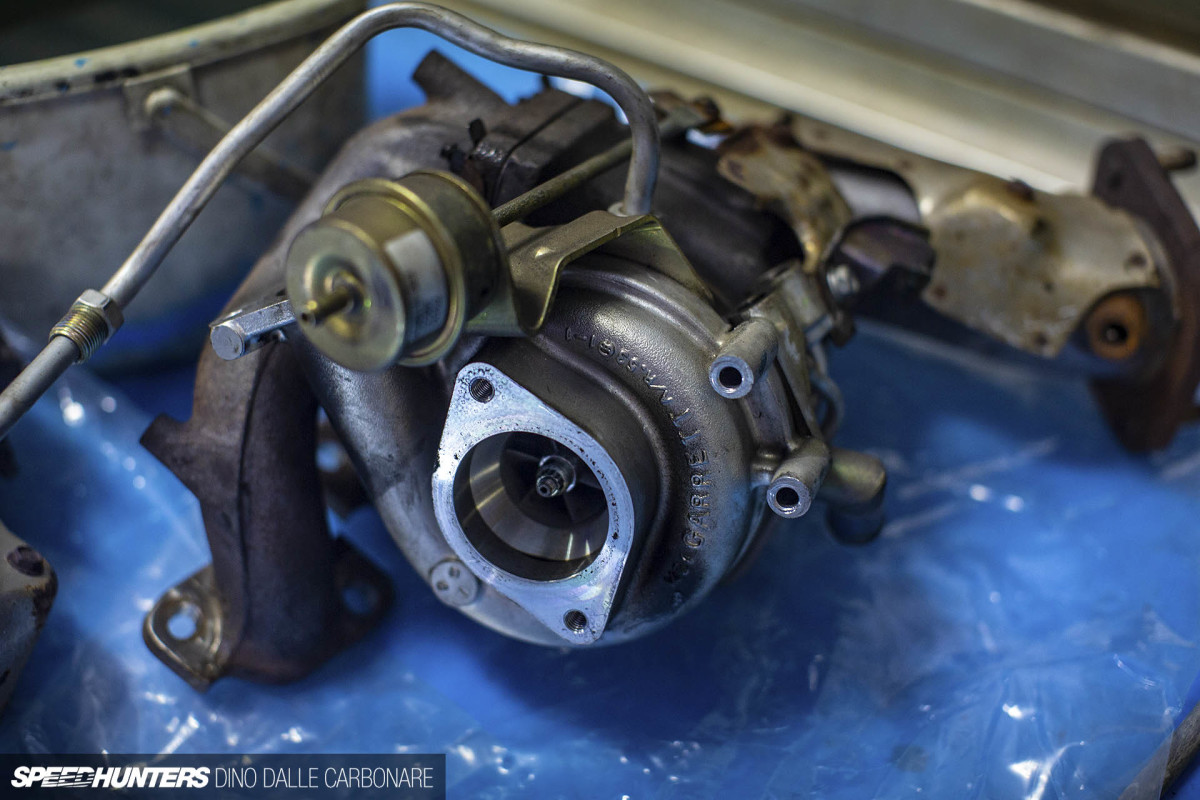
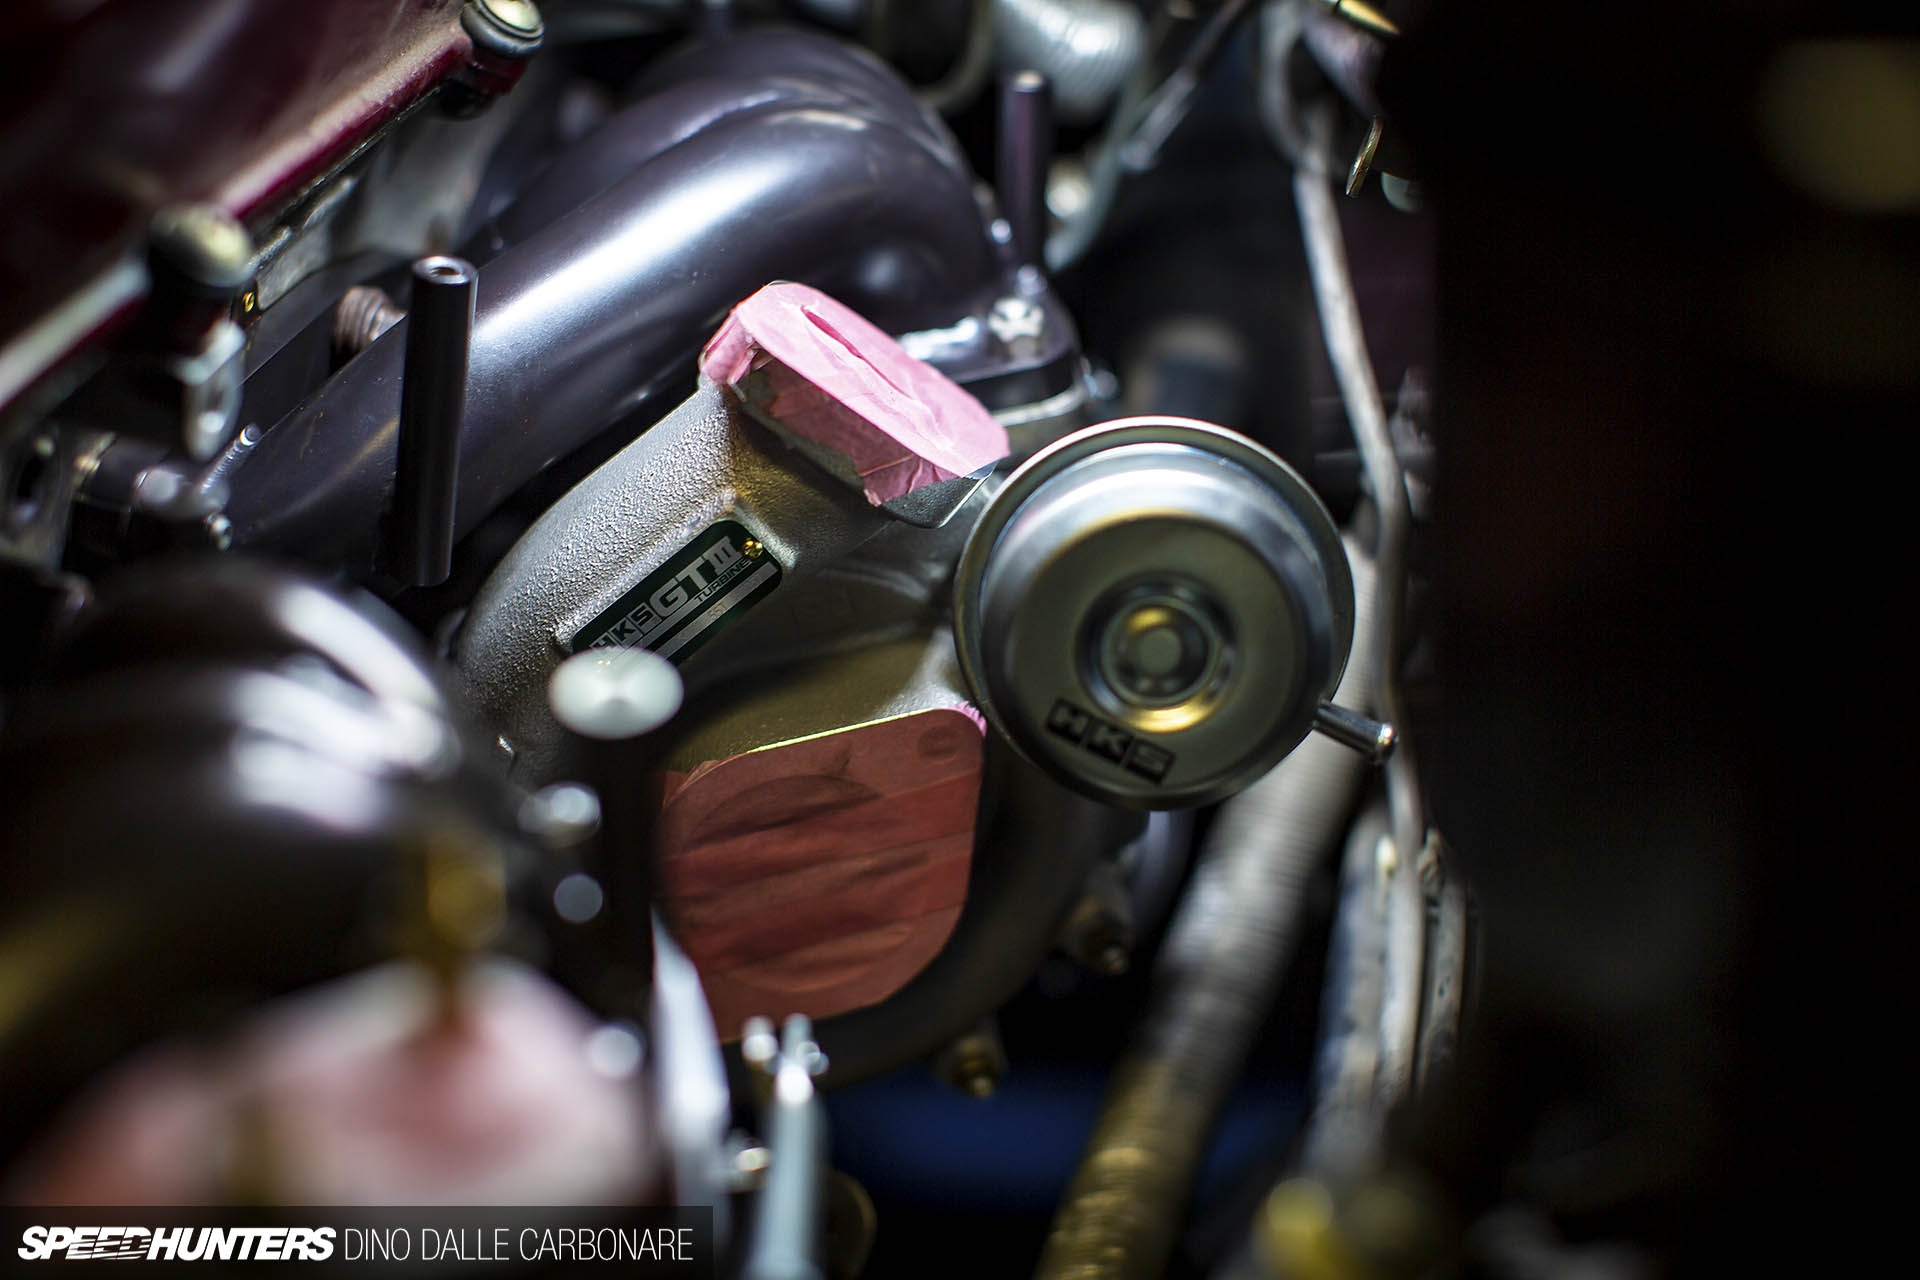
But what about the Tomei turbos that were supposed to go on in the first place? Well, let’s just call it an executive decision. When HKS asked if I’d be willing to give their new Mitsubishi-built GTIII turbos a go I didn’t turn them down. These are the SS version, so the smaller of the two that are offered, sitting somewhere between the GT-SS and GT2530, thus a tad smaller than the Tomei Arms turbos I still have. Since this first step is all about low-end torque and throttle response, I thought the HKS route would be the best option.


There are also larger GTIII RS versions of these turbos which are said to deliver the same power as the old GT-RSs, but maintain GT2530-like response. These would have been too large for my current setup as I want to keep the pistons, rods and crank all stock for this initial round of modifications. There were lots of boxes to be opened up as HKS offers this upgrade as an RB26-specific bolt-on kit.

That means you’re supplied with pretty much everything that is needed for installation, including pre-bent oil lines, fittings, hoses and gaskets.
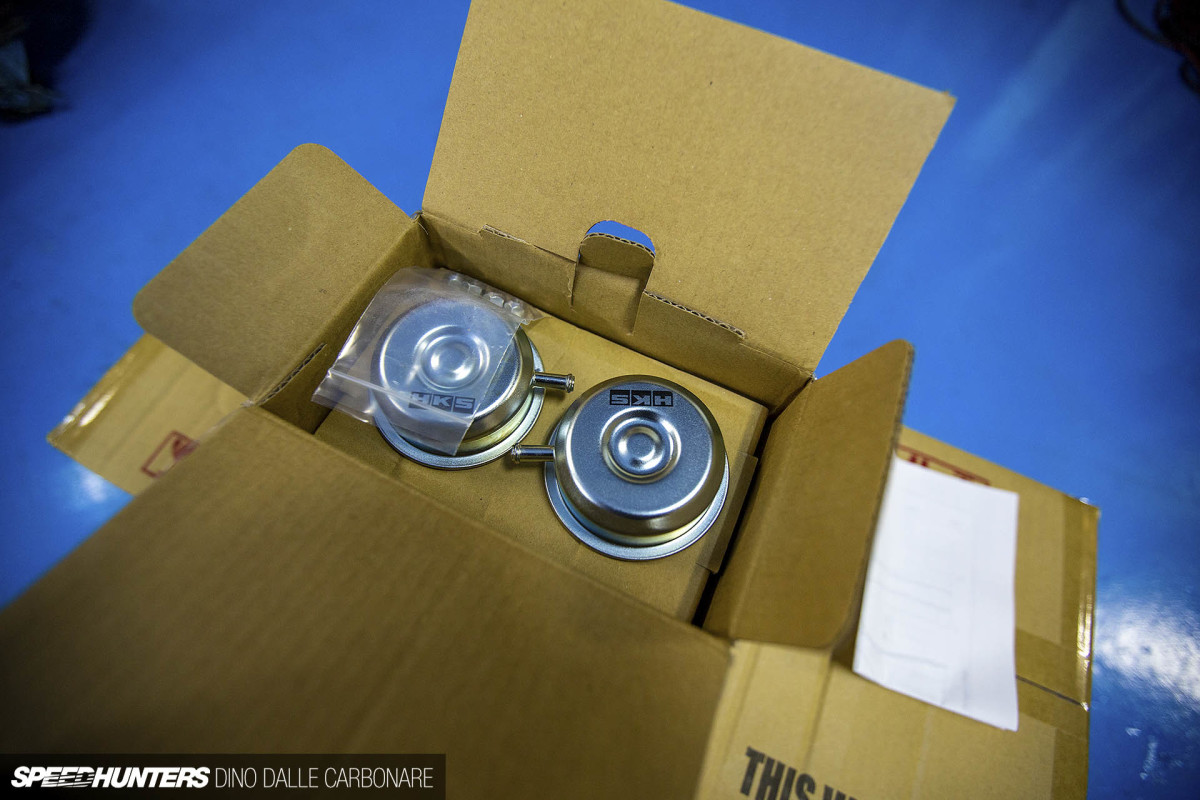

I also got a different set of wastegate actuators which run a slightly tighter spring setting to allow for somewhere around 1.4-1.5bar (20-22psi). I’ll be running 1.2-bar (17.6psi), as that’s the widely accepted ‘safe’ level for a stock engine. Keep in mind that I’m not upgrading the oil pump or fitting a deeper sump with extended pick up quite yet, so it’s a very gradual progression. I really want to see and feel each change as it’s done; that’s half the fun of it, right?

Seeing that bolt-on aftermarket twin-turbo kits for the RB26 are all designed around athe stock turbine position allowed me to use the Tomei Expreme stainless steel headers and turbo outlet pipes that years back I had sent to Martelius in Finland to be ceramic coated.

After all the time that had passed, I was going to miss opening the boxes and taking a look at the smooth finish on these babies.
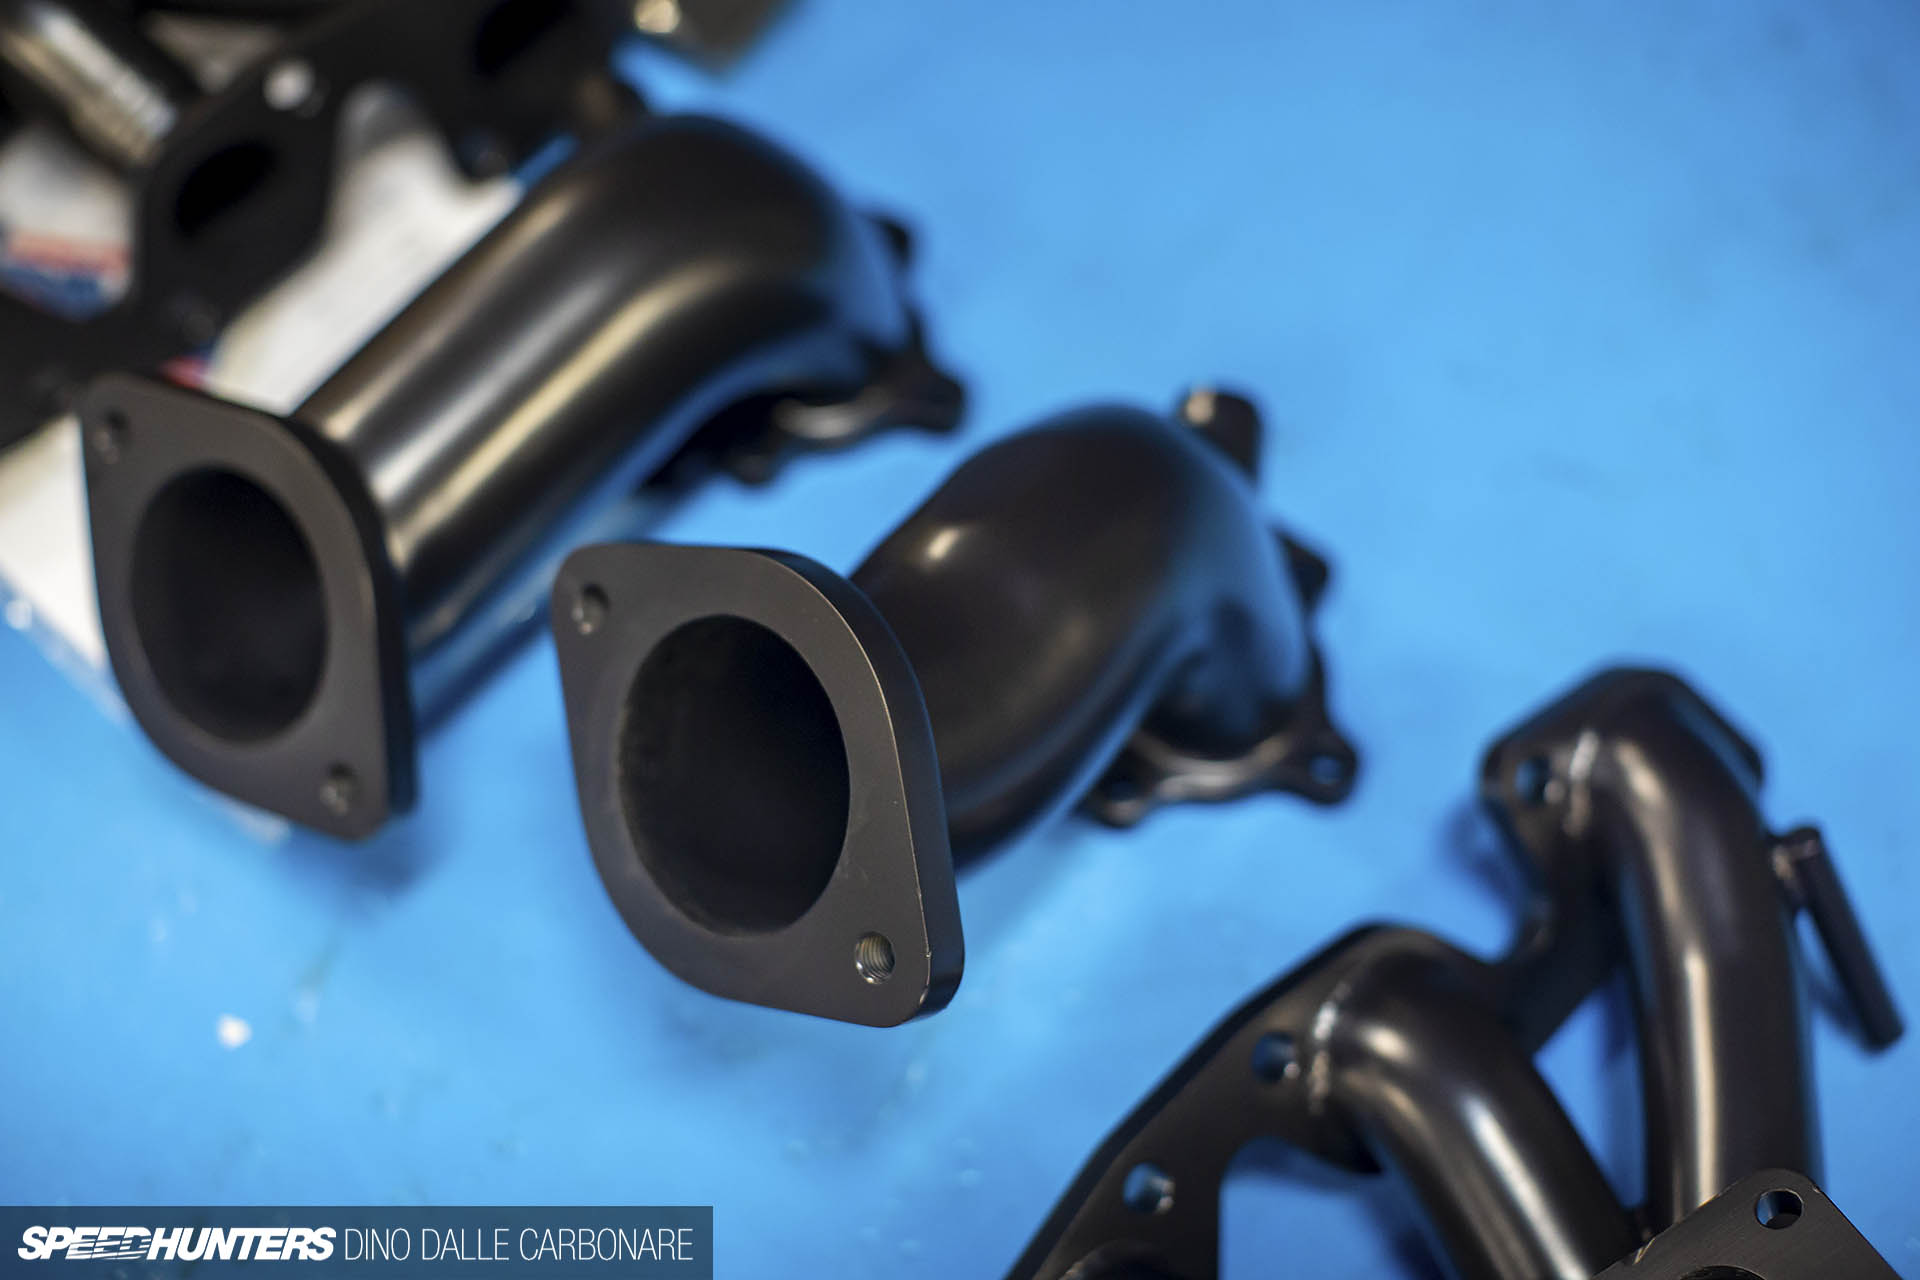
But finally they were going to put to the use they were intended for, and that’s to create a balanced and smooth passage for the exhaust gasses to flow into and out of the turbos.
Fitting Finally Begins
As I was busy unboxing stuff and taking pictures, Ito-san wasted no time unbolting, loosening joints and removing pipes in the engine bay in order to get to the area of interest – the hot side of the motor.
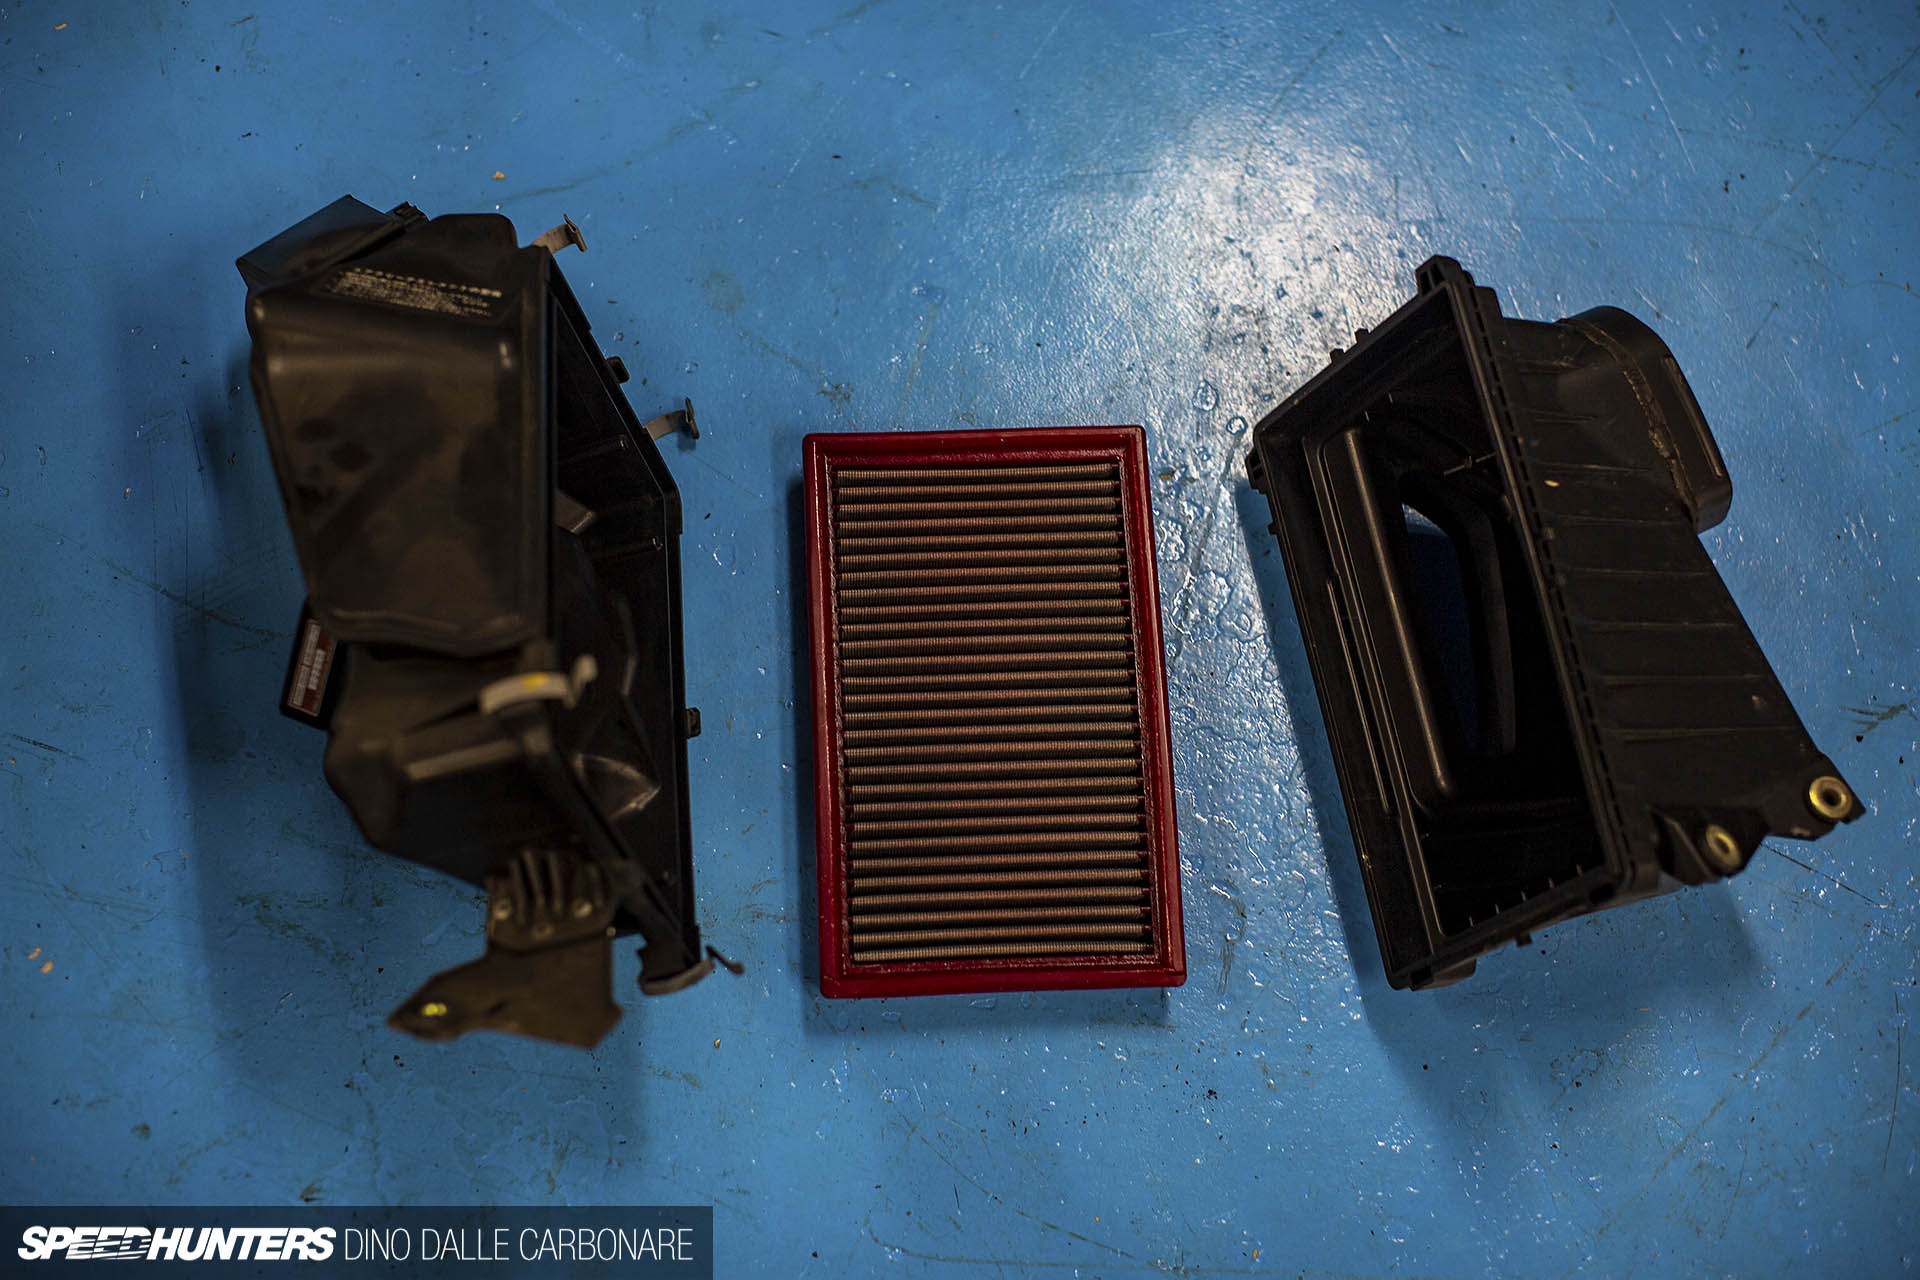
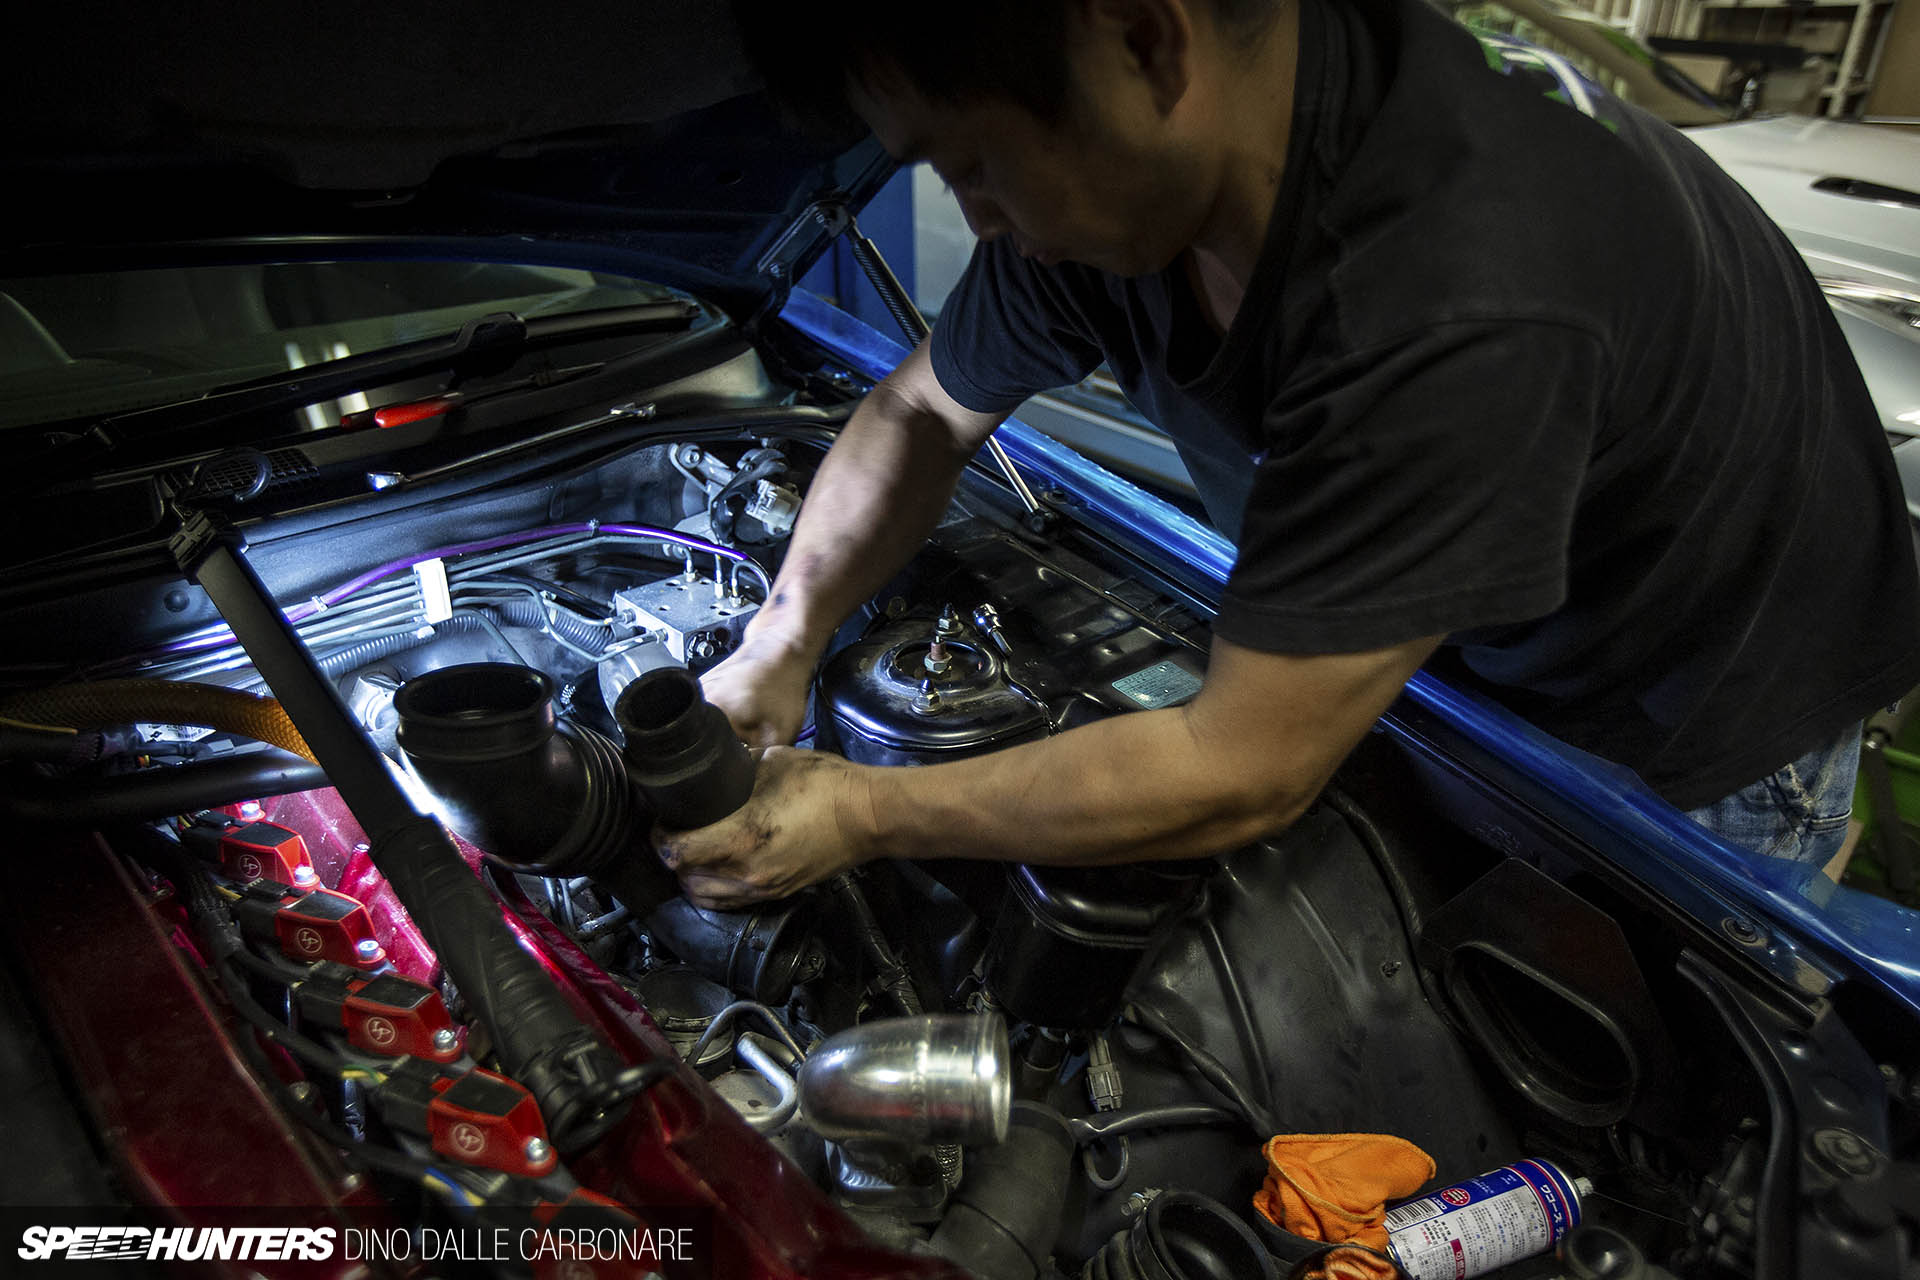
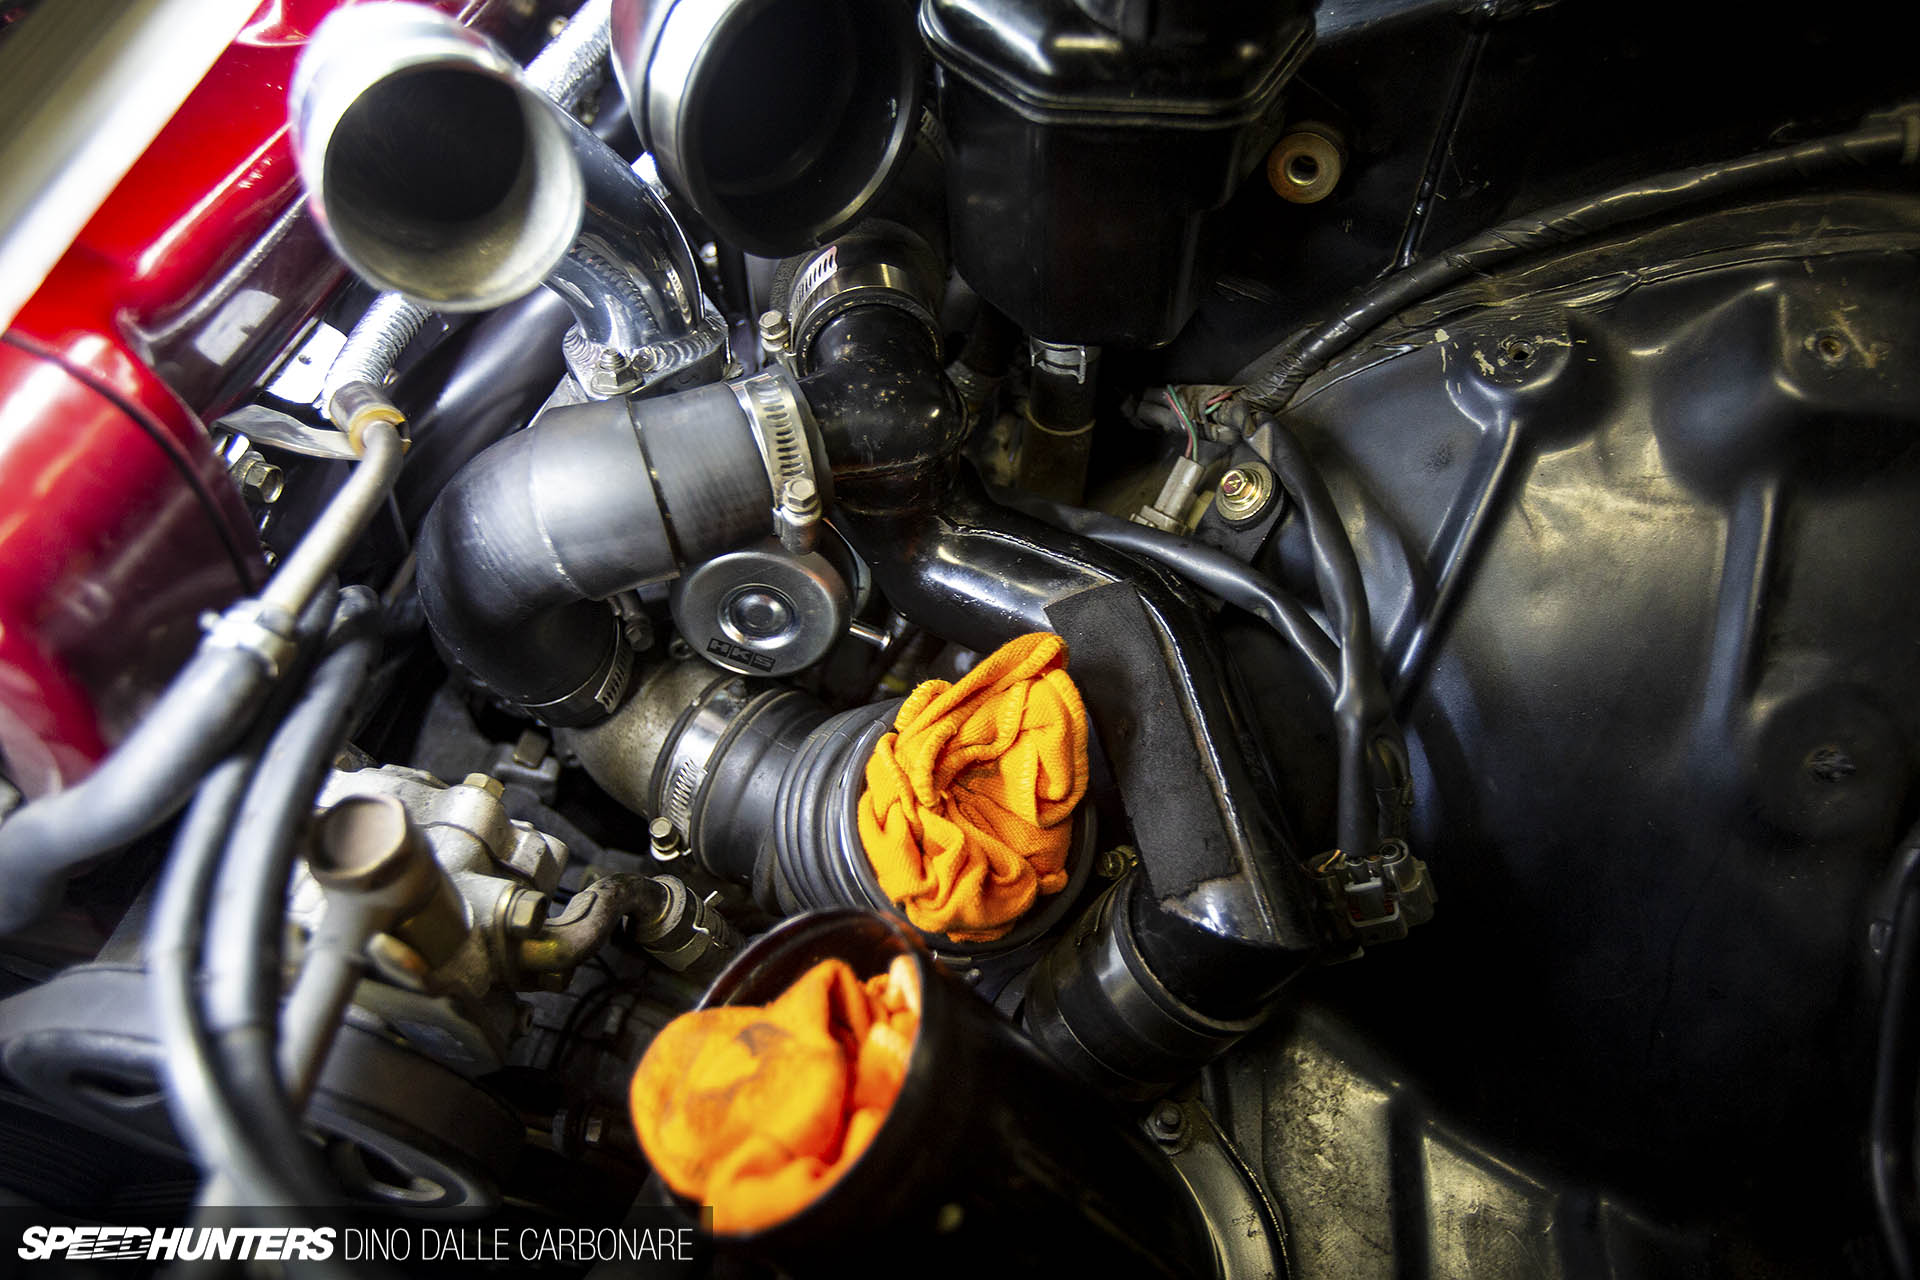
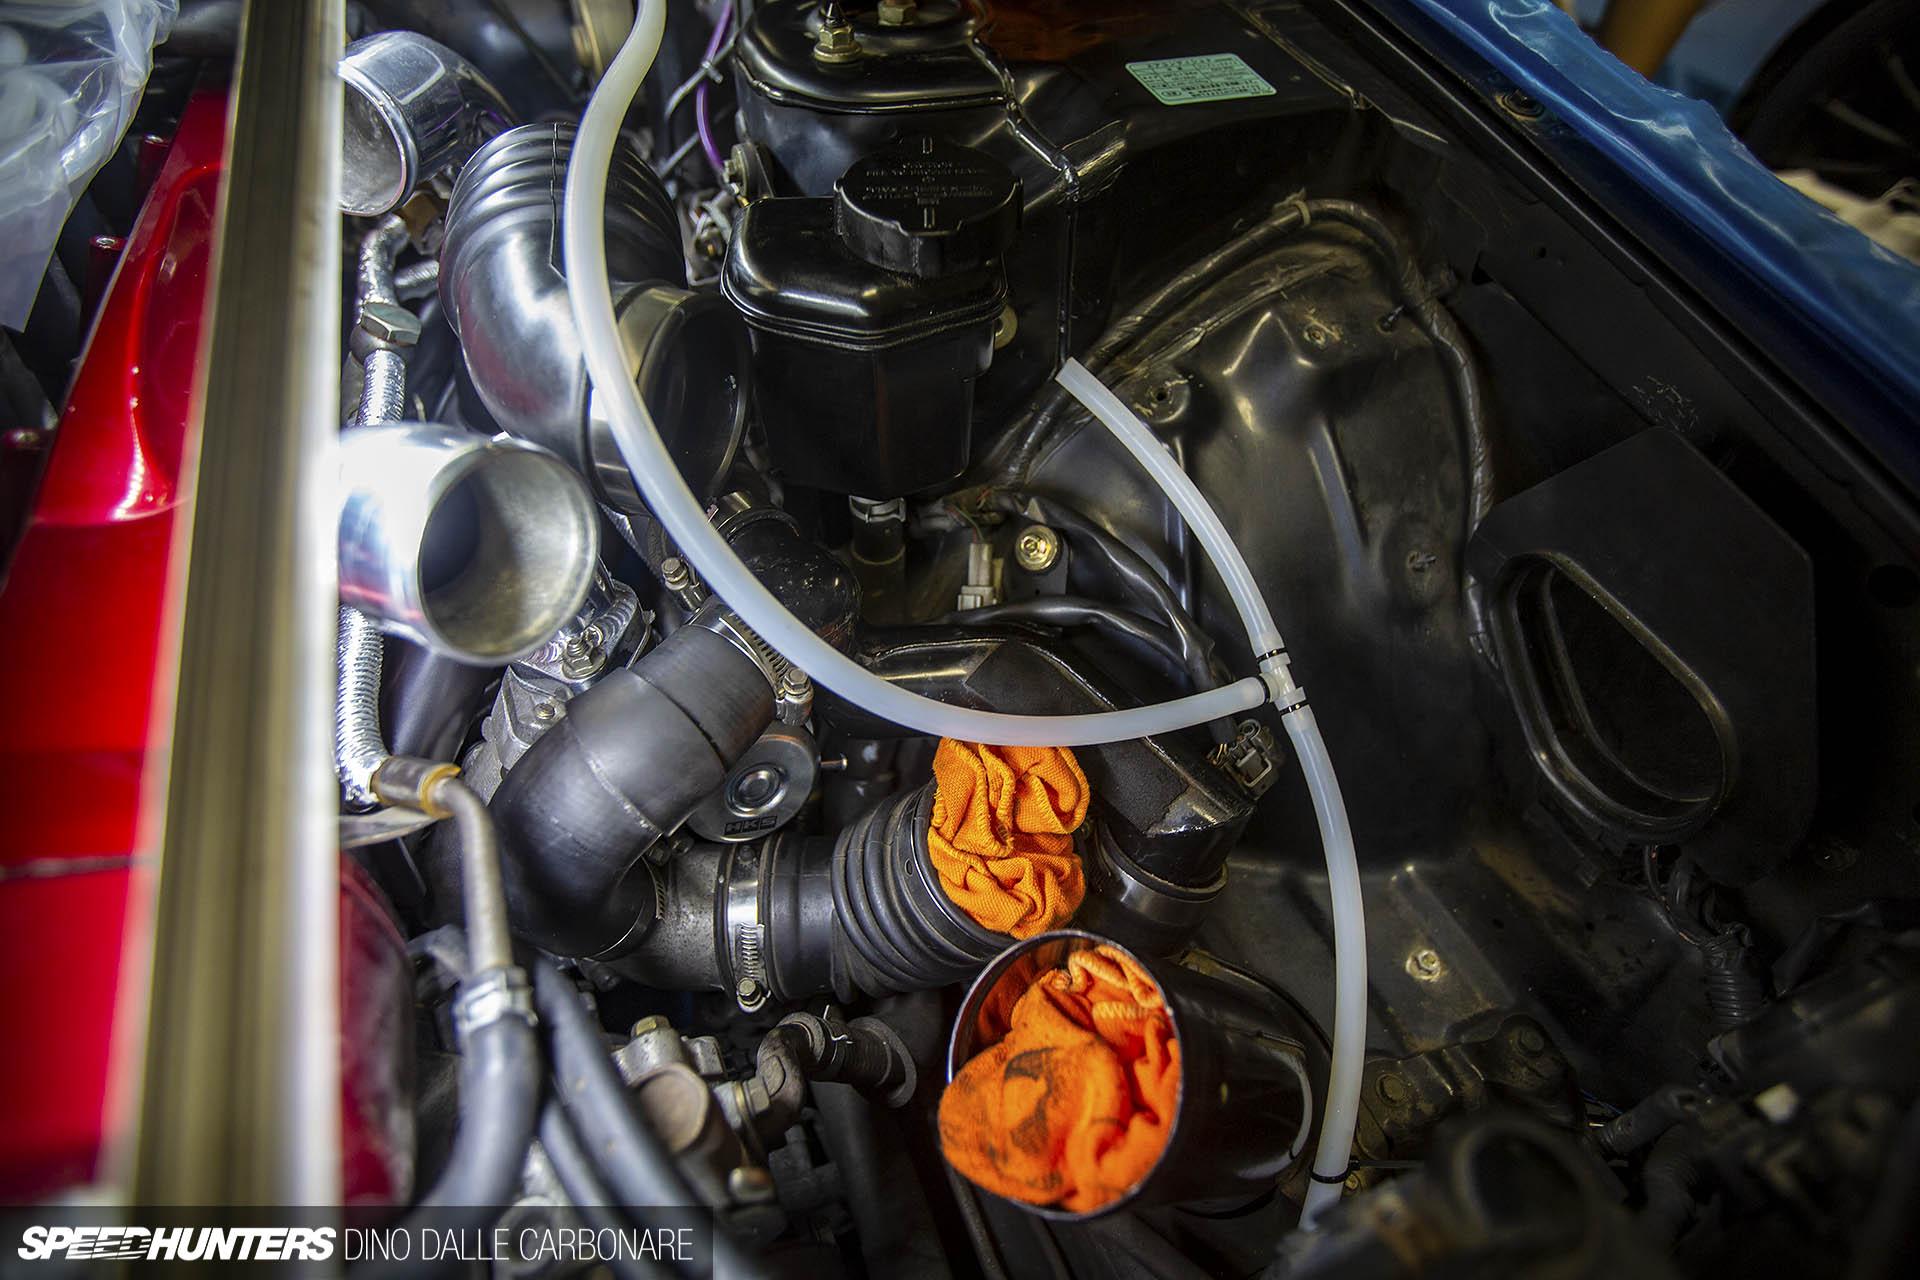
Seeing as we were all working late into the night I tried to help out as much as possible to make the whole process as painless as possible. One of the first things I did was remove the stock air box and pull out the BMC panel filter to clean it all up.
I then got rid of the factory air flow meters (AFMs) which haven’t actually been used since I moved to the Haltech ECU years ago; they were just simply unplugged and the Platinum Pro’s built-in MAP sensor looked after the rest. This step would also see me ditch said ECU and move to a standalone Haltech Elite 2500 which back in 2016 didn’t even come with a wiring loom from Haltech. But more on that in a moment.
HKS had me covered on this side of things too, sending over their AFM dummy pipes.
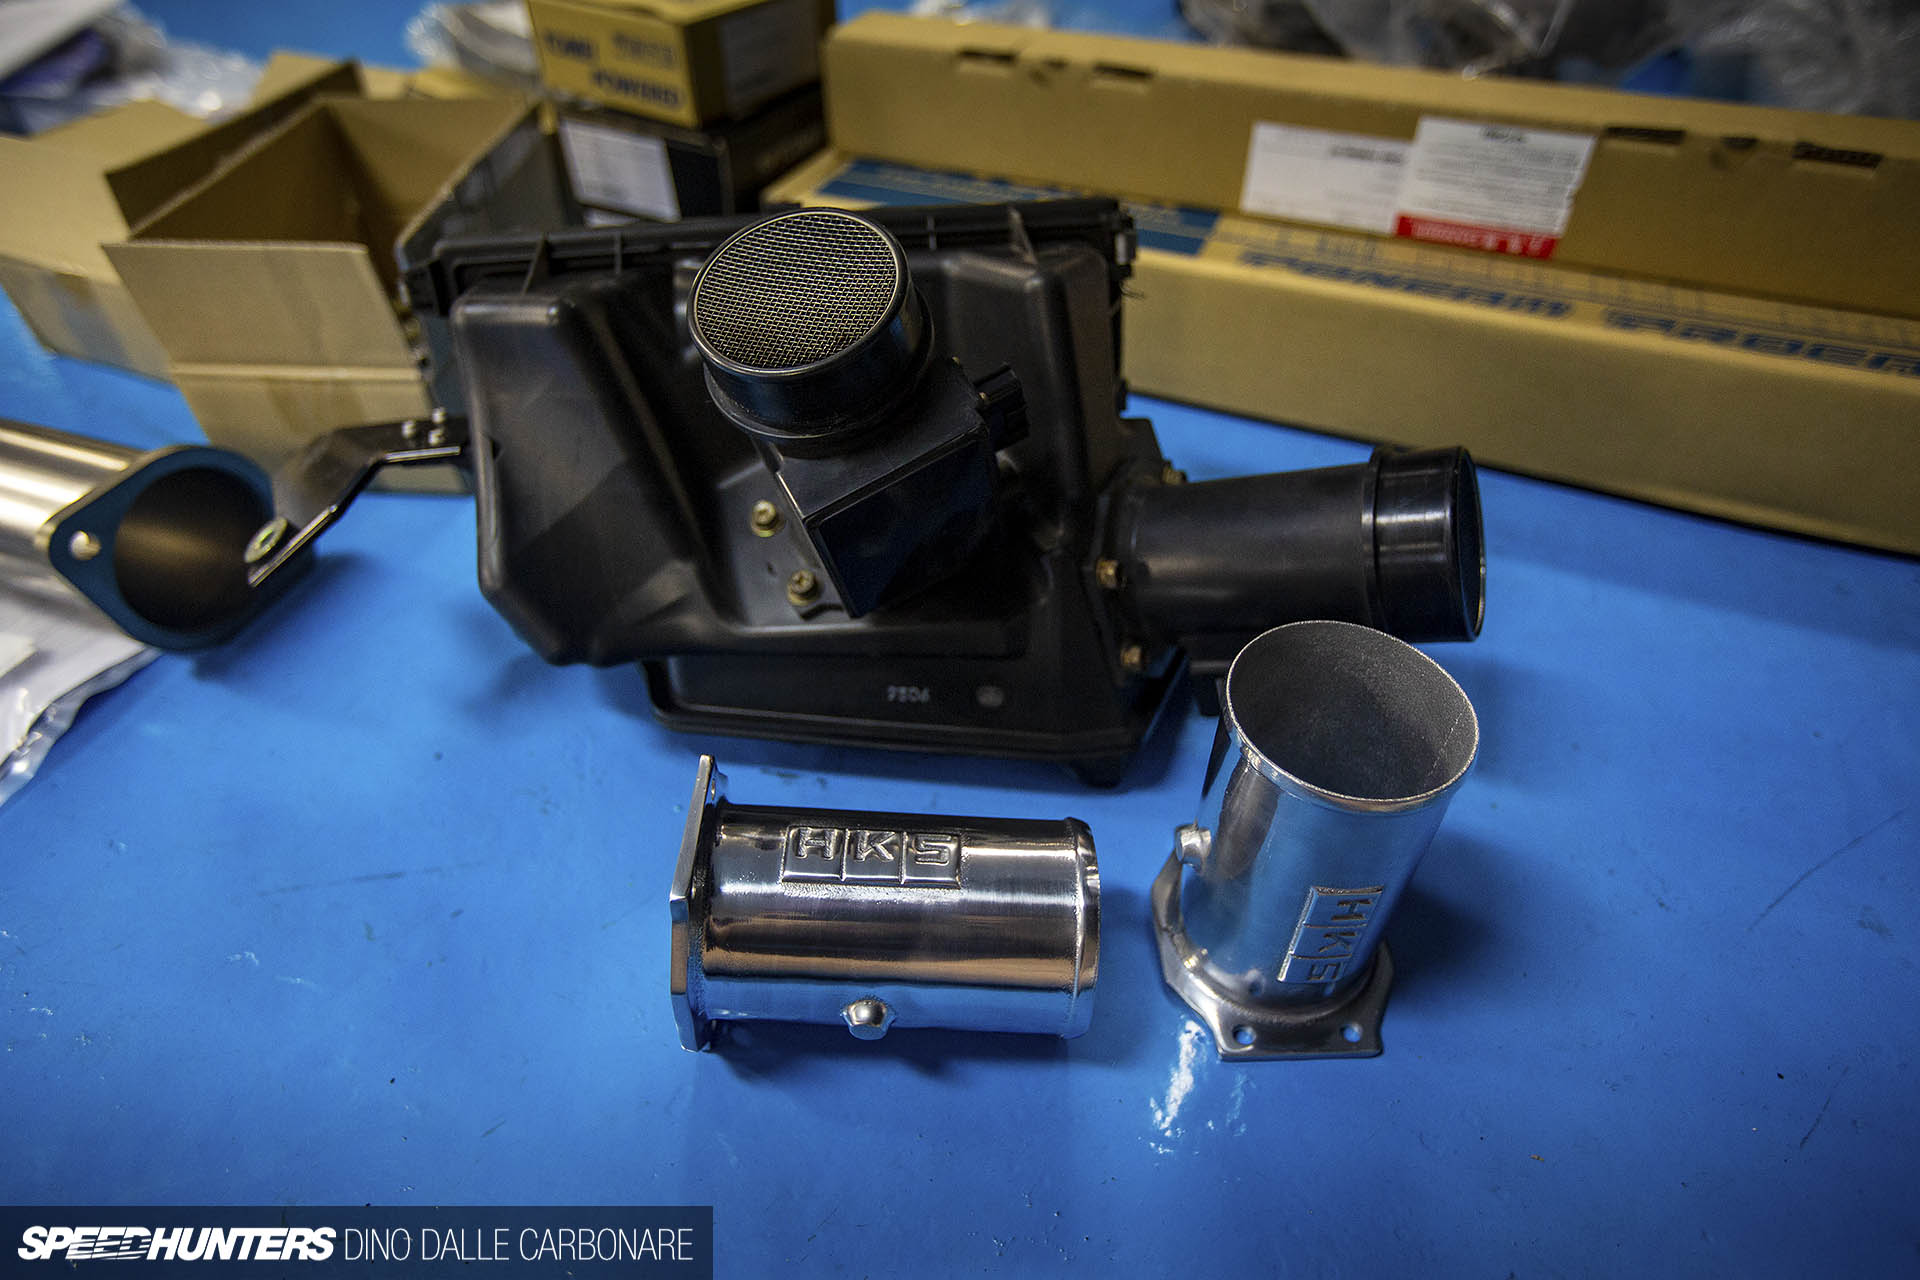
These are designed as a bolt-on and go application, something so simple that even I could be trusted with the install.

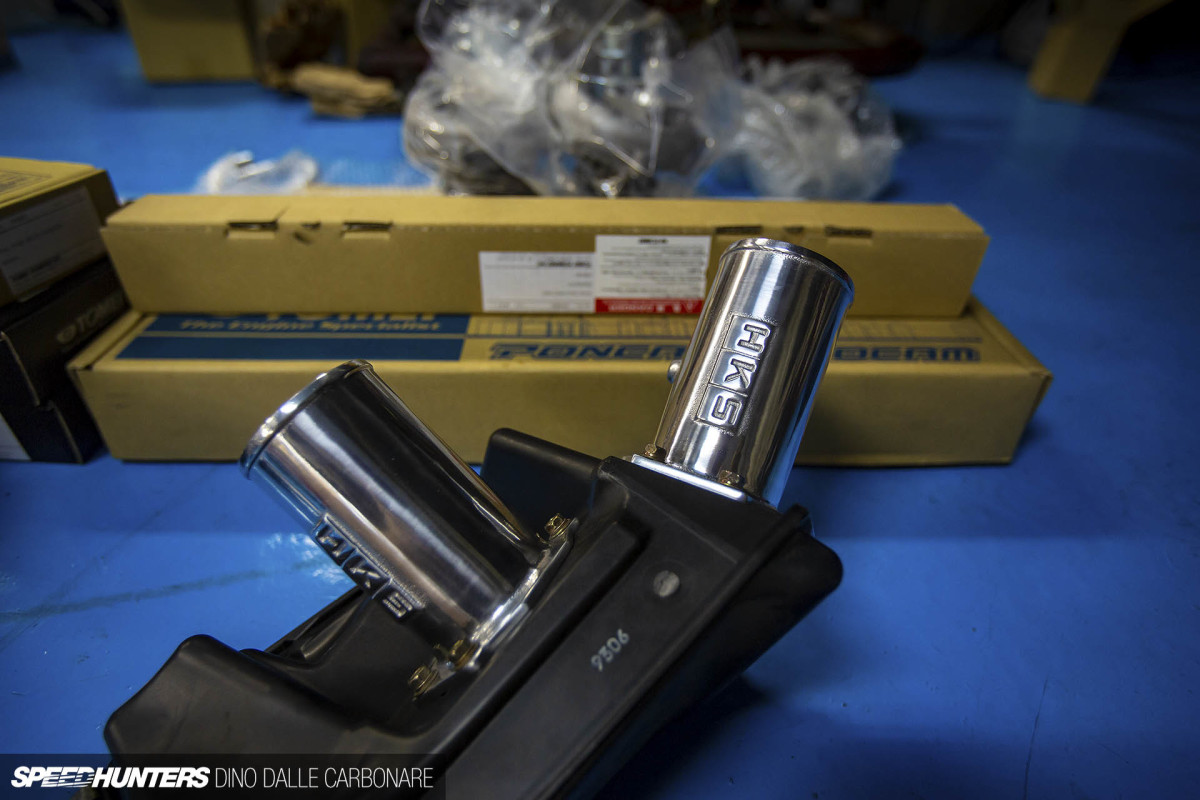
Before and after. I’d been looking forward to ditching the AFMs for a very long time; they’re such an archaic way of measuring air mass, and don’t get me started on the number of times I had to take them out and degrease the little hot wires of all the soot they picked up. Now it’s one less thing to worry about – thanks Haltech and HKS!
By the time I was done with my crazy complicated 8-bolt pipe assembly, I had another ‘job’ waiting for me. I decided that the Nismo turbo inlet pipe, which would be reused with the HKS turbos, needed a good old fashioned buff to bring it back to its former glory.

This is by far one of the better designs out there; it replaces the factory cast aluminum ‘Twin Turbo’ badged pipe which has a horrible 90-degree joint, with a more gentle angle for less turbulence. You can see how smooth it looks on the inside.
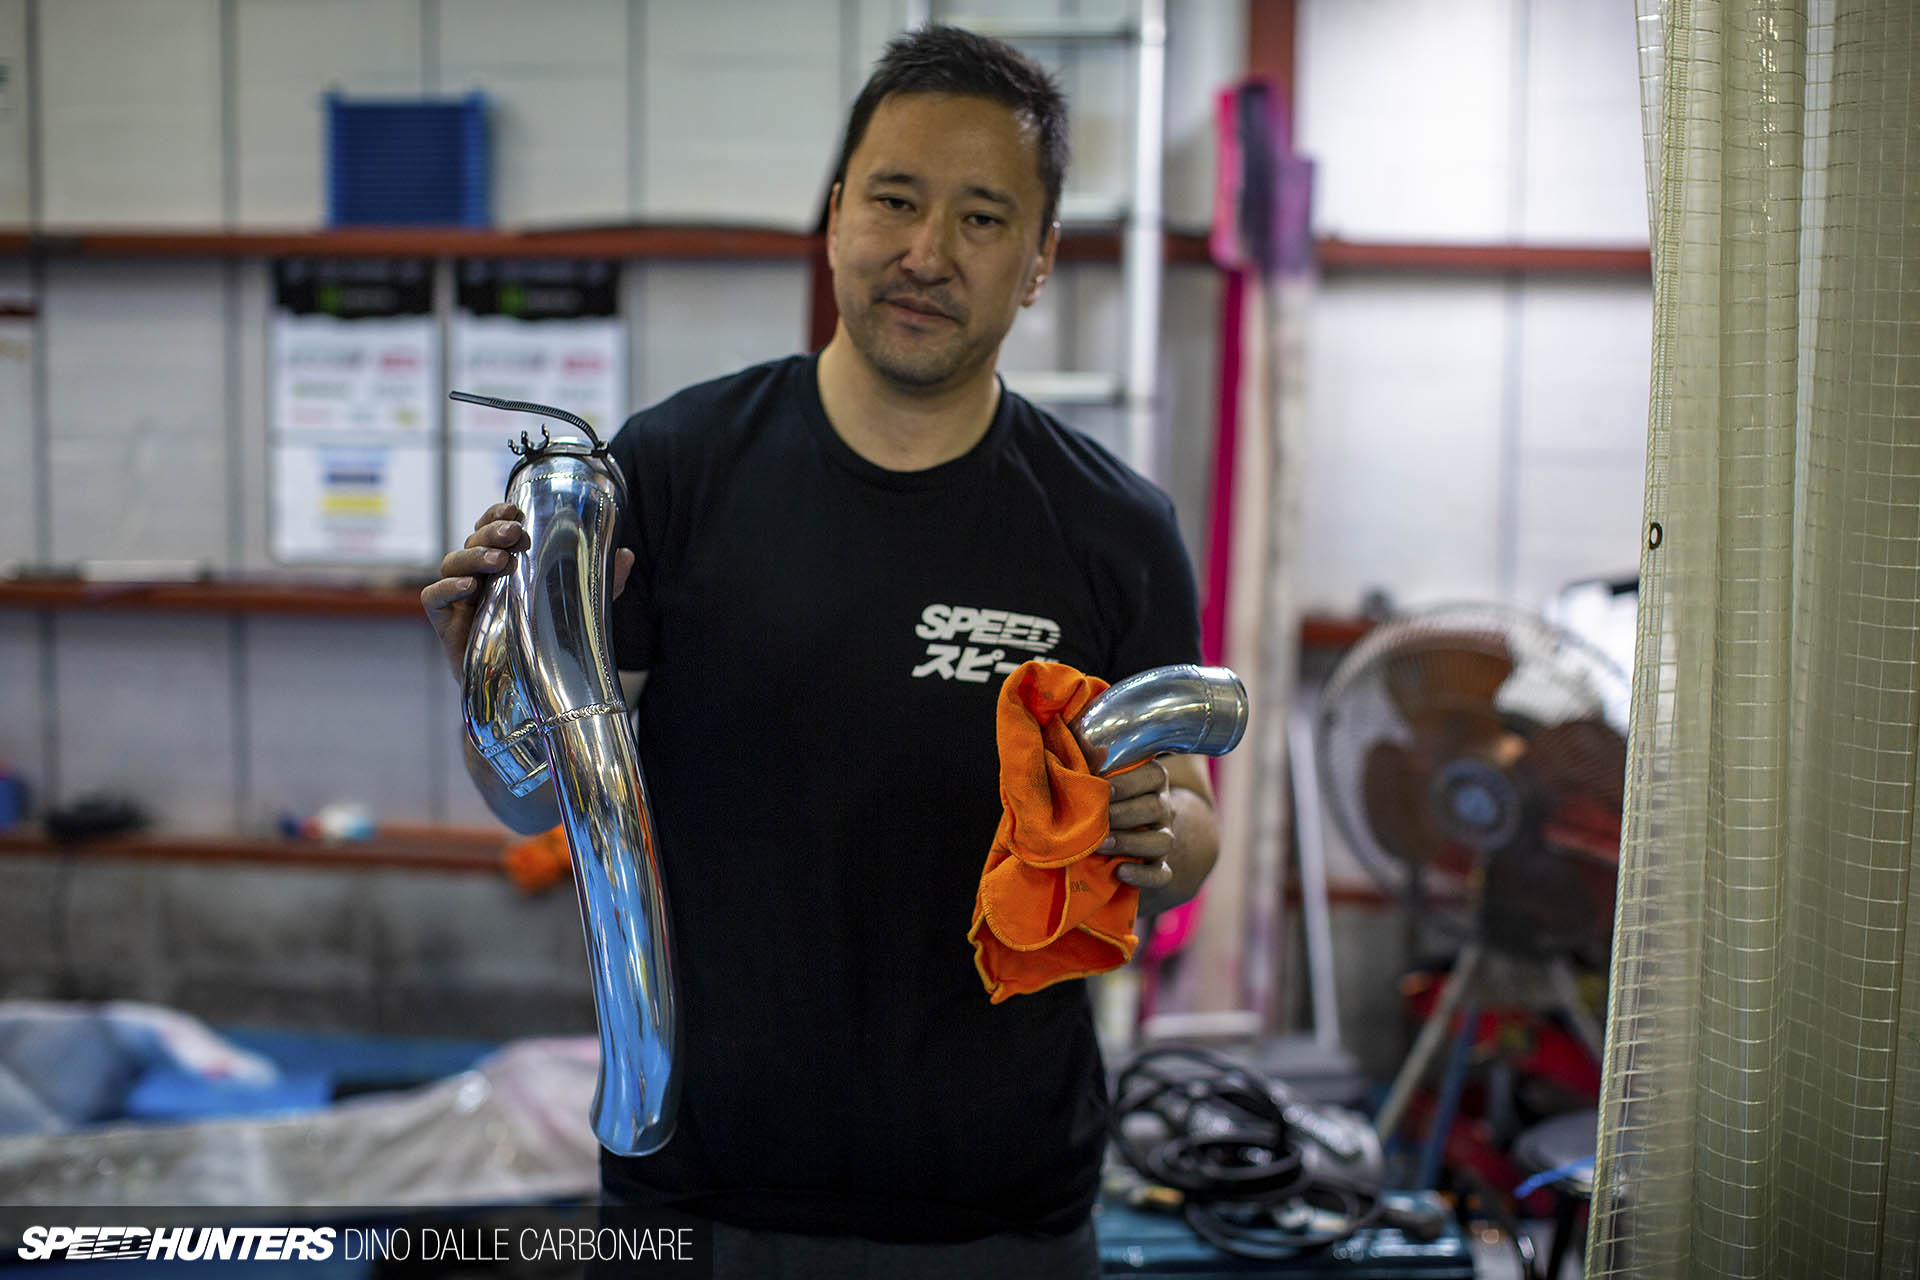
When I mentioned to Project 33 owner Aki that we needed to have the car ready, running and shiny for the event, he was quick to offer a helping hand. I’m not sure he was entirely happy with the first task, but he did an awesome job getting that mirror shine to come through again.
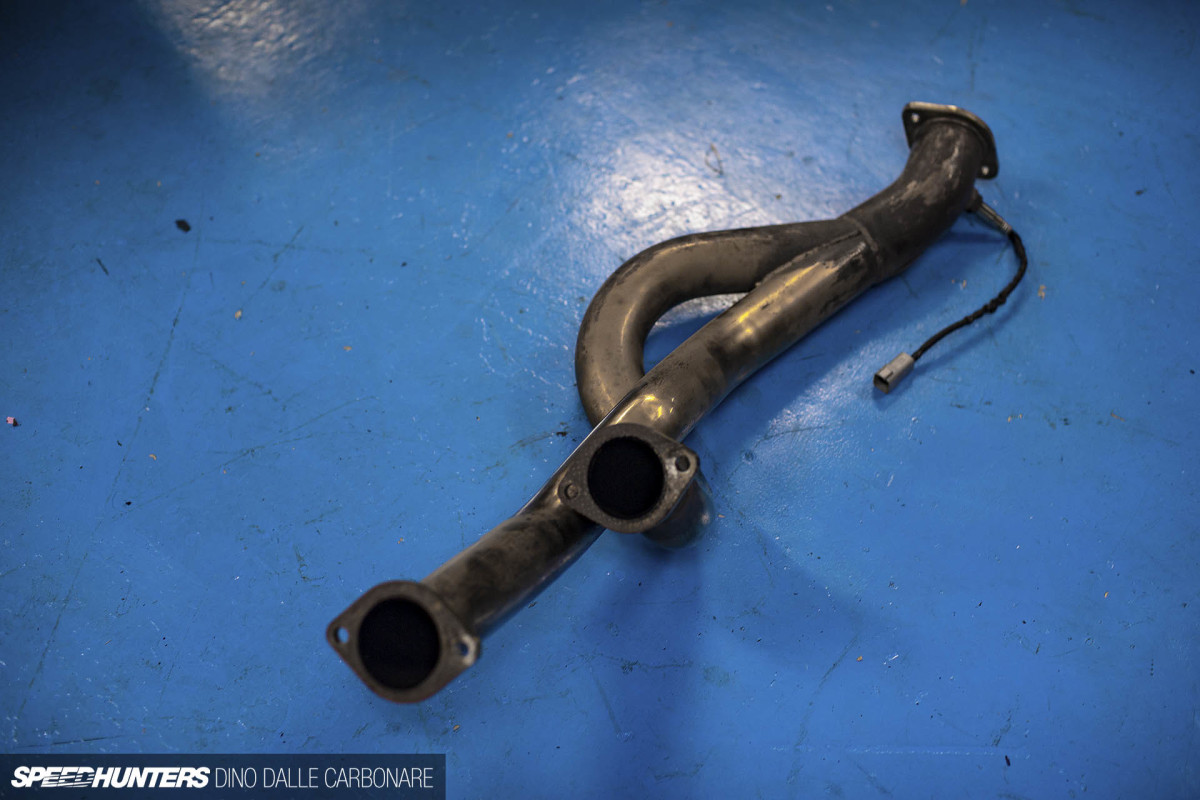
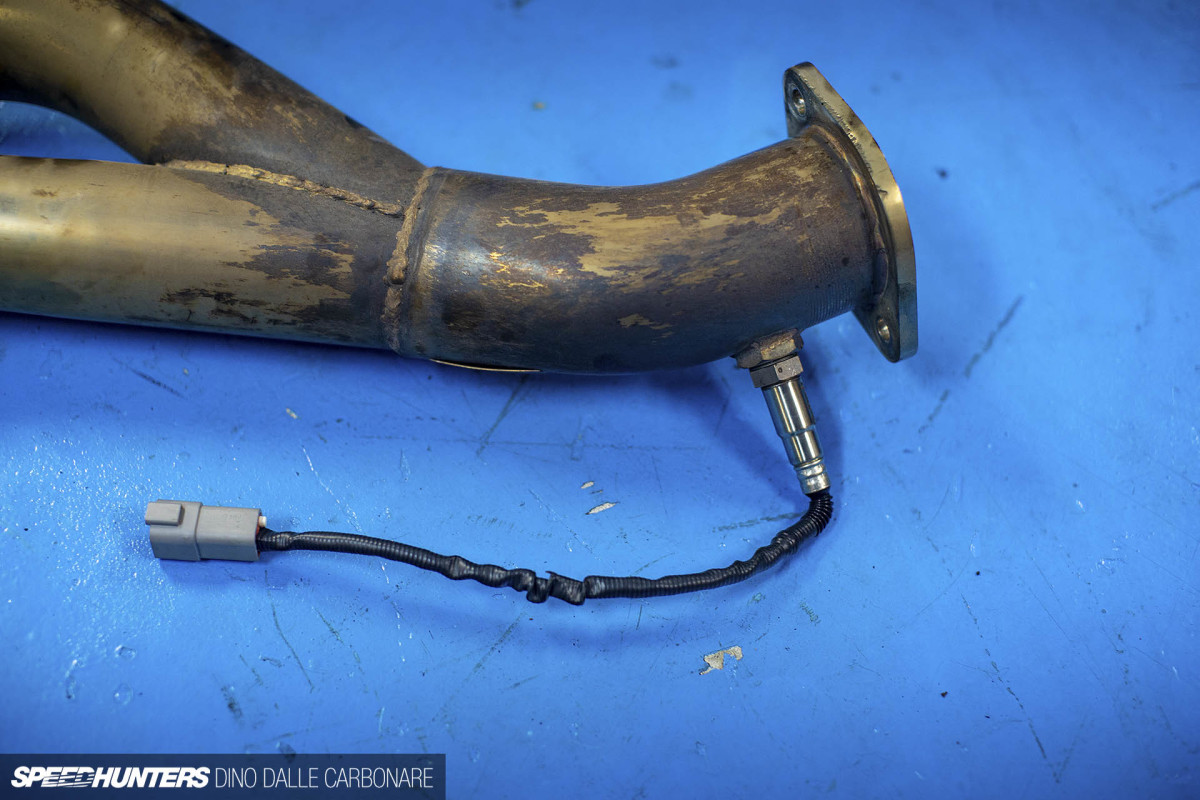
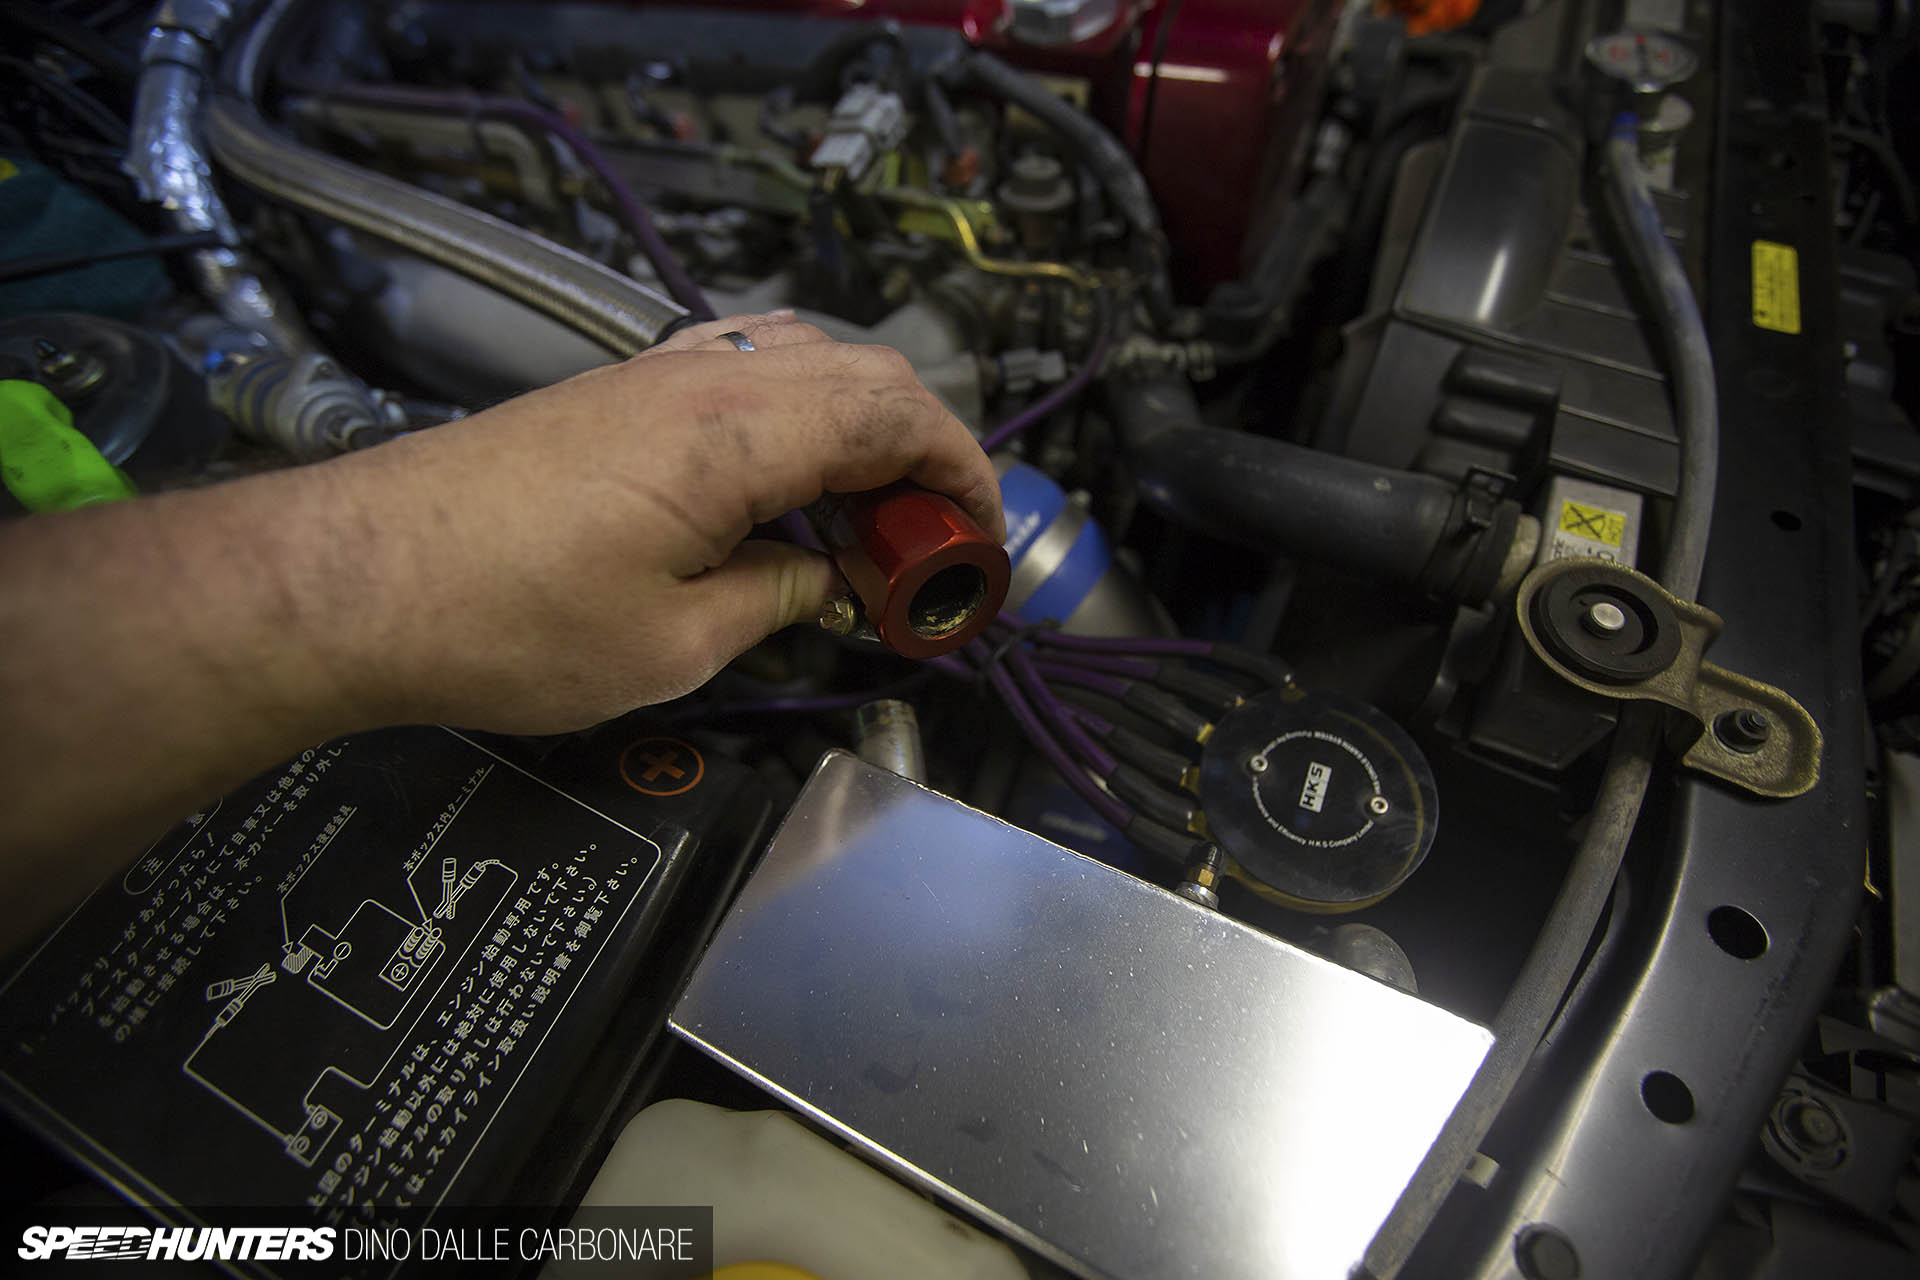
Another thing that had to come off was the front pipe. This was perfect, as Ennio, who took care of the mapping and setting up of the Haltech Elite, could easily install the Haltech closed loop lambda sensor that would then get plugged in to its own little box, and then into the ECU’s CAN bus. This allows continuous A/F ratio correction dependent on load, temperatures and ignition, so it’s continuously refining and self-learning how the engine runs. Getting the bolt that usually closes the flange for the O2 sensor off was not easy; it was virtually sealed shut, possibly also due to an old CV boot failure I had years back which spewed grease all over the front pipe. That’s why it looks like it’s caked in crap.
A few more pipes out of the way and Ito-san had access to the stock turbos.
Out With The Old & Salvaging Some Bits
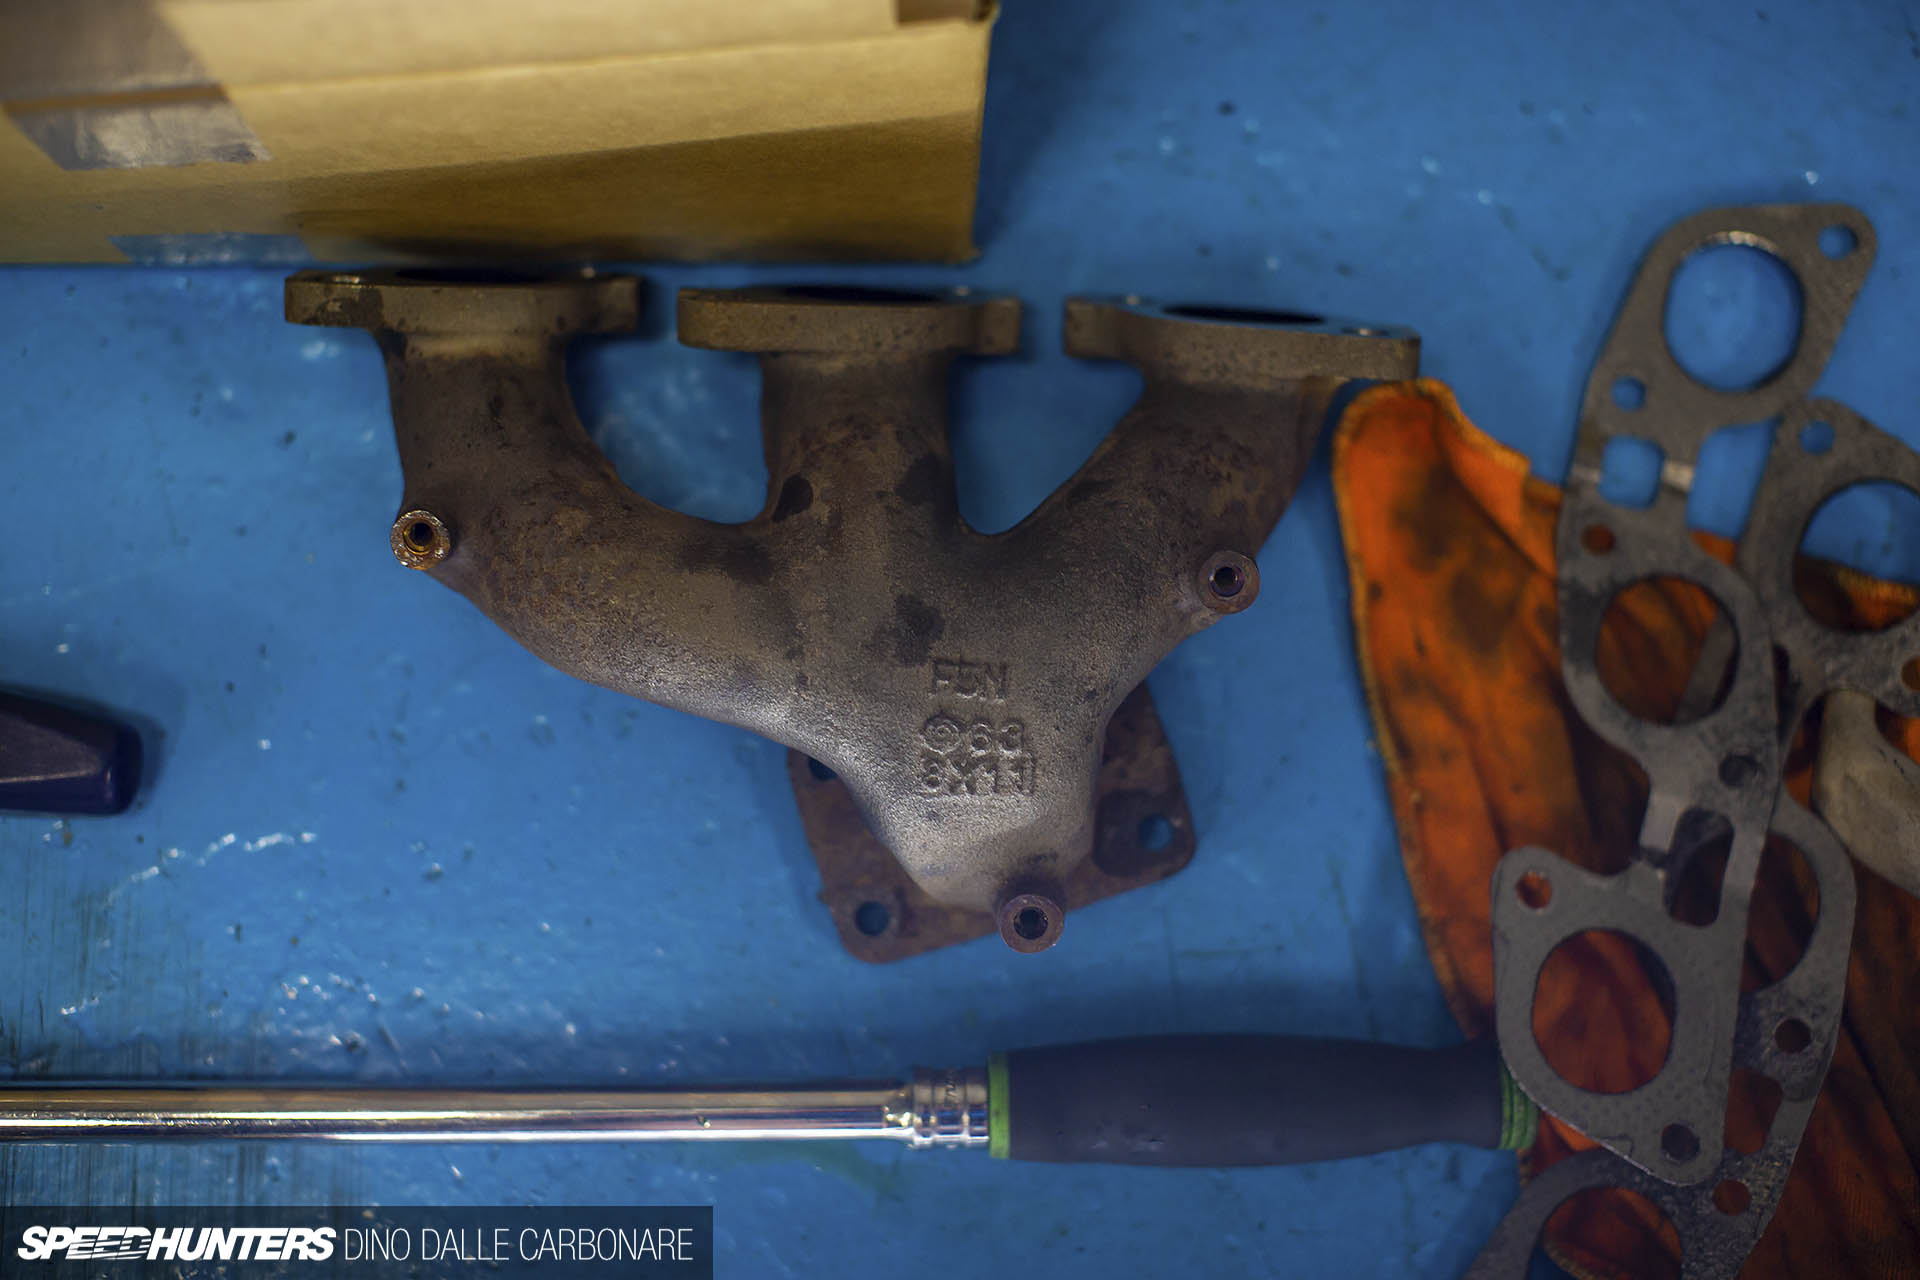
17 years of service and 60,000km without issue. I’ve always had this fear of turning the stock turbos’ ceramic wheels into talcum powder with excessive boost, which is also why I never edged over the 1.1bar (16psi) boost setting that Mine’s set up back in the day. Mine’s may be conservative with their settings, but that’s only because reliability is the main goal they shoot for.
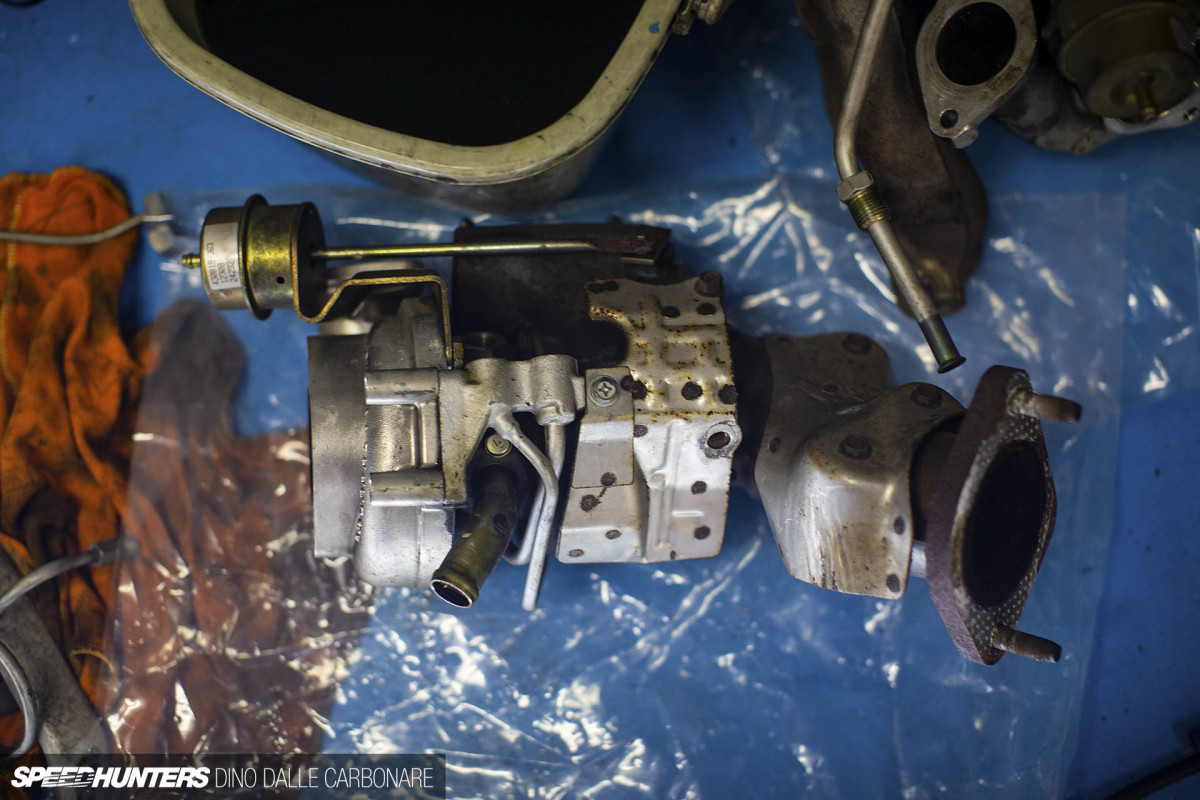
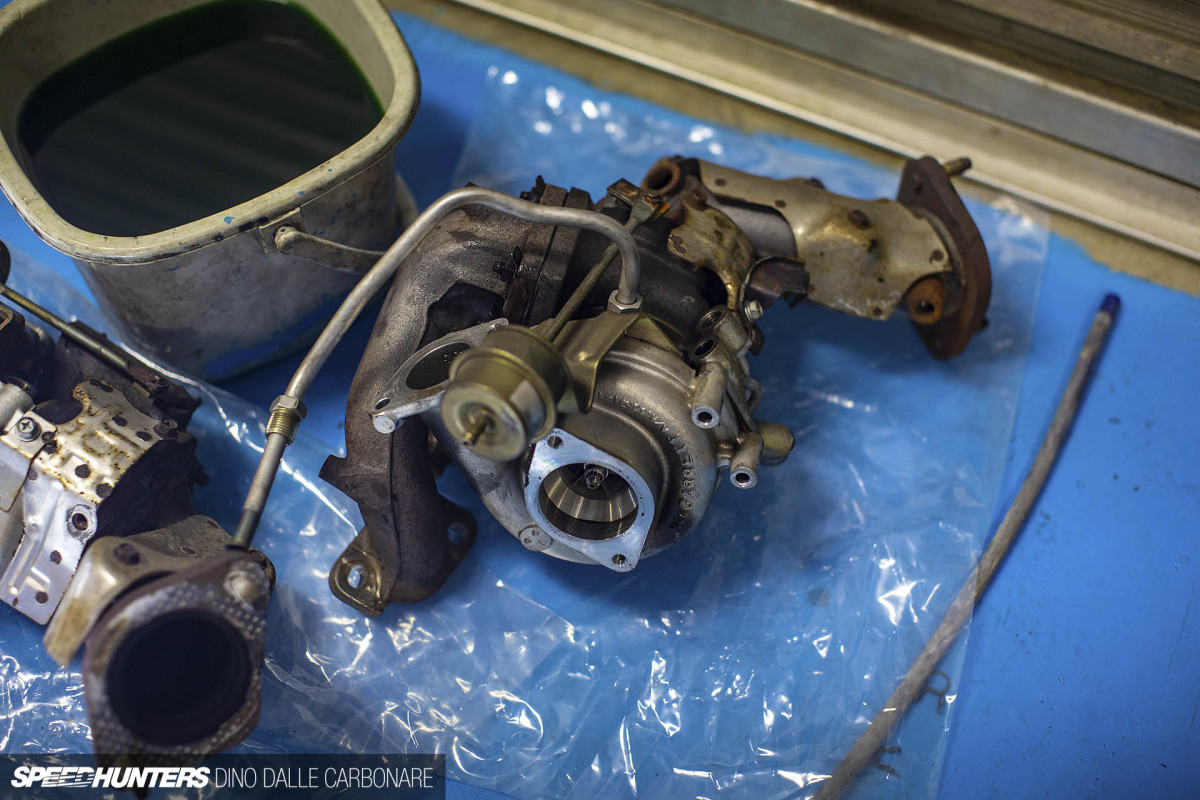
Before I knew it both turbos were out and on the ground. You can see the attached cast iron factory manifold and the outlet pipe, as well as all the sheet metal used for head-shielding the turbine side.
Many tuners in Japan prefer to stick to the stock exhaust manifolds when using GT25-sized turbos; they may not have the best design or most flow but they do their job and never fail. Stainless steel headers on the other had will improve flow, but dependent on design, welding and metal will sooner or later crack. The Tomei Expreme manifold that will go on did come supplied with some exhaust wrap, but with the ceramic coating that’s not needed.

I really wanted to reuse the stock heat shields for the two 3-into-1 headers, and after a quick check they fit perfectly over the Tomei manifolds. This was great news as they would help shield heat from other ancillaries like lines and hoses. As you can see, oxidization had really taken hold, but thanks to Aki’s trusty Dremel and lots of sanding wheels they were able to be cleaned up quite considerably.
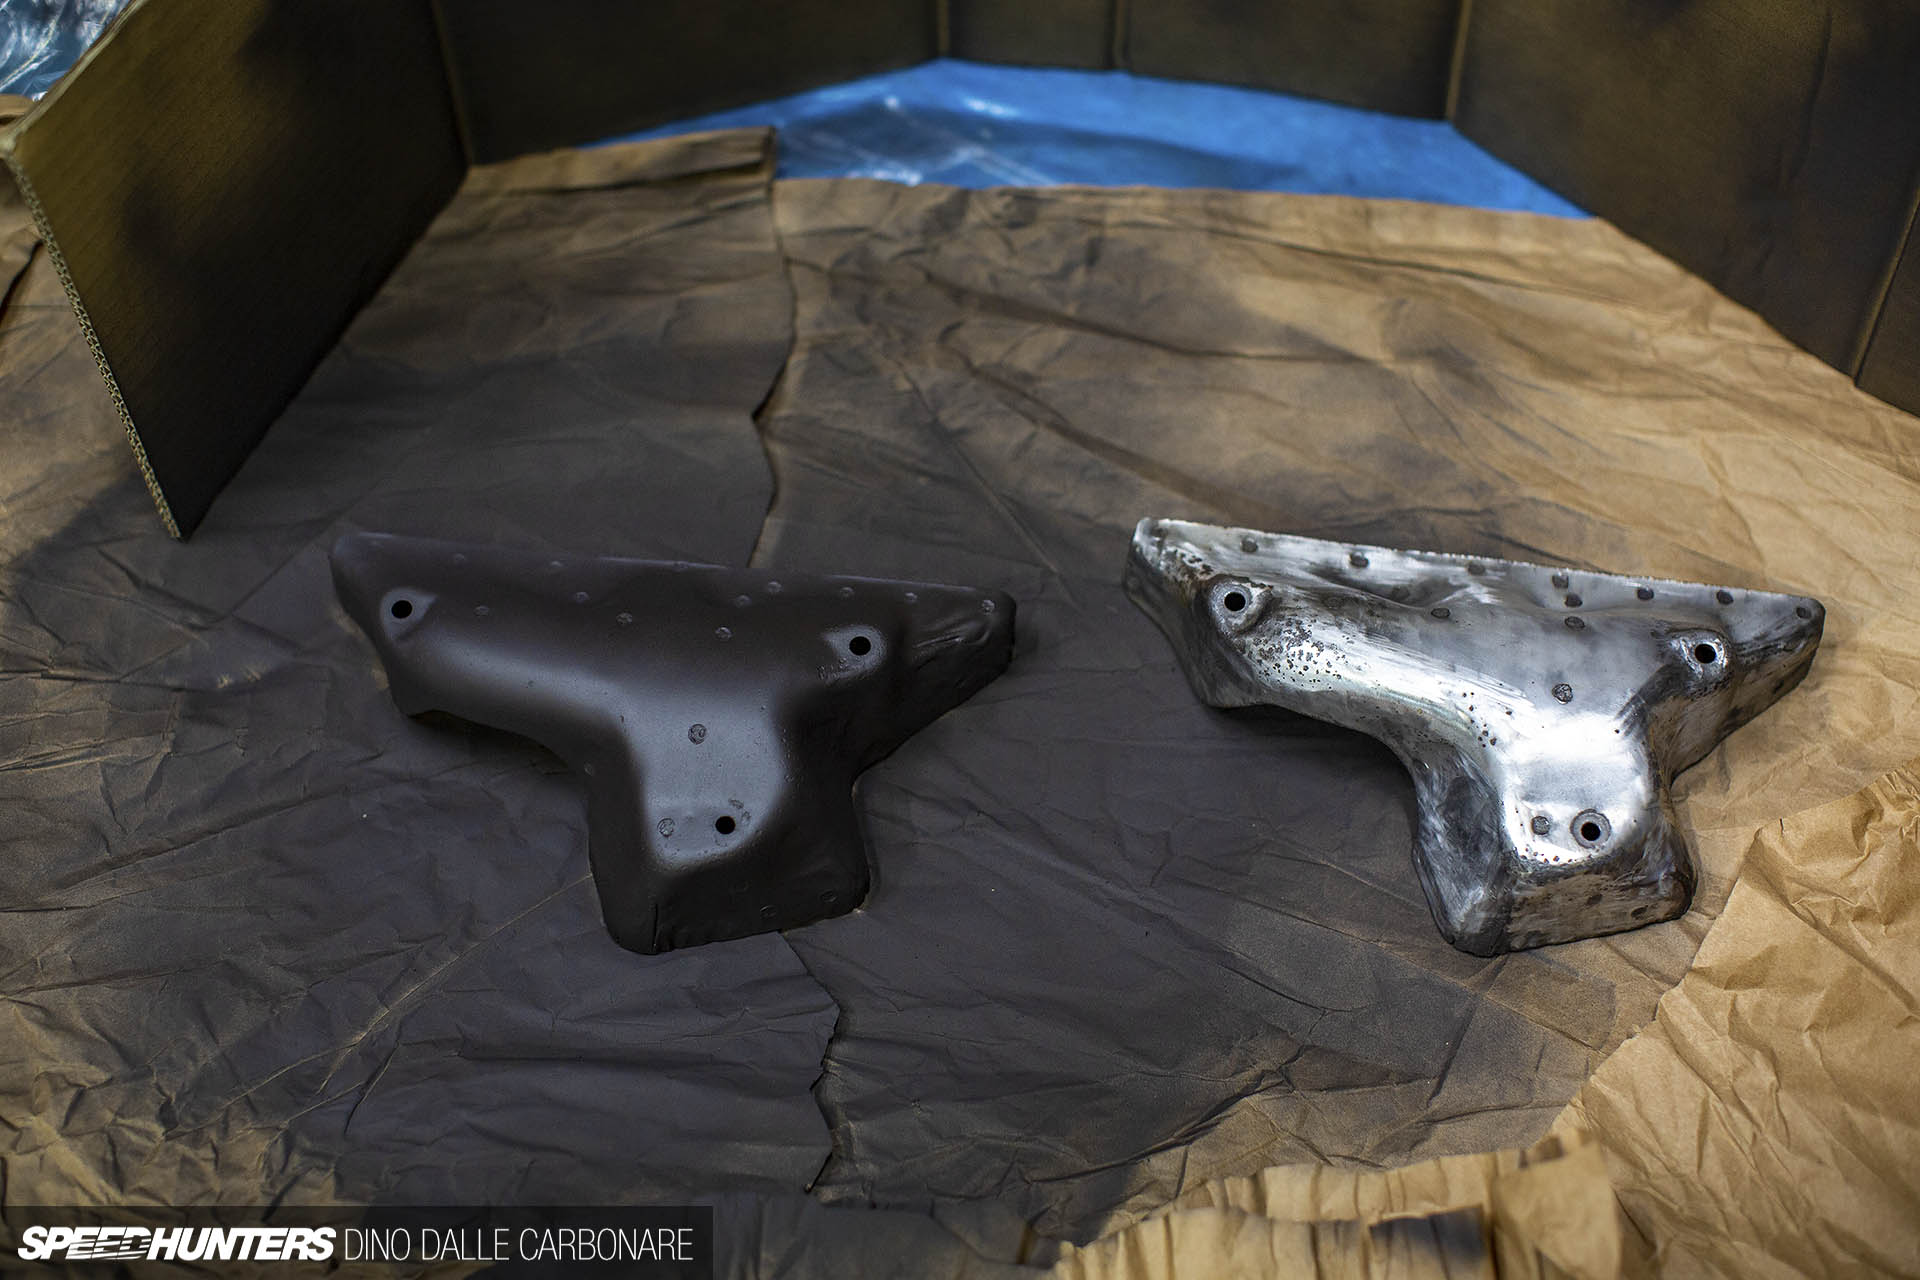
Once satisfied that I had at least gotten rid of most of the rust, I sprayed on a few thin coats of heat-resistant black paint.
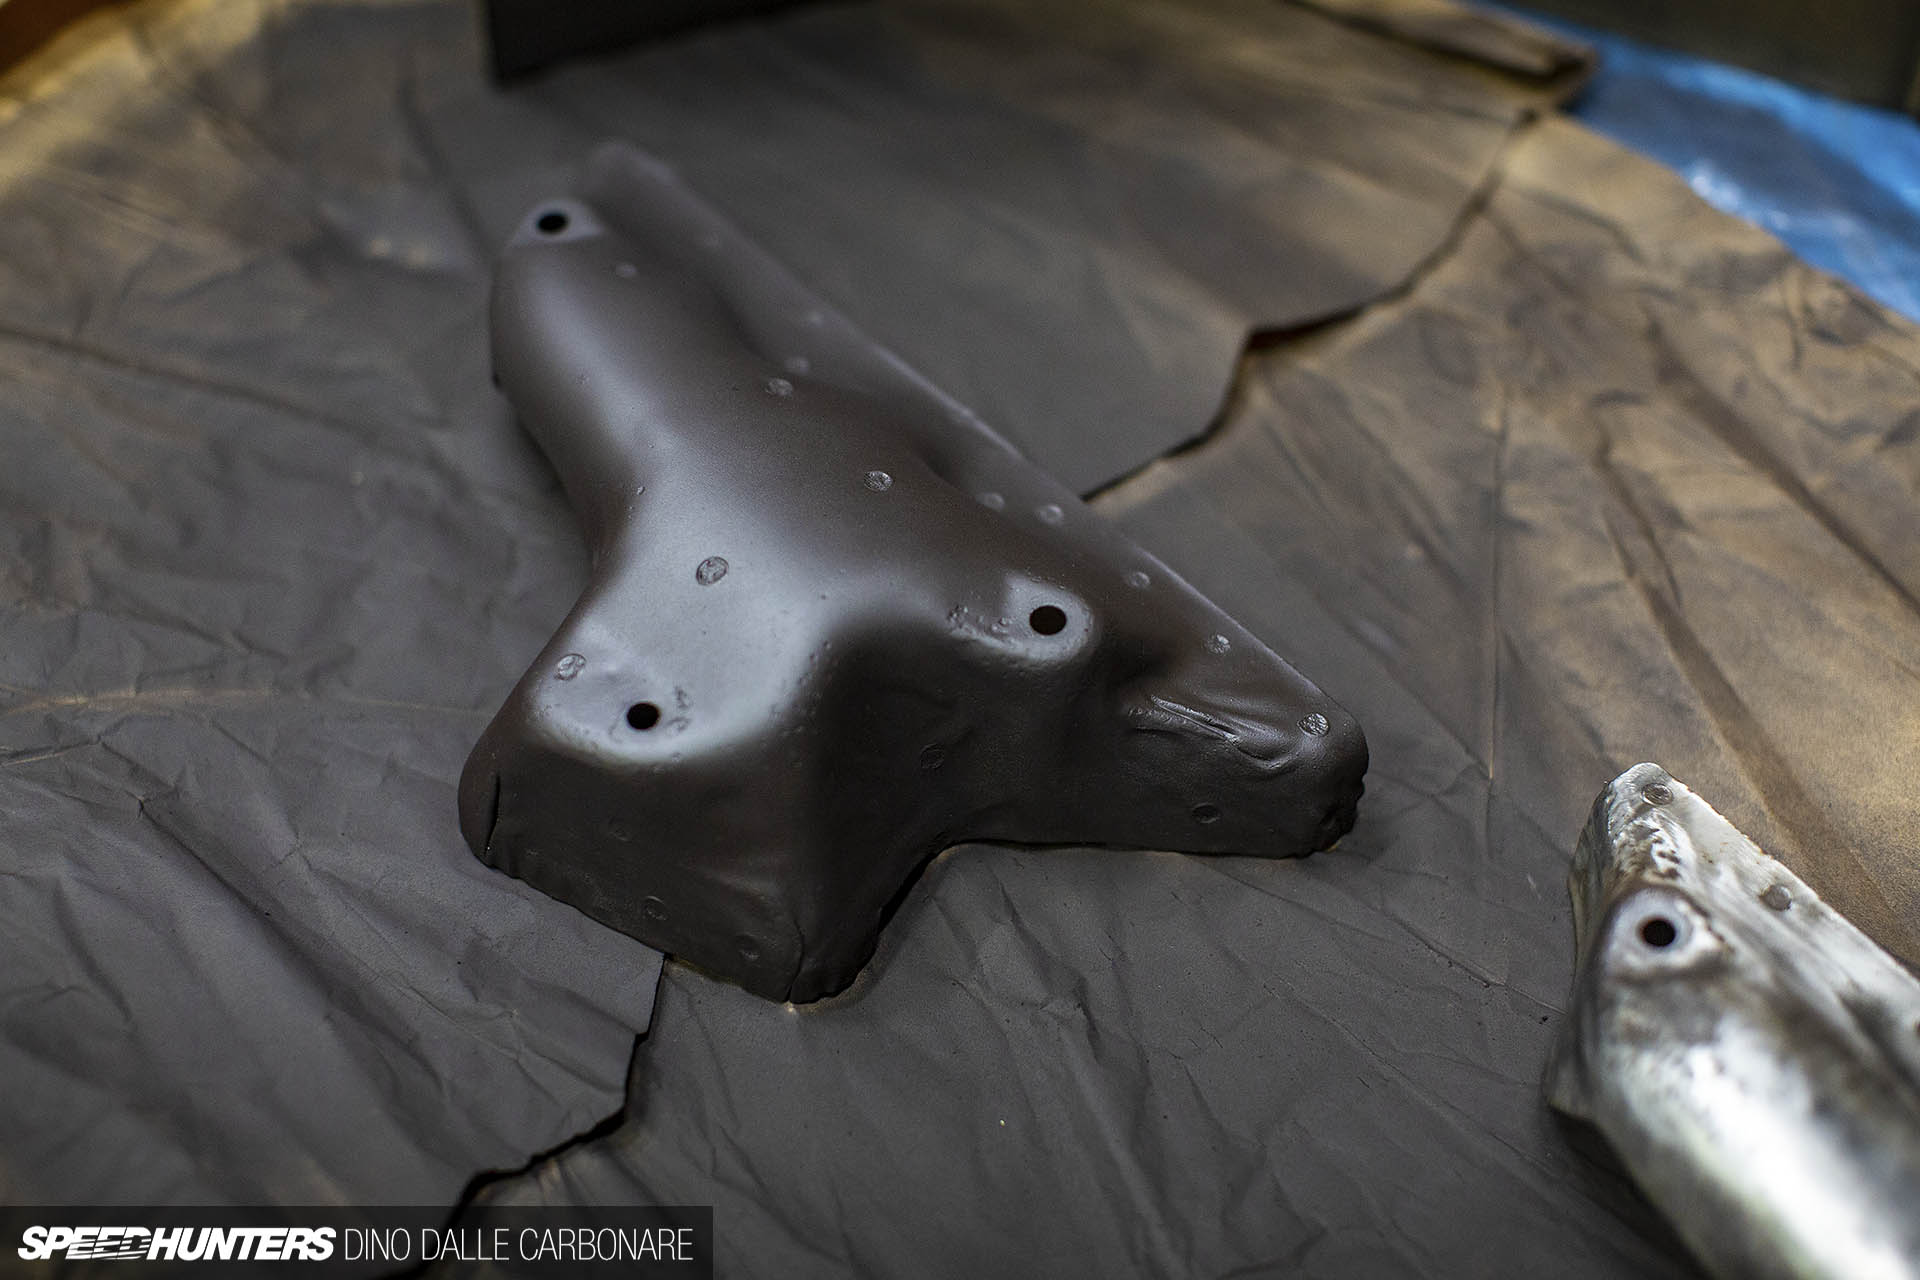
This should not only help keep even more heat away, but make them last for a few more years without the oxidation eating through the metal.
In no time, Ito-san and his mechanic had the rear header and turbo mounted.
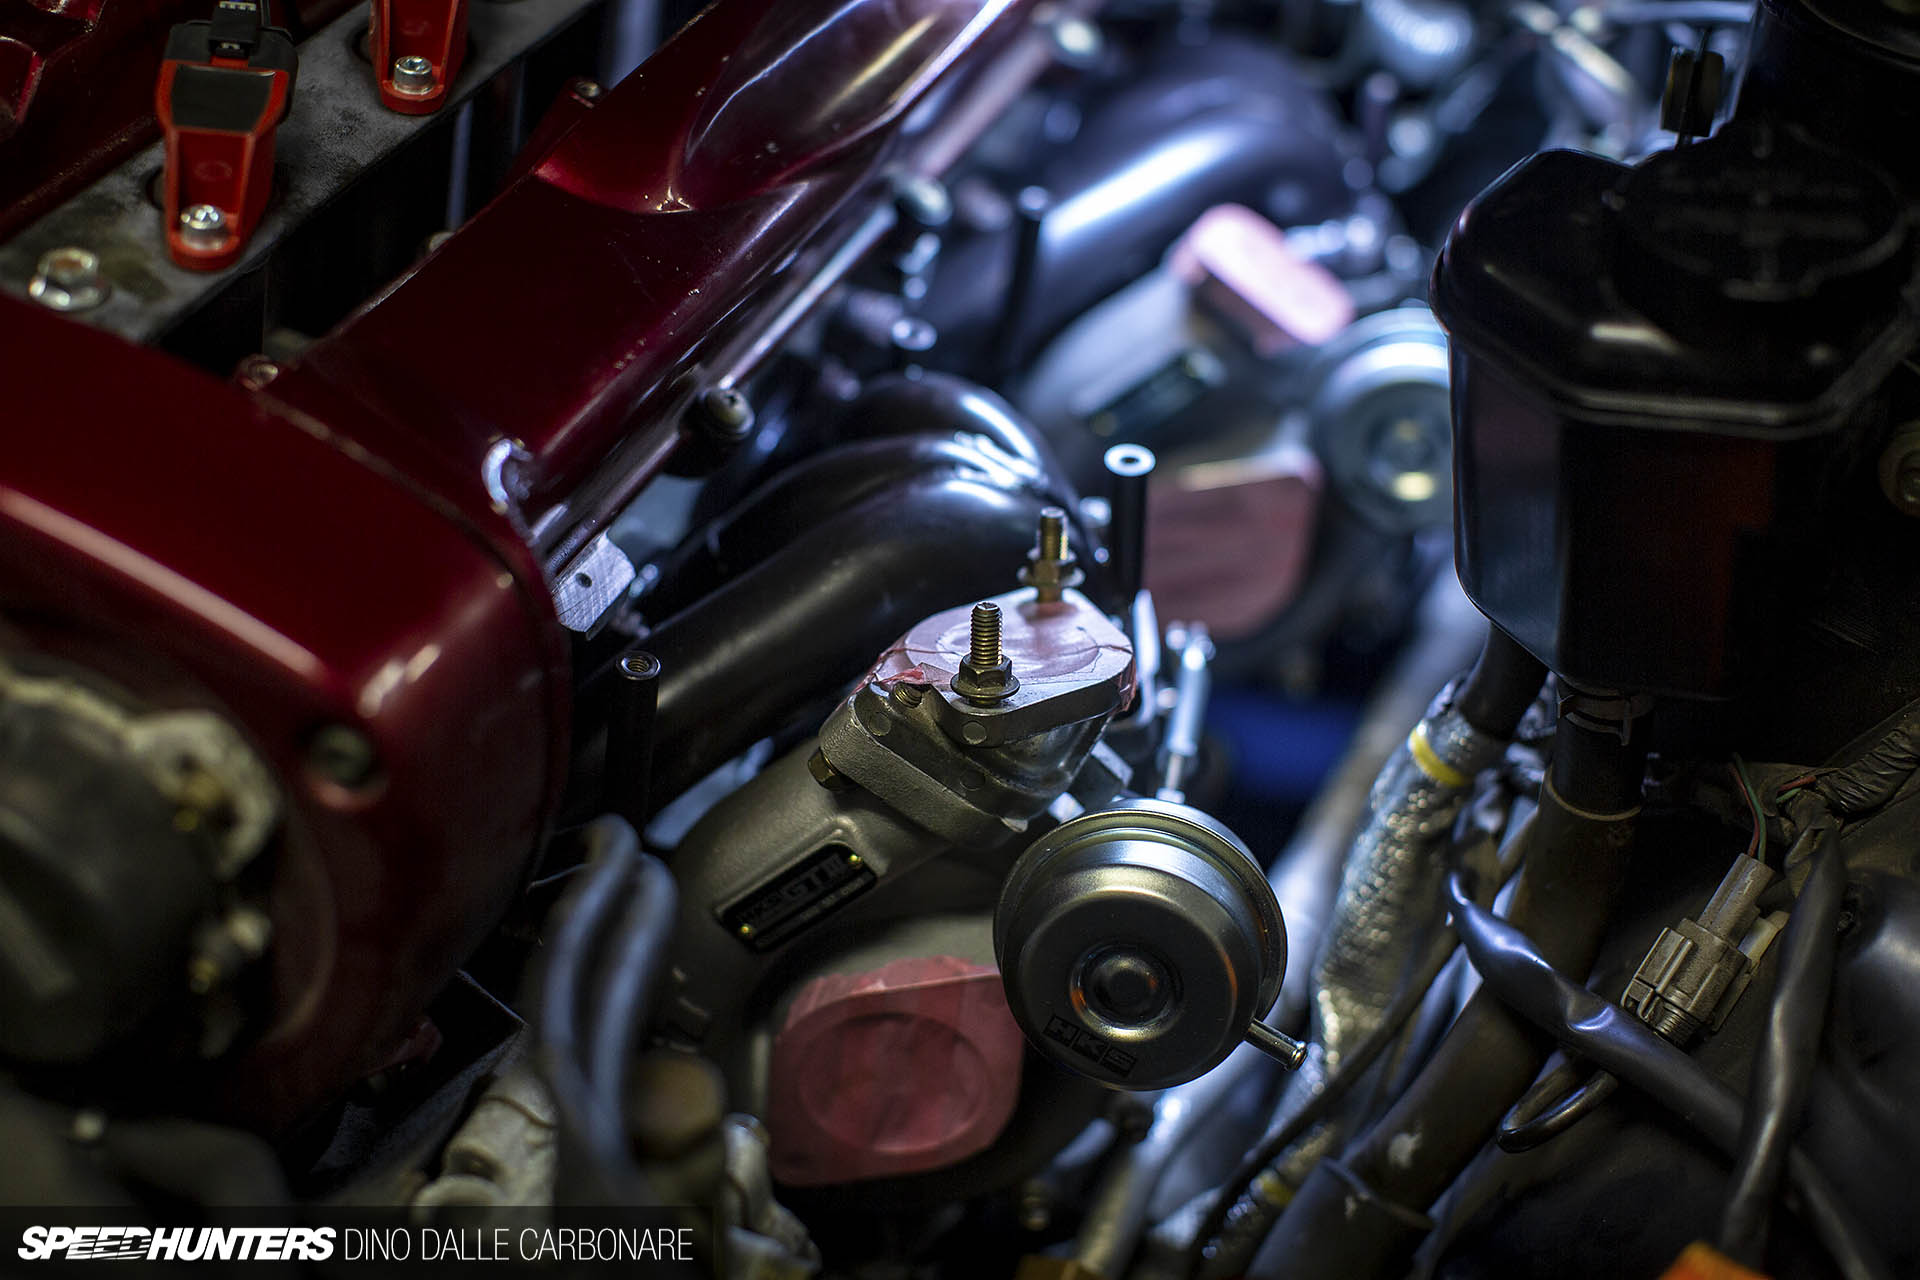
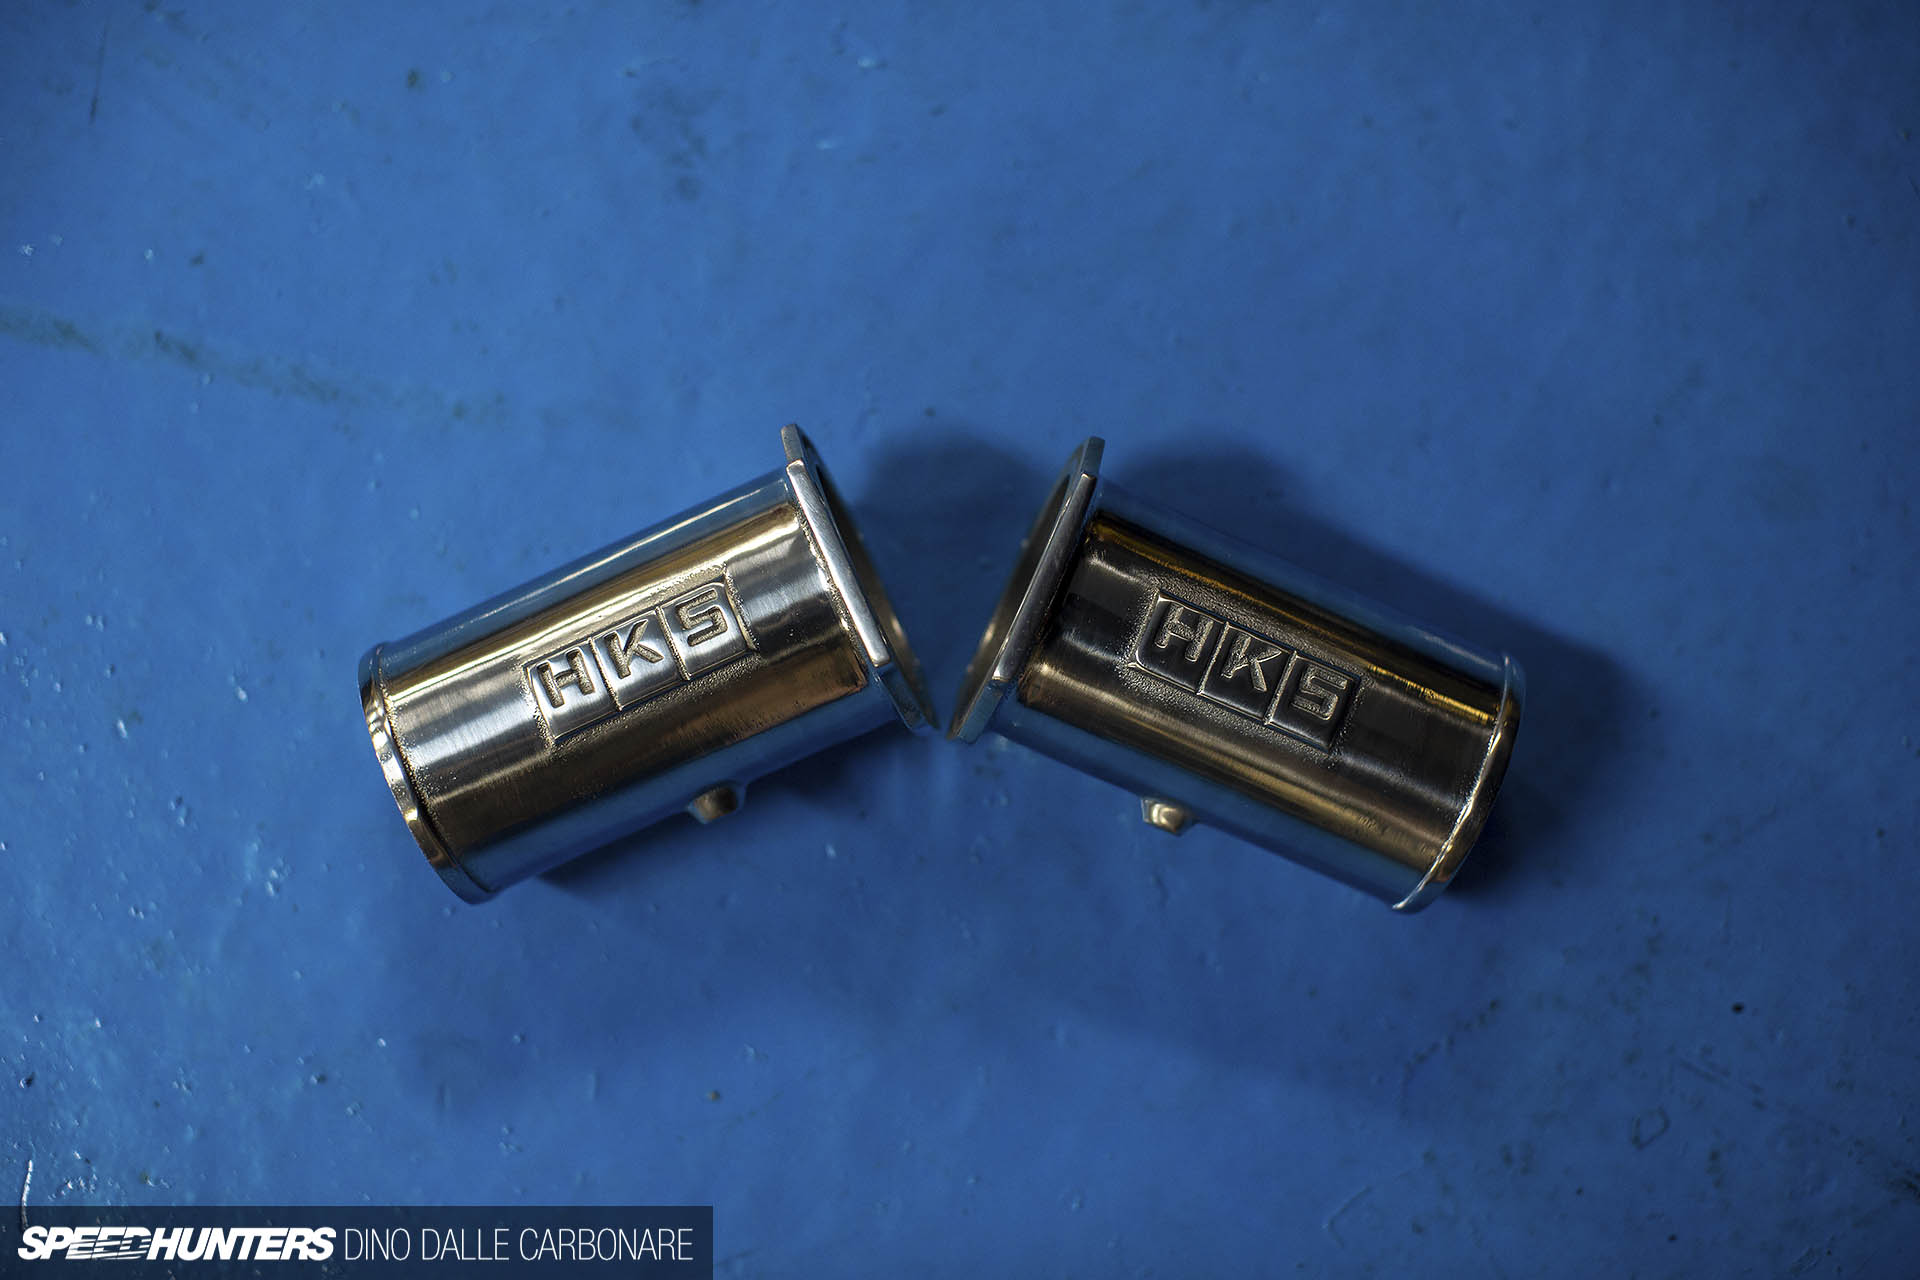
However, when the front assembly was bolted in place we noticed that the embossed HKS logo on the rear turbo only had a millimeter or so of clearance with the front turbo. Ito went in with a sander and took a few millimeters of material away from the logo and the problem was instantly solved. There is always some movement when the car is driven hard, so it’s better to avoid any chance of contact.
In the meantime, there was another thing I wanted to take care of – the Midori oil catch tank. This has always been one of favorite additions to the engine bay as it not only tucked the beautifully welded aluminum tank away but didn’t delete the plastic window washer tank in the process.
I wanted to give the tank a quick polish, but most importantly address some rust that had formed below it. The little silicon tube that feeds the window sprayers from the washer tank had a small leak, and that slowly corroded the metal it’s bolted to.
Armed with a sander, I took it right down to the bare metal and got rid of all the surface rust.
I brushed on some rust resistant primer paint and left it at that. The idea here was to stop the rust getting any worse; when the right time comes I’ll let a professional paint-match this corner of the engine bay.
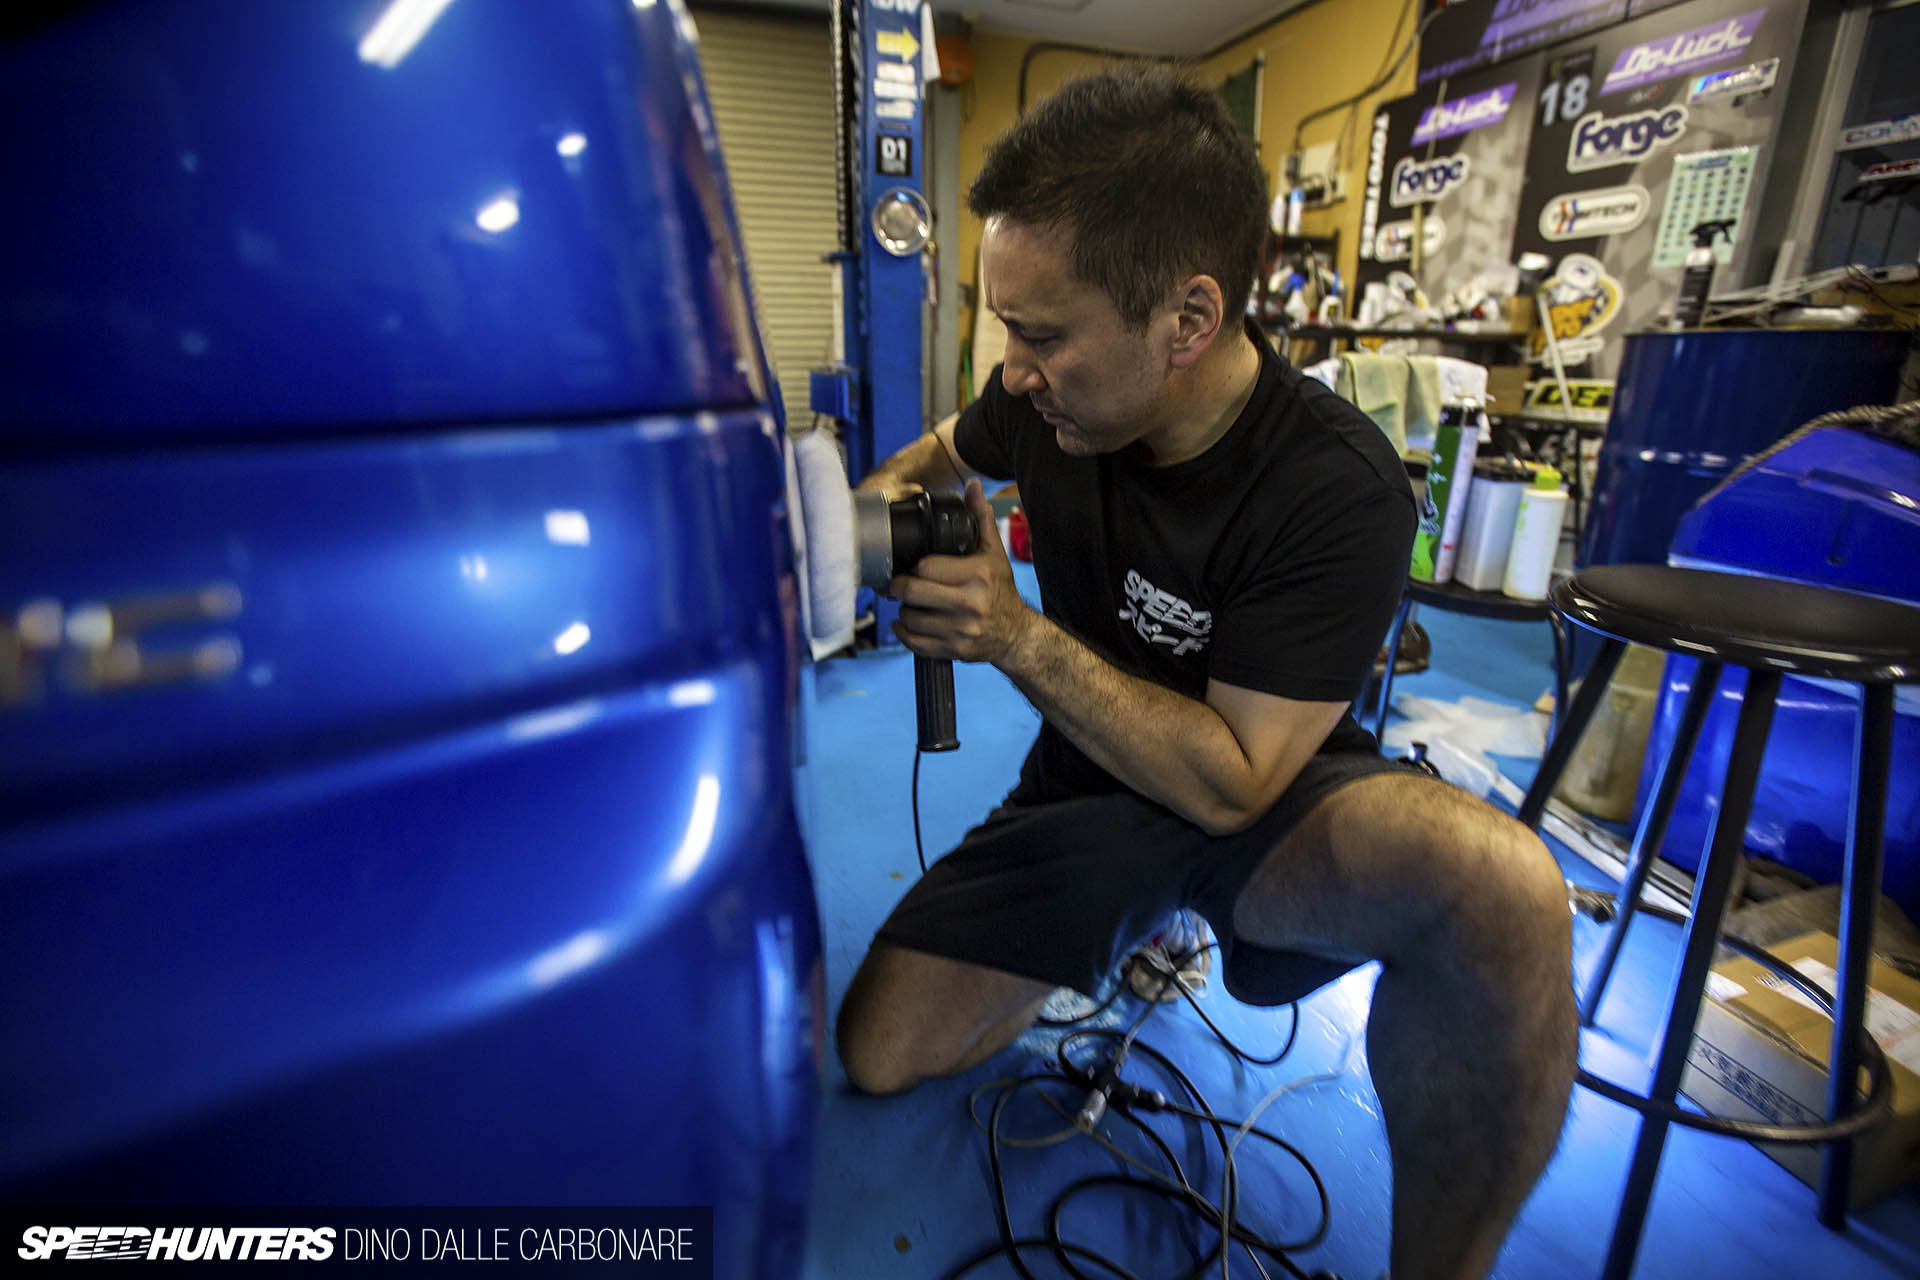
As I mentioned, the car also had to be prepared for the R’s Meeting where it would be on display at the Do Luck booth. This is where Aki went full OCD mode, removing the majority of swirl marks and marring in the factory paint. It had been a long time since Project GT-R had received a proper polishing job.

We even took the rear spoiler off as the worst of the water-spotting had occurred on the truck lid and also the roof.

While Aki did the sides I got suck in with my orbital polisher. Having two Porter Cables going at the same time made for a noisy environment, especially so late at night.
Still we got there in the end. The paint was sealed off with one of Aki’s special polymer sealants, and some more wax was added on top once dry for extra depth and protection. Not bad for a close to 20-year-old car!
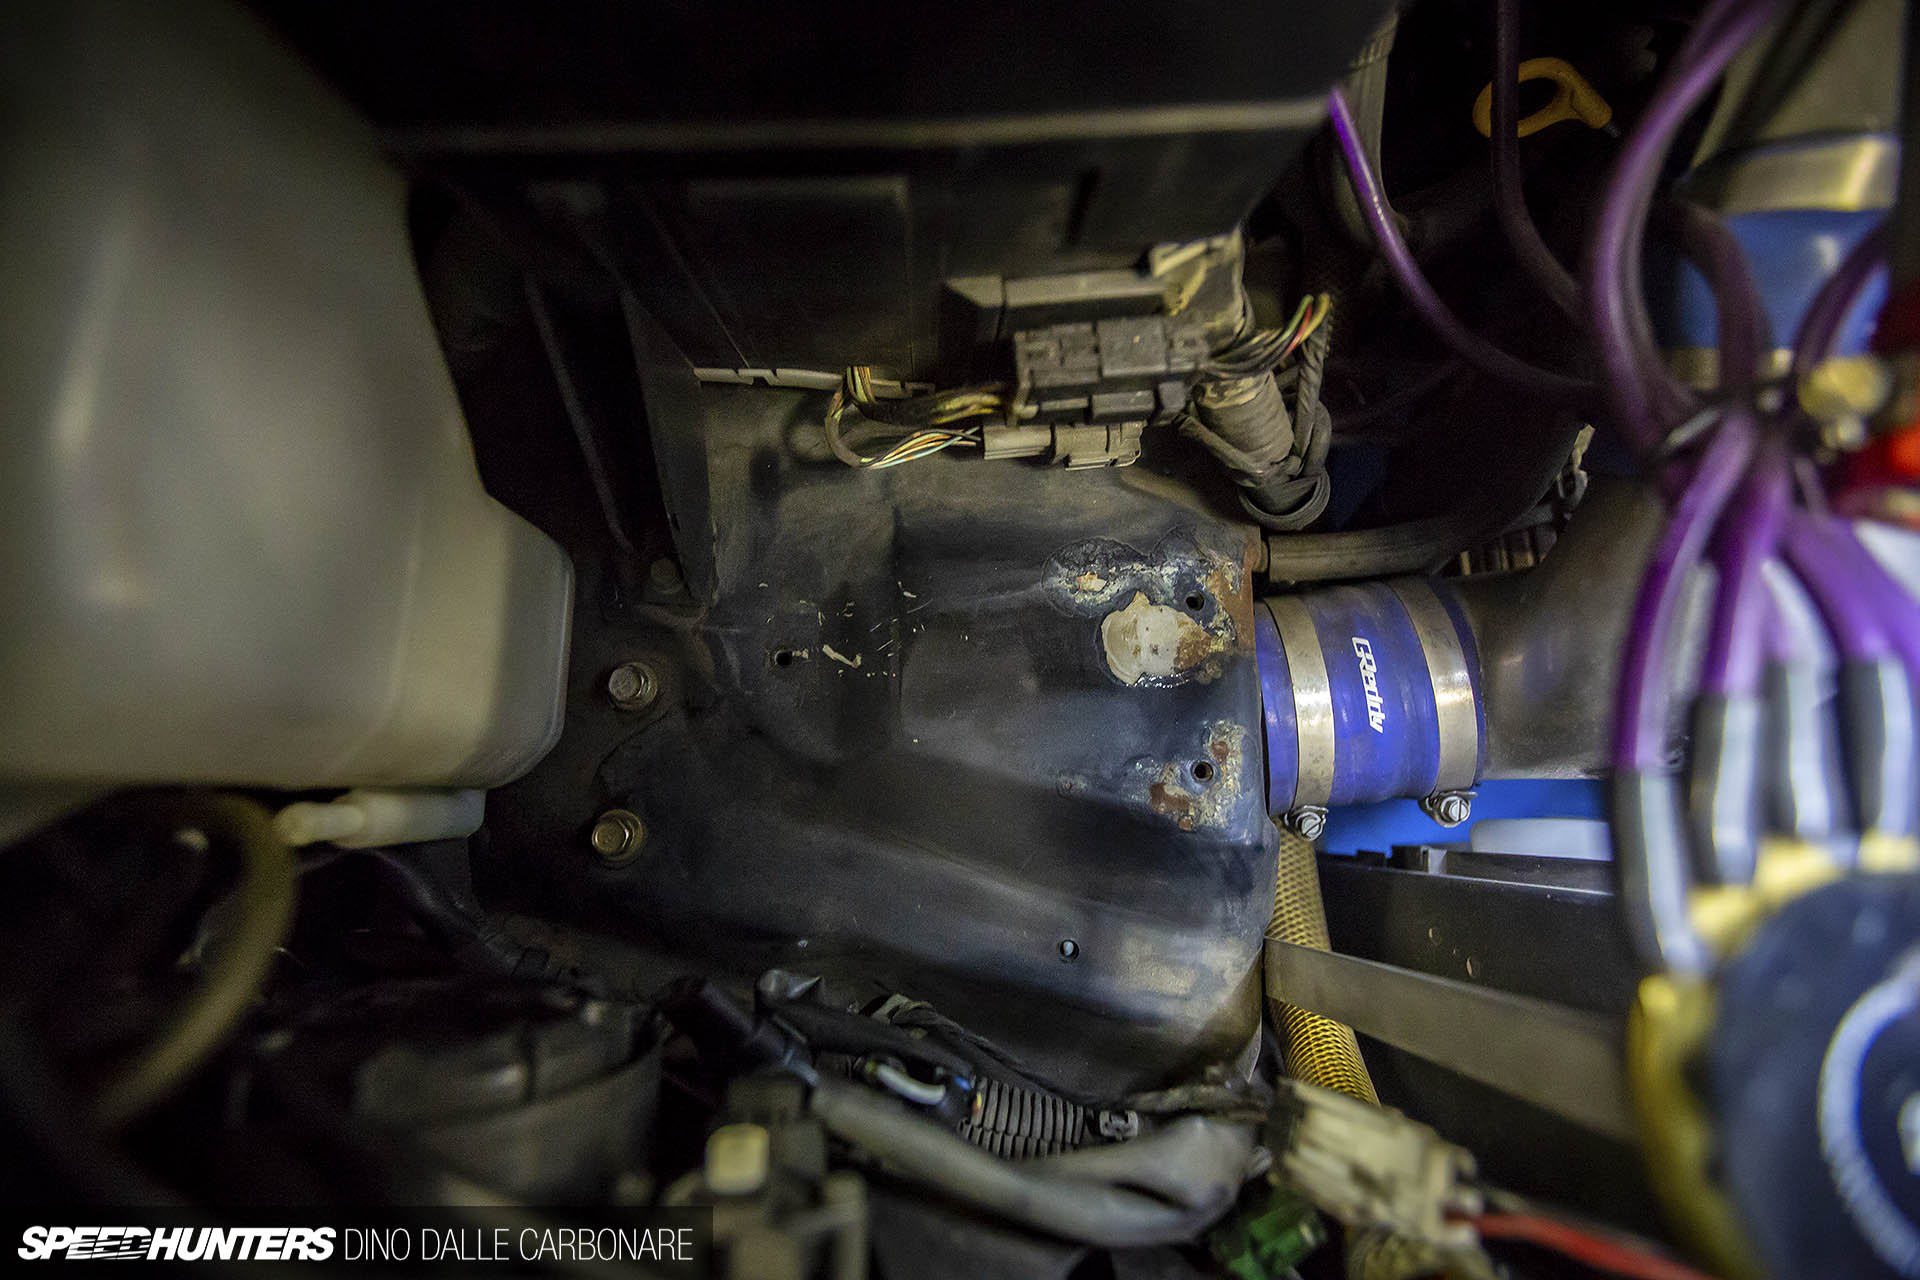
You don’t often see this, but under the top piping that leads from the turbos into the intercooler there are a series of balancer pipes added to stabilize intake pressure. These bridge the two intakes before the compressor intakes (i.e. air that’s already been filtered and measured via the twin AFMs on a stock motor), and also have a return from the two blow-off valves situated on the exit of the intercooler at the driver’s side corner of the bumper.
With most things now fitted, one of the final time-consuming jobs was to attach all the oil and water lines, and measure up and lay down vacuum lines to control boost. The Elite 2500 has an integrated boost controller so it means I’ve finally disconnected my old school HKS EVC solenoid setup.

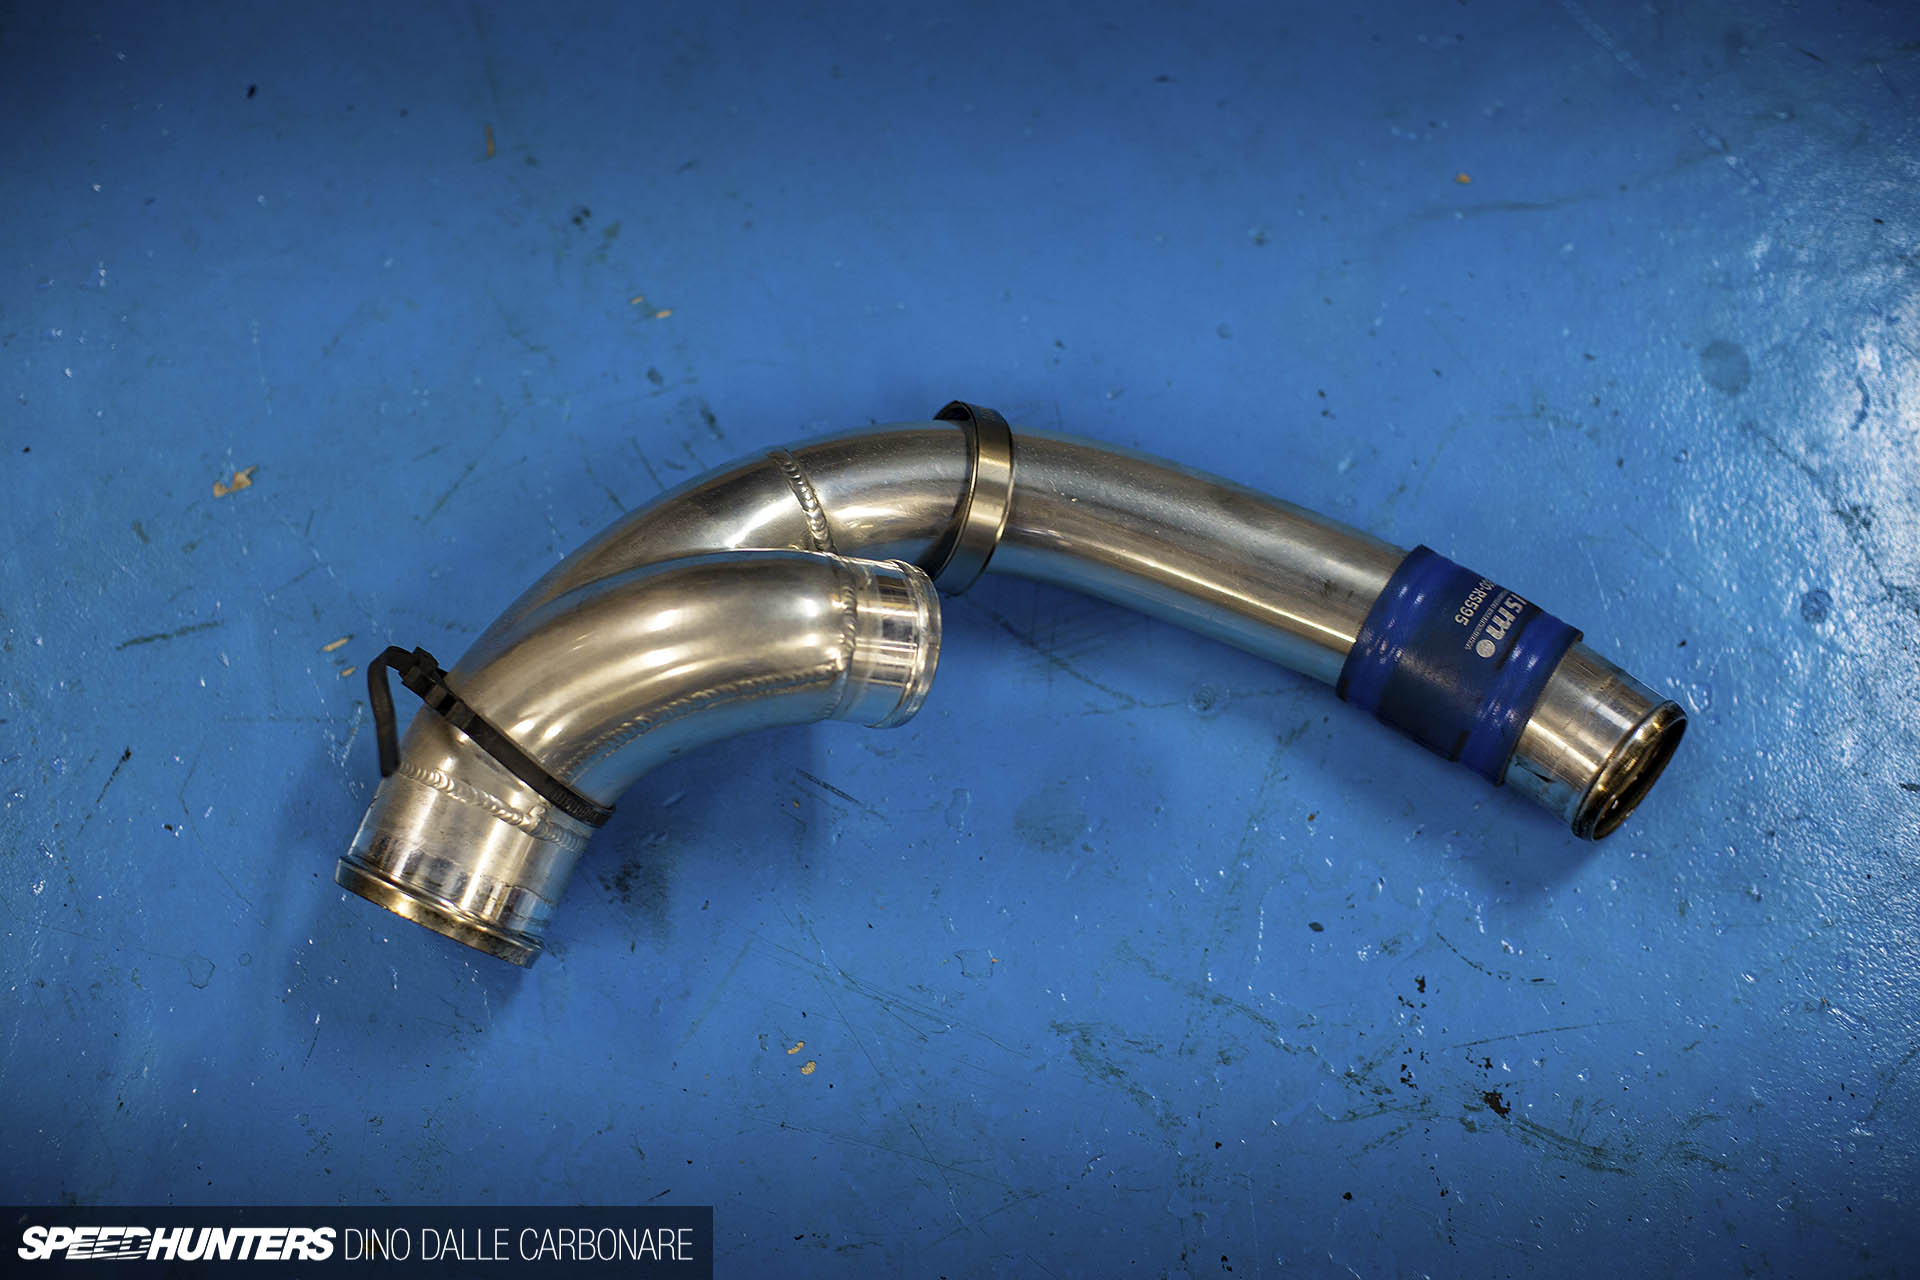
Once the front pipe could be fitted back on the car I decided to fit another cool product that Tomei Powered sent me. If you are going to do cat-delete pipes you might as well make them properly, and this is the coolest straight pipe ever.
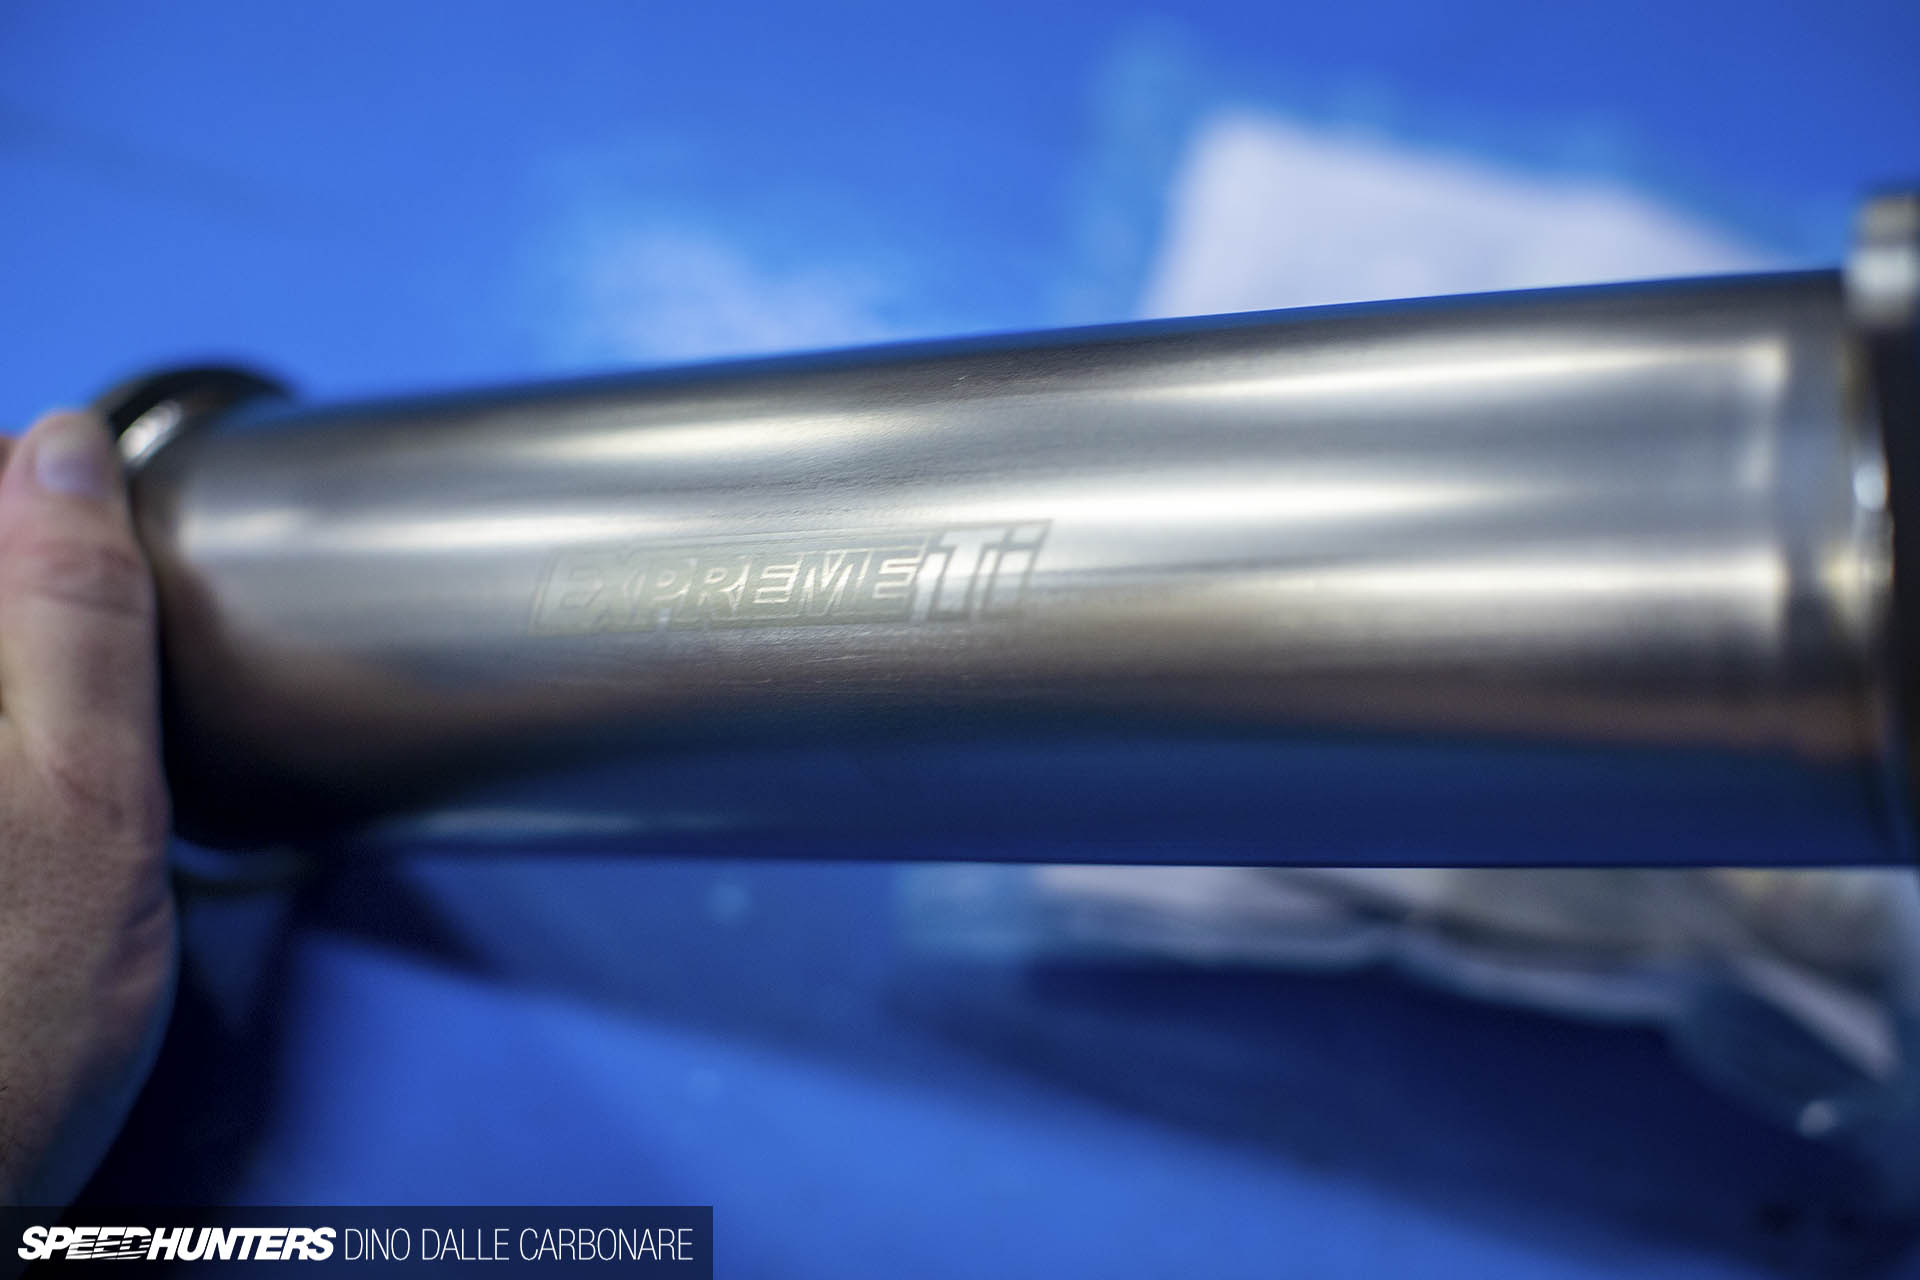
It’s the same diameter as the main section of the Expreme Ti exhaust system already fitted, and is made from titanium too.
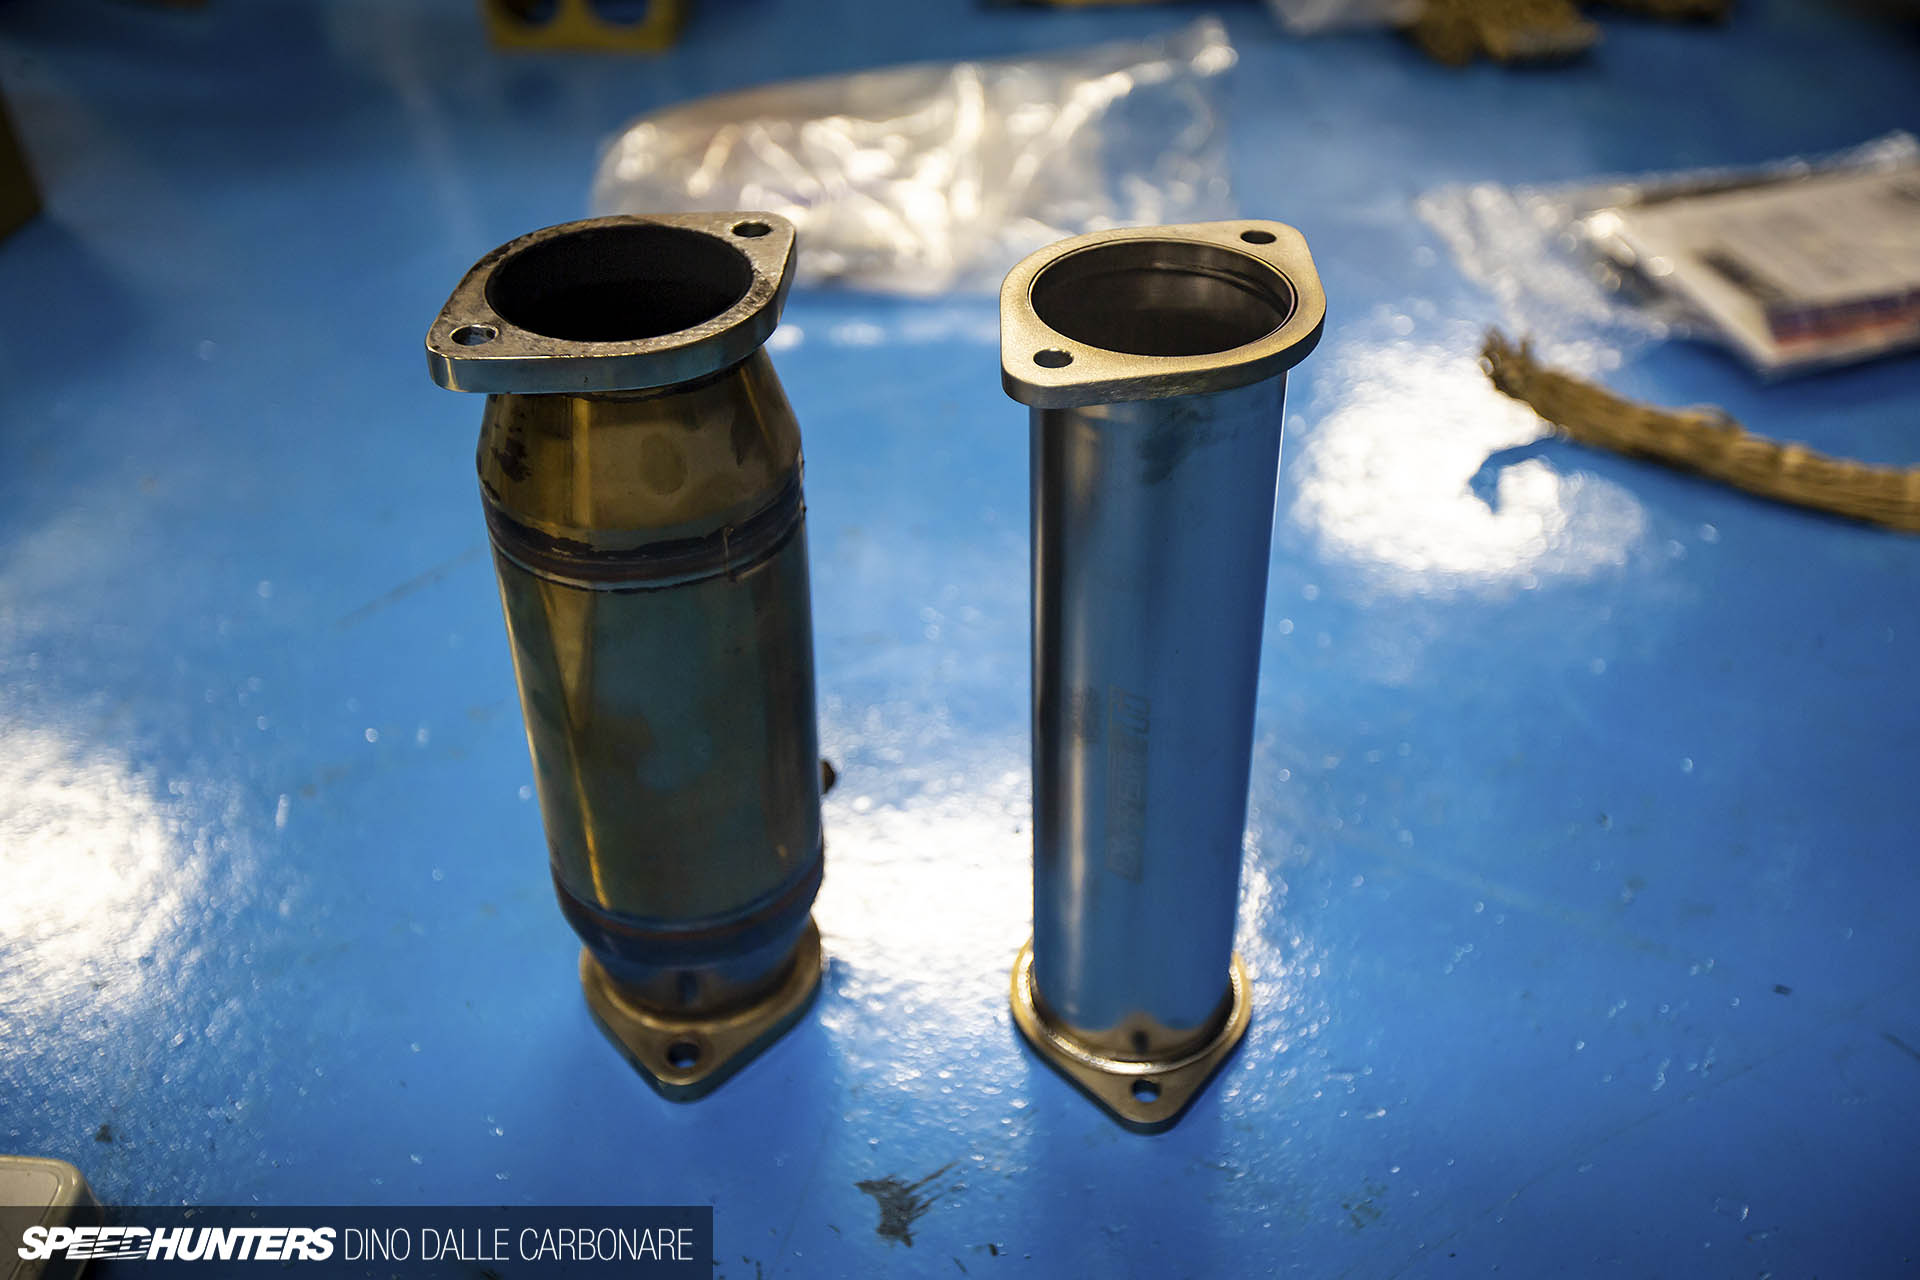
This is what it looks like next to a Mine’s sports catalyzer, something I’ll need to throw back on the car when my next shaken roadworthiness inspection comes around.
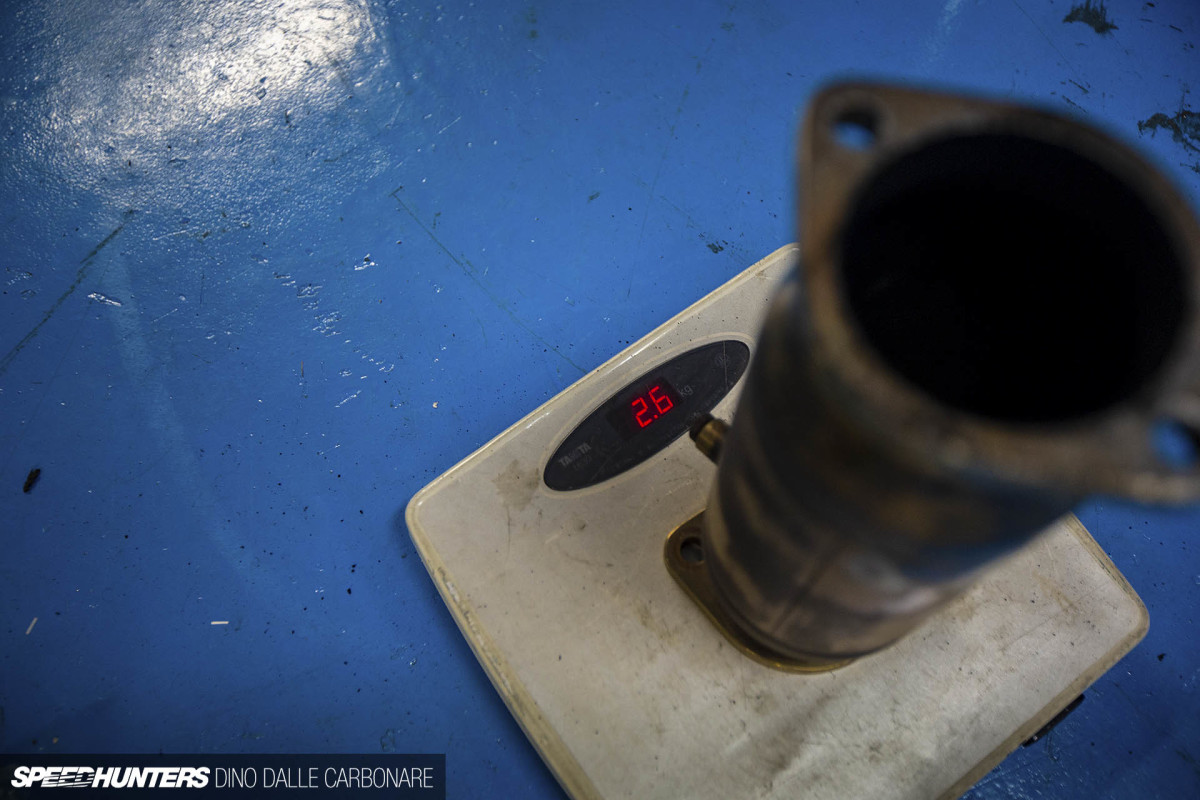
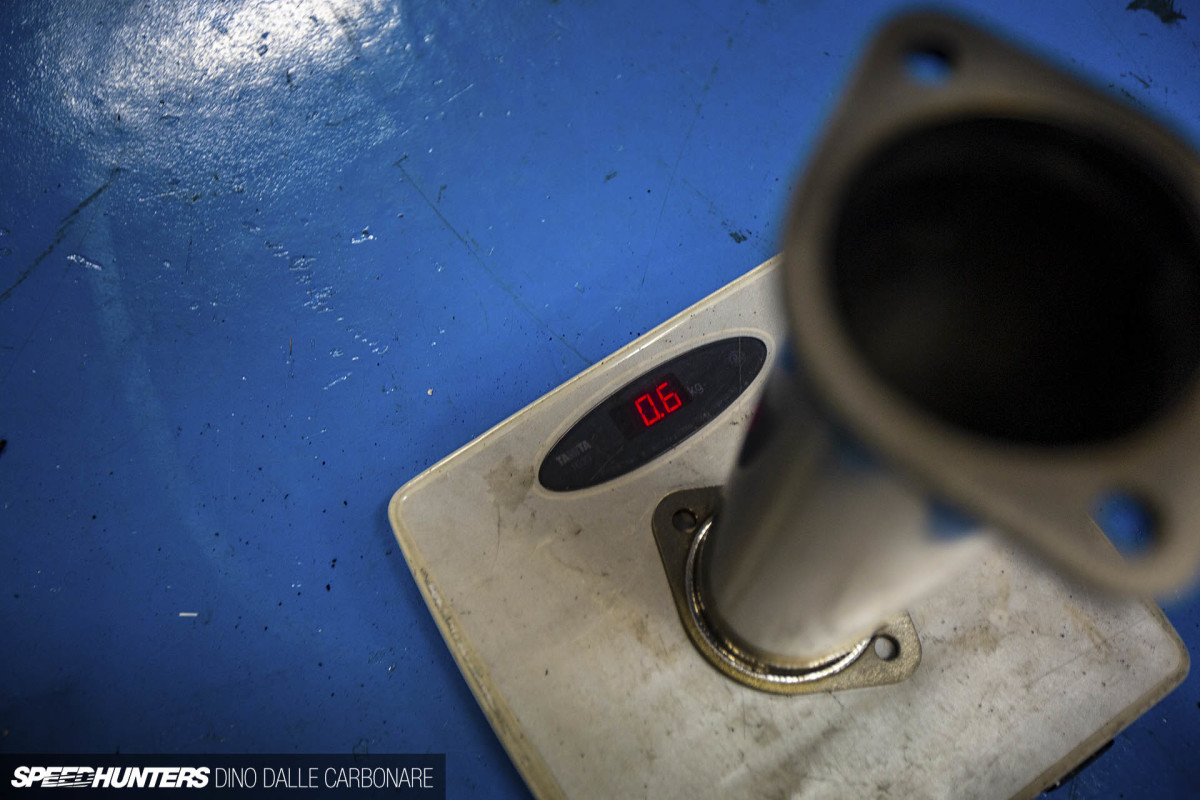
It also turned out to be a pretty easy way to shave two whole kilograms off the car. I’m very happy with that; it means I don’t need to diet just yet.
Back To Life. Almost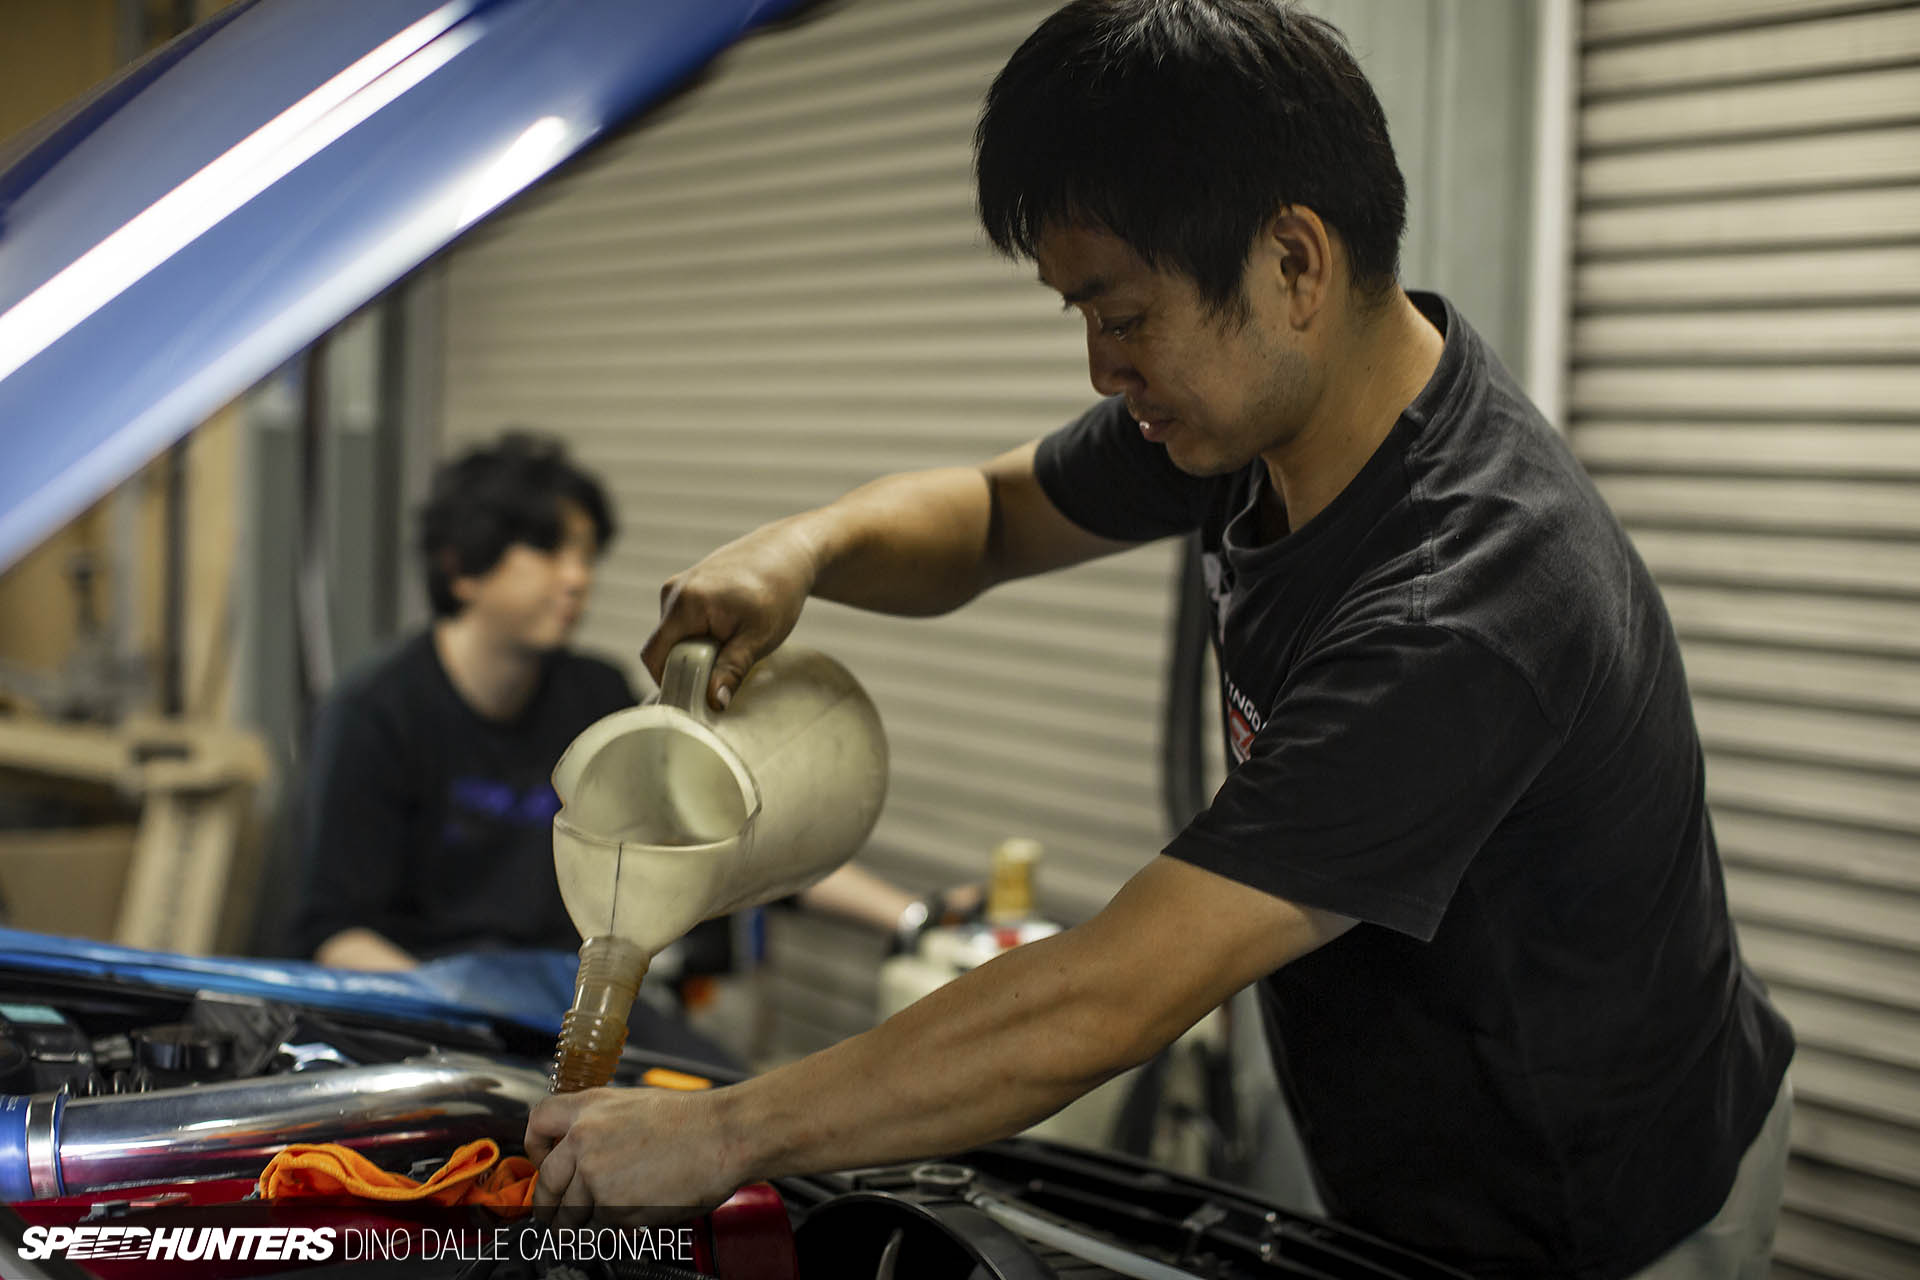
A multitude of checks later and Ito topped up the oil and coolant before attempting to turn over the engine for the first time.
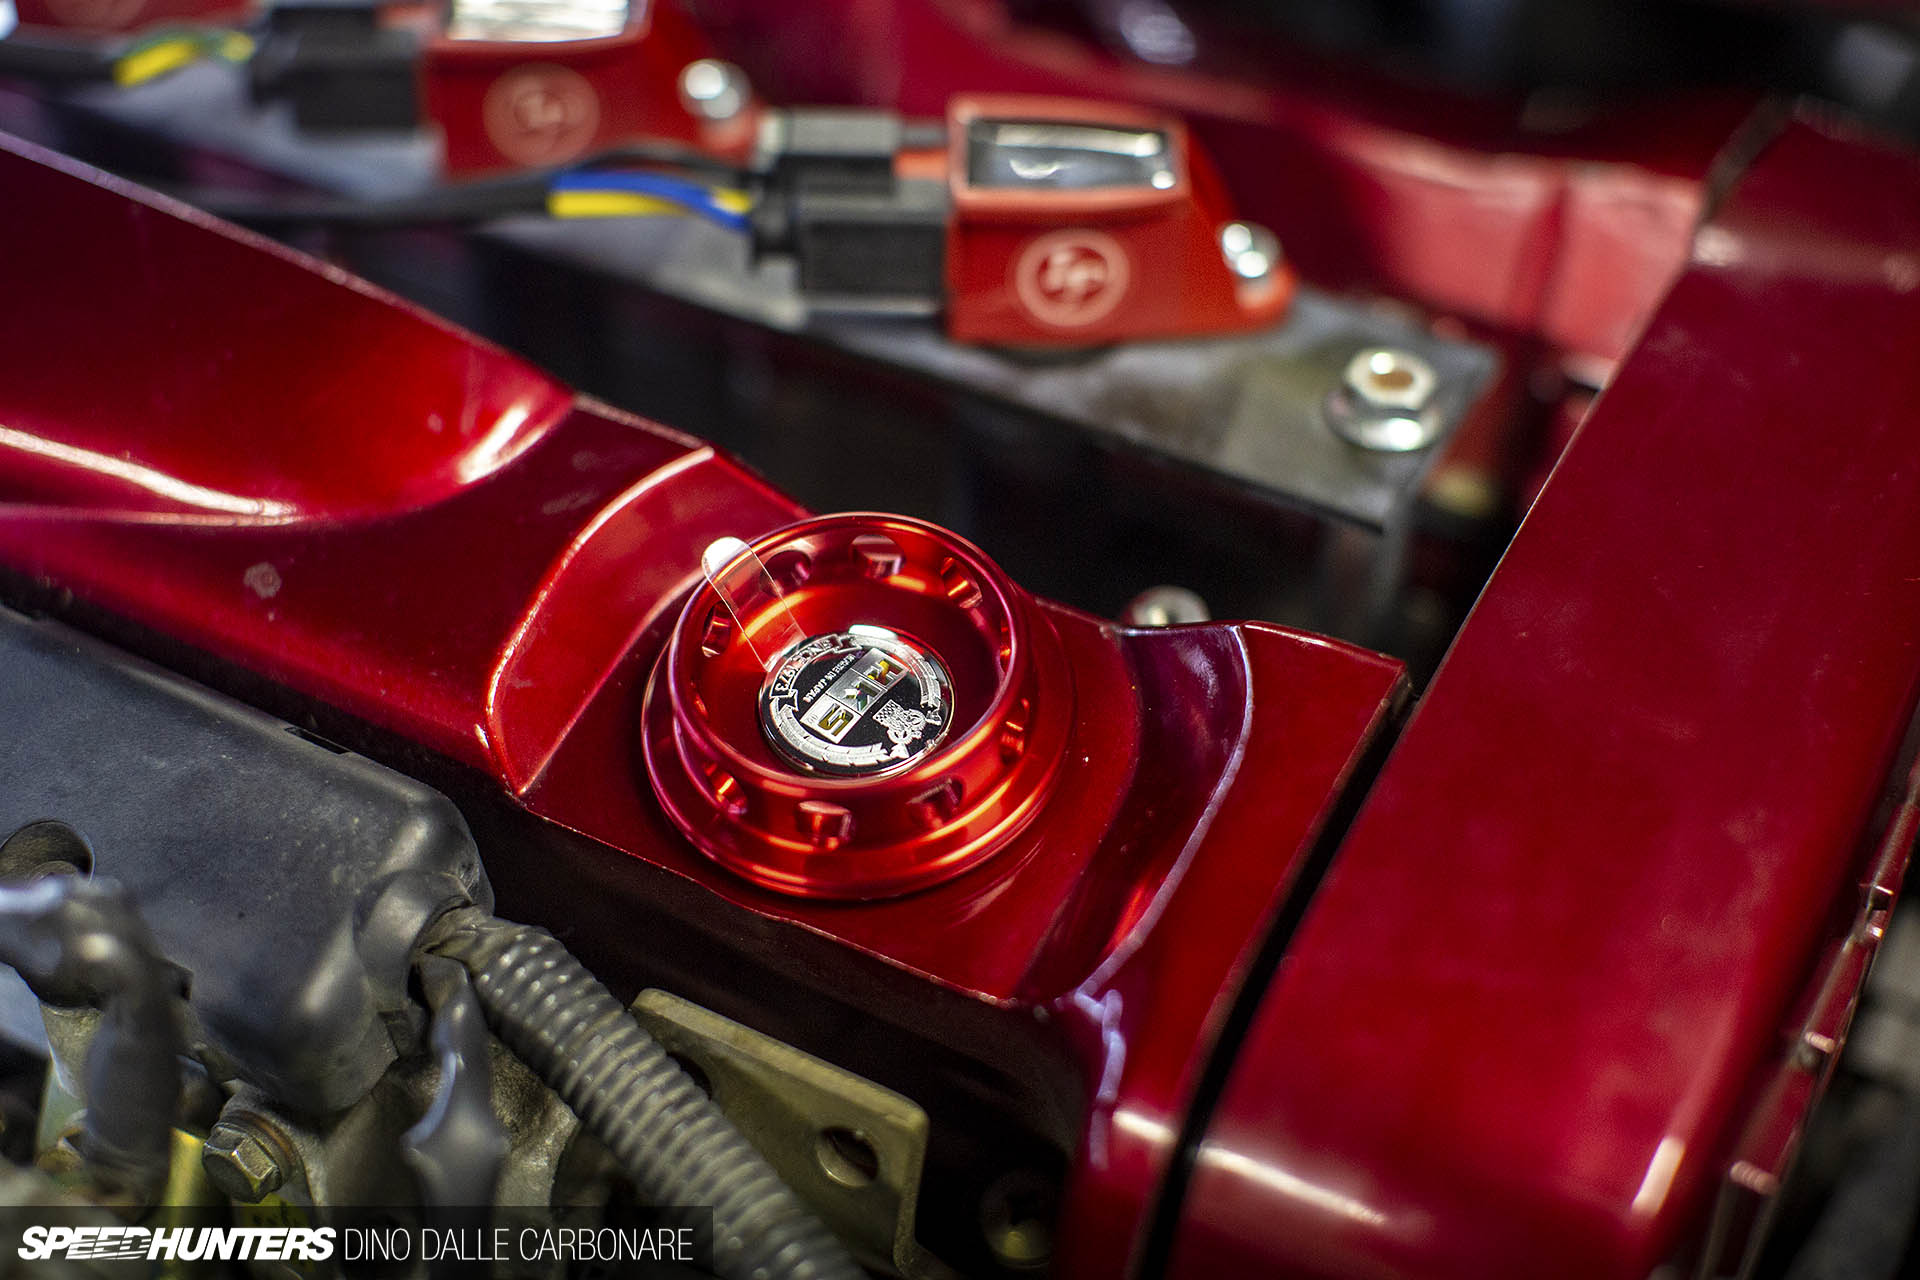
I added the billet HKS oil cap, a much-needed change from the Nismo one I’d been using since the last millennium.
And so we get to the main reason behind all the delays in updates. I wanted to do things properly and talk about all the steps of the engine upgrade in short progression, but after the HKS turbos were fitted it took another year to upgrade the fuelling side of things. Six months on from that (post coming soon) and I’m still waiting to finish the whole thing off with cams and a metal head gasket, but the delay got too much so I just decided to start sharing stuff as it happens. I’ve learned that big jobs like these done in one’s spare time take way longer than you initially expect, so you just have to go with the flow.
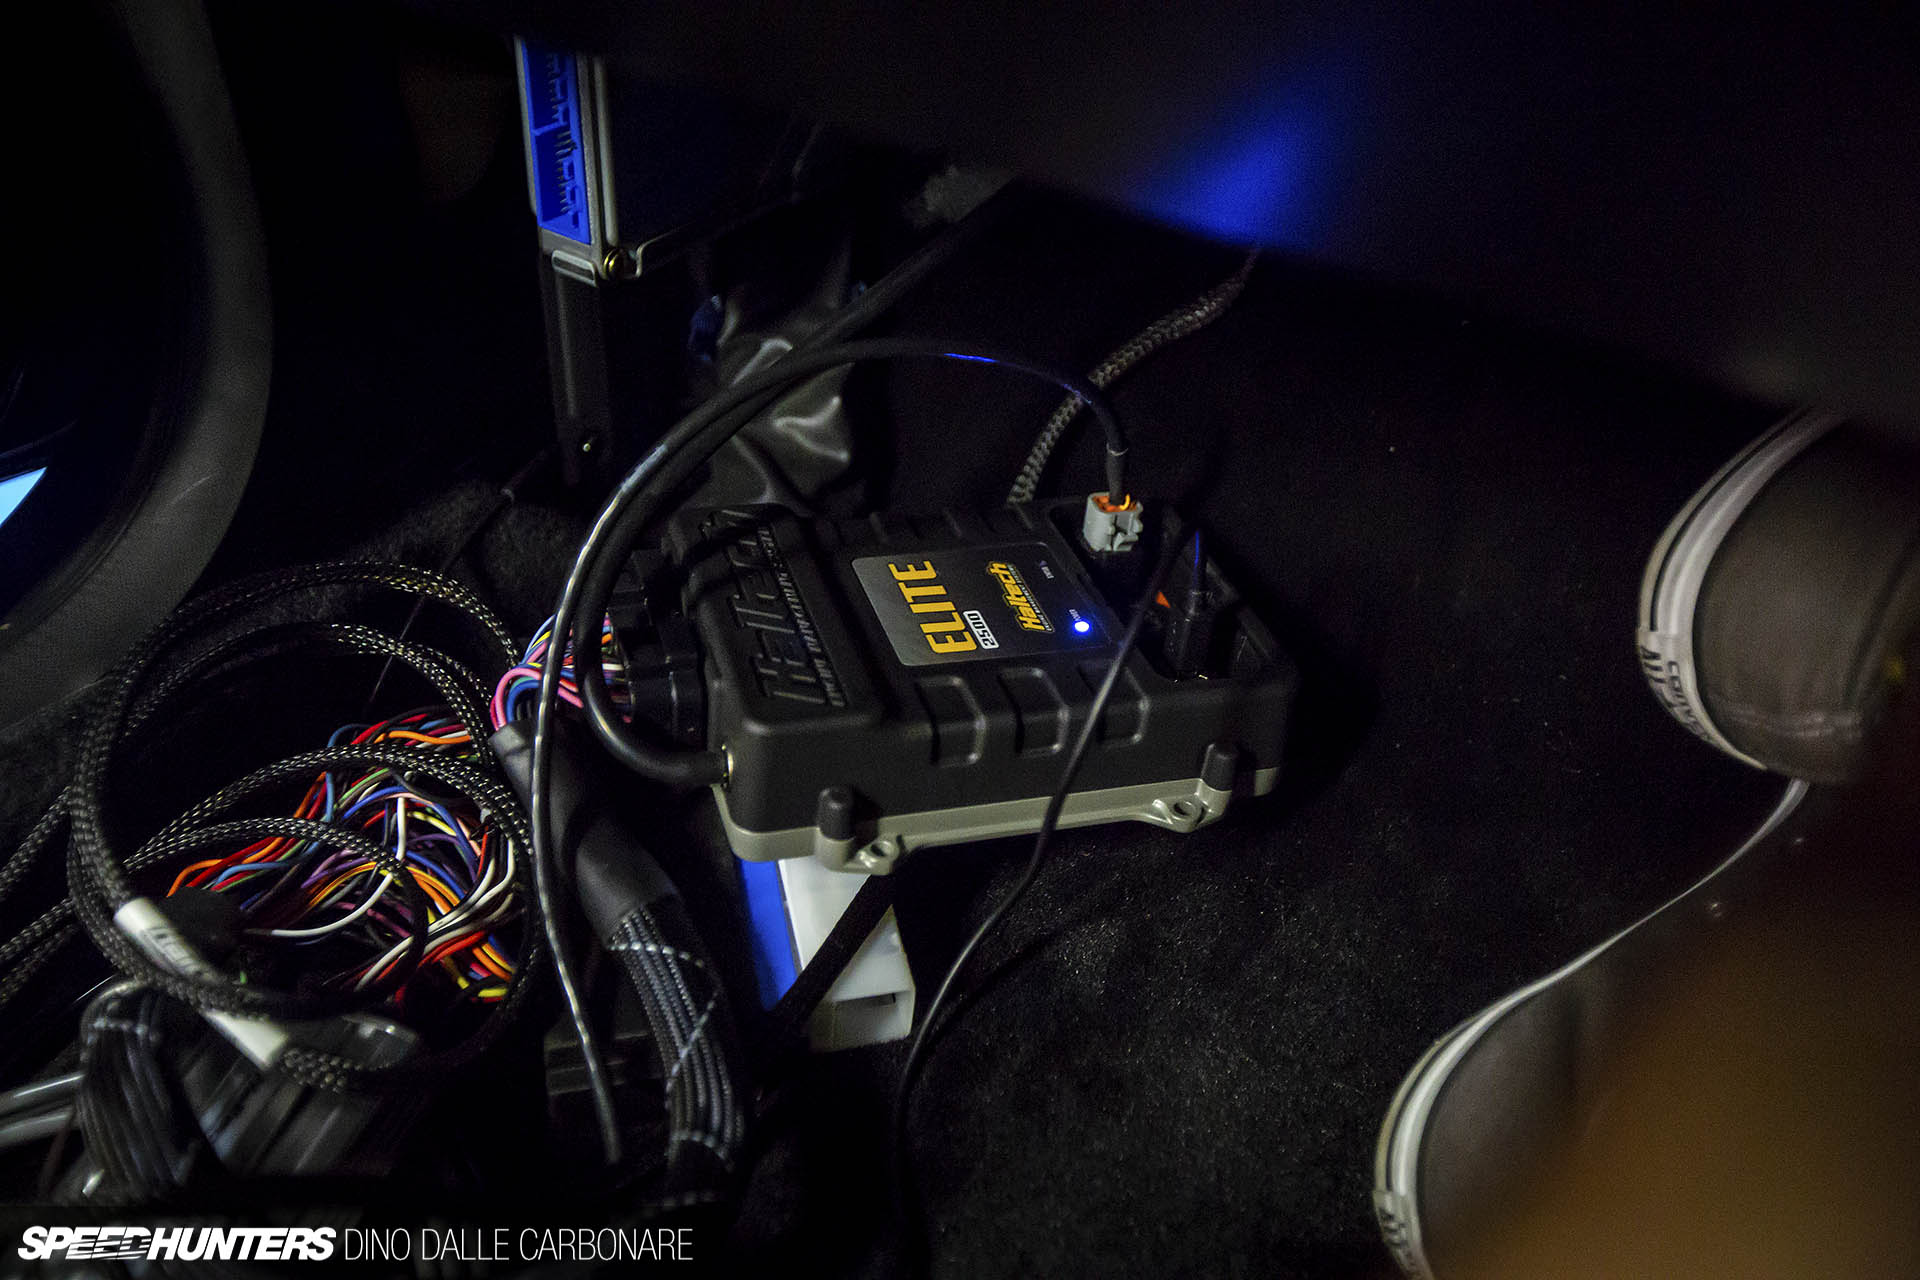
Anyway, after the engine was all done it was onto the electronics and the Elite 2500’s maiden tune. I had to get a custom loom made up and there were some crossed wires which caused some issues with the settings.
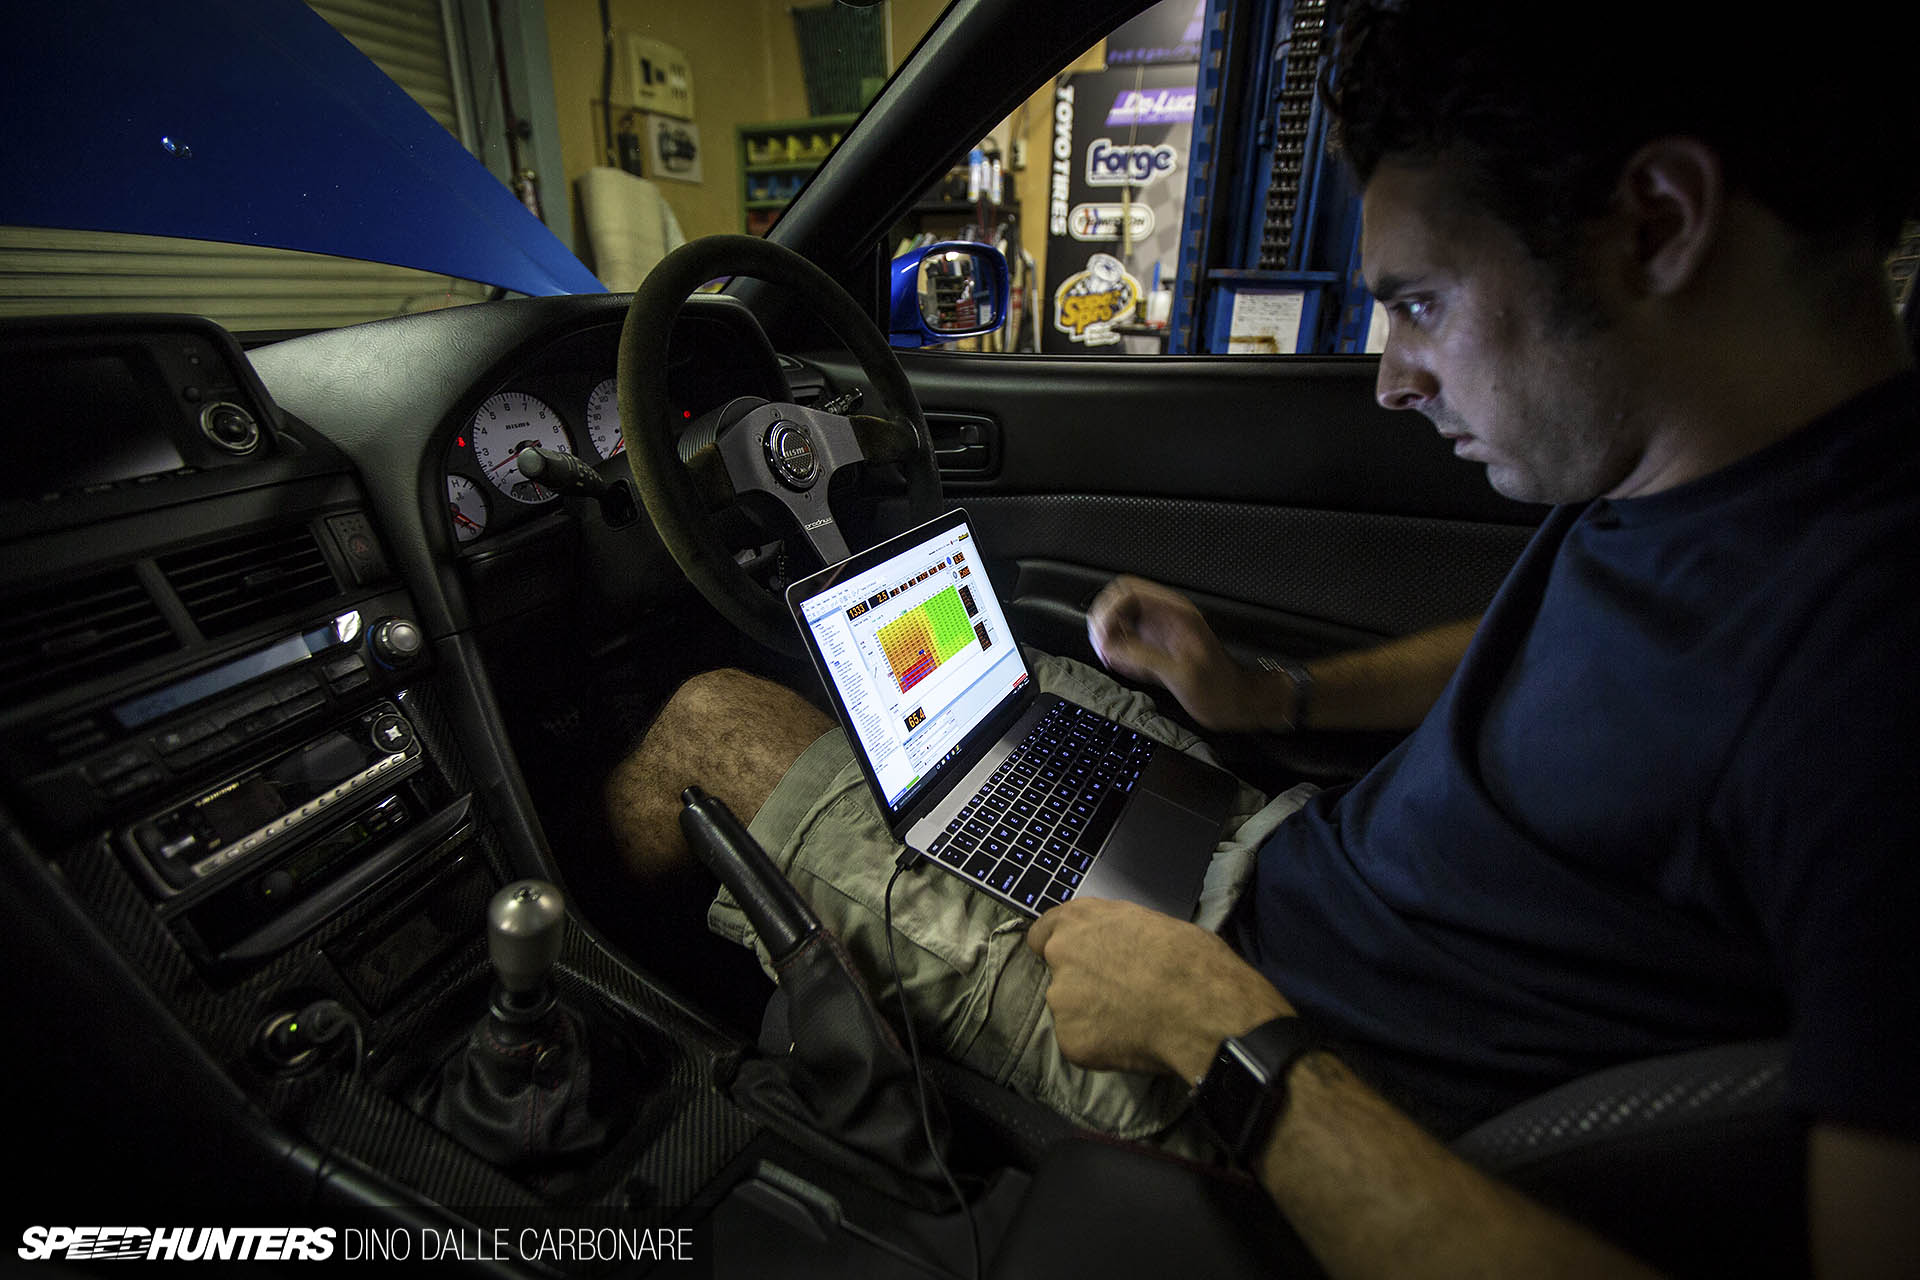
Ennio, who’s a professional MoTeC mapper working for Ducati in Japan, has a long history with Japanese turbo cars and has helped out a guy called Under Suzuki set up his car properly. It took some serious problem-solving to get it all to work, but eventually the RB26 cranked into life with a new set of lungs and an advanced brain to manage it all.

Some quick timing checks to ensure all was as it should have be followed, and then Ennio had to create a simple base map to allow the car to move under its own power.
With the stock fuel pump and stock 444cc/min injectors now being the limiting factors, a 4,000rpm limiter was set and Ennio concentrated on drivability.
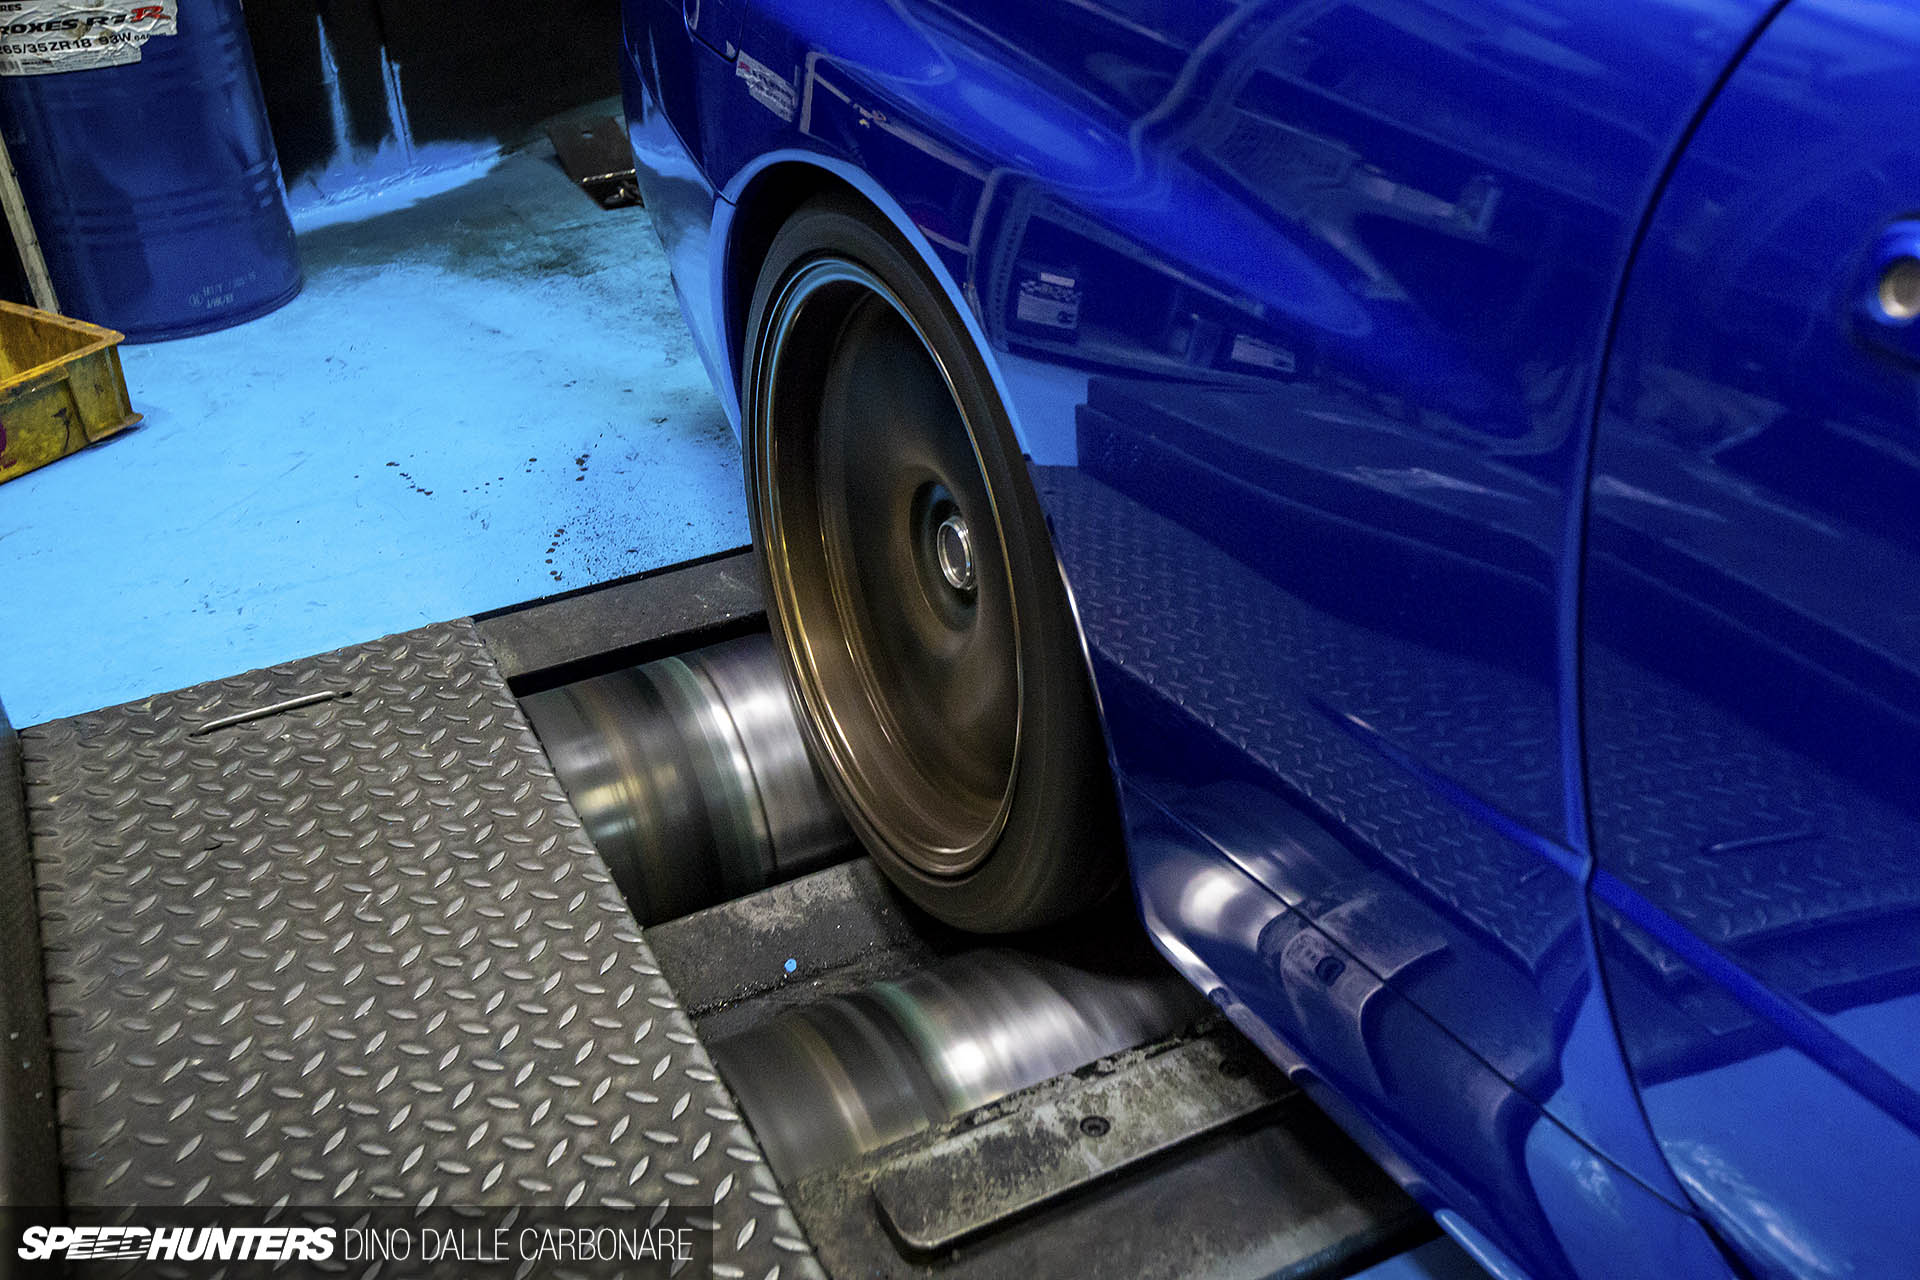
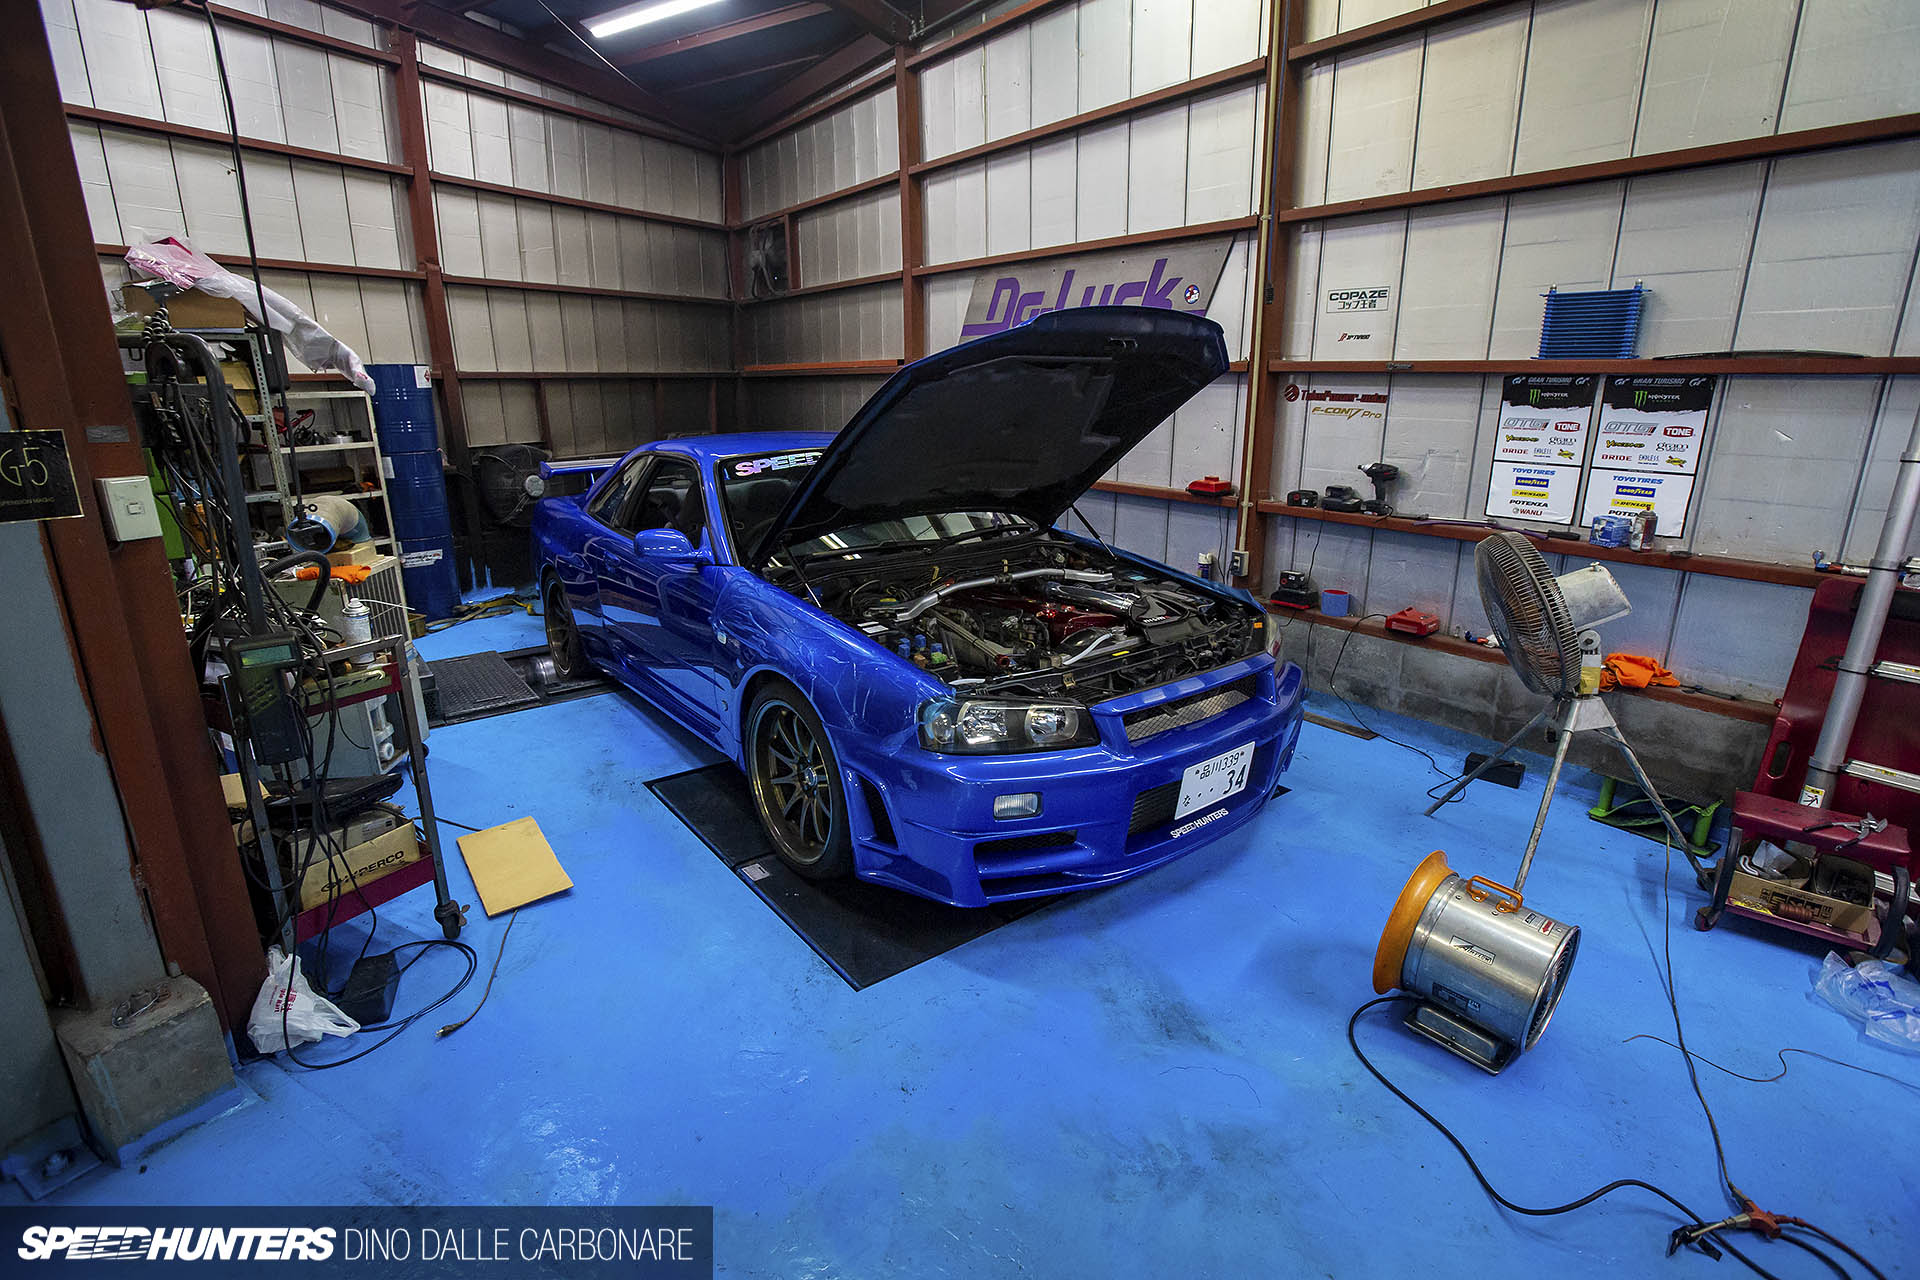
We dropped the The Drive Shaft Shop carbon prop shaft and stuck the car on Do Luck’s old Bosch dyno. No power checks of course; it was all done to set some safety margins.

And that’s where I’ll stop this first part. The car ended up making it to the R’s Meeting of course, with Ennio mapping it all the way down on the highway to tidy up some little spots where there was hesitation in the pick up or where I didn’t feel enough engine braking.
In my next update we’ll take a look at how the fuel system was upgraded to something capable of supporting what the HKS blowers are capable of producing. More soon on Project GT-R!
Dino Dalle Carbonare
Instagram: speedhunters_dino
dino@speedhunters.com