At this year’s Goodwood Festival of Speed, it struck me just how much of a strain Speedhunting puts on you, physically.
Over the three days I was at Goodwood, I covered 60,400 steps over 46 kilometres (28.5 miles) and traversed 163 floors – similar numbers to the 69,000 steps, 51 kilometers (31.6 miles) and 127 floors achieved at Gatebil the week before. Challenge me on Fitbit, I dare you.
Doing so whilst carrying weighty camera kit slows you down. Typically I’ll carry a big 300mm f/2.8 prime on one camera and a 70-200mm f/2.8 zoom on the other if I’m heading trackside, or swap the 300mm for a 24-70mm f/2.8 if I’m walking the paddocks. These combos give me the ultimate in flexibility when it comes to framing things up how I like and with ease.
However, it’s a lot to carry around with you, so for this year’s Festival of Speed I decided to strip things back and challenge myself briefly. I would take an hour or so to wander around Goodwood on Friday afternoon equipped with just one camera, a 50mm f/1.4 lens and a polarising filter and see what I could capture. Not a novel idea – Paddy did similar at this year’s Tokyo Auto Salon – but an enjoyable exercise and a break from the norm.

While we are, first and foremost, dedicated to bringing you probably the most diverse and widespread automotive news you’ll find anywhere on the big wide interweb, unlike many other outlets our footings are in getting out there and capturing unique content ourselves. Through good photography stories are told, and with the modern world being so heavily biased towards visual content, it’s a cornerstone of Speedhunters that will never change. Photography is important to Speedhunting.
We also know that many of you enjoy getting our there and shooting cars and the culture surrounding them yourselves– it’s the very basis of IAMTHESPEEDHUNTER – so hopefully the occasional photo-related story will help and inspire those who do so.
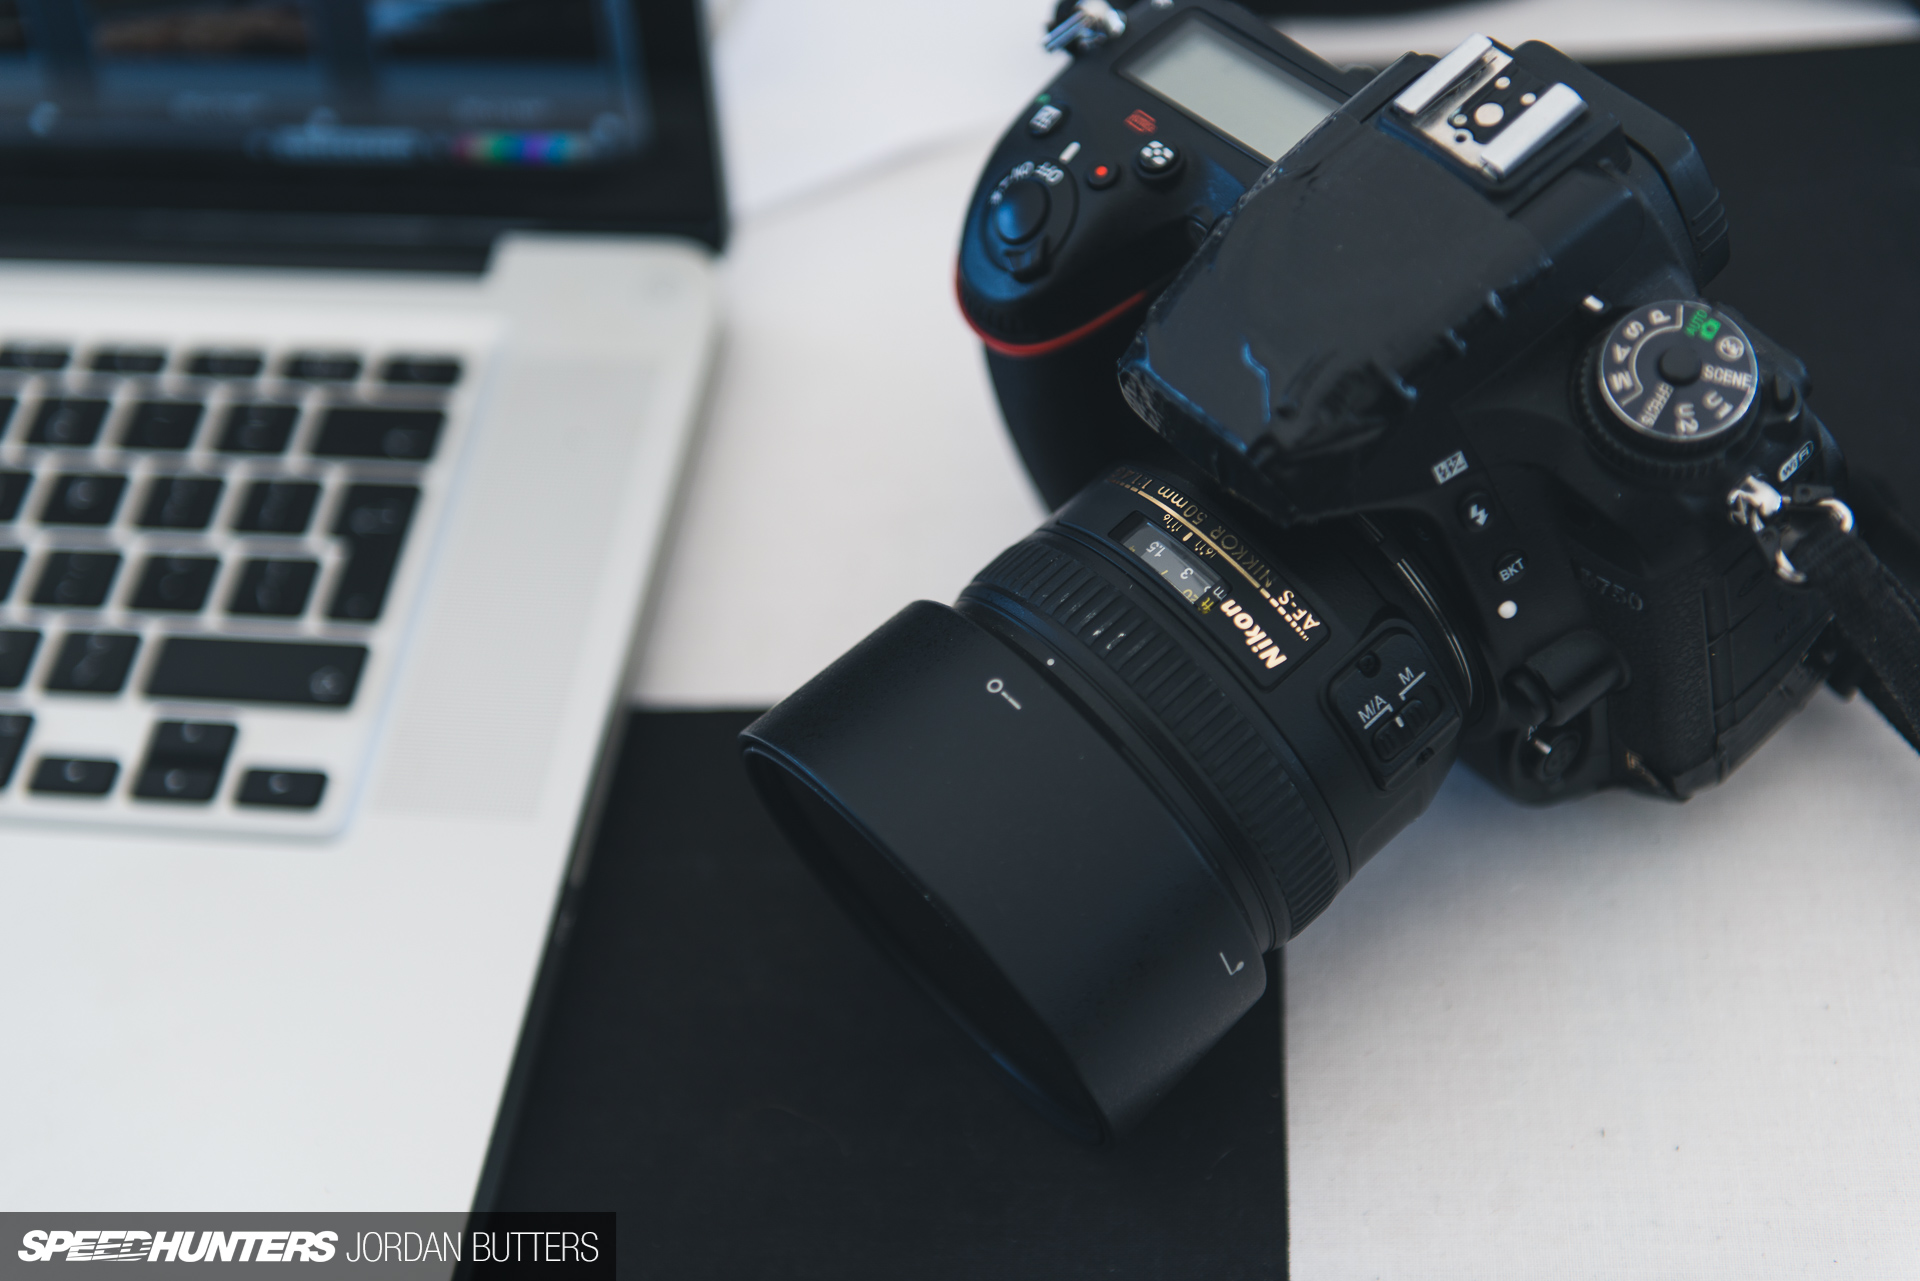
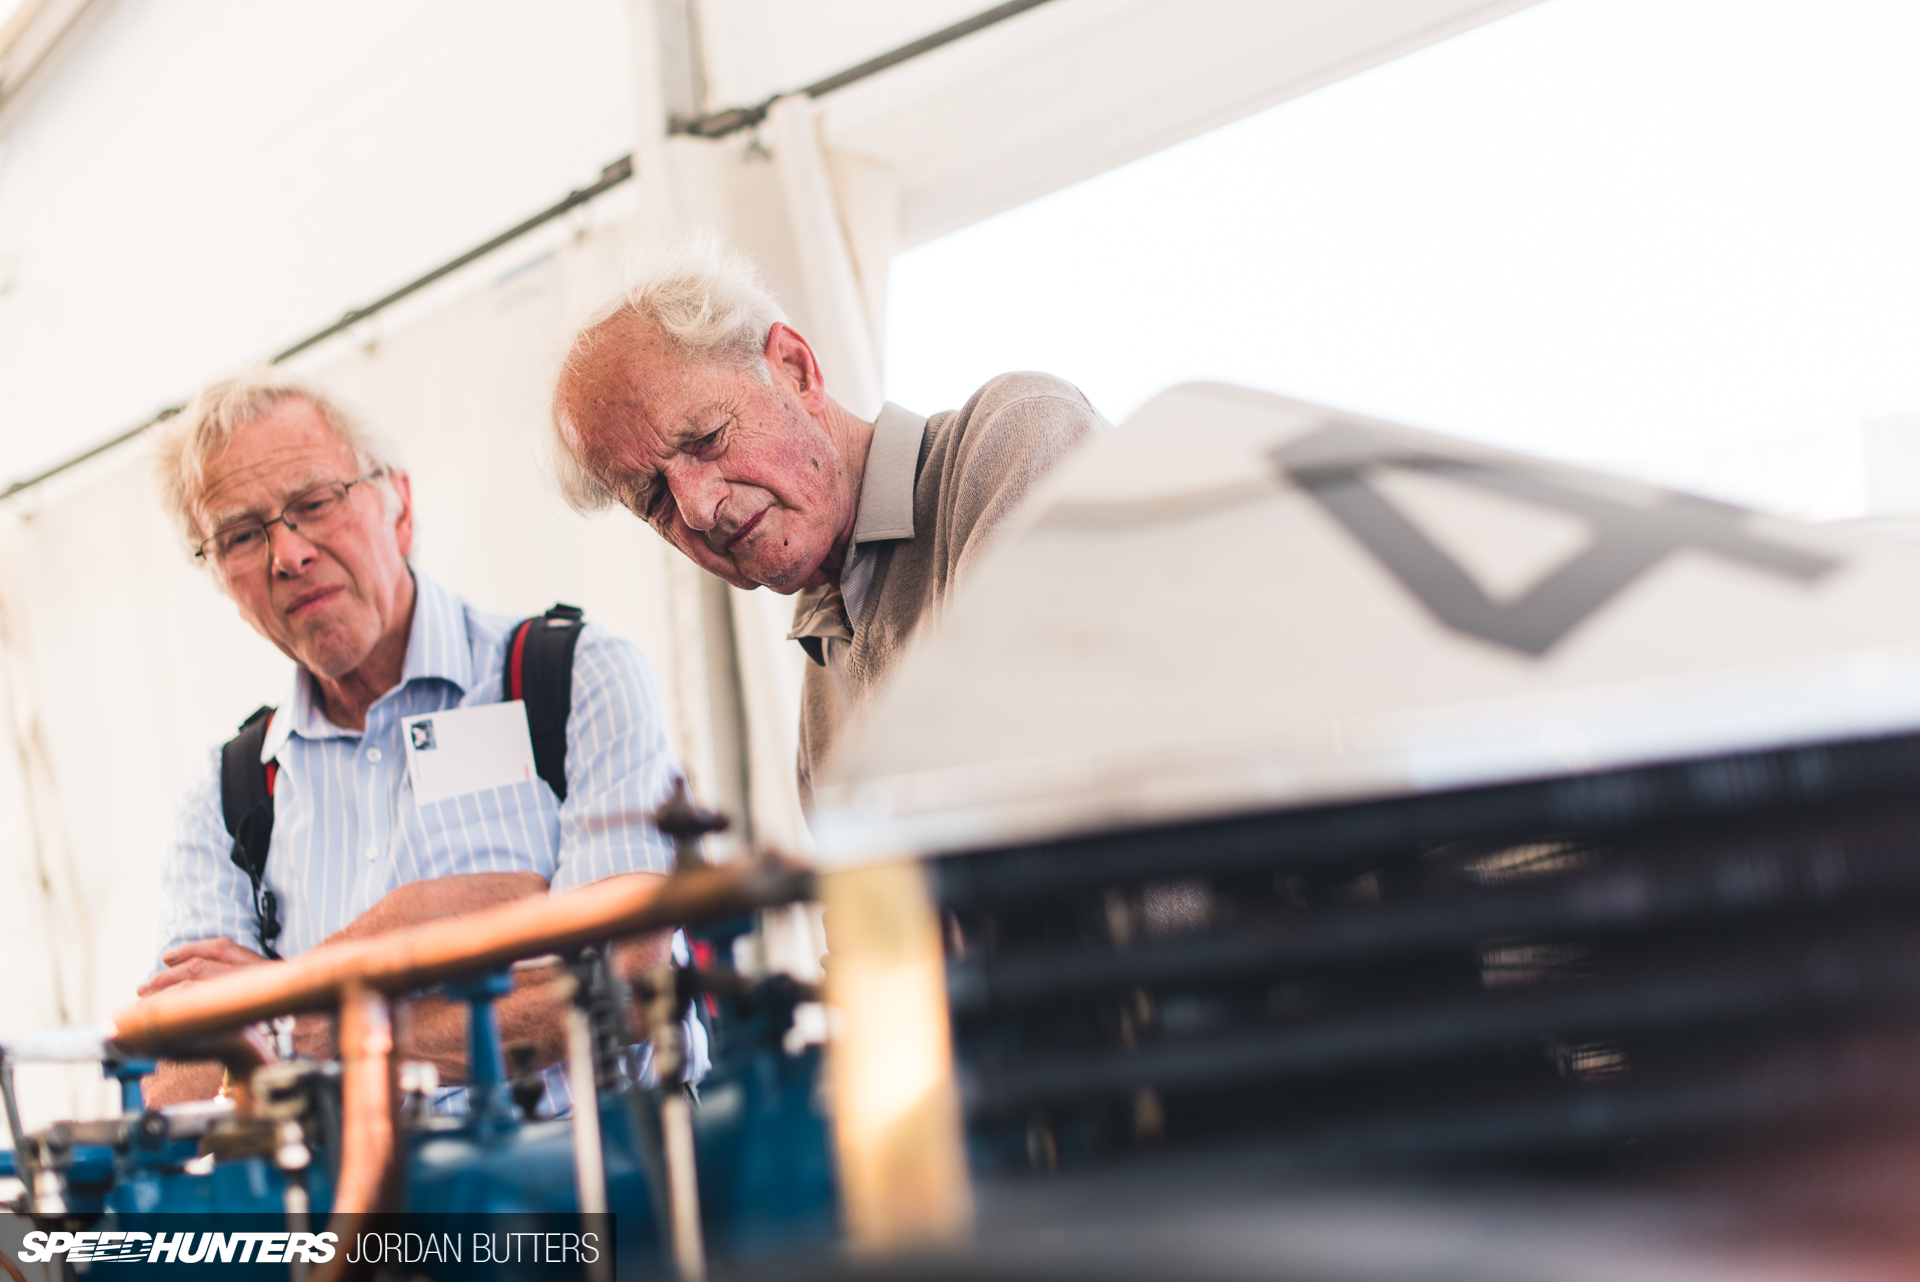
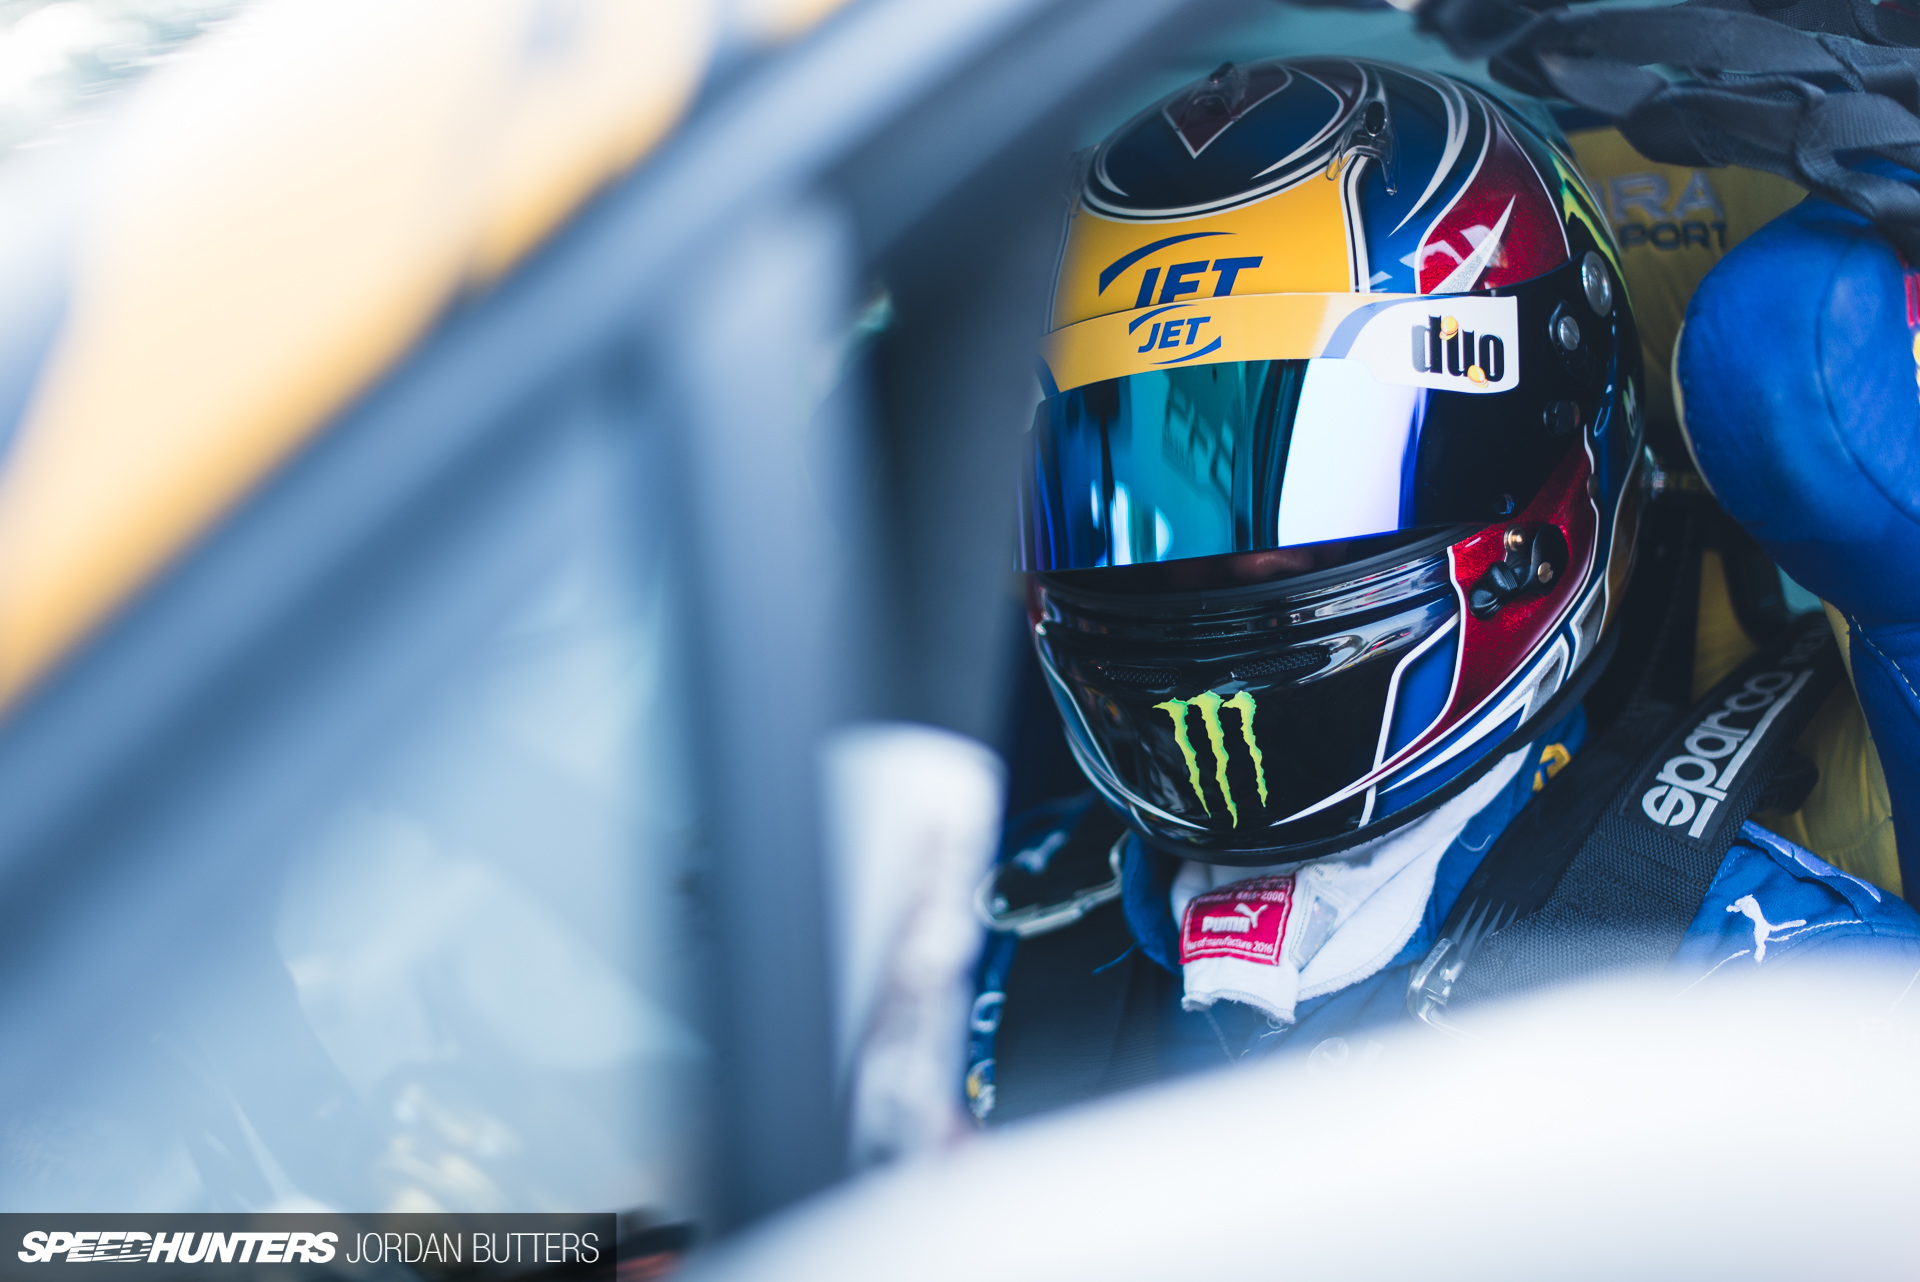
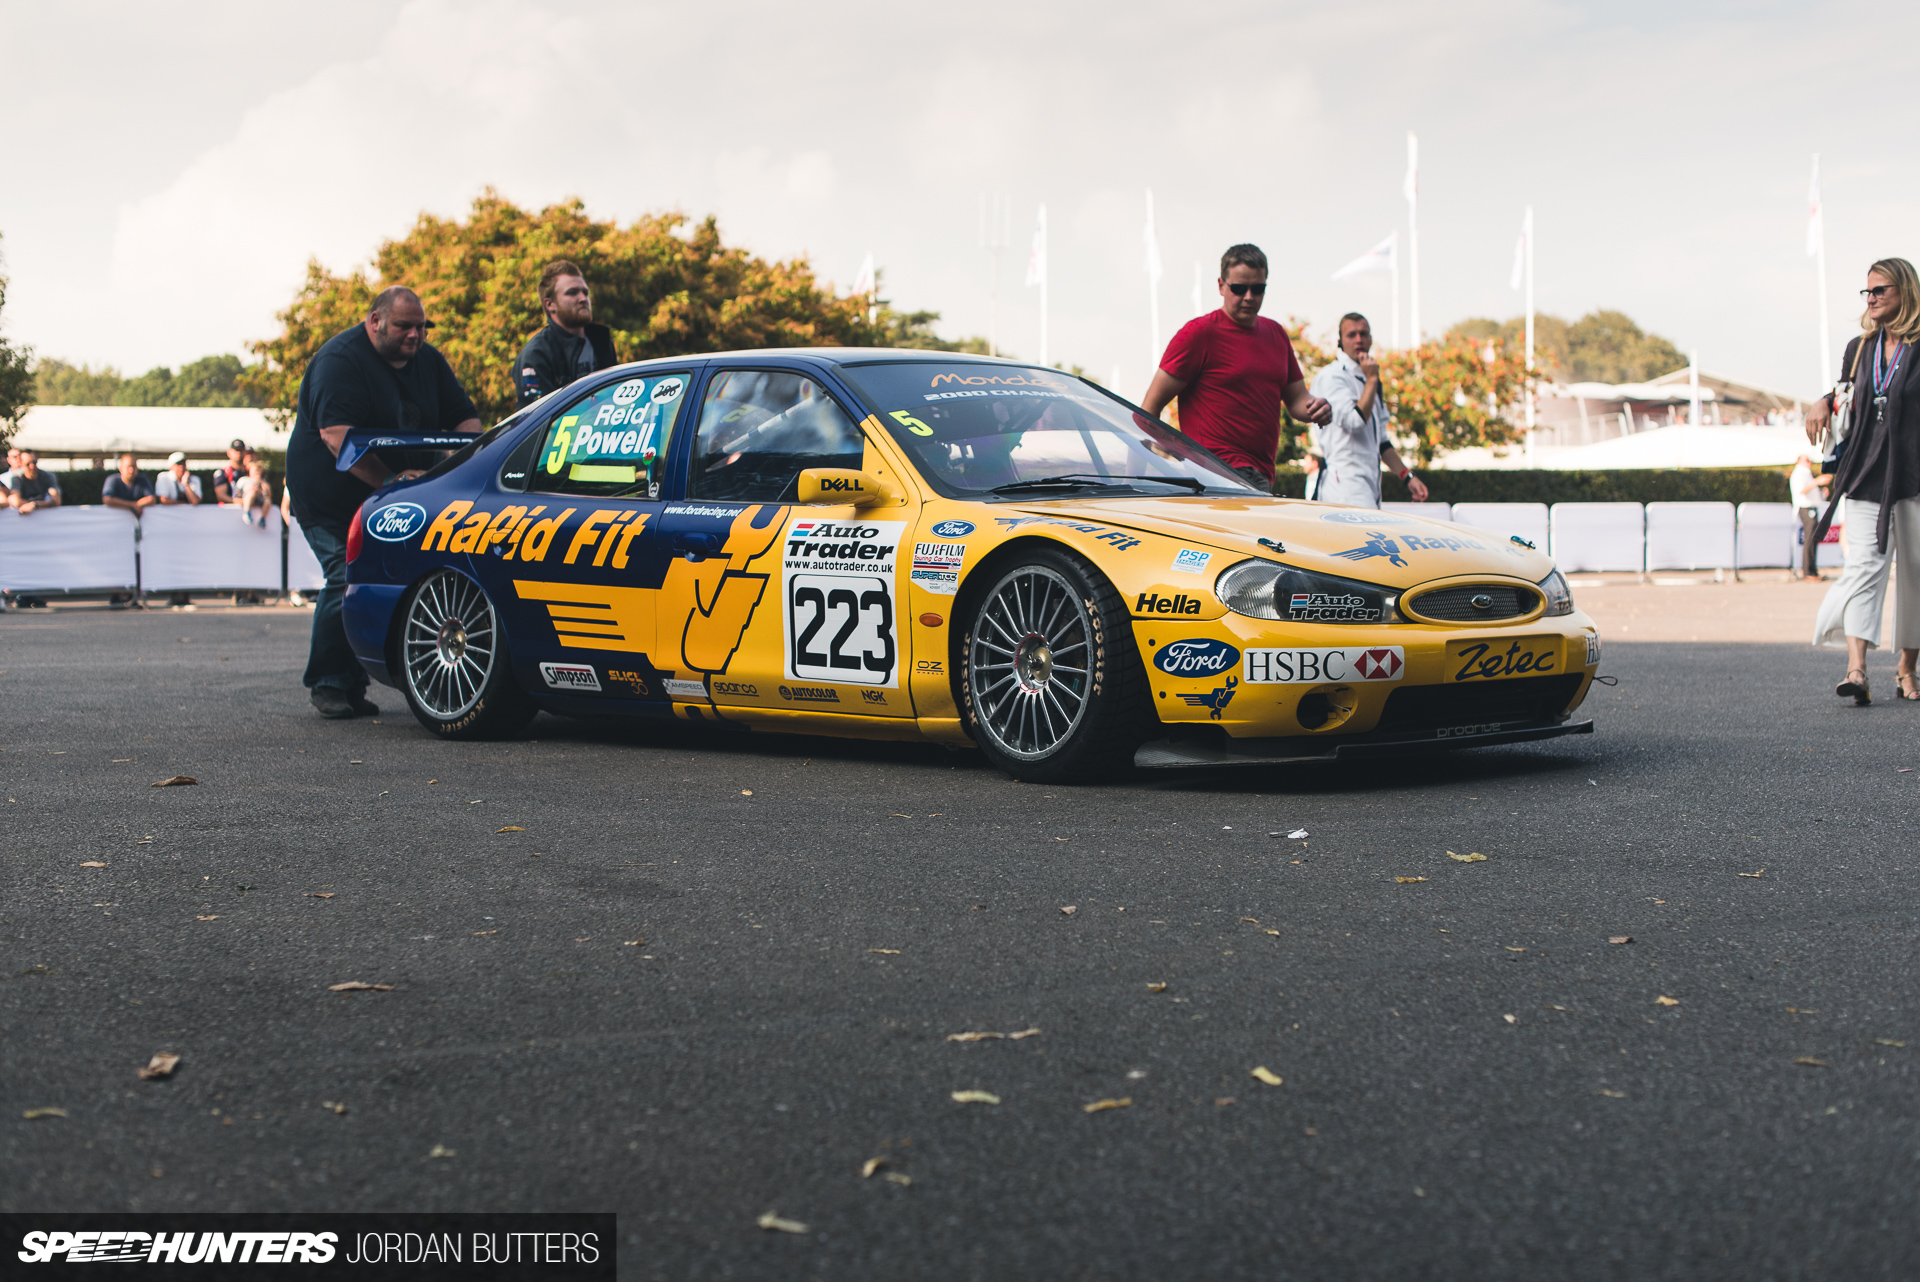
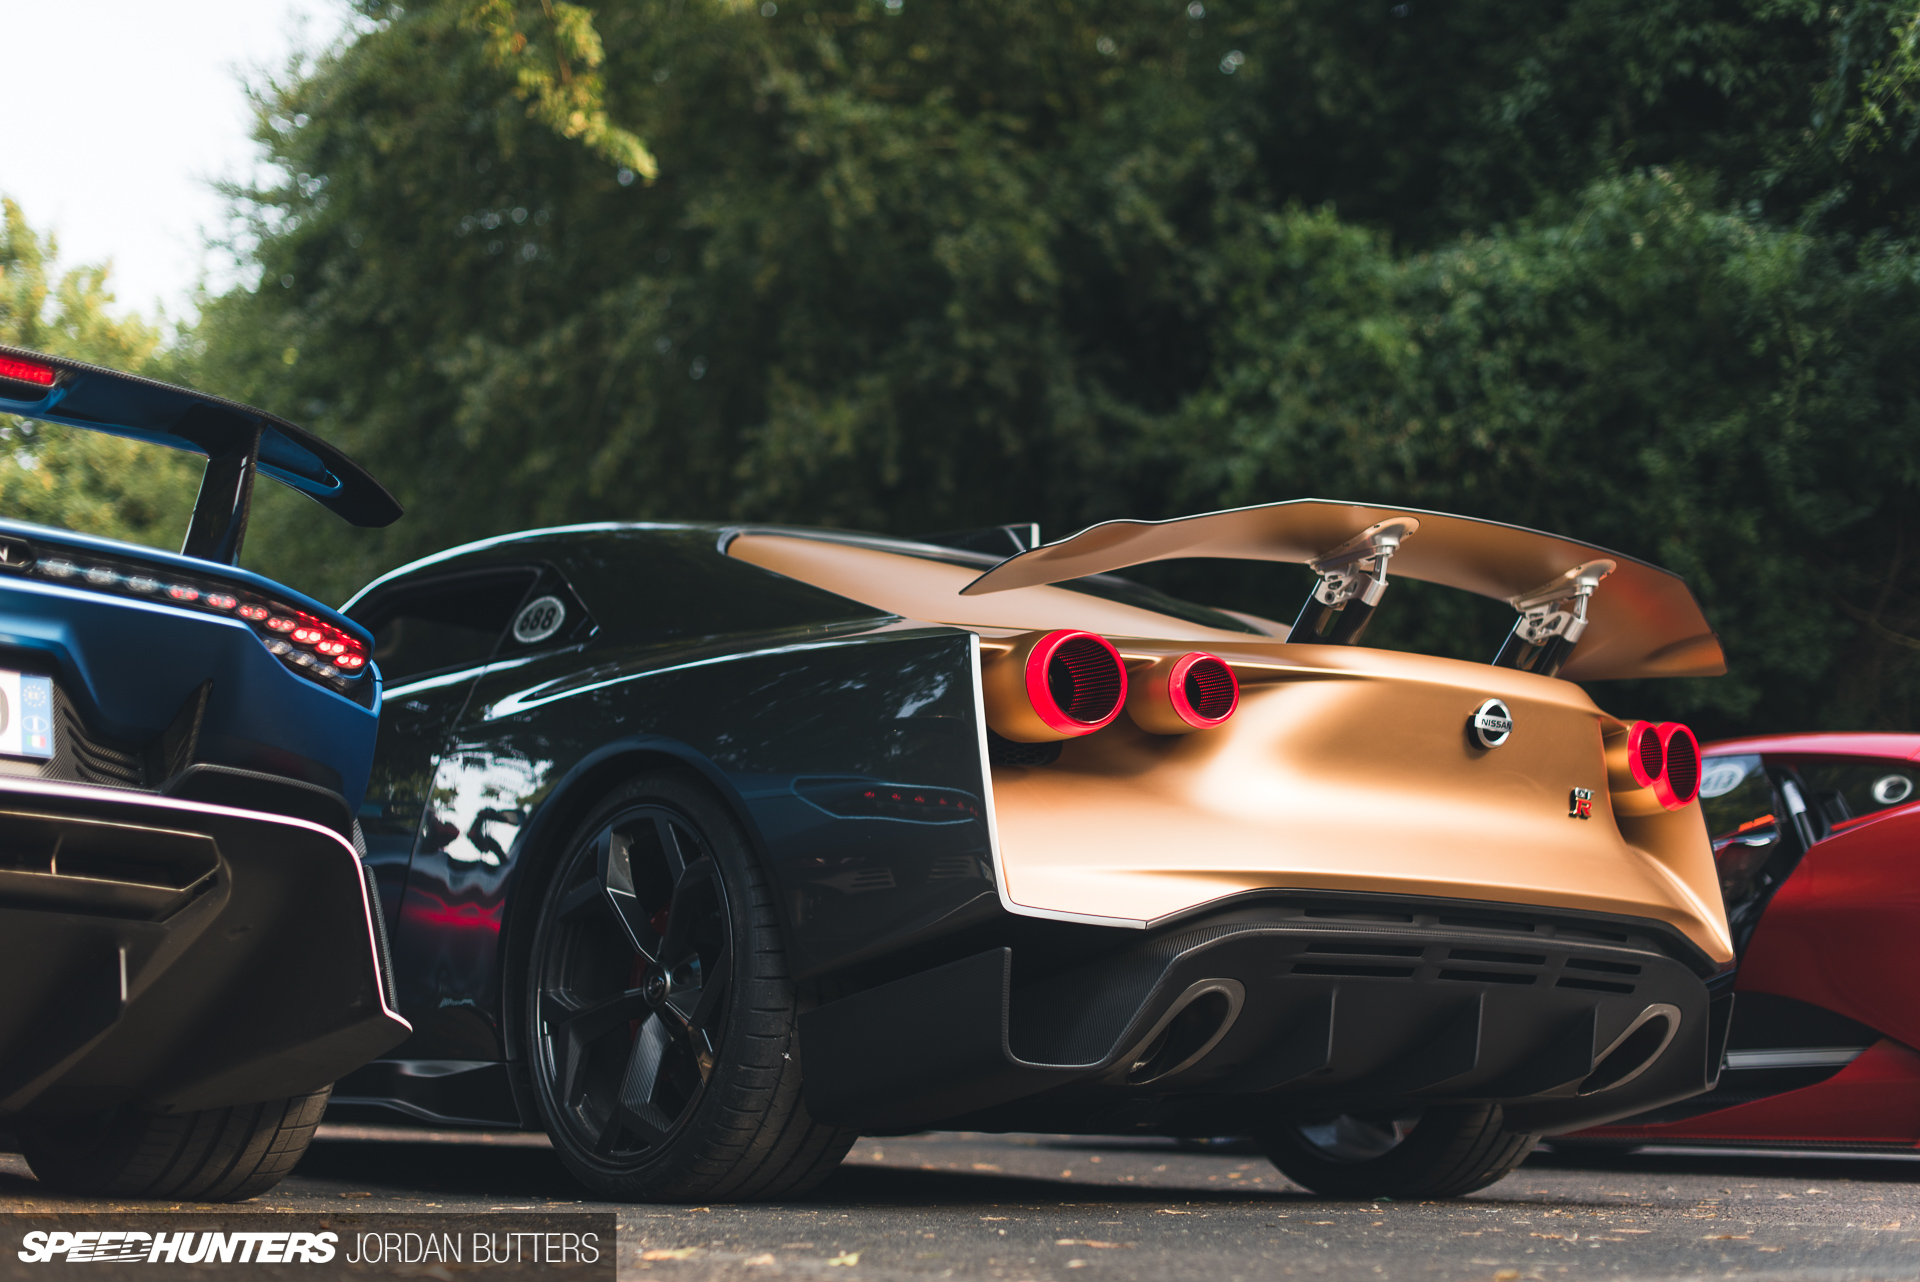
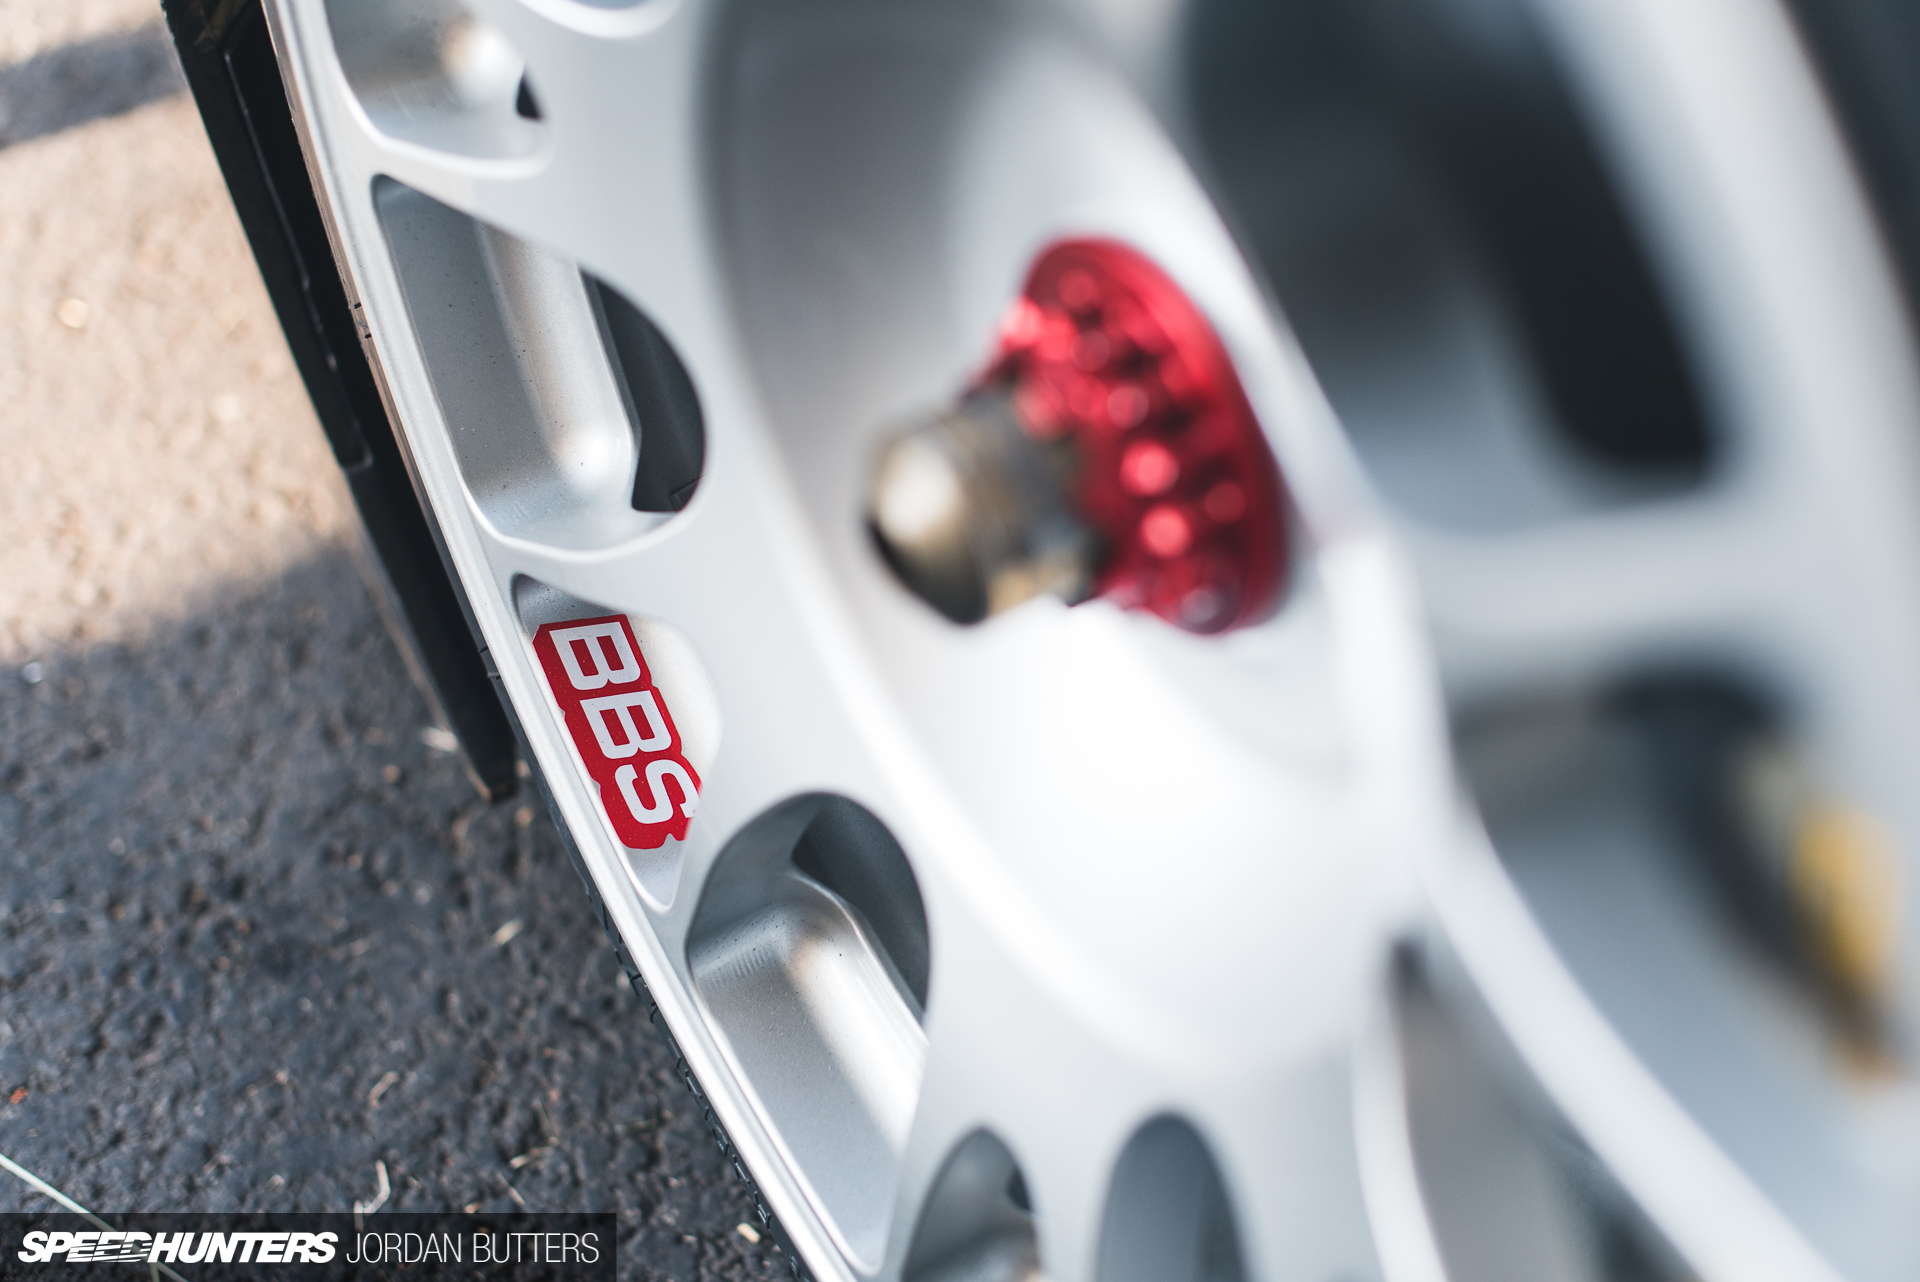
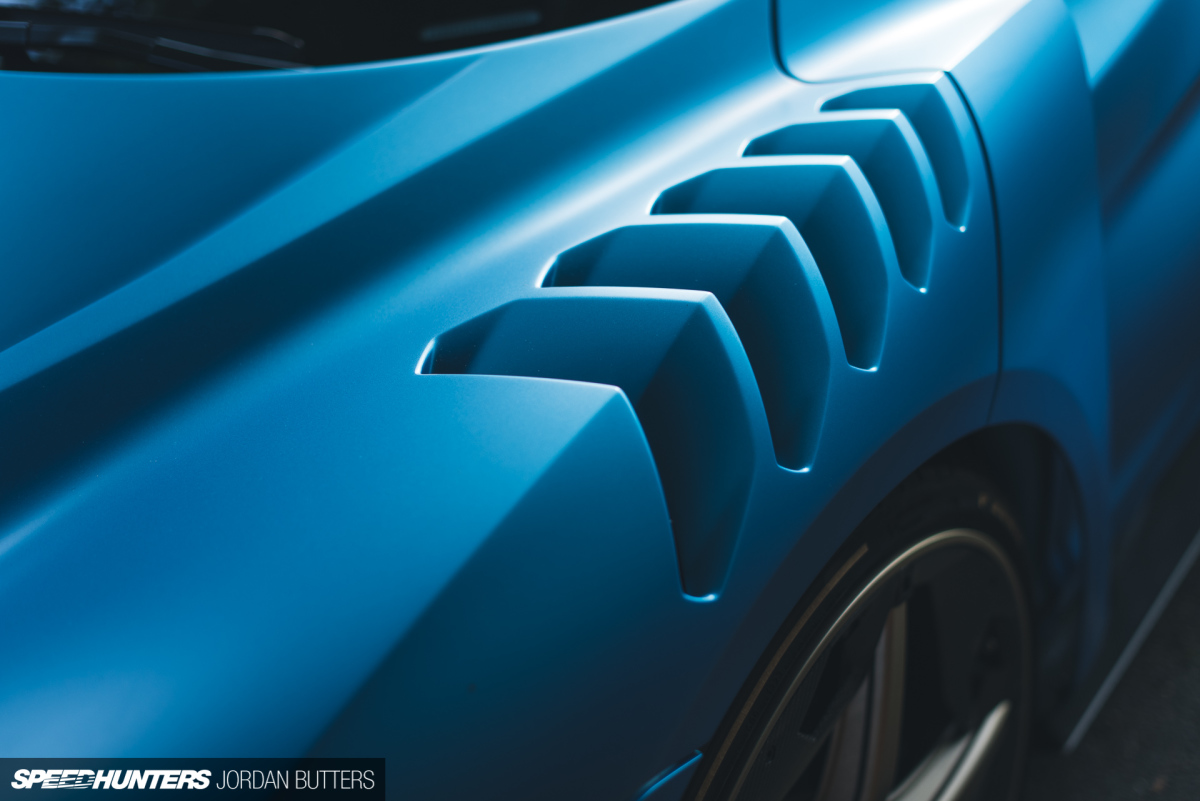
The best thing about this single camera, 50mm setup is that, in comparison to the other kit and lenses, it’s relatively cheap. My 50mm is my cheapest lens, and I don’t even have an adaptor ring for the polarising filter – it’s jammed into the end of the lens hood. Not ideal, but it works the same. This is the only image in this story not shot on a 50mm, for obvious reasons.
While we’re here, if you buy one filter, make it a circular polariser. It can be rotated to remove reflections on painted surfaces, glass, tarmac and foliage, deepening colours and saturation. Buy the biggest size you’ll need and then get step-up rings to make it fit your other lenses (or just jam it in the lens hood if you’re feeling ghetto).

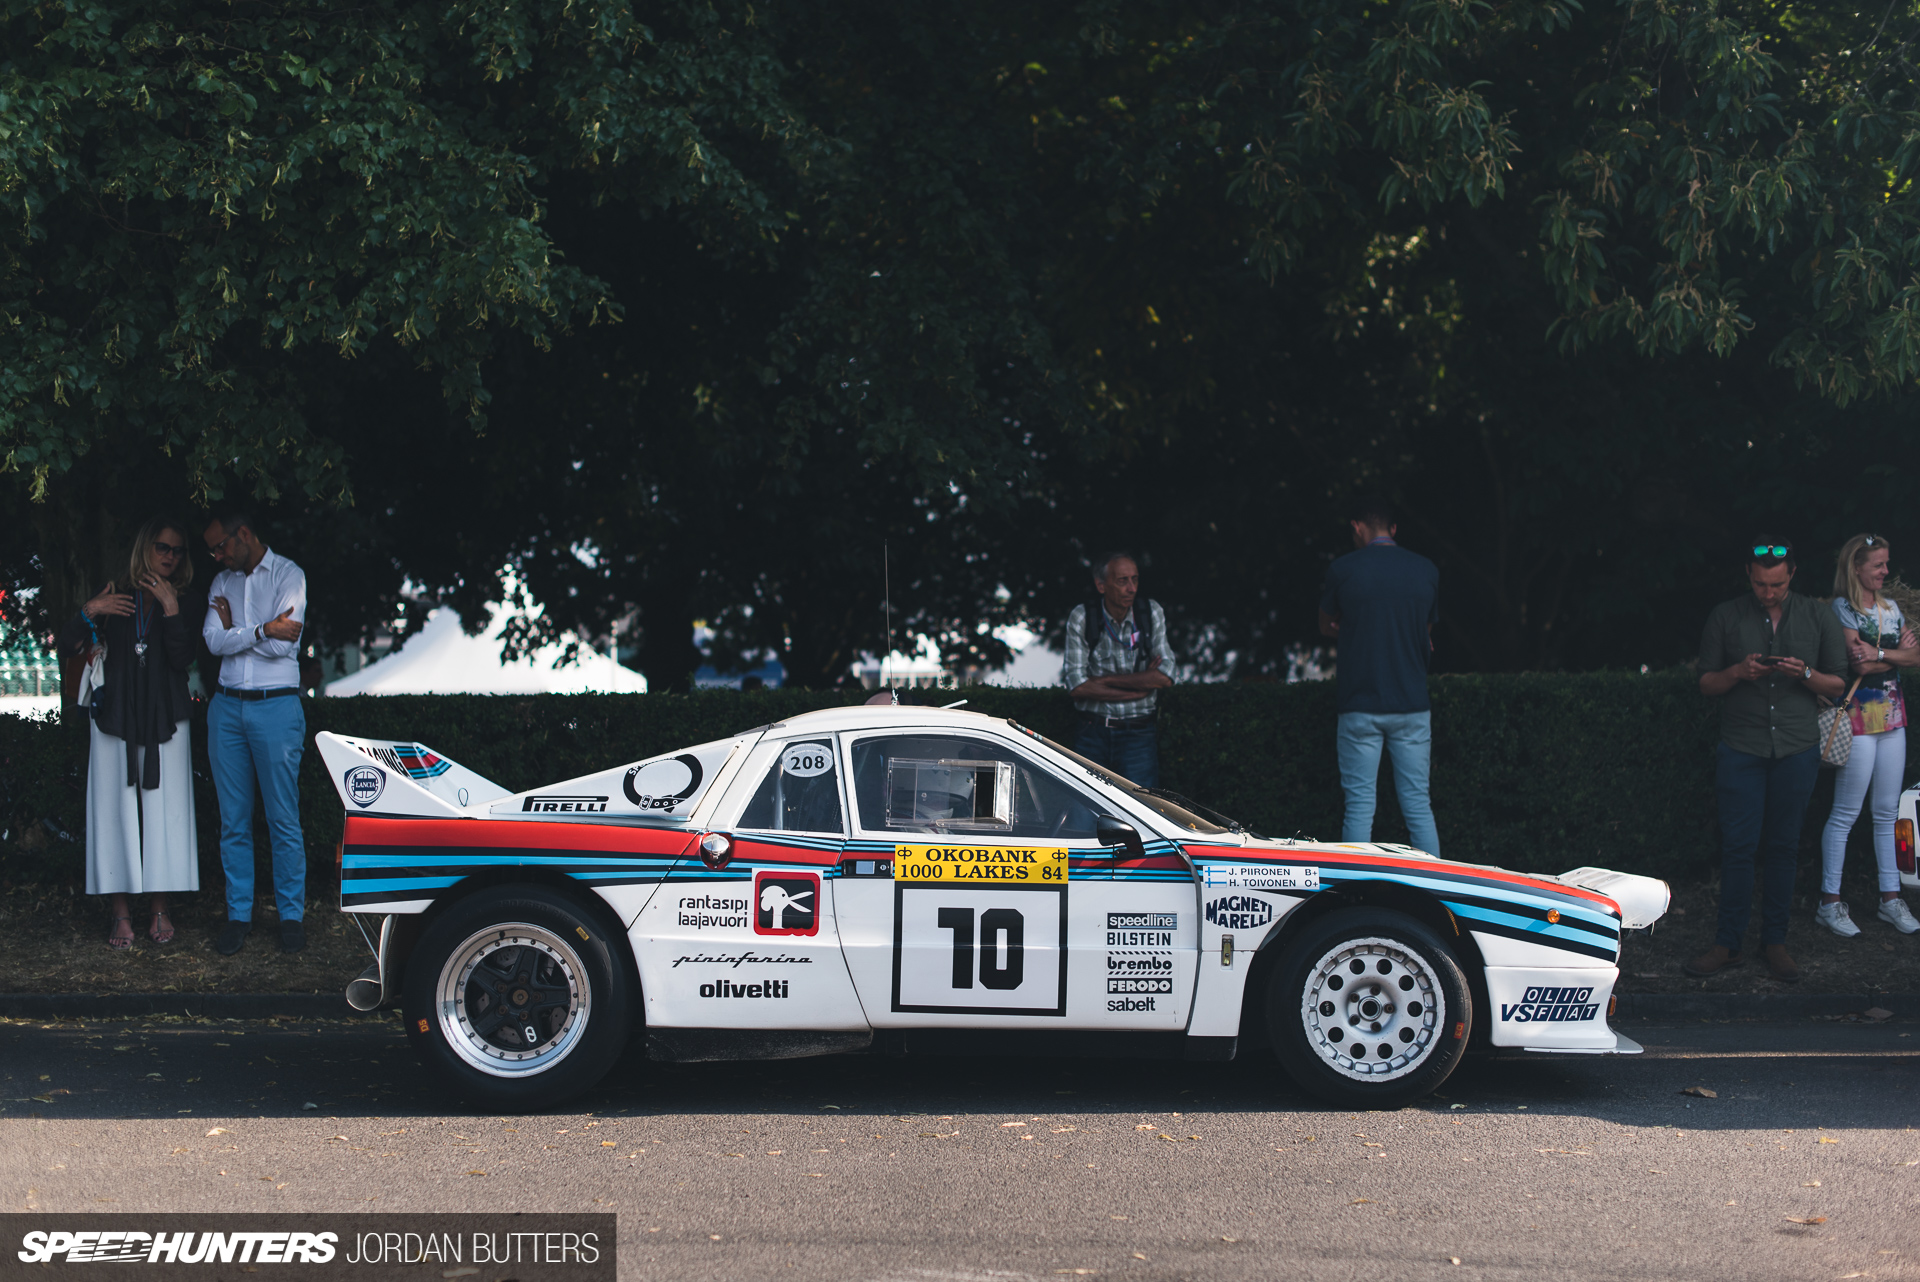
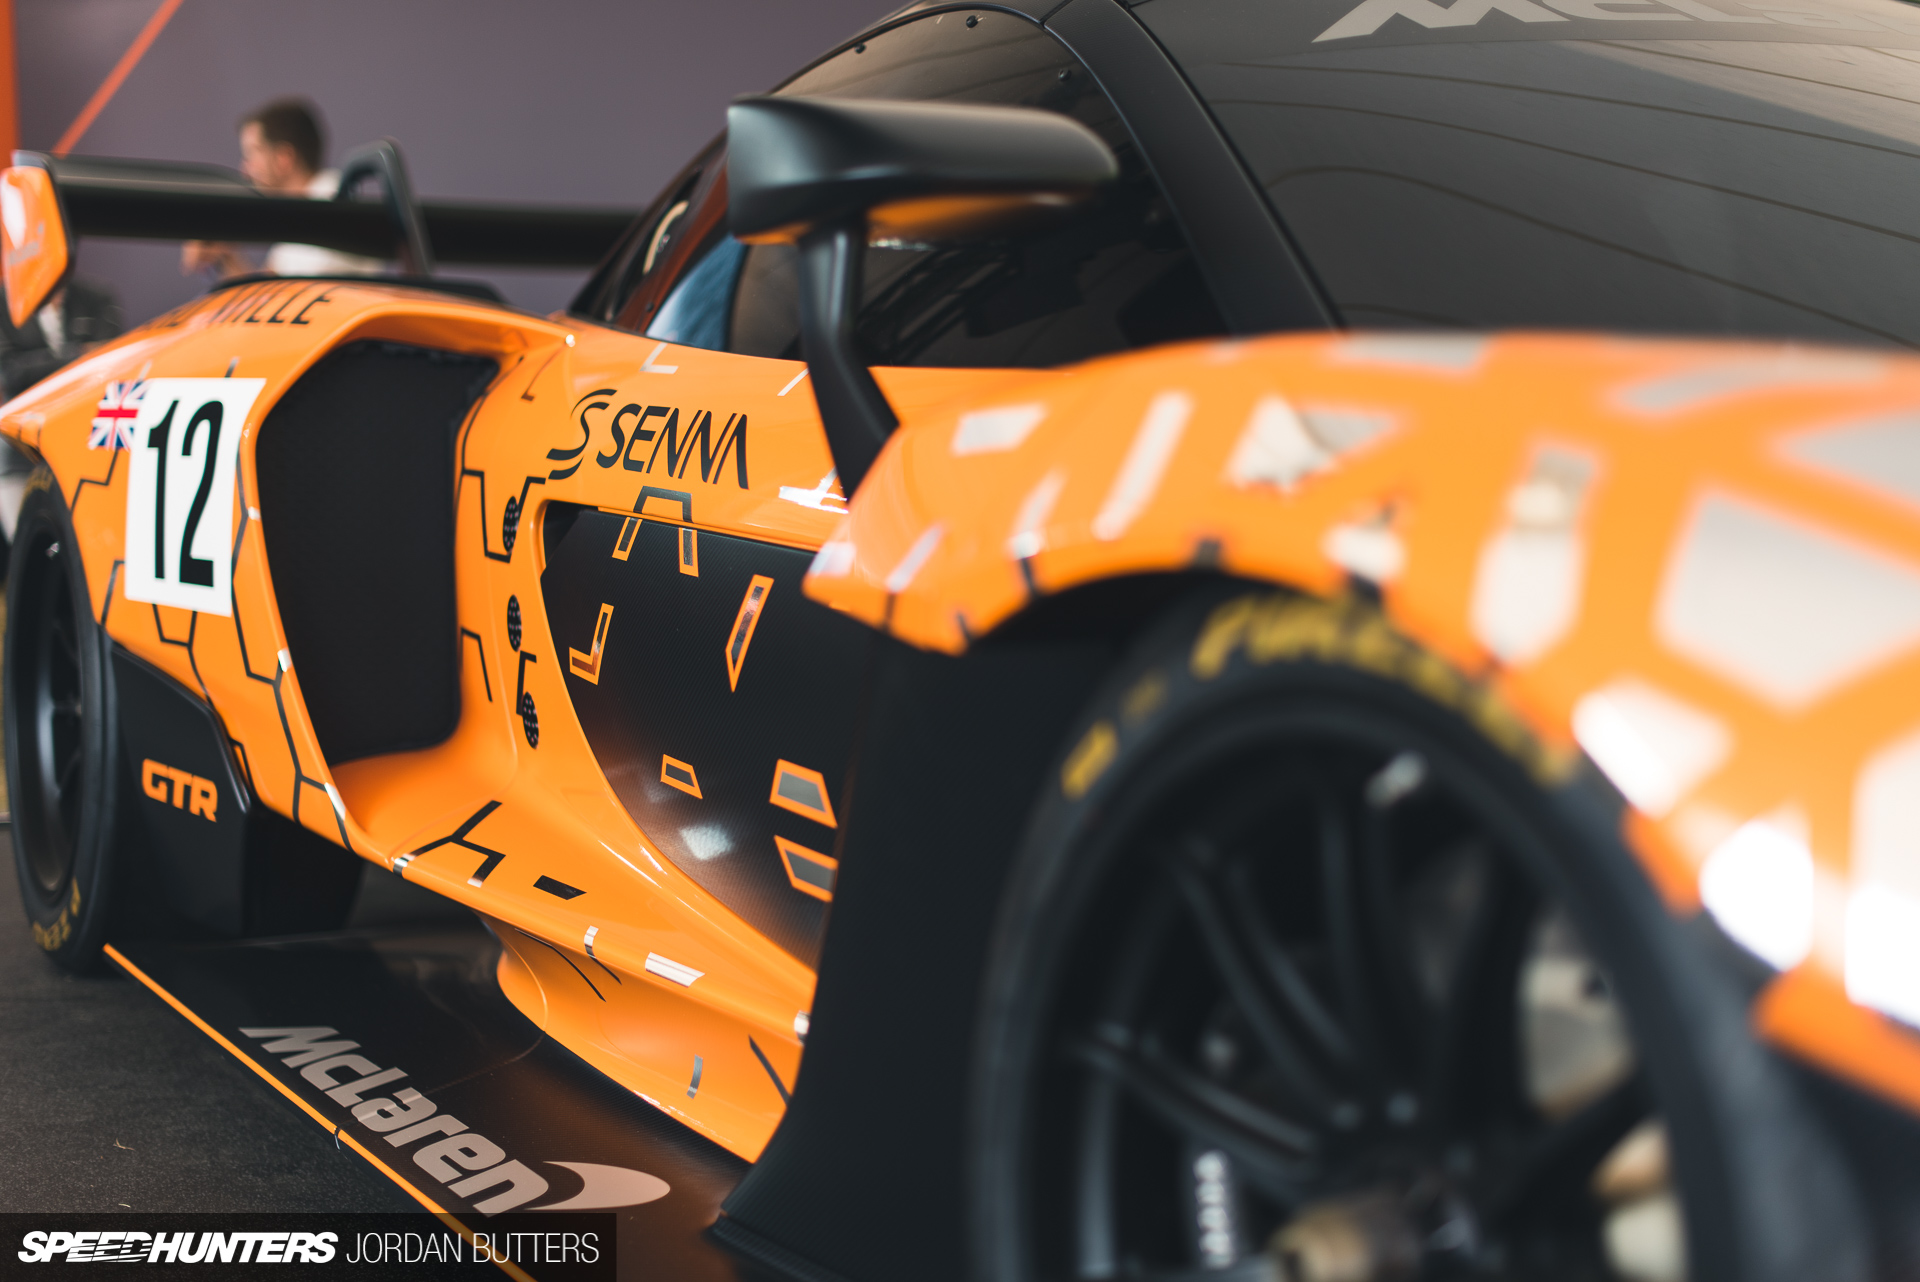
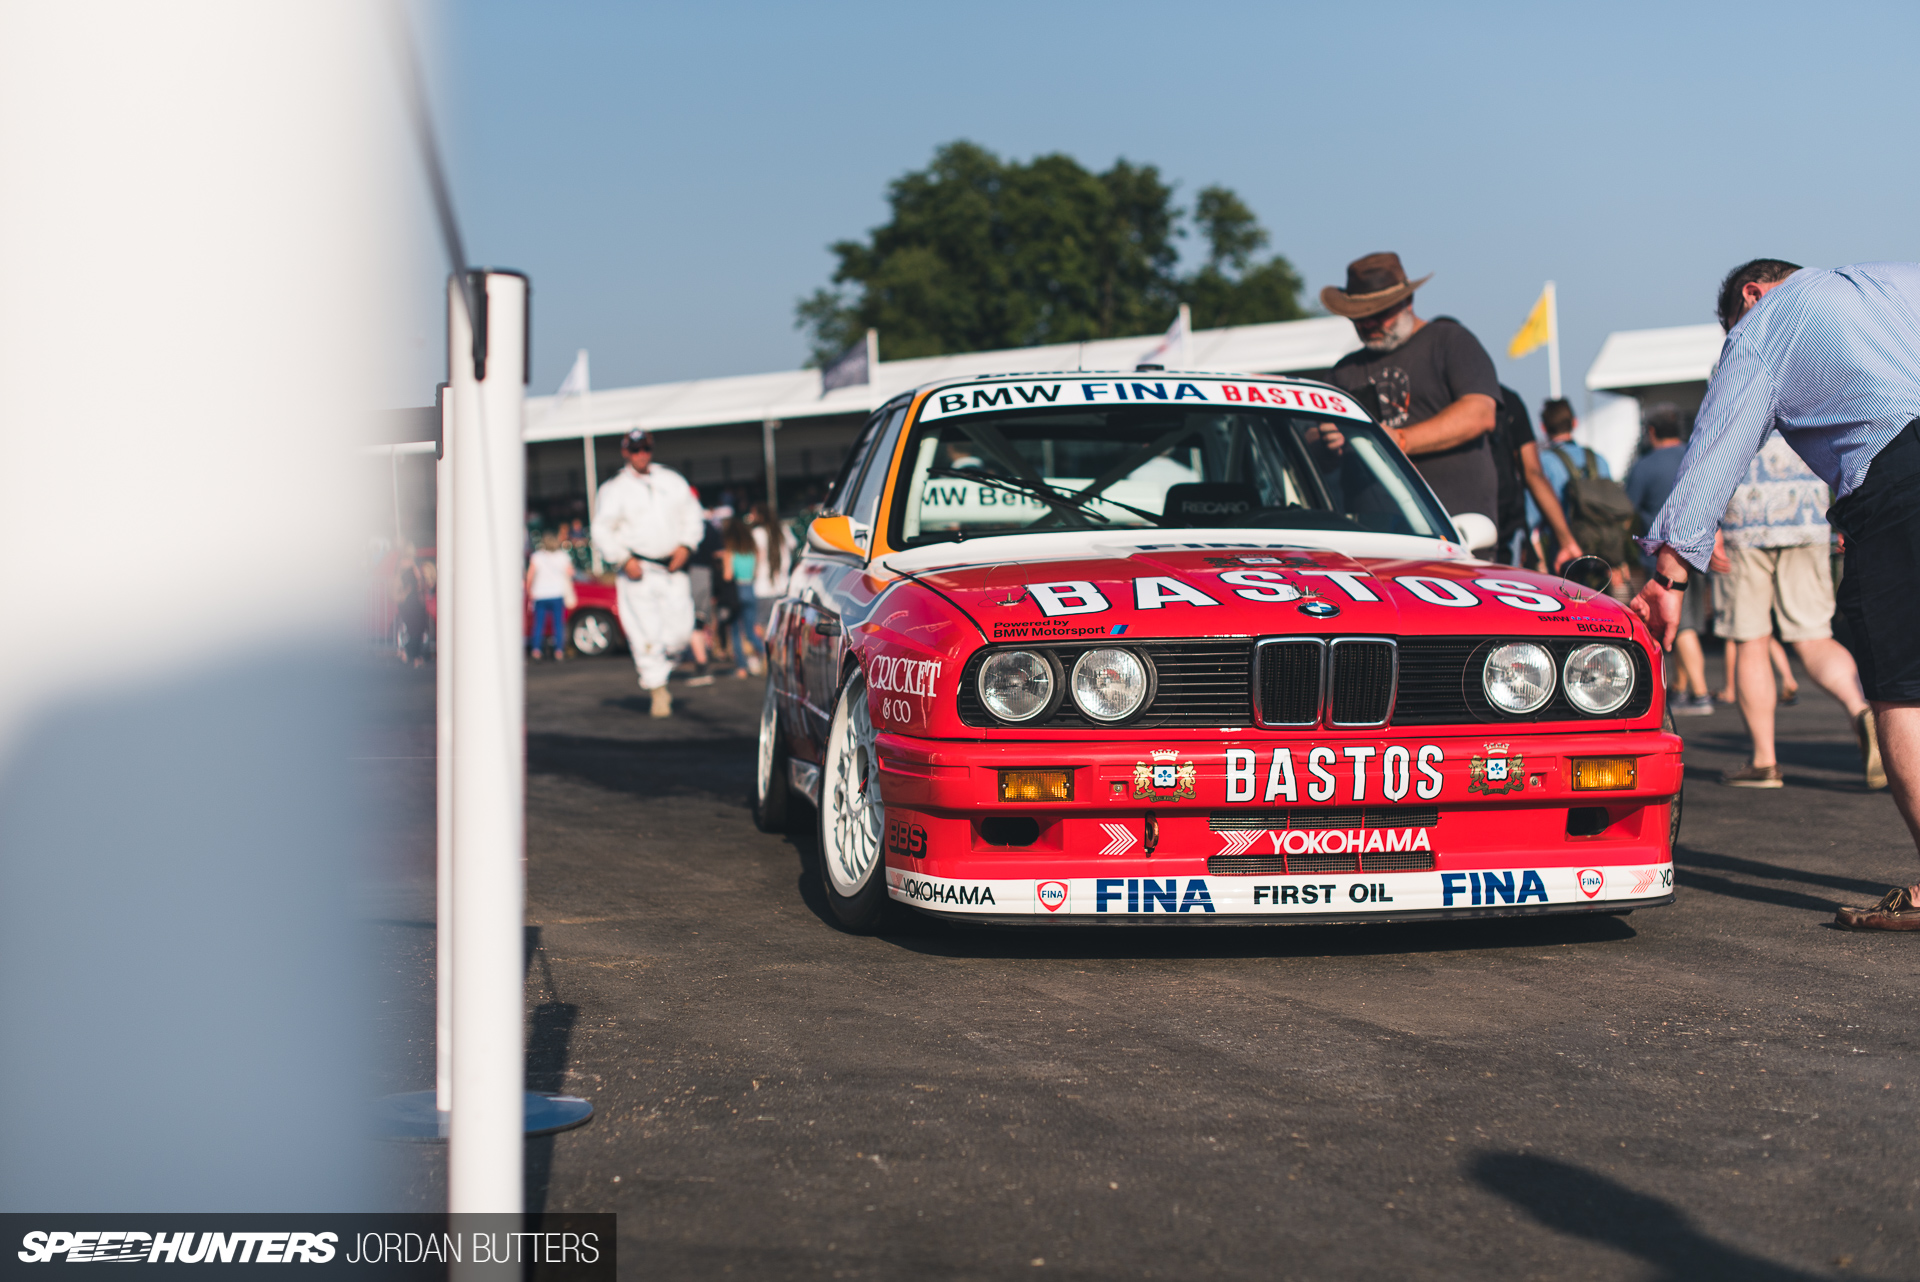
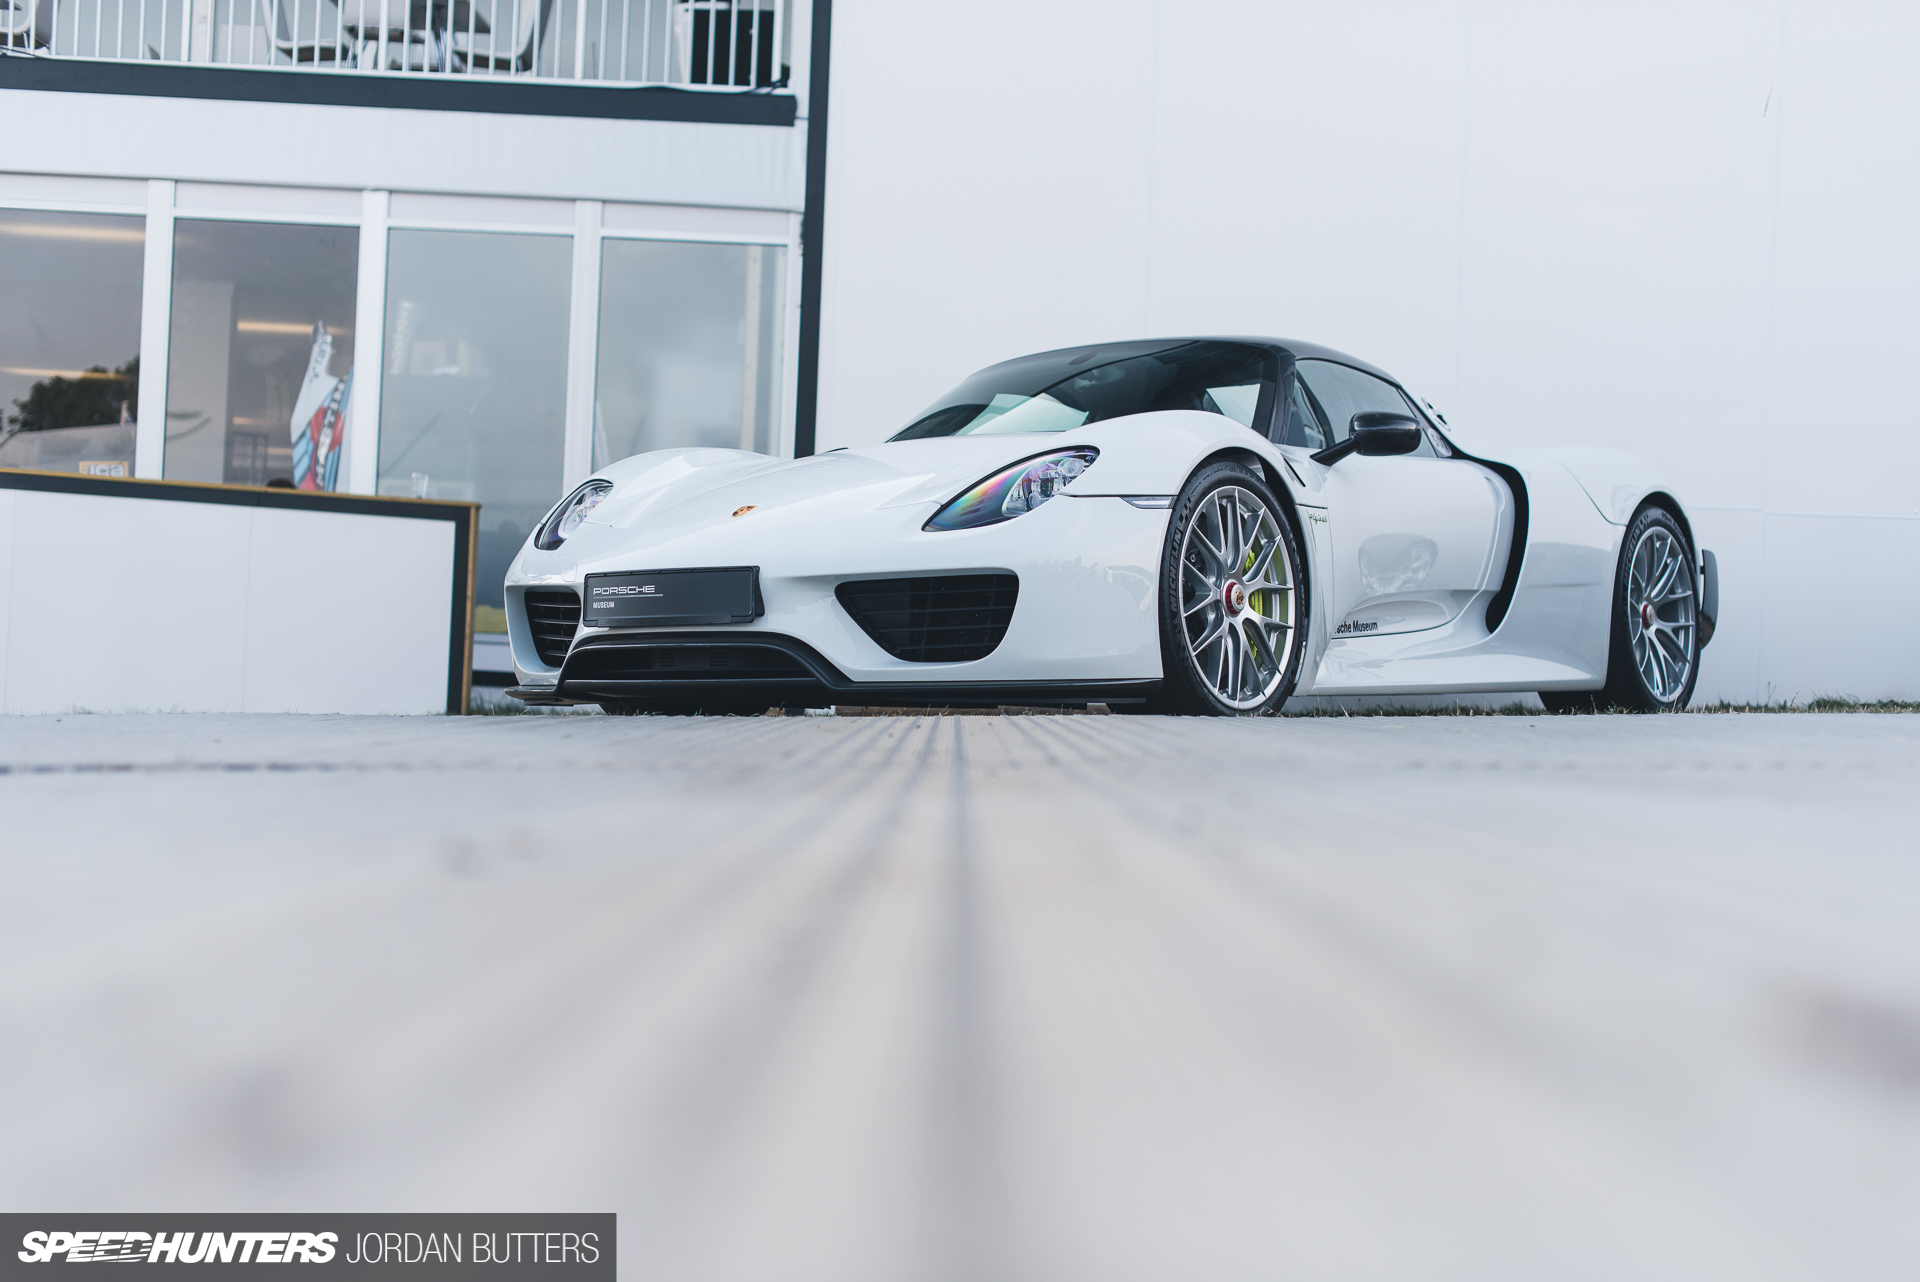
Not only is moving so lightly liberating in a busy event such as this, but the added challenge of having to zoom with my feet meant that compositions have to be more carefully considered. Want something bigger and more prominent in the frame? You’ve got to get close. Can’t get enough in? Start walking backwards my friend.

Images start to become more intentional when the very spot you stand on has such a strong bearing on the final composition.

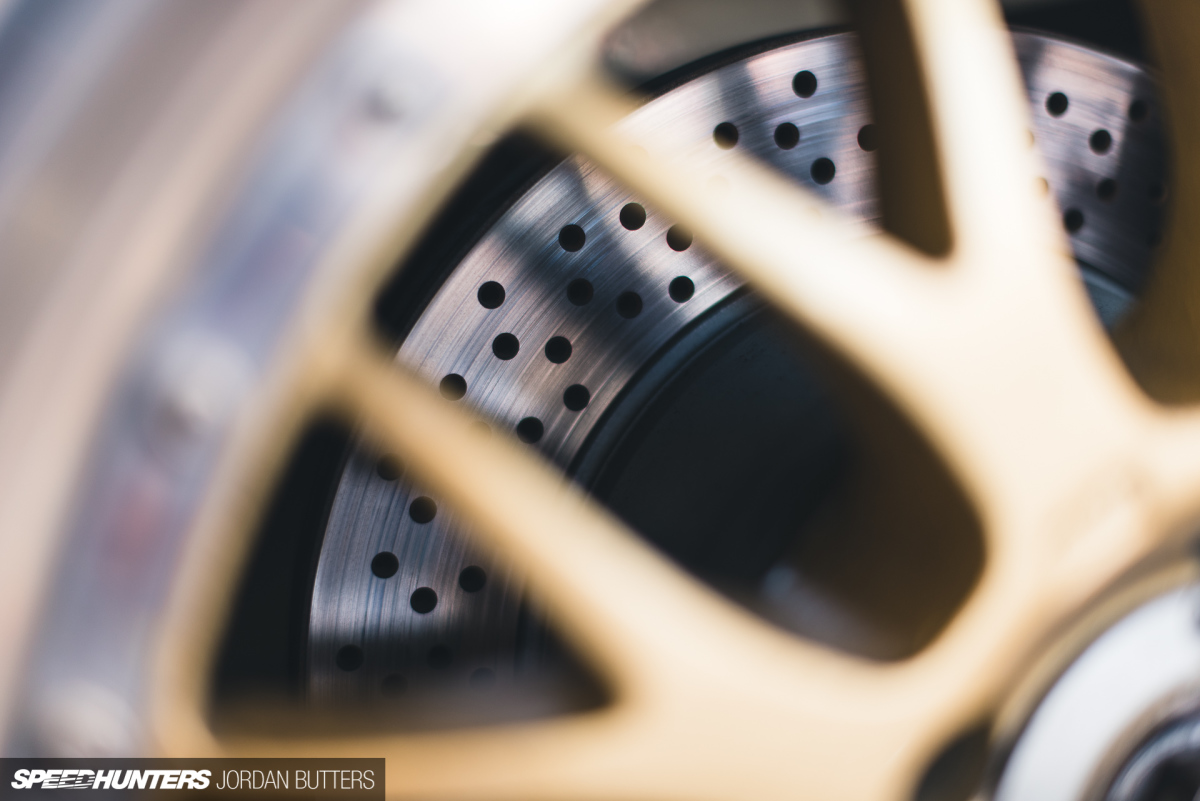
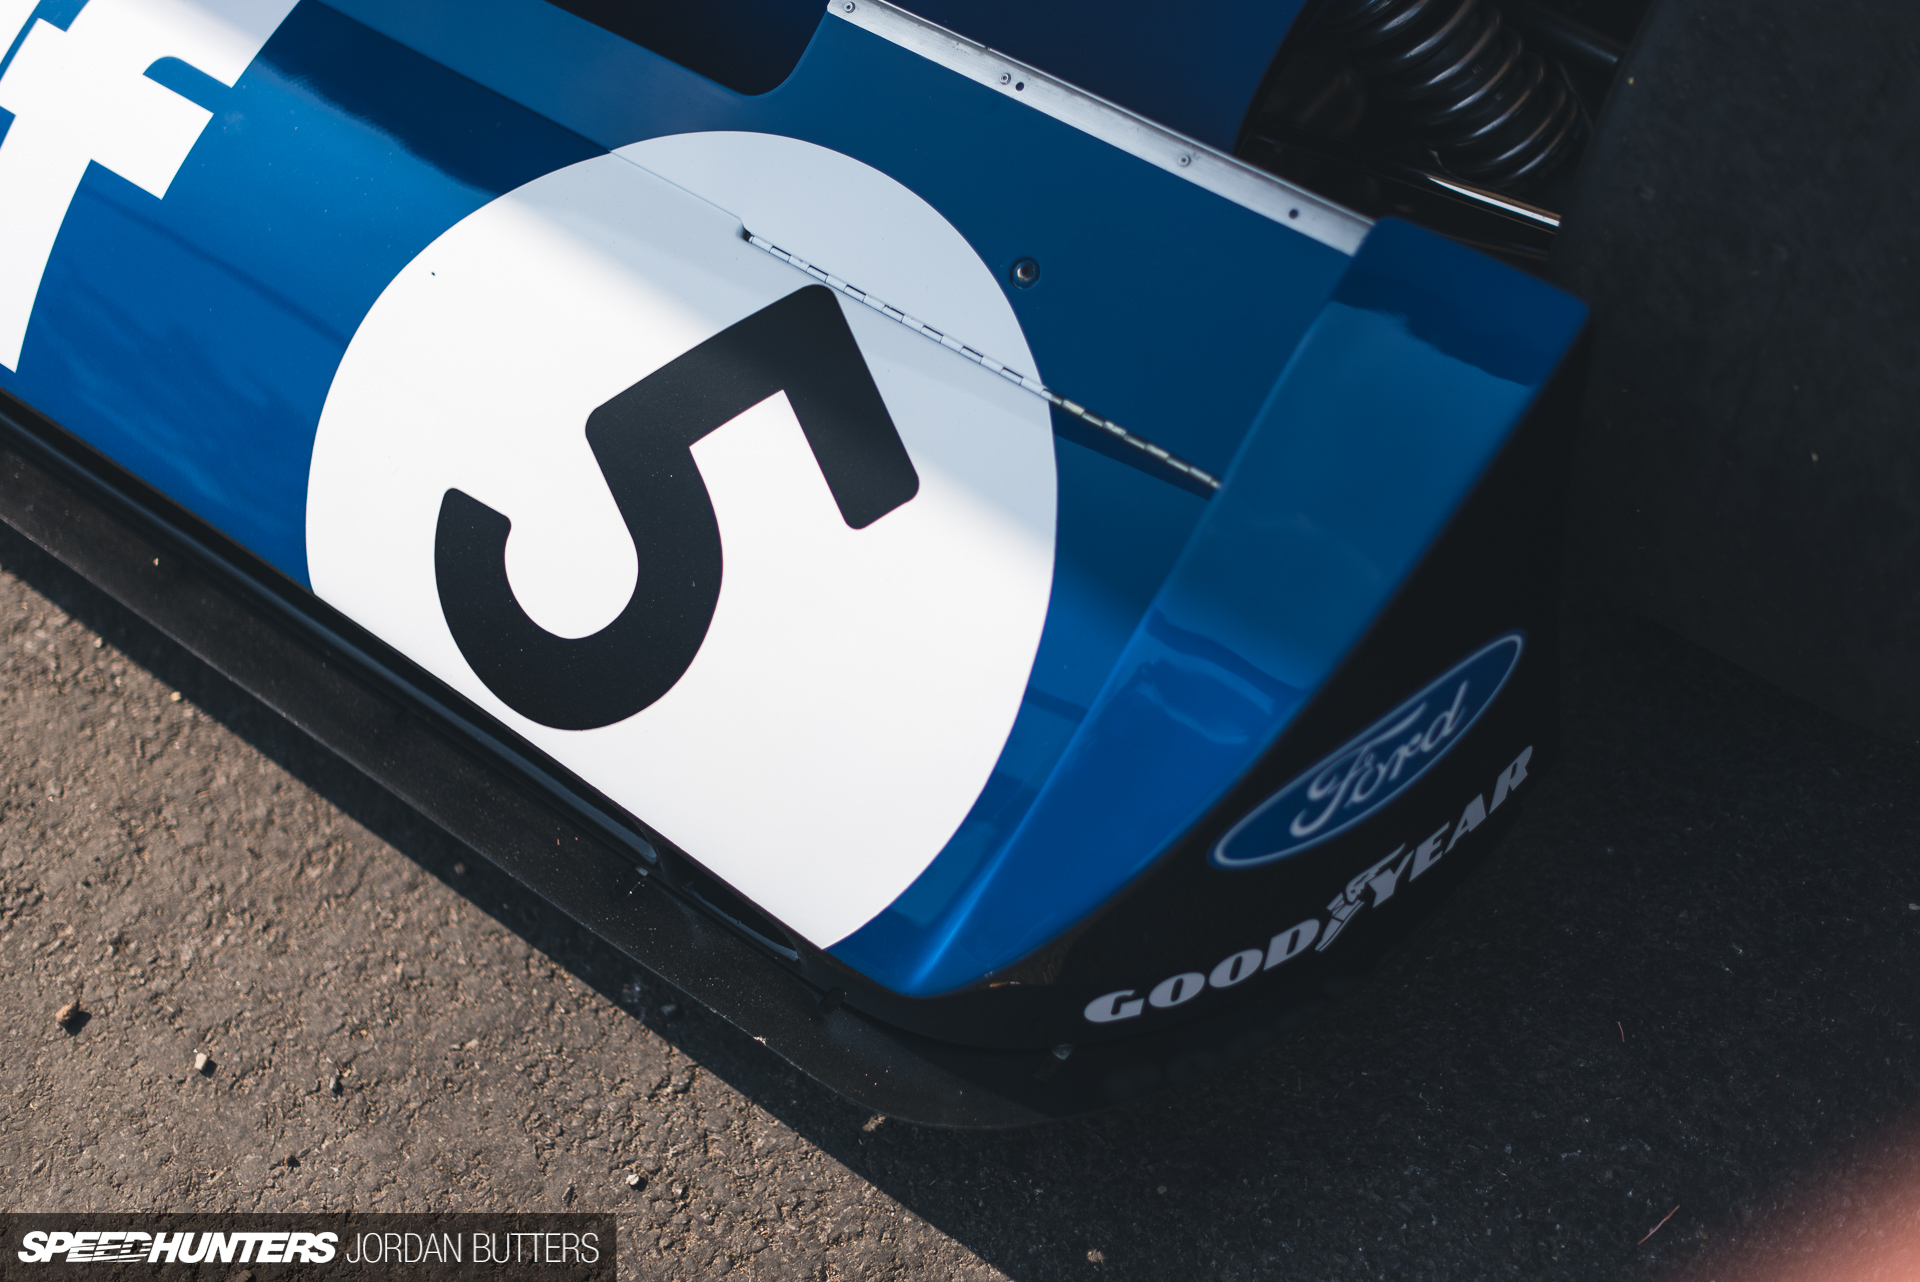
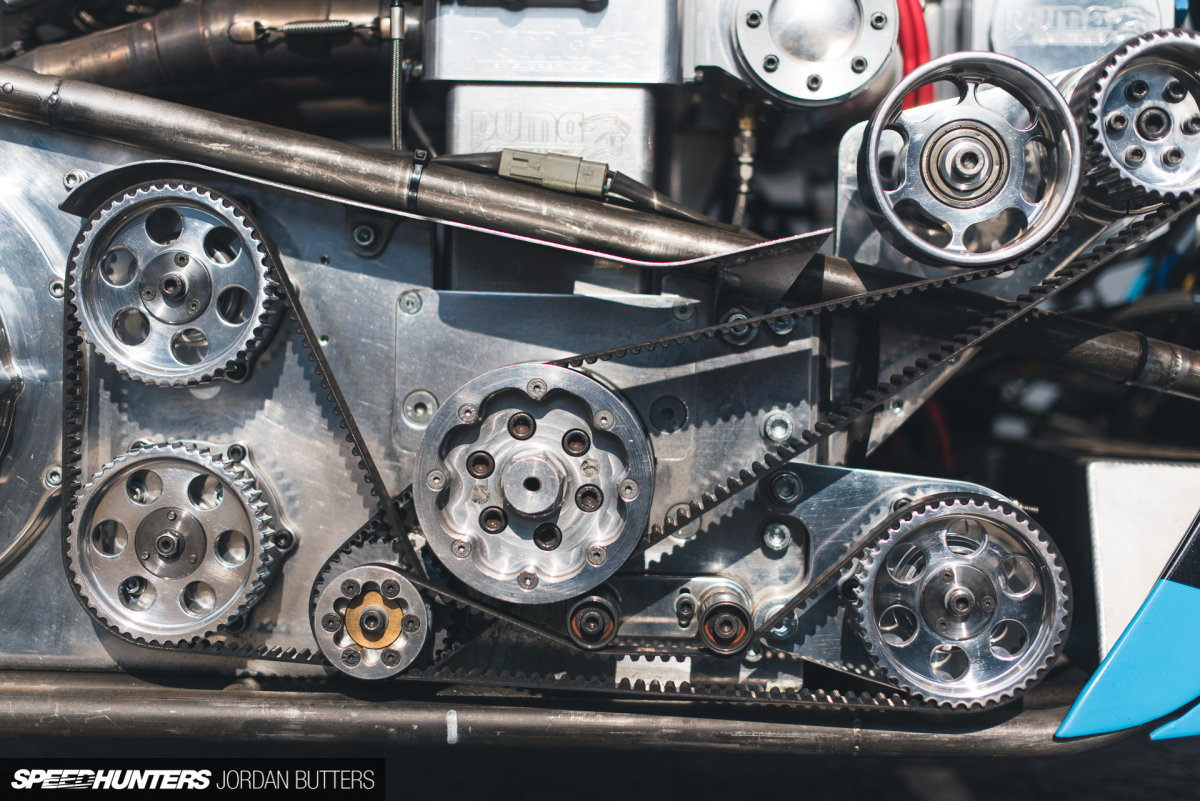
Working with a fast 50mm prime also has its own, unique, benefits. Depth-of-field for one; opened up to f/1.4 or f/1.8 the plane of focus is wafer thin. Image quality drops slightly at these wide apertures, so stopping down to f/2-f/2.5 is my go-to setting. At these apertures messy and possibly distracting backgrounds are rendered nicely out of focus, and you can use the thin depth-of-field to selectively focus on specific details.

Stop right down to f/4 or f/8 and things are pin sharp. Most prime lenses really are better than their equivalent zooms for image quality.

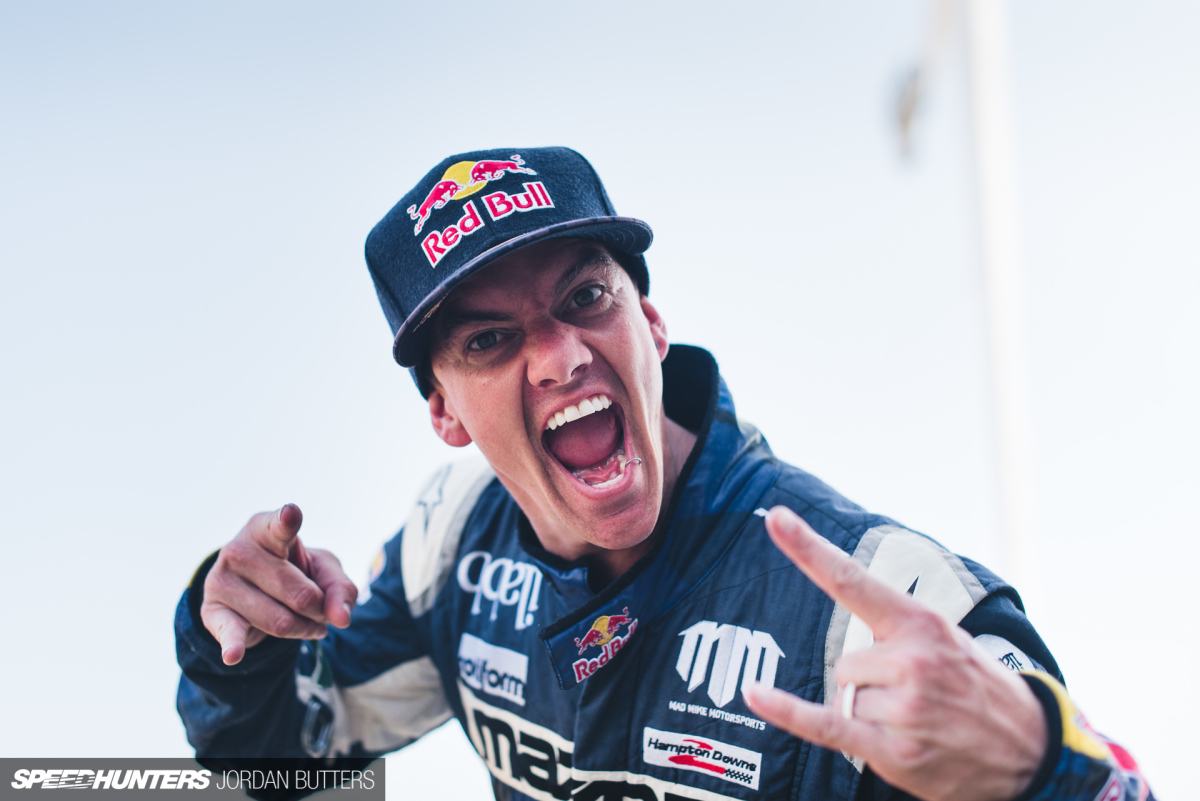
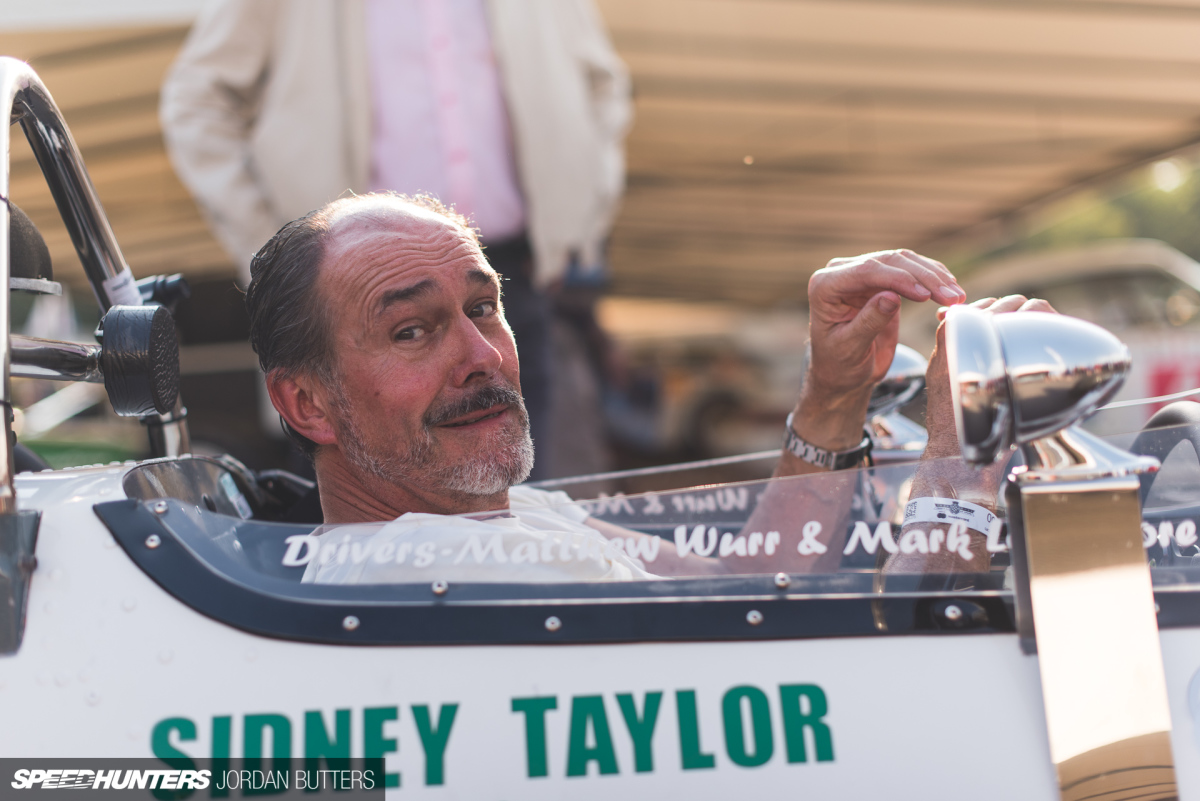

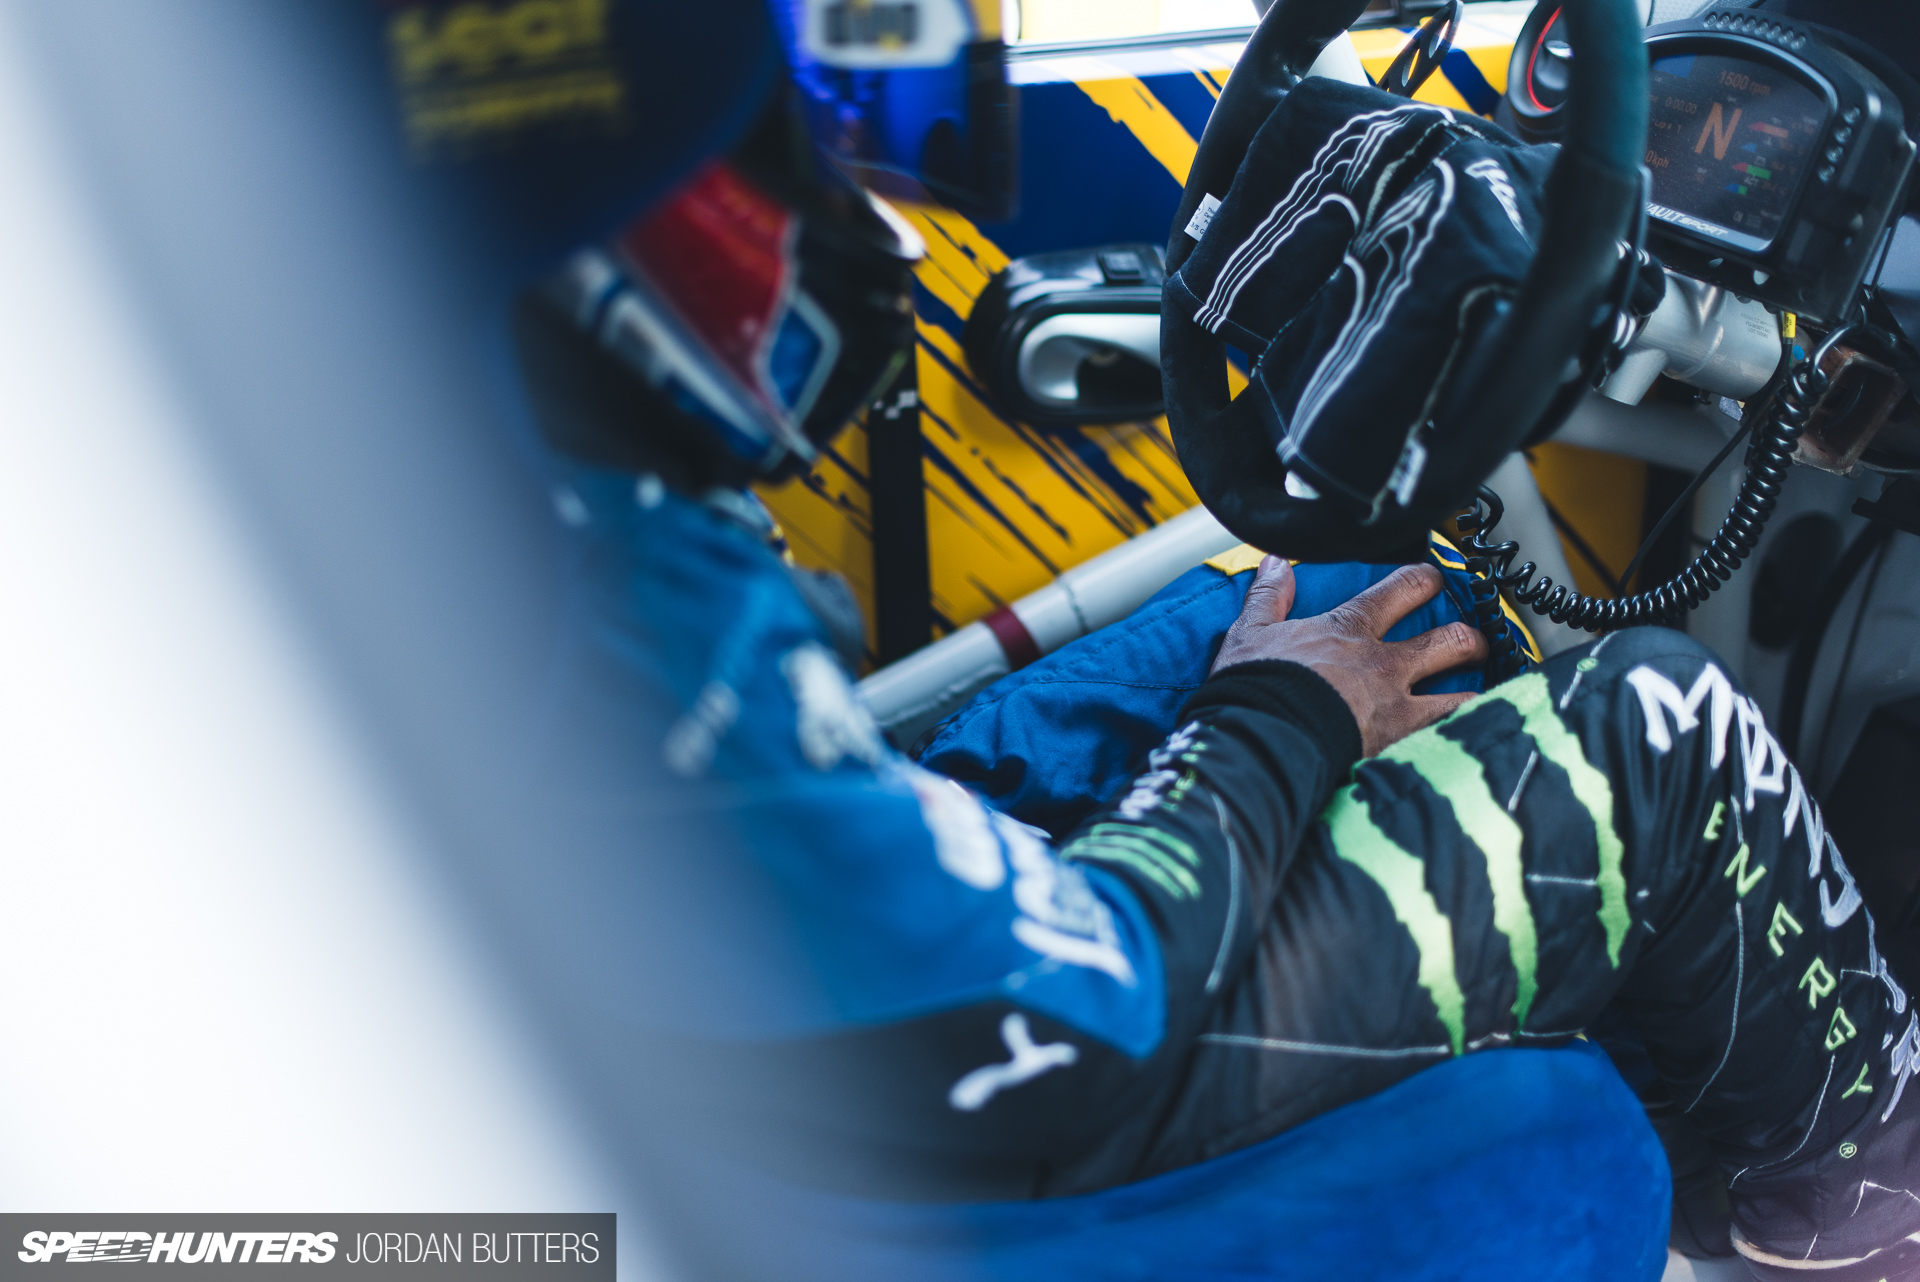
A 50mm lens is also small and subtle – you can get in places and shoot things without being noticed far more easily than with a bigger and heavier zoom too. This makes capturing candid portraits easier, and even for posed portraits people tend to be less intimidated by a smaller camera and lens combo. It’s perfect for capturing those quick moments.
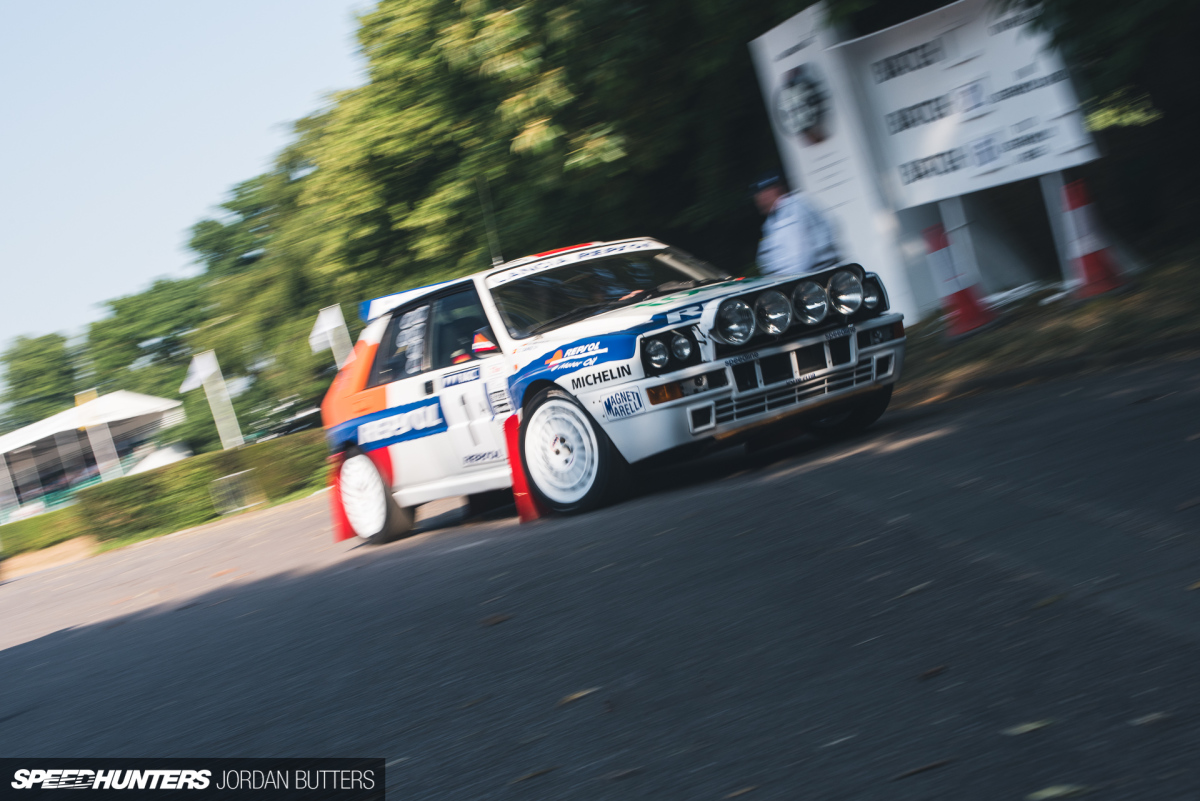
I tend to work in aperture-priority mode when walking the paddock, switching to shutter-priority when I want to introduce some motion blur. On occasion the camera needs some help in getting the right exposure, which is easily done by dialling in exposure compensation: + for brighter, – for darker. Simple.

With practice comes an understanding of how your camera will meter for what’s in front of it before you press the shutter. For example, if I’m photographing a dark car that occupies the majority of the frame then before I shoot I know that the camera is going to wrongly over-expose the car. It sees the expanse of dark and thinks it needs to be lighter – your camera doesn’t know the car should be dark. By adding between -0.7 and -1.3 of exposure compensation I’m telling the camera that what it’s seeing should be darker than what it expects. The opposite is true of scenes with large bright areas, such as brightly-coloured cars, or images where the sky is prominent.
Hopefully those of you that enjoy shooting found this useful. Feel free to use the comments section below to let us know if you want to see more photo-focused (boom-tish) stories here, and what you’d like us to cover.
Jordan Butters
Instagram: jordanbutters
jordan@speedhunters.com
The 2018 Goodwood Festival of Speed
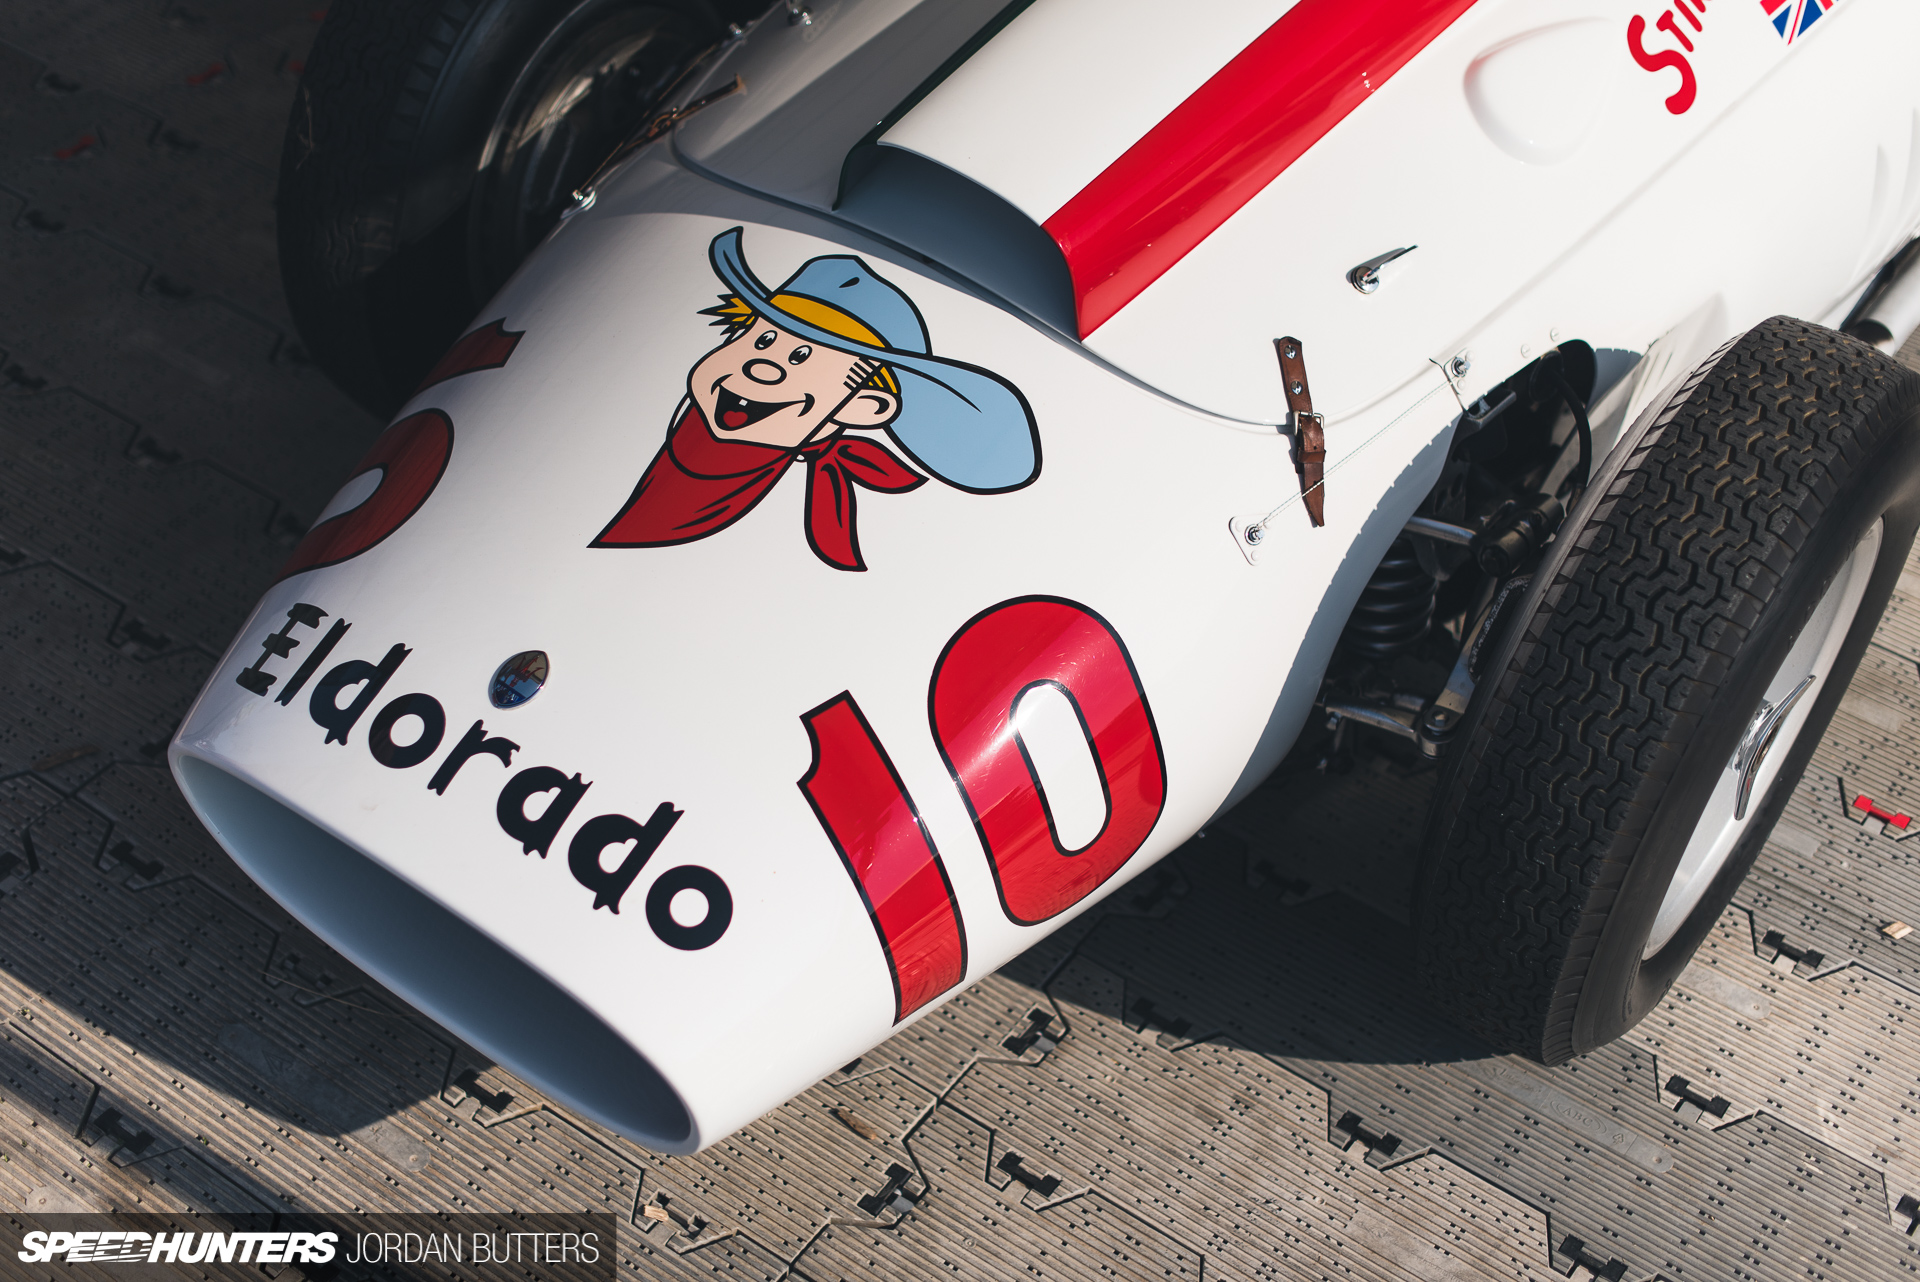
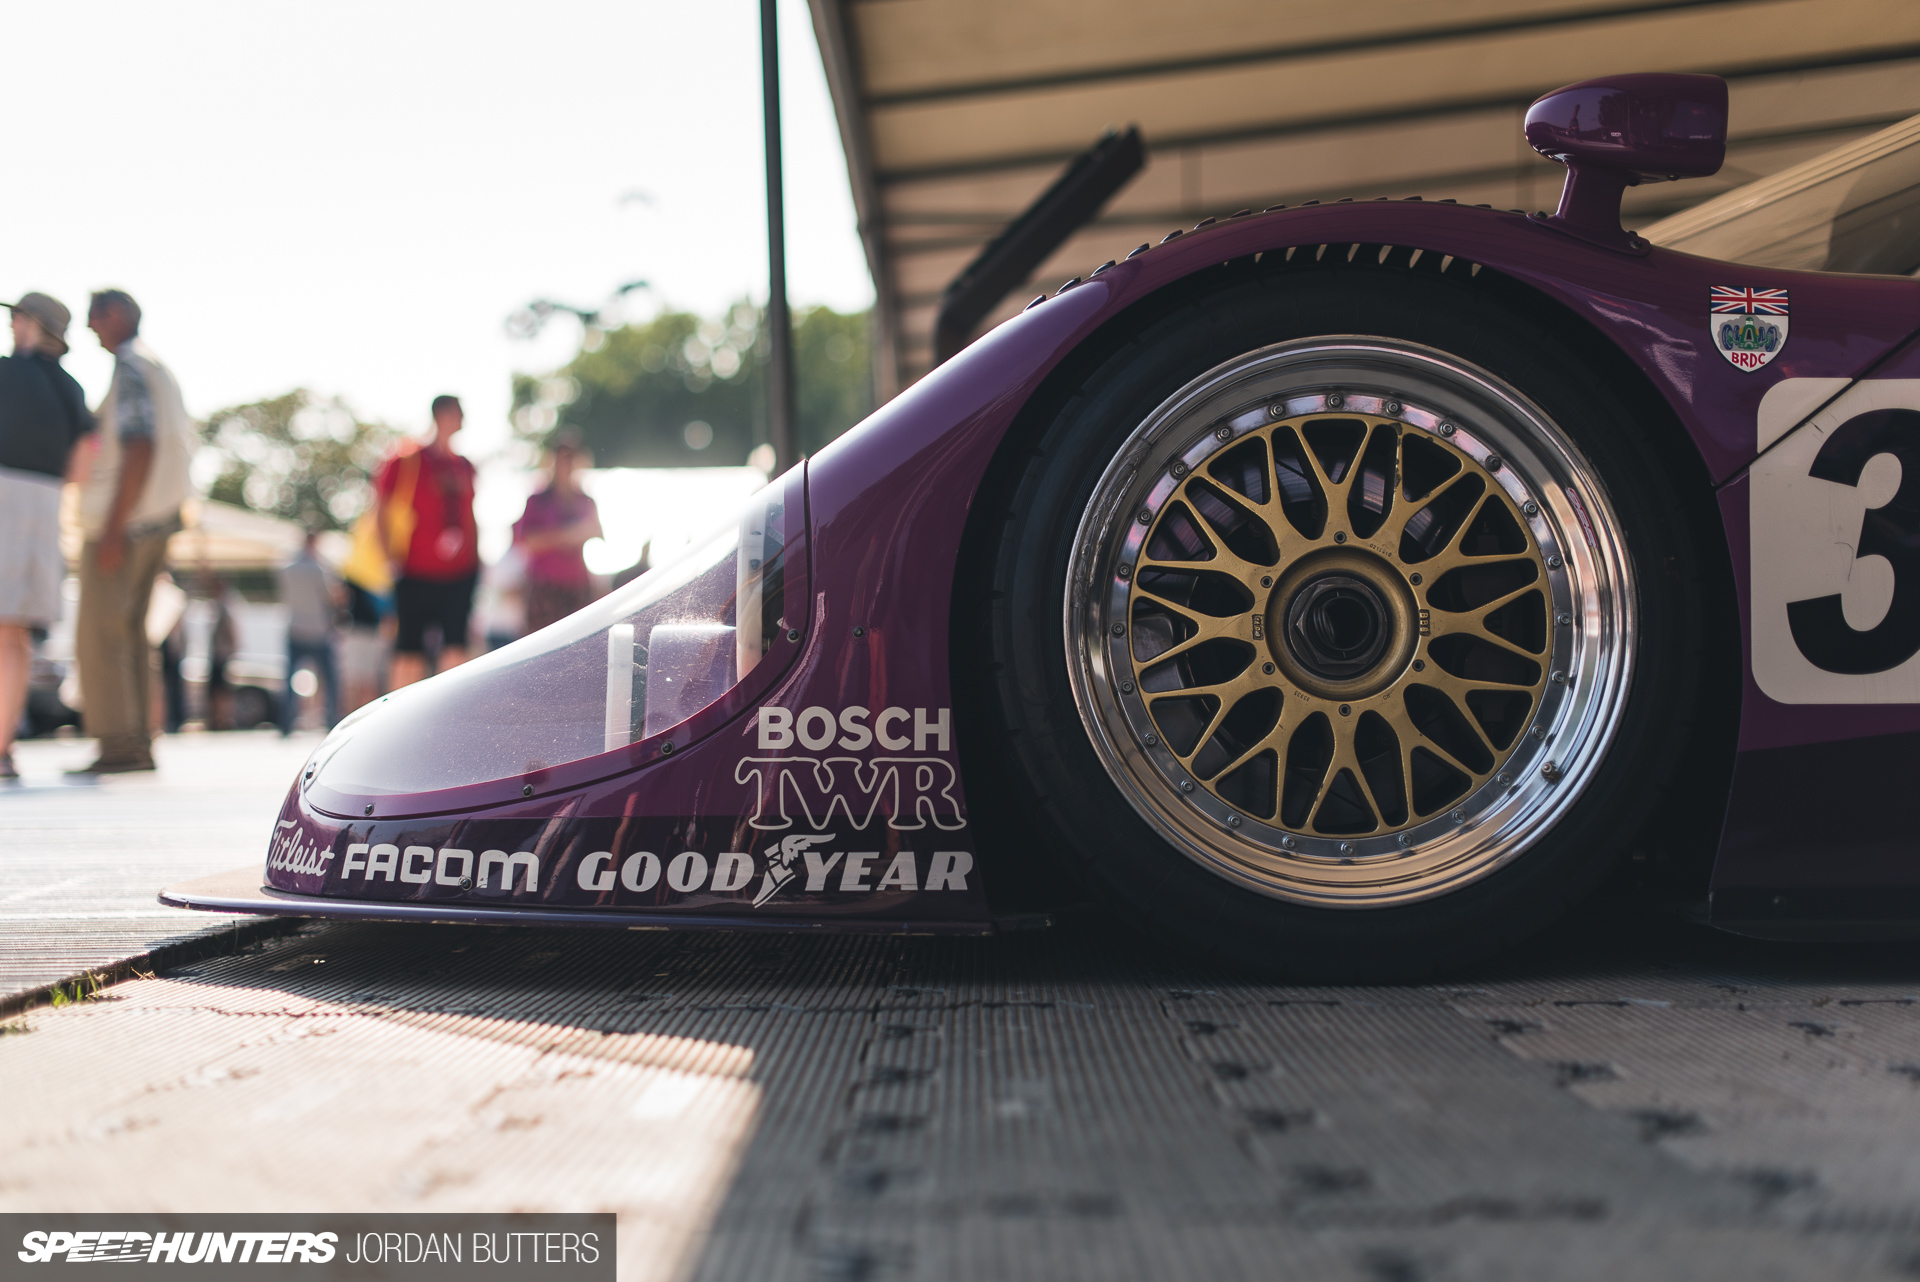
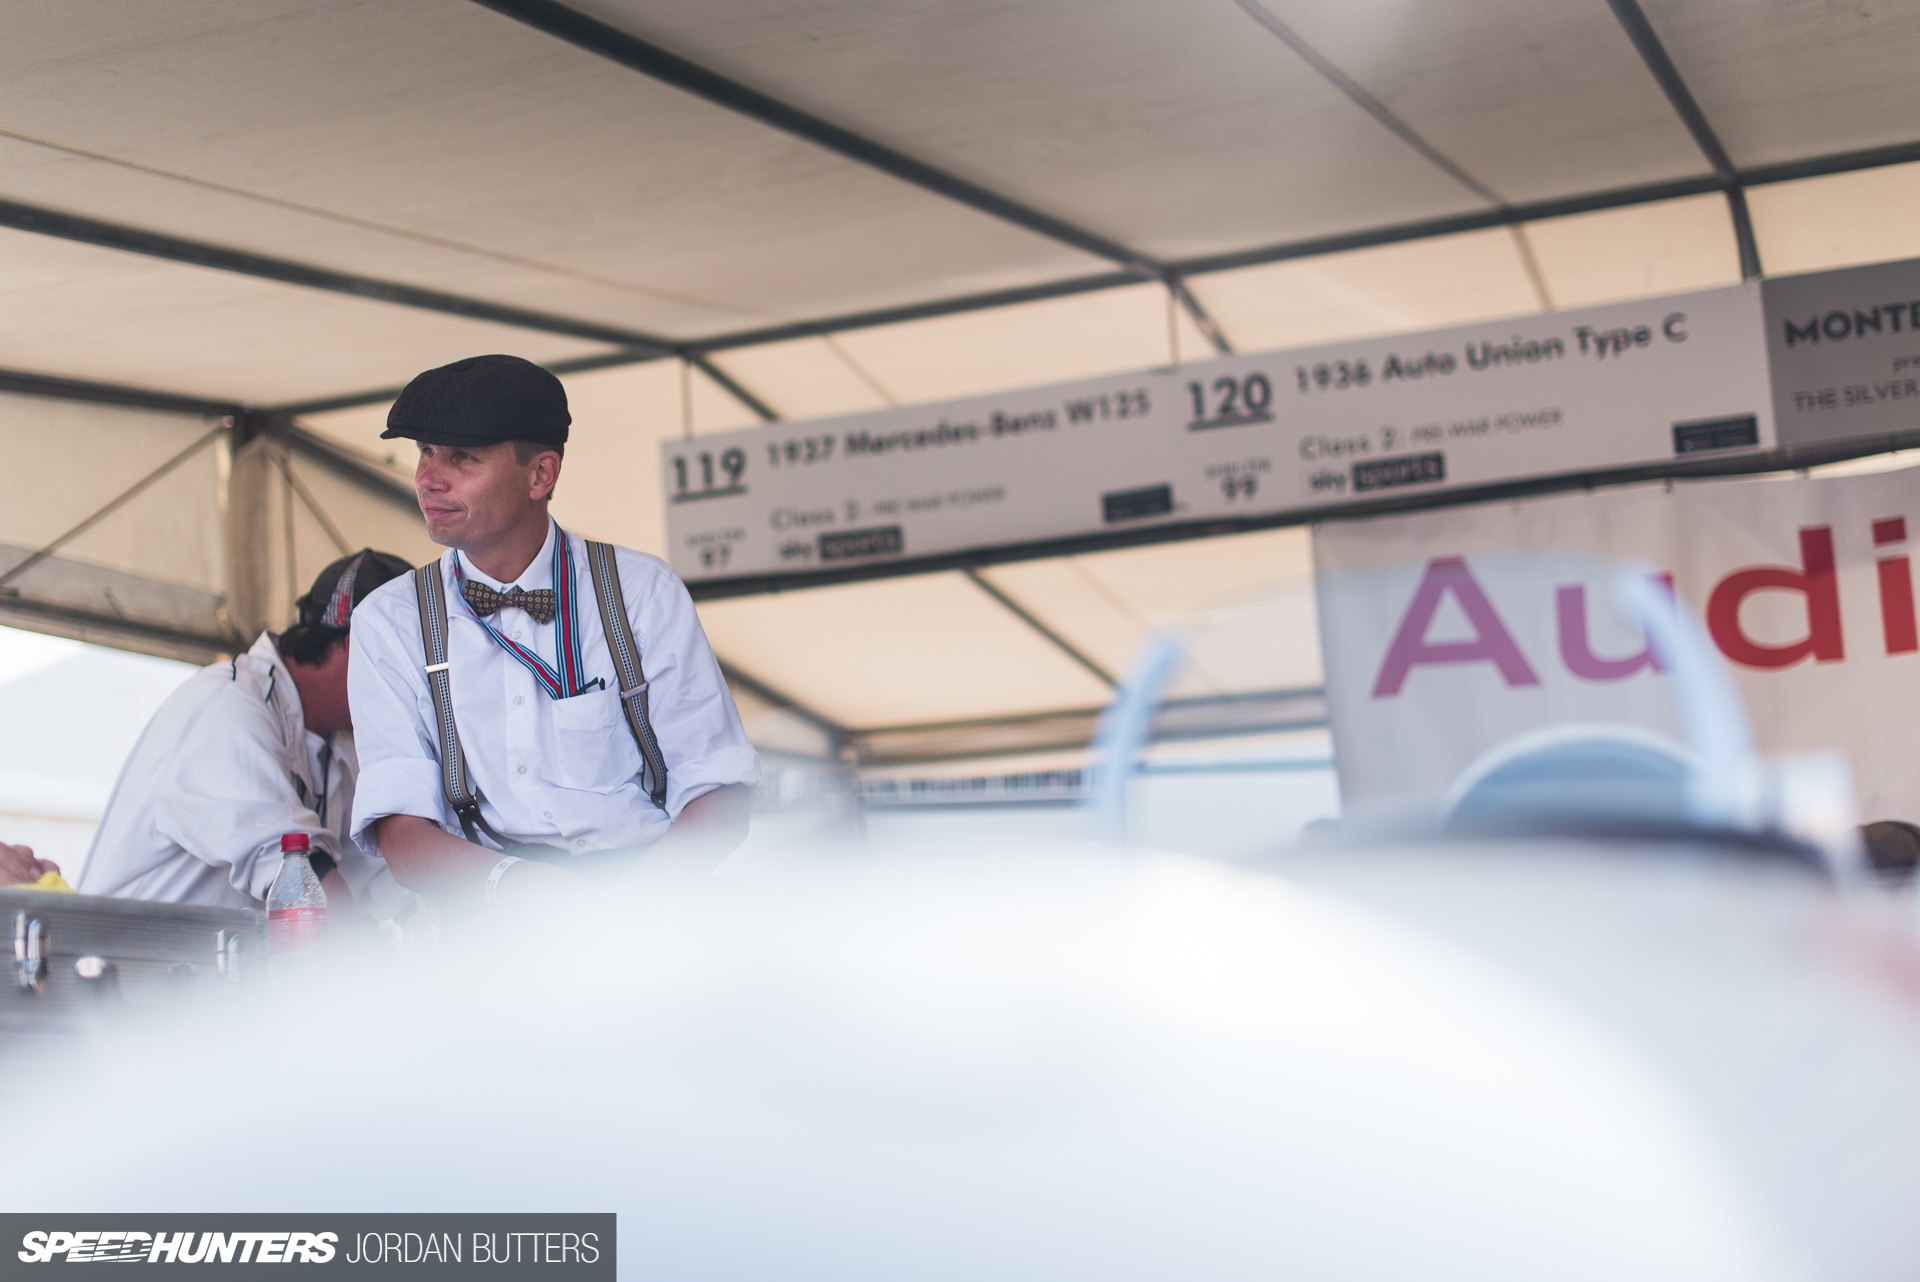
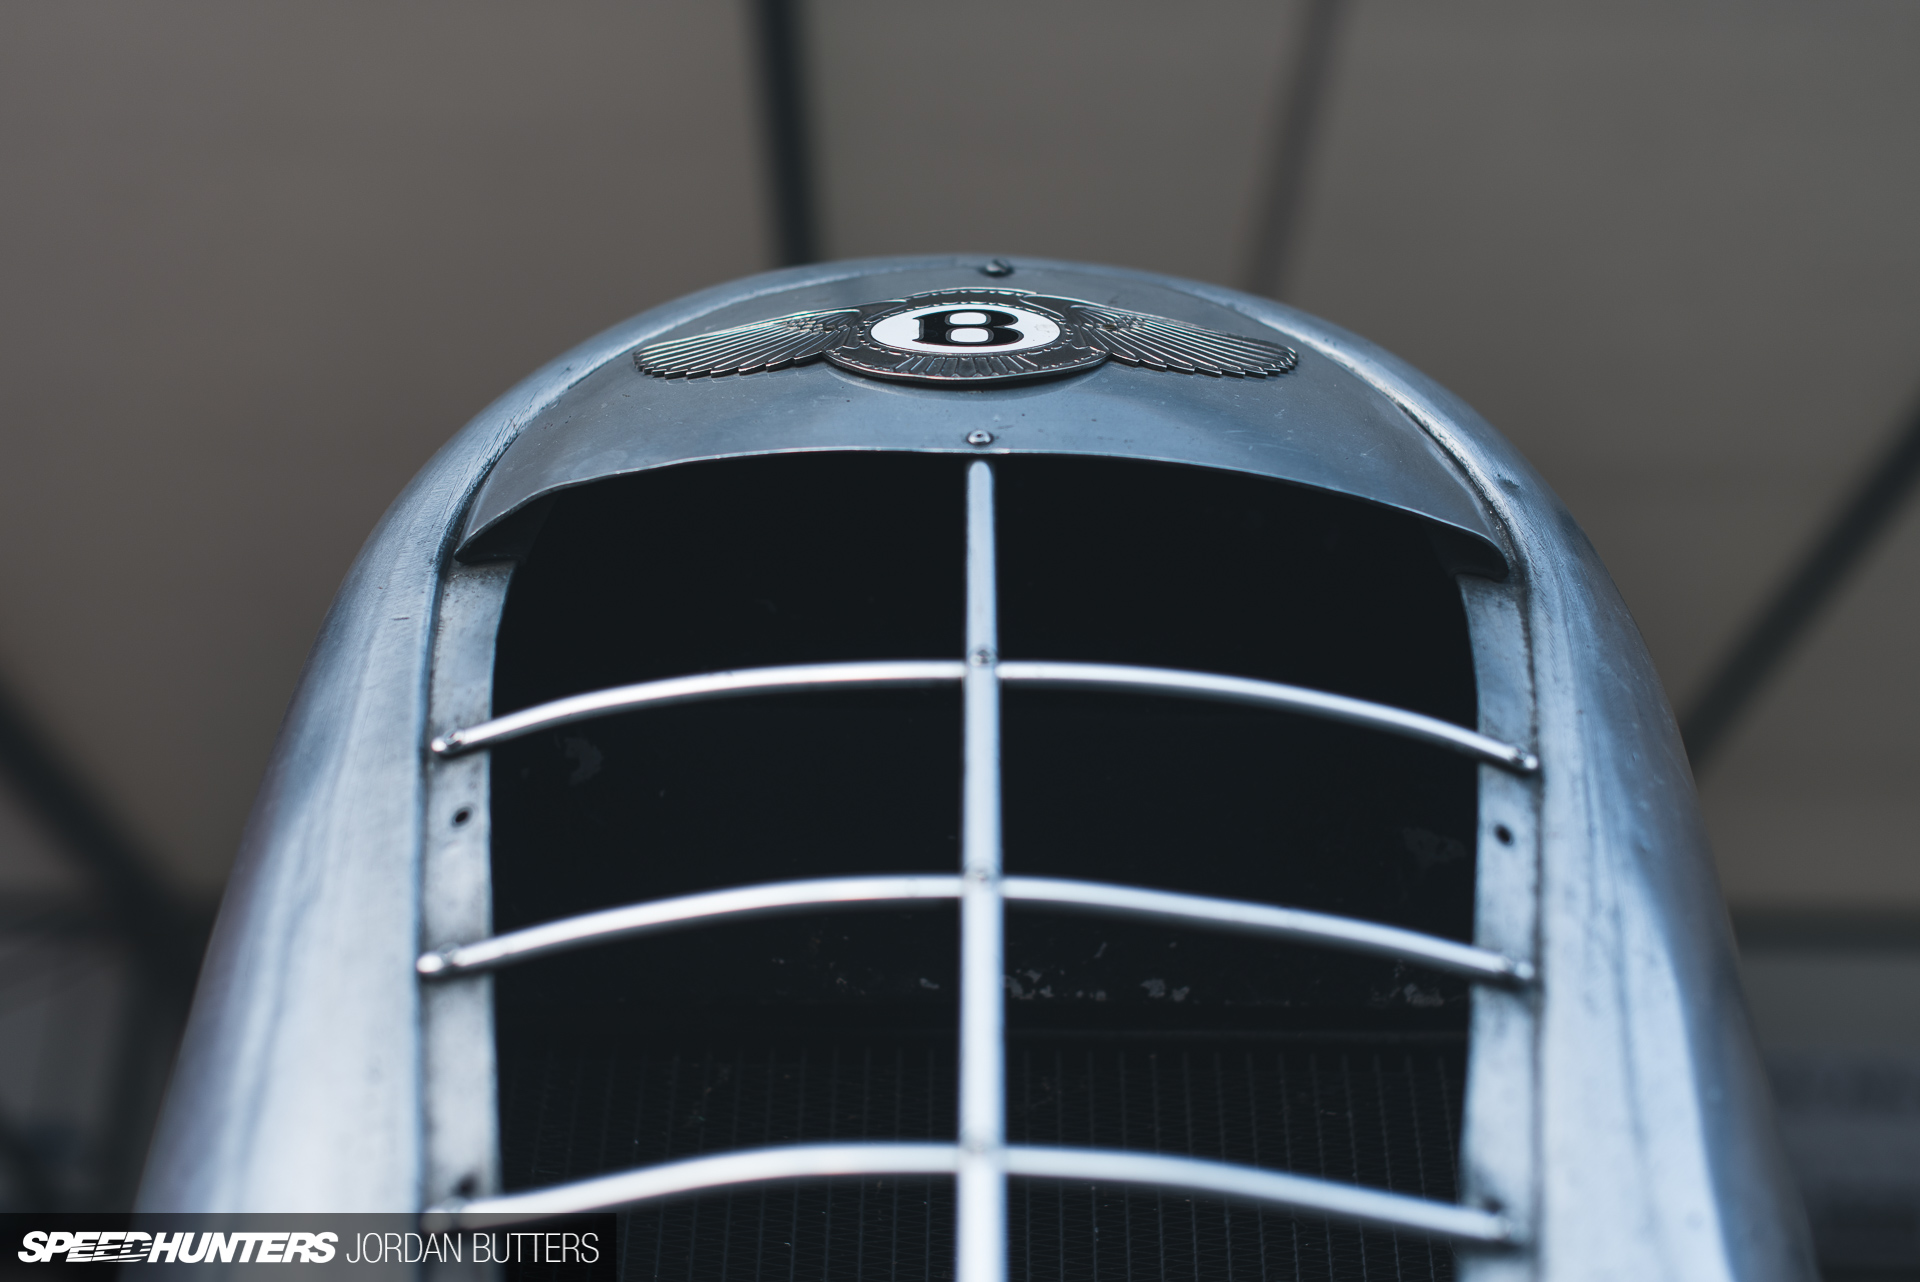
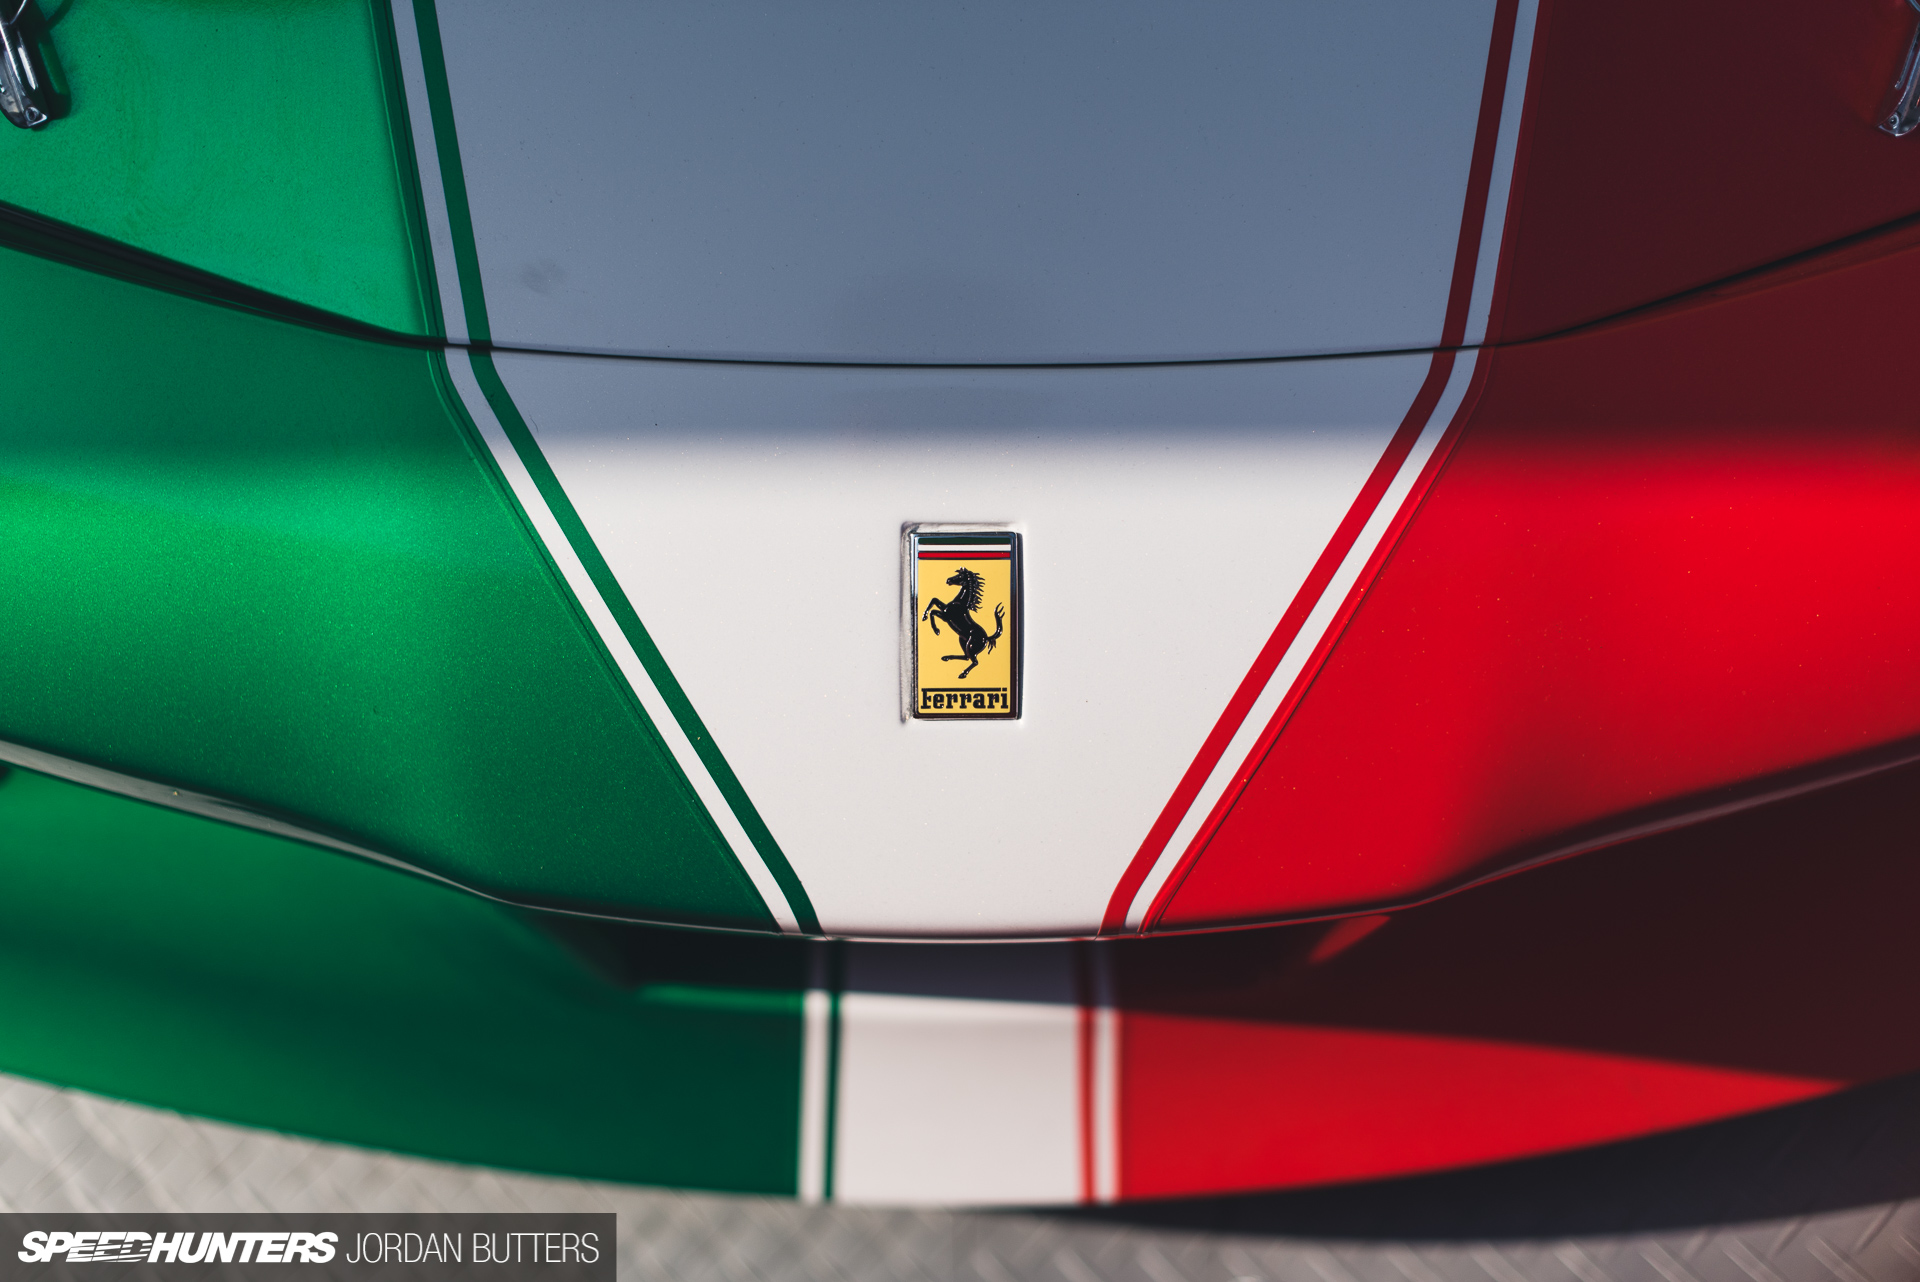
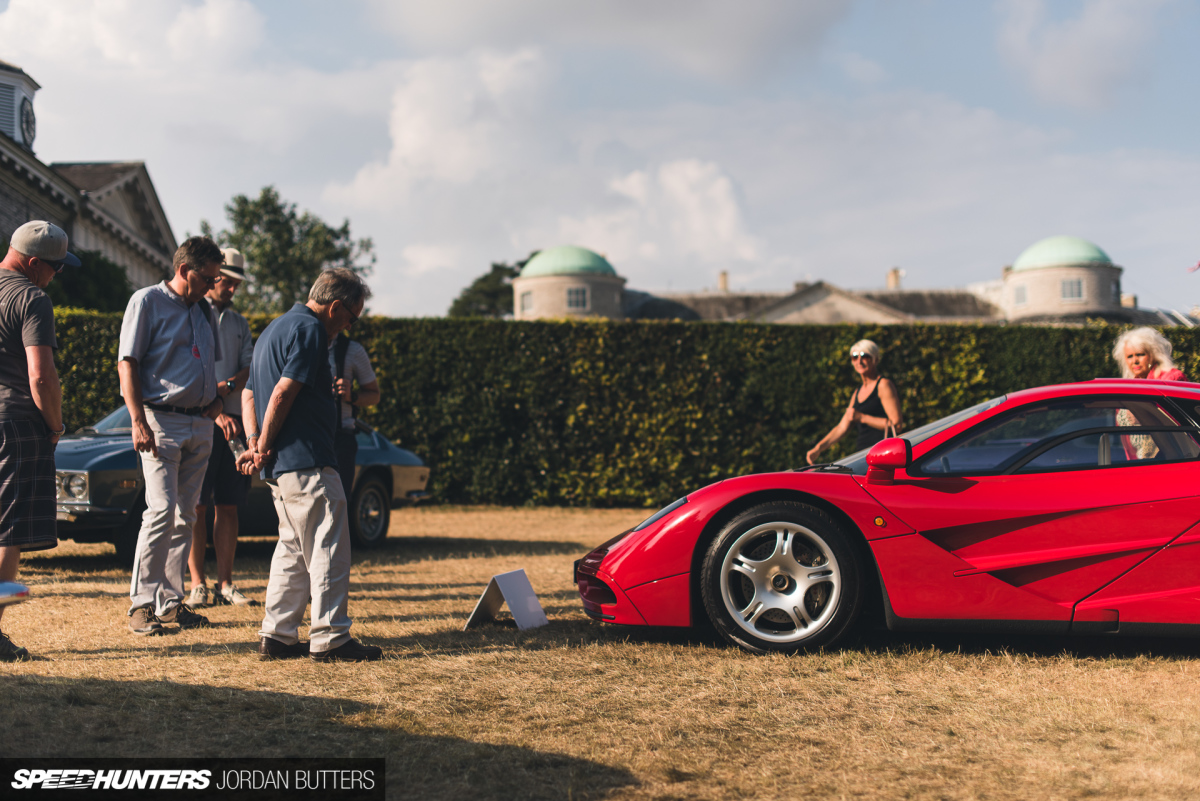
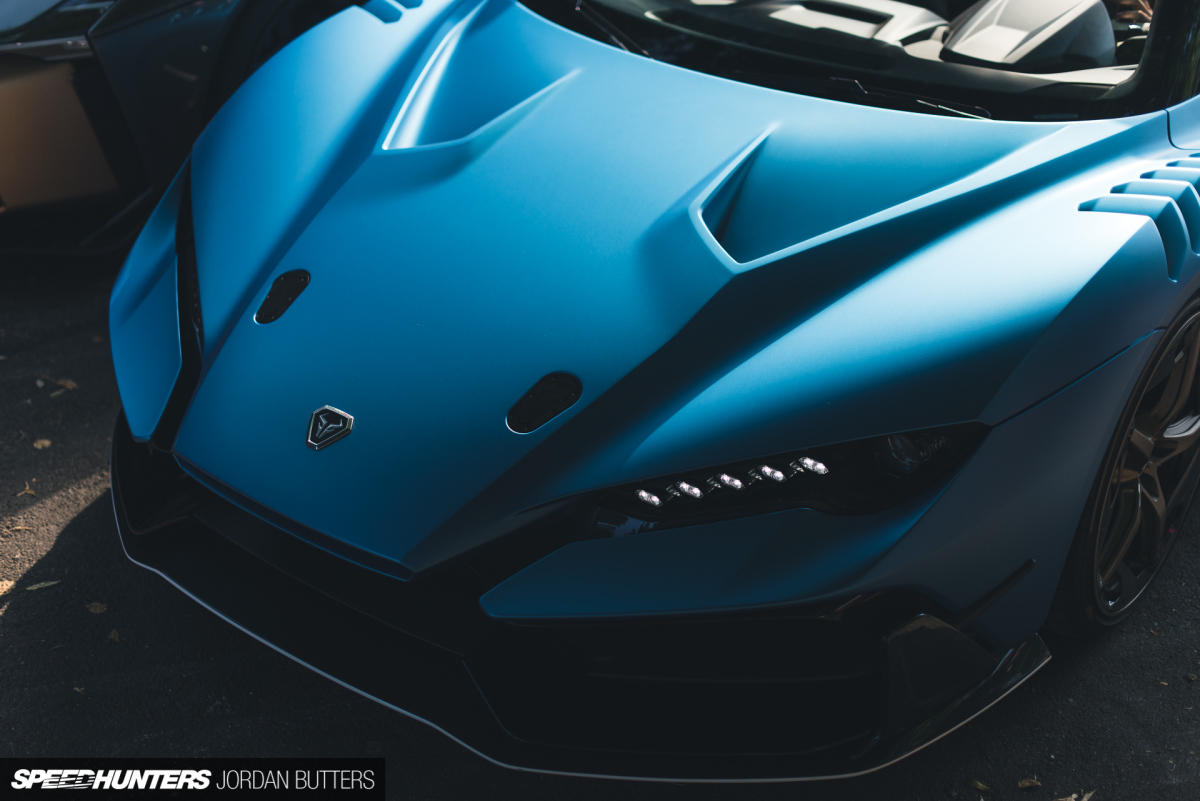
Cutting Room Floor