
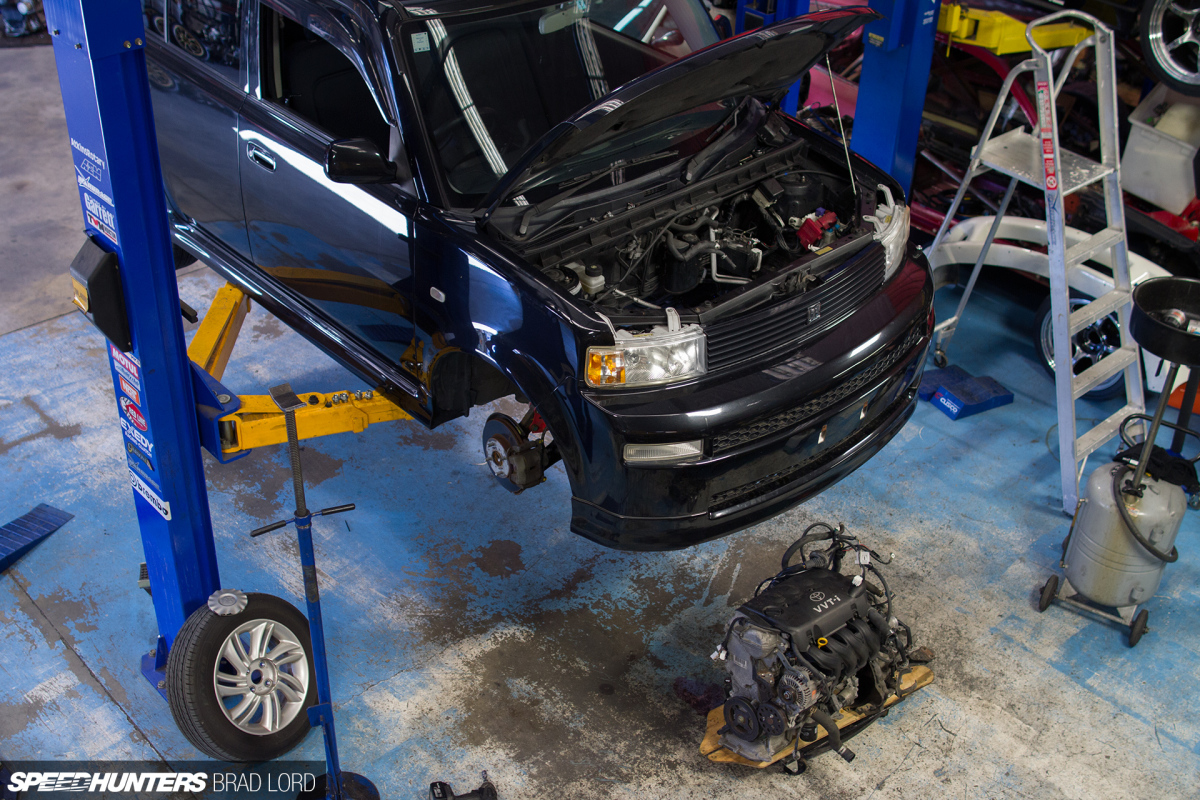
It’s been a long while since my last Project bB update, but with things actually coming together now I thought it would be a good idea to bring you guys up to speed before progress (hopefully) becomes more rapid.
When we left off, the stock engine and automatic transmission had been pulled out at JTune Automotive‘s workshop in Auckland, and my attention was turned to prepping the Toyota 1.5L four-cylinder for boost.
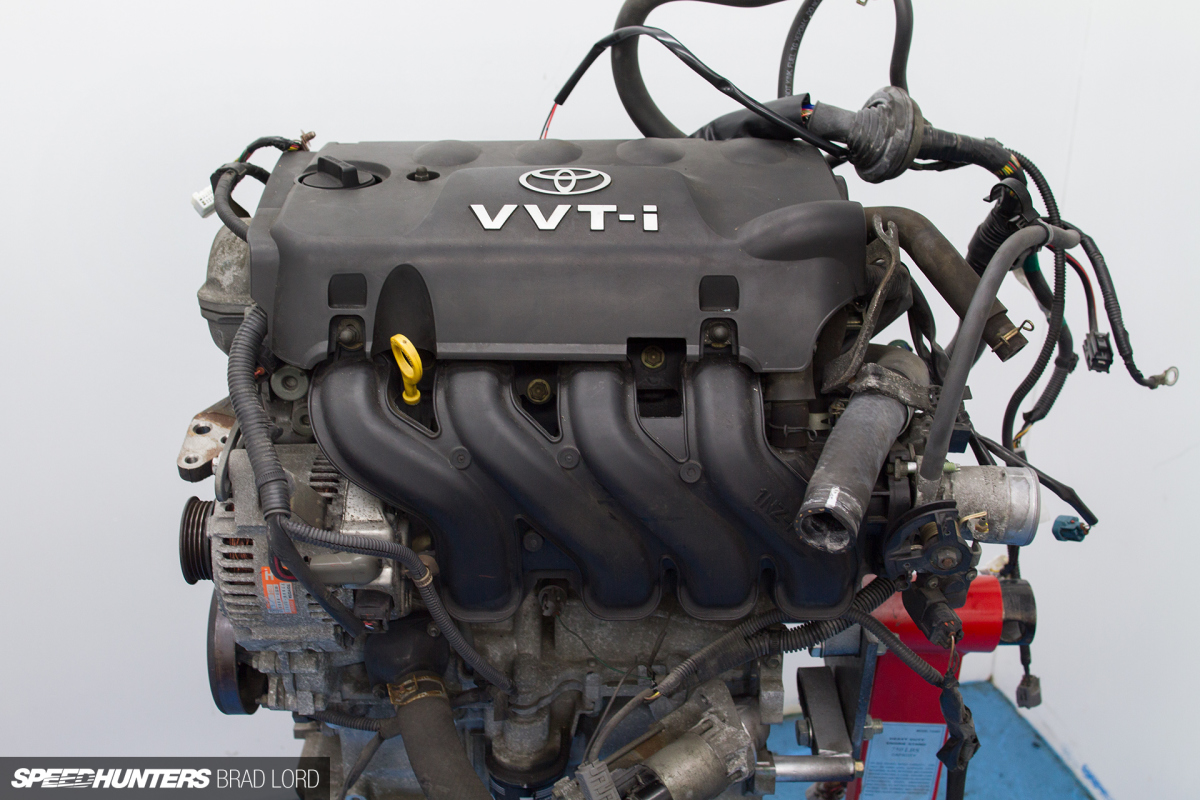
Truth be known, when I first envisaged turbocharging this bB my idea was far less grand. In Japan circa 2003, the JDM Vitz (Yaris), iST (Scion xA) and bB (Scion xB) was available to purchase in Toyota Racing Development (TRD) turbo guise, a bolt-on modification that really woke up the 1NZ-FE engine with just a few PSI worth of boost, raising the power output from 110hp to around 150hp in the process. Fifteen years after the fact, road-worthy examples and engine packages from tired and crashed cars pop up quite regularly in Japan, so the easiest way for me to turbocharge my bB would have been going down this route.
But then I started thinking about the age of and amount of mileage any engine I found would have on it, and how at least a refresh would be on the cards at some point. While I’m sure the car would be fun to drive with an extra 40hp and a whole lot more torque, I figured that by rebuilding the 1NZ from my bB – which I at least knew to be in good running condition despite having clocked up 100,000km (62,000mi) – I’d be able to make it stronger while dropping the compression ratio from the engine’s factory 10.5:1 to a more boost-friendly level. So I decided to bite the bullet and use the engine out of the car for the basis of turbo-spec build, which would ultimately allow me to lean on it a bit harder.
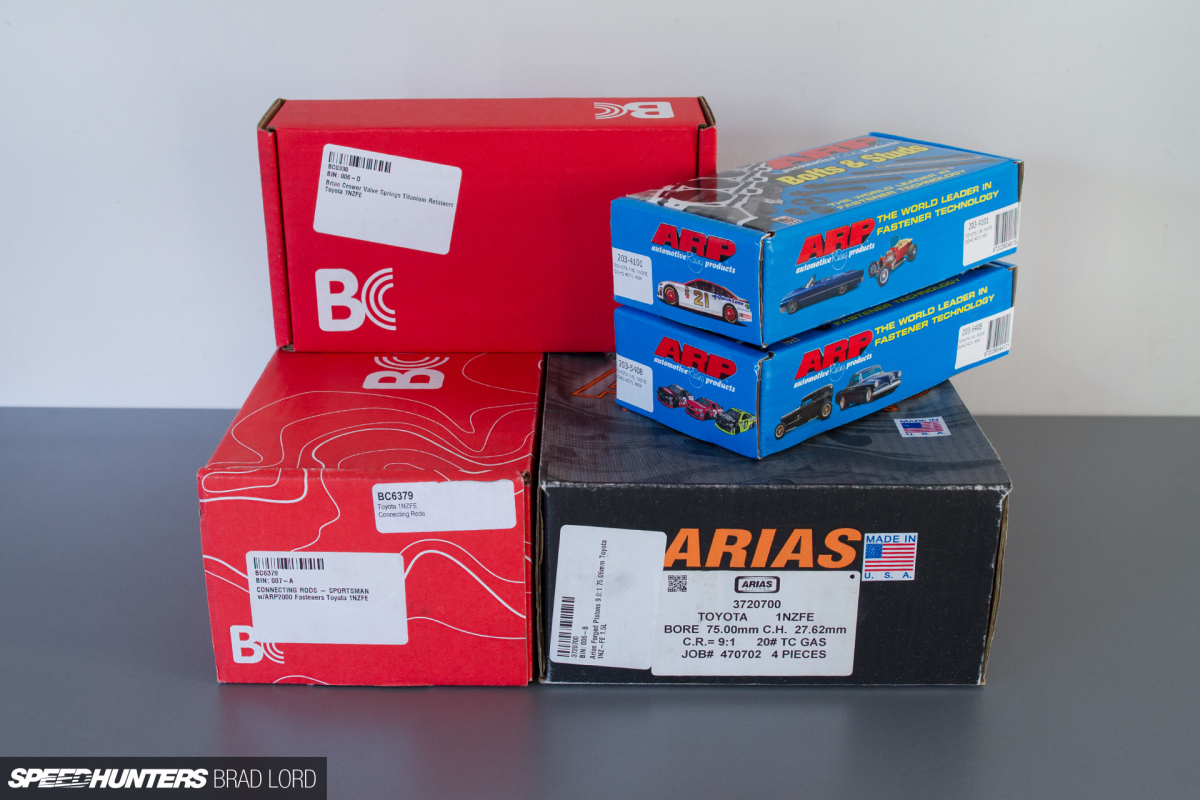
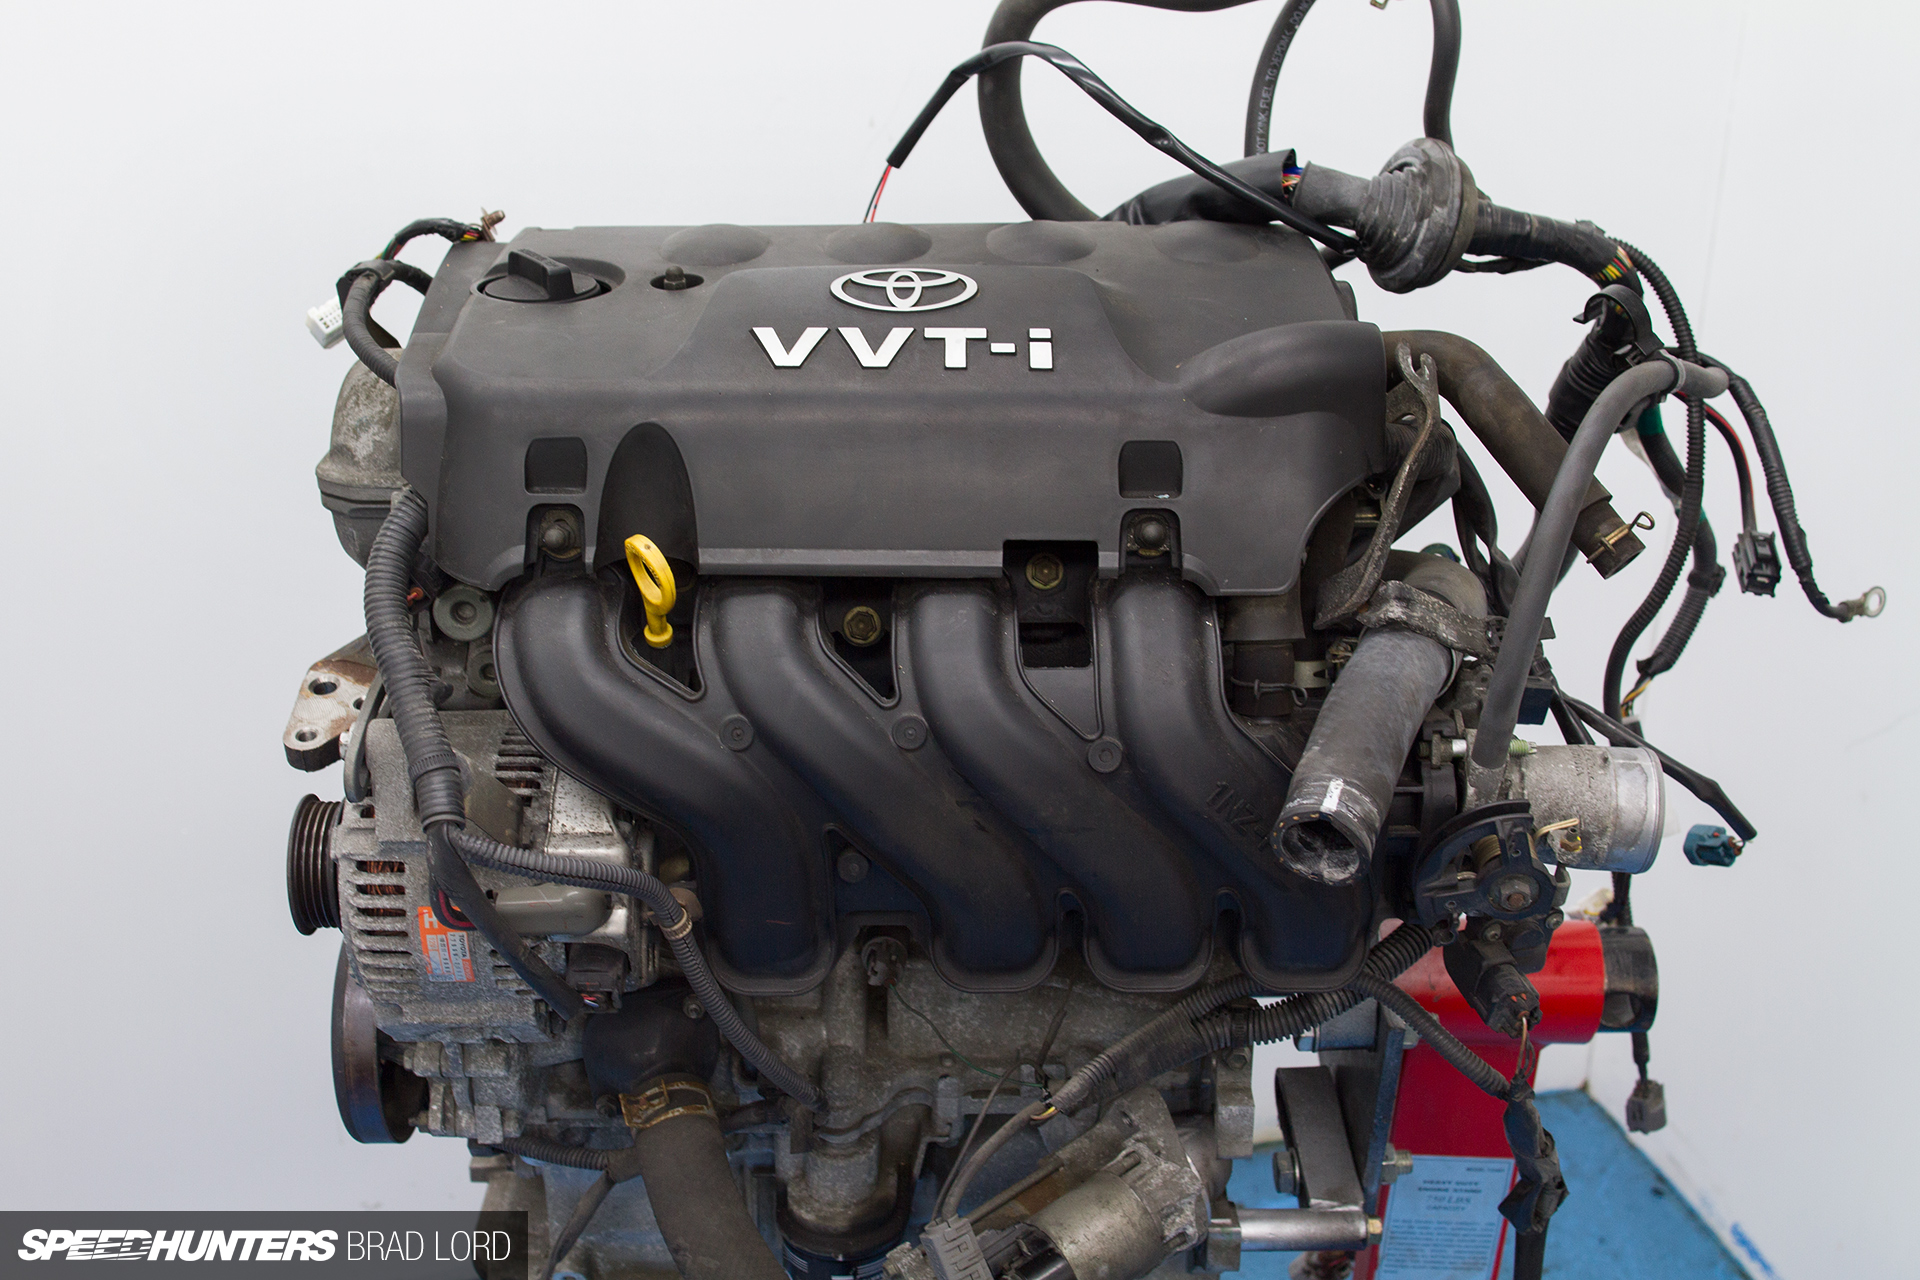
Although the 1NZ-FE is a very basic 1.5-litre twin cam 16-valve unit that Toyota fitted in many of its compact, budget models, once I started looking there was a surprising number of off-the-shelf options when it came to upgraded internals. These ranged from eBay-generic to high-end. I didn’t want to spend a silly amount of money, so I chose parts based on a combination of brand reputation and cost.
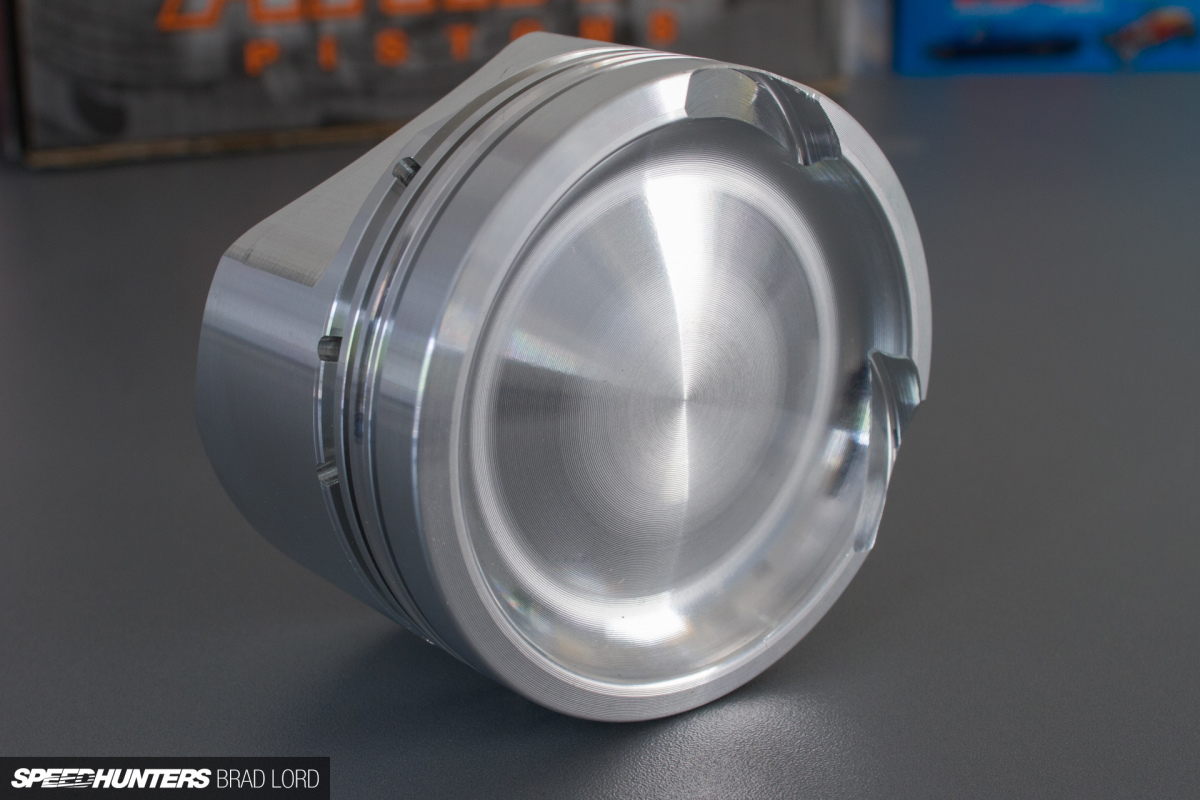
I guess I could have gotten away with a simple con-rod swap, but since the engine was completely coming apart, forged pistons made total sense too. For these I went with Arias, which has two different compression offerings for the 1NZ – an 11.5:1 spec for high-comp naturally aspirated builds, and 9.0:1 for forced induction and nitrous applications. For both these options there was also the choice of 75.06mm (+0.06mm oversized – ever so slightly larger than stock) or 75.50mm (+0.5mm oversized) bore sizes.
But here’s where I made my first mistake – believing what I was going to receive was the same as what was advertised. Actually, that was my second mistake when it came to this engine build. The first mistake was not having the machine shop measure up the cylinder bores prior to ordering the pistons, because if I had done that I would have known that the engine was slightly out of spec, and that the .05mm oversized option were my best bet. Of course, by the time I had this information the “75.06mm” pistons were already in my hands here on the other side of the world. But this was only the start of my problems…
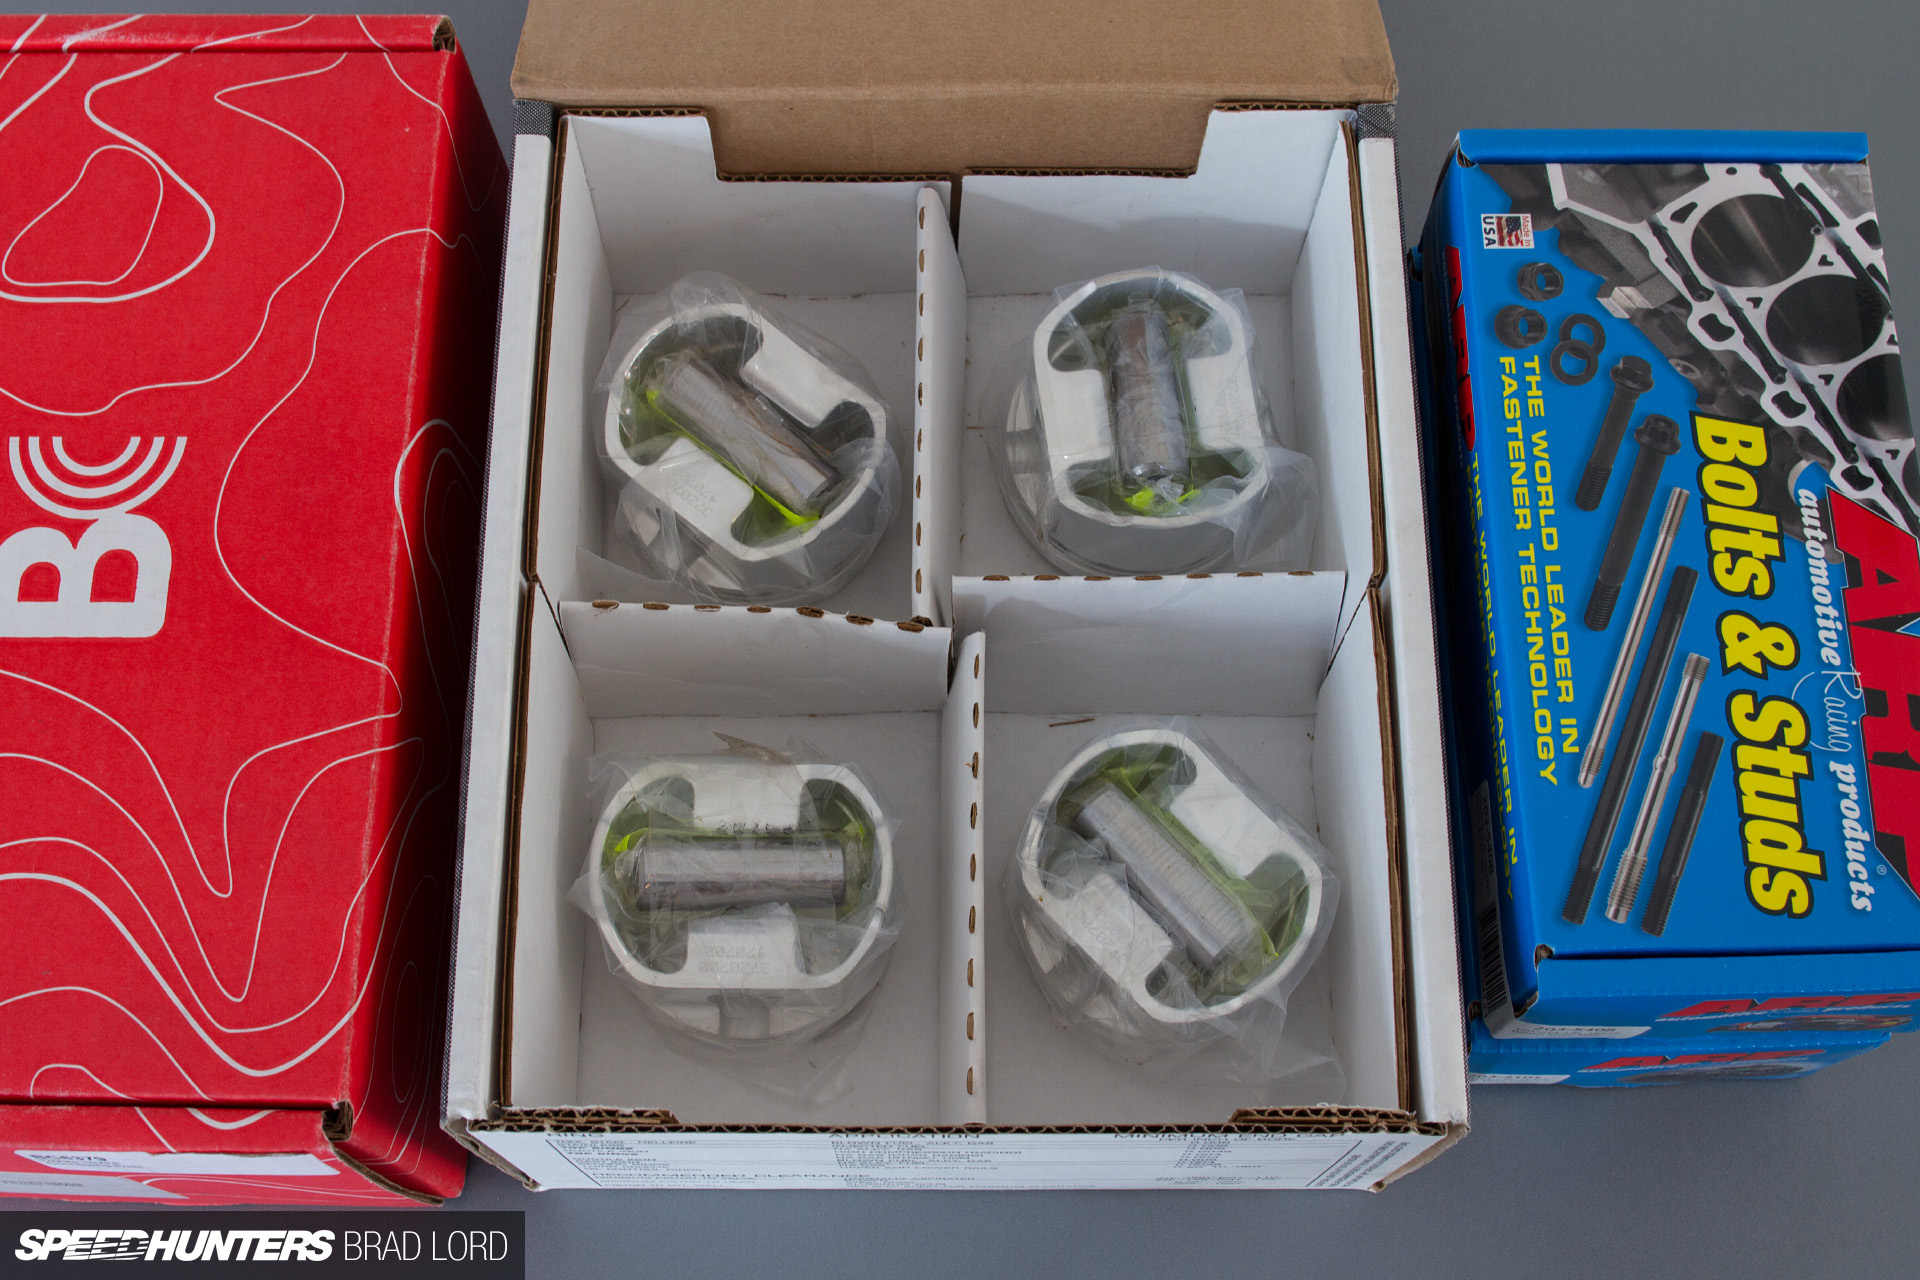
The Arias pistons turned out to be smaller than what they’re advertised as (they’re actually stock sized not +0.06mm oversized), which left me with a few options: #1) Find another 1NZ block and see if that was any better. #2) Cut my losses and order a new set of oversized forged pistons. #3) Have liners/sleeves custom made and installed in the block. #4) Forego correcting the bores, fit the pistons and hope for the best. Because of my limited budget, I ruled out the #2 and #3 options straight away.
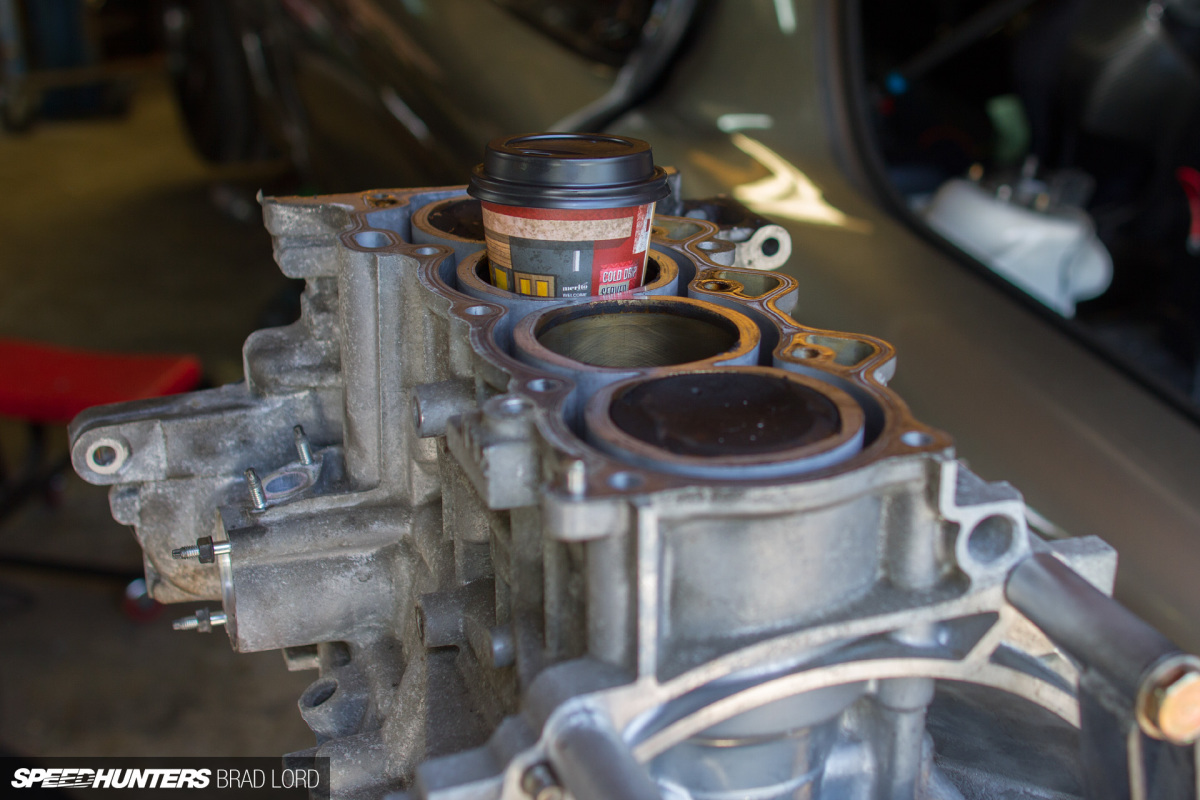
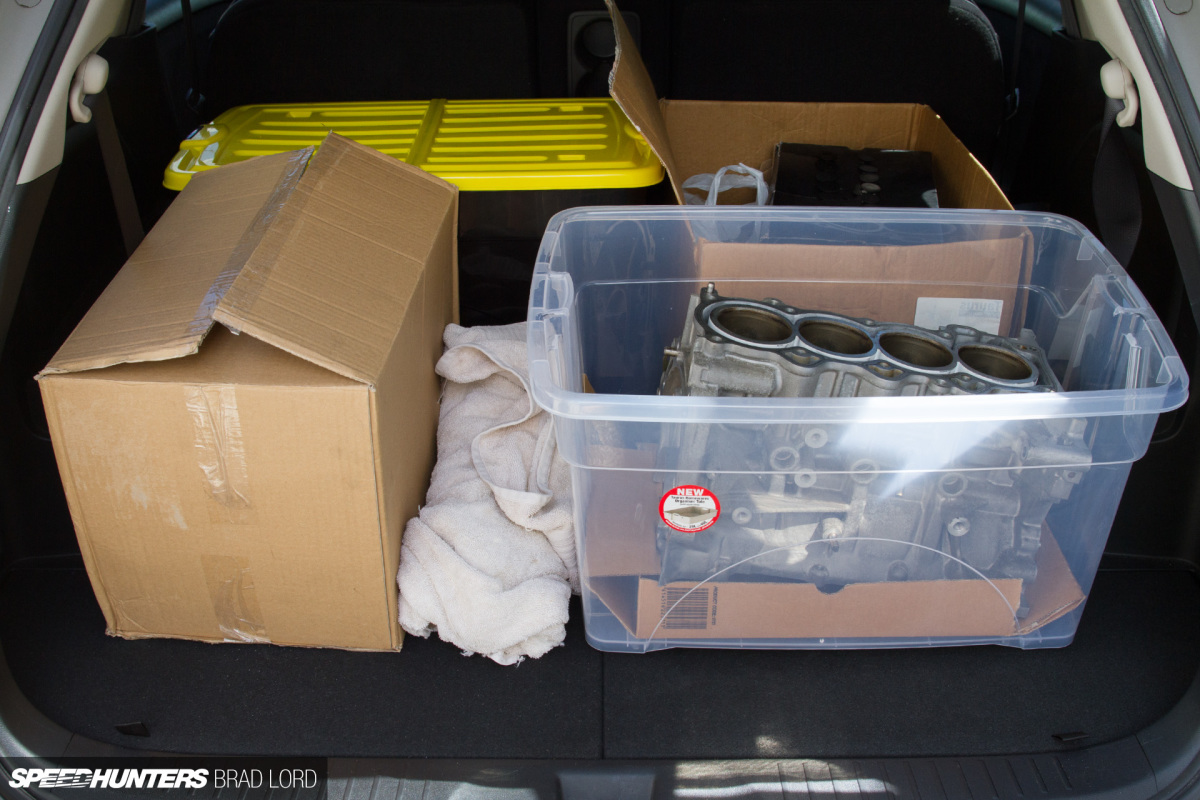
For #1, the guys at New Zealand Car Parts Auckland sorted me out with 1NZ from a 2014 Yaris YRS with just over 50,000km (31,000mi) on it. Given the relatively low mileage and clean condition of the engine I really thought this 1NZ was going to be my saviour, but measuring up its bores revealed that it too was not in perfect spec for standard sized pistons. Interestingly, the measurements between the two blocks were quite similar, which then posed another a couple of questions and raised another potential issue: Do these econobox engines even have perfect bores from factory? And more importantly, what was going to happen to the shape of the bores when the cylinder head was torqued back down? I could have answered the last question by having a custom torque plate made to simulate the cylinder head fitted, but the cost of doing that was prohibitively expensive.
It was at this point that I decided that option #4 was the best course of action. Prior to pulling the engine apart it was running well and not in the slightest bit smokey (even when revved hard on the dyno), so simply deglazing the bores and fitting the same size pistons as factory (albeit forged ones) would theoretically be no worse than what I started with, but with the extra strength and lower compression I needed.
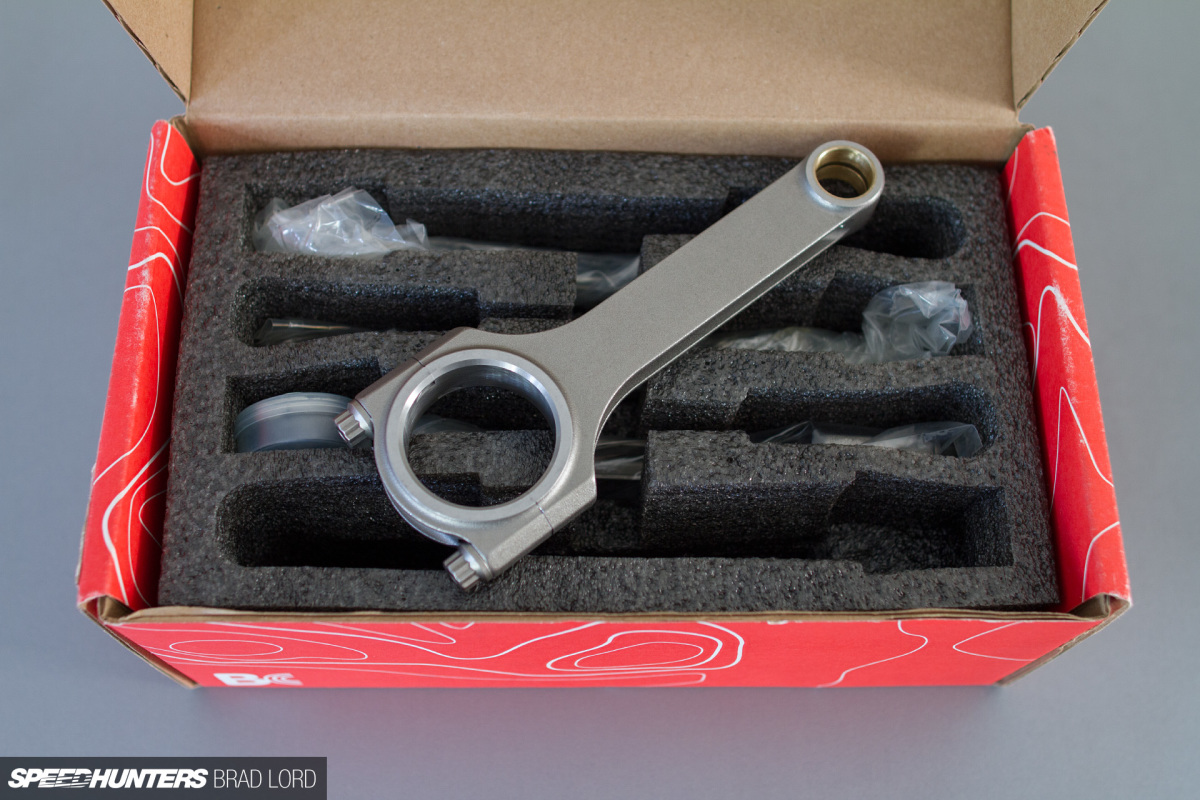
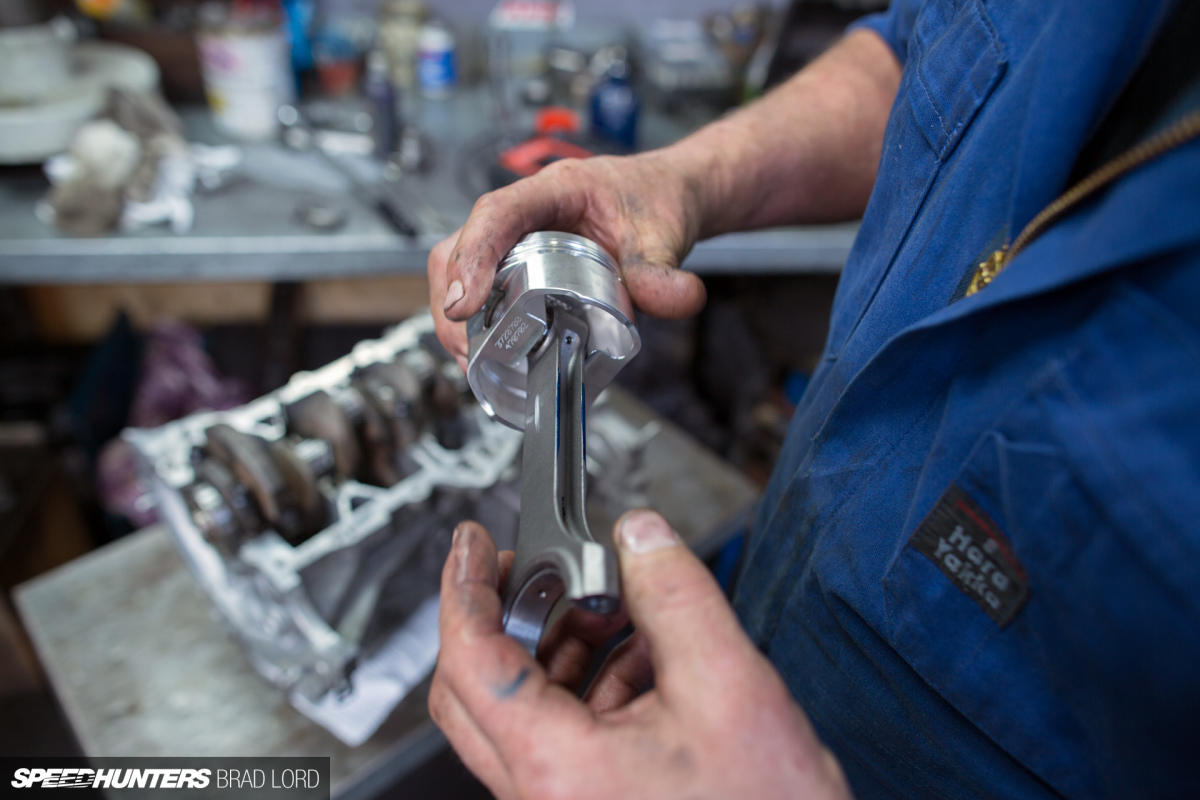
For the connecting rods I went with Brian Crower (BC) parts. As I’ve mentioned previously, the 1NZ’s standard rods are its achilles heal, and when you see one below I don’t think I’ll need to explain why. By comparison, the BC rods are seriously beefy. Yes, most of that has to do with their H-beam design, but being made from aerospace-grade 4340 billet steel they’re far superior from a material standpoint. The rod bolts are ARP2000 fare.

For one final shot of the internal upgrades, here’s a side-by-side comparison of the stock Toyota piston and rod combination out of my bB’s 1NZ, and the new Arias forged piston (sans rings) and BC forged rod combination. The new parts are almost too pretty to be hidden away inside the engine, but in saying that I’ll be very happy if I don’t ever see them again!
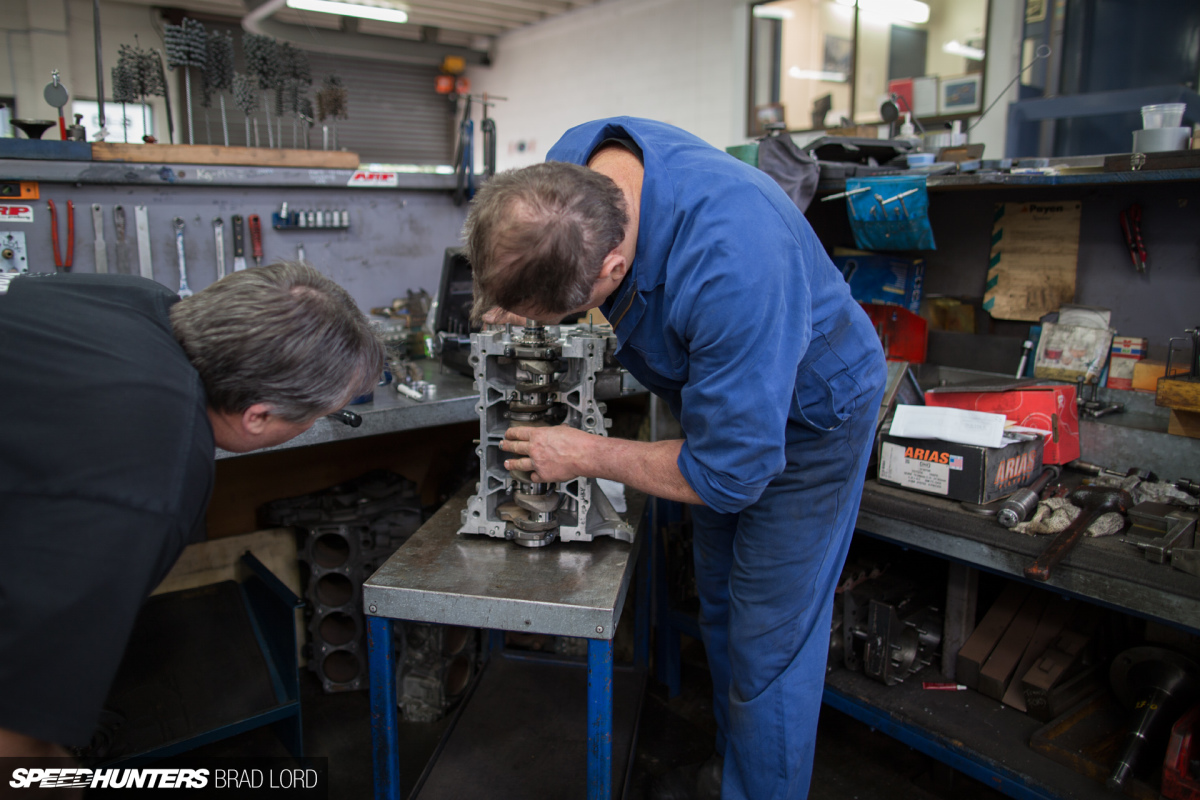
I’m having my buddy Andrew, an experienced race engine builder, help piece my 1NZ together, but I entrusted all the machine work with one of the country’s most respected companies for this type of work. Taylor Automotive has been in business since 1979 and is the go-to for many performance shops in New Zealand. They’re also pretty active in motorsports, with owner Harley Taylor campaigning a front-running New Zealand speedway Midget, and also about to get behind the wheel of a very cool BMW race car, which coincidently Andrew did a lot of work on.
The plan was simple: To Andrew’s spec, Taylor Automotive would prep the block for assembly – including all the machine work and critical sizing of bearings – and also recondition the cylinder head. Given the throughput of work at Taylors’ it was going to be difficult for me to shoot the entire machining process, but Paul the shop manager was happy to provide a few images as things progressed.
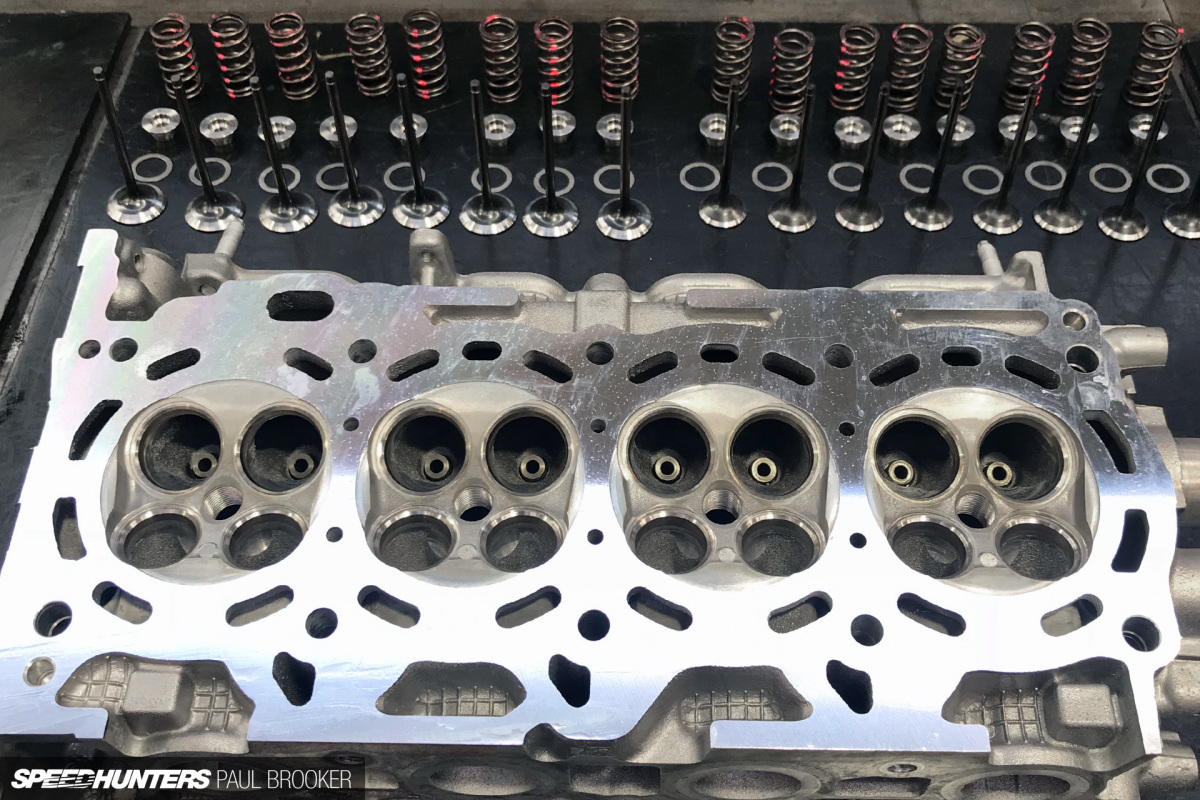
The cylinder head was worked on first, and here you can see all of the valve gear set out before reassembly. If I was building this motor up for high horsepower or high RPM race use I definitely would have had the head ported and fitted out with bigger valves and turbo-spec camshafts, but because my focus is strength and street use, we didn’t worry about any of that stuff.
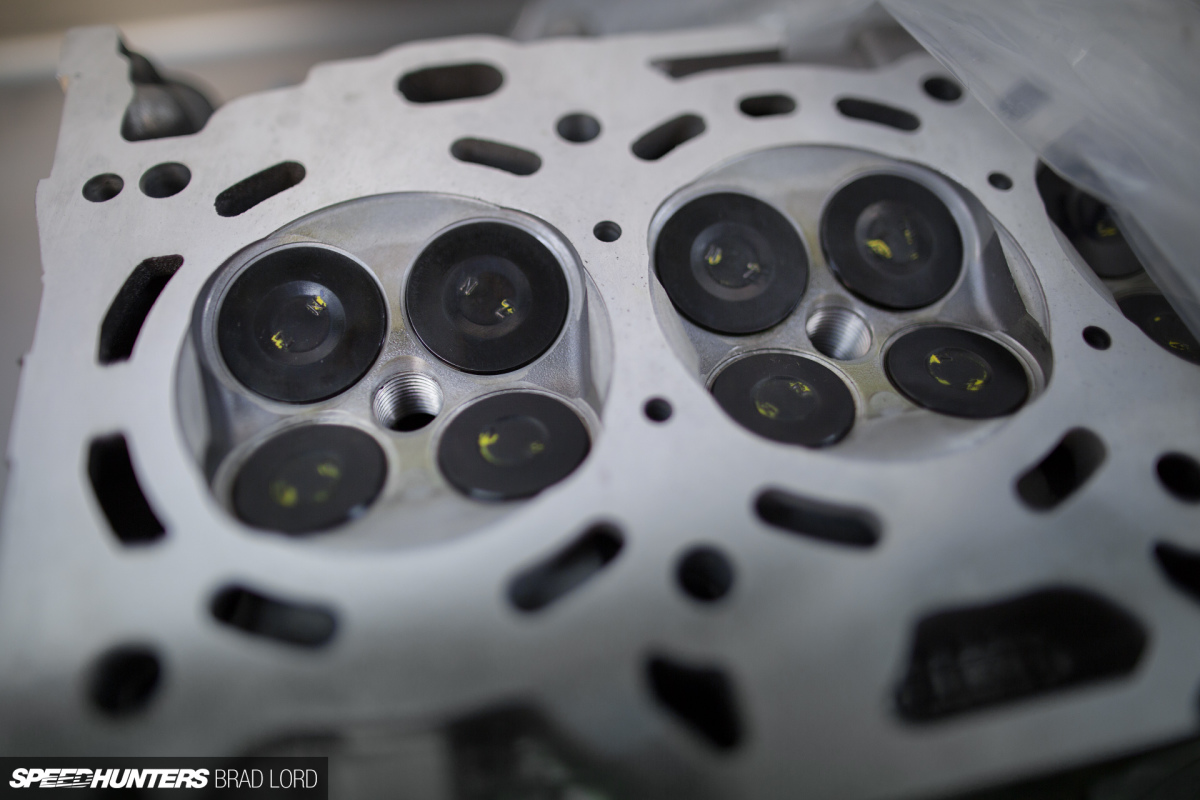
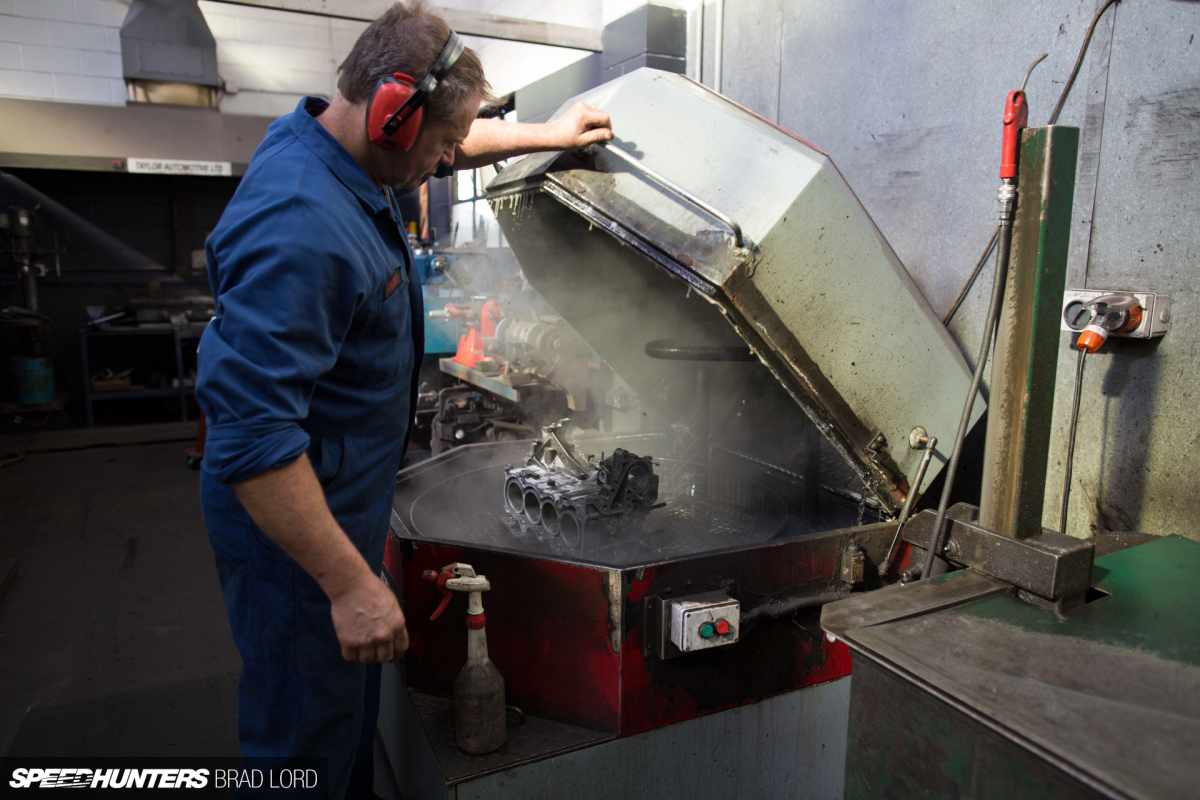
Prior to the rebuild the bare head was hot tank cleaned and lightly skimmed, and the valves were reseated for optimum seal after being given a back-cut to aid in flow. I supplied brand new Toyota OEM valve stem seals (which came with the full engine gasket set), along with the 16 cam buckets/lifters from the second engine in case they could be utilised when the valve clearance was being set.
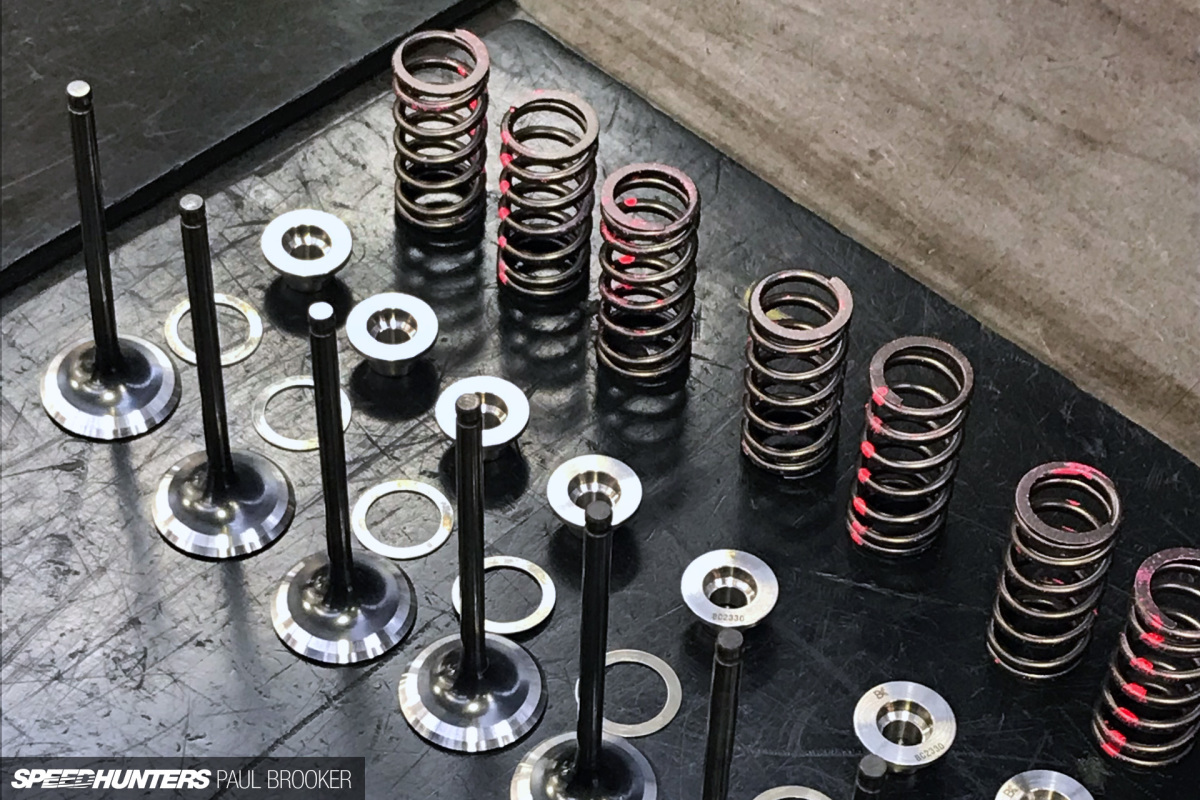

There was one cylinder head upgrade I did opt for: Brian Crower valve springs. Whether to upgrade valve springs or not seems to divide opinions on the internet, with many claiming that they’re only required for high-RPM naturally aspirated builds. The other school of thought, and one I know that’s shared by our friend Bisi Ezerioha from Bisimoto, is that valve springs are an upgrade you absolutely need to make if you’re adding forced induction to a naturally aspirated engine. The reason? Boost pushes down on the back of the valve face, fighting the spring and decreasing its rate. By increasing the valve spring rate (by fitting performance valve springs) you’re counteracting the effect. The cost for the spring and titanium retainers set was really reasonable, so I think it was a worthwhile upgrade to make.
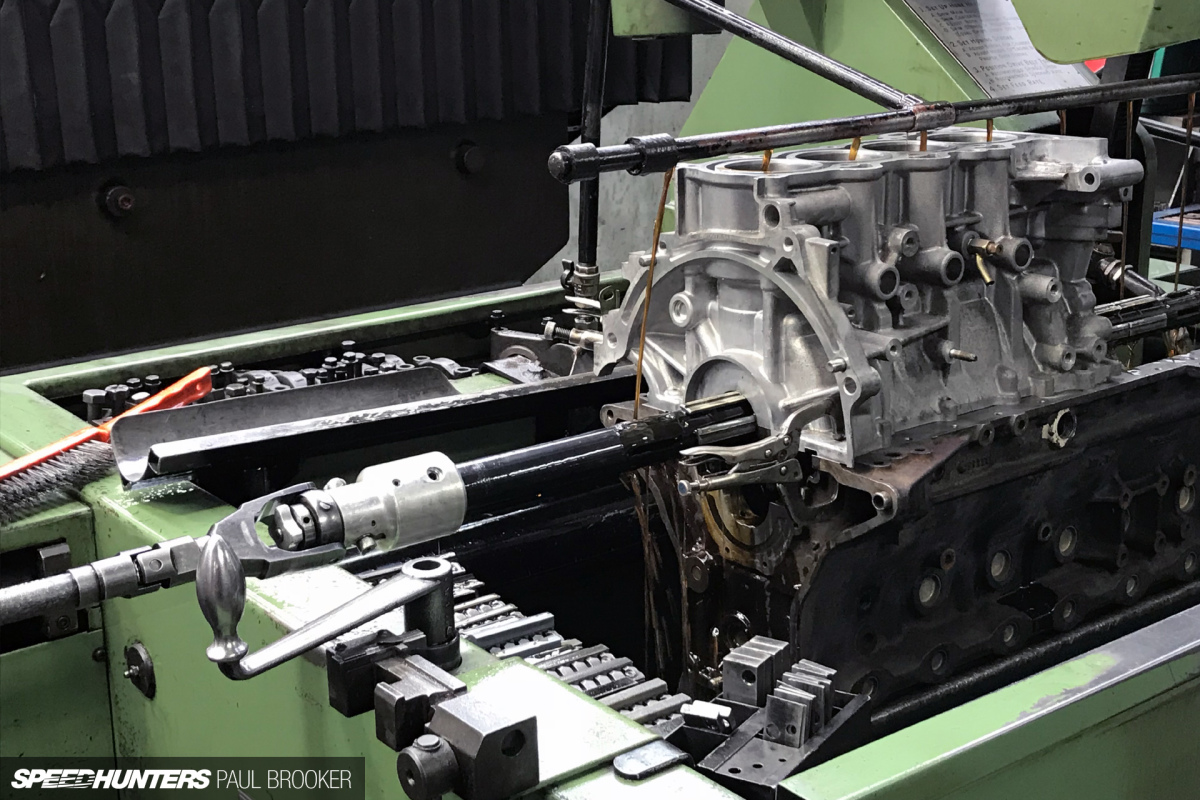
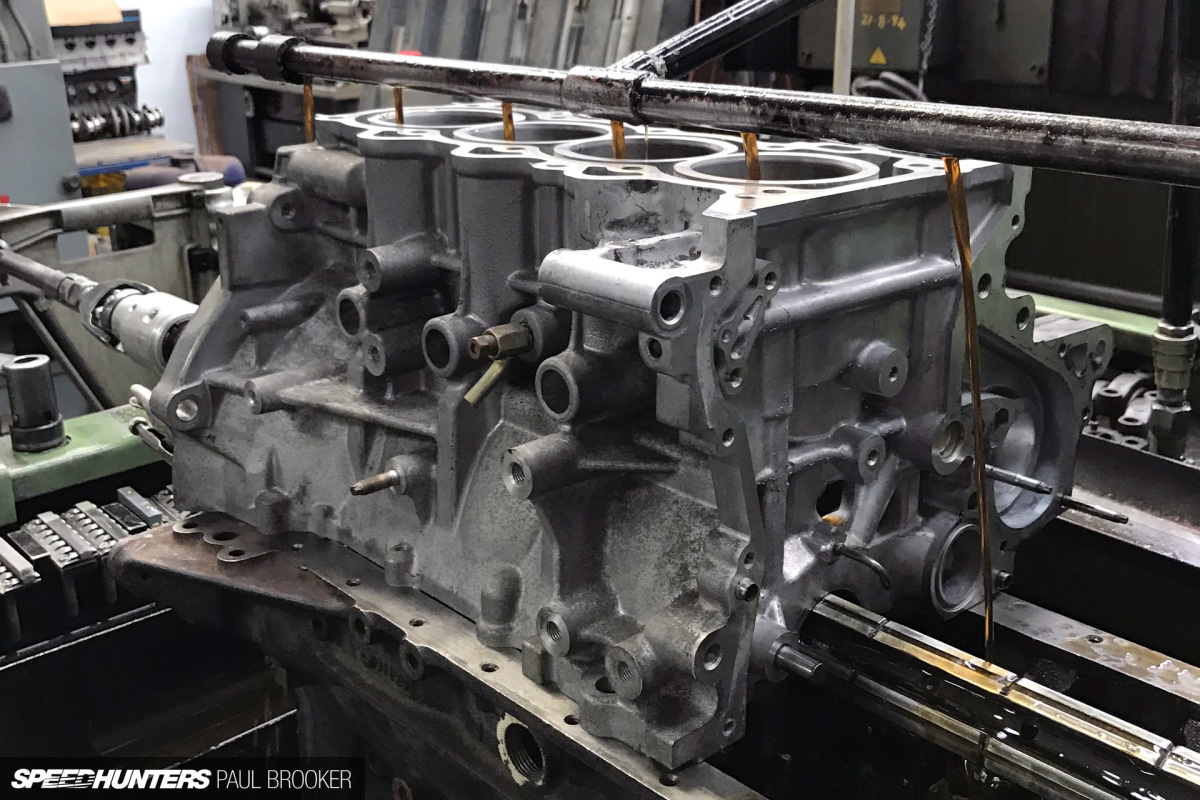
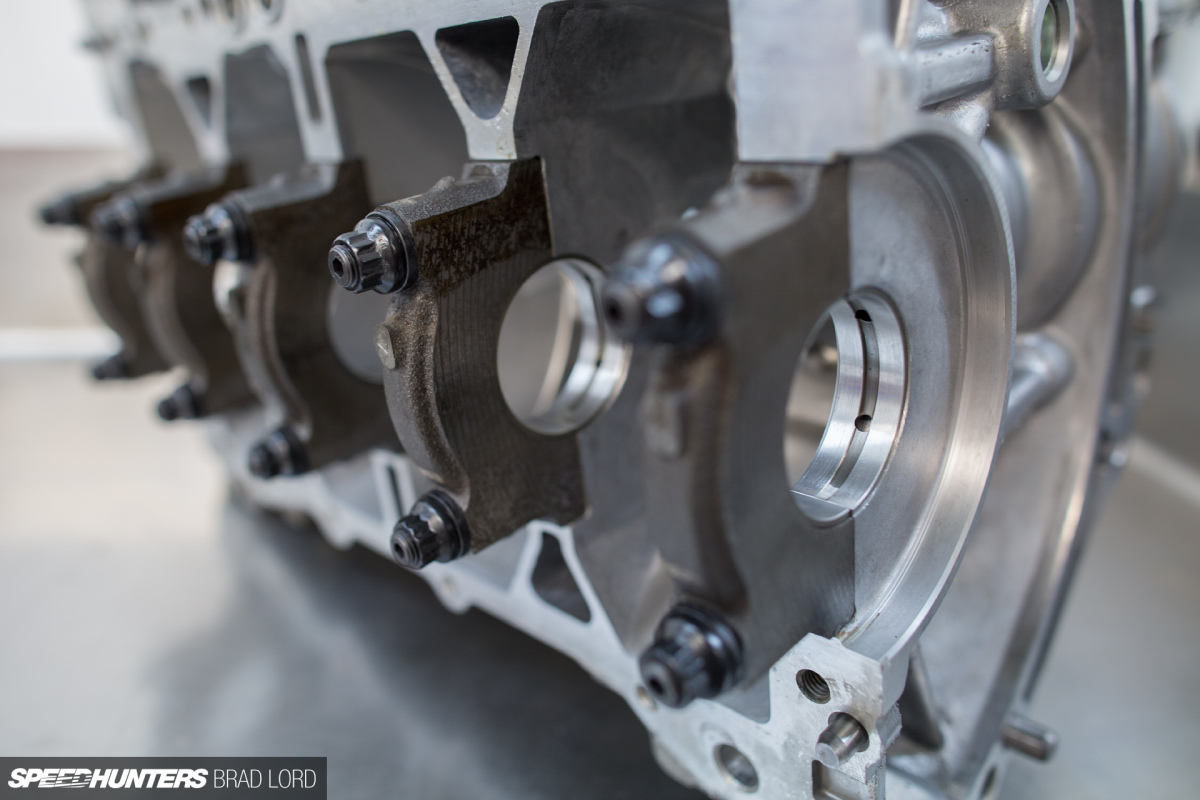
We’re going to be bolting the cylinder head down with ARP head studs, and I also grabbed a set of ARP main studs for piece of mind. Because the ARP mains have a far greater clamping force than the OEM studs distortion of the main bore is a real possibility, so a line hone was completed with the main caps in place and everything torqued up to spec.
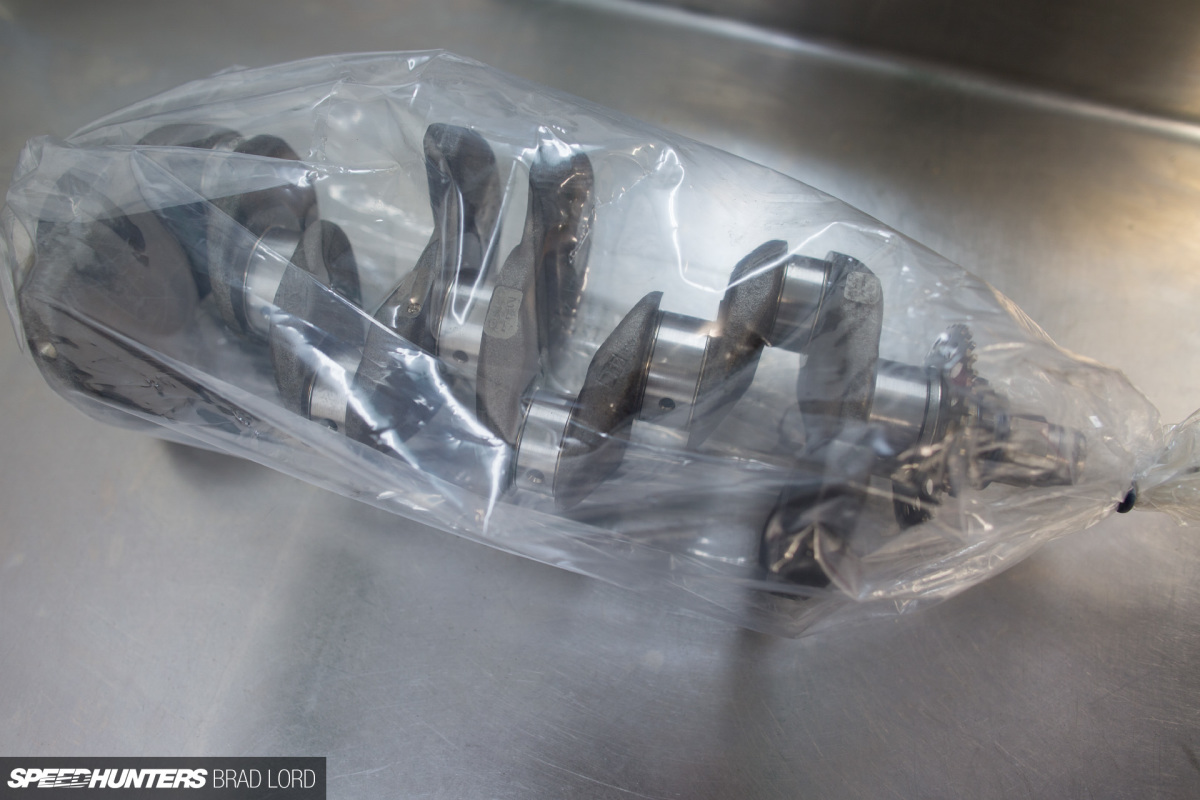
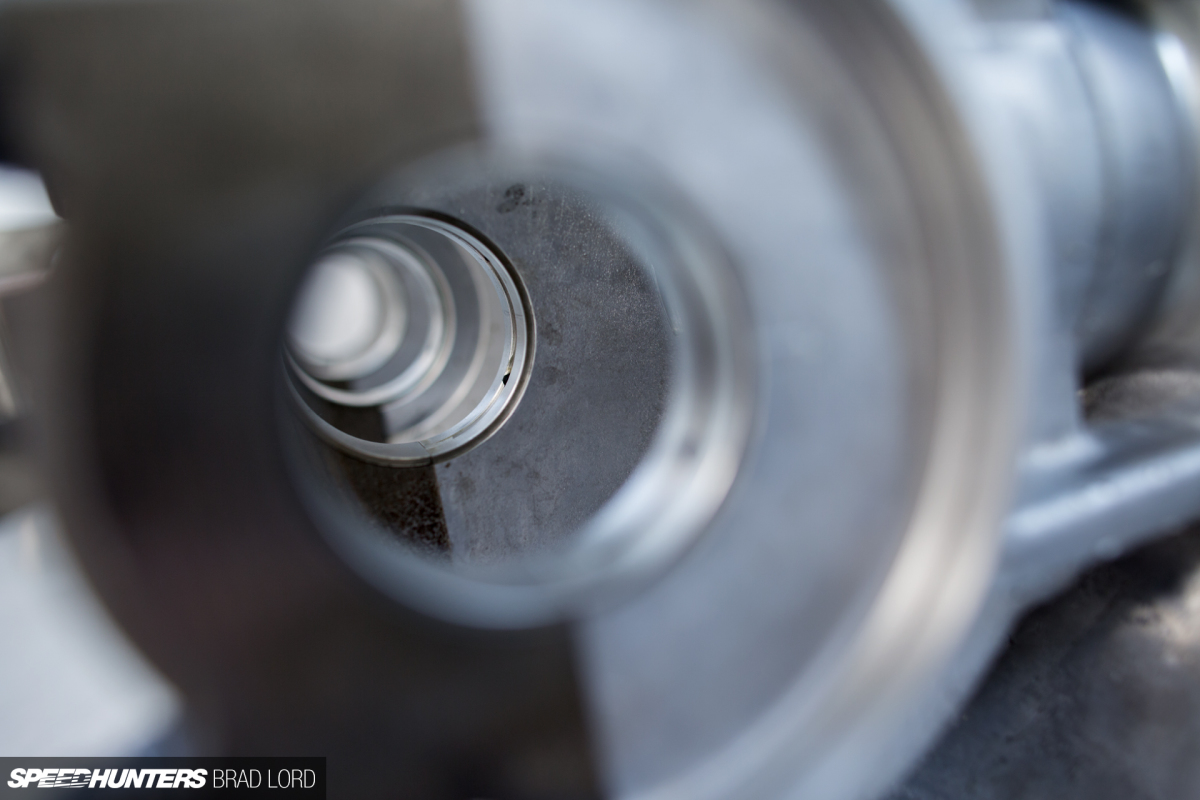
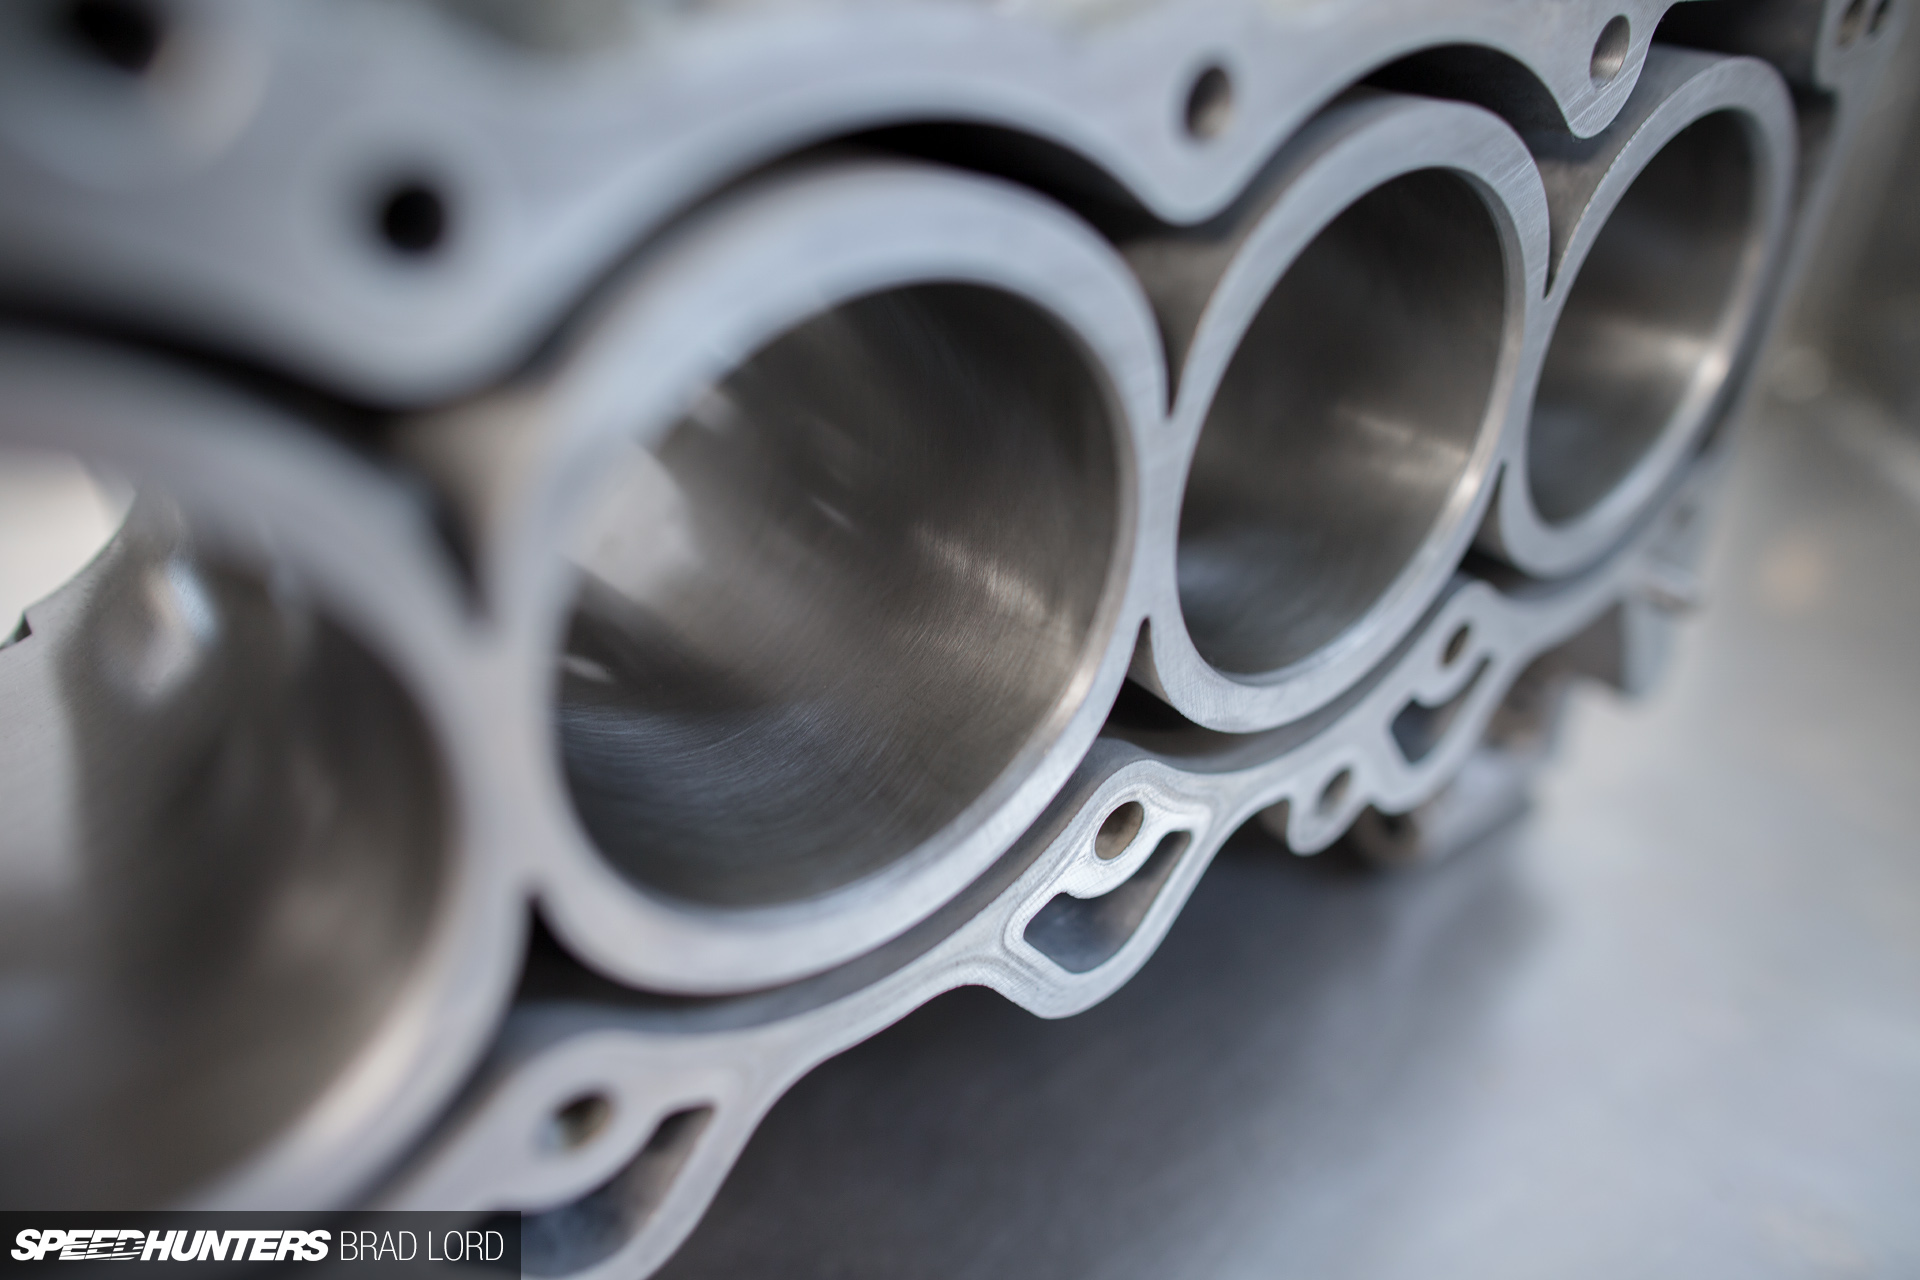
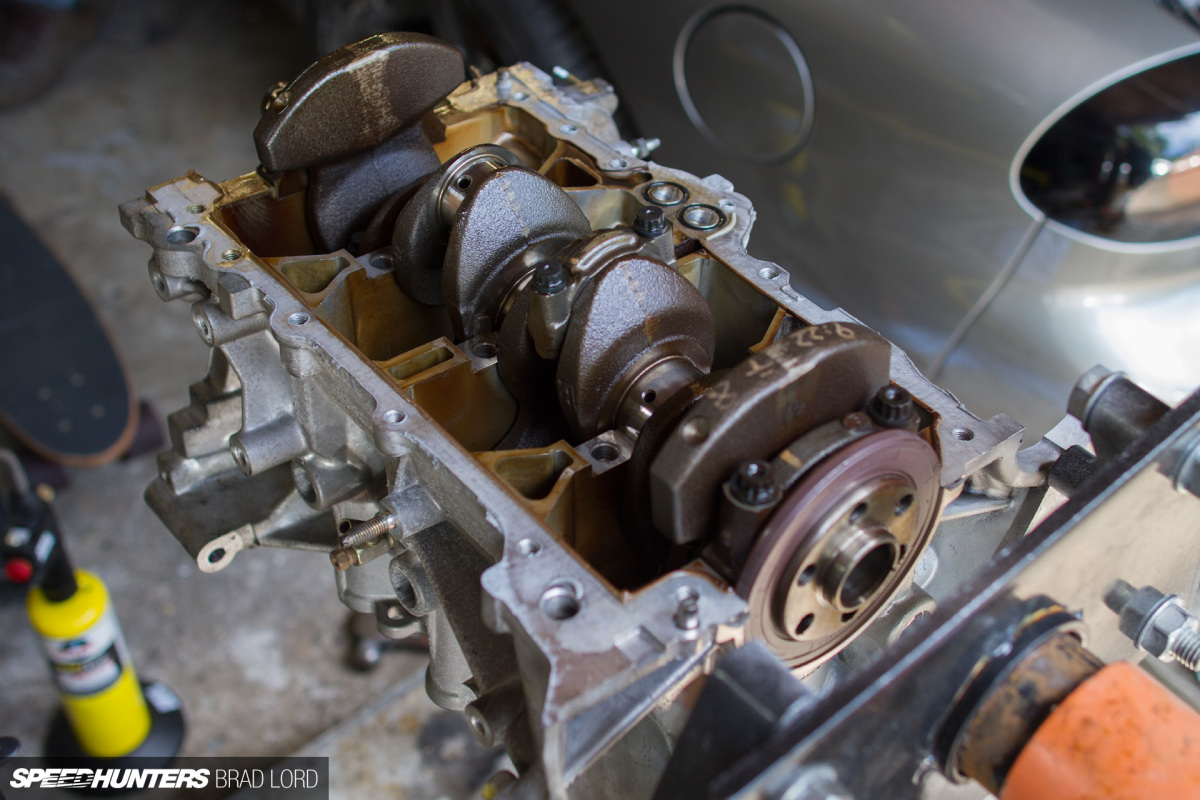
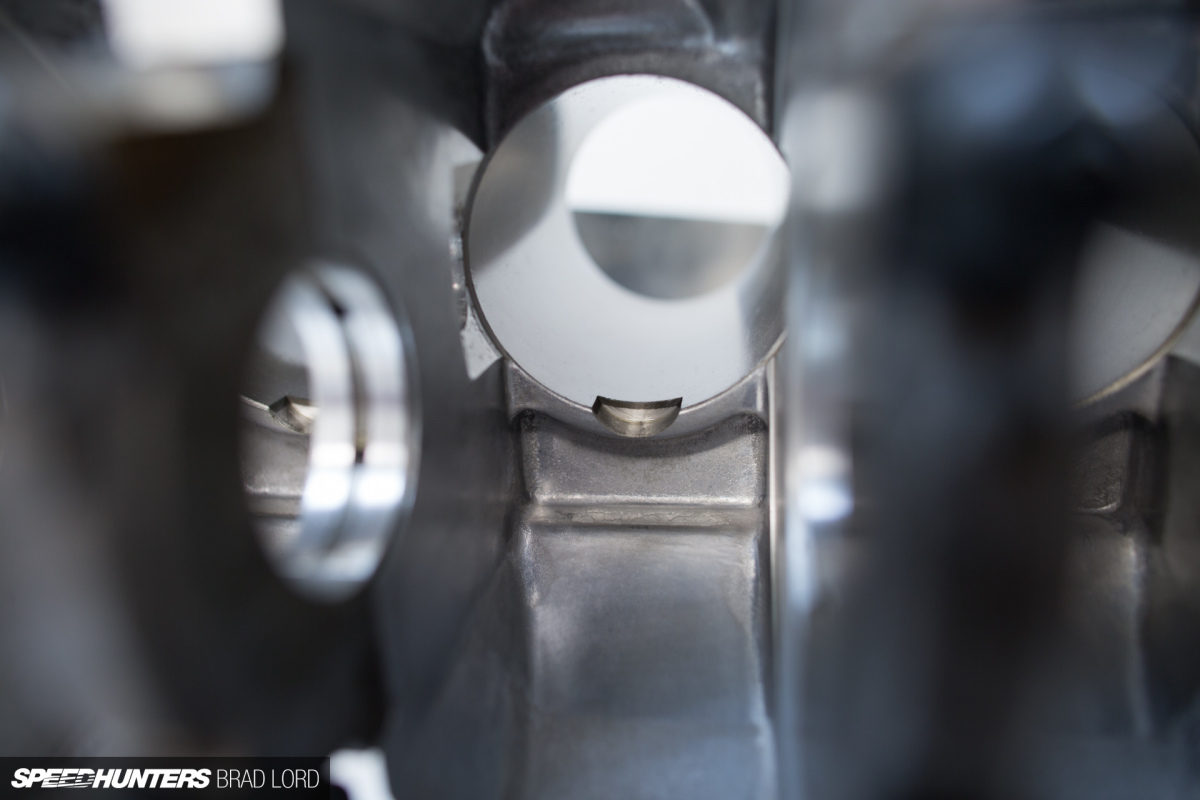
This was after the cylinders were given their super-light de-glazing hone and the crank journals were polished.
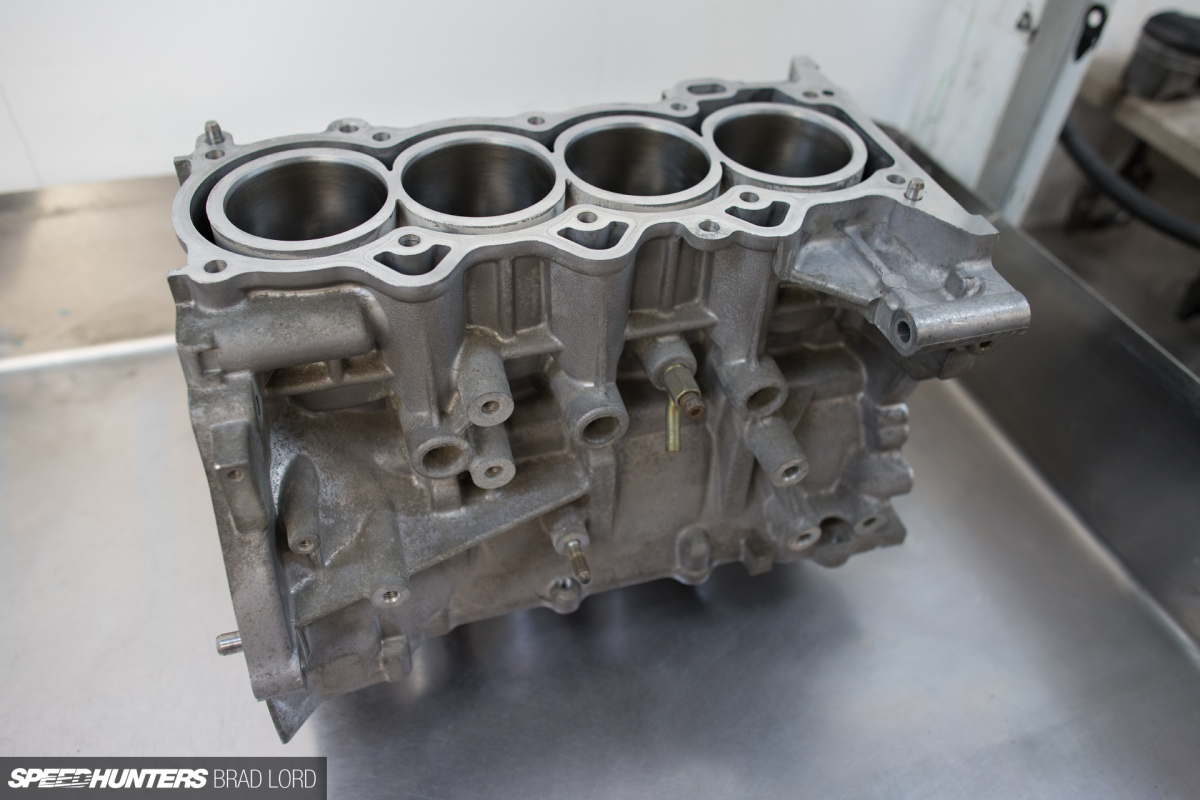
At this point the only other thing left to take care of was one of the most important ones – notching the cylinders for connecting rod clearance. This is a common requirement when changing to rods with bigger physical dimensions than the stock items, and in the case of my 1NZ a reasonable amount of material at the bottom of the cylinders needed to be removed.
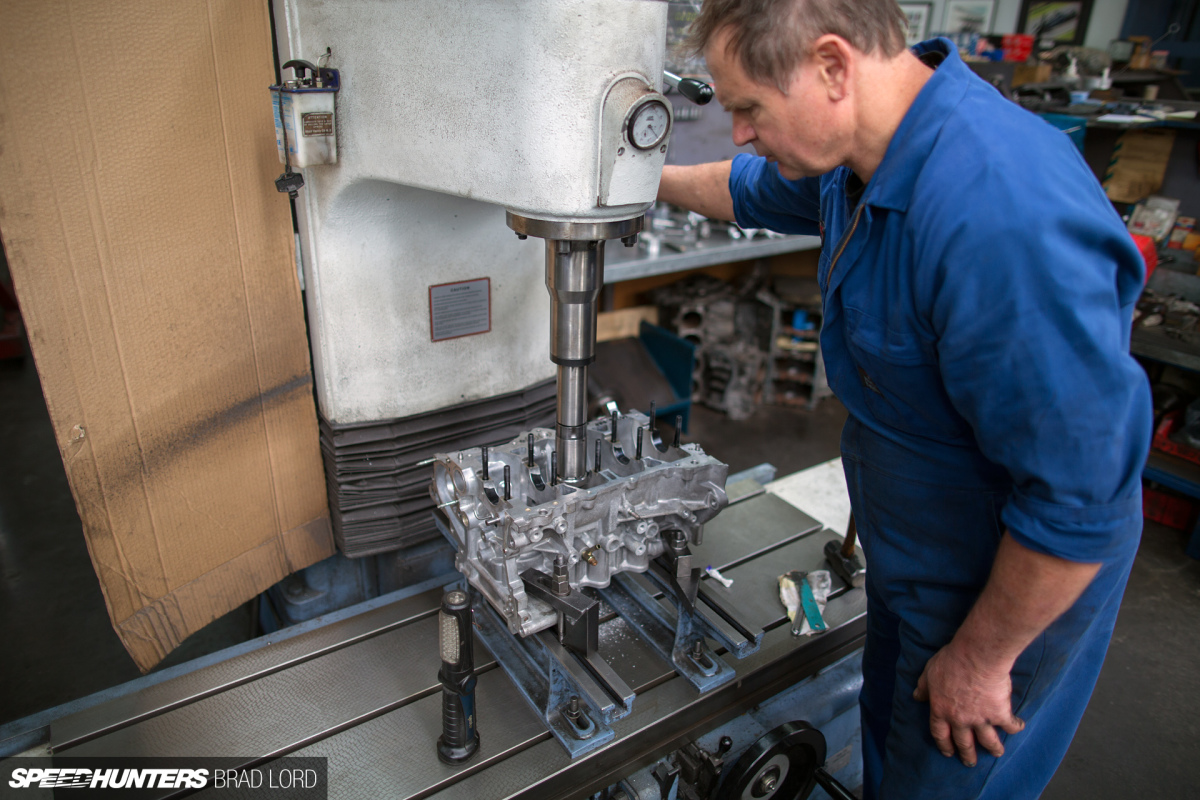
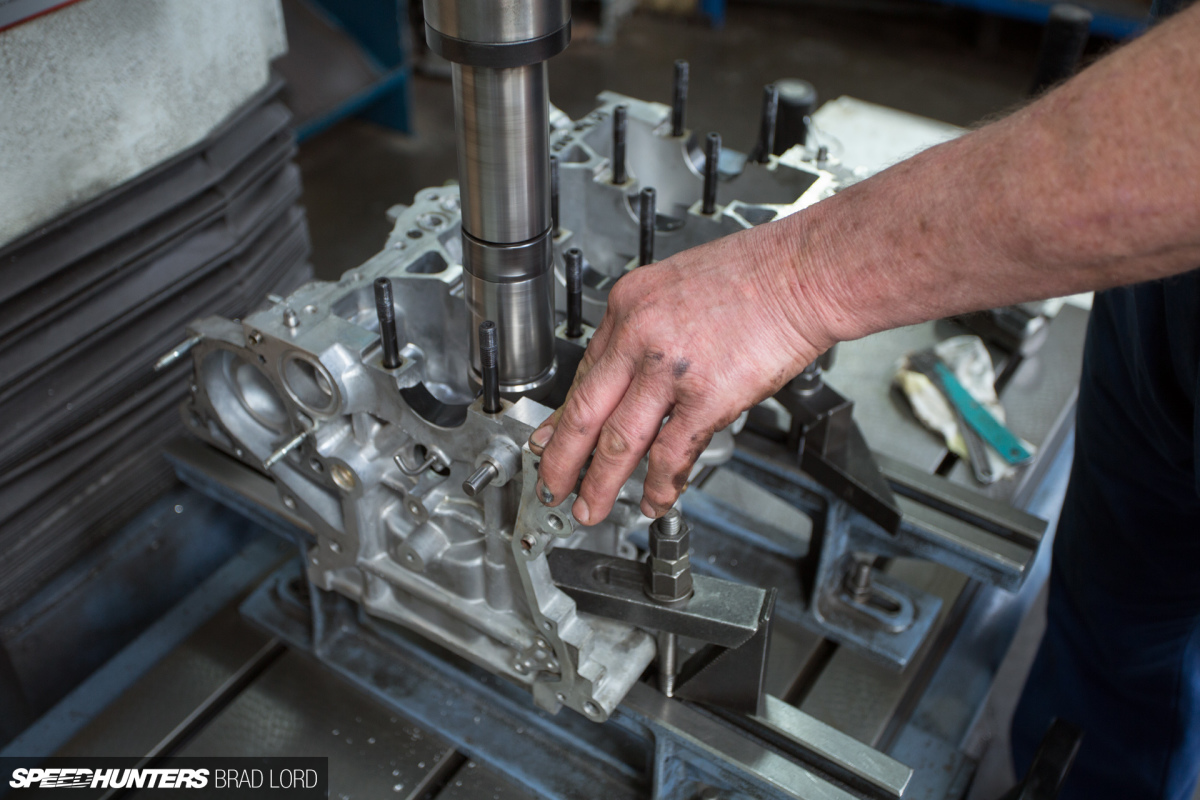

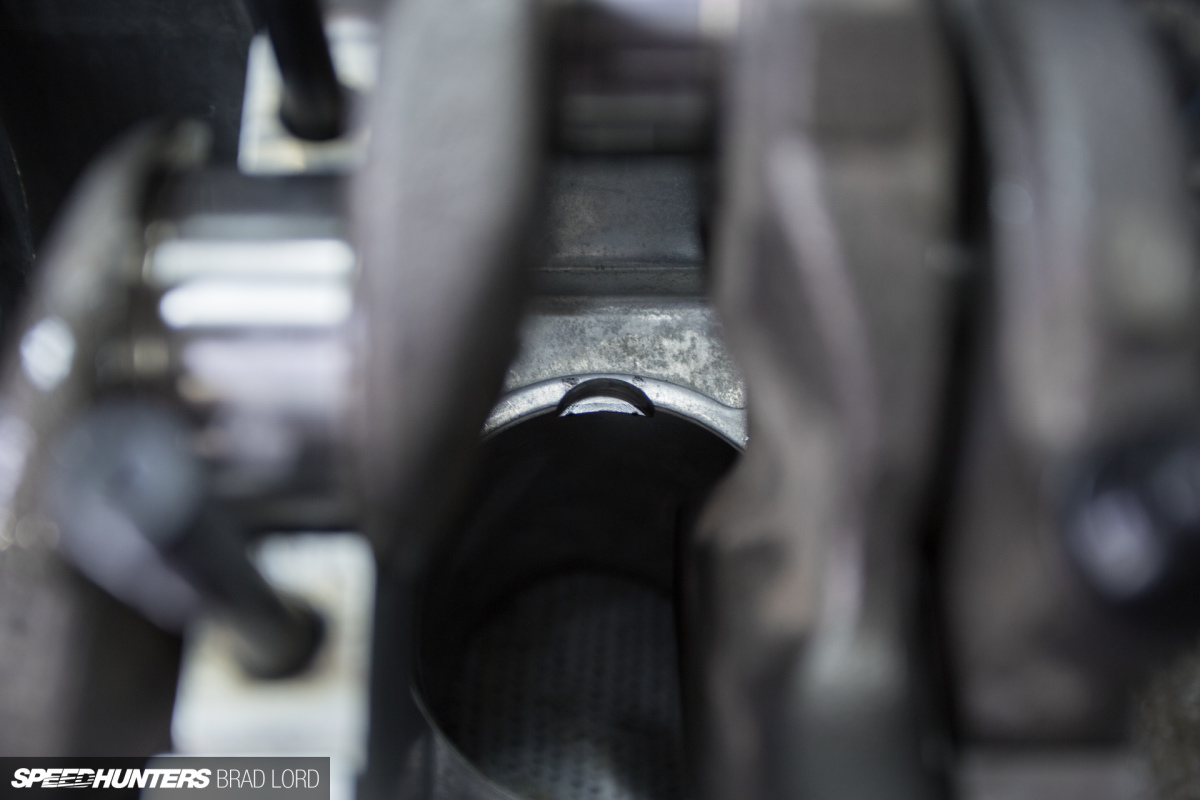
I was in the shop when Dieter, who has worked at Taylor Automotive for 30 years, was making the notches. At first, around 5mm of material at the very bottom of the cylinders where the BC rods would otherwise hit was removed, but that still wasn’t enough clearance. Ultimately, a 9mm notch was made, and we were good to go.
With all the machine work done, we’re now ready to piece the engine back together, which means we’re one step closer to getting it back in the bay mated up to the Vitz RS 5-speed manual gearbox. I envisage, or at least hope, that we’ll be getting through the next stage of the project quite quickly, so you can expect me back sooner rather than later with another Project bB update.
Brad Lord
Instagram: speedhunters_brad
brad@speedhunters.com