
Shooting the 24 Hours of Nürburgring has been the highlight of my year behind the camera thus far, there’s no two ways about that.
In the aftermath of the event, I’ve been really encouraged by the overwhelming amount of positive feedback I’ve received, which, for once, didn’t come from my own mother. For better or worse, I’ve really acclimated myself to the abrasive nature of the internet in the roughly two years since my first story here published. Still, I’d be lying if I said it doesn’t feel good to be complimented in bulk every once in a while.
With the many kind words I’ve been sent since posting my work from the 24-hour race here and on my Instagram, I’ve also encountered an unusually large number of questions. These questions tend to follow a relative theme regarding my gear, how I edit images, how to get better photos, and so on. Now that the dust has settled on the race itself, I’ve given these things a bit of thought and would like to cover them in some detail here.
But let me be forthright: I’m certainly no expert, and I am by no means the most qualified on the team to be giving you this advice.
Just by raw experience I’ve been shooting for less than most around here, and as such I’m still very much learning what I’m actually doing. All this means is that there’s hope for anyone, so if you have some interest in shooting (and no idea what you’re doing), listen up.
Otherwise, skip straight to the comments and tell me why you hate me.

Just kidding, don’t do that — unless you really want to. Anyway, there’s one thing I’m sure of regardless of your level of experience: Every event spent behind the camera should be educational. If it isn’t, you’re doing something wrong.

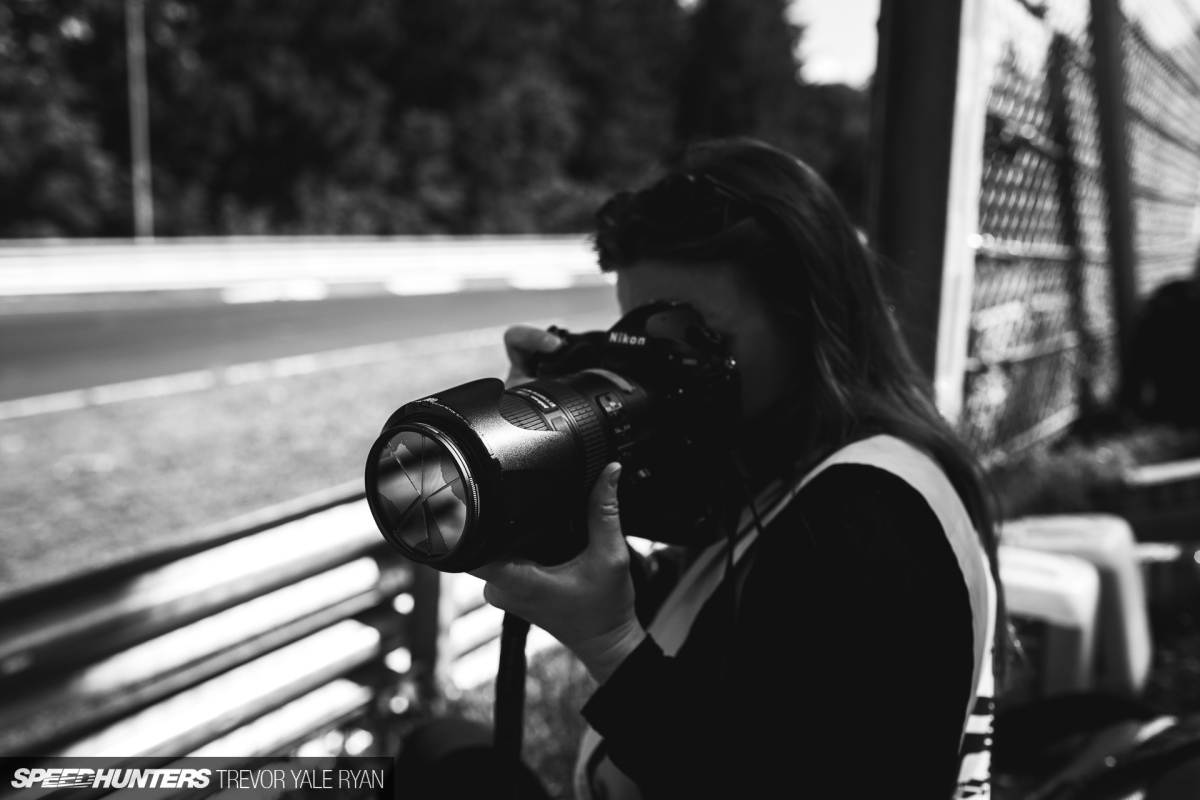
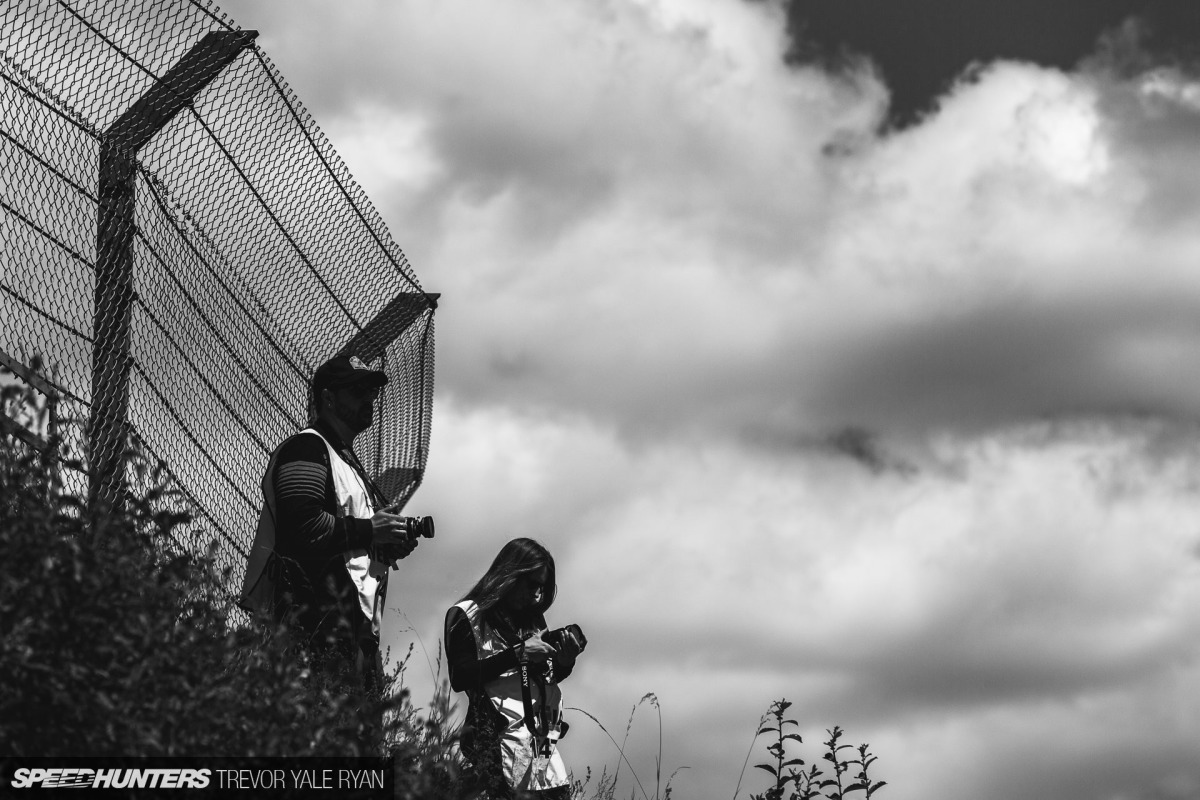
For example, this weekend I was lucky to run into my friends Nate Hassler and Lisa Linke, who took me around to a couple of their favorite corners on the track during the N24 Classic race. These two are always up to something new, and it just goes to show you need to constantly be pushing yourself.
No race in the world can teach you as much as the Nürburgring 24 Hour and — whether you’re an automotive photographer, casual reader, race enthusiast, or my own mom — I hope you can come out the other side of this article having learned something as well.
Gearing Up
Far and away the most common question I am asked is: ‘What do you shoot with?’ The simple answer is a camera, and the best one is the one you have. It’s a tired yarn, but it’s 100% true — you shouldn’t upgrade your gear until you’re consistently out-performing it.
On that note, I’ll be the first to say that your equipment makes a massive difference in the quality and consistency of your shots. At the end of the day you’ll capture more photos that are up to snuff if you have the latest, most expensive gear, and that’s a fact.
This isn’t to say that you can’t get the shot on a few-generations-old consumer-grade body with a kit lens, but it’ll certainly take more time and dedication.
That’s okay, though, because you’ll learn a great deal in the process.
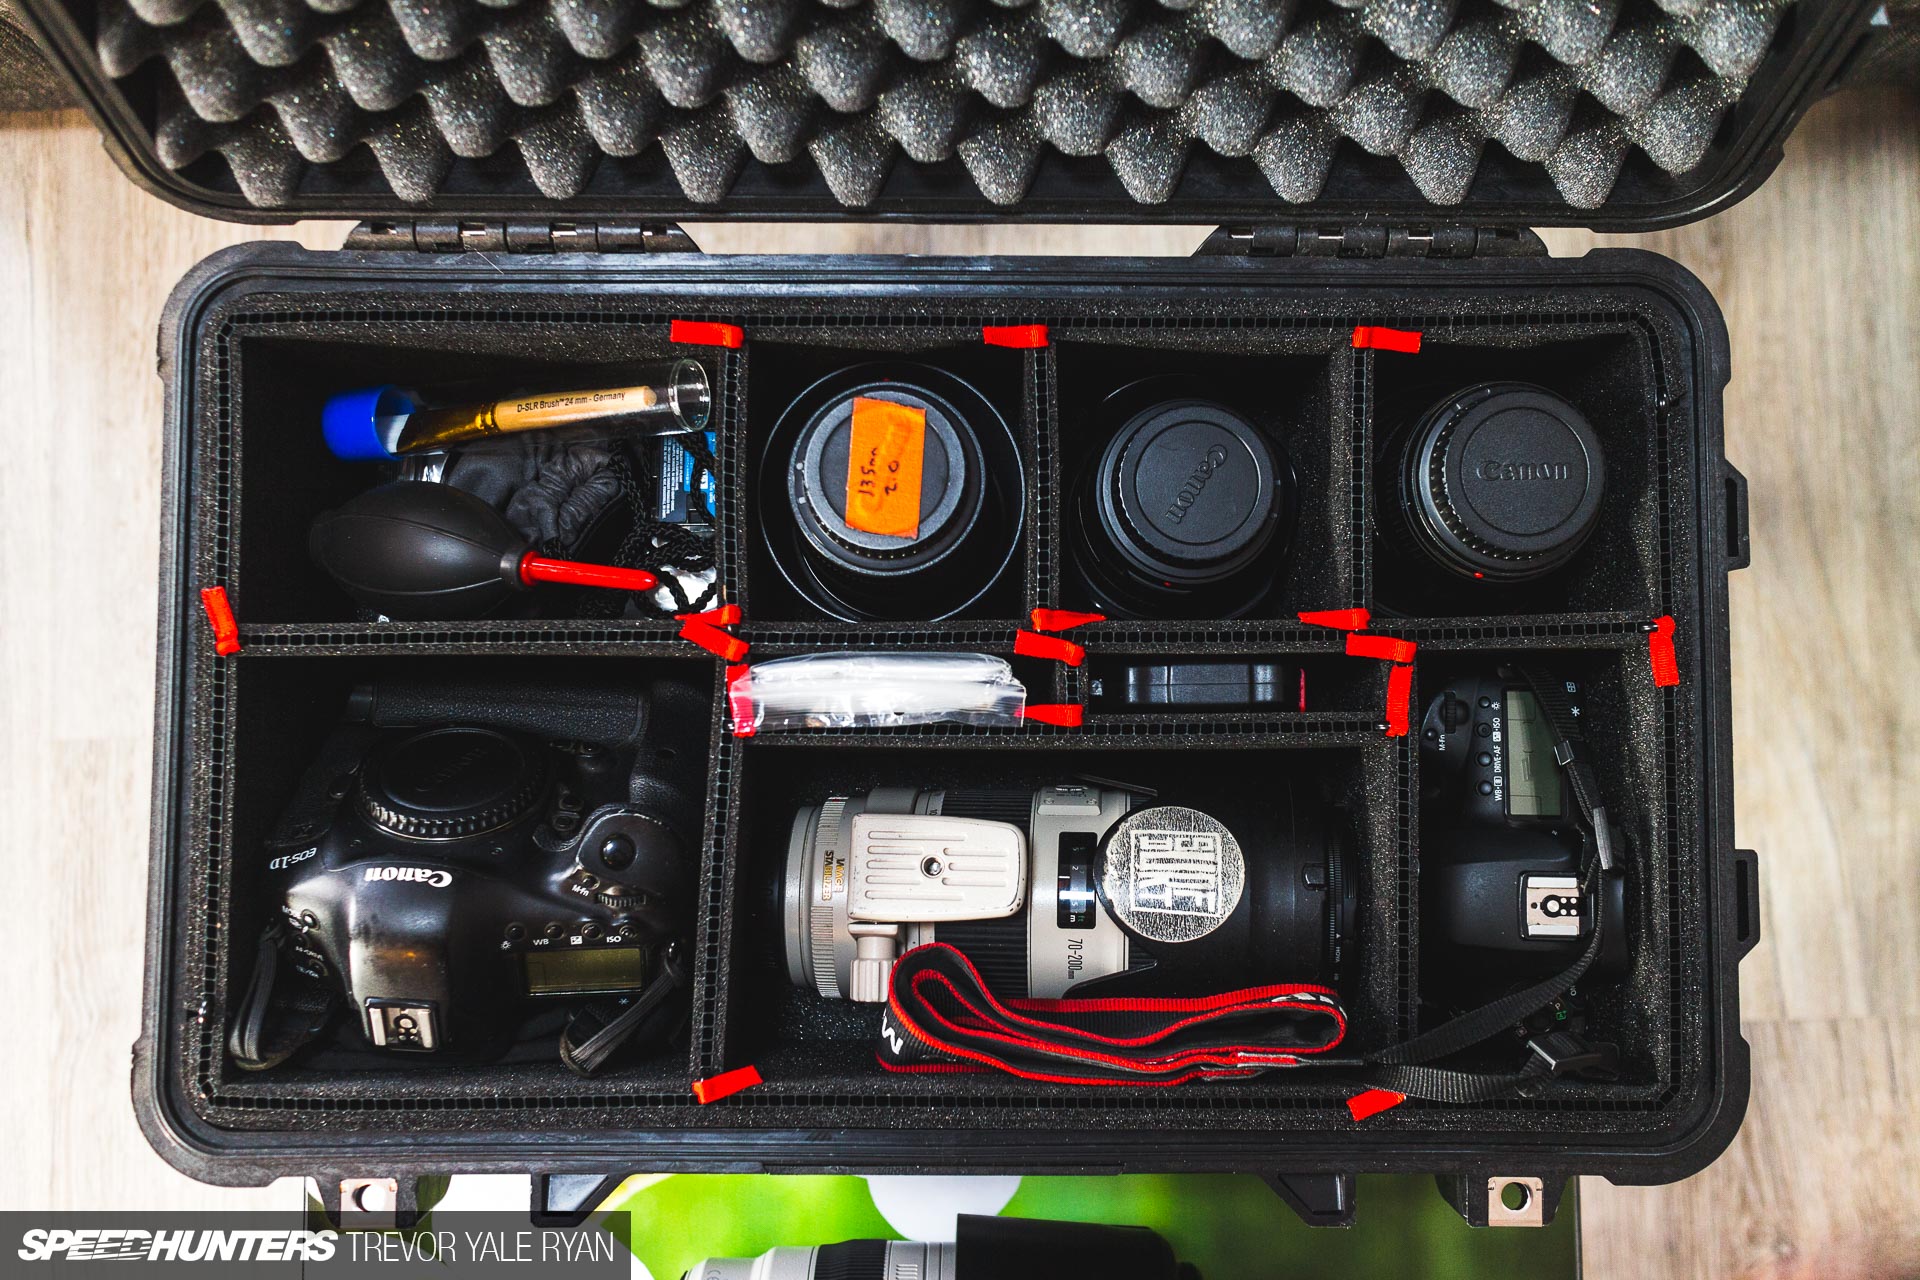
Over the years I’ve acquired a sort of mid-level prosumer setup with a dozen or so lenses and four bodies that Sara and I frequently use. For this specific trip I packed the following Canon bodies and lenses: My old EOS 1Dx for action, my 5D Mark IV as an all-rounder, a 16-35mm f/4L IS for wide-angle shots in the camps, an old 35mm f/1.4 for portraits and detail shots of the cars, a 135mm f/2.0 and 70-200mm f/2.8 II for everything, and the 100-400mm II for motaspotsu.
I would have really liked to bring my 500mm 4.5, but given how heavy and large it is – not to mention the very specific use case it offers – I begrudgingly left it at home at the advice of Paddy, Ben, Mark, and pretty much anyone I harassed about it.
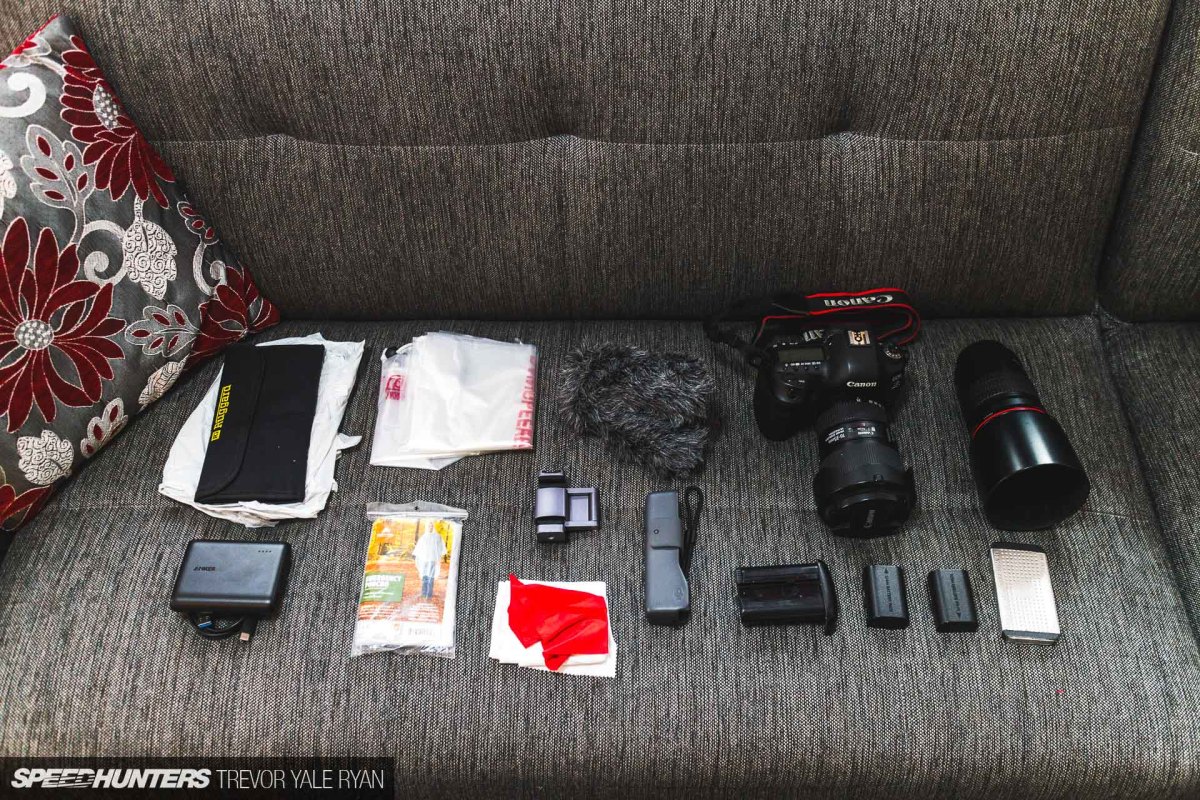
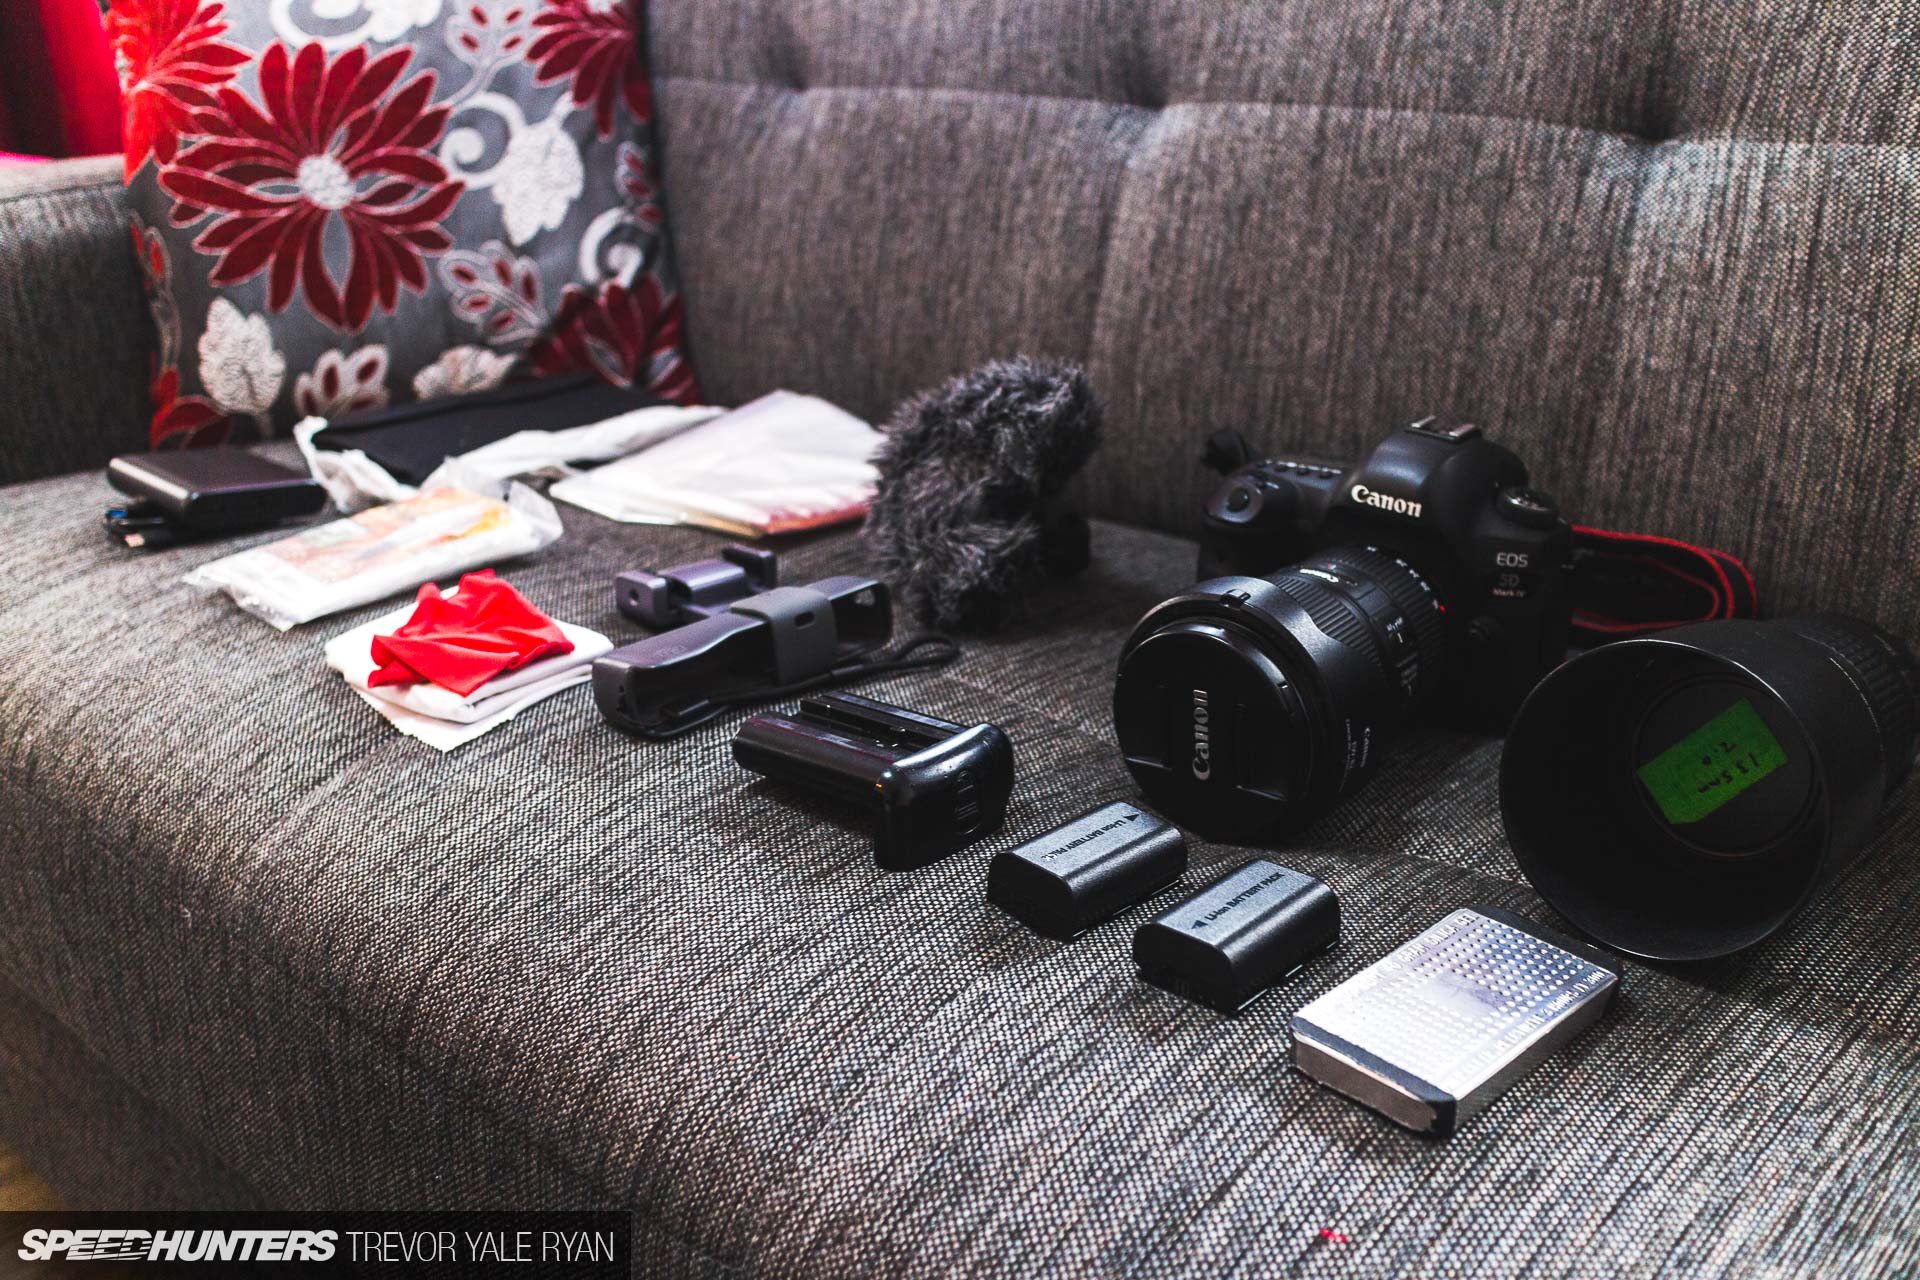
As for my walk-around kit, the first day all I brought with me in my messenger bag was my 5D Mark IV, 16-35mm, and 135mm. I say that, but there’s an awful lot of other crap here, mostly waterproofing gear which Jordan said I’d need, but didn’t. I reckon he’ll be refunding me on PayPal for all that shortly.
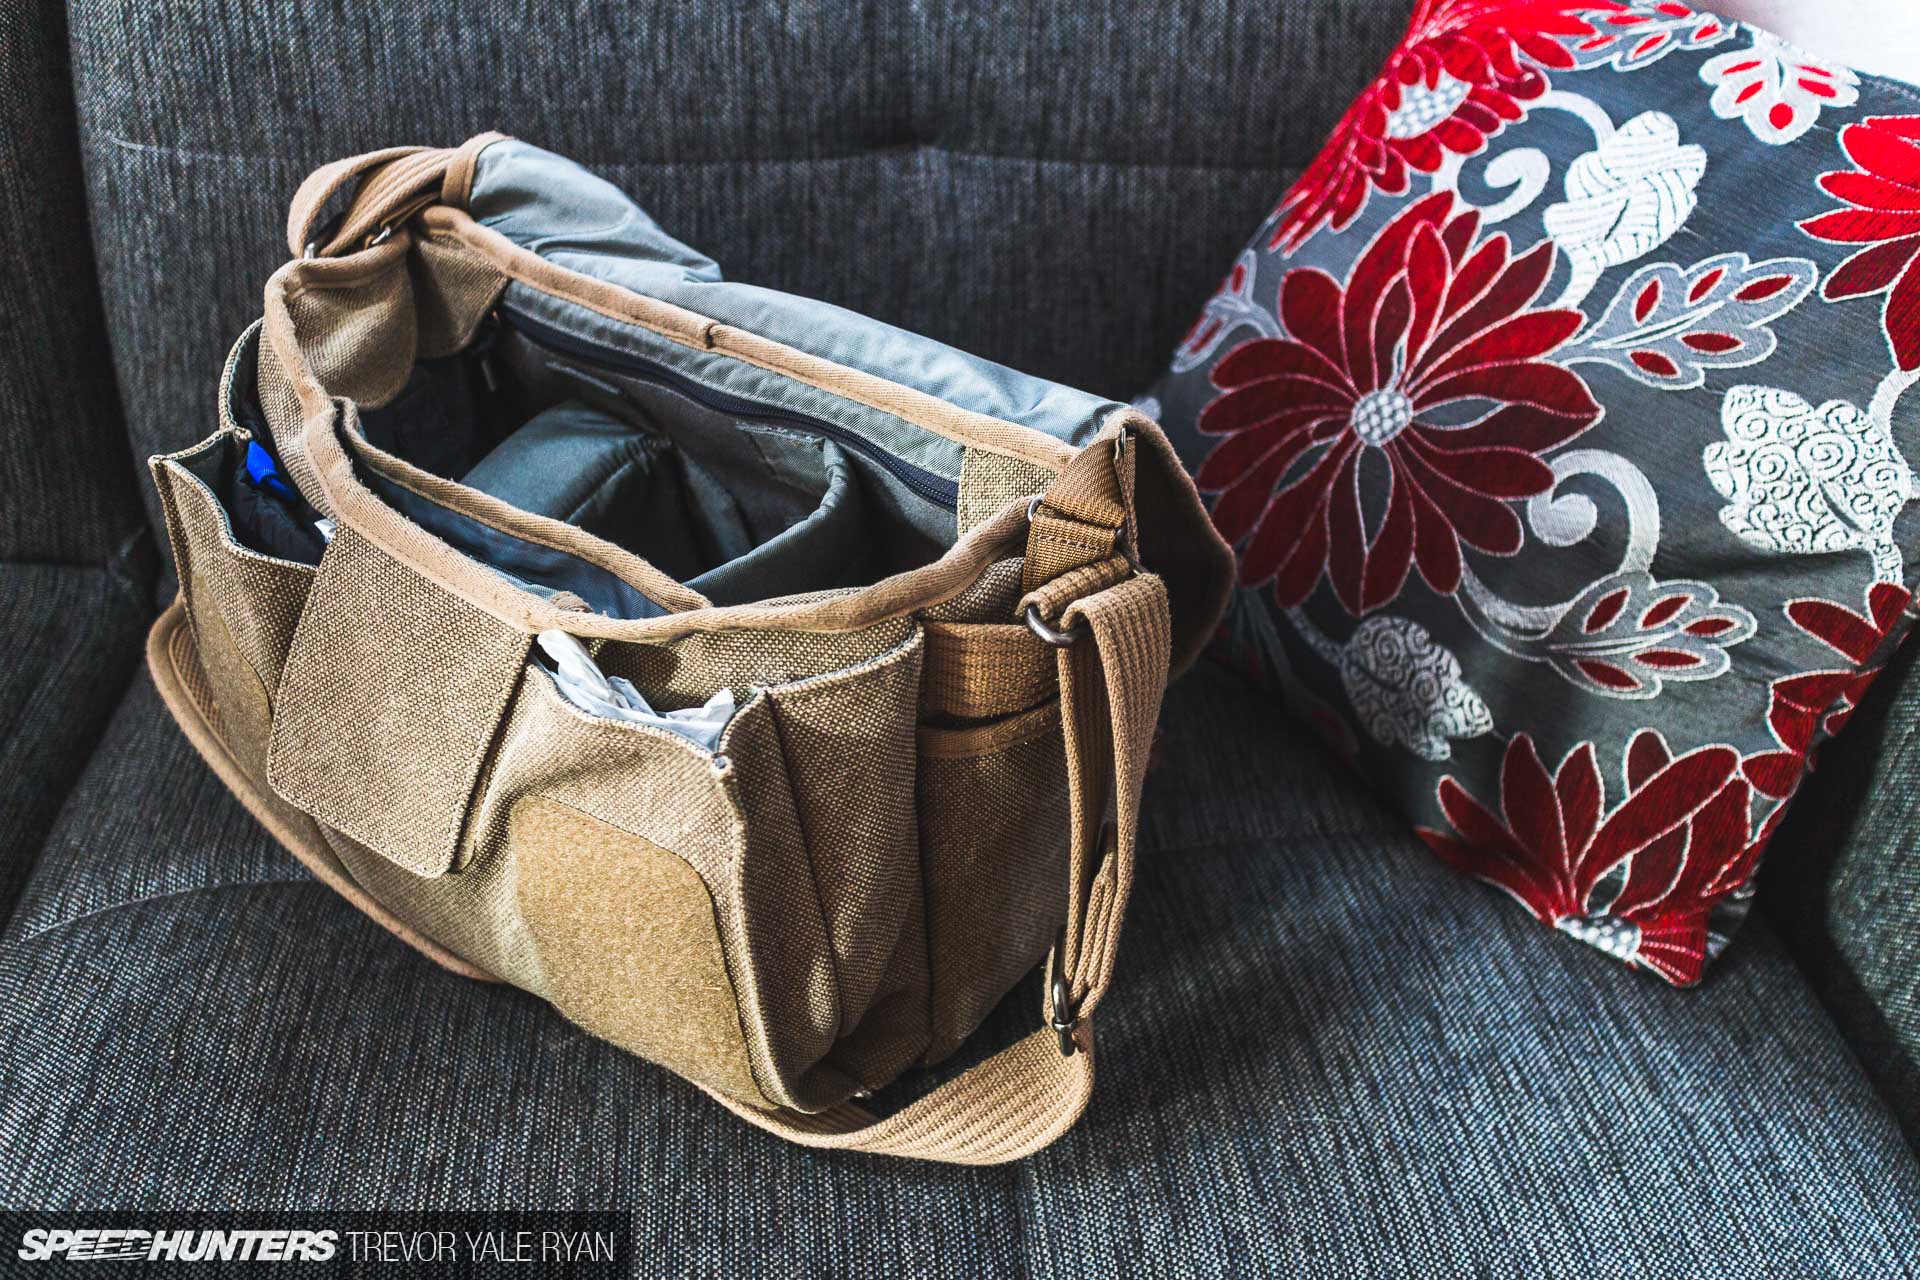
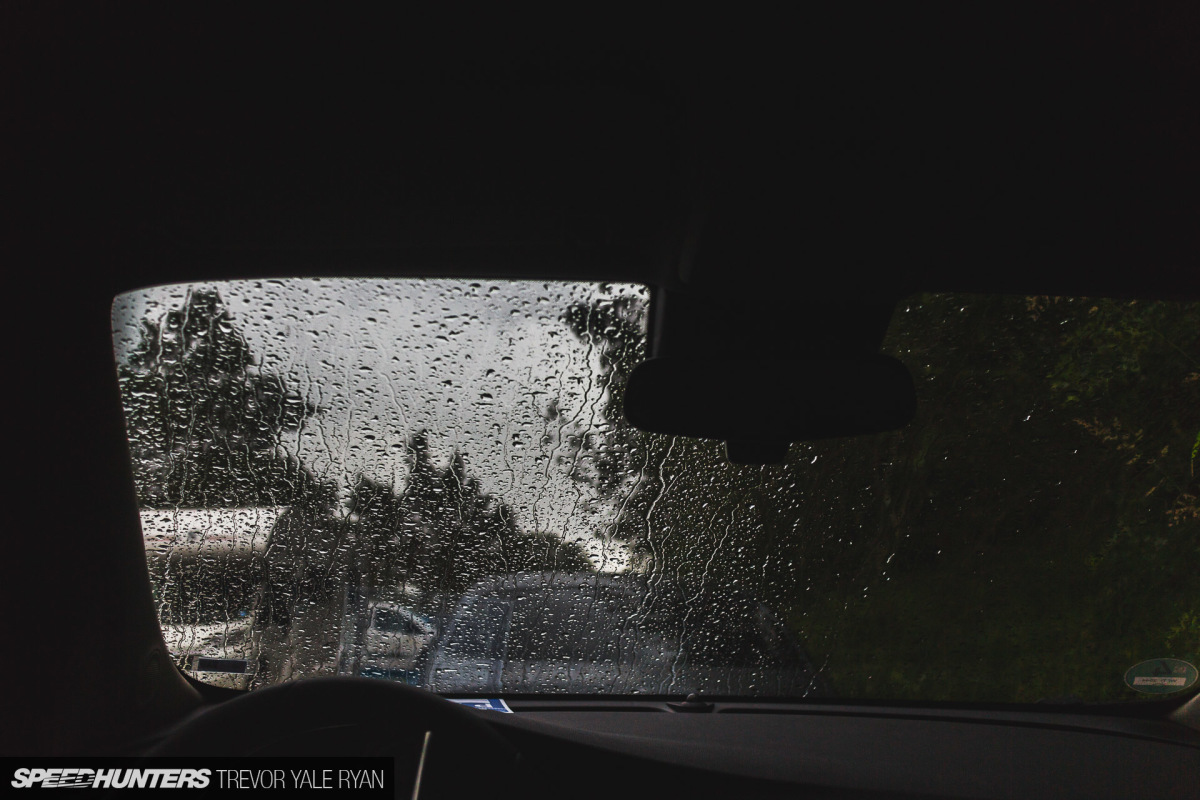
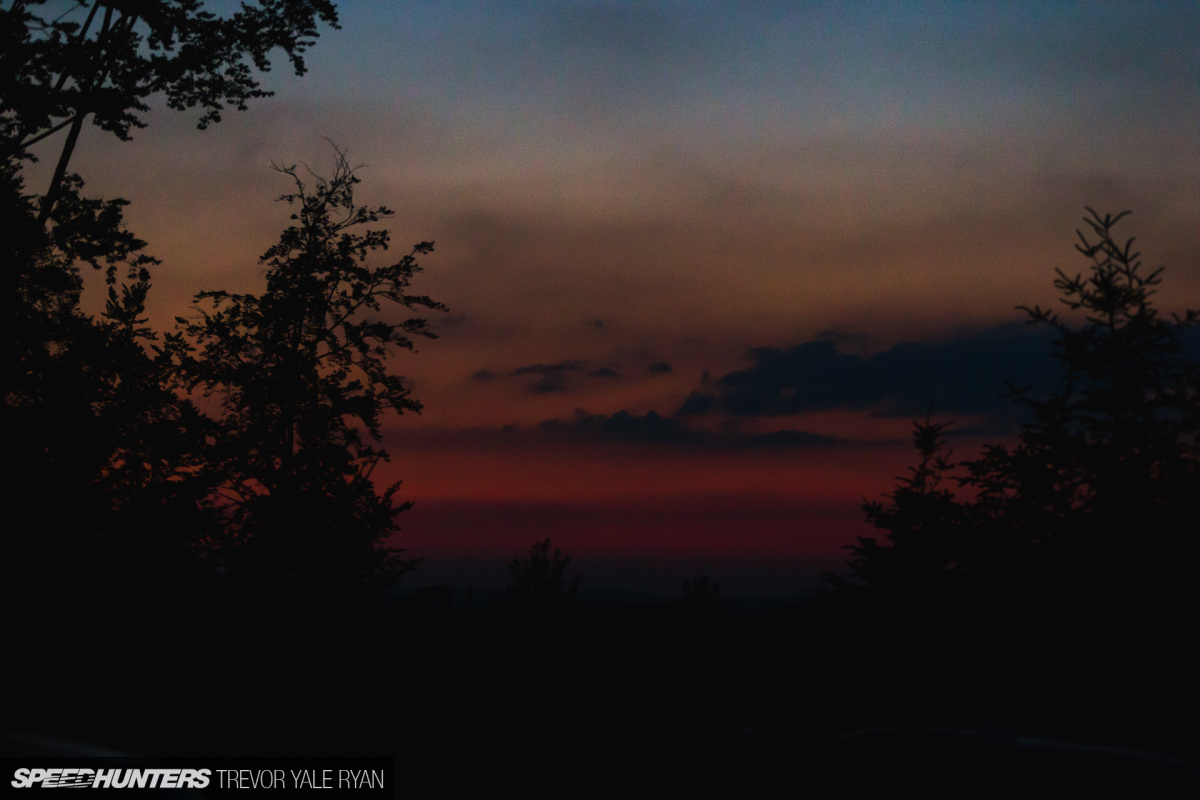
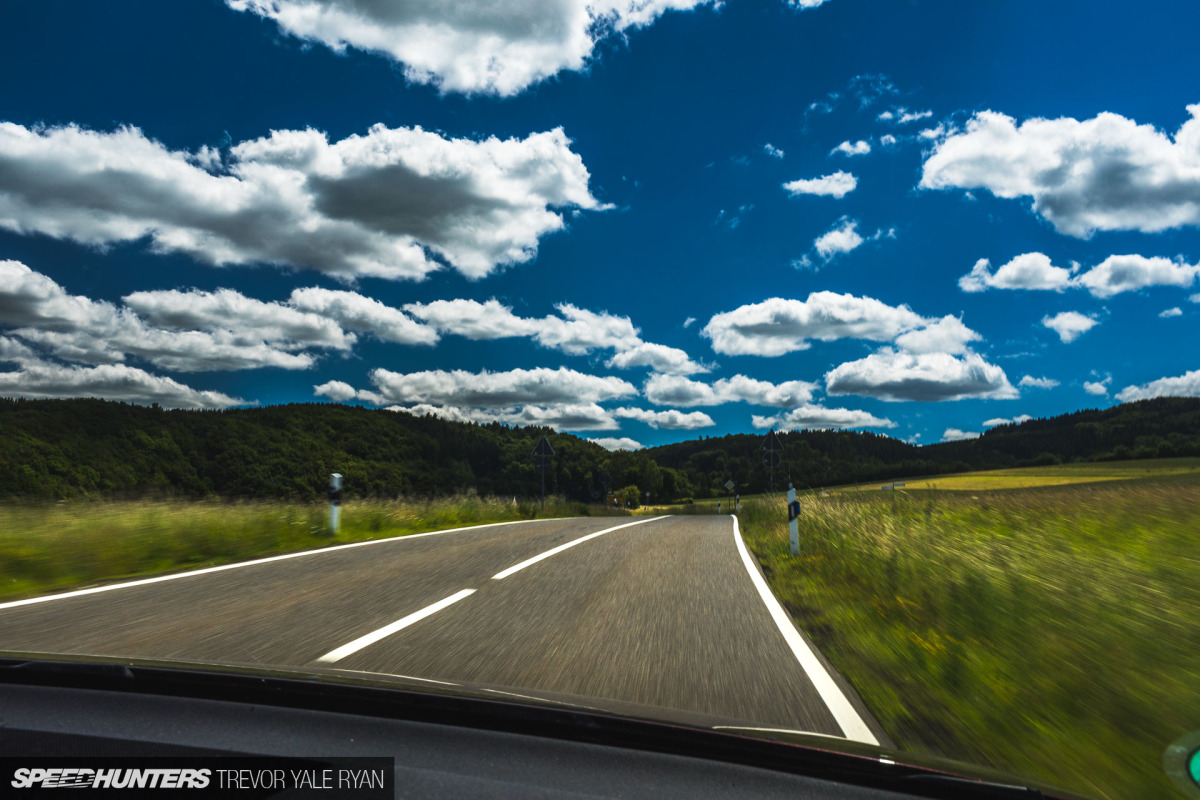
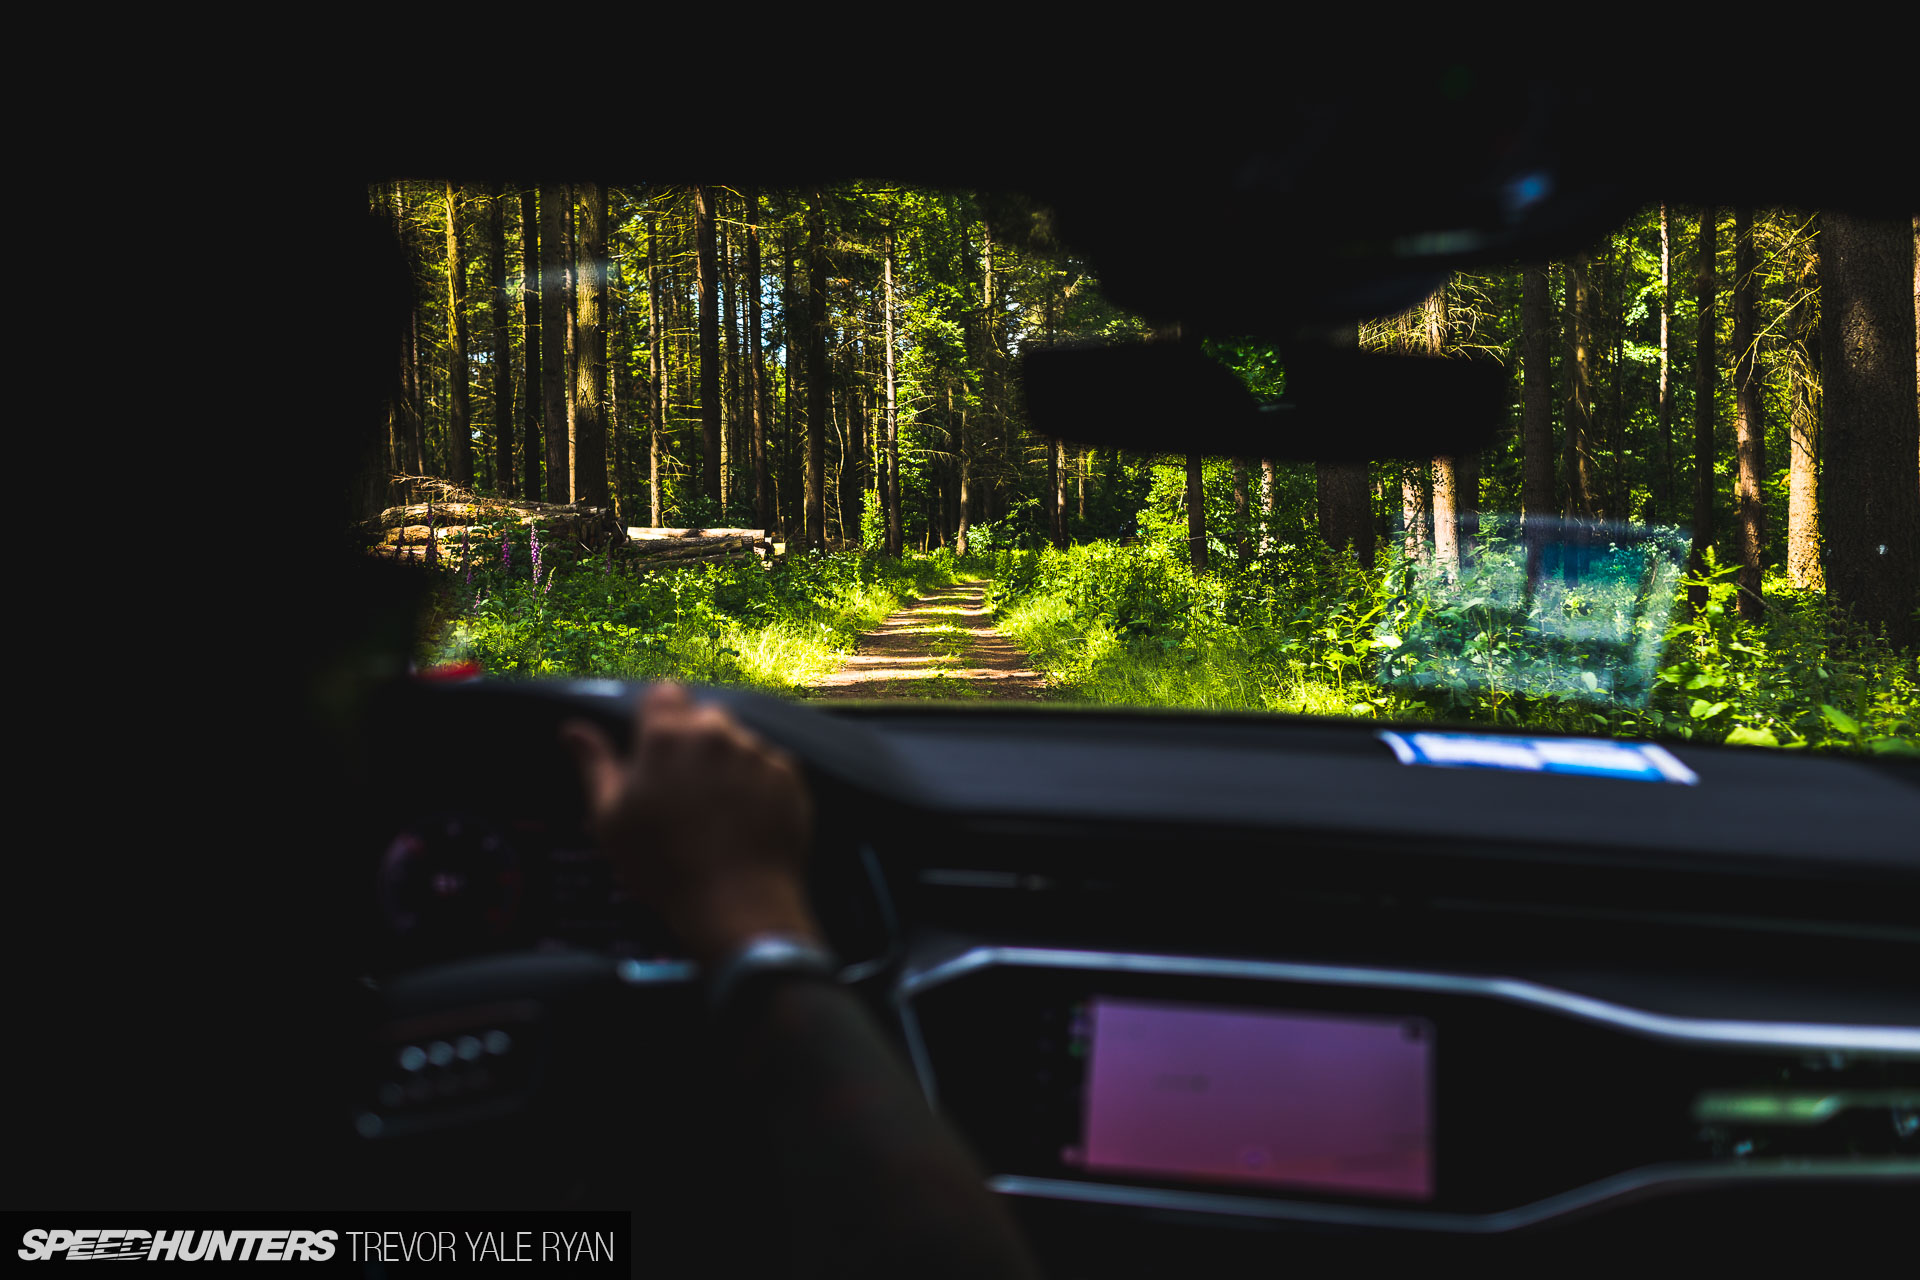
Of course, I had the usual extras as well, including a trash bag (the only rain protection I always have with me), batteries, and polarizing filters. I also packed a very tiny video camera to capture some personal clips from my time driving through the countryside and hanging out in the various campsites surrounding the circuit.
That’s the gear, but take it with a grain of salt. It really doesn’t matter that much what you’re shooting with; if you’re having a good time you’re going to produce good images sooner or later. Although, as much as I might wax lyrical about the journey, there’s no doubt I wouldn’t jump at moving to 1Dx Mark IIs across the board — don’t get me wrong.
Just keep in mind, the gains by moving to exponentially more expensive gear tend to become more and more microscopic.
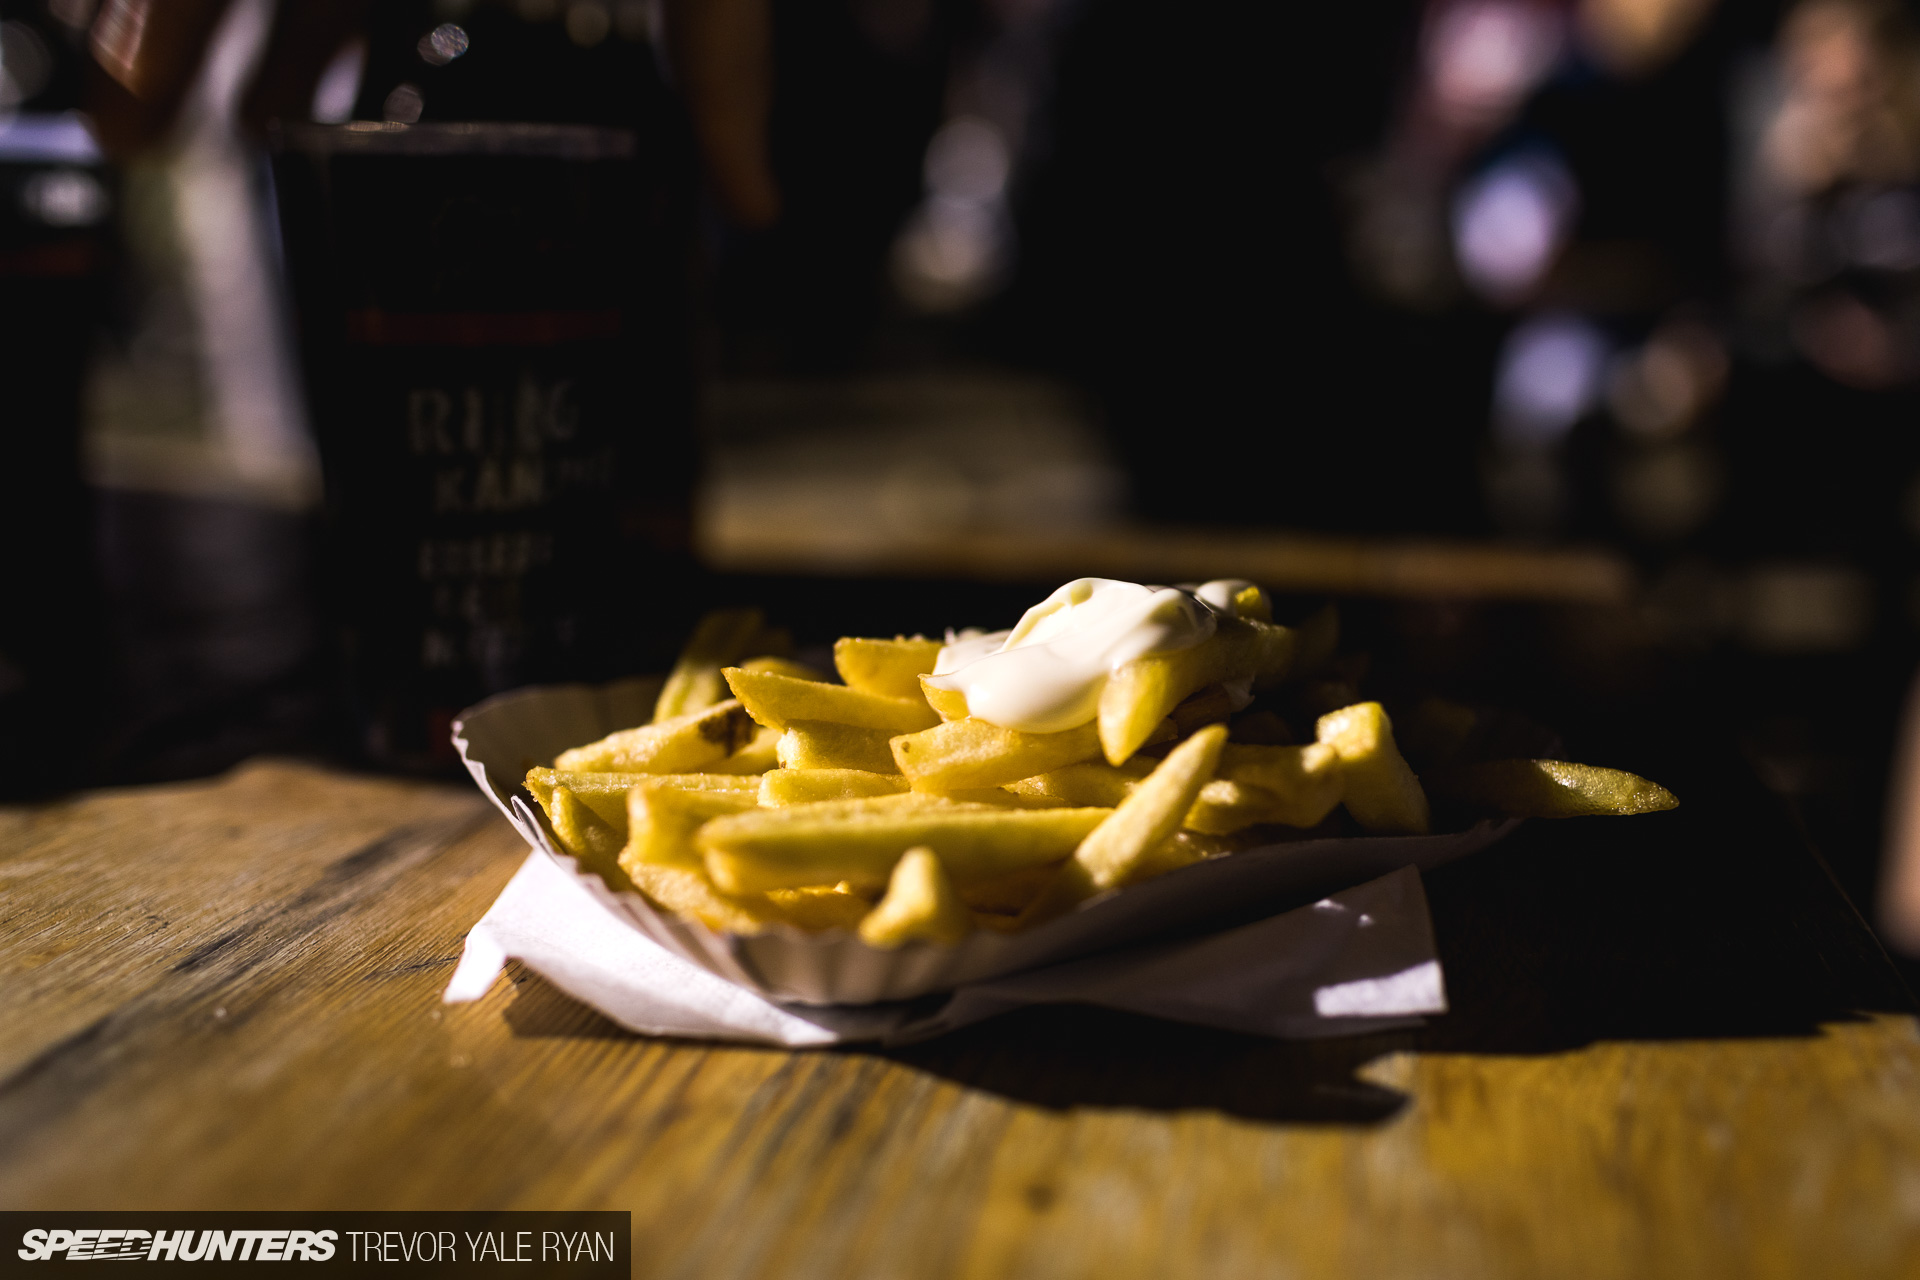
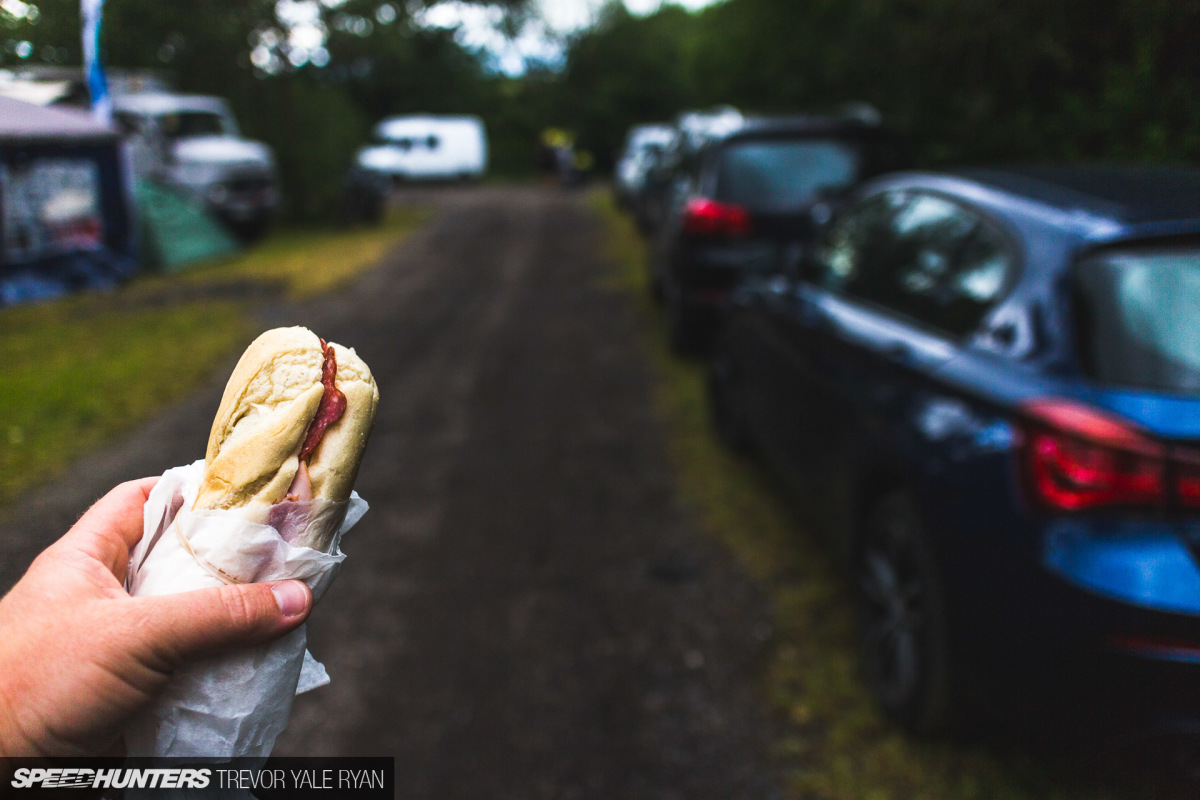


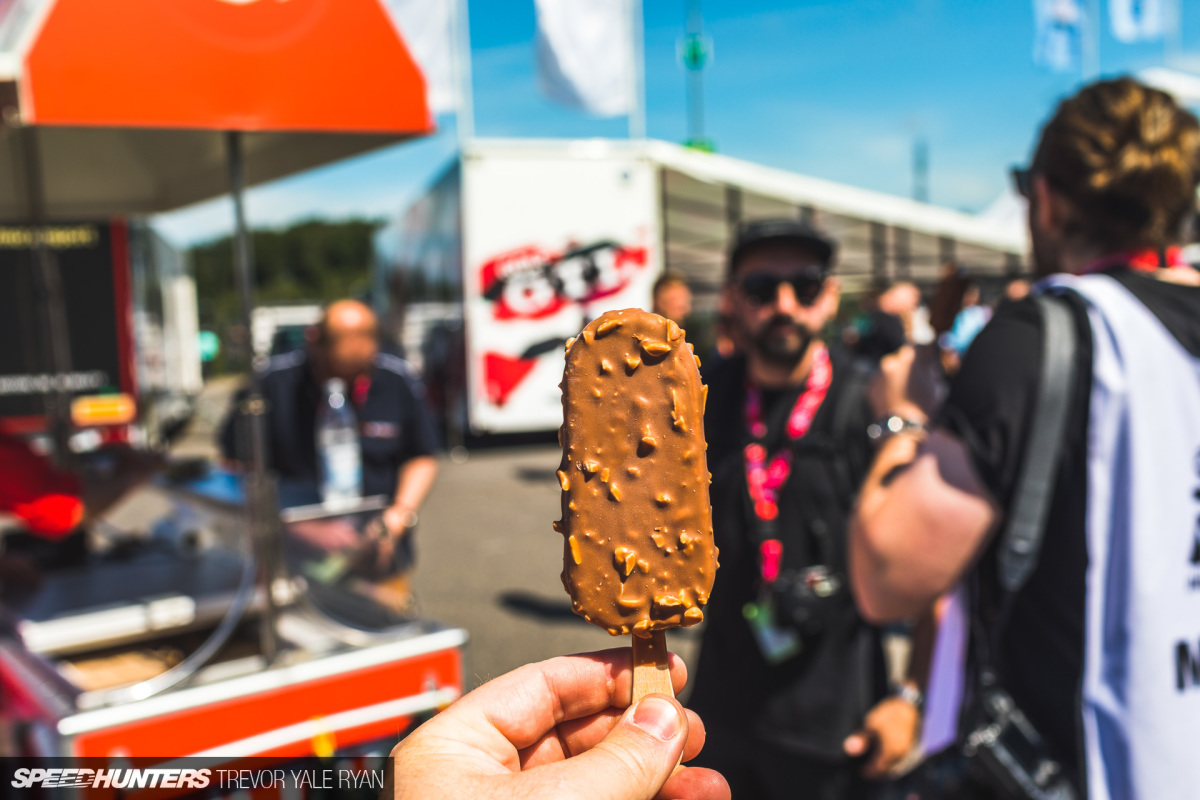
One other note in terms of preparation, and one I often overlooked when I got started: Keep yourself hydrated and well fed. If you’re uncomfortable (especially for a 24-hour race) you just won’t be able to focus completely on shooting, which is key. In other words, if I was with Ben I was eating ice cream and french fries, and when left to my own devices I was eating funny sandwiches I made from my hotel’s breakfast buffet and smuggled out in my camera bag.
Better safe than sorry when it comes to hunger — just stay away from the mayo.
Secret Sauce
The next most common question I’ve come across is a request for specific camera settings and the lens used for a given photo. This information is entirely subjective (i.e. mostly useless) given a thousand details like the distance to your subject, the time of day, the angle and source of the light, the temperature, how fast your target is moving, and on and on and on.
Still, to show there really is no secret sauce when it comes to shooting, here are a few photos and their corresponding settings in all their glory.
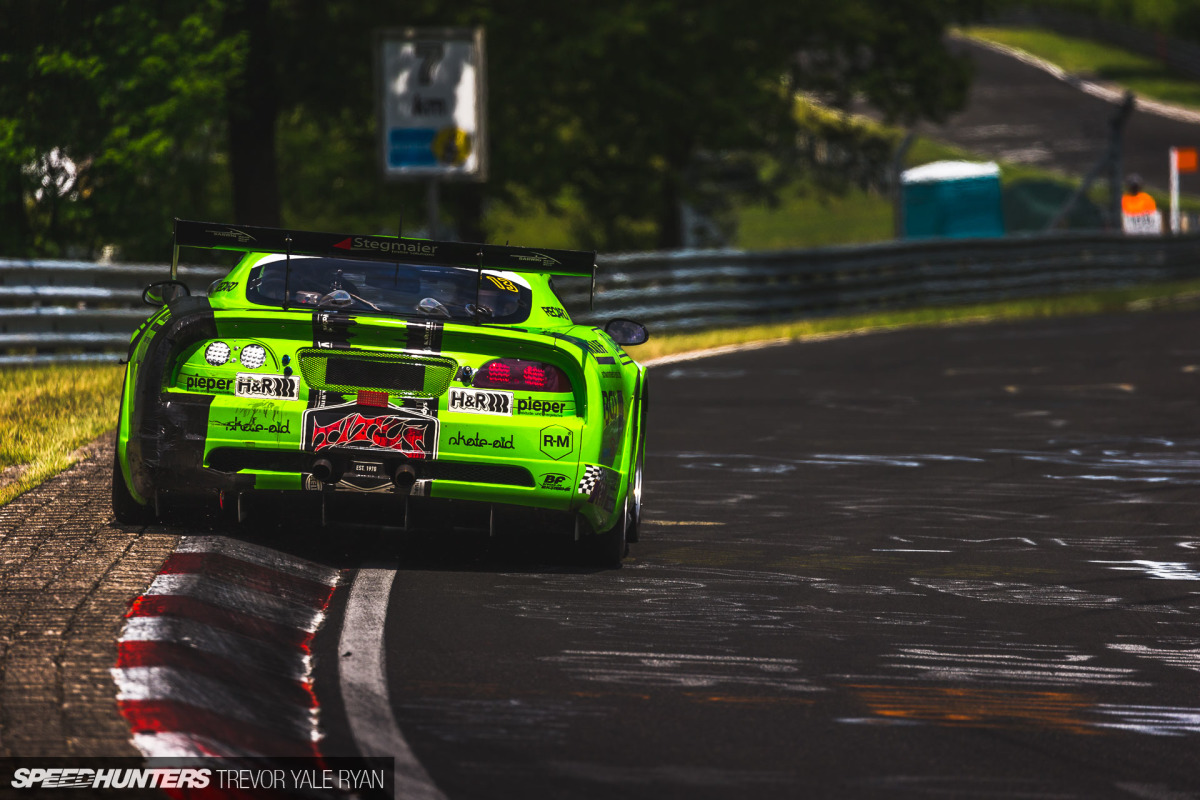
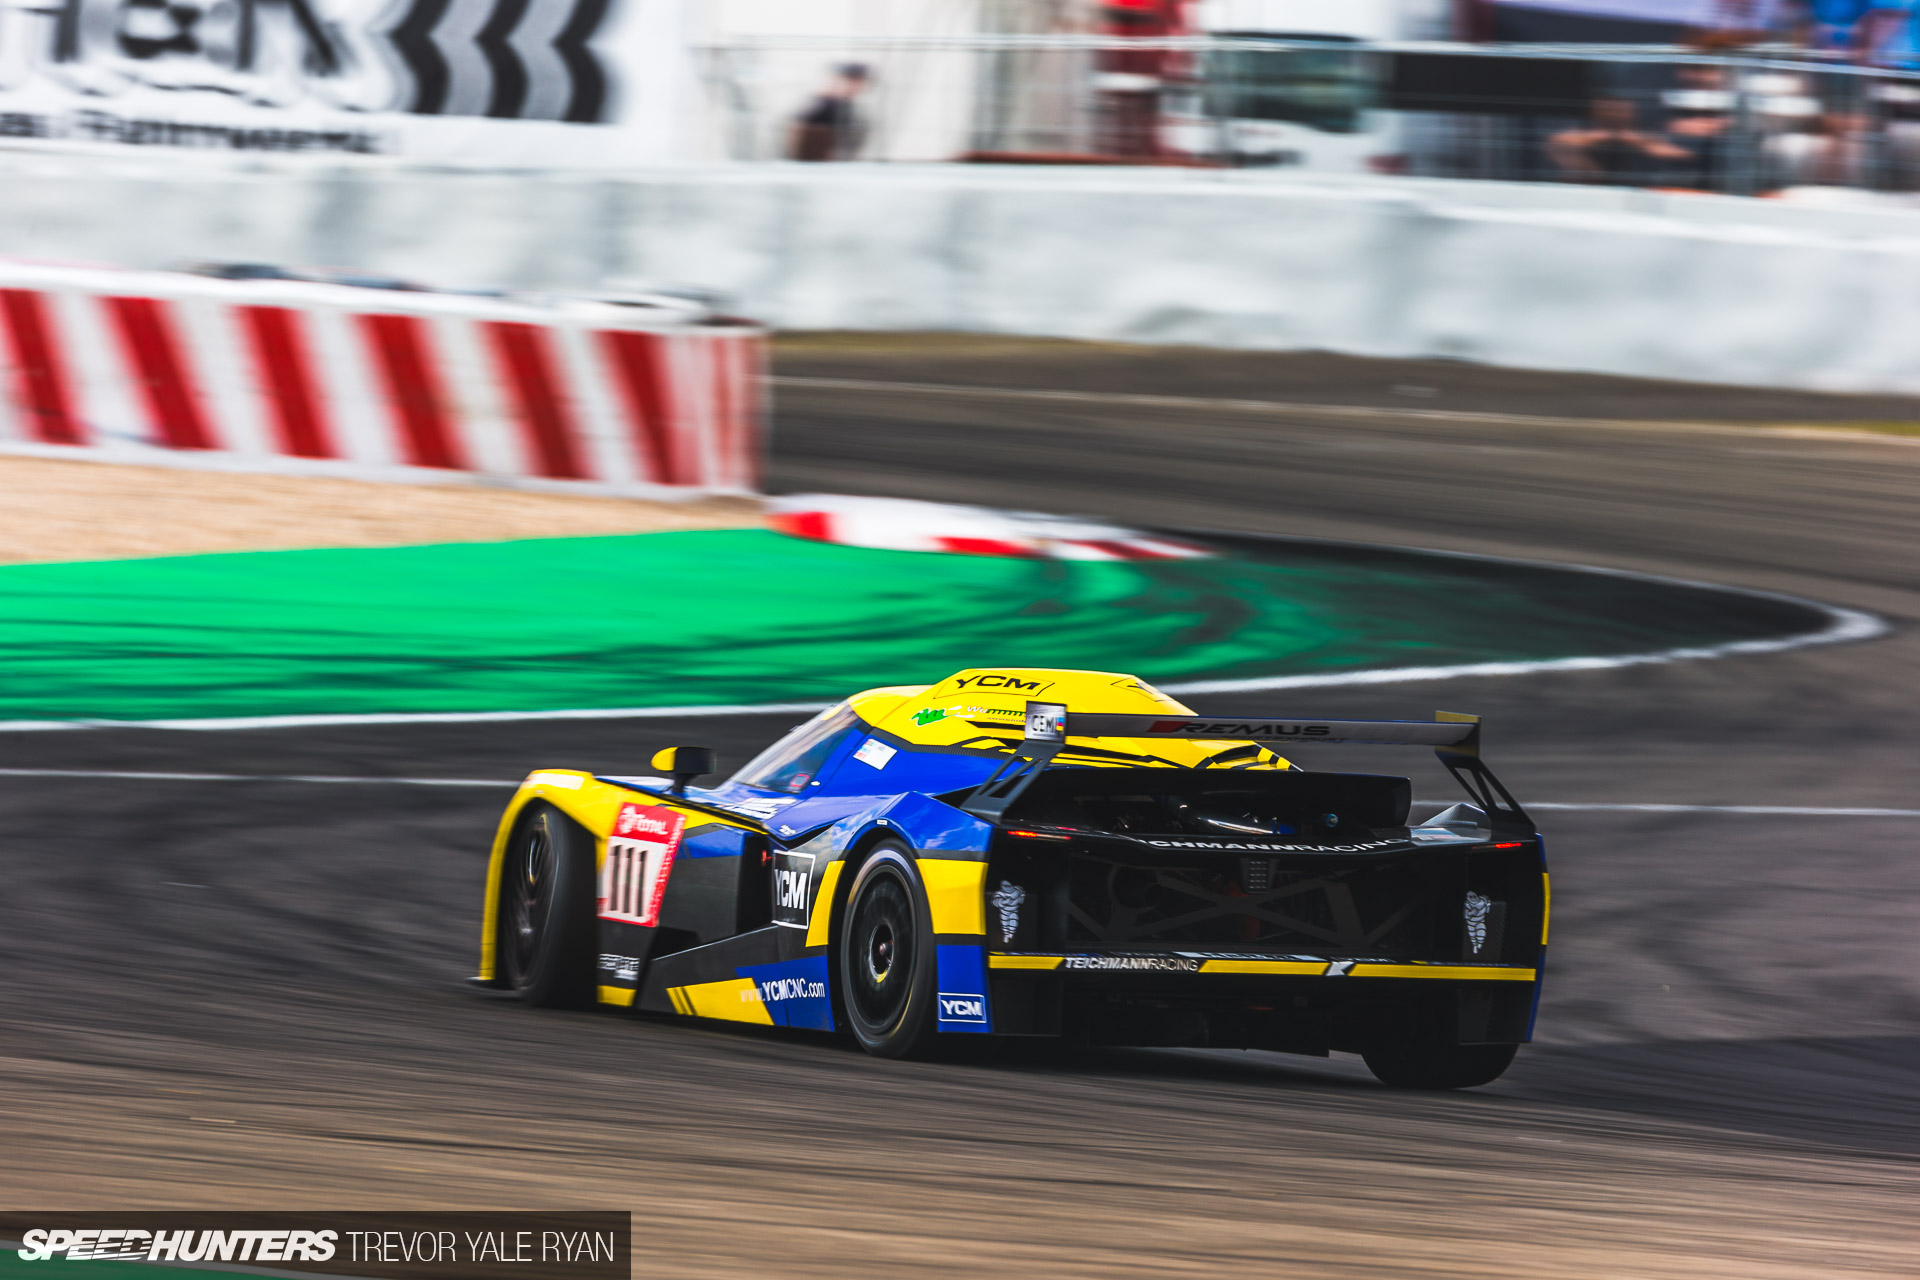
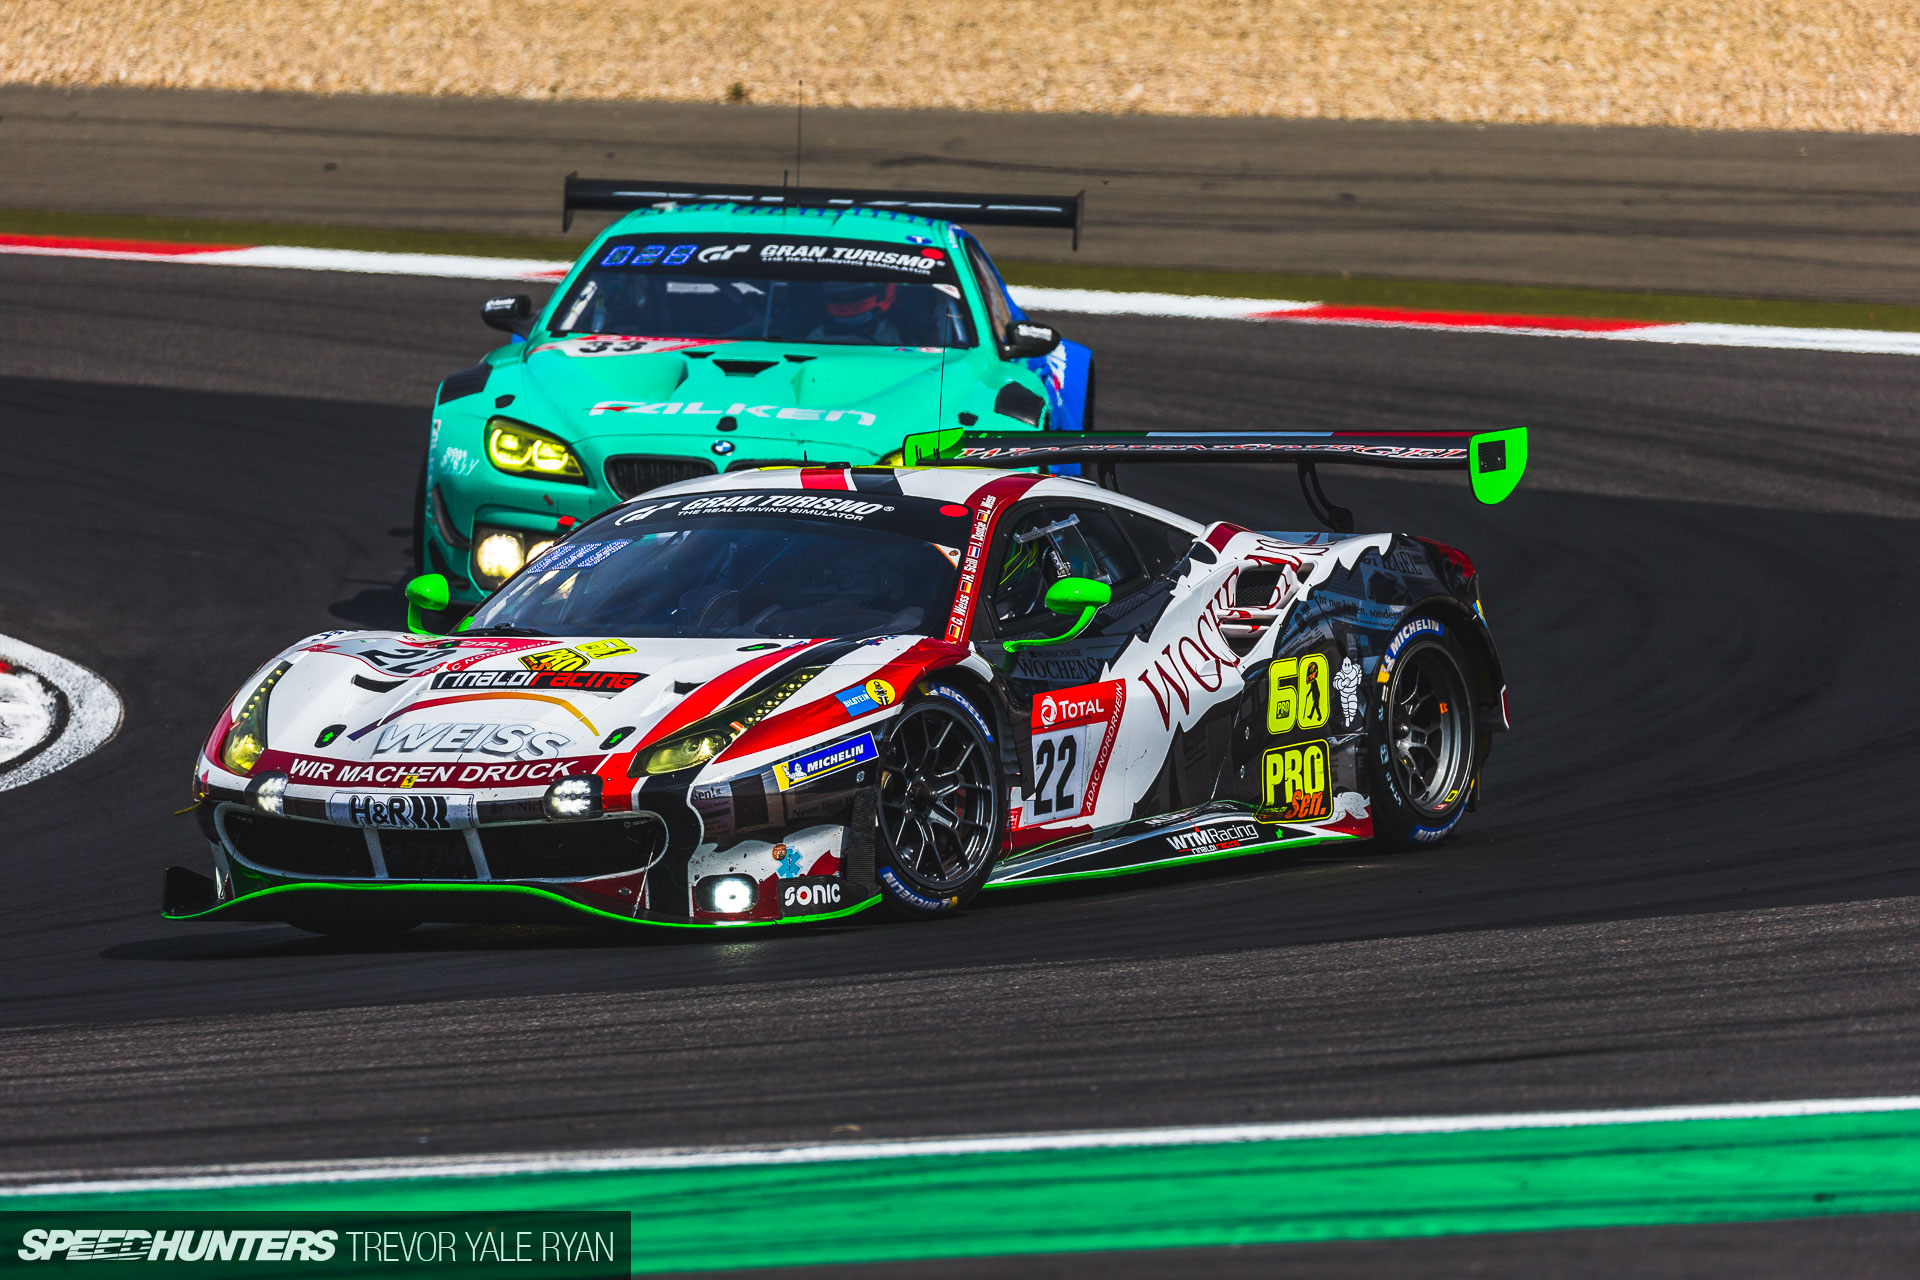
Canon 1Dx, 100-400mm, f/5.6, 1/640s, ISO 100
This is a straightforward shot during the day, although I’ll mention I bumped my AF microadjustment to compensate for the cars driving away from me at high speed through the kink in Adenau Forest.
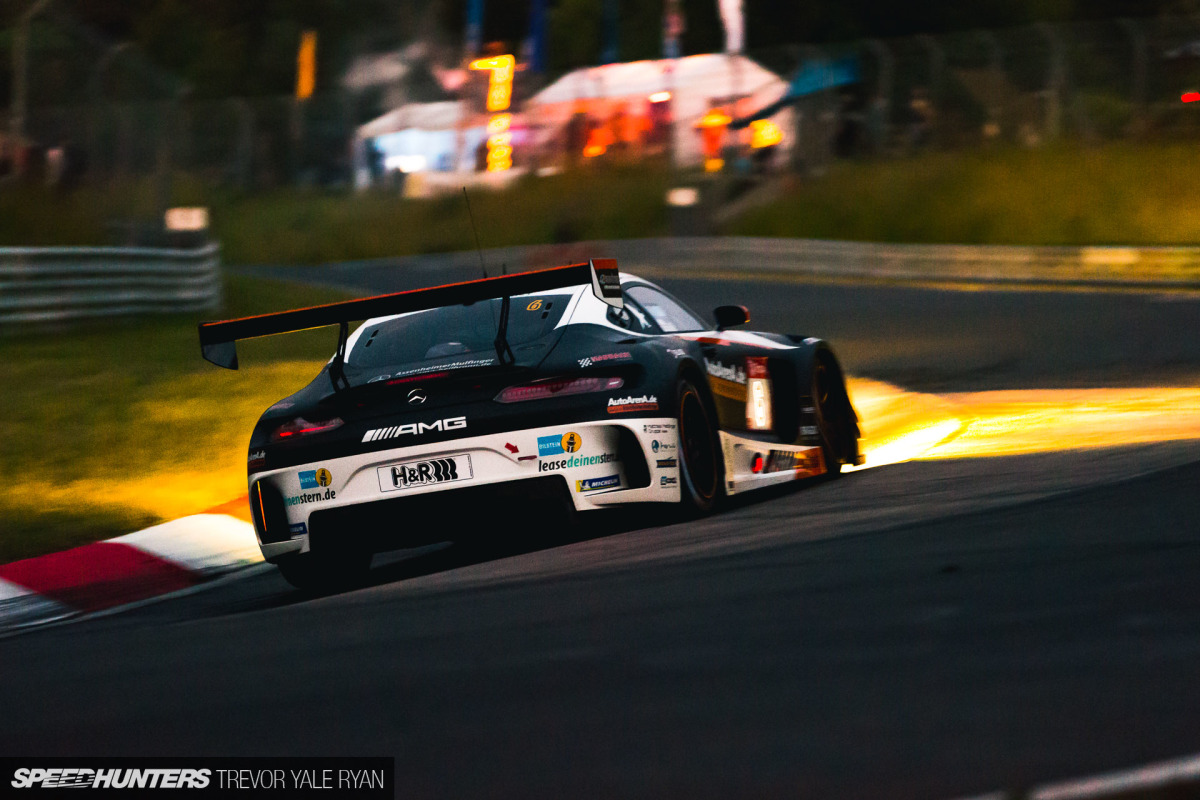
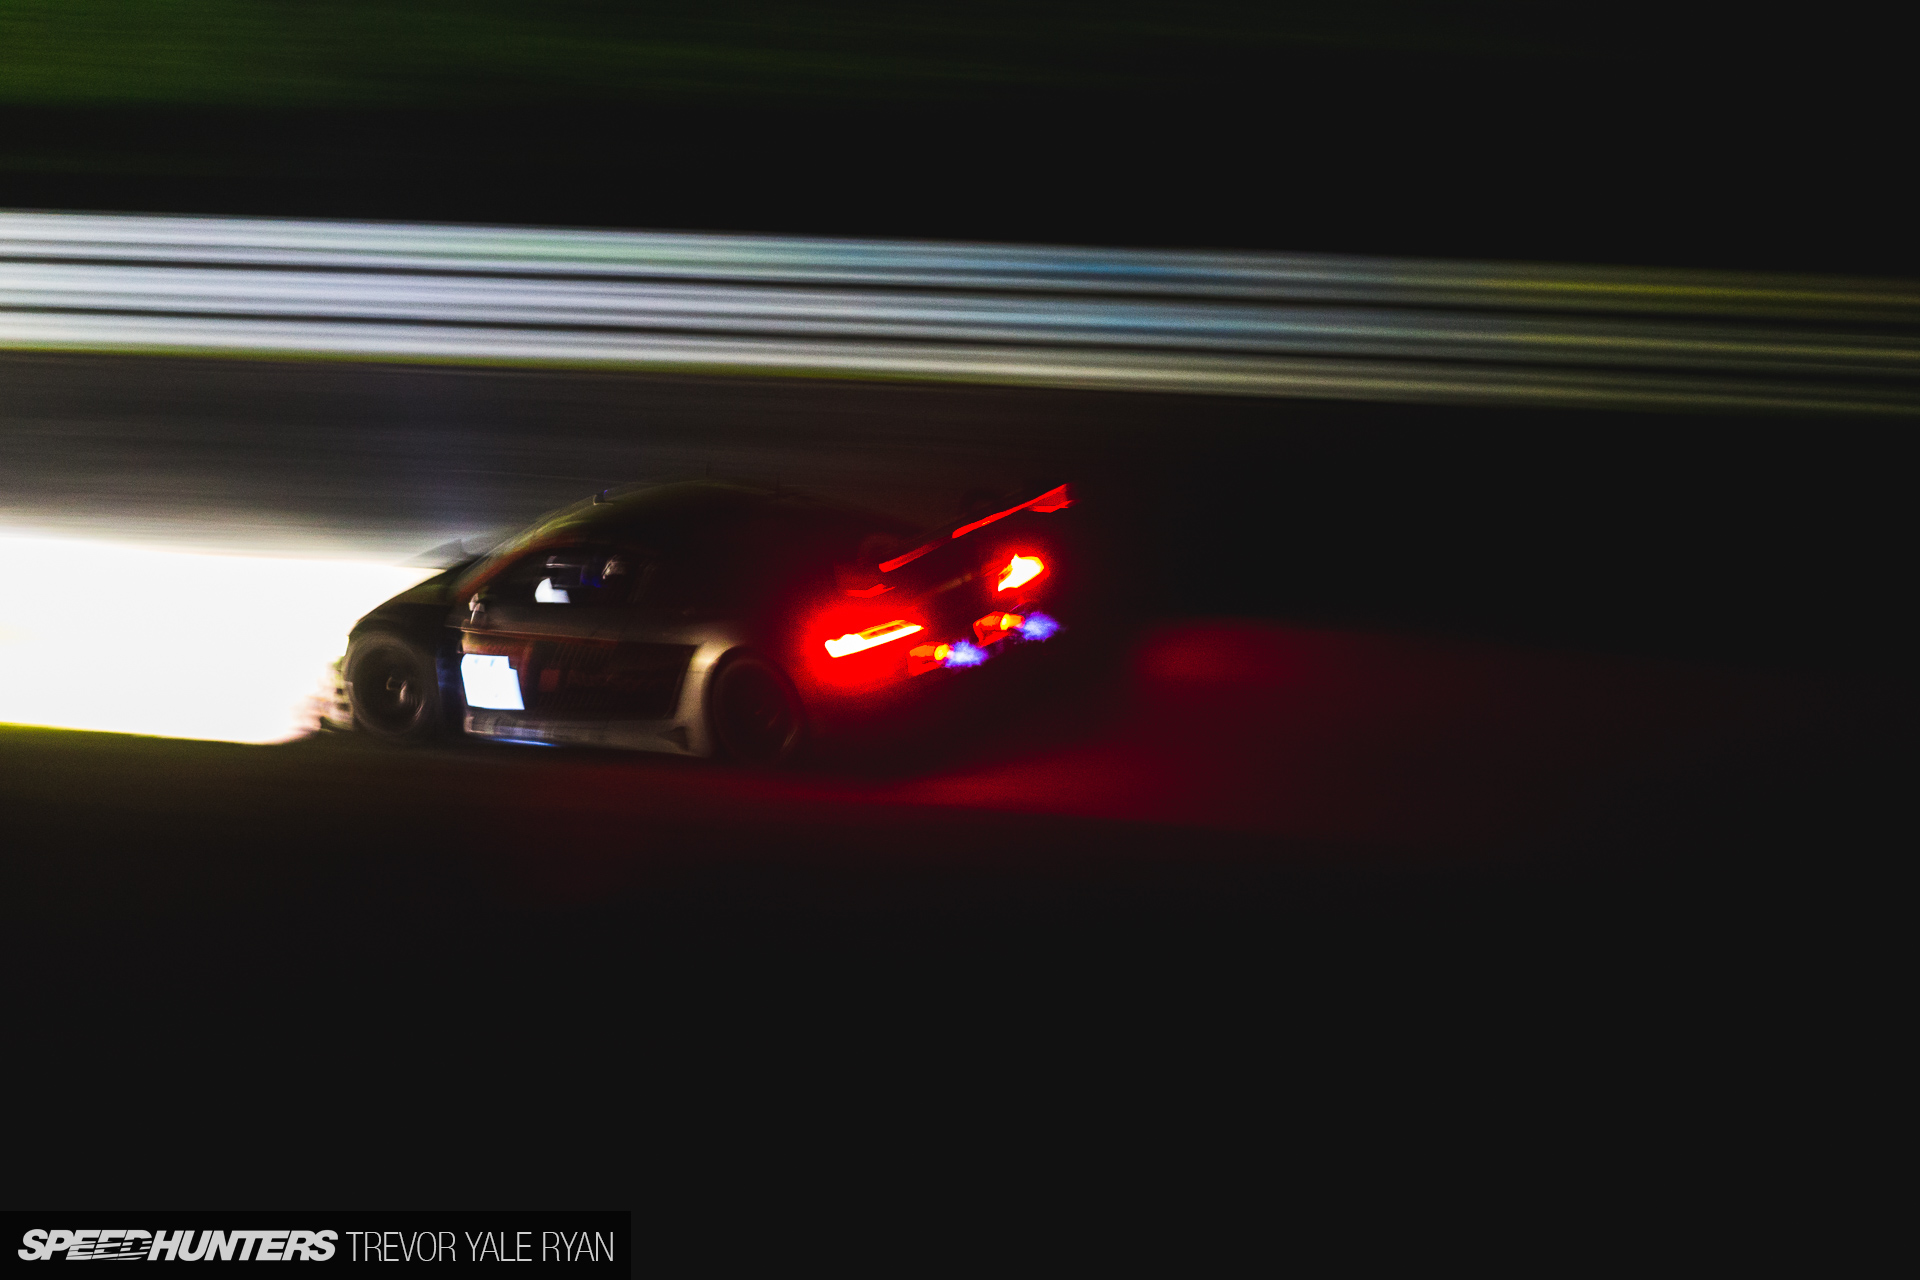
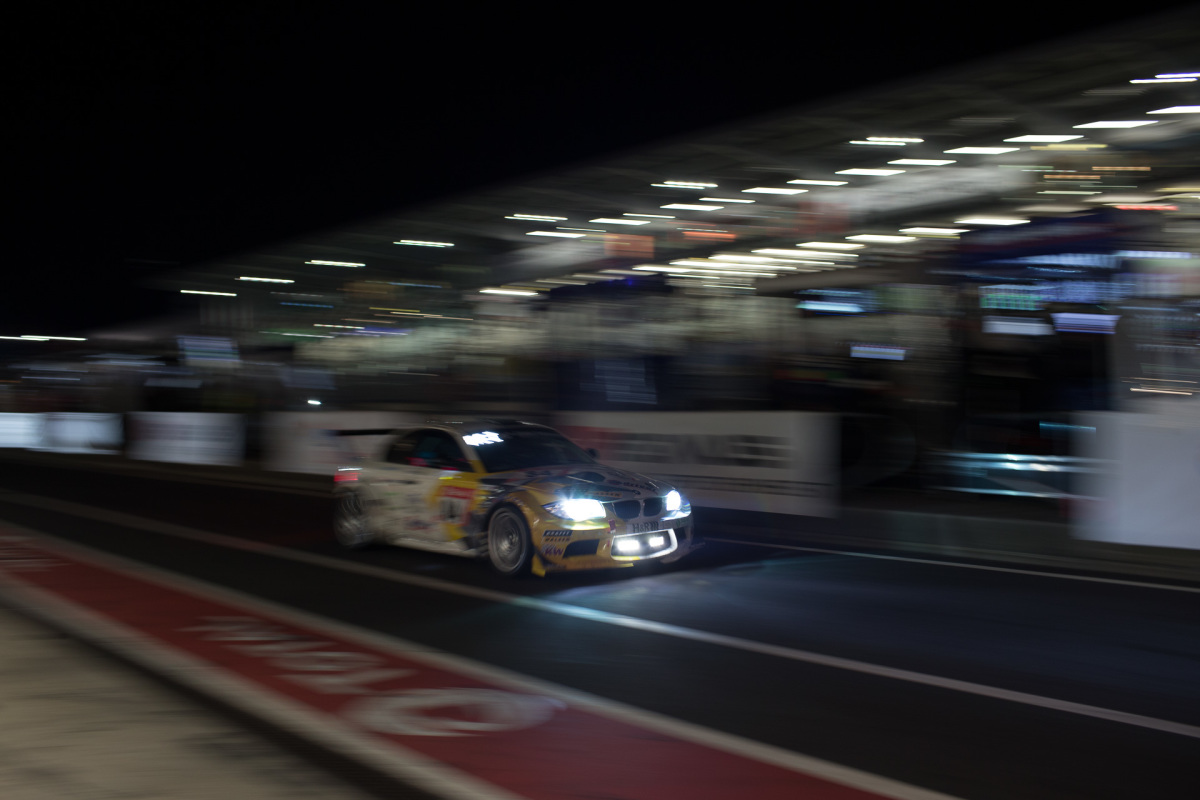
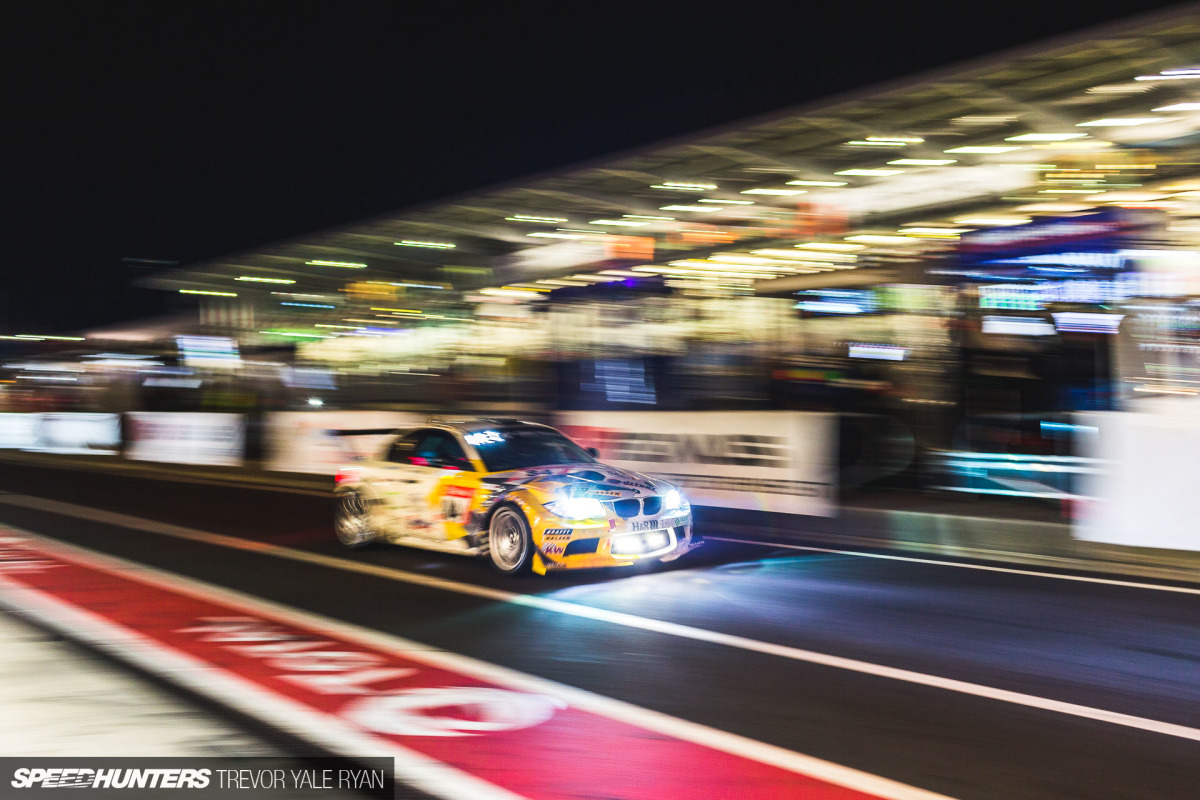
Canon 1Dx, 70-200mm, f/2.8, 1/160s, ISO 20000
Here, as night fell, I was still shooting in Aperture Priority. To get a reasonable exposure my camera cranked the ISO way, way up. Most of these shots were completely unusable due to the noise.
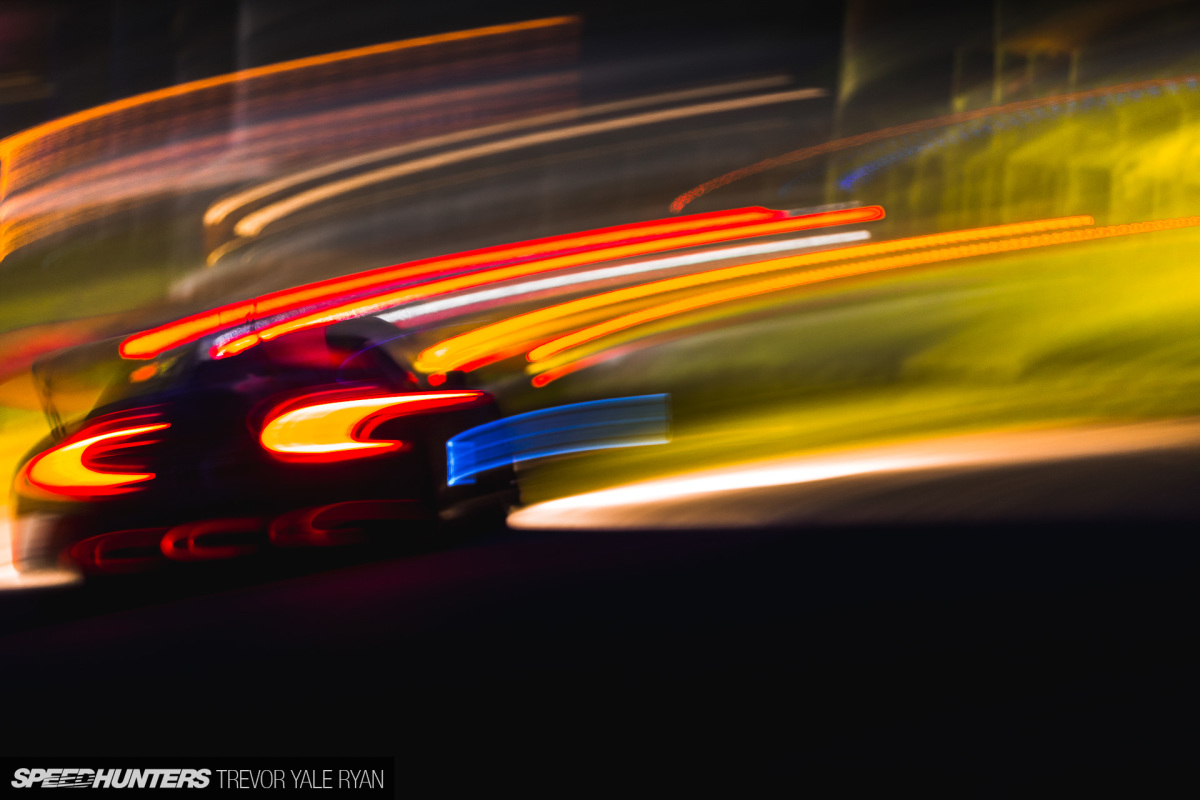
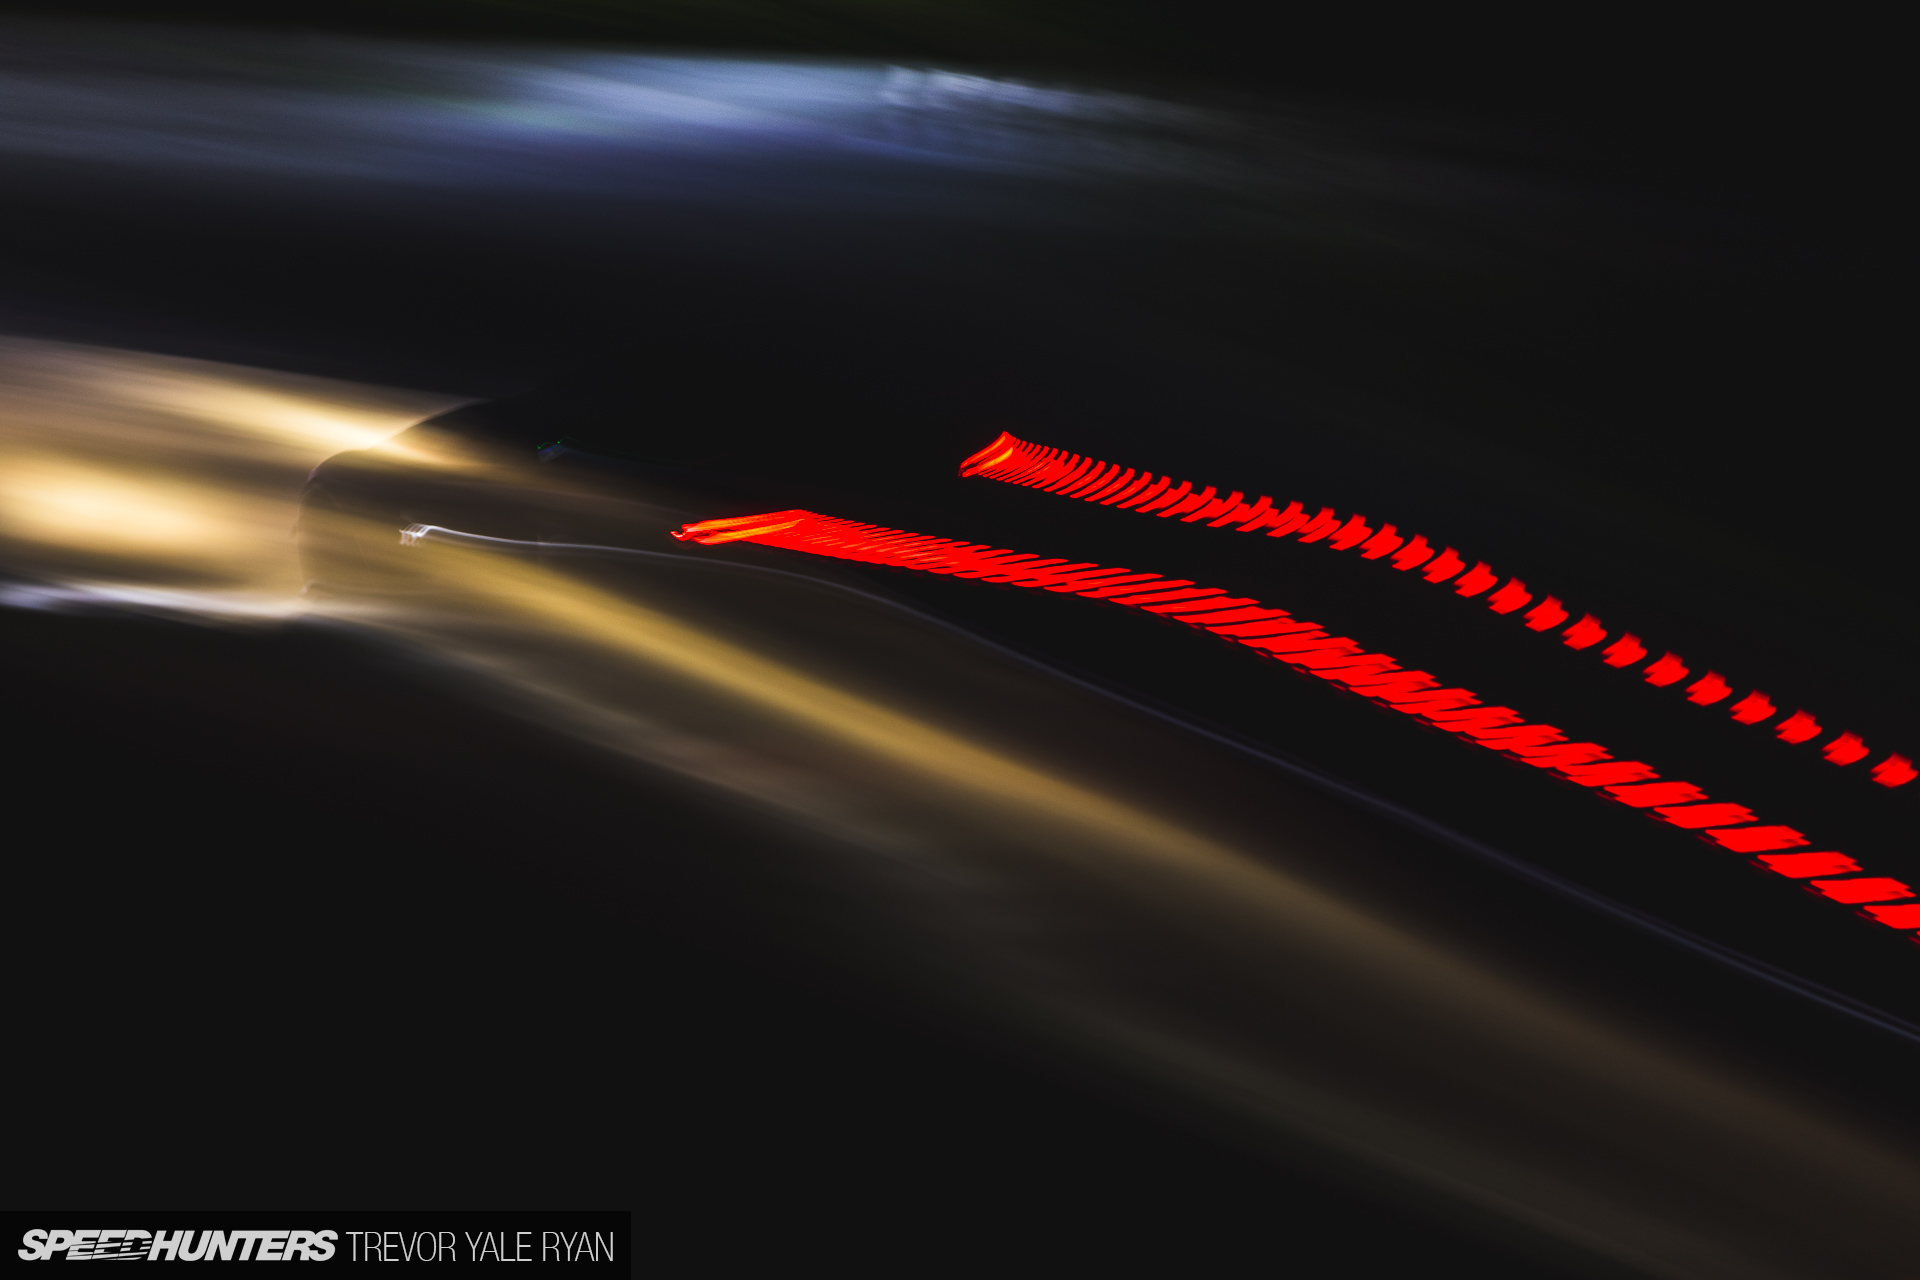
Canon 1Dx, 70-200mm, f/2.8, 1/4s, ISO 1000
This is the same corner and a very similar angle as the above shot, with settings and results worlds apart.
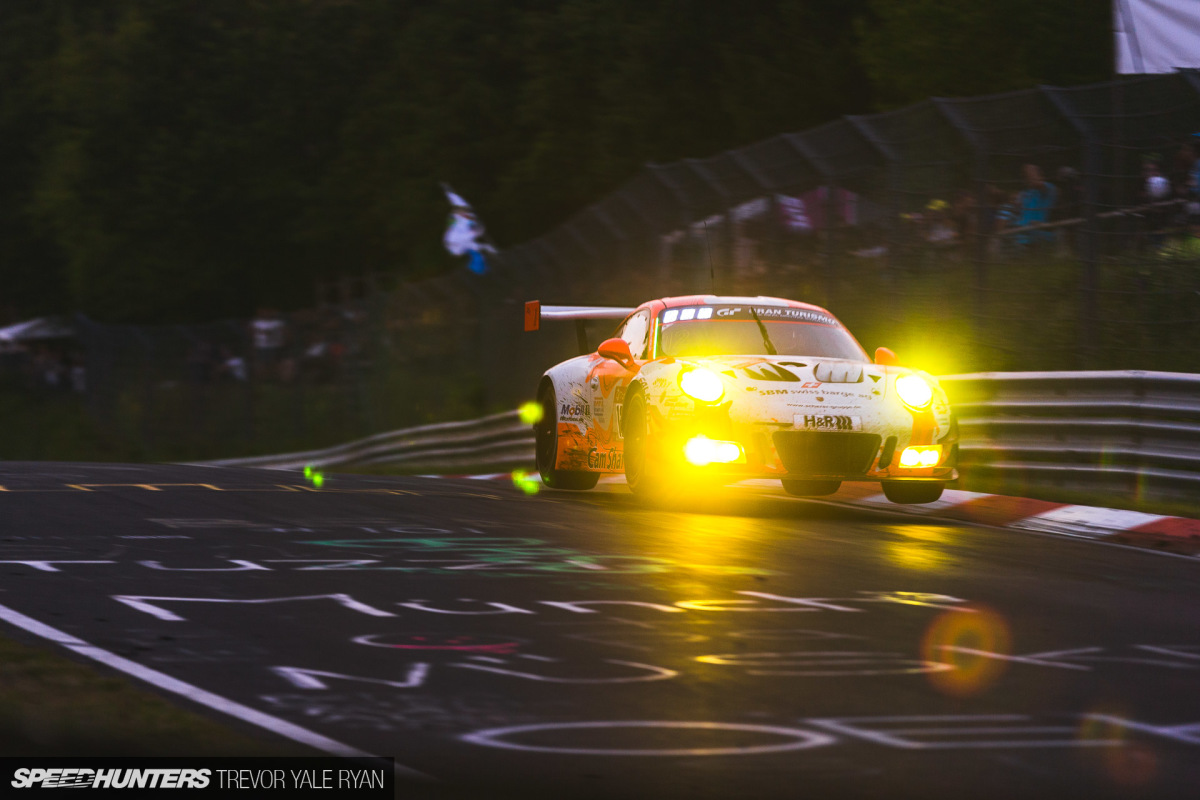
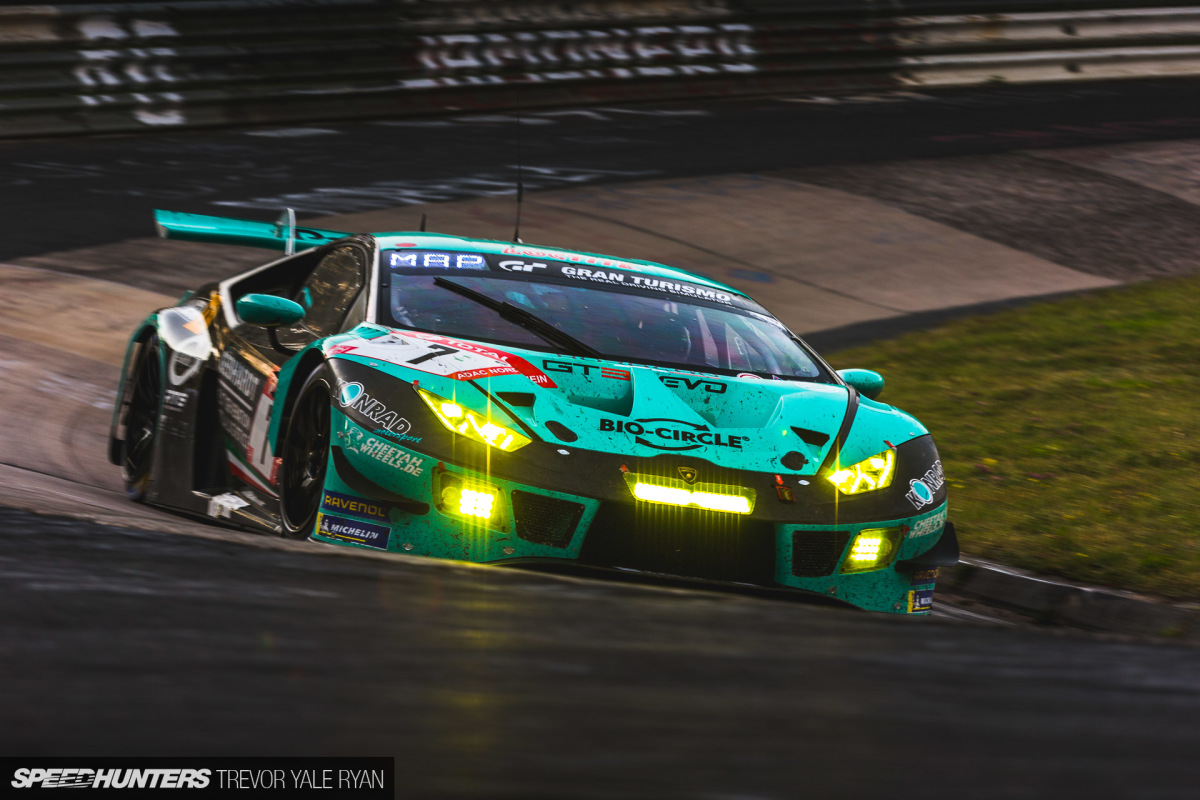
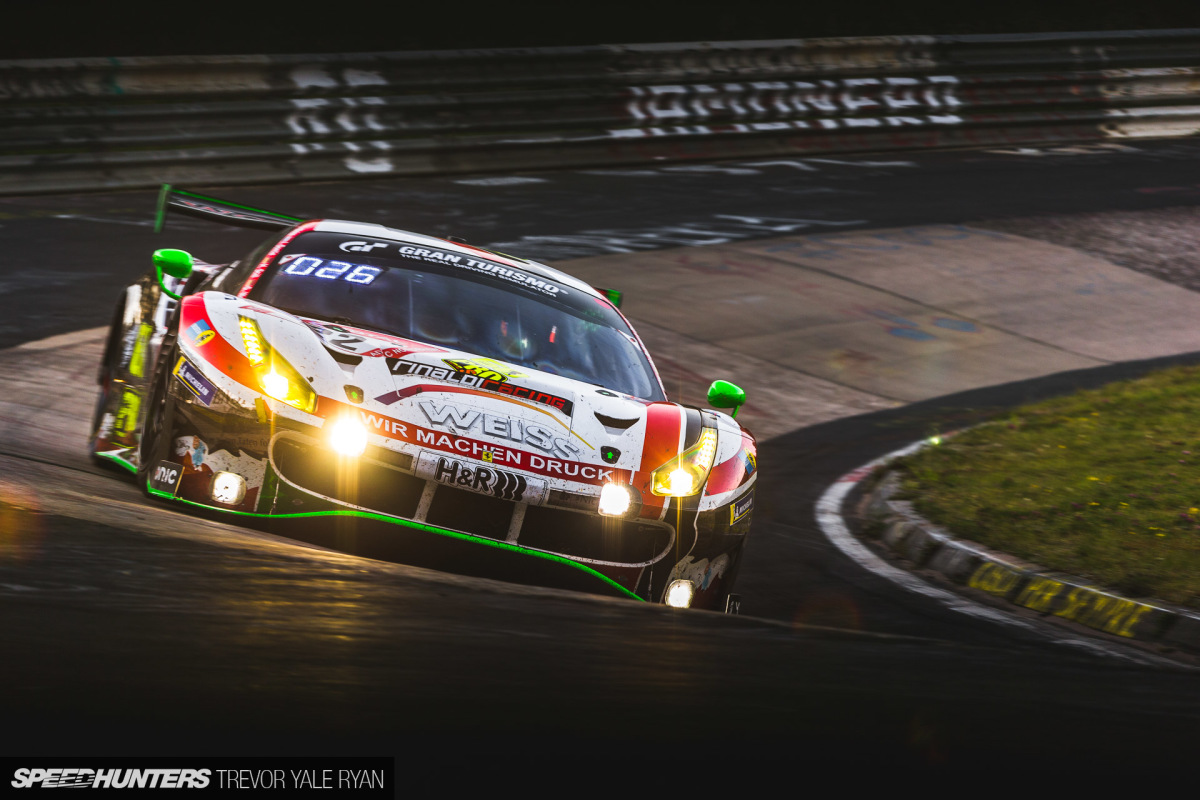
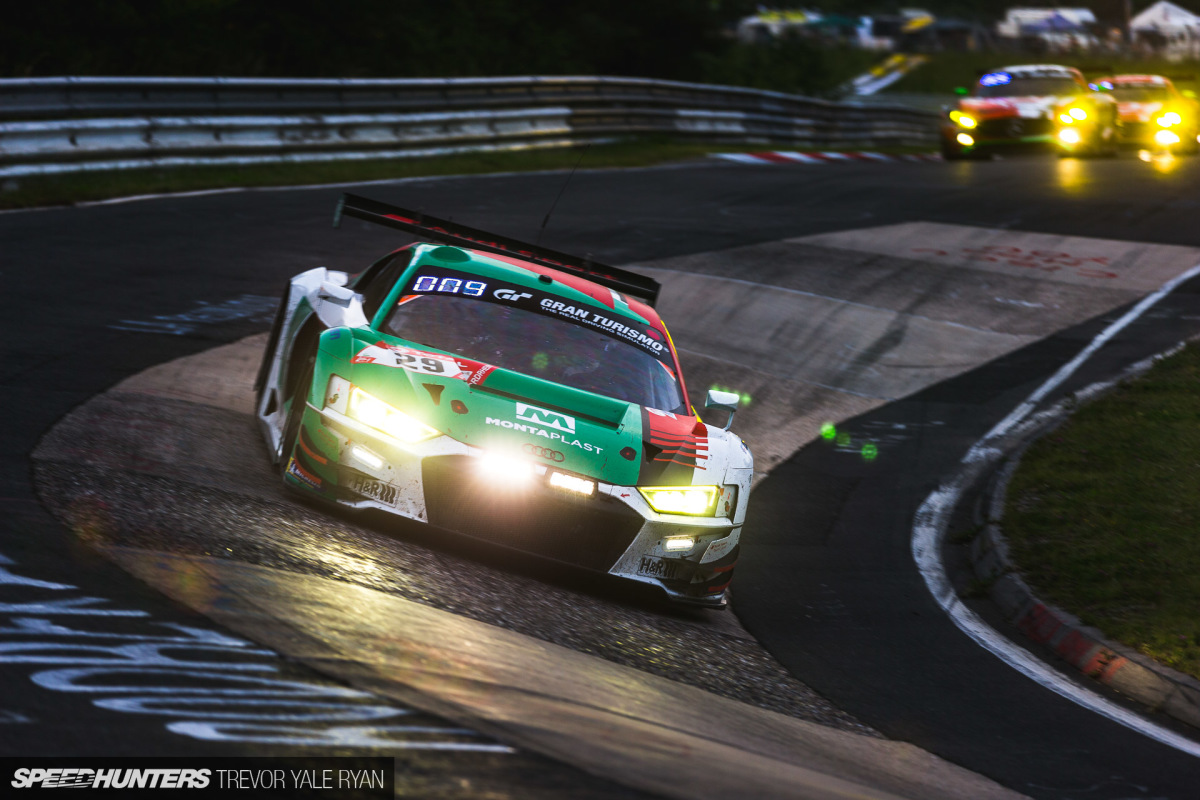
Canon 1Dx, 70-200mm, f/2.8, 1/200, ISO 320
The golden hour and immediately after is always the best time to be shooting. The reflections on the track are a nice bonus, and while the drivers and most photographers might have prefered the dry race I would have loved to see some rain.
Canon 1Dx, 70-200mm, f/3.2, 1/200s, ISO 200
Another shot at dusk, this time at the Karussell.
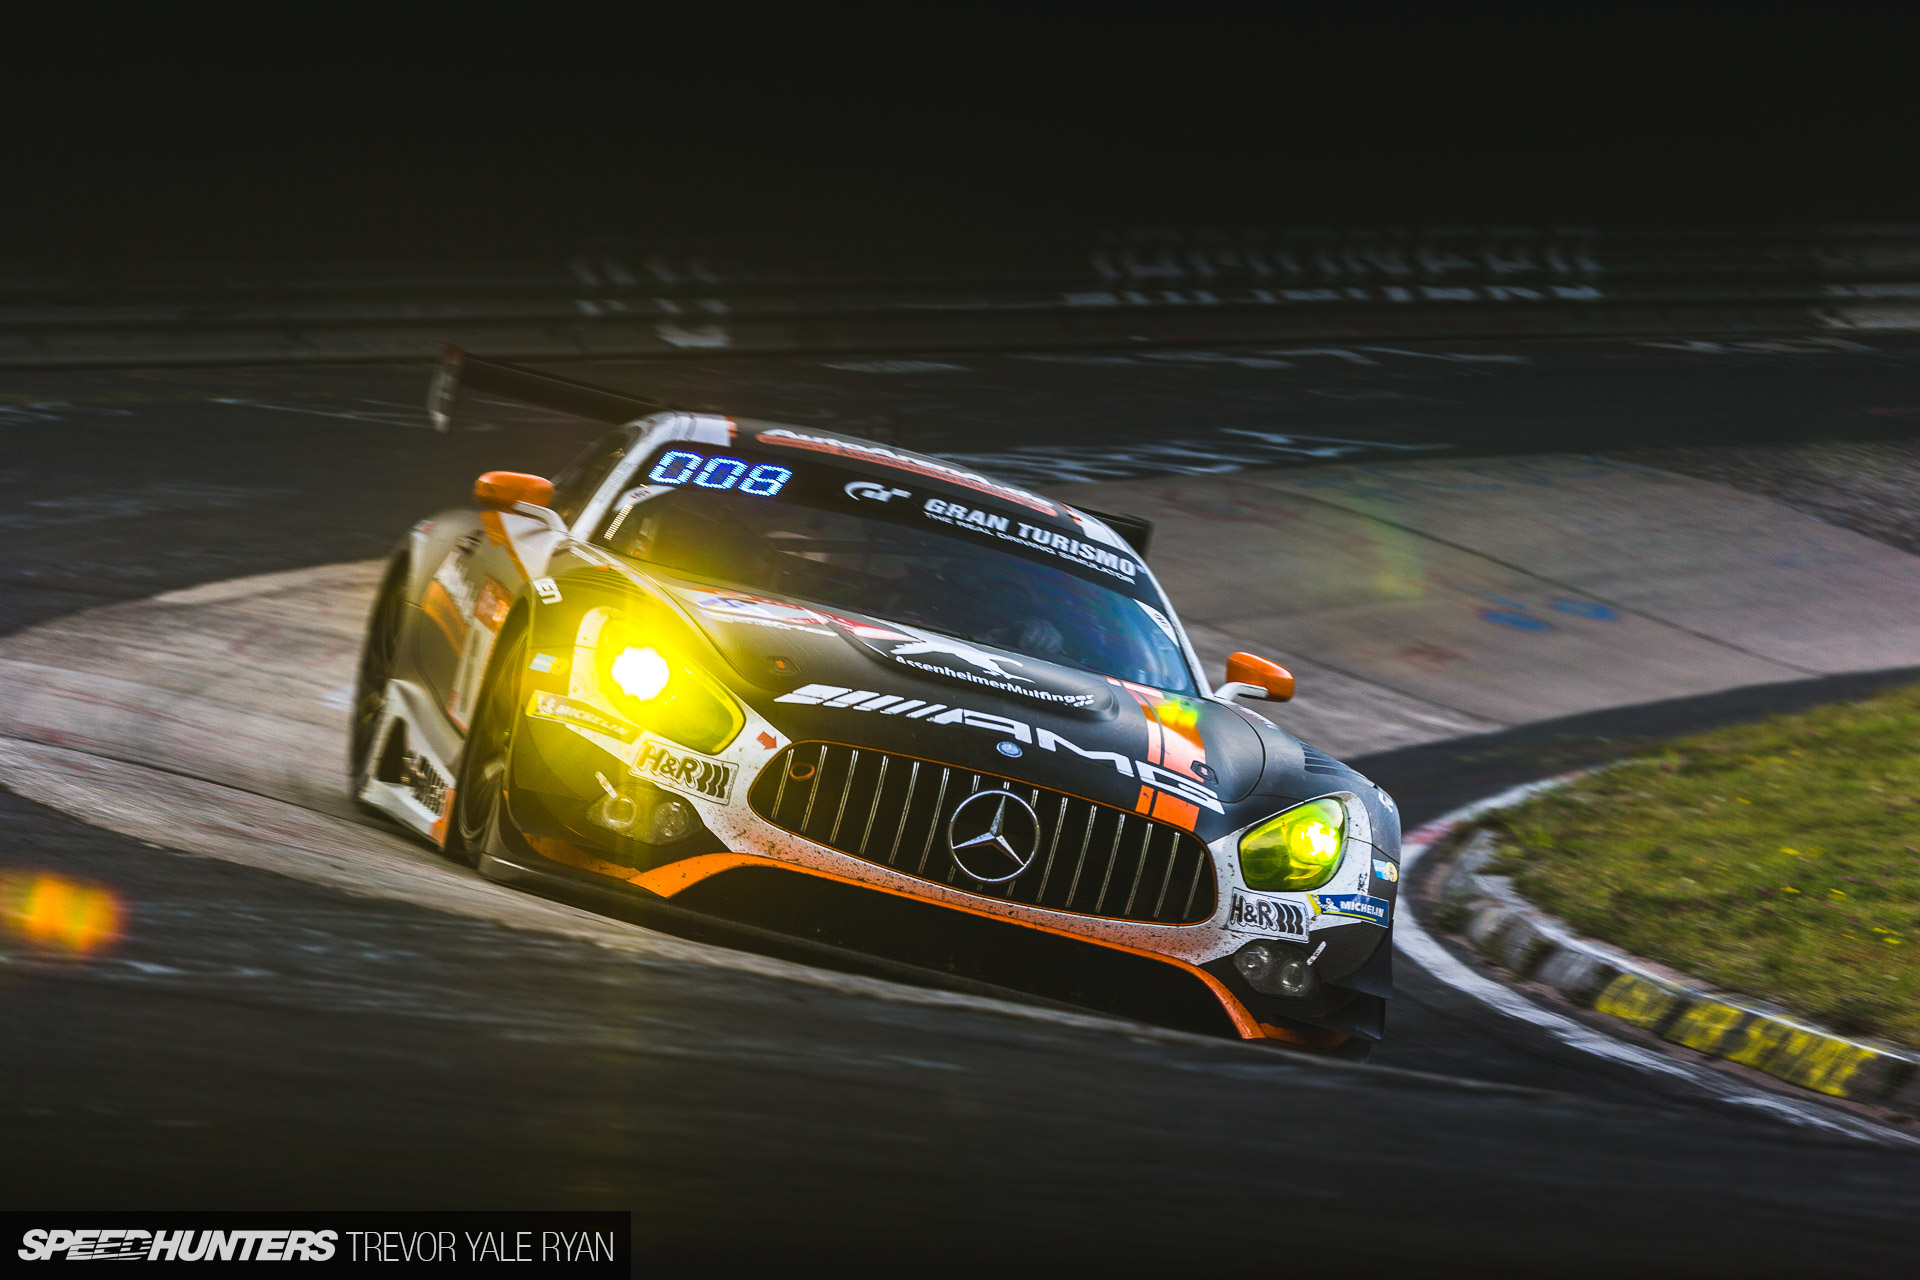
Canon 1Dx, 70-200mm, f/3.5, 1.0s, ISO 100
Same corner as above with my eye on the exit just two hours later.
As you can see your settings are really entirely dependent on the case, but hopefully that gives you an idea of the range you might find yourself in for different situations. When in doubt, your camera usually has some idea, so unless conditions are pretty constant or I want a very specific shot I’ll use Aperture or Shutter Priority and just compensate by cranking my preferred exposure up or (usually) down.

Once the dark of night really hits you often have no option but to push your shutter speed. Your camera will also struggle to focus, so you’ll probably take about 2,000 photos and come away with three which are barely semi-useable depending on your audience.
Oh well.
Extra Sauce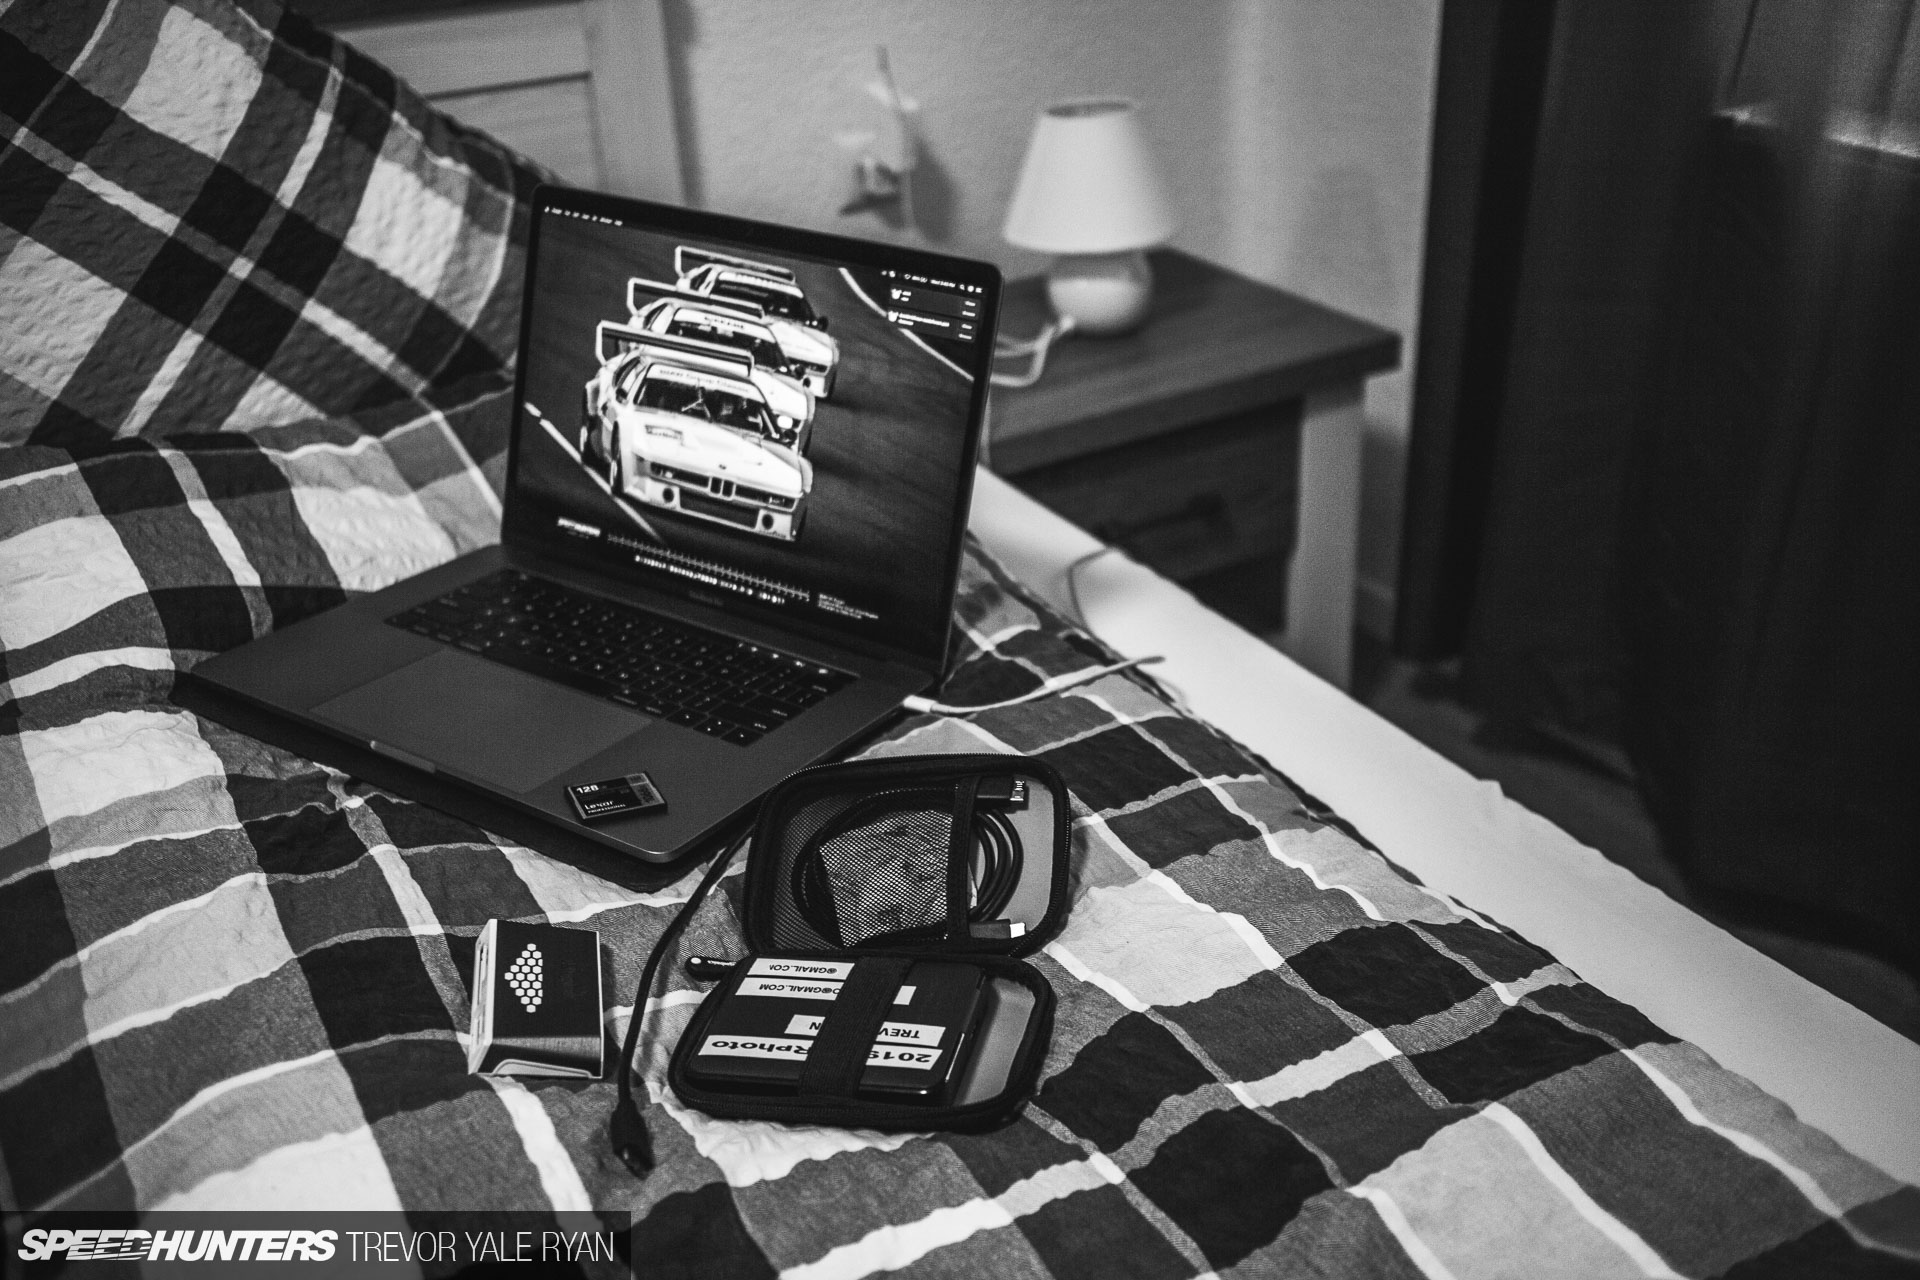
Then, the big question: ‘How did you edit this?’ Or: ‘My photos look bland out of the camera, what’s wrong?’

The short answer is that nothing is wrong at all, and that’s how most everyone’s shots look before post-processing. If you’re shooting JPEG you can usually alter this in camera with some basic saturation and sharpness options which will look halfway decent, but shooting RAW is the way.

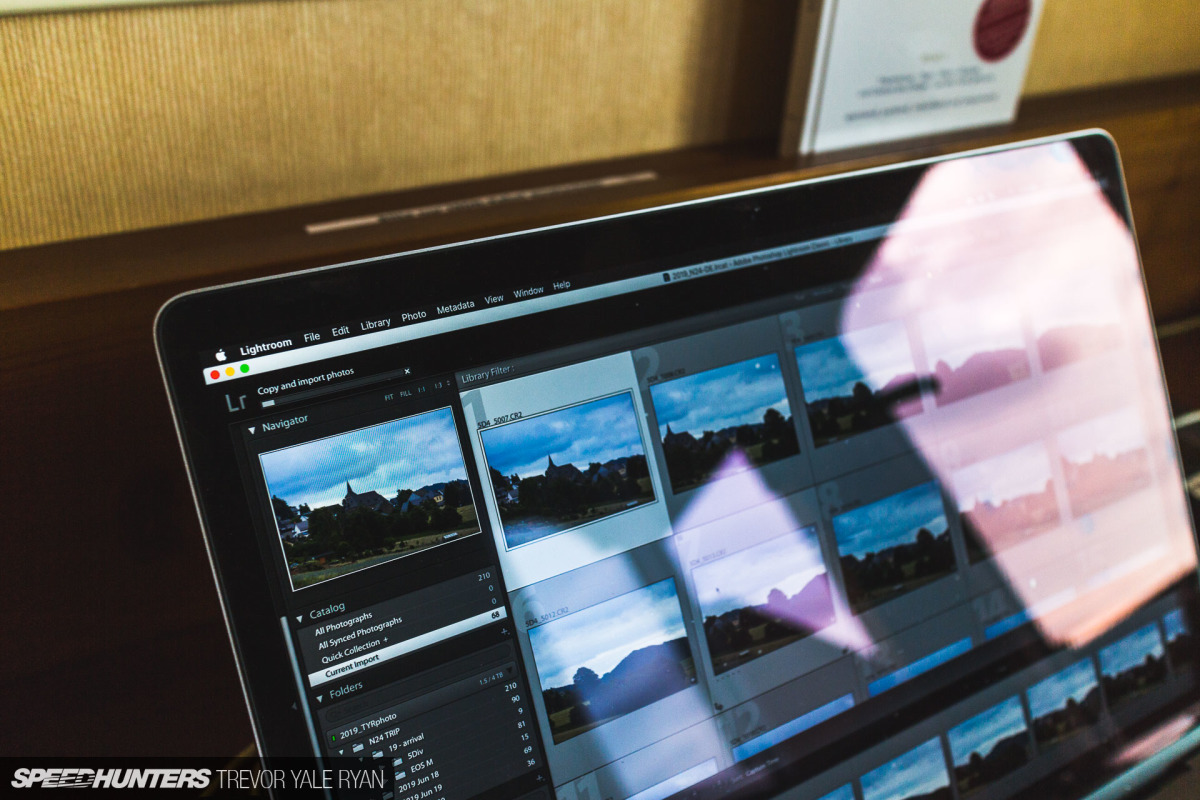
And therein lies the very unglamorous part of the whole ordeal of taking photos. Moving your shots over, backing them up, sorting through and tagging them has to be the worst part of it all. It’s tedious, time consuming, and entirely necessary.
And then, after that, you have to edit them. To me, this has always been equally important as getting the shot in the first place. Once you get things right in the camera this becomes a lot easier and more straightforward, but RAW shots are designed to capture as much information as possible and require editing.
To give you a better idea as well as to assure you there’s nothing wrong with your camera — and perhaps against by better judgment — here are a few before and afters.
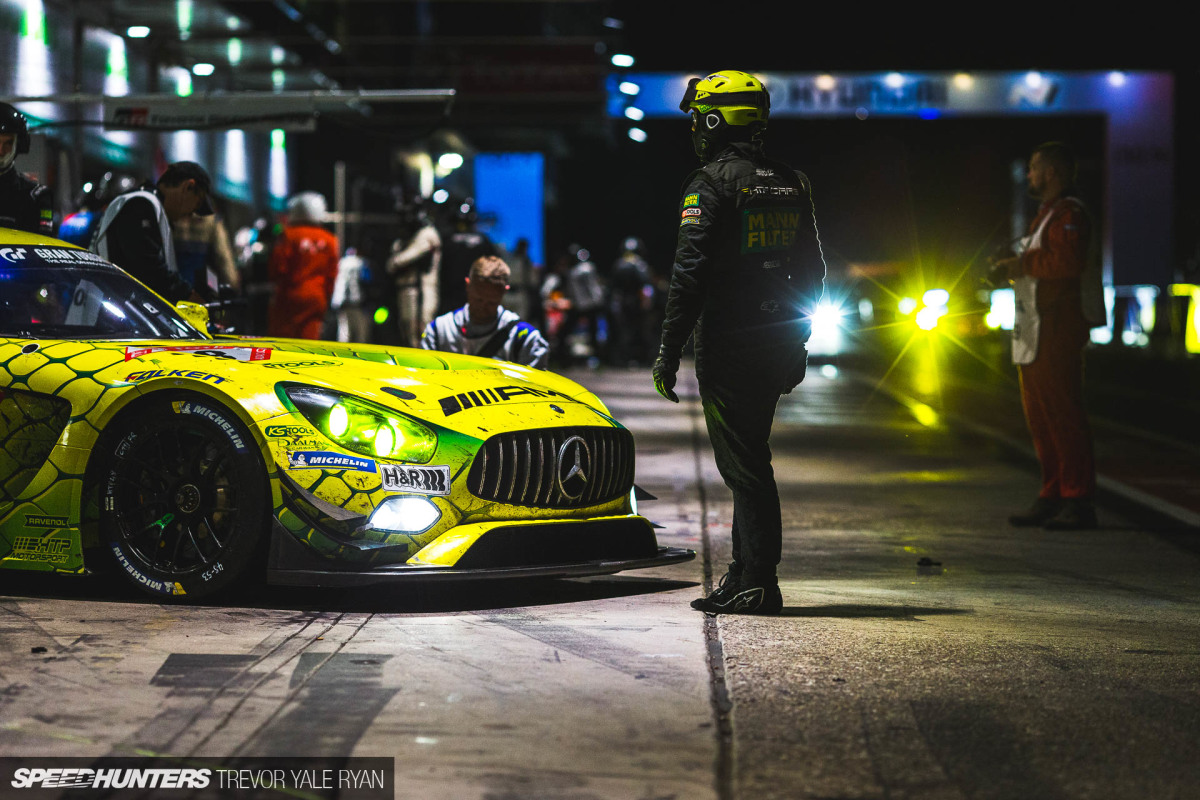
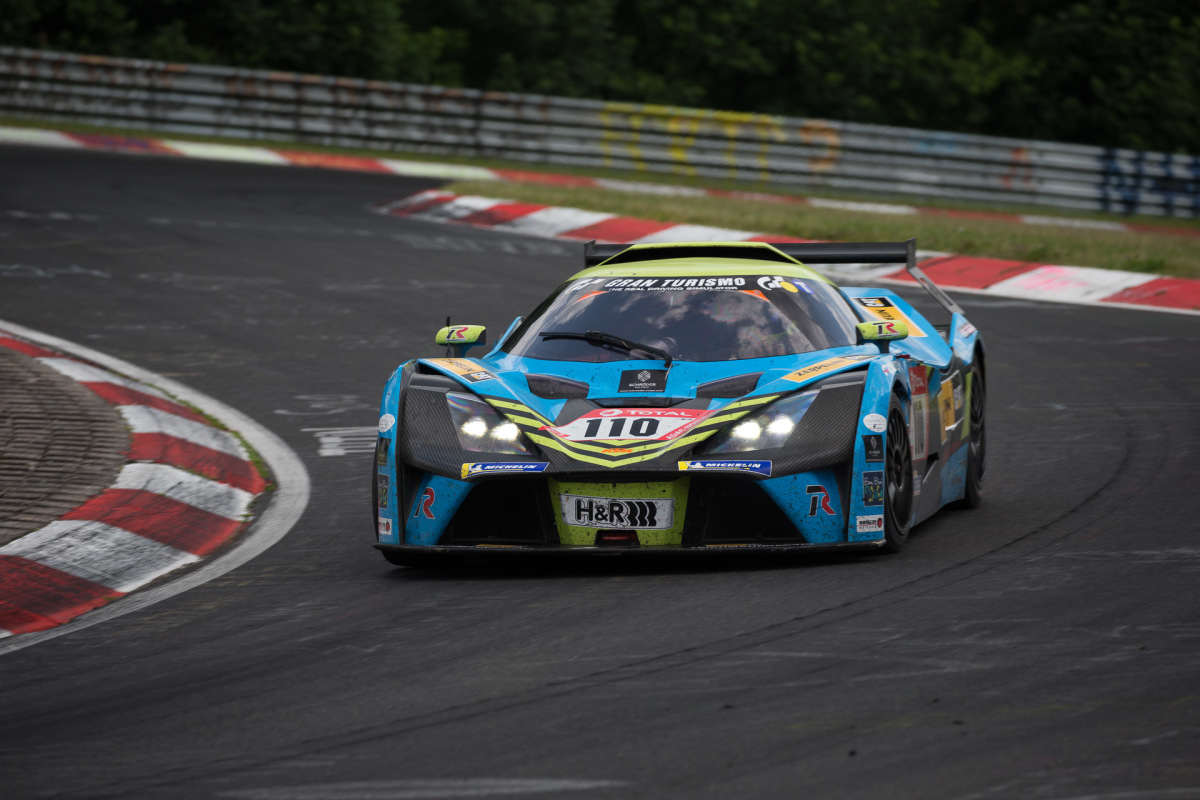
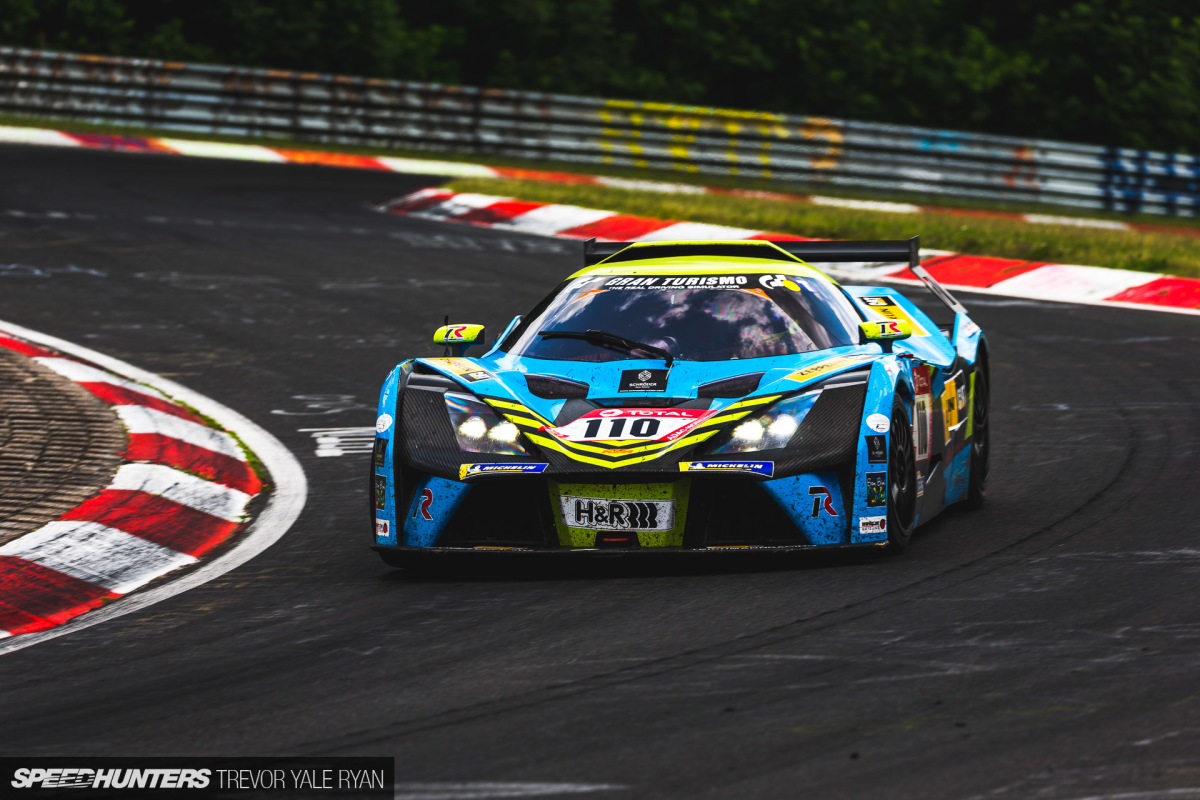
It totally depends on the shot, but lately as a general rule I bump up the saturation a bit (five to 10 clicks in Adobe Lightroom) as well as apply a fairly standard S-shaped tone curve. The extra contrast from the tone curve tends to add a great deal of color, too, so I’ll often tone down certain hues or the entire photo after applying some more specific adjustments.
It just takes time and practice, and I won’t act like I really know what I’m on about when it comes to post-processing; my self-made base presets change almost entirely every few months.
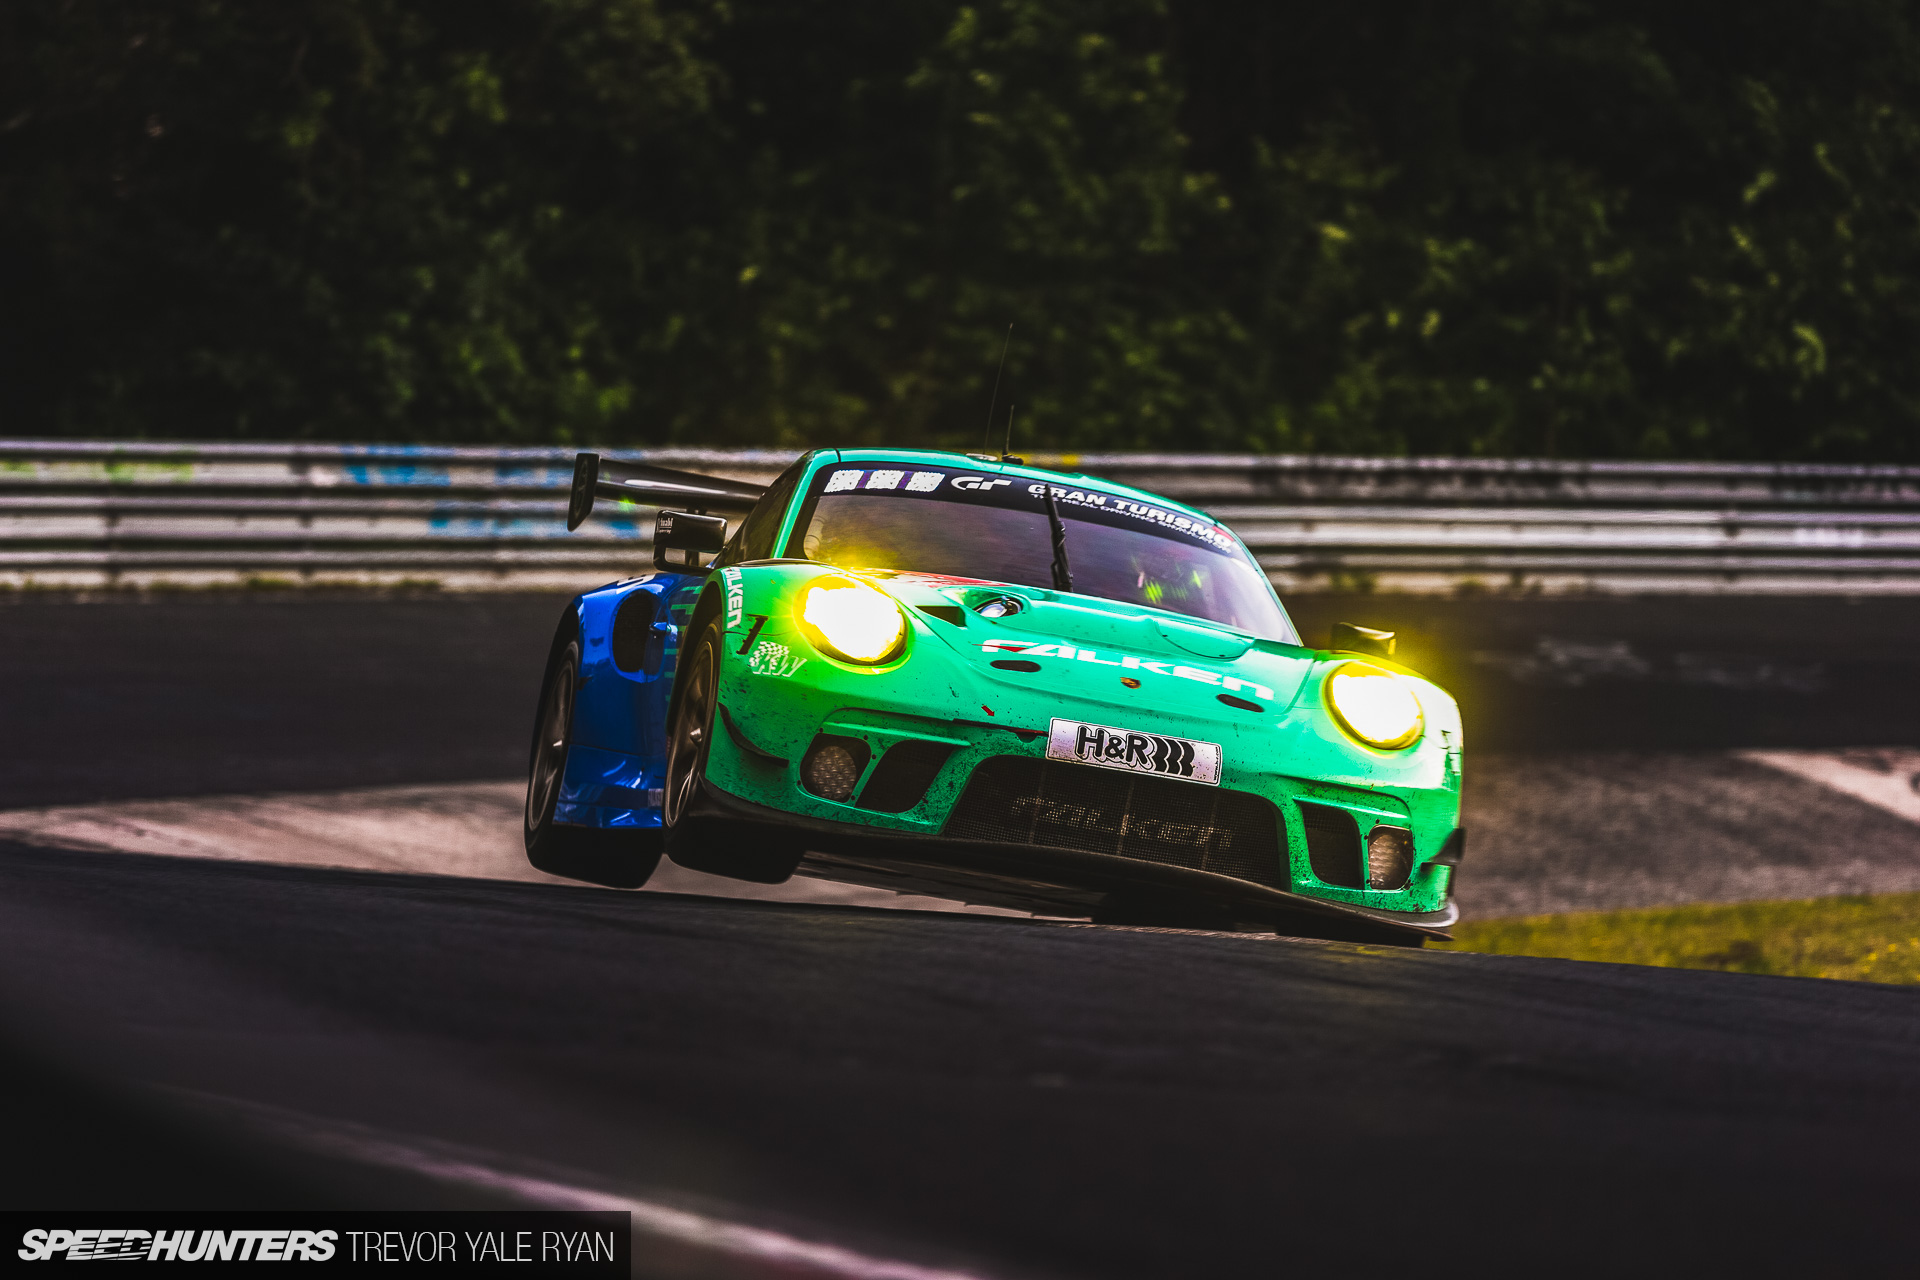
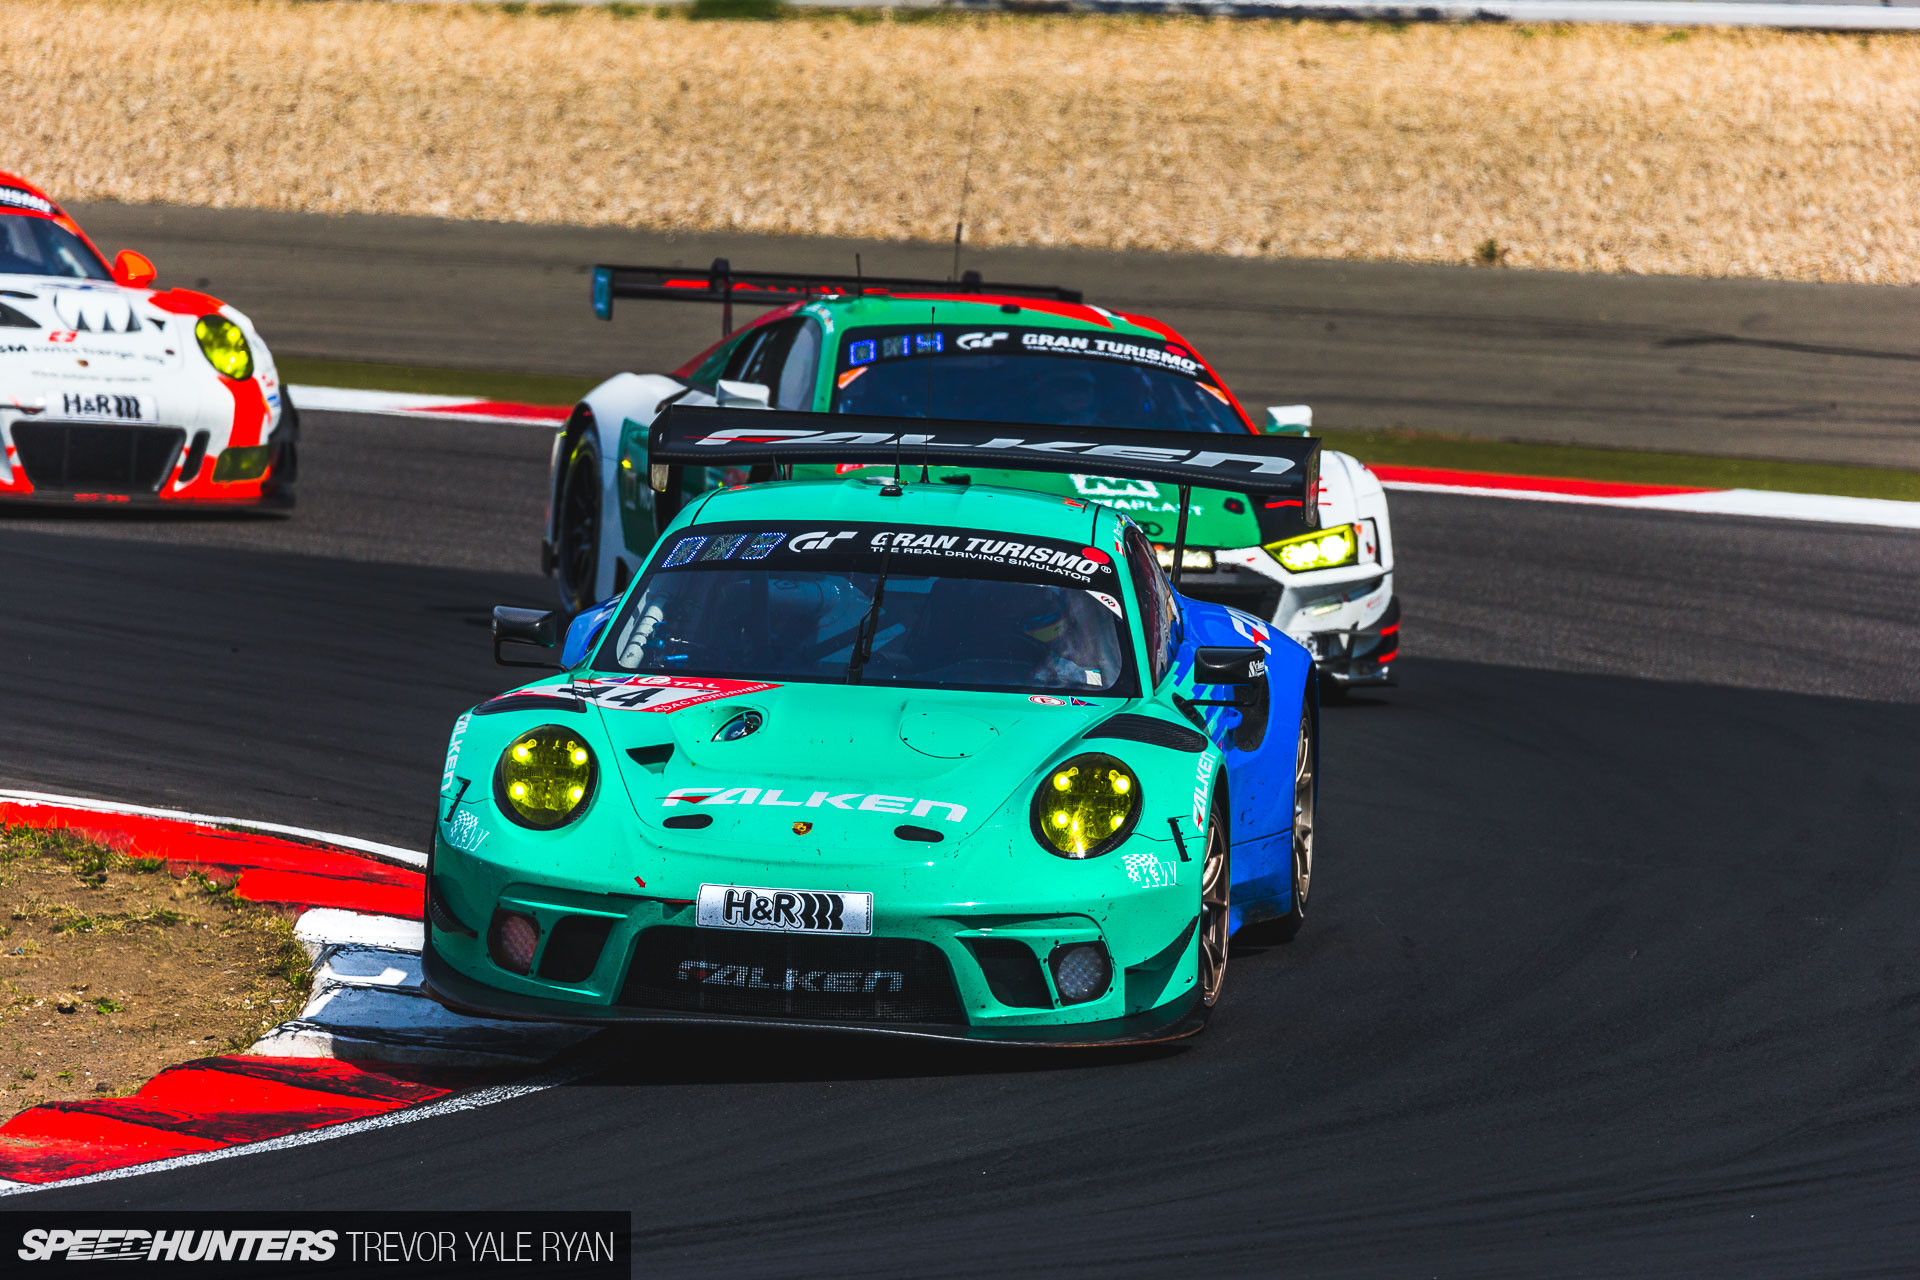
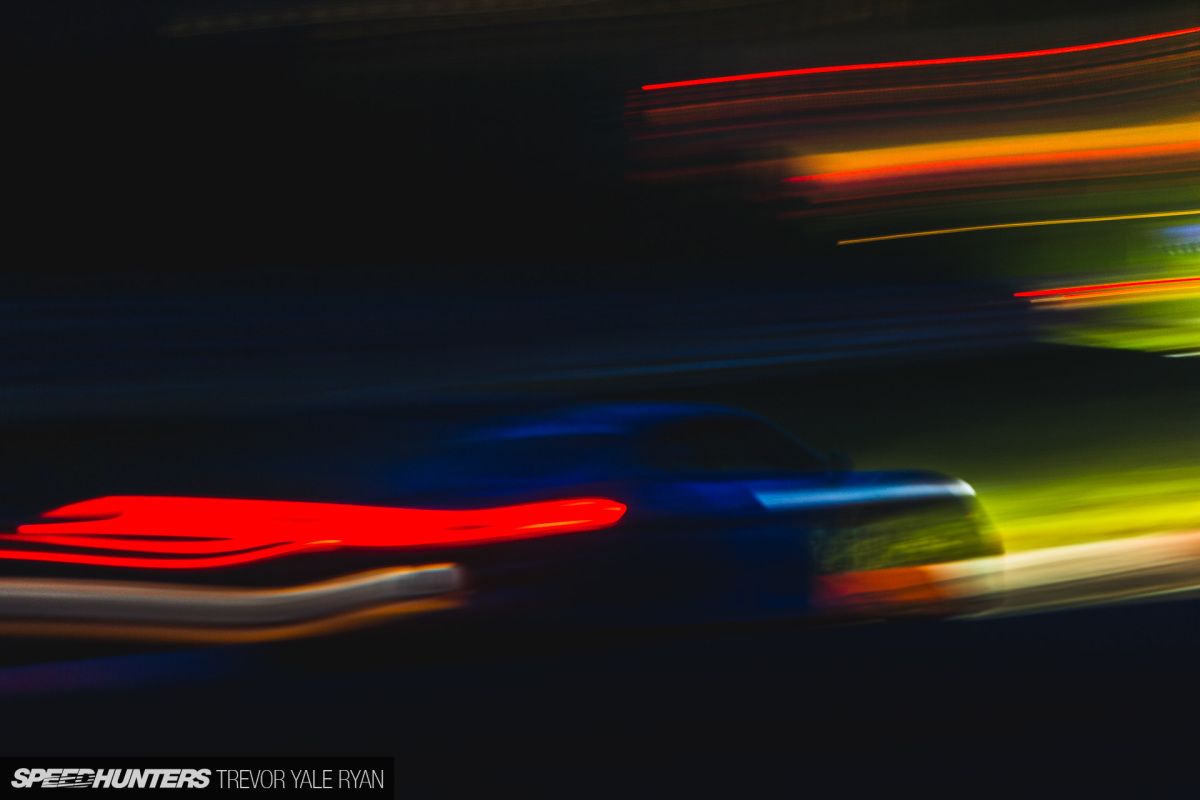
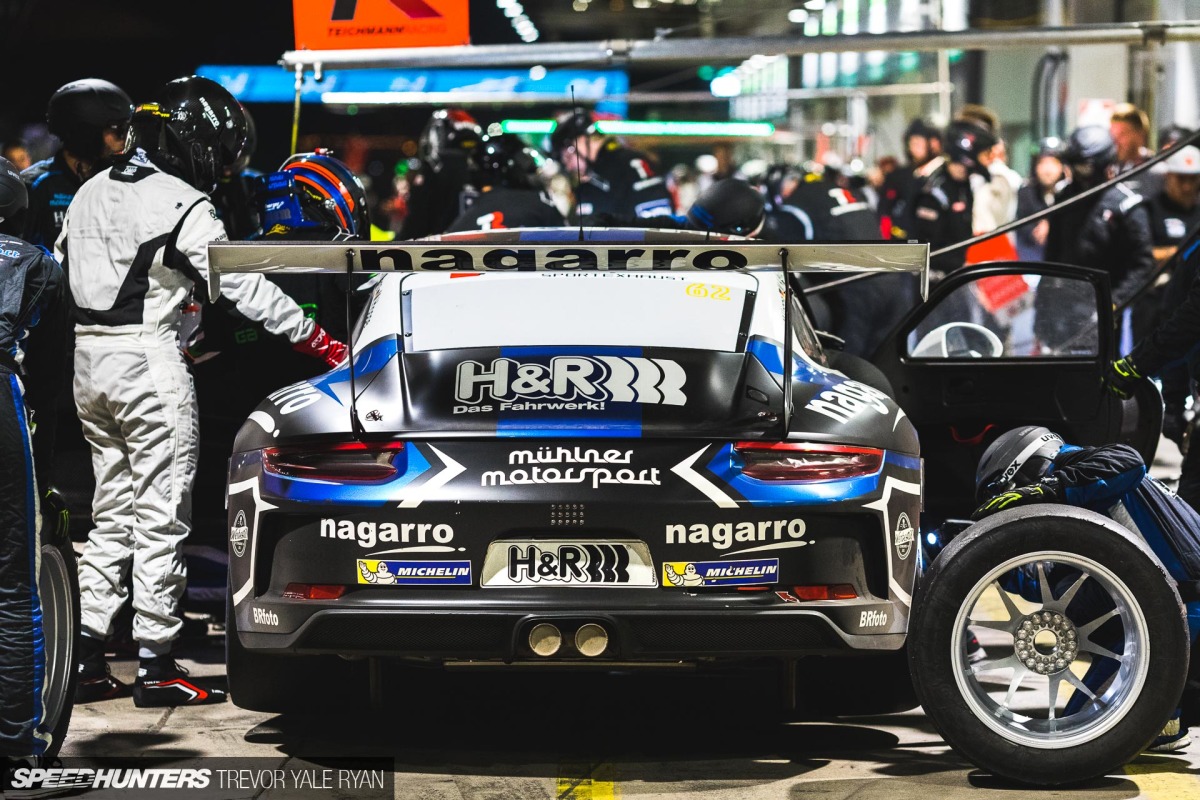
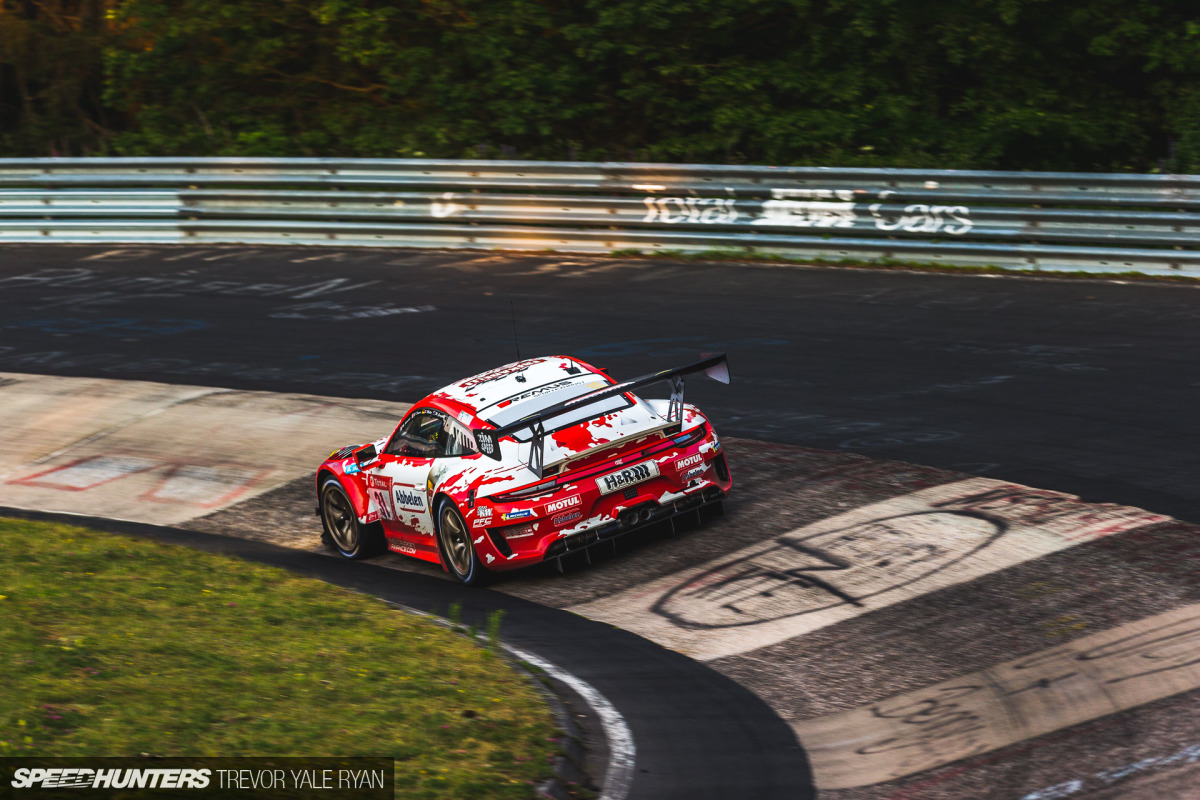
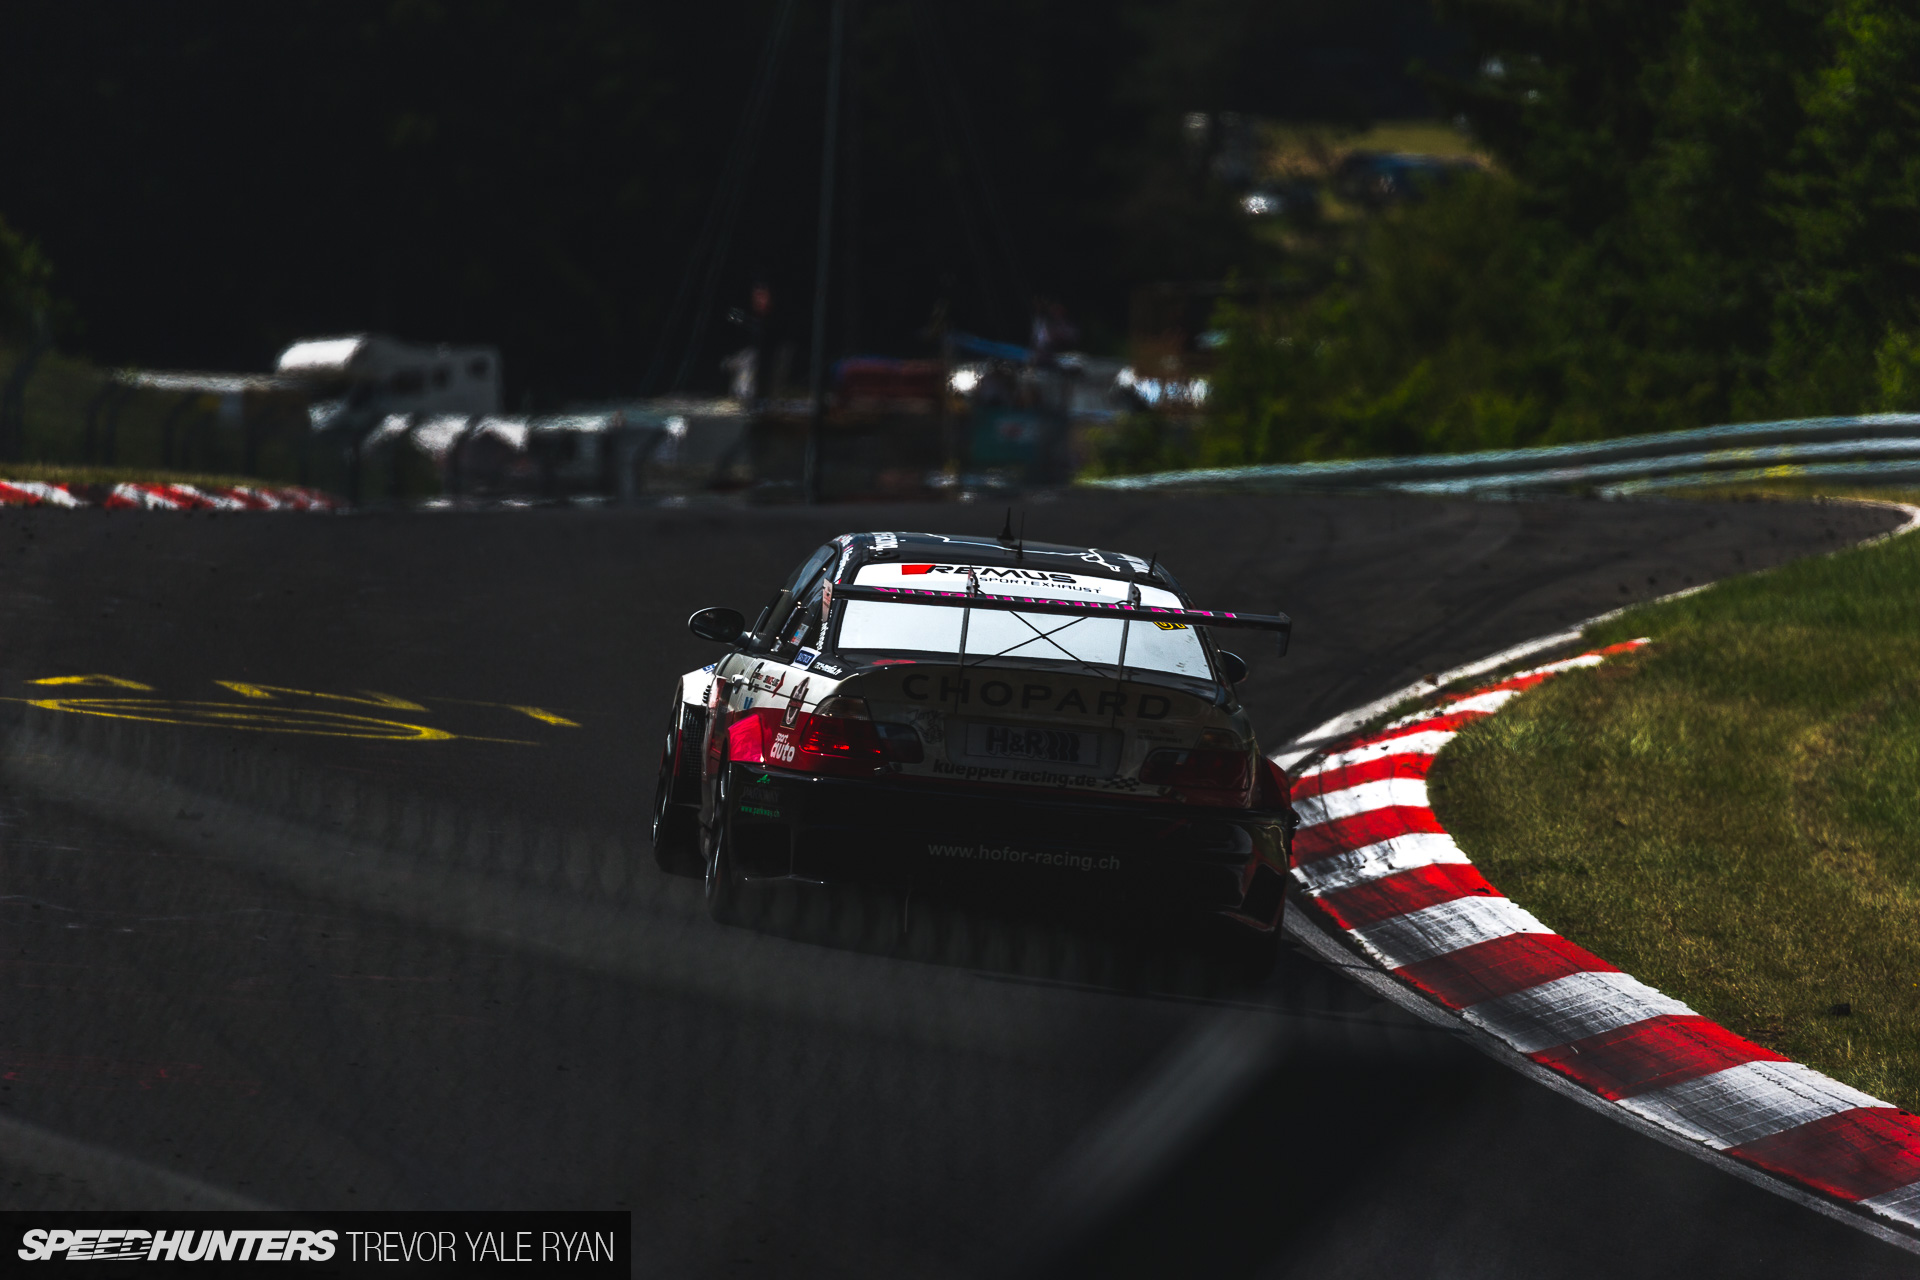
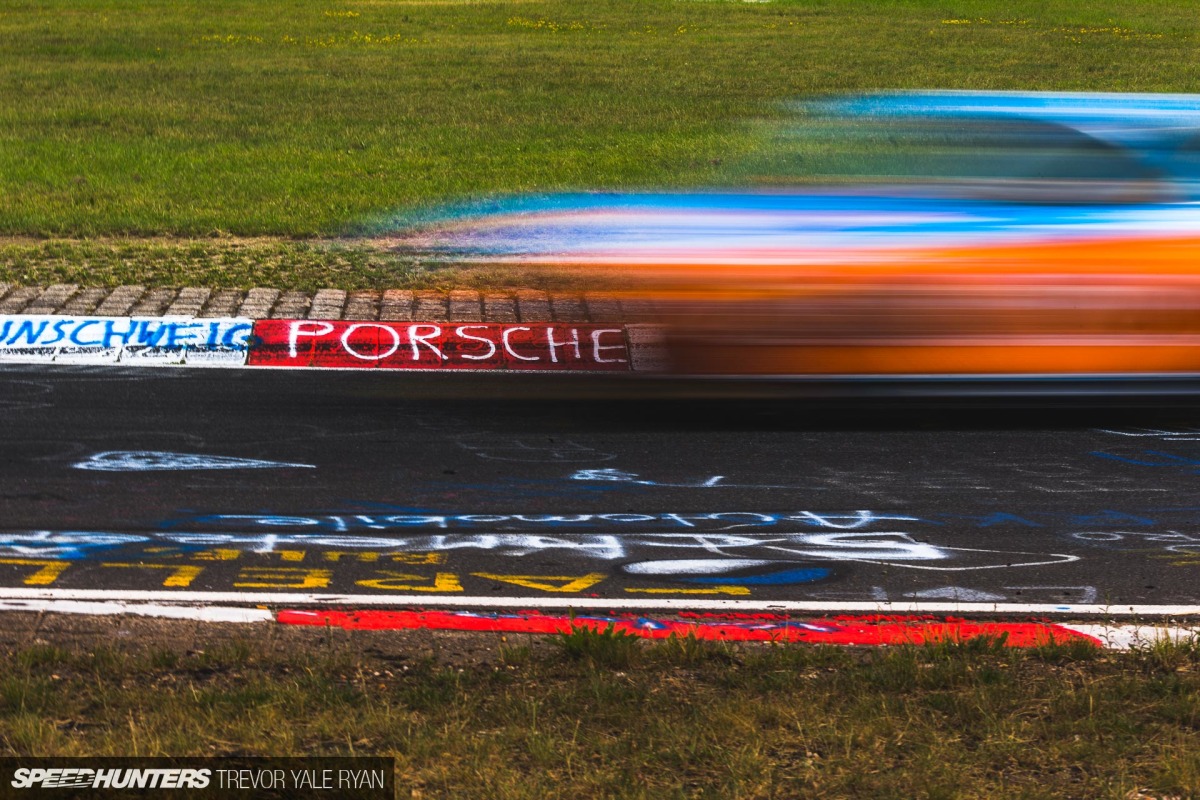
There are a few tricks I’ve learned though, and one is more of a rule: Your best shot will always come out blurry. Take this particular photo of this Porsche at maximum lift-off. I’ve actually stolen the face of the car from a shot I took fraction of a second earlier and photoshopped it onto this one (which was blurry) with the wheels off the ground.
It’s a bit of a pain to get right, and if you look really closely you’ll probably notice I did it, but without telling I’d get away with it 99% of the time.
But it’s always that 1% you need to look out for, isn’t it?
Location, Location, Location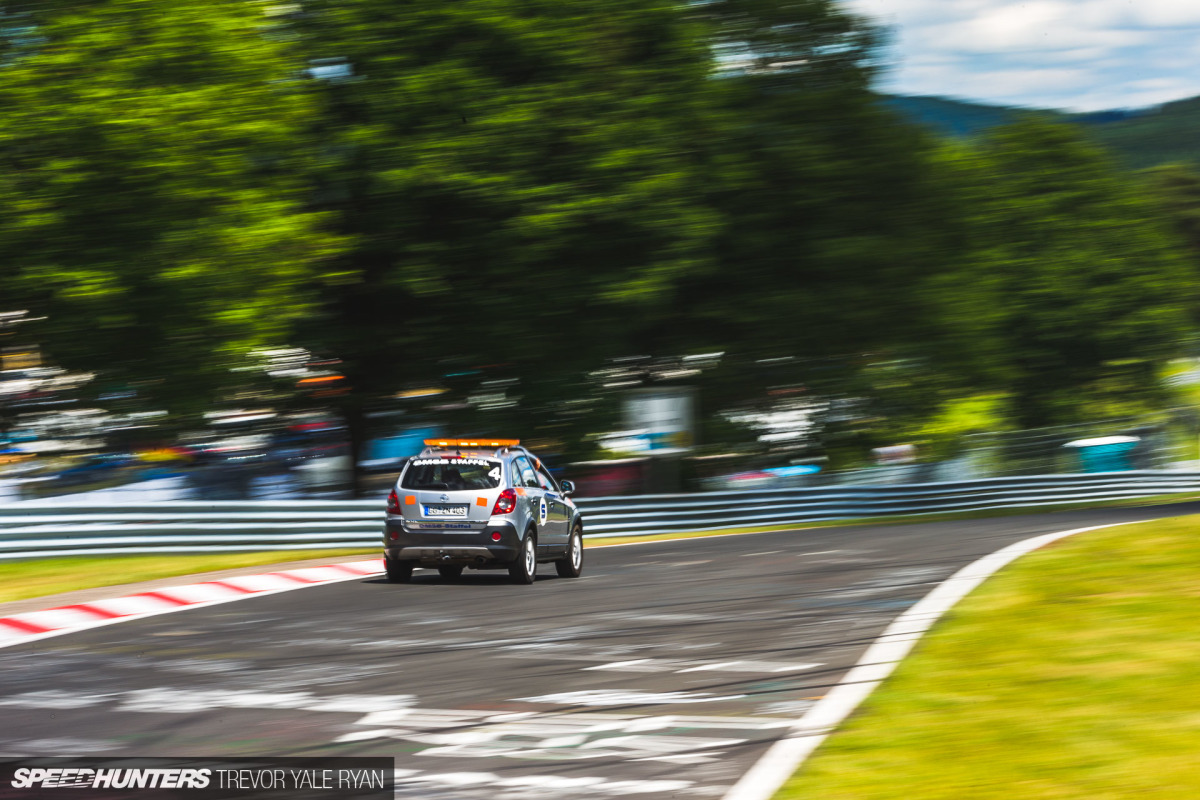
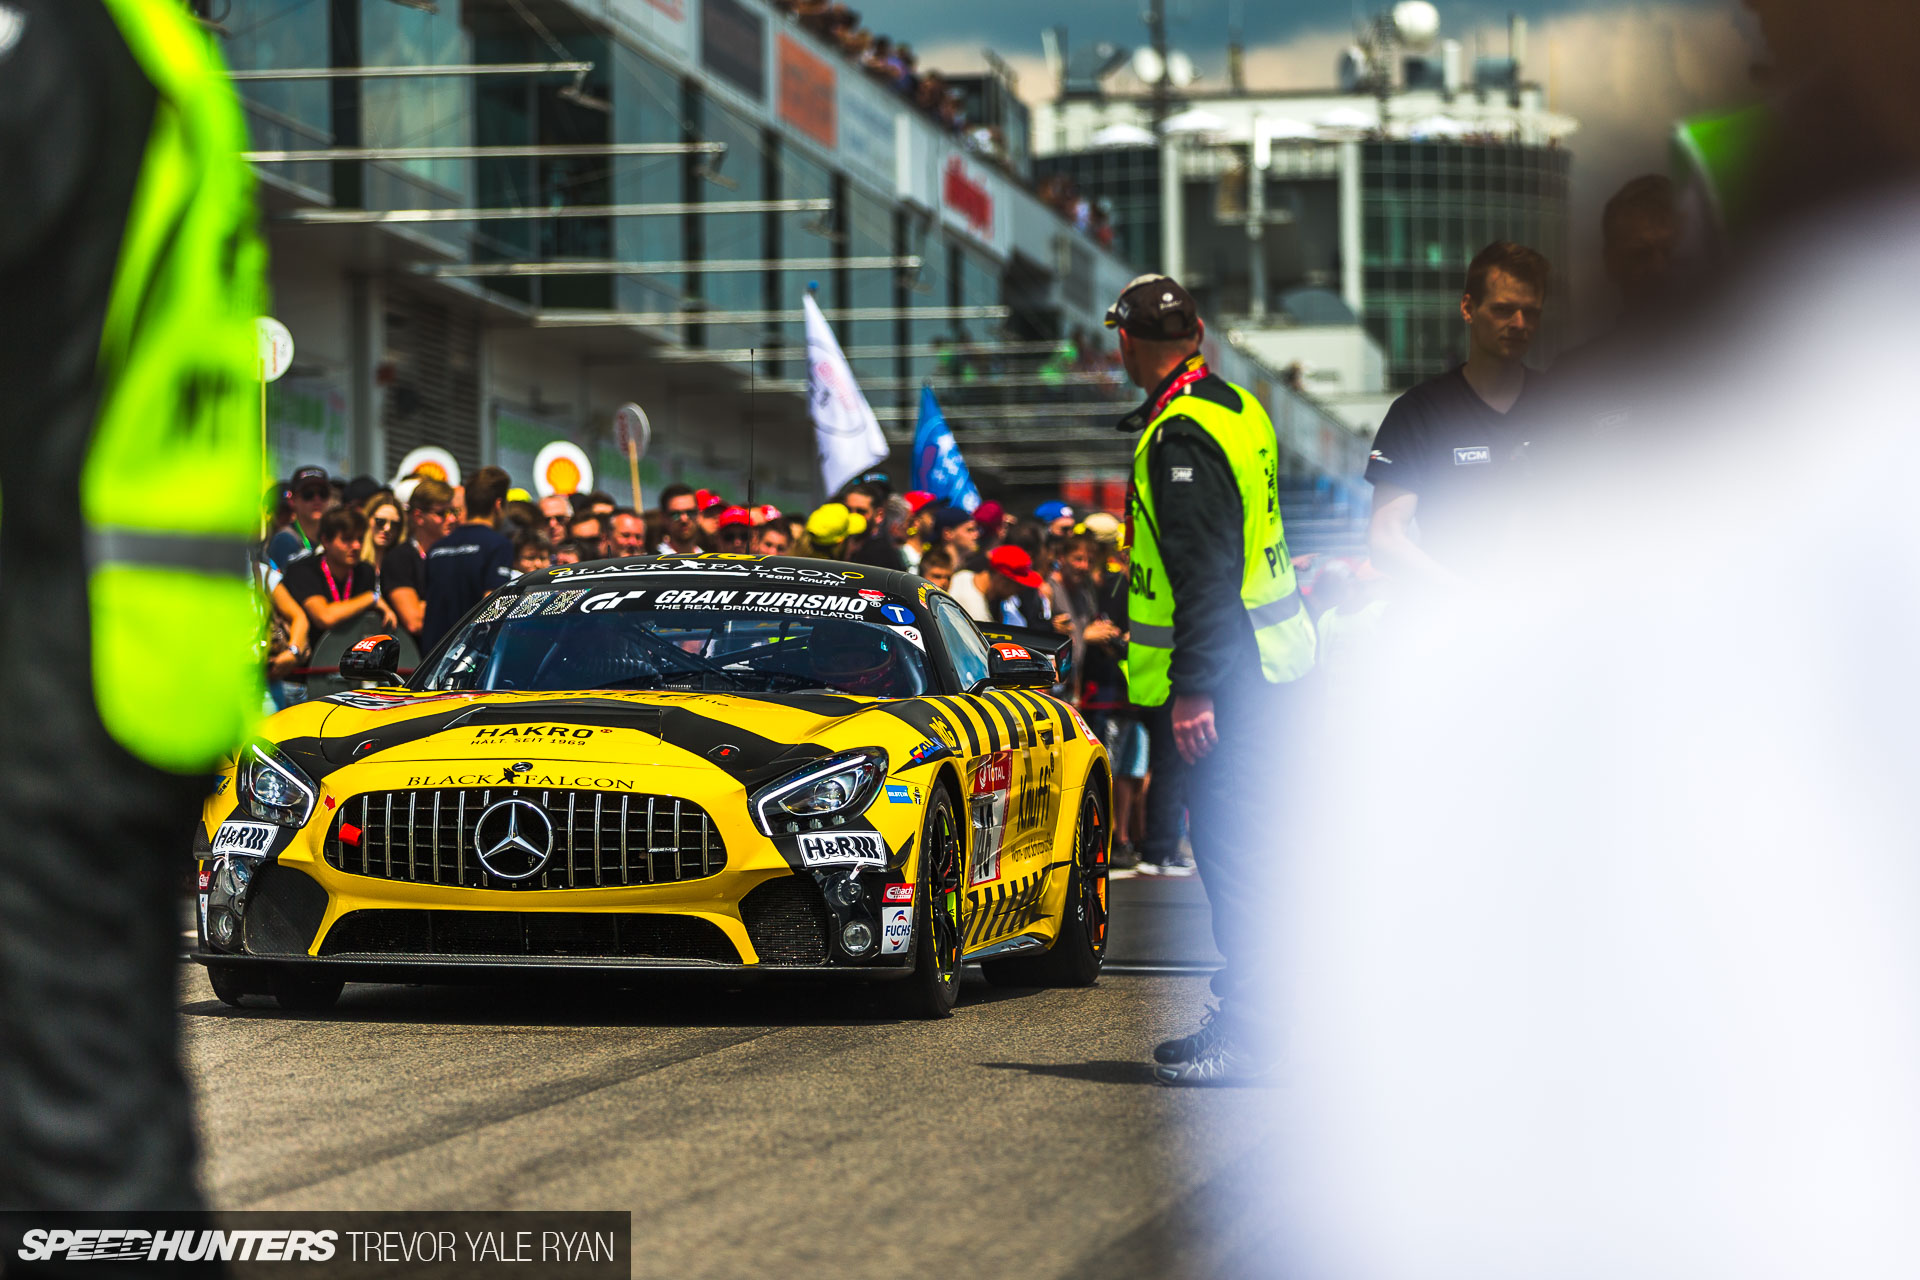
When it comes to getting the shot right in the first place perhaps the single most important aspect is your positioning. Location can make or break a feature shoot, and being able to anticipate the action at an event will enable you to take the best photos.
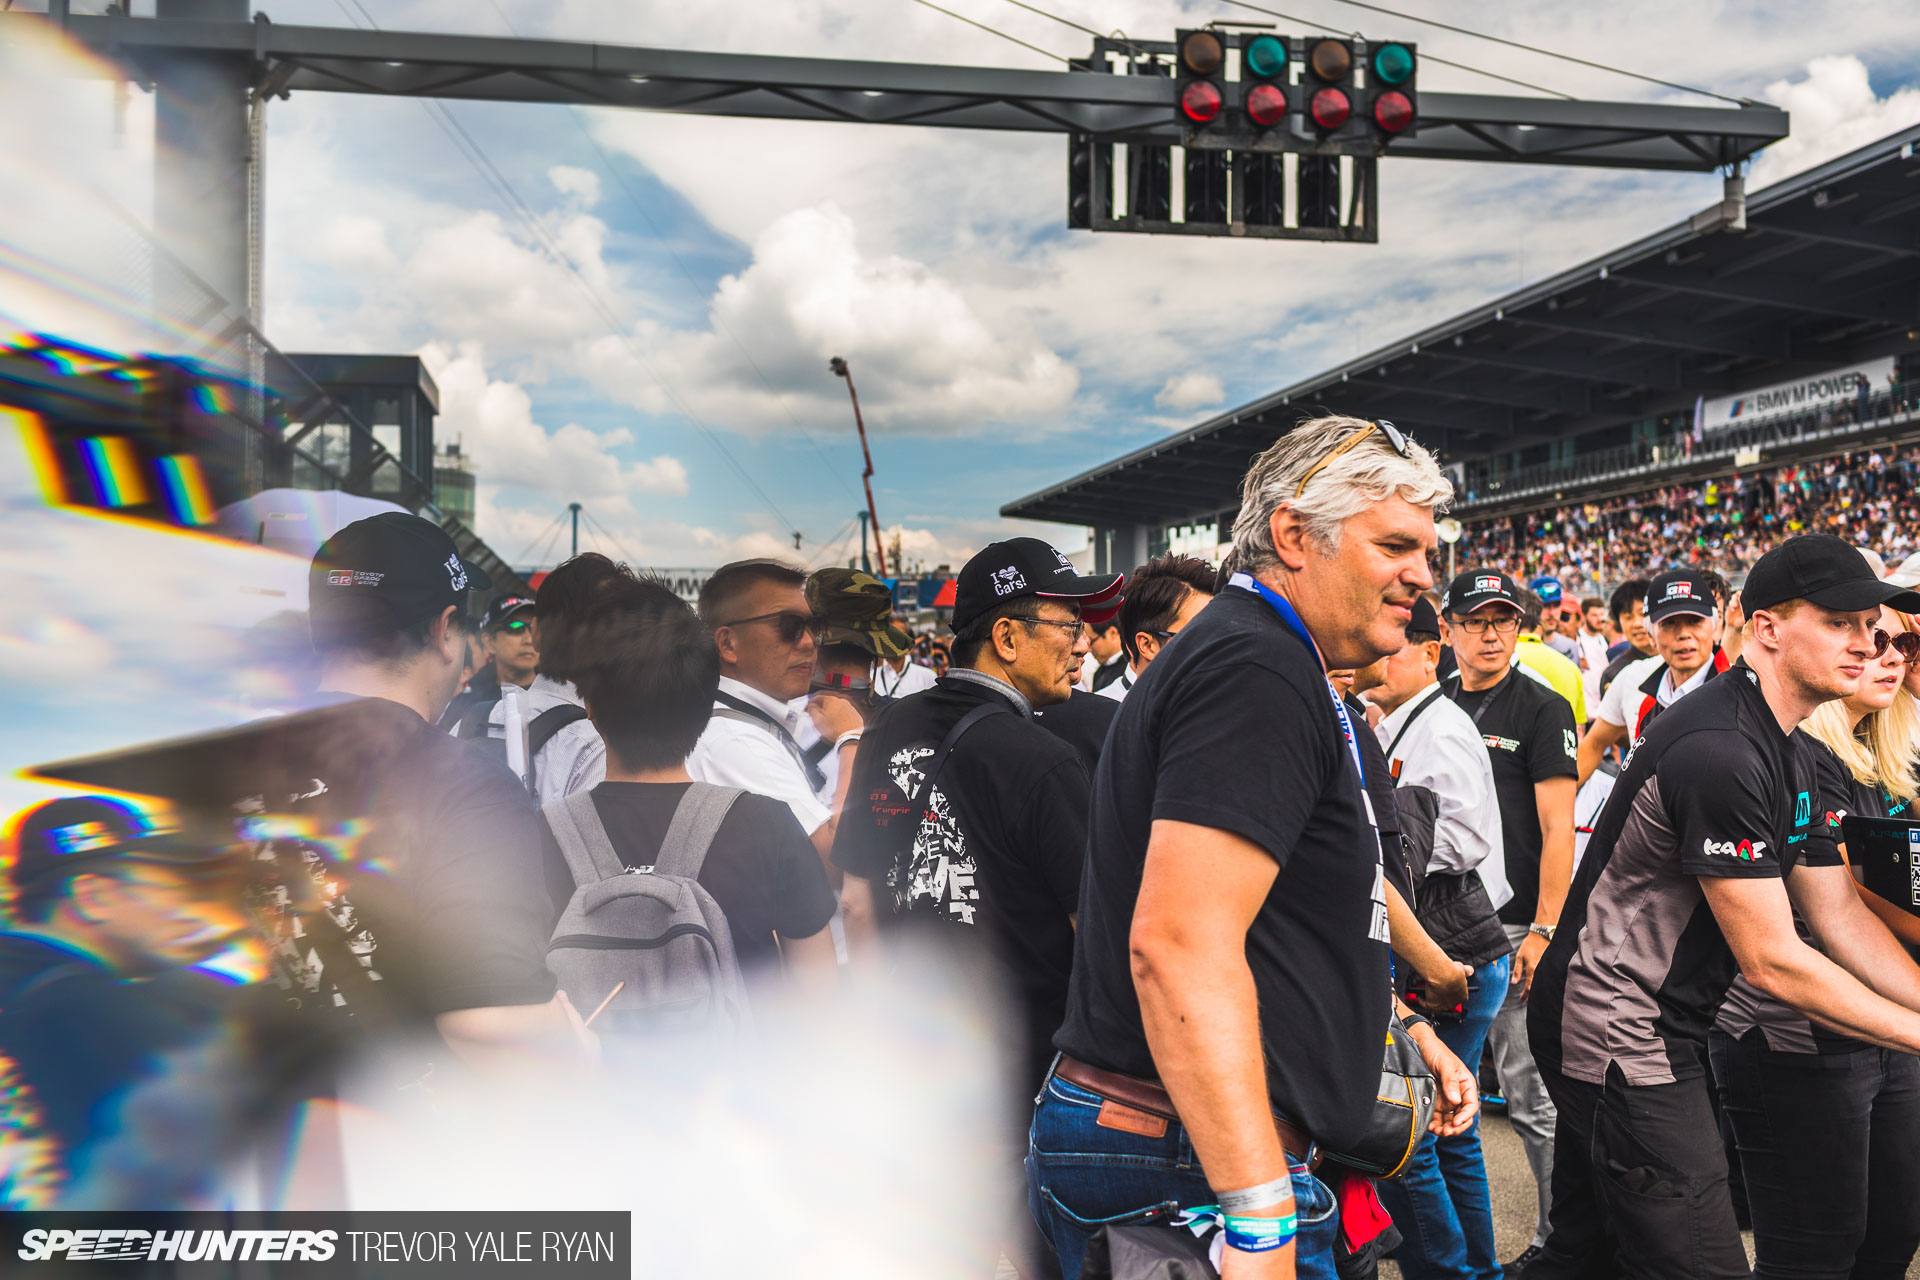
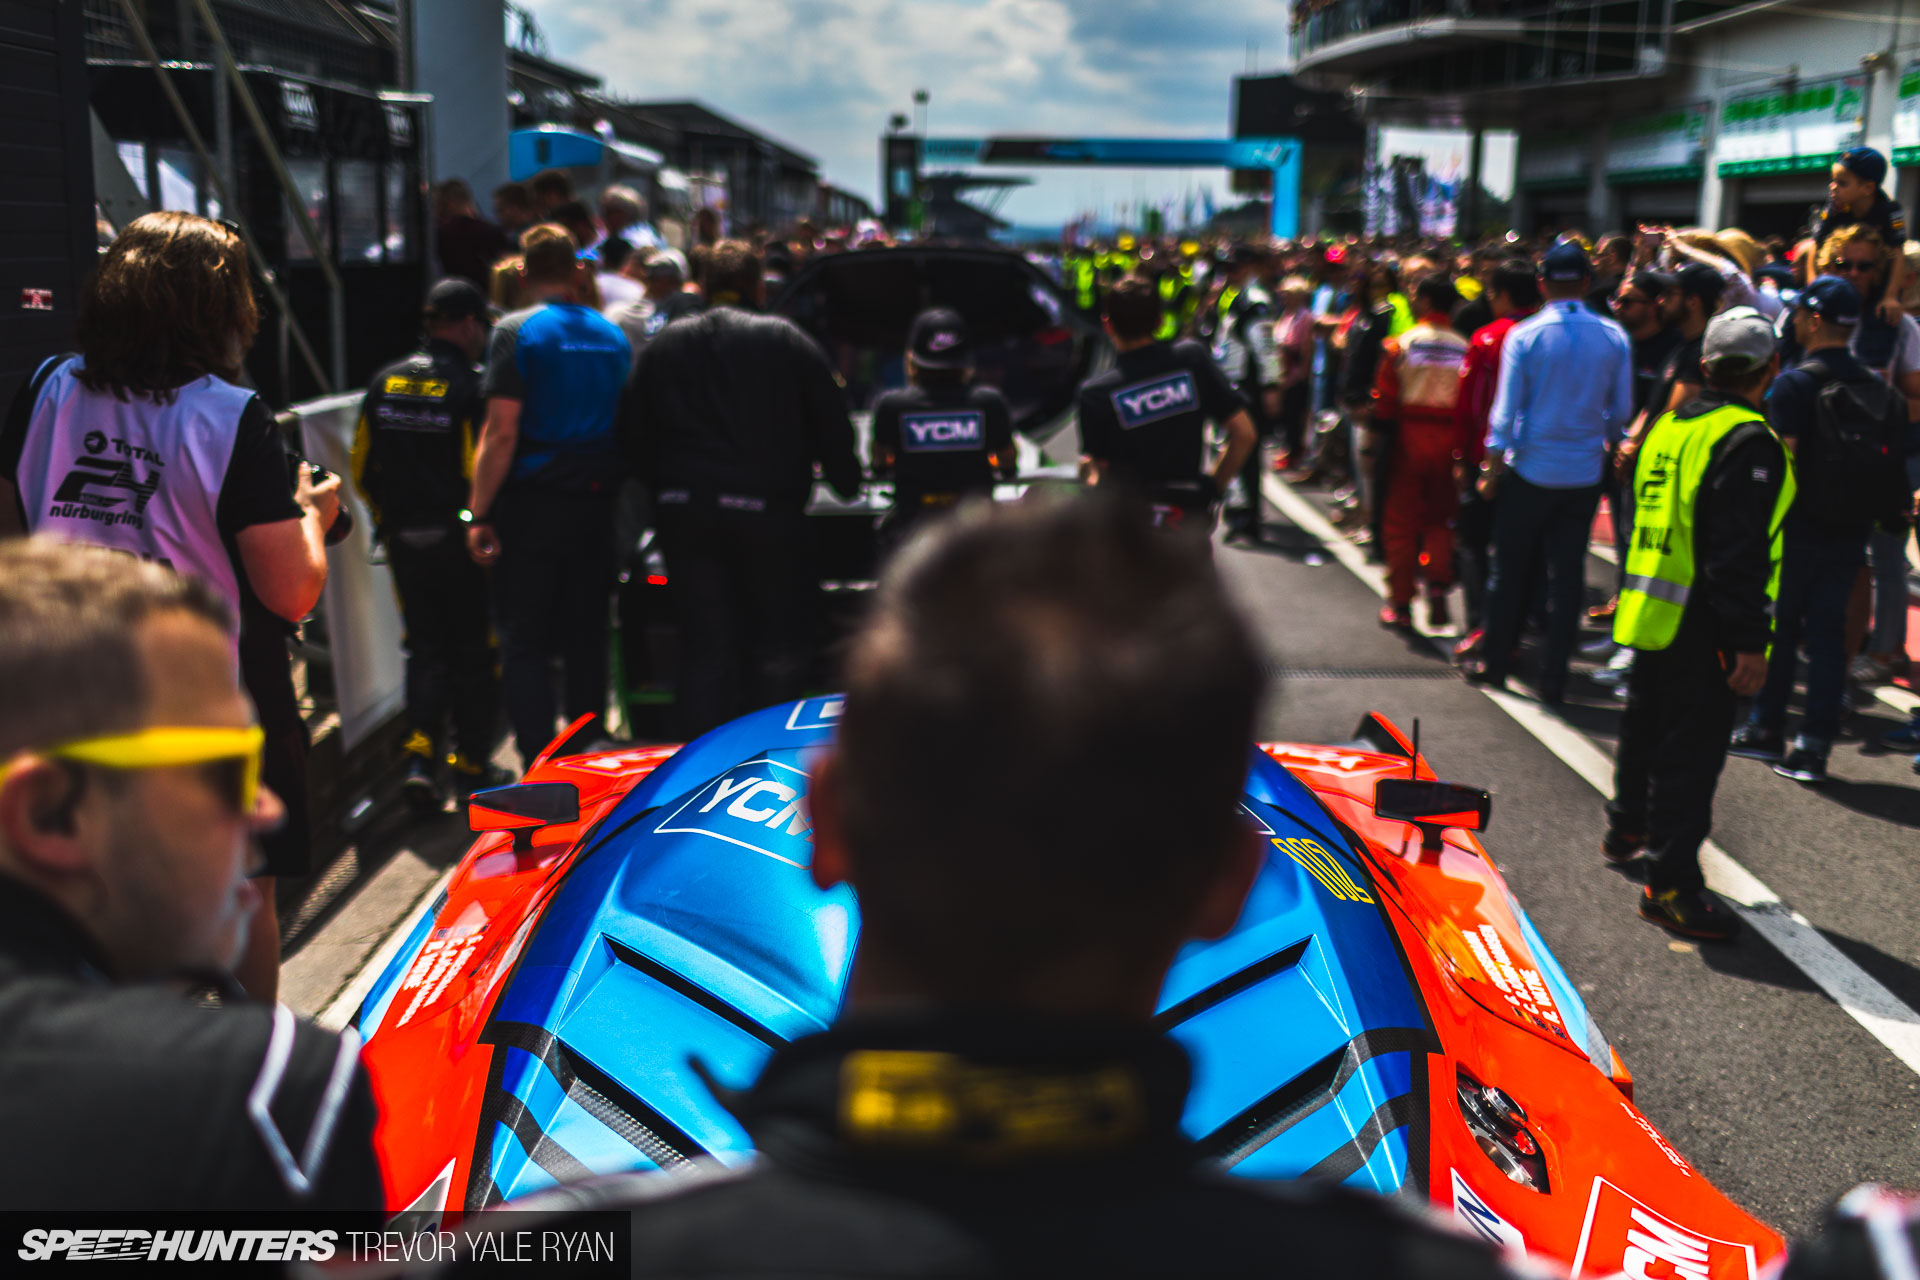
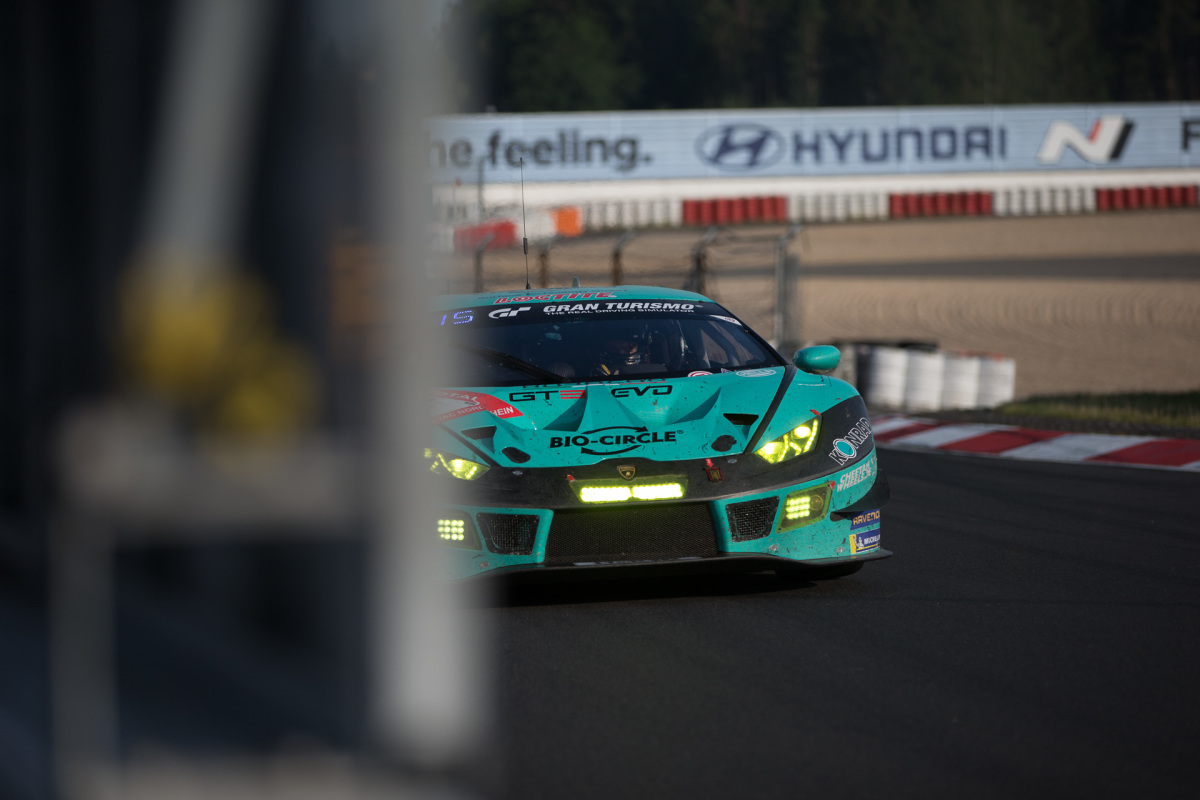
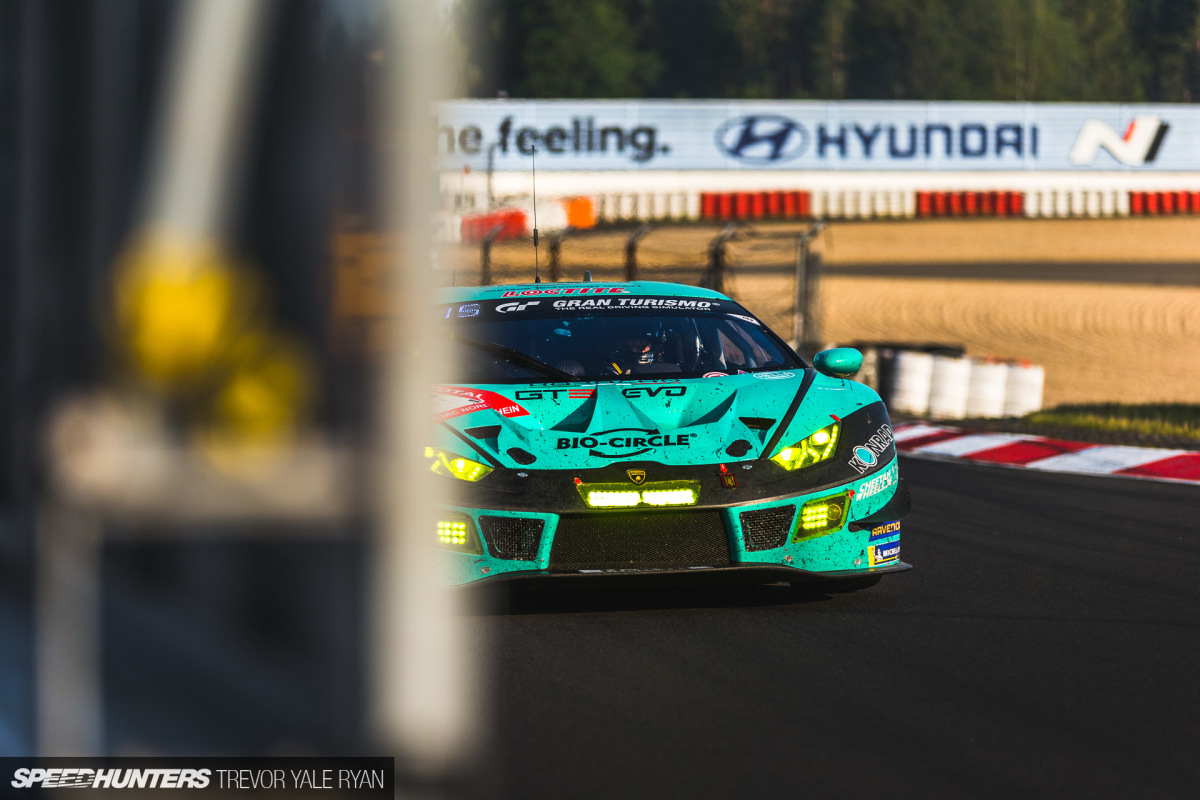
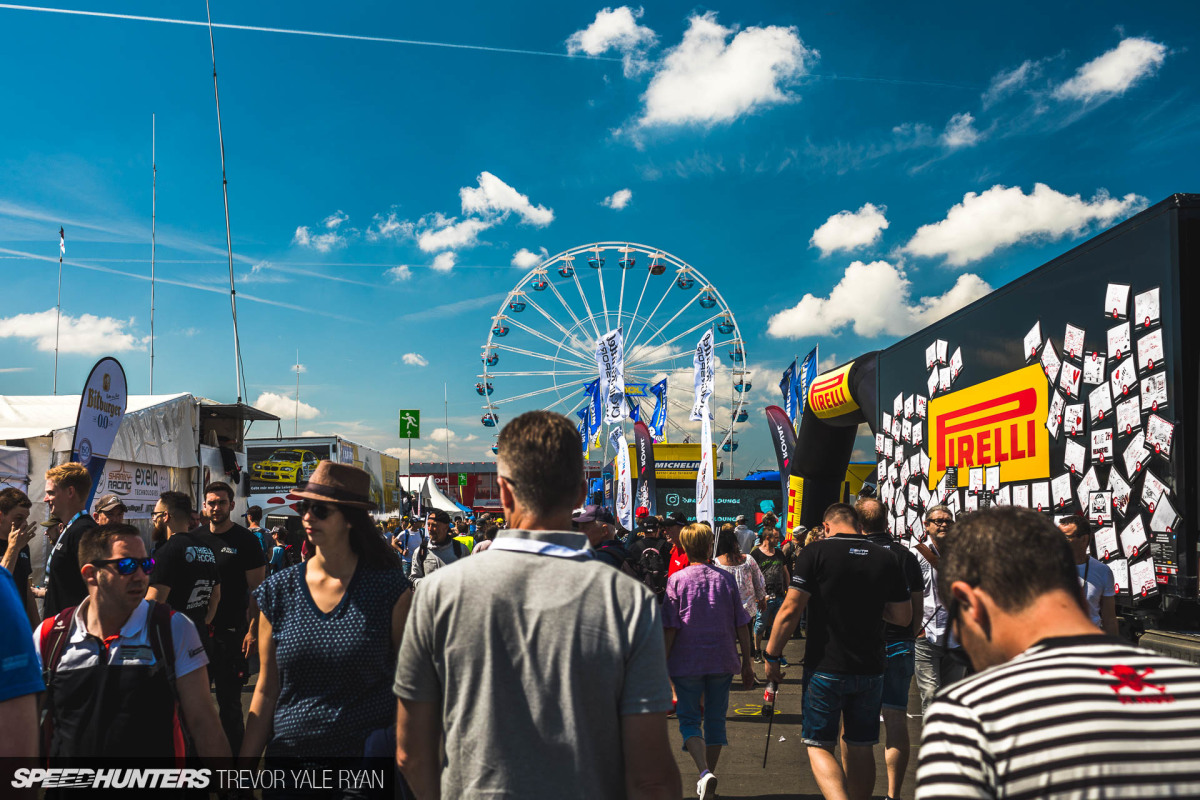
One piece of advice — which I completely ignored at the start of the race — is to not spend much time where everyone is gathered. I’m sure a million other photographers got a shot like this one, although I’m curious if their photos were all as destroyed by heat waves as mine is.
It’s passable for web and fine for Instagram, but if I was to make a large print I’d be sorely disappointed.
Essentially, the sharpness of any image taken with longer lens like a 400mm will suffer when shooting over asphalt on a hot day. You can minimize this by shooting over grassy run-off or similar as much as possible and higher-end gear will do better at focusing through the blurriness, but ultimately there’s no way around it entirely.
As for location, you’ll often find that crouching or laying down (if it’s safe to do so) will yield far better results no matter where you are. At the Karussell I tried – with varying success – to shoot between the gap in the barriers around the outer edge of the track.

While it’s arguably a more unique shot than the standard shot I’ve seen a million times from here taken standing up, my keep rate was poor and I wasn’t a fan of how my shots with the 35mm were coming out using this technique.

With the wide angle they just sort of looked like my shutter was broken and obscuring half the photo and didn’t really provide any extra context.
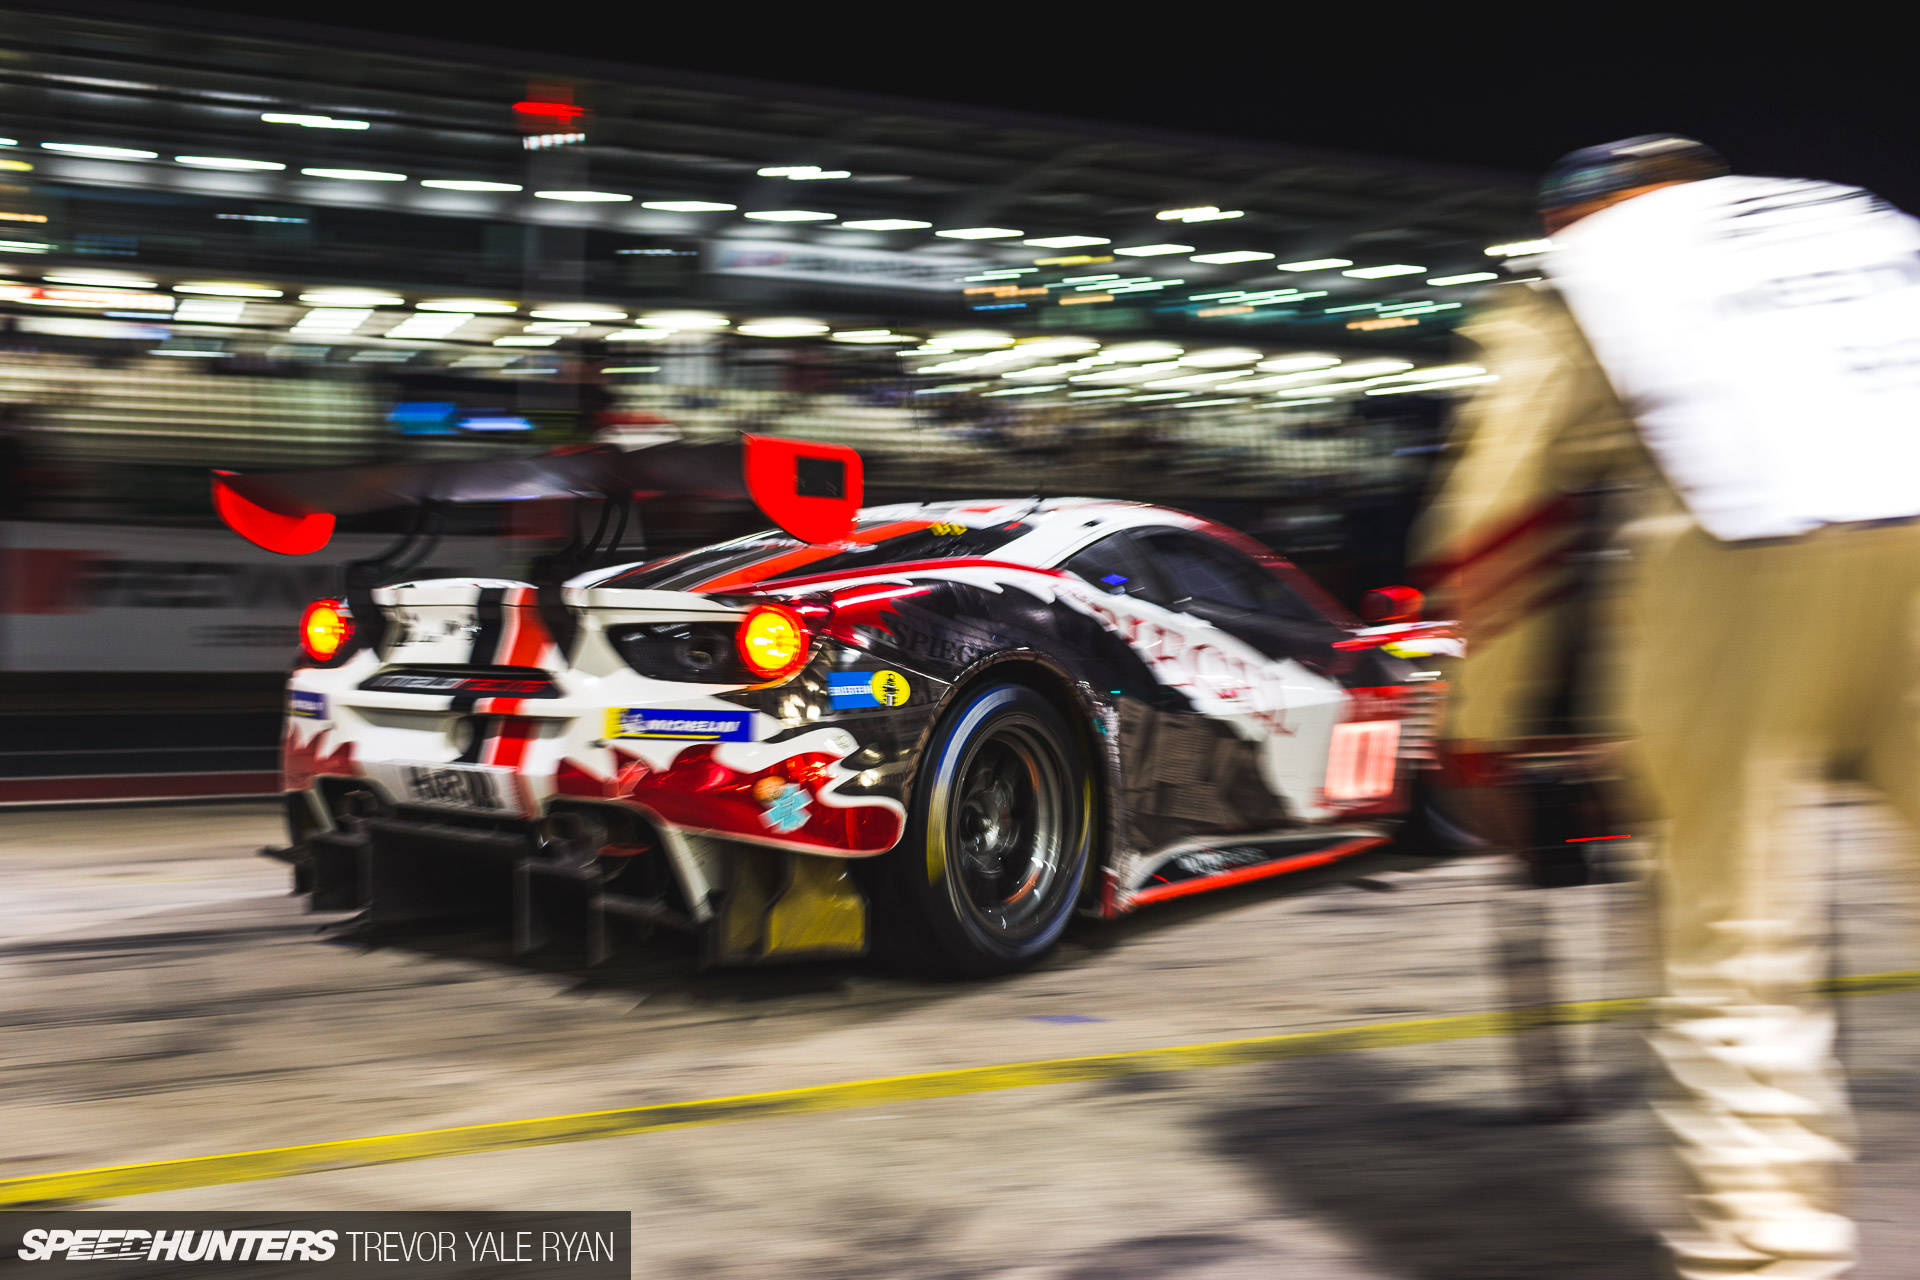
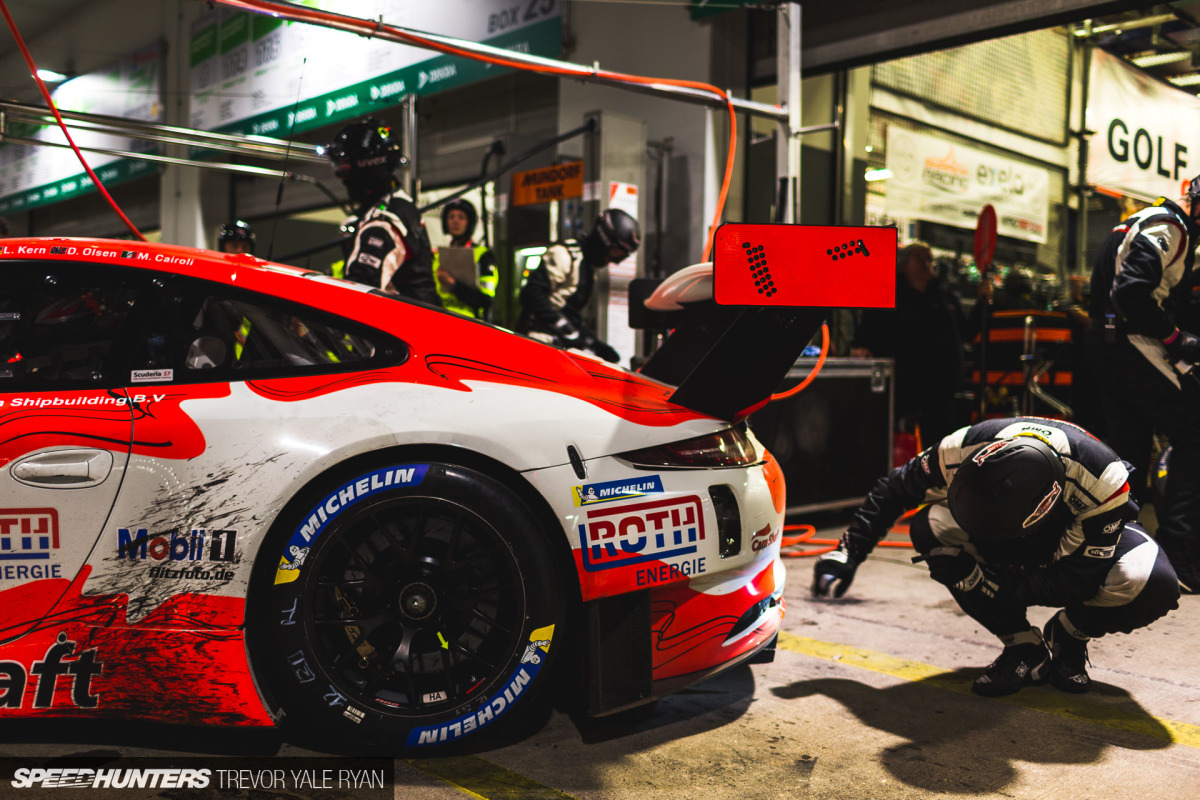
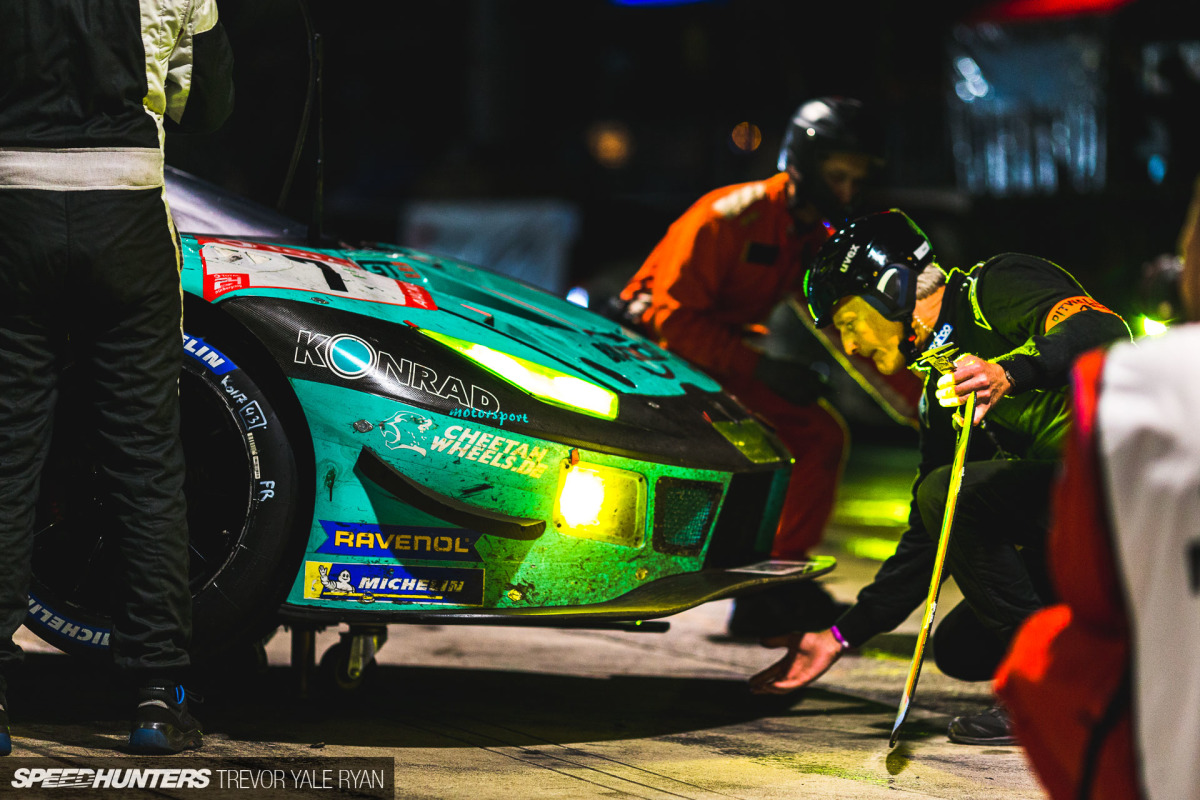
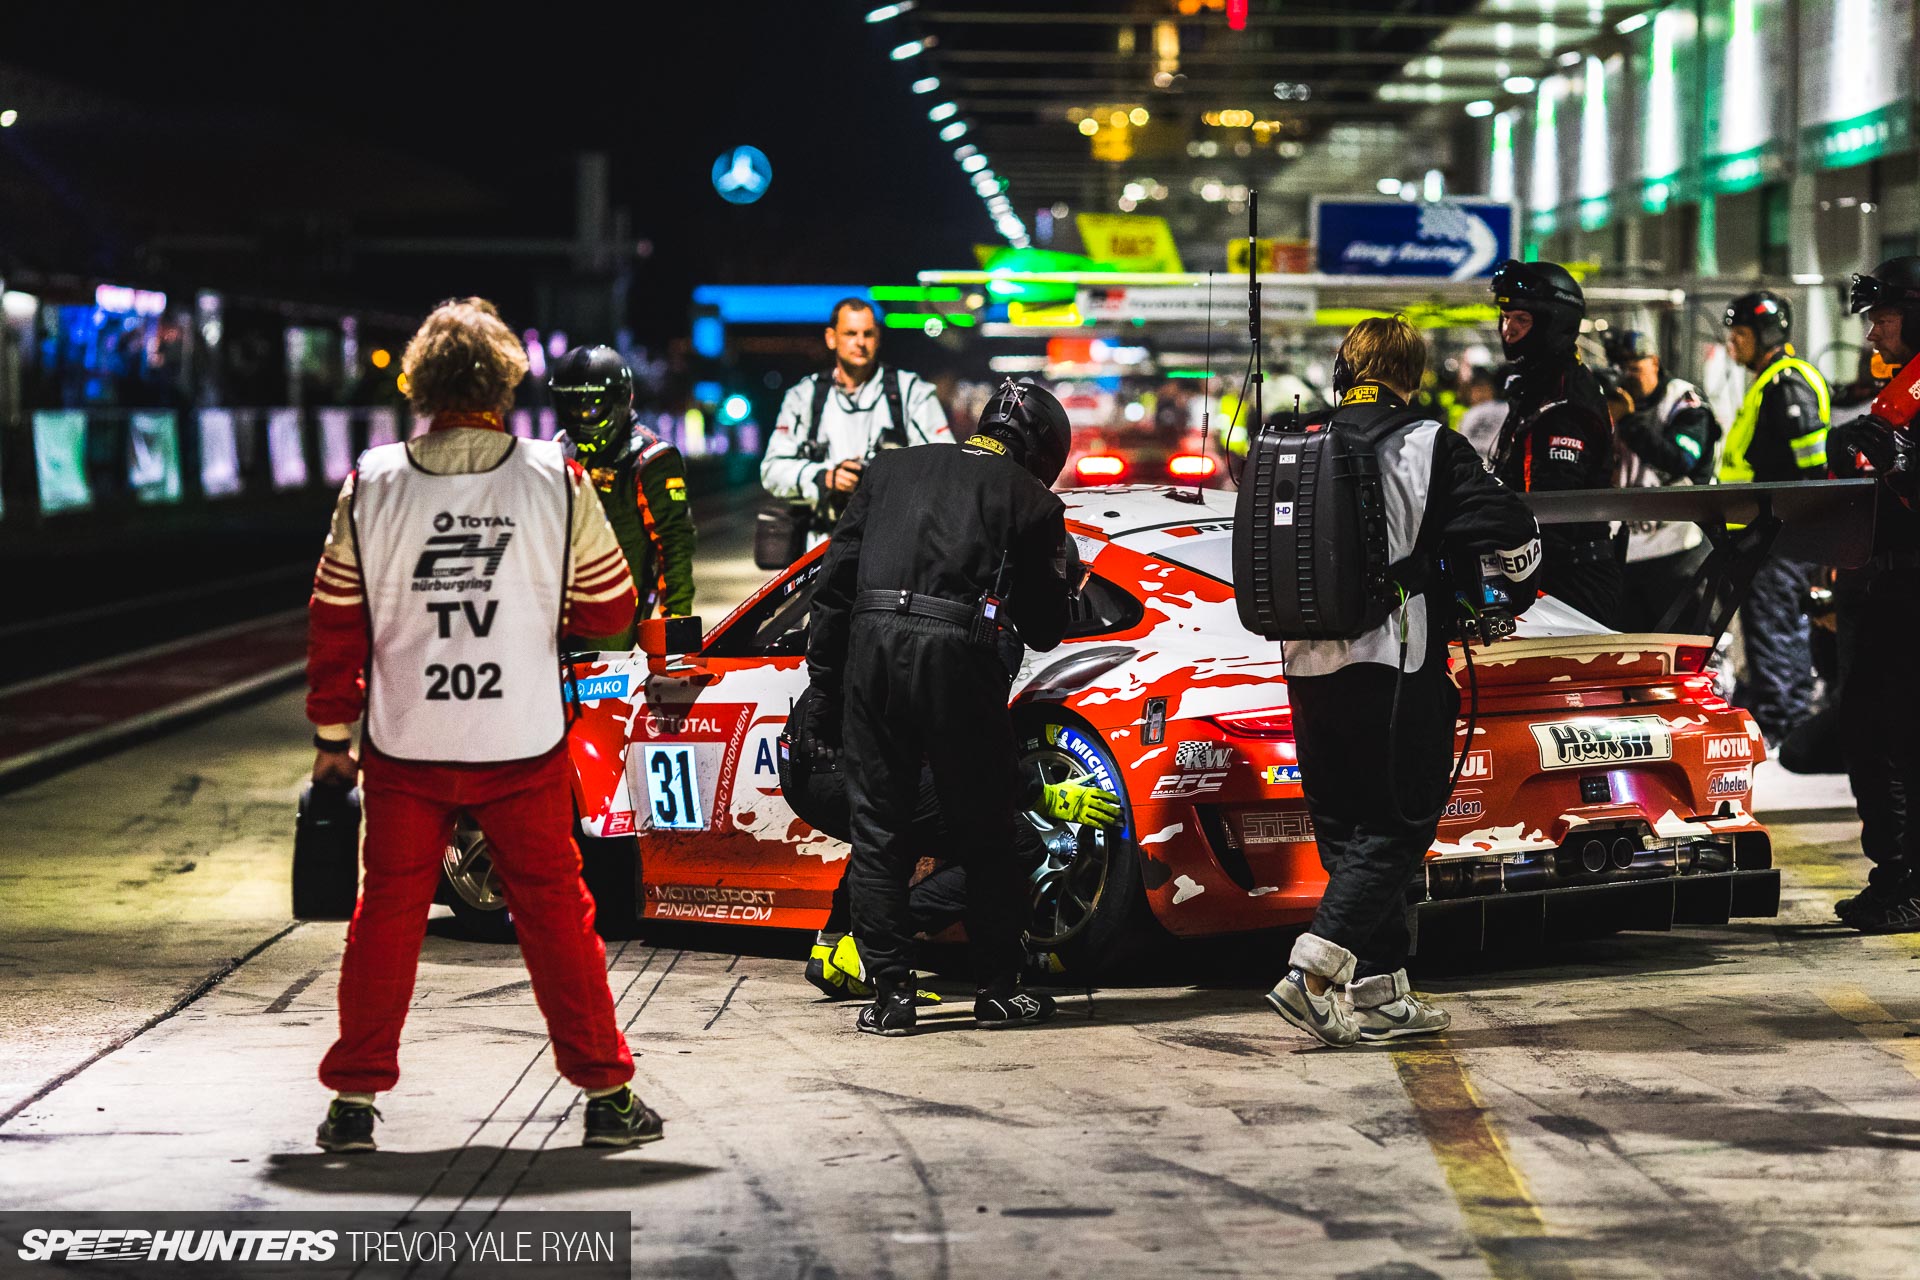
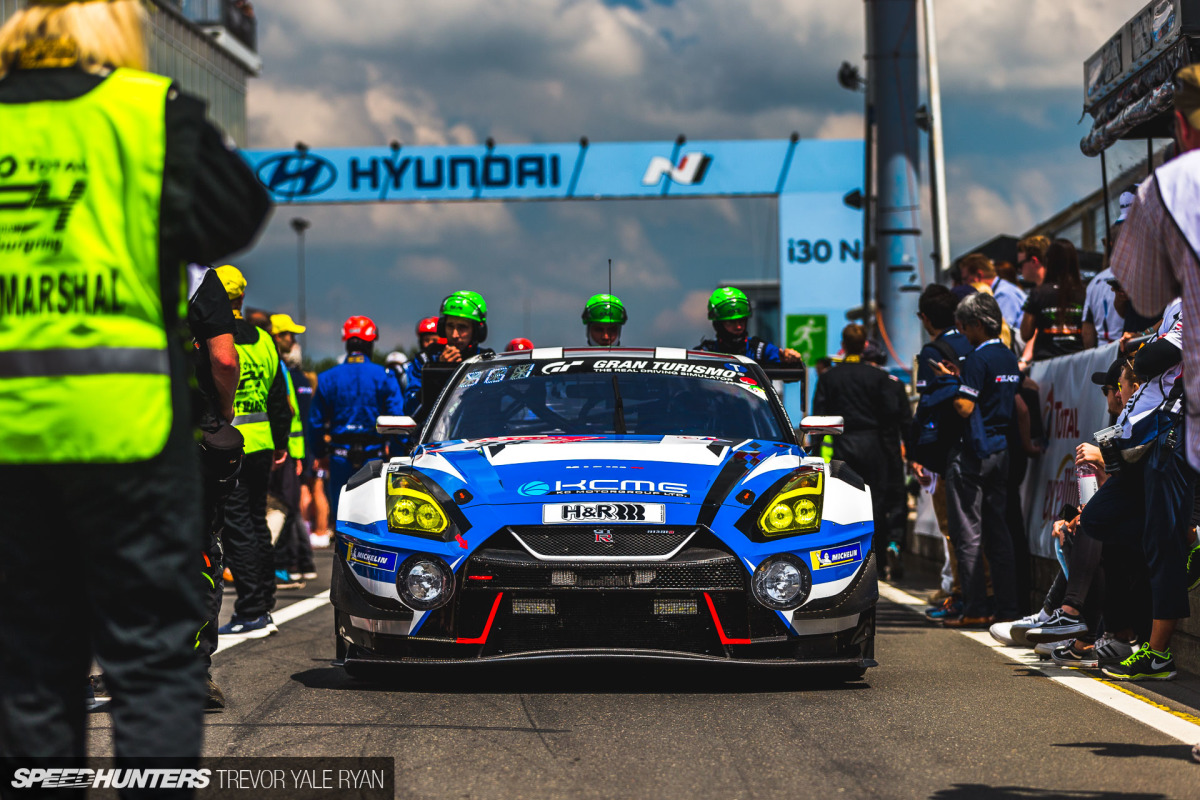
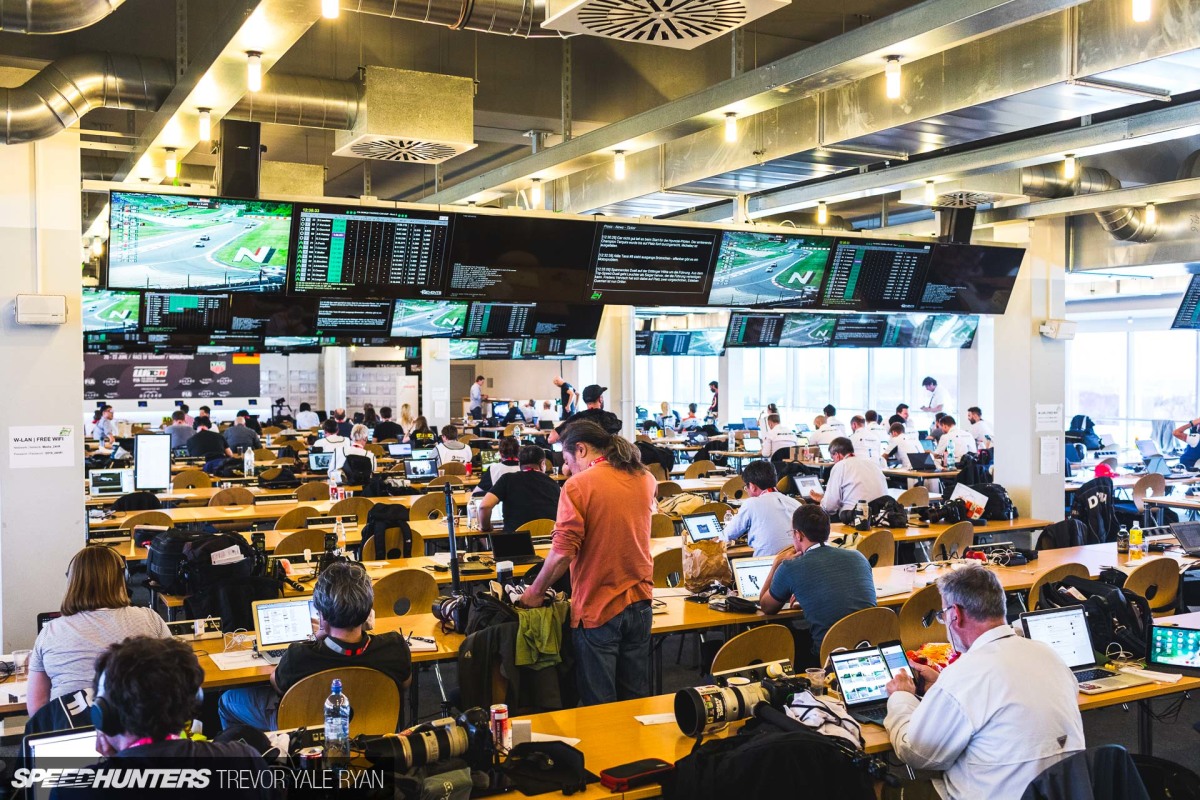
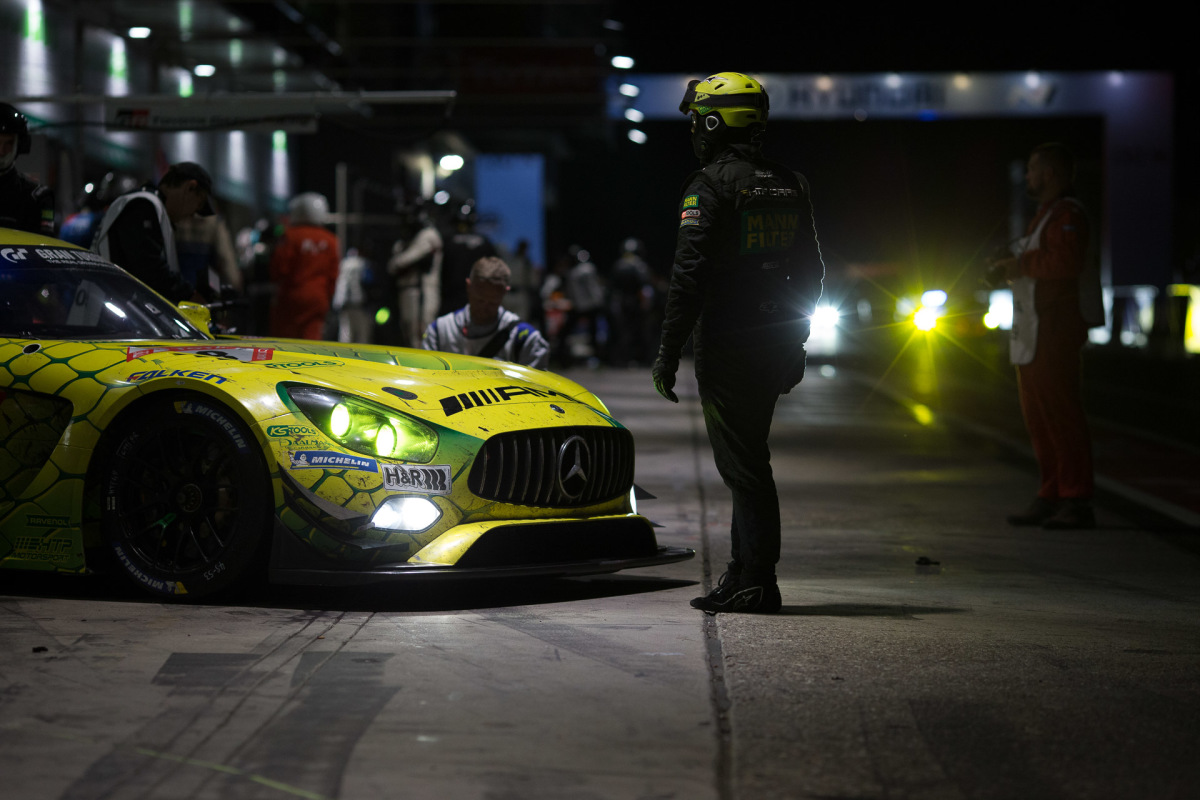
When night fell, I headed into the pits as they’re very well lit. This also tends to be when the most action is with drivers making mistakes.
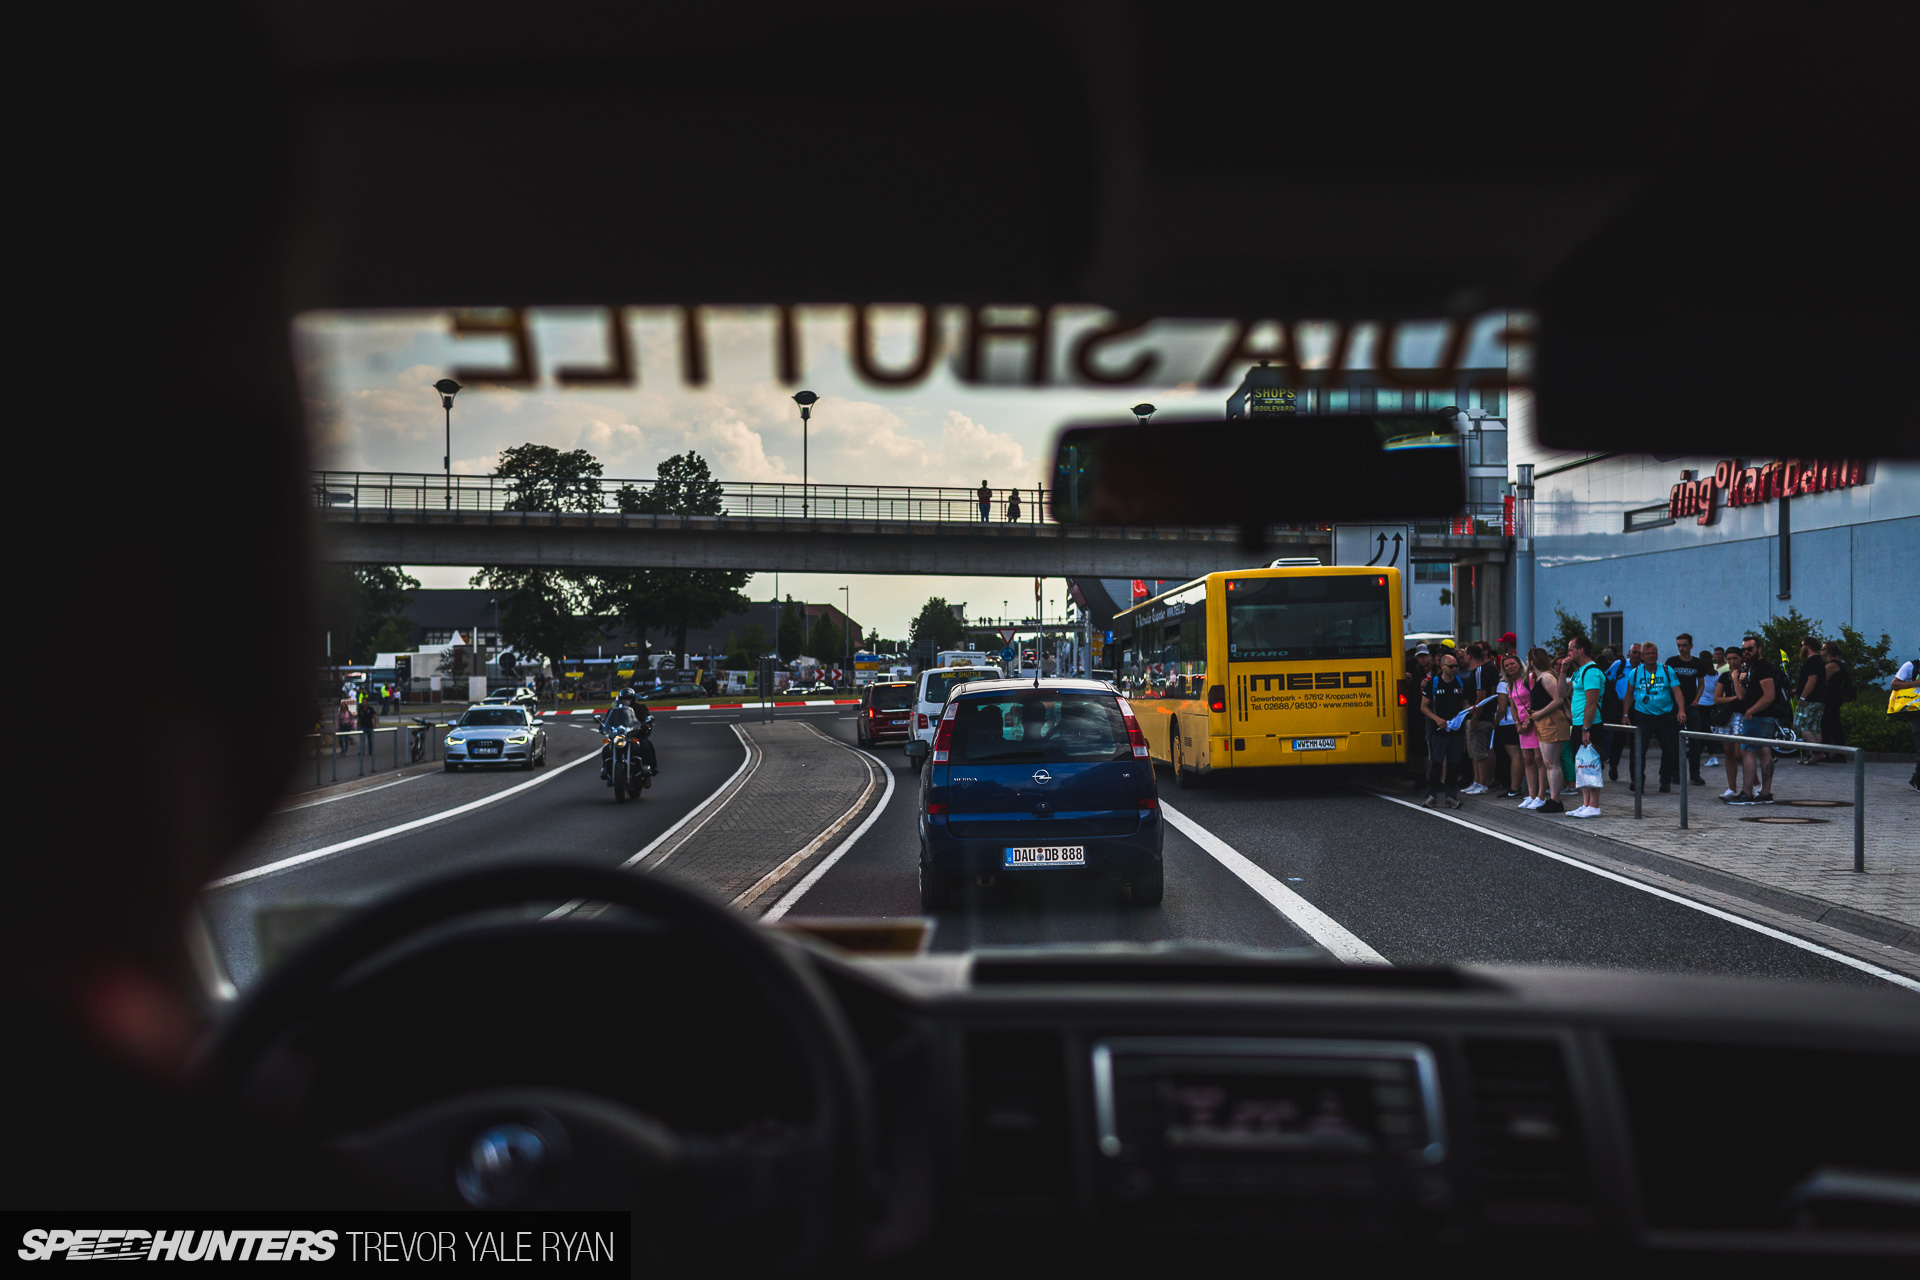
Besides your specific positioning, getting around the track is critically important when it comes to covering a race like the Nürburgring 24. The media shuttles are great, but a few of you who paid close attention to my main story, and who have shot at the Nürburgring before, have asked how I managed to shoot the Karussell at sundown, Pflanzgarten at twilight, Kleins Karussell at nightfall, then the big Karussell again in the dark of night.
This question comes due to the fact that these corners are connected only via steep hiking trails which stretch about 4 miles (6.4km) between the aforementioned corners and back again.
The answer comes down to dumb luck, a bit of ingenuity, and (maybe) a lot of stupidity.
As I was hiking around the inside of the circuit at dusk pair of (very questionable) gentlemen in a somewhat questionable vehicle asked if I could use a lift. Obviously, the answer was yes, but I had no idea what I was getting myself into.
They were very British, so luckily for me they spoke English, or at least some version of it, but I still had no idea what they were talking about half the time. We bounced violently around the trails back and forth to different corners from around 10:00pm to 2:00am, at which point I turned down their offer to drive to who-knows-where, and counted myself lucky that I hadn’t been dismembered and left for dead in the forest.
The pair were quite pleased by their knowledge of the backroads, though, and feeding the driver my Red Bull helped fuel our trip around in the dark. Hopefully this strategy works out again for me; I don’t think I could have done the 8+ miles we covered on top of the 12 I had already actually walked earlier that day.
Final Thoughts
One of my major takeaways from shooting the Nürburgring 24 is that I absolutely have to put the telephoto away from time to time on the track. Shooting wide-angle shots to set your scene is really, really important, and I need to do more of this. The vast majority of my shots with my 35mm or similar were taken around town or the paddock.

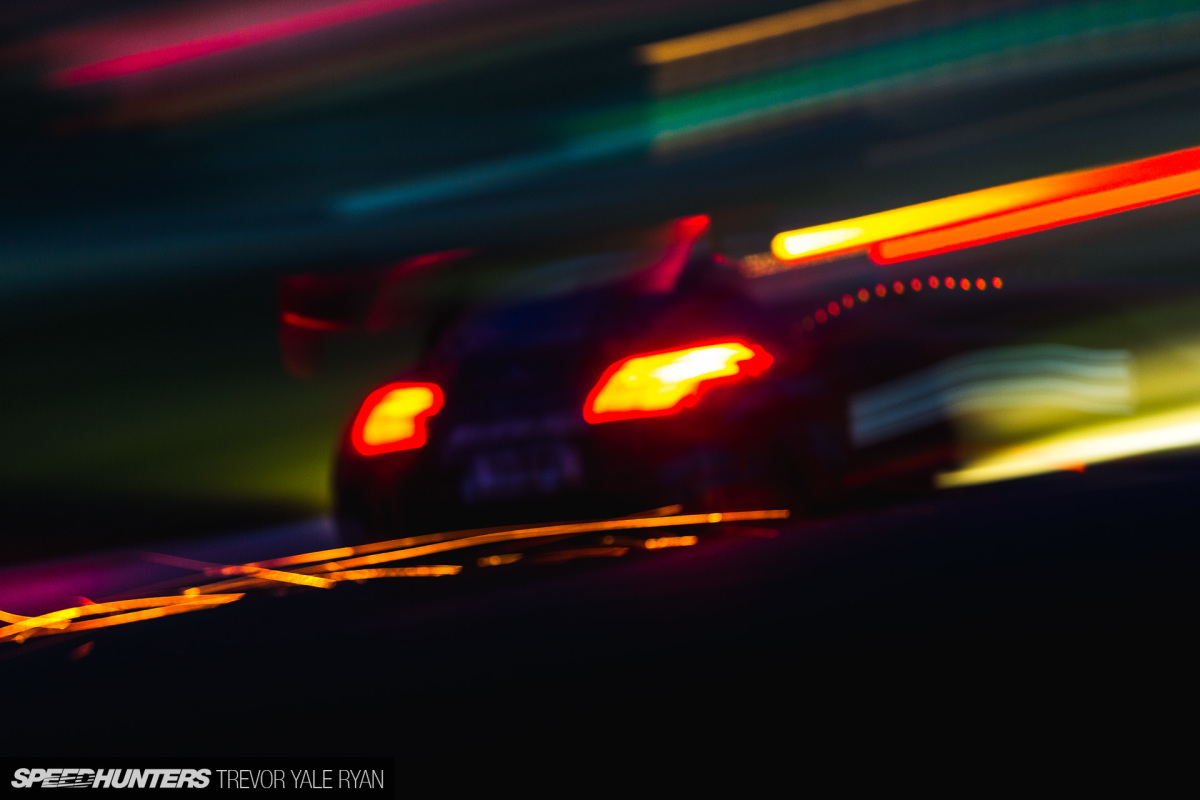
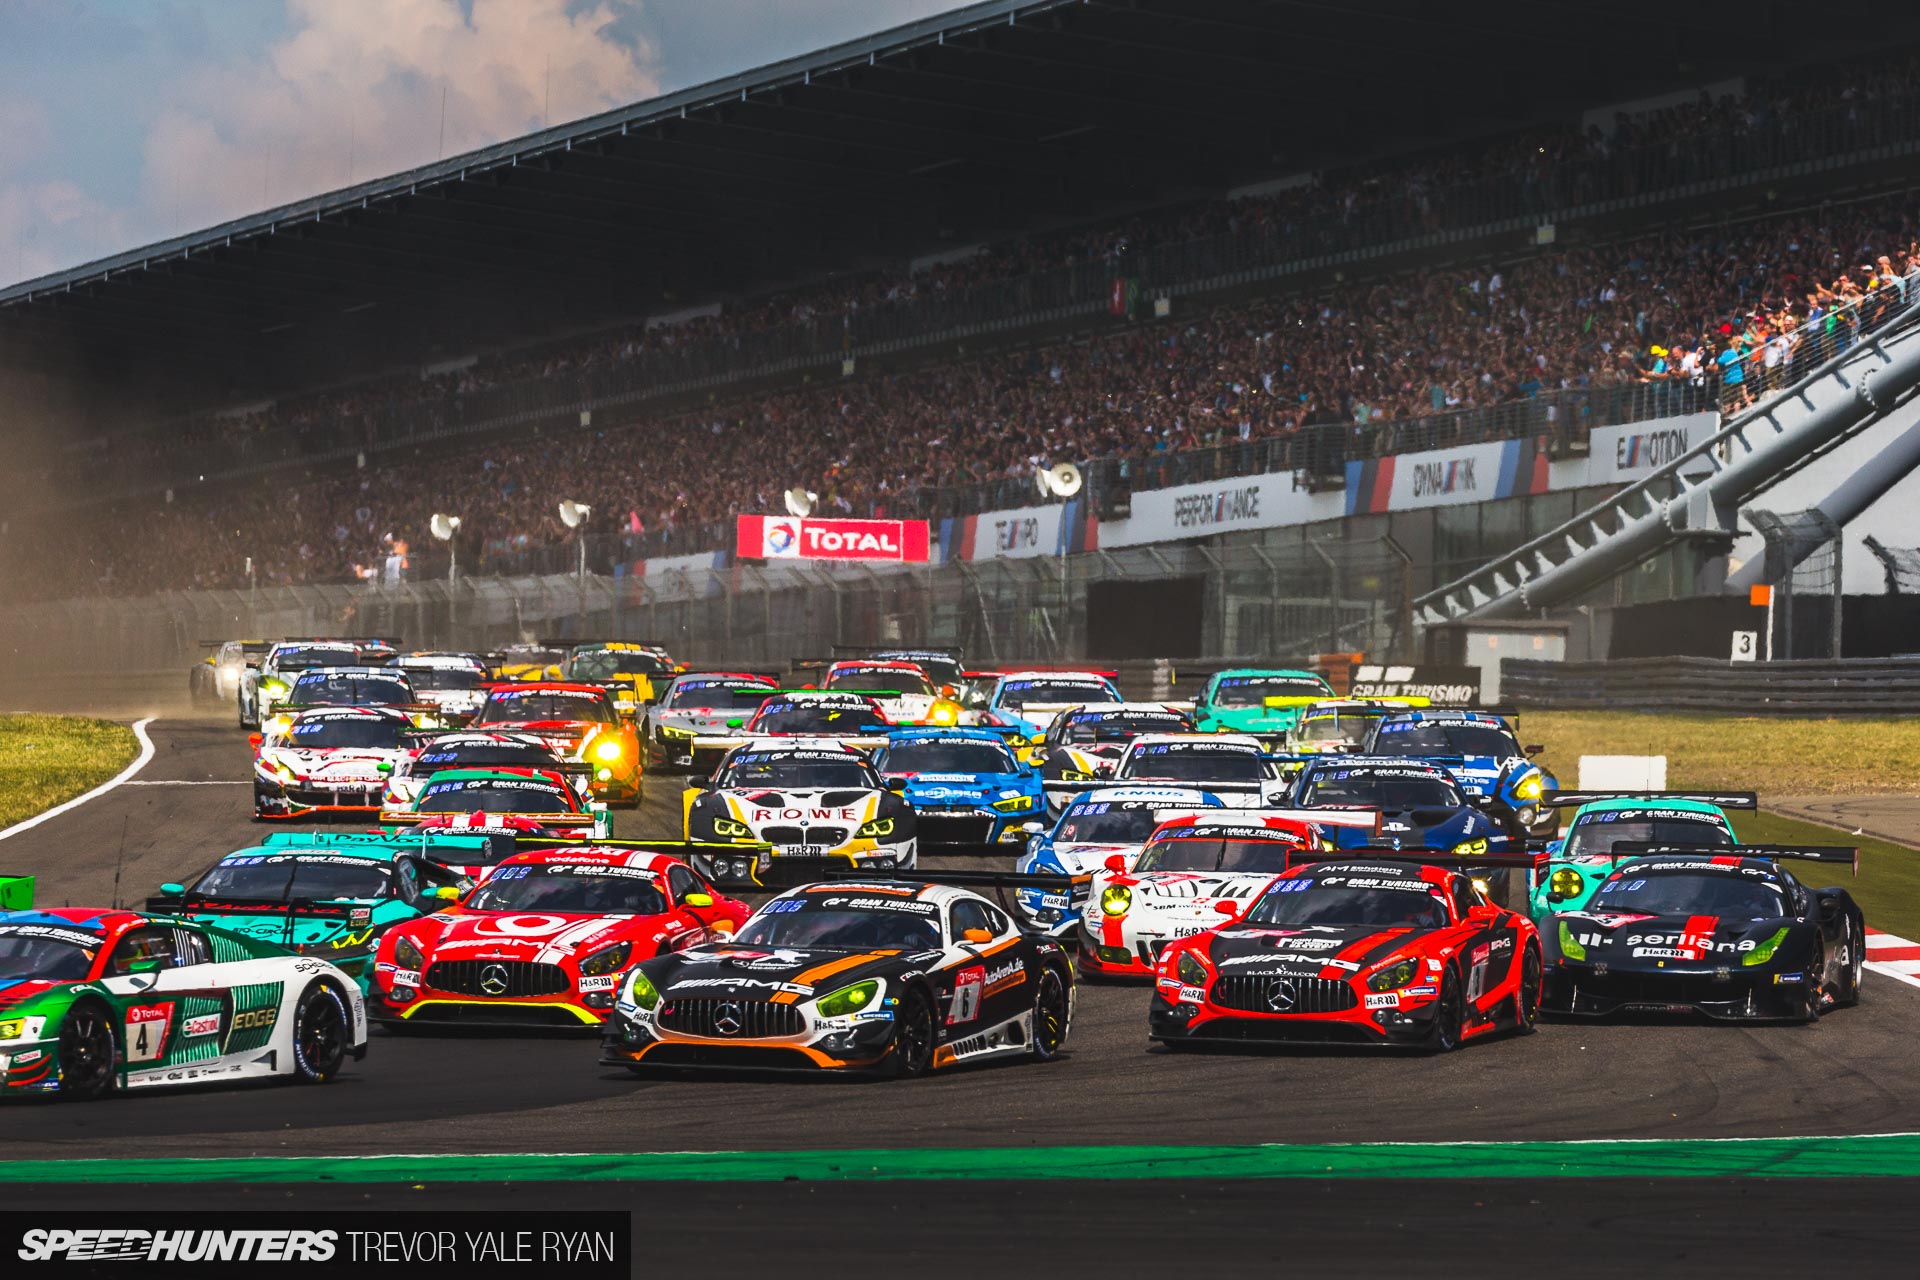
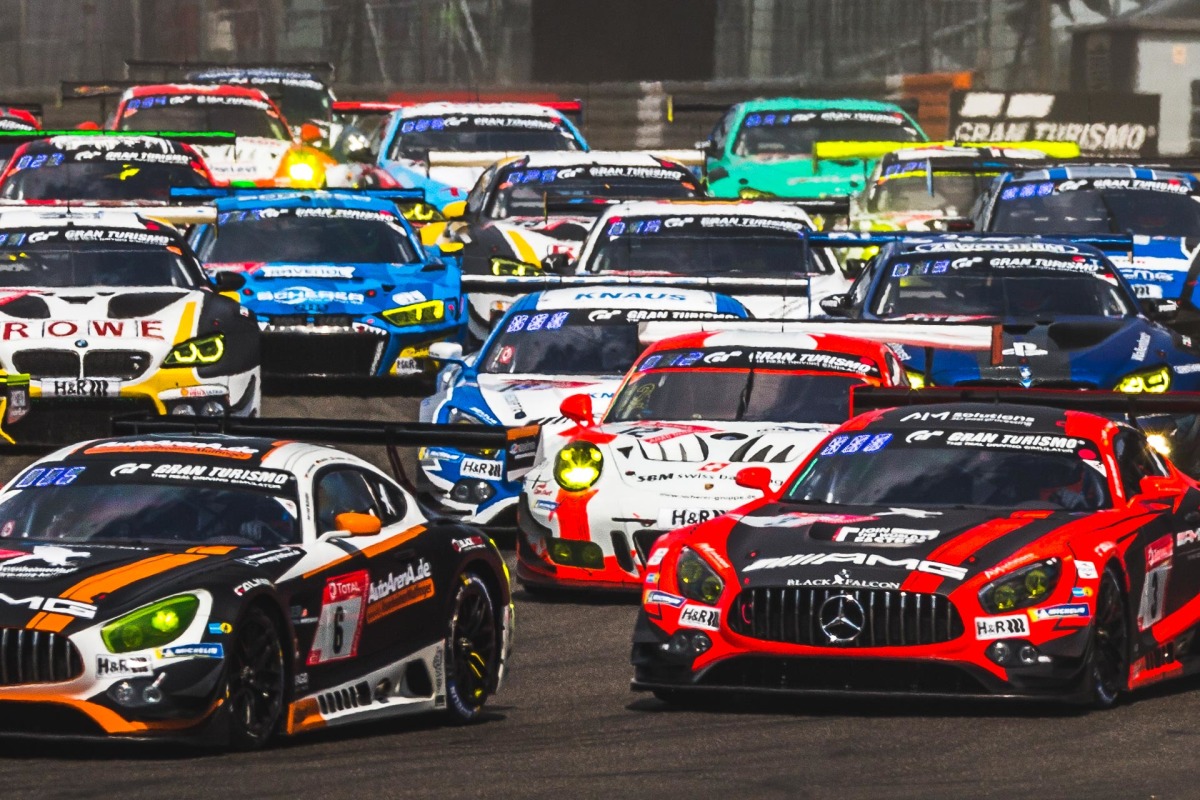
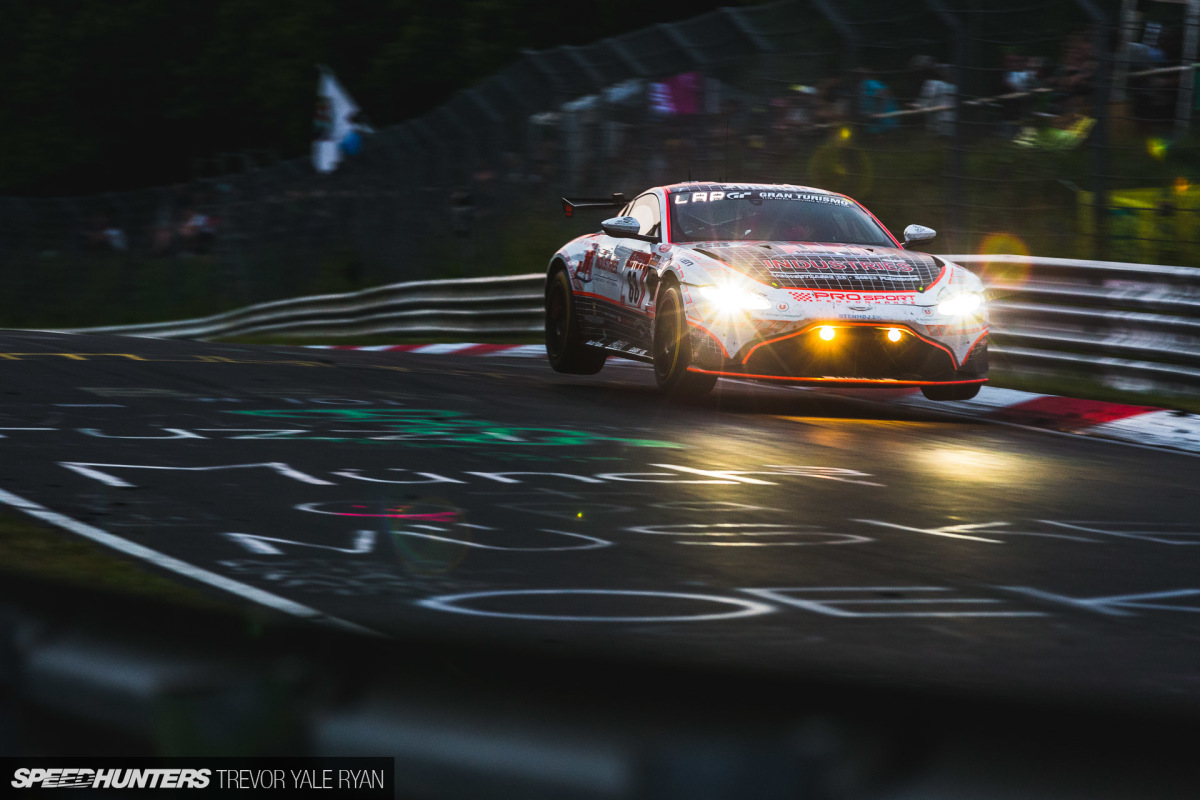
Even zooming out a bit here, for example, would have been nice as I would have captured the Ferrari barreling down the hill in the background as the Merc sailed through the air.
It’s easy to chase absolute sharpness of any image (wide or long), but spending too much time getting finicky about a bunch of shots at 400mm that basically all look the same means you’re just missing out on variety.
Shooting with a wide angle on the other hand means you need to take more care about your surroundings, so positioning comes into play again.

There are countless other details I took home with me, and there isn’t enough space on the internet for them. In the end, there’s no secret to taking photos.
Ultimately, it comes down to trying your best for hours on end, time and time again. There’s just so much to learn, and even over a 24-hour race, it seems there’s just never enough time.
I’m afraid I don’t have any parting words of wisdom to leave you with, but the short of it is this: If you’re looking to improve your work just get out and shoot as often as you possibly can. Try new things and don’t worry if they don’t turn out the first time around. And if you aren’t a photographer, I’m fairly amazed you made it all the way to the end.
Except for you, mom. I knew I could count on you.
Trevor Yale Ryan
Instagram: tyrphoto