
How is it possible for Japanese car enthusiasts to get away with that? It’s a phrase I’ve heard countless times on various social media platforms. And for good reason, too – here in Japan there are no shortage of vehicles slammed mere millimeters off the ground, and with exhaust systems so loud that it makes the bosozoku seem tame.
Yes, there are times when the police do take the initiative and crackdown on modified cars, but compared to many other countries around the world, Japan really is a safe haven for tuners.

Every two years though, that safe haven is challenged as all vehicles are required to undergo an extensive shaken inspection.
I’ve just been through this with Project Rough, and brought my camera along for the ride.
Vehicle owners in Japan have three options when it comes to the shaken inspection. The first and cheapest is to simply get rid of your car. Some people would rather not deal with the headaches of returning their cars to shaken-legal status or making any necessary repairs, so simply offload them to someone else.
The second option comes with a lesser headache. As Dino has mentioned previously, a lot of shops in Japan make their living by handling the whole shaken process on behalf of their customers. But this is not cheap, and the set fees plus service starts at around ¥100,000 (US$915 at current exchange rates) depending on the shop, the car, and what’s actually required in order to pass the test.
The third option comes with the biggest headache of them all, but is significantly cheaper than option two, and that’s for an owner to do everything themselves. Just for the inspection, taxes and mandatory car insurance called jibaiseiki, you’re looking at around ¥60,000 (US$550), but if you take matters into your own hands that’s all the shaken will cost.
Given that Project Rough is a bit of a budget build, I’m sure you can guess what option I went with…
I’ll Take Option 3 Please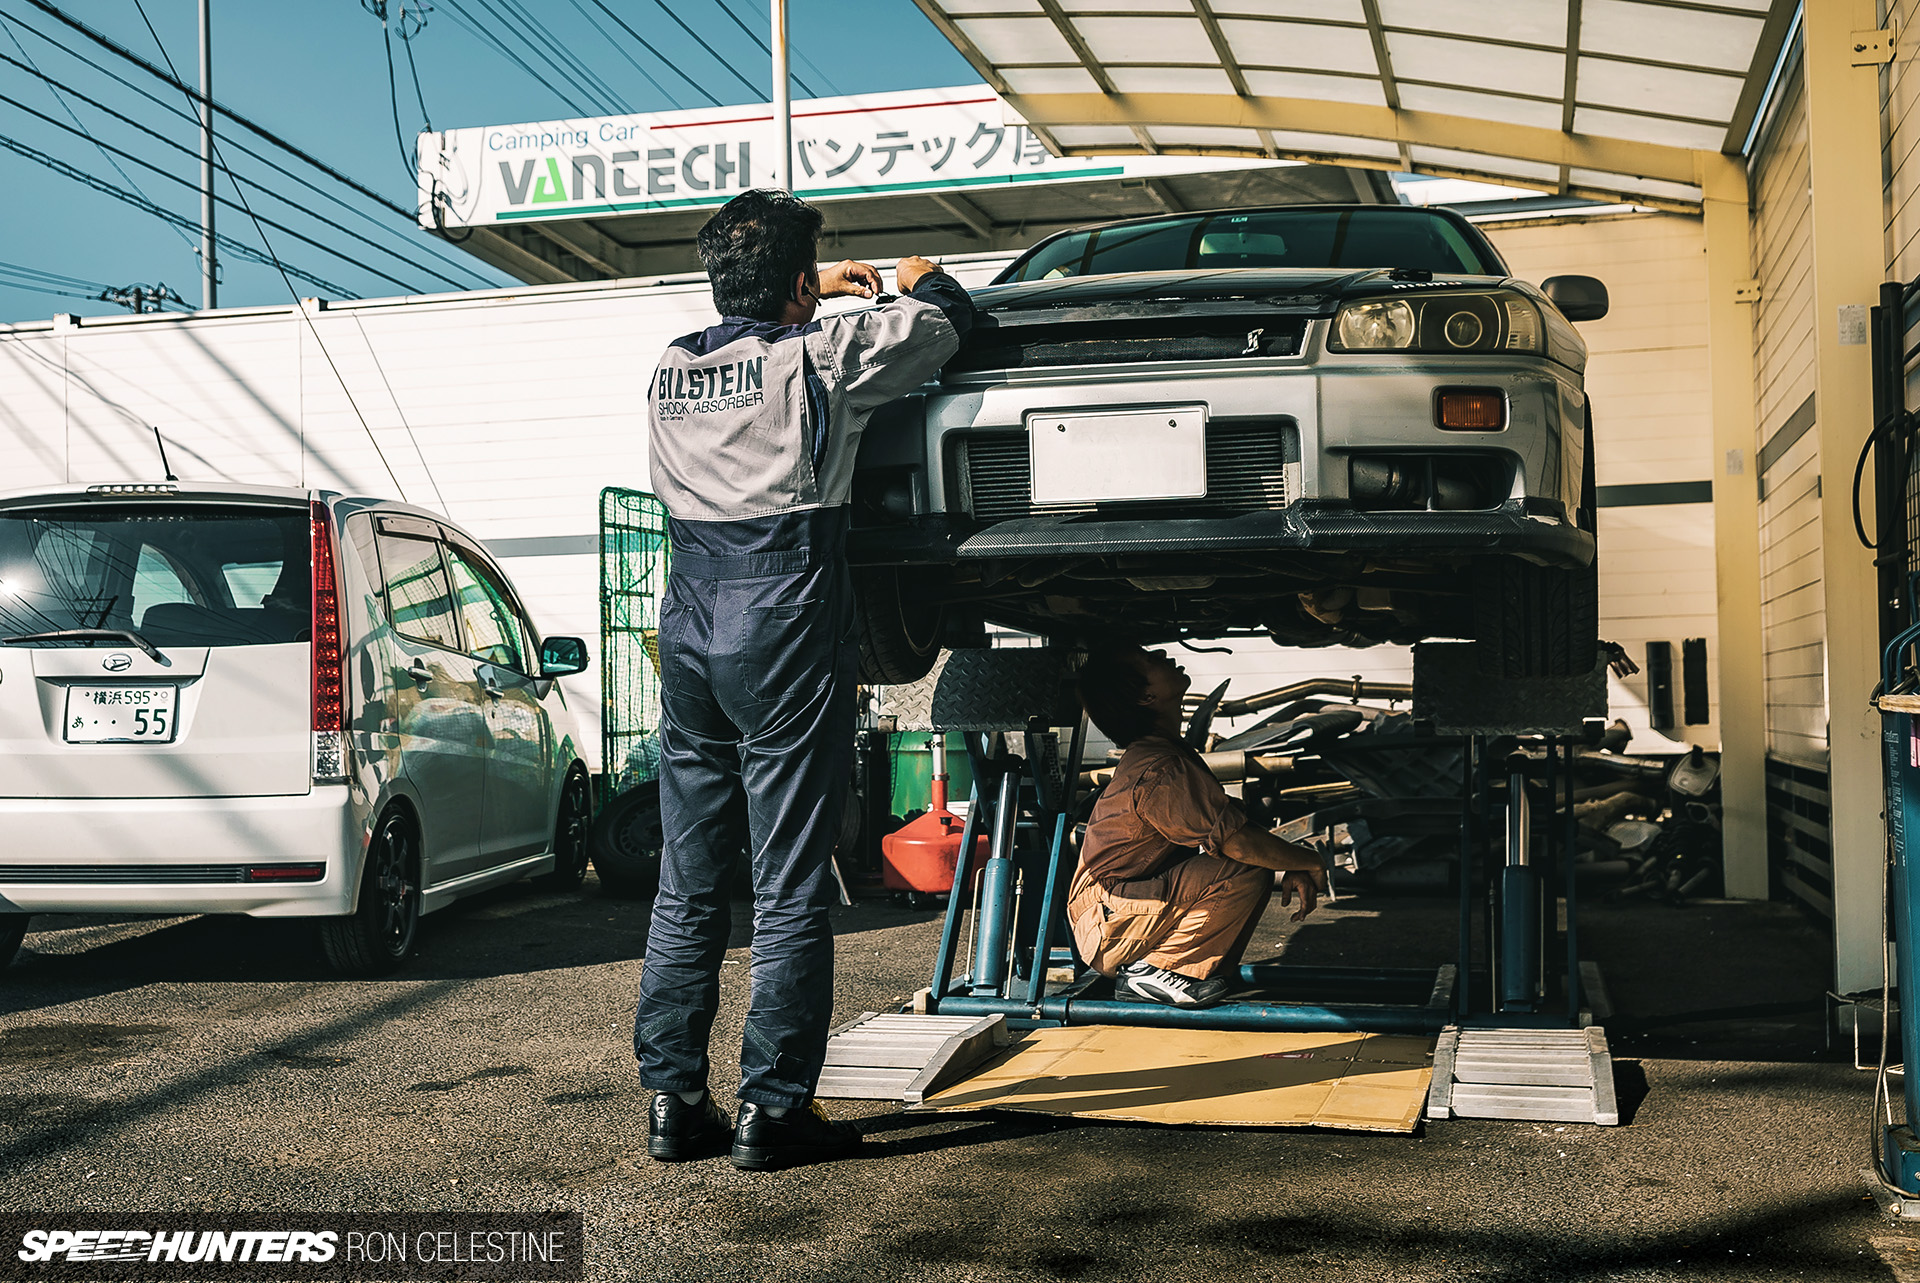
During the two years that I’ve owned my ER34 Nissan Skyline GT-T, I’ve held on to every original part that I’ve replaced with an aftermarket equivalent – especially the questionable ones. This means that come shaken time, I’m able to reverse any modification that might fail. The car started out life as an automatic, but the R33 5-speed manual conversion has been officially recorded on the car’s shaken paperwork, so there’s no problems there.
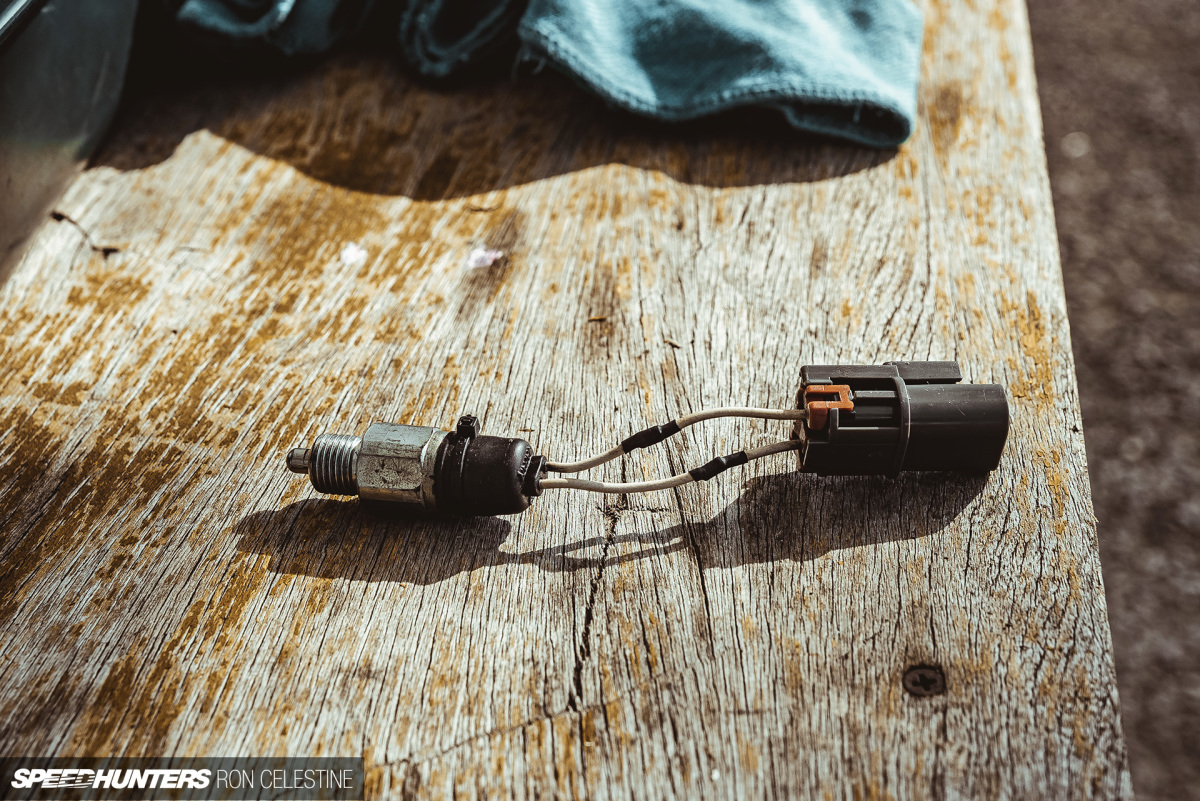

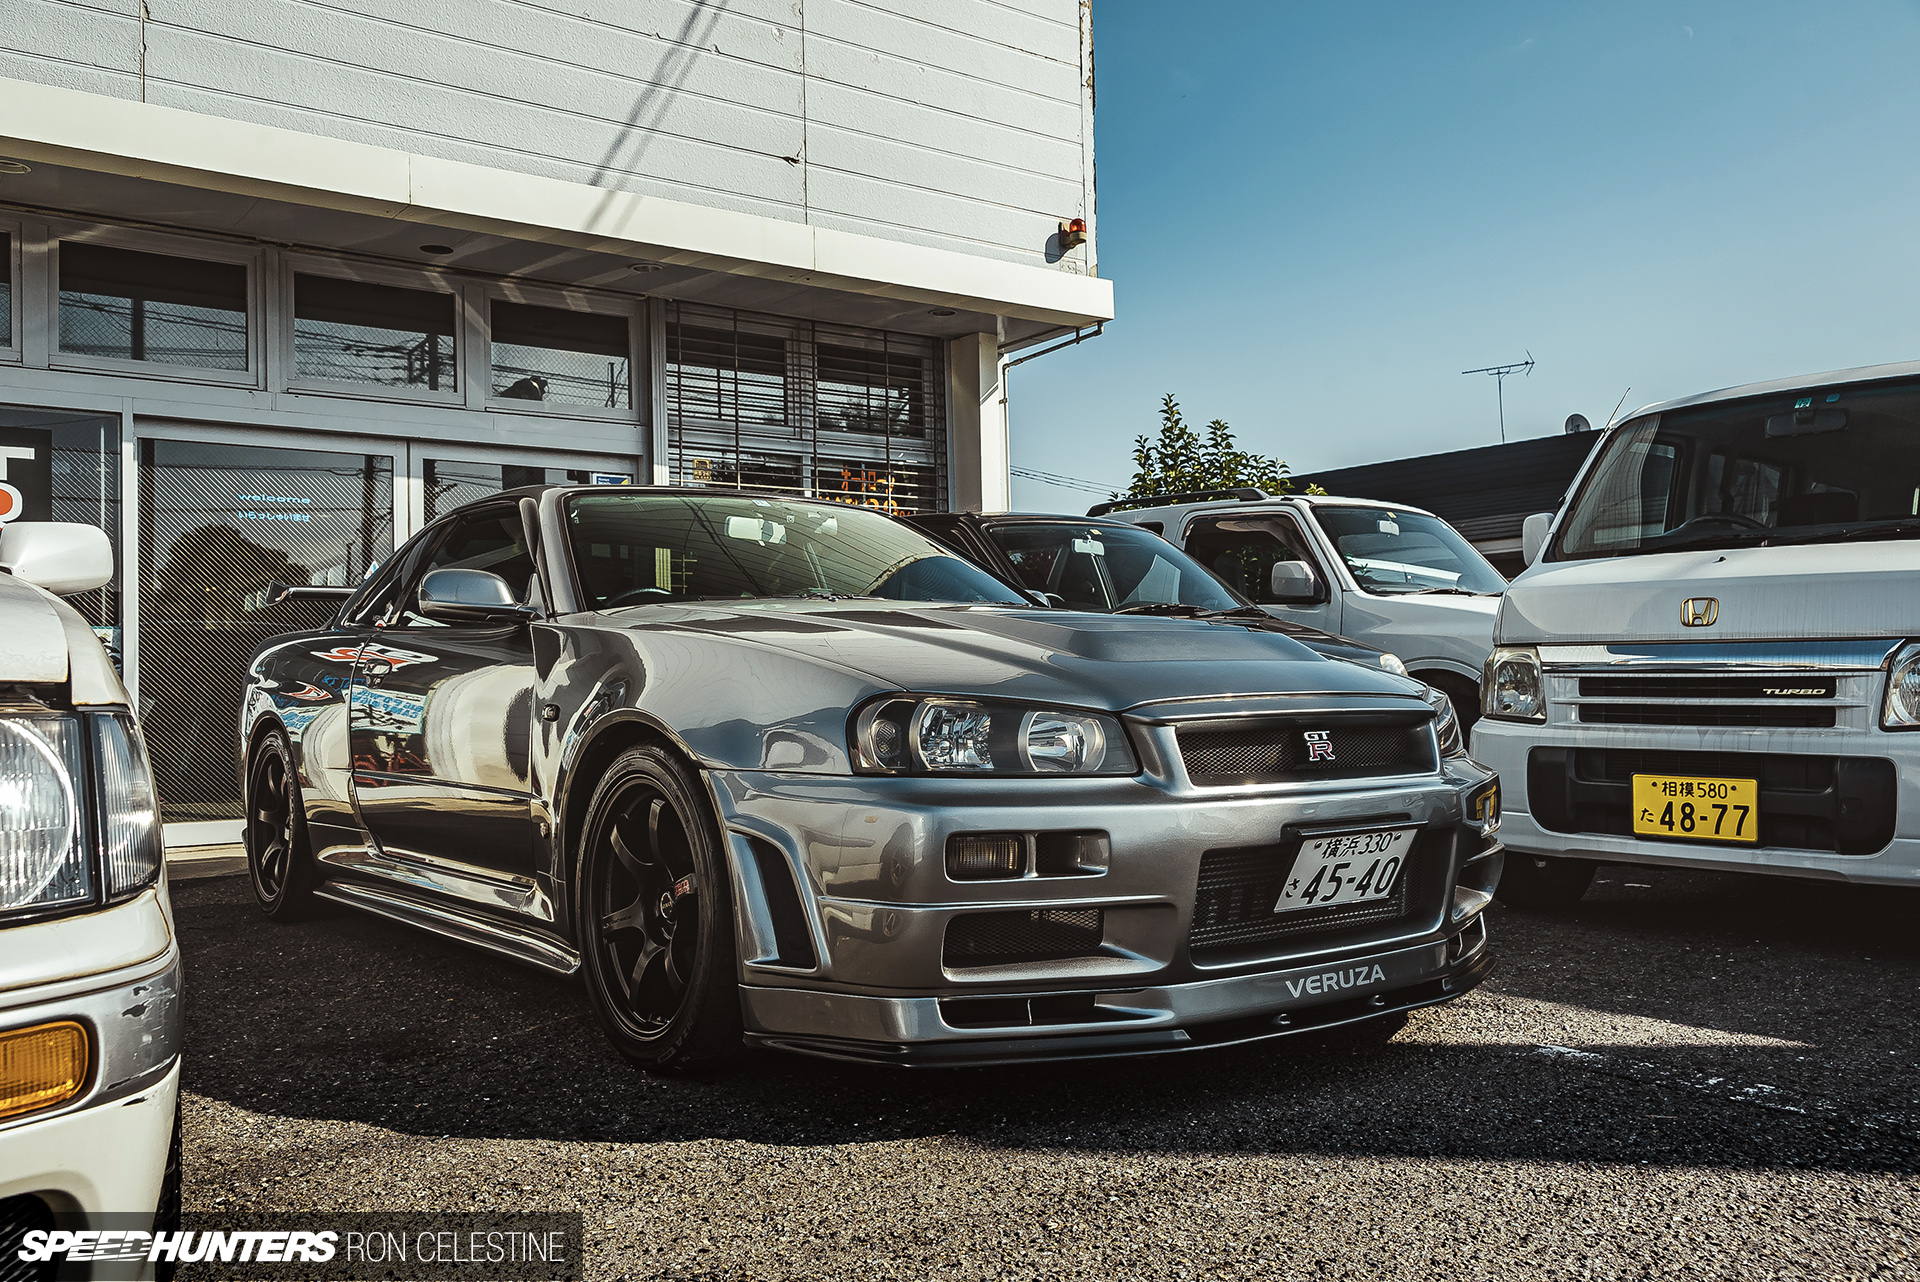
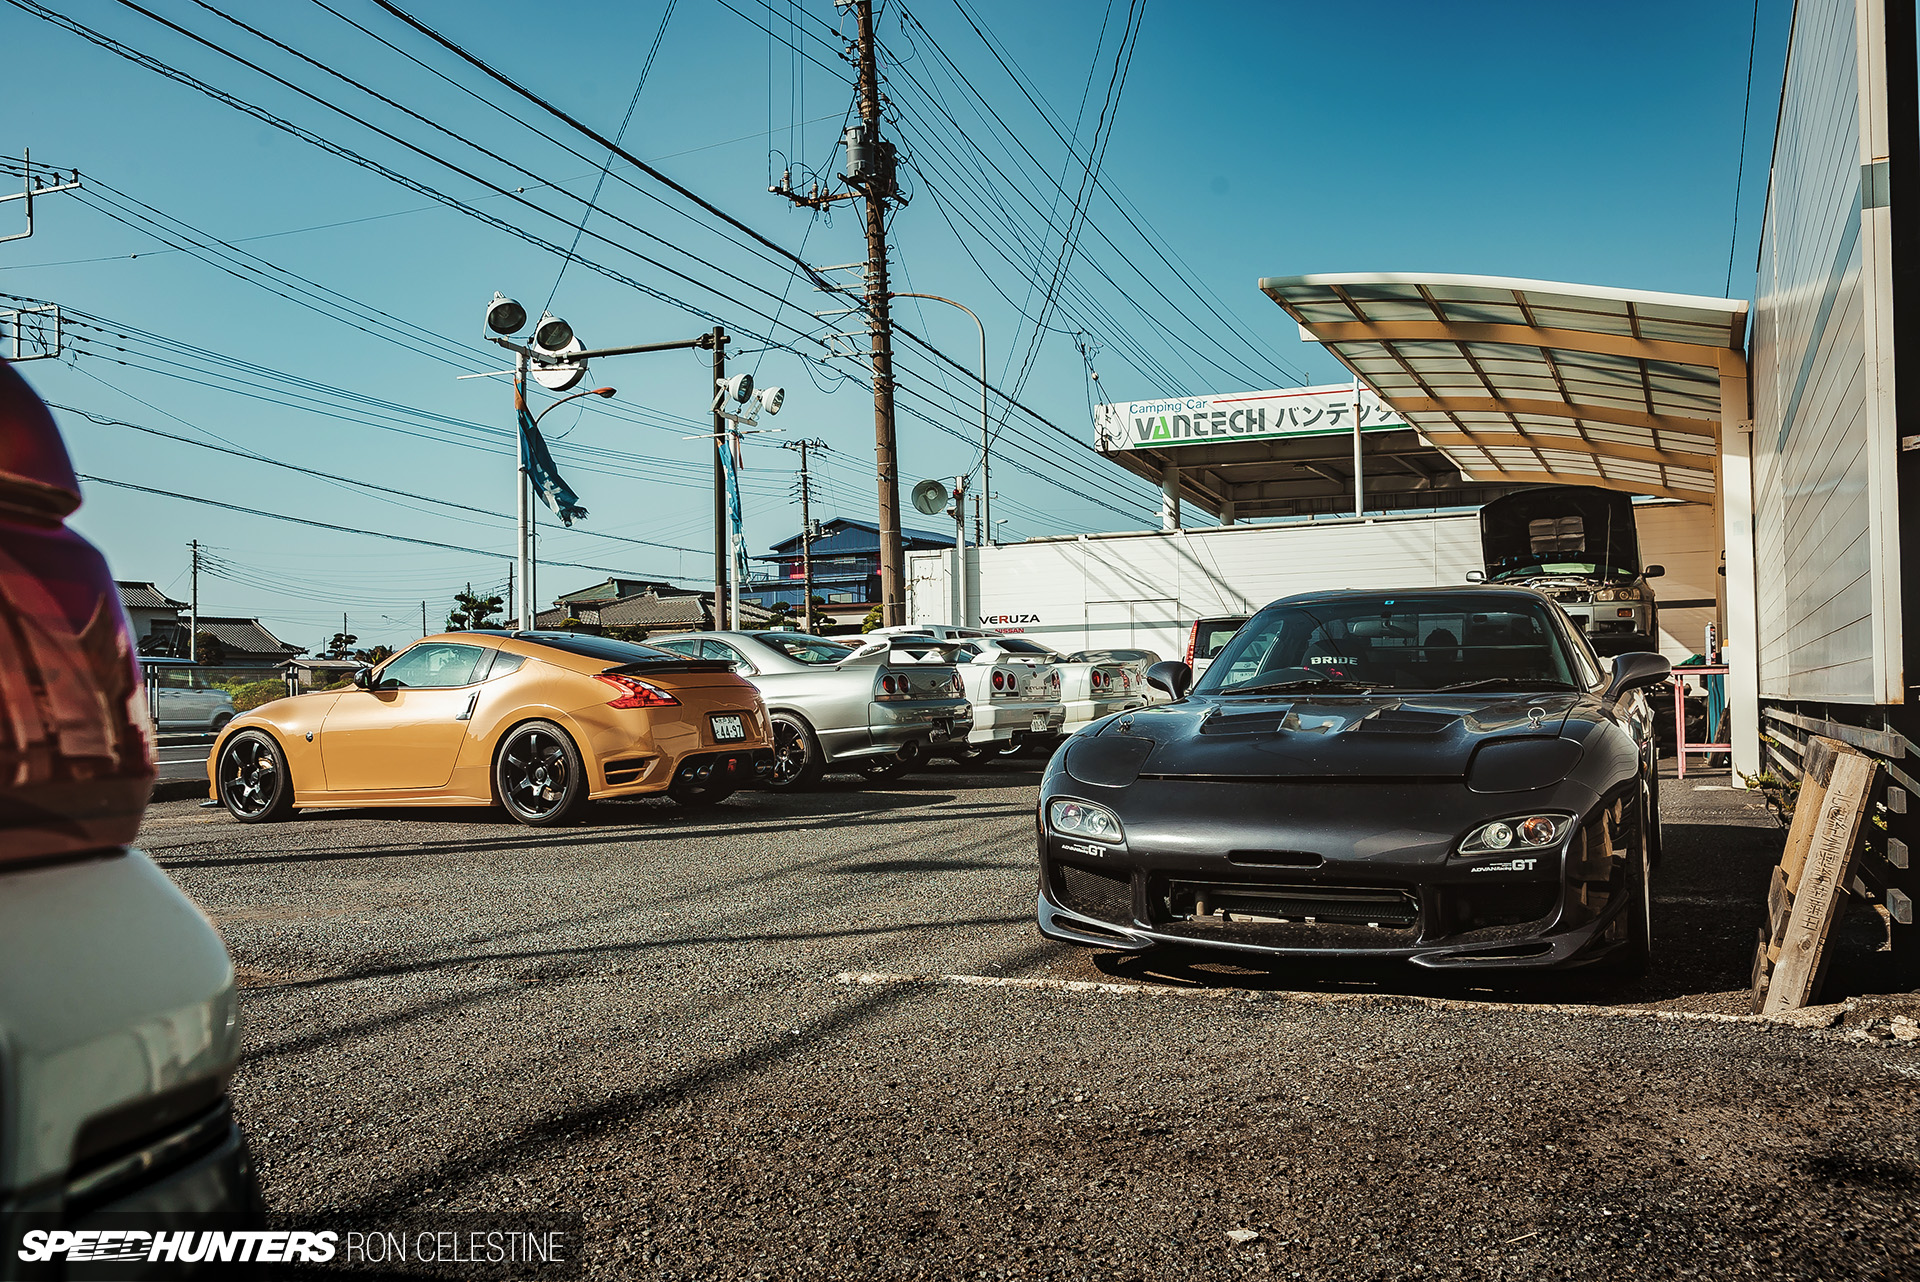
There were a couple of things however that I need to address before thinking about swapping out aftermarket parts. One of those was a faulty sensor that wouldn’t trigger the reverse lights, and the other was the washer bottle pump, which didn’t work. Both would result in an instant fail, so I made a trip to my favorite GT-R specialist, Veruza.
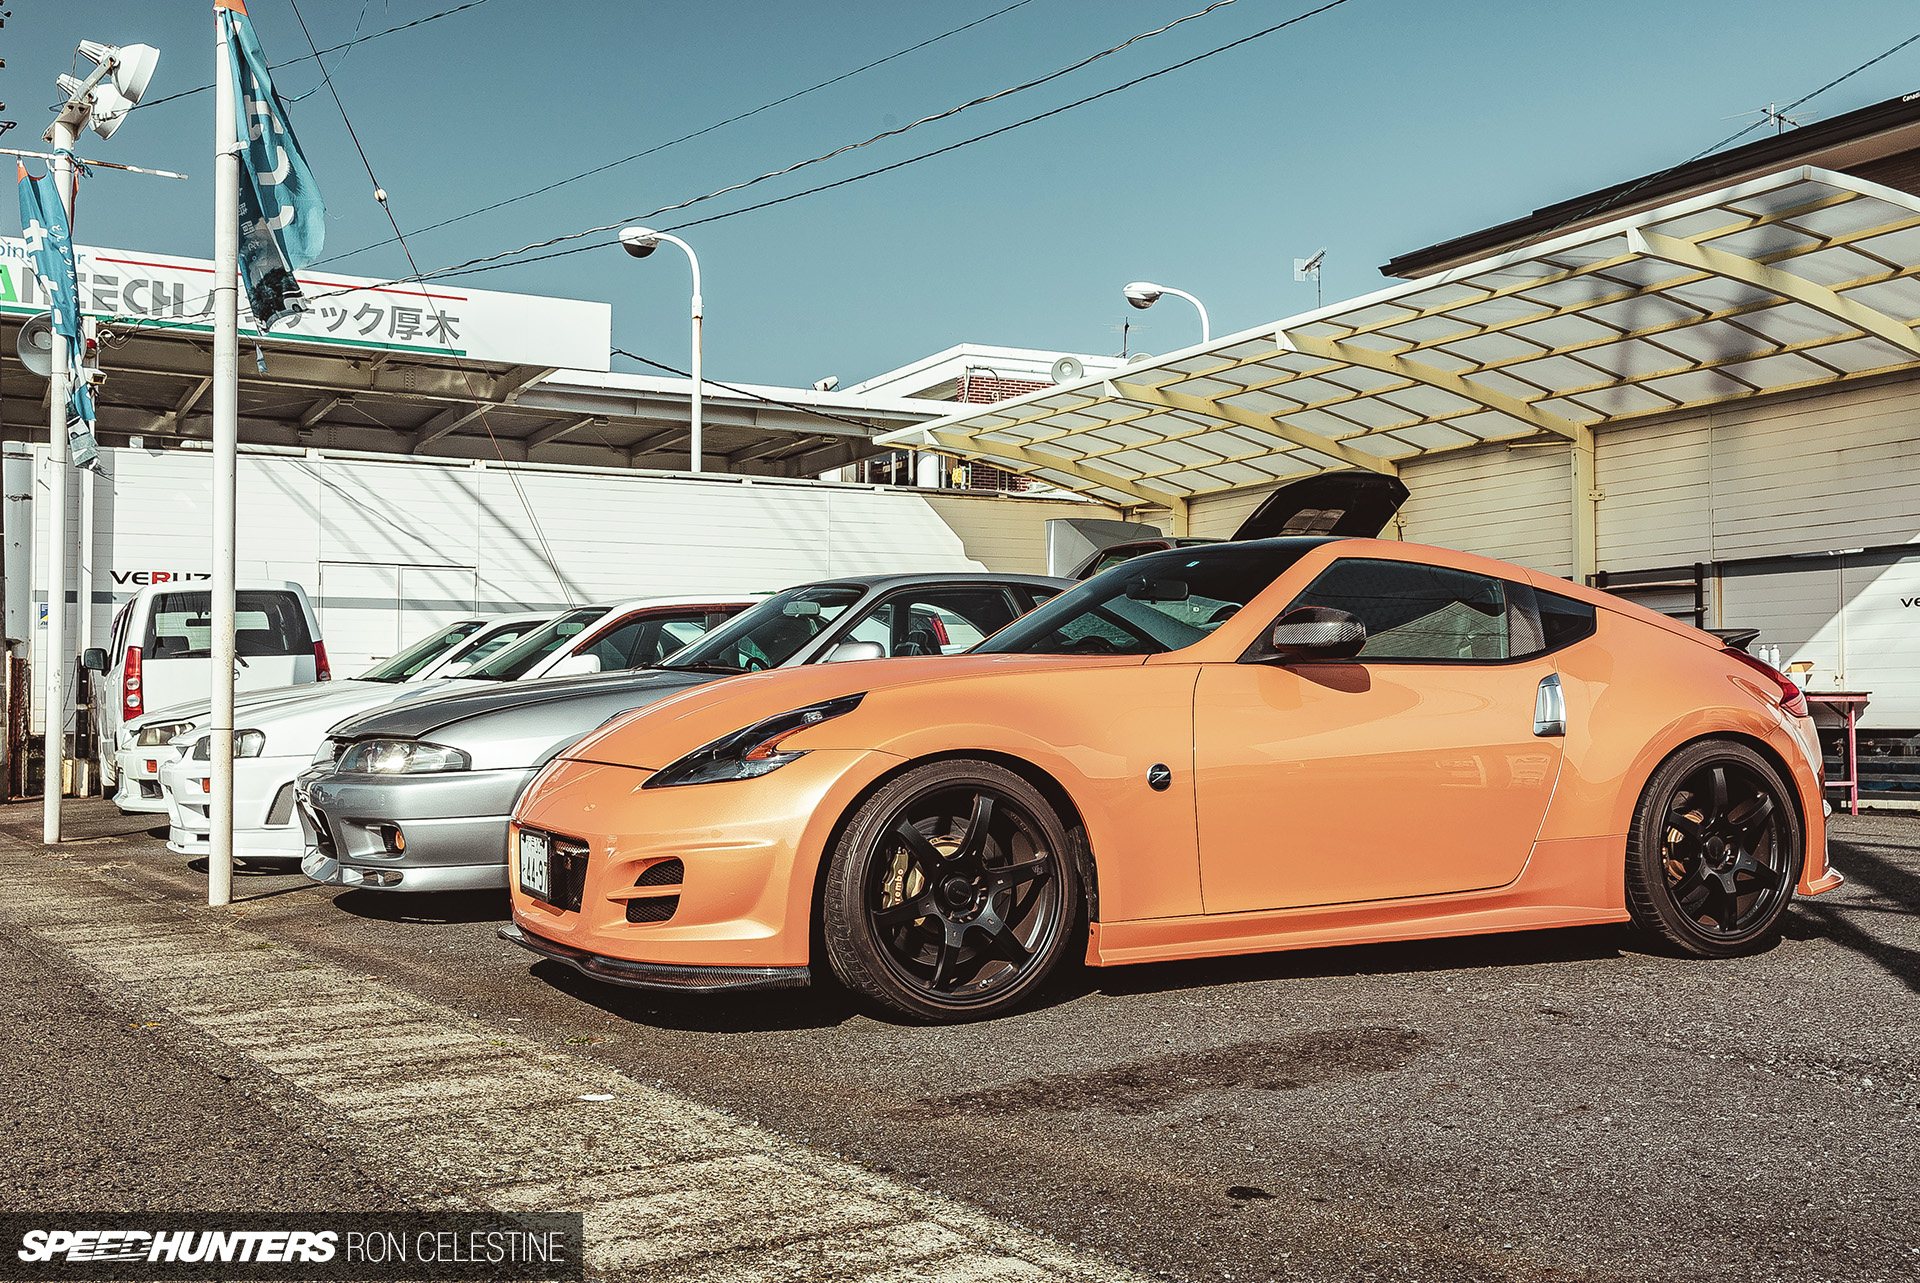

As it turned out, Kano-san was readying his Z34 demo car for shaken too.
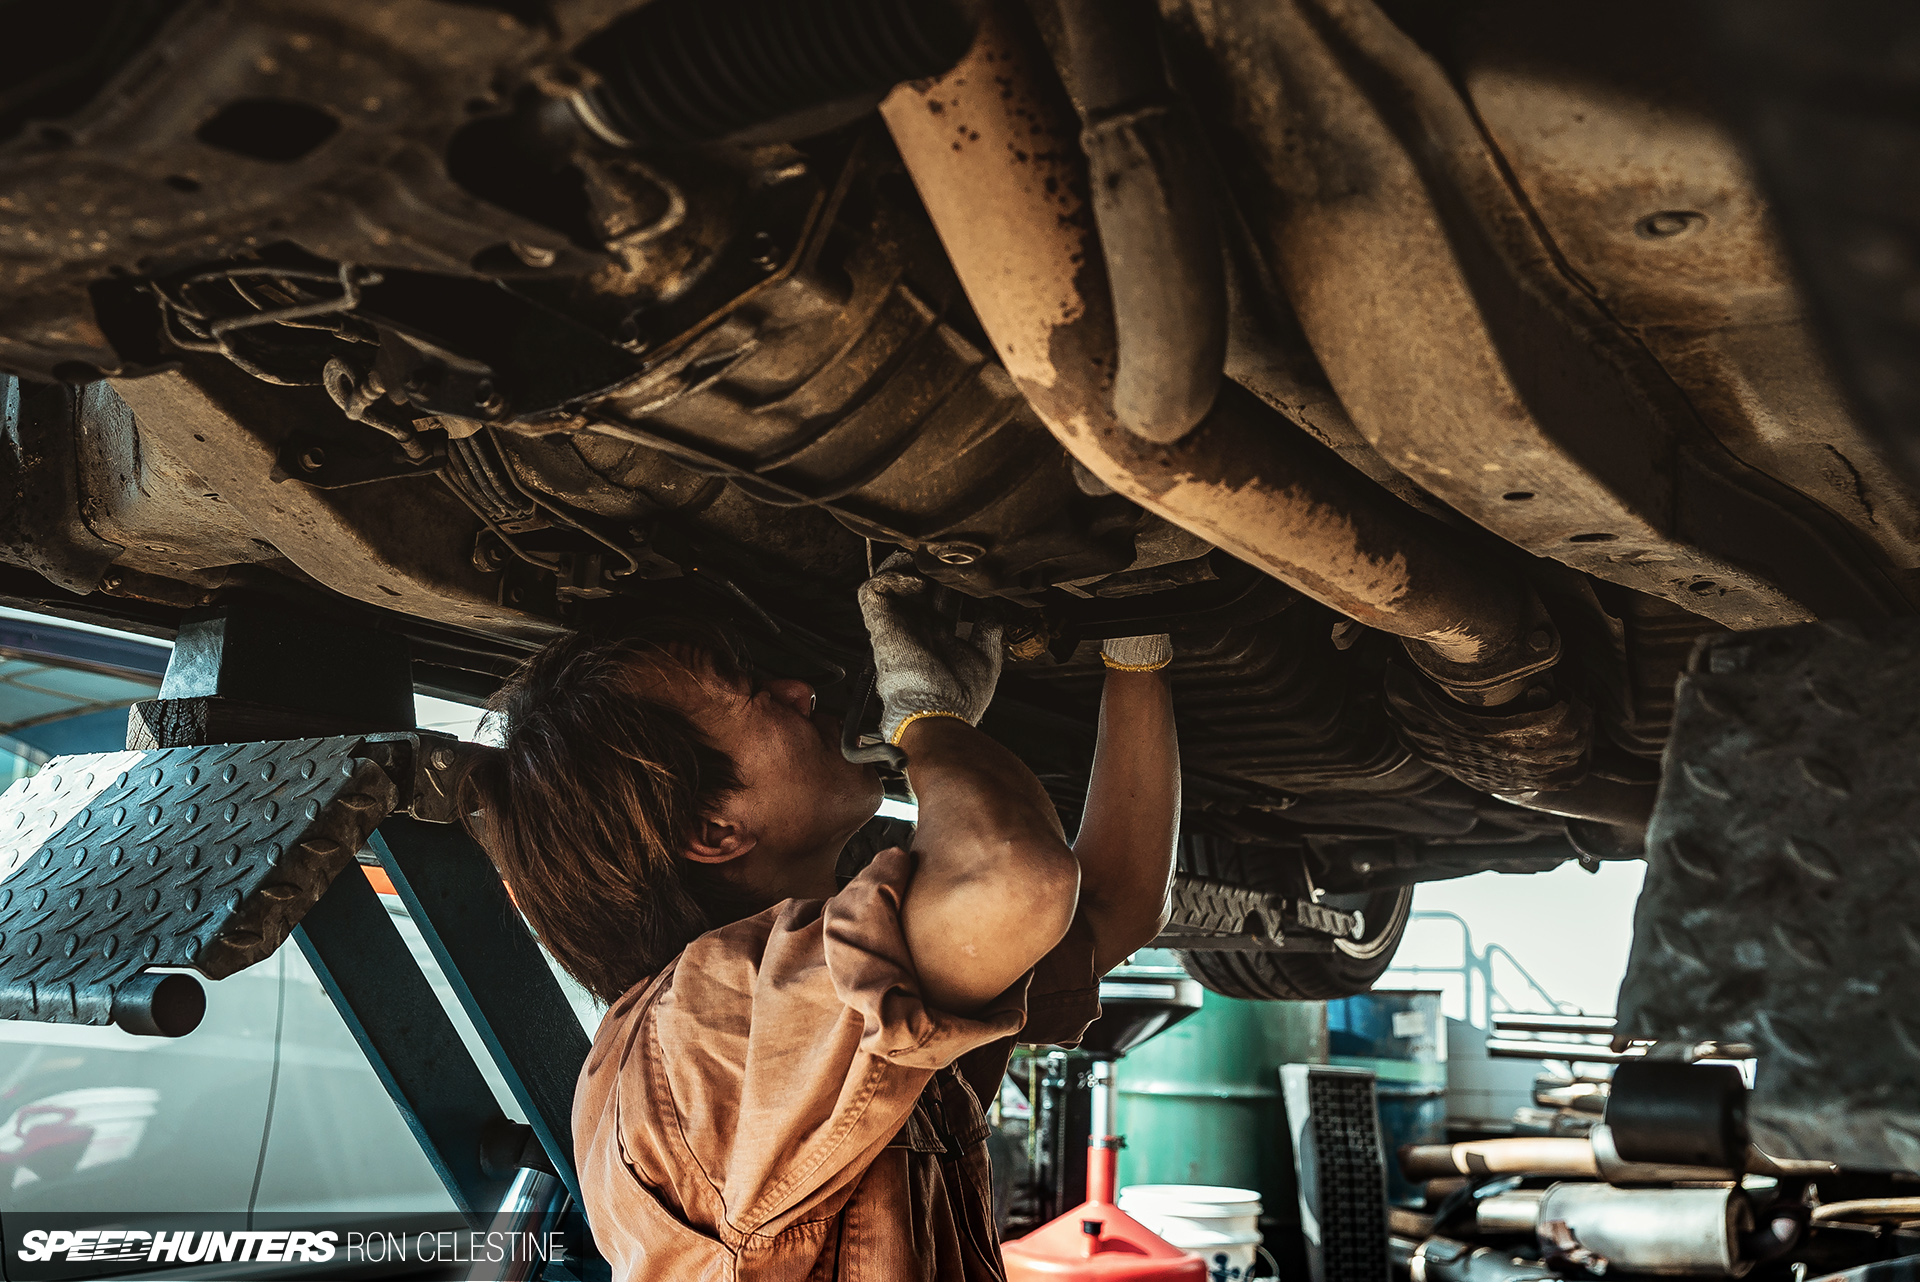


The guys made short work of the broken switch and installed a compact washer bottle that wouldn’t come in contact with the front driver’s side 255/35 Hankook tire.


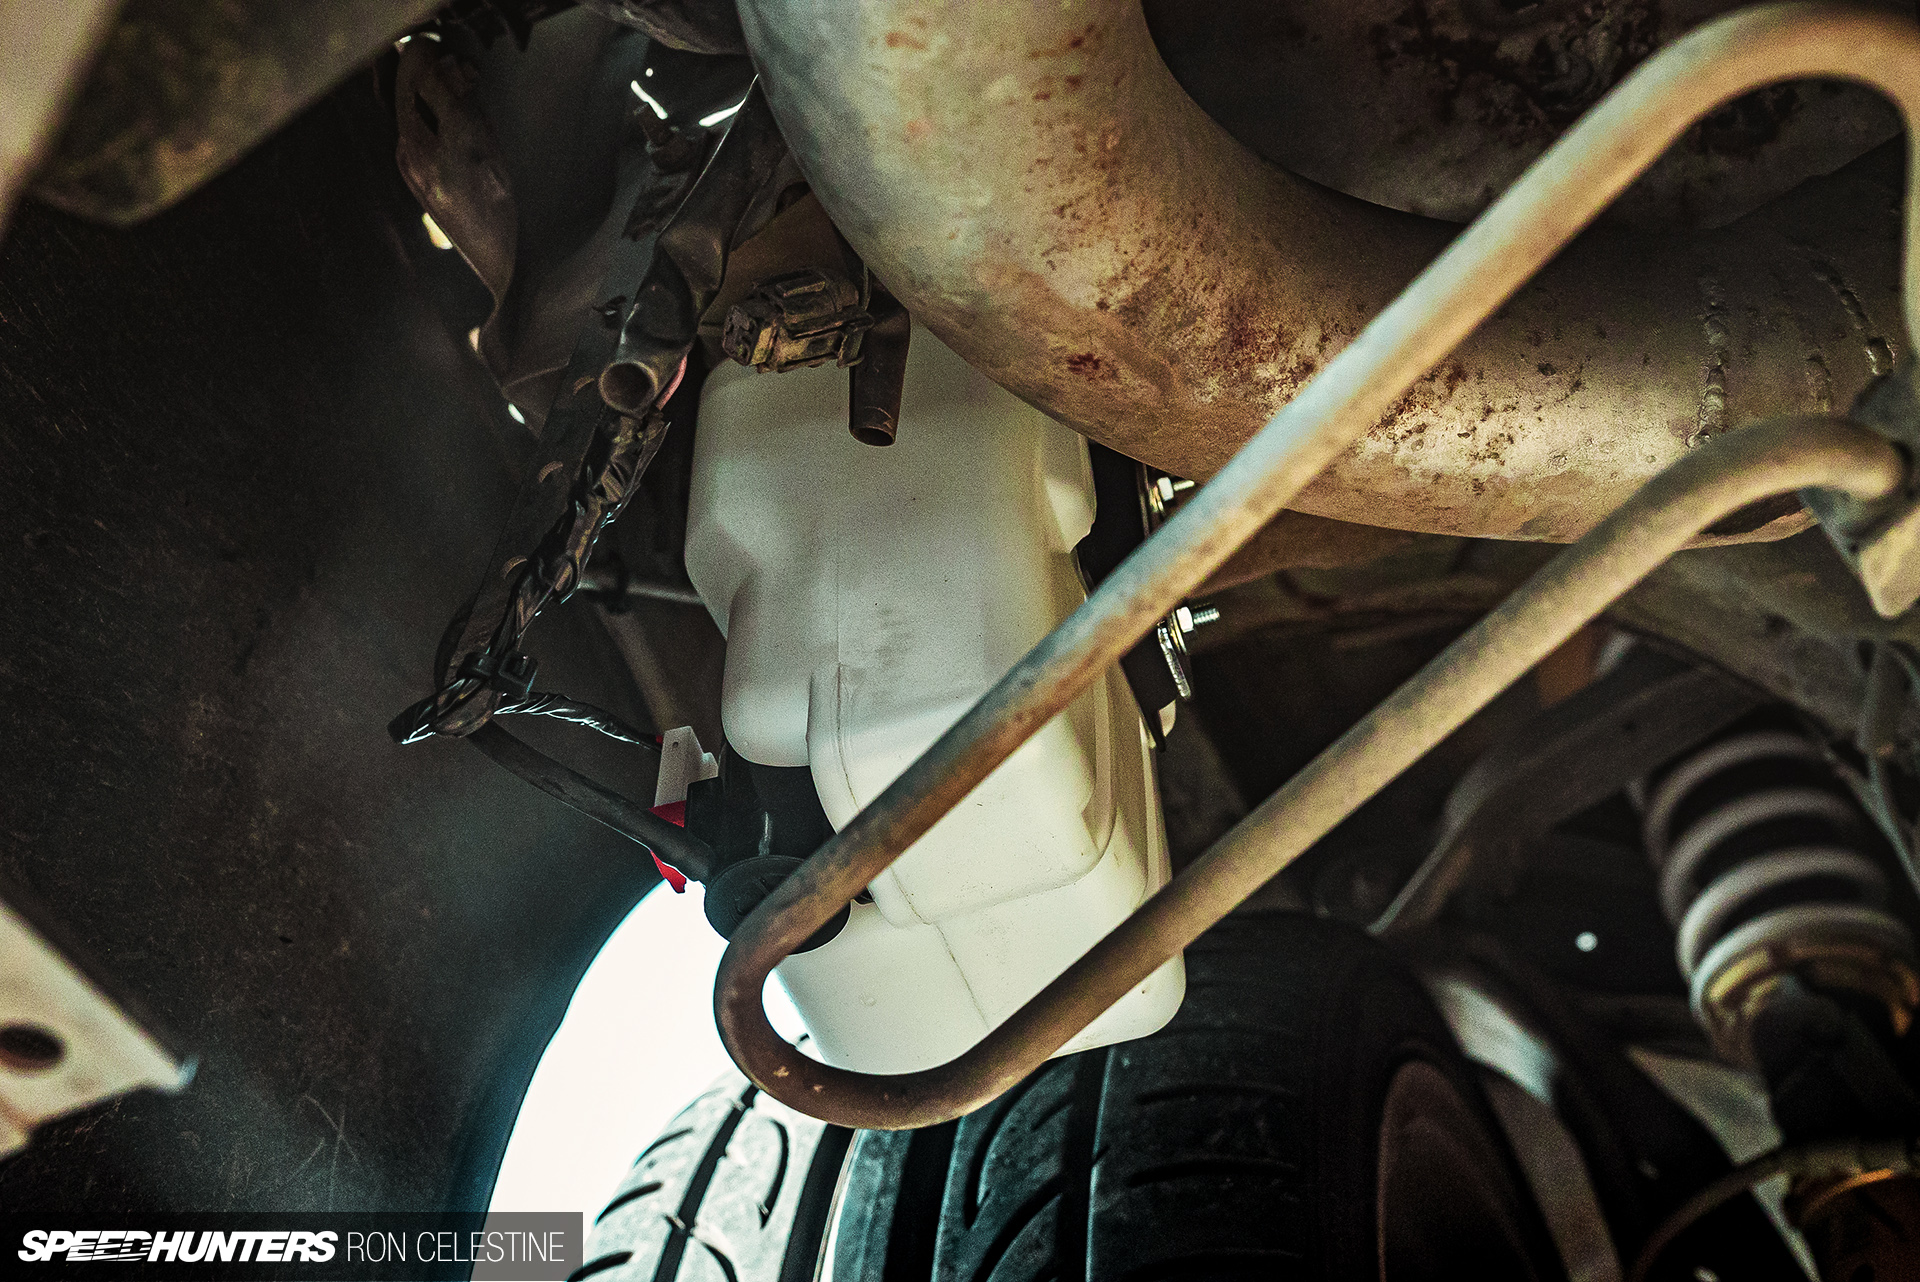
I hadn’t even thought about using the washer the entire time I’ve owned the car, but now being able to use it whenever – like any normal car would – is a nice feeling if I’m honest.

Next, Kano took a quick look over the car to see if he could spot any other violations. This was way beyond my expectations given that I wasn’t going to be using his services to shaken my car.
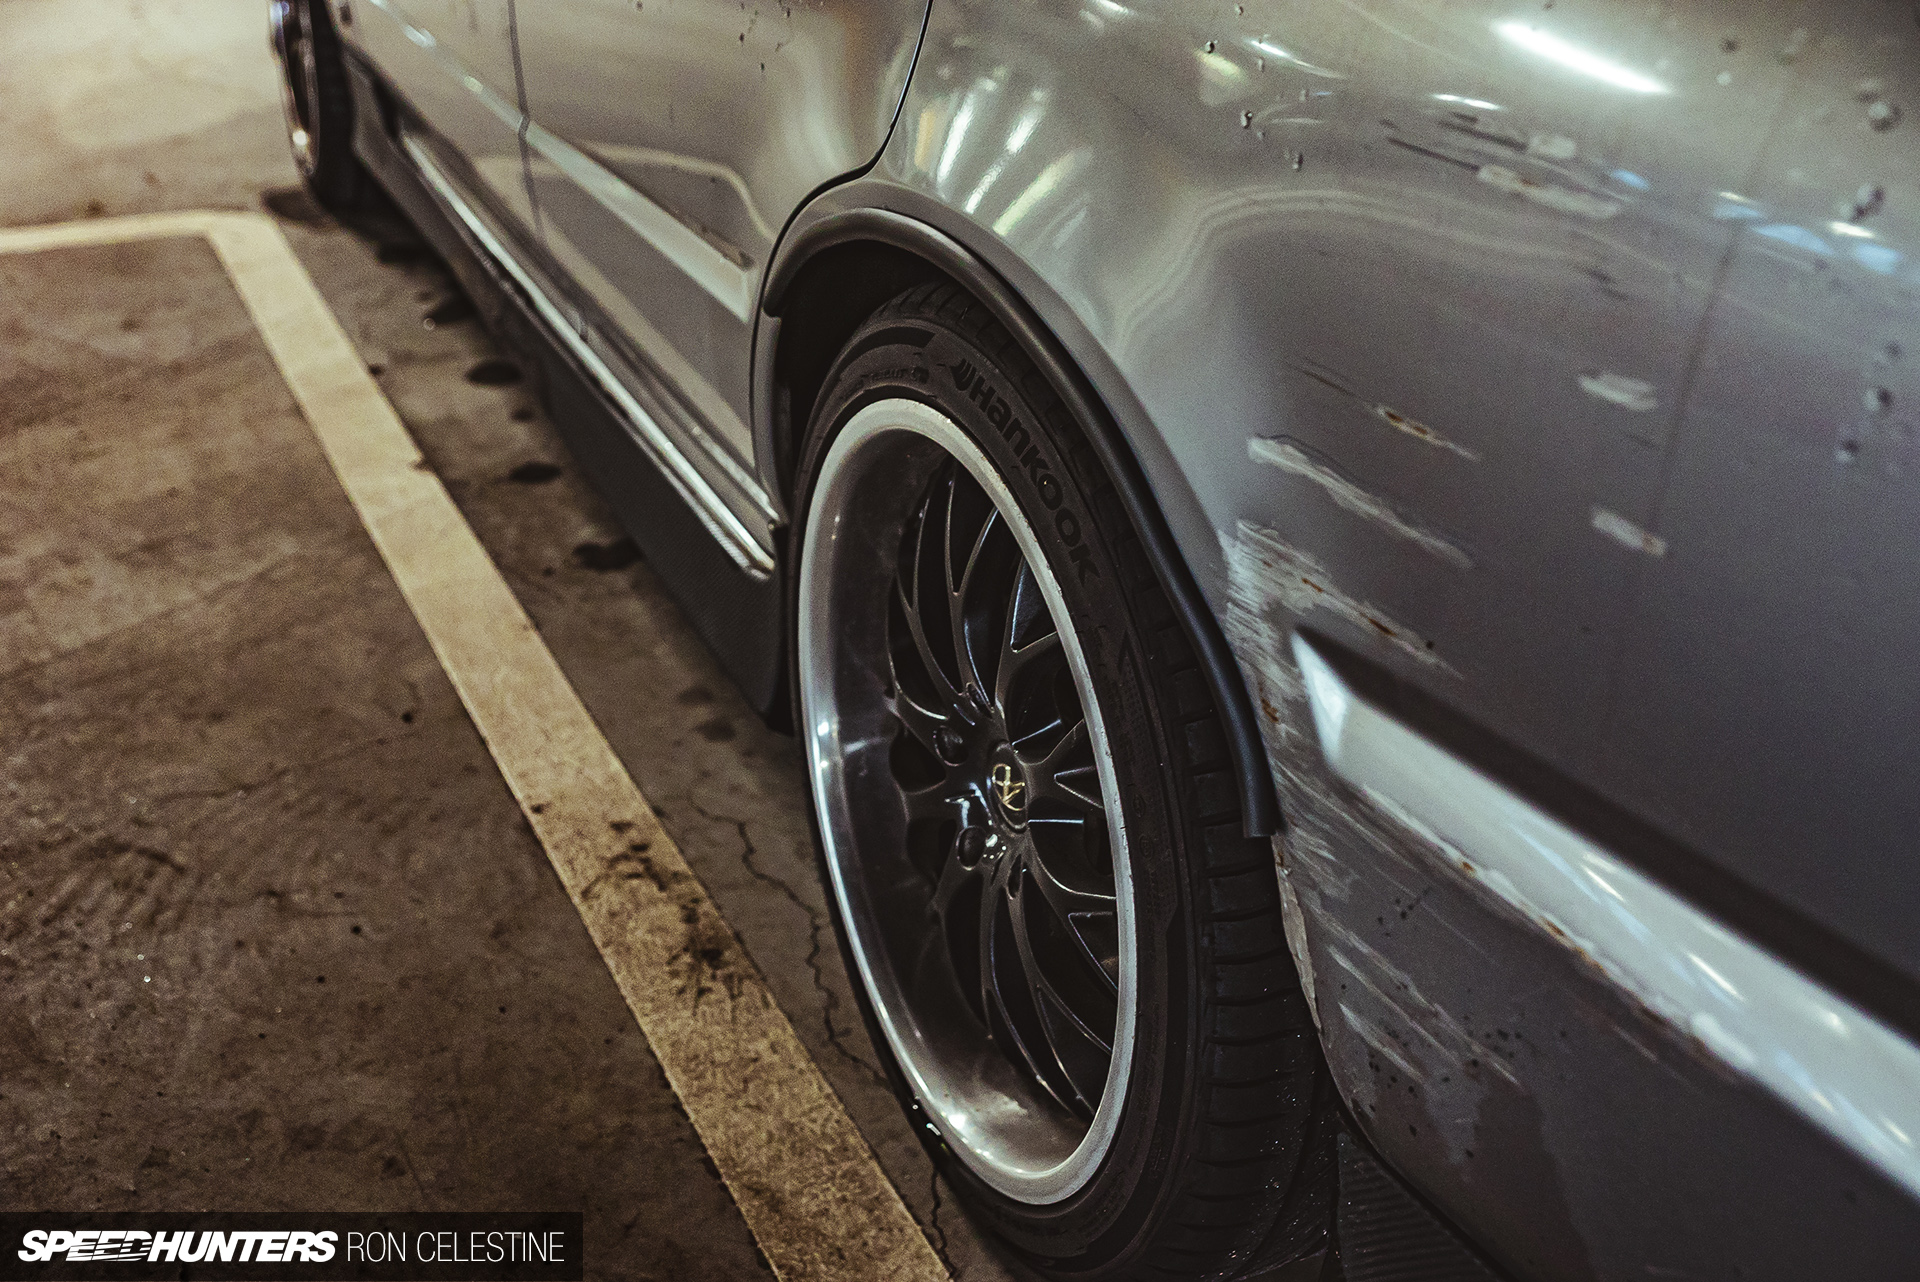
“The rear fender may pose a problem,” he said, pointing to the right-side quarter panel. Like most countries, in Japan your wheels aren’t allowed to protrude past the wheel arch, and mine were poking out 2mm (yes, I measured). Kano warned me that depending on the inspector’s mood that day, he would either overlook the small violation or fail it.
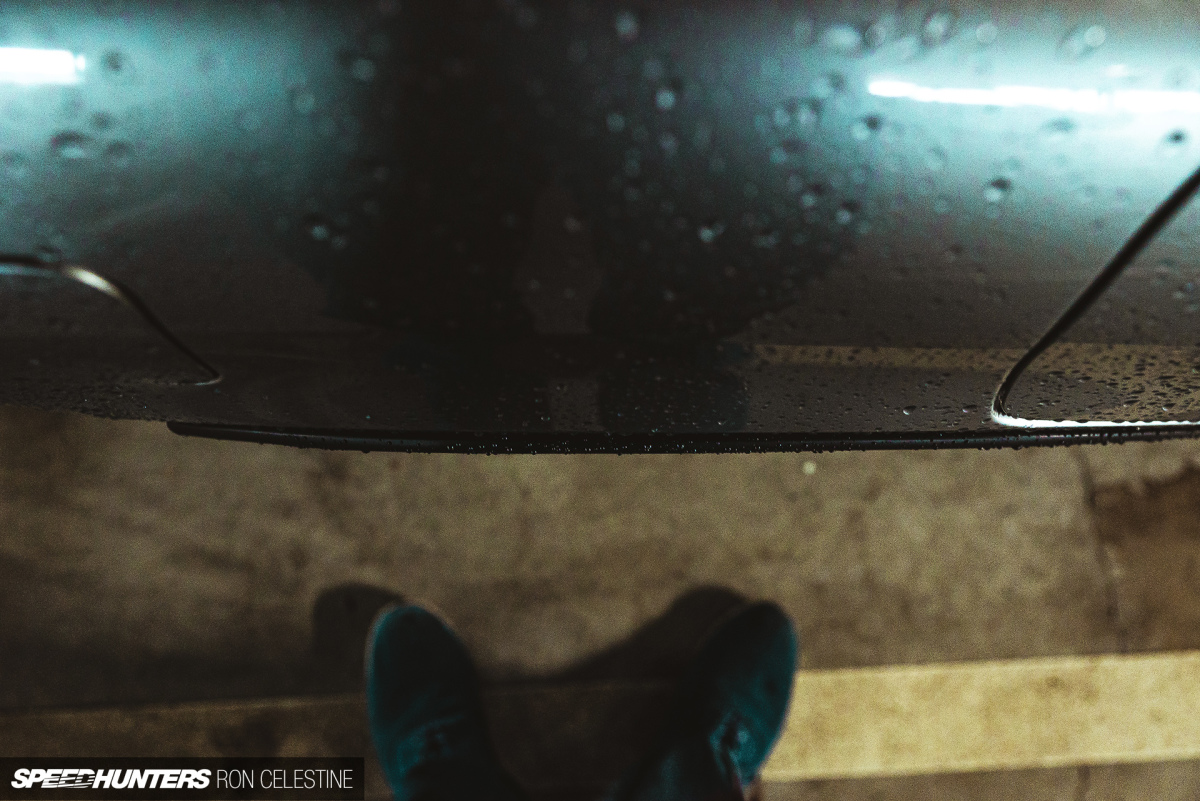
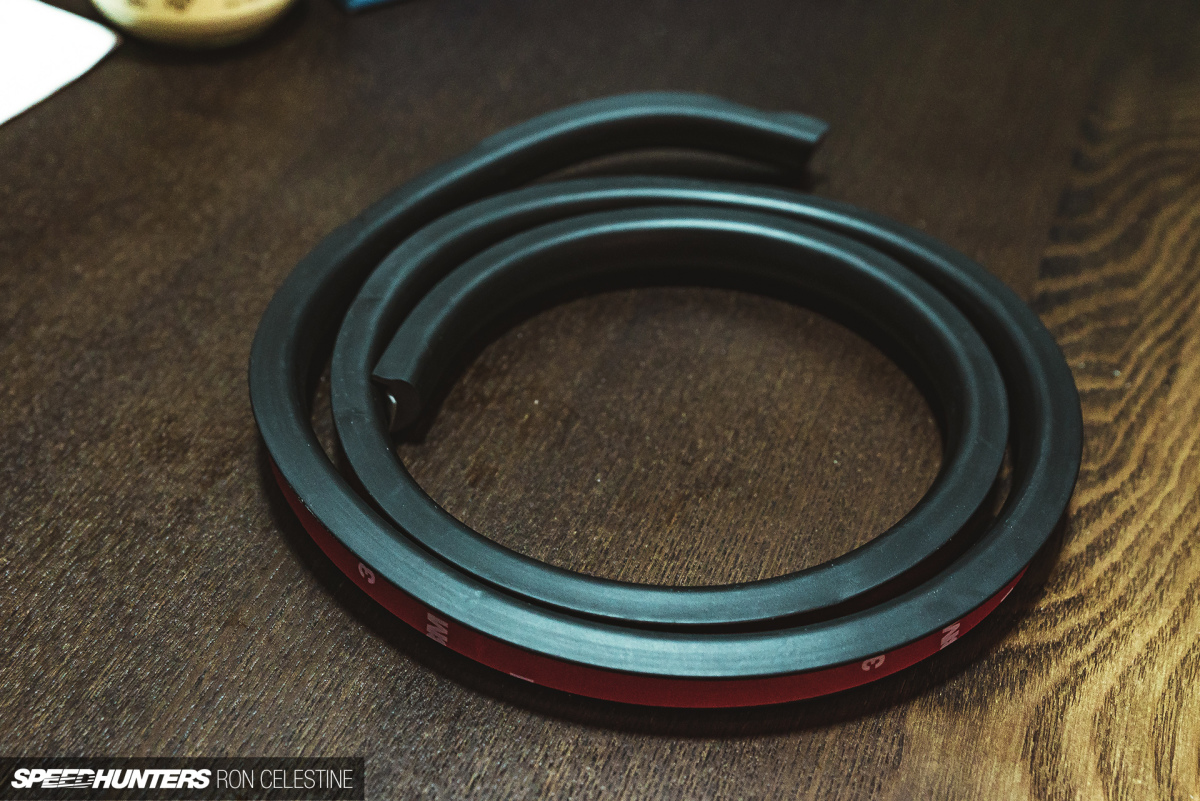
It was a gamble I’d likely lose out on, but there was a very quick and cheap fix – I could simply slap rubber fender moldings around the rear wheel arches, instantly gaining an additional 12mm of body width without having to add a wide-body kit to the shaken list. Once the inspection was over, removal would also be quick and painless.
Surprisingly, there are a ton of these sort of loopholes that shops and enthusiasts use to pass inspection, and I was about to get a crash course lesson on most of them.
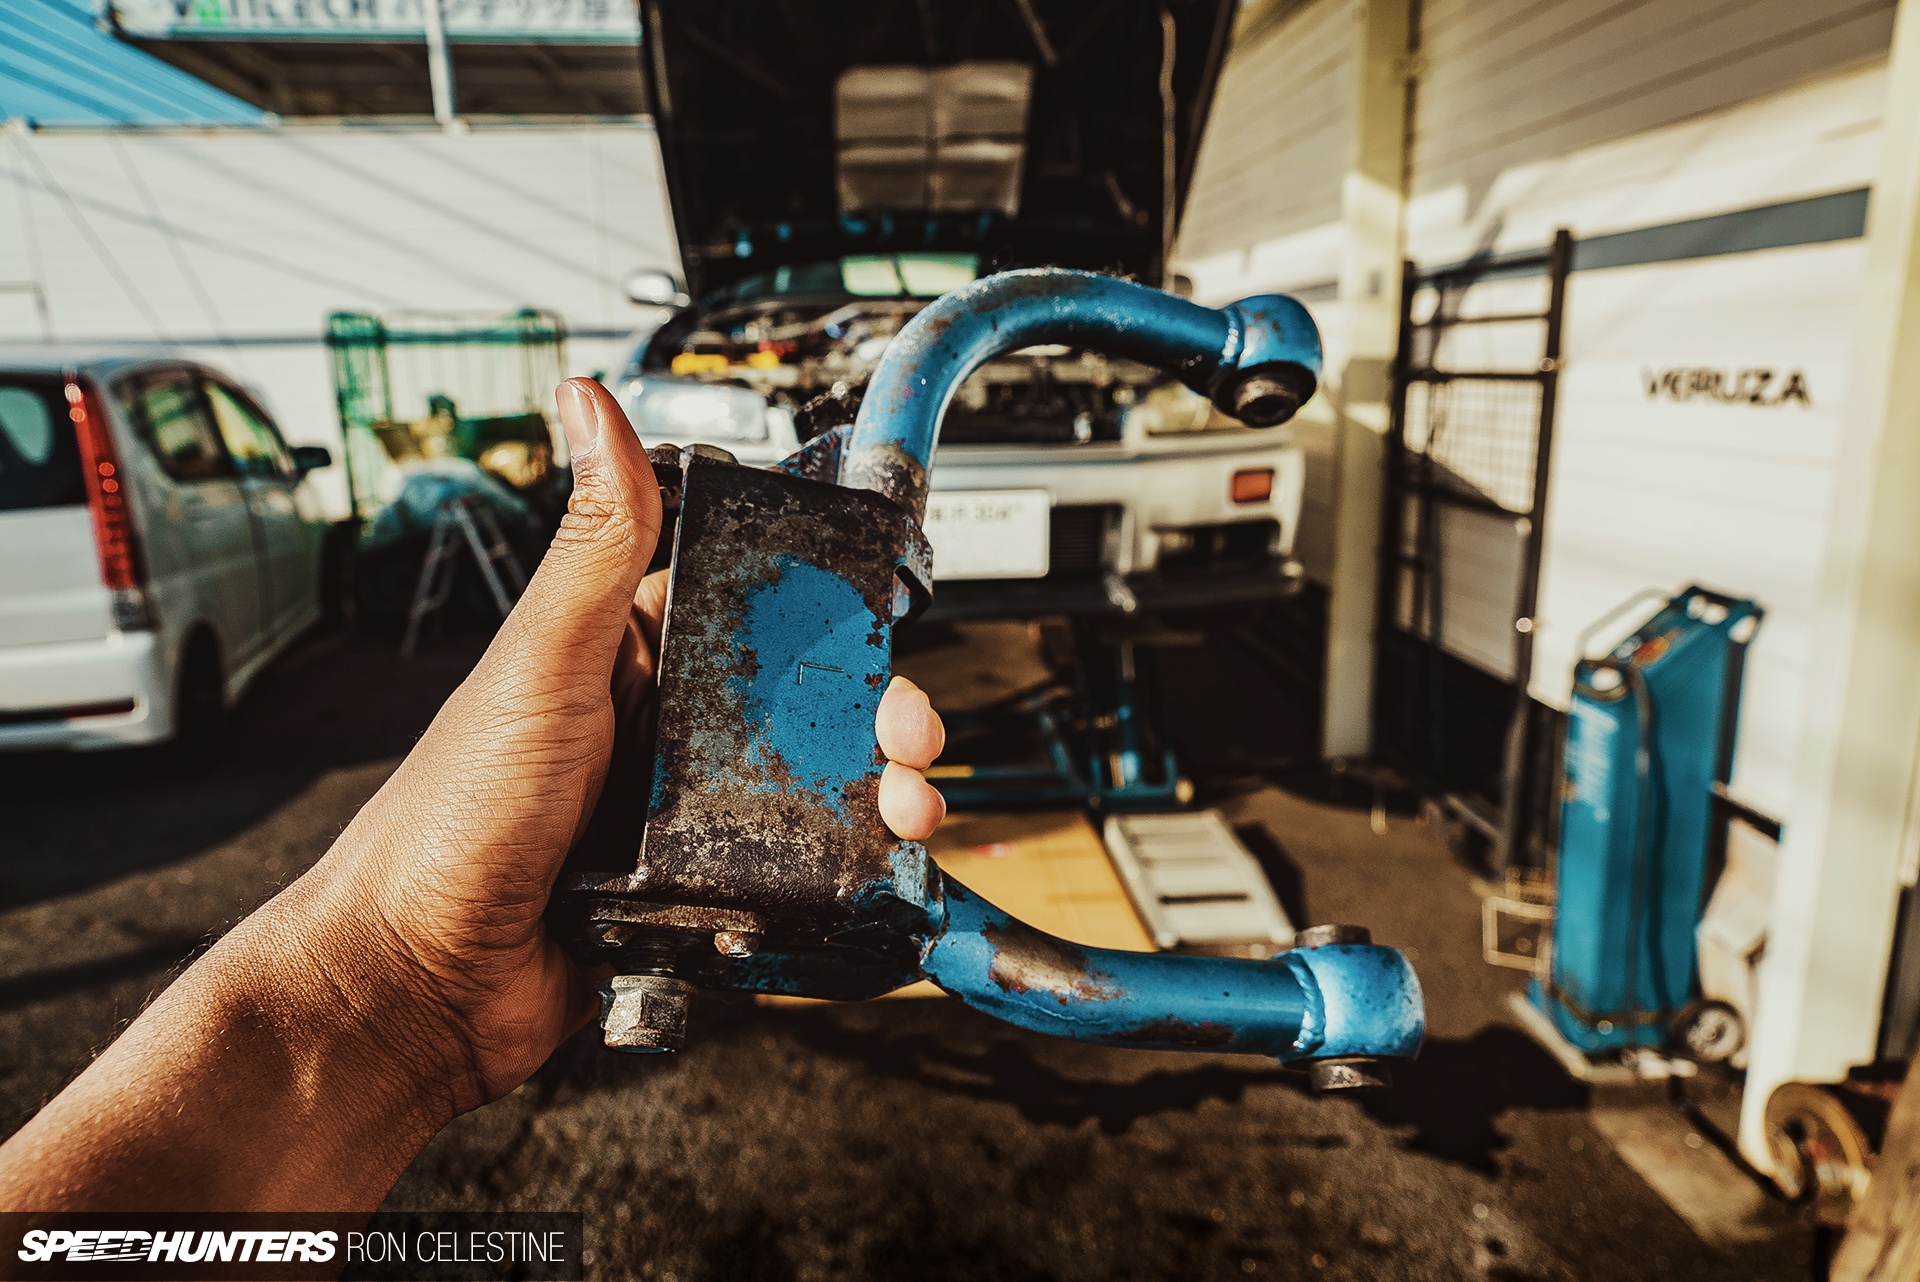
Before leaving, I spotted a set of Cusco upper control arms in Veruza’s used parts pile that looked perfect for refurbishing and fitting in my car. “Wait until after the inspection to install those, as you can’t have them on for the test,” warned Kano.
Anything that is deemed critical in regards to car safety (think brakes, engine mounts, driveshaft, upper arms, etc..) must either be OEM, or have the supporting paperwork to prove their legality. You can try and bring the OEM part and do a side-by-side comparison during the inspection as proof, although this comes with no guarantee of a pass. And even if an item like this does pass, you’d have to do it all over again in two years’ time, so it’s almost always better to switch the part back to stock.
It was at this point that I should have remembered a modification that I had done the the car over a year ago. Unfortunately I didn’t though, and it was going to bite me in the ass later…
The Downgrades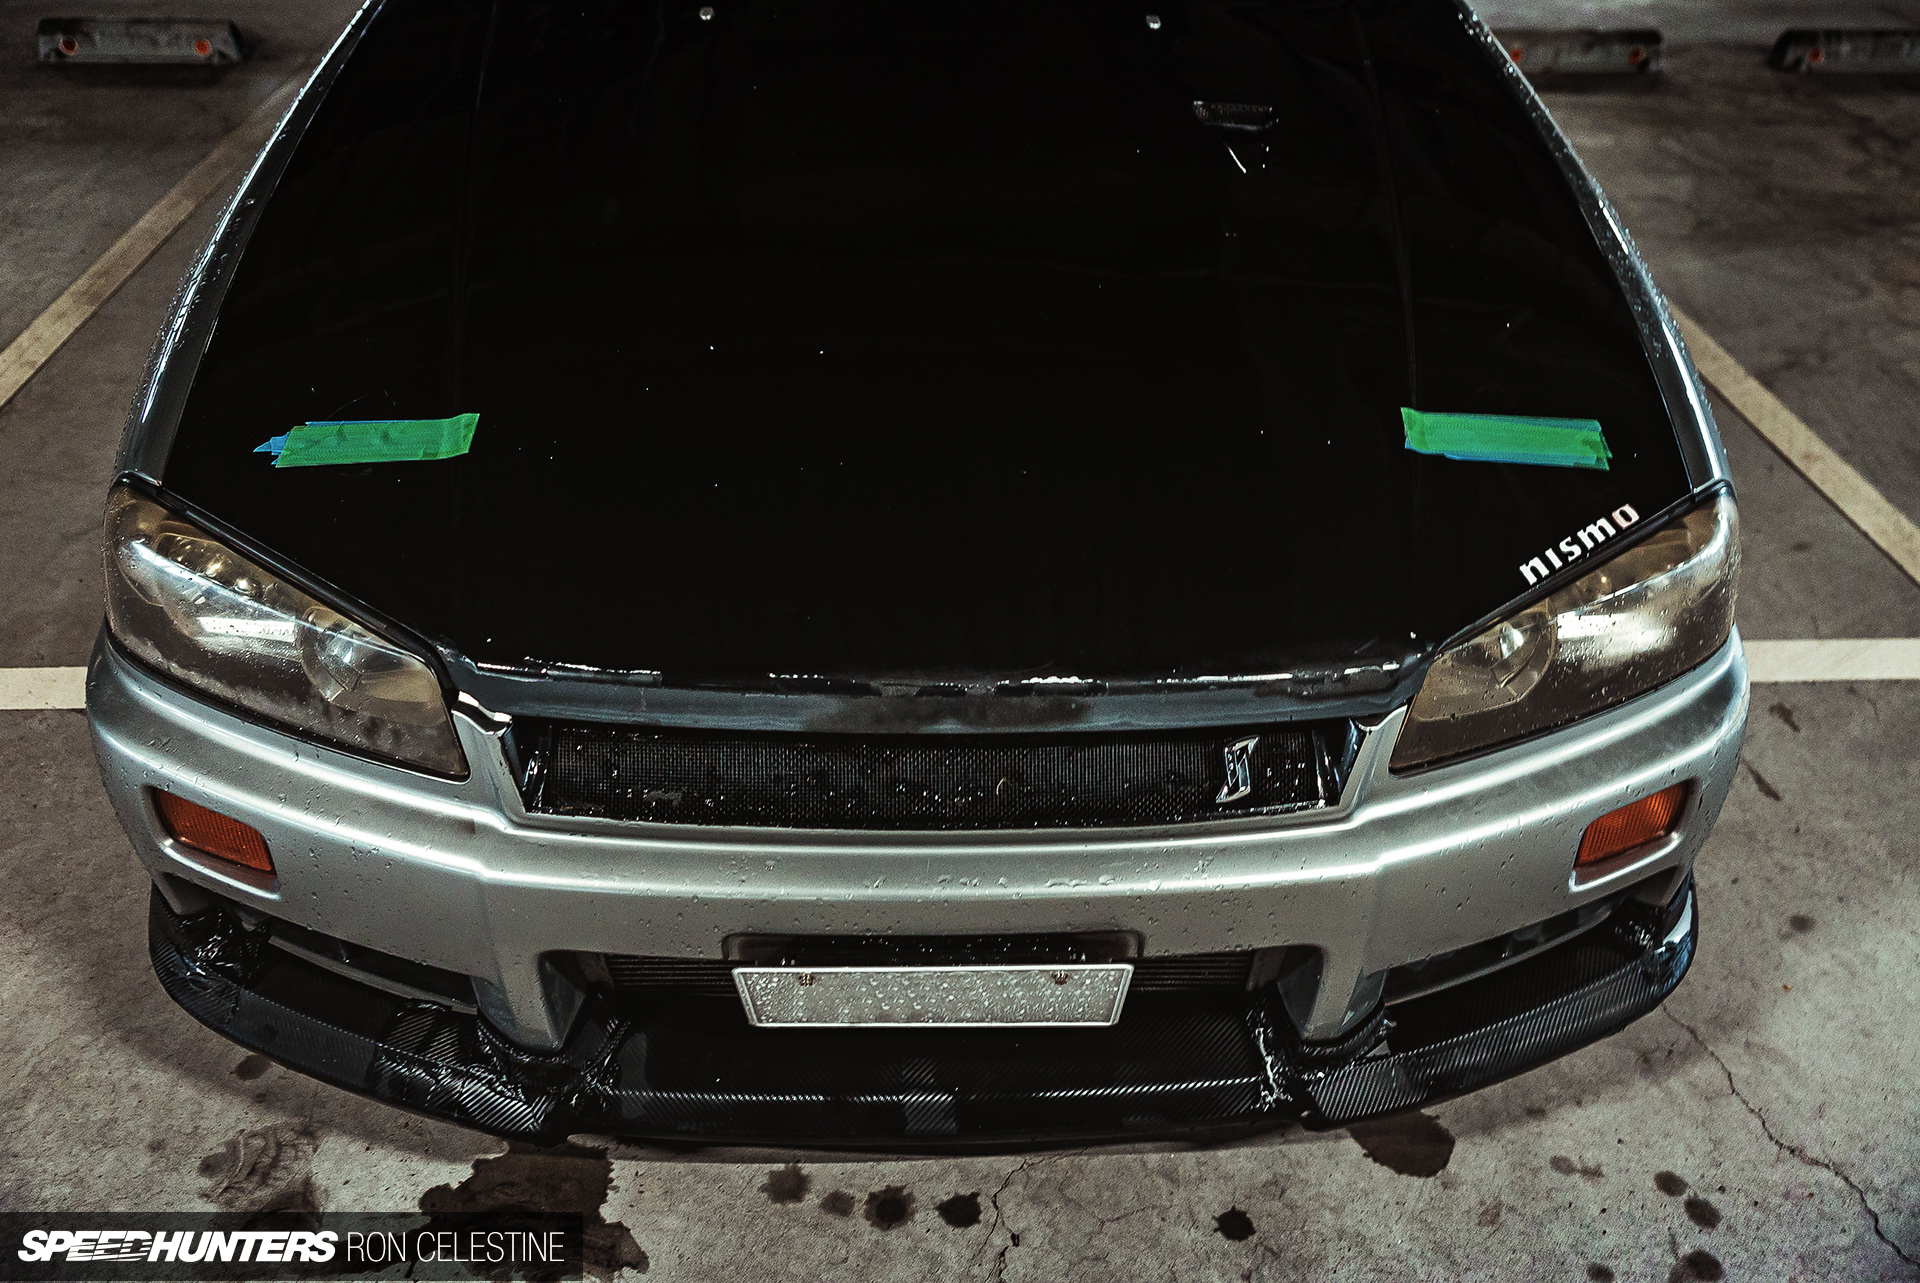
Once I had the car back home, it was time to make the rest of the changes. First up was removing the V1 projectors I created and reinstalling the original Xenon headlamps.
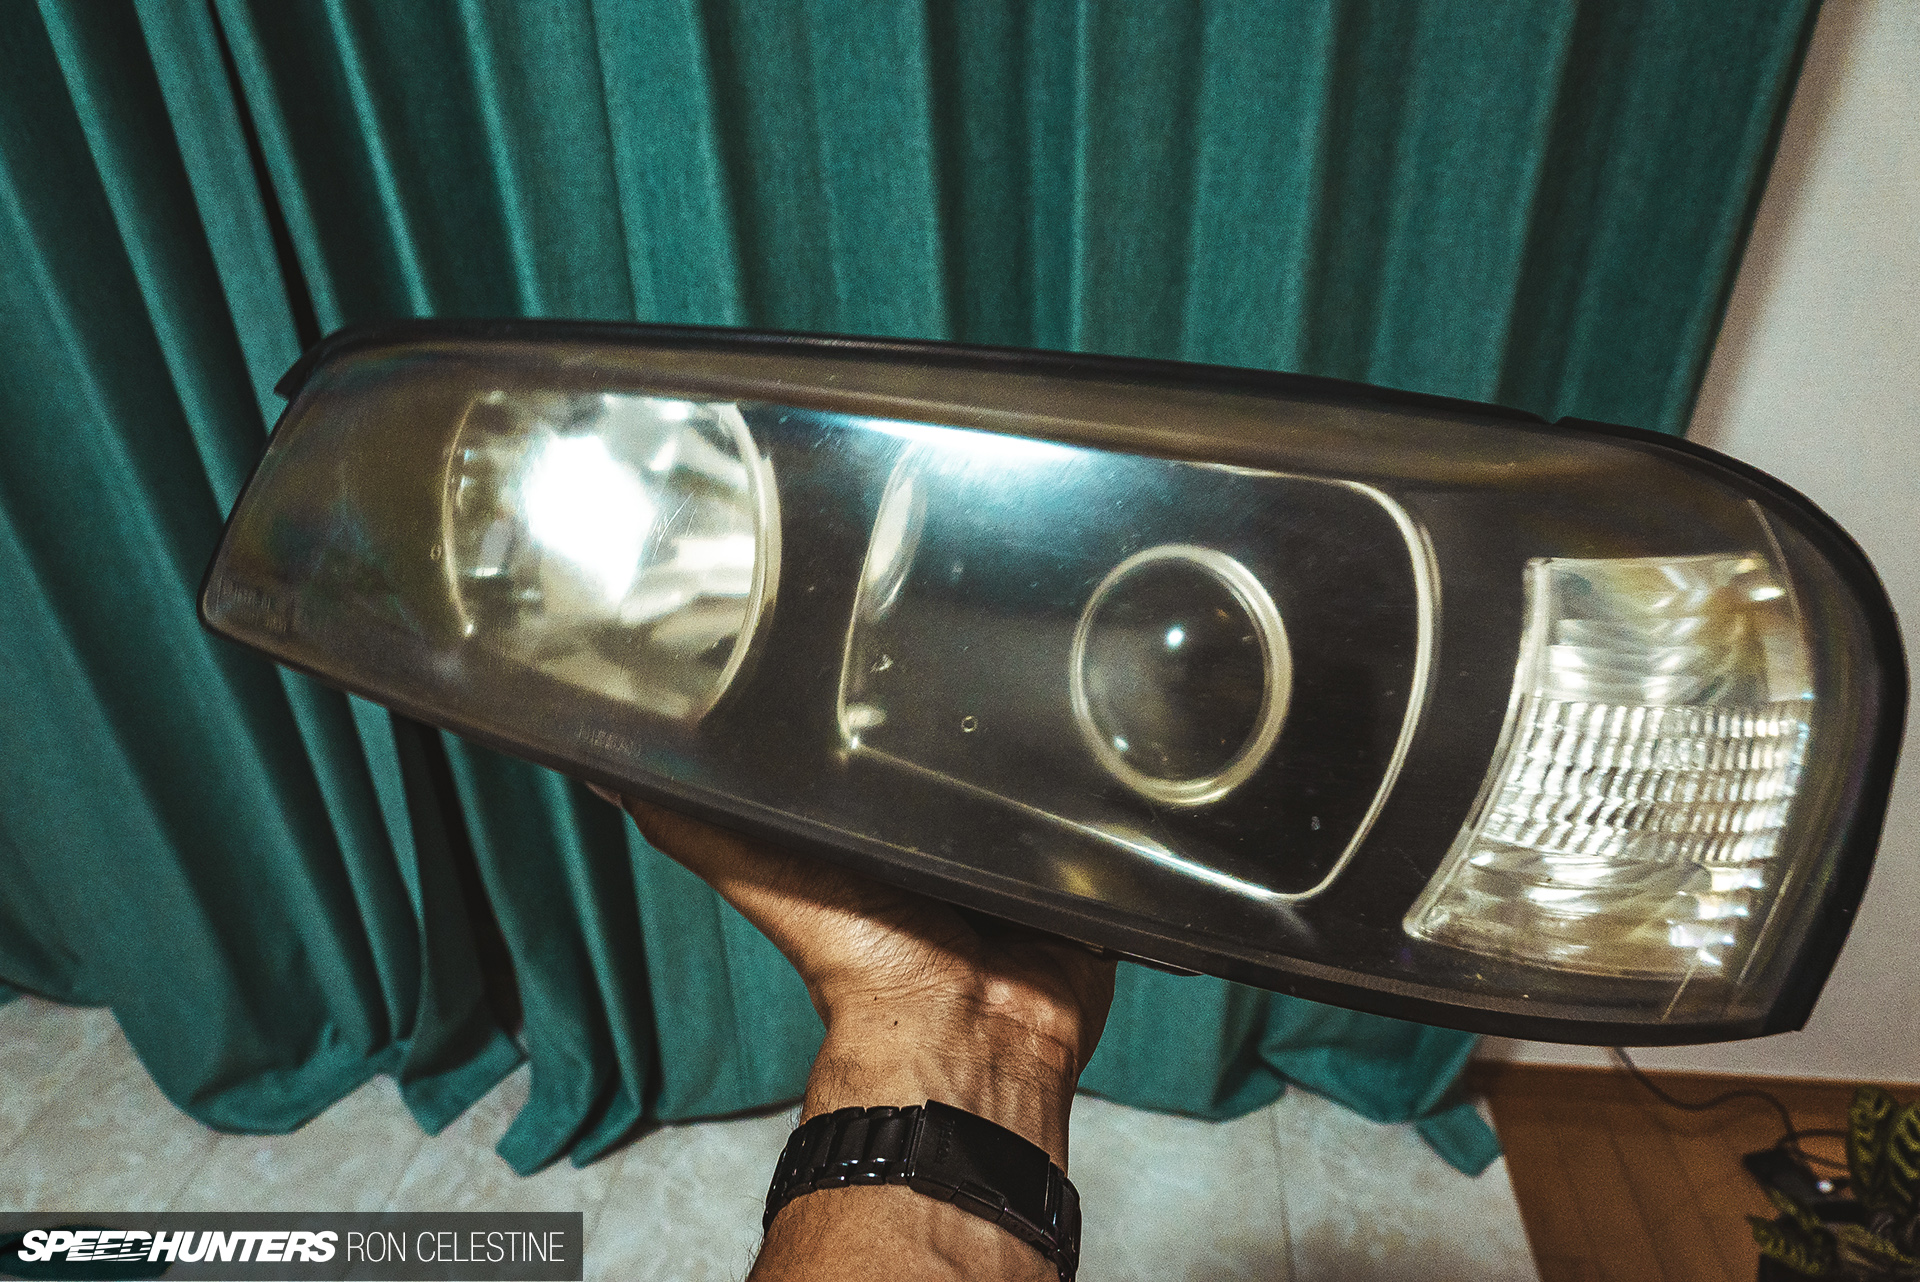
Although the light output of the projectors is far superior than the Xenons, and they’re set up in a way as not to blind oncoming traffic, the fact the headlights have been modified was a risk I didn’t feel like taking. With the projector-equipped units now out of the car, it’s the perfect time to clean and update them for V2. I promise I’ll still do a story on how I made V1.
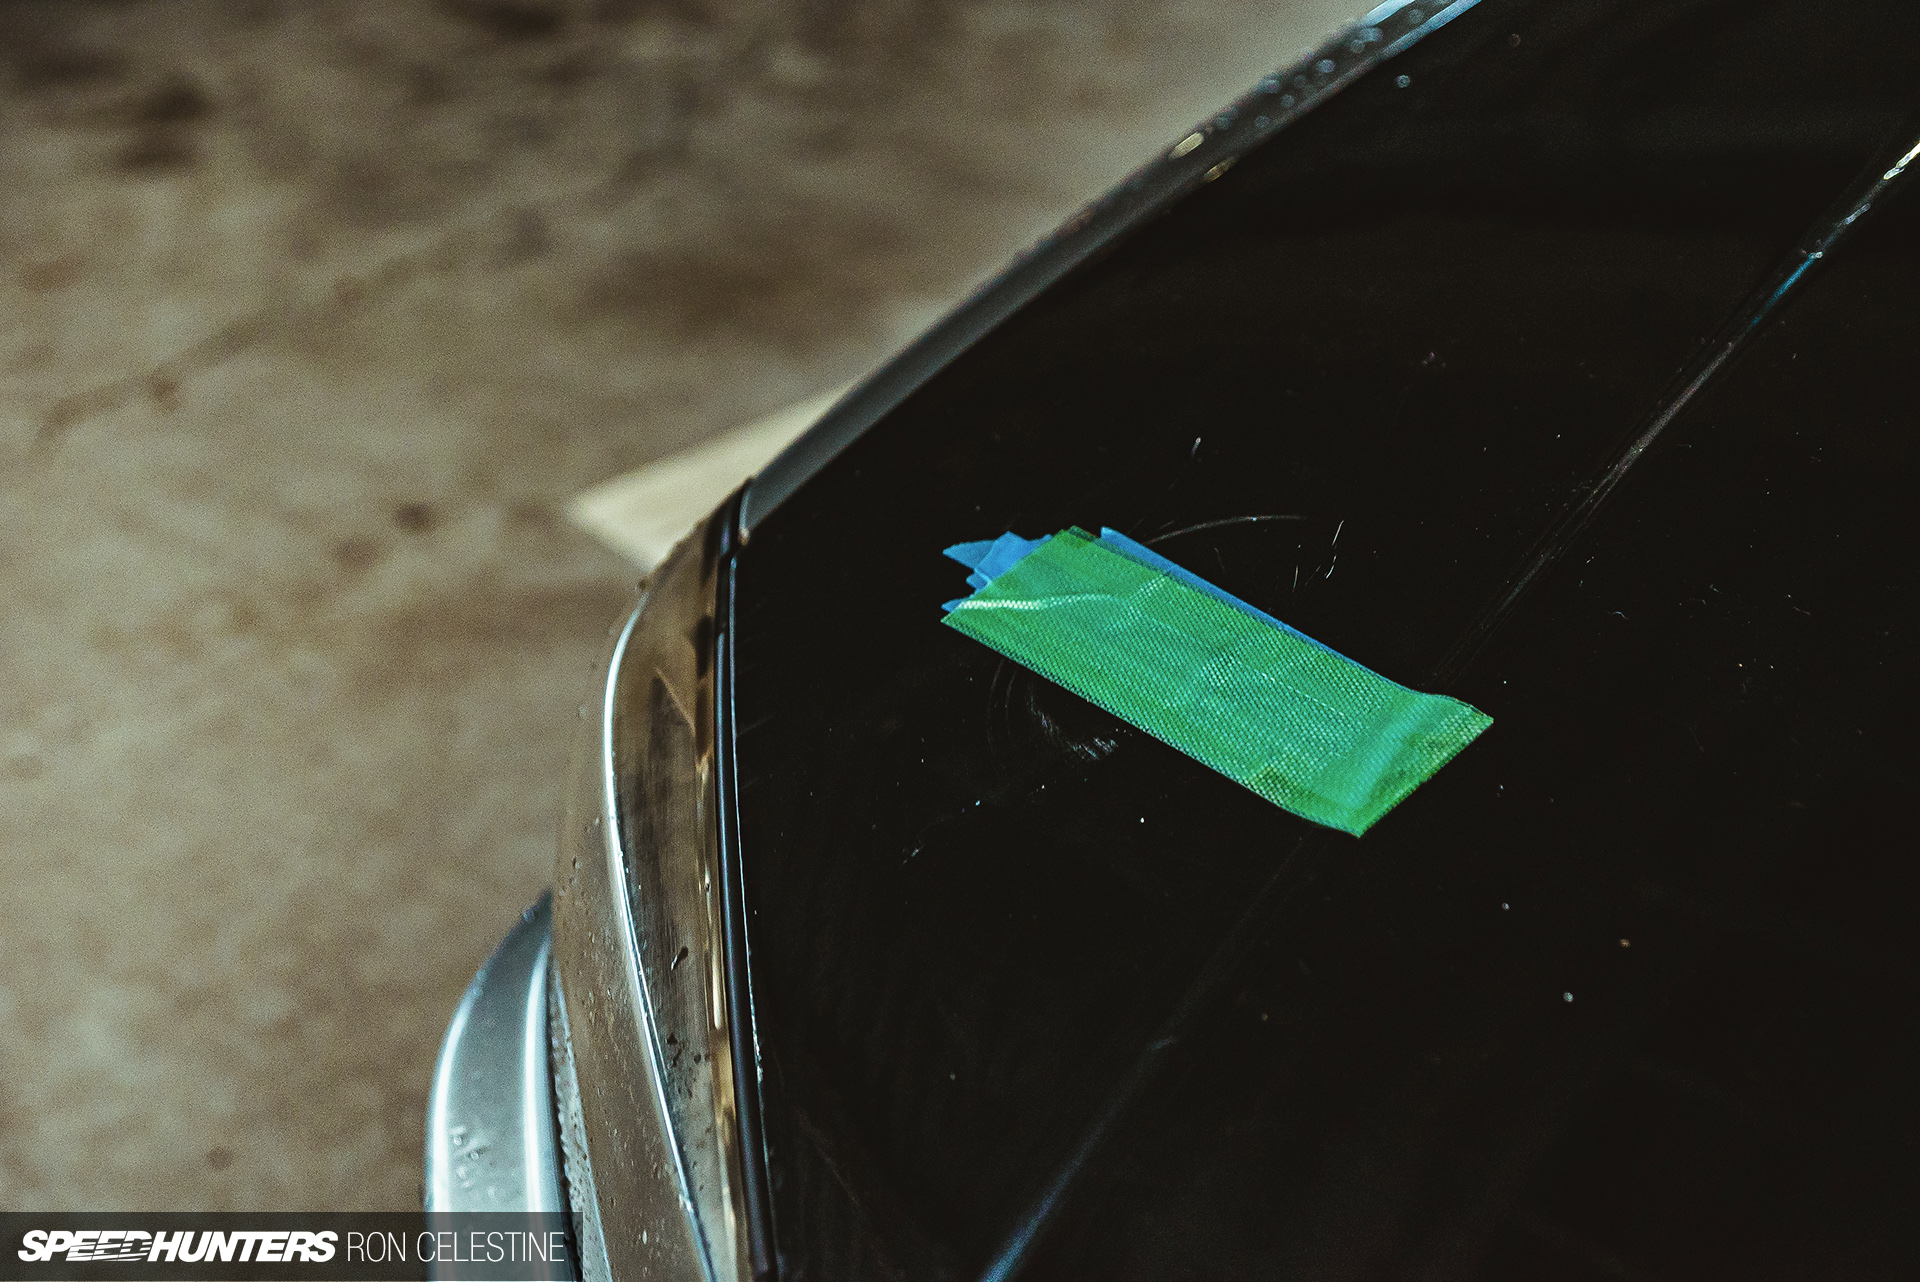
Next came the hood pins. Nothing can protrude from the hood, so the pins needed to be removed and the holes covered with tape. It’s not the most elegant of fixes, but it gets the job done, though I think I’ll look into flush-mount fasteners that recess into the hood as a more permanent solution.
I had already adjusted the Skyline’s ride height a few months prior when fitting lower profile tires brought back the oh-so-familiar sound of metal scraping asphalt, so I was confident I’d be fine there. Now all that was left to do was stick in the exhaust silencer plug and do the shaken inspection.
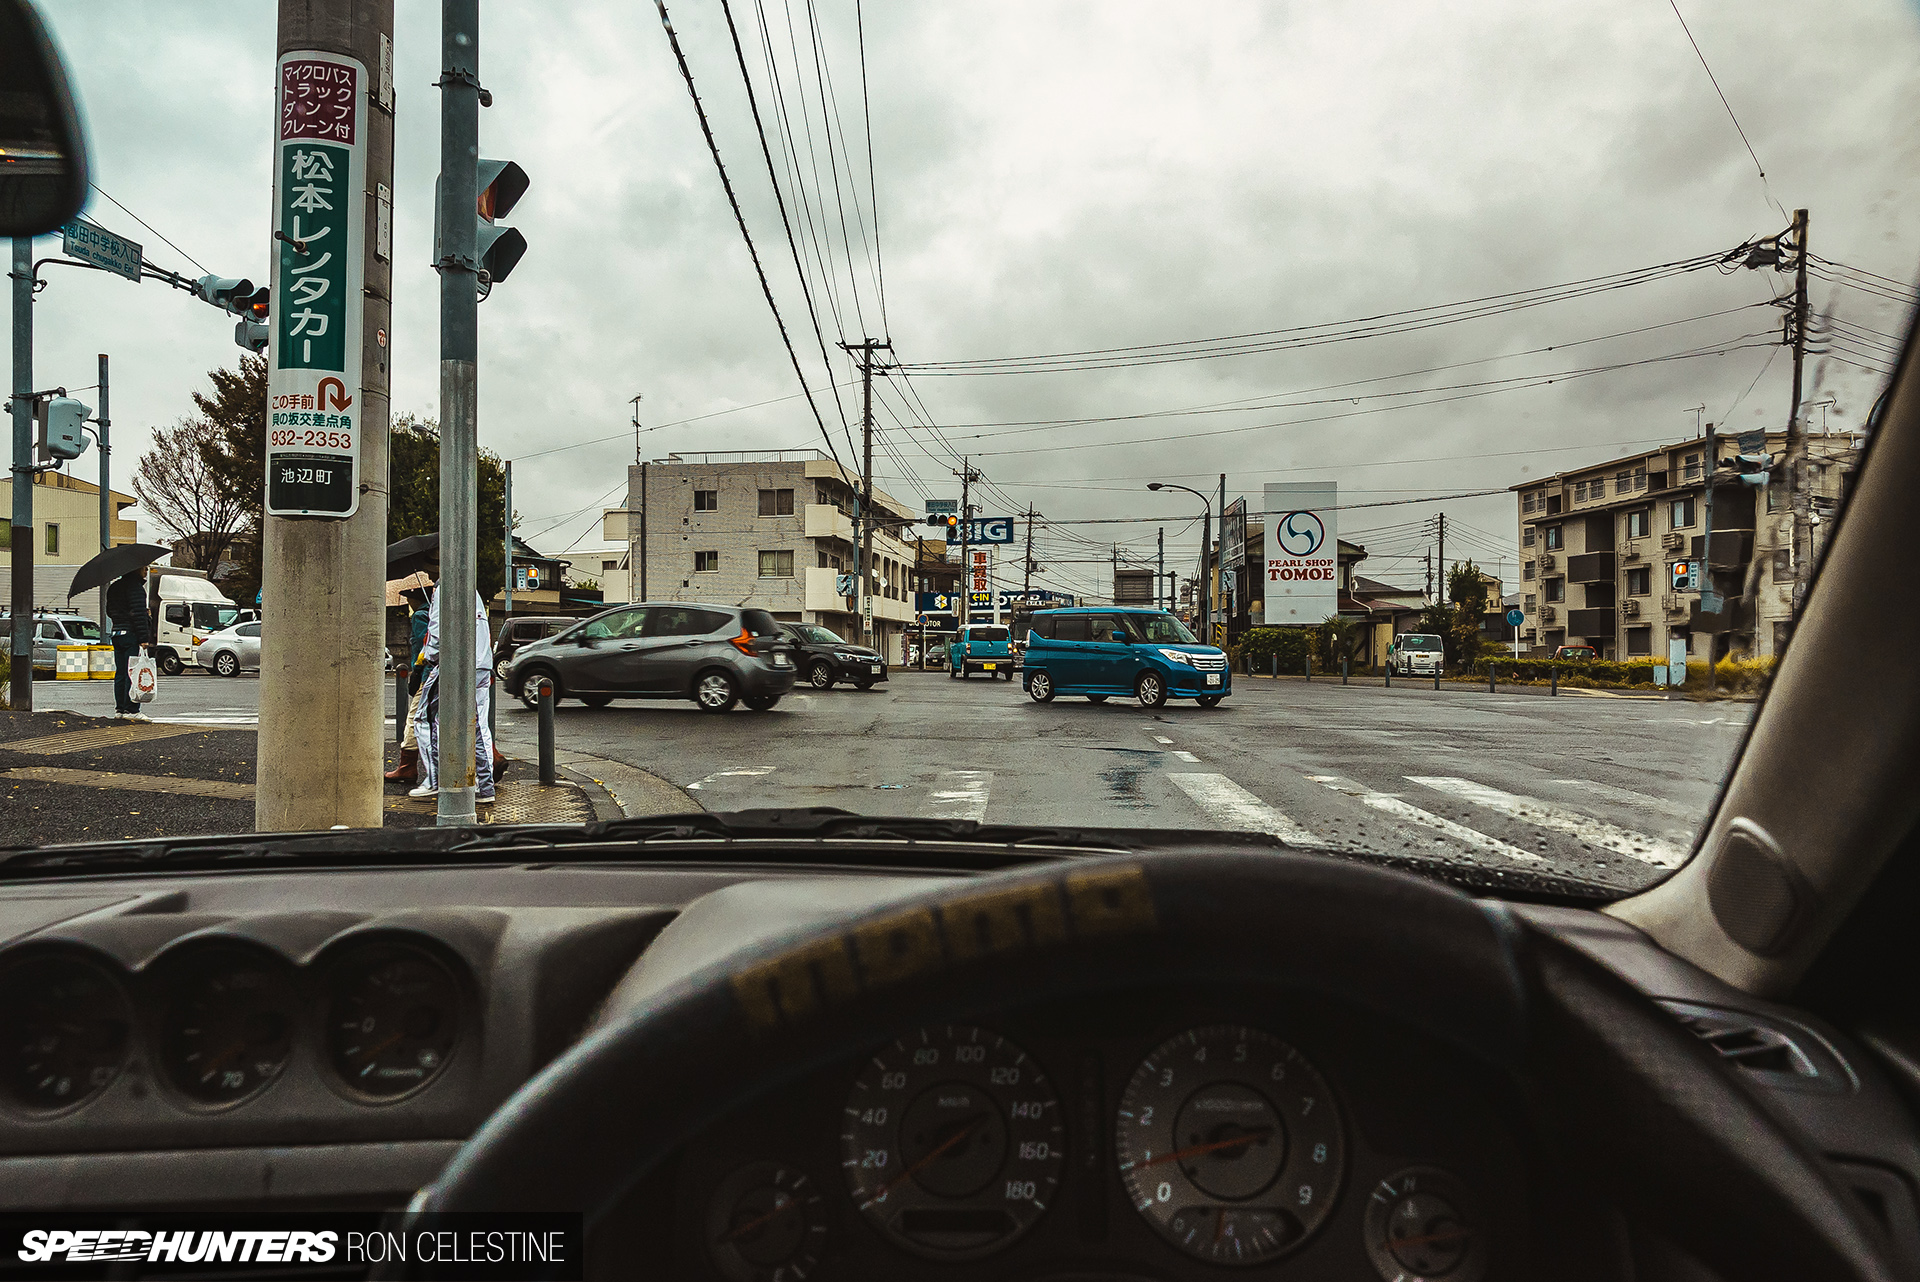
On the day of the inspection, my good friend and shaken expert Masa tagged along to make sure everything went smoothly. My spoken Japanese is fairly decent, but this was a whole new world for me and Masa’s expertize was going to be vital if we needed to butter up the inspectors.
Masa also recommended we go to a pre-shaken center before getting the car fully inspected. Here they do the majority of the shaken test, and perform quick fixes where needed. It costs a little extra to get the work done, but this is almost a must if you have a modified car.
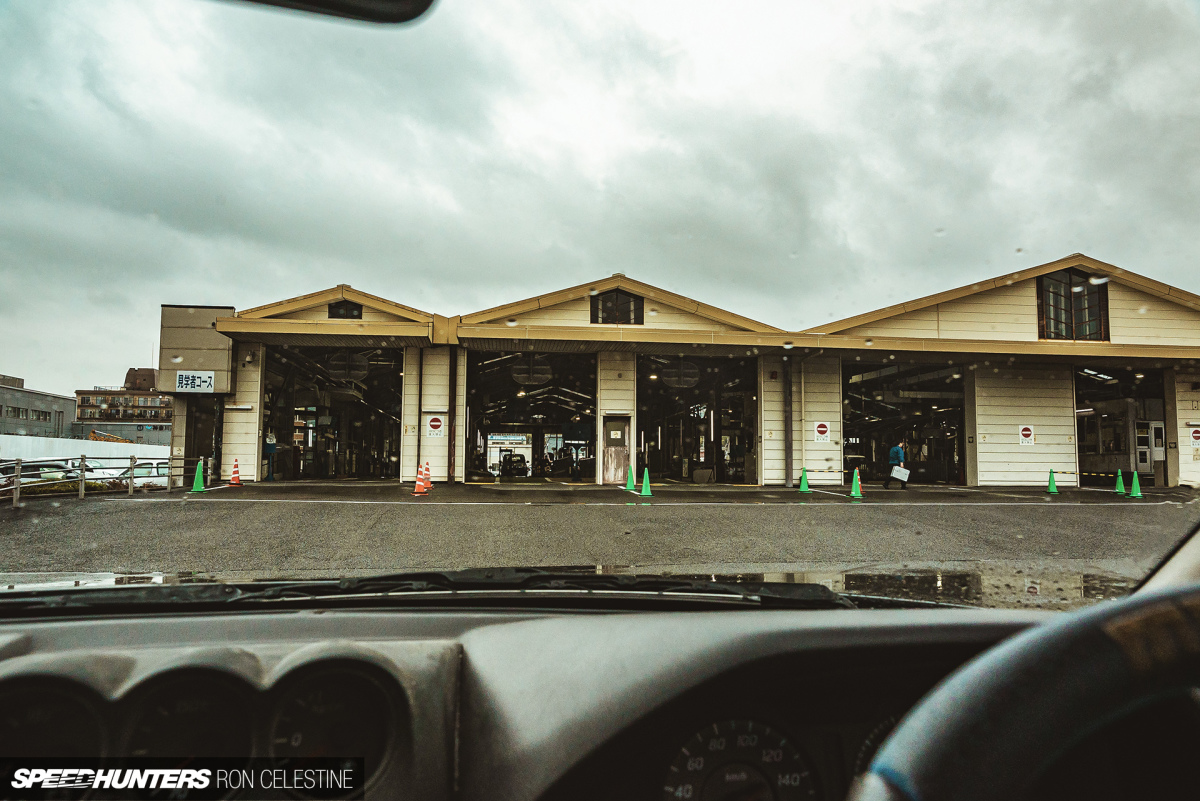
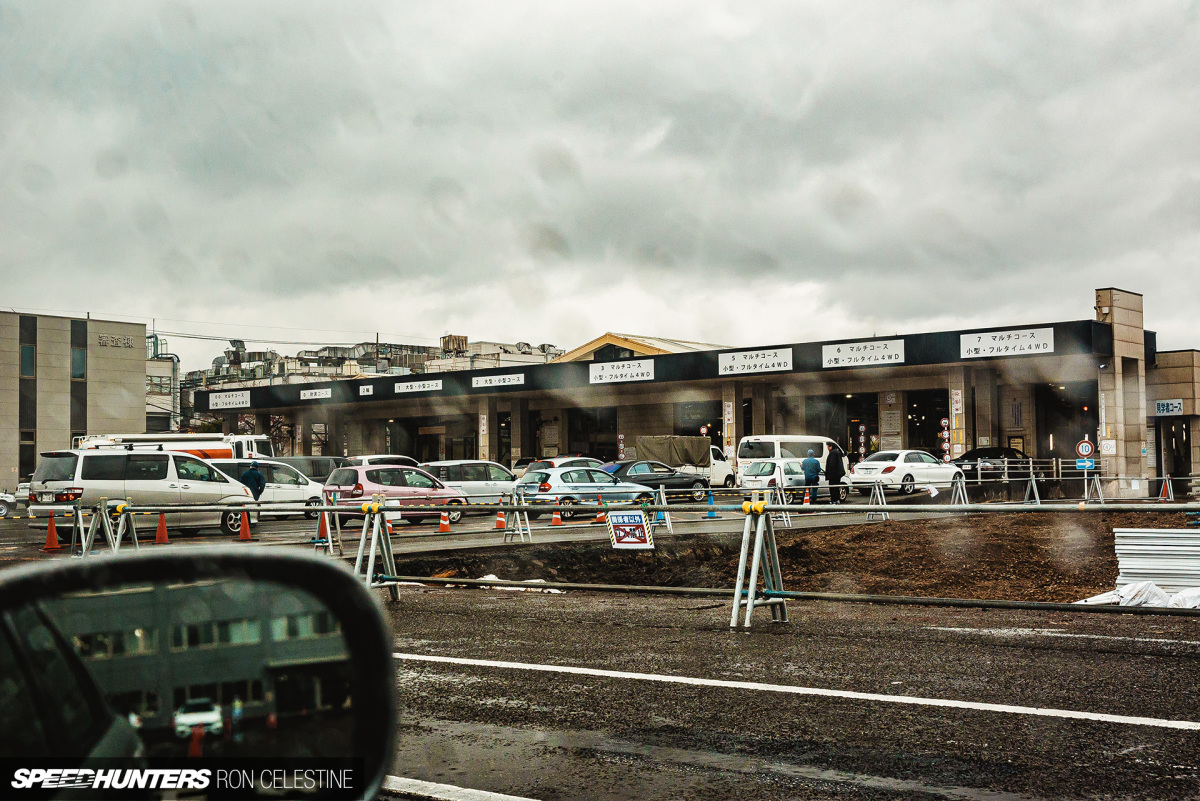
Then it was time for the real deal. After running from office to office and paying all the fees, Project Rough was cleared for inspection. To say I was nervous would be an understatement.
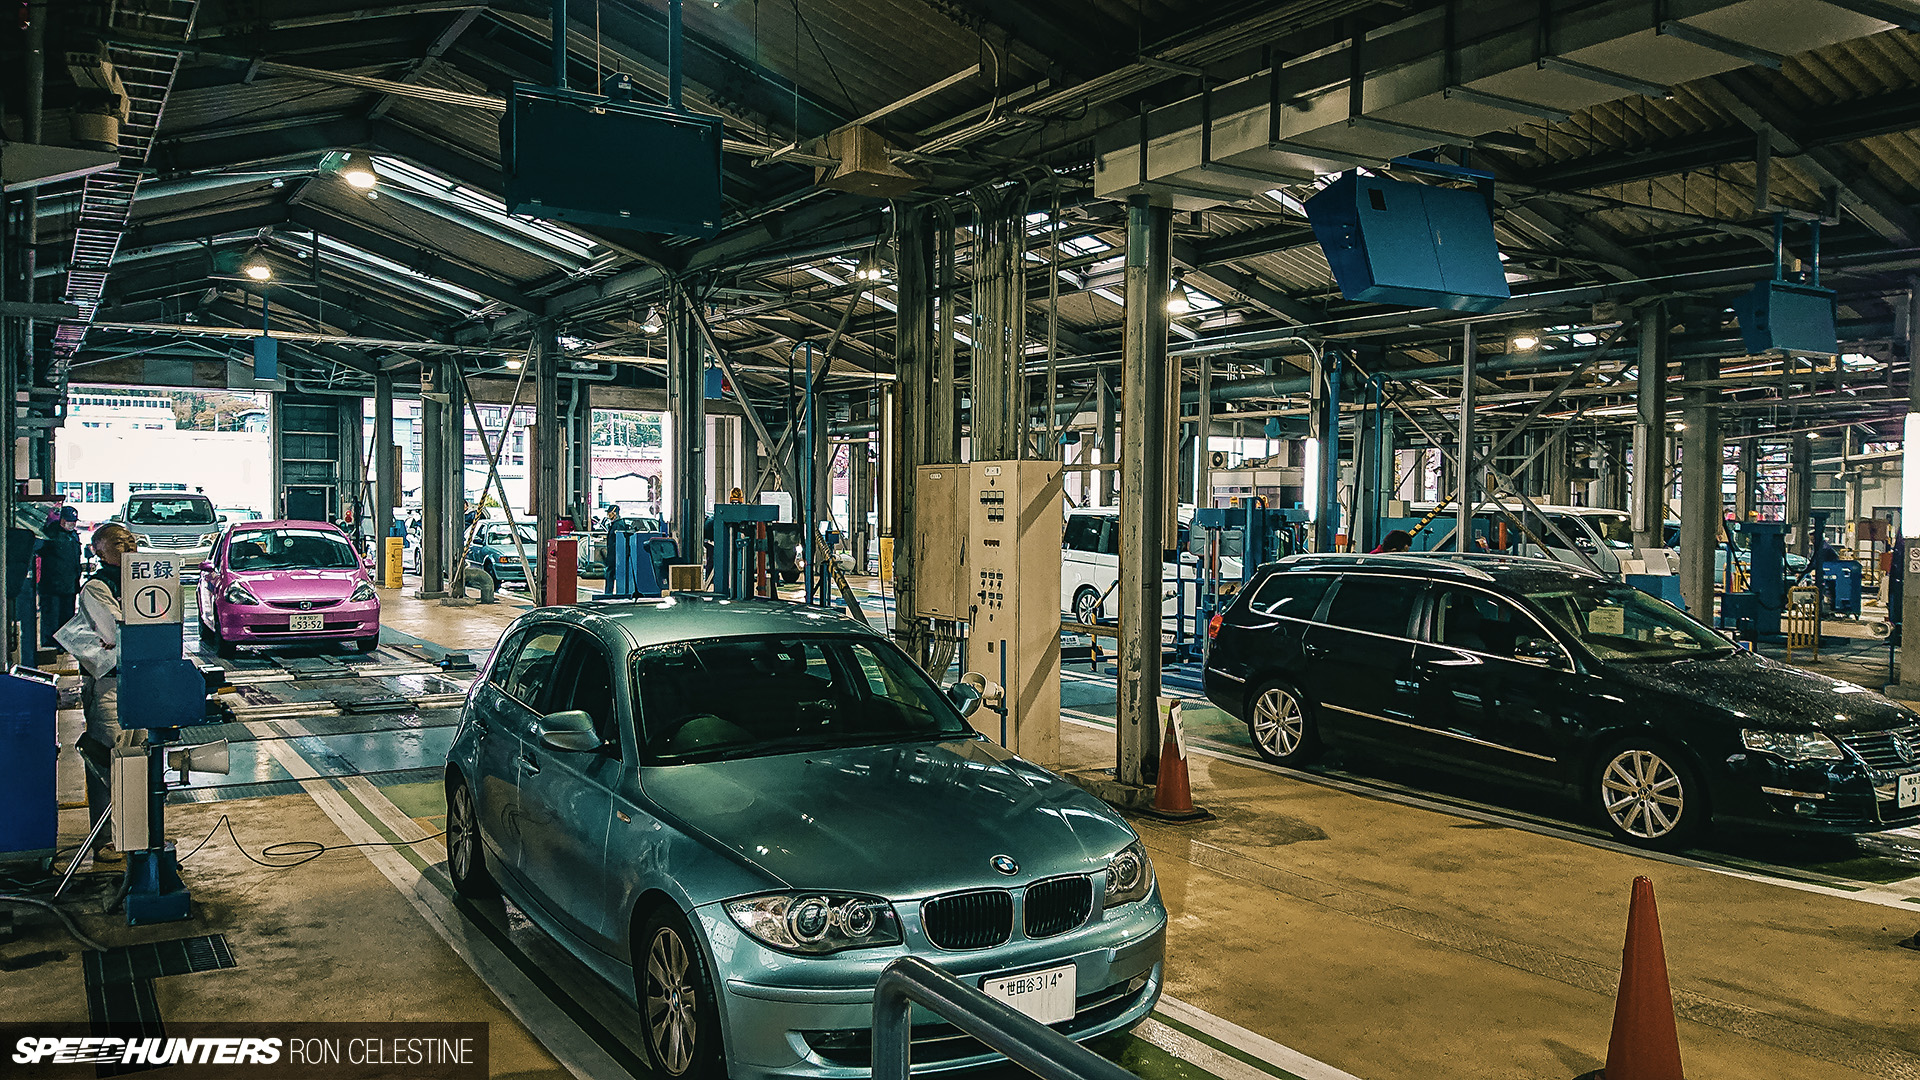
The actual inspection is as clinical and by the book as it gets for Japan.
The first step is a walk-around of the car to check the working condition of the lights, horn and wipers etc, and to confirm the VIN number and plates. Next, the car’s exhaust dB level and ride height was measured, and after the engine was revved to 5,000rpm the inspector wrote some stuff down on a sheet of paper, stamped it, and told me to proceed to the next stage.
Here, a long prong was shoved through the silencer and the exhaust emission level tested. The inspector could only laugh as it passed with flying colors. Next up, the brakes, headlights and speedometer were tested on various rigs, and once again, the paper was stamped and I was told to move on.
By now I was feeling a bit cocky. The last stage is where you pull over a pit area, and some inspectors bang on random things to see if anything falls apart. Seriously, they have a special tool for this. This is also where they check to see if you have changed any parts out.
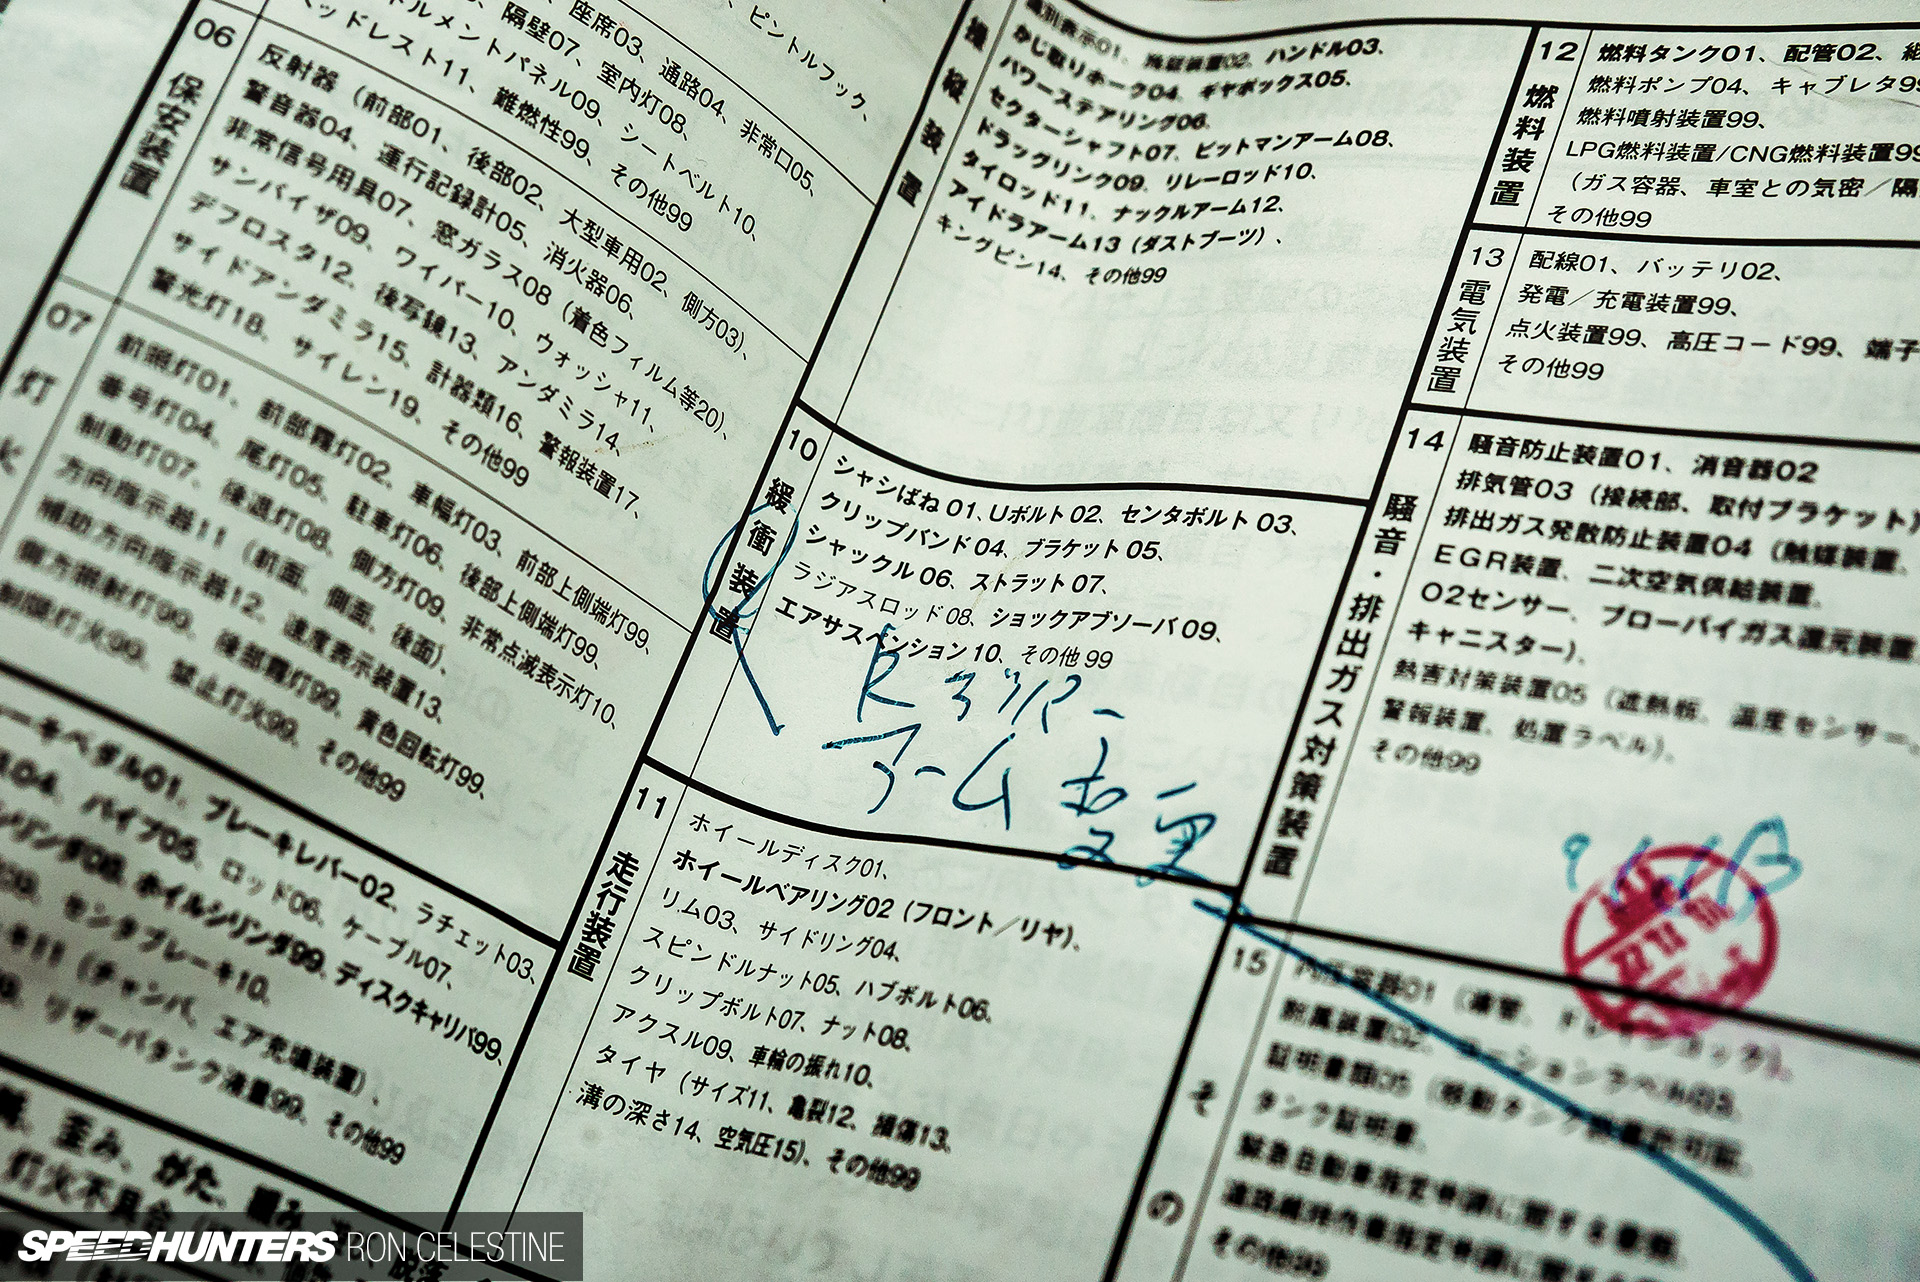
Remember earlier, how I received some good advice from Kano about arms?
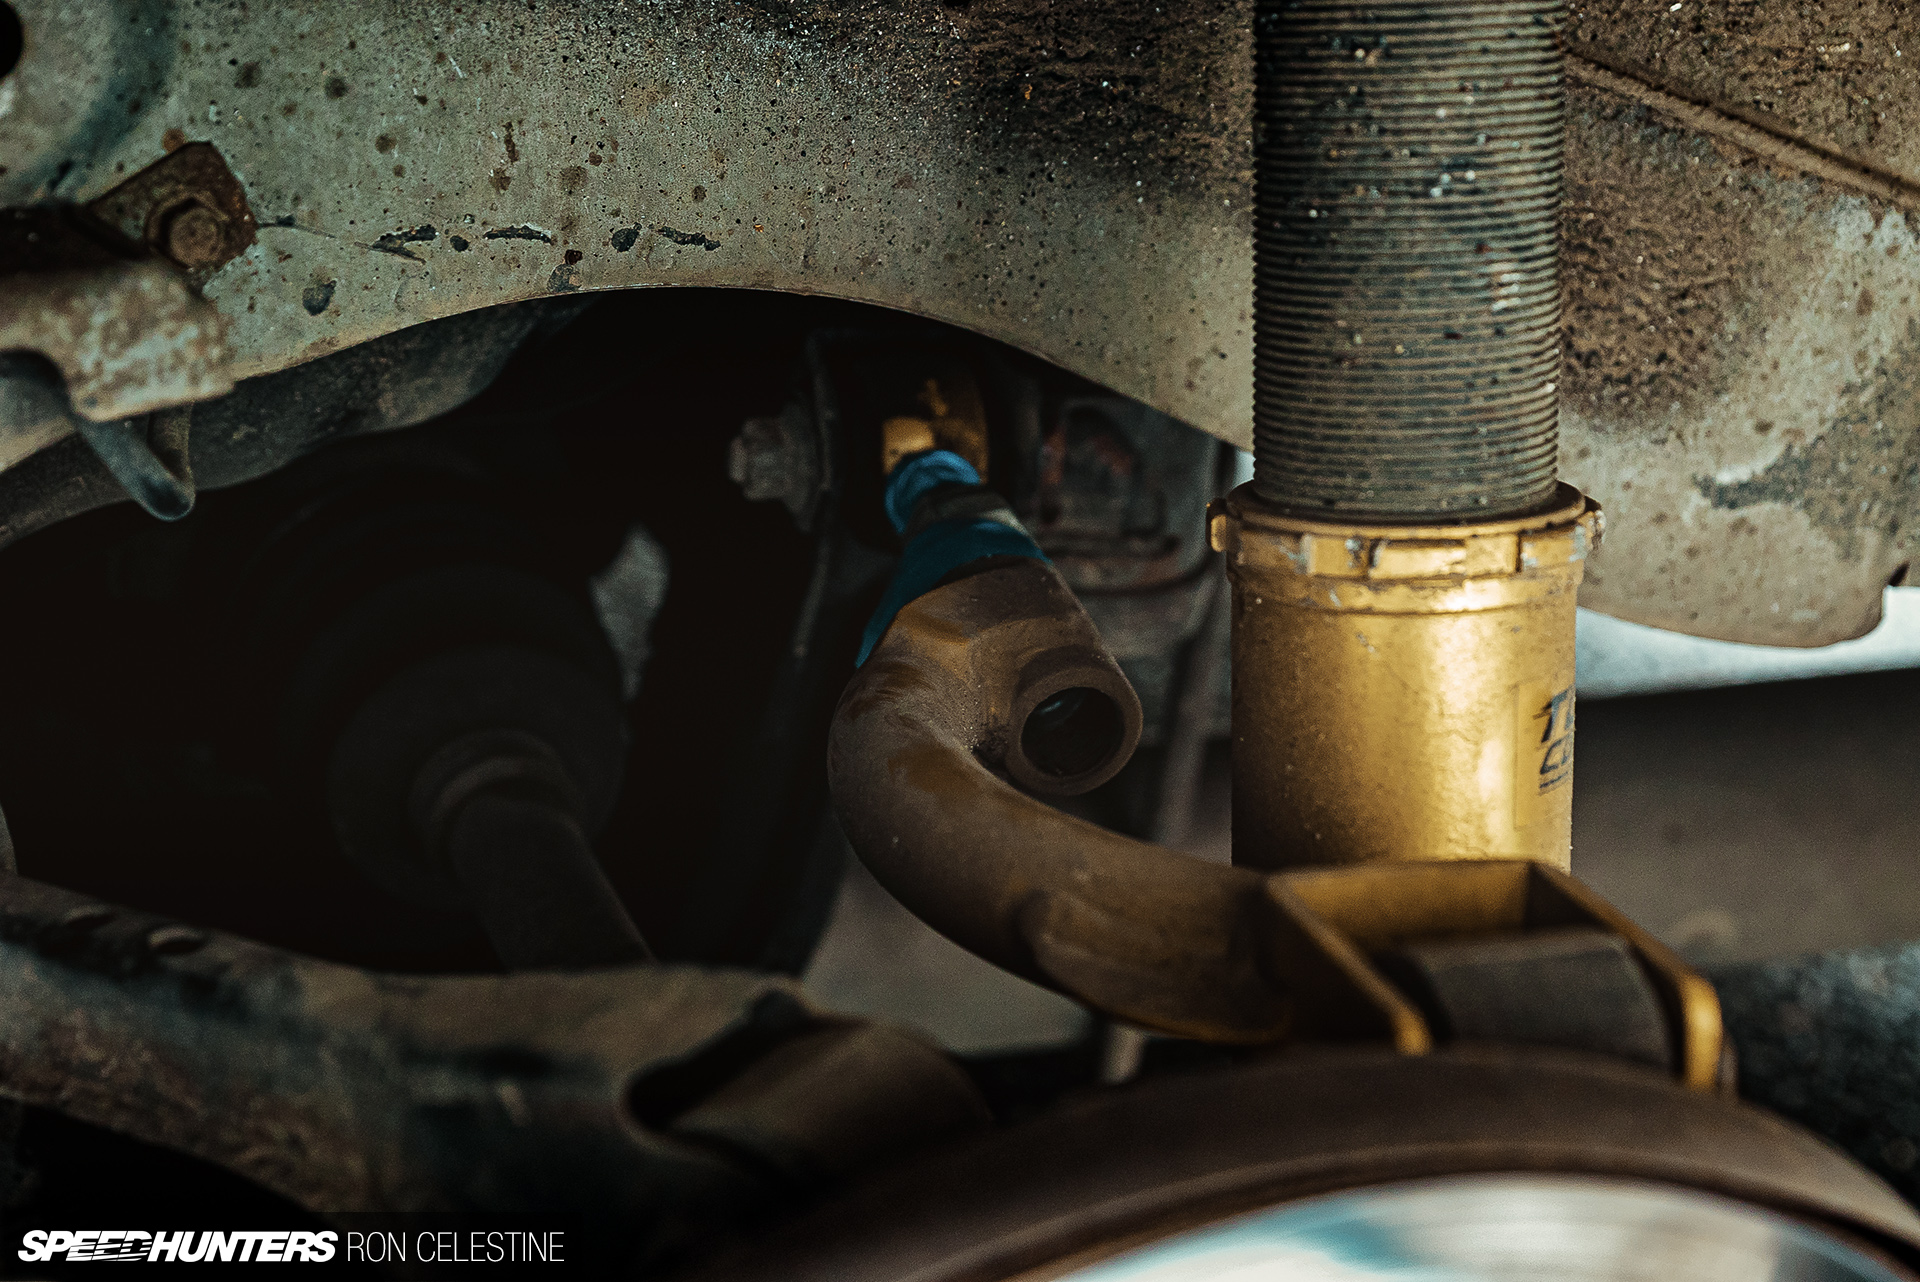
“ARMS! ARMS!” shouted one of the inspectors, as if I had been caught red-handed with a contraband substance. Shortly after, Masa emerged from beneath the pit and asked me if I had changed the rear upper control arms…
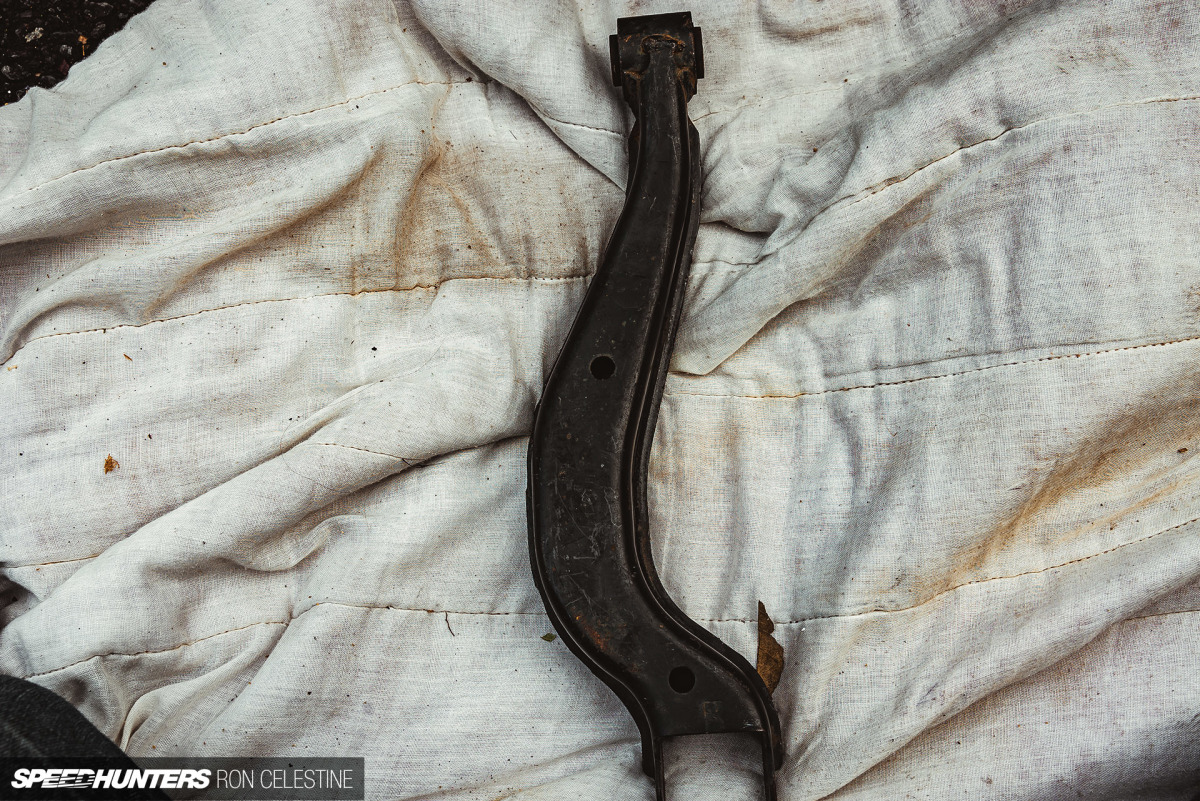
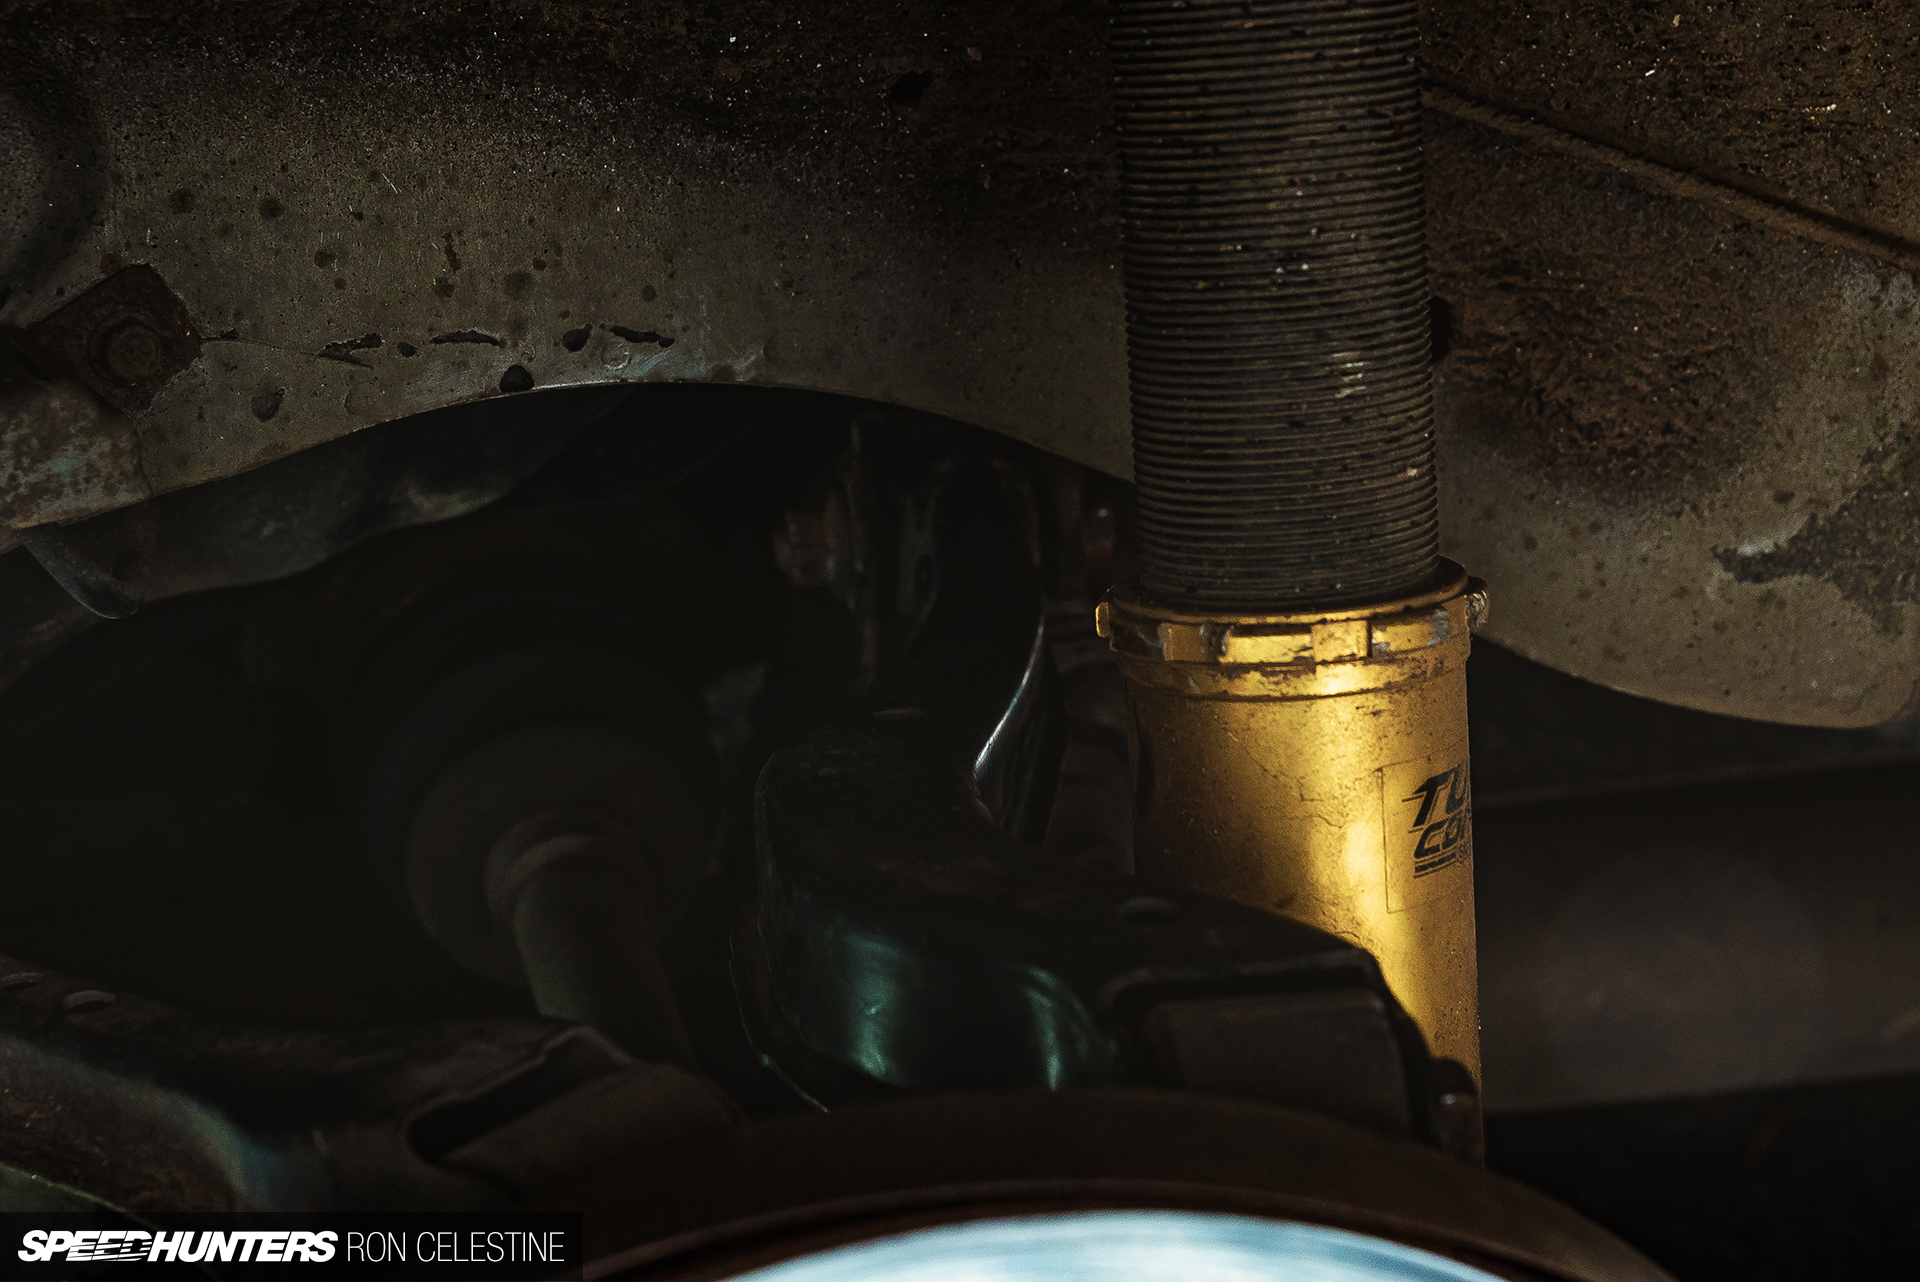
SH*T! I had completely forgotten about the aftermarket rear arms that came with the suspension setup my good friend Frank at Tuner Concept made for the Skyline.
The good news was, Project Rough had pretty much passed everything thrown at it. The bad news was, I would have to come back another day after I had found some stock arms. If I could make the changes within two weeks, then I wouldn’t have to do the whole inspection over again.
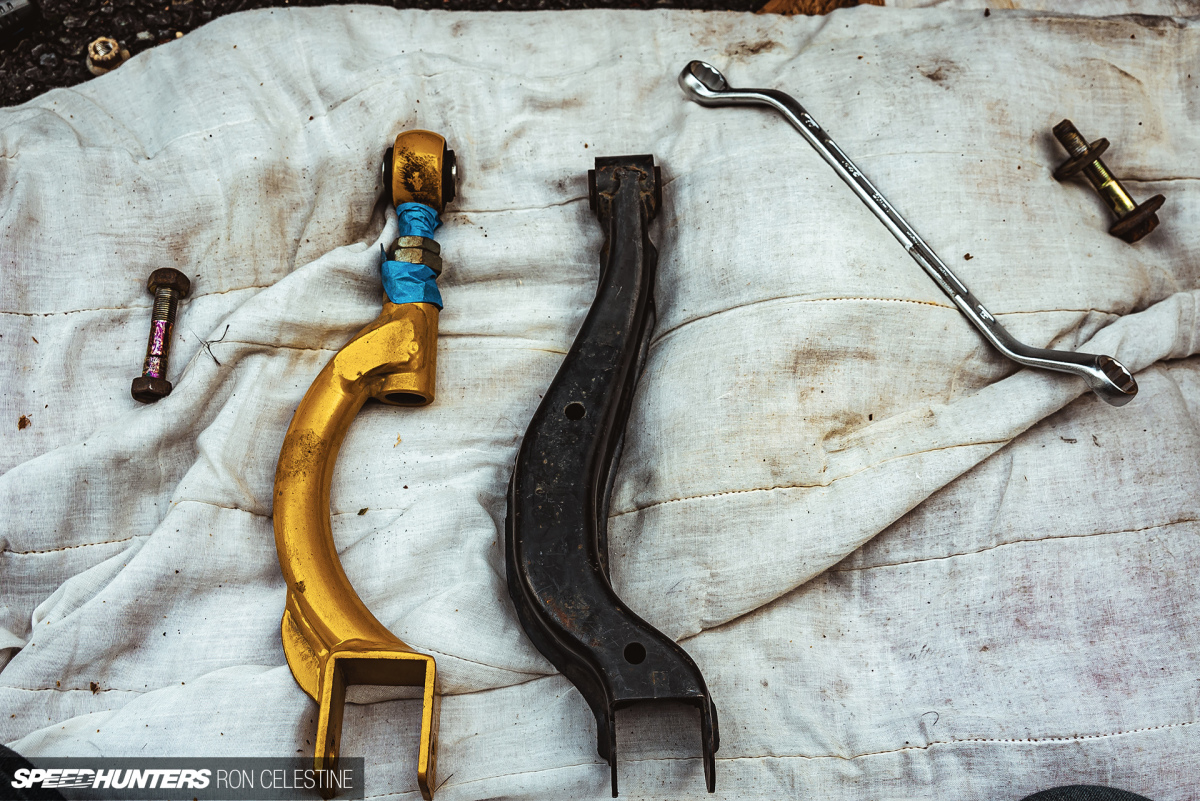
Thanks to the power of the internet, I was able to locate an OEM set of rear arms and have them sent directly to my house within two days.

After removing the adjustable arms and replacing them with the OEM ones, I put the car back on the ground and immediately noticed that the rear wheels were tucking inward thanks to the newfound camber. I was told that only the upper control arms would be rechecked, but I didn’t want to risk the inspectors thinking the car appeared to be lower, so the wheels came off and I raised the rear a good 2 centimeters for insurance.
With that last little obstacle out of the way, I returned to the shaken center and was rewarded with new paperwork – Project Rough is now roadworthy for the next two years.
As absurd and ridiculous as this experience was, I would gladly play this game over the difficulties experienced in other parts of the world. Just remember that car life in Japan isn’t always as straightforward as it seems…
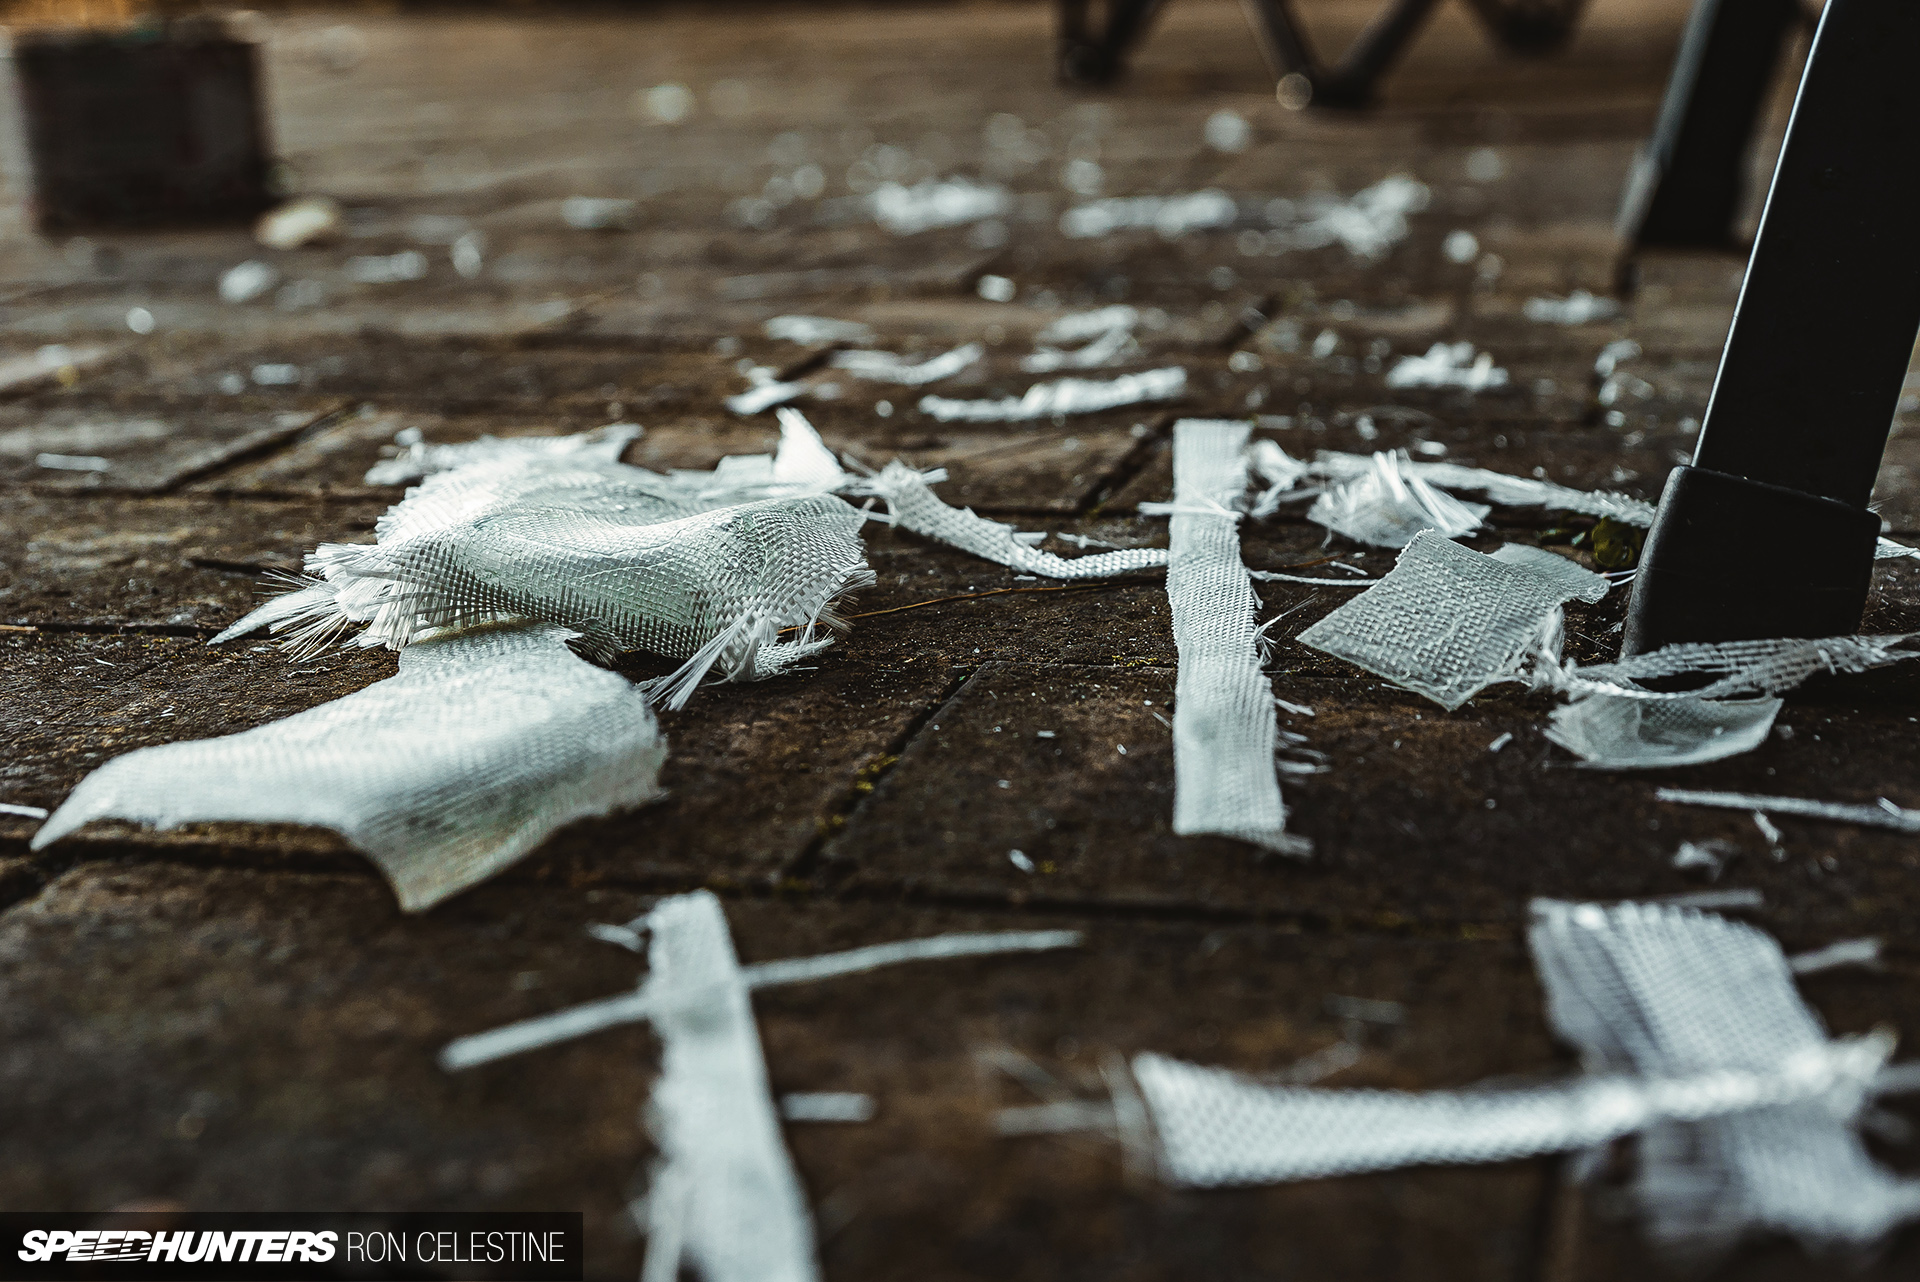
During all of this madness, I was also working on my next composite project using all the knowledge I had learned from my airbox.
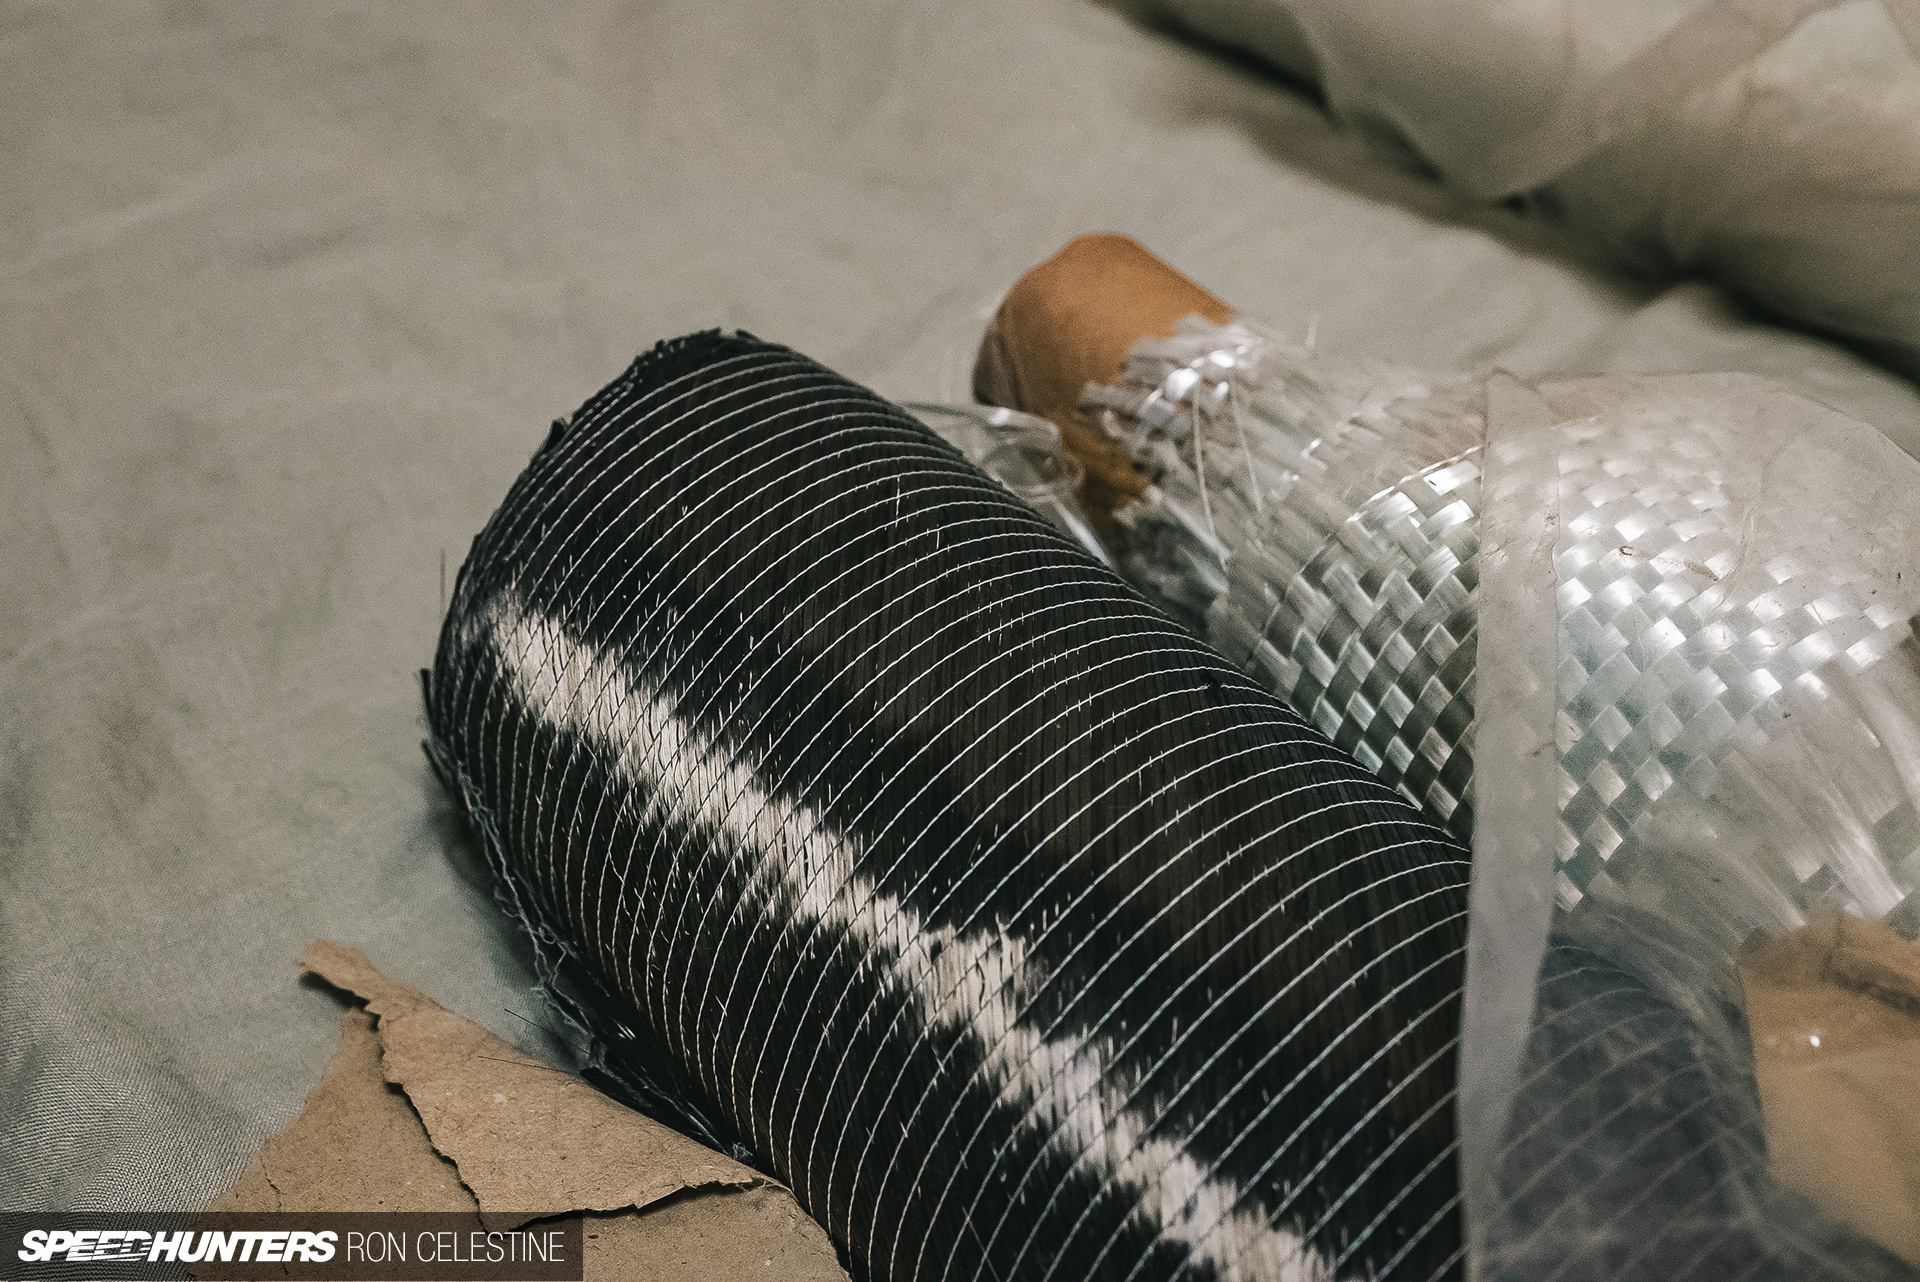
Christmas also came a bit early, as Masa also gifted me with his leftover stash of high quality FRP and carbon fiber. His only request was that I use it all at some point, so stay tuned to see the next composite update in the near future.
Ron Celestine
Instagram: celestinephotography