It’s been a couple months since I’ve brought up Project912SiX, but then again, it’s also been a while since I’ve actually been able to go out and shoot any sort of story period.
I think we can all agree that in the midst of this global pandemic, it’s best to play it safe and continue keeping contact with other humans at a minimum for as long as possible. And while that may be tougher on us to bring more content to the site, it does allow us to spend a little more time on our own cars.


In the last couple of updates, I covered how car came to light, further followed with some nitty-gritty technical stuff about what’s really underneath it all. However, with this update I want to talk more about making the car pretty, more functional, and of course taking care of some basic maintenance after the last few months of driving.
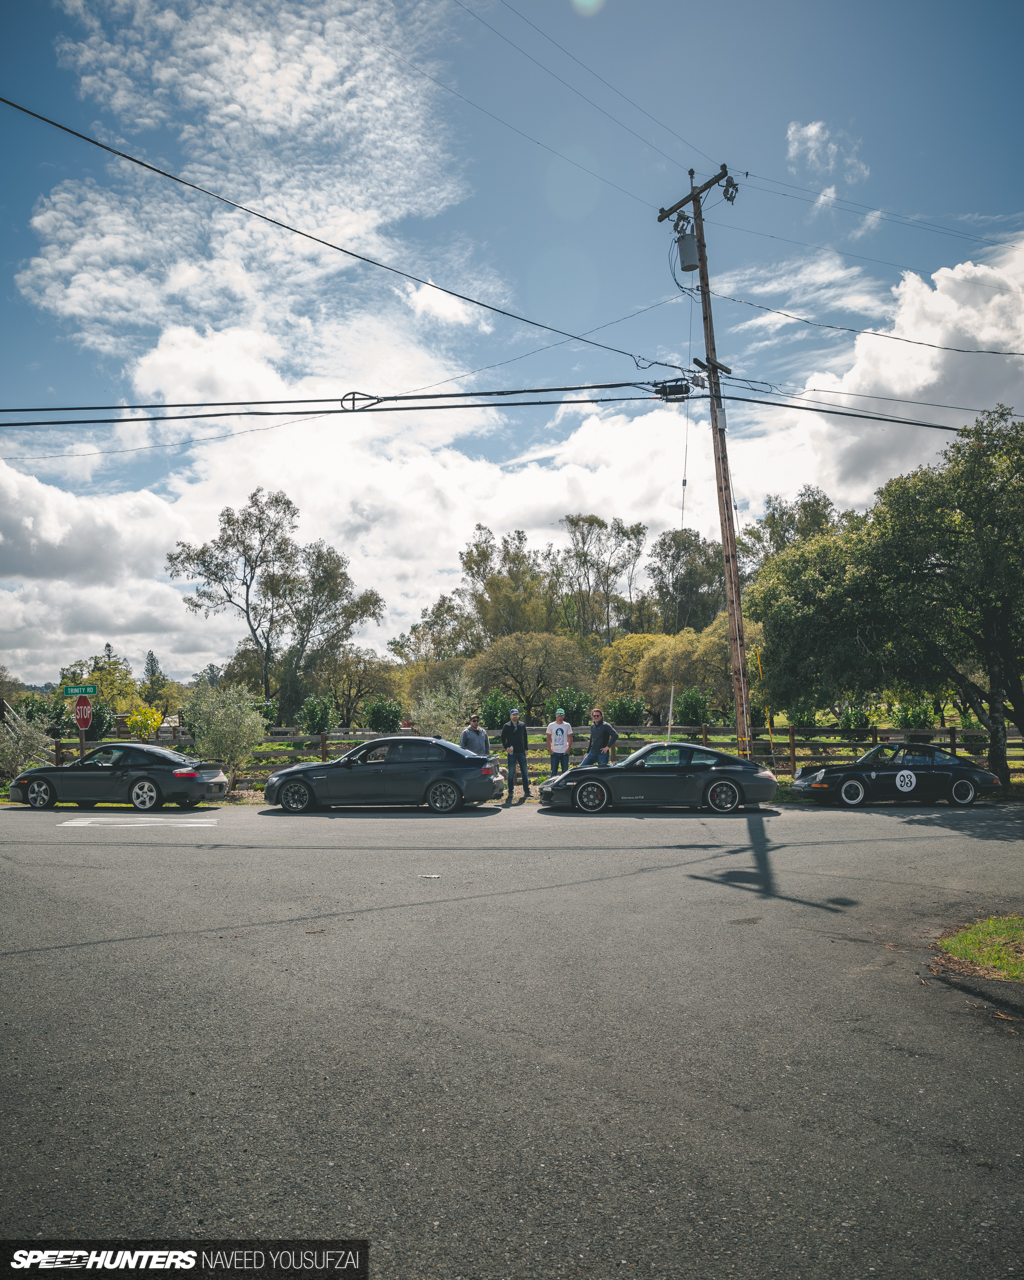
I’ve also managed to spend some good quality time with the car pre-pandemic, so we’ll touch base on some of that fun as well. I do ask that you guys excuse some of the cellphone photos in the story, as I sent my camera out for servicing during some of these update sessions. That aside, let’s get to it…
Pretty On The Outside

The details on any car can make or break the build, but in my case, the details – or lack thereof – definitely hurt the build.
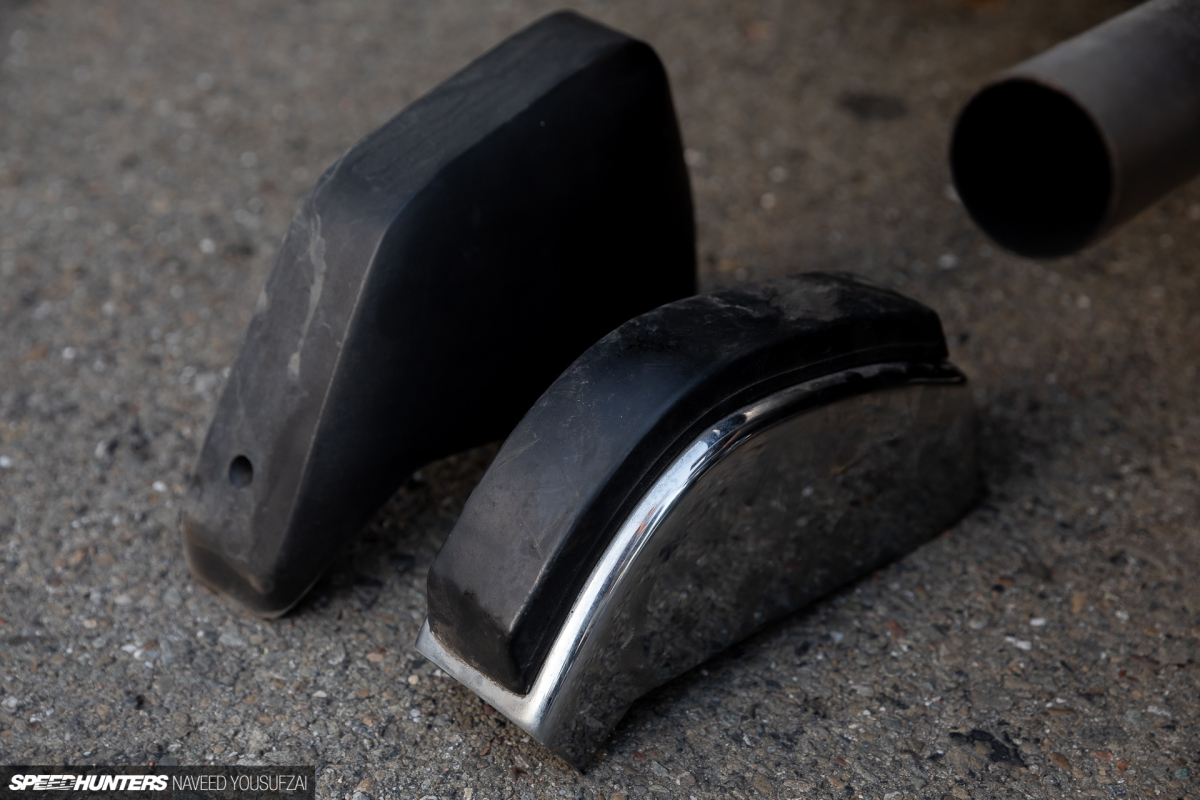
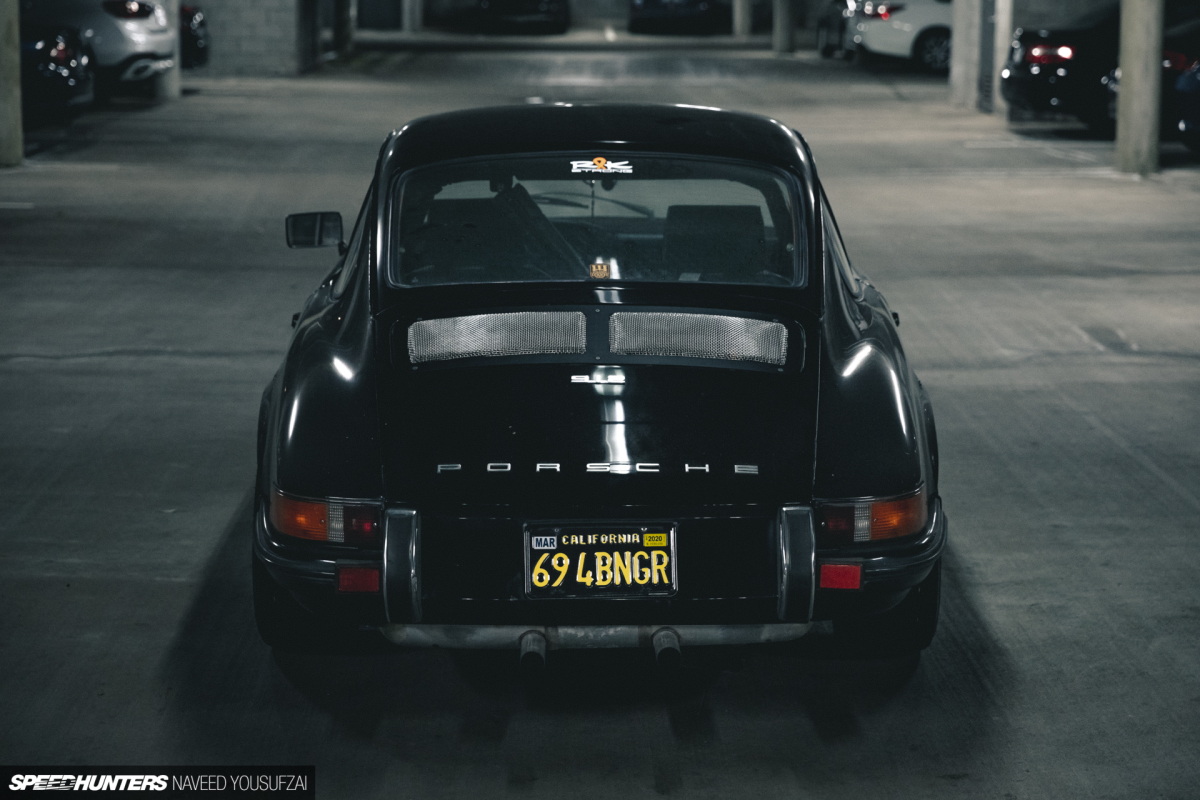
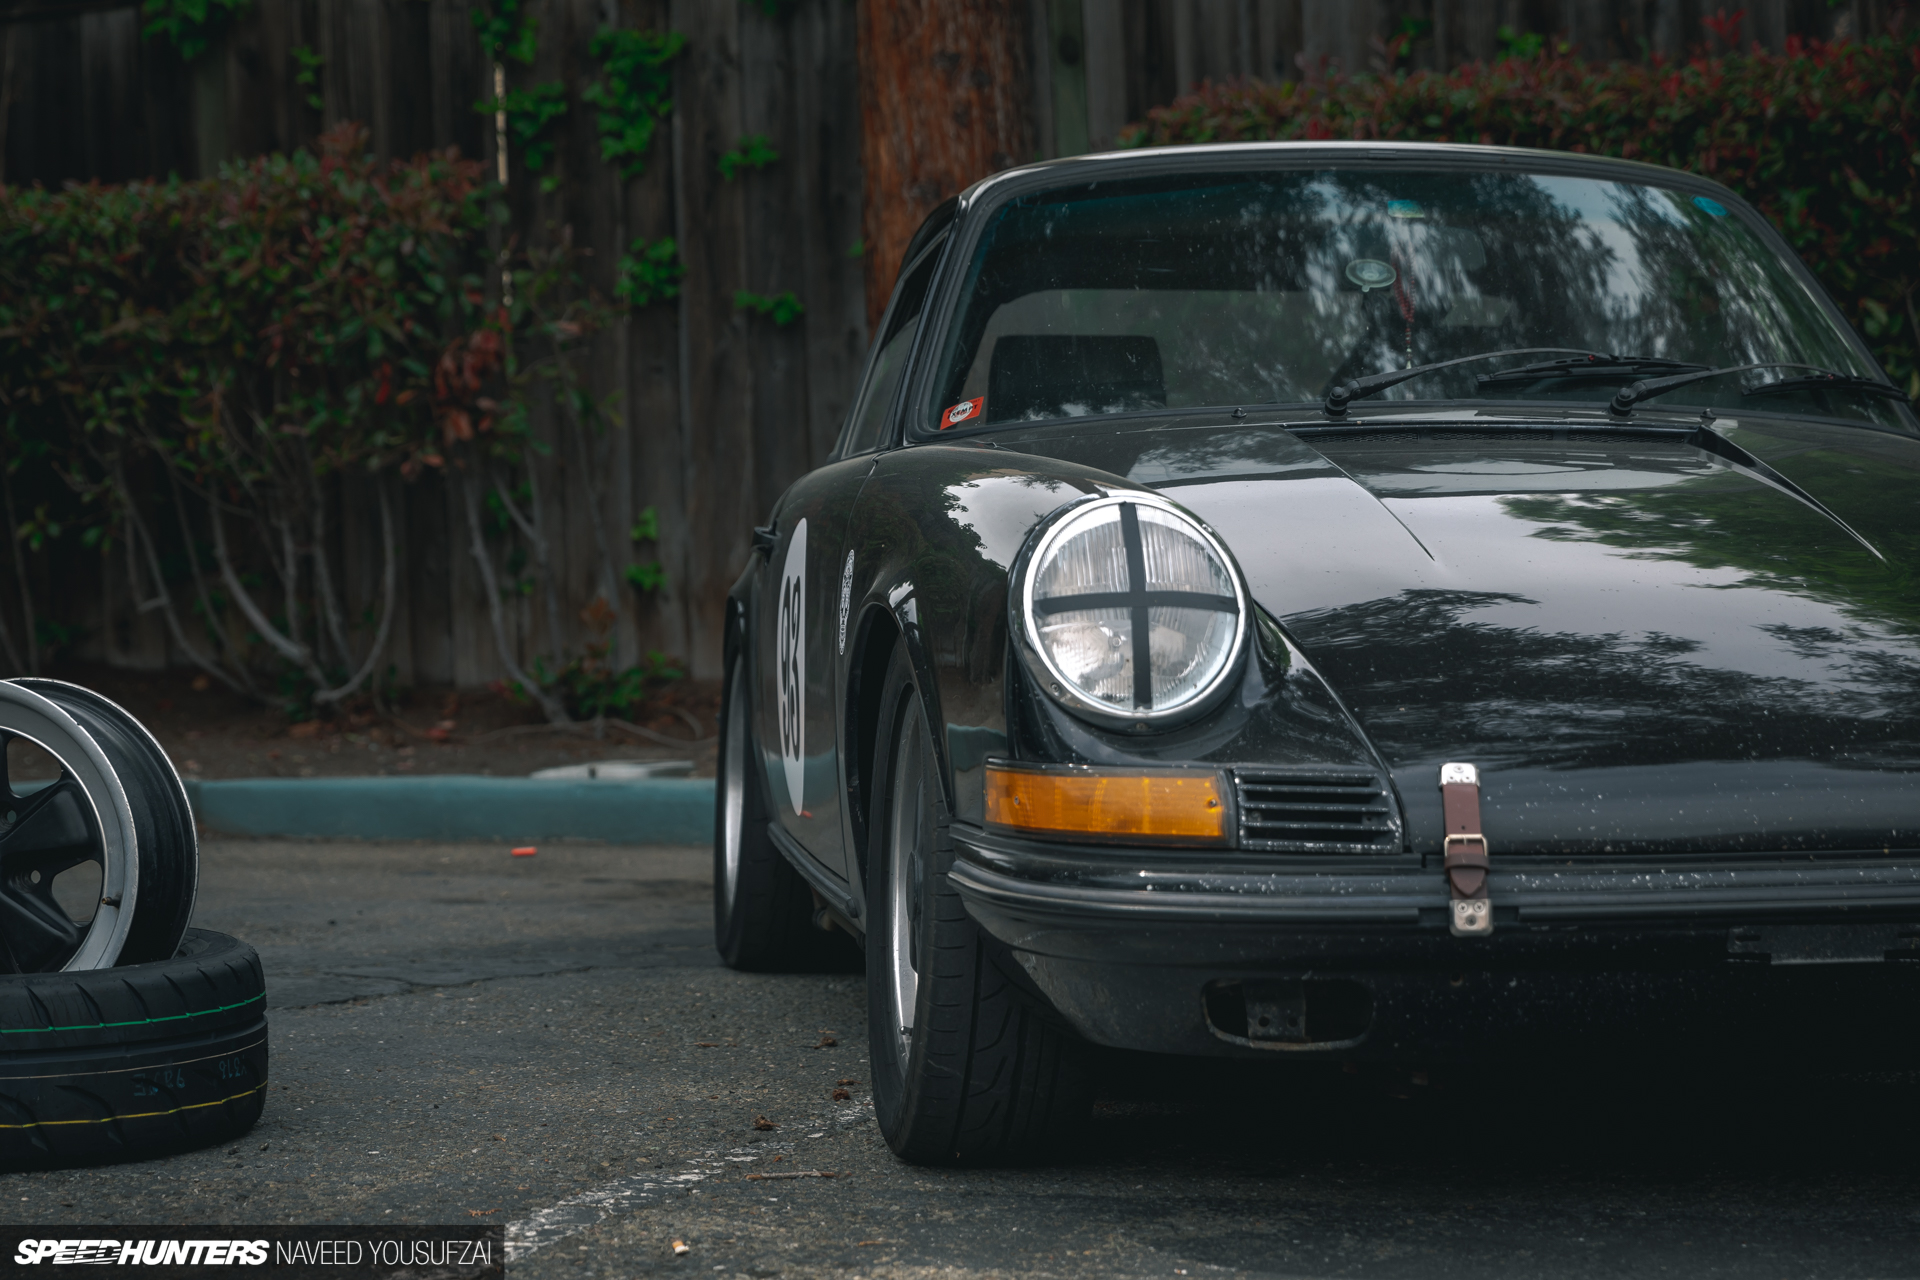
It’s a bit unfortunate that my car originally came with less desirable factory bits, but that doesn’t equate to having to leave them on. So I came up with a laundry list of items to attend to, starting with those god-awful US-spec bumperettes.
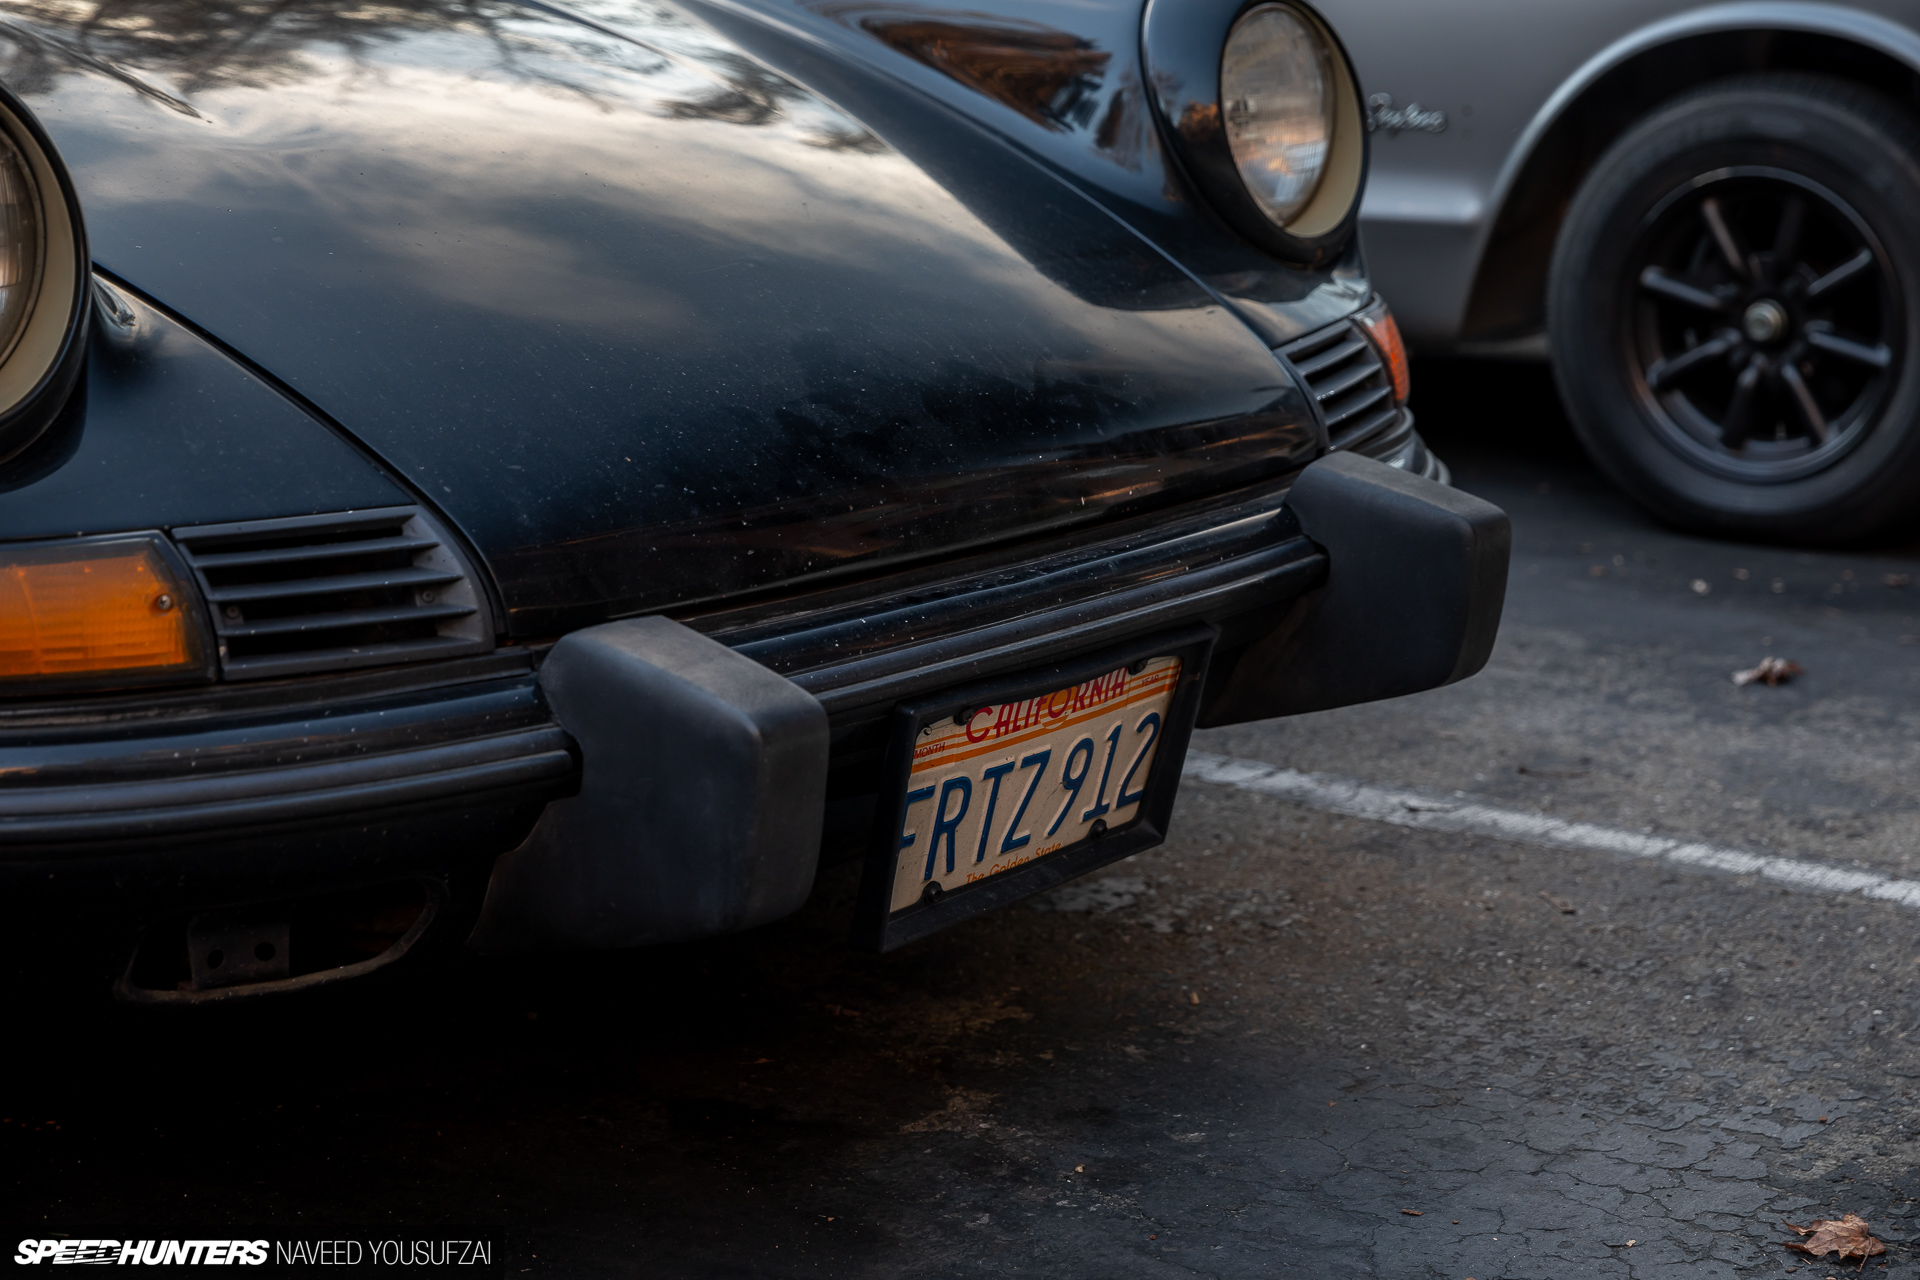
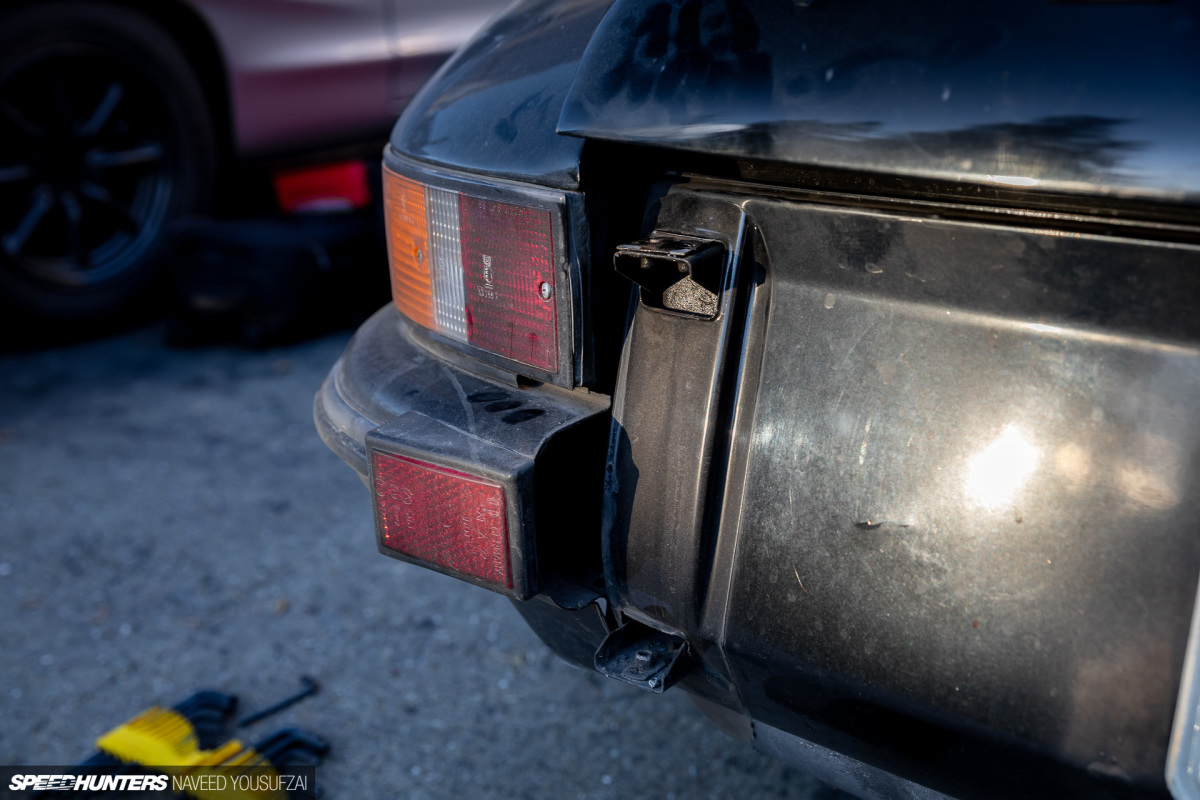


I had a few options to consider. The first one would be to opt for fiberglass bumpers front and rear, which I actually would have preferred over the approach I took. The reasoning is purely aesthetic preference, as the fiberglass bumpers give the car a more ‘shaved’ style appearance by removing the bumperettes in addition to the trim pieces around the bumpers. But because this project’s ethos was building a ‘budget race car for the street’, I decided to get creative and make do with what I had to work with.
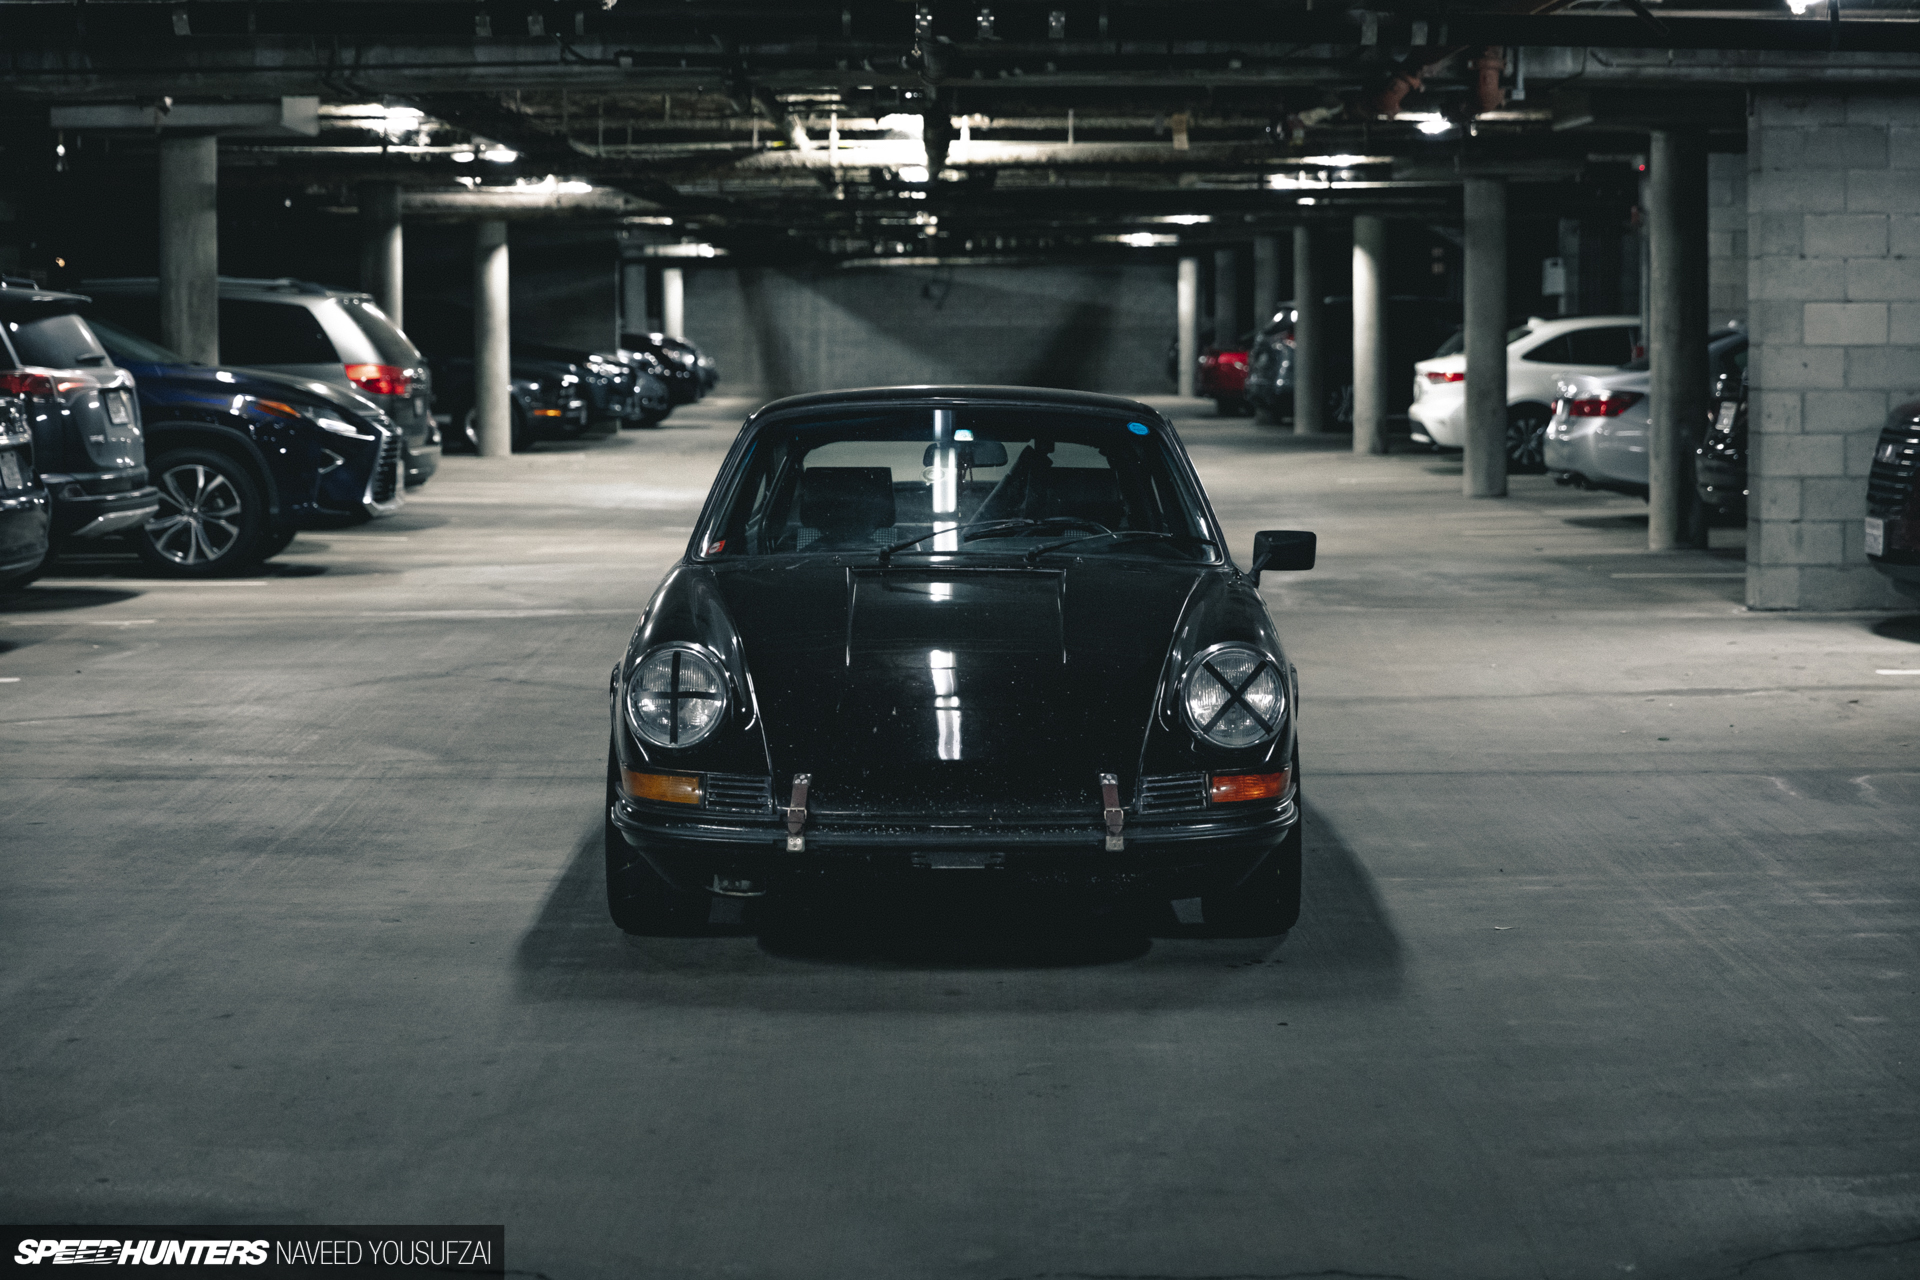
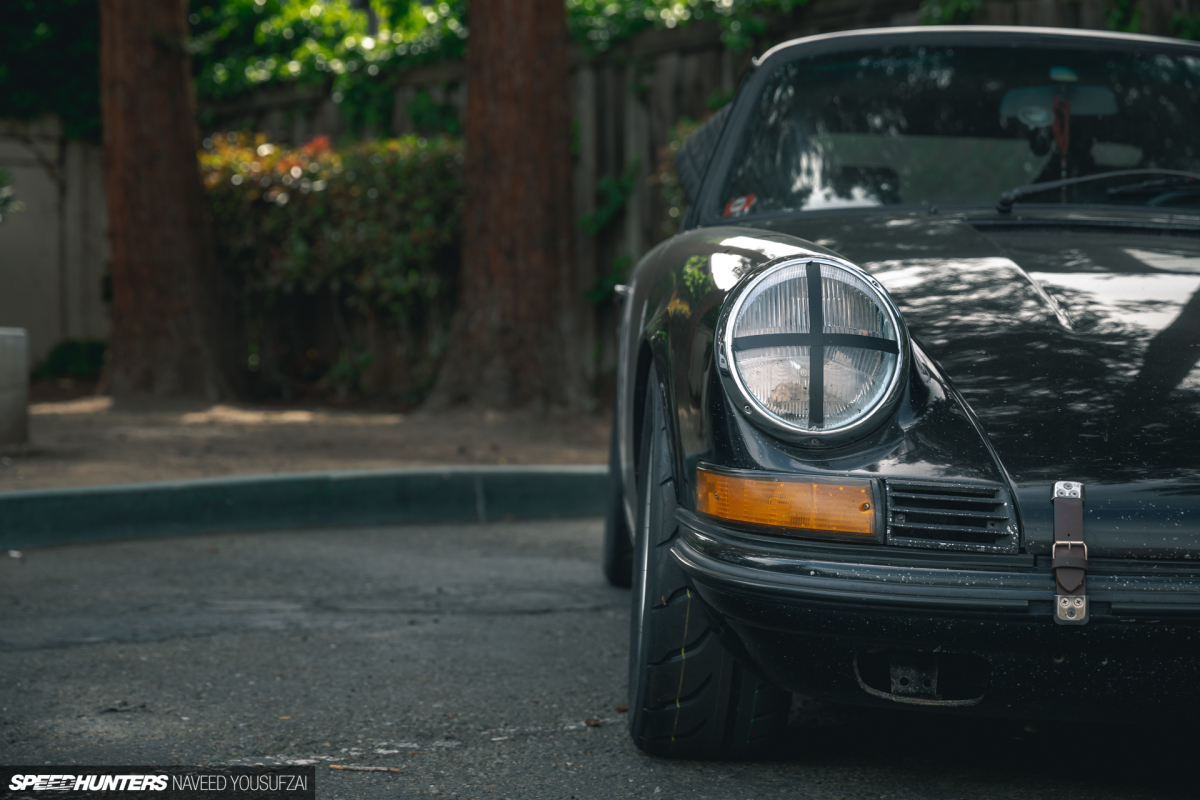
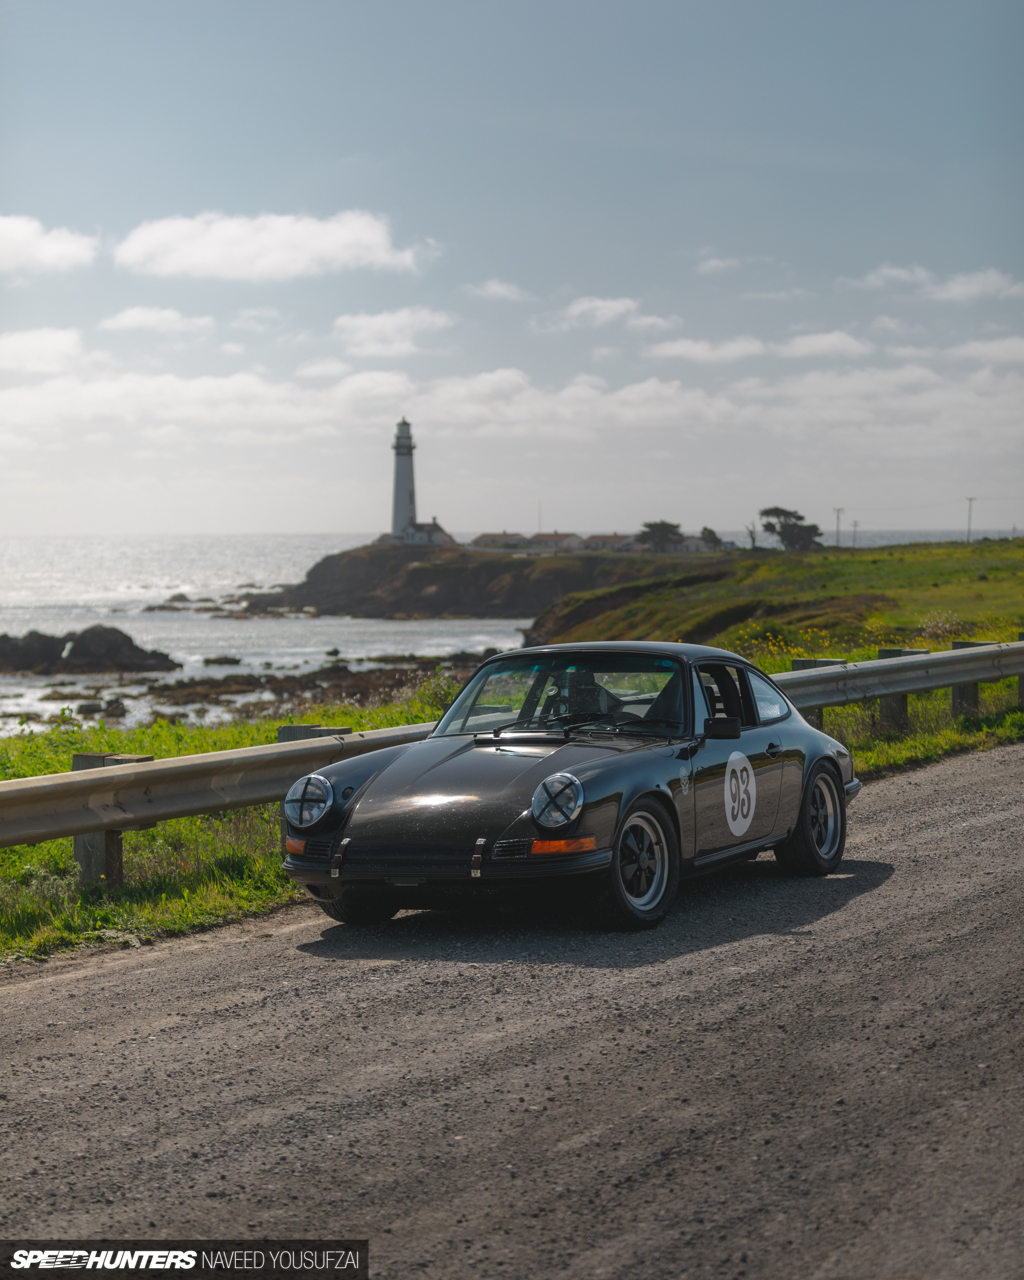
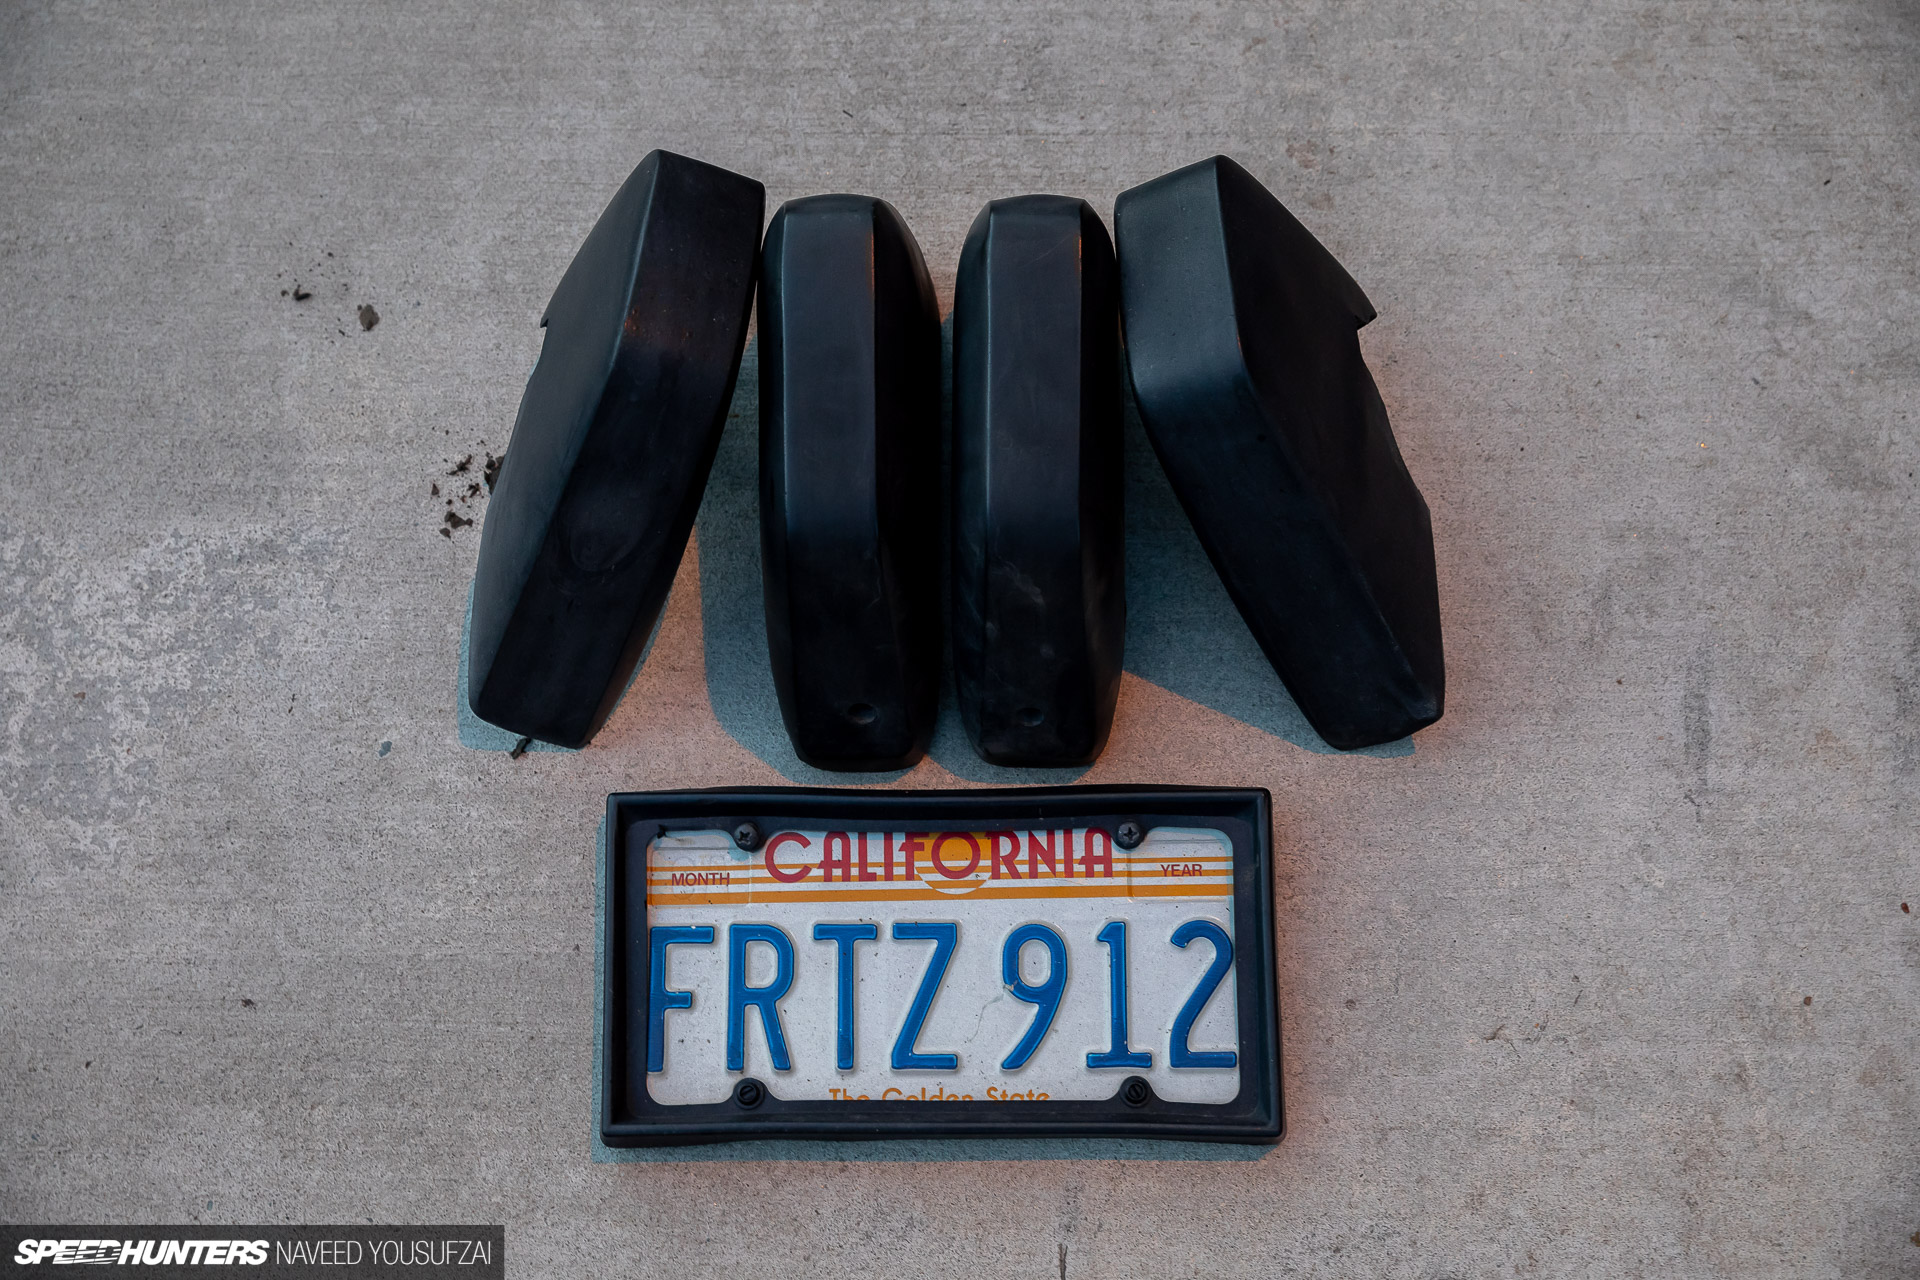
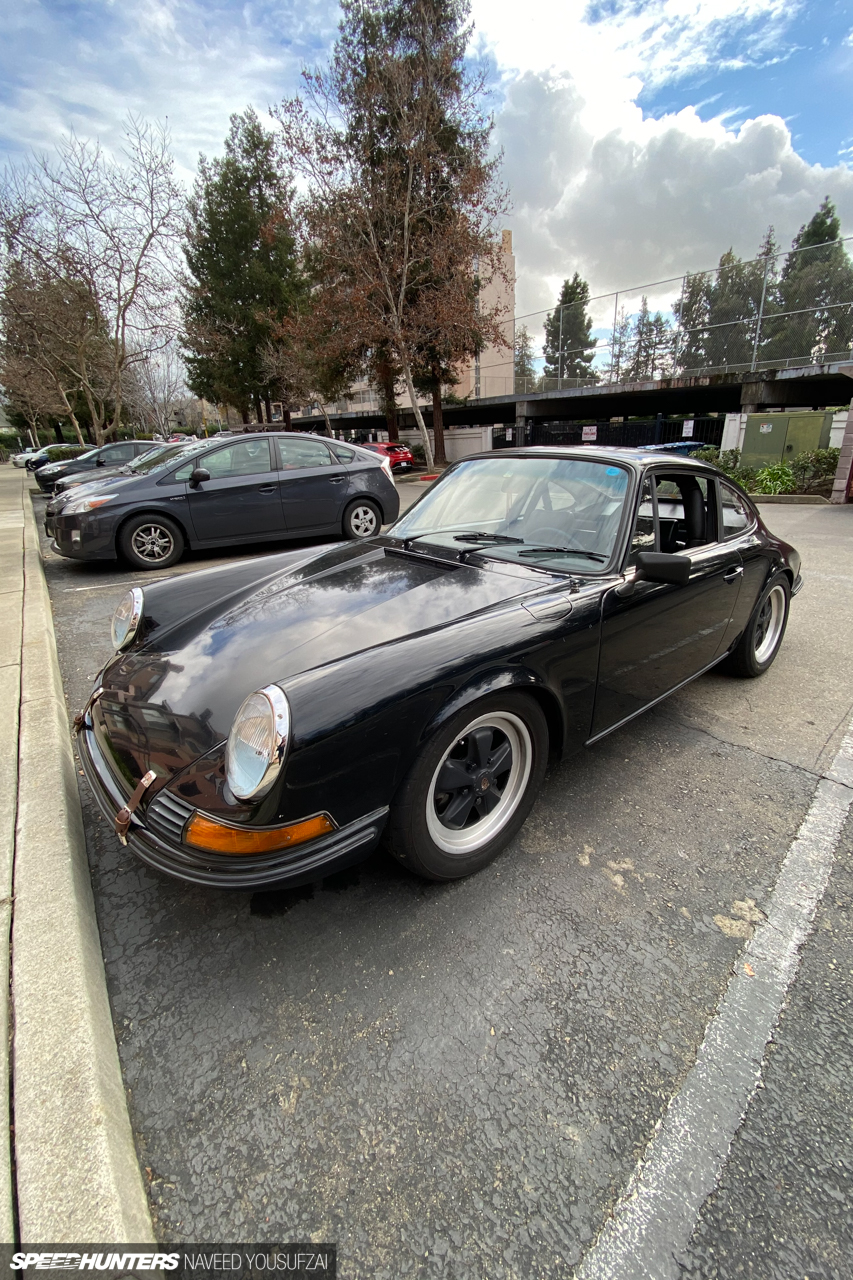
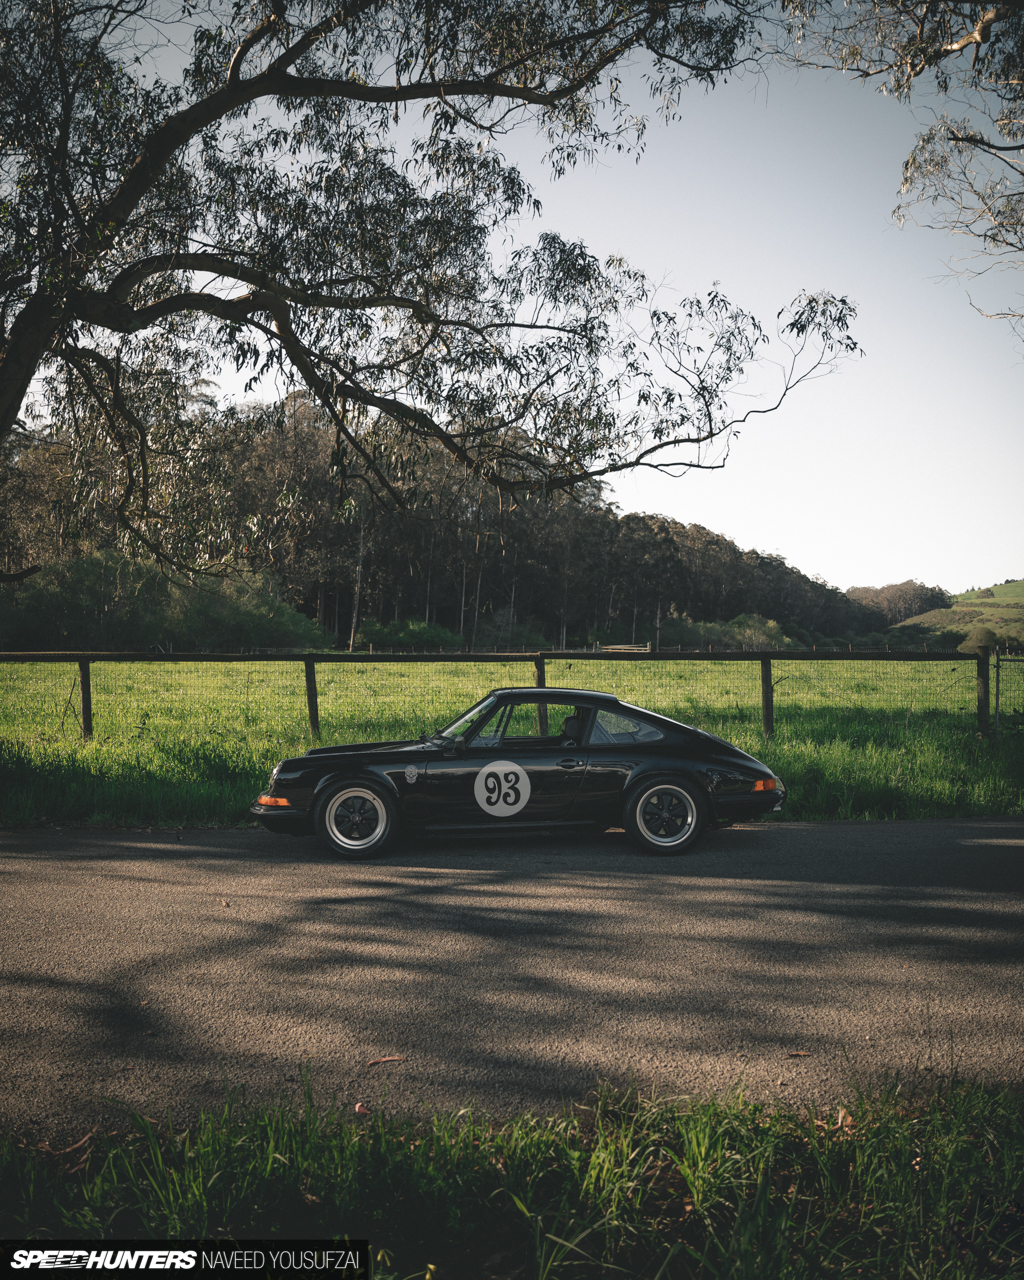
I sourced a second-hand set of Euro rear bumperettes, and completely removed the front ones along with the front license plate.
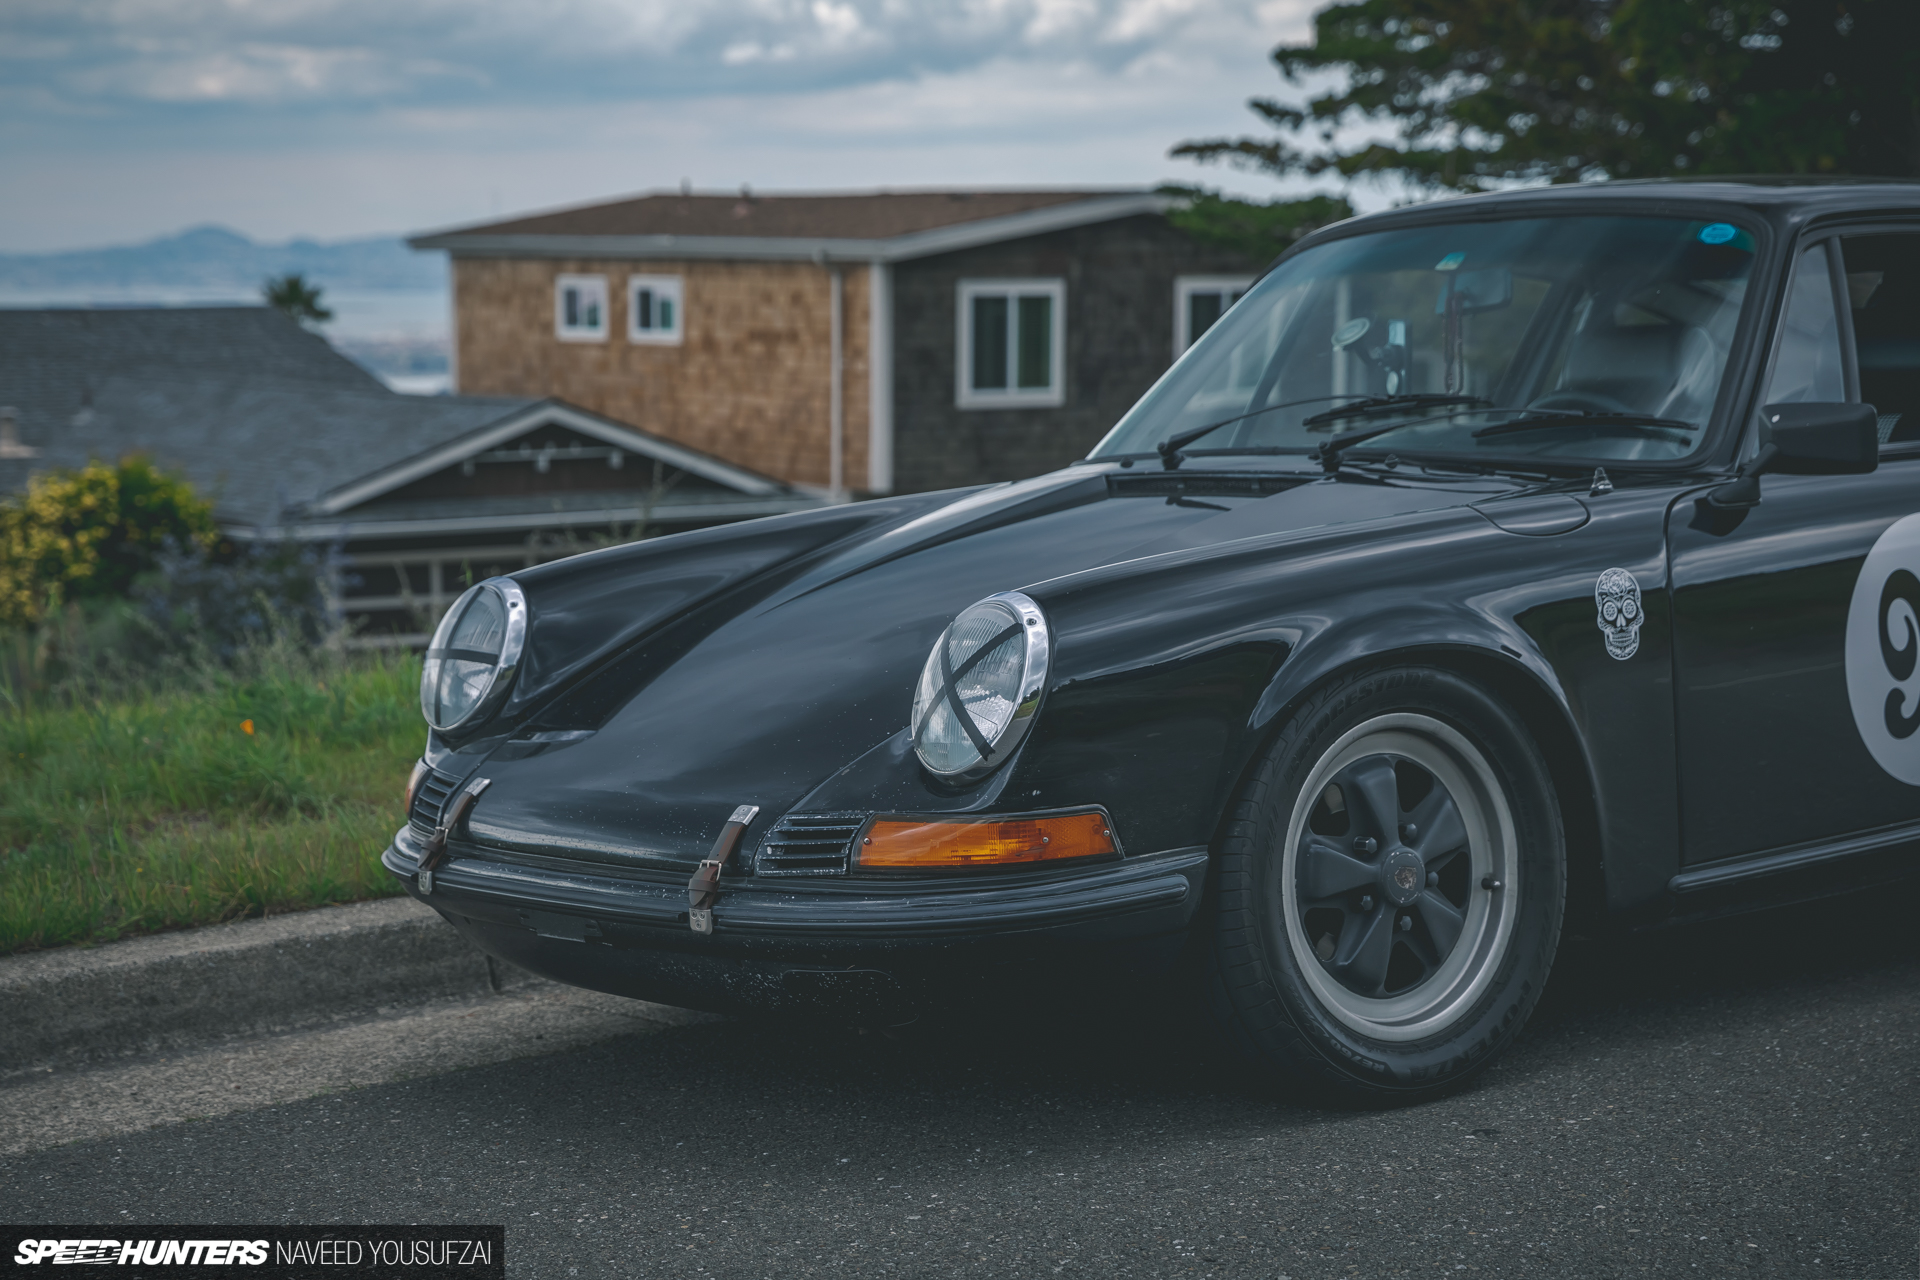
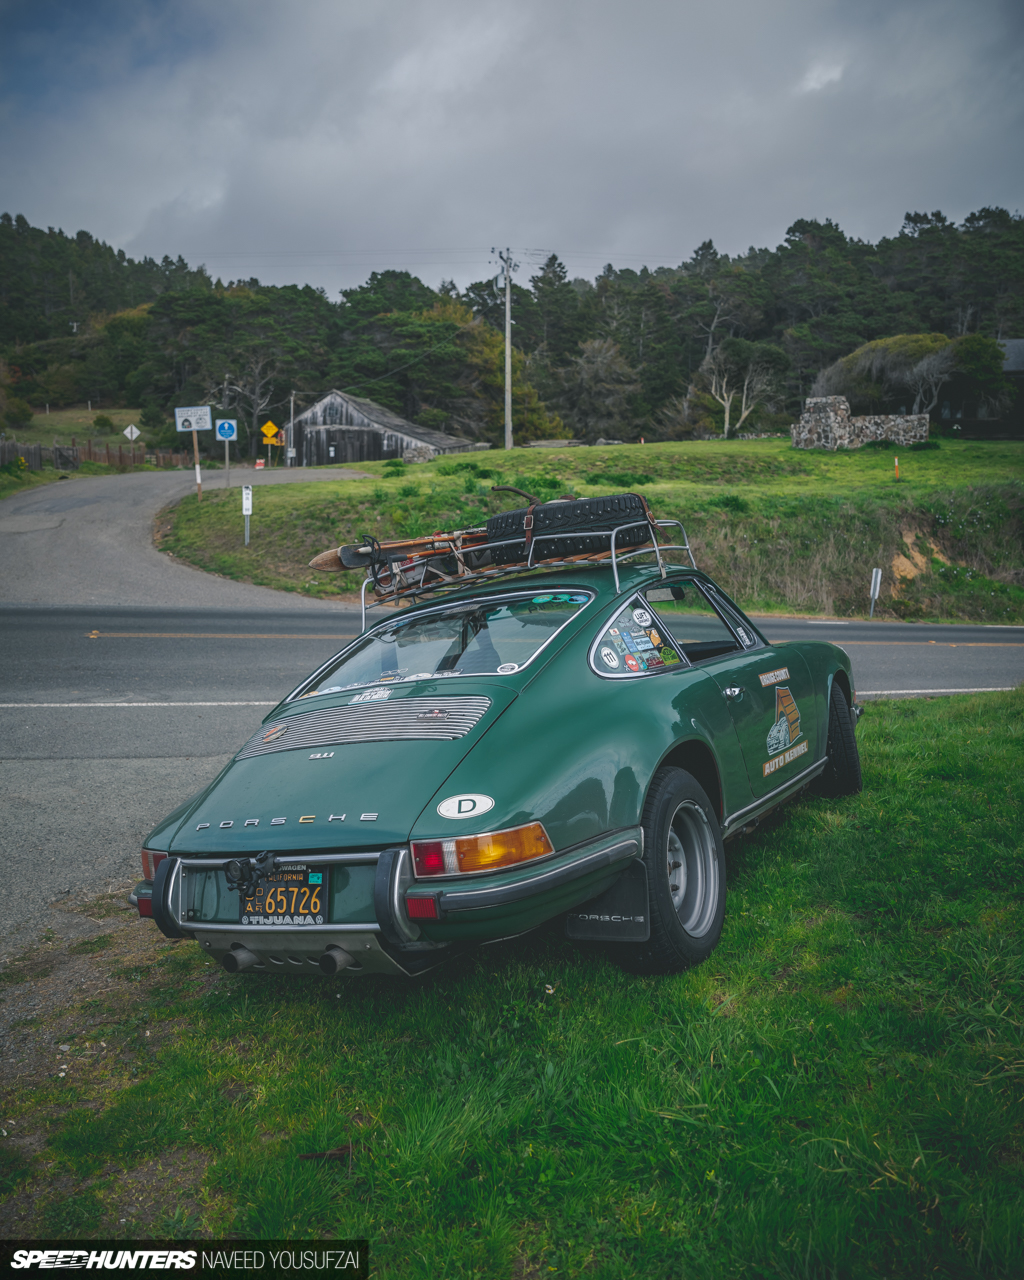
Alas, while on the hunt for parts I happened to come across a set of leather hood straps that are typically used on the earlier model 356s. I couldn’t argue the $20 asking price, and figured they’d fit nicely in place of the bumperette gaps. It was a risky move to say the least, as most people typically go with rubber pull knobs on the front hood, but this car was already shaping up to be a mutt, mixed with an assortment of various 911 race-car-esque bits, so why the hell not, right?
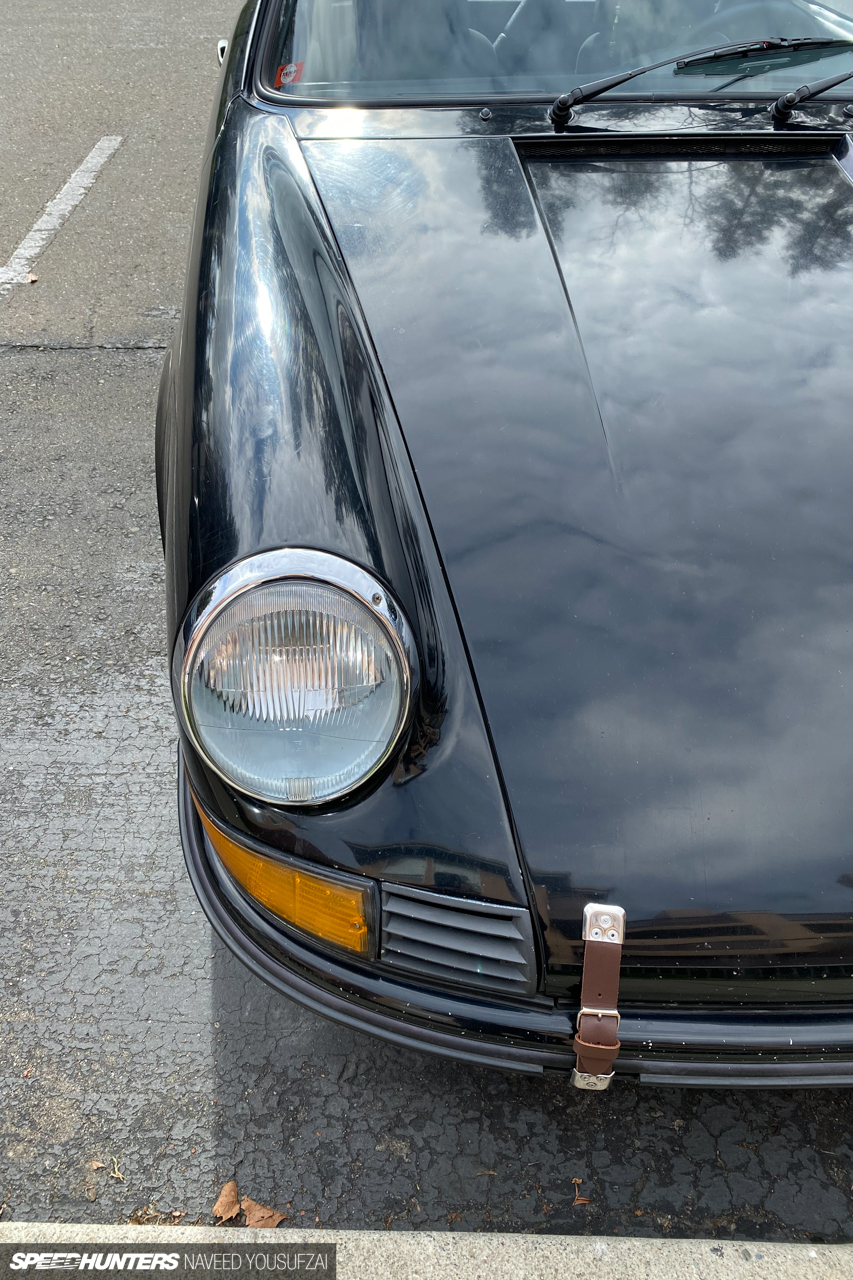
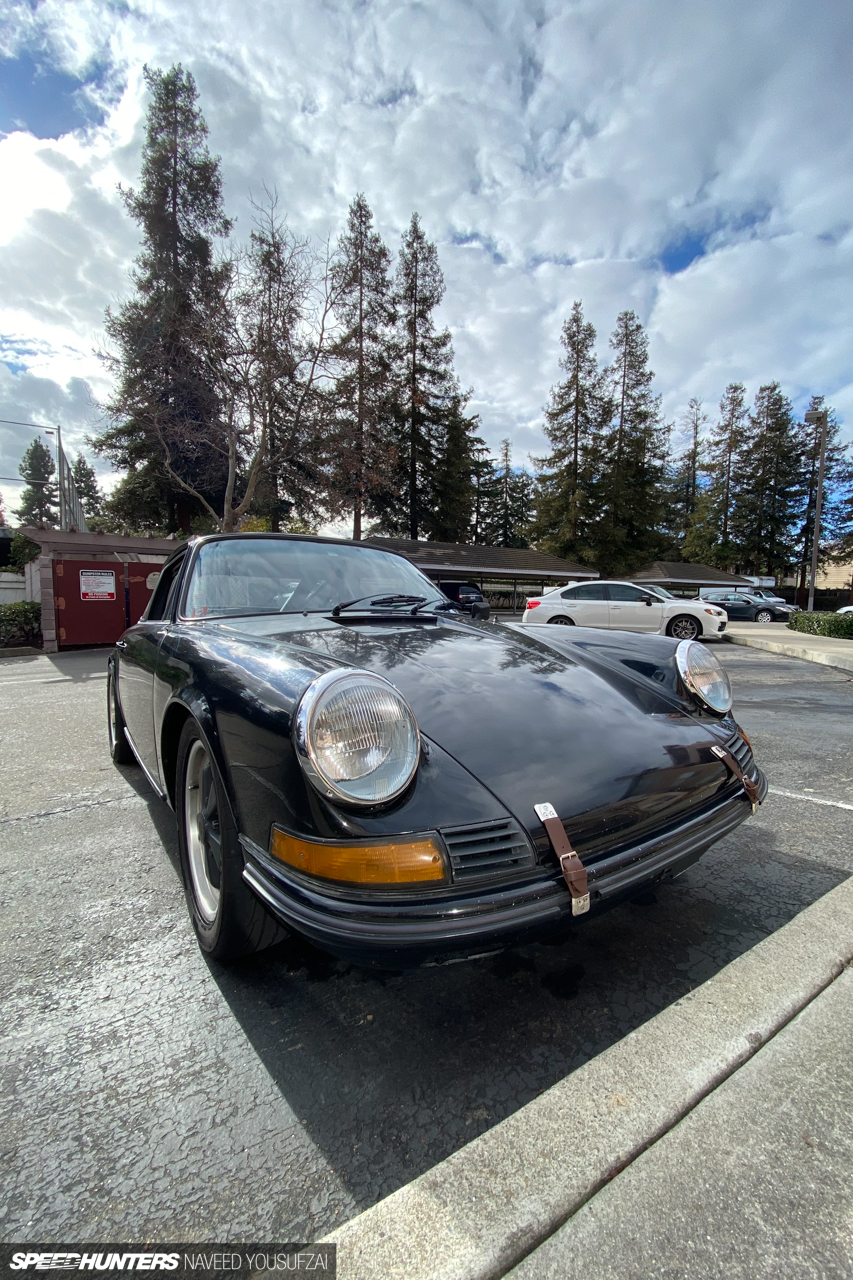

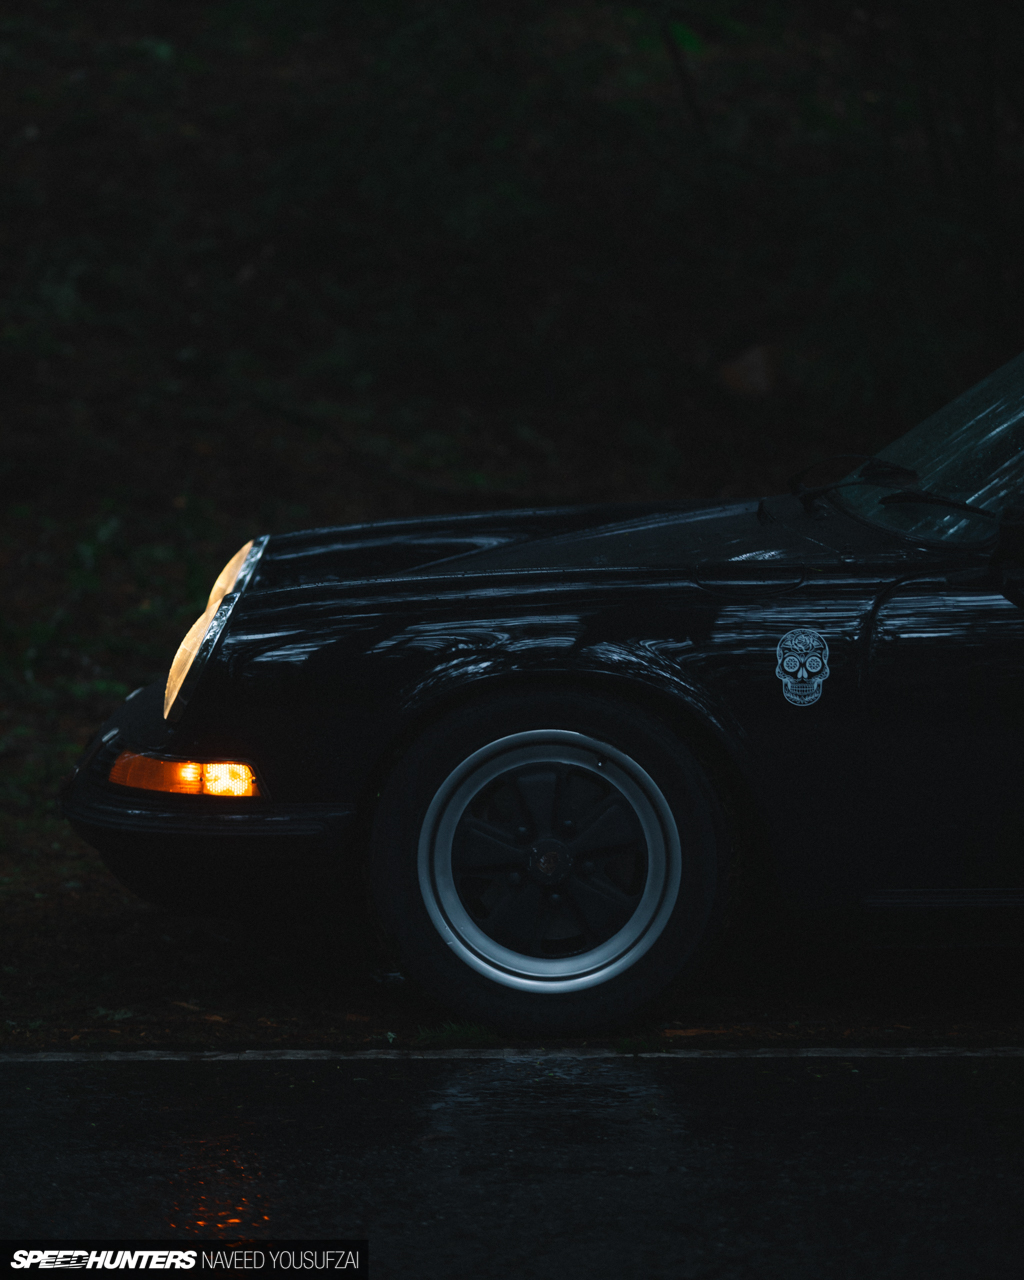
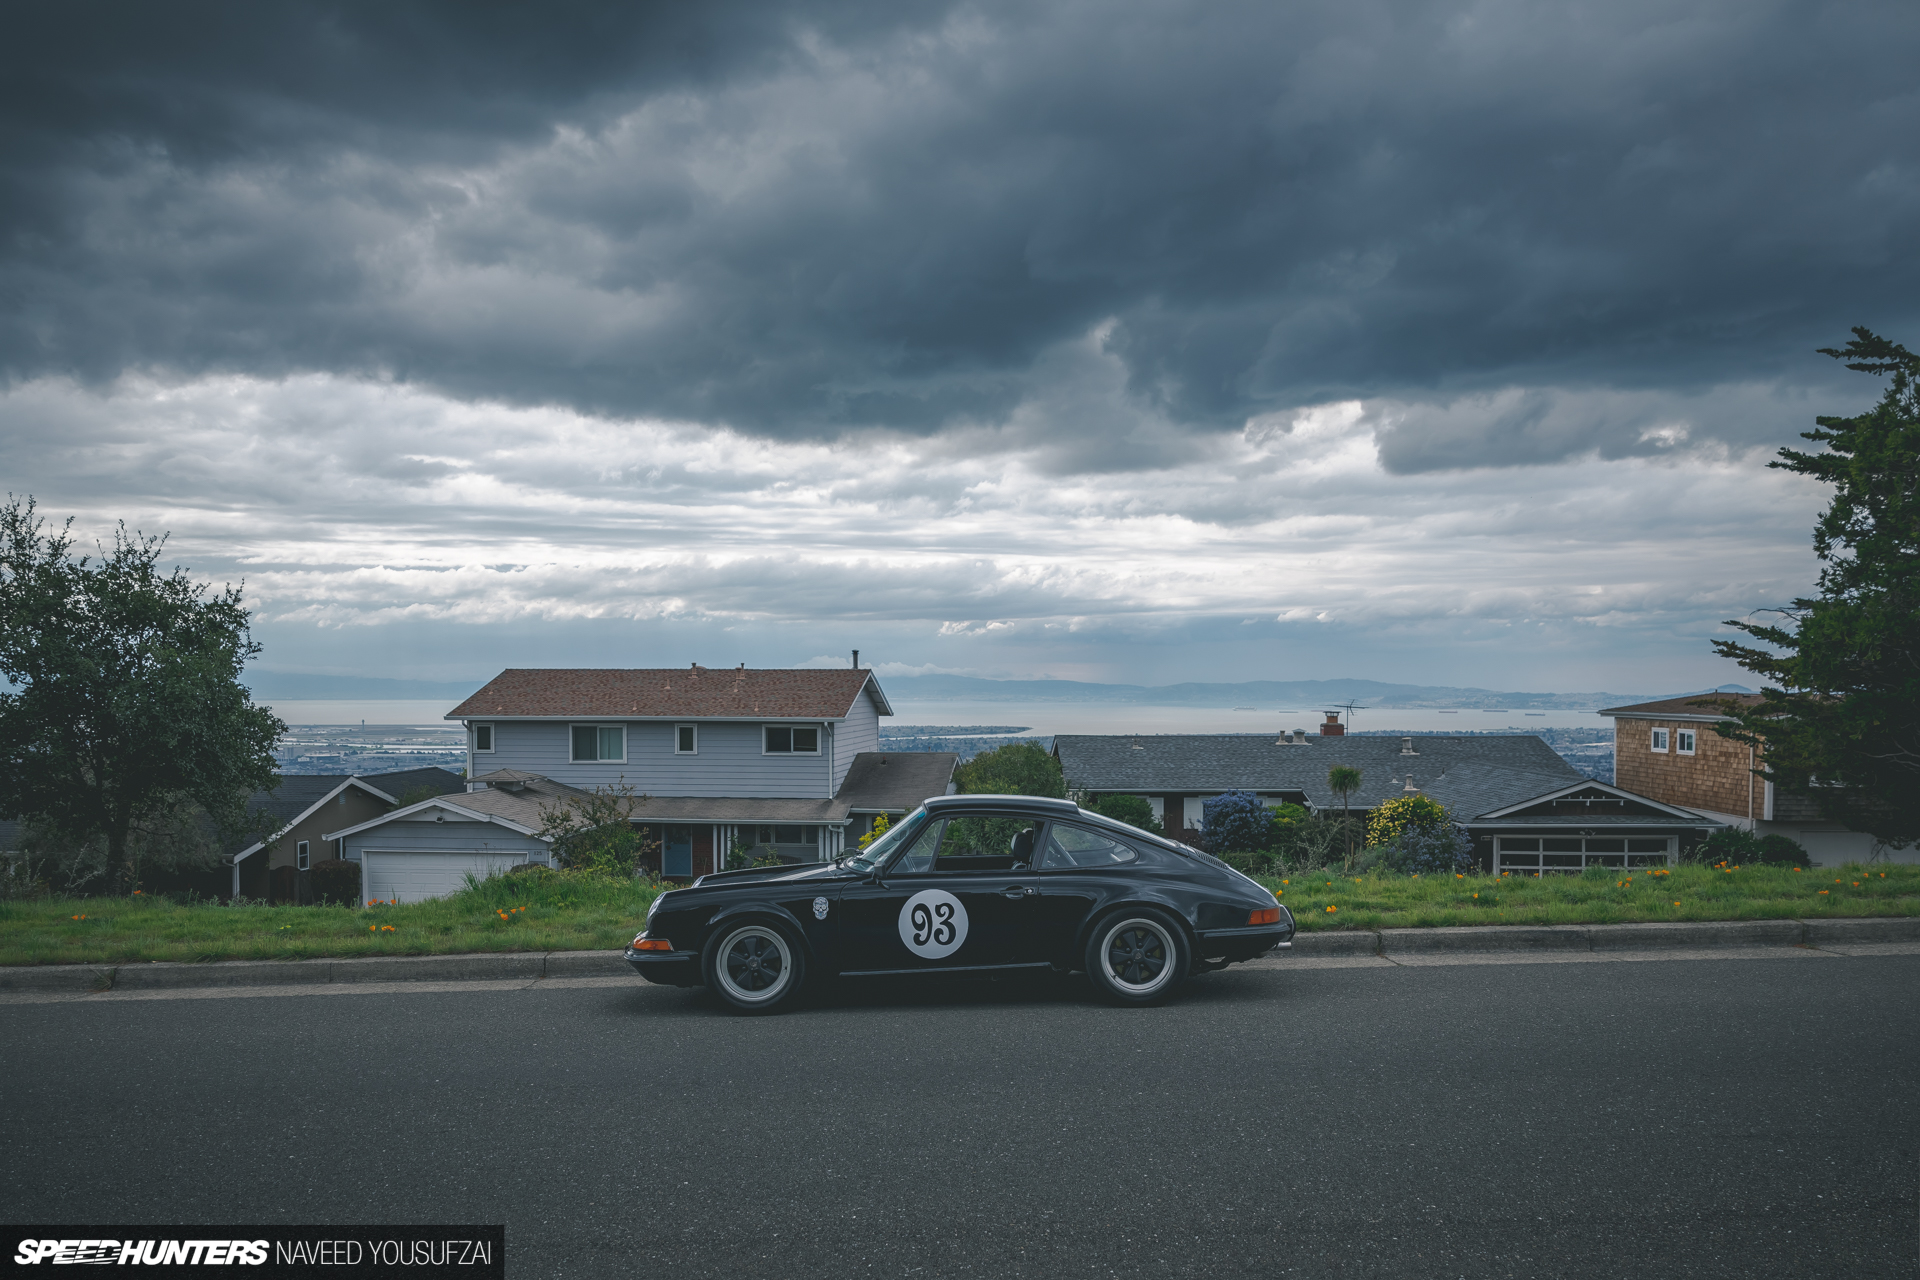
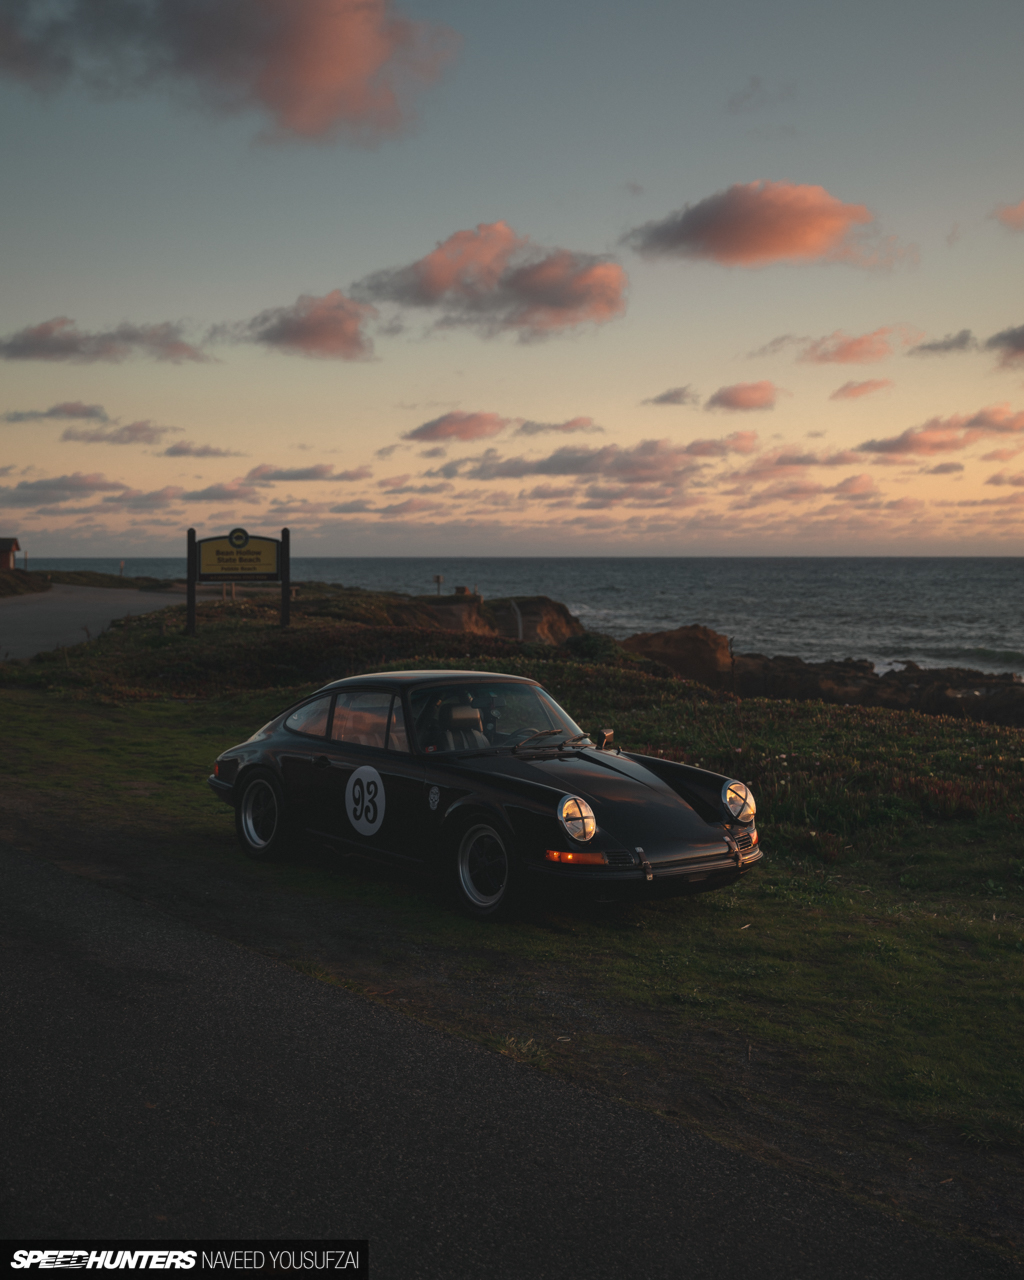
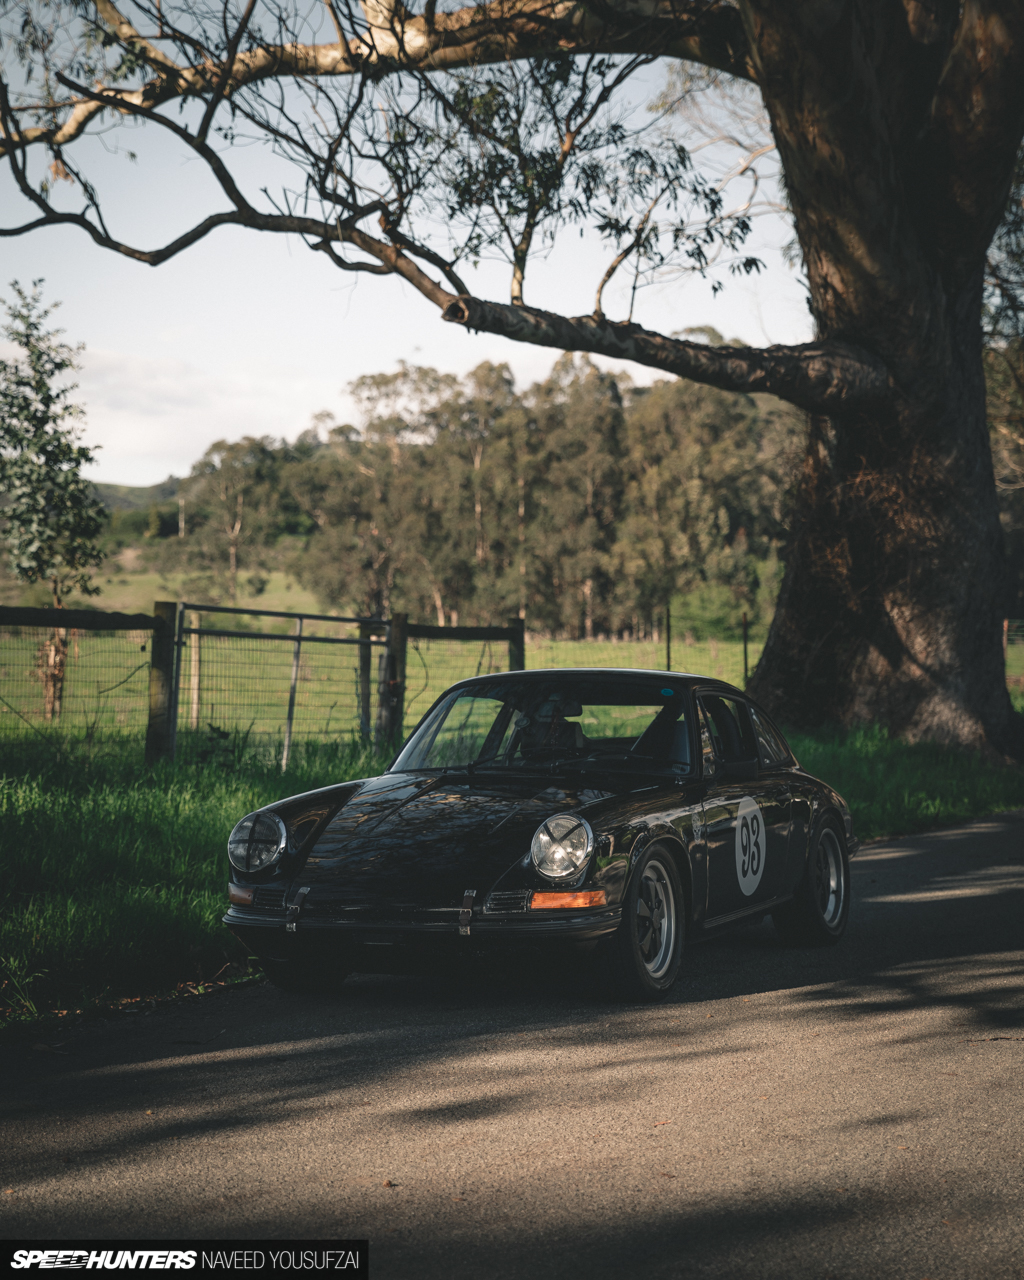
Next on the list was ridding the infamous ‘sugar scoop’ headlights. These headlights again were more common on the US cars, but for some odd reason many people seem to prefer them over the typical Euro H4s. Why that might be is well beyond any reasoning I can think of since they’re hideous (in my opinion), but nevertheless, they had to go. So I scavenged around, asking a few friends who love to hoard extra parts for their own builds, and scored a set of Euro short-wheel-base H4 headlights. And as subjective as this may be, I think they’ve completely changed the look of the car’s front end.
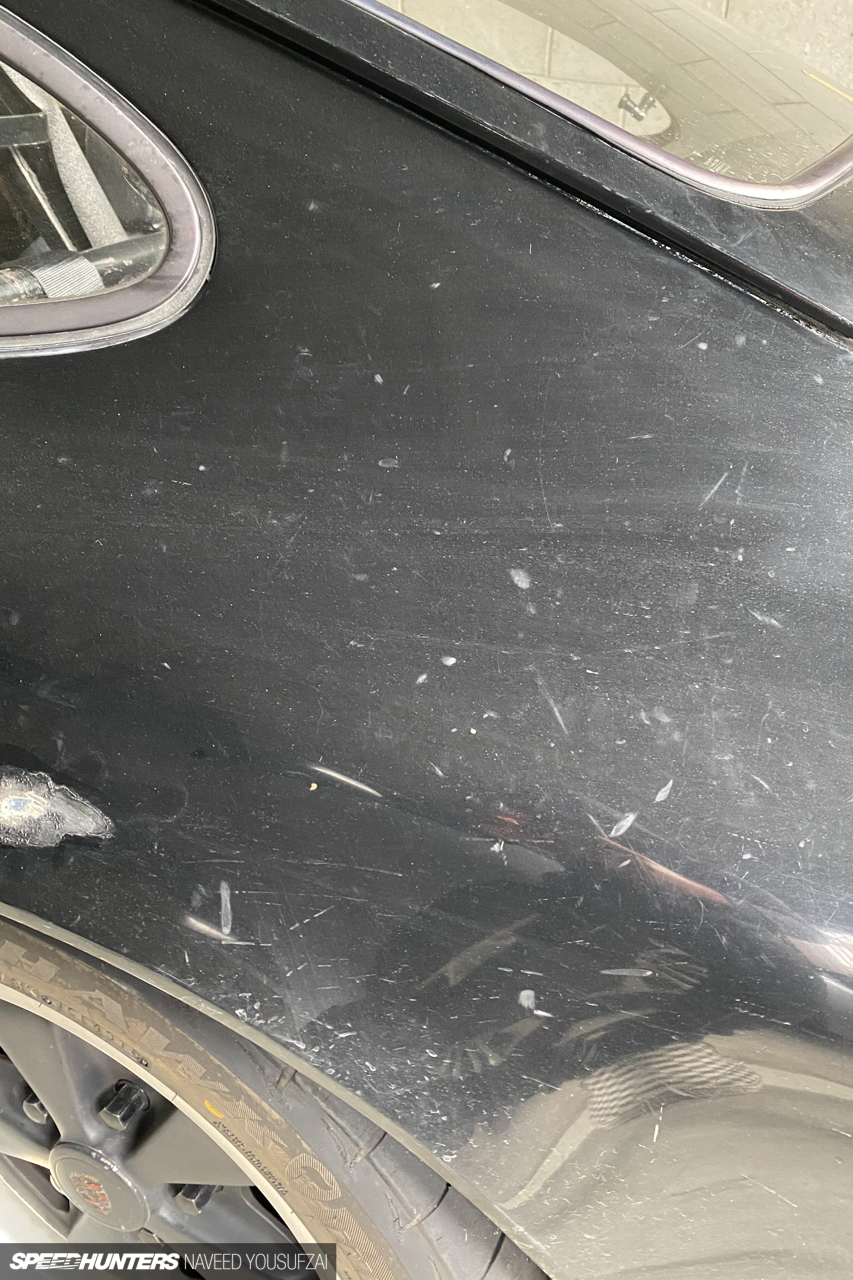
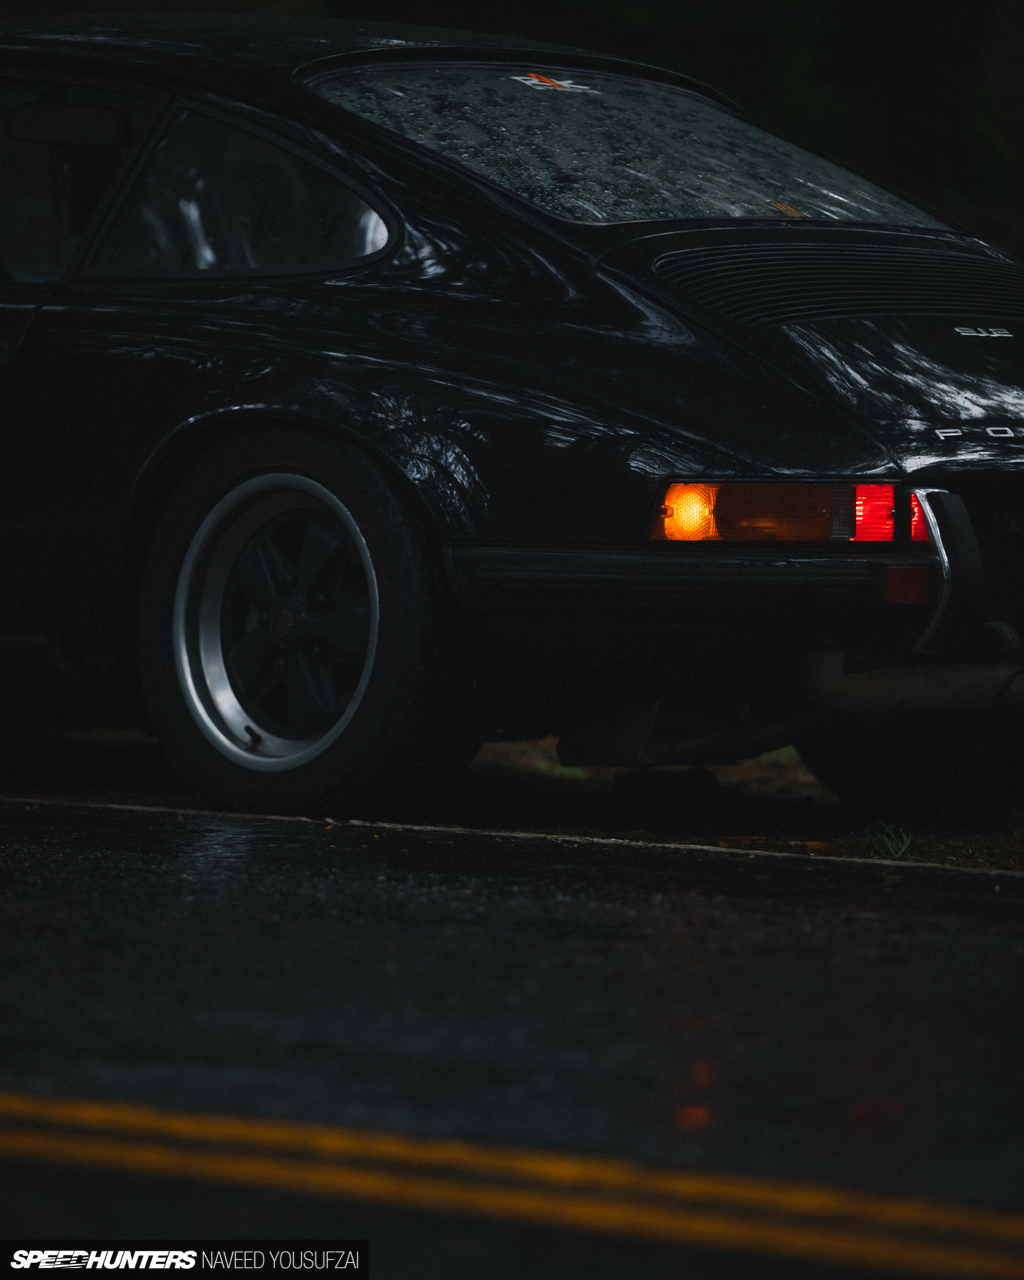
Next up on the exterior details list was actually getting a proper detail for the car. Up until now, though you might not have been able to see it in some of the older photos thanks to my trusty old circular polarizer, the paint was absolutely pitted. There were deep scratches all over the bodywork, and as we know, black paint loves to show off all of your flaws. But since the car had gone through some form of restoration back in the ’80s, I knew it should be savable.
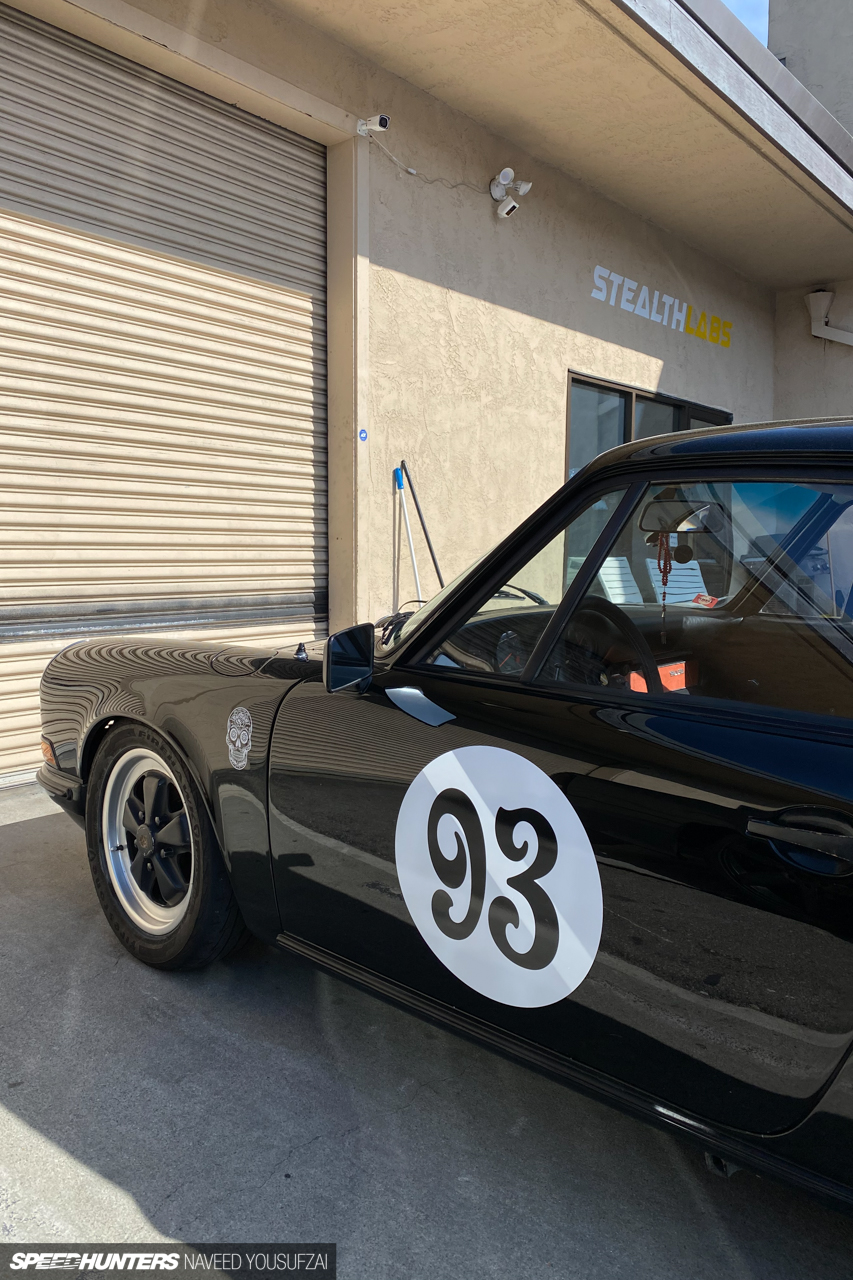
So I hit up one of my friends, Ebraheem, owner of Stealth Labs in Belmont, California and asked him to work his magic on saving what was left of the 30-plus-year-old paint. He happily obliged, and the results couldn’t have been better. His paint meter measured an absurdly high amount of paint to work with, but that also meant a decent cut and buff would do the car justice.
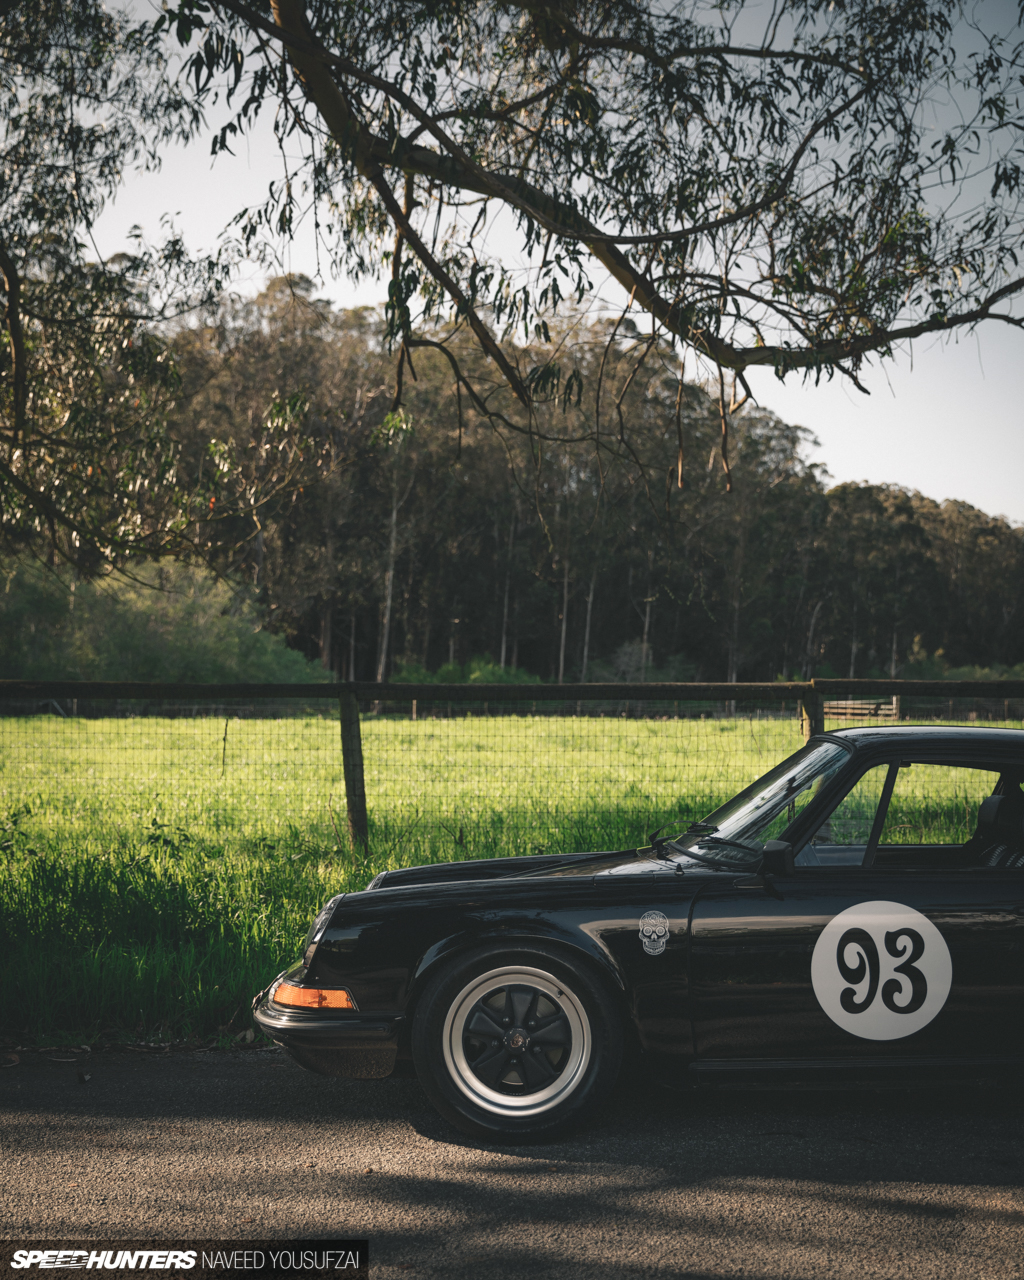
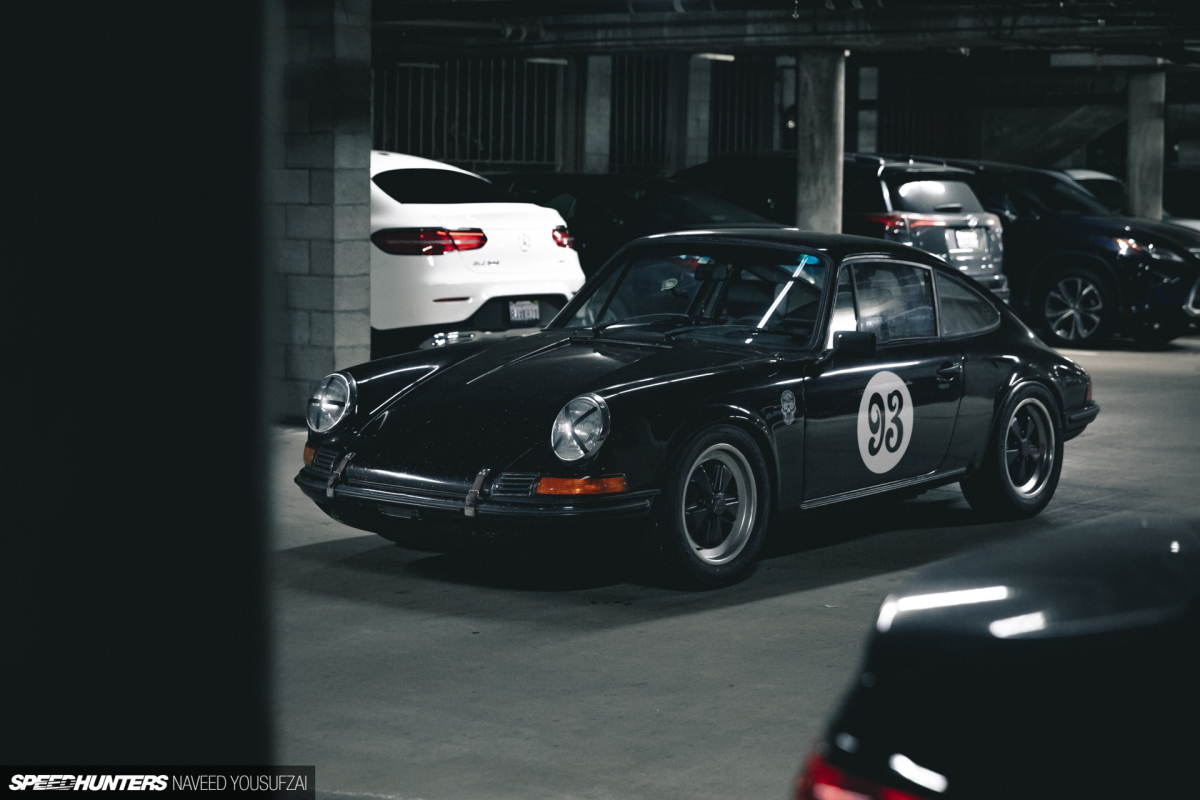
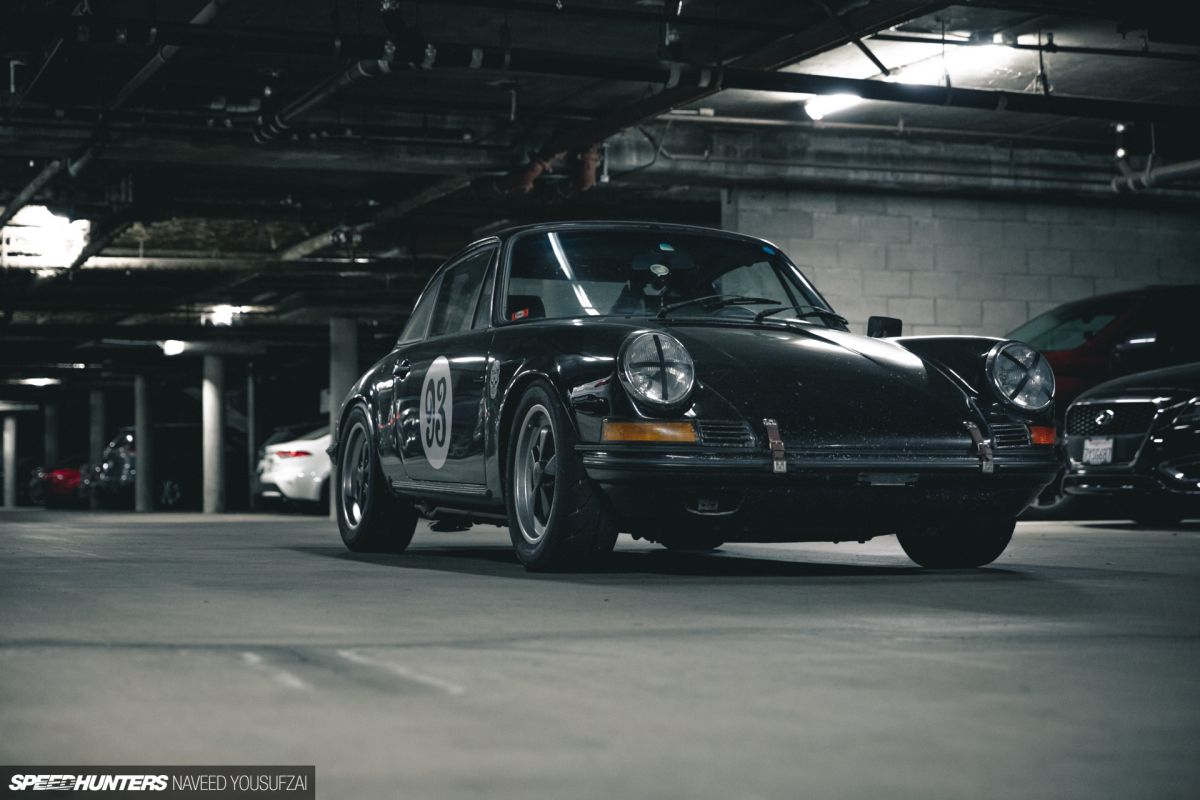
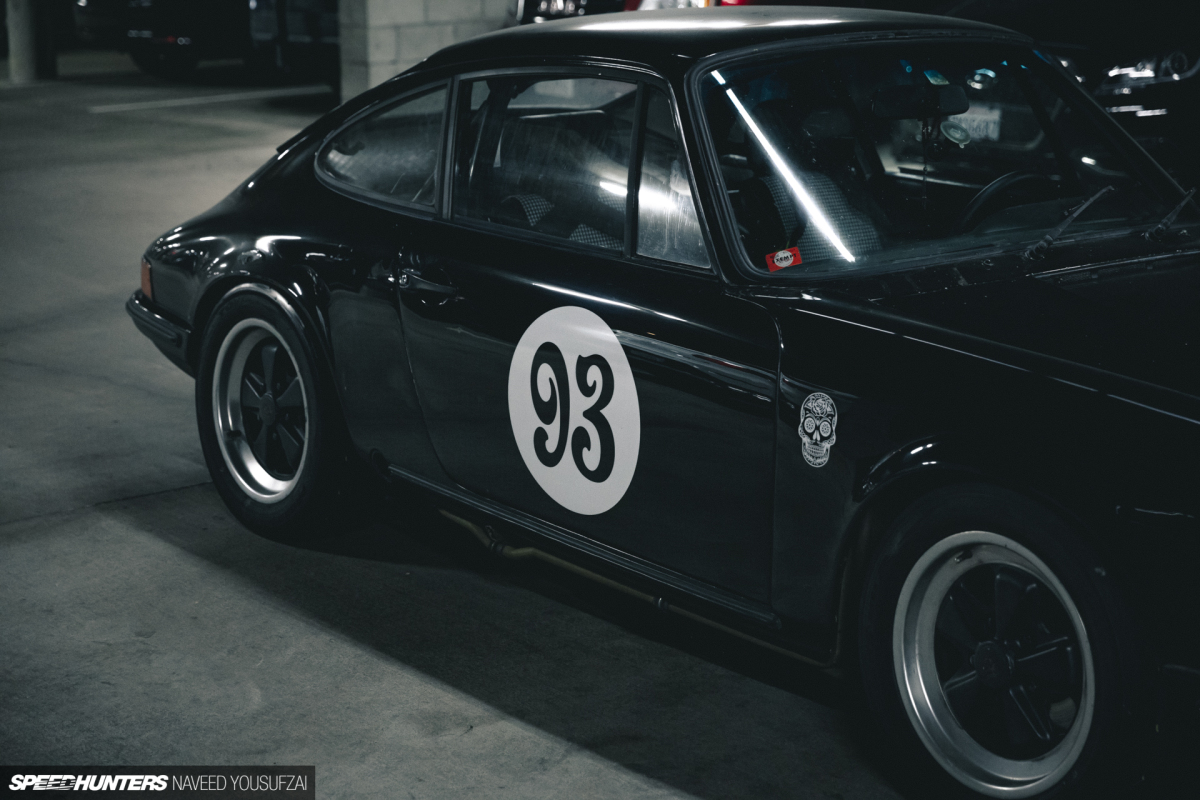
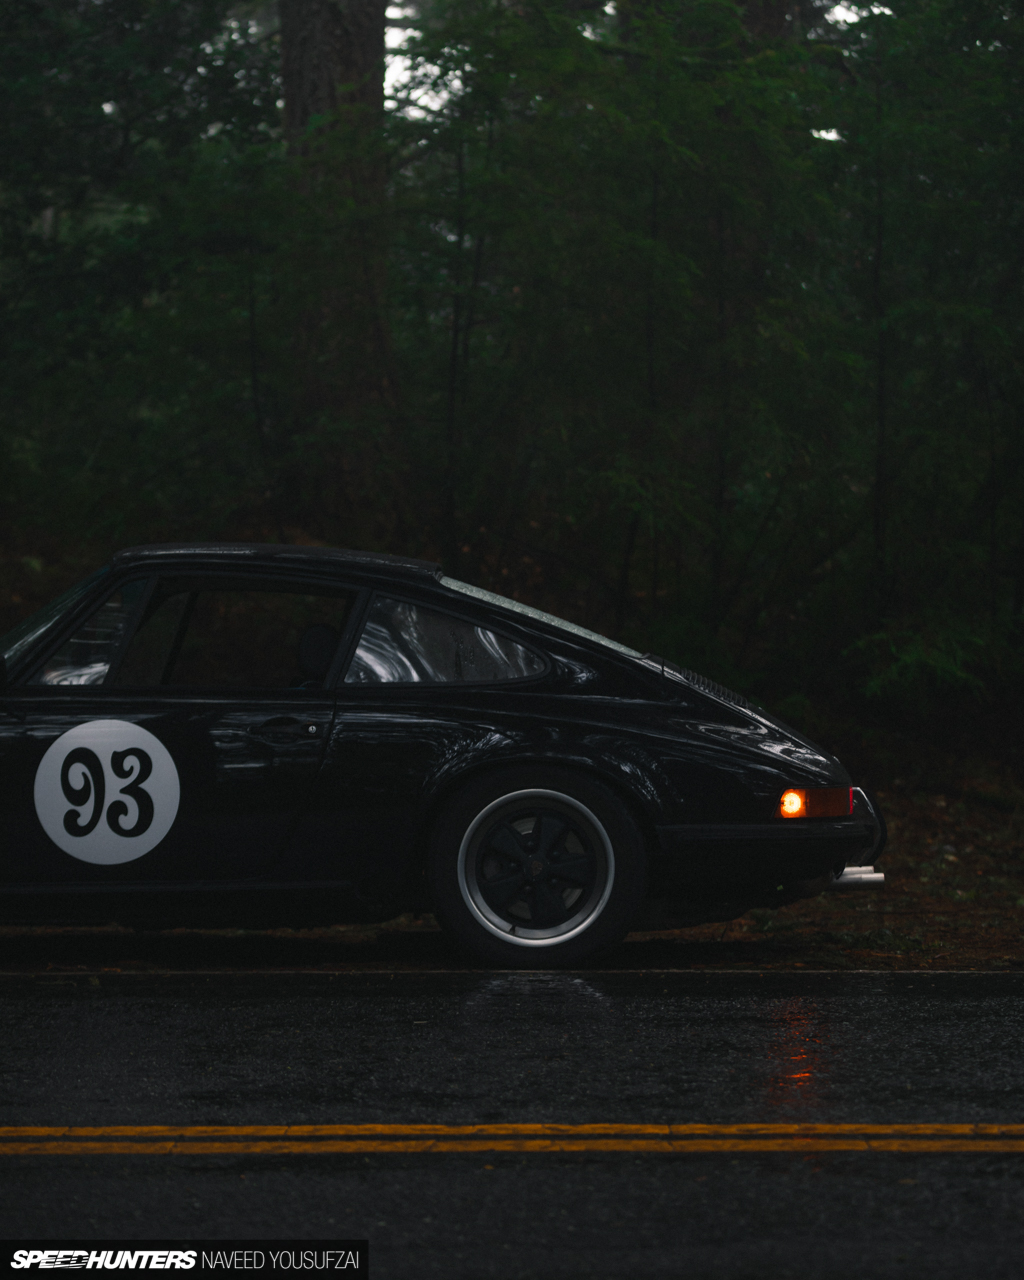
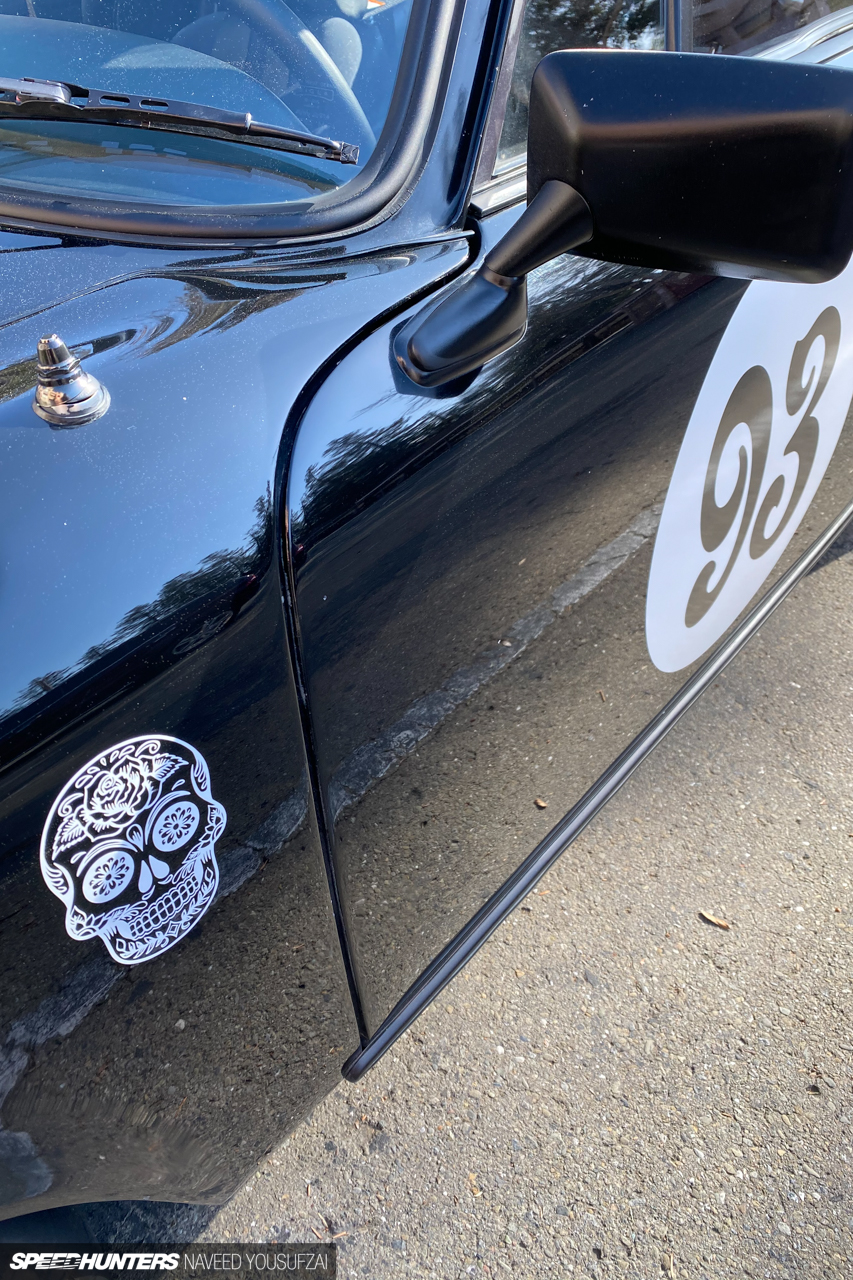
After the sheen was rediscovered, I asked Stealth Labs to add some additional race car flair with the ‘meatball’ and my signature sugar skull. Everything was then further sealed with a fresh coat of ceramic coating, completing the overall paint work on the car – for now.
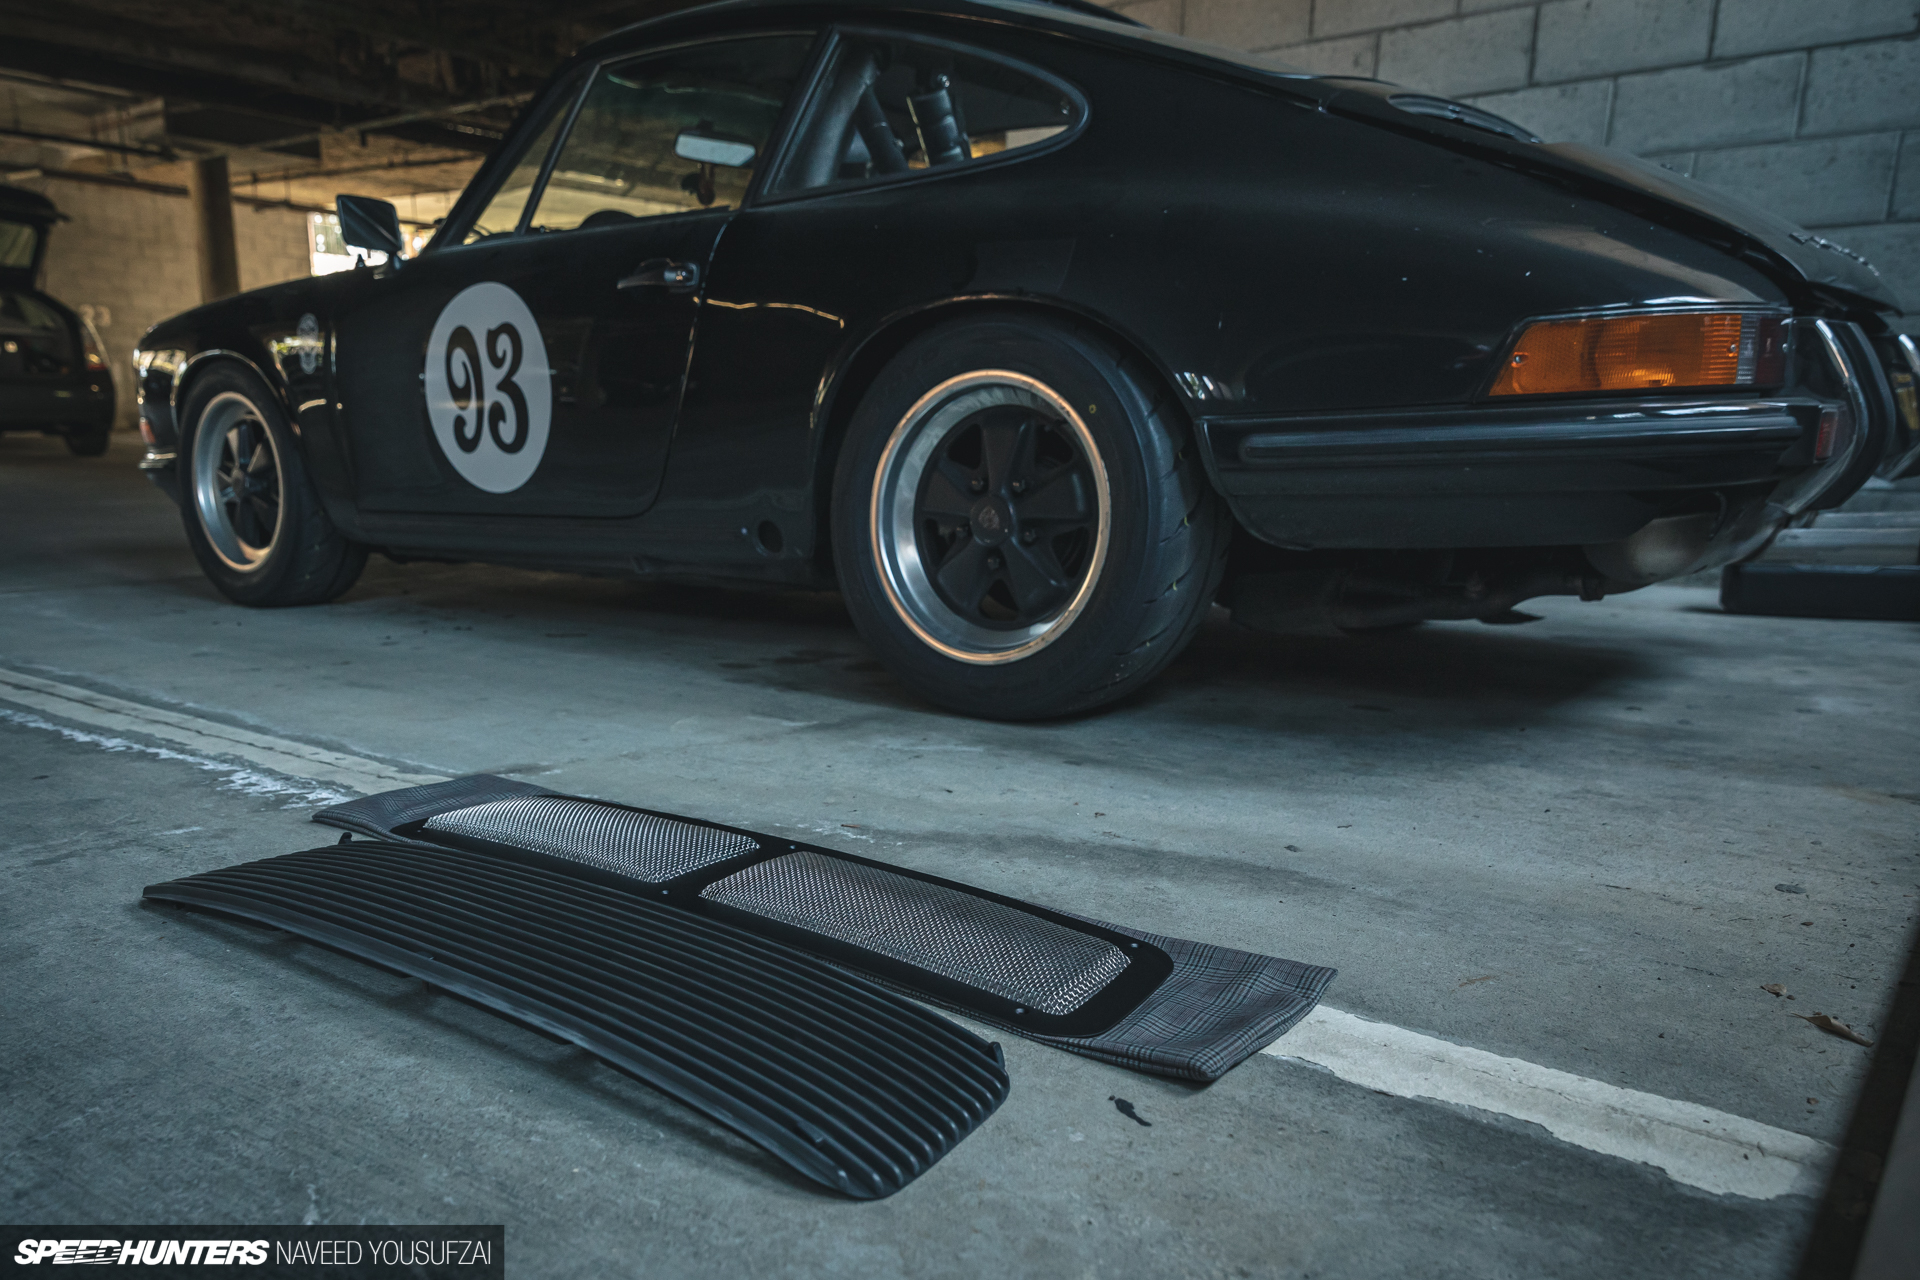
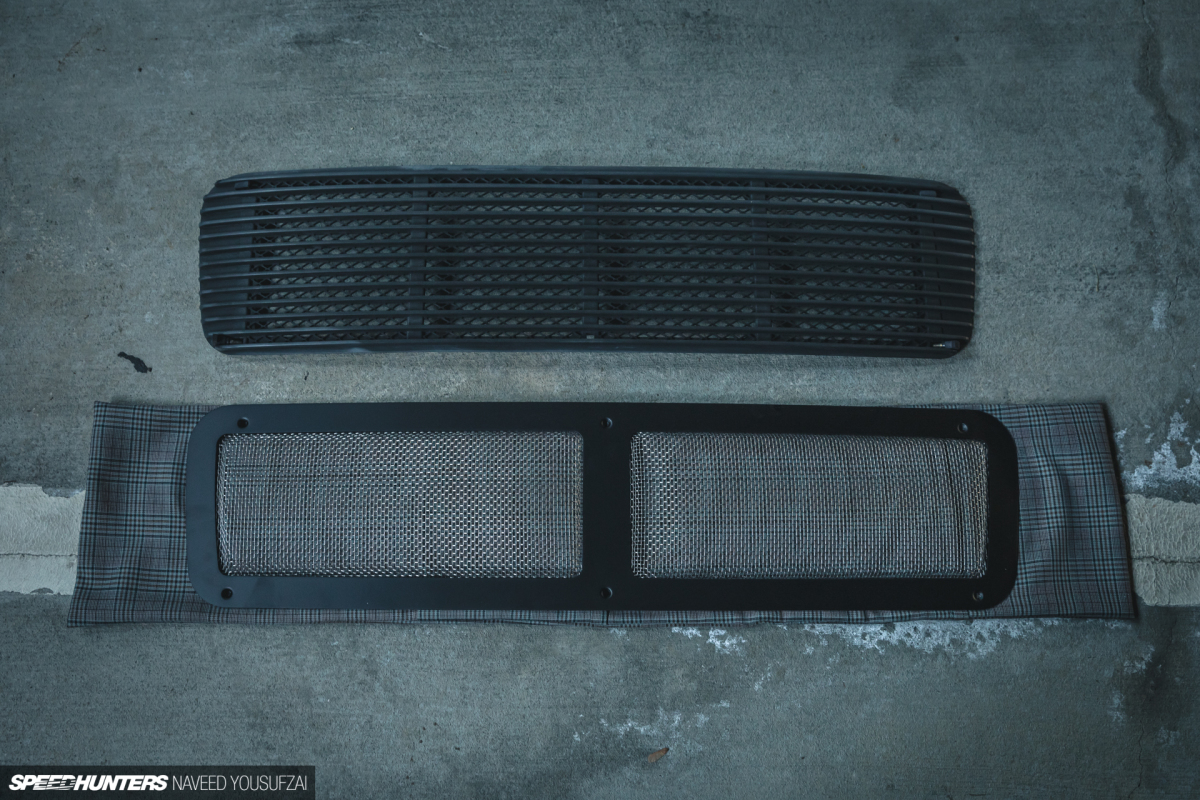
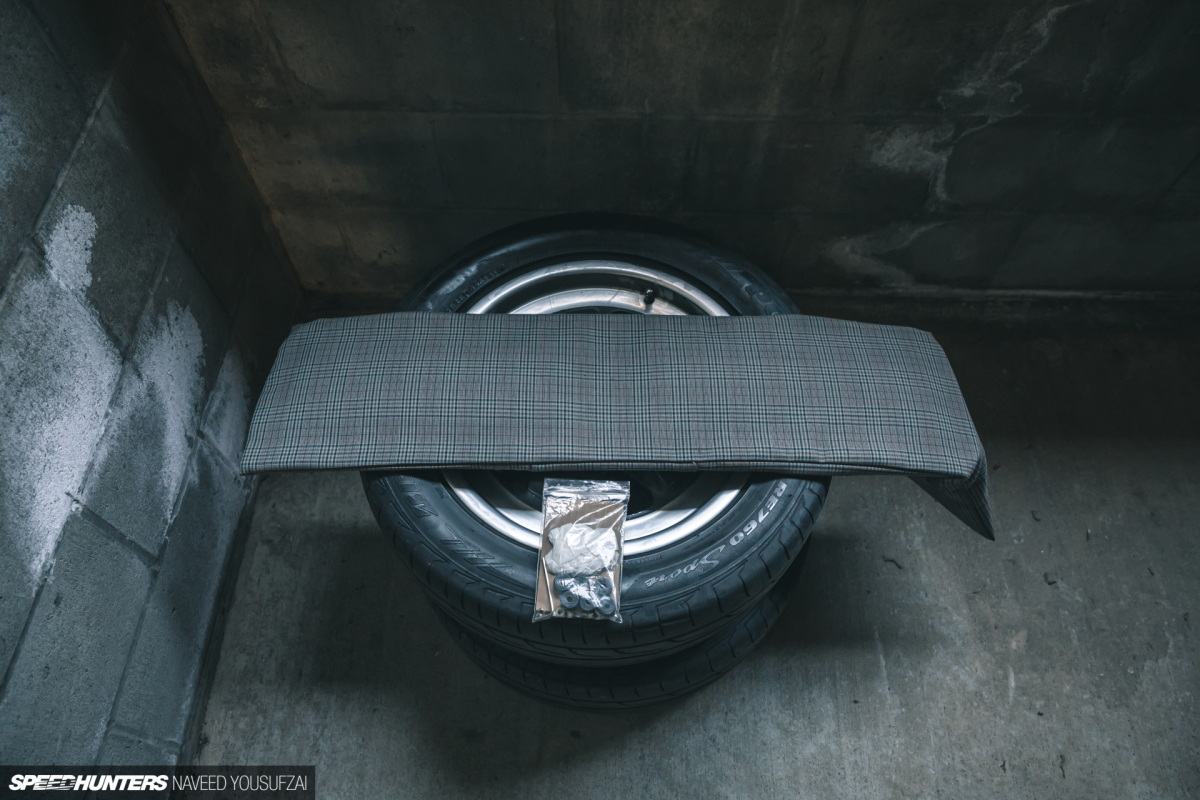
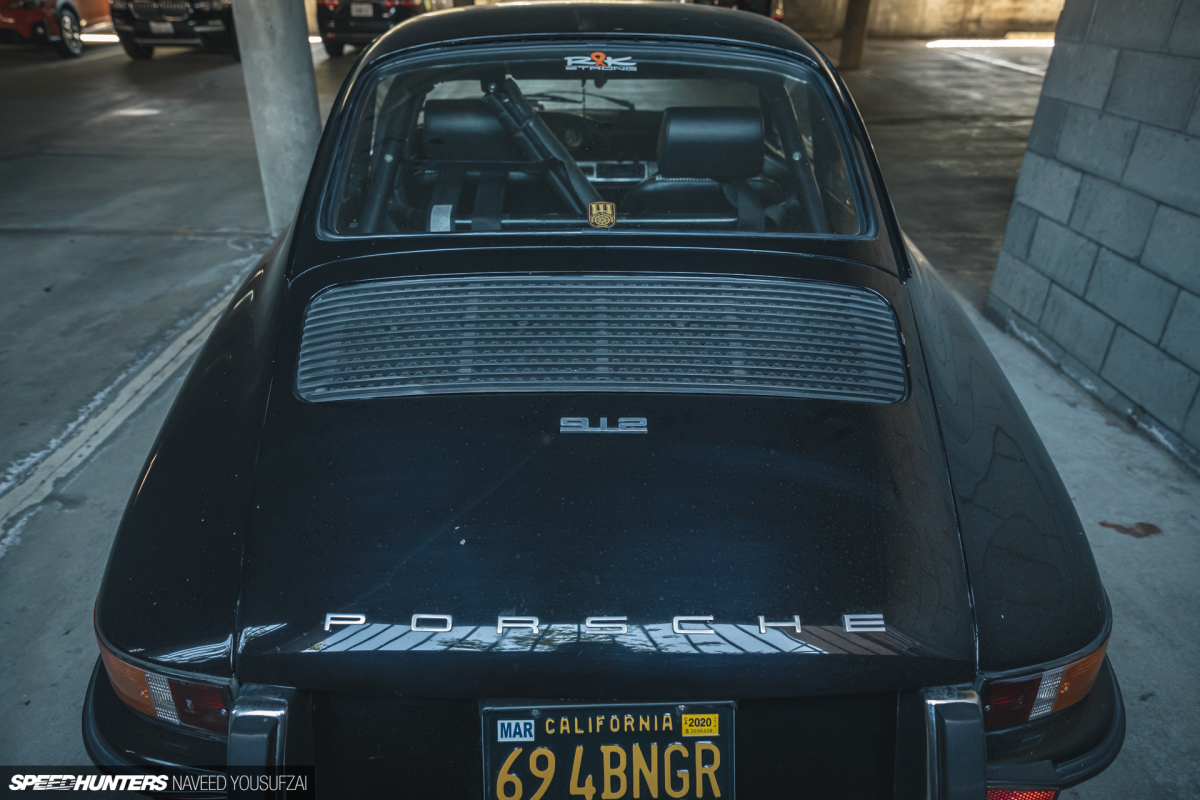
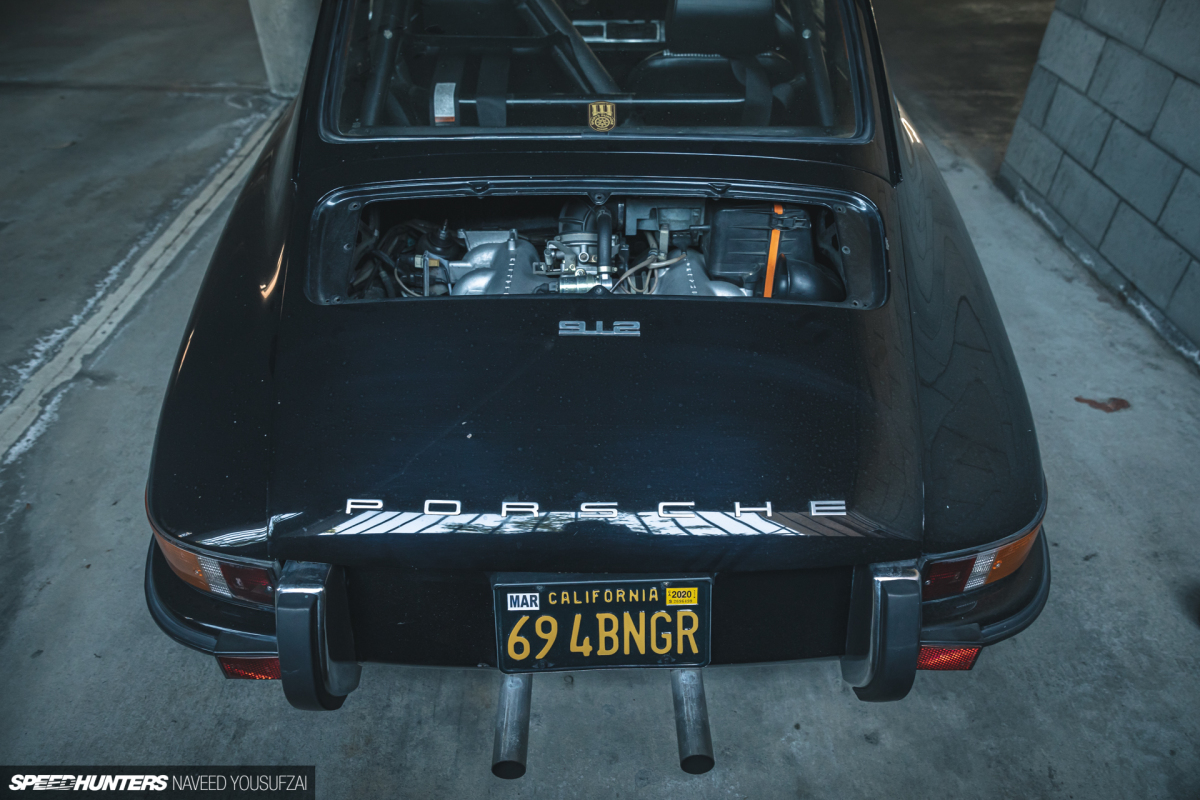
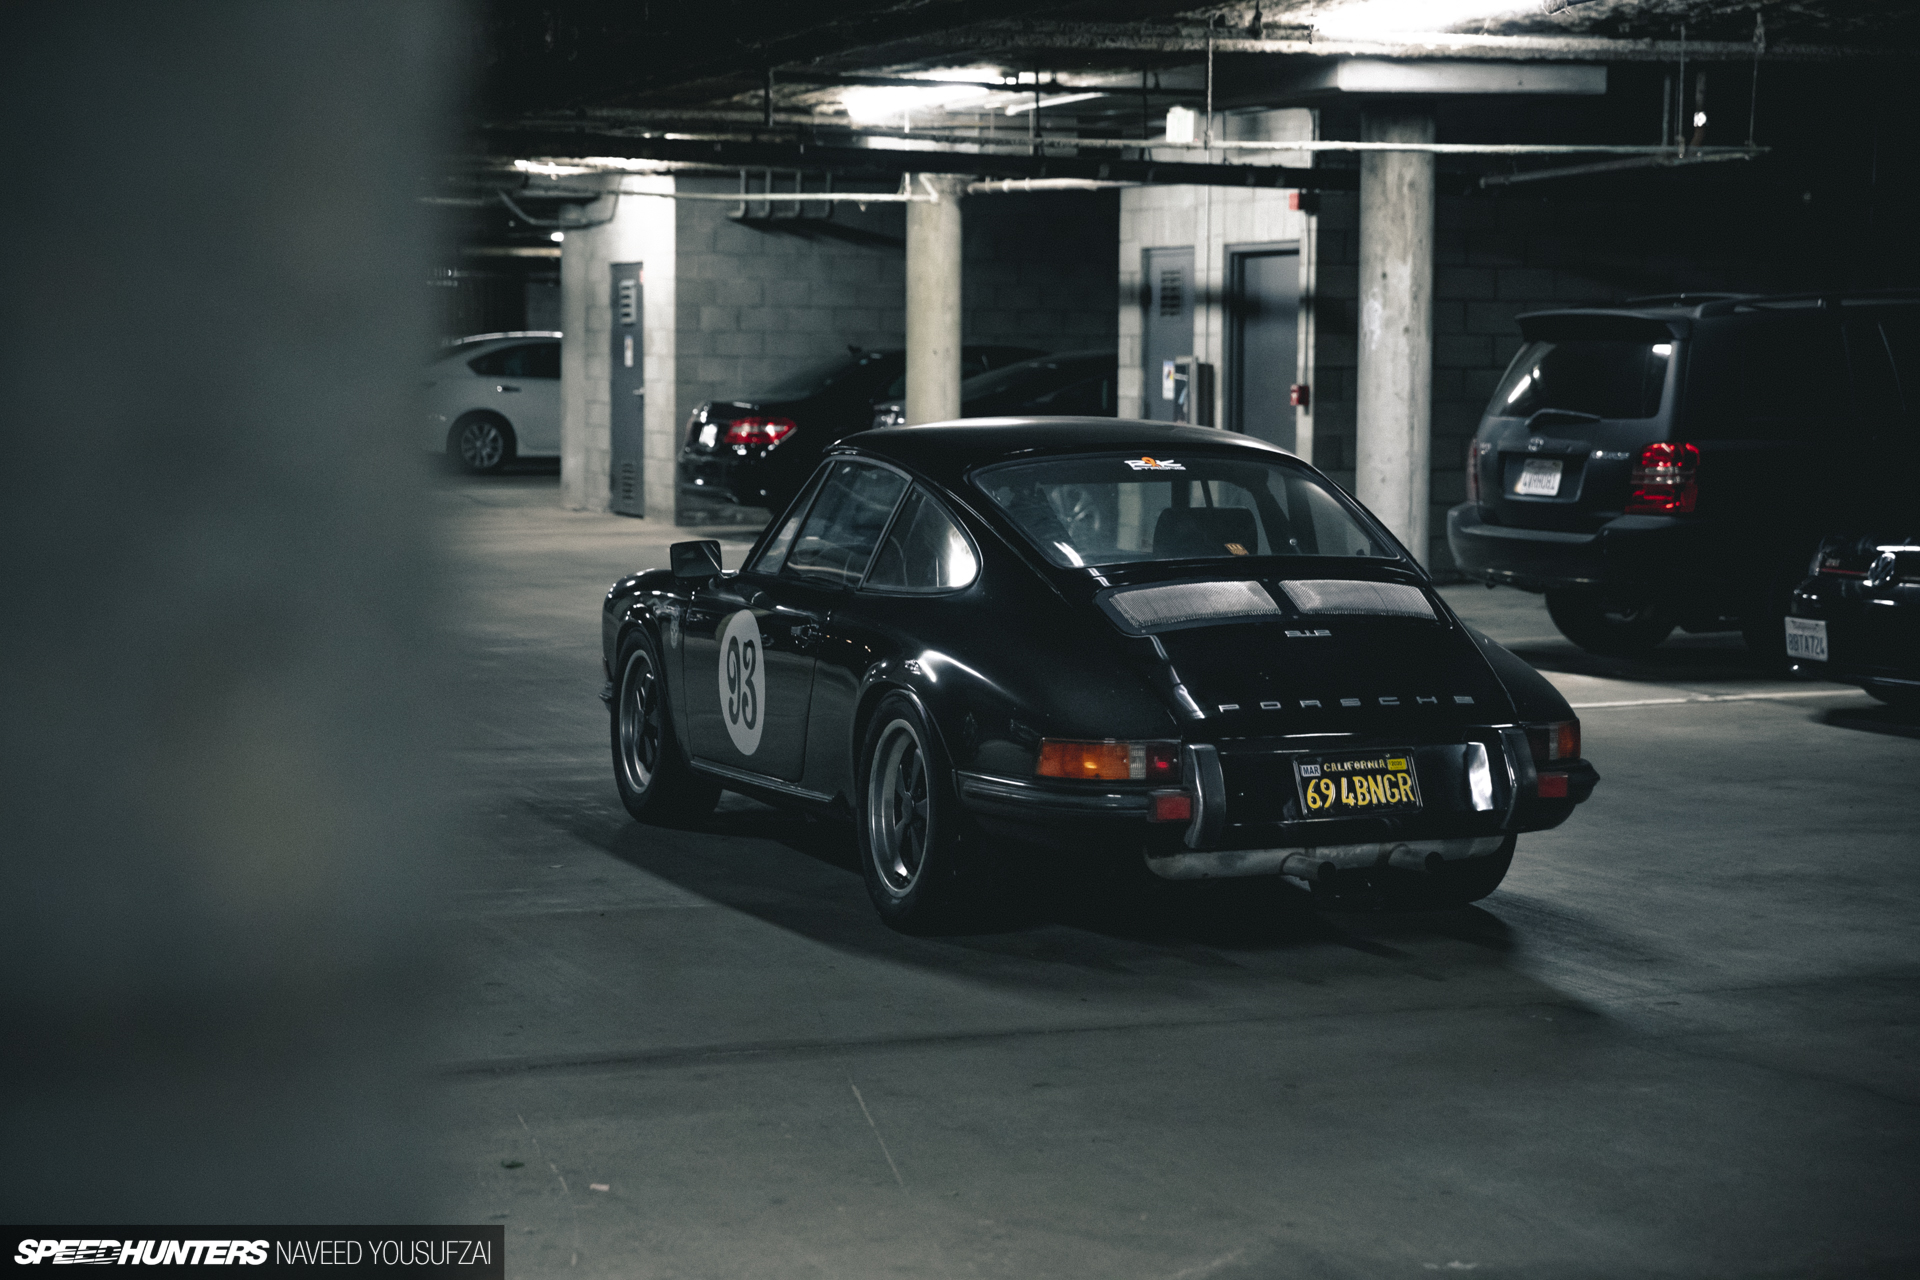
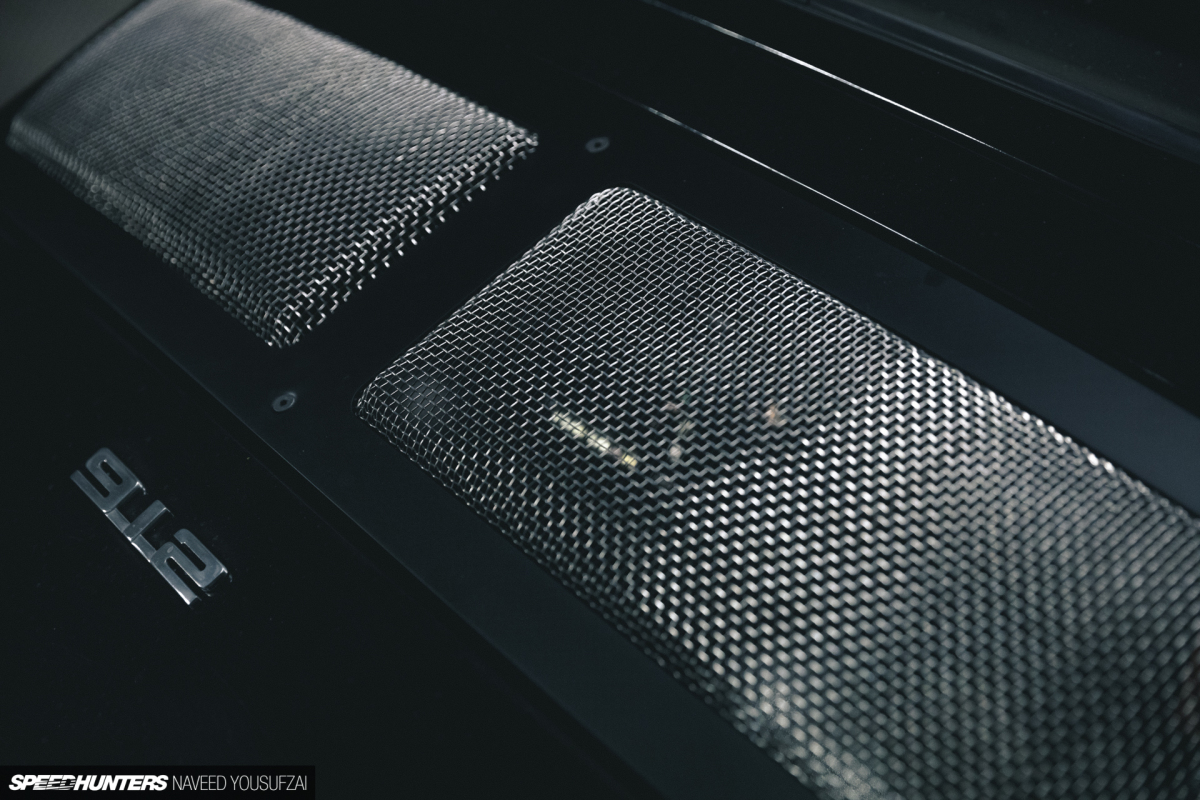
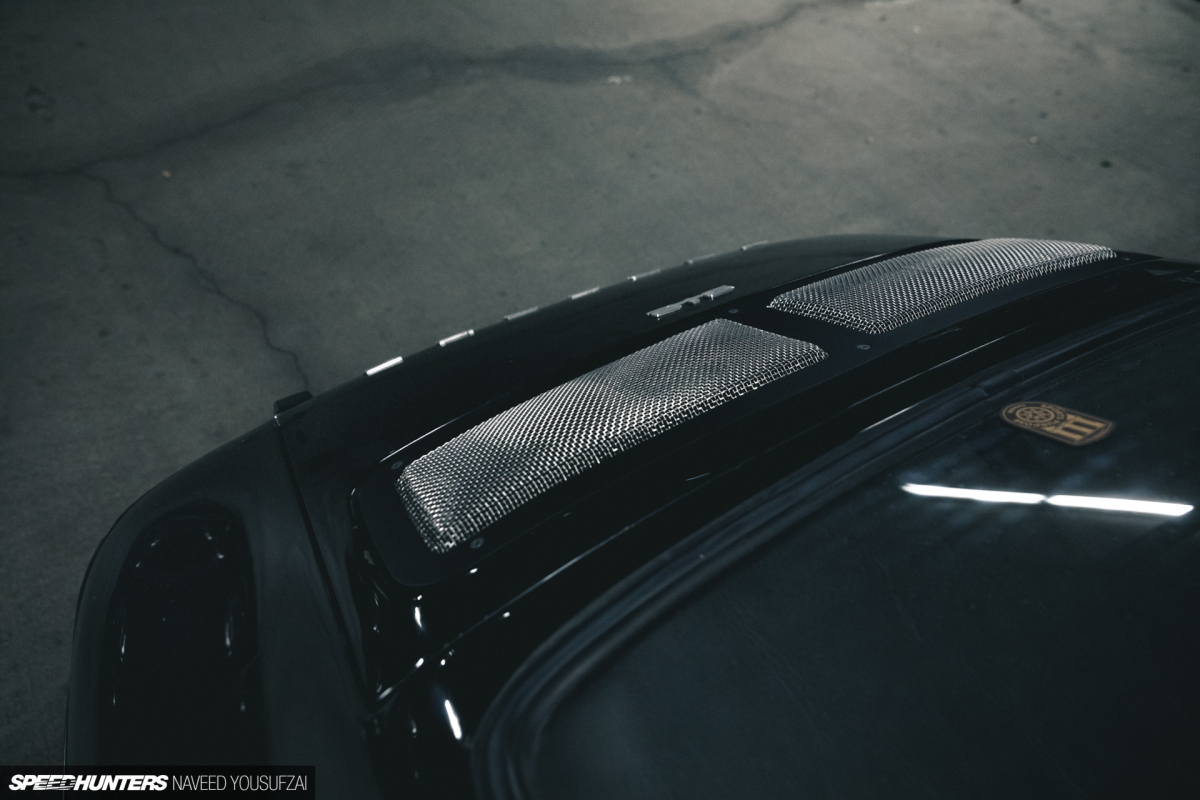
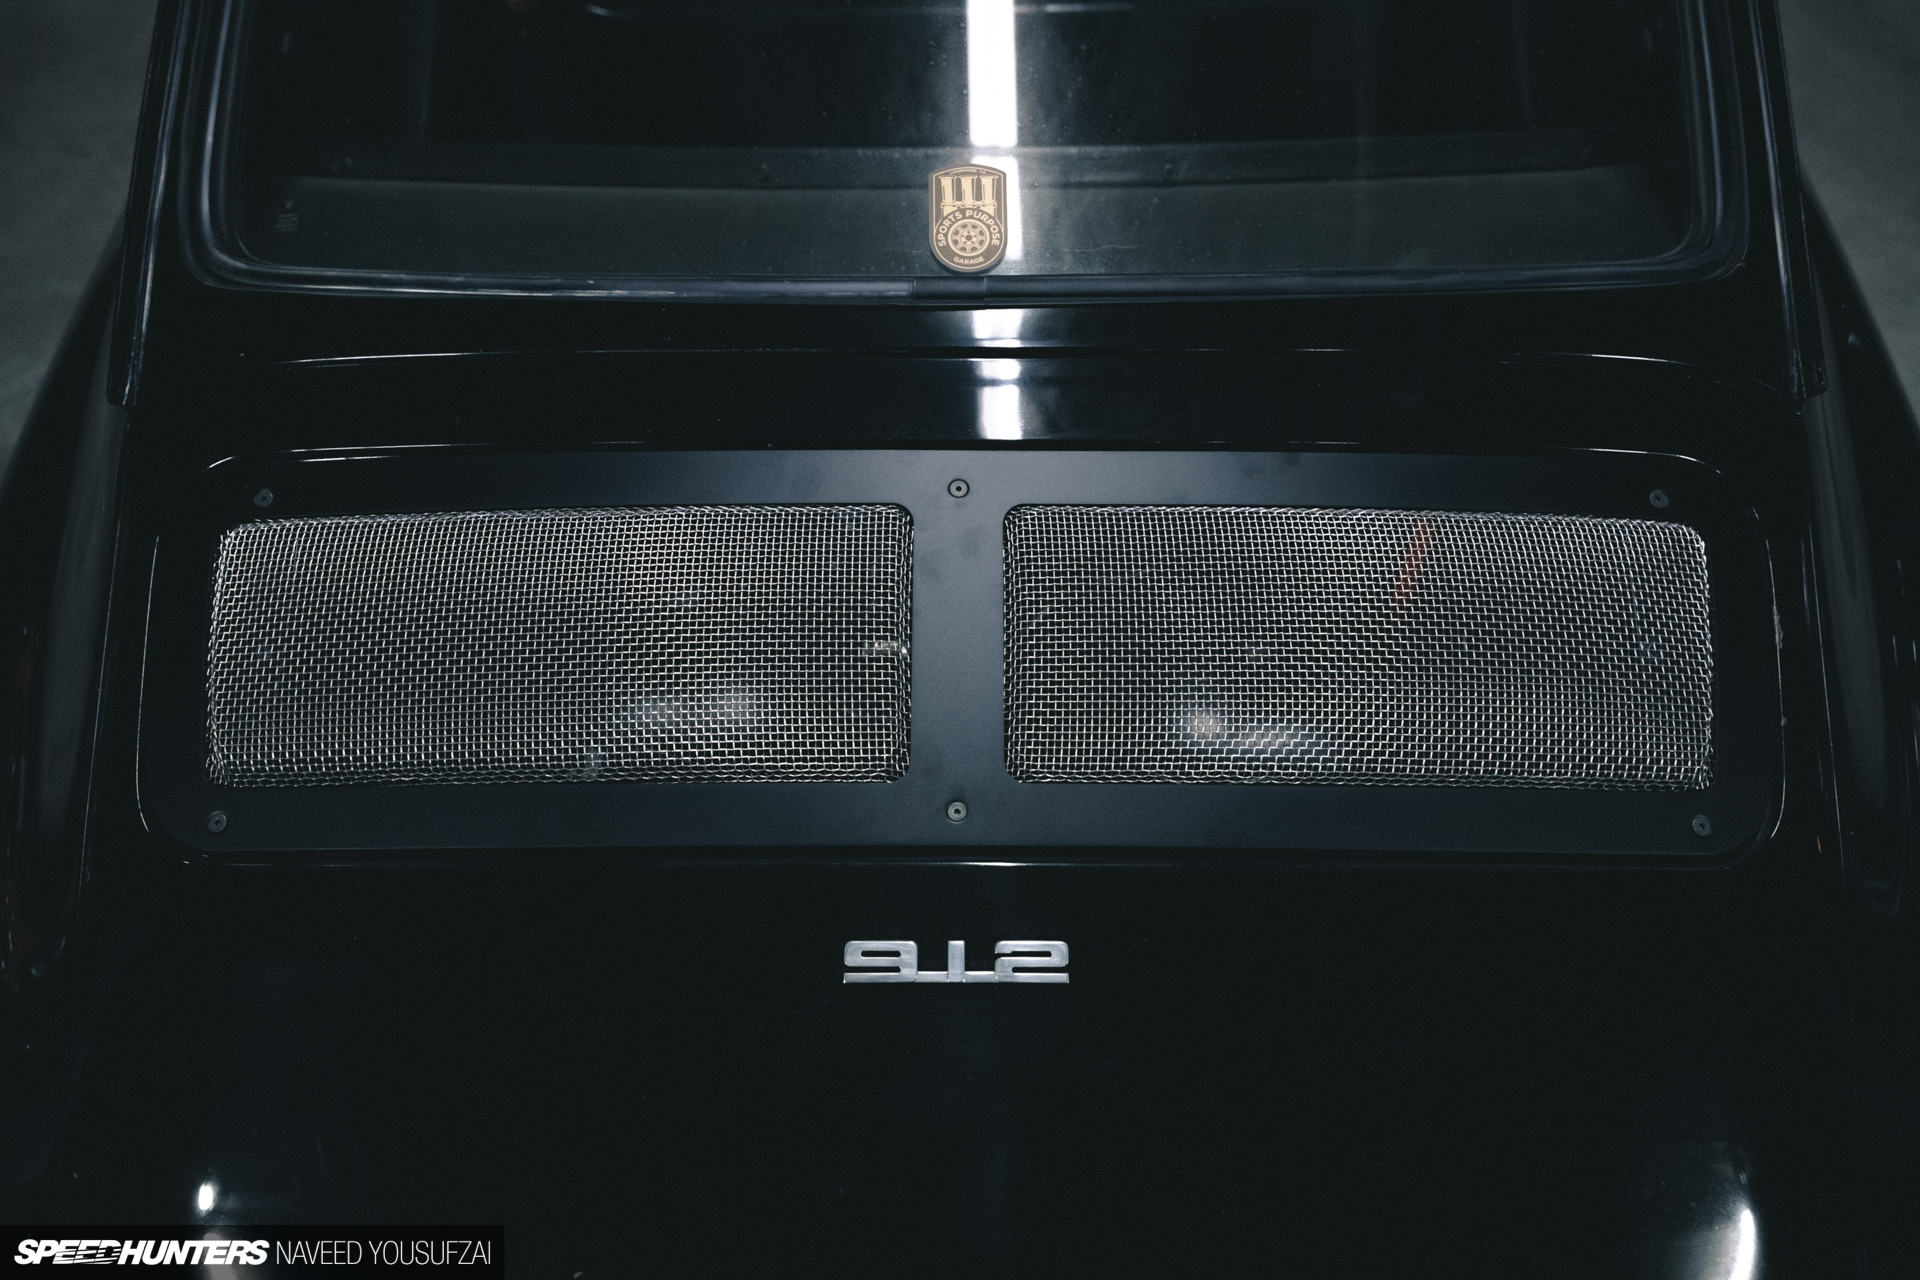
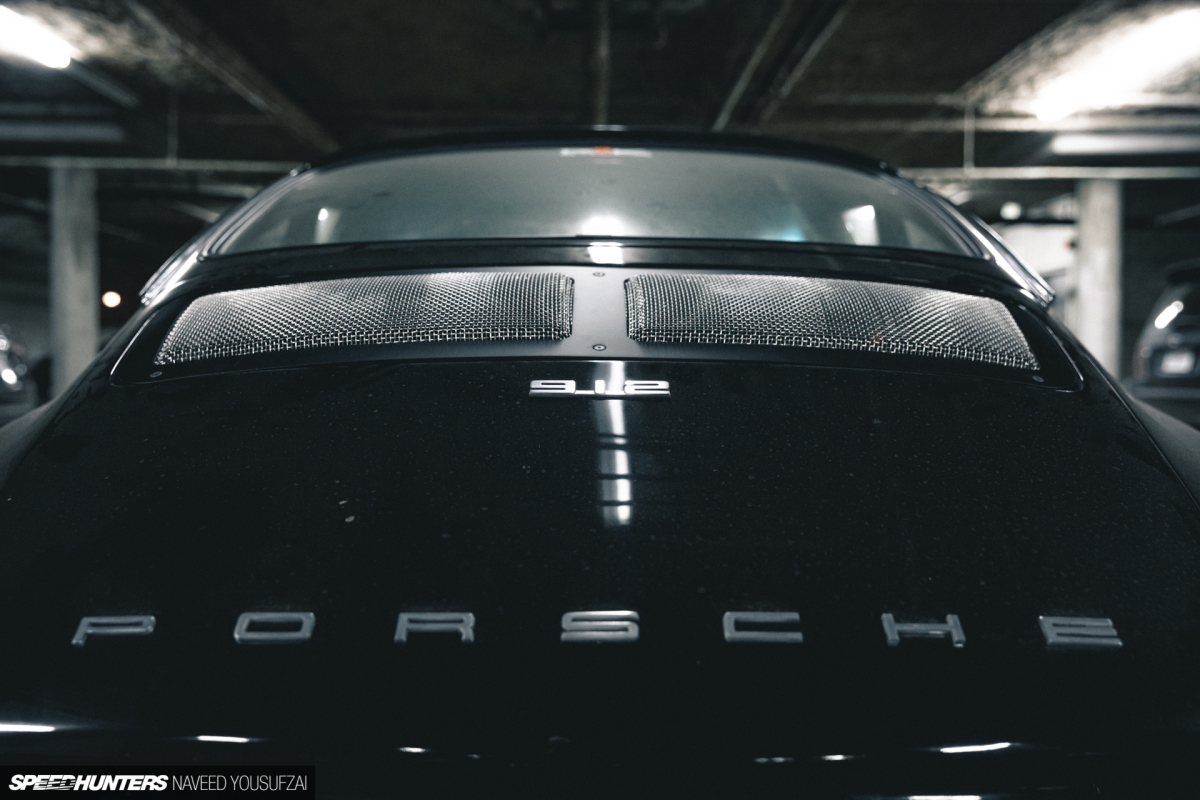
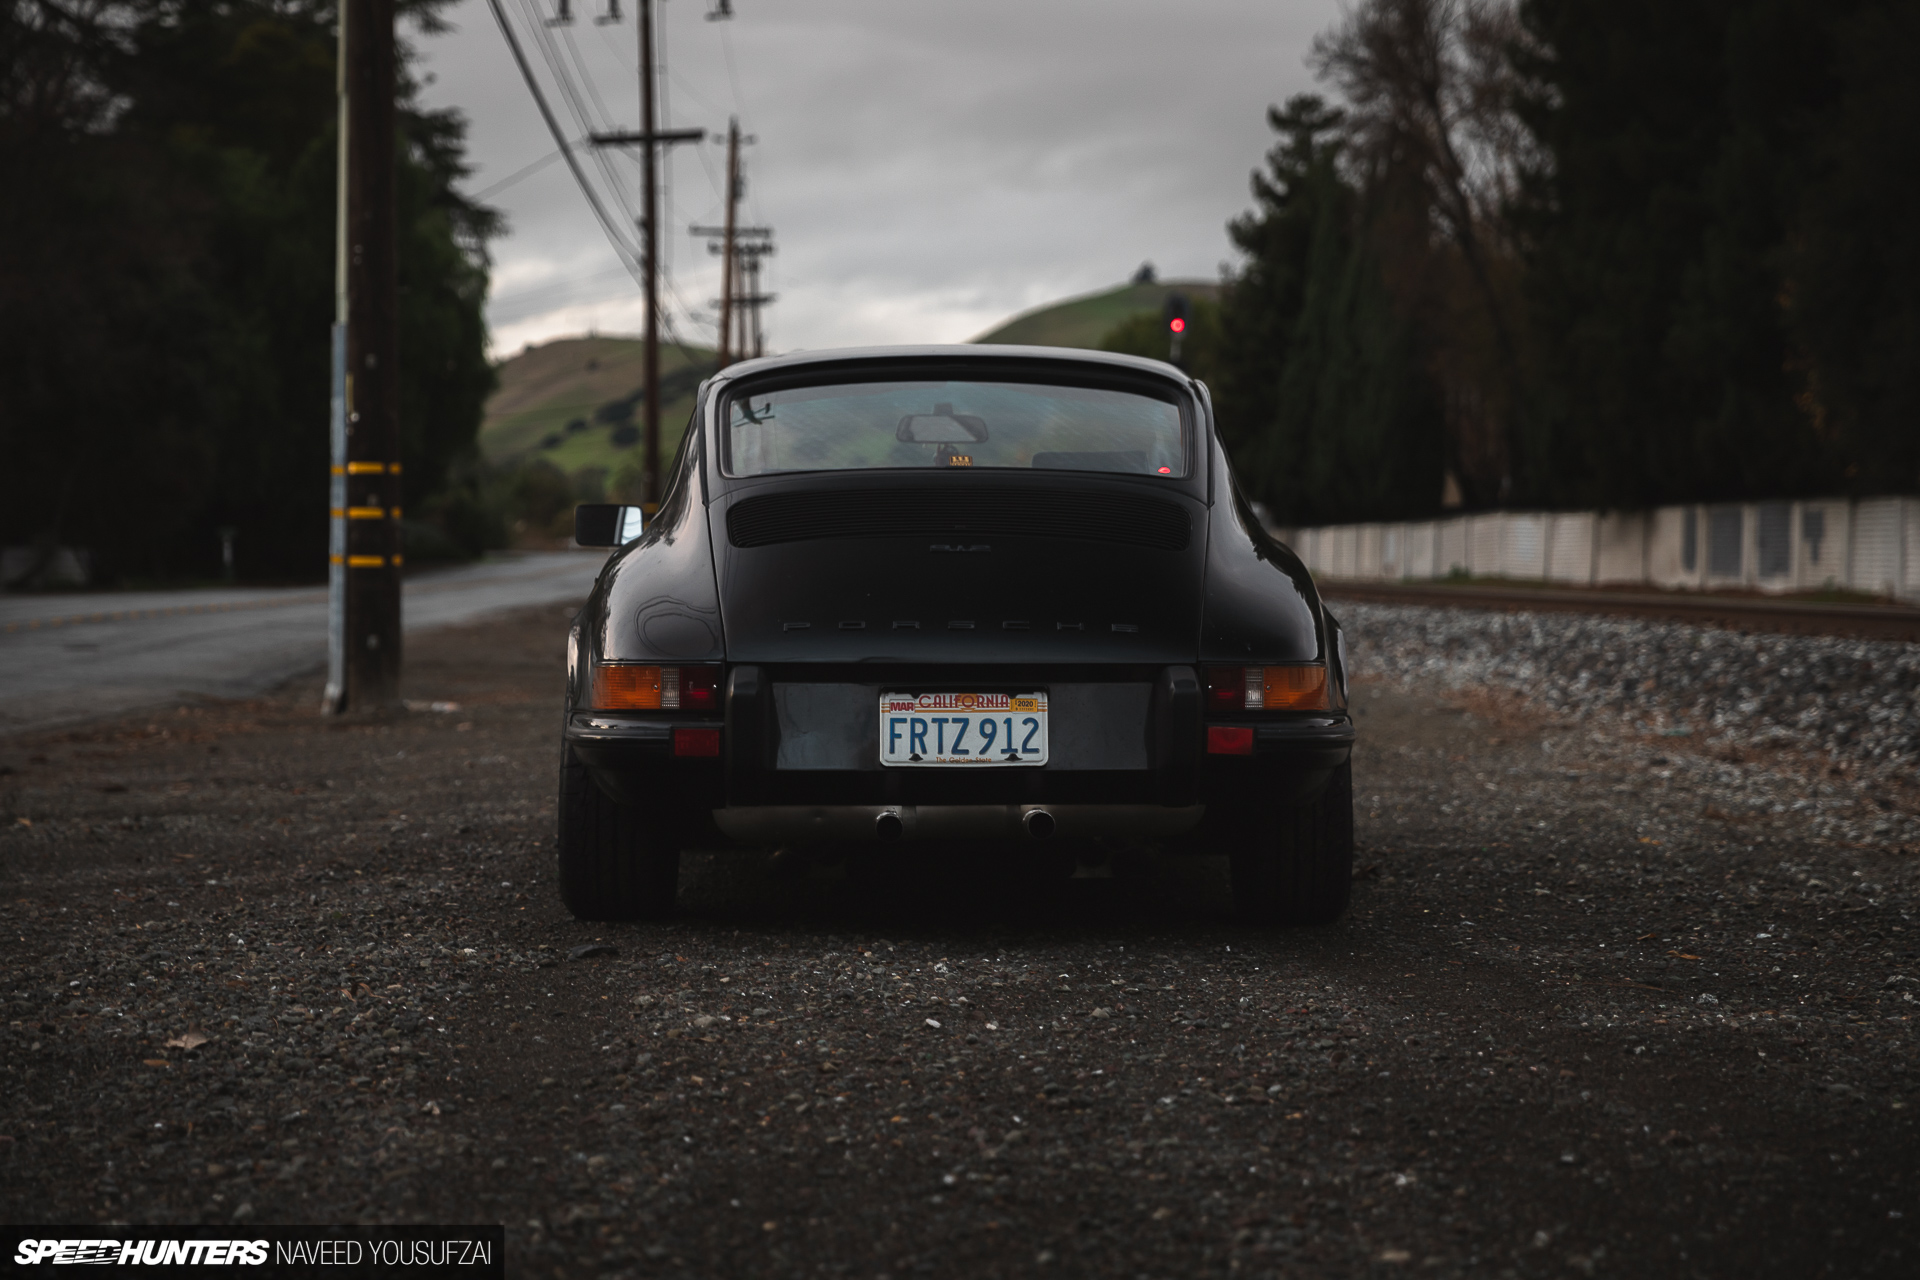
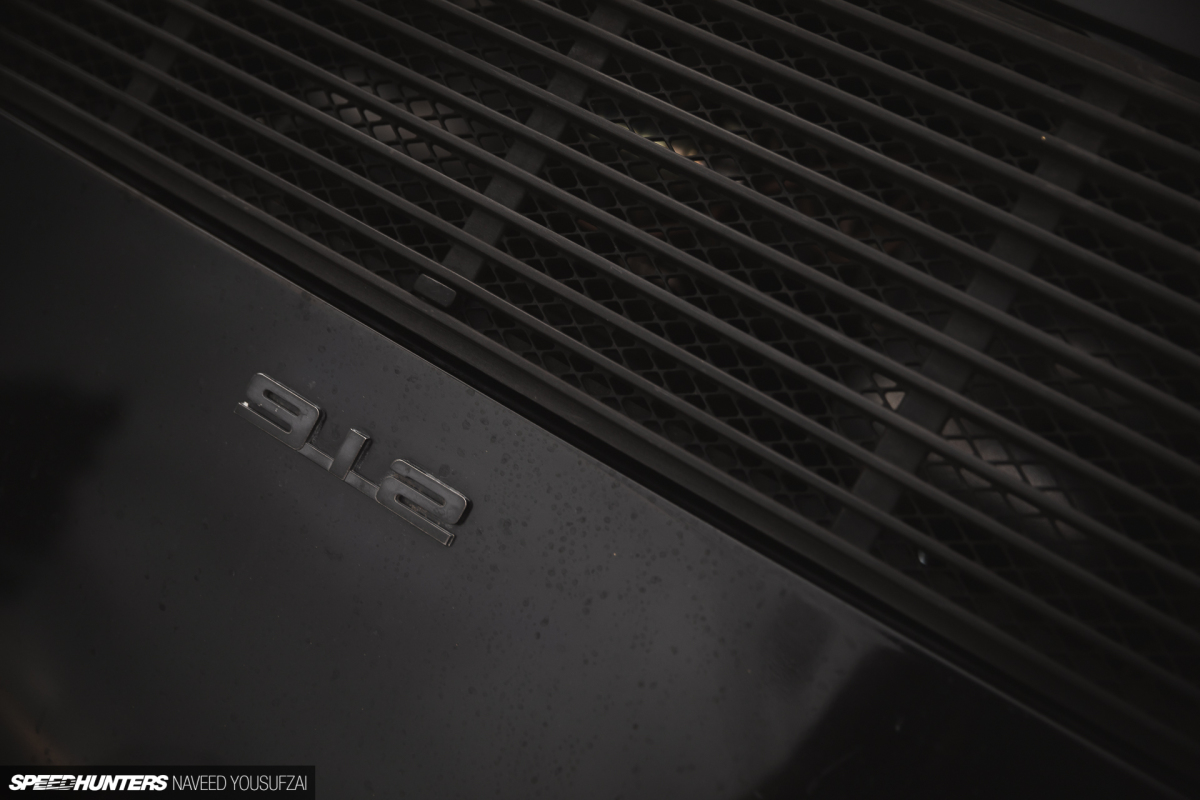
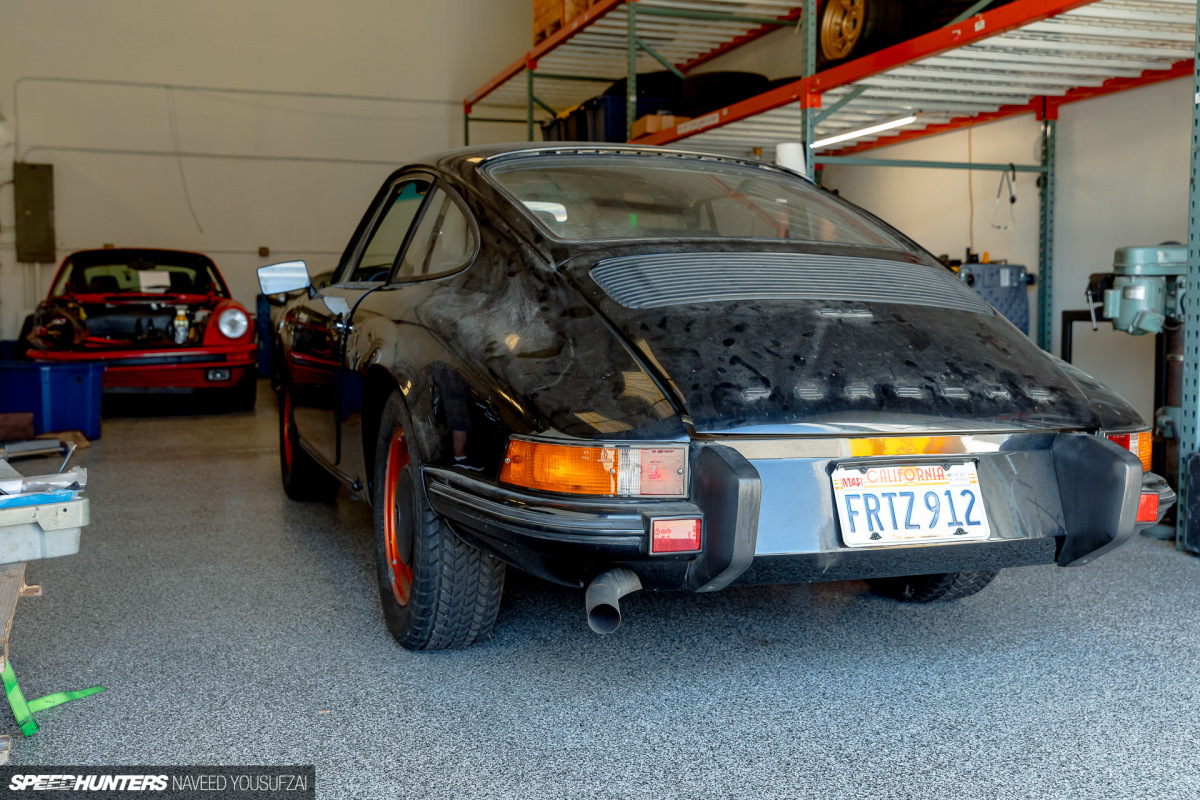
Last on the list was perhaps one of my favorite bits on the car to date – the 911R-inspired split grill for the real deck-lid. This was a piece that I had been wanting for quite some time, but couldn’t seem to source since not too many people make them. Luckily, Erik who built the car, ended up having a spare grill after another customer of his changed their mind on the piece.
Pretty On The Inside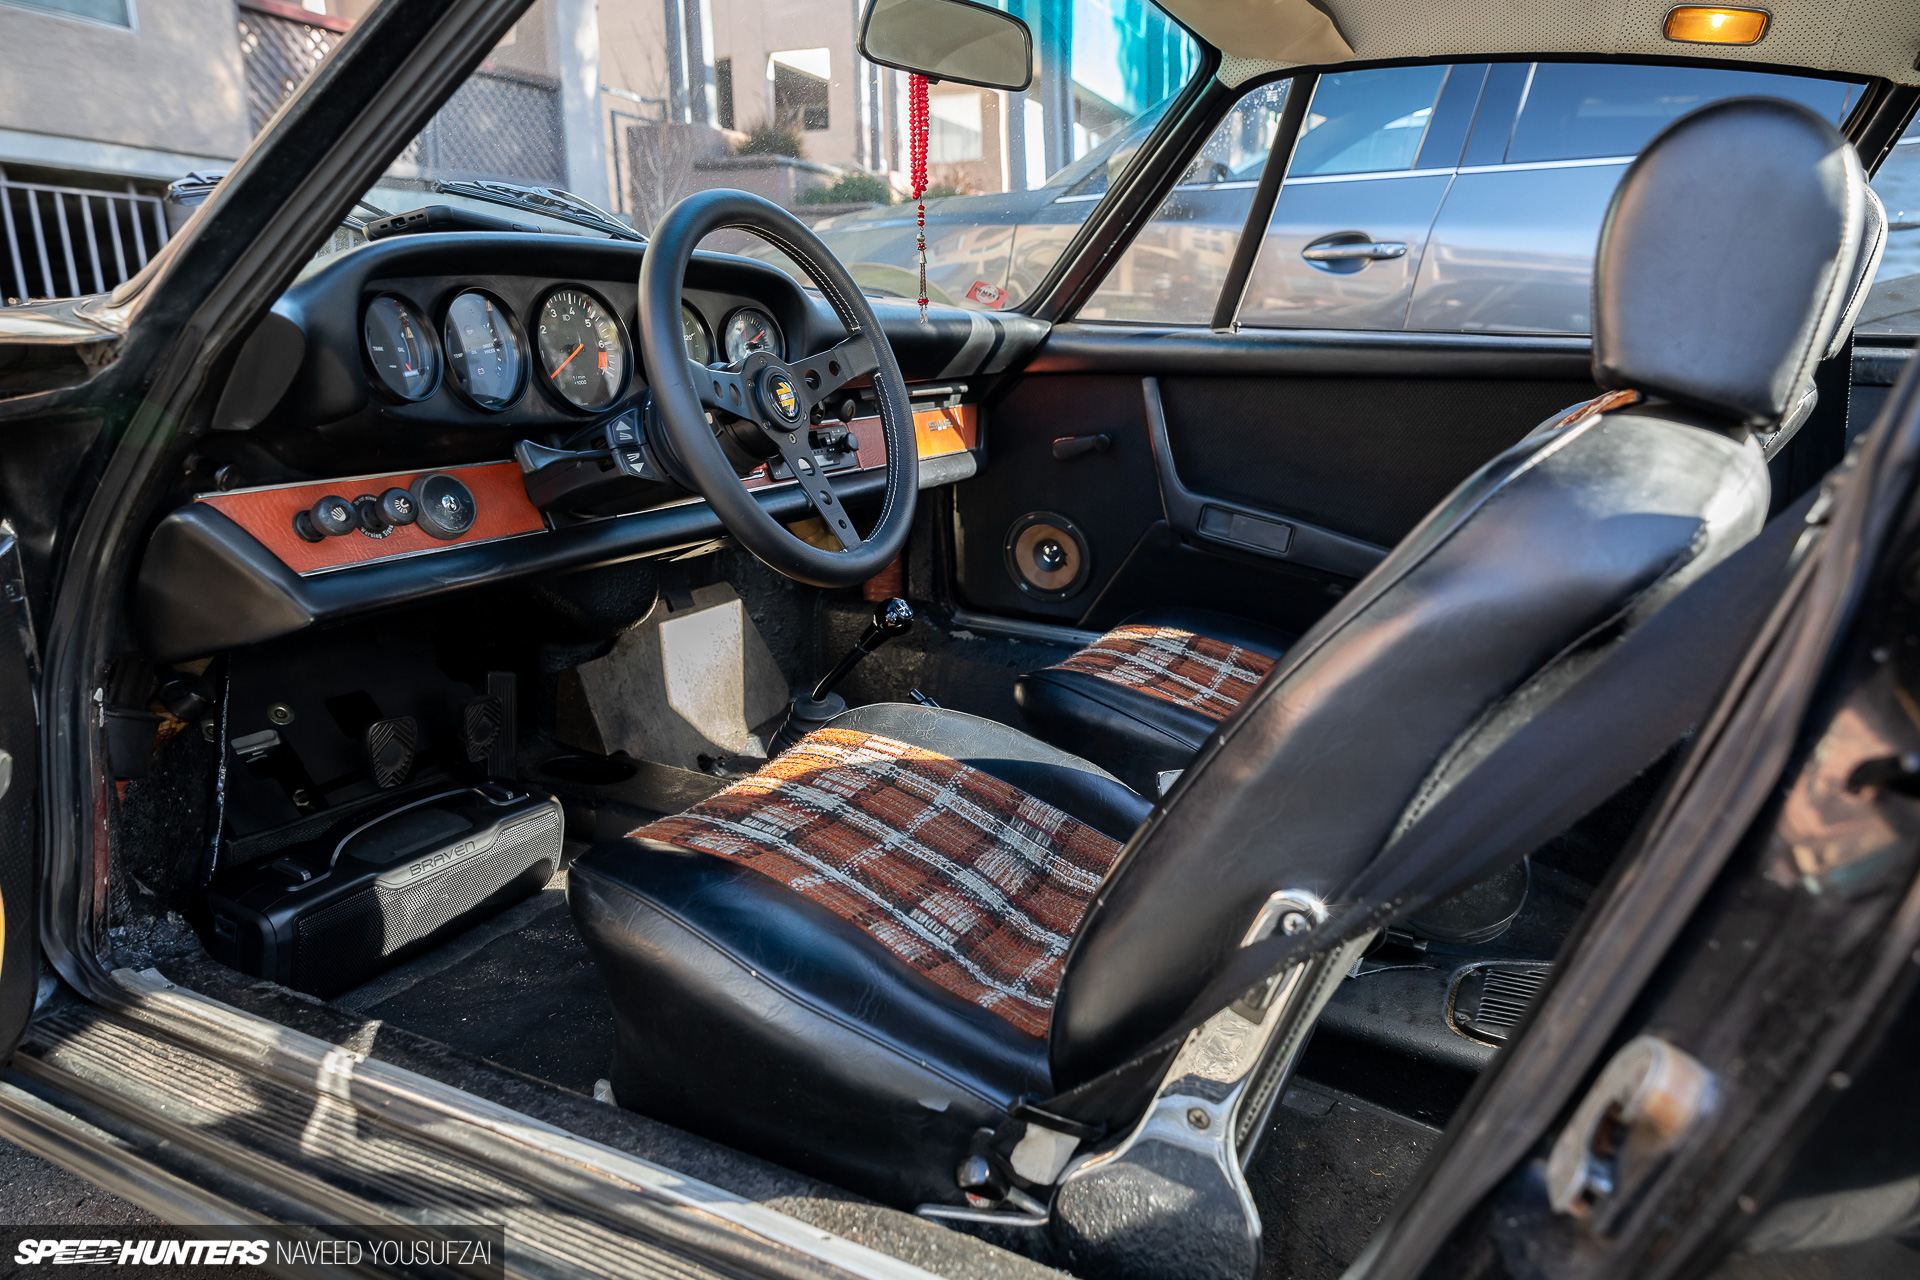

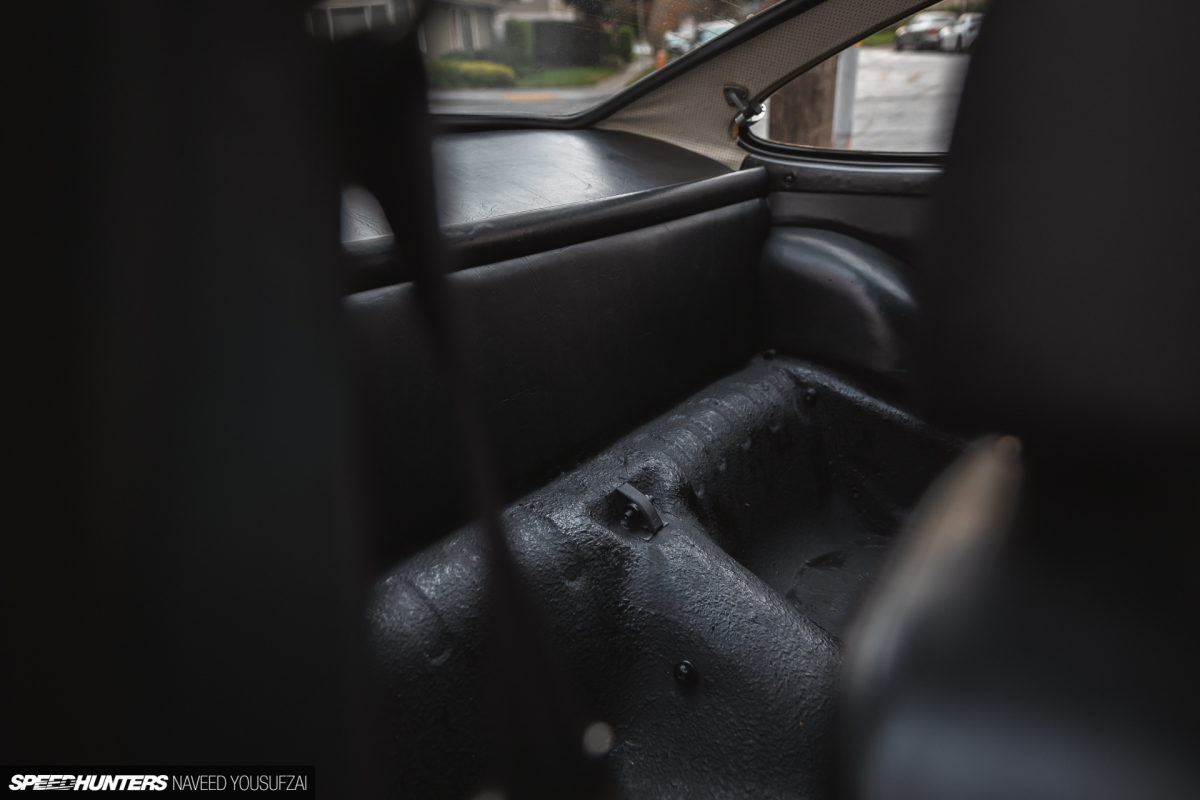
With the exterior details completed, I moved on to getting the interior up to par.
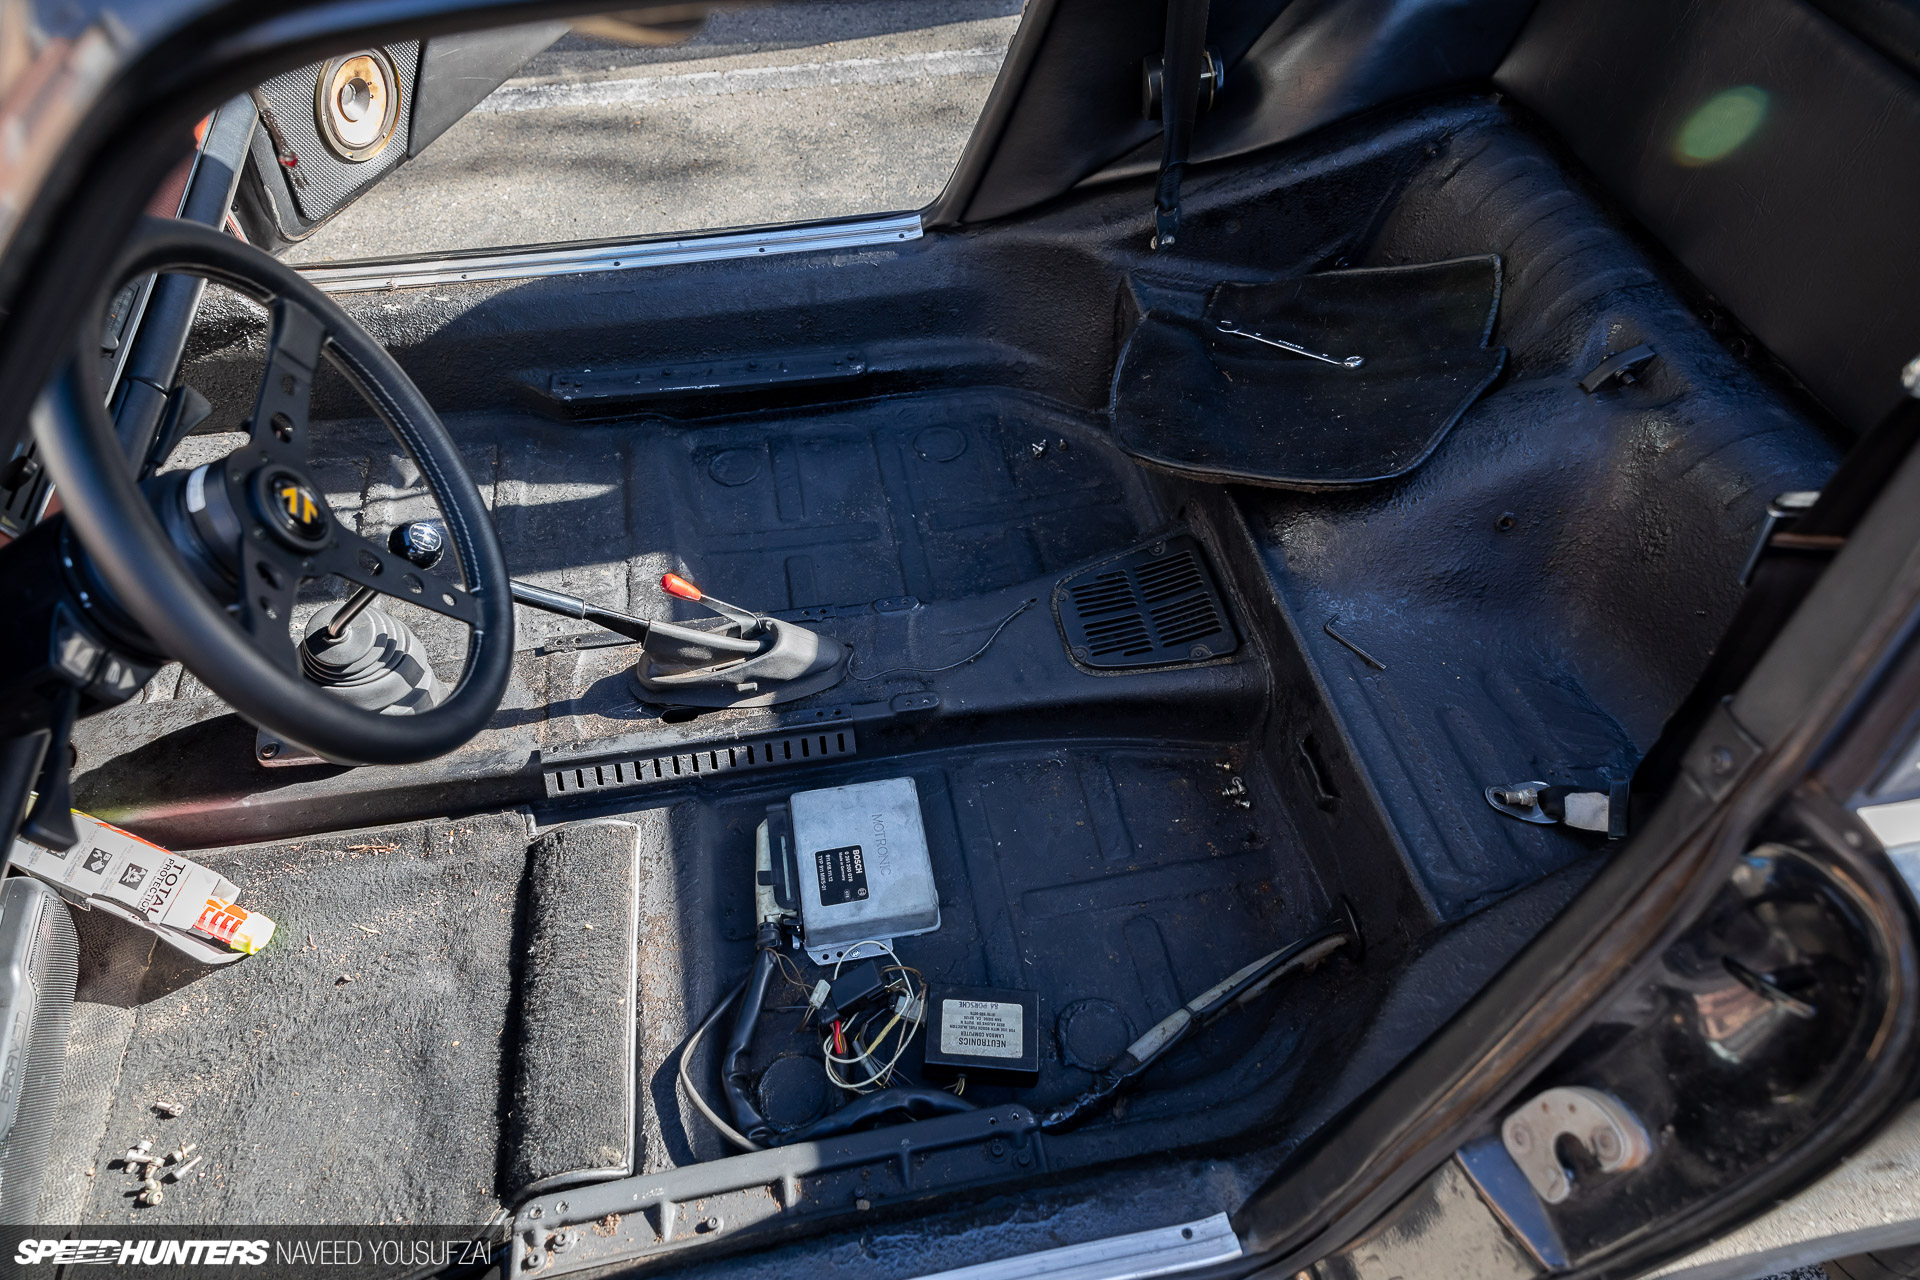
Sound insulation may not be a big deal for most cars out there, but in my case, every single pound made a difference, as the target goal was 2,000lbs (which we managed to achieve). But that also meant that all comfort features were removed, which in turn meant that the interior was left fairly basic. So details on the inside should be easier, right? Wrong…
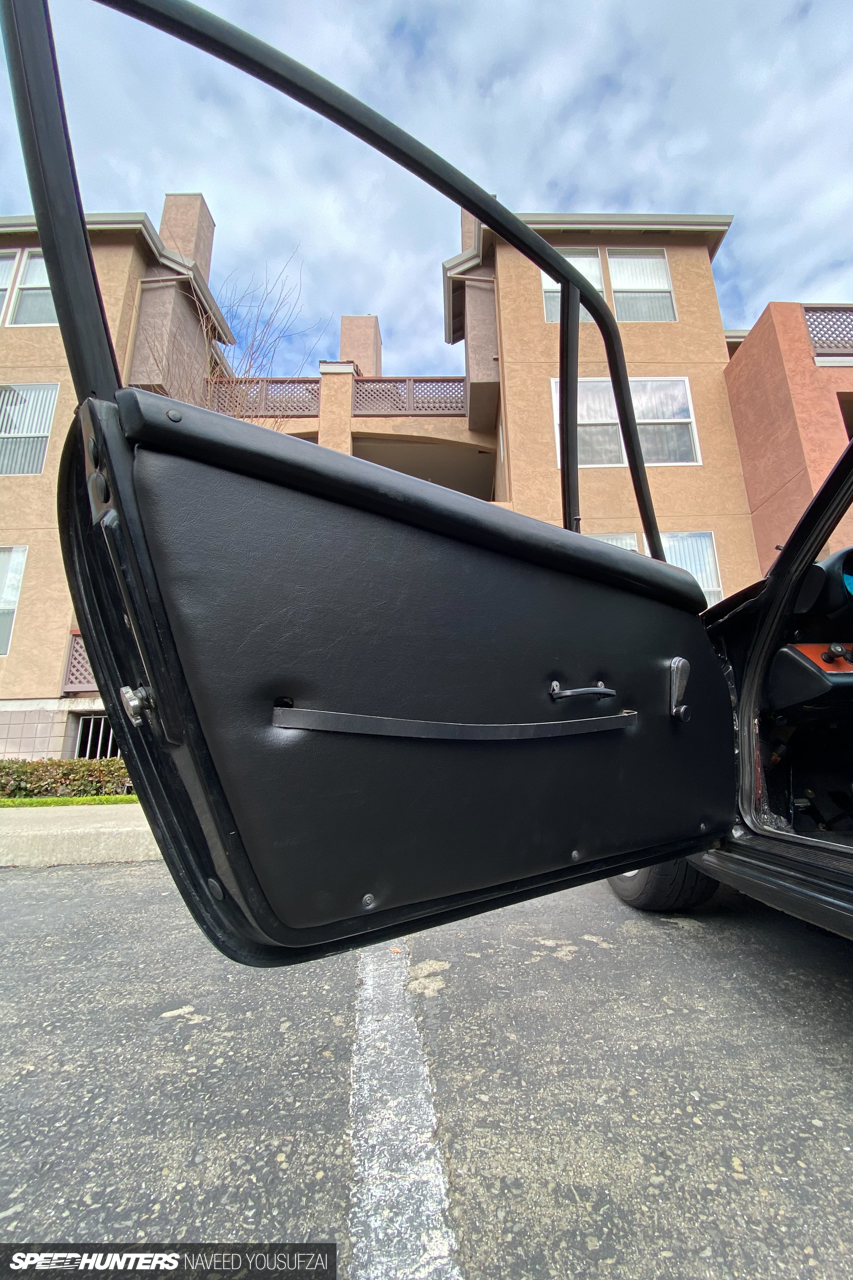
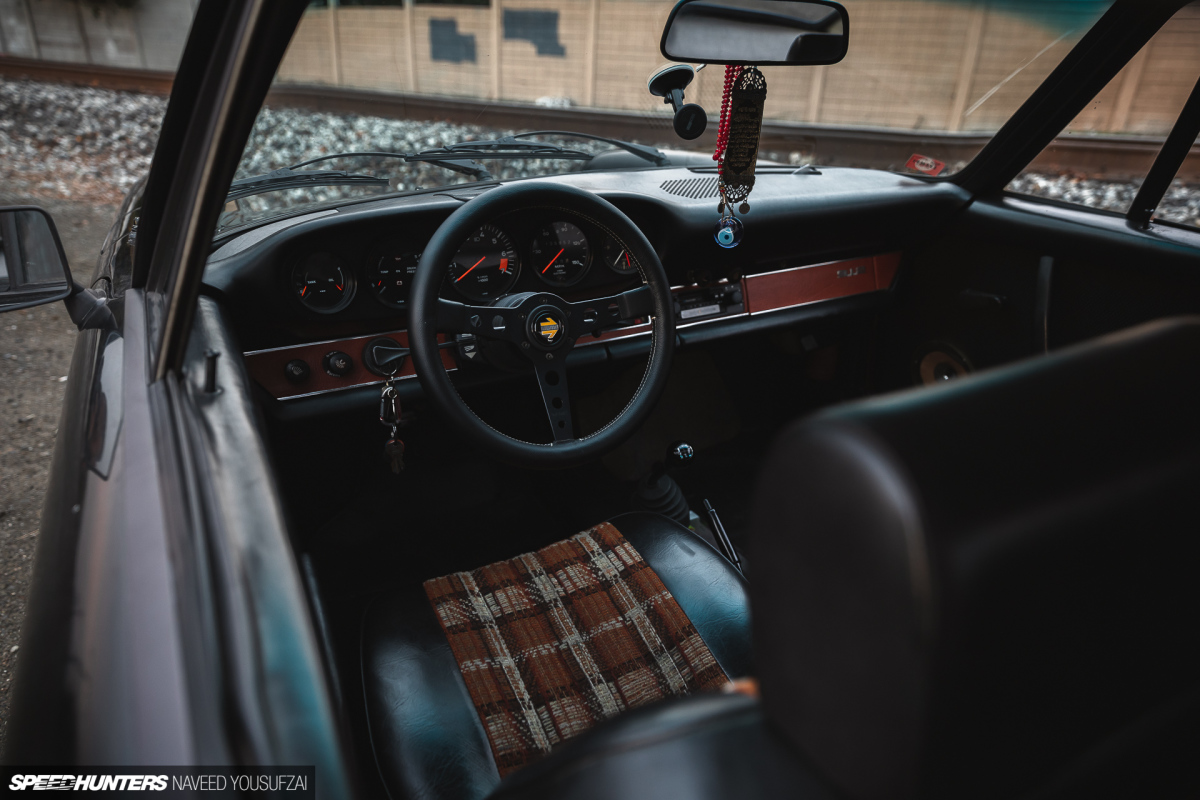
I can’t say the entire interior process was difficult though. The Carrera RS door panel swap was pretty straightforward; the ugly orange dash panel vinyl came off with some modest heat application, and the rear seat delete is easy on the older generation Porsches. The real nightmare kicked in when it came to the seats and roll bar.

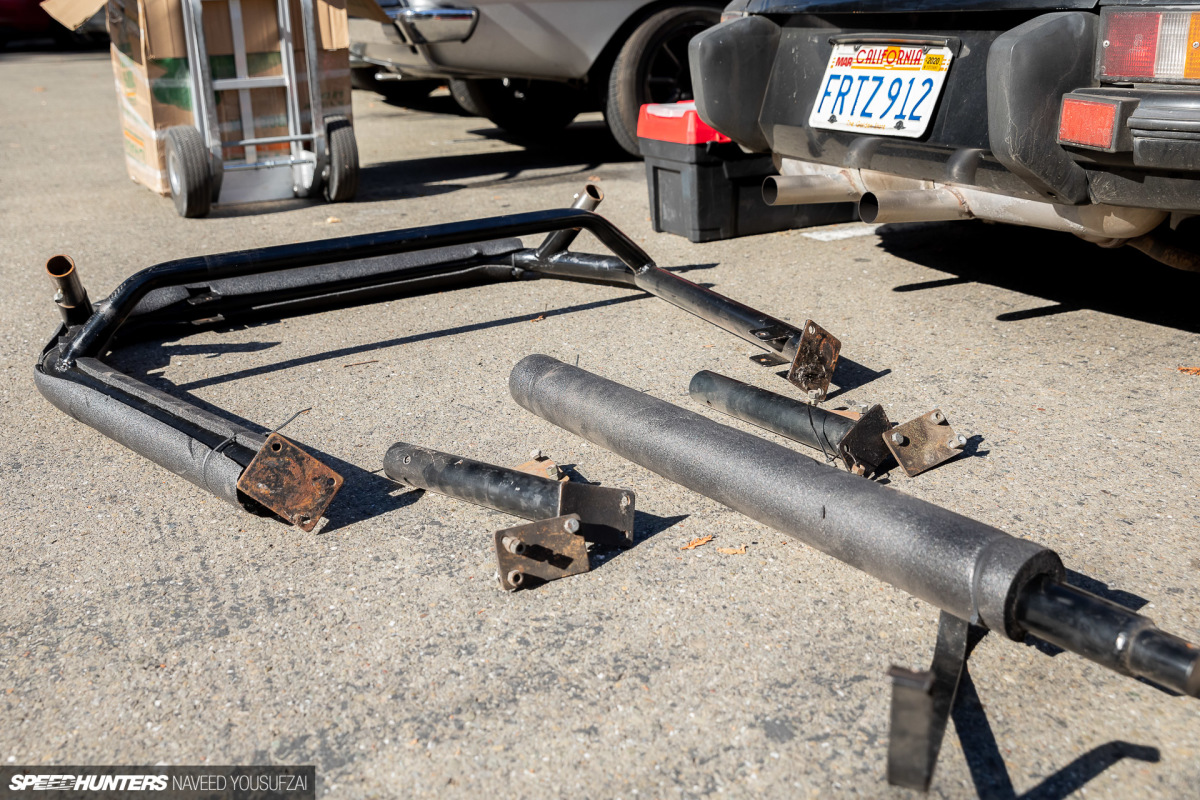
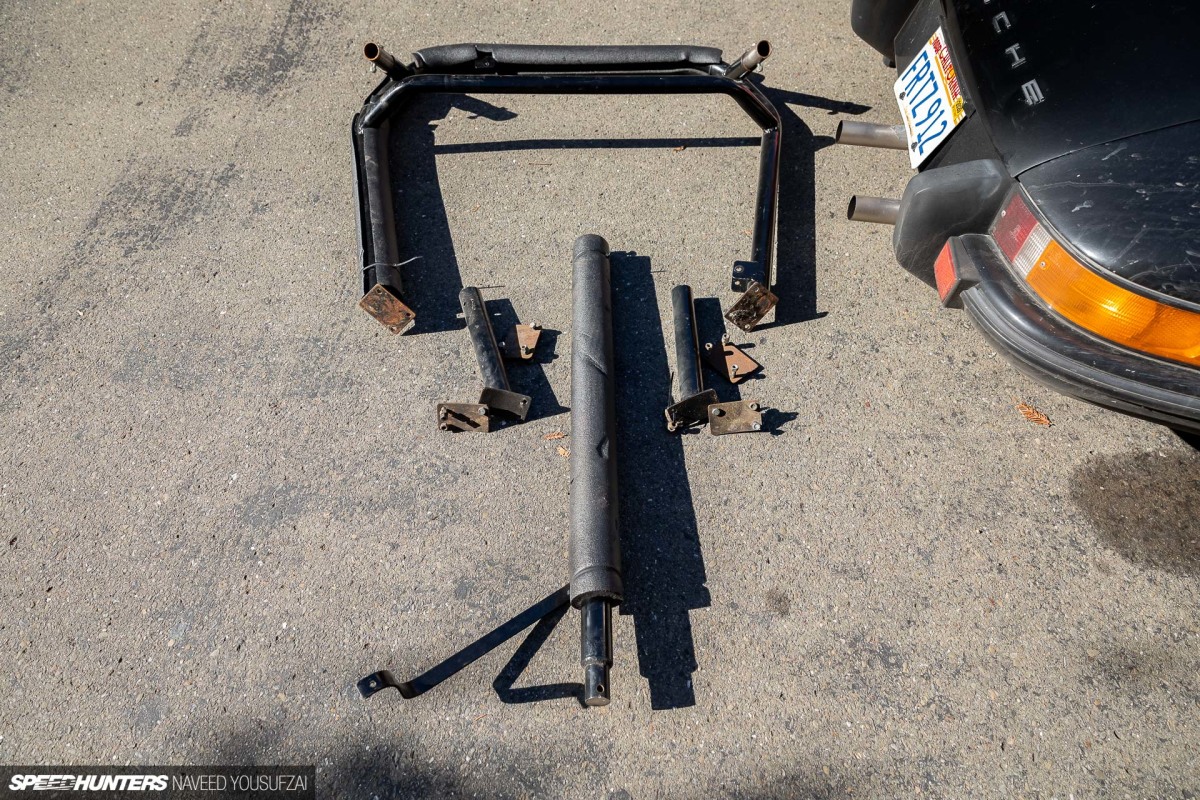
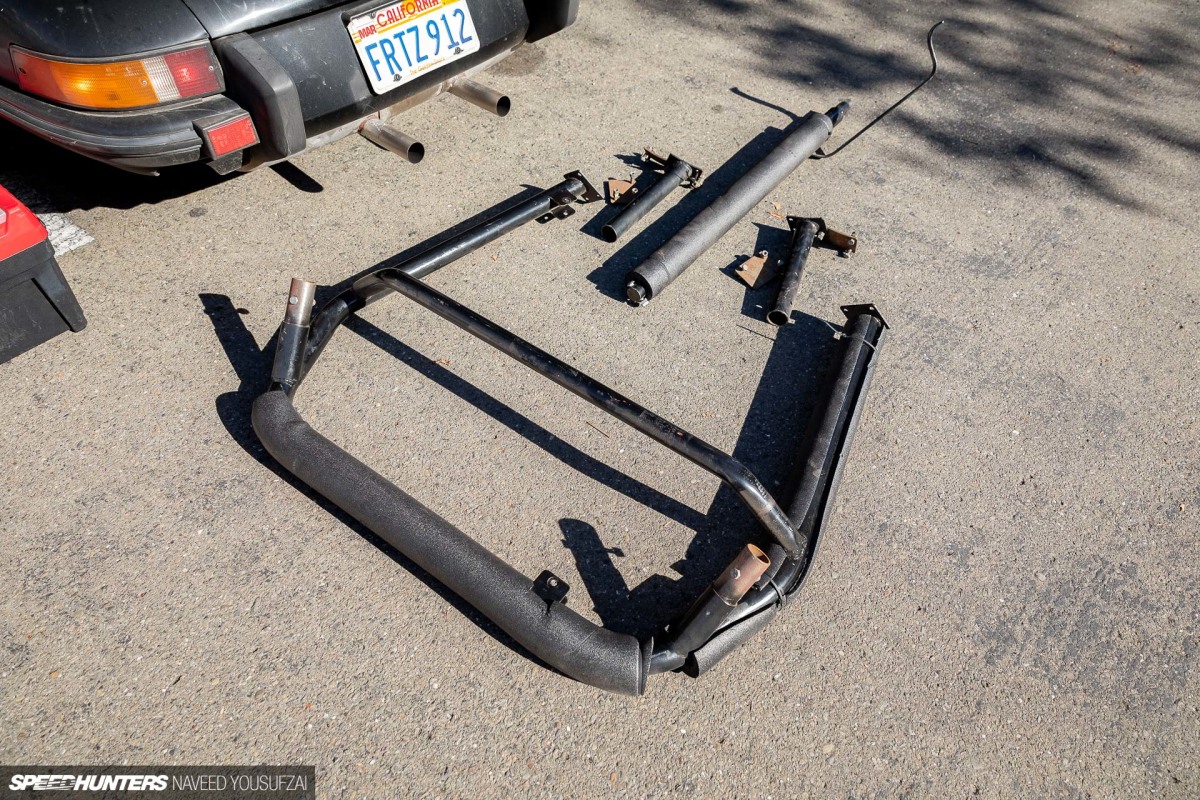
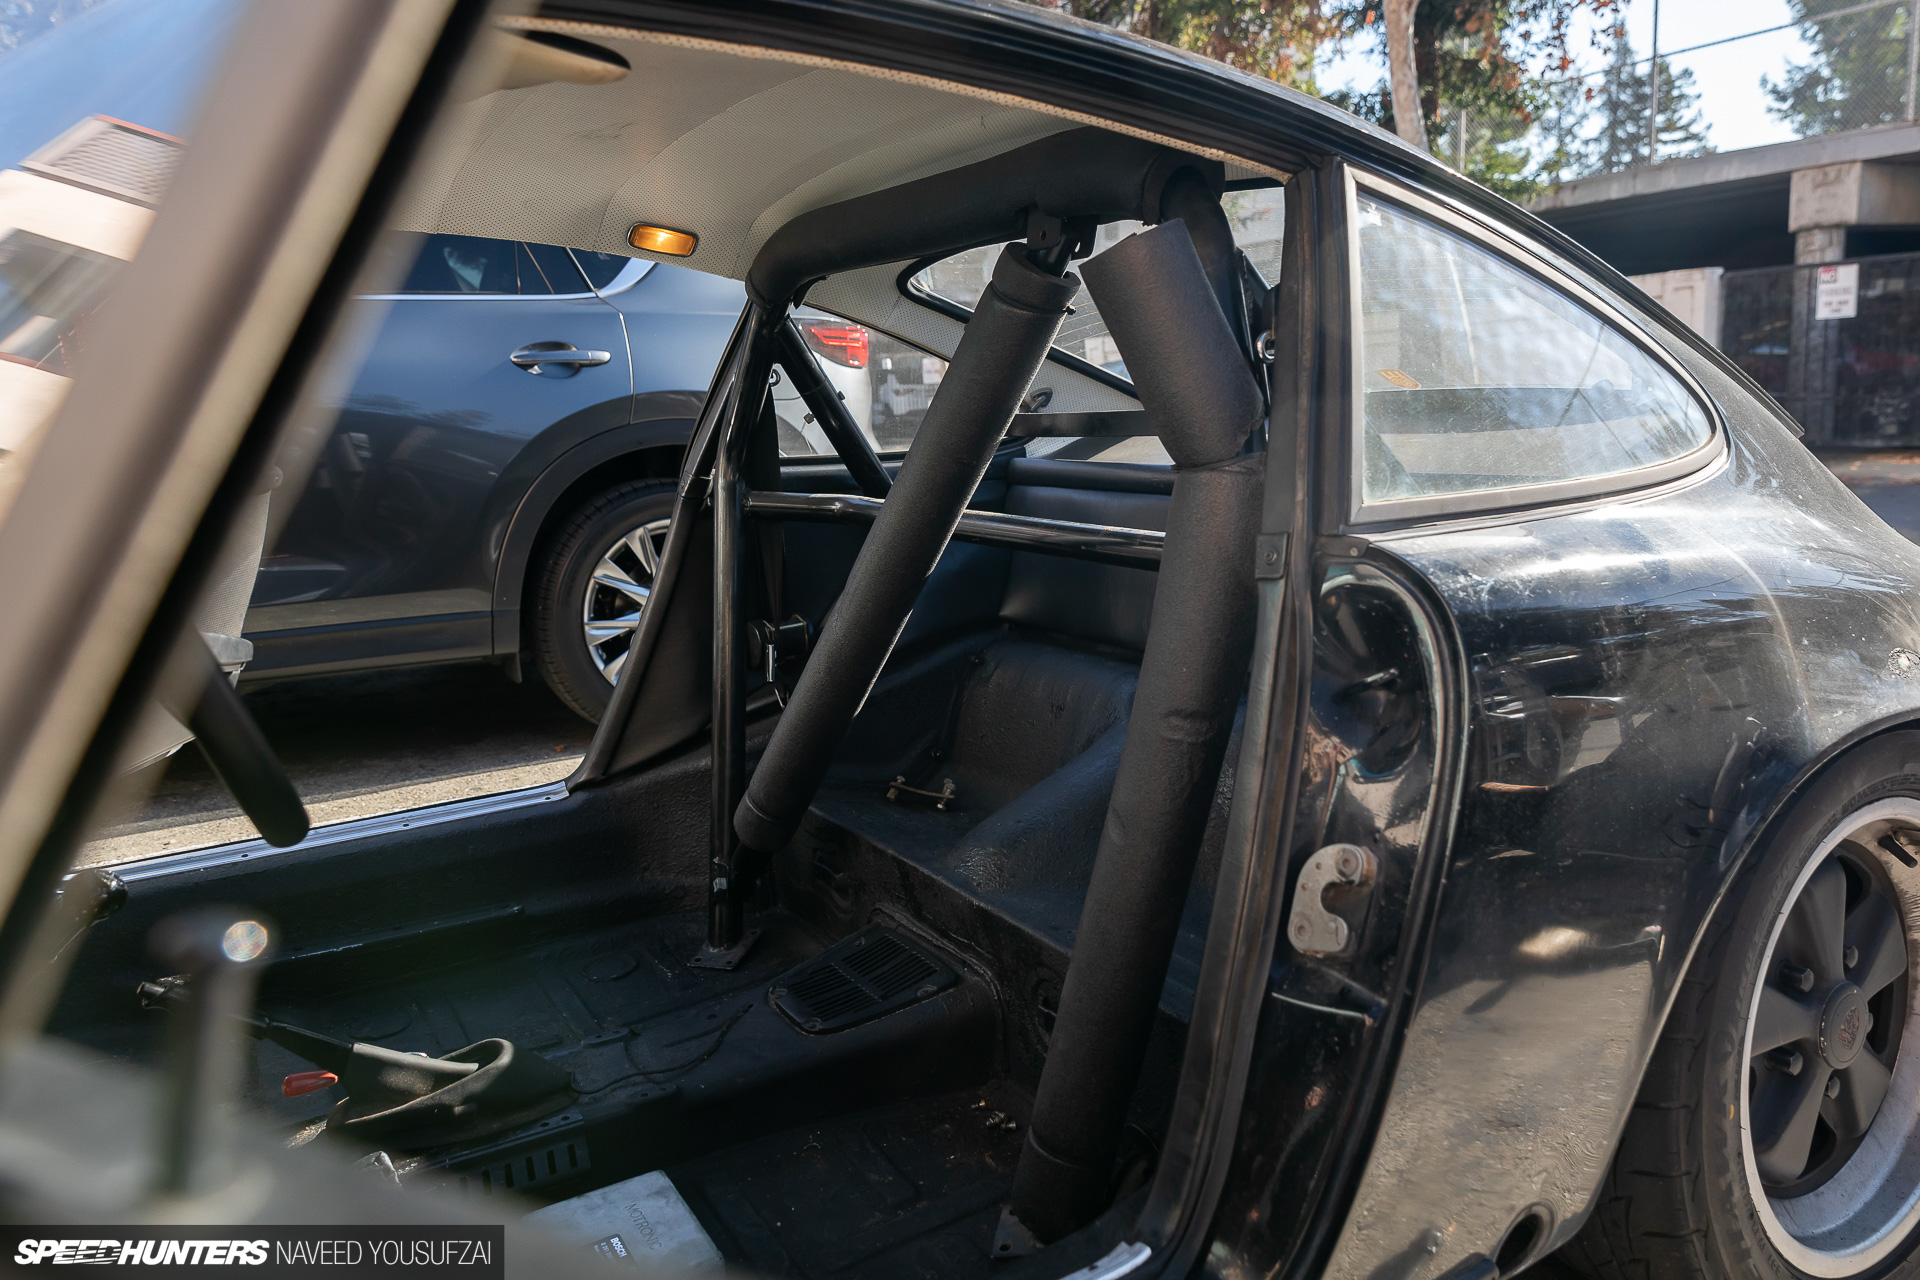
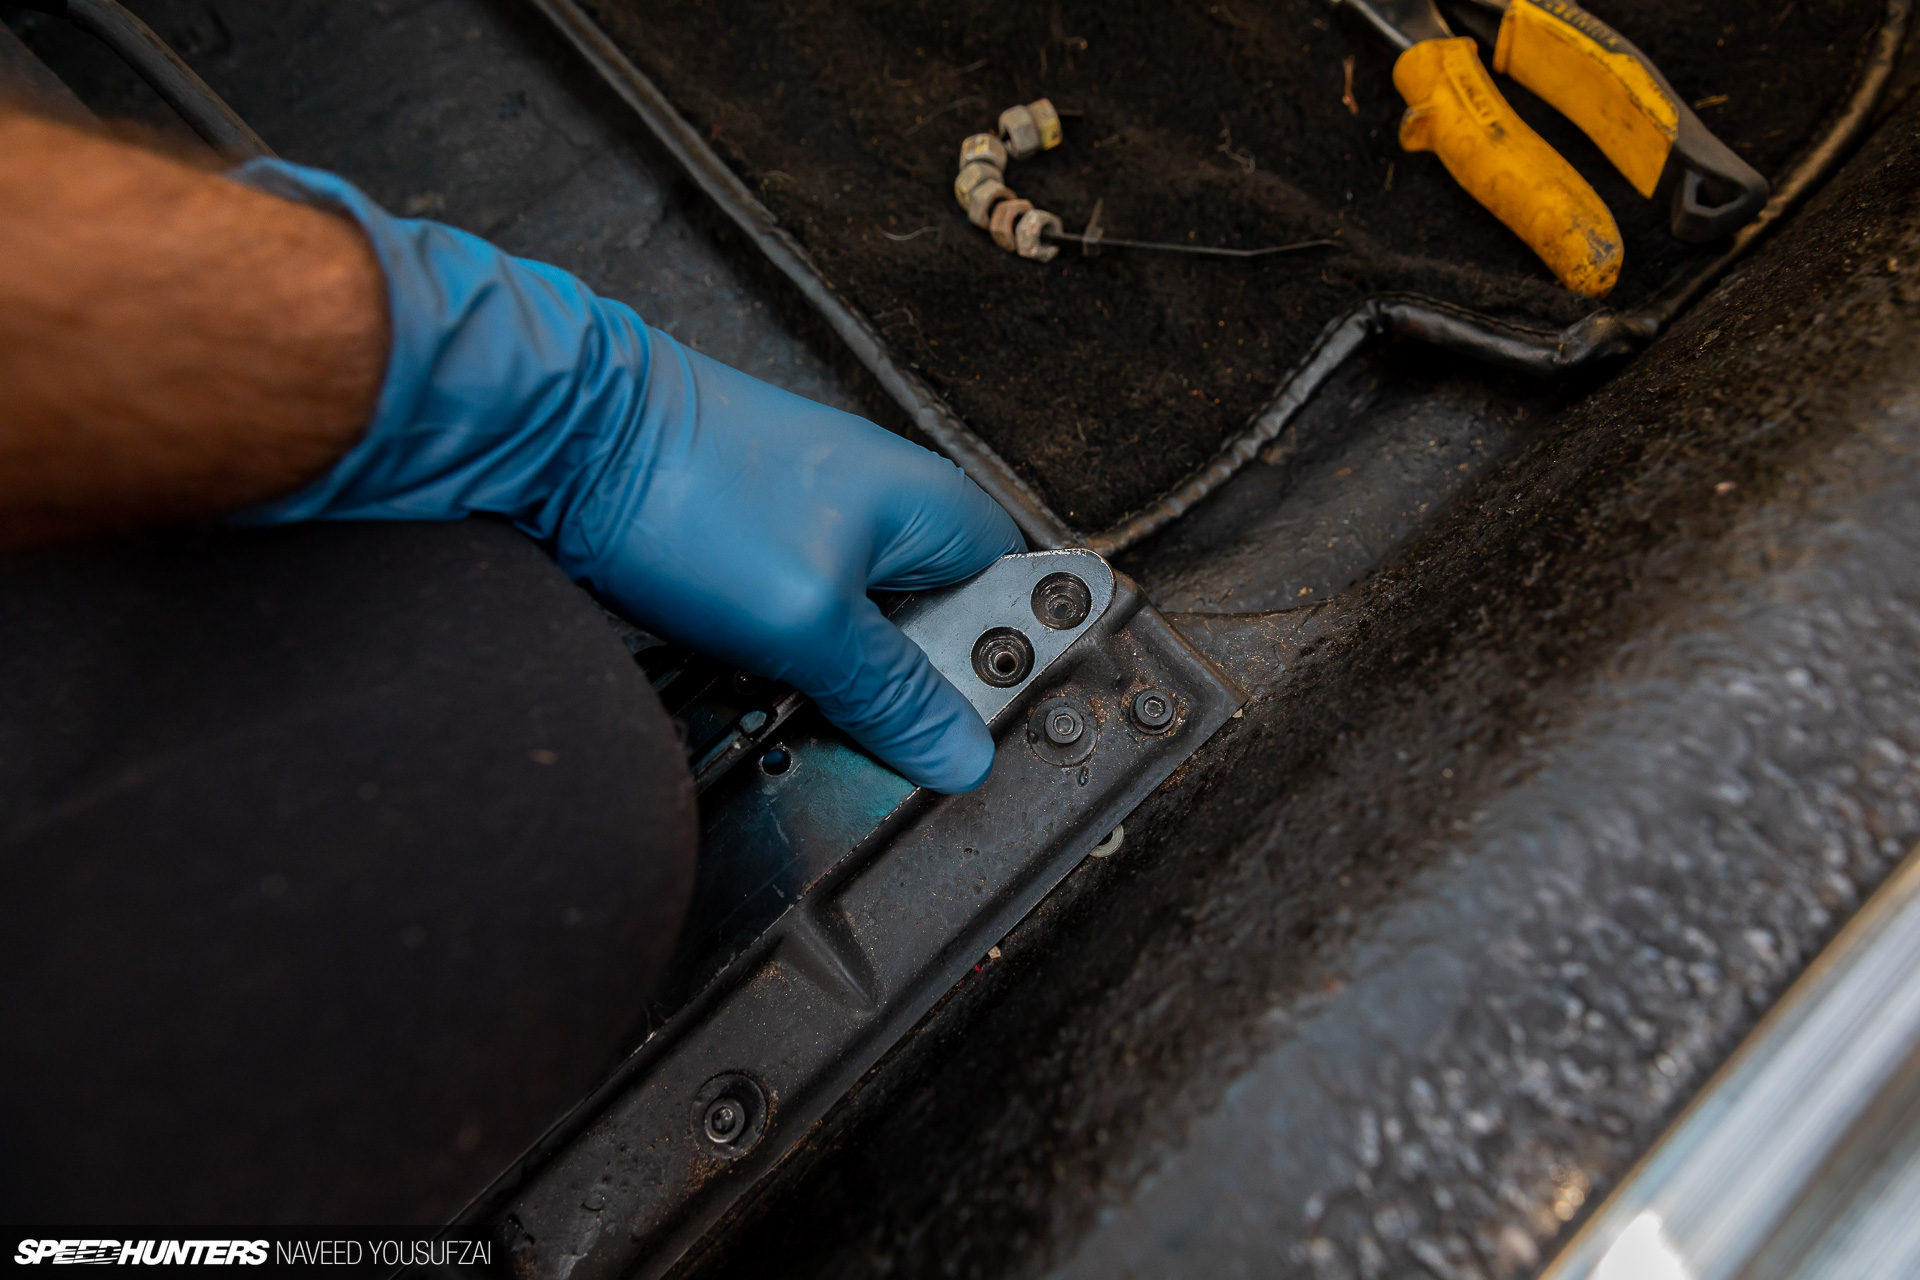

The problem, however, was that the RSR seats didn’t line up with the original mounting holes in the car. I tried every trick in the book to try to get them to match, but in the end I faced defeat and had my buddies over at Sports Purpose Garage take care of the misalignment issue. With that in mind, it only made sense to have them drill through the car for the roll bar install as well, since I wouldn’t dare trust myself with lining up holes correctly on that aspect. The same applied for the SCHROTH 6-point harnesses that required floor mounting.
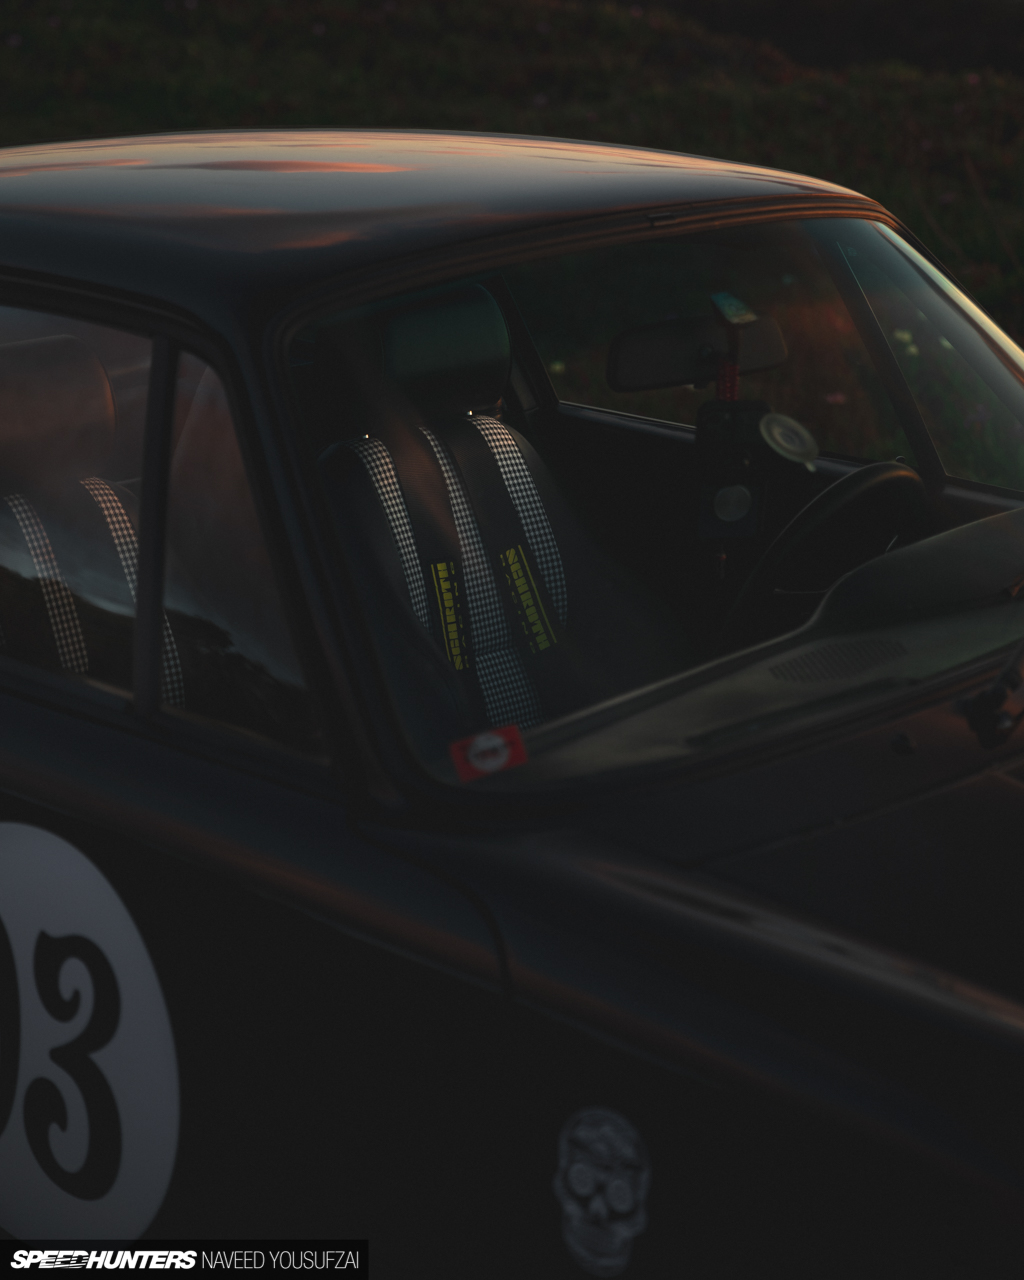
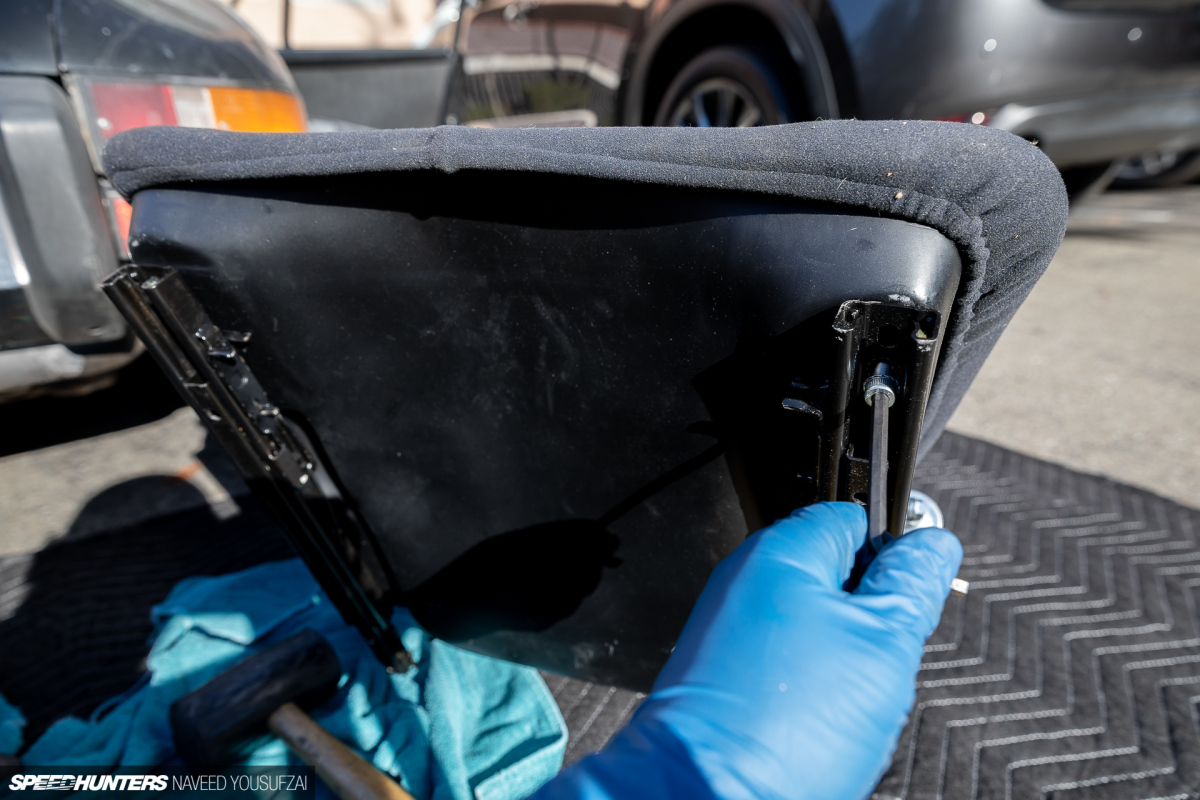
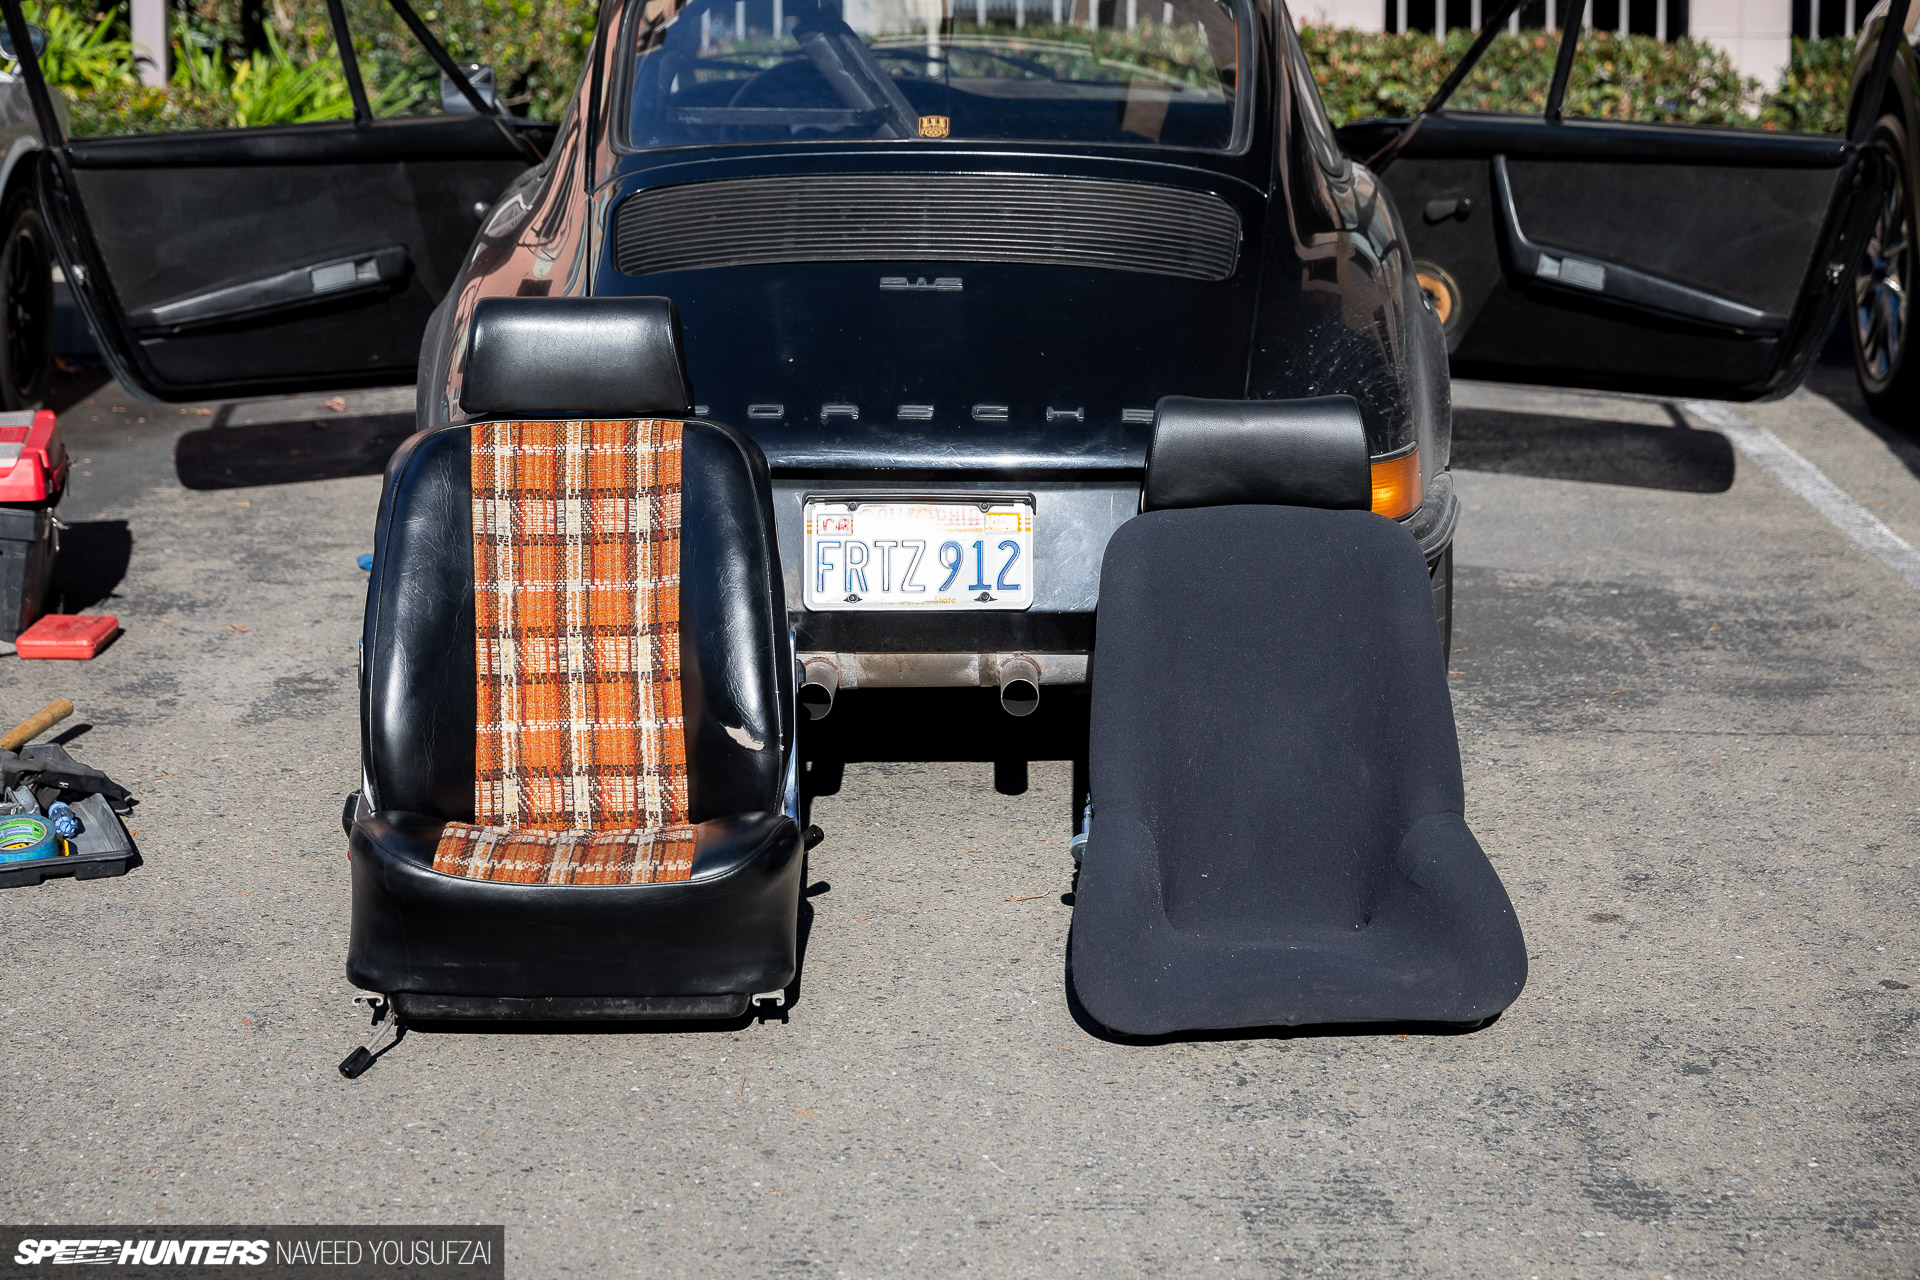
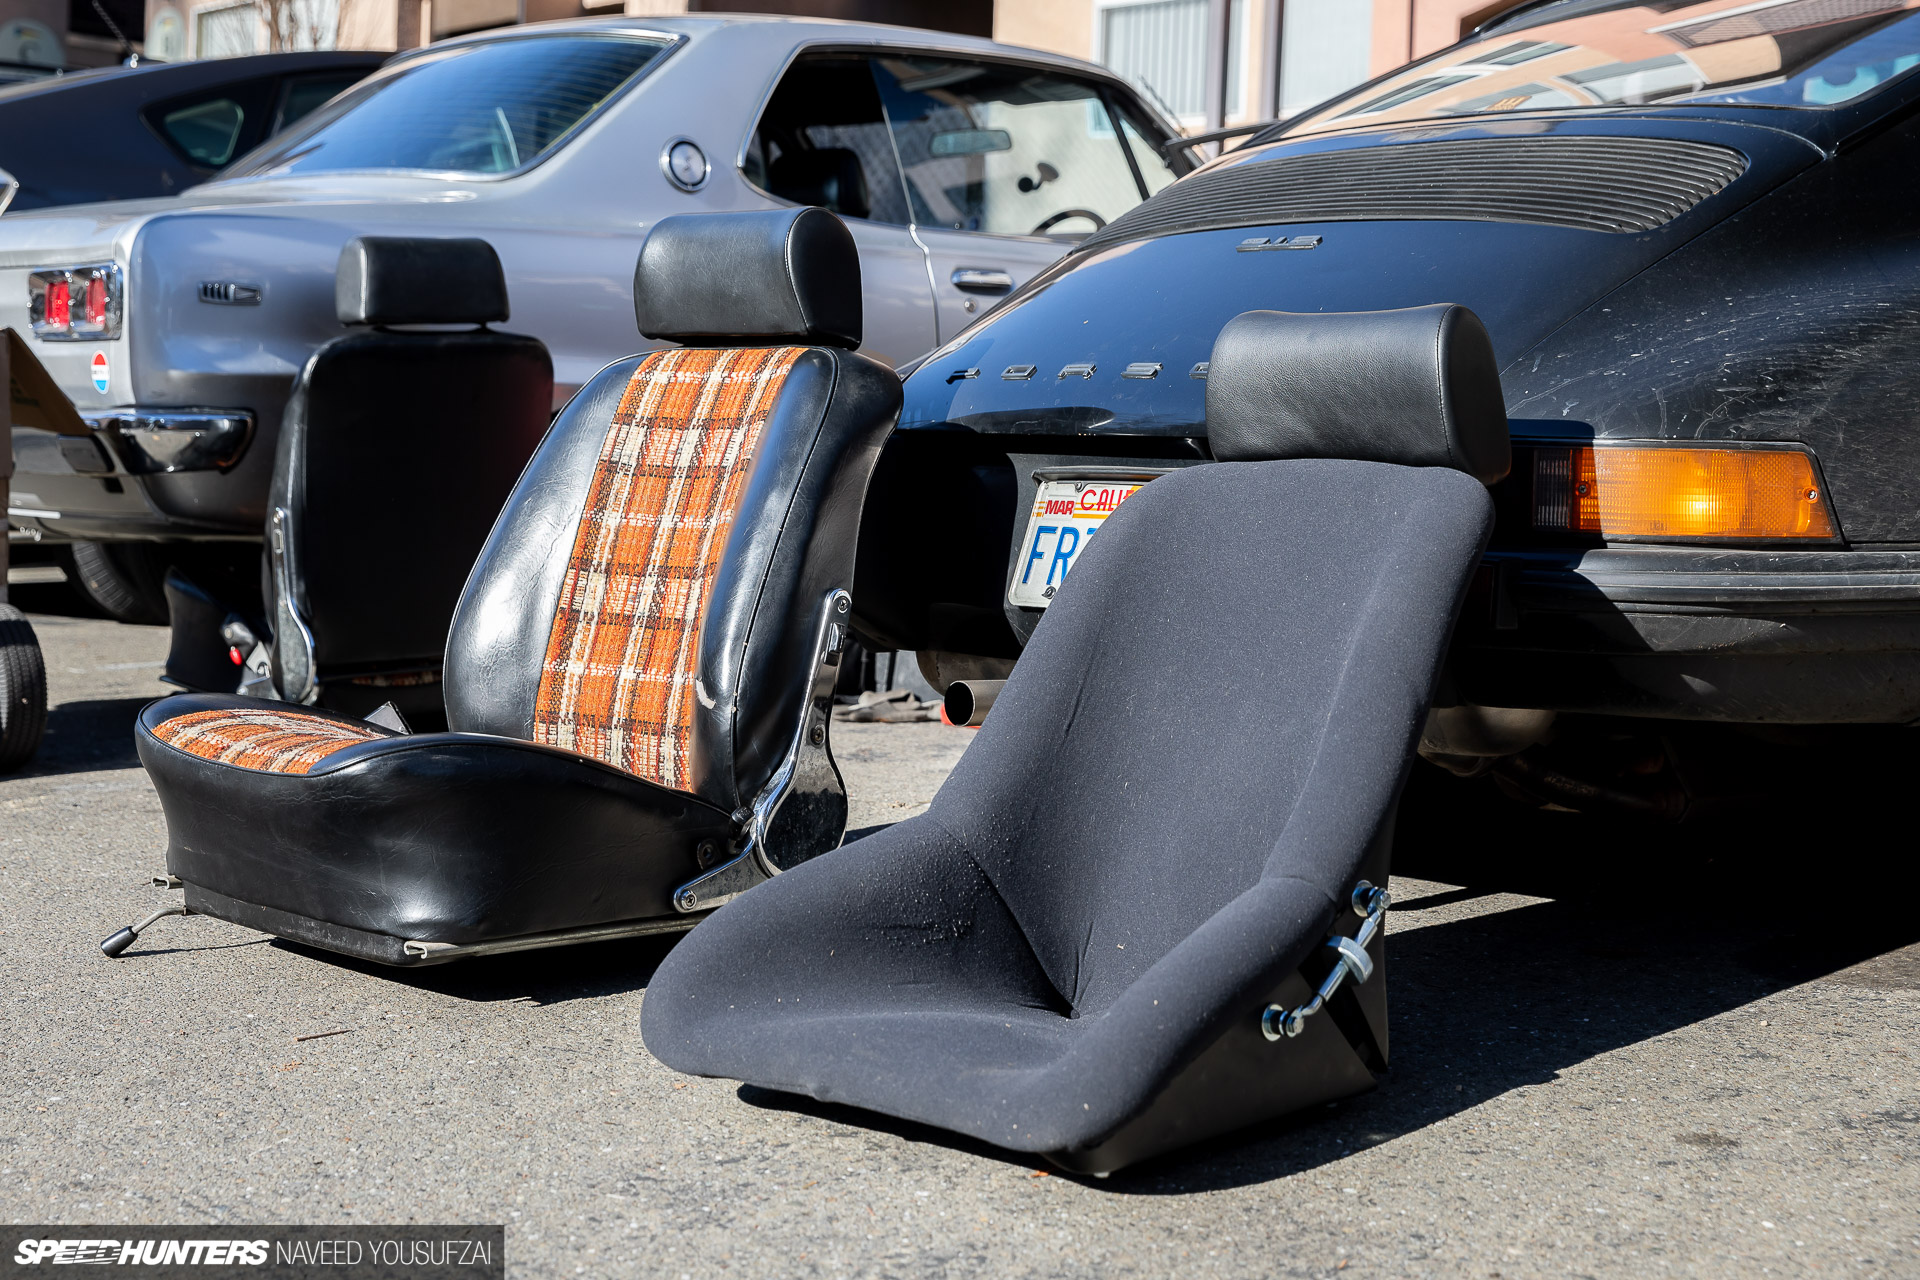
If that wasn’t enough of a downer, it turned out that I actually hated the RSR seats. The weight difference versus the stock seats made it pretty hard to go any other route, but because I had plans to take this car on rallies and longer road trips, I was faced with no other choice but to find something with more support and better comfort.
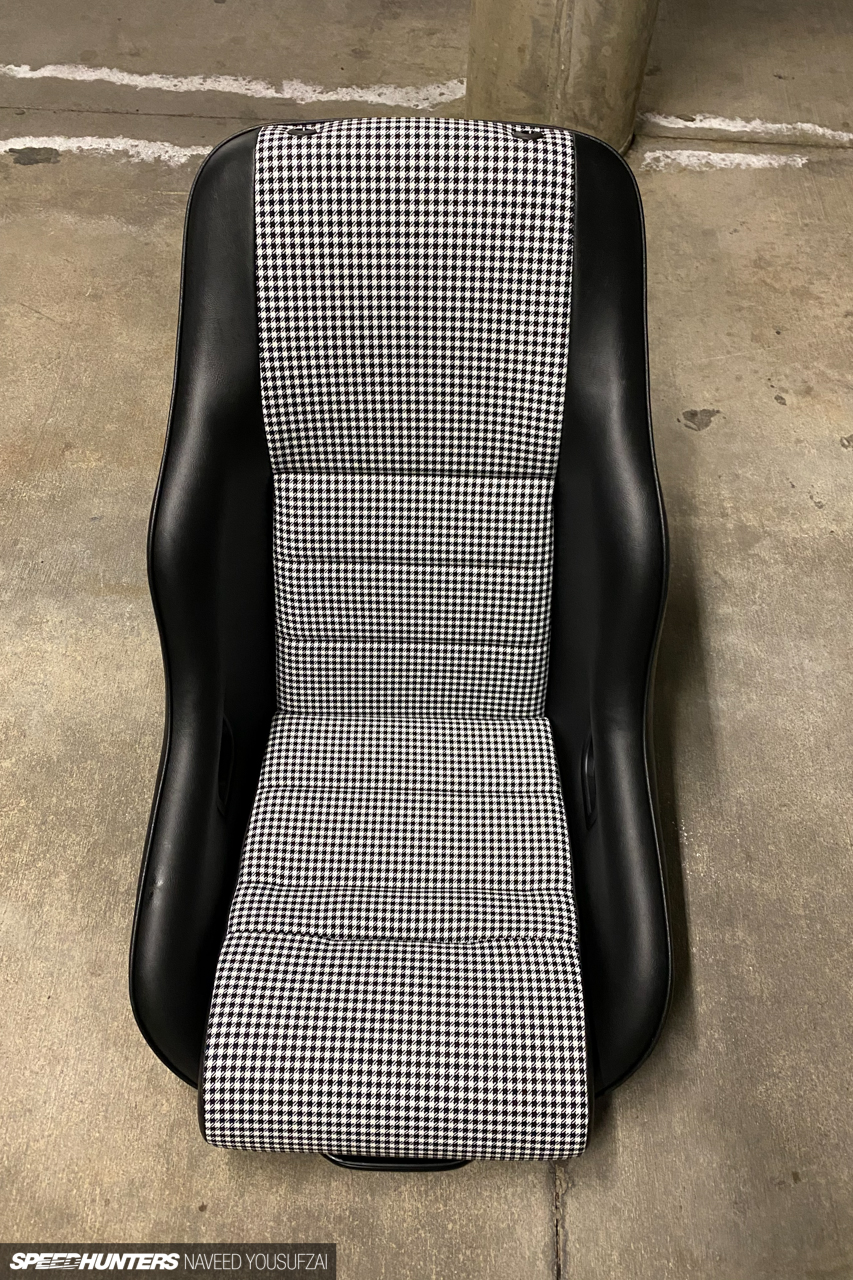
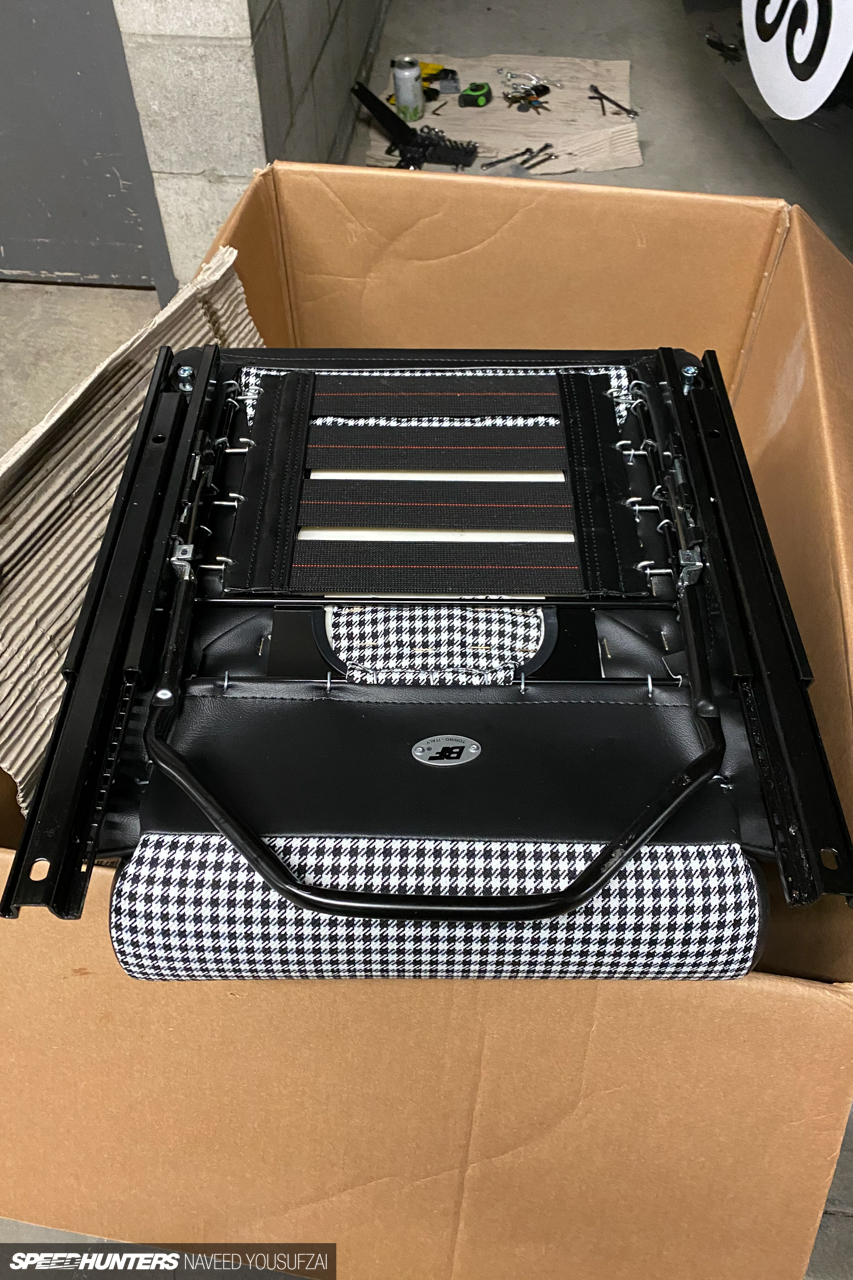
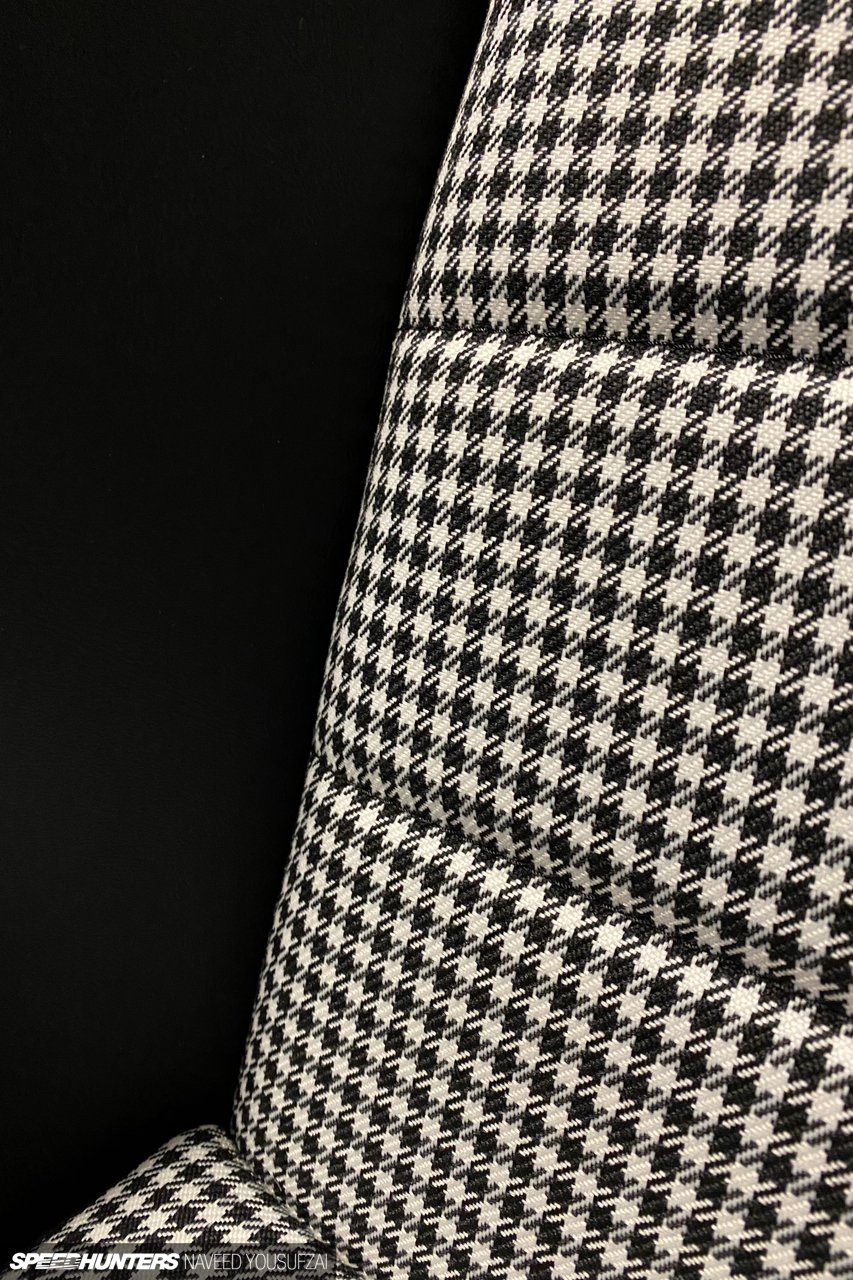
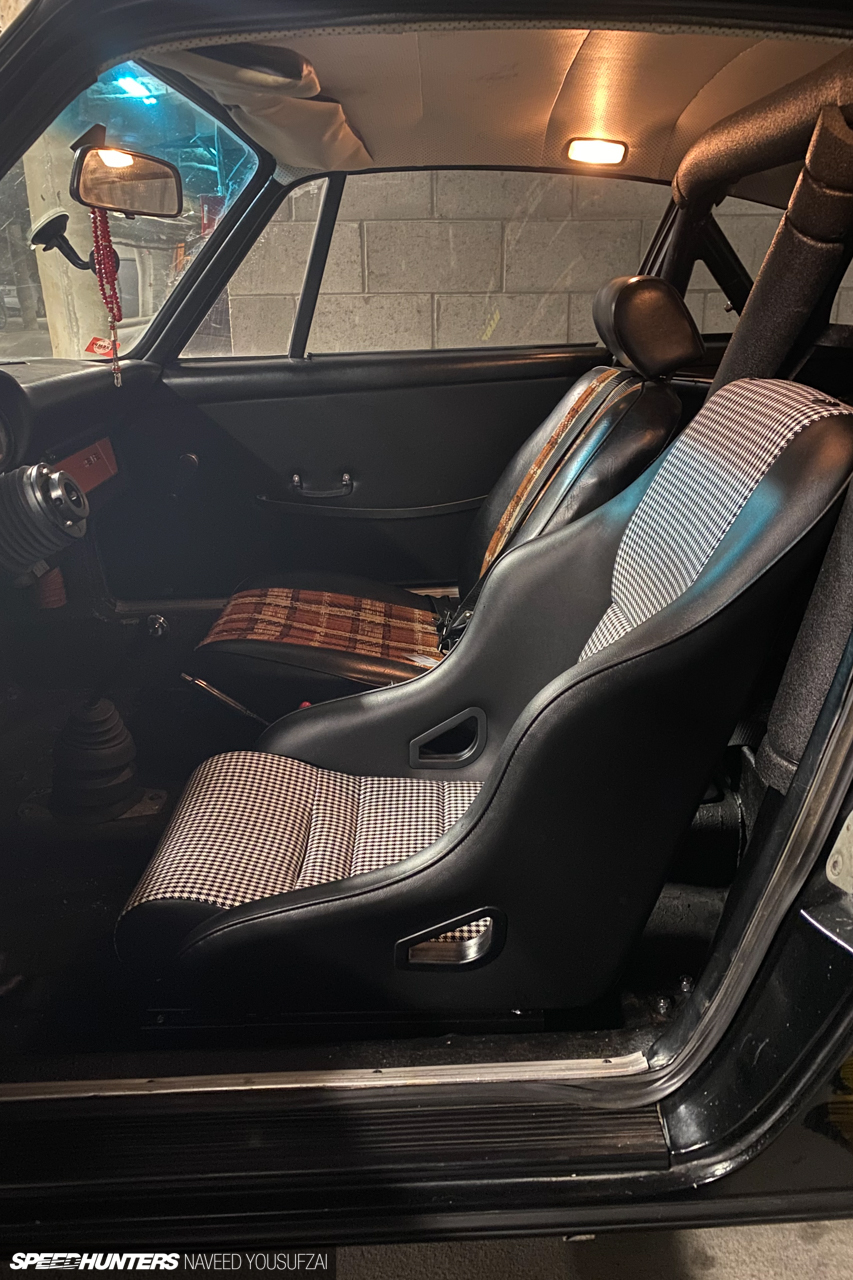

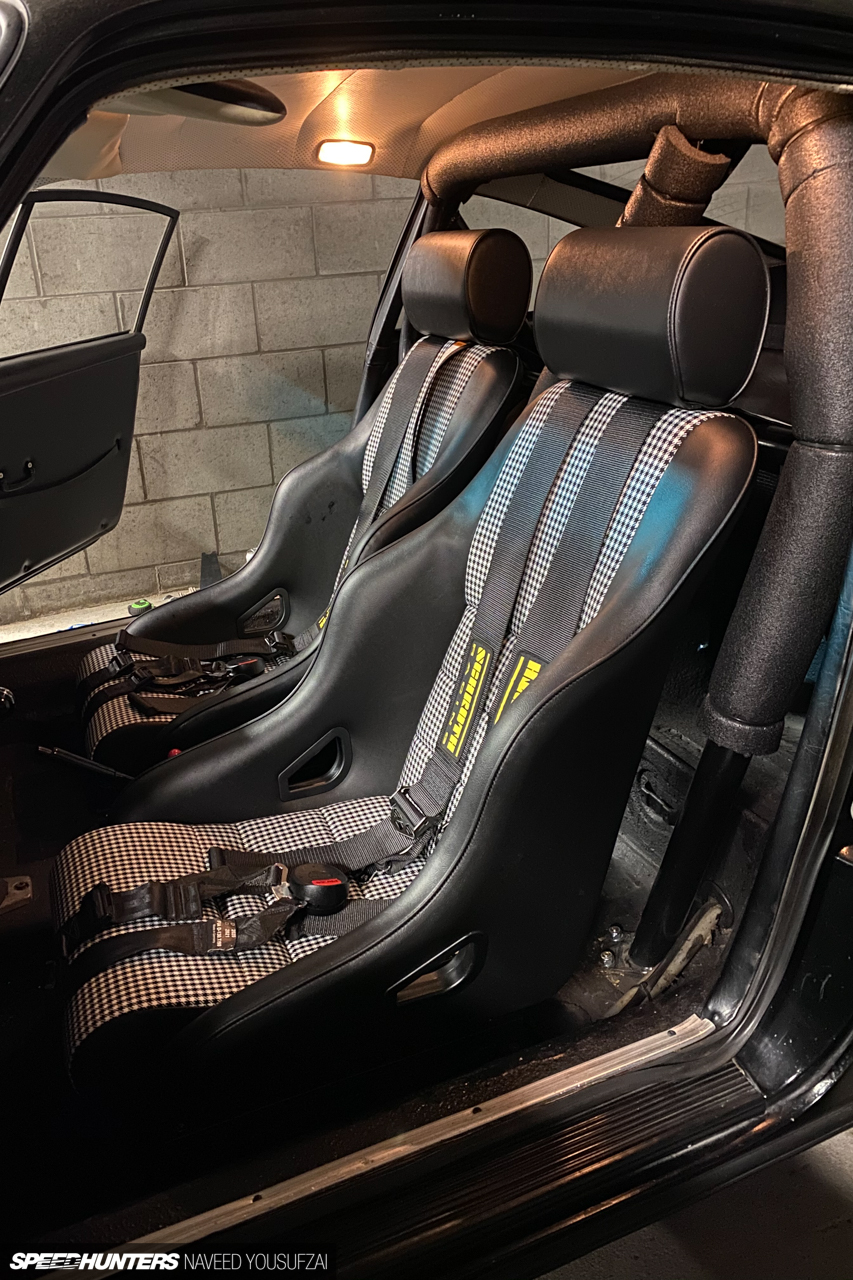
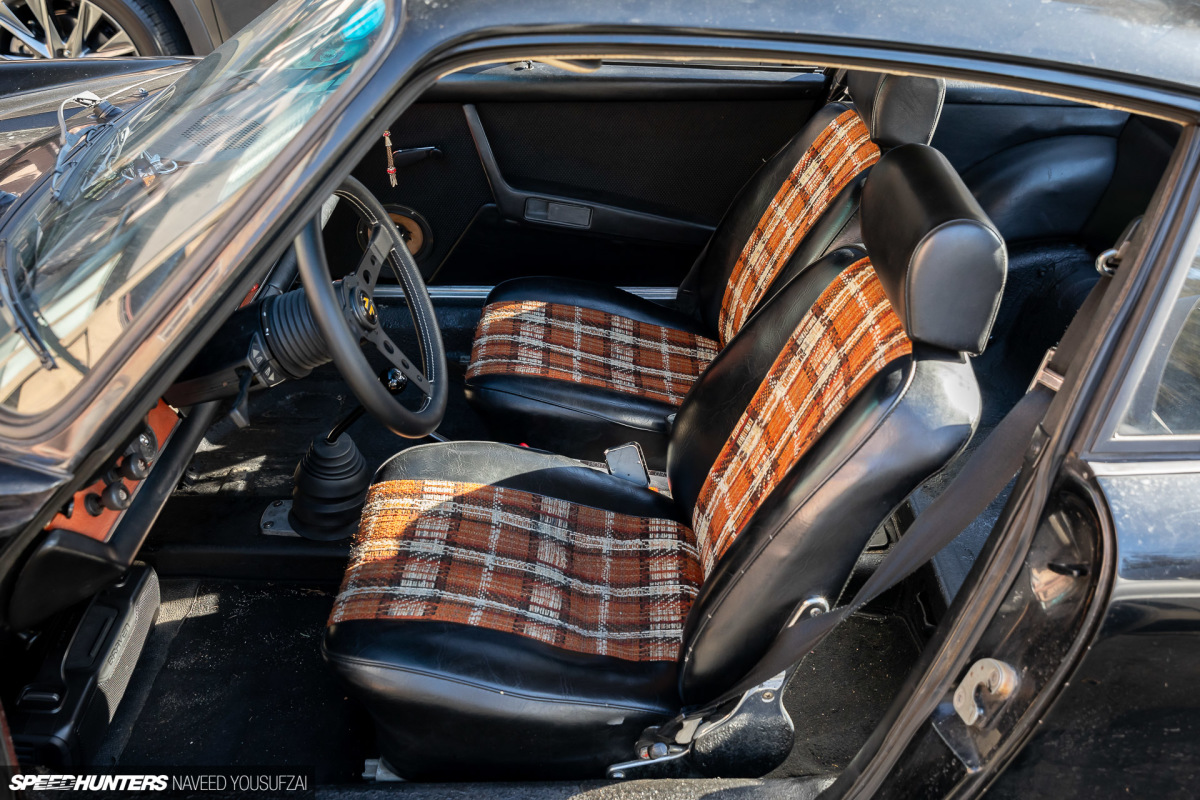
I consulted a couple of other friends to see what might be a better solution while not having to add so much weight back into the car, and their suggestion ended up being my life saver. A few weeks later, I took delivery on a set of ST-styled seats from a small Italian manufacturer, finished with houndstooth/peppita centers, which matched perfectly with the overall color scheme of the car. I couldn’t have been happier; the support I needed was there and they also remained low on the weight scale. Not to mention, the overall build quality of the seats is outstanding.
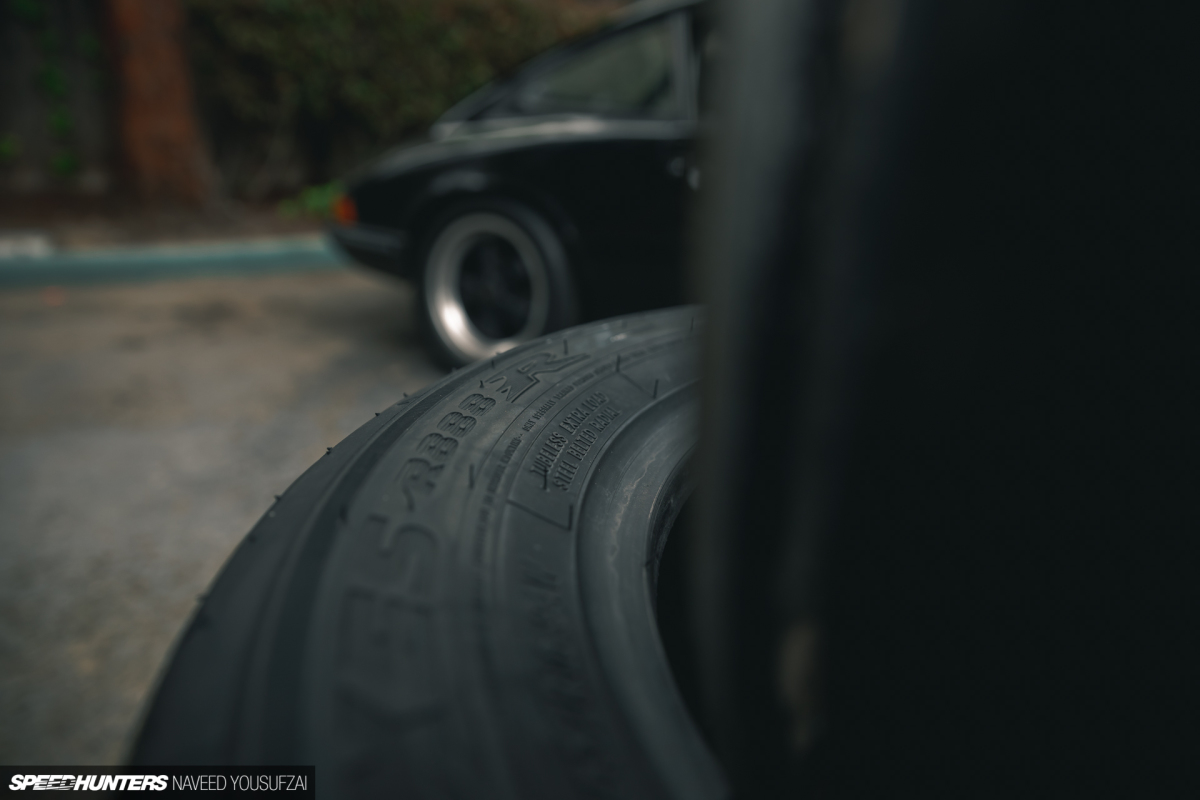
R888R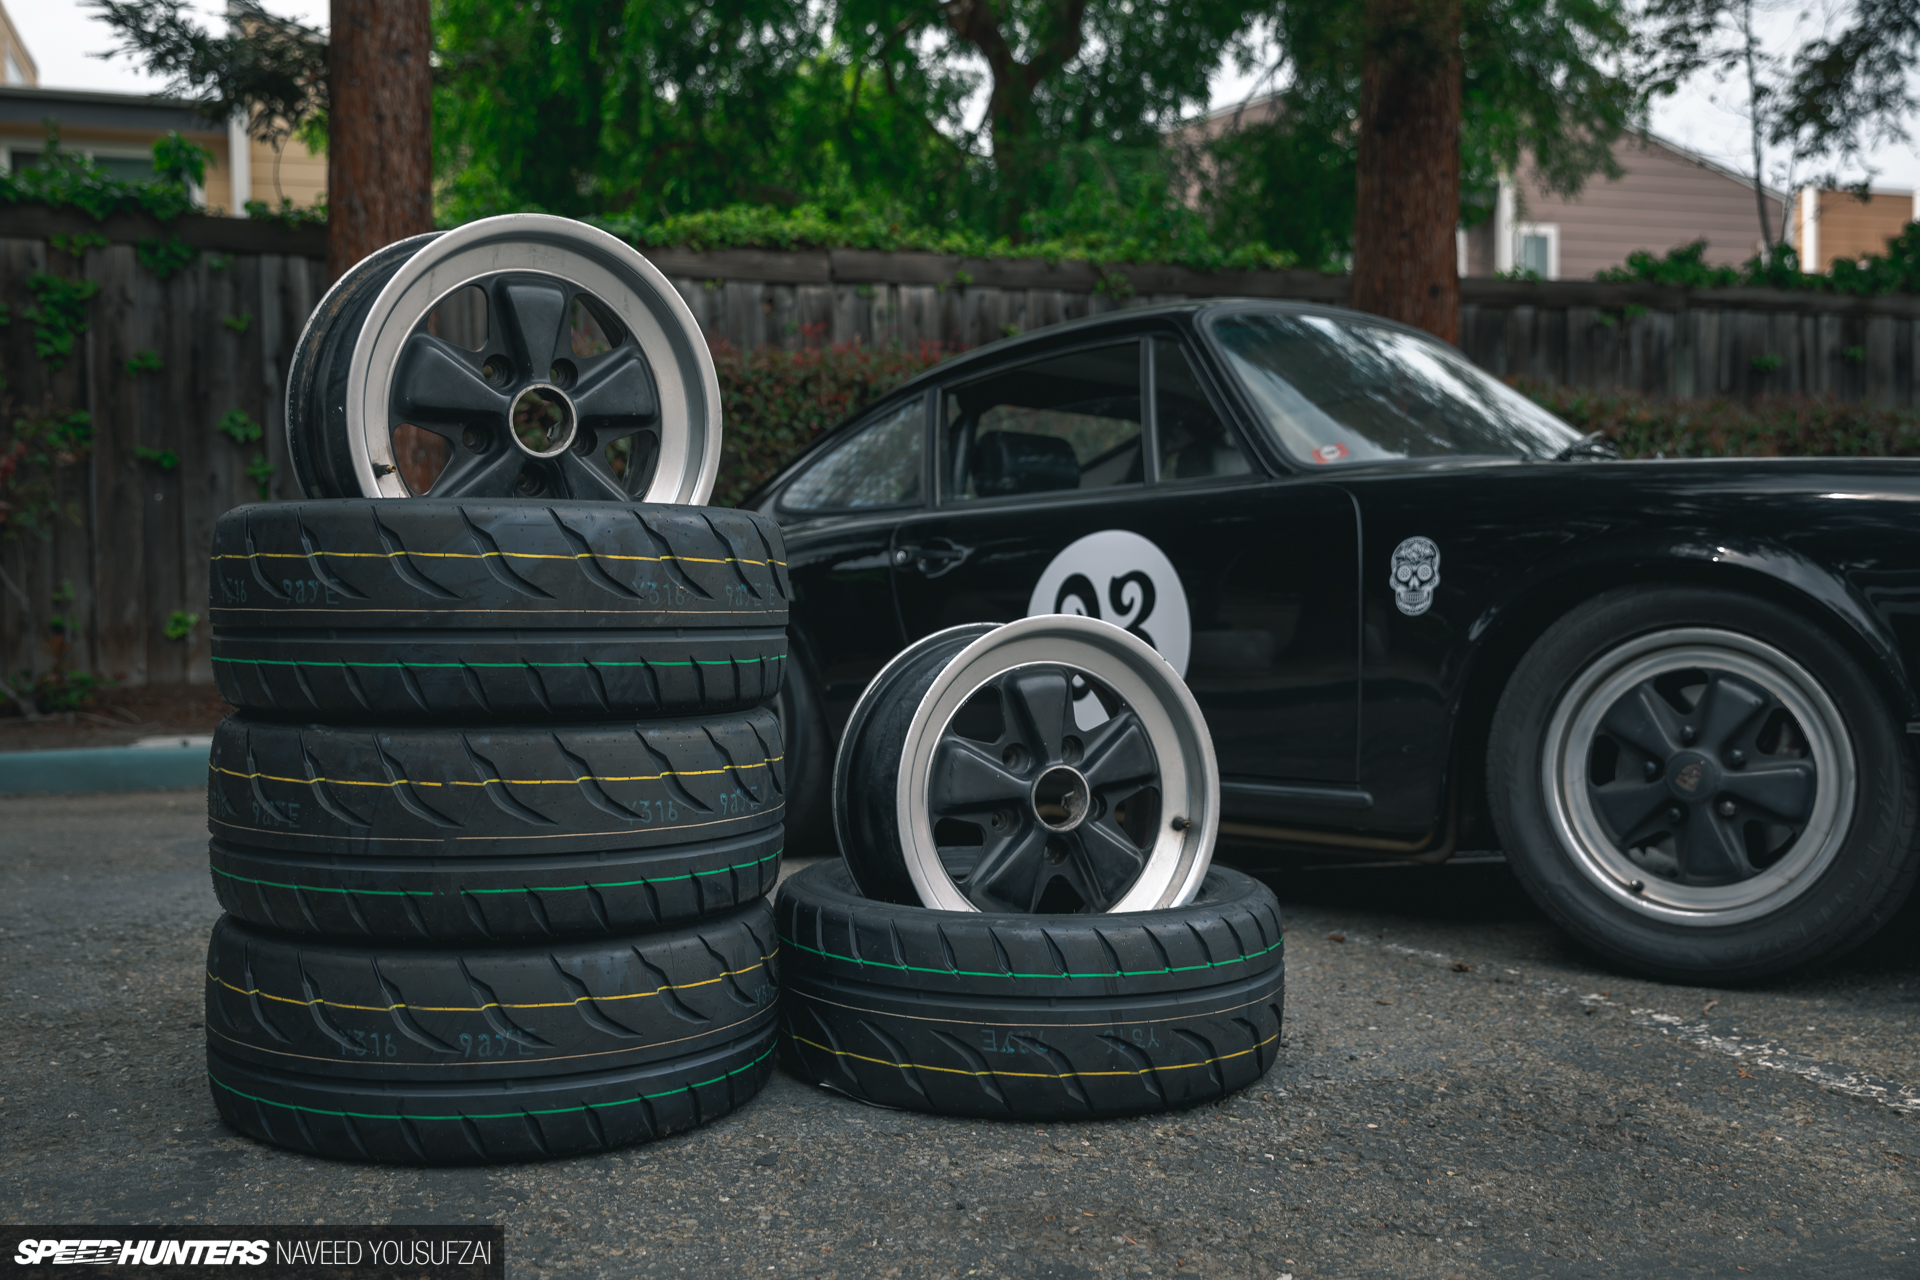
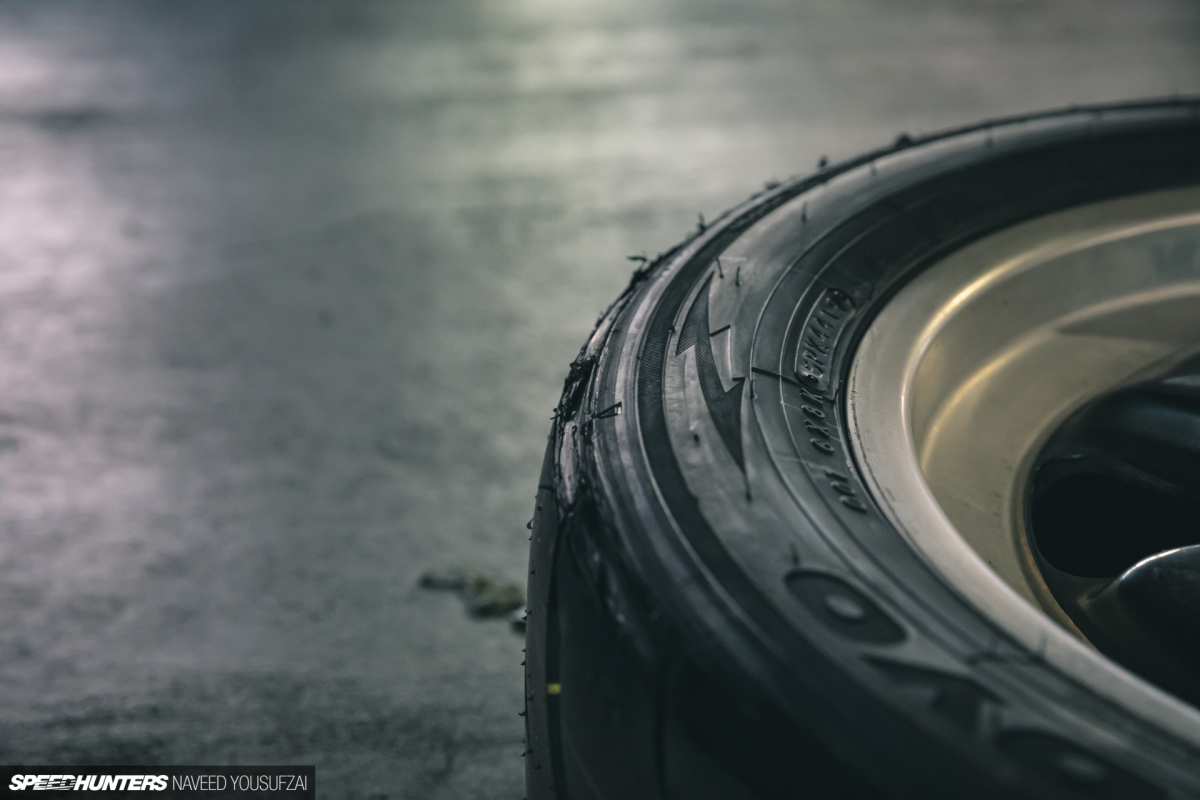
After completing the details on the car, the only thing left was to work on some additional maintenance and performance upgrades. An oil change was first on the list, which isn’t really anything significant to touch base on, so no big news there. But blowing through my old set of tires was, and it was time to make a major upgrade.
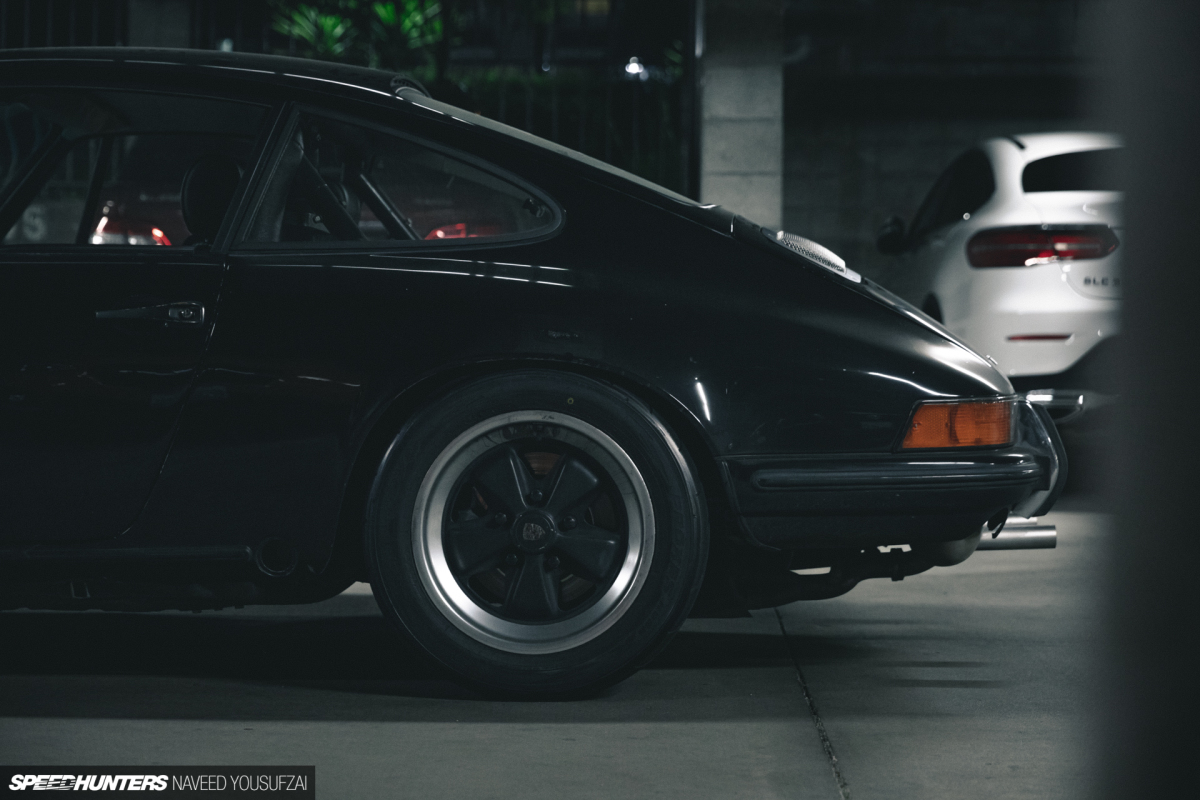
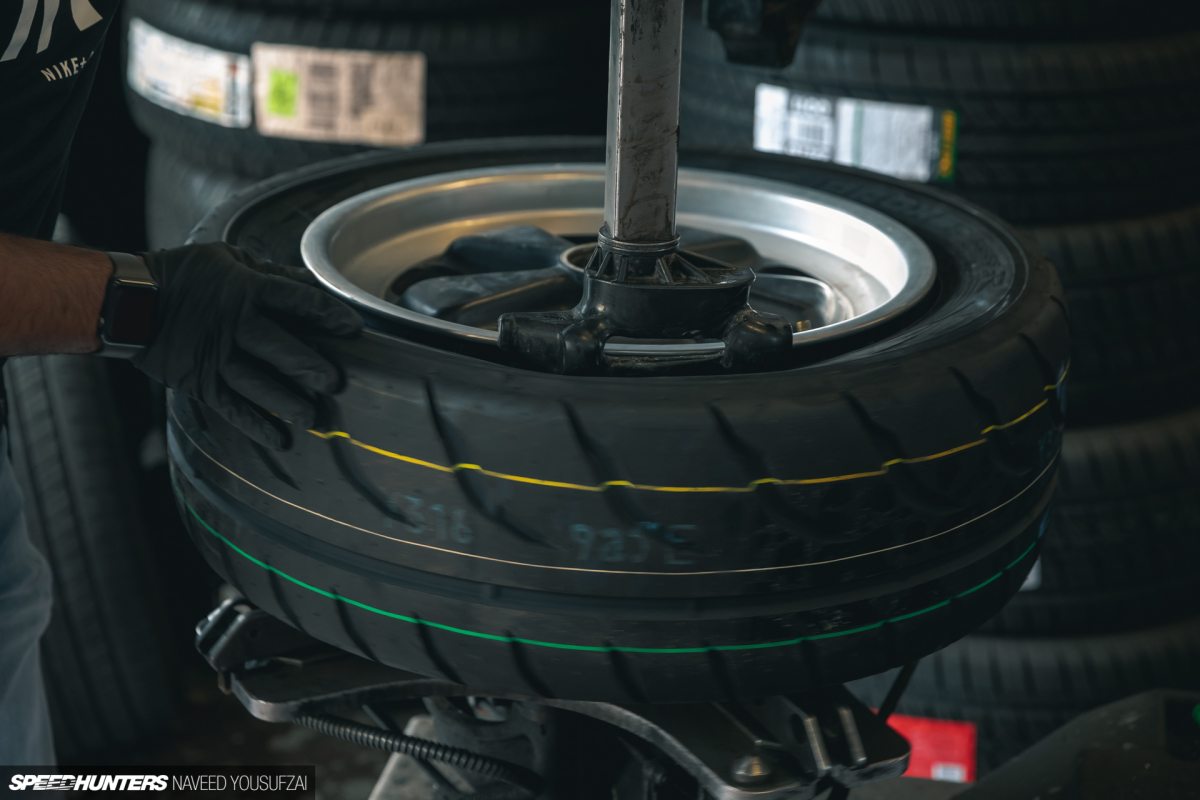
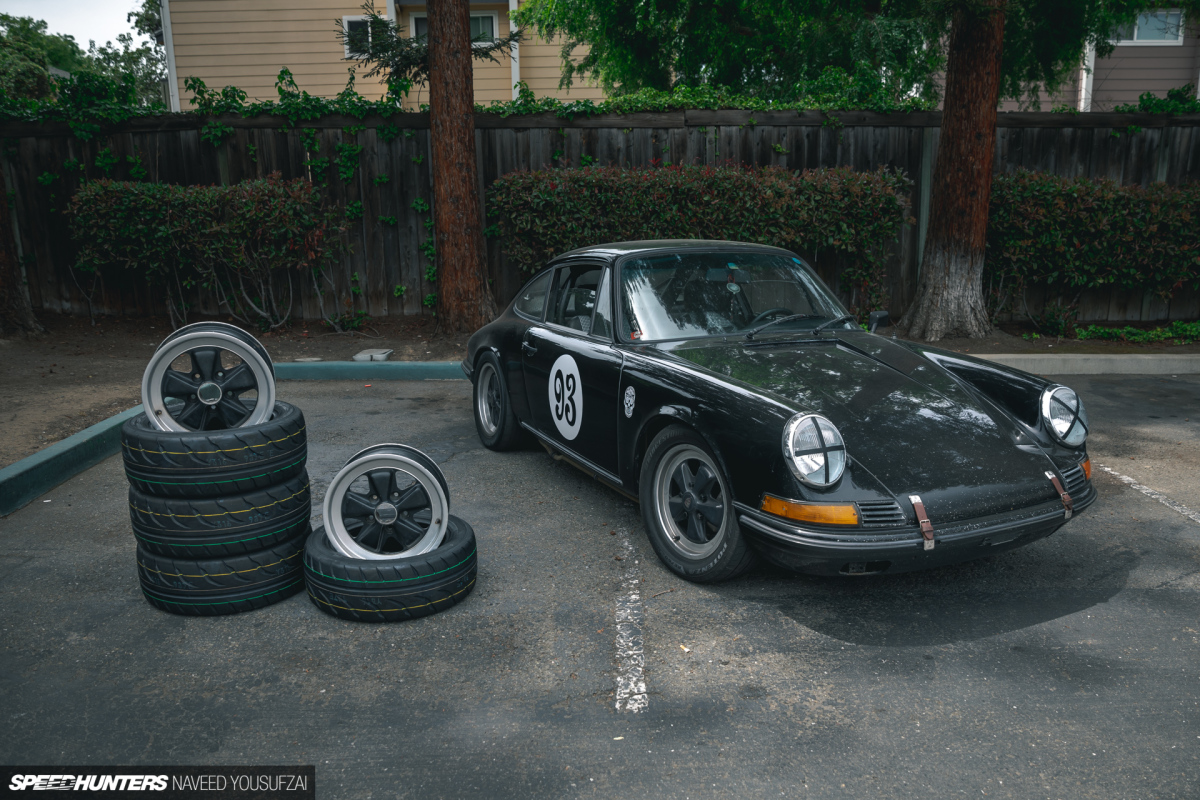
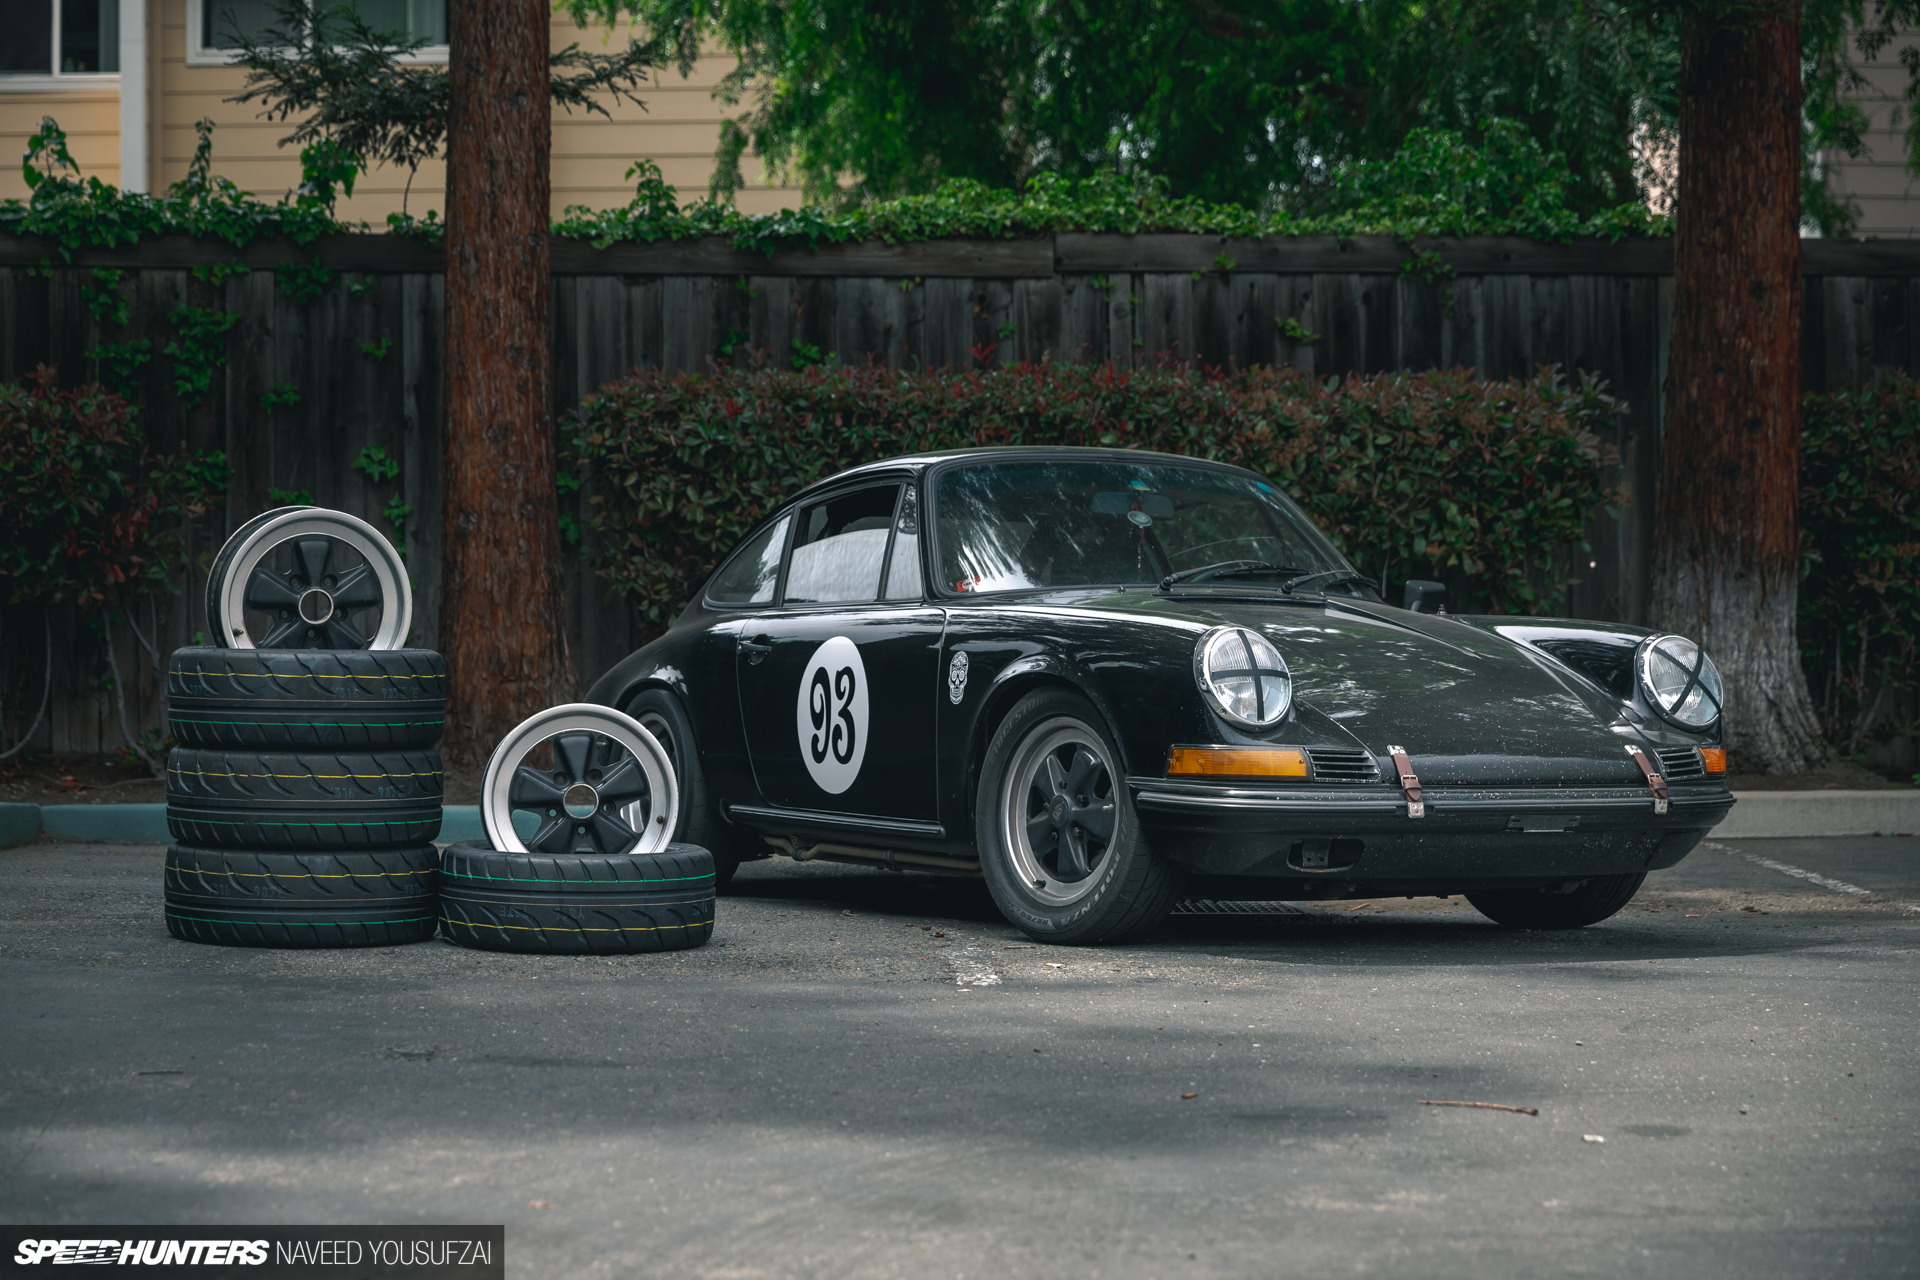
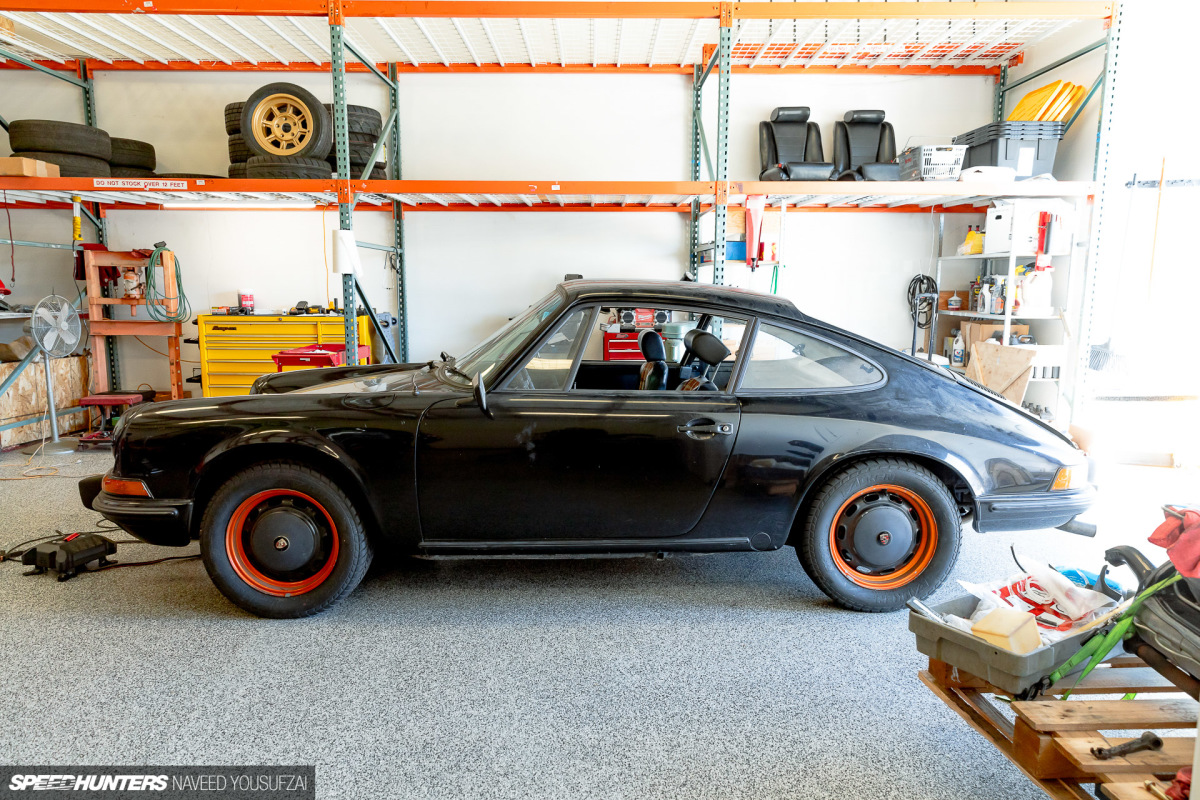
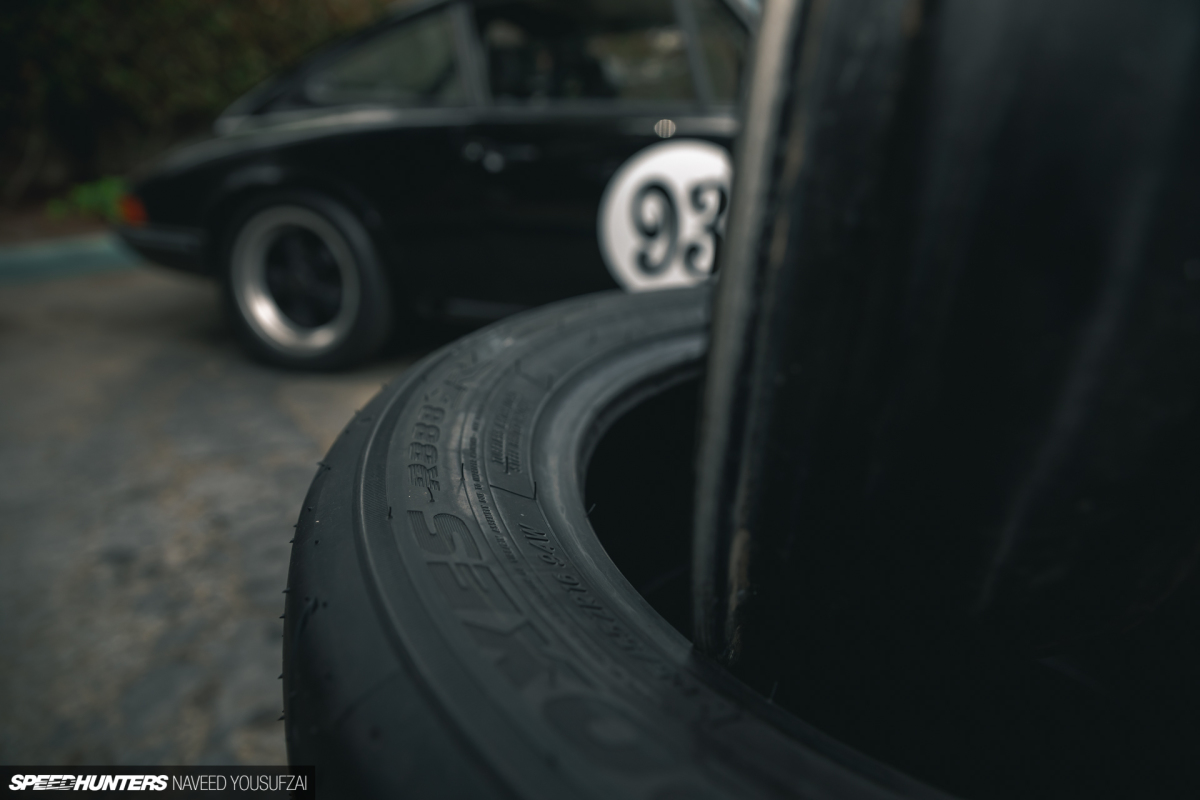
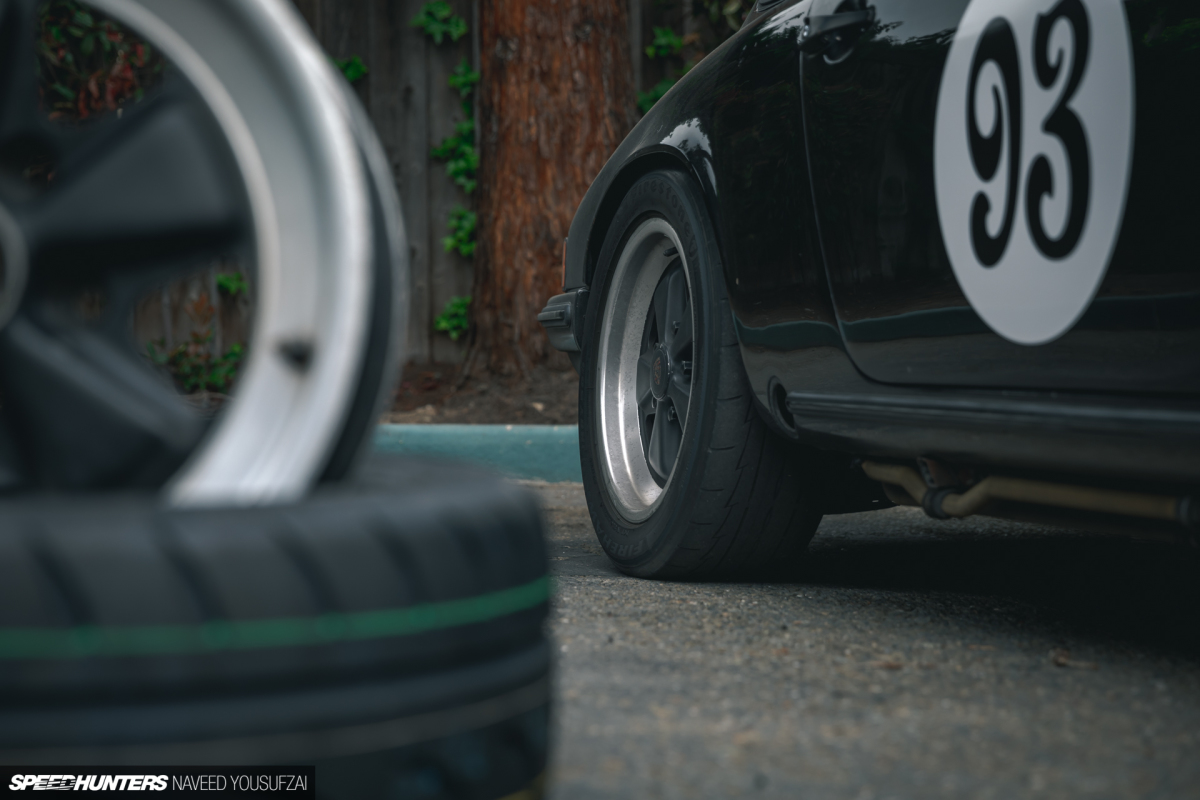
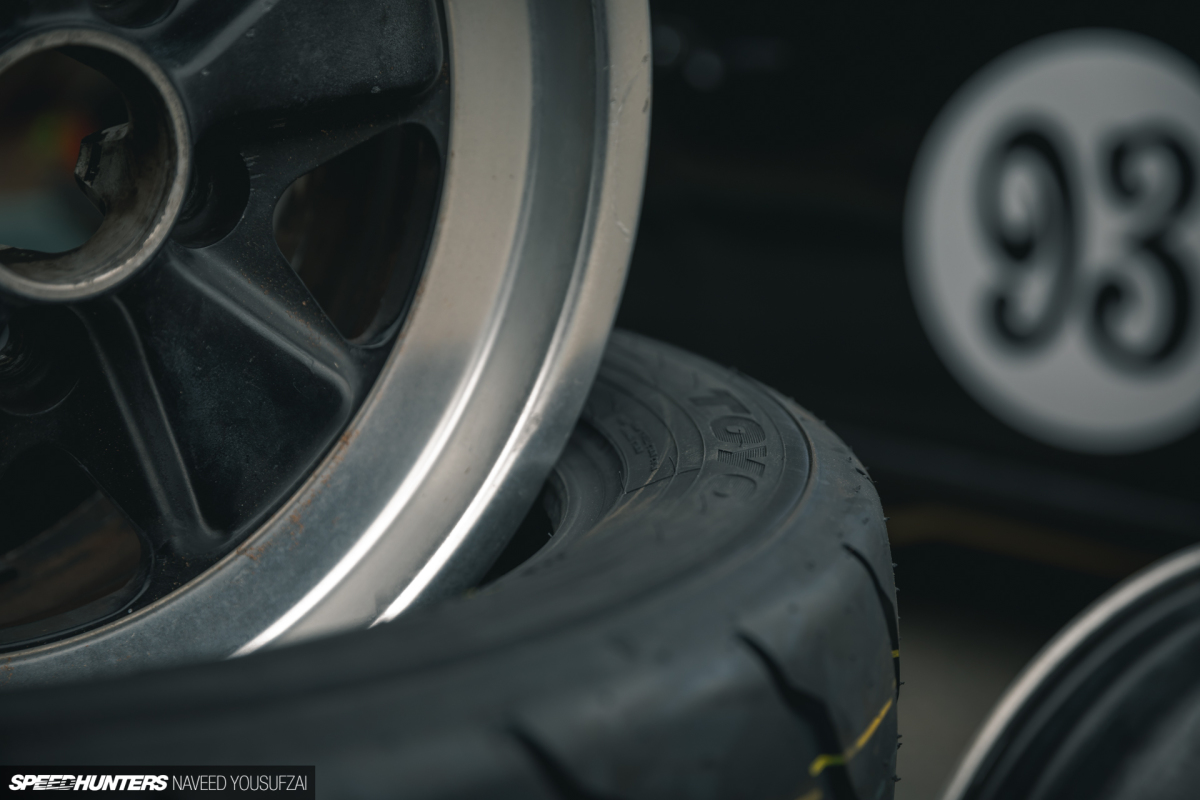
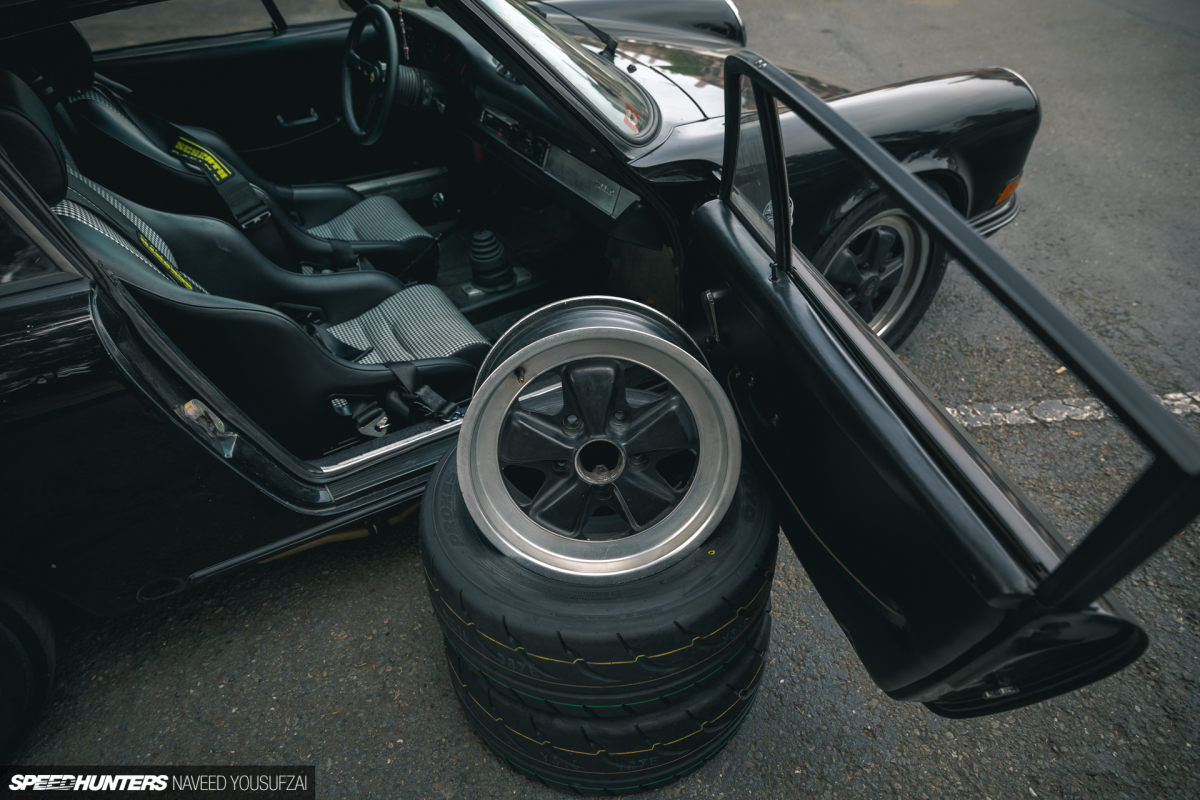
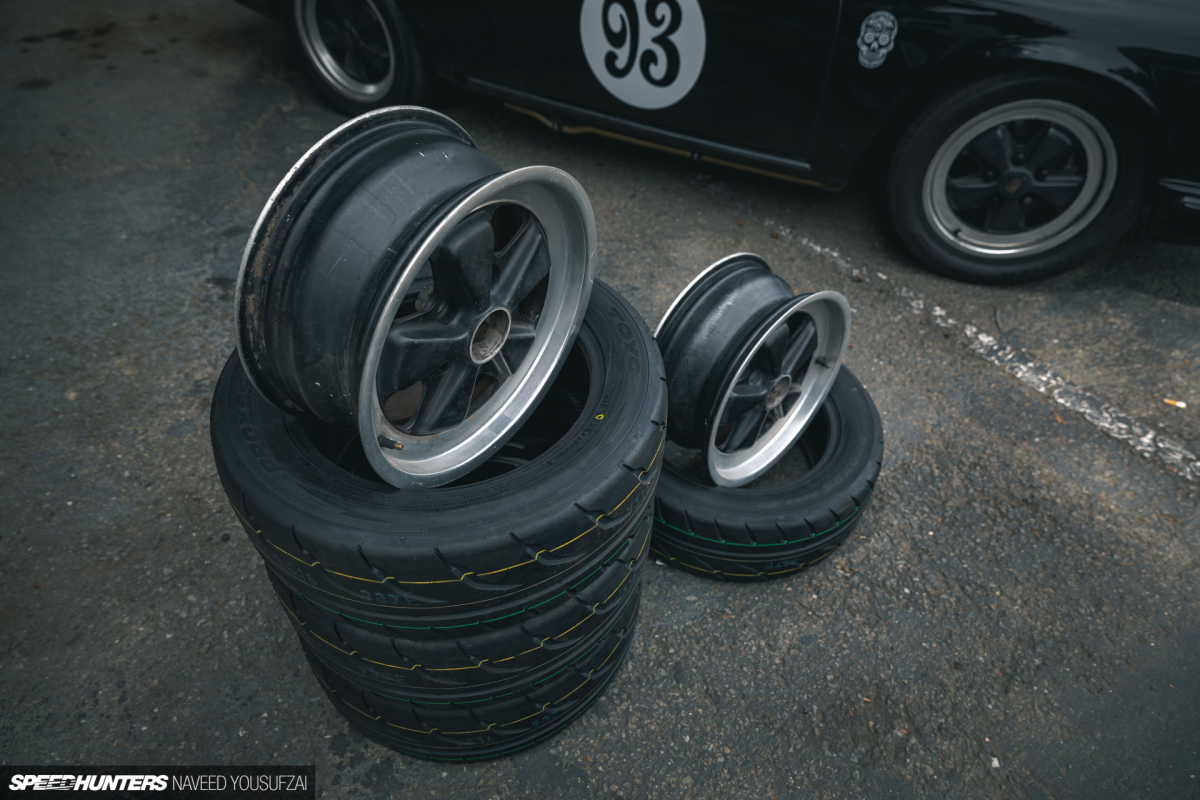
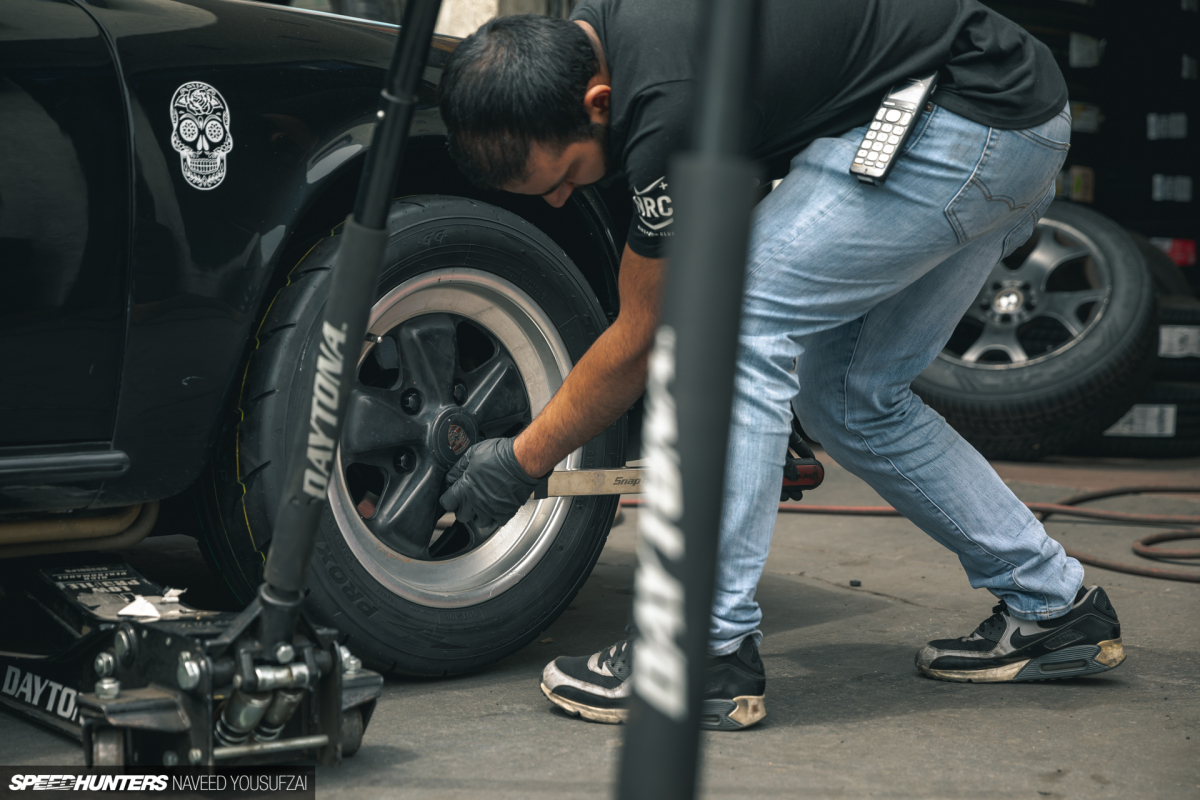
So I partnered up with our friends over at Toyo Tires and opted for the best possible option I could get for my car – a fresh set of Proxes R888Rs. But before mounting the rubber, I decided it would be best to upgrade the front wheels from 6-inch-wide Fuchs to 7-inch-wide Fuchs, for a couple of reasons.

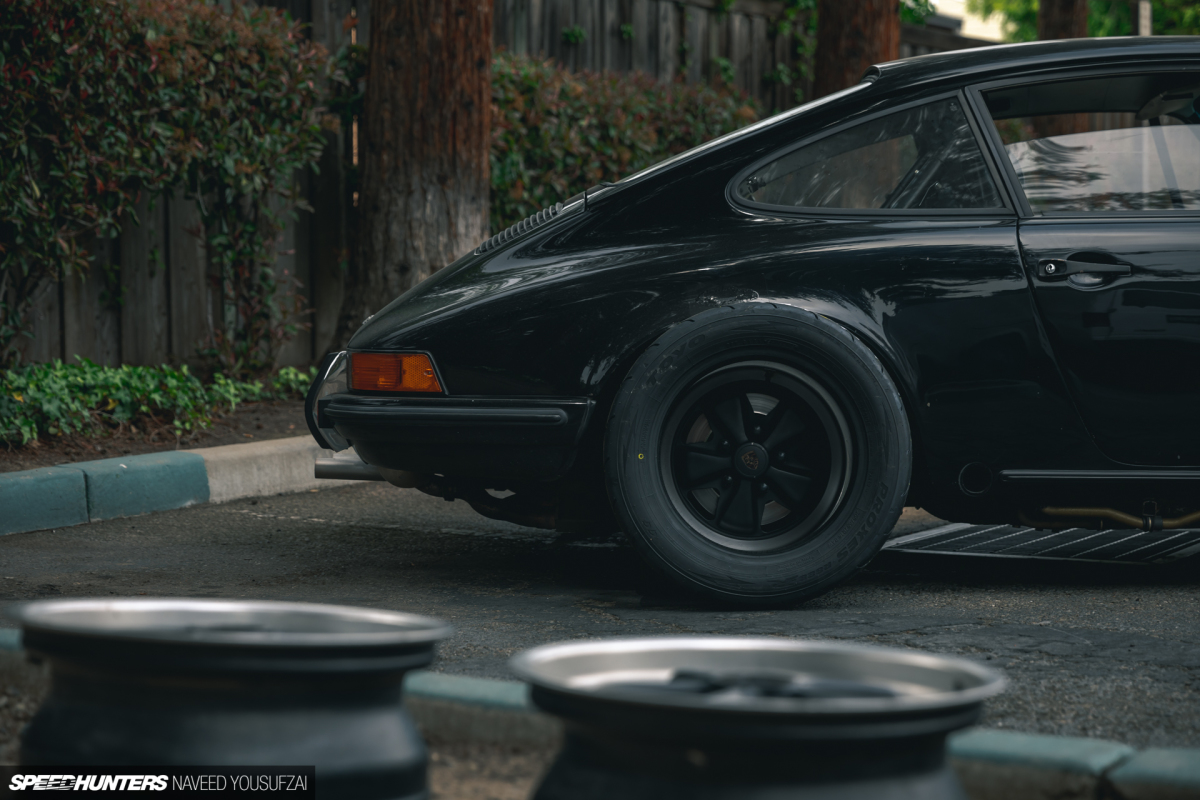
The first was purely aesthetic. When looking at the car from a ¾ perspective, the front wheels had far too much sink for my stance-loving preference. I wanted the front to have the same flushed look as the rear, and since sourcing a set of 7s wouldn’t be too difficult, it only made sense to make the upgrade now.
The second and primary reason, however, was thinking from a functional standpoint. There’s an ongoing debate about narrow body Porsches running squared setups. Some prefer the lighter steering that comes with having a narrower wheel and tire up front, but for me personally, the additional grip and turn-in advantages that you get from more tire contact couldn’t be passed up on. Plus, I actually do prefer the heavier steering feel, as it does seem to provide better feedback.
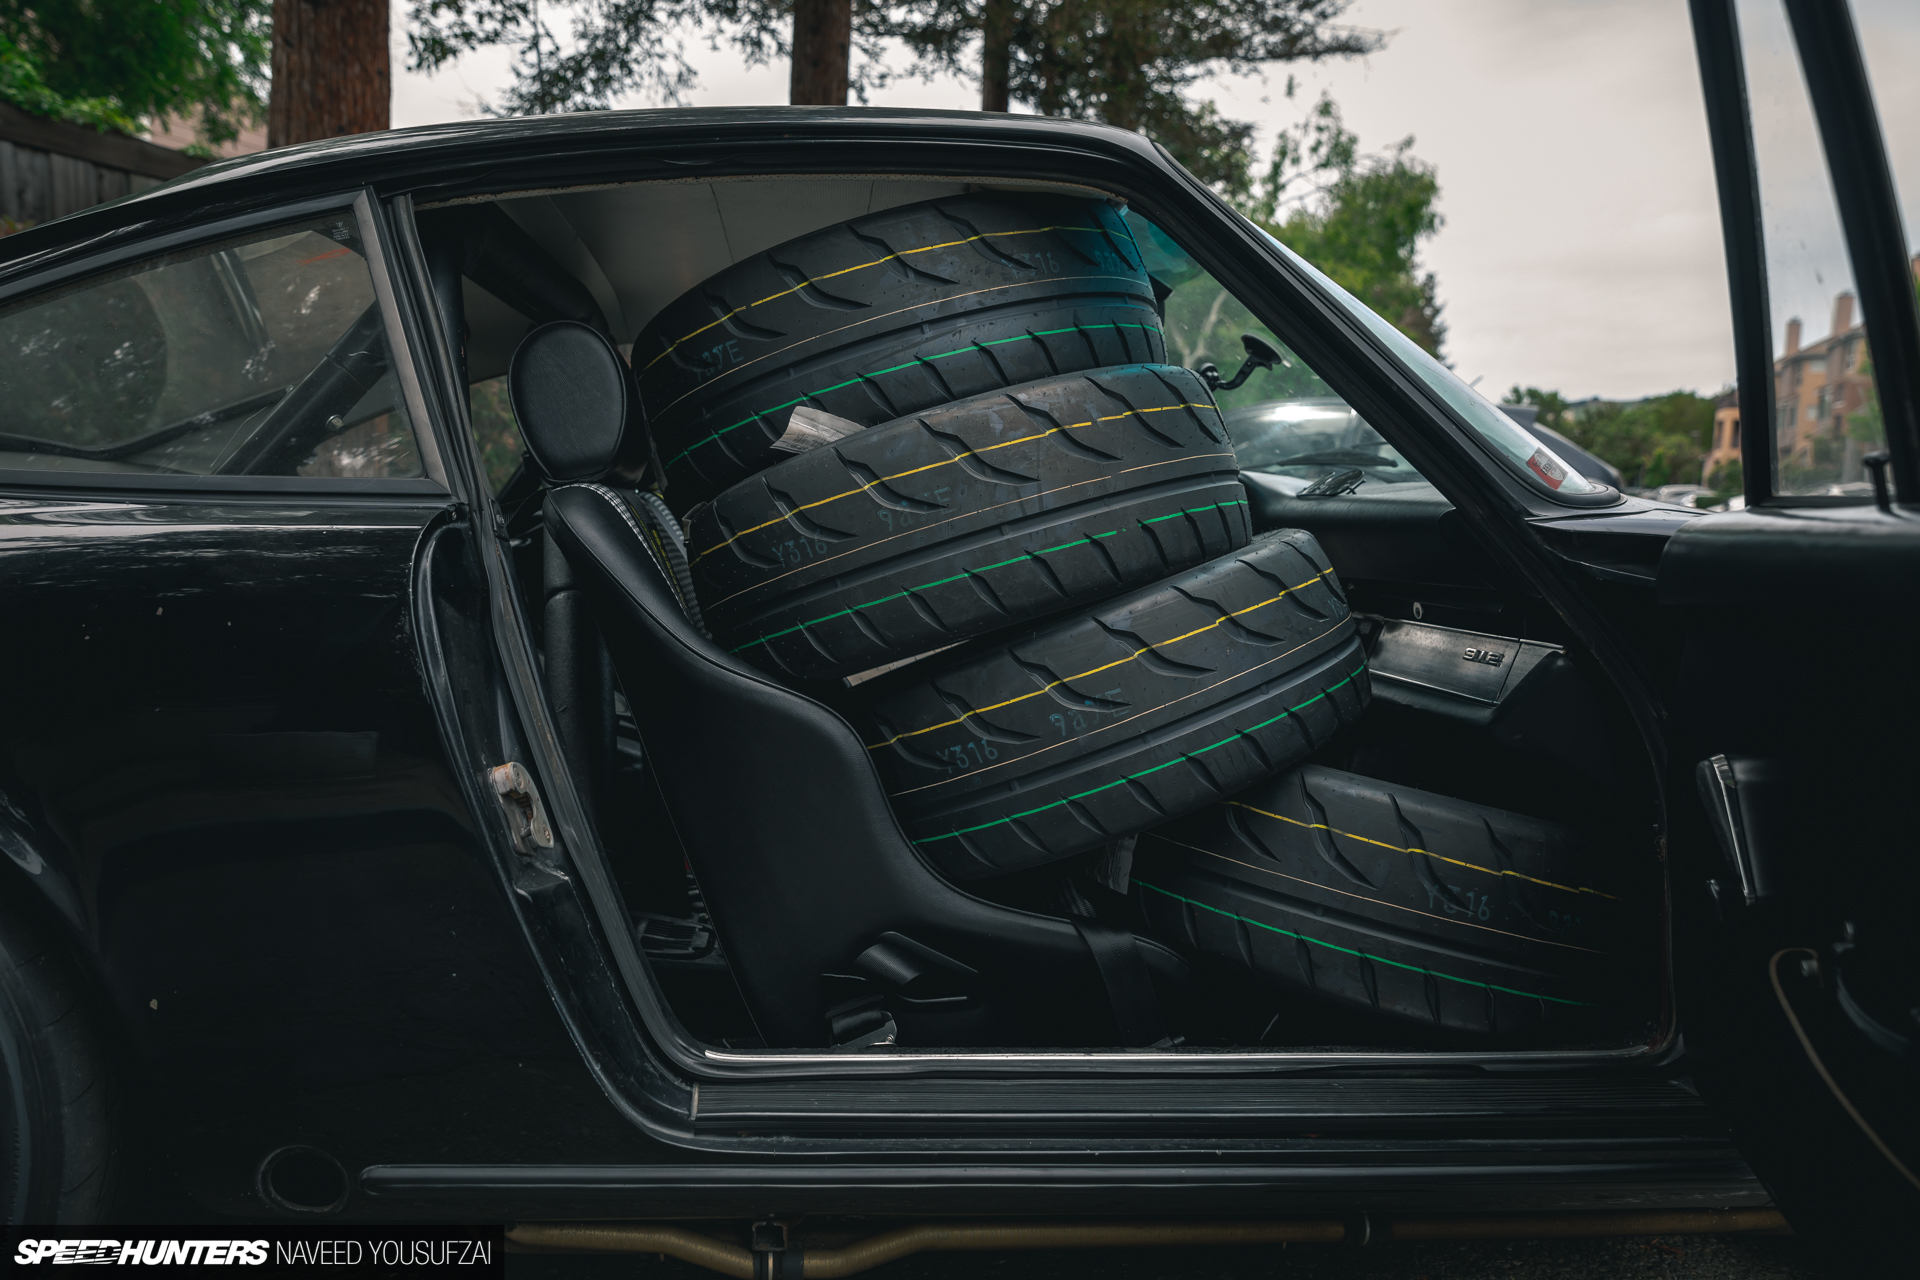
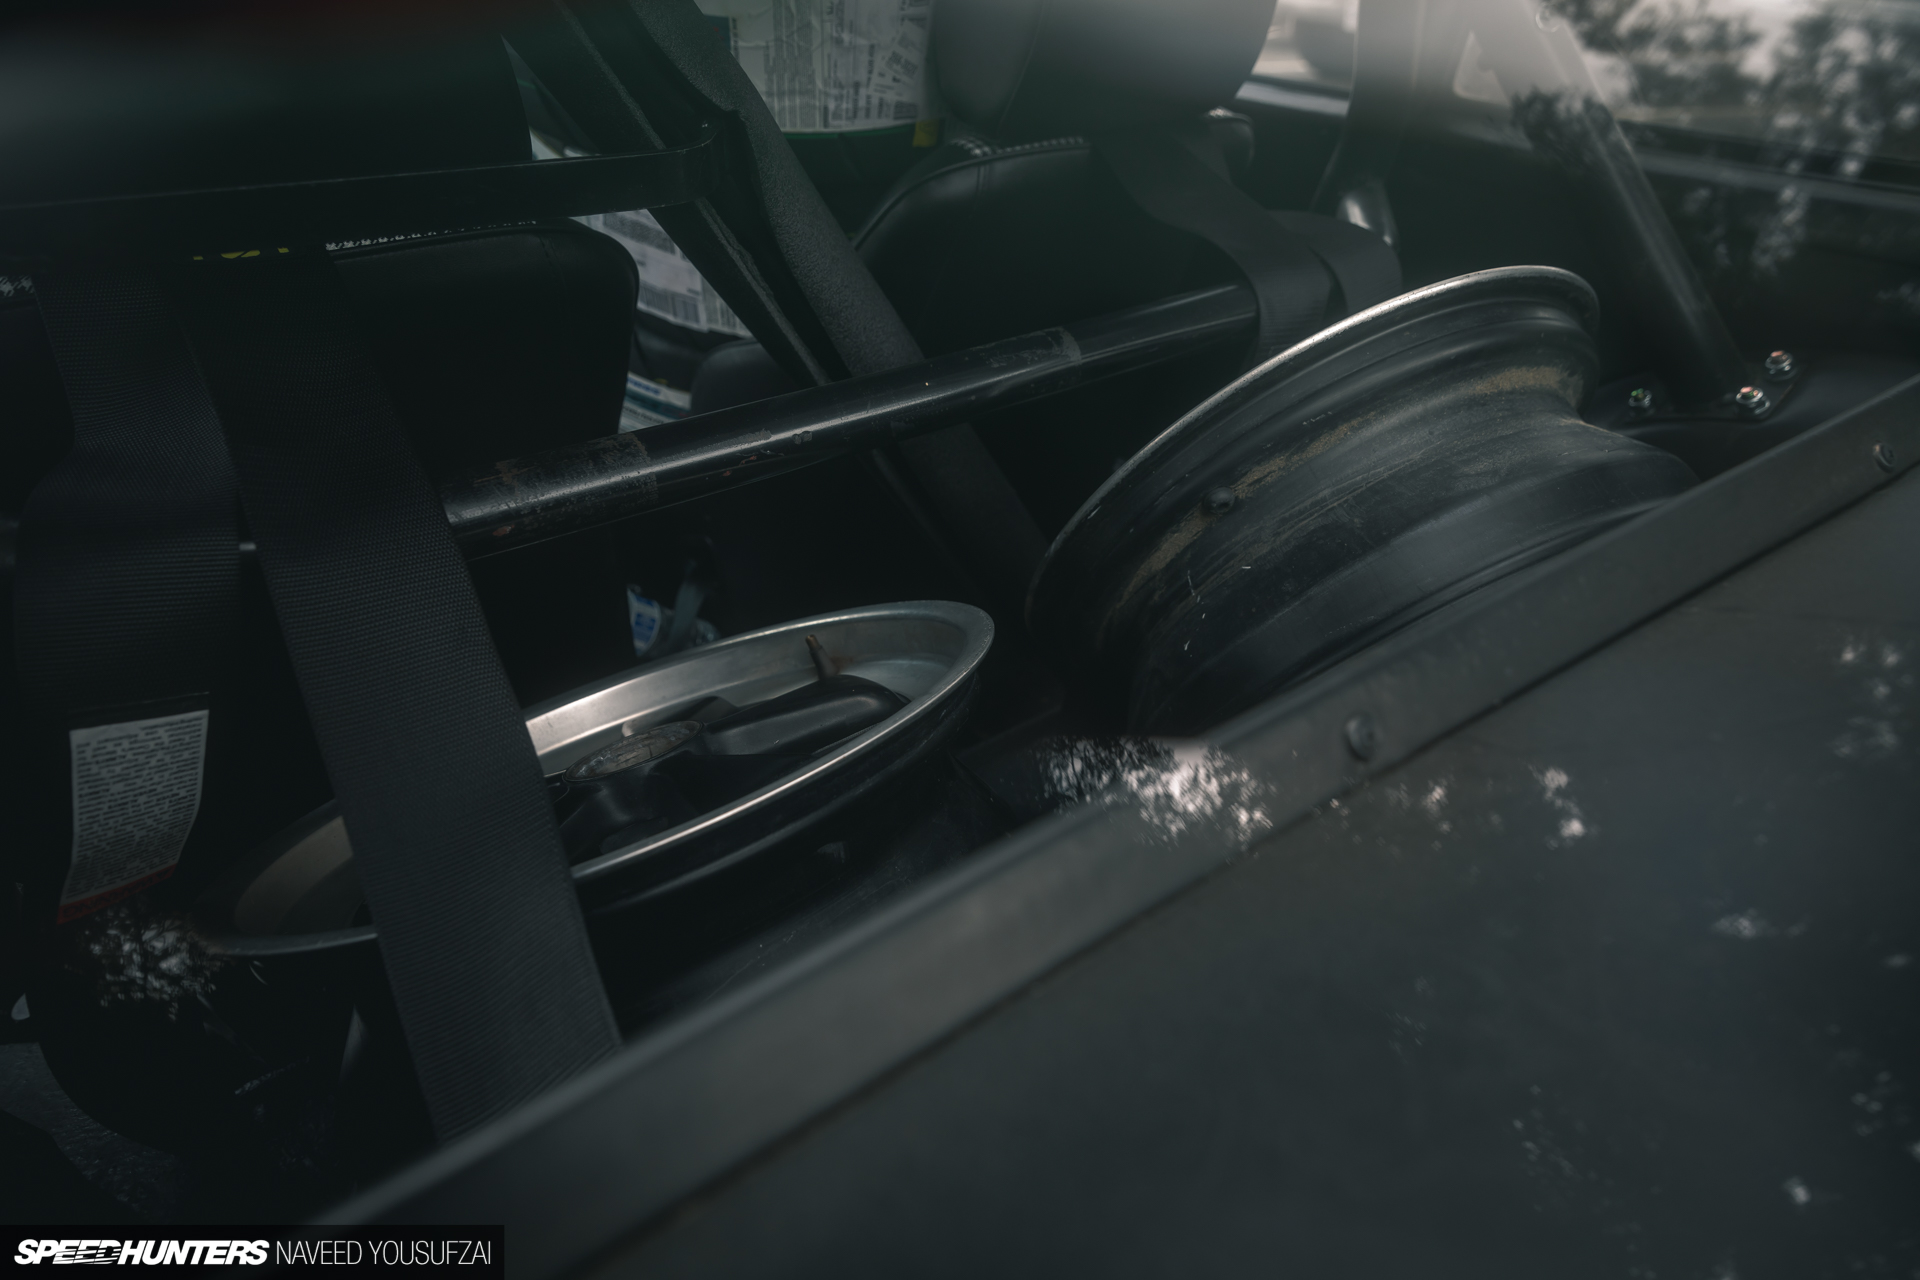
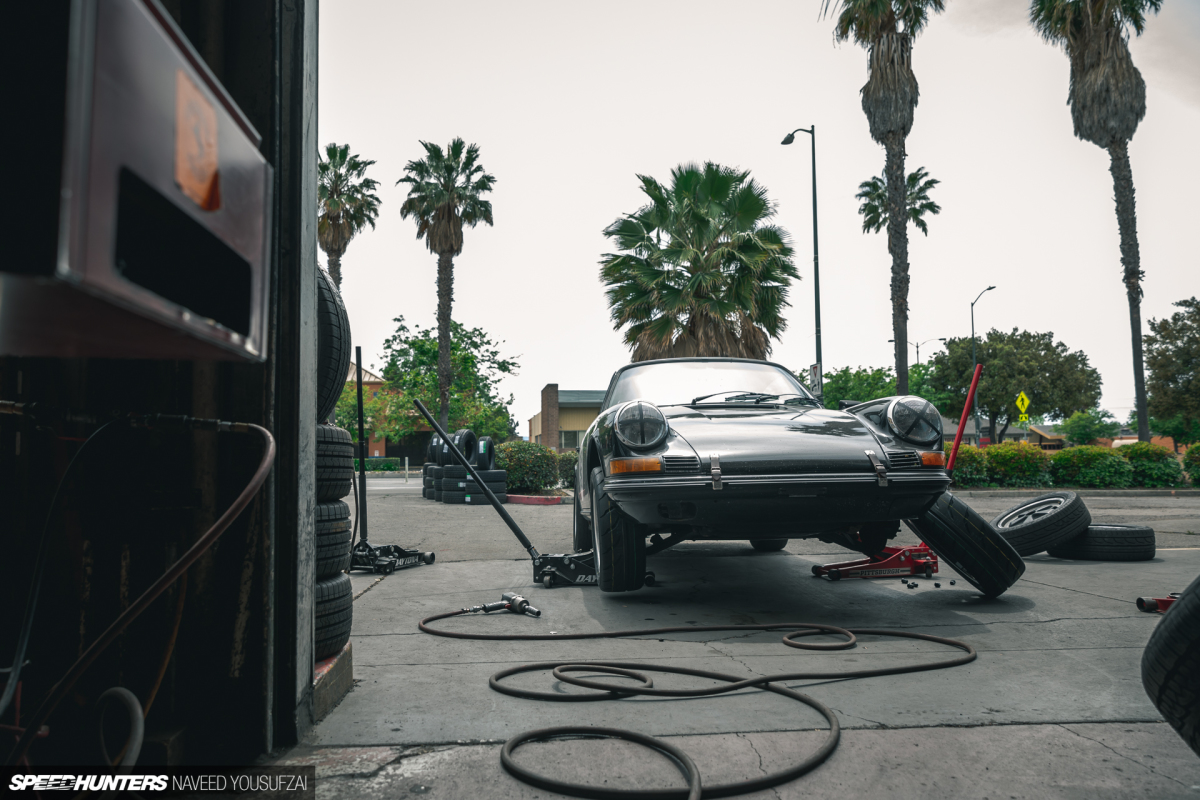
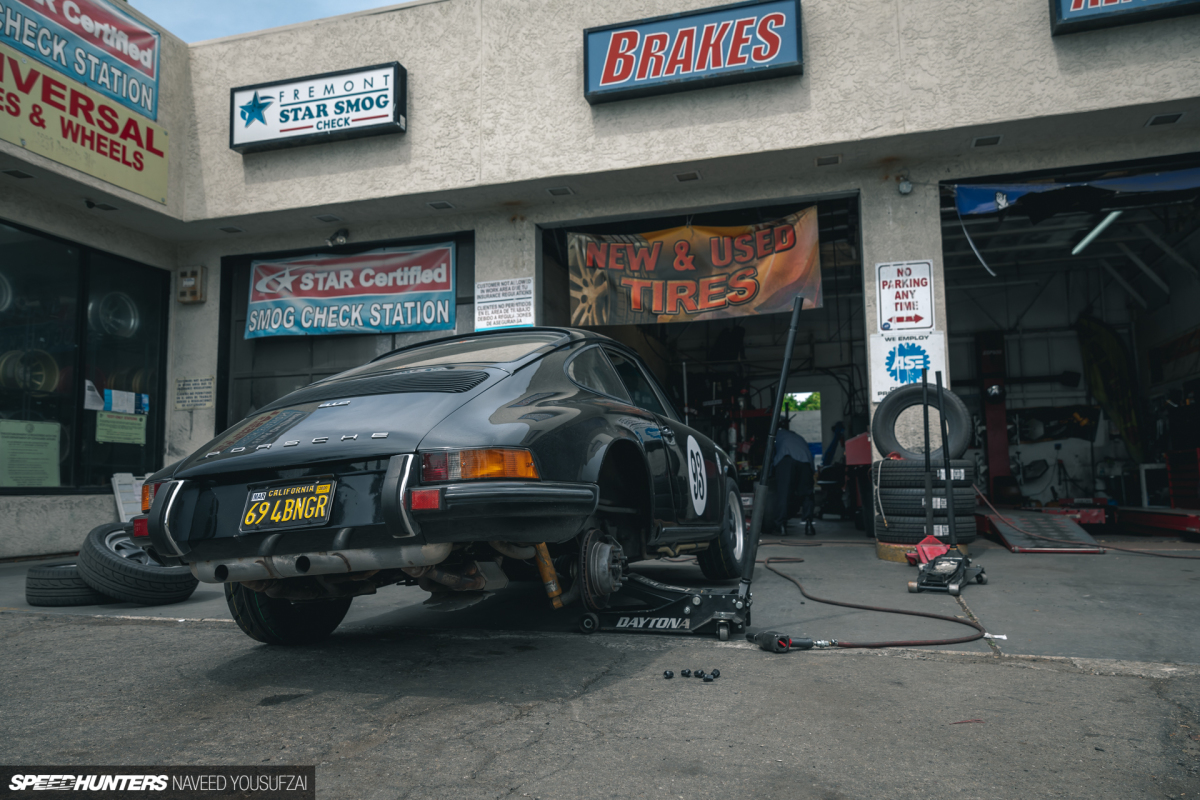
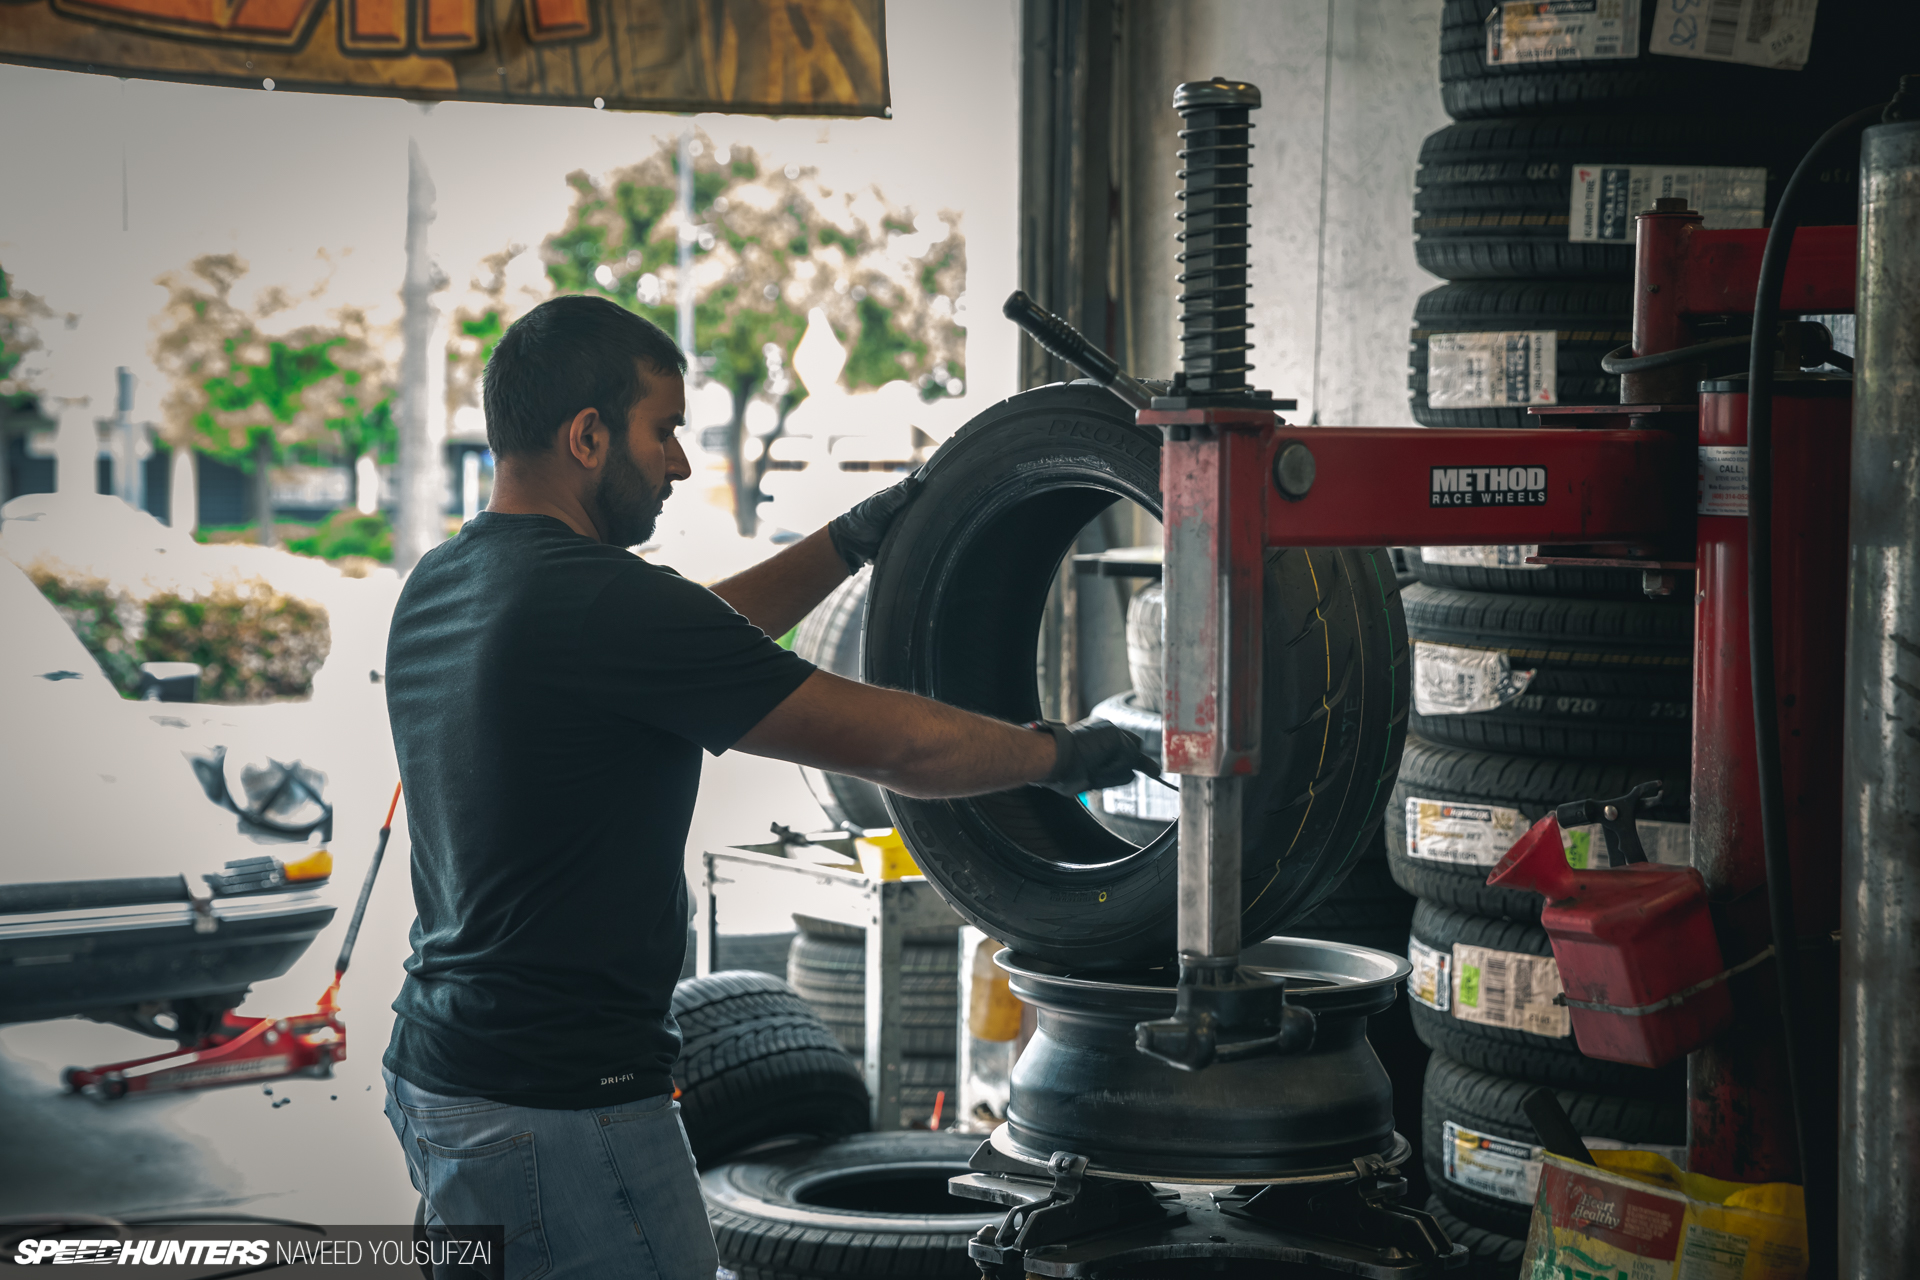
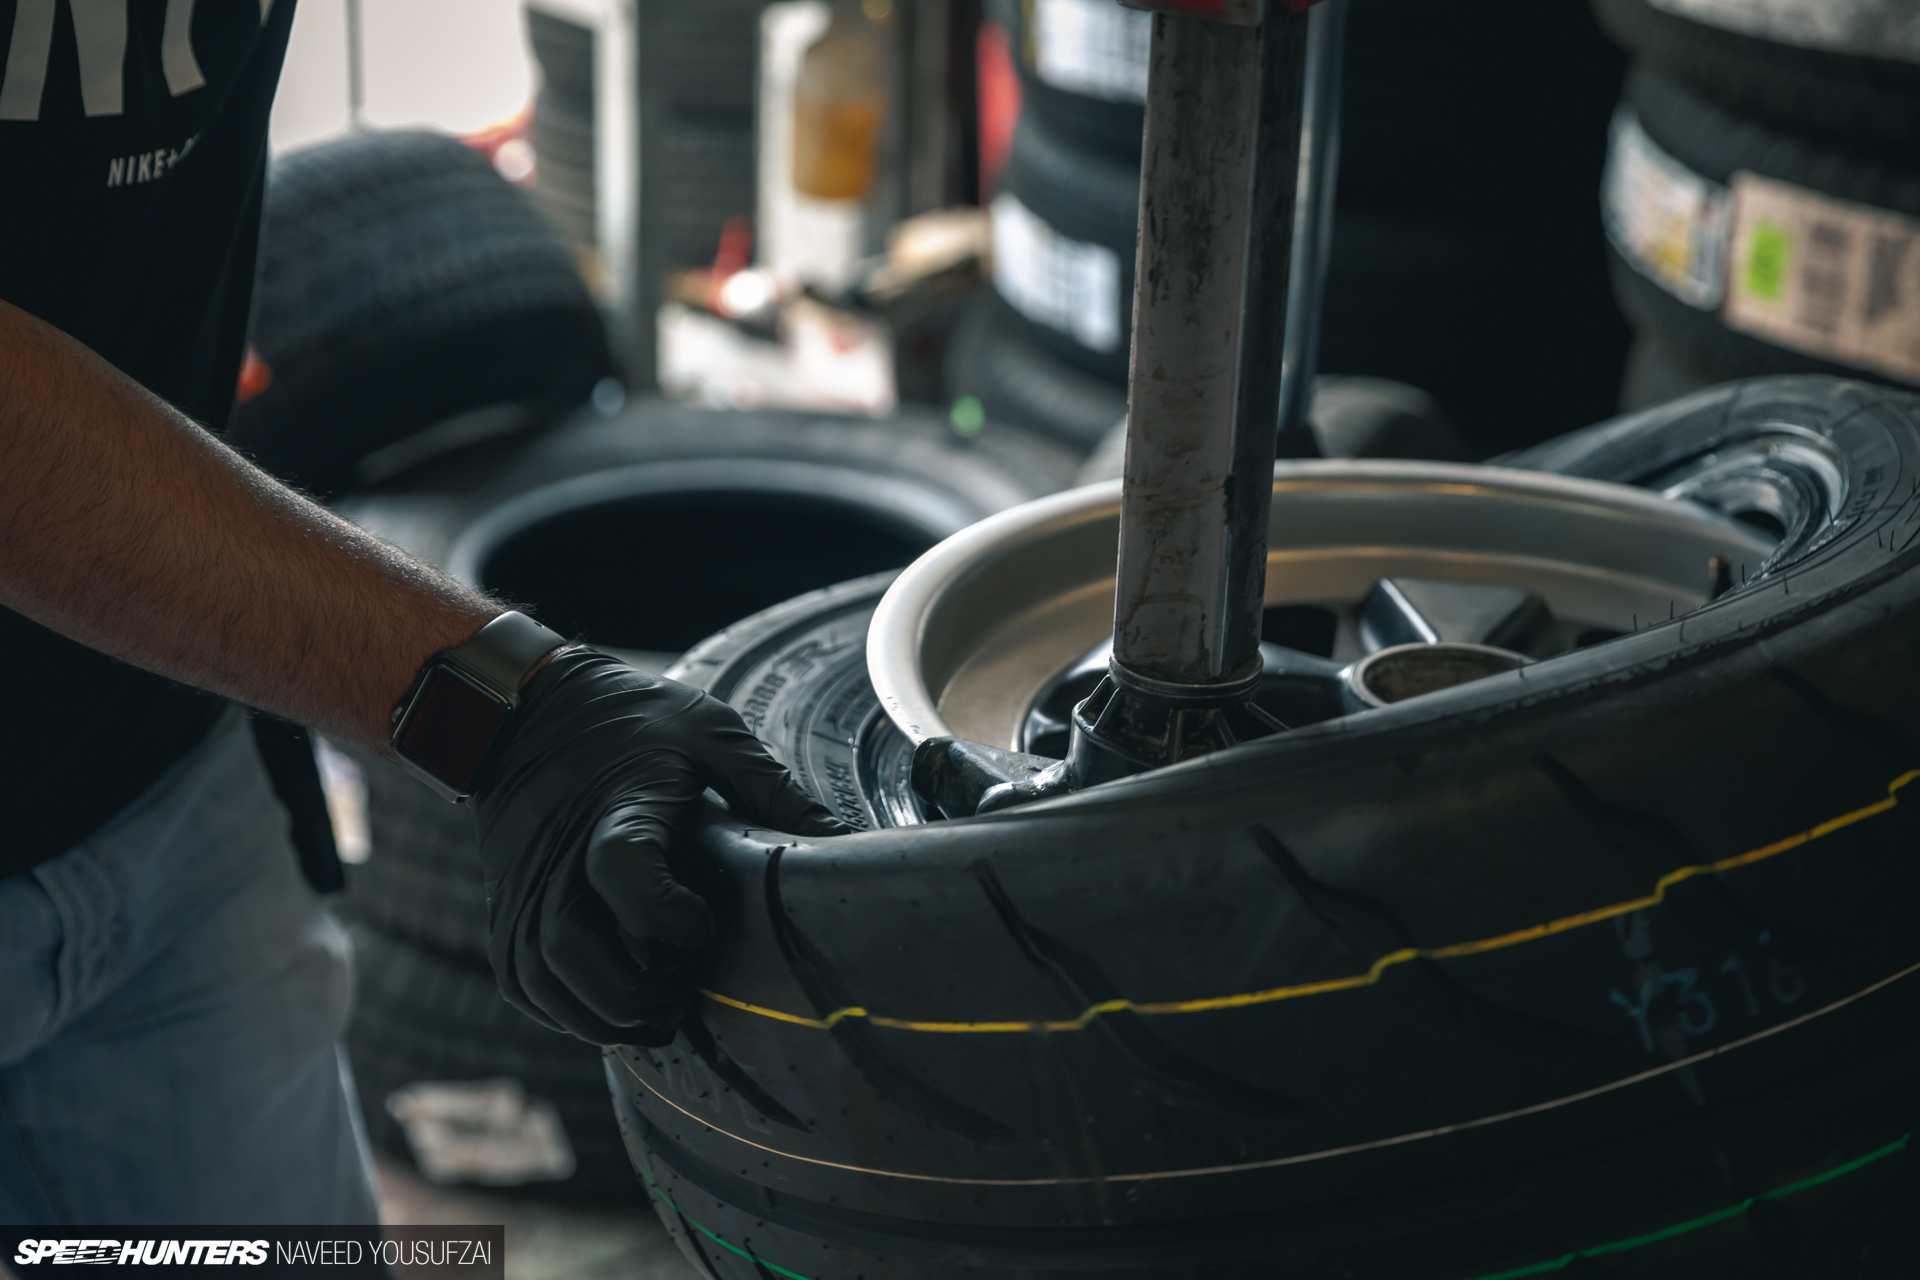
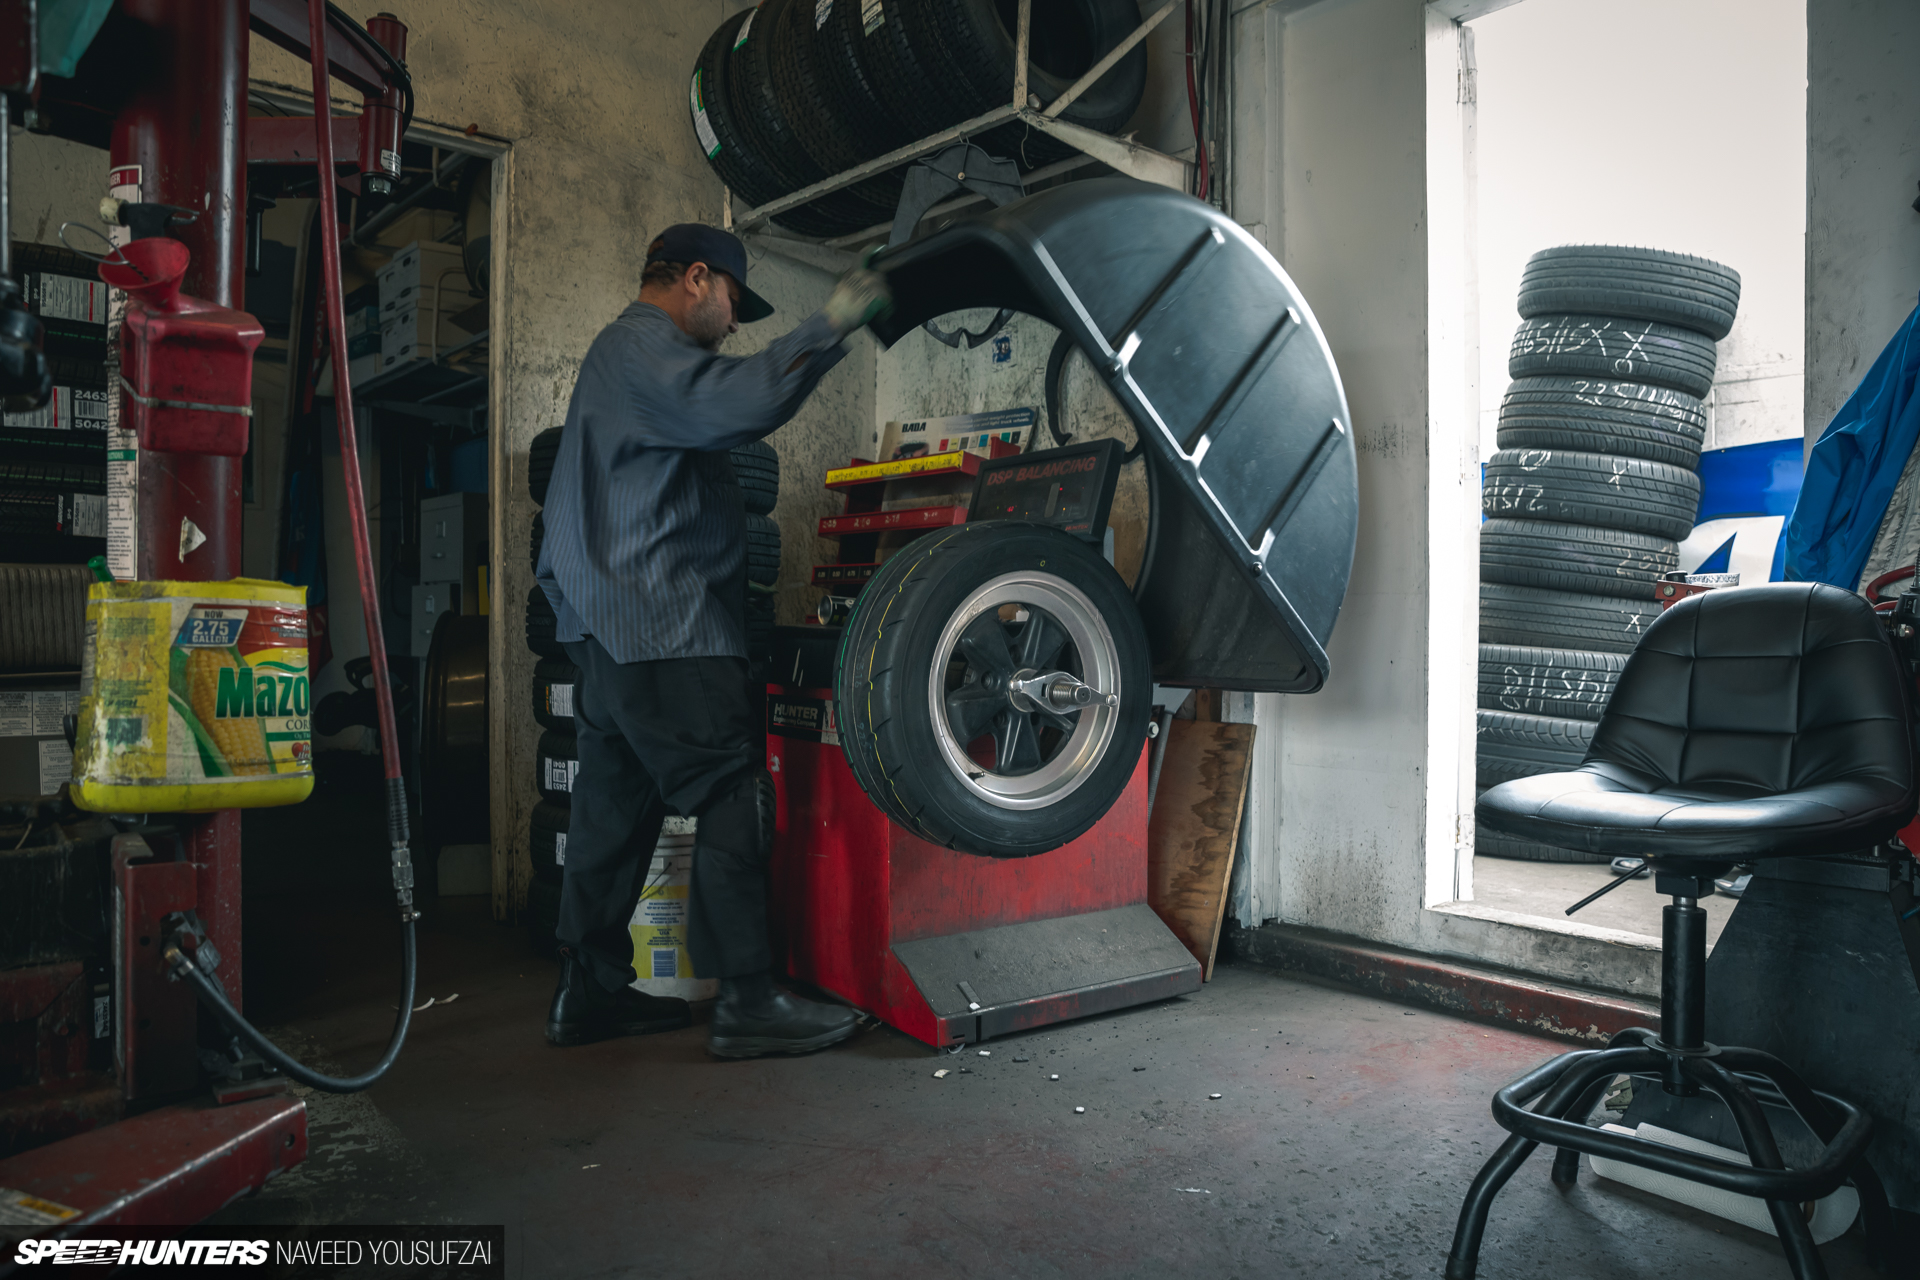
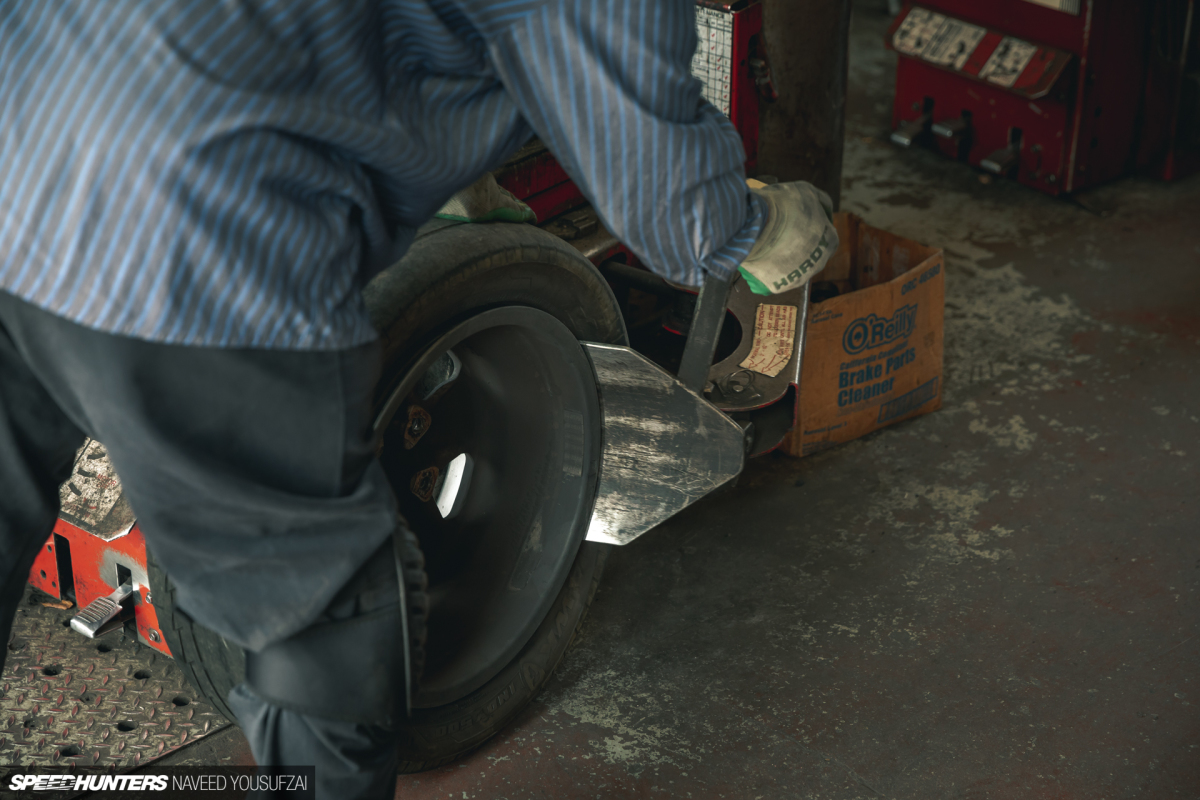
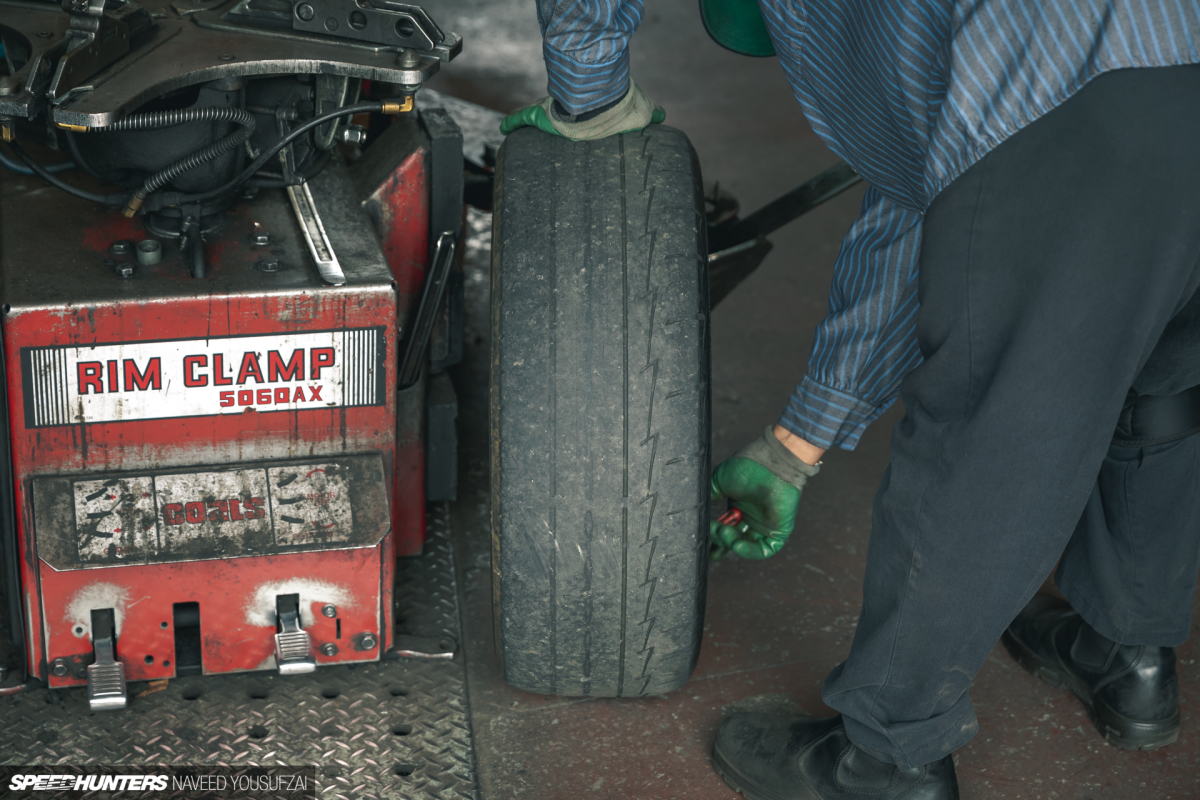
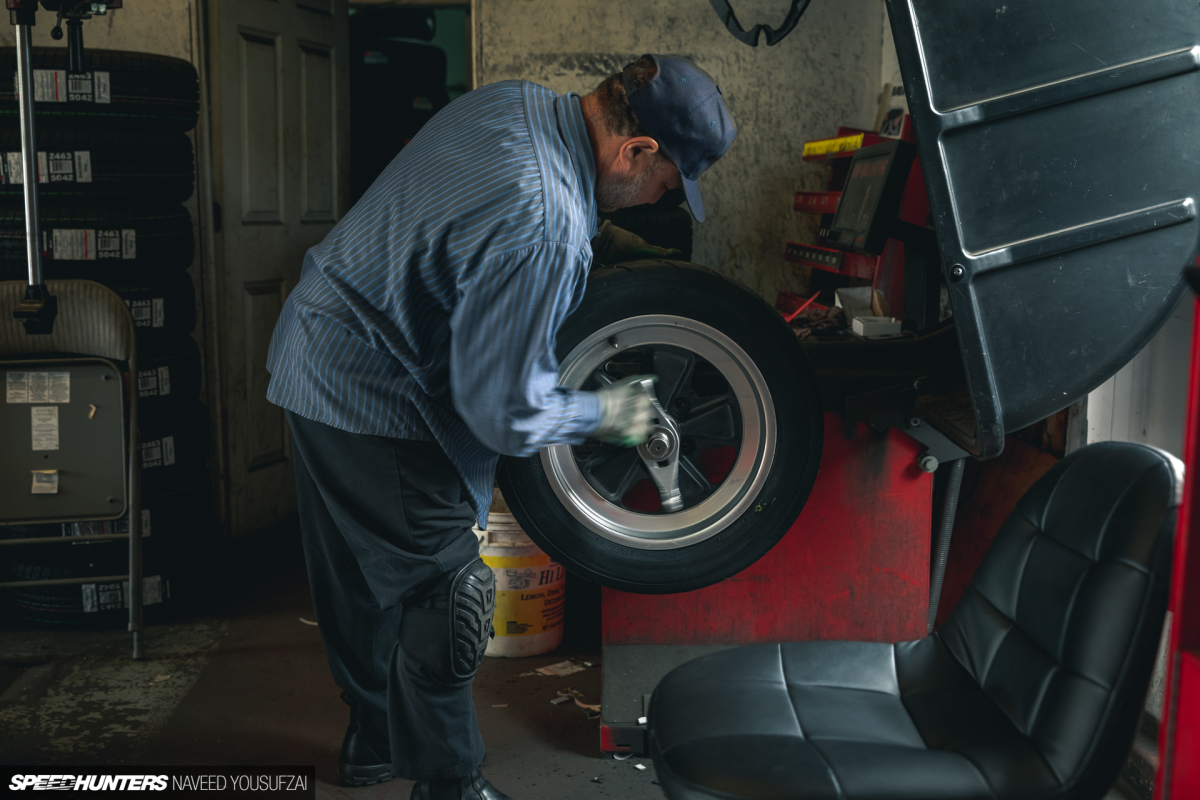

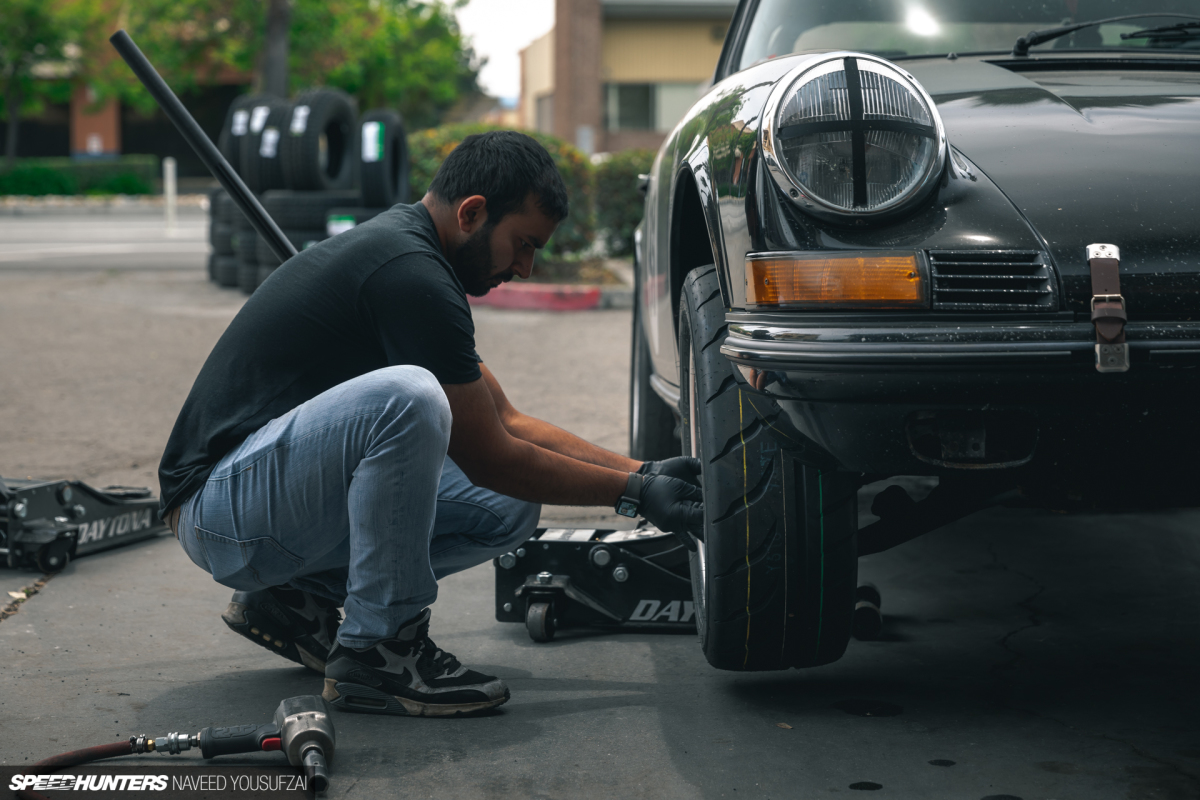
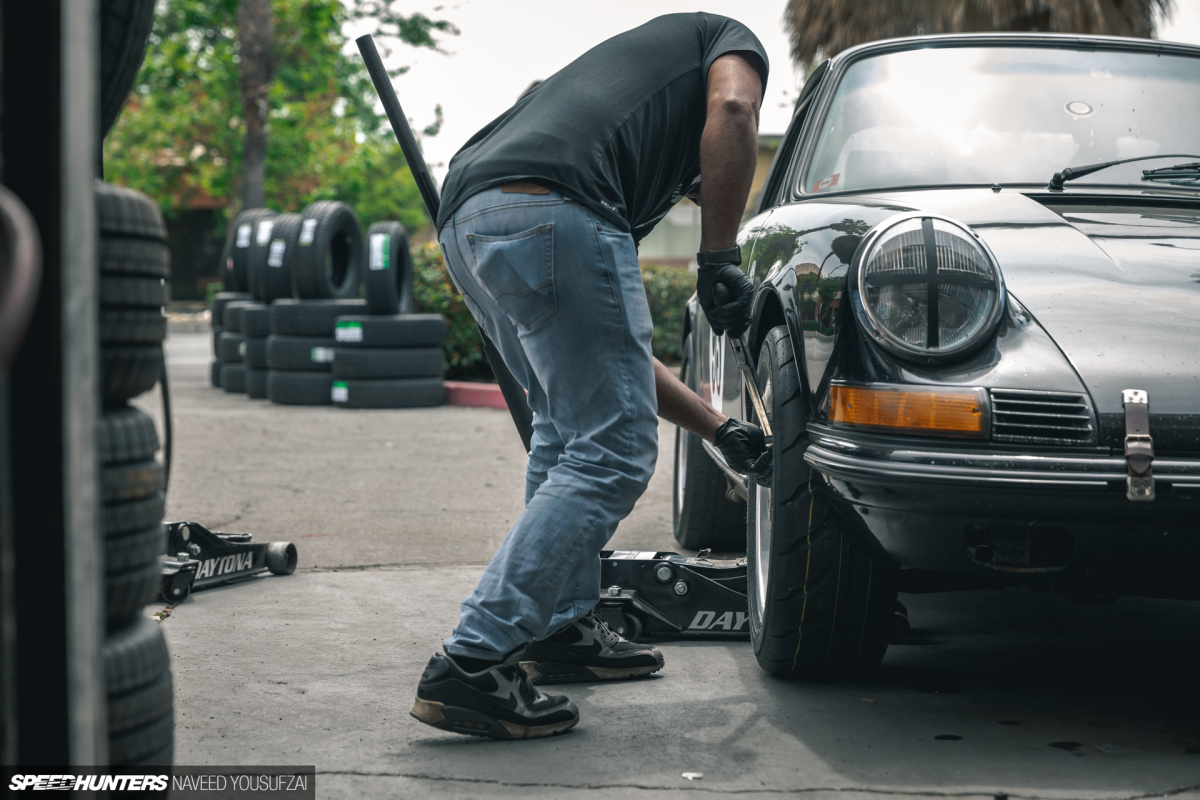
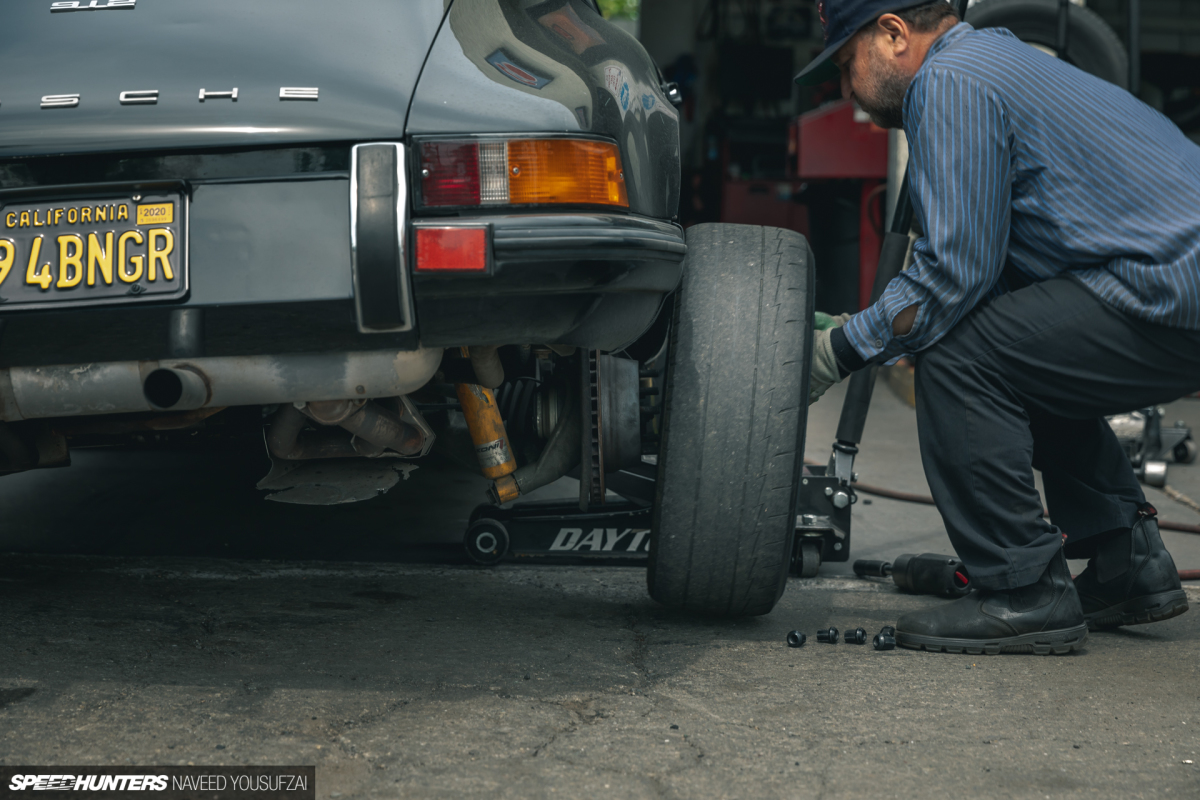
With that said, I stuffed the car with the full set of R888Rs, plus two additional Fuchs, and made my way over to a local tire shop. They were kind enough to let me take photos of them installing everything, and a half hour later I was on my way home on fresh rubber.


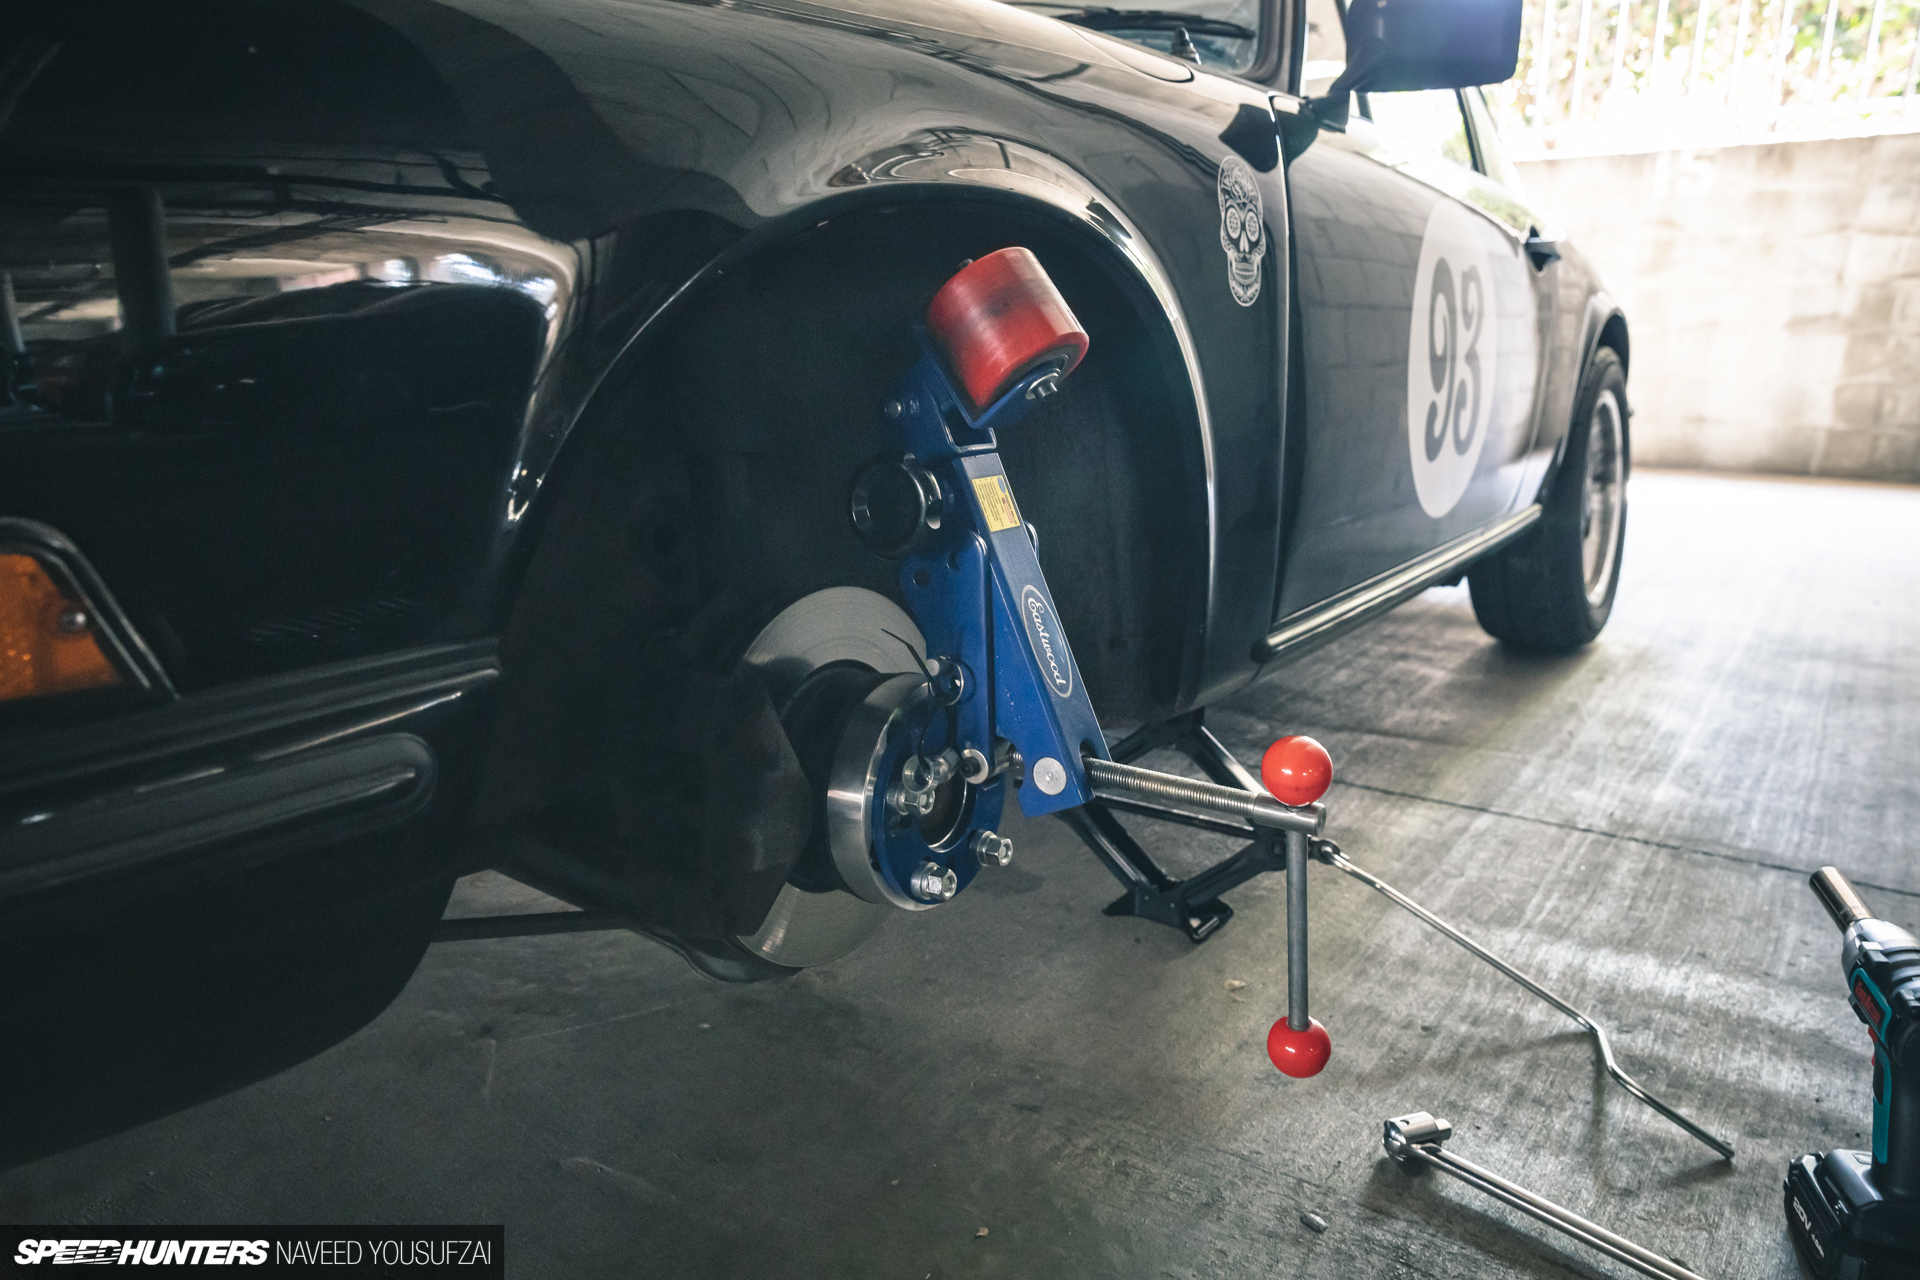
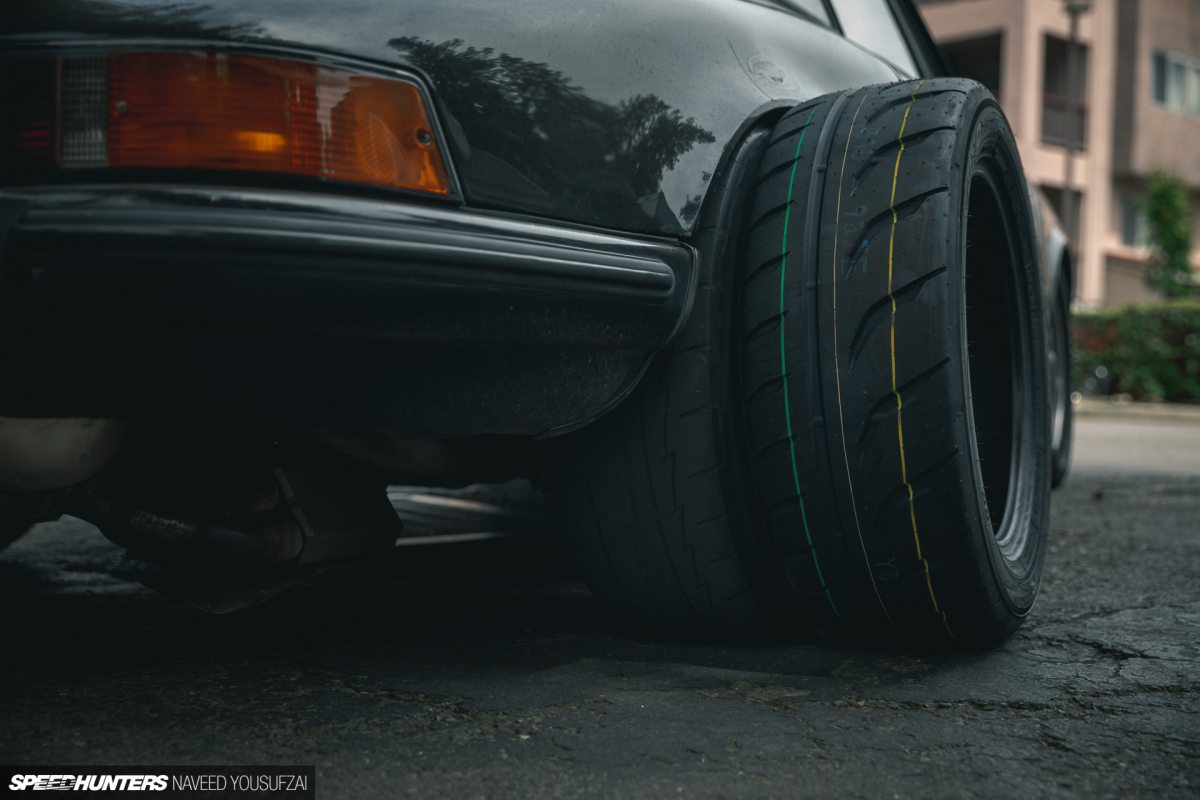
I drove a mile home, only to find that my front fenders had already chewed up a decent chunk of the sidewall on the tires. (Note to self: next time, try test fitting without assuming everything will fit perfectly right off the bat). Despite this, I wouldn’t dare go back to the old setup after finally achieving the fitment I was after, so I whipped out the fender roller and heat gun that I borrowed from my friend Koich, and got to work.
Sometimes, you just have to do what you have to do to make things work.
Naveed Yousufzai
Instagram: eatwithnaveed
Email: naveed@speedhunters.com