
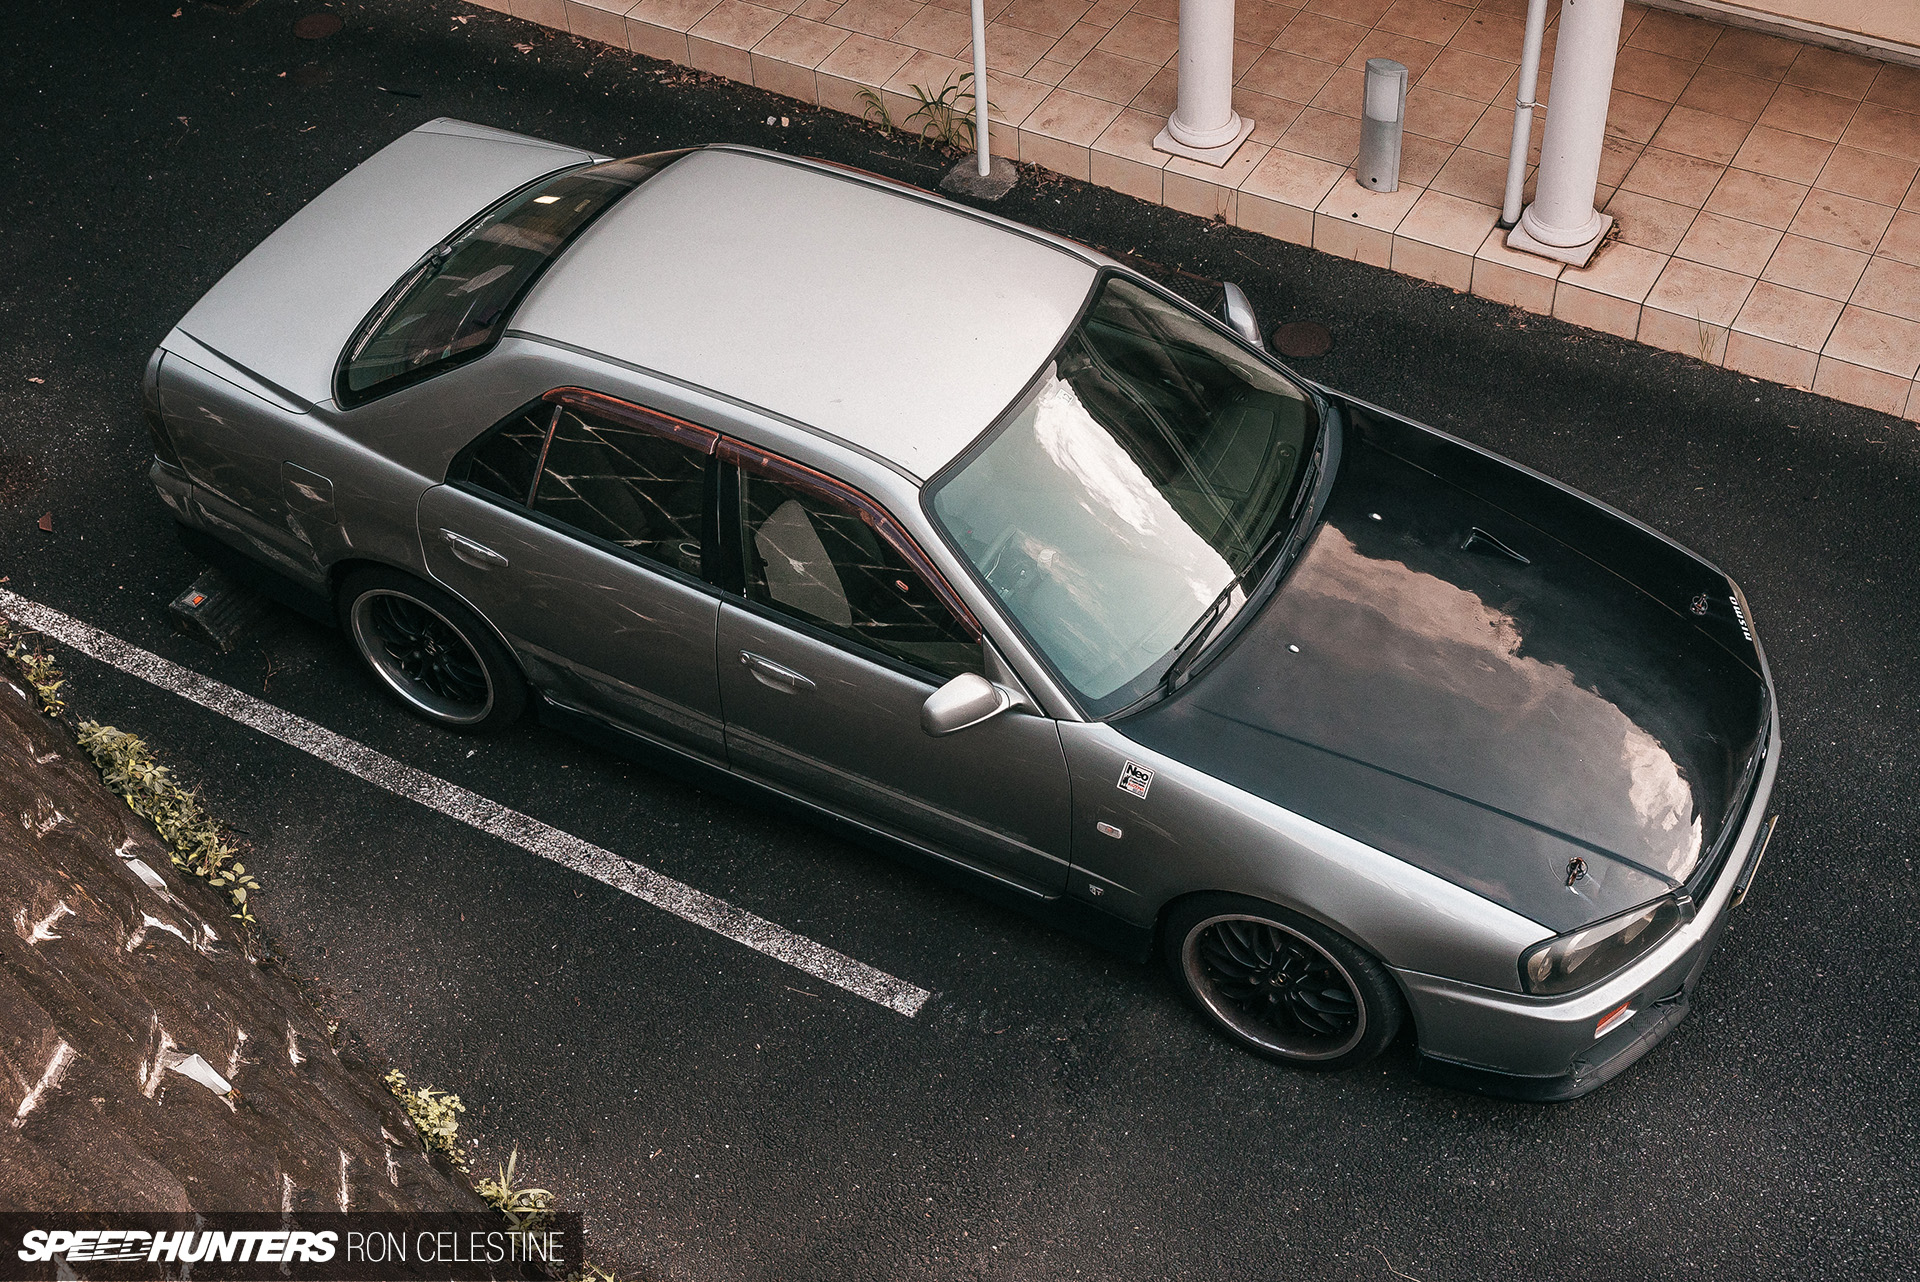
Welcome to another installment of DIY madness for my ER34 Skyline. This time around we’re diving deep into the Nissan’s suspension setup, with the hope of extracting more of its handling potential.
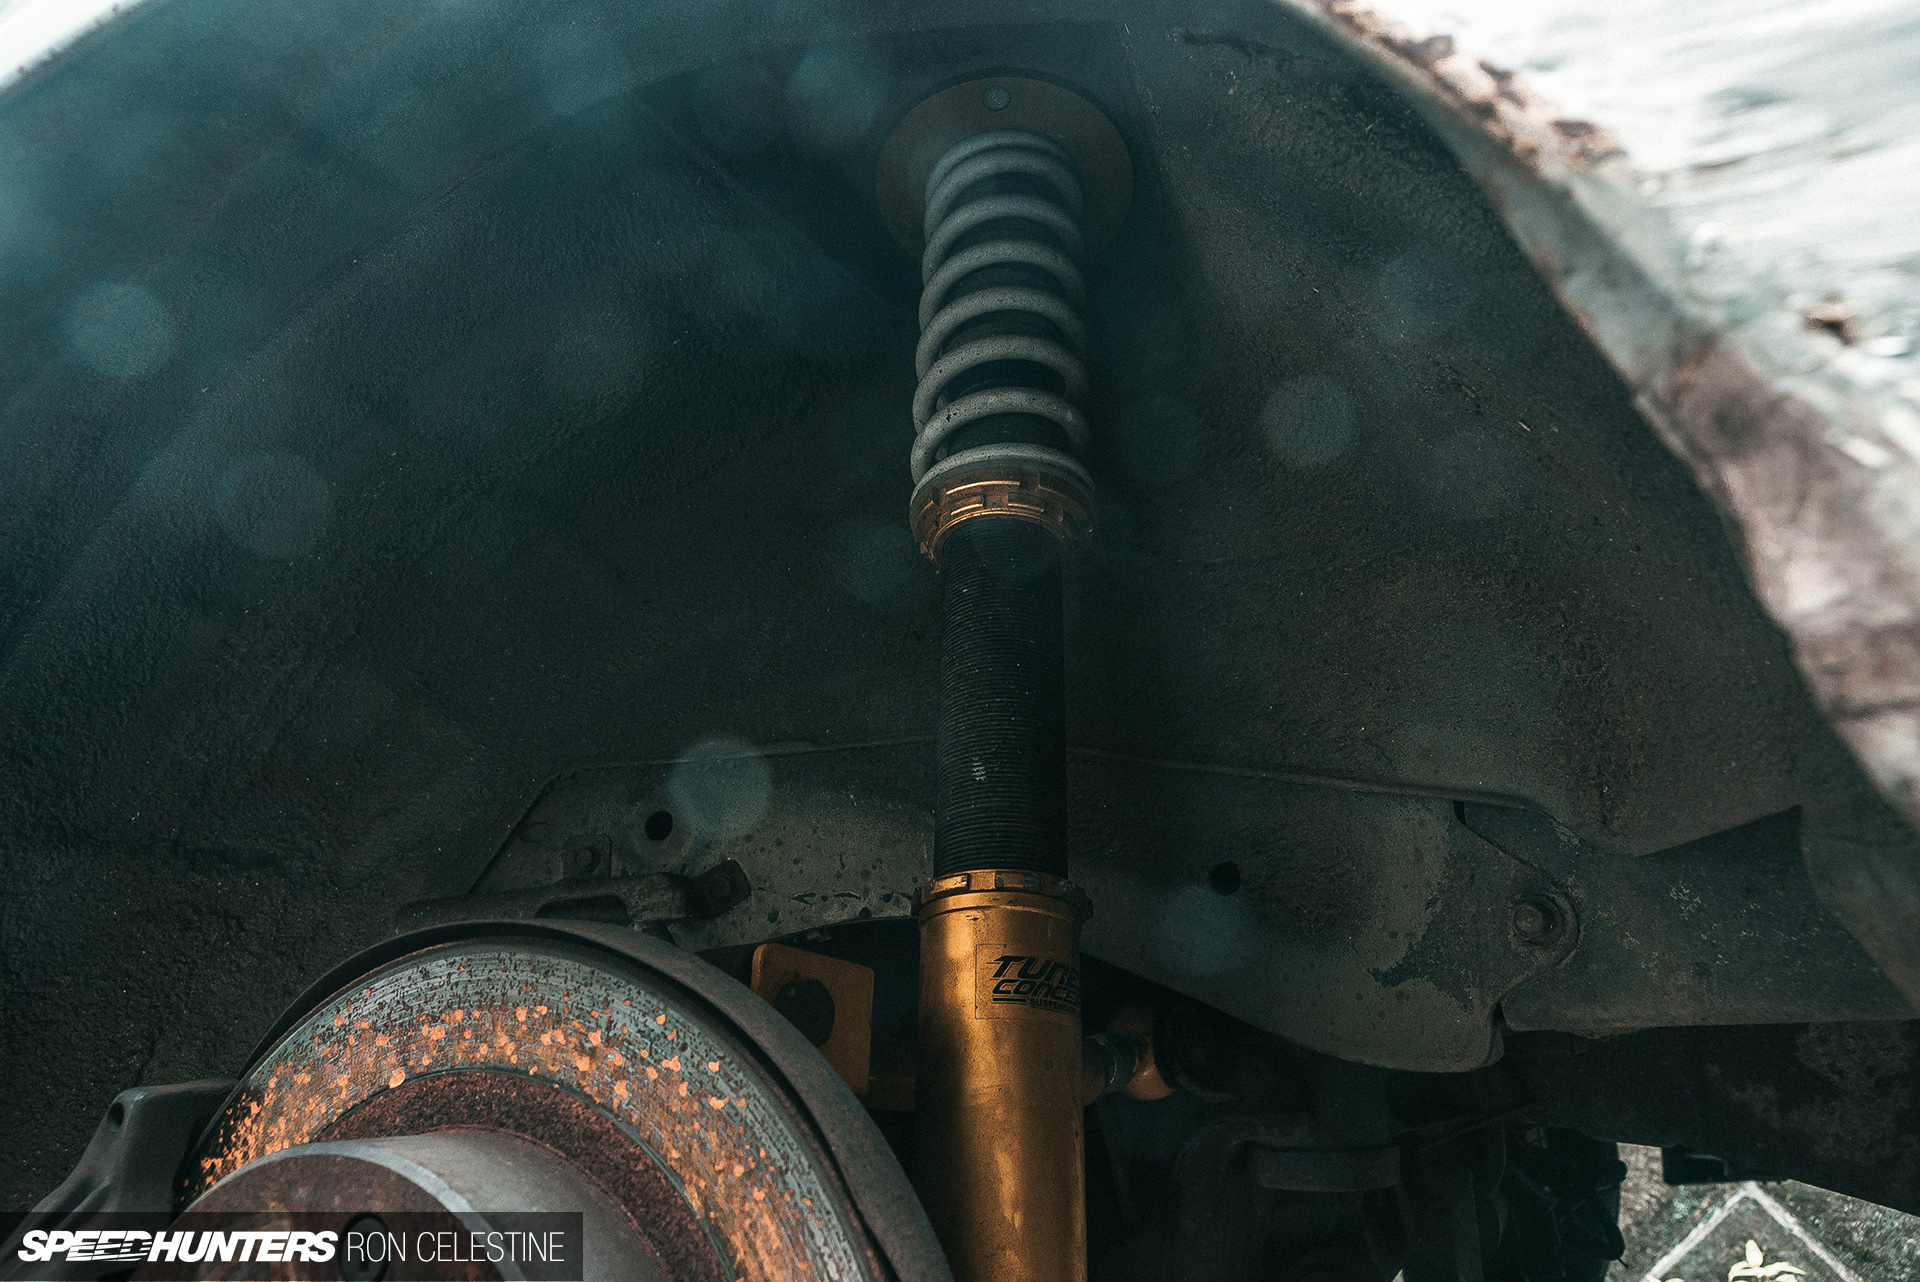
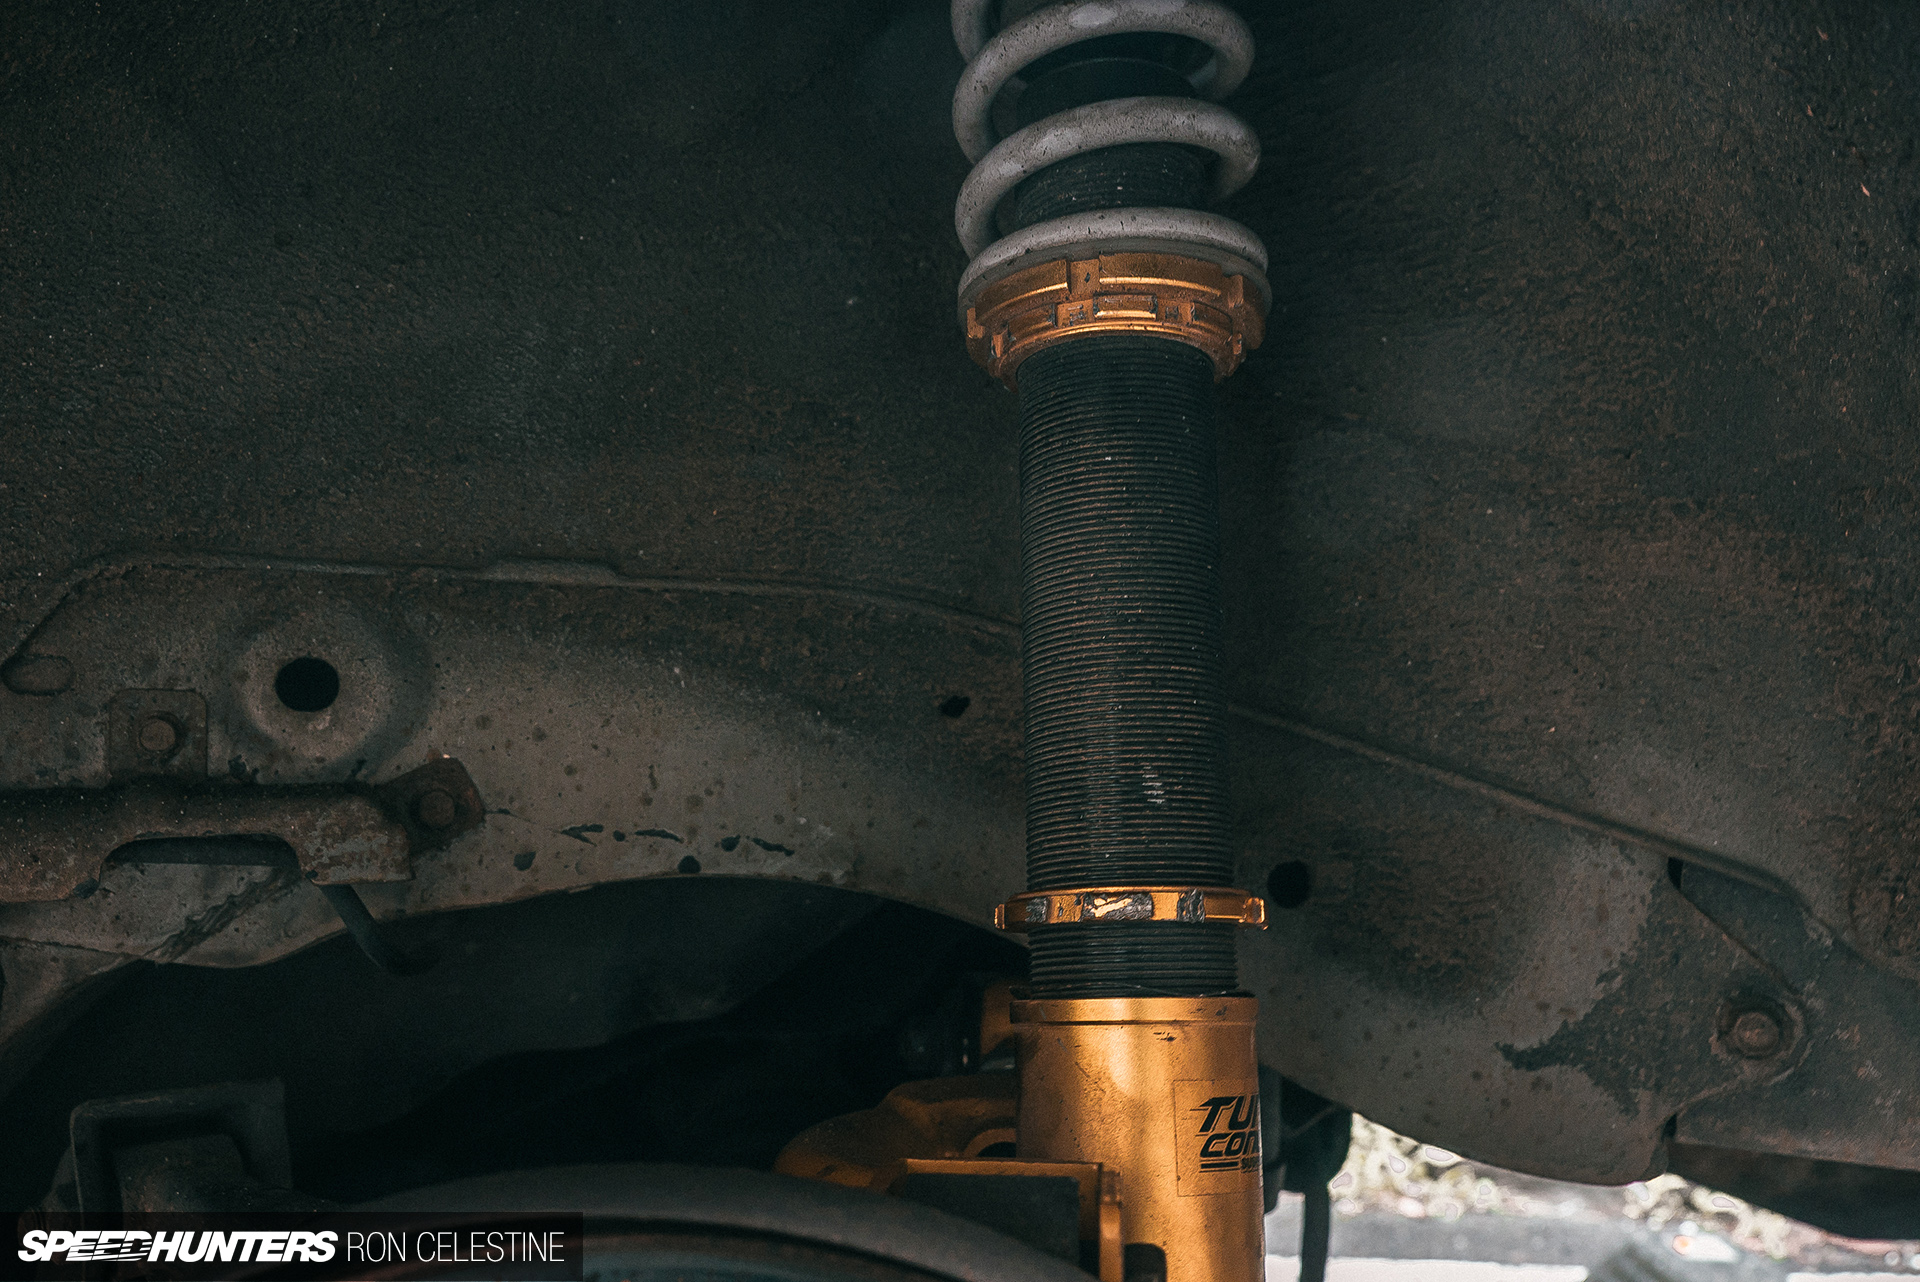
Truth be told, Project Rough has always handled quite well, both on spirited drives in the mountains and on track. It seems like forever ago, but one of the first things I changed after bringing my GT-T home from an epic 3,000km journey from Okinawa, was to replace the blown-out and overly stiff coilovers. My good friend at Tuner Concepts whipped up a custom package for that included adjustable coilovers, a selection of spring sets (10kg, 8kg, and 6kg), lower control arms front and rear, and upper control arms out back.
I’ve made subtle tweaks over time and have been pretty satisfied with the car’s overall setup so far, but the evil man that sits next to my left ear kept telling me to do more. Thus, during a late-night dive into the rabbit hole that is the internet, I discovered a forum where a Japanese guy explained how he weighed his car using bathroom scales.
It was a pretty simplistic method of jacking his car up, sitting the corners on bricks to make a level platform, and moving the scales around to each corner. There were a few things I noticed that could have done to improve the accuracy of the method, but it was this story that got the evil man excited. He stood up, got real close to my ear, and uttered two words: Corner balance.
Beware Of Traps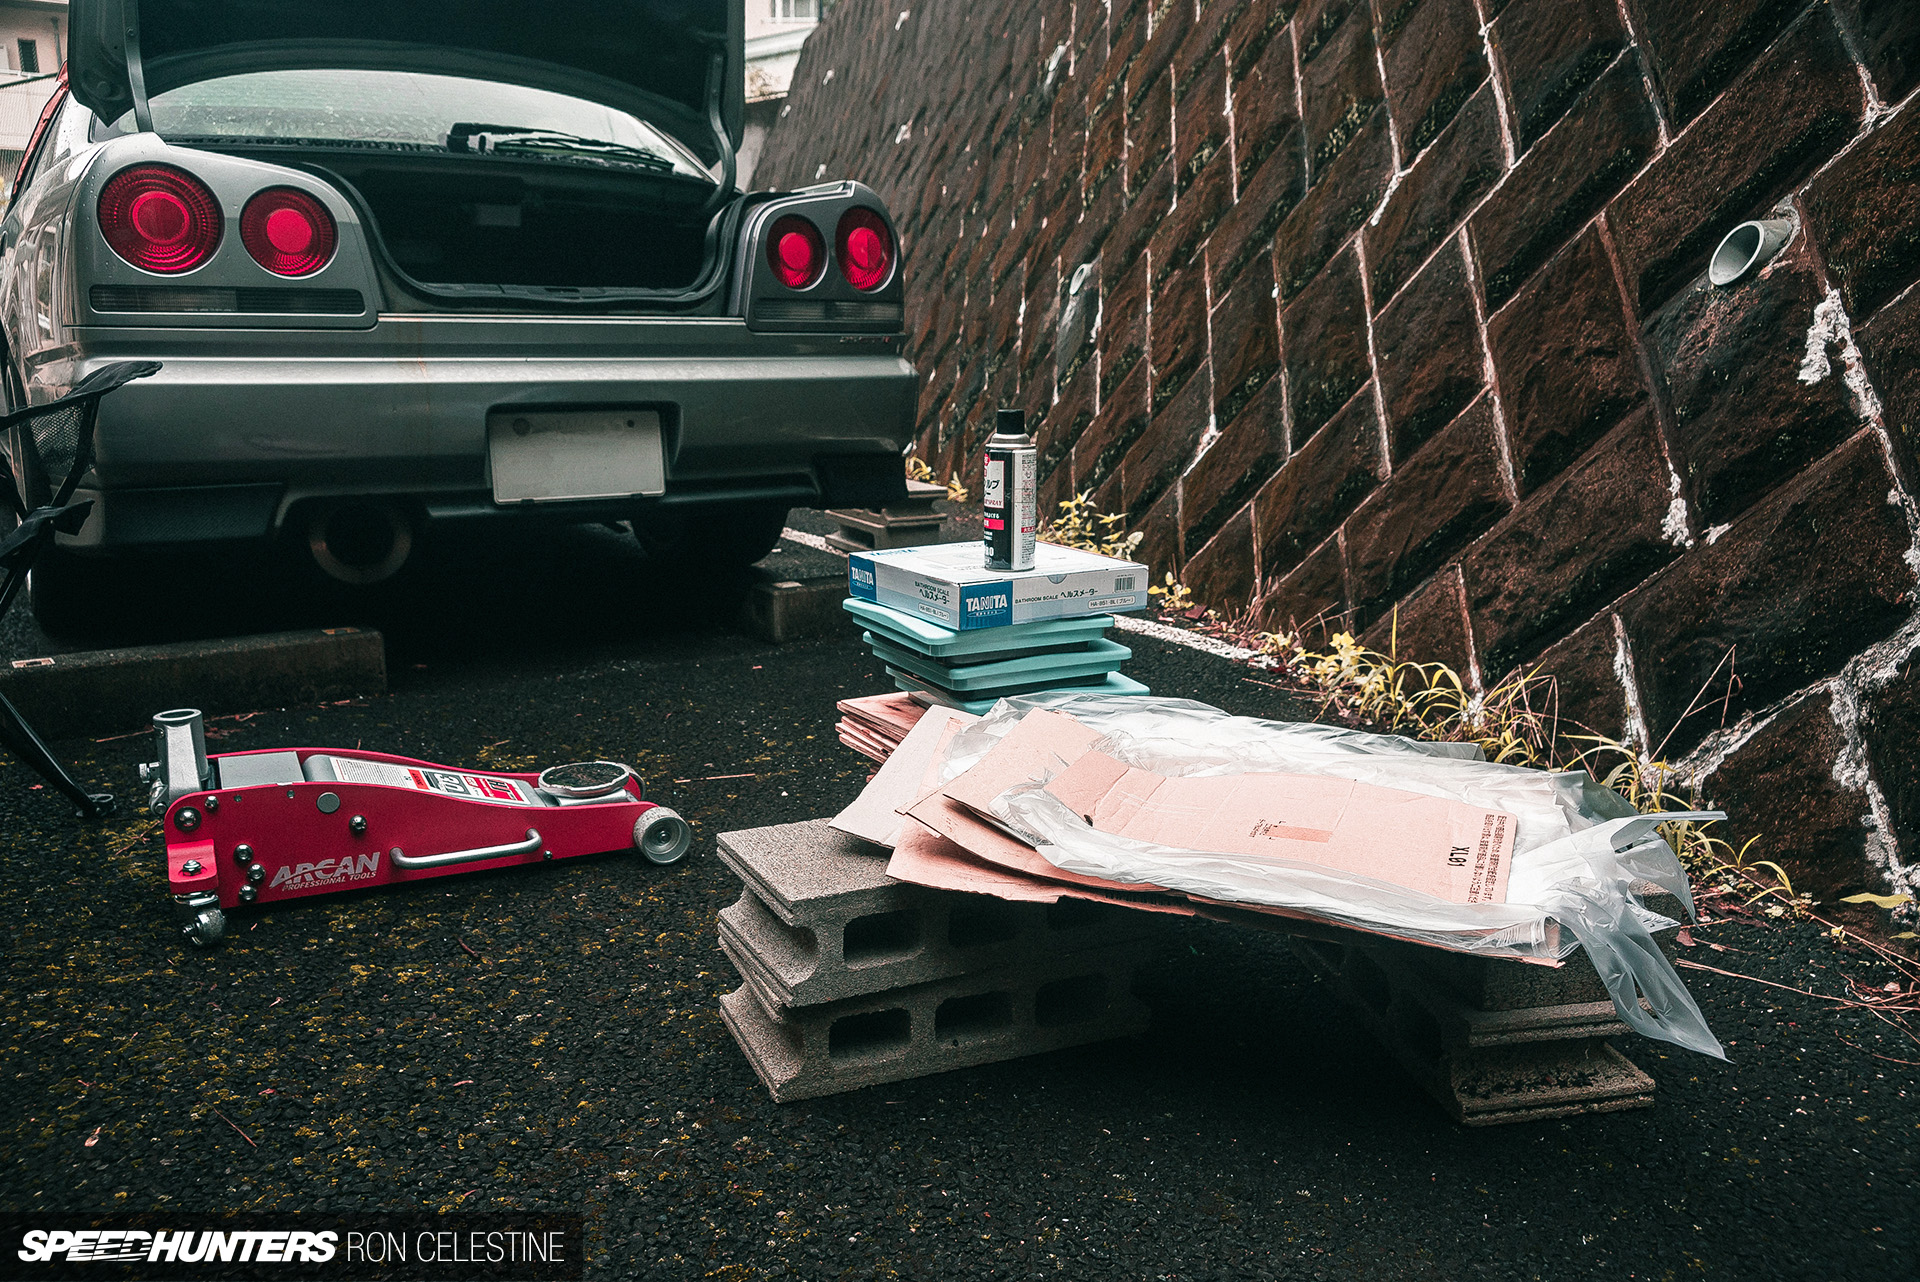
The next few weeks were spent planning how, or even if, this would be something I could pull off at home.

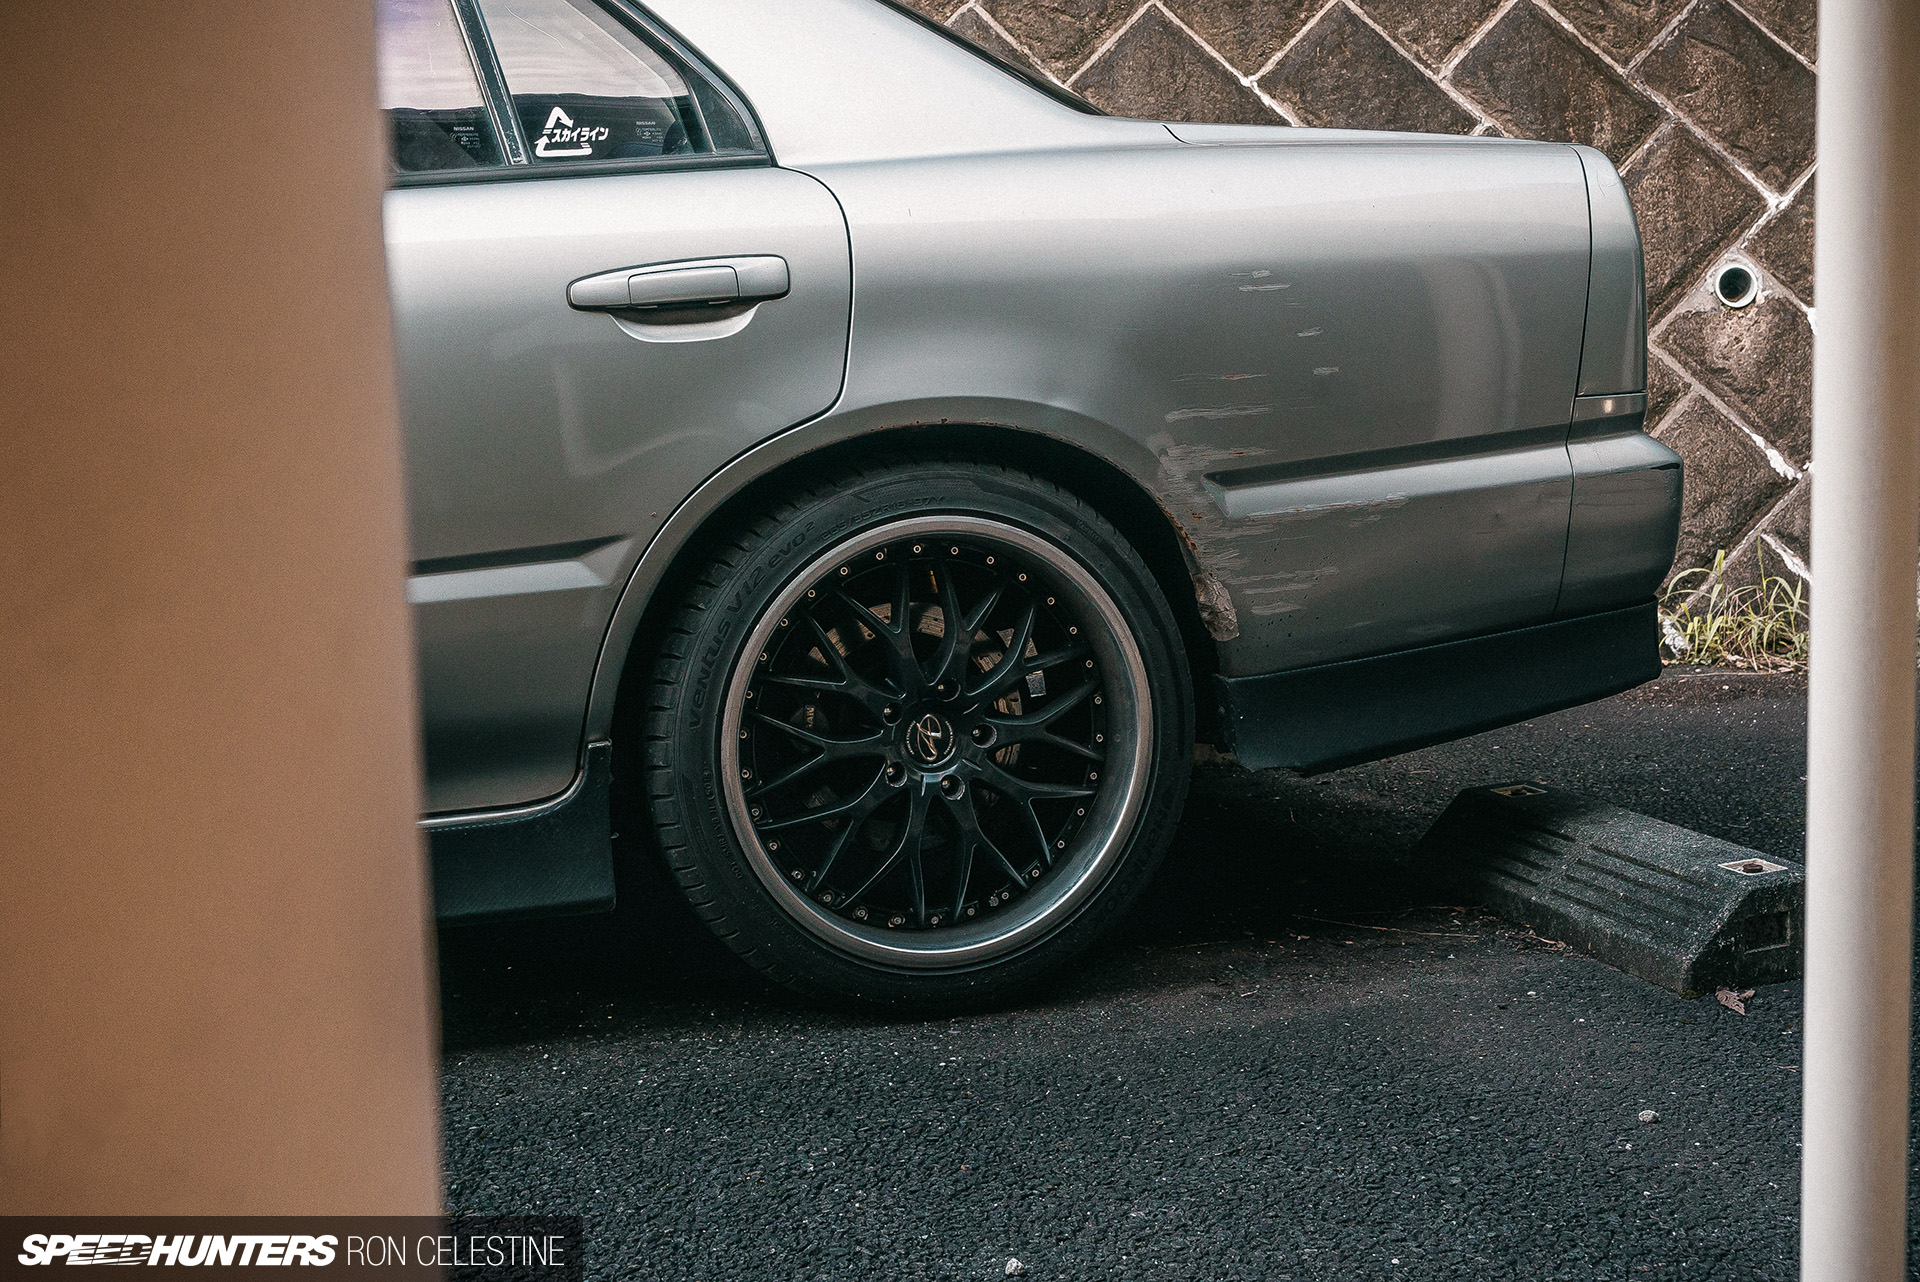
When corner balancing your car, you want to be on a perfectly flat surface. From the photos above, you might think that my parking space is indeed flat, but in reality the surface is pretty rough and quite uneven in some places.
Then there’s the problem of using a jack to lift your car onto a platform – in this case bricks. When you jack your car up and lower it onto a non-movable surface, your suspension remains bound up. It may not seem like a big deal, but if you were to change any geometry in this state – let’s say altering the toe or camber angles – when your suspension finally reached its relaxed state, your measurements would be completely off.
If I could figure ways around these problems, perhaps it could be done…

For good measure and a bit more added difficulty, I decided to add adjustable front sway bar end links to the menu, as the ones in the car were likely the originals from 1999. With the ride height far from stock, the chance of preload on the front sway bar was high.

The first step for me was to understand that perfection would be impossible, and that was absolutely fine. It’s not like the car handled poorly before, and this is going to be done with bathroom scales, not specialist equipment. The main trick is to handle the pitfalls as best as possible to give yourself the highest chance of accuracy.

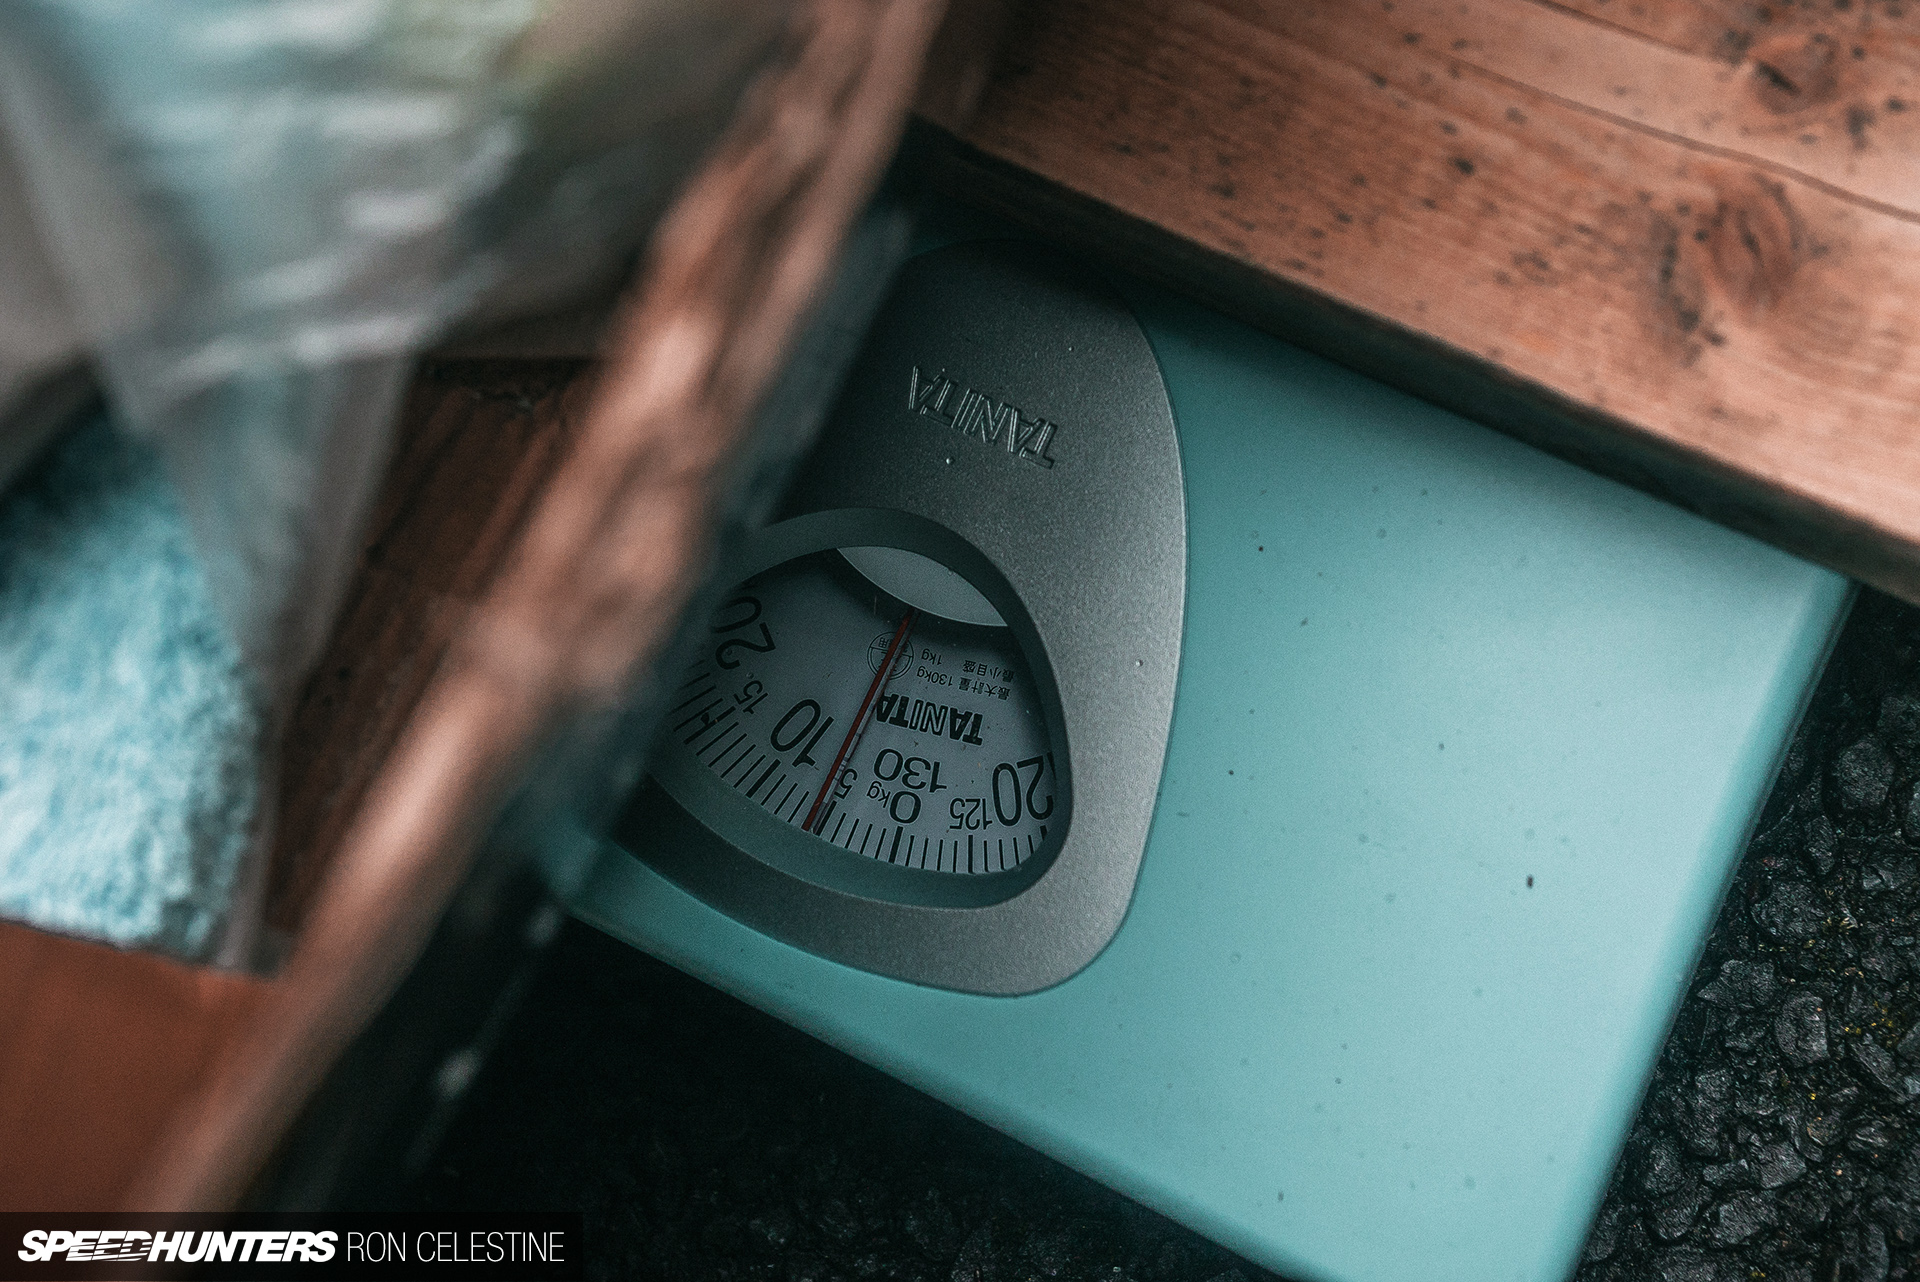
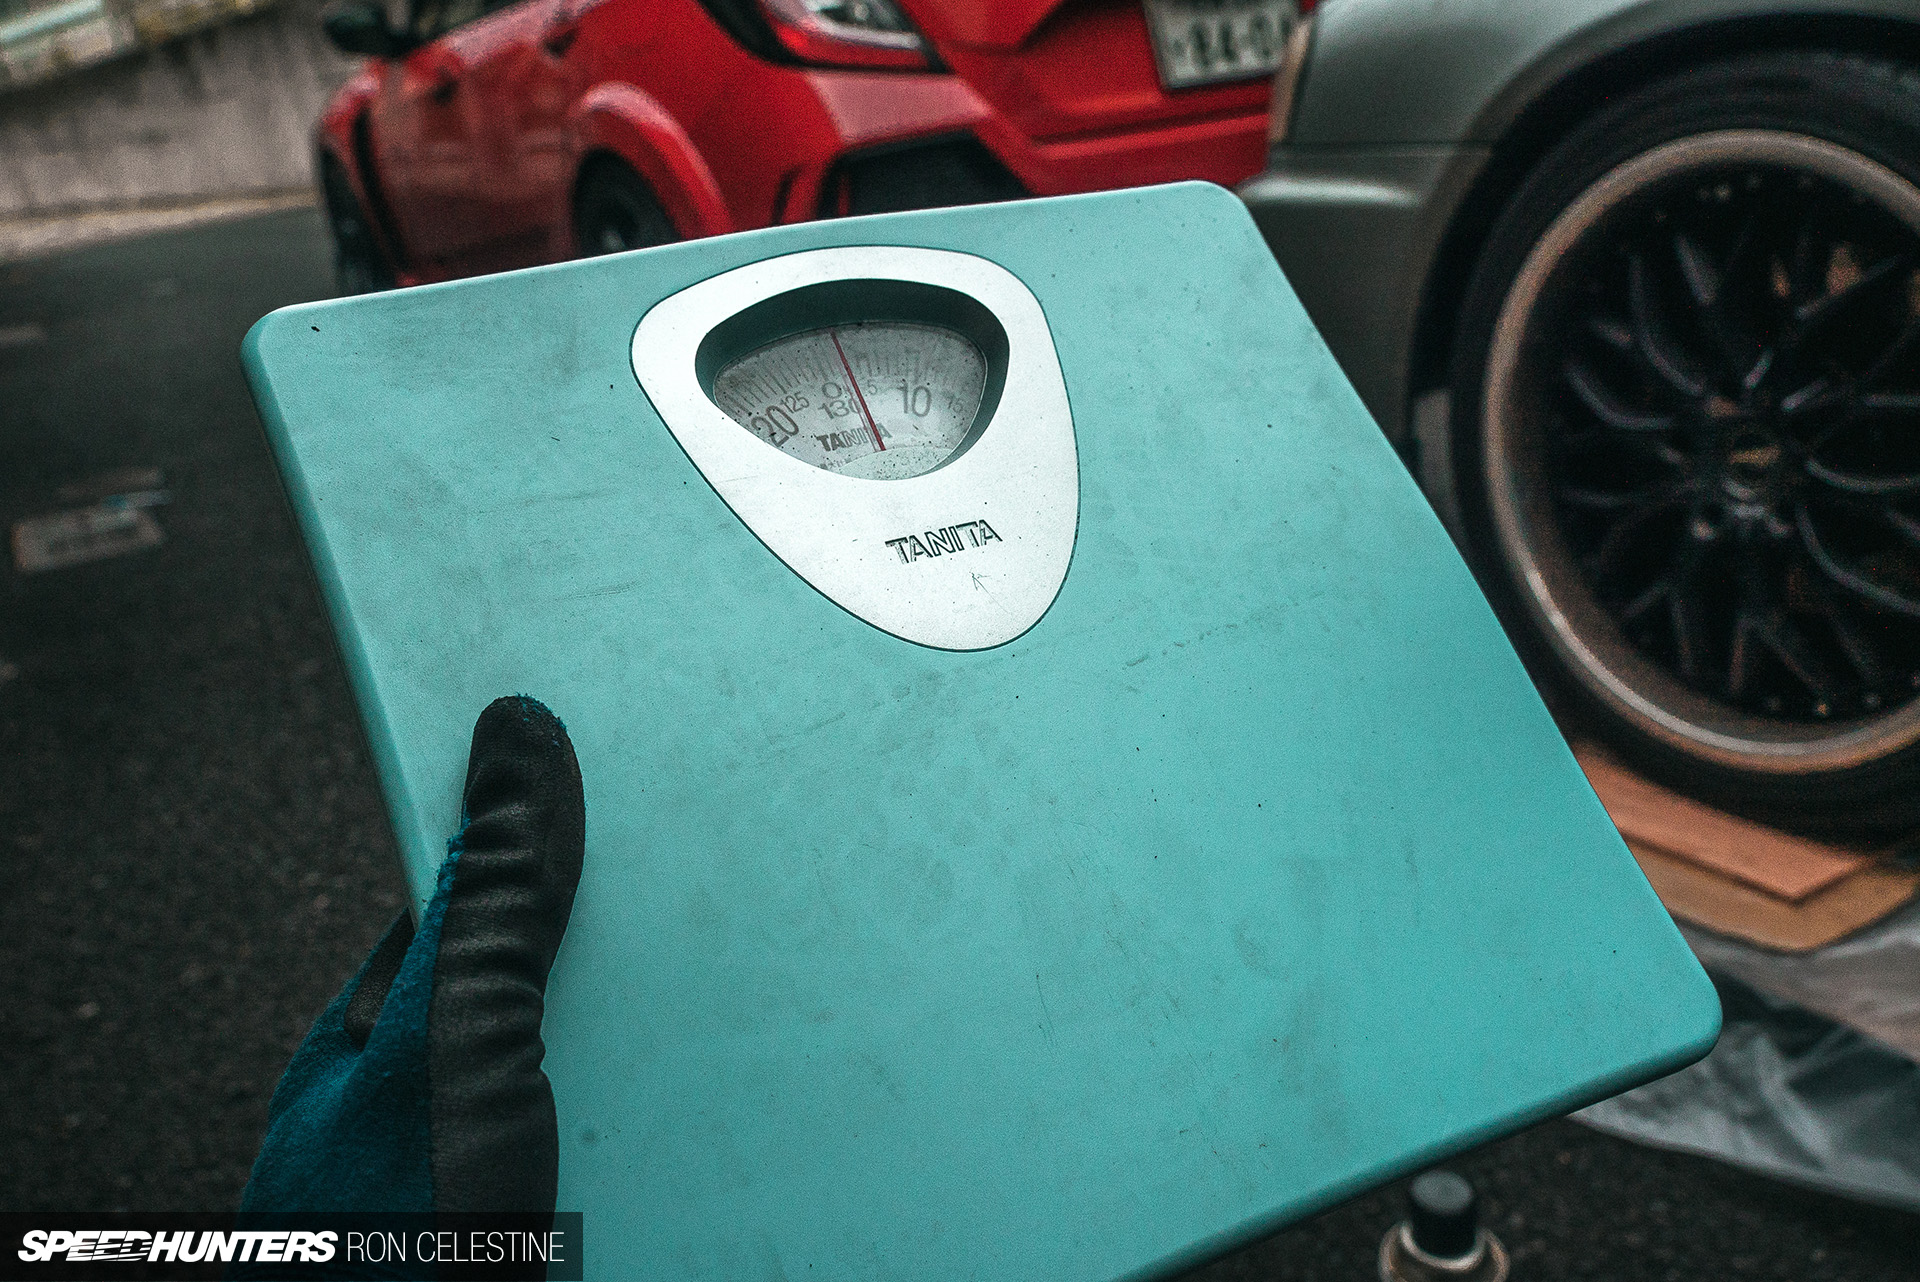
On the subject of scales, I decided to use analog scales versus digital ones. Besides the fact that analog scales are far cheaper (these were around ¥800 yen (US$7.50) each for those keeping track at home), they’d be easier to keep zeroed out over a digital scale that automatically powers off. Since it was going to take some time to jack the car up and get everything positioned correctly, I was afraid the scales might time-out and mess everything up. Simplicity is key here.
These scales max out at 130kg each, but because the 130kg (286lb) limit matches up exactly at the 0kg mark, you could go beyond 130kg and still be OK – to an extent. I discovered this the hard way, but I’ll talk about that later.

The next thing to take into account was the platform height for the scales. You simply can’t have the other three tires on the ground while one corner is lifted up on the scales. Likewise, you can’t have three tires up on platforms, and the one corner dropped on the scales on the ground. Everything needs to be levelled out as much as possible. Since I tend to always have plywood around the house for various DIY projects, I made shims so I could keep everything as level, taking into account the thickness of the 2×4 timber I would be using to transfer the weight across the scales.
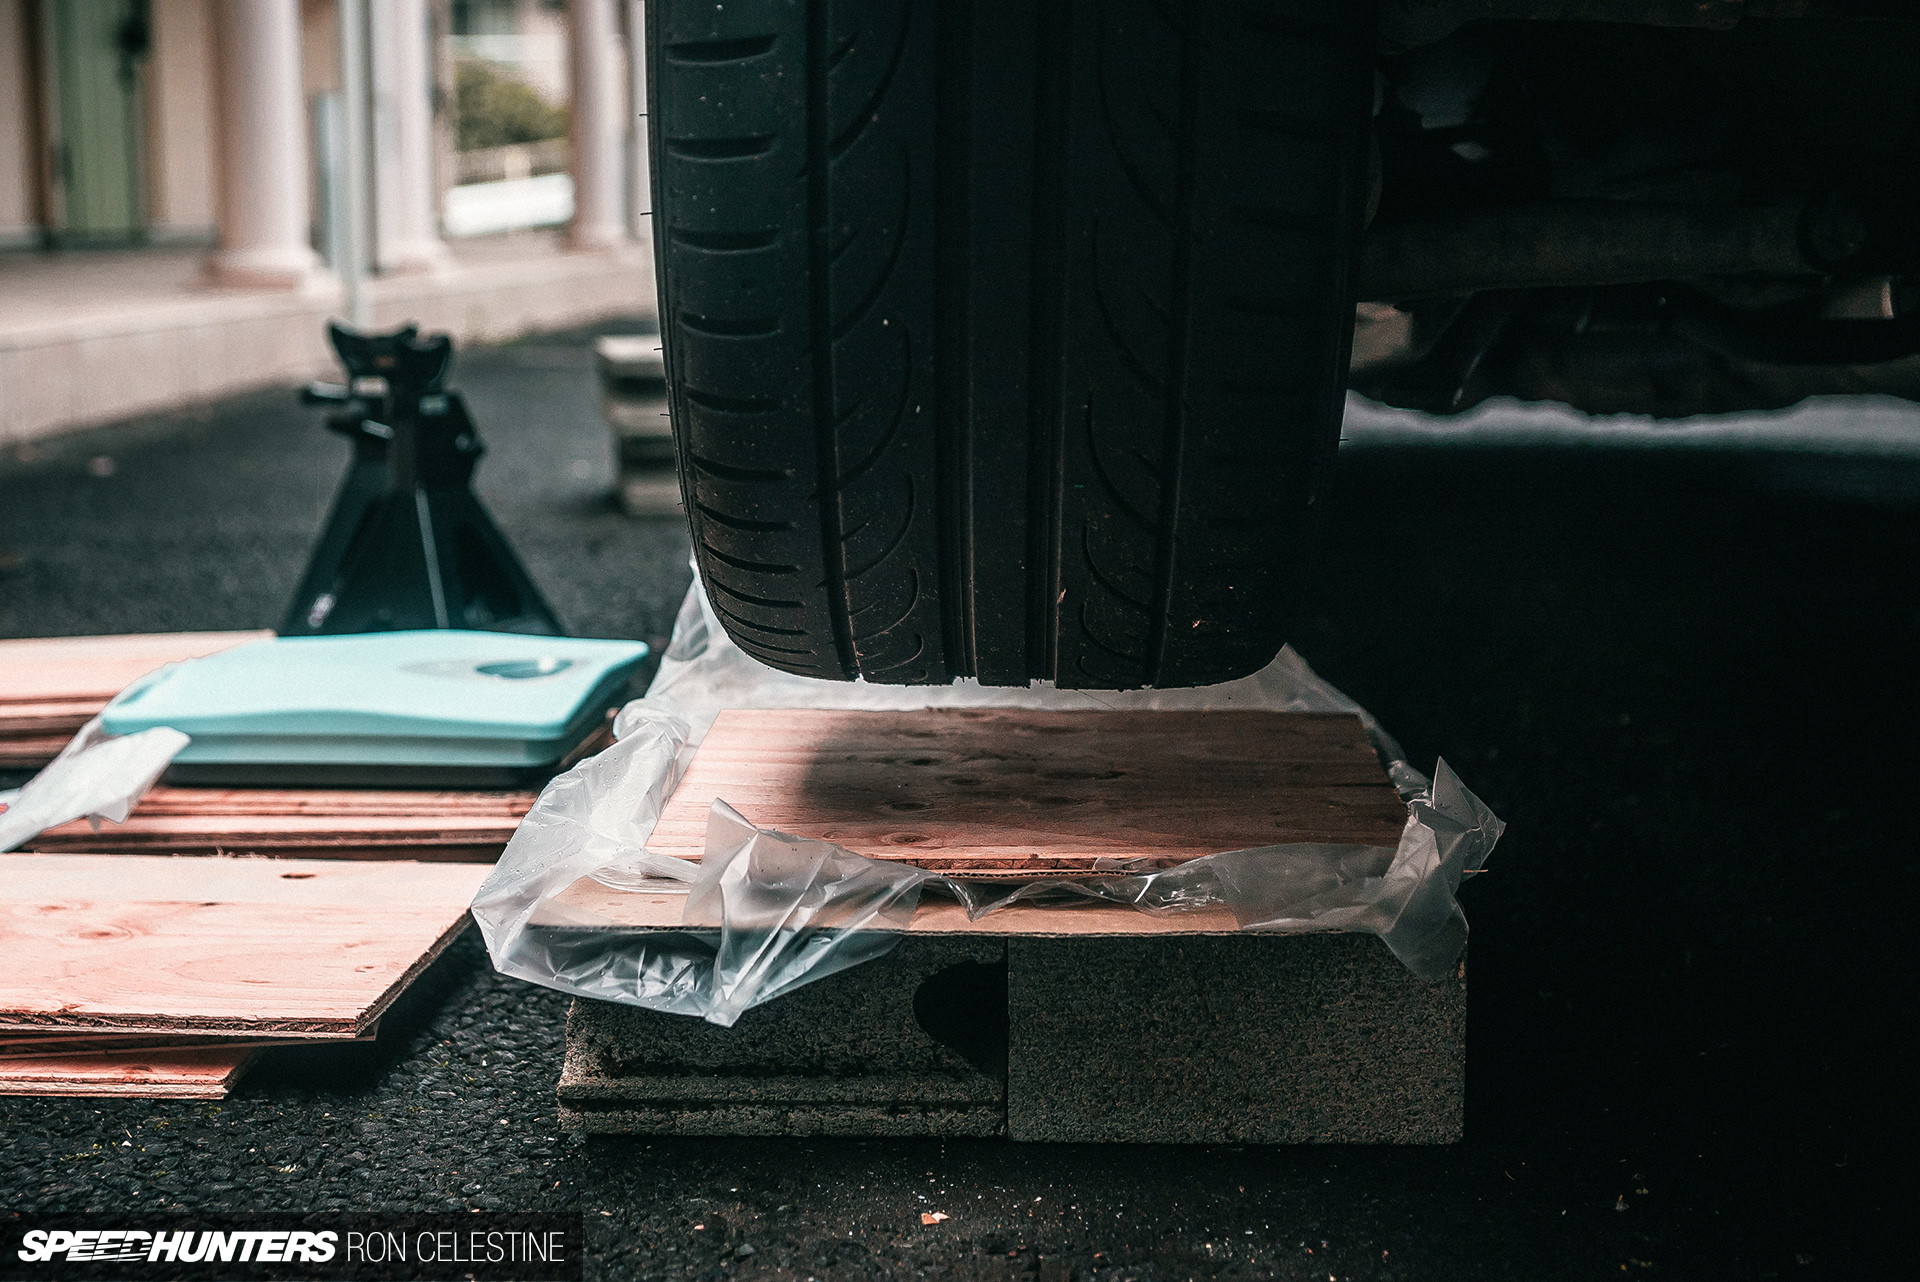
Now it was time to address the bound-up suspension issue that arises when you jack a car up. One way to relax the system is to roll the car back and forth on the platforms, however I figured doing this on bricks would be a bit too reckless, even for me. A safer route would be to create turntables that I could place underneath the tires that would allow the suspension to relax once lowered on them.
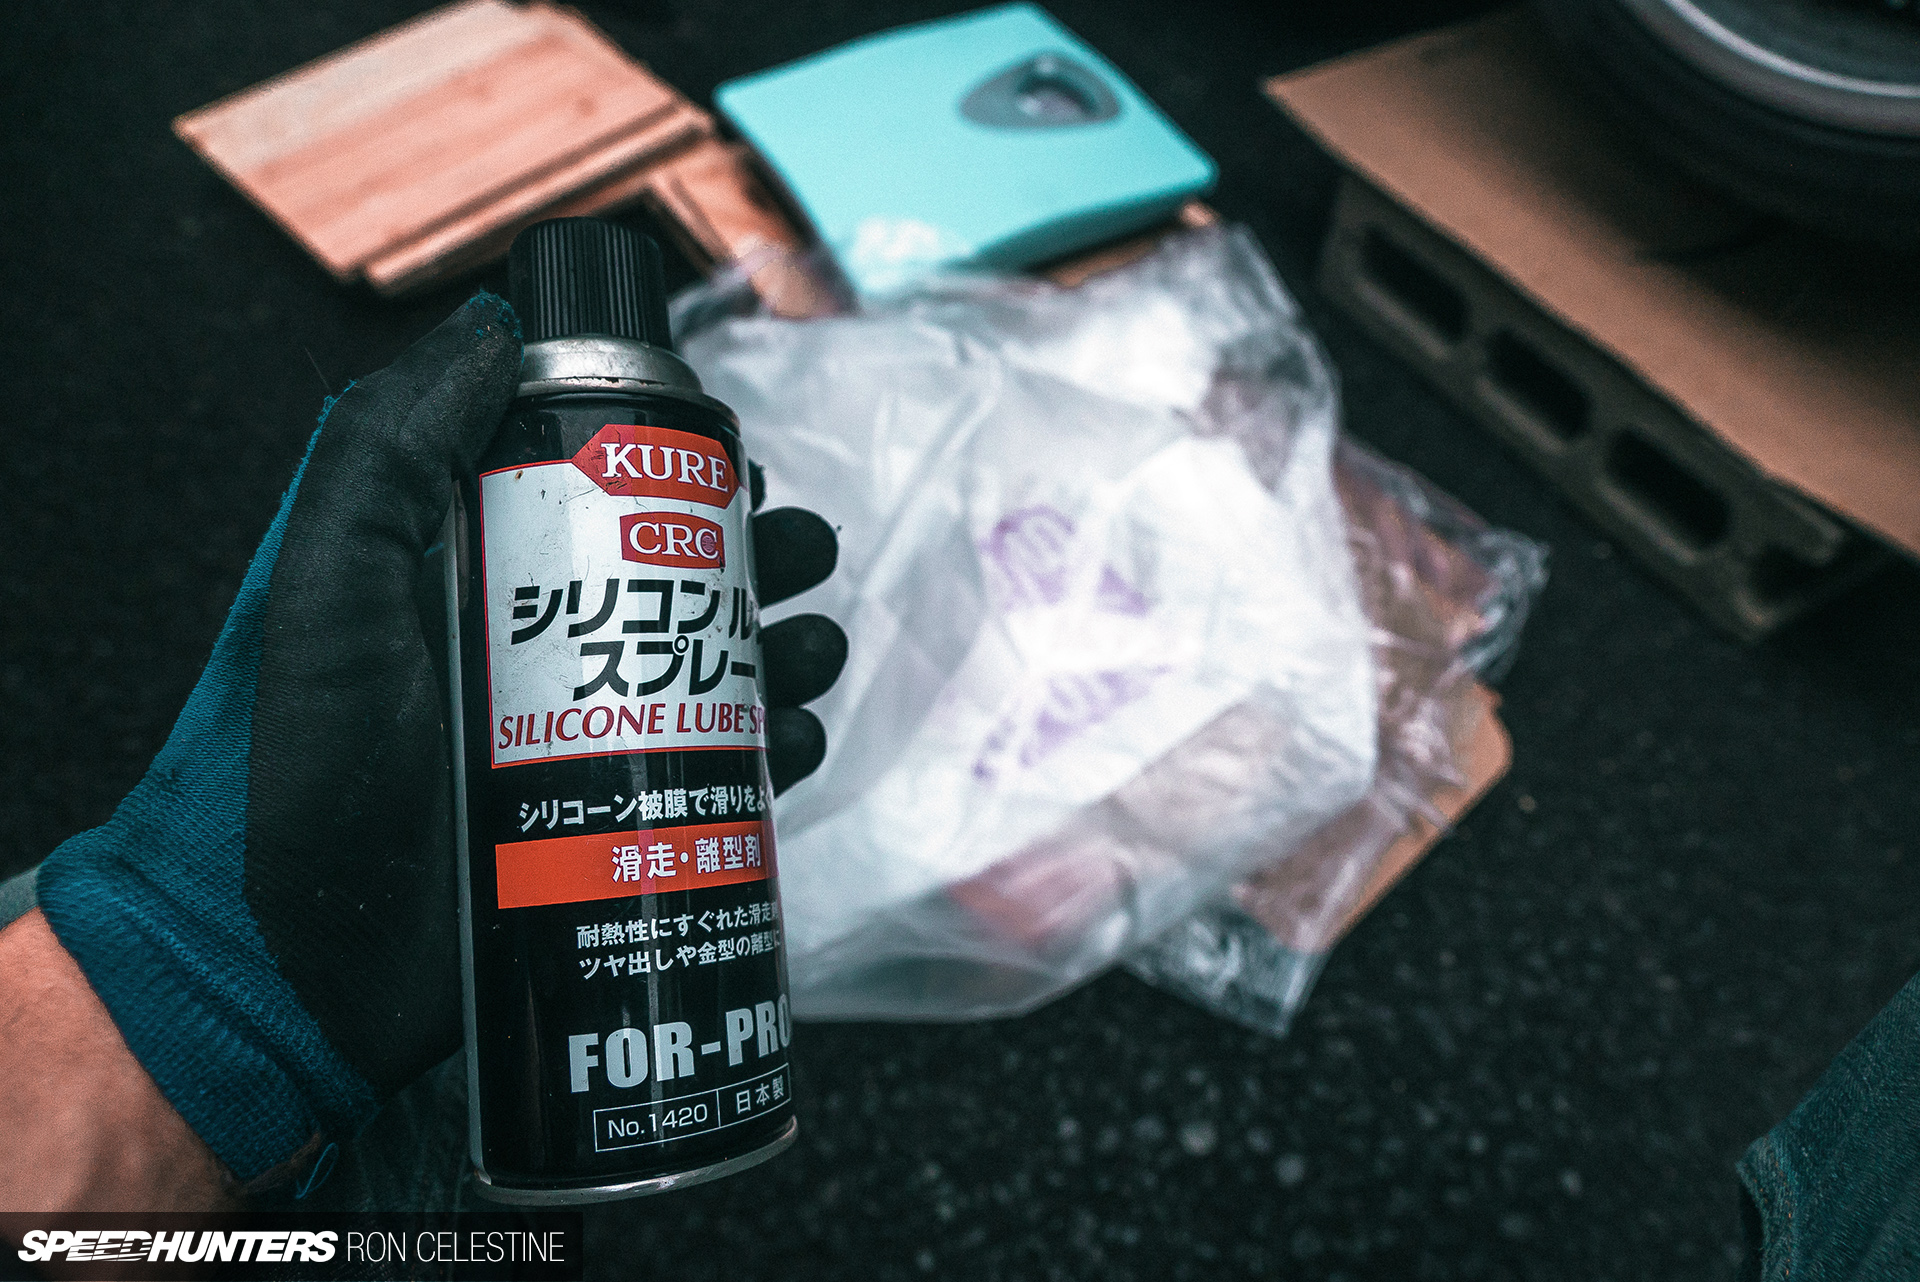
A cheap and pretty cost effective way to make these is to sandwich trash bags between cardboard. I added some lube to the mix for extra insurance. The night before, I tested various bags and discovered that you could use regular plastic bags from the supermarket, but the larger plastic bags used for trash gave a better result and thus I went that route. One thing to remember is not only does each platform need to have one of these DIY turntables, but each scale needs one as well.
Let The Insanity Begin
With each pitfall accounted for the best as possible, it was now time to perform the corner balance circus act.
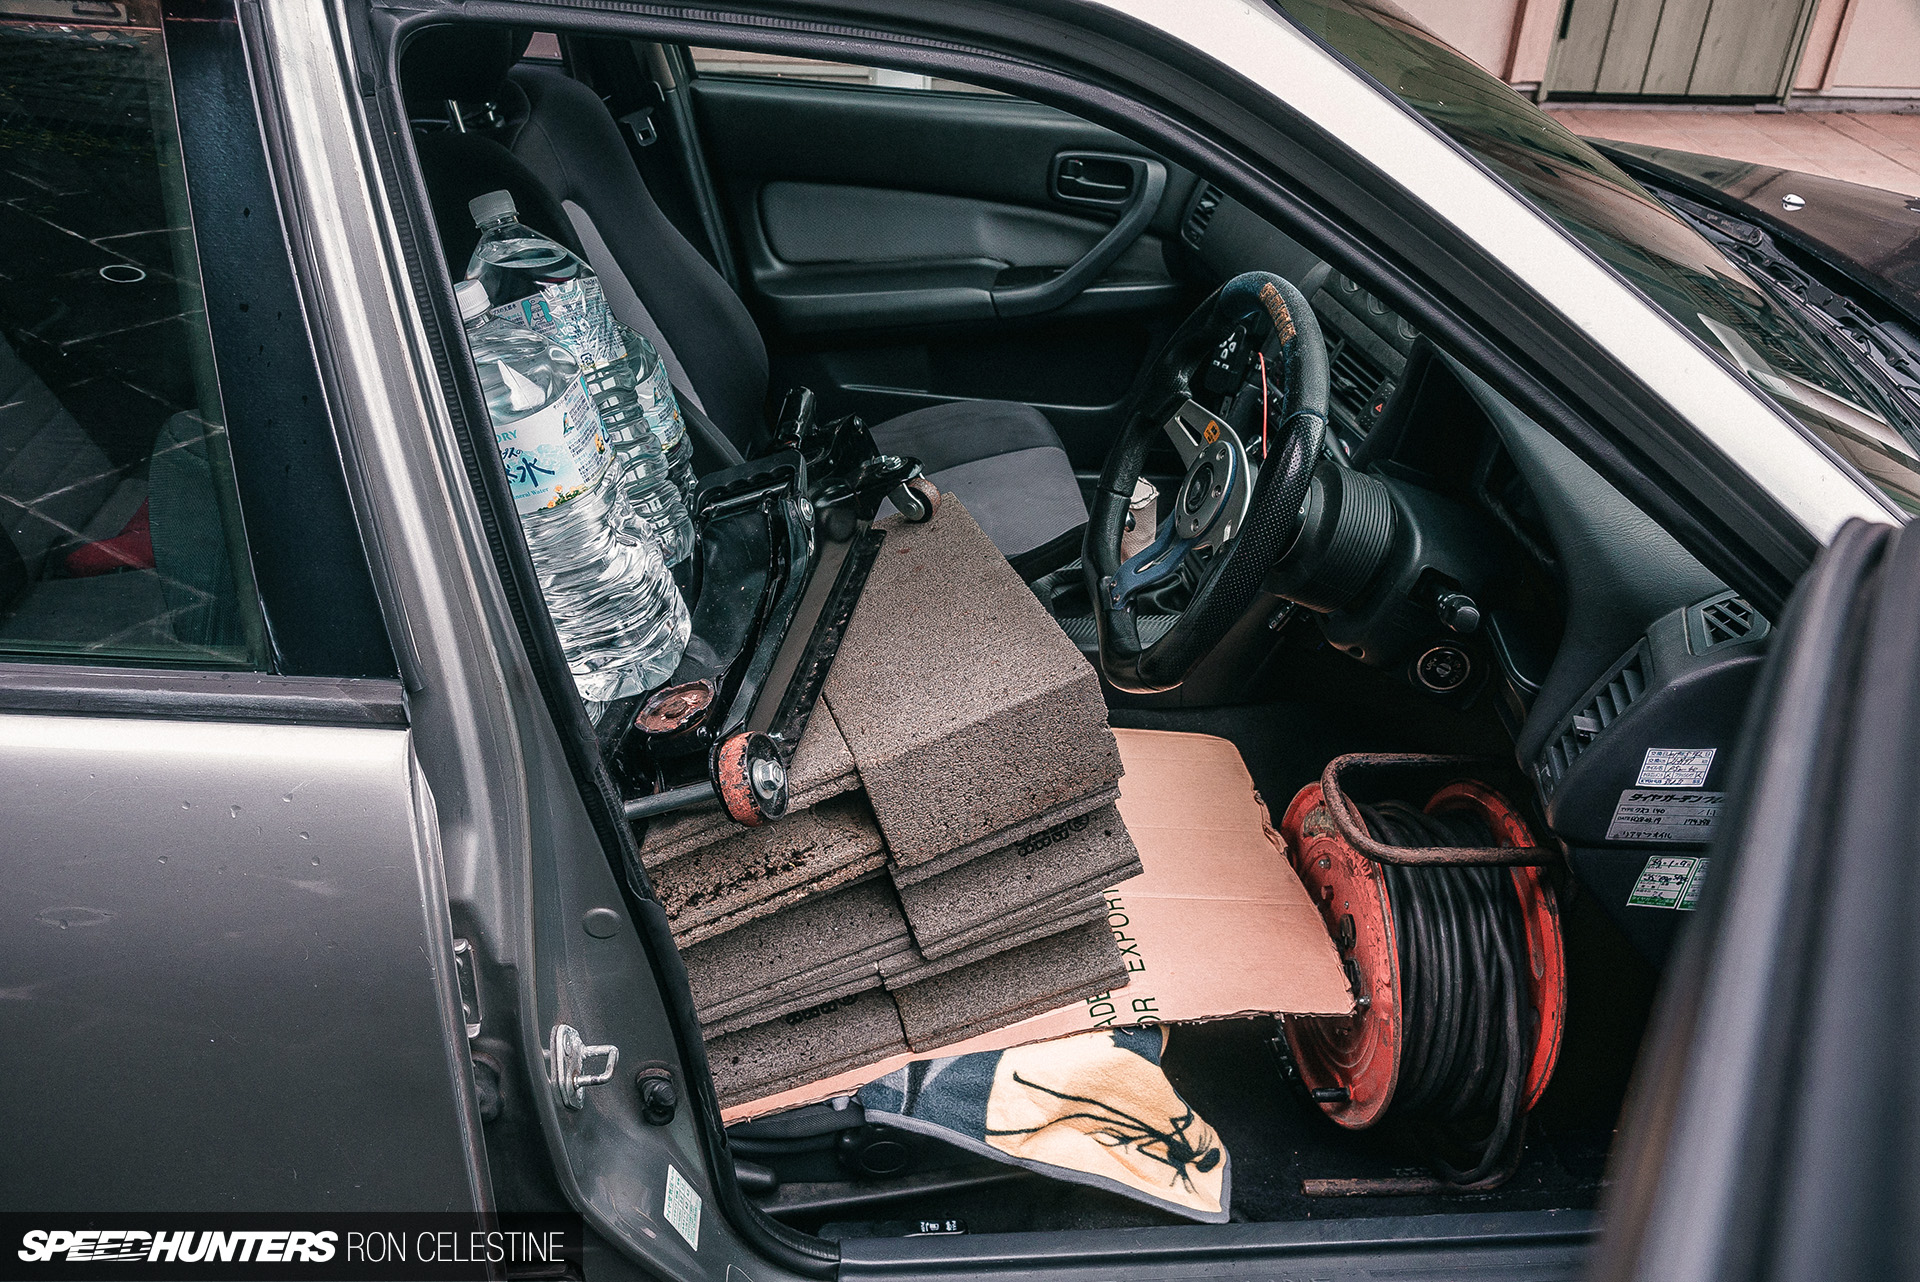
Before beginning, I disconnected each sway bar end link to ensure that no weight was accidentally transferred via the sway bar, made sure I had roughly half a tank of gas, and simulated my body weight with 83kg of stuff I had around the house.

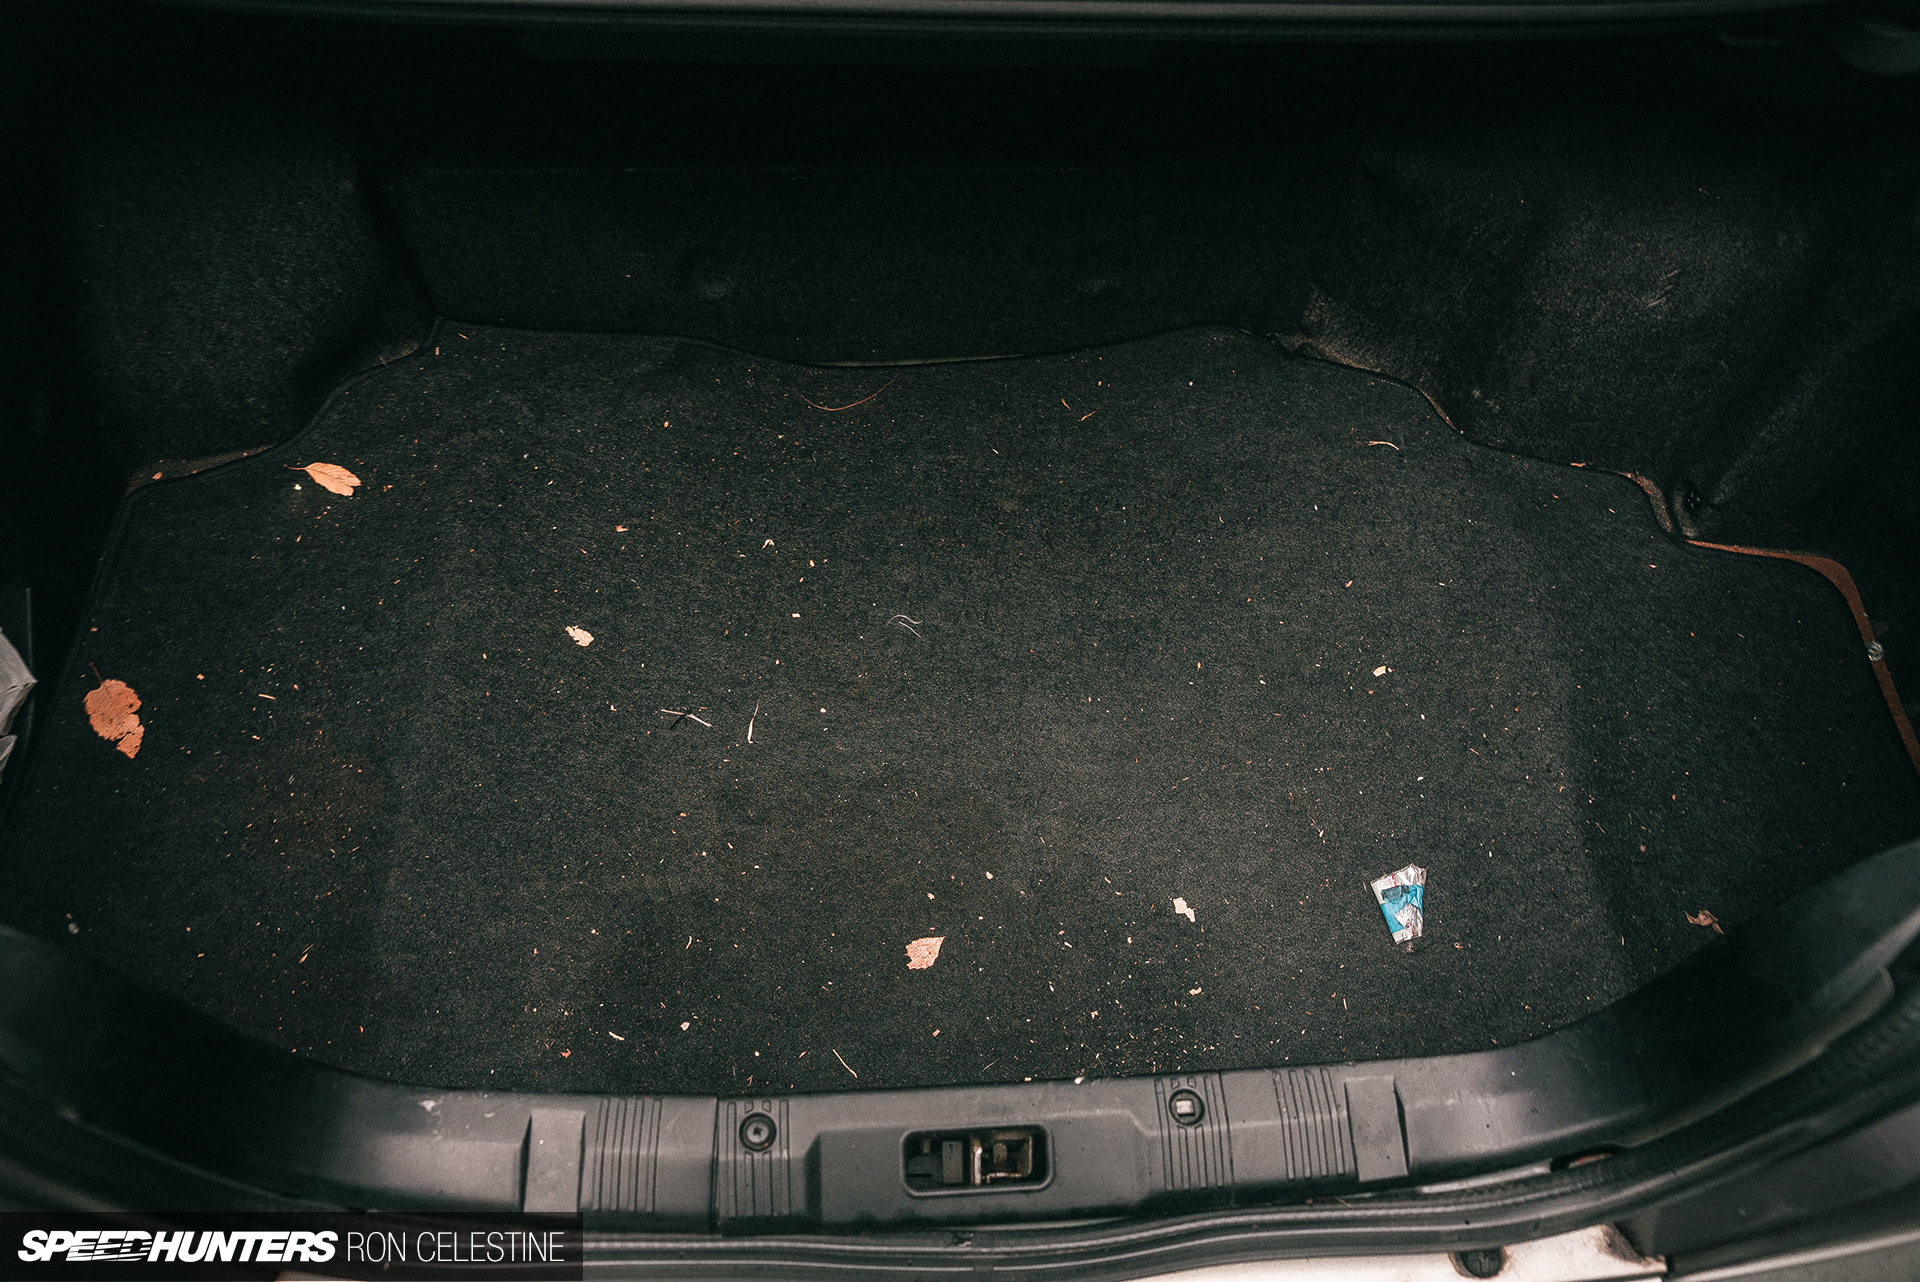
I also took this time to do some spring cleaning and remove the junk that I normally keep in my trunk. Curious, I sat the pile on a scale and was shocked to discover it weighed a little over 5kg.

Starting from the passenger front corner, I worked my way around all four corners, giving the car a good jostle to help the turntables relax the suspension.
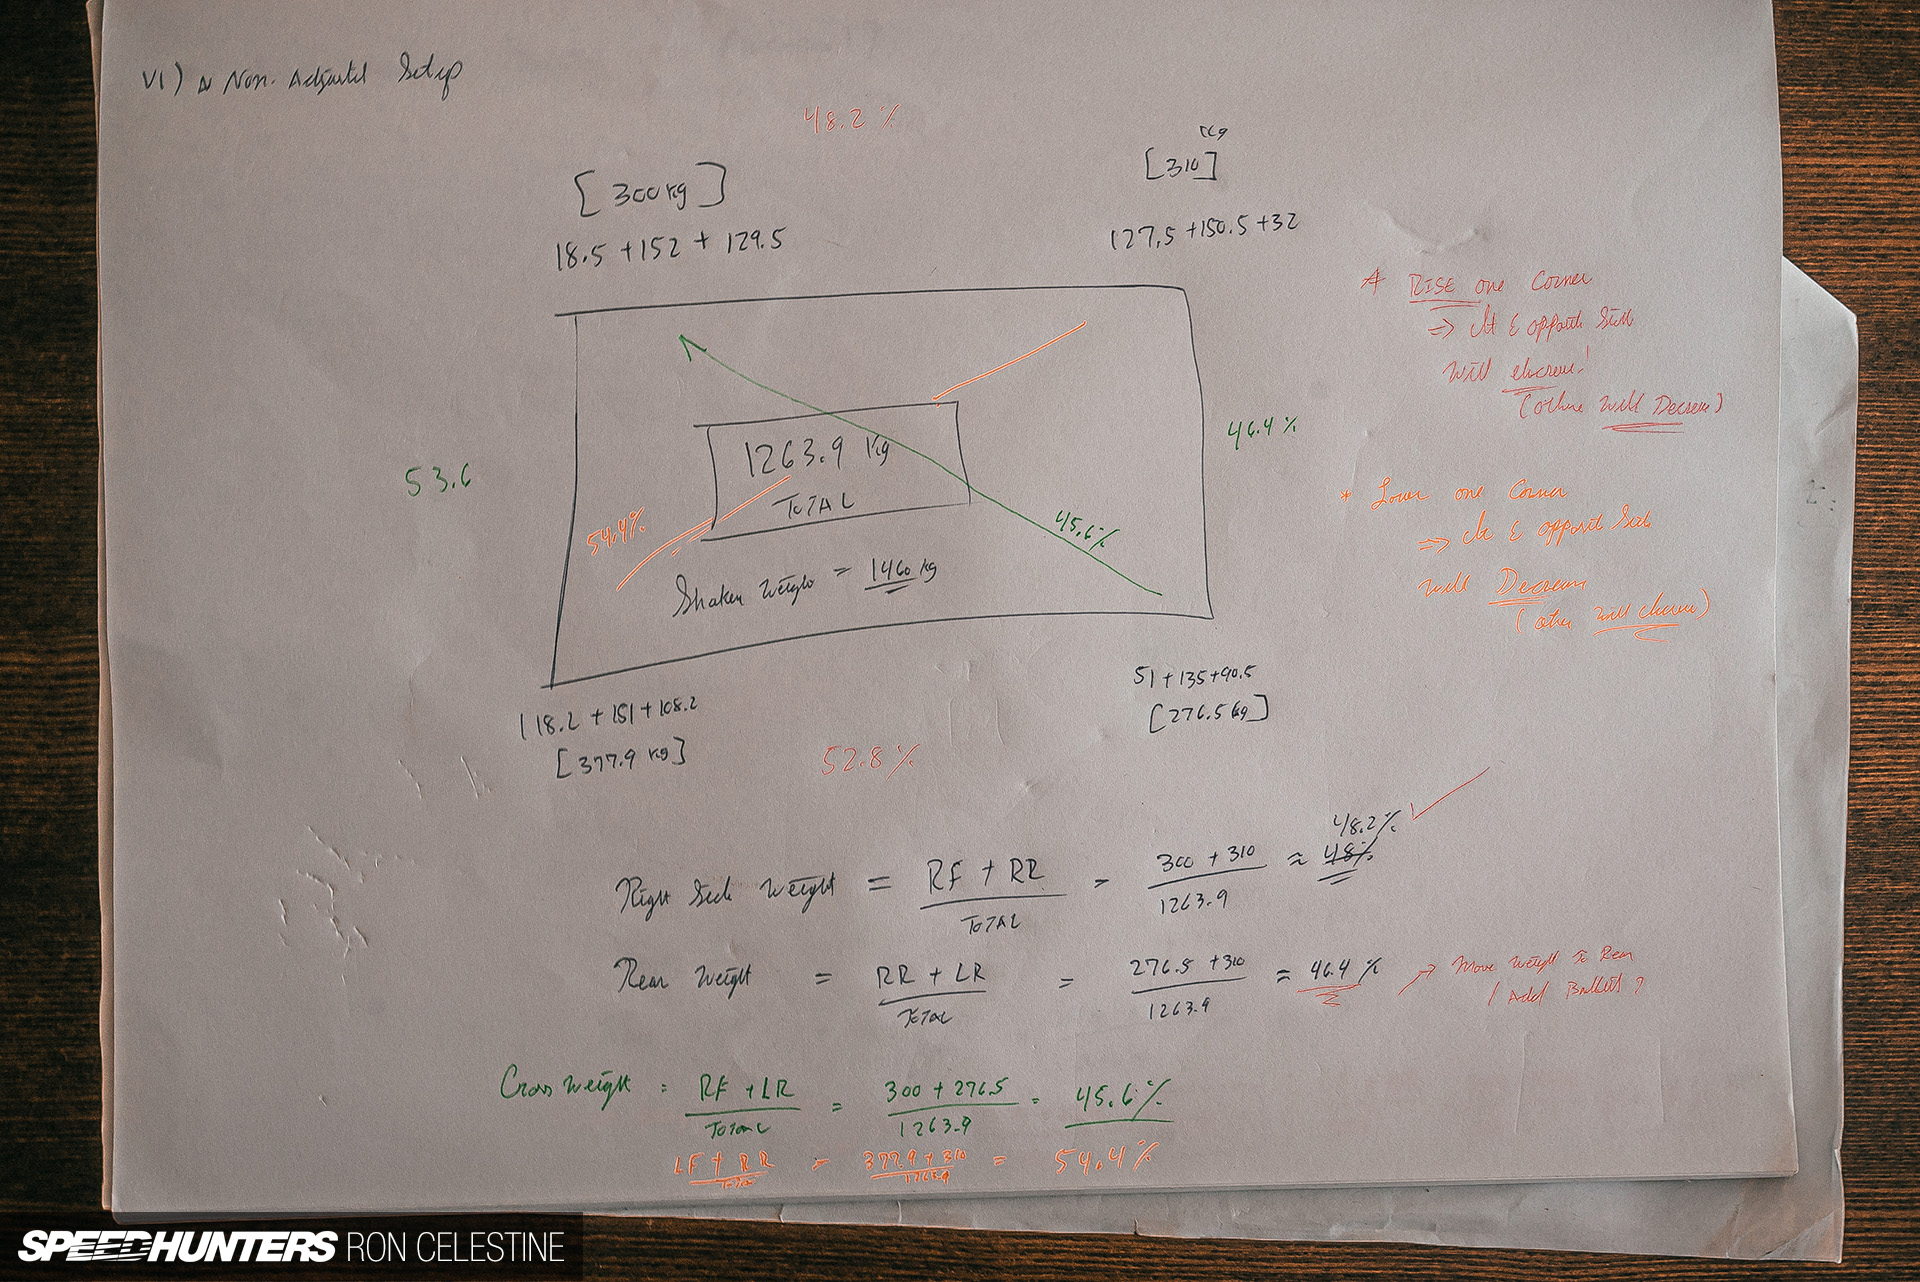
After gathering the data, I drew up this simple diagram to help visualize what was going on. According to shaken data, my car weighed 1,460kg when it left the factory, so I knew my numbers should be close to this.
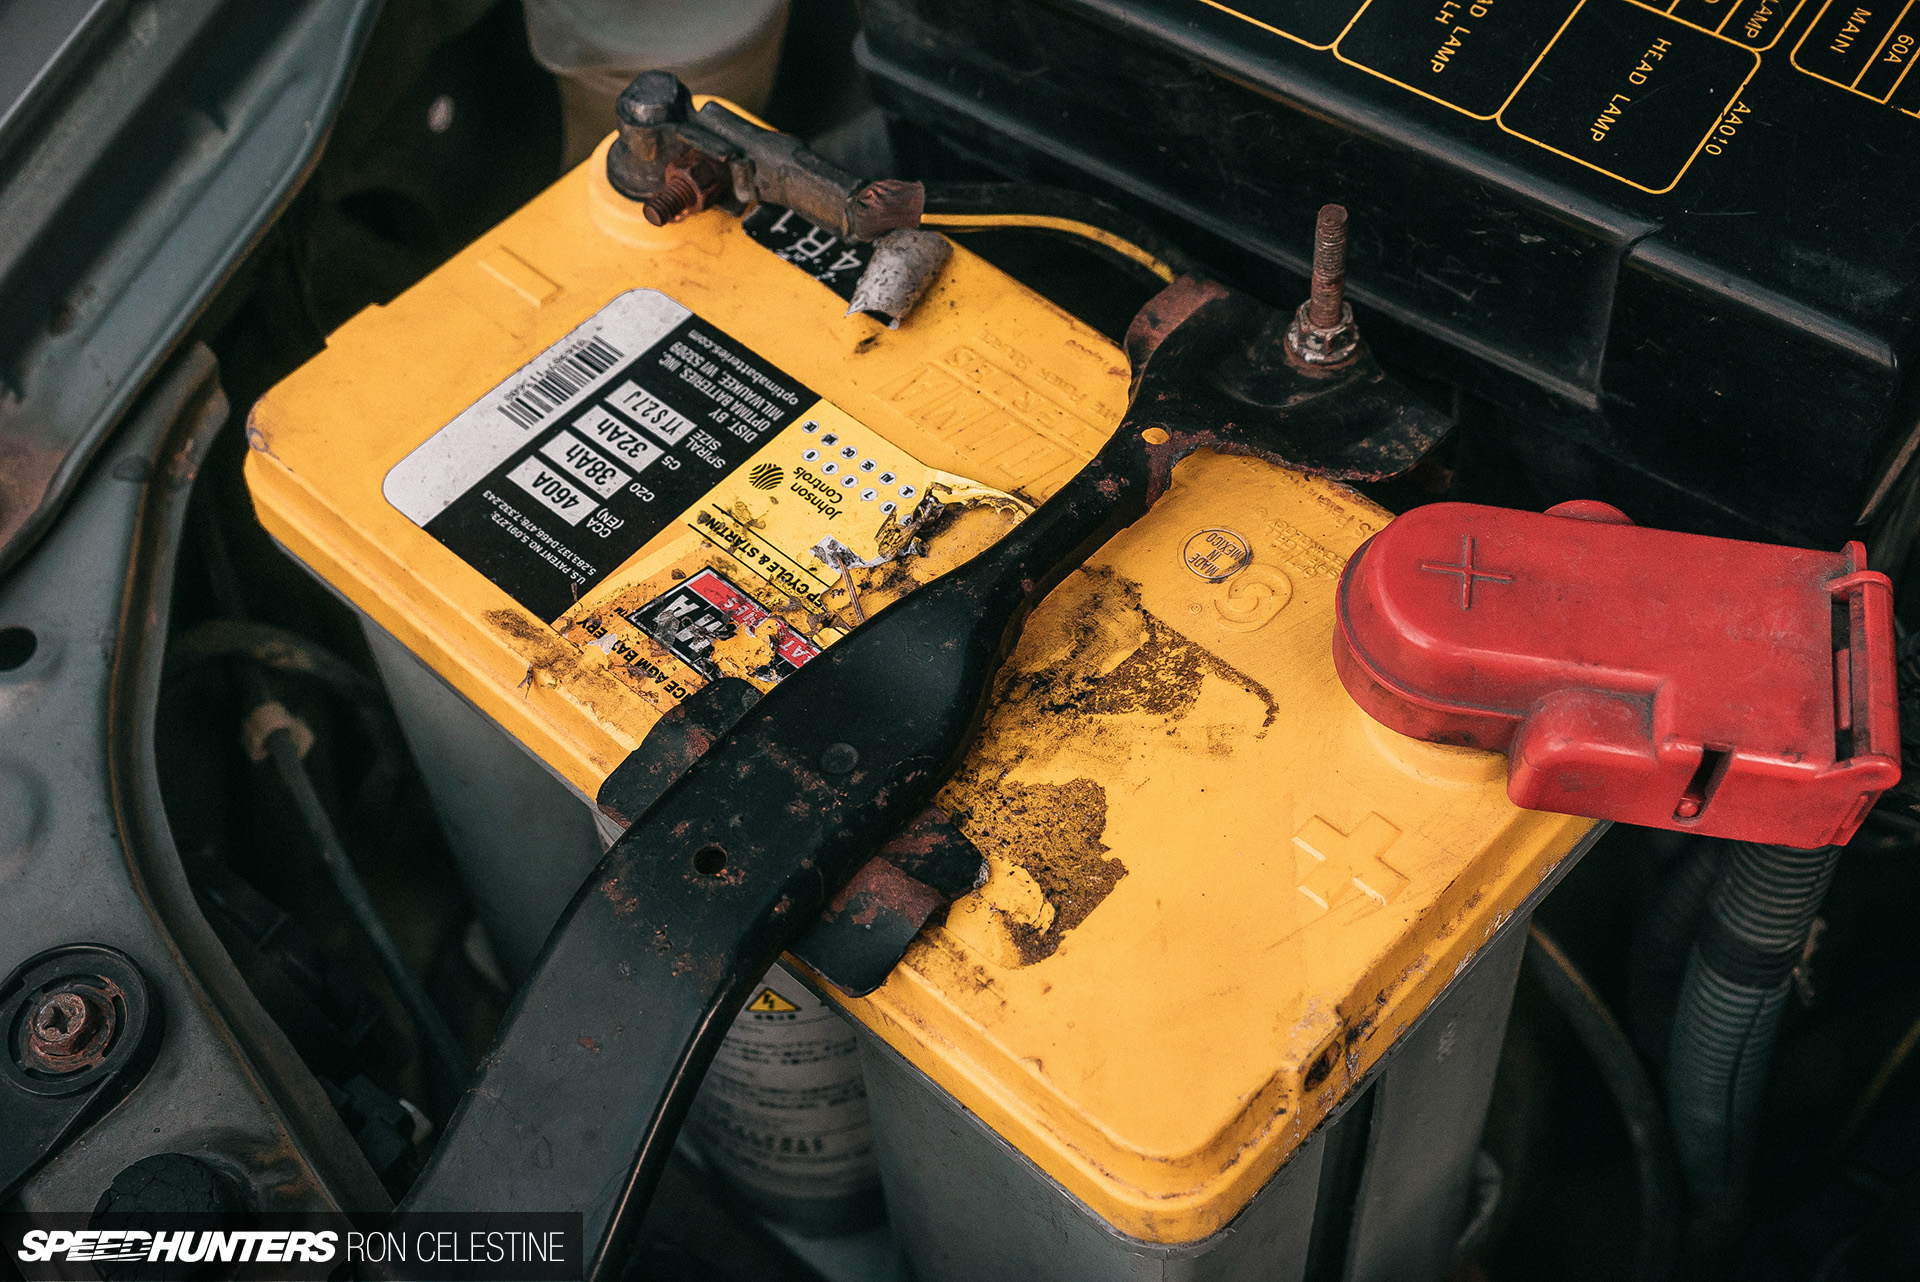
The total weight measured was 1263.9kg – which was 196.1kg off of the shaken number, or a 13% deviation – my first red flag that something was up. Project Rough does have some weight reduction in the form of an FRP hood, lighter battery, lighter wheels, no spare wheel/tire, and a few other things removed, but I couldn’t really justify such a big difference. The second red flag was the side you would expect to be the heaviest – the driver’s side – wasn’t.
I decided to press forward with the calculations to give my brain some time to think what could have happened.
Right Side Weight: 48.2%
Rear Weight: 46.4 %
Cross Weight: 45.6%/54.4%
In the back of my mind I knew something was wrong with my test, but I couldn’t pinpoint exactly what could have happened. Looking at the diagram, I decided to try and make an adjustment anyway, to see if that fixed anything. If you lift one corner, you effectively increase the weight at that and the opposite corner, which will decrease the weight at the other corners.
Likewise, if you lower one corner, you effectively decrease the weight at that and the opposite corner. This will also increase the weight at the other corners.
This is where the real time consuming part comes in, as making small changes could have a profound effect on the balance. Keeping a note of where you started and what changes you make is crucial. Looking at my data, I came to the conclusion that I should lift the passenger rear corner. I went in and did so by 5mm to start with, and then rechecked the weight. Knowing the weight is supposed to increase at that newly adjusted corner, I checked it first. The weight dropped.
Remember when I mentioned that if the scale goes beyond 130kg that you would be fine to an extent. That extent is the fact that even though the scale will technically go beyond 130kg, it was never really designed to handle more than its maximum limit. In conclusion, I broke one of the scales which caused it to read incorrectly.

Fortunately, I knew Murphy’s Law was going to strike at some point and had purchased an extra scale just in case. With the broken scale removed from the equation and its replacement in place, I checked the weight at all the corners and made another diagram.
The total weight measured this time around was 1,383kg – or 77kg off the shaken number. A 5.27% deviation, which when I factor the weight-saving changes that I mentioned a moment ago (FRP hood, lighter battery, lighter wheels, no spare wheel/tire) is a totally justifiable number. Another good sign was the fact that the driver’s side was now the heaviest corner, as one would expect. Confident in these figures, I crunched the numbers and came up with:
Right Side Weight: 55.3%
Rear Weight: 45.3 %
Cross Weight: 49.2%/50.8%
Success! I would have liked to get the front-to-rear weight a bit more balanced, but the only way to achieve this is to add ballast, remove weight, or physically move it around. You can’t change the side and rear weight distribution by corner balancing due to the notion that if you change one corner, it affects the opposites directly.
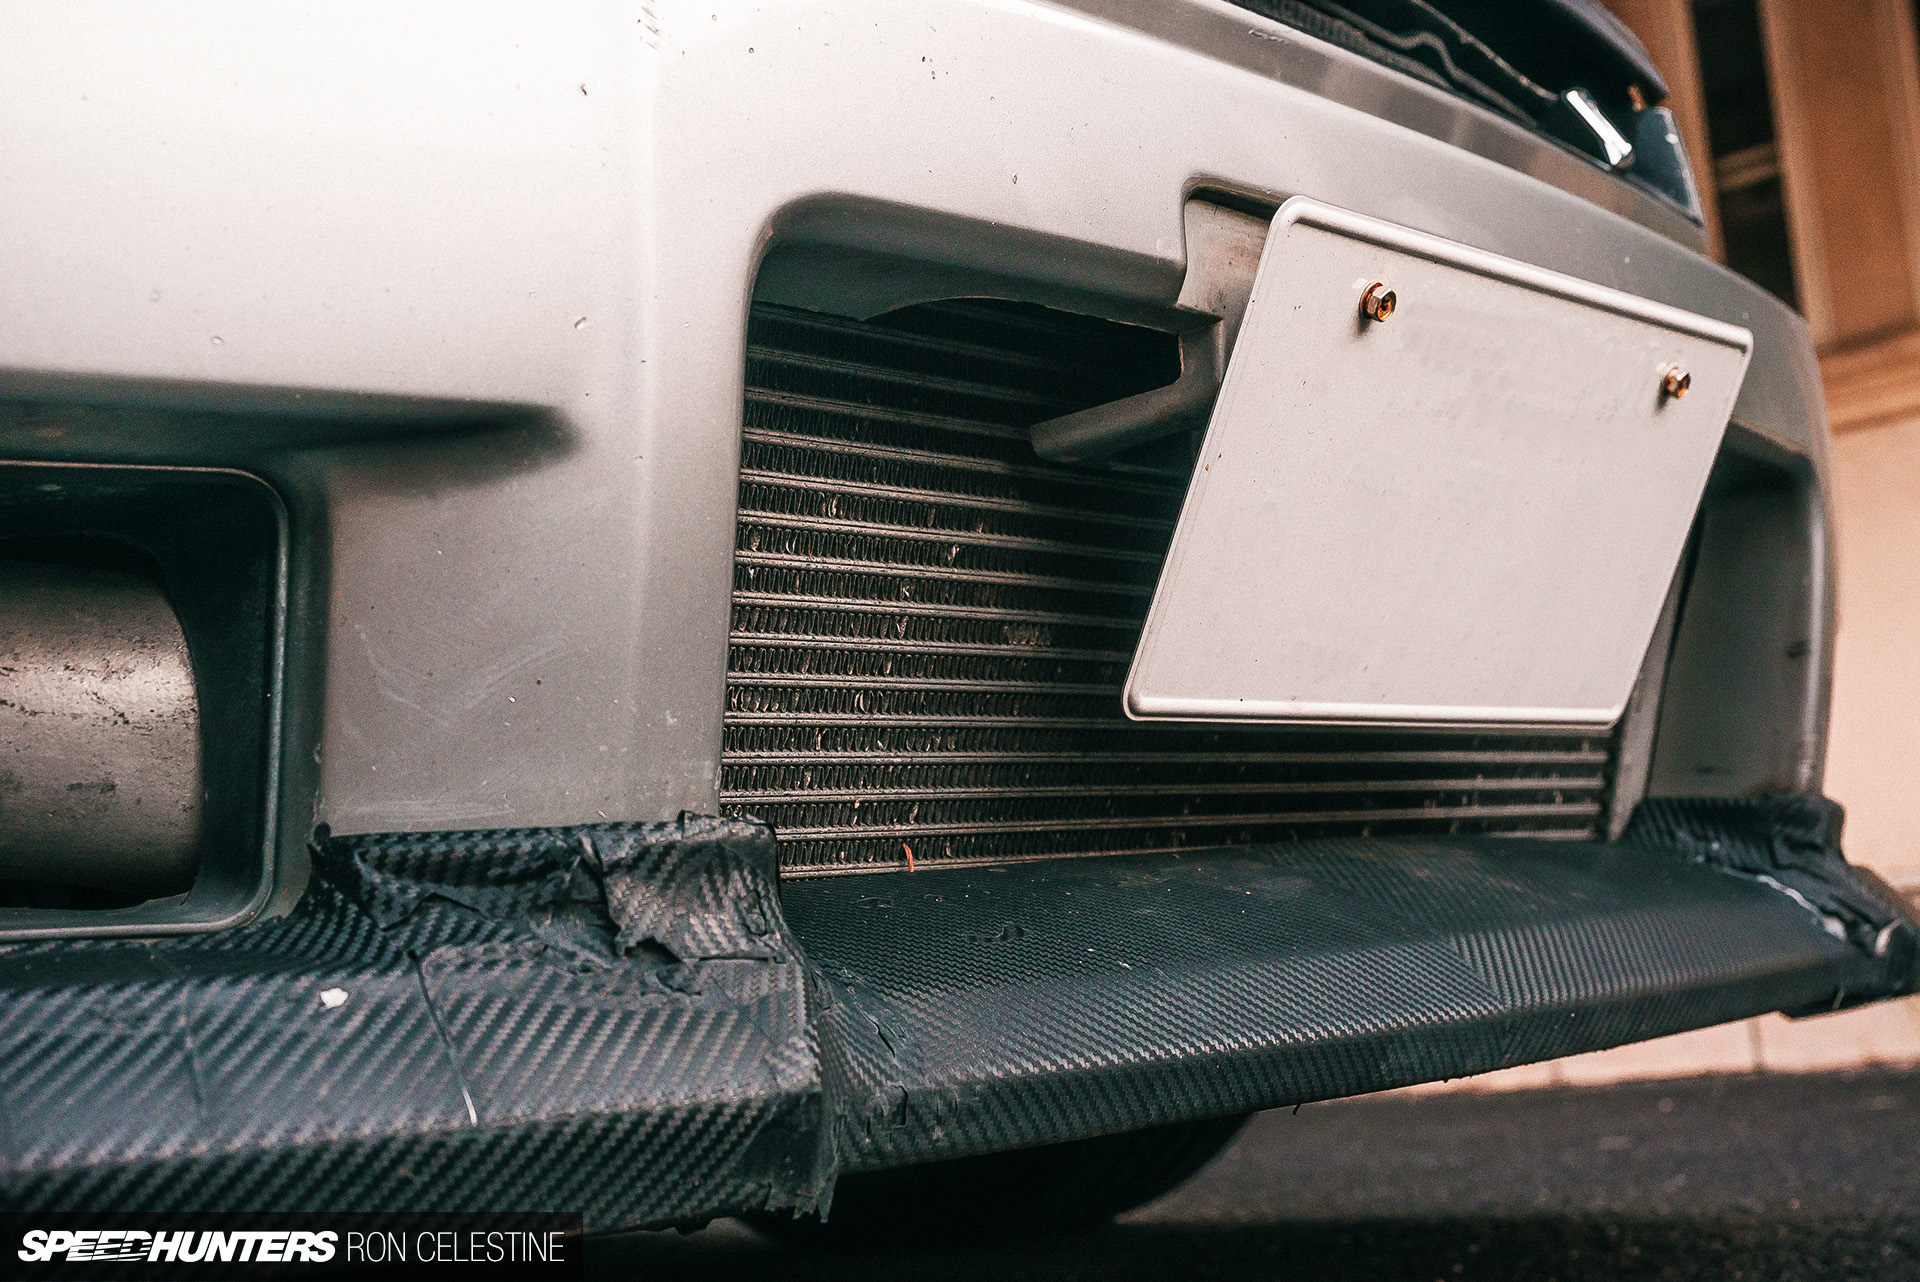
To help improve the balance, a few things I could think of would be moving the battery to the rear, fitting a lighter intercooler, and using less plumbing from the intercooler to the intake, seeing that I’m still running the awful stock RB25DET intake plenum.
Links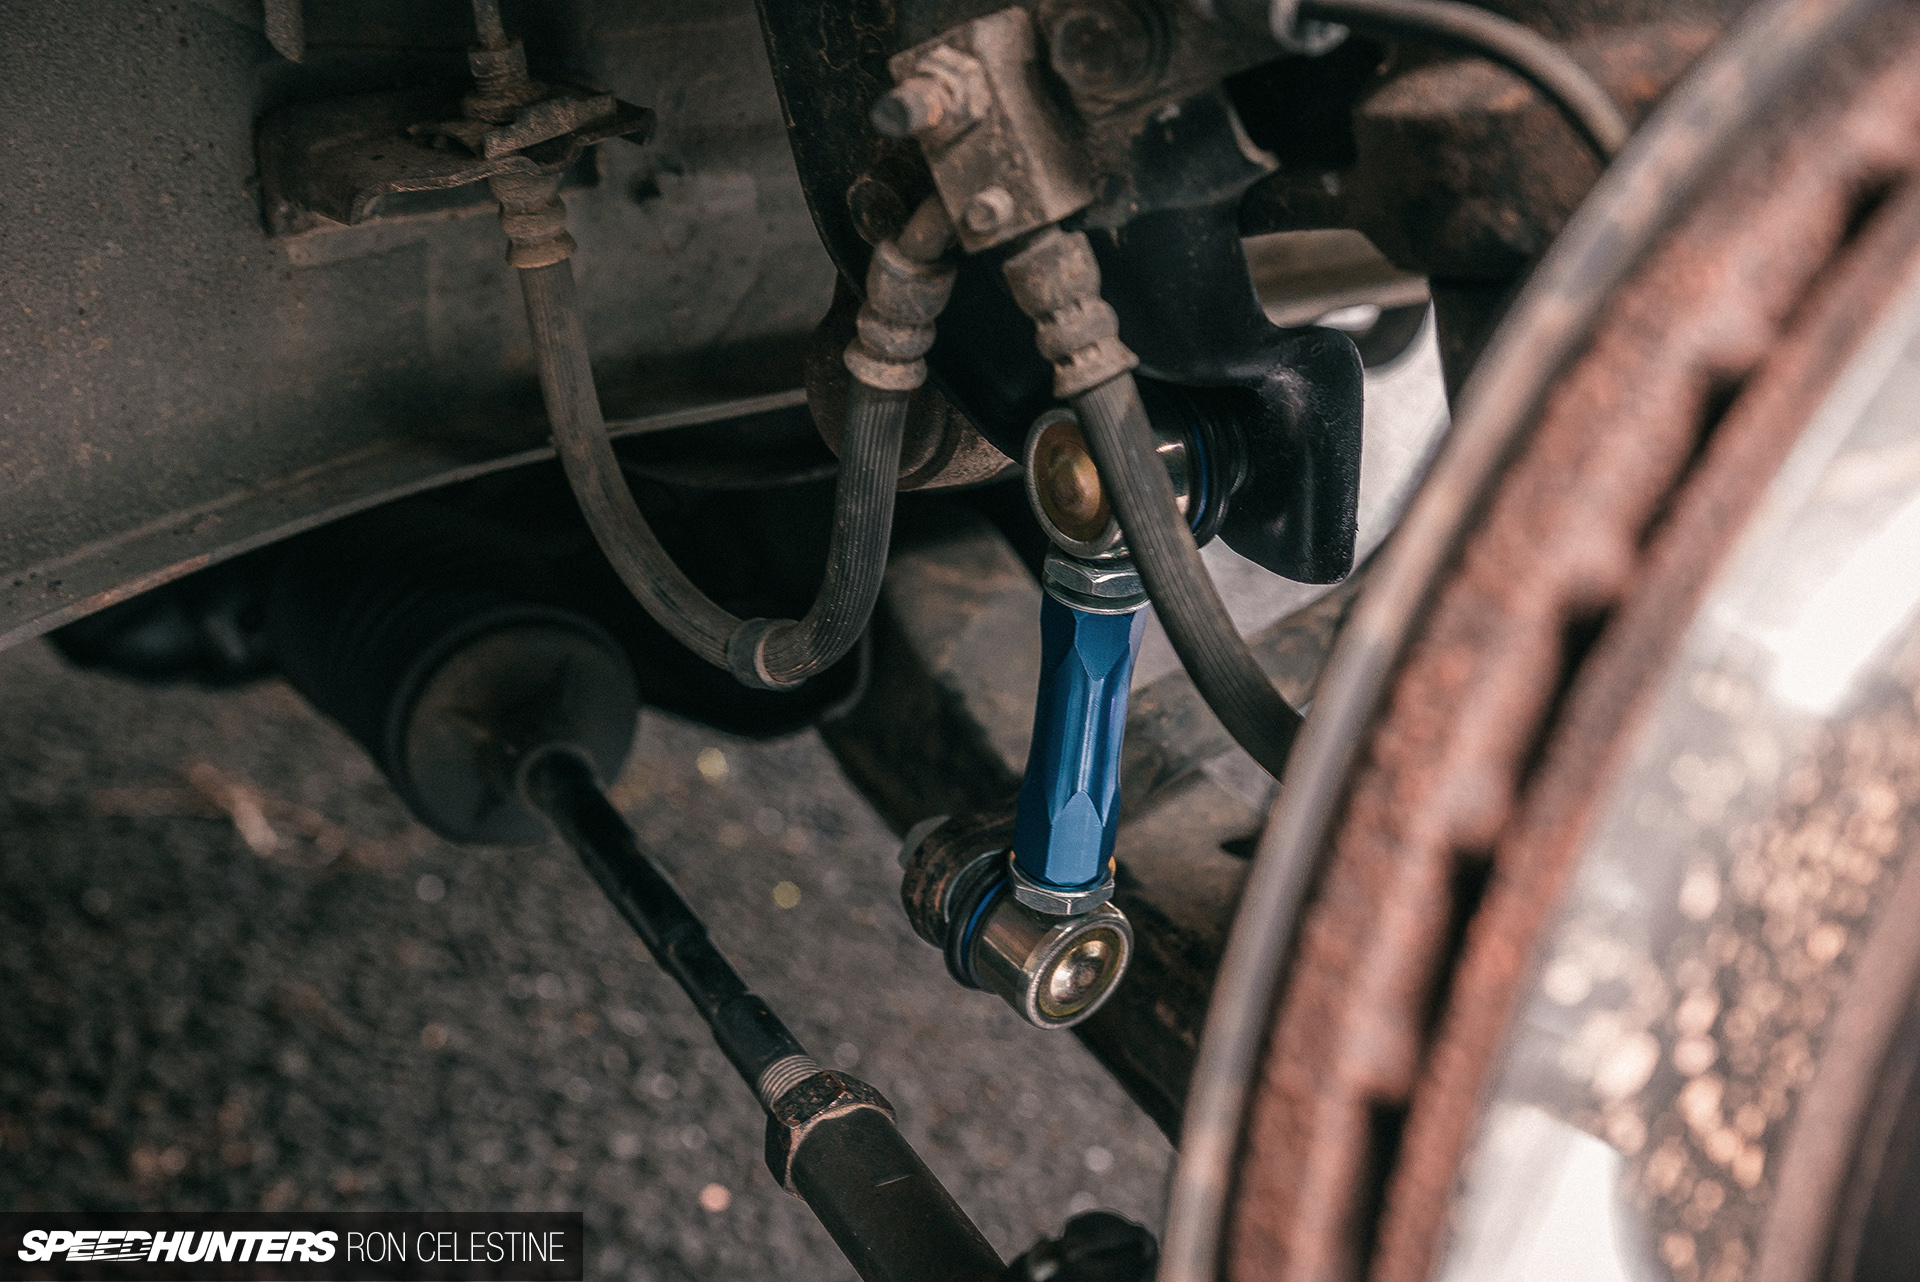
With the balances as good as it’s going to get for a while, it was time to set up the adjustable end links. Ideally you want to install and set them up when you can simulate your body weight in the car. Since I was playing with the ride height for corner balancing, locking them in afterwards was the perfect timing.
Adjustable end links can be a great addition if you’re looking to improve your handling as they remove any preload on the sway bar. If your bar is already twisted before you come to a corner, it could cause the car to act differently between left and right turns, which isn’t ideal. Not only was I going to be able to zero-out any preload that might be in the system, but the stiffer bushings and stronger material was going to be a nice addition over the OEM links, too.
Installing adjustable end links is pretty straightforward, with the exception of needing to fully lock them in with the vehicle on the ground. This can cause a bit of a problem if your car is lowered and you can’t easily get underneath it, such is the case with Project Rough.

I could have used the brick platform to give me some clearance, but I honestly didn’t want to crawl underneath the car while it was on the bricks unless I absolutely had to.
But there’s another trick, and that’s to simulate the suspension being compressed at ride height using a jack. After making sure the suspension was settled, I measured the distance from the bottom of the fender to the center of the wheel hub. In my case it was roughly 320mm.

After jacking the front up, I measured to see how far the suspension dropped which was roughly 36mm. I placed the jack underneath the control arm and compressed the suspension until it matched my earlier measurements. I made sure I could still barely adjust the height by hand before locking everything down for good.
The Verdict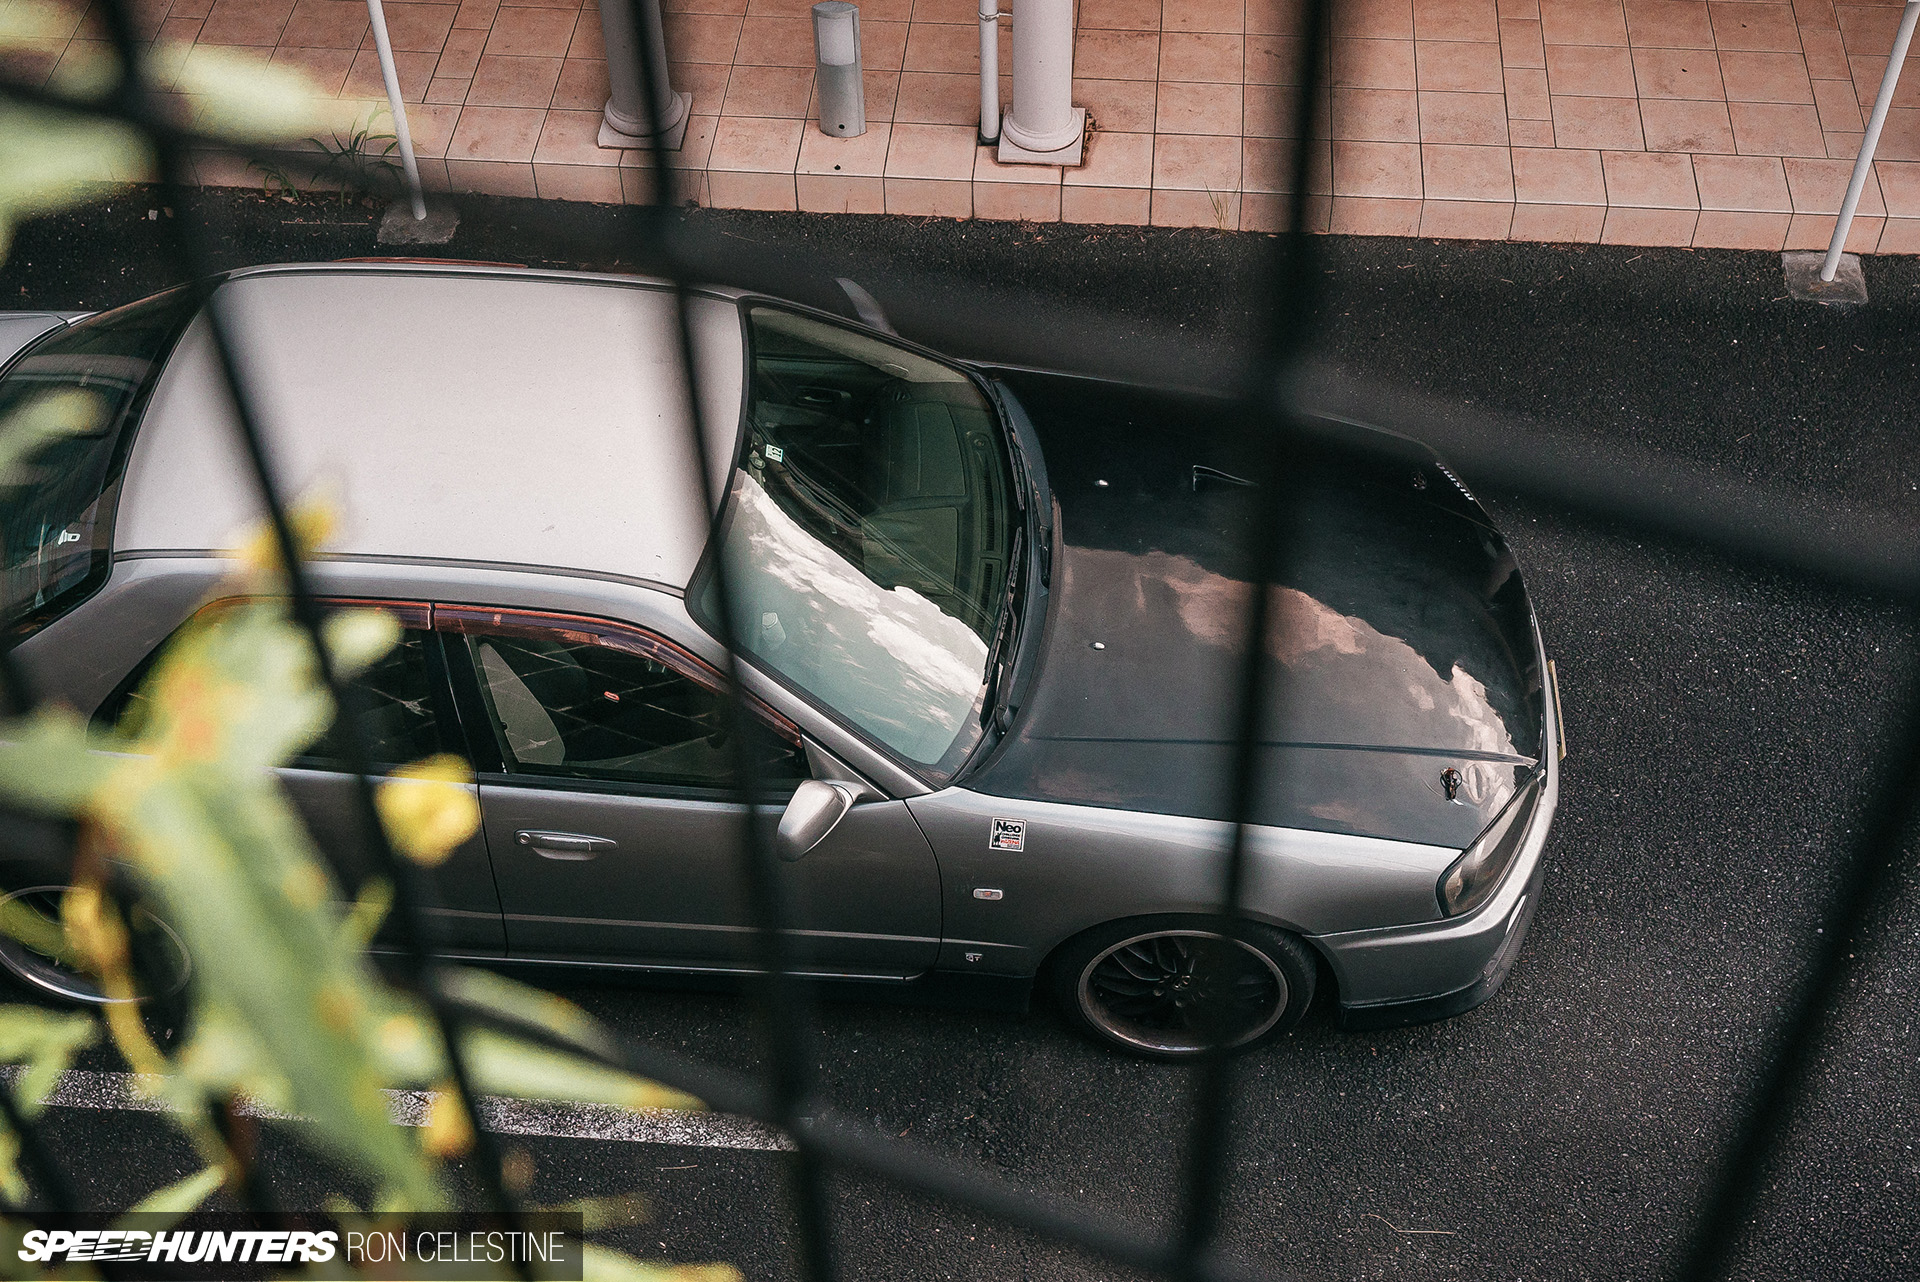
Of course, I should have aligned the car, but I was exhausted by the end of this and wanted to see what changes, if any, Project Rough had experienced. They say corner balancing can make some of the most profound impacts on a car’s handling, and for my ER34 GT-T it absolutely delivered.

The steering feel is remarkable, as the tiniest of inputs cause the car to change direction. Everything feels so composed and up on its toes that it’s hard to believe that a few changes made such a big impact. All of this while running the suspension dampers in what I call ‘normal’ setting, which is the adjustment level I used for daily comfort use.

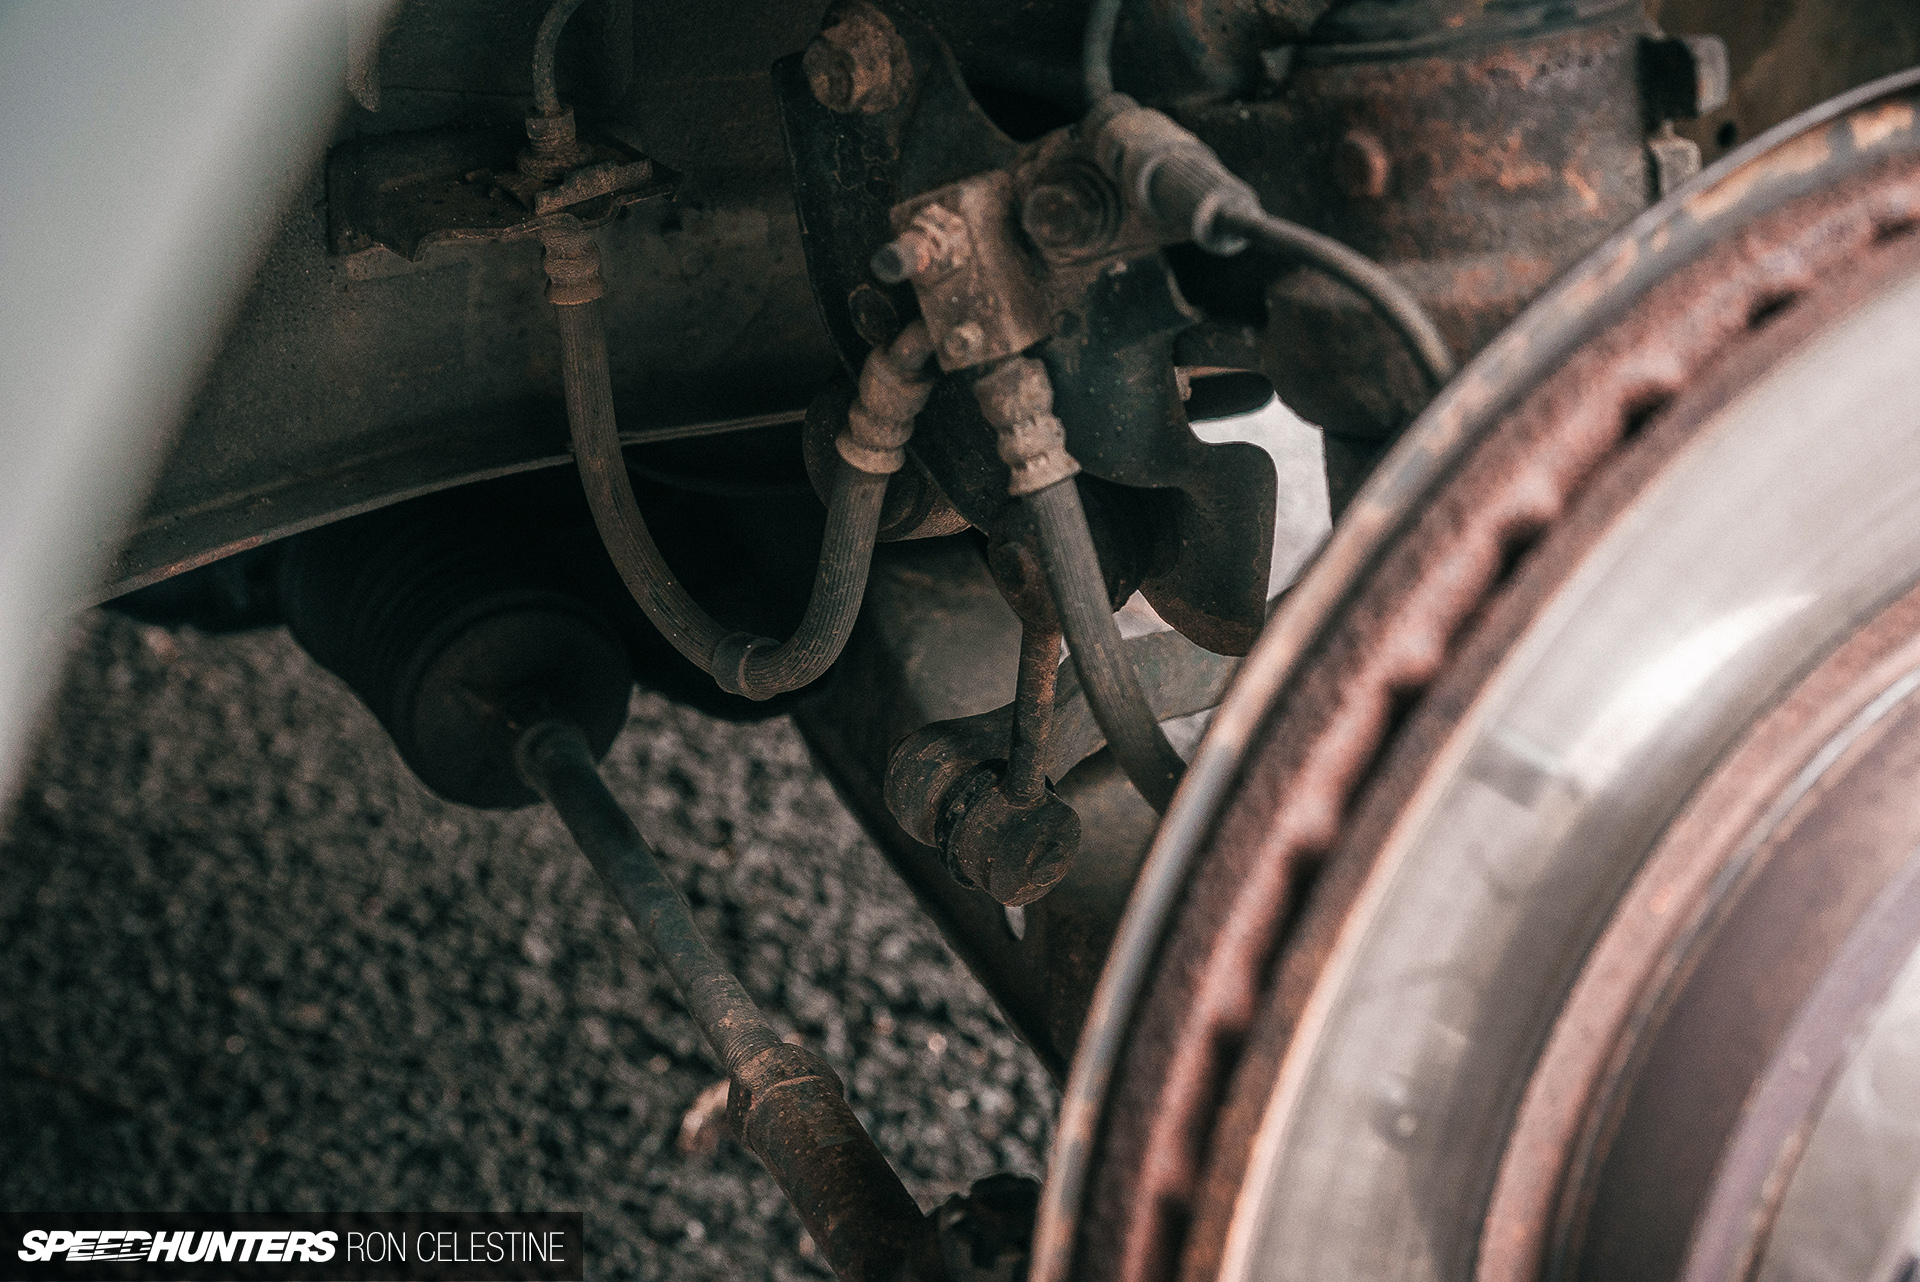
Even more remarkable – if slightly embarrassing – is the fact that it wasn’t until after I buttoned everything up and test drove that I realized the rear sway bar links were also garbage. While everything felt amazing on my test run, I couldn’t help but notice that the rear seemed to struggle to keep up with the front end’s newfound agility, which was odd as I already have a stiffer sway bar in the rear than the front. I took a look at the rear and that’s when I discovered the bad news. I’ve ordered some adjustable rear end links to replace the worn out OEM ones, and will install them at the same time I do the alignment. That will be for a later story.
Would I recommend corner balancing your car even if you’re not really looking to improve your lap times? Absolutely. If you can bring out the potential in your car without having to spend a ton of money, then why wouldn’t you? Would I recommend this particular method? That’s a harder sell if I’m being honest. Yes, it works, as I demonstrated, but I also was incredibly lucky that I nailed the almost 50/50 cross balance on my first adjustment. Imagine if it was way off and you had to keep shuffling bricks and scales around over and over again. It’s a great workout but it’s also exhausting. And of course, you can always argue that time is money.
What I would recommend is this: If you have some money to spend and you still want to corner balance your car yourself, look for used dedicated scales. You also could pick up a scale that maxes out at 400 to 500kg depending on your car, and just worry about moving one scale around. There are countless ideas out there and I’d be keen to hear some of yours. Let me know in the comments if you’ve corner balanced your car DIY-style, and how did you it.
Ron Celestine
Instagram: celestinephotography