
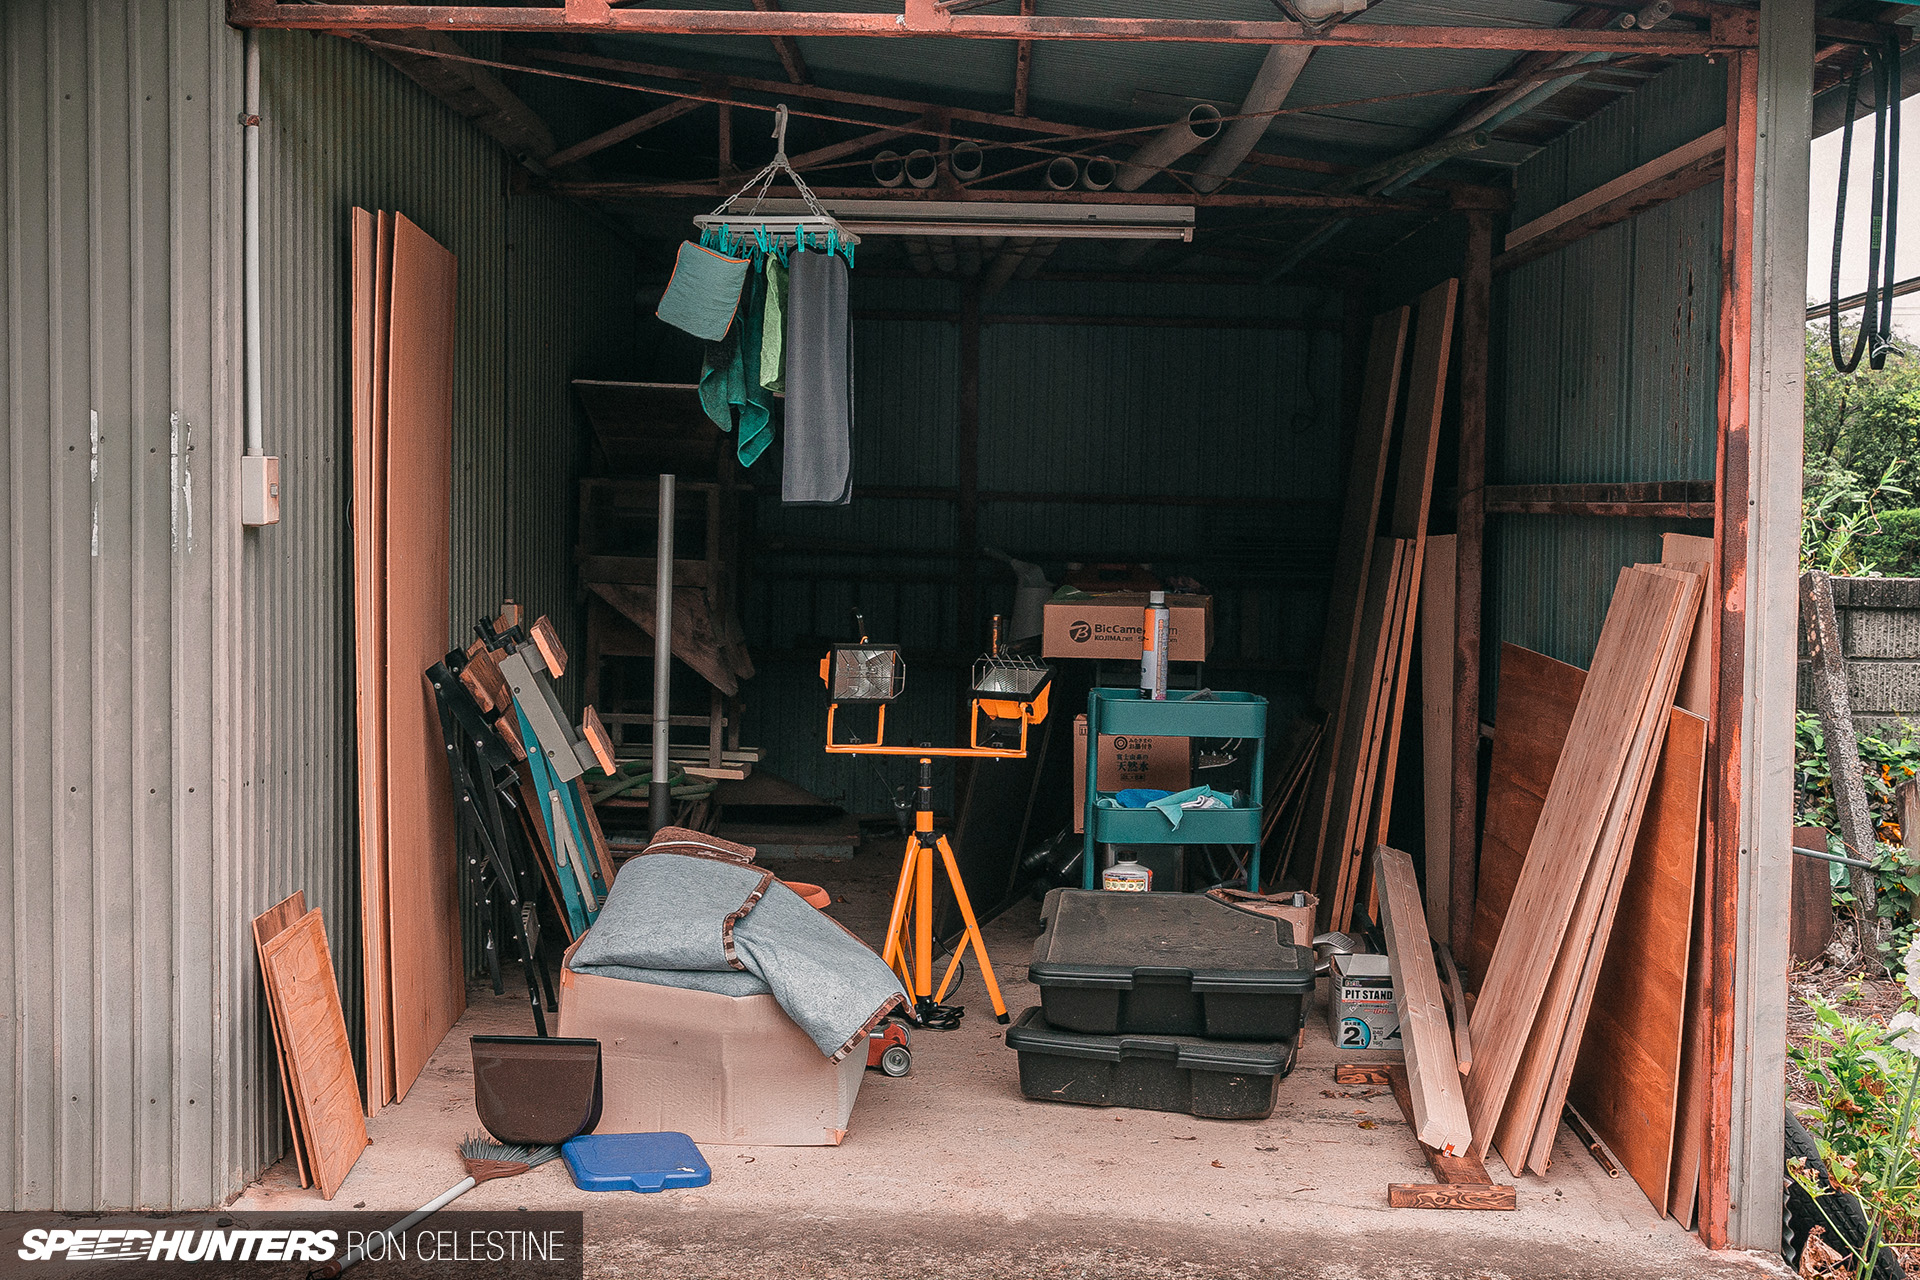
An update on Project Workshop is well overdue, so allow me to rectify that today with a progress report on my Japanese home garage fit out.
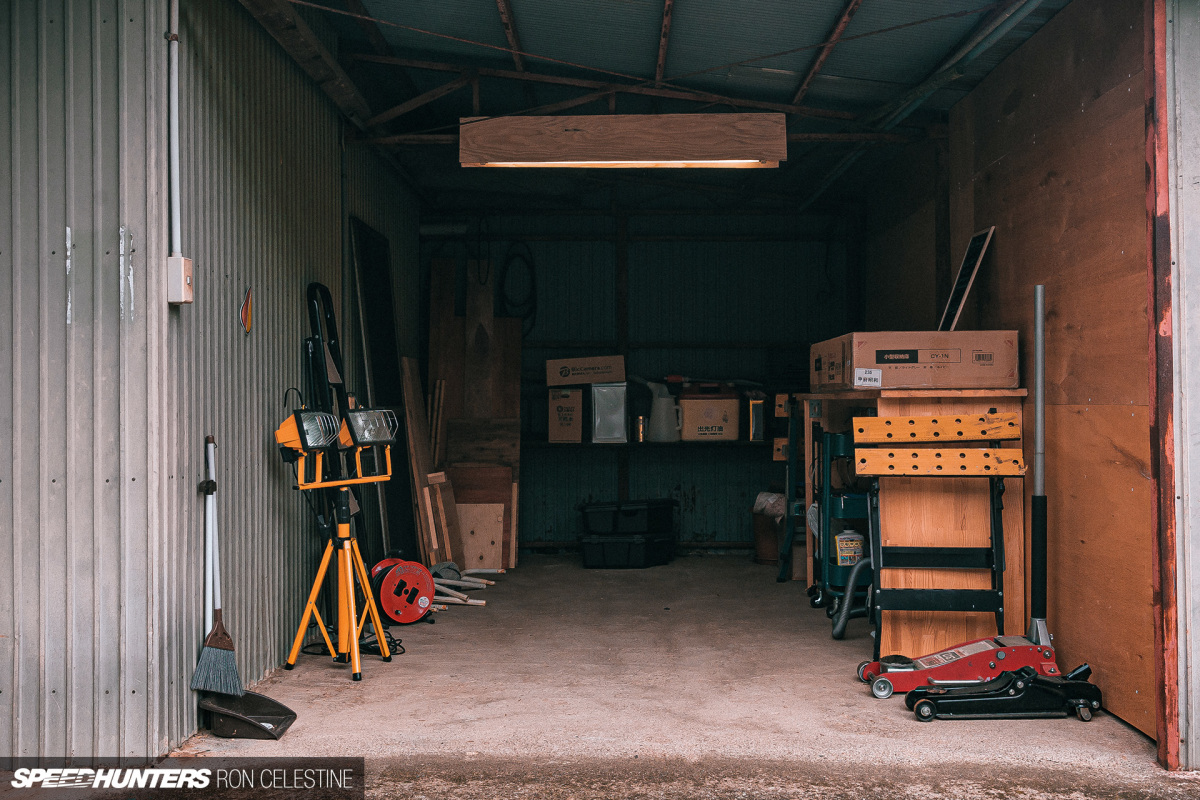
When we left off, the space was a mess of spider webs, dust, rusty old tools and appliances, and other random items from our big move to the countryside from the city.

Before I could start creating my new garage space, I needed to consolidate and relocate the old equipment and appliances to another area. The toumi (traditional rice de-husking machine) was much lighter than I thought it would be, but the refrigerator was, well, a refrigerator.

Not only that, but the area I needed to move it to was across the stone driveway. The refrigerator wouldn’t roll on this loose surface of course, and I didn’t want to throw my back out while lifting it, so I used some leftover plywood from a house project to make a small path. Once the refrigerator was at the end of it, I simply moved the plywood sheets again and repeated the process until I reached the other side.
With everything cleared out of the way, I began working on creating a new inside wall for the workspace. Seeing that we are renting the house and don’t own it, I didn’t want to permanently alter the space, just in case the owner ever wants to revert it back to its previous state. I don’t want to dump a ton of money into it either. So the goal is to create a space that feels safe to work in, motivates and encourages creativity, and securely houses my tools and parts – all on a very small budget.
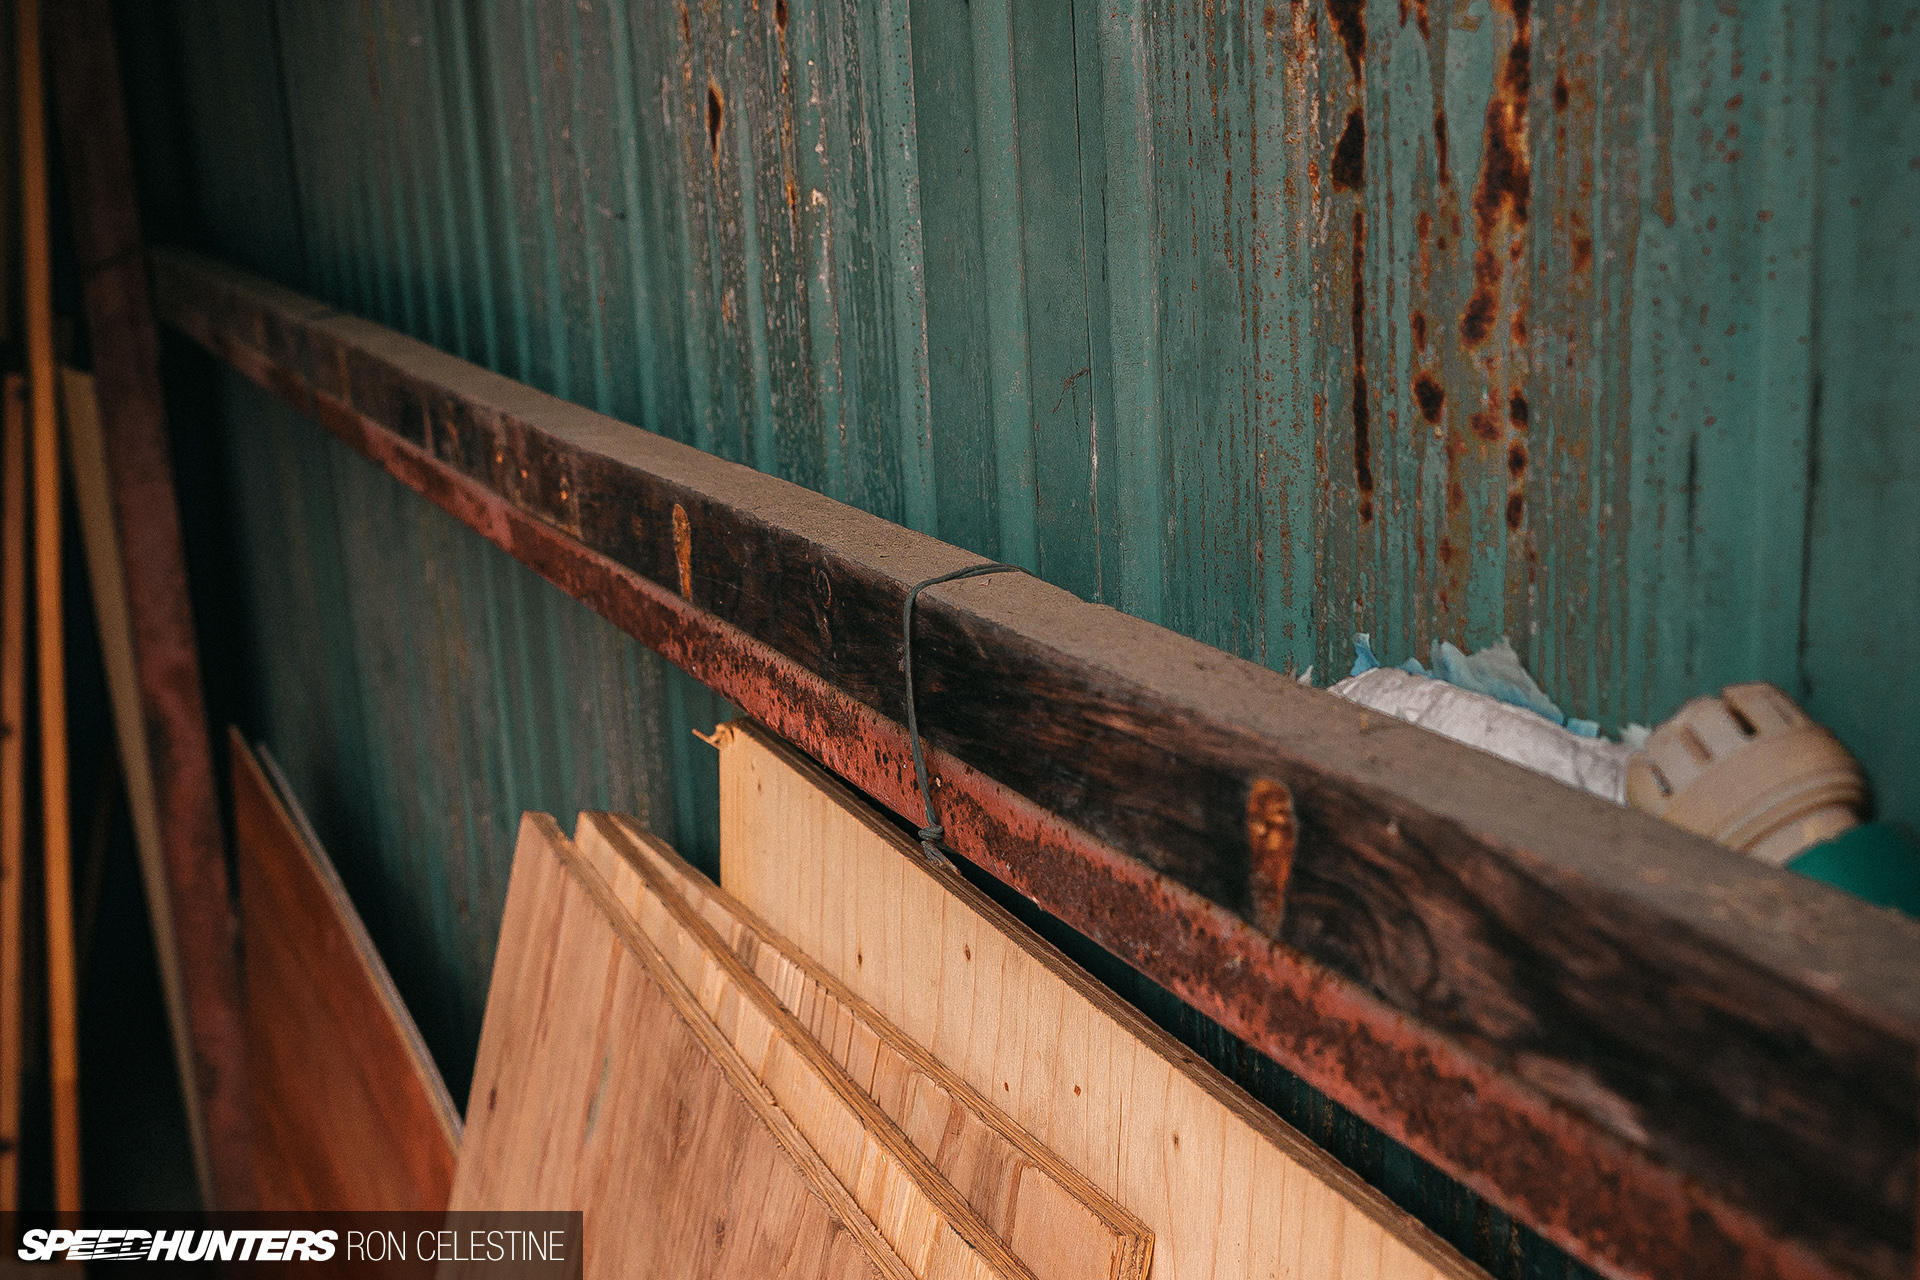
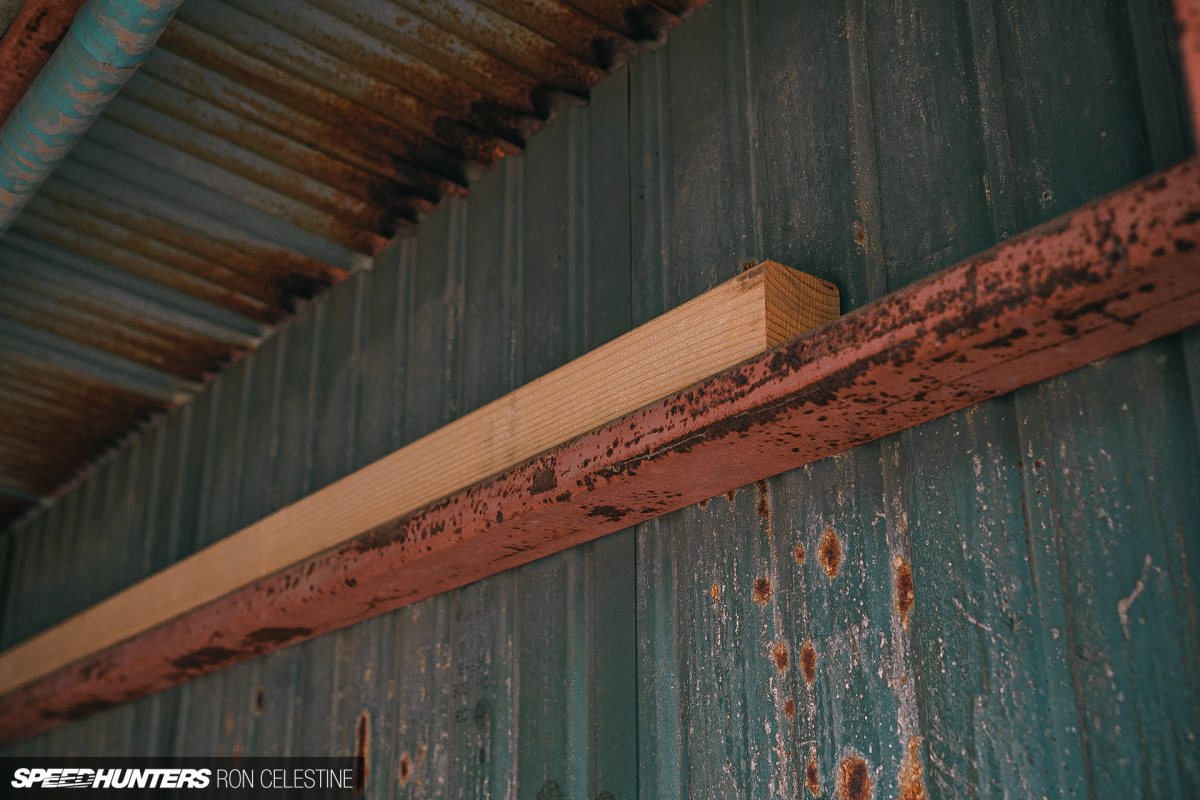
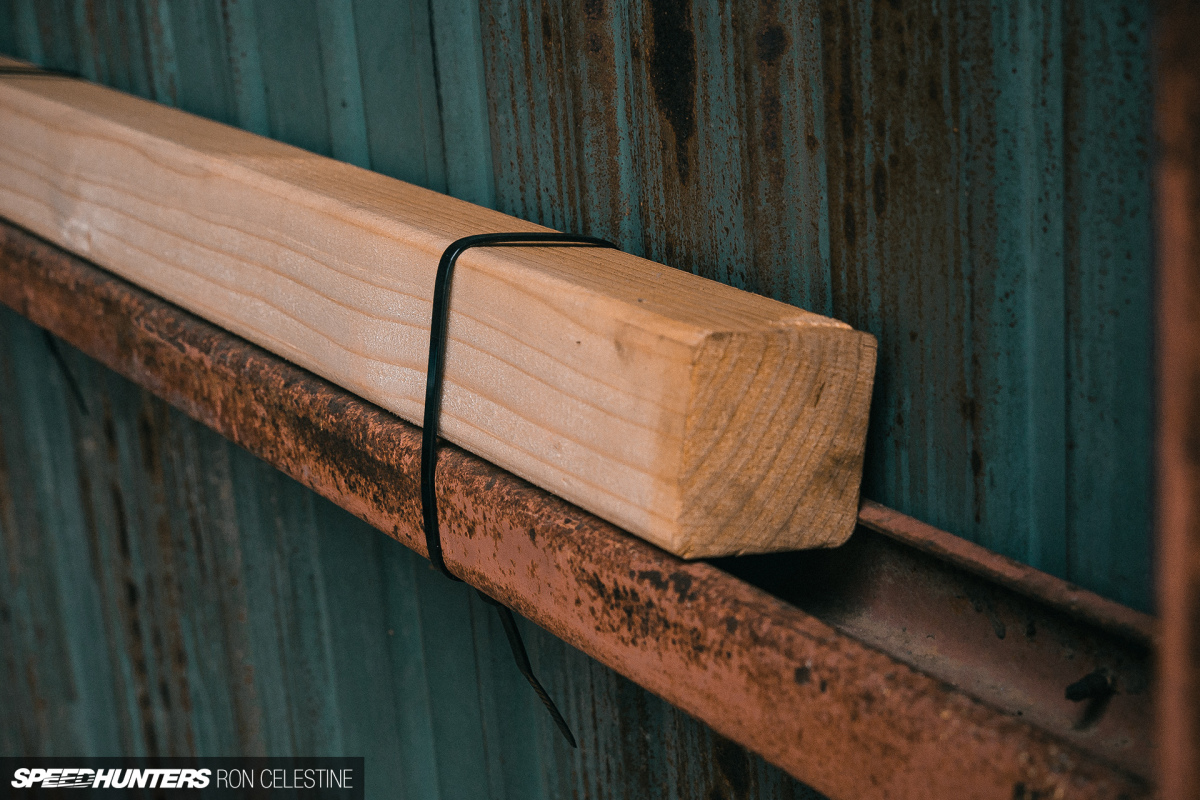
The first thing I noticed was a piece of old wood tied to the top of one of the wall’s horizontal steel frame beams. The wood was drilled and seemed to have previously had hooks attached for hanging various tools. It’s a good idea, and one I decided to replicate across the entire wall using the strongest plastic zip-ties I could get my hands on at the local home center. My reason for adding this wood was a little different though.
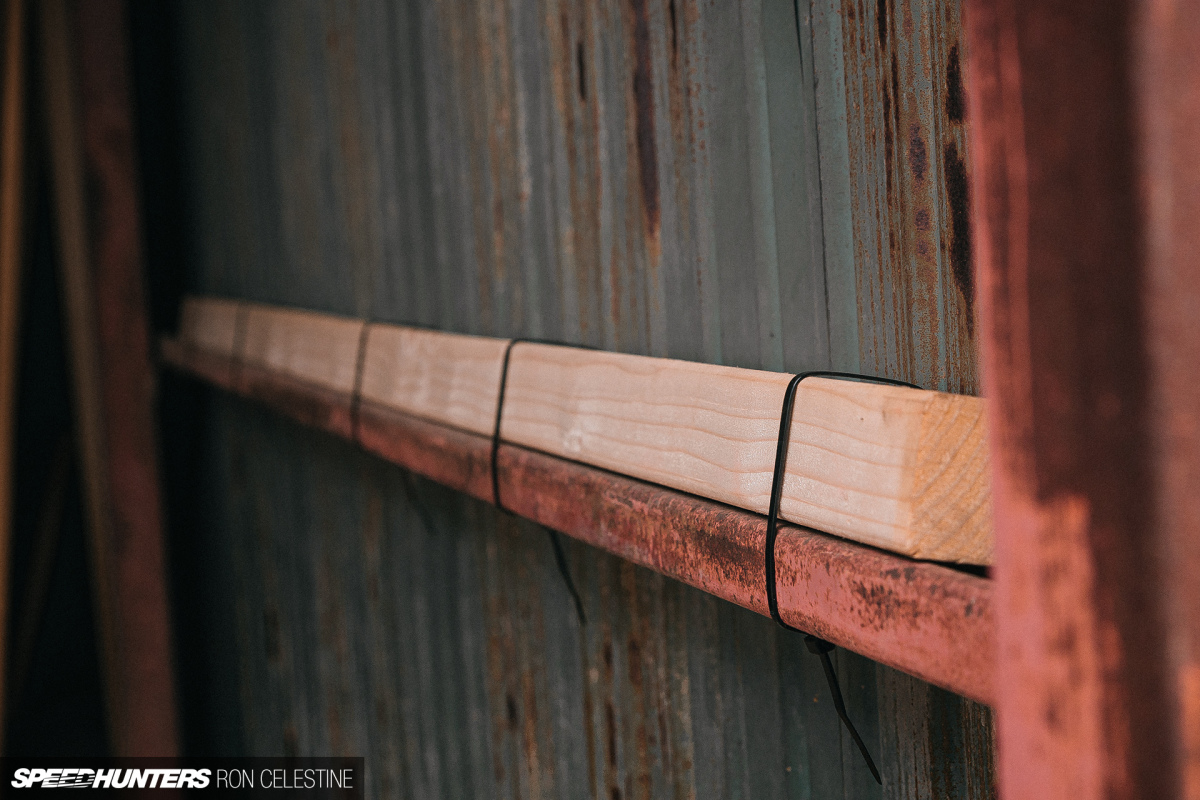
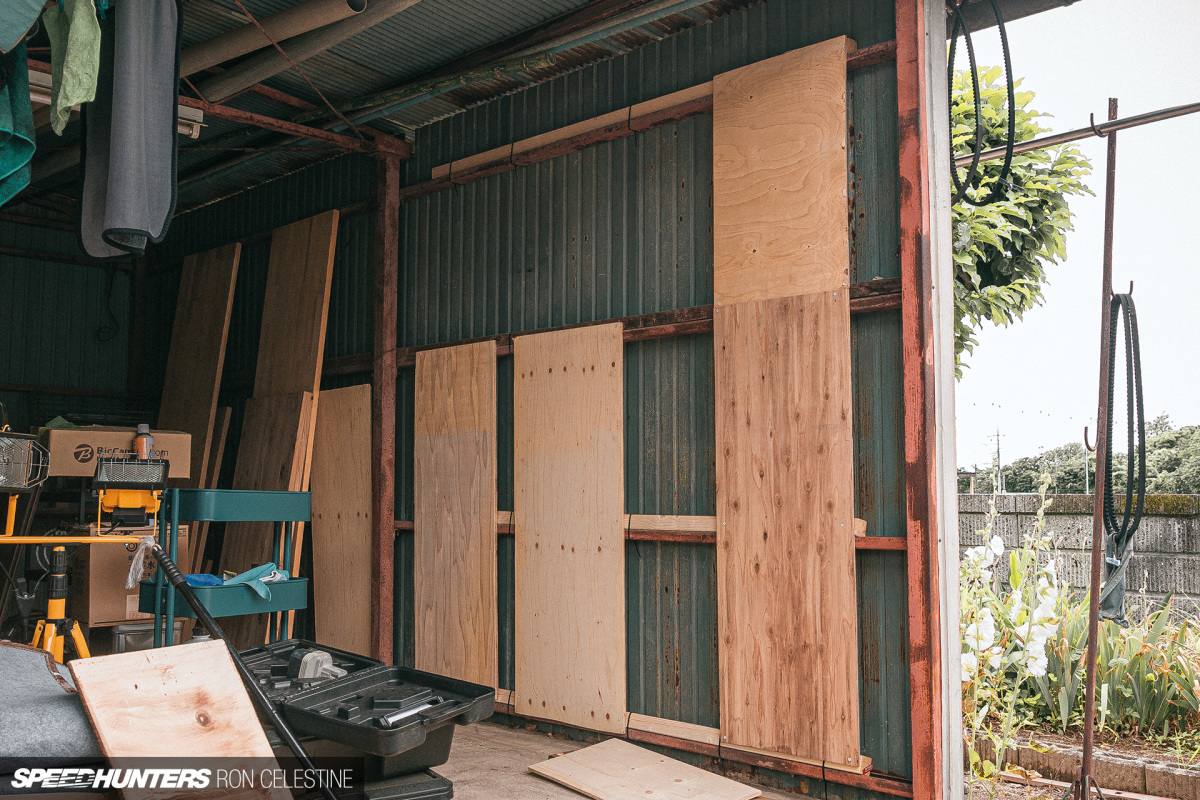
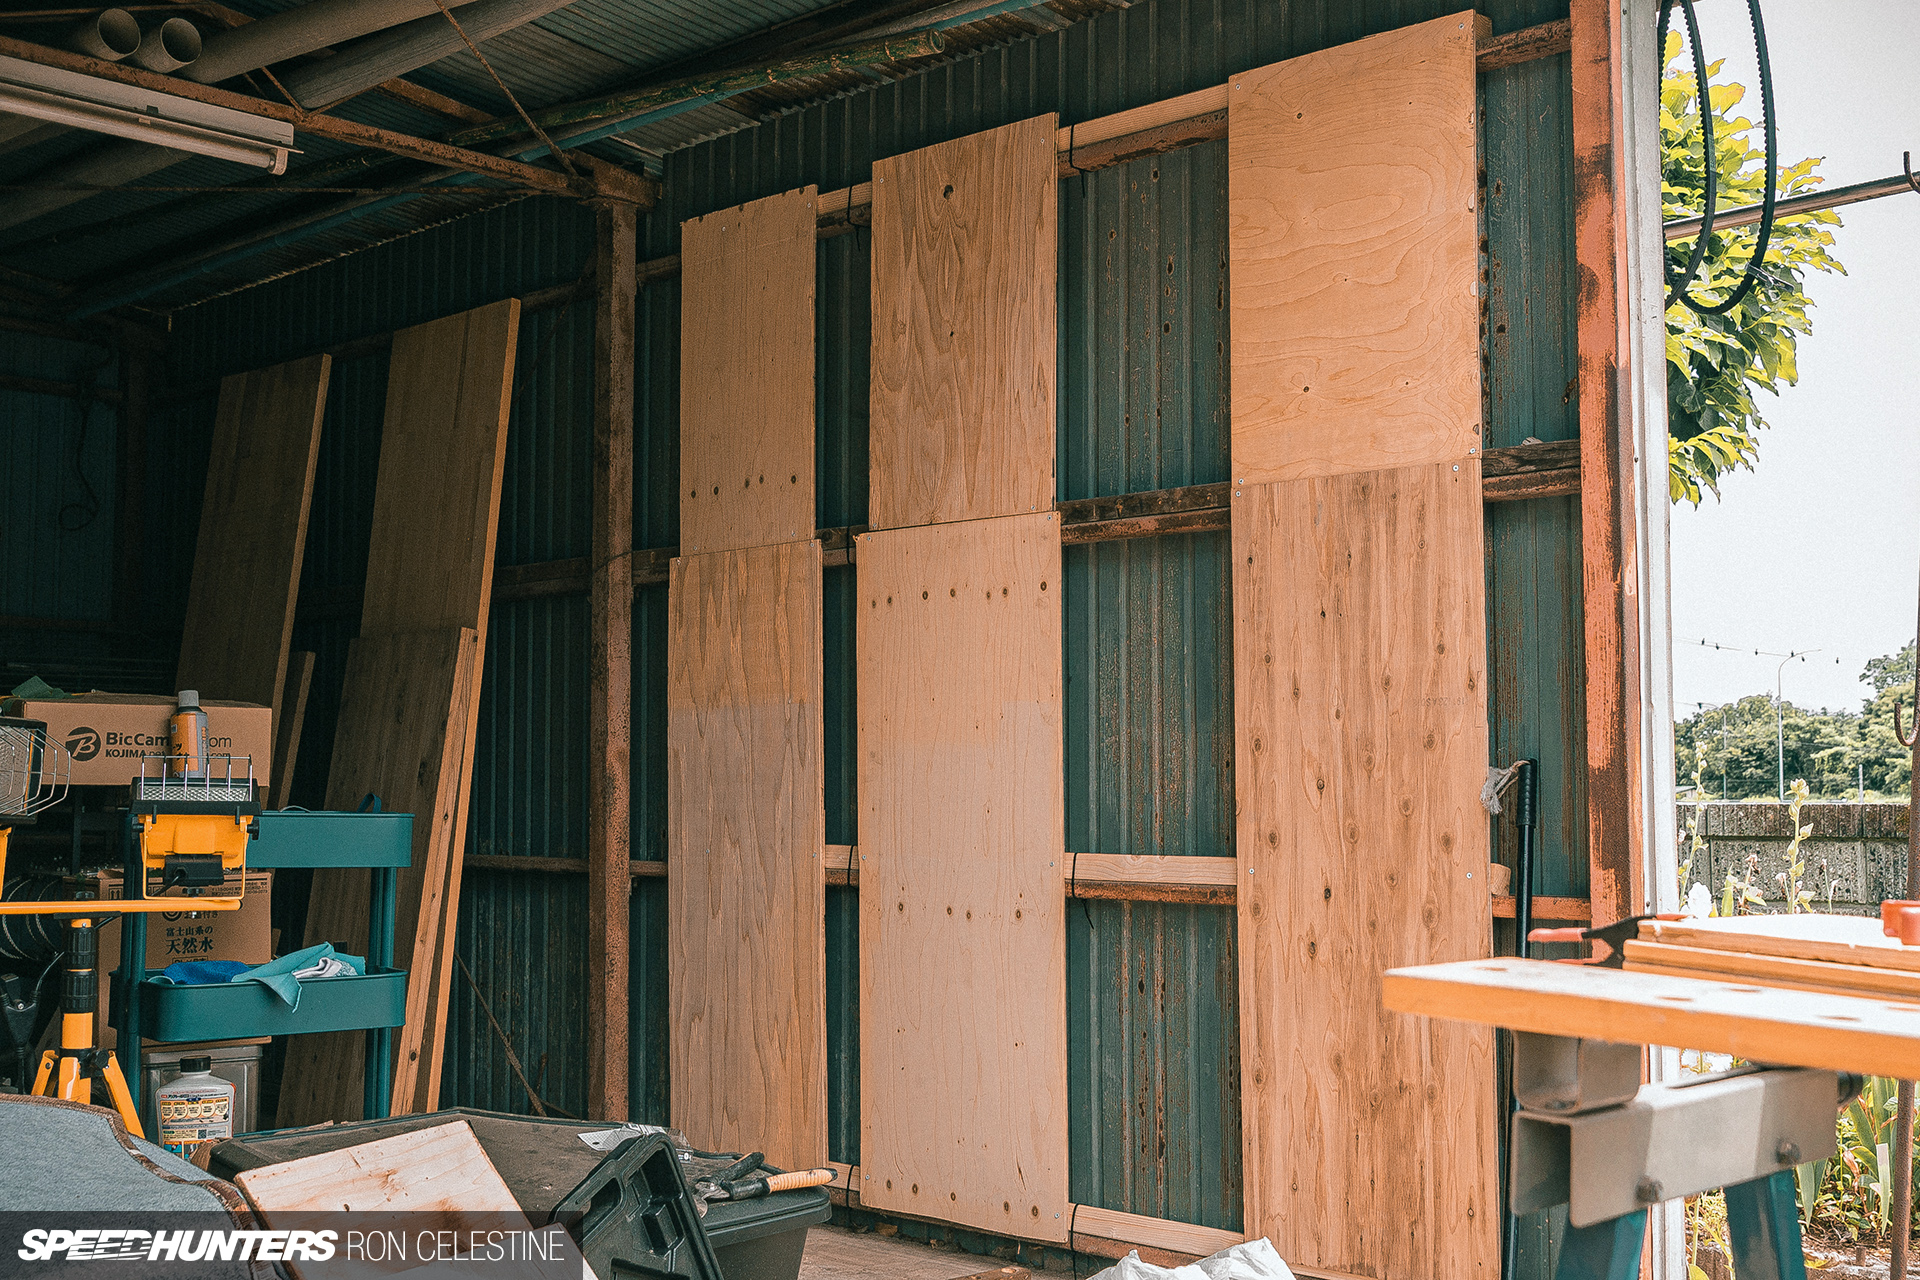
With the wood/zip-tie combo acting as framing, I attached plywood vertically to the supports. The idea behind this step was to not only add a bit of rigidity, but to give me something to screw into when I laid another layer of plywood, this time horizontally.
Here’s what it came out like.
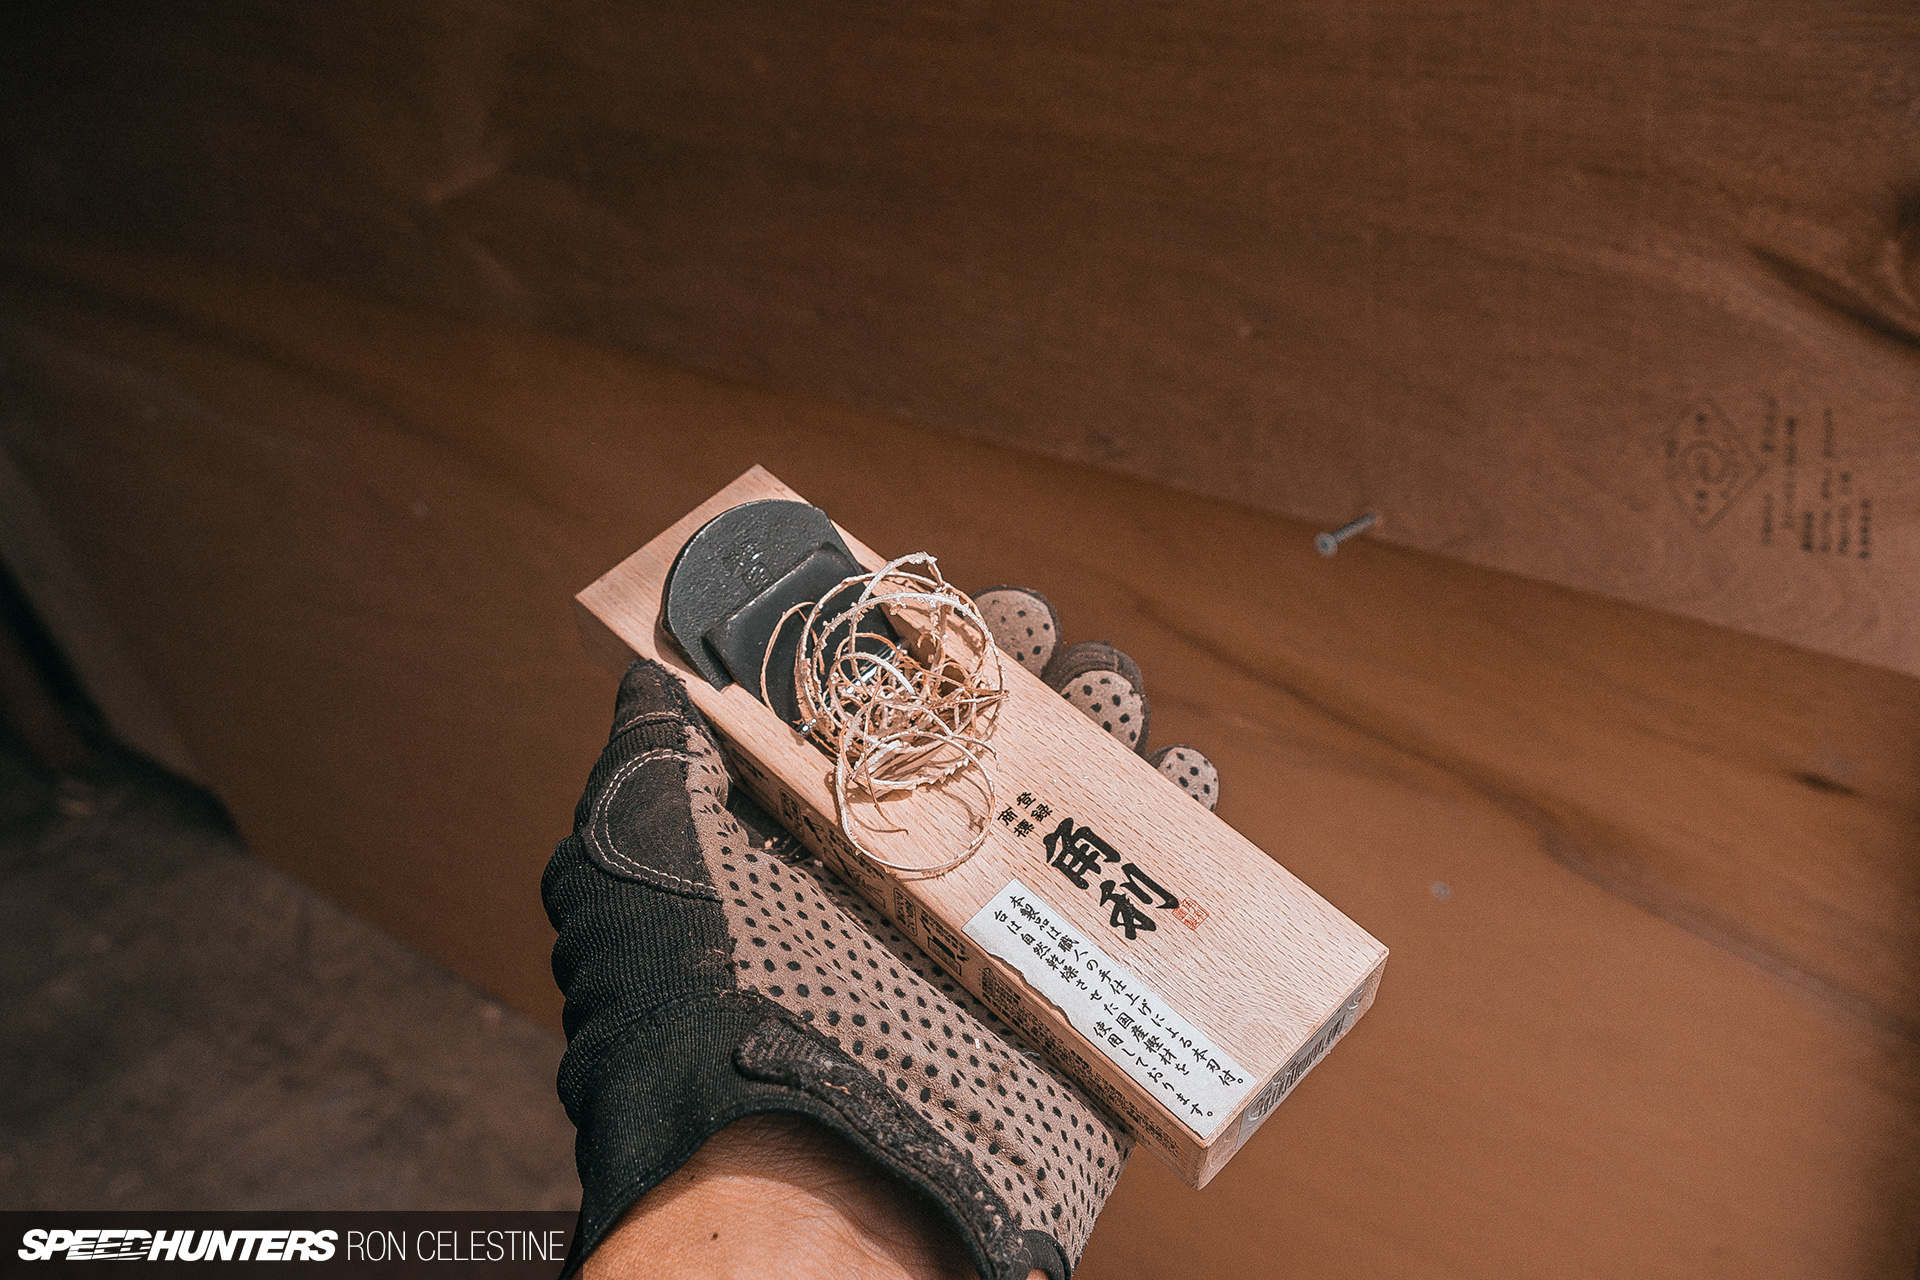
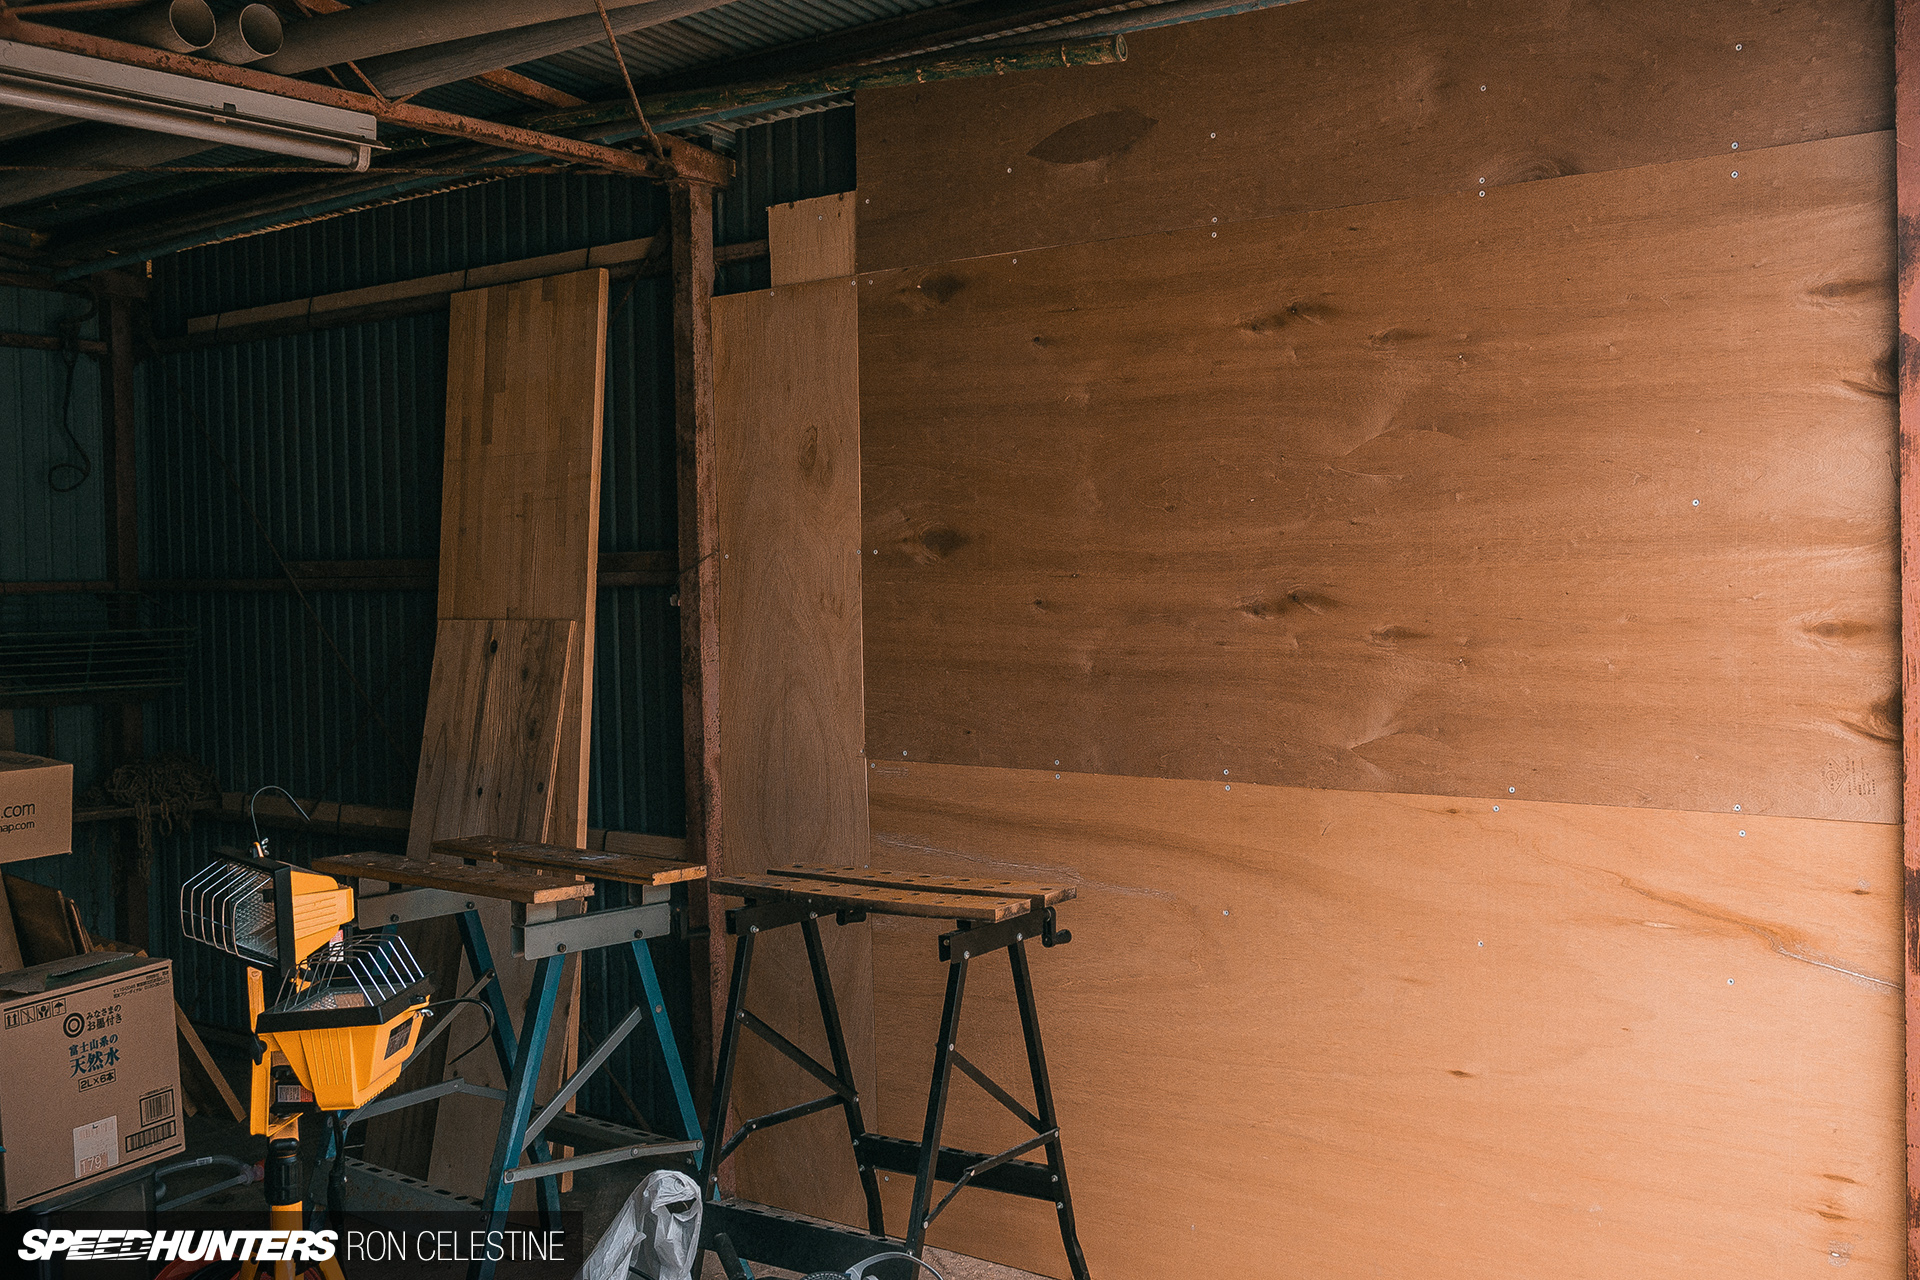
I used hand planers when I lived in America, but up until this point had never used a Japanese-style one (kanna), so I was pretty keen to learn on this project. Unlike the planers I’m familiar with, where adjustment is made with a knob, you actually have to strike the kanna up front, behind and on the locking stone with a hammer to adjust it. You also pull the kanna rather than push like you do with most hand planers.
To say the kanna learning curve was a steep one would be an understatement, but with some sage advice from my father-in-law, I was able to true up the edges and remove just enough material to fit the ply sheets together perfectly.
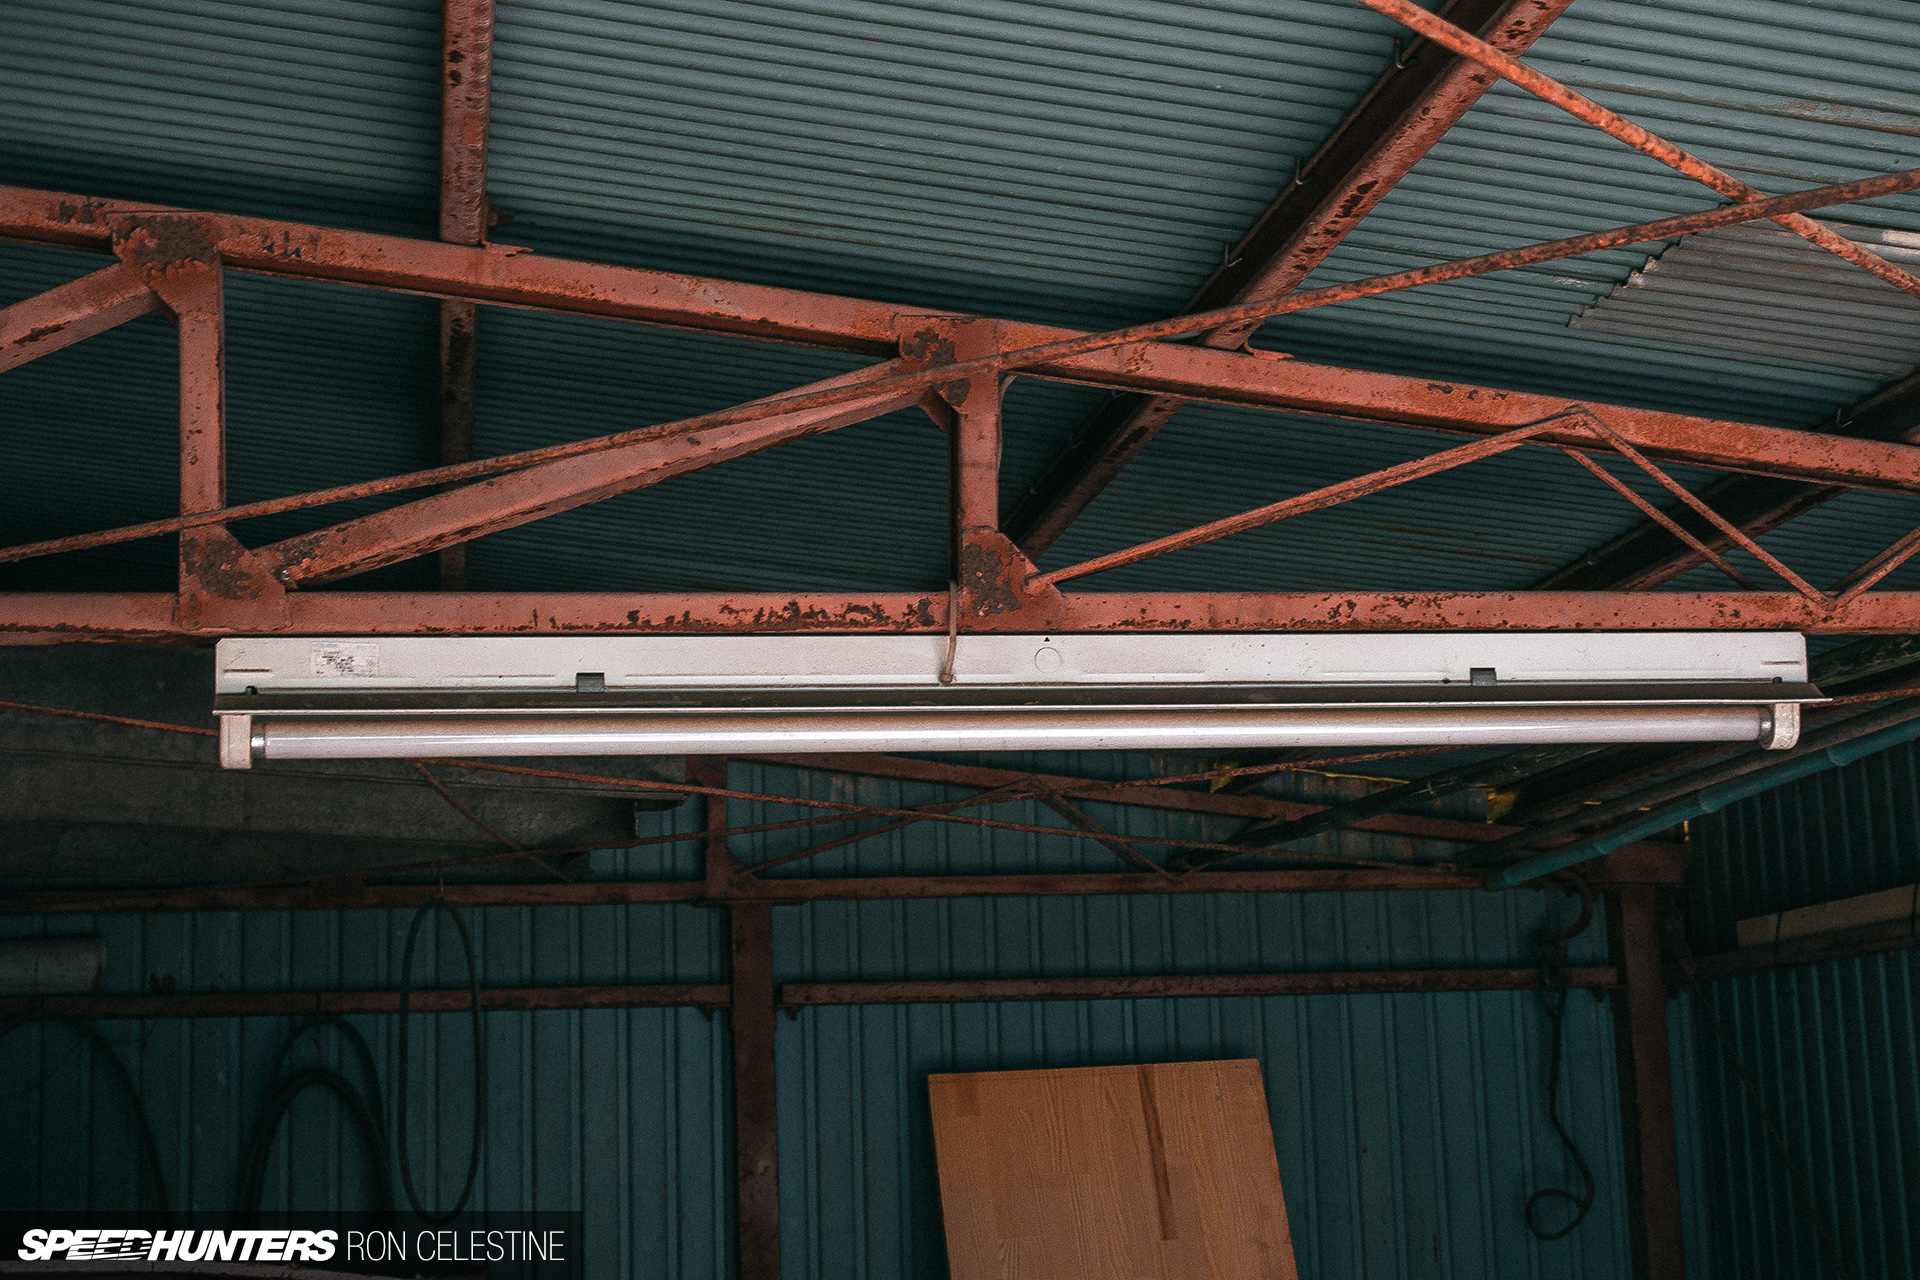
With half of the wall completed, I turned my attention to the light fixture. Why didn’t I just finish the wall first you ask? An excellent question! I just couldn’t stand to look at the light any longer.
I didn’t want to replace the whole unit, as that would more than likely go against the criteria I set out before, but I needed to do something as it was going to clash with my workspace vision.
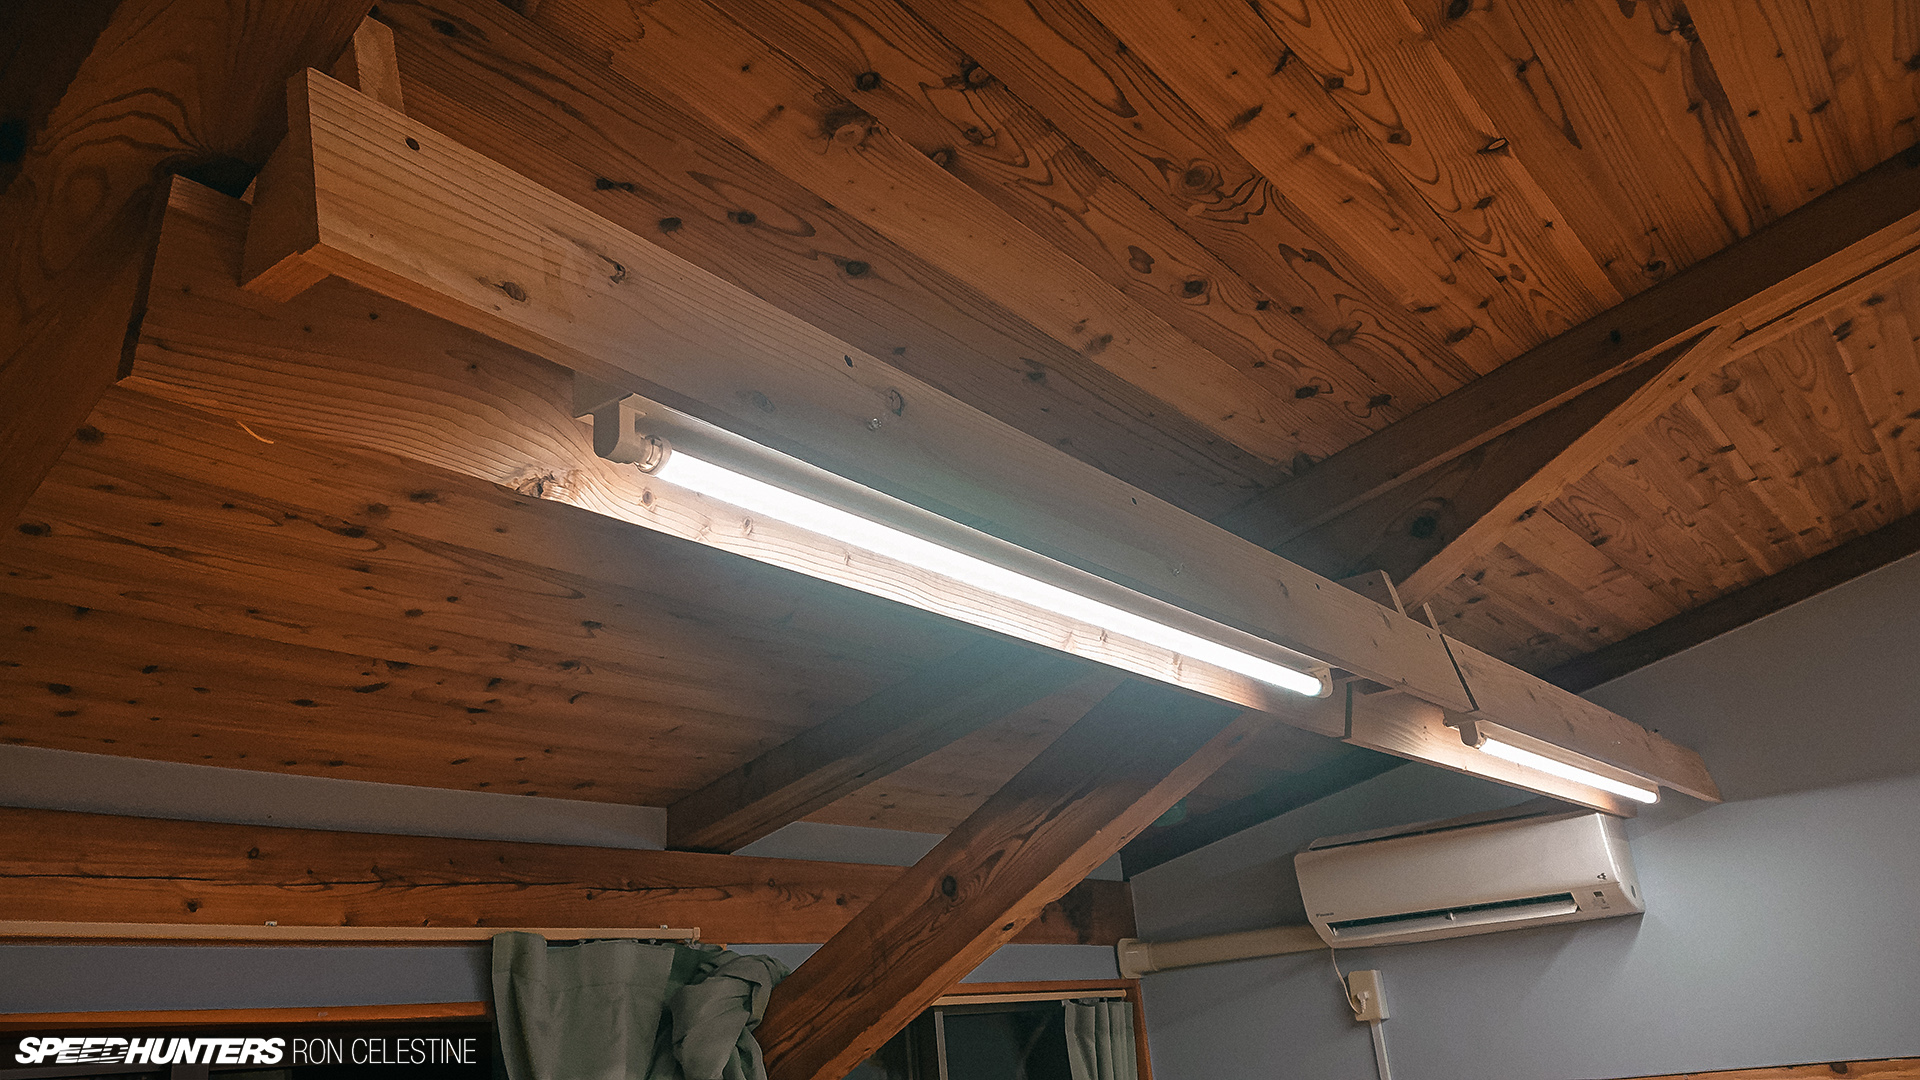
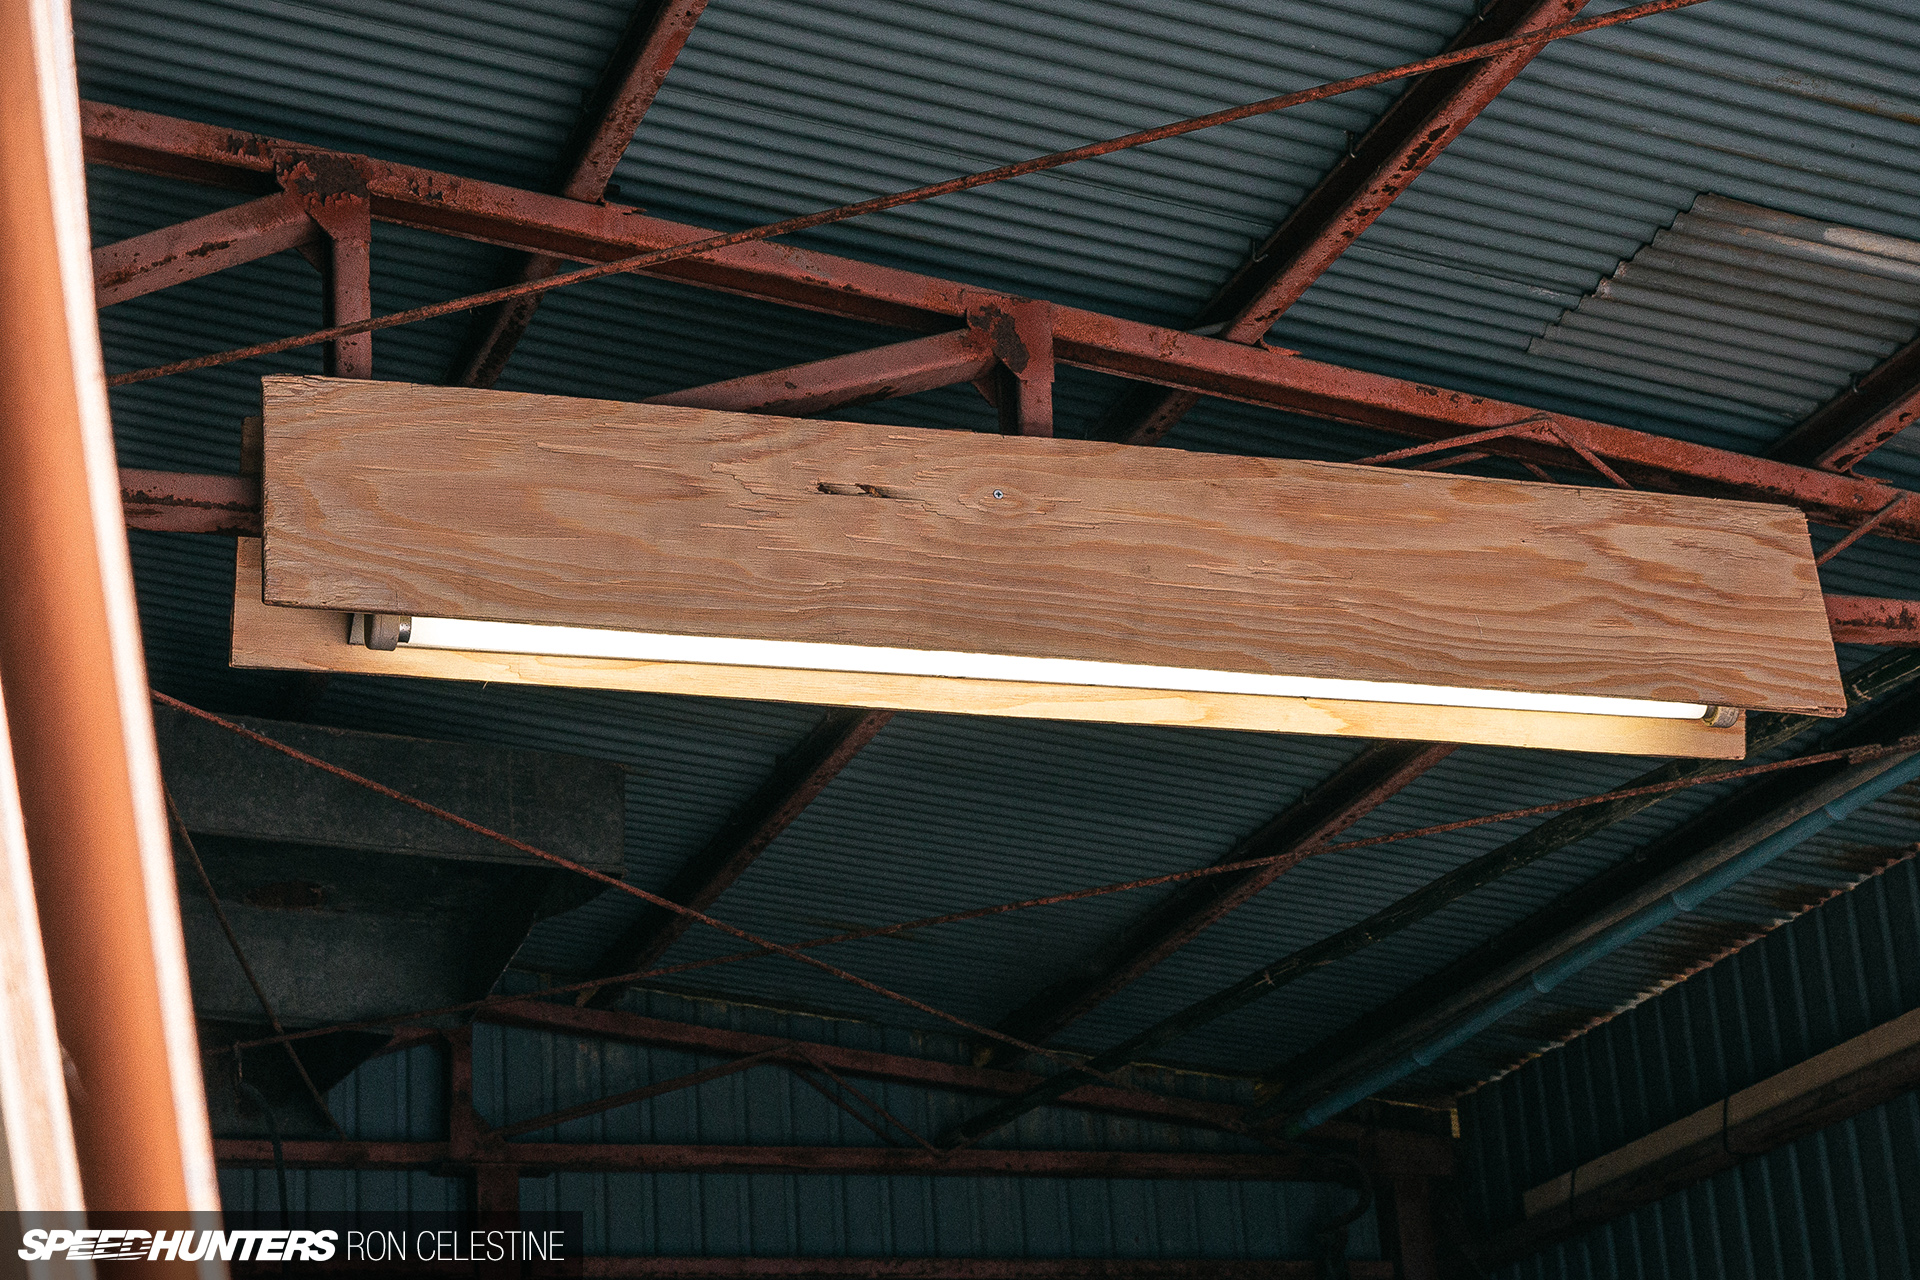
One day out, I noticed that a school had the same tube style of lights (albeit LED) but with wooden covers to hide the units. This seemed like a brilliant idea for my garage, and even better, I could quickly knock something up with leftover plywood.

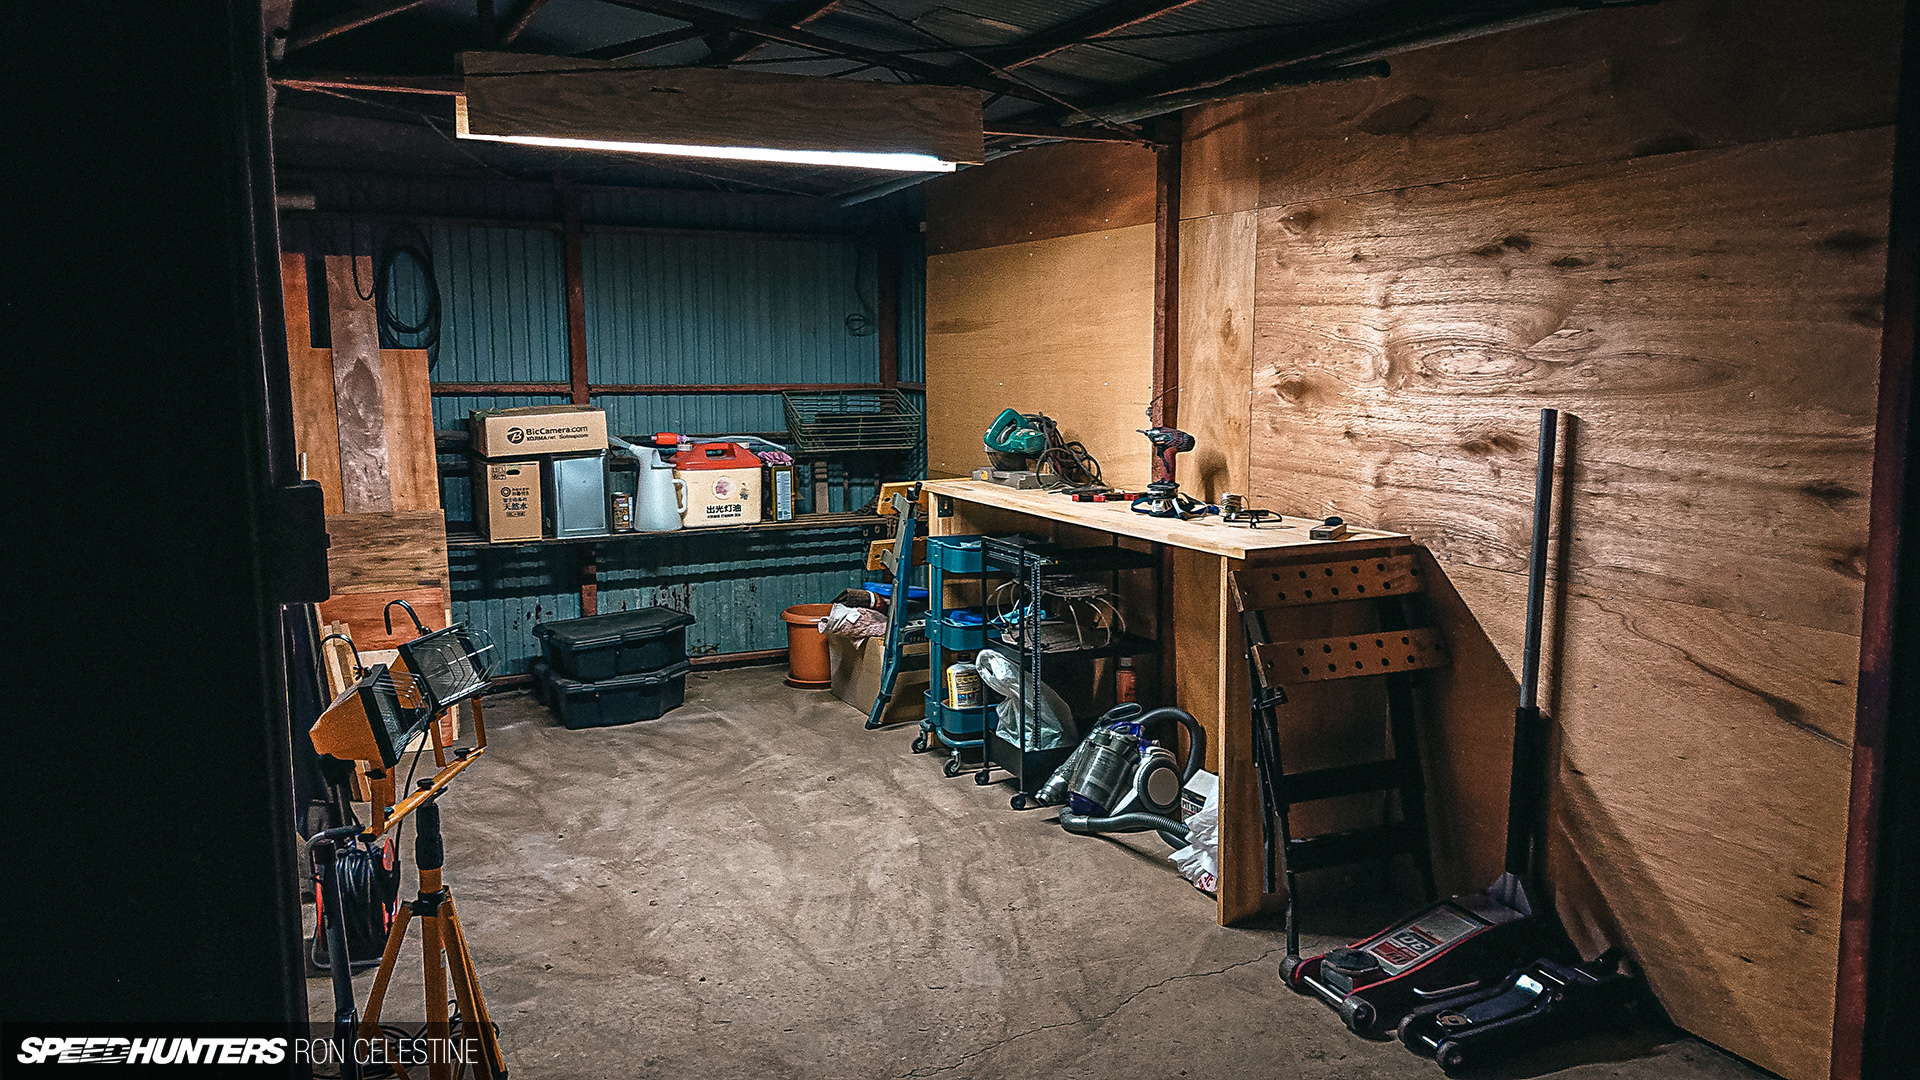
With the light eyesore sorted, I moved on to finishing the wall.
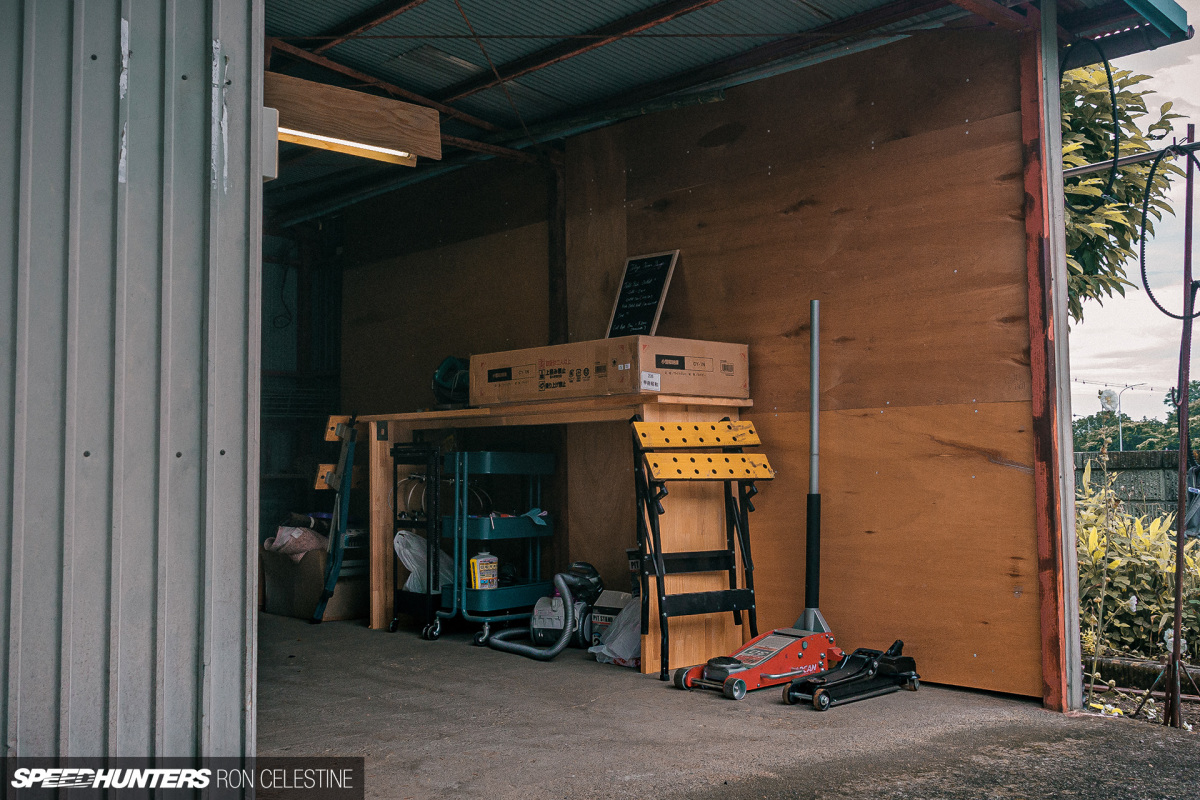
When that was done, I made a work table and notched it to fit around a vertical steel beam.

I then cheated a little bit and purchased a small storage box that I could put my tools in, and then lock.
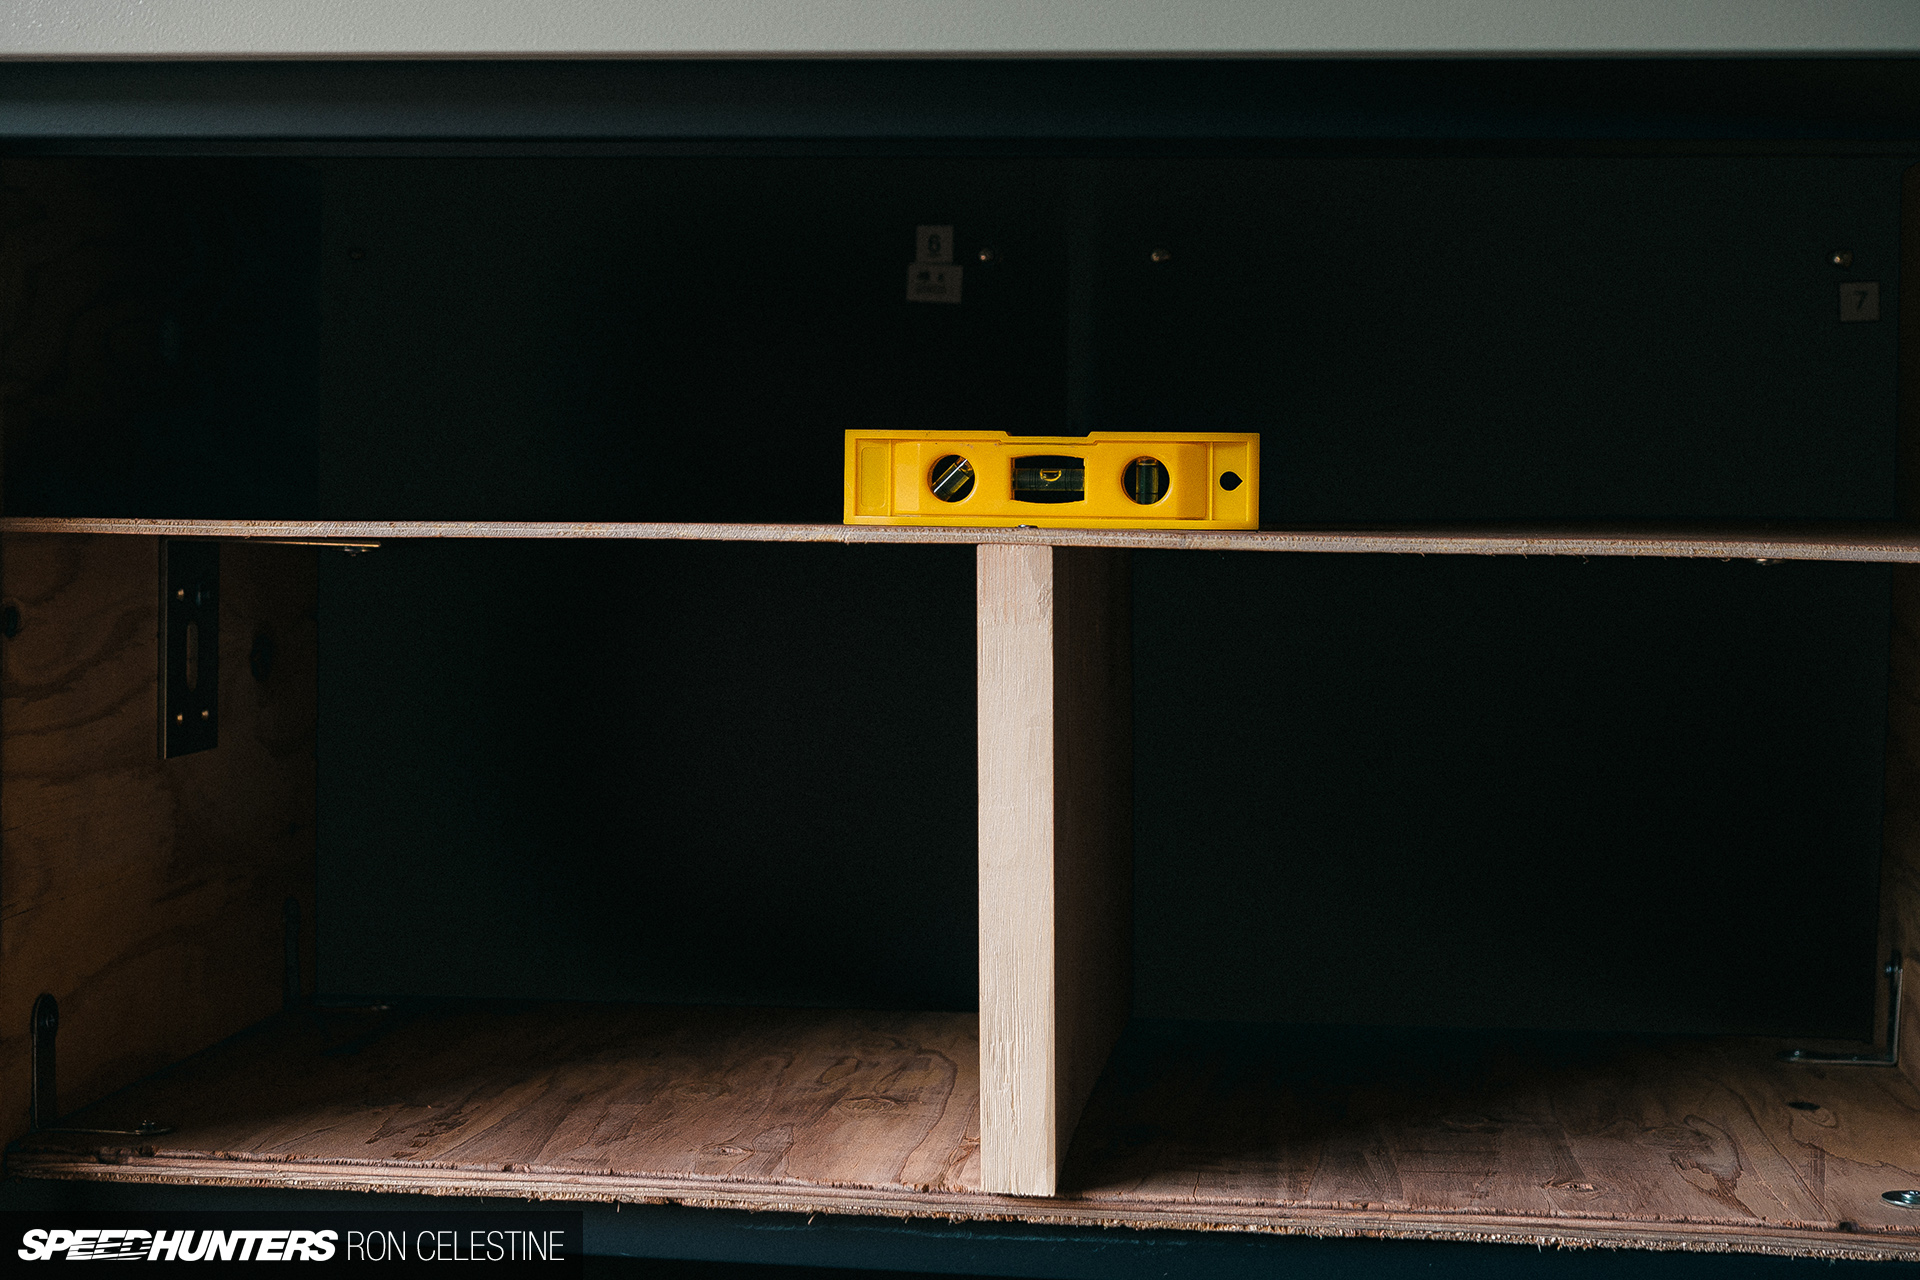
I even added a few shelves inside to try and maximize the internal space as much as possible.

This is where things get a little interesting. I received a lot of great ideas from the comments section in the last post and I was keen on implementing a number of them, but then the owner threw a slight curveball that put everything on hold.
Since getting Project Workshop to this state, the owner would stop by from time to time and always commented on how much she loved the changes I had made, and how much life it added to the place. “How would you like to use the other space next to this one?” she asked with a smile on her face. “You mean the space that has the large sliding doors that locks and is three or four times bigger than my current space now?” I asked. “Yes, and just like you did with this space, you can do whatever you like, just let me know before you do it.”
Stay tuned, because I think Project Rough can actually fit in this one…
Ron Celestine
Instagram: celestinephotography