
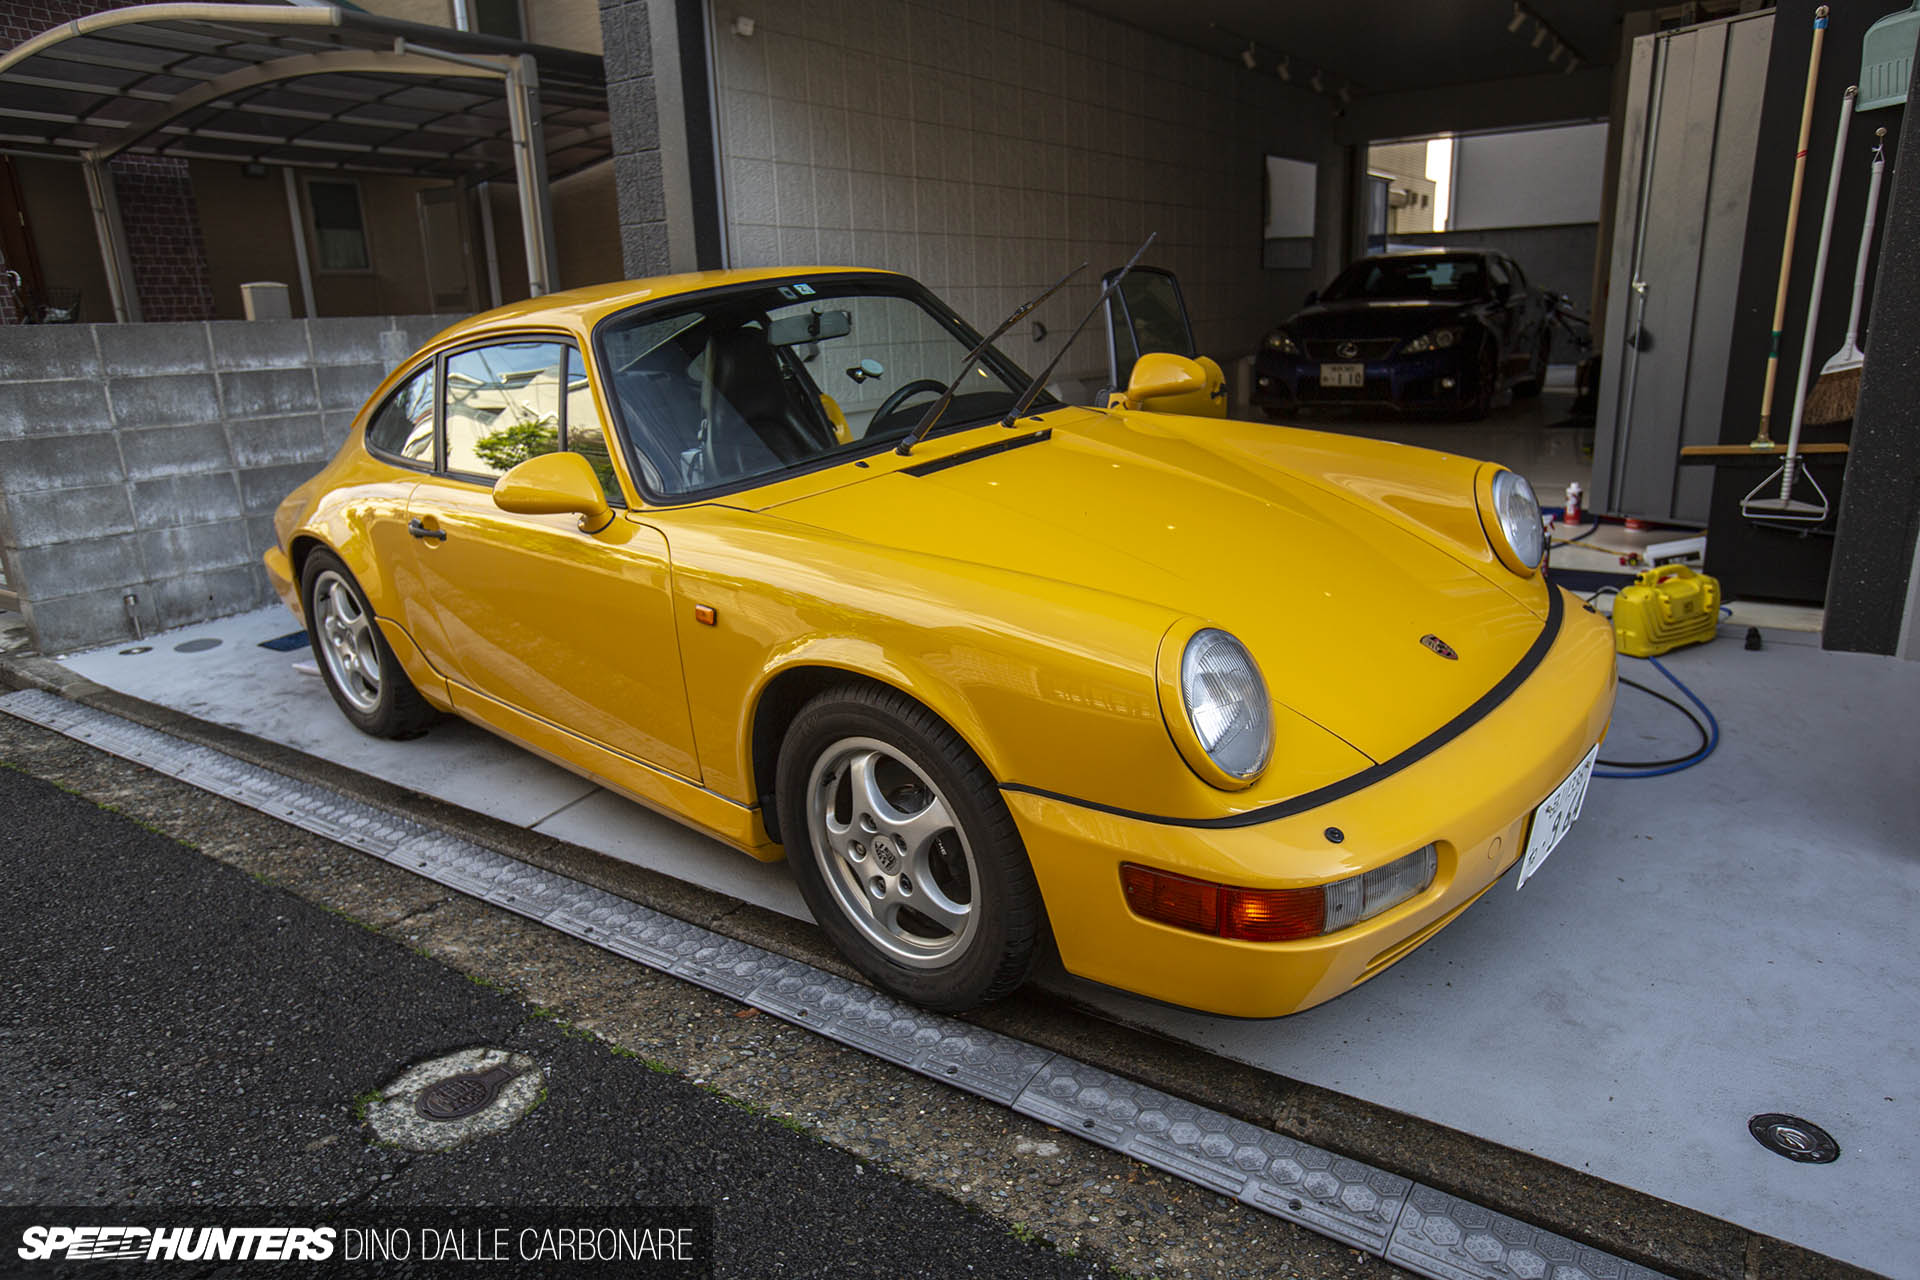
I’ll kick this Project 964 update off with a question that some you might be asking: Why has it taken years to properly clean the car’s exterior? It’s a fair question too, so let me explain…
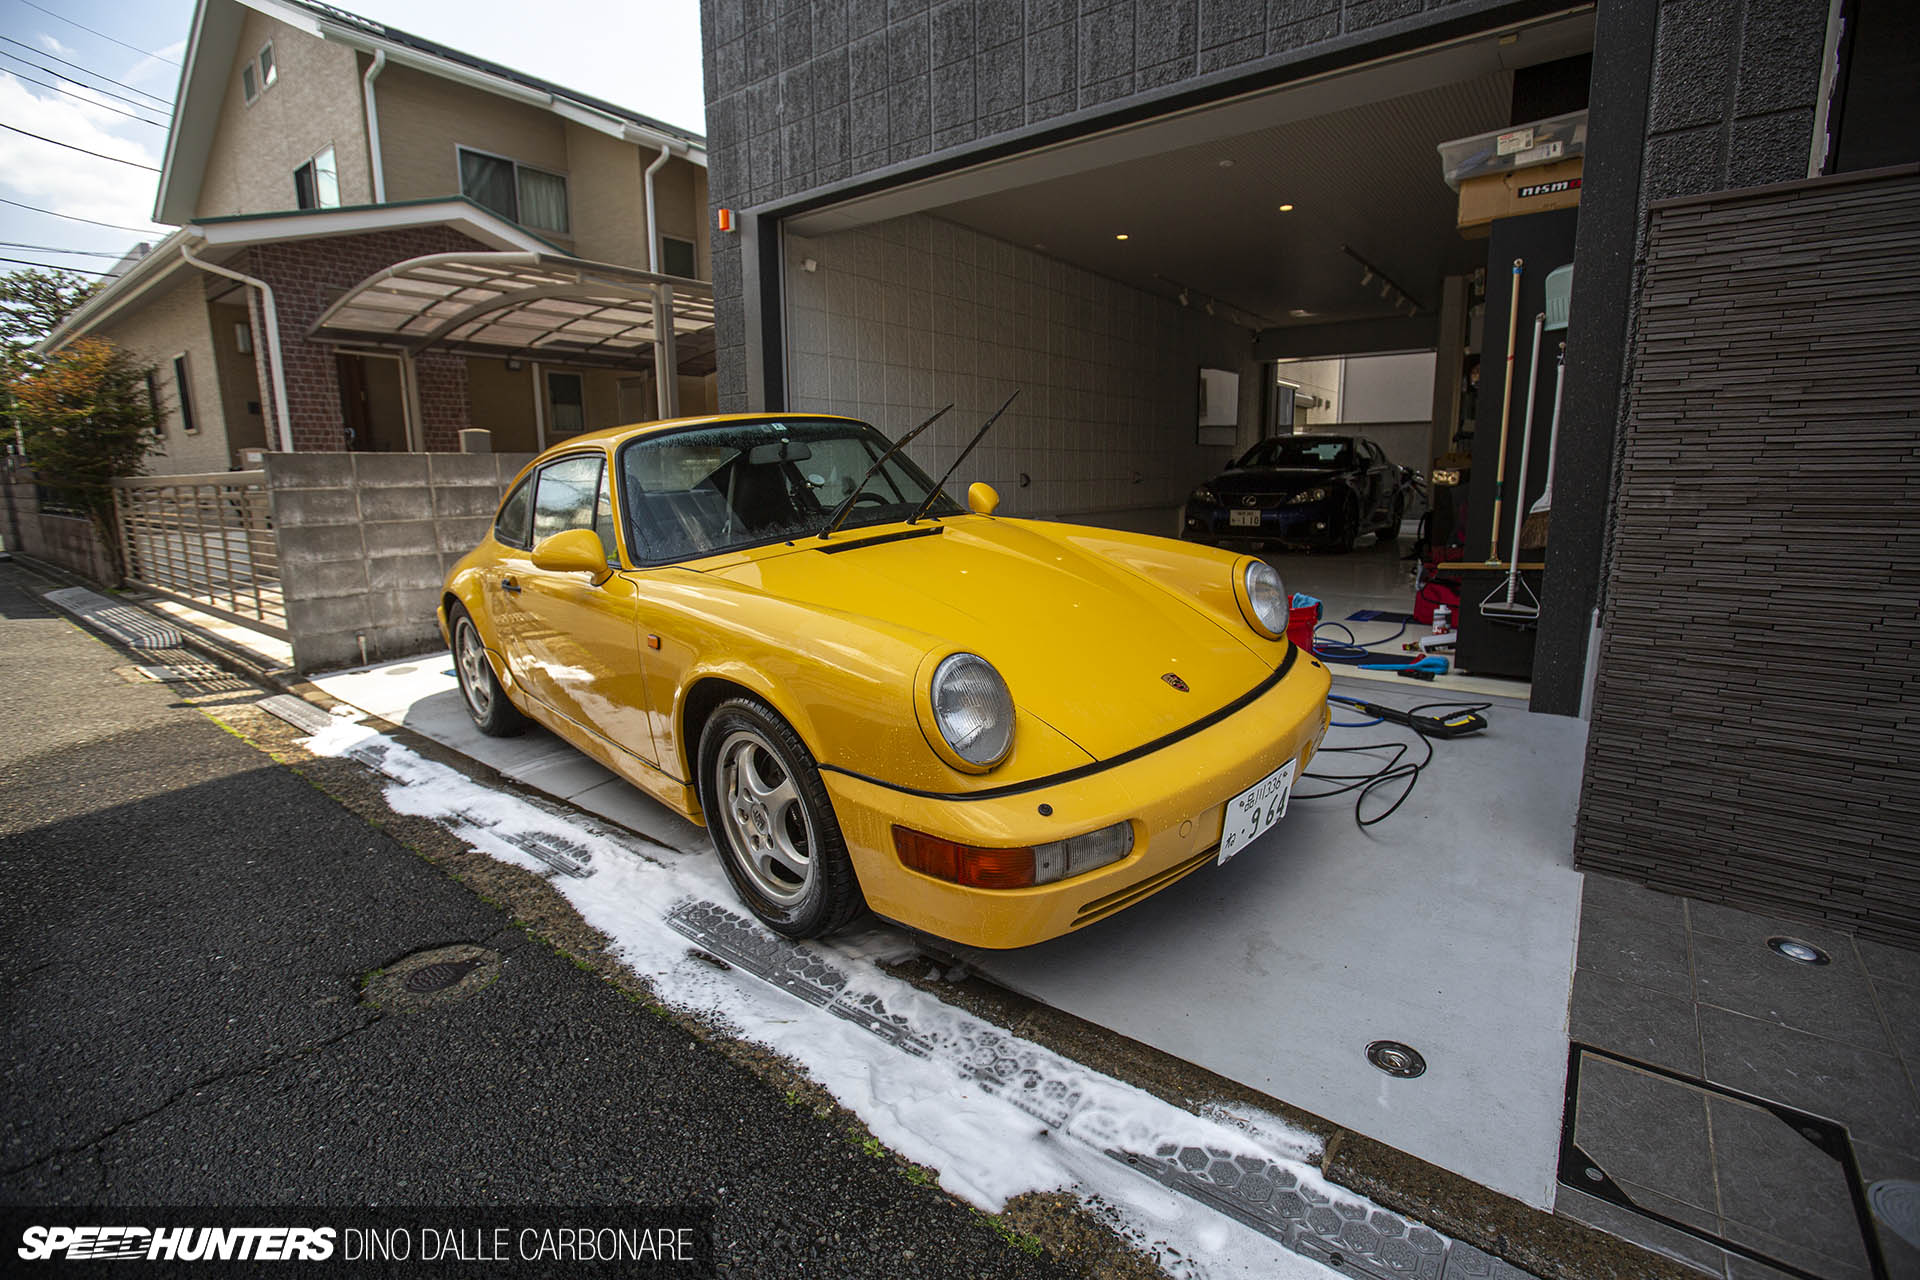
If you remember back to the 964’s SH Garage intro story, you’ll know that the car had sat outside for a long time before I stepped in to save it. These years, where the Porsche was fully exposed to the elements, were not kind to it, especially with regards to the exterior condition. Of course, I knew that buying a car that had been semi-abandoned by its previous owner was always going to throw up some challenges, and as it turned out, what could go wrong did go wrong pretty much straightaway. So I guess it became a psychological thing for me; I held back on giving the 964 the big clean it so desperately needed and deserved before the engine was able to be used reliably. I also knew that returning the exterior to its former glory was a huge detailing job, and that it needed to be done right.

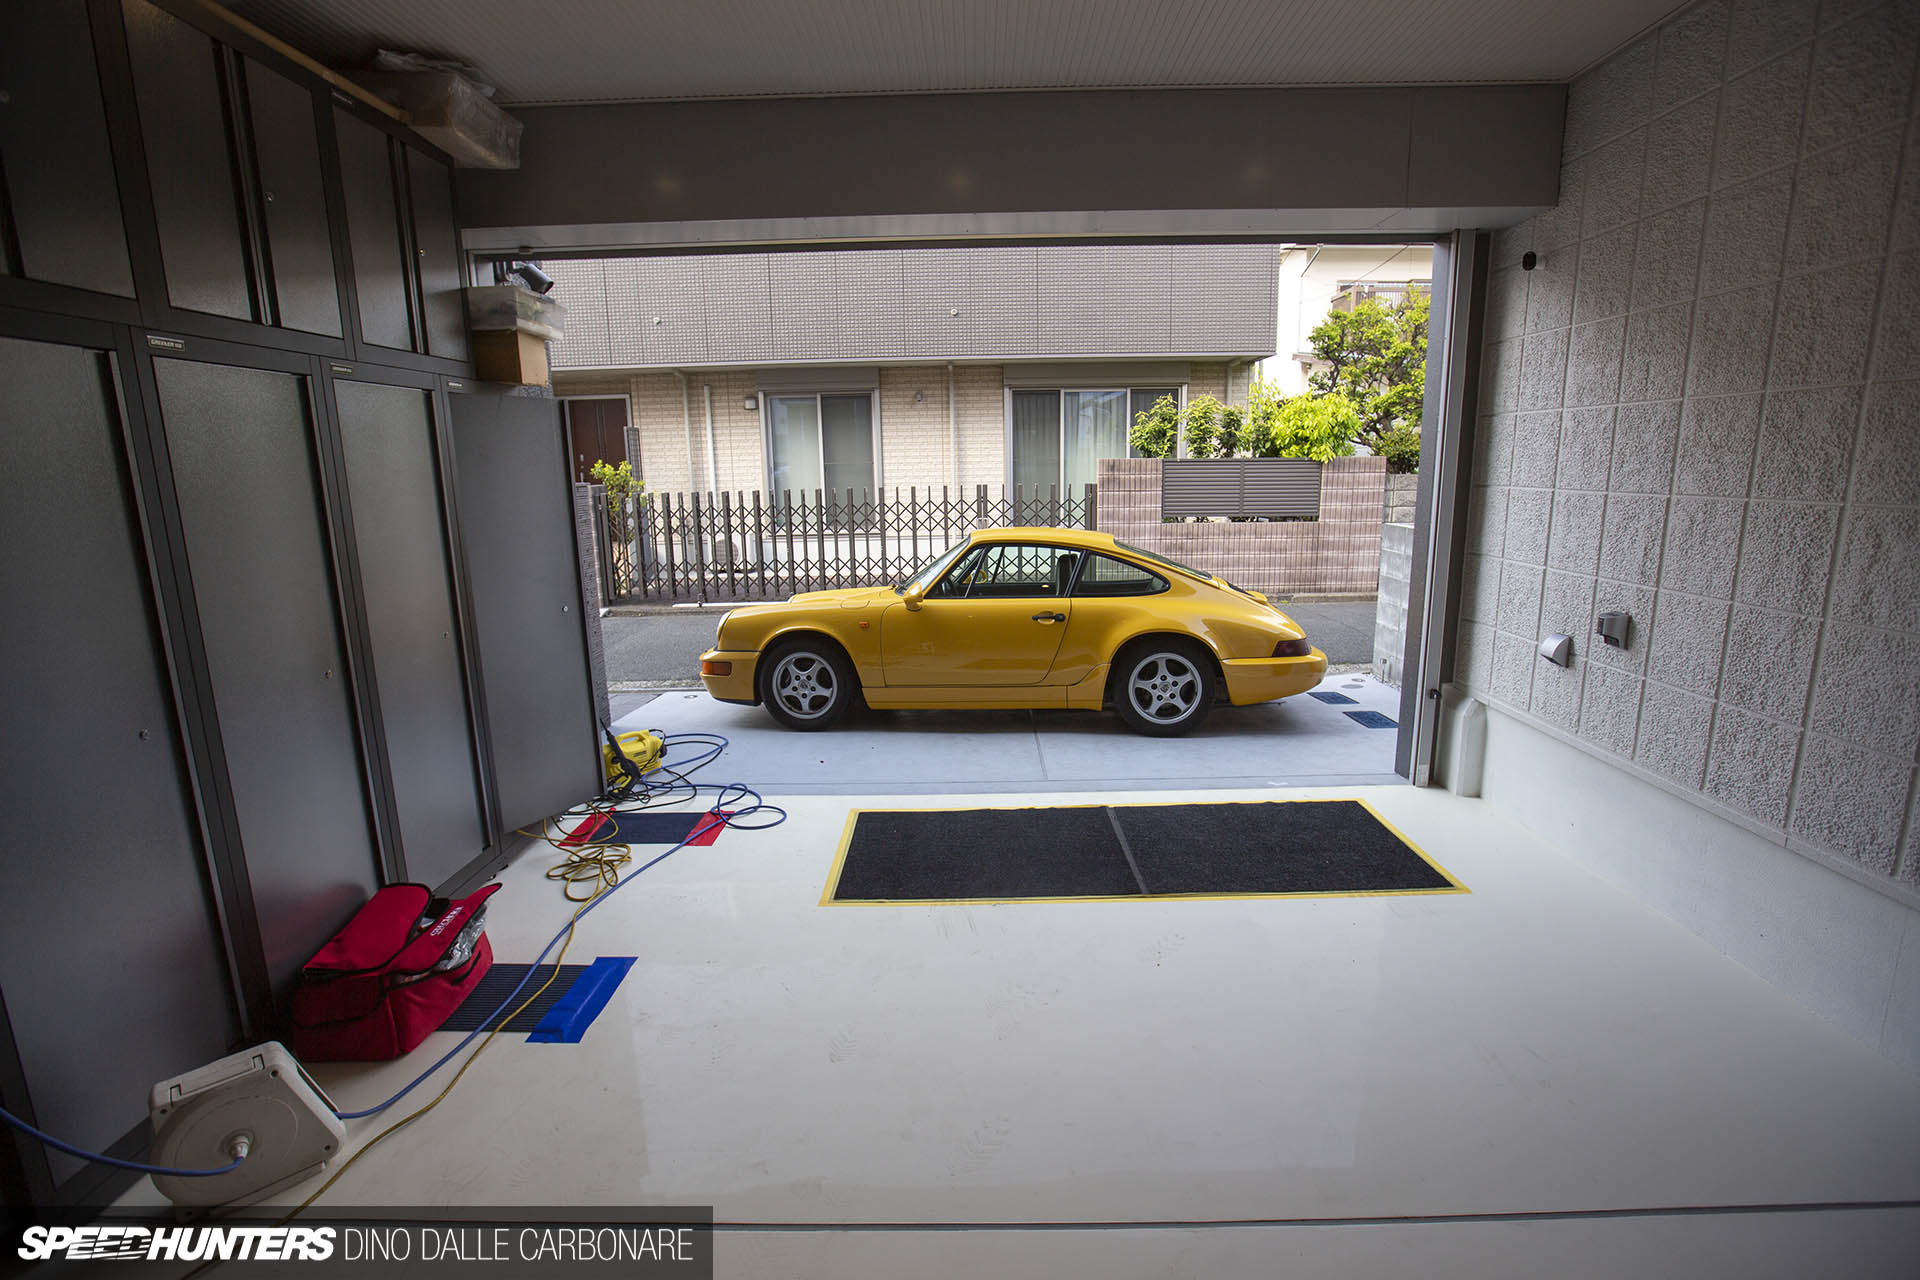
I’d need some help too, and this ultimately came in the form of Aki, who you might remember from his R33 Skyline GT-R project stories on the site in the past. It’s why the setting for this post is Aki’s man cave – a garage space that is equipped with every possible cleaning product, accessory, gadget and tool needed to tackle my filthy 964.
Our approach was a simple one: Do it once and do it properly. It took a good four days’ work to get the results we were after, beginning with a triple wash.

In preparation for this daunting task, the guys at Gtechniq sent me out a goody bag full of their cleaning products. I’m going to be using this stuff on all my cars from now on, as the products turned out to be a proper revelation.
We started off with W4 Citrus Foam, which once added to a foaming gun transformed into a non-stop flow of creamy suds that quickly but gently broke down many of the contaminants dulling the 964’s yellow paint.


I did this in a two-step process. The first covering of foam was left on until it slowly started to dissolve and flow down the bodywork, at which point I hit it with the pressure washer to remove the loose top layer of dirt without even touching the car. The second foam covering came a few moments later with a wash mitt and Gtechniq’s G Wash soap.
The ‘two bucket’ method was used of course, as Aki would have murdered me otherwise. Both of his buckets feature a grit guard to ensure that the dirt and residue that’s pulled off by the wash mitt is not picked up again. The last thing I needed was extra webbing and light scratching on the already subpar paint surface.
Another pass with the pressure washer to rinse followed; then it was time to give the wheels some attention.


Despite the fact that I will be fitting aftermarket wheels to Project 964, in the meantime I really want the factory 16s looking their best. When new wheels are fitted, I’ll send the Porsche wheels off for refurbishment, and then they’ll be stored away safely.
Gtechniq’s W6 Iron & General Fallout Remover spray was the perfect product for this. Application is as easy as spraying it on and allowing the chemicals to react with the brake dust and grime on the surface of the wheels. Then you hit them with the pressure washer, and most of the gunk washes away. I use this spray regularly on Project Drop Top 2.0 (which you’ll see an update on in the next couple of months) and it works so well.
By this point, the 964’s exterior had taken on a slightly brighter and glossier look. There was satisfaction all round, but now the real work began.
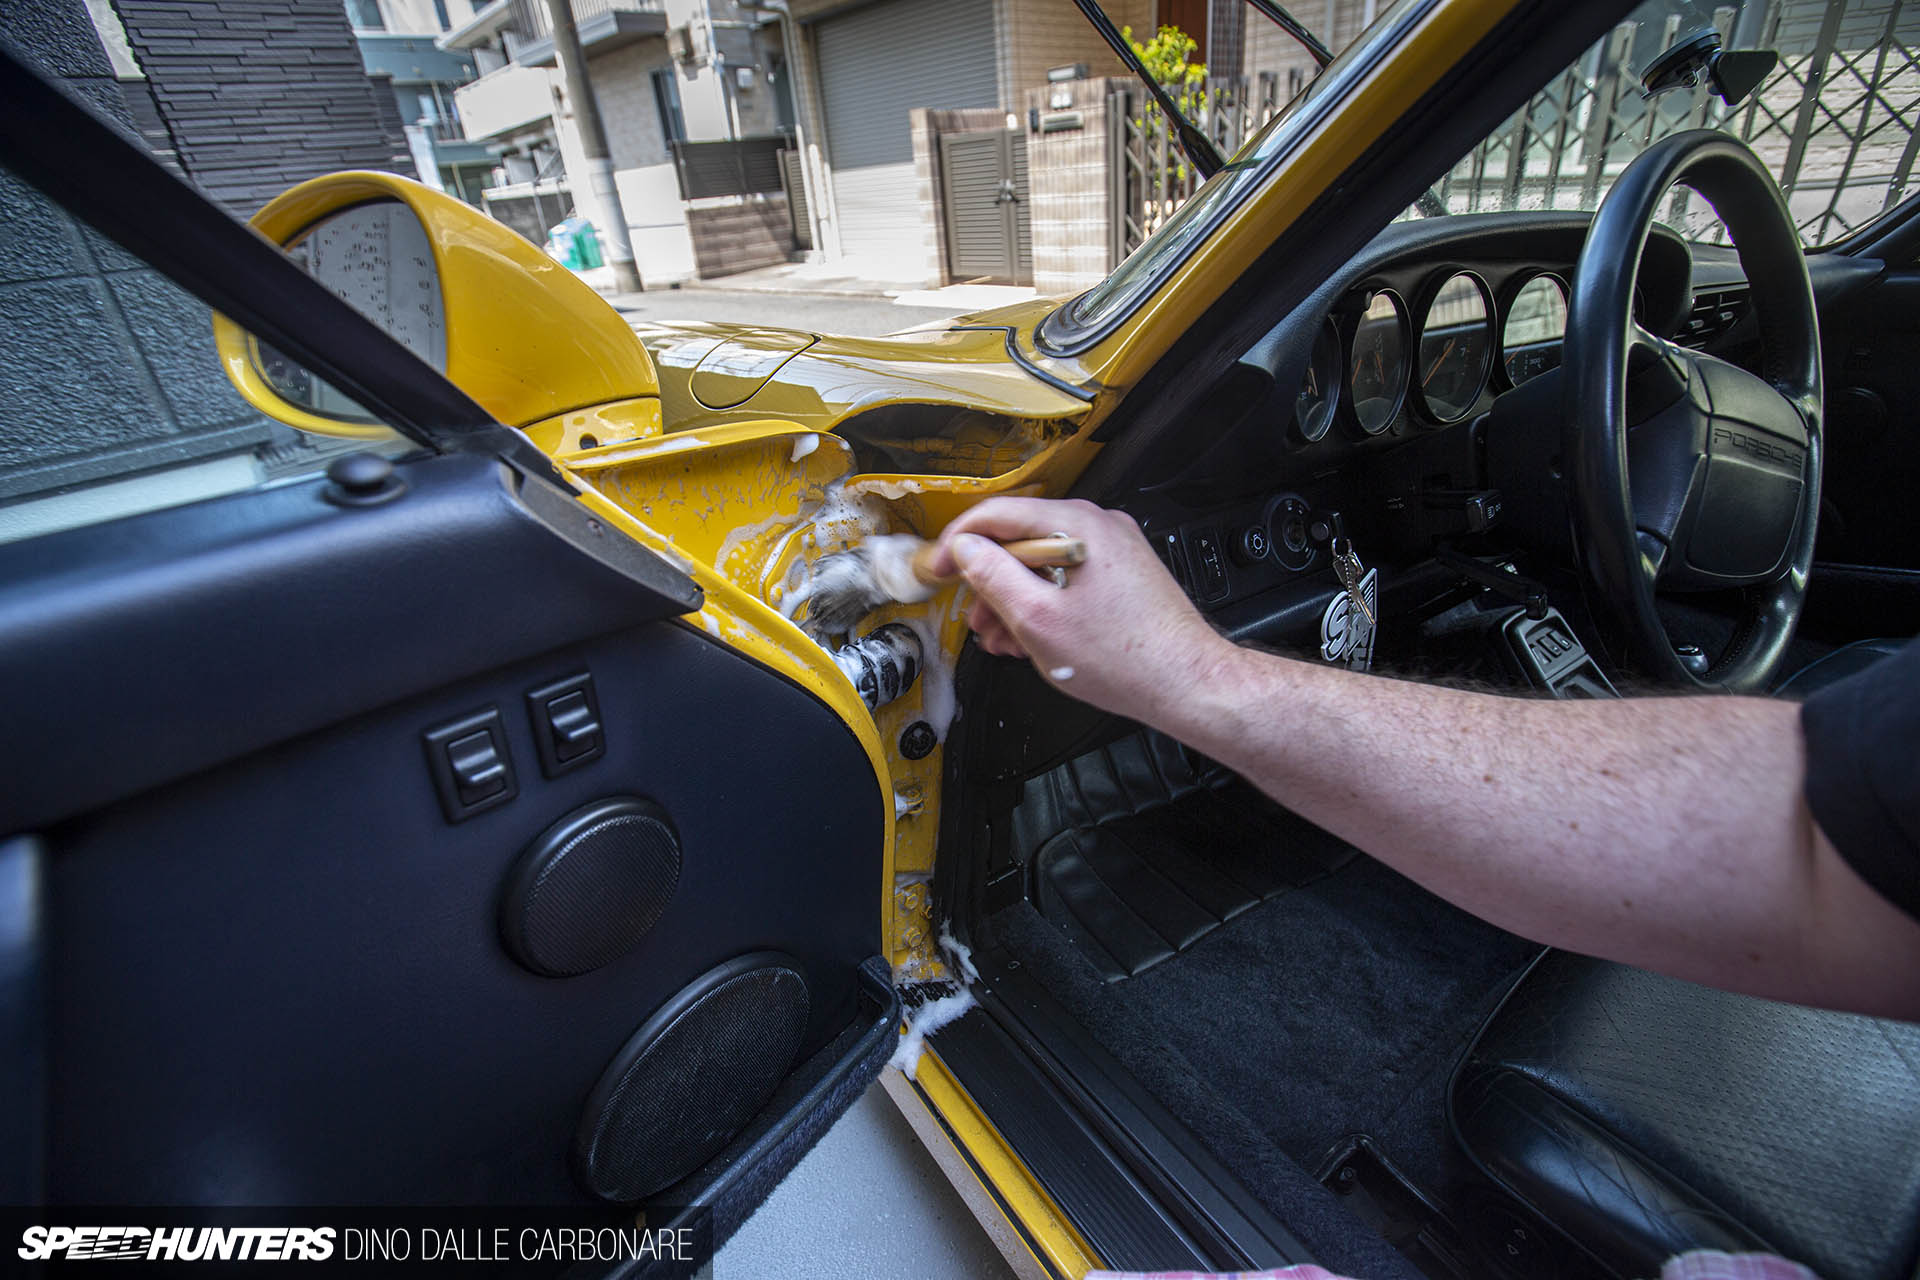
With a fresh bucket of warm water and a second dosage of G Wash, it was time to start tackling the hard-to-reach places. A soft-bristle brush was used to agitate the soap into the accumulated grime.


Next up was removing the stuff you can’t see but can definitely feel when you run your fingertips over the paint. Using a clay bar to remove all the surface contaminants was painfully time-consuming, but it’s something that had to be done.
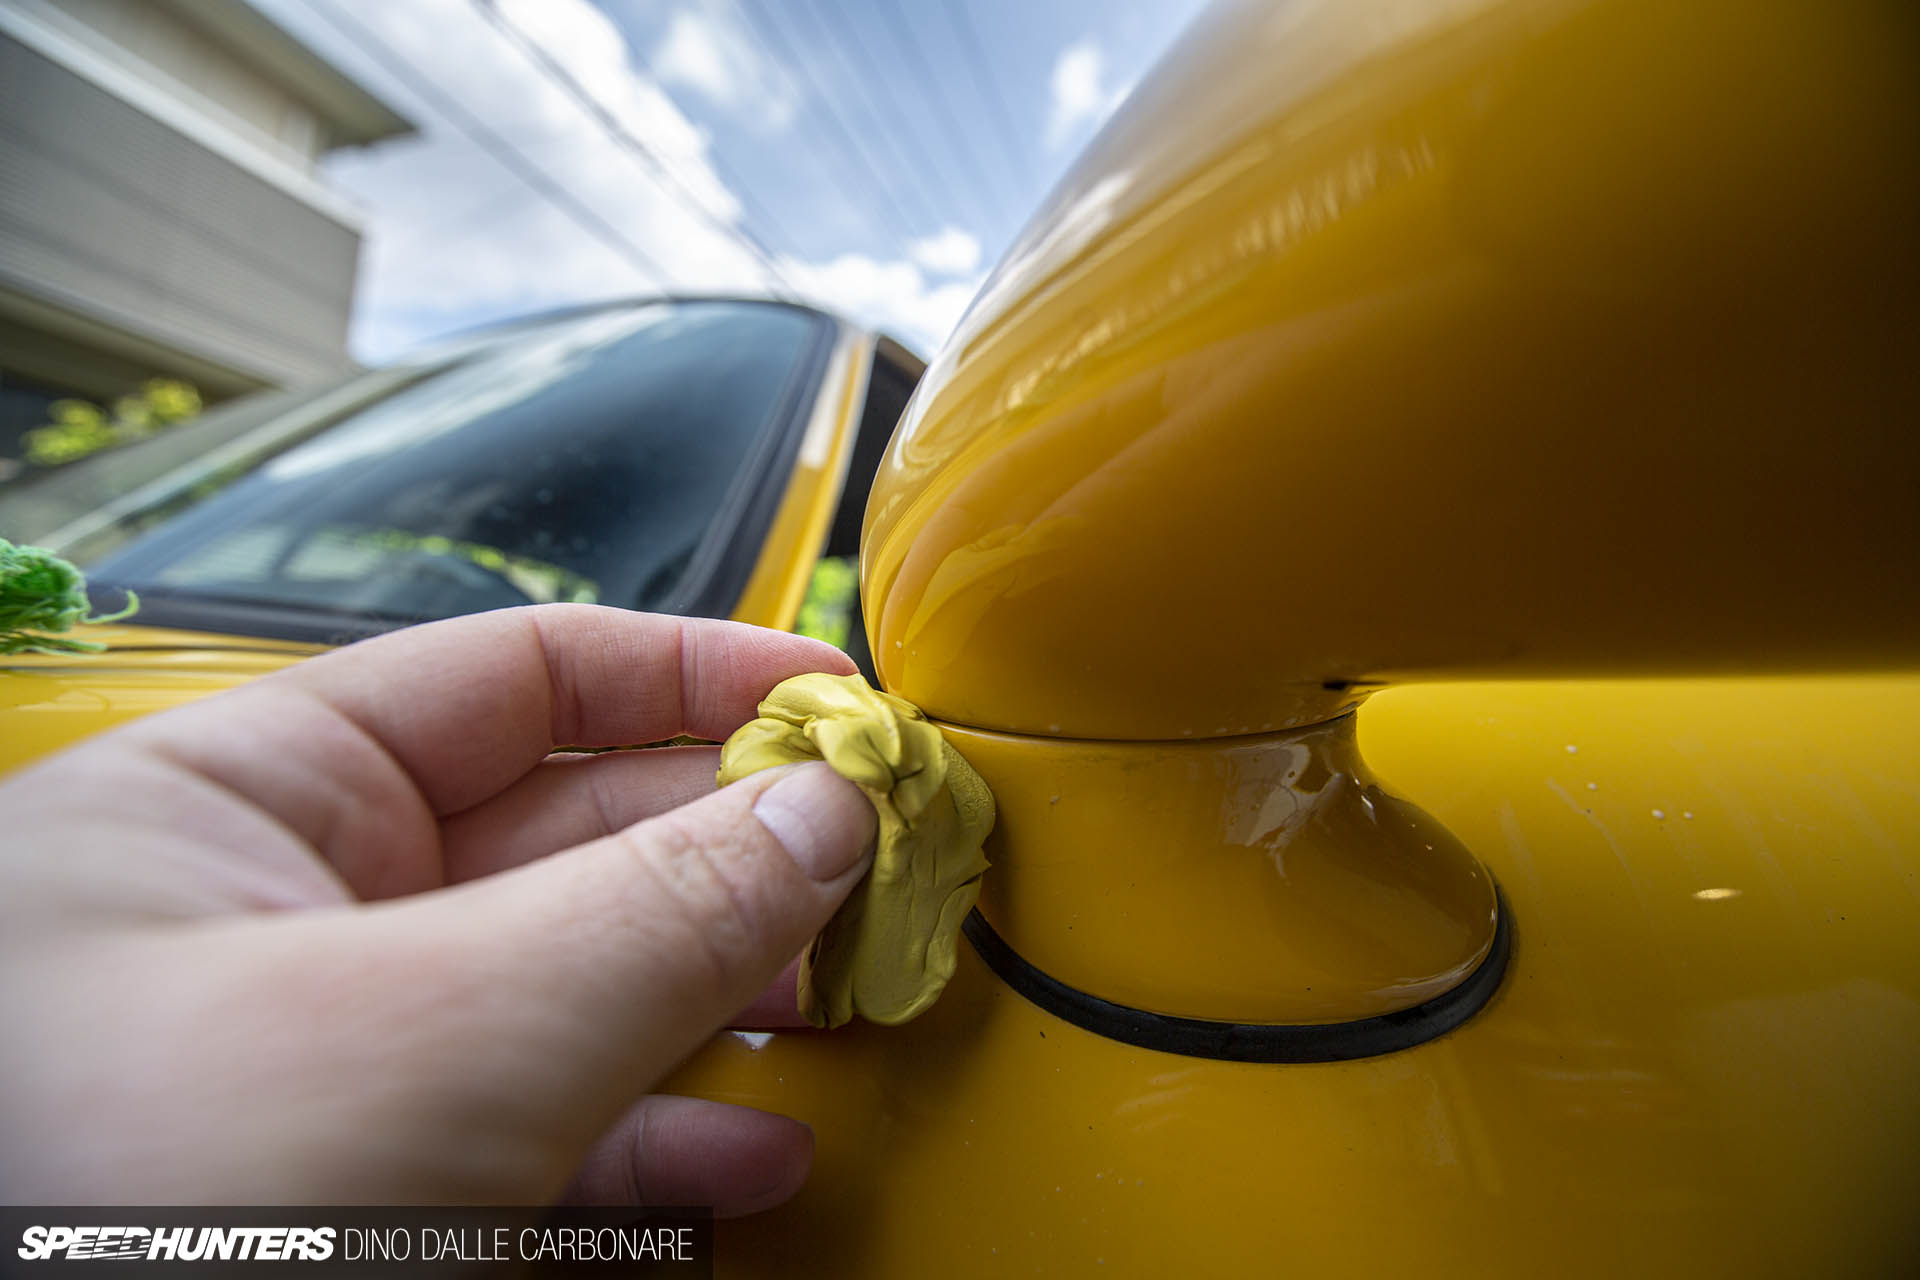

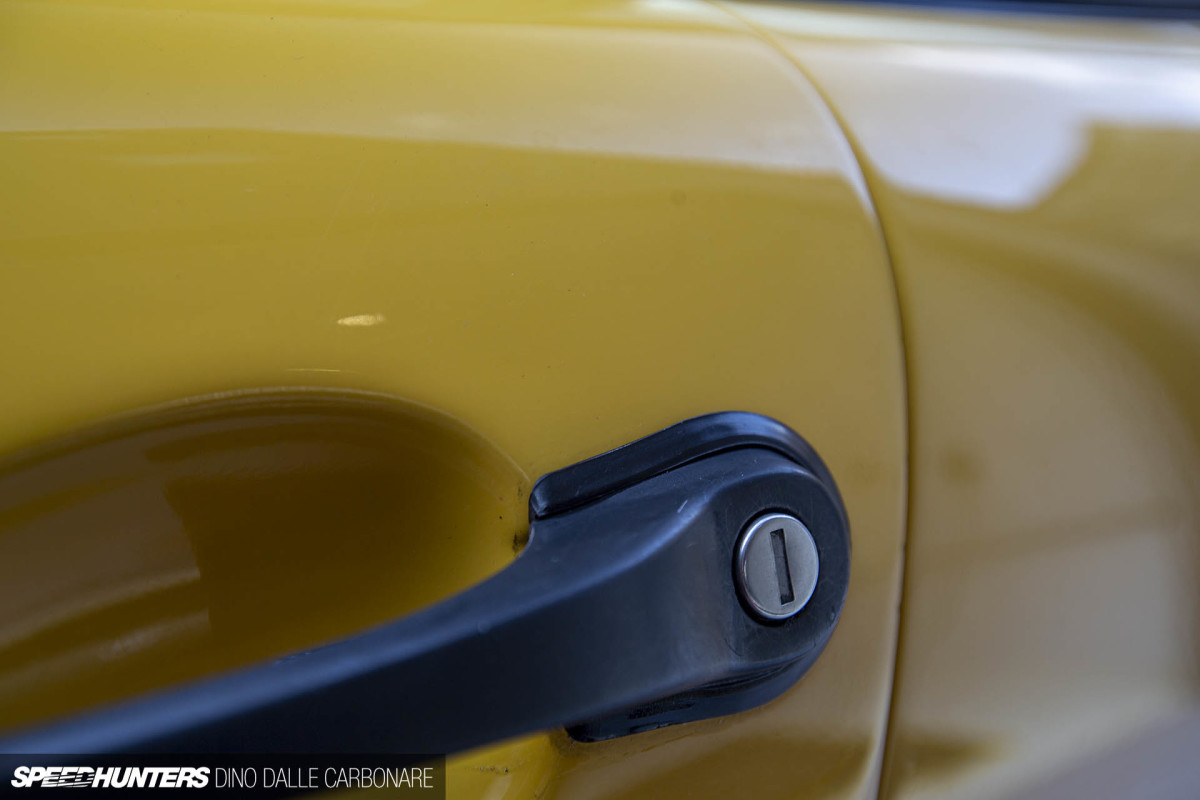
The main reason it took so long was the multiple passes I had to make over places where stubborn grime had accumulated, namely the glass seals, body panel gaps, door handles and mirrors. You can see the difference it made around the plastic seal (it was once rubber I guess) that isolates the handle from the door.


I went through an entire clay bar to see the job through.

However, the clay was no match for this black line of grime along the front bumper seal, so I had to leave it for a more aggressive fix later on.
With the 964’s exterior predominantly clean, it was time to take things to the next level.
Stepping It Up A Notch
With Aki’s GT-R away at Nismo for some updates, there was space in his garage to get really stuck in.


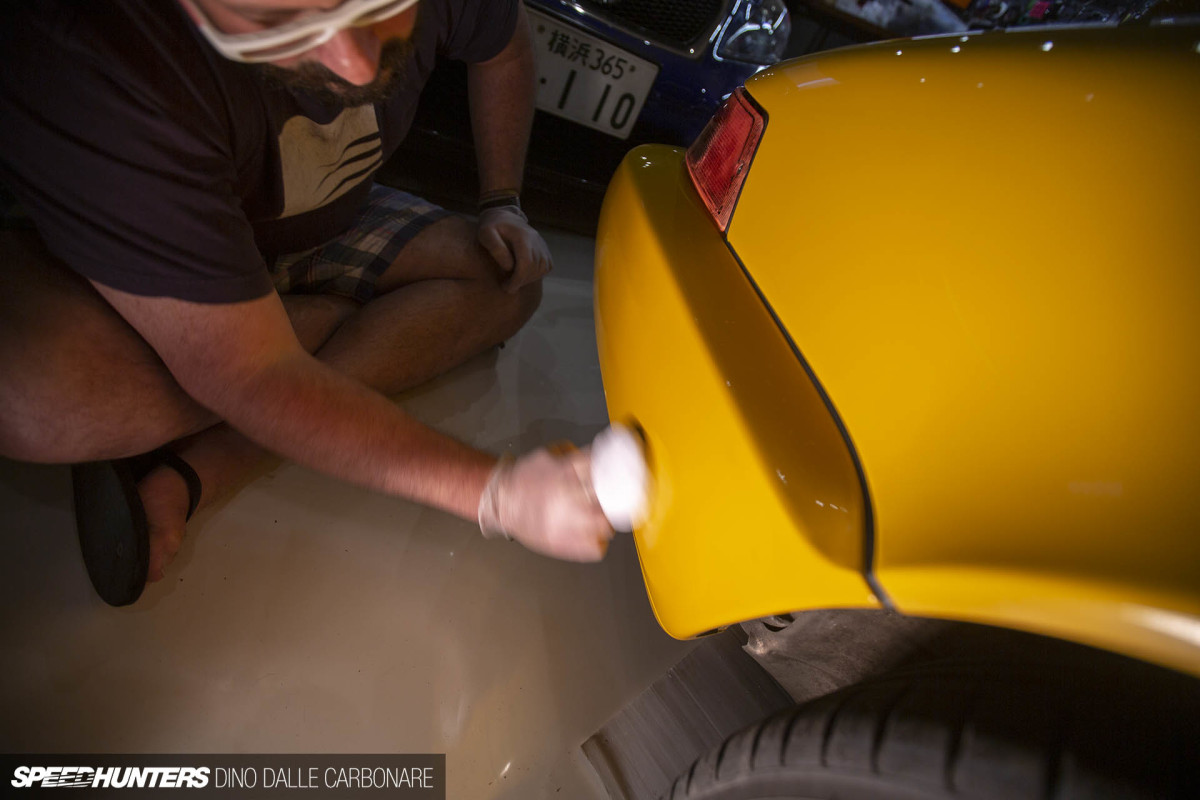
We busted out our Porter-Cable random orbital polishers and started experimenting with a few abrasive compounds to see which one had the best cutting power for the task at hand.
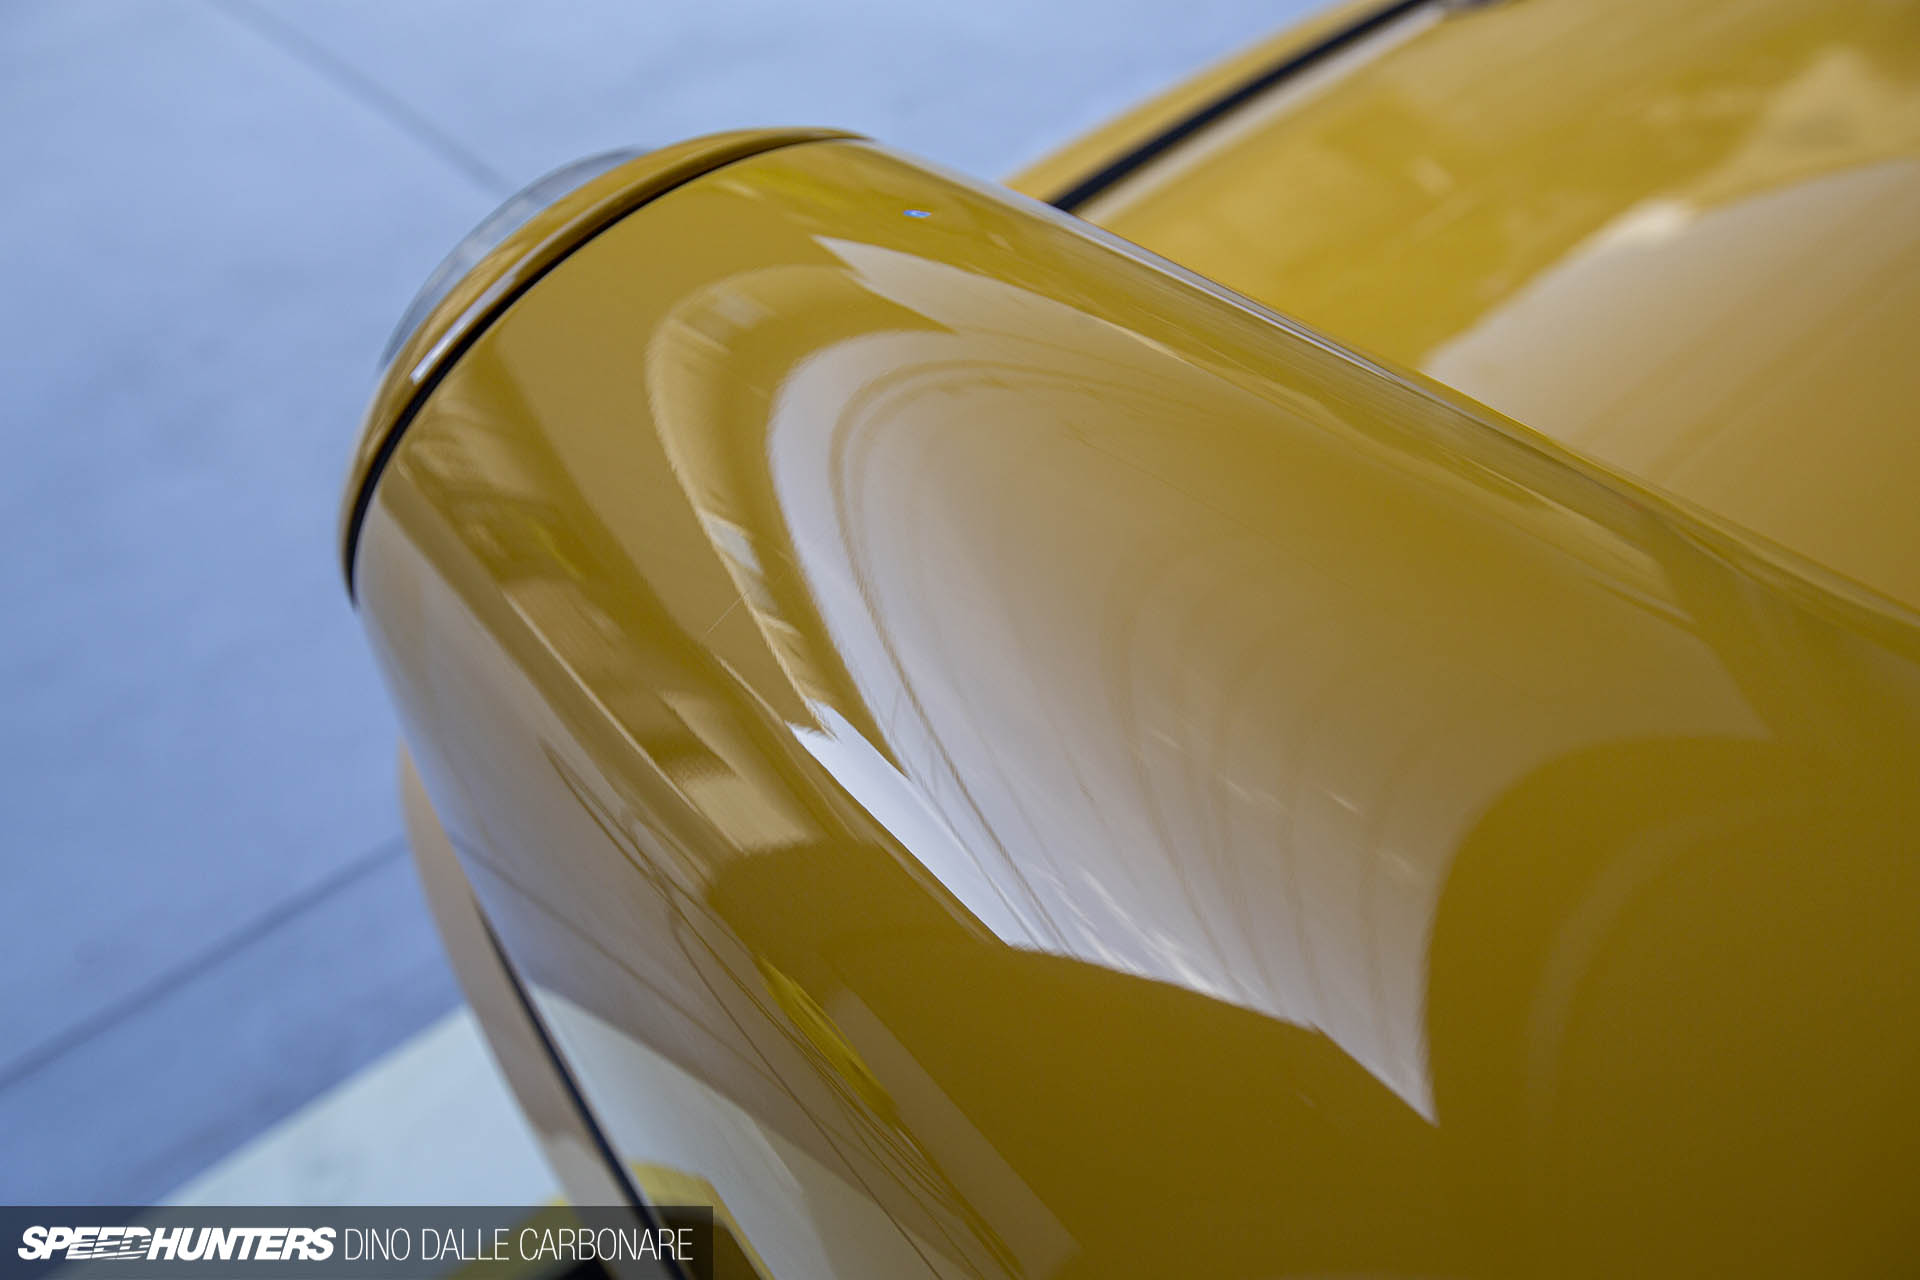
And here’s the result after we settled on the pad that gave the best result. Granted, it’s not pure perfection, but it’s probably the best we – a couple of amateur detailers – were going to achieve with a pair of domestic-grade orbital polishers in a not-too-crazy length of time. To get the best possible results here you’d need a professional detailer armed with a commercial-grade rotary polisher and all the right pads and compounds.
One nice surprise was not finding any areas with deep etching that required wet sanding or other drastic measures. There are some paint chips on the hood and one of the front fenders though, so they will be touched up in due course.
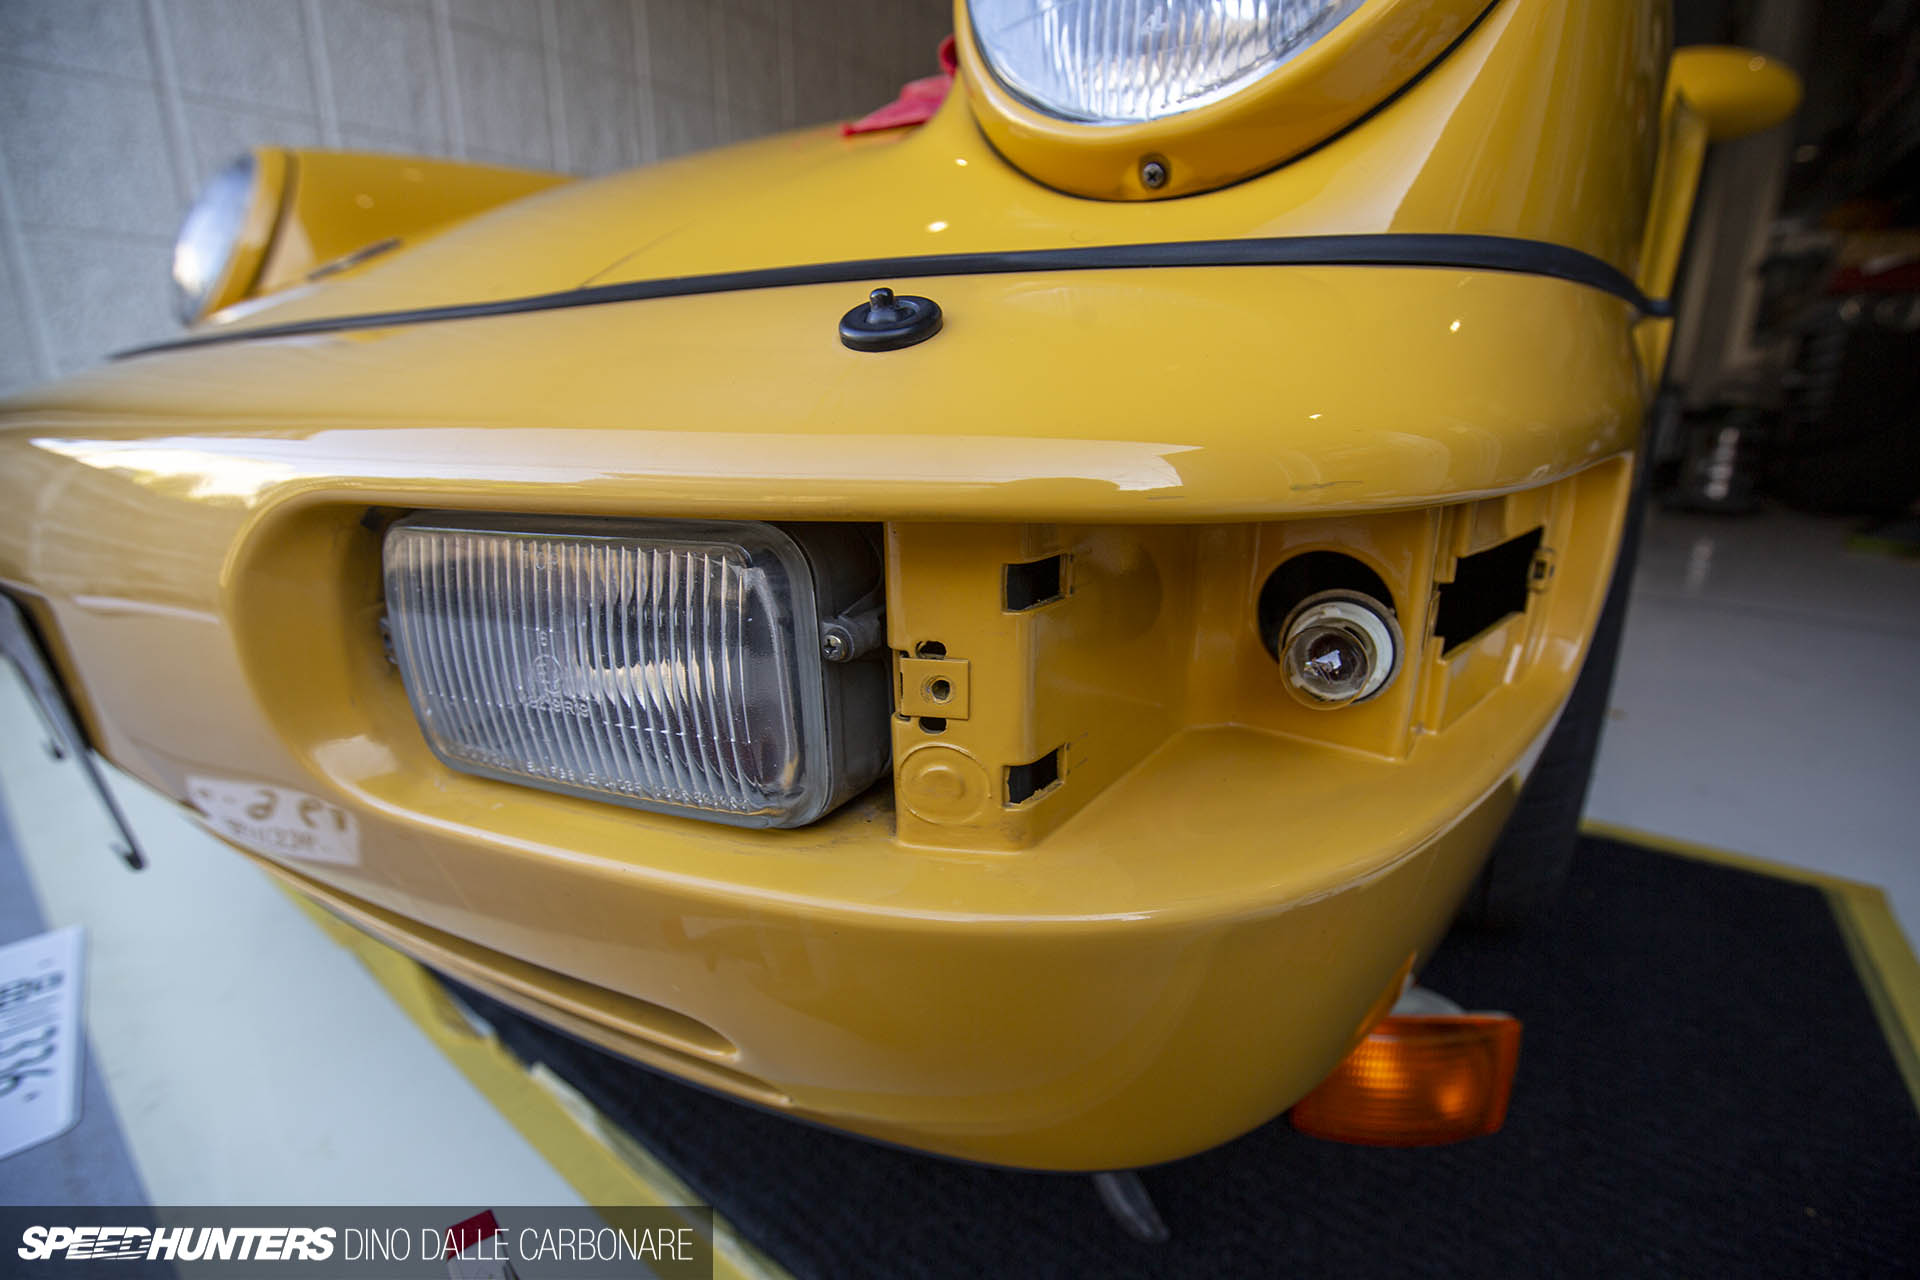
I was really looking forward to hitting the front bumper as there were many little imperfections; specifically paint transfers from light parking rubs and that tough grime along the seals. In order for the cutting pads to get into the tighter spots, I had to very carefully remove the corner lights so as not to break their brittle plastic clips.


There was a lot of grime behind the front license plate mount too, but that came off quickly and polished up smoothly.
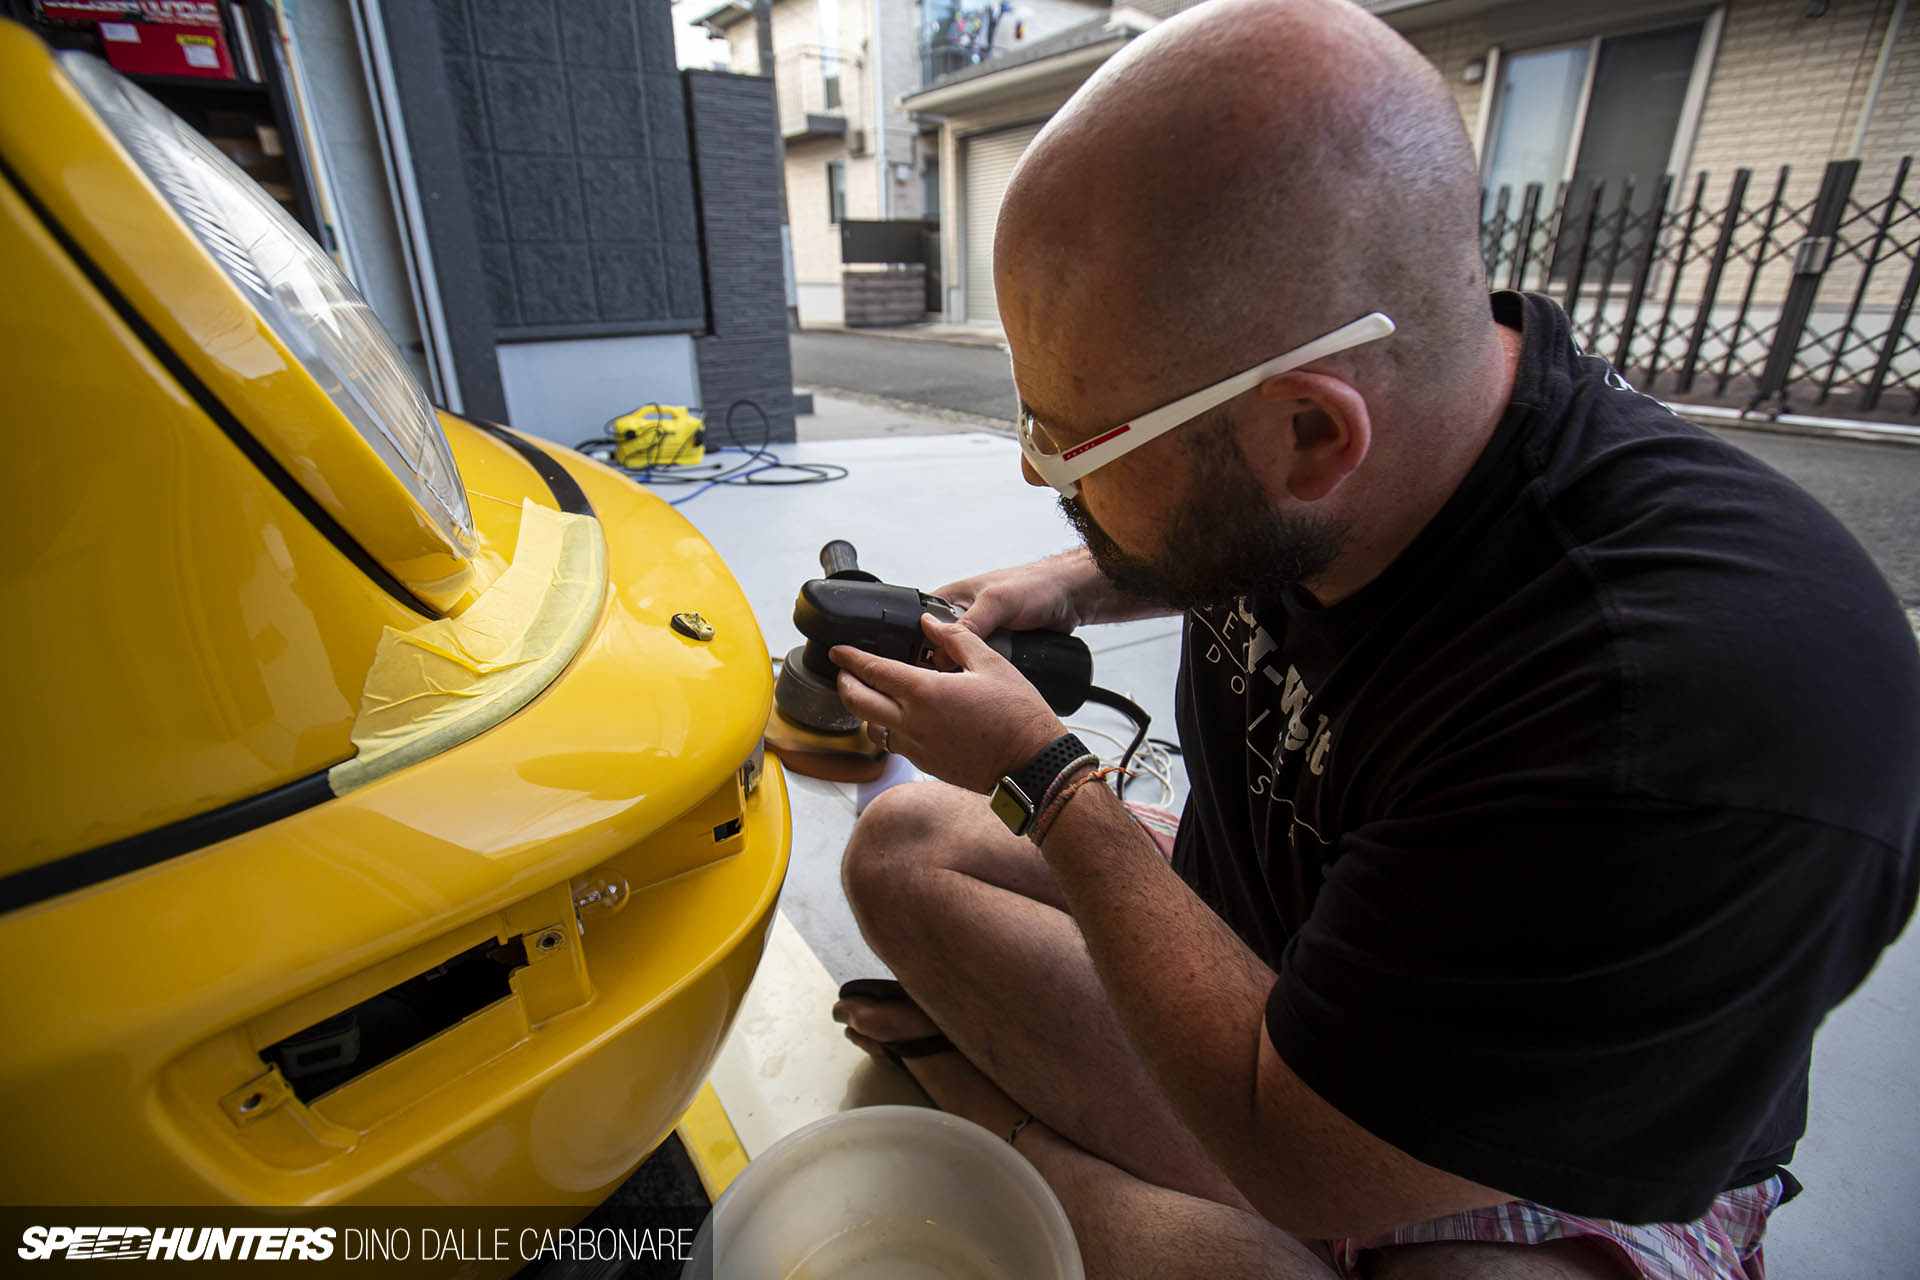
By wrapping the rubber strips along the bumper and the headlight washer jets with masking tape, I was able to get the pad right up to them without any chance of damage.


With the details taken care of, I moved to the front bumper’s top section – the saddest-looking part of the whole car. The paint was so dull here that multiple passes using a compound with more cut were required.
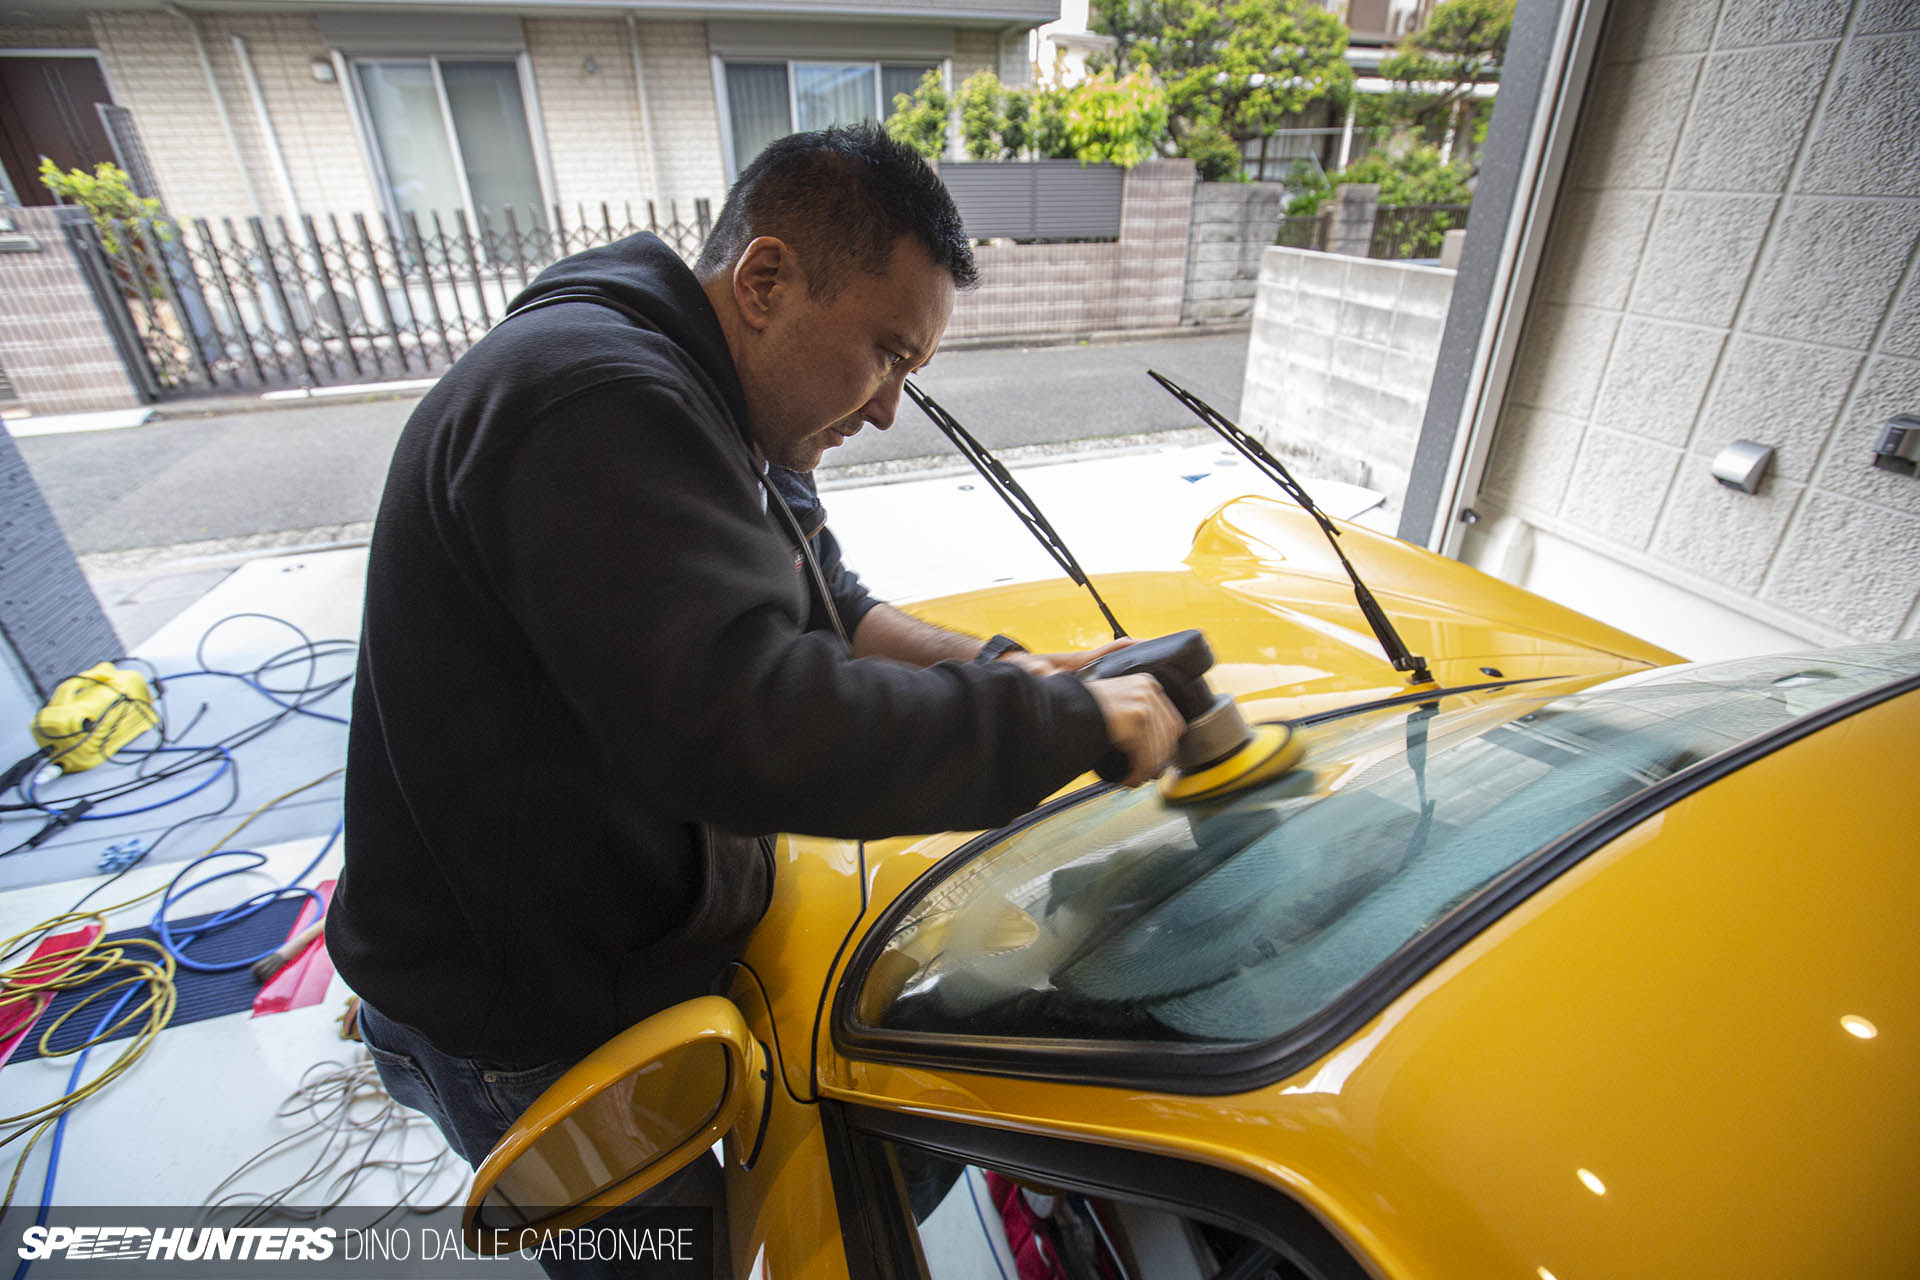
At the same time, Aki had been hard at work on the wheels, cleaning up everything that hadn’t come off with the W6 and the initial wash. He then moved to the windscreen, pulling out a glass compound from one of his cabinets and performing a test polish.


It turned out to be totally worth it, removing a film of caked-on grime and stubborn water-spots.
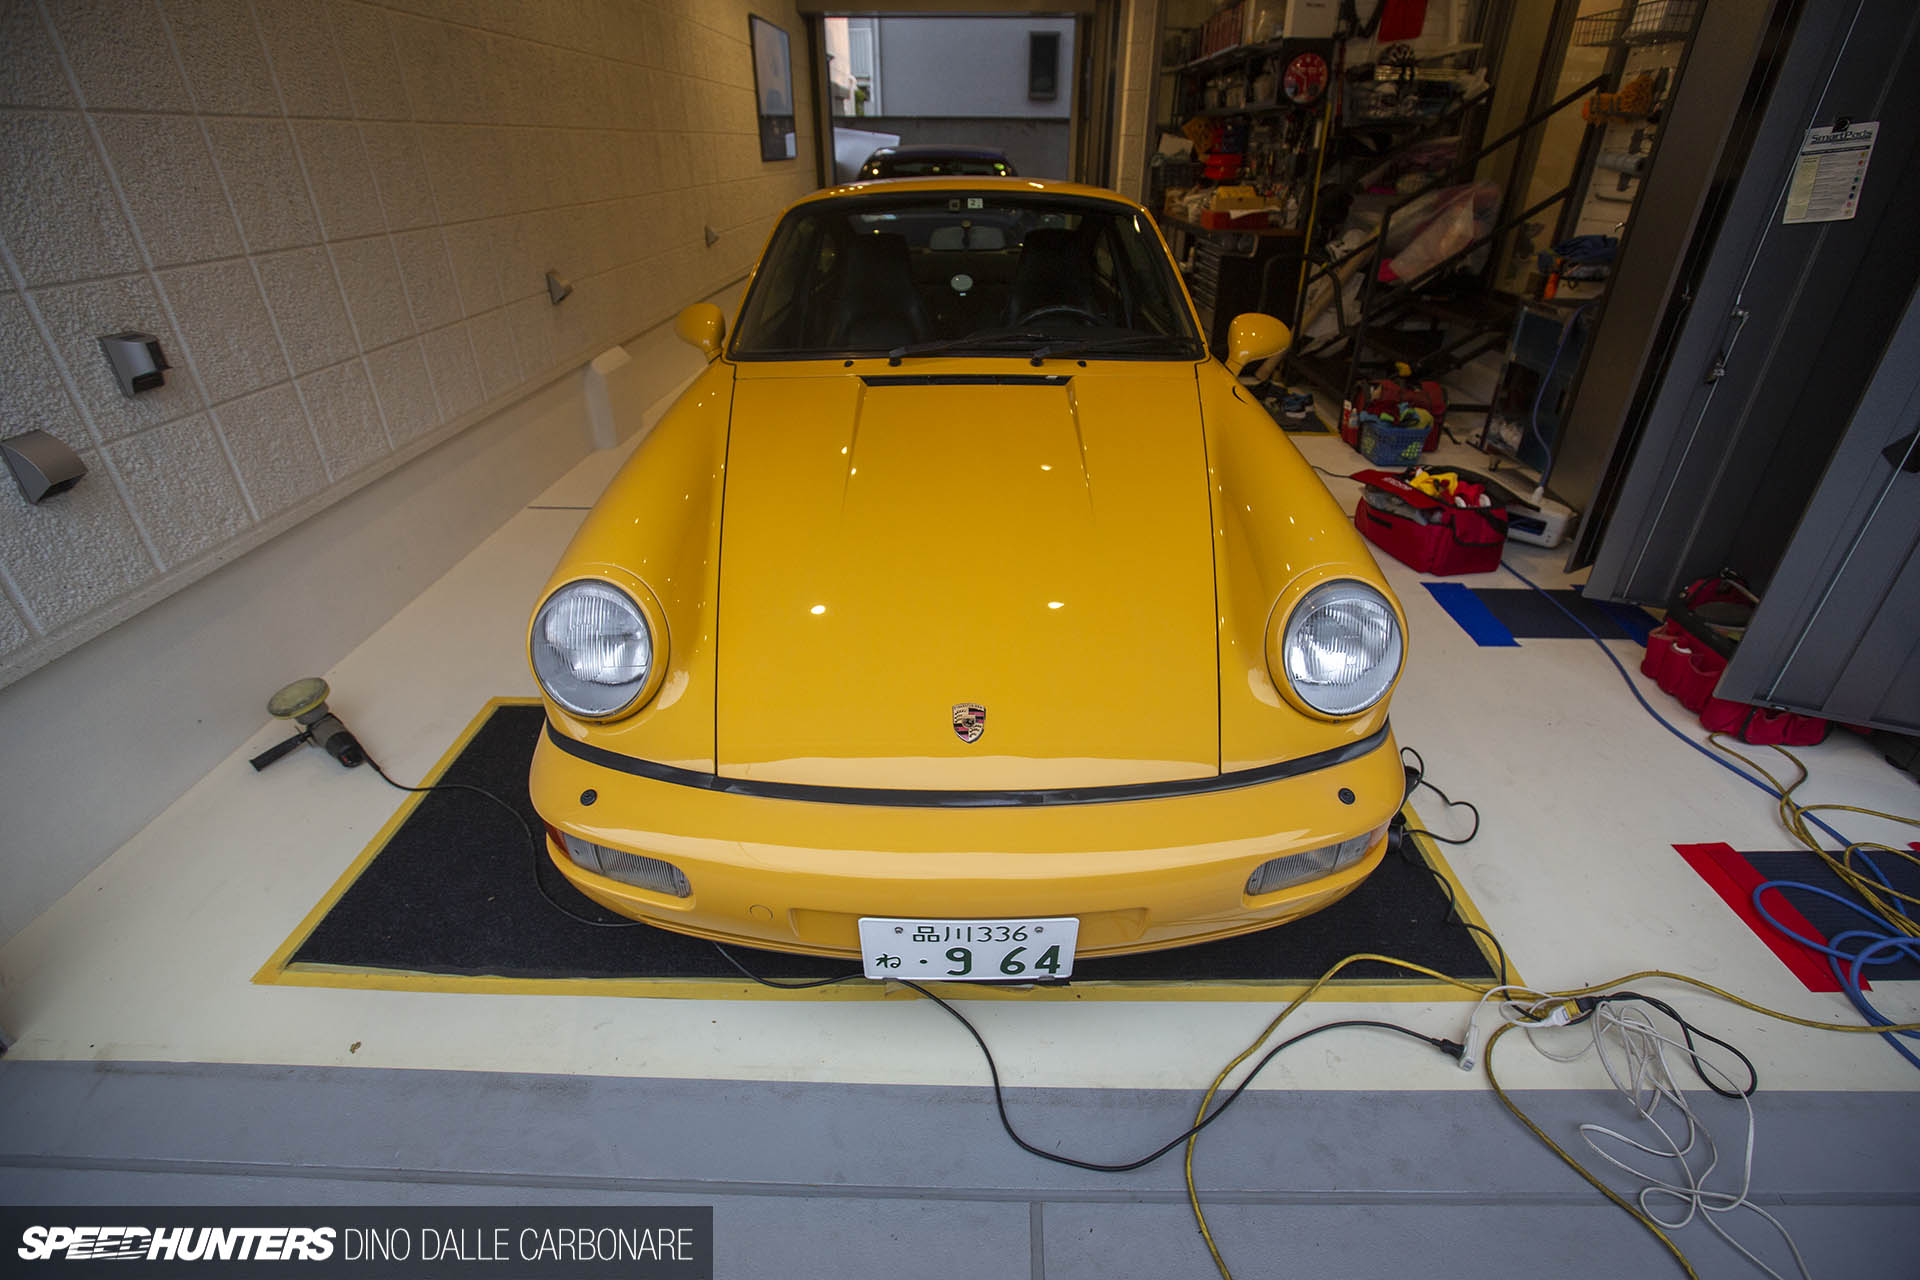
A few hours later and the car’s front end was totally transformed.
The sun was quickly dipping at this point, but there was still time for me to make a start on the rear lights.
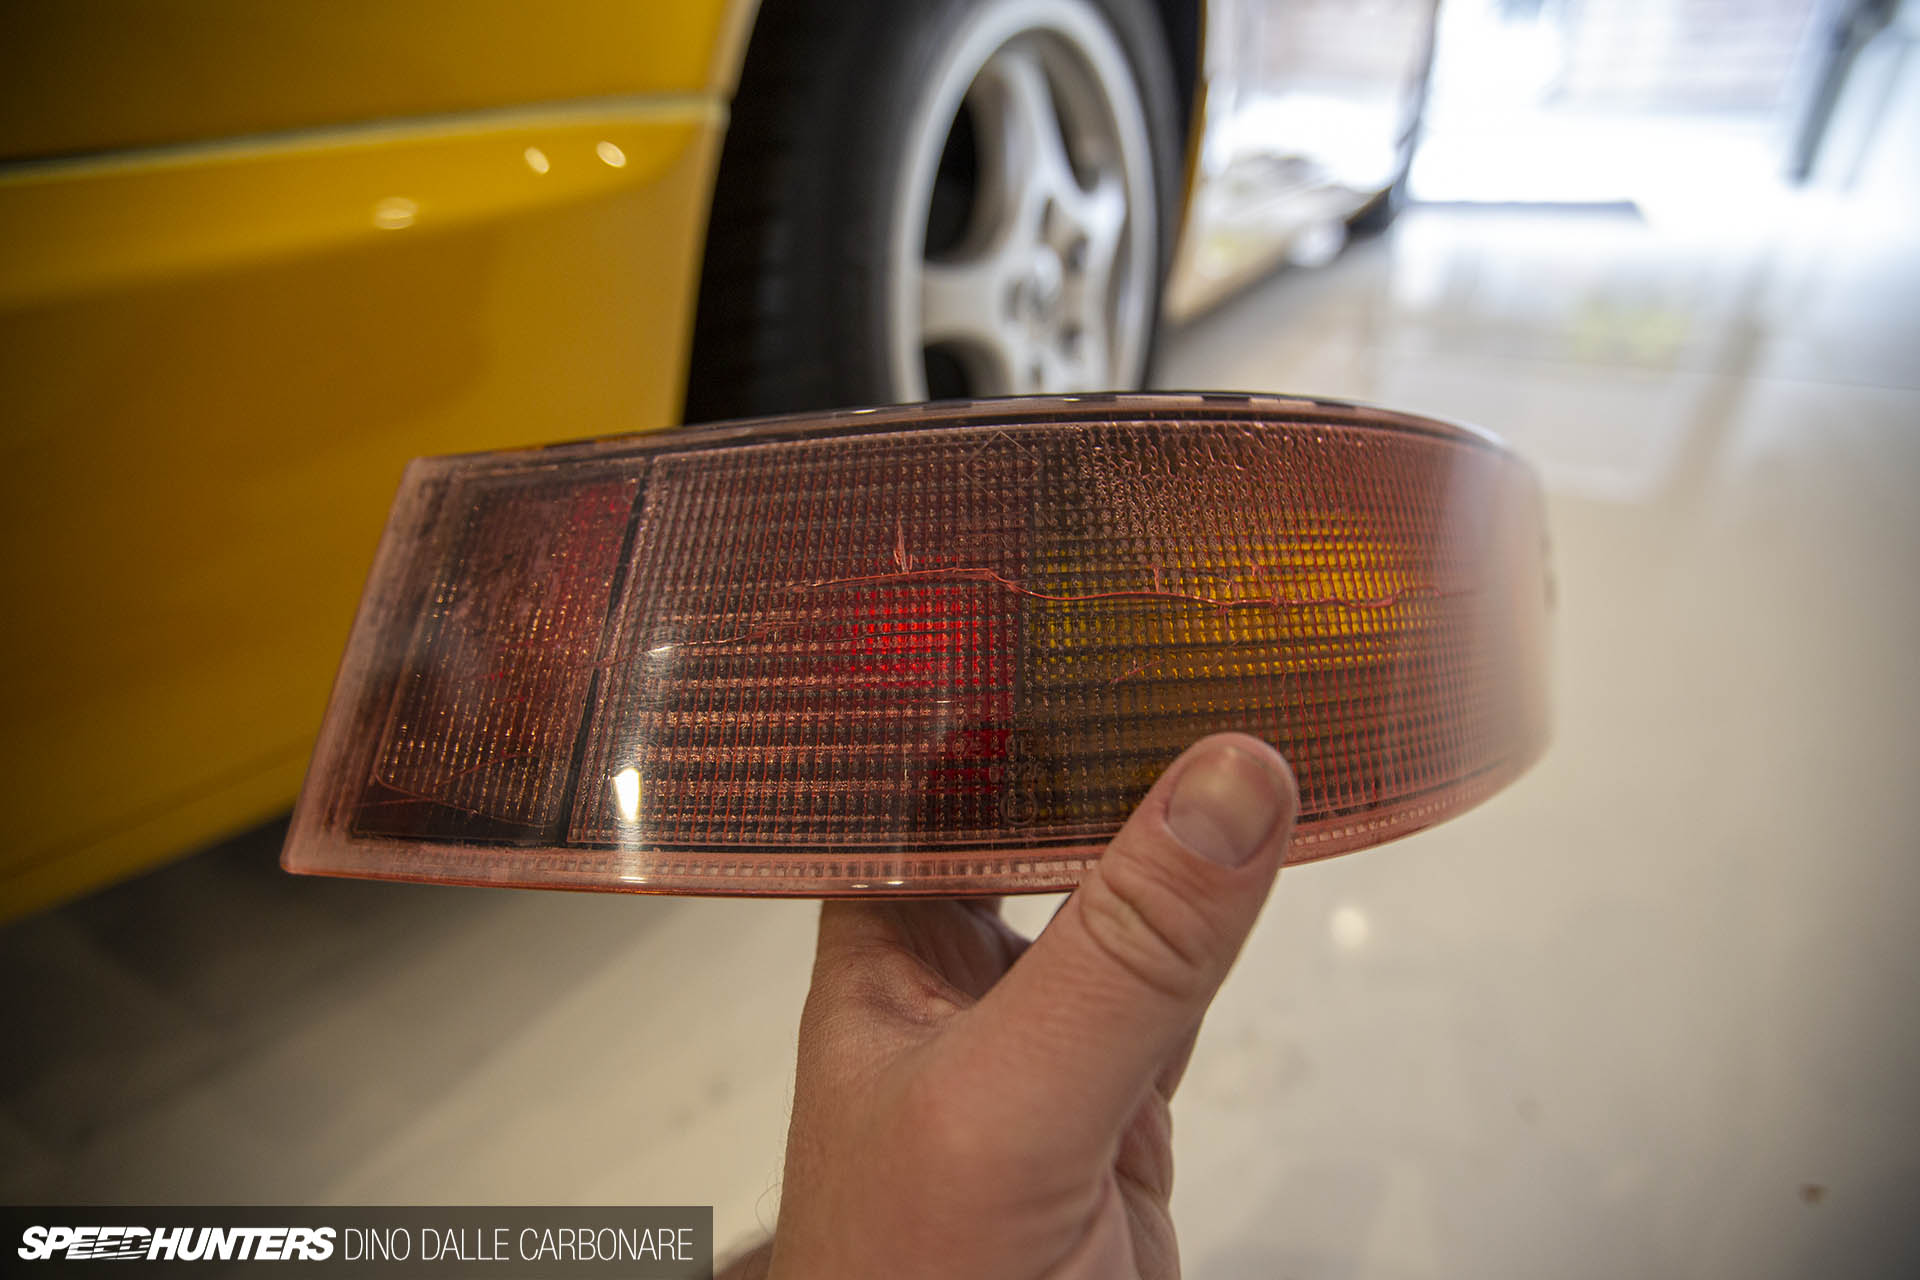
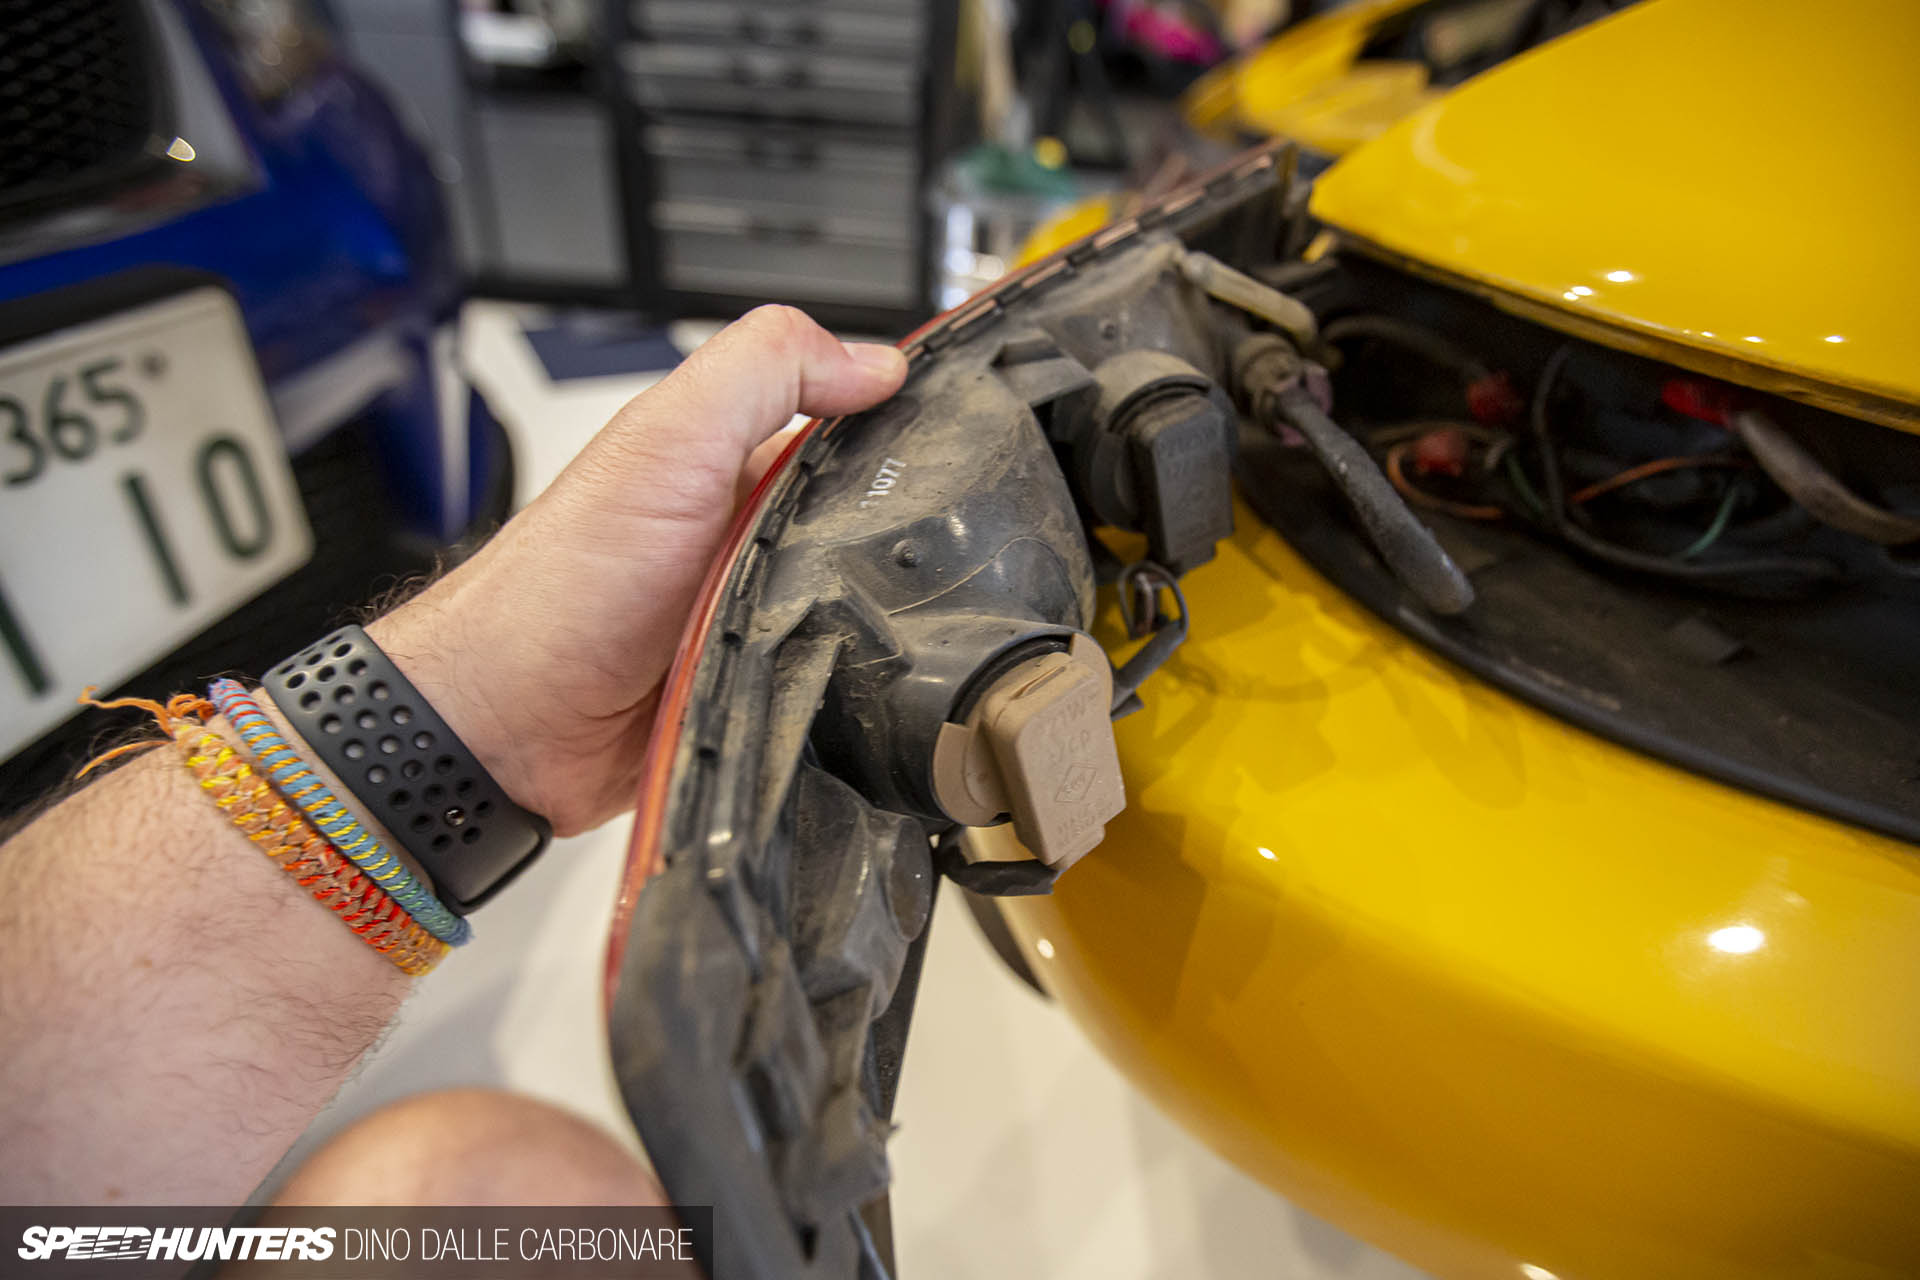
As you can see, these things are in pretty miserable shape. They look more pink than red, there are hairline cracks everywhere and moisture always seems to be trapped on the inside. I’ll completely replace these lights eventually, but rather than going for a very pricey set of Porsche OEM items, I’m currently looking at what quality aftermarket options are out there. Not only do I want to bring the 964 back up to a nice condition all round, but also modernize it as we go, and this is one area where I can give it a sharper, more contemporary look.


During the wash process there was a steady flow of debris coming out from this area, so I knew there was a lot of dirt trapped back there. The wiring was really messy, too, with some very JDM-looking splice action going on.


At this point I also removed the center garnish, cleaned up all the surrounding dust and dirt, and then hit the whole bumper with a Porter-Cable pass.

After cleaning the rear of the light assemblies, Aki pulled out a box of spare LED bulbs he had experimented with on his GT-R and Lexus IS F. We found a pair of red bulbs that fit and worked, and they instantly gave a new level of brightness and modernity to the rear of the 964.
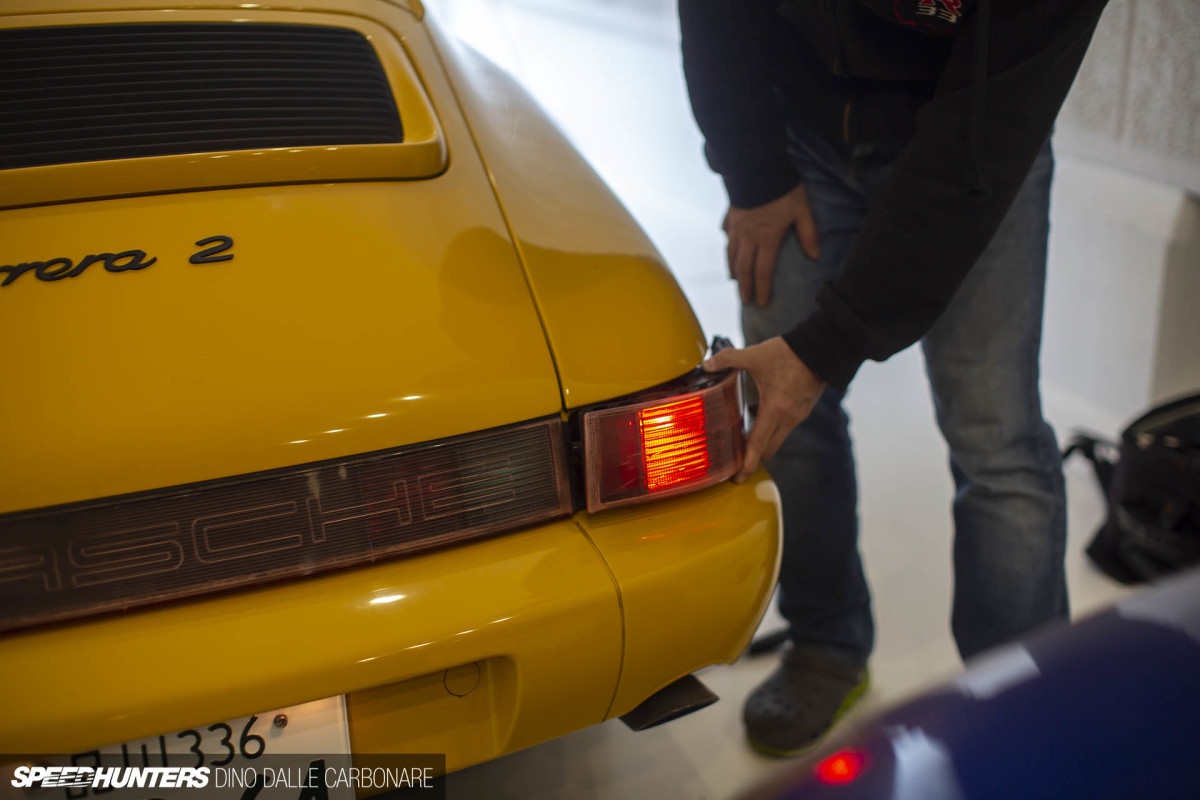

Aki even had a pair of reverse light LEDs in cool white, which were better than the existing filament bulbs in every way. You can see the difference above after I installed one. Arigatou, Aki!
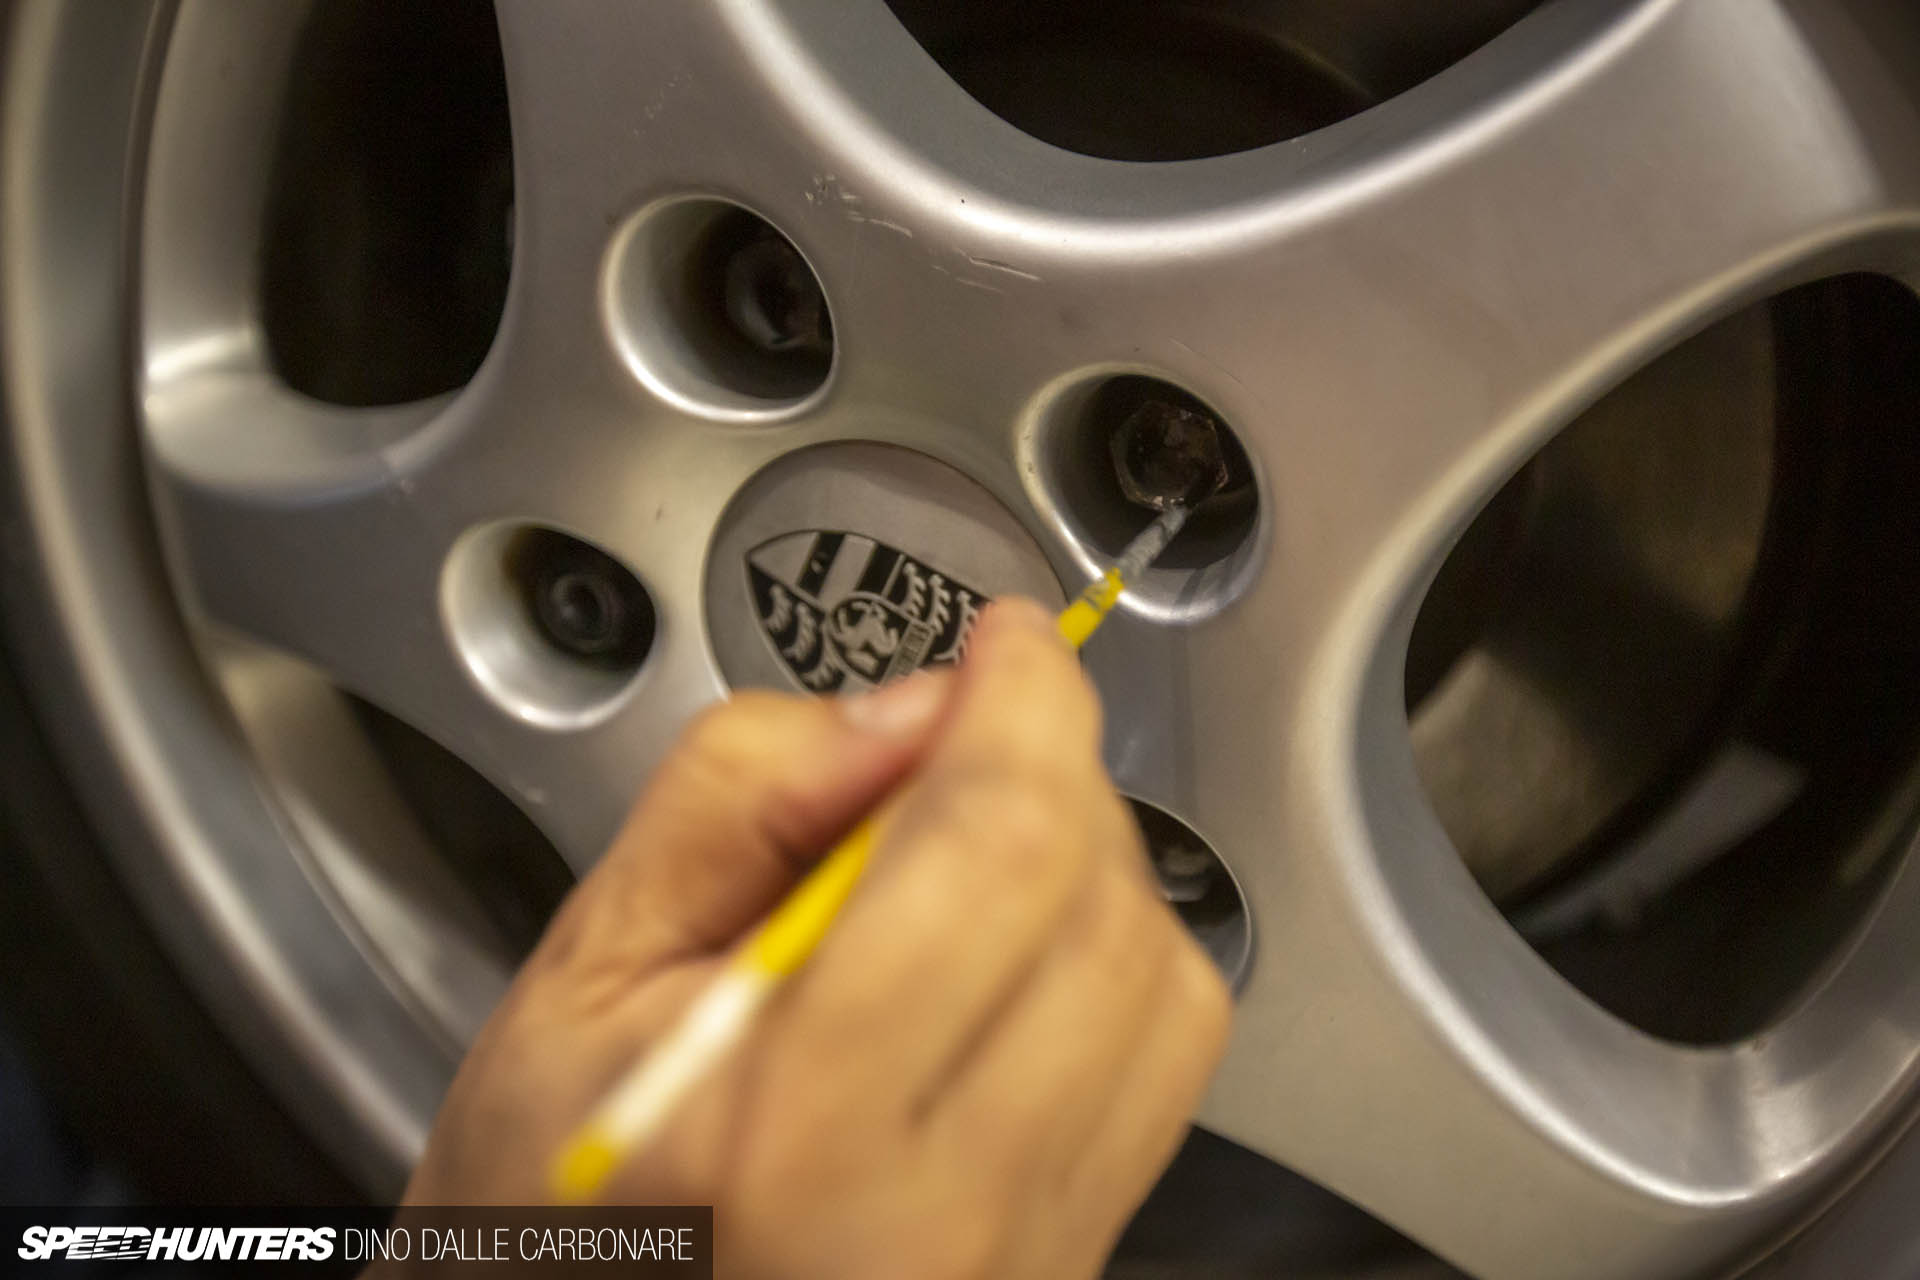
The last job for the day was some touch-up paint for the stock lug nuts. This was something Aki really wanted to do in order to elevate the job he had done on the wheels. Yep, the otaku level was high on this particular night.
The Days That Followed
The second day ended up being a pretty late start, but it turned into a full afternoon working on the areas that remained.

That meant the roof, the doors, rear fenders, deck lid/spoiler section and the rear bumper.
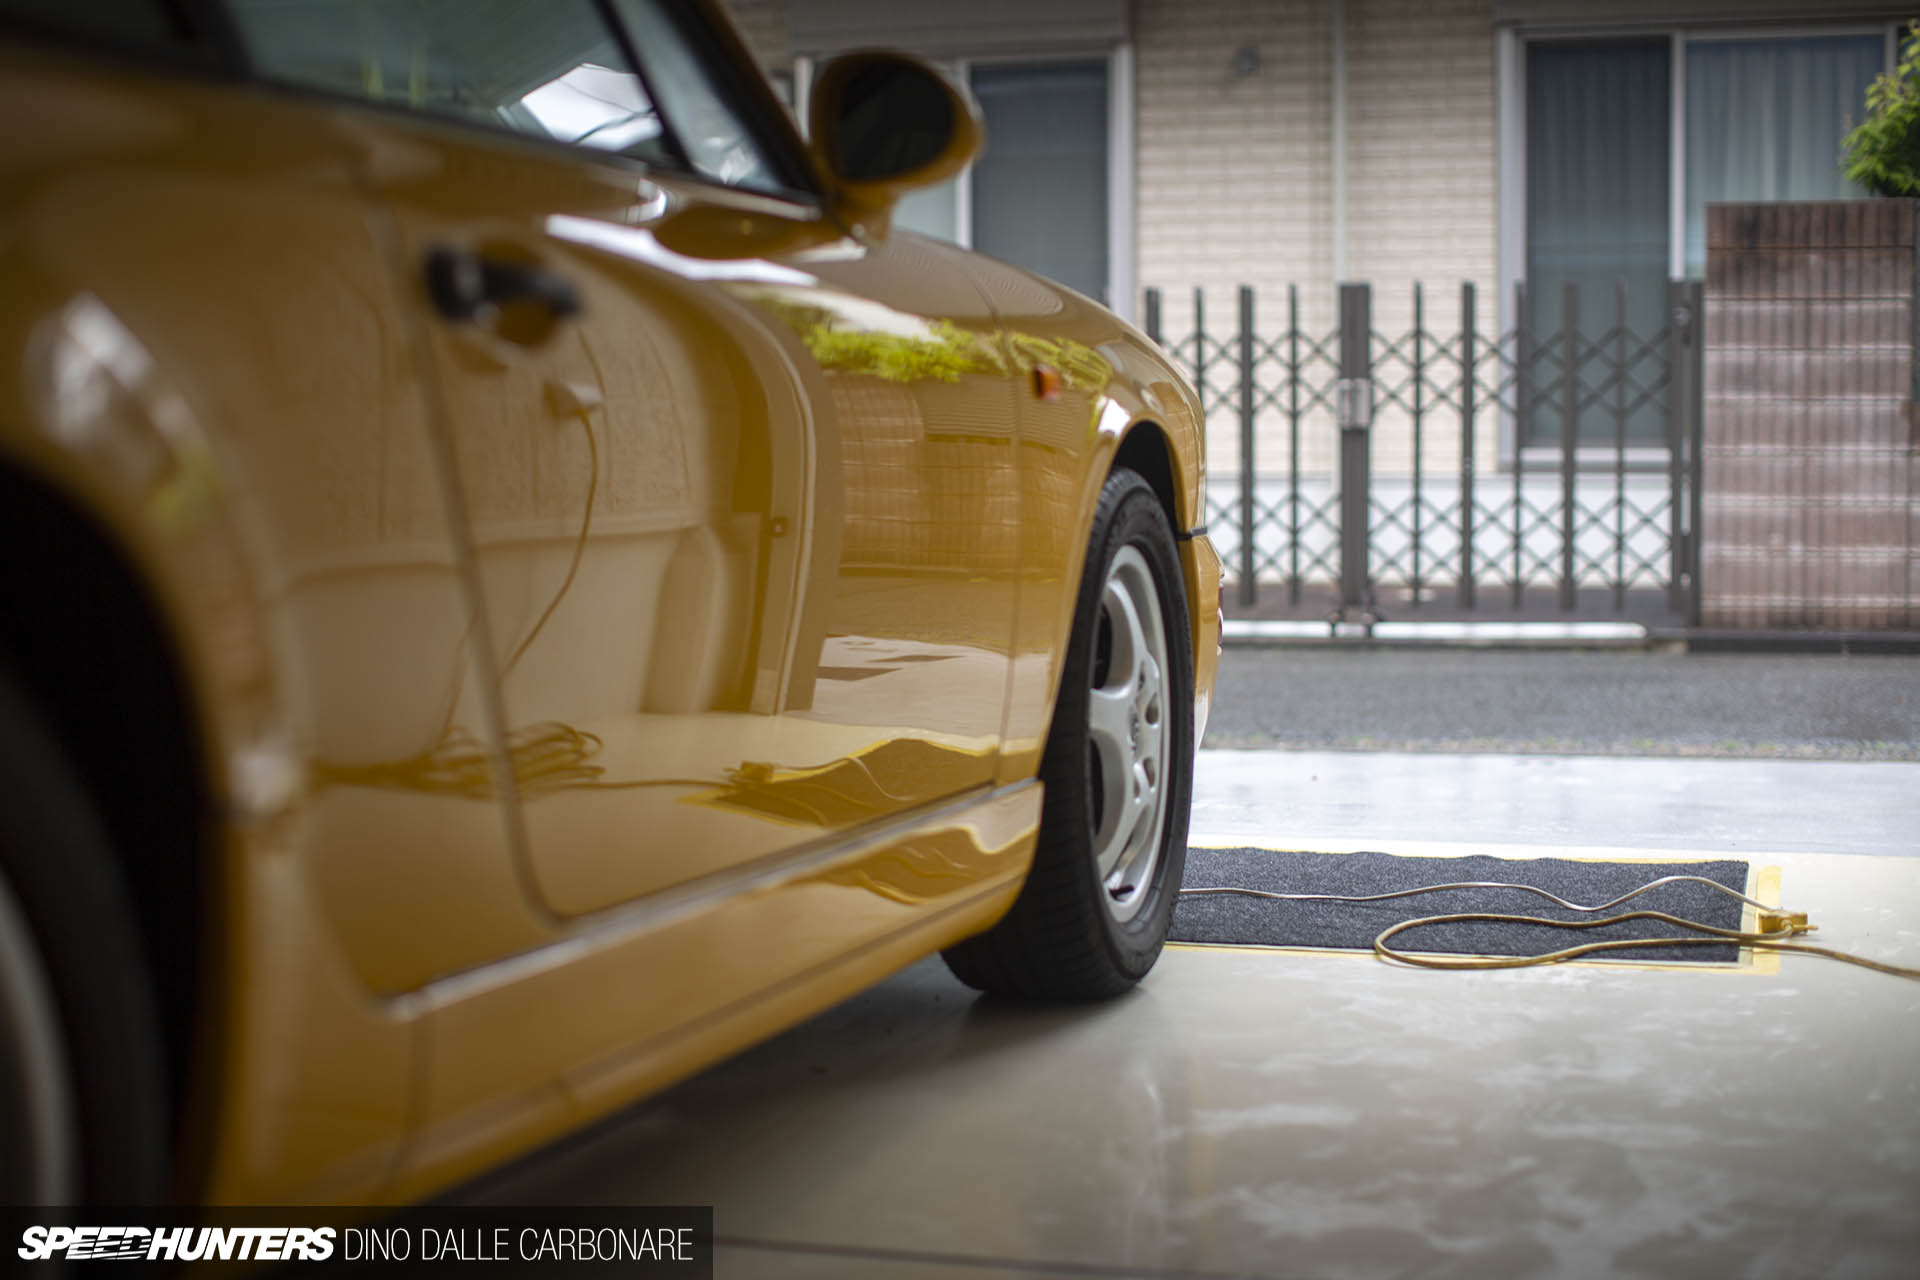
It was a good five or so hours’ work, but it brought us so close to completion. Every surface of the car was now looking like a mirror.
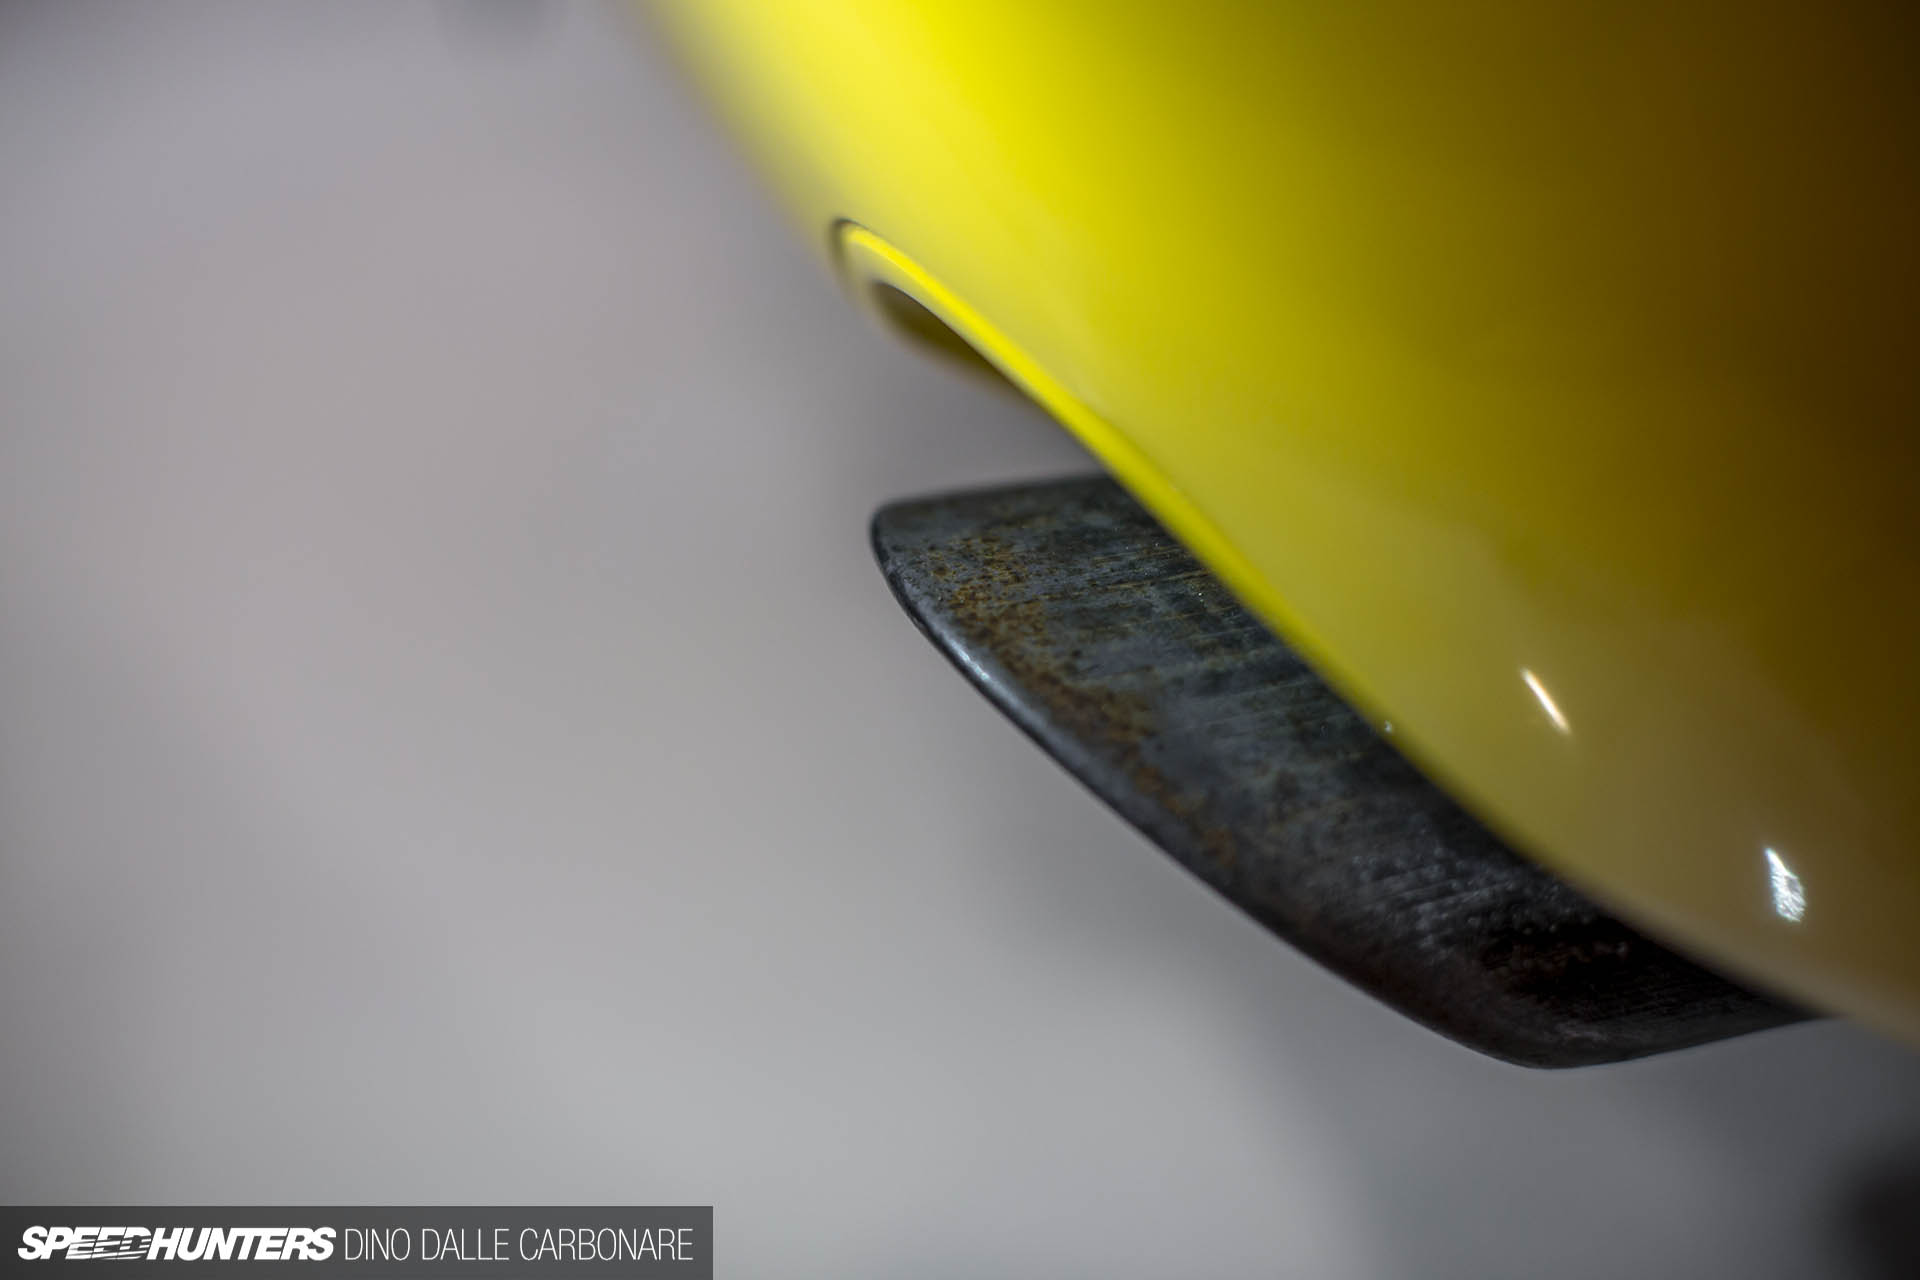
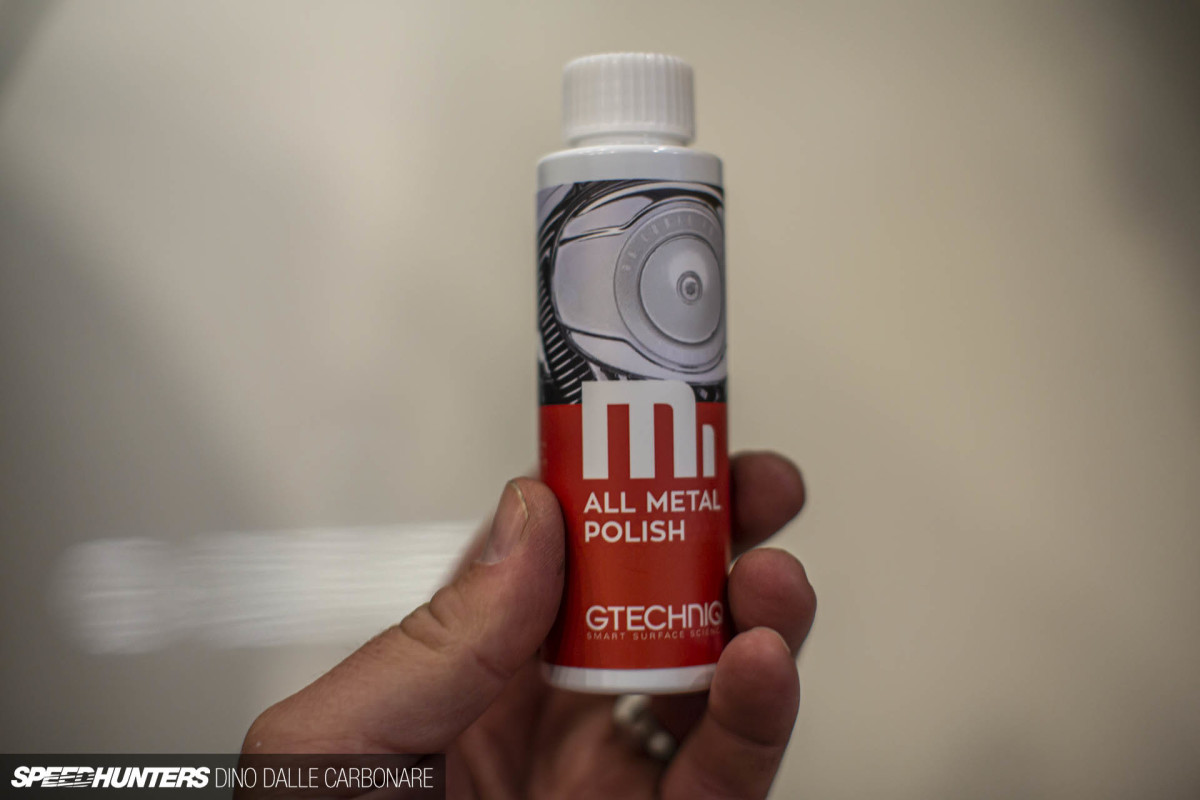

The second day ended with me wanting to bring back some shine to the exhaust tip. Gtechniq’s M1 All Metal Polish helped to remove a lot of the grime, but to do a proper job I’d need better access and a more abrasive rubbing pad than the terry towel I was using. I’m not even sure why I put so much time into this, as I’m planning on changing the exhaust anyway…
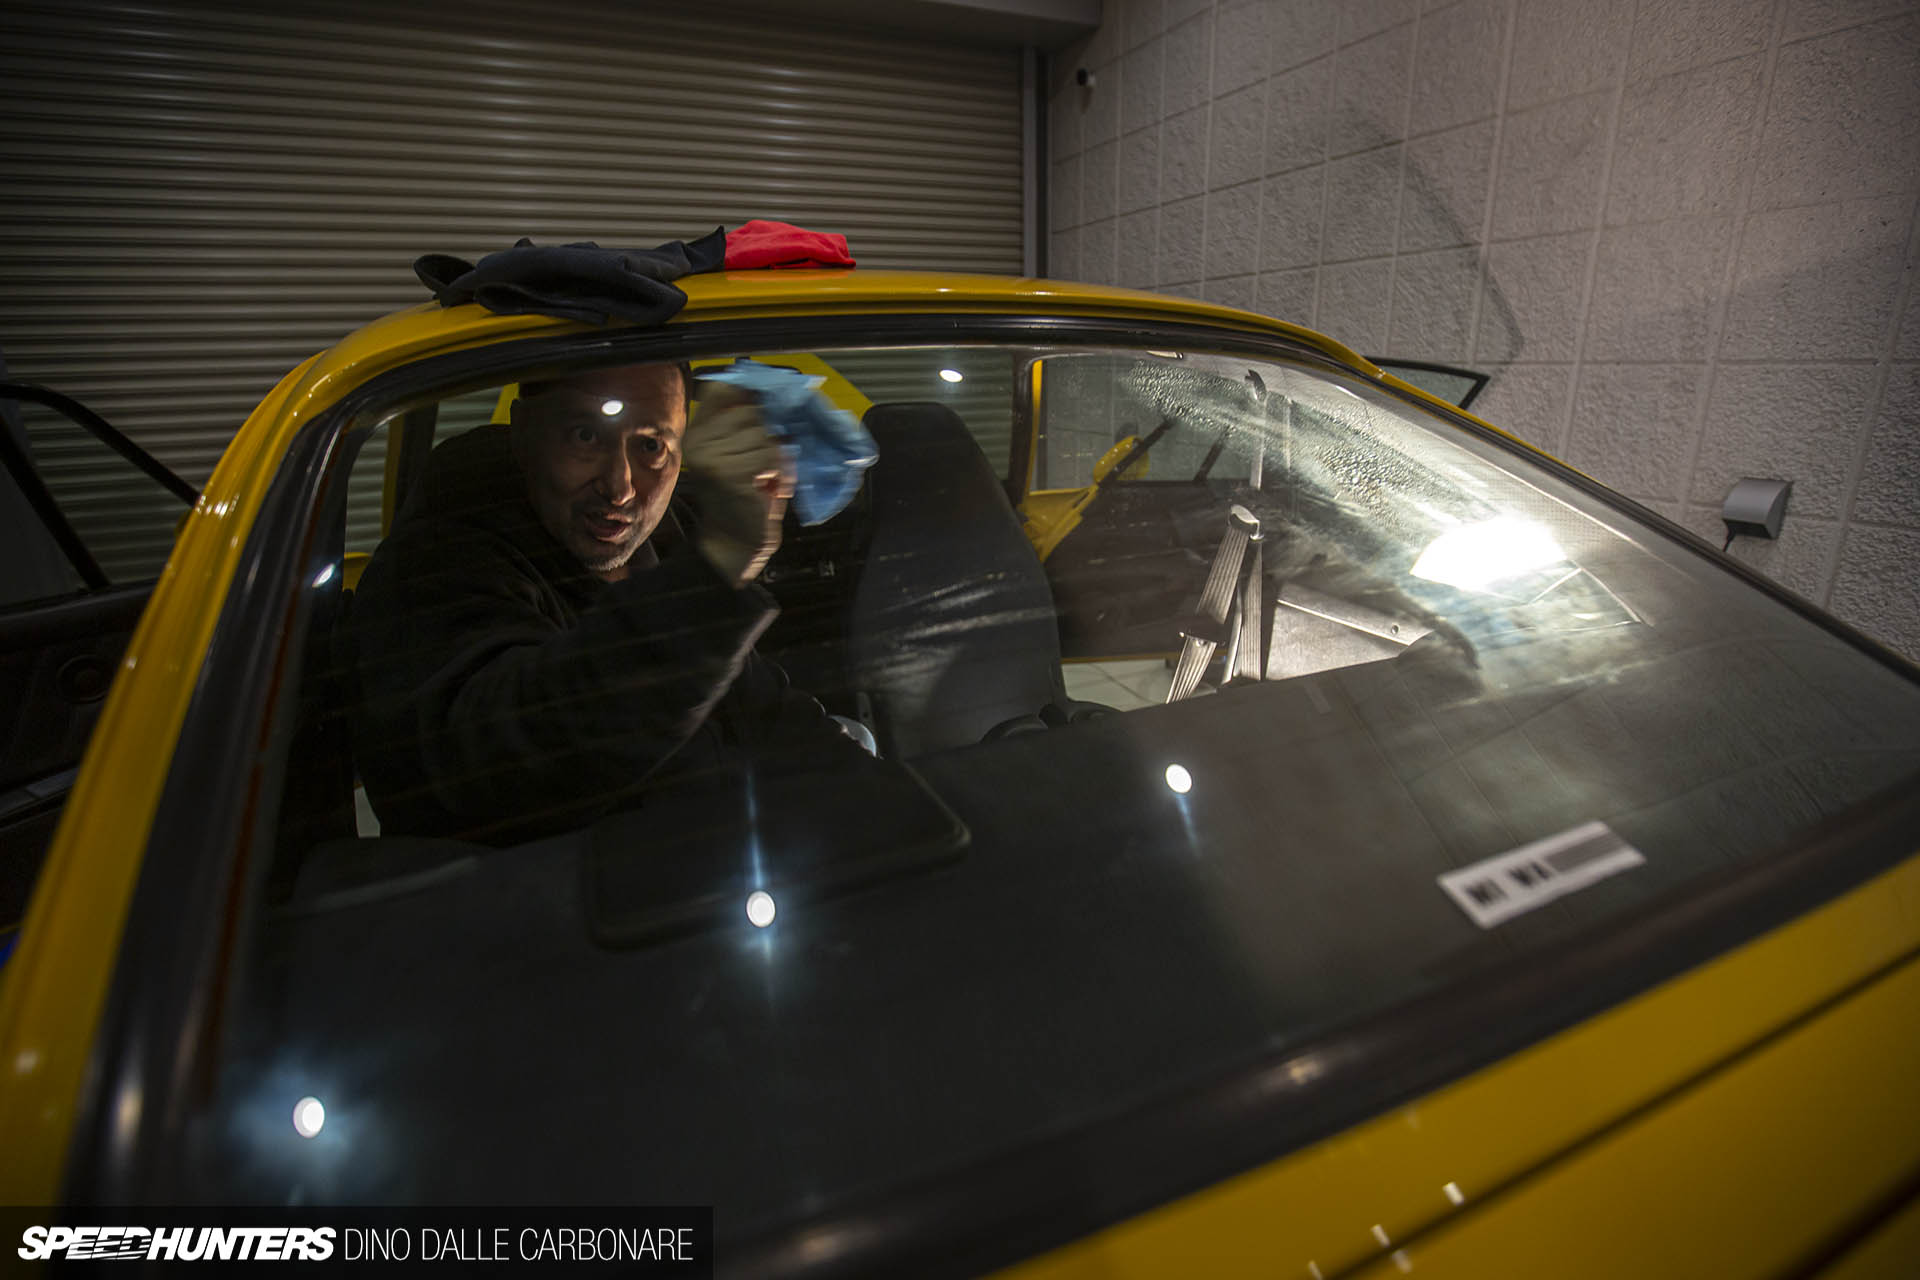
Fast forward to the evening of day three, which happened a week or so after the initial weekend. Aki had now machine-polished all of the exterior glass and started working on the inside with Gtechniq’s G6 Perfect Glass cleaner. The rear screen was especially tough, as there was stubborn residue from the removed tint and not a lot of physical room to work in.
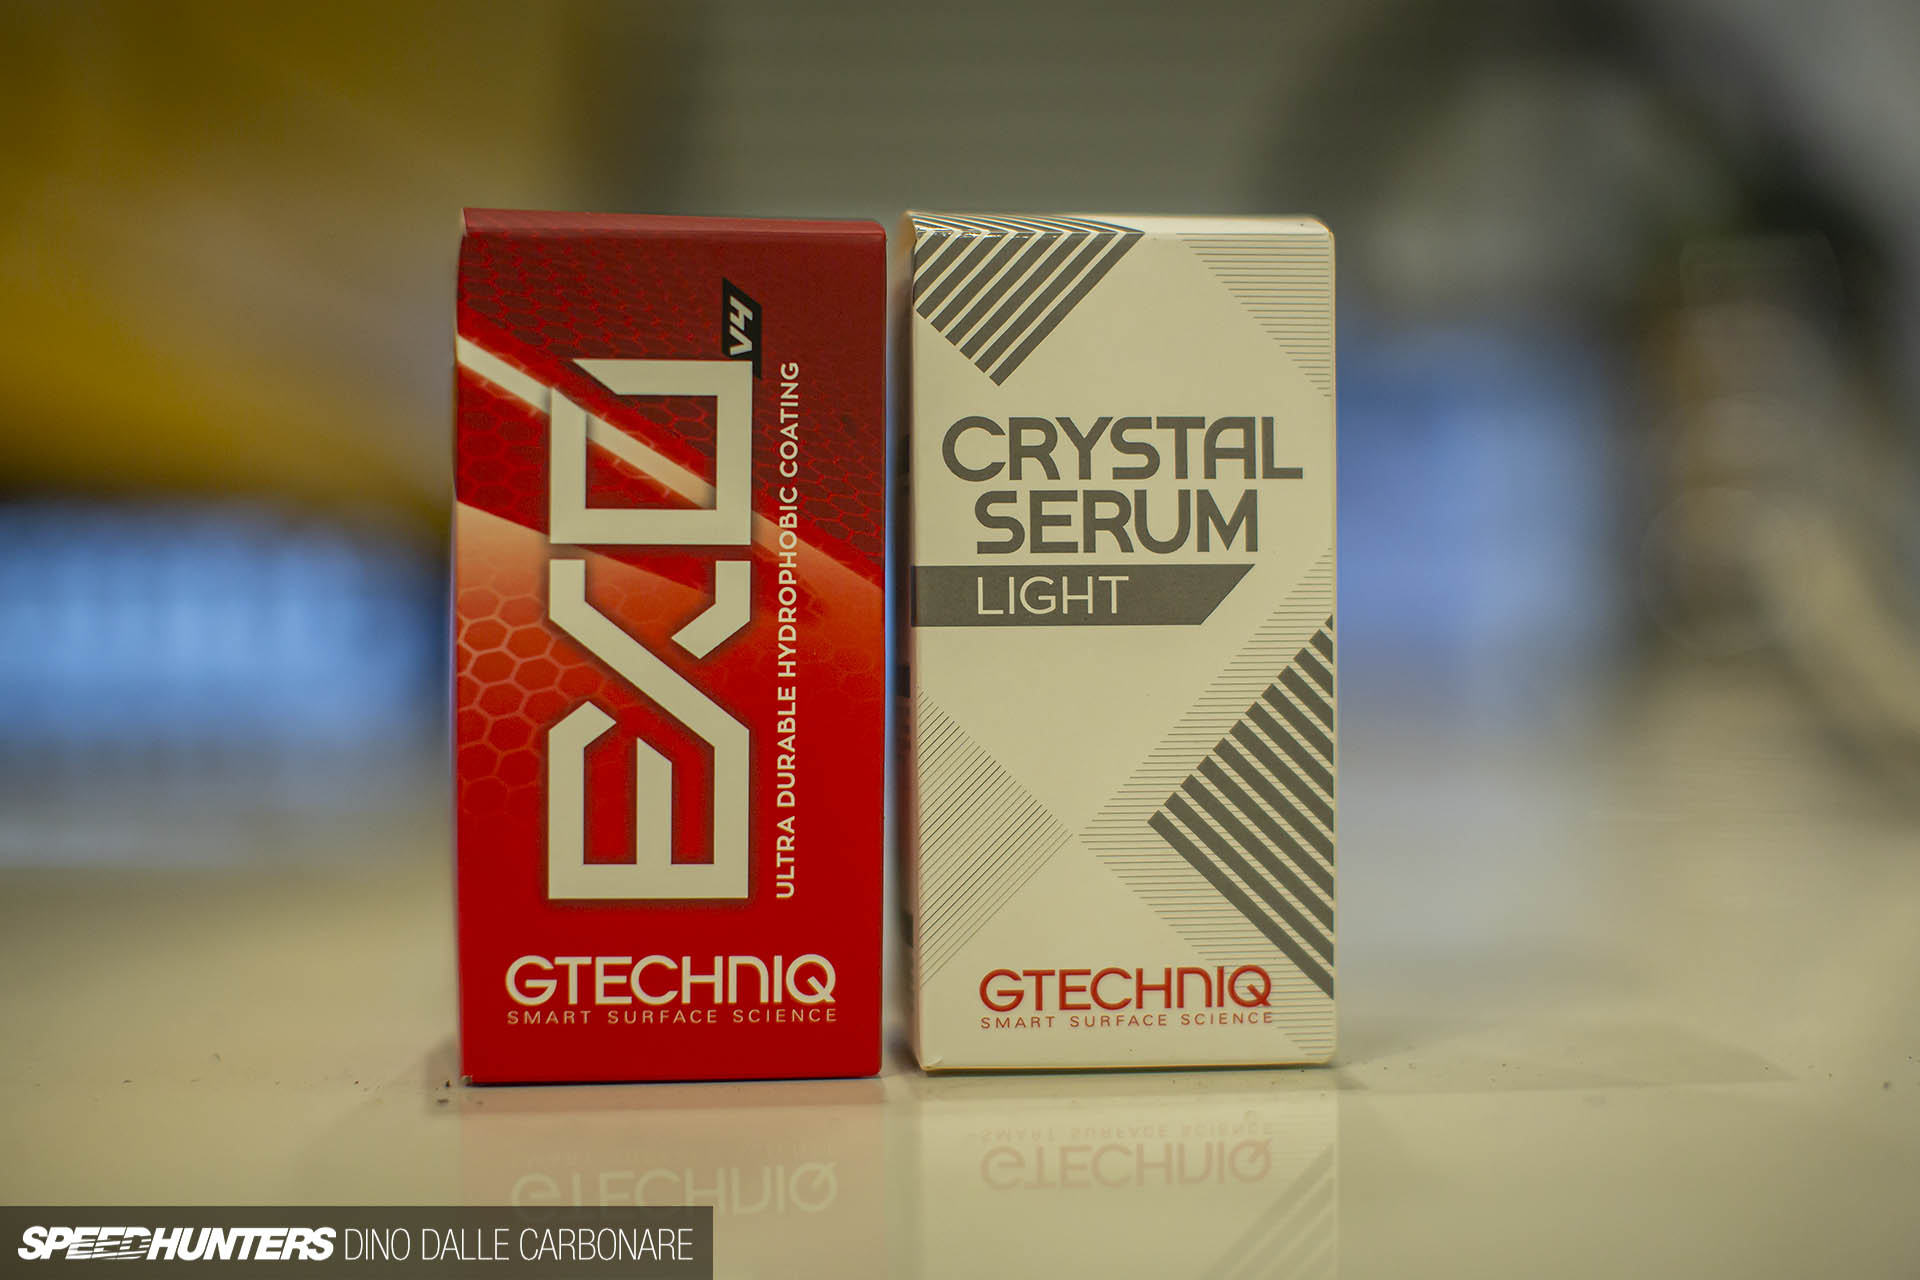
Finally, we arrived the end point of this detailing journey – protection with Gtechniq’s EXO V4 coating.
Gtechniq actually sent me two coating products, the other being Crystal Serum Light, which is deigned for paint and UV protection plus swirl resistance. EXO ups that with hydrophobic protection and dirt repellency, which helps with ongoing paint maintenance. Since the 964 sits outside – albeit covered with a car cover (which I’m currently getting custom made), I went for EXO.

The process was pretty easy: Using the supplied applicator you simply run it across the entire panel. A few minutes later you wipe it off, leaving the crystallised product. This effectively creates a hydrophobic barrier that keeps nasty stuff off the paint and makes it a million times easier and faster to wash.
I worked well into the evening to ensure I finished the coating so it could cure overnight.

With that done, I then moved on to the trim. Here, the exposed plastics and rubbers were hit with Gtechniq’s C4 Permanent Trim Restorer.

Again, it’s all about careful application and following it up with a towel wipe once it has cured. In this case, the C4 left behind a glossier, deeper black surface, making it look like the plastic had never aged.
Day four was our final push to completion as Aki’s GT-R was coming home, but what I failed to document were the hours spent laying down a few layers of carnauba wax. I applied the wax by hand and then buffed it off with a soft cotton bonnet over a polishing pad to enhance the gloss.


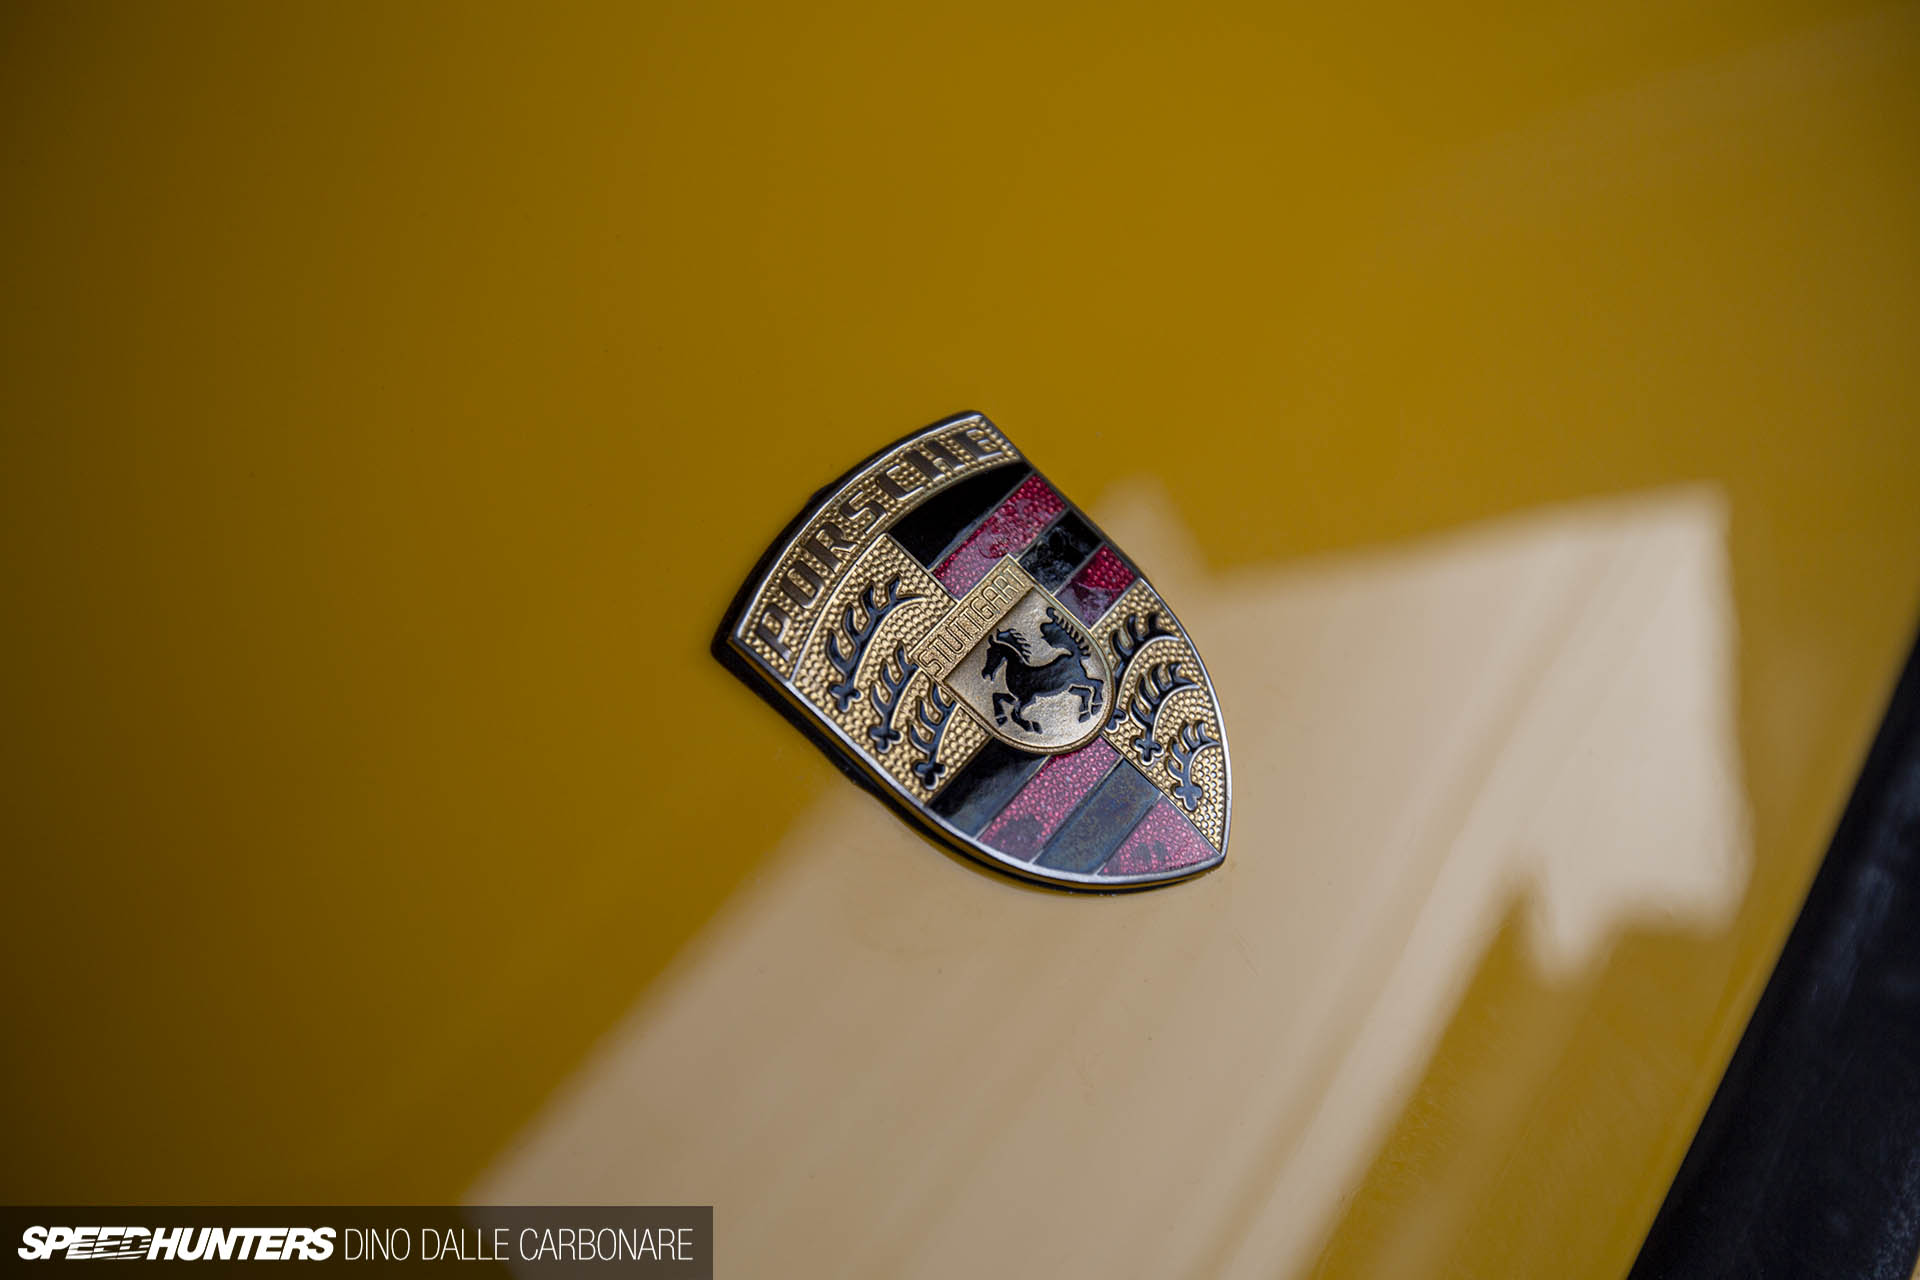
The finishing touch was the replacement of the front Porsche emblem seal, which was disintegrating. With the new seal fitted, I considered Project 964’s detail done.


Finally, the transformation I had been envisioning in my mind had happened and I was over the moon at how the car was looking. With its smooth-running and non-smoking engine, a clean bill of health from SunBeam on the suspension bushes, and now a restored exterior, I finally feel like this project is actually getting somewhere.
But believe me, that feeling was very much short-lived. What happened next is something I will dive into in the next Project 964 update. Trust me, it gets messy…
Dino Dalle Carbonare
Instagram: dino_dalle_carbonare
dino@speedhunters.com
This story was brought to you in association with Gtechniq, an official Speedhunters Supplier