
I think the time has come for me to explain the Double Down name we’ve given this Mustang RTR project car. You see, this whole experience of installing, tweaking, then finally driving the RTR with Air Lift suspension has really opened my eyes to the full capabilities of air suspension.
Let me start with this: I’ve installed, maintained and repaired air suspension on my rides and those of customers and friends for the past fourteen years. I’ve always been of the opinion that air suspension is good for one thing and one thing only – getting the frame on the ground. My cars and trucks are always built to drag. If you’re a mini-trucker, you’ll understand. So with that single expectation, I was never really disappointed with how any of those vehicles rode. They were a little bouncy and skittish, and I definitely swerved to avoid potholes, but you couldn’t wipe the grin off my face when I railed it down the street leaving a rooster tail of sparks.
So with that out of the way, back to the name Double Down. After this installation was wrapped up, it really struck me that the RTR had taken on a dual nature. It looked aggressive when dropped to the ground, but what surprised me was just how well it drove and handled. As the build developed we noticed how well the name worked – what with SEMA being held in Vegas, plus the two-sided wheel treatment we chose.

Back to the beginning then. Exactly one week after I picked up the RTR at Formula D Irwindale, this guy showed up: Brian Vinson, head engineer at Air Lift Performance. I thought he flew all the way from Michigan just to lend a hand with the installation, since we only had a few weeks until the SEMA show. To my surprise, the first thing he did was ask for the keys. Okay, I guess we’re going on a test drive then. He proceeded to put the car through a series of, ahem, ‘aggressive’ maneuvers while I flailed around in the passenger seat with my camera and tried not to lose my breakfast.
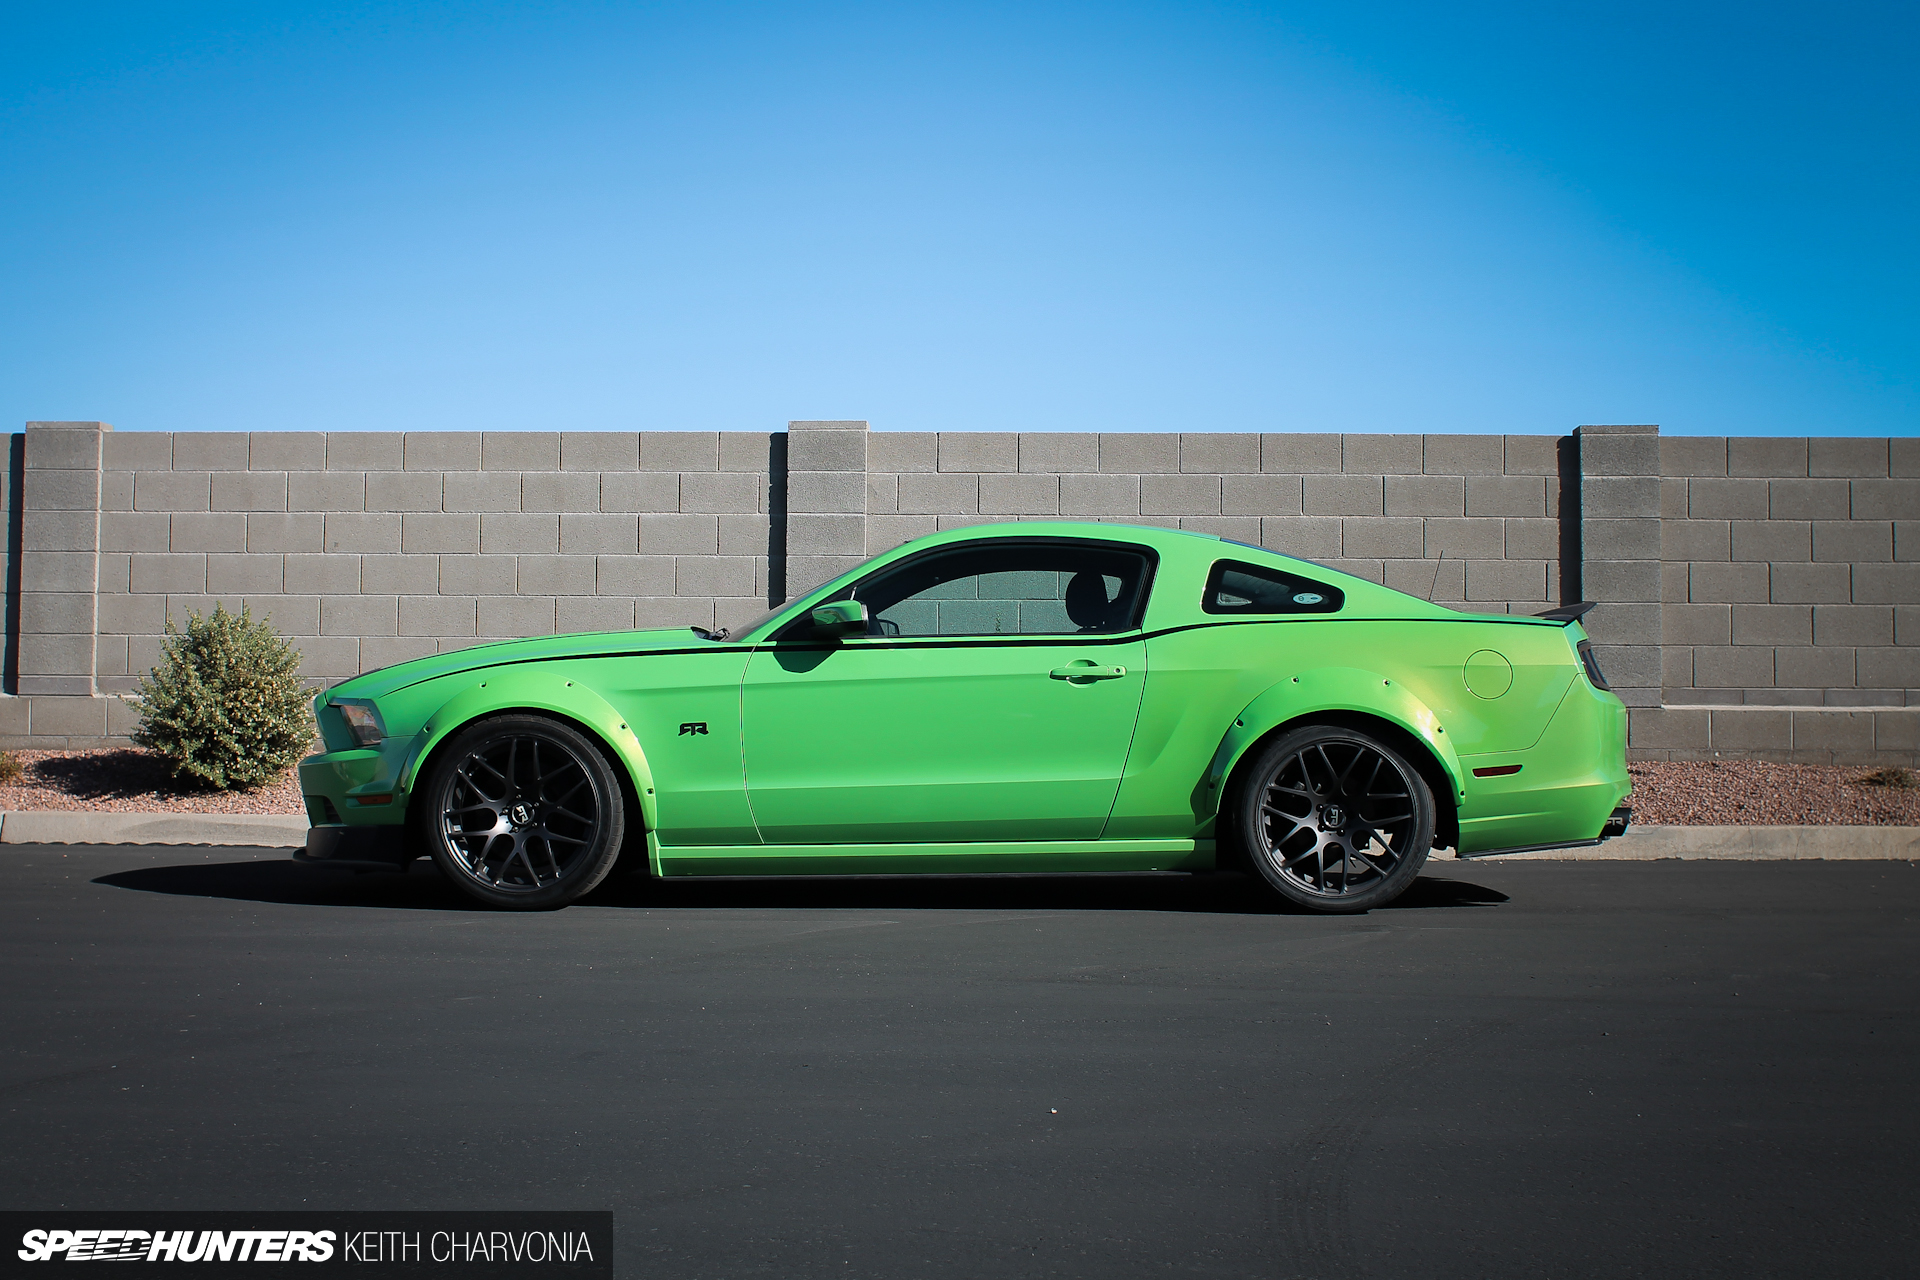
On that drive I figured out why Brian was so keen to drive the car with the existing suspension. Turns out he’s been working on track-bred air suspension technology for over a decade, and before that he was a Vehicle Dynamics Engineer for Chrysler. I was quickly convinced that this guy might know a little more than my old mini-trucker buddies who showed me how to bag a pickup. After the drive I shot this ‘before’ picture for comparison’s sake.

Airaid Filter Company was kind enough to loan us the workshop for the weekend. We encountered our first hurdle as we went to swing the lift arms under the car with its static drop. Out came the floor jack so we could get the car on the lift.
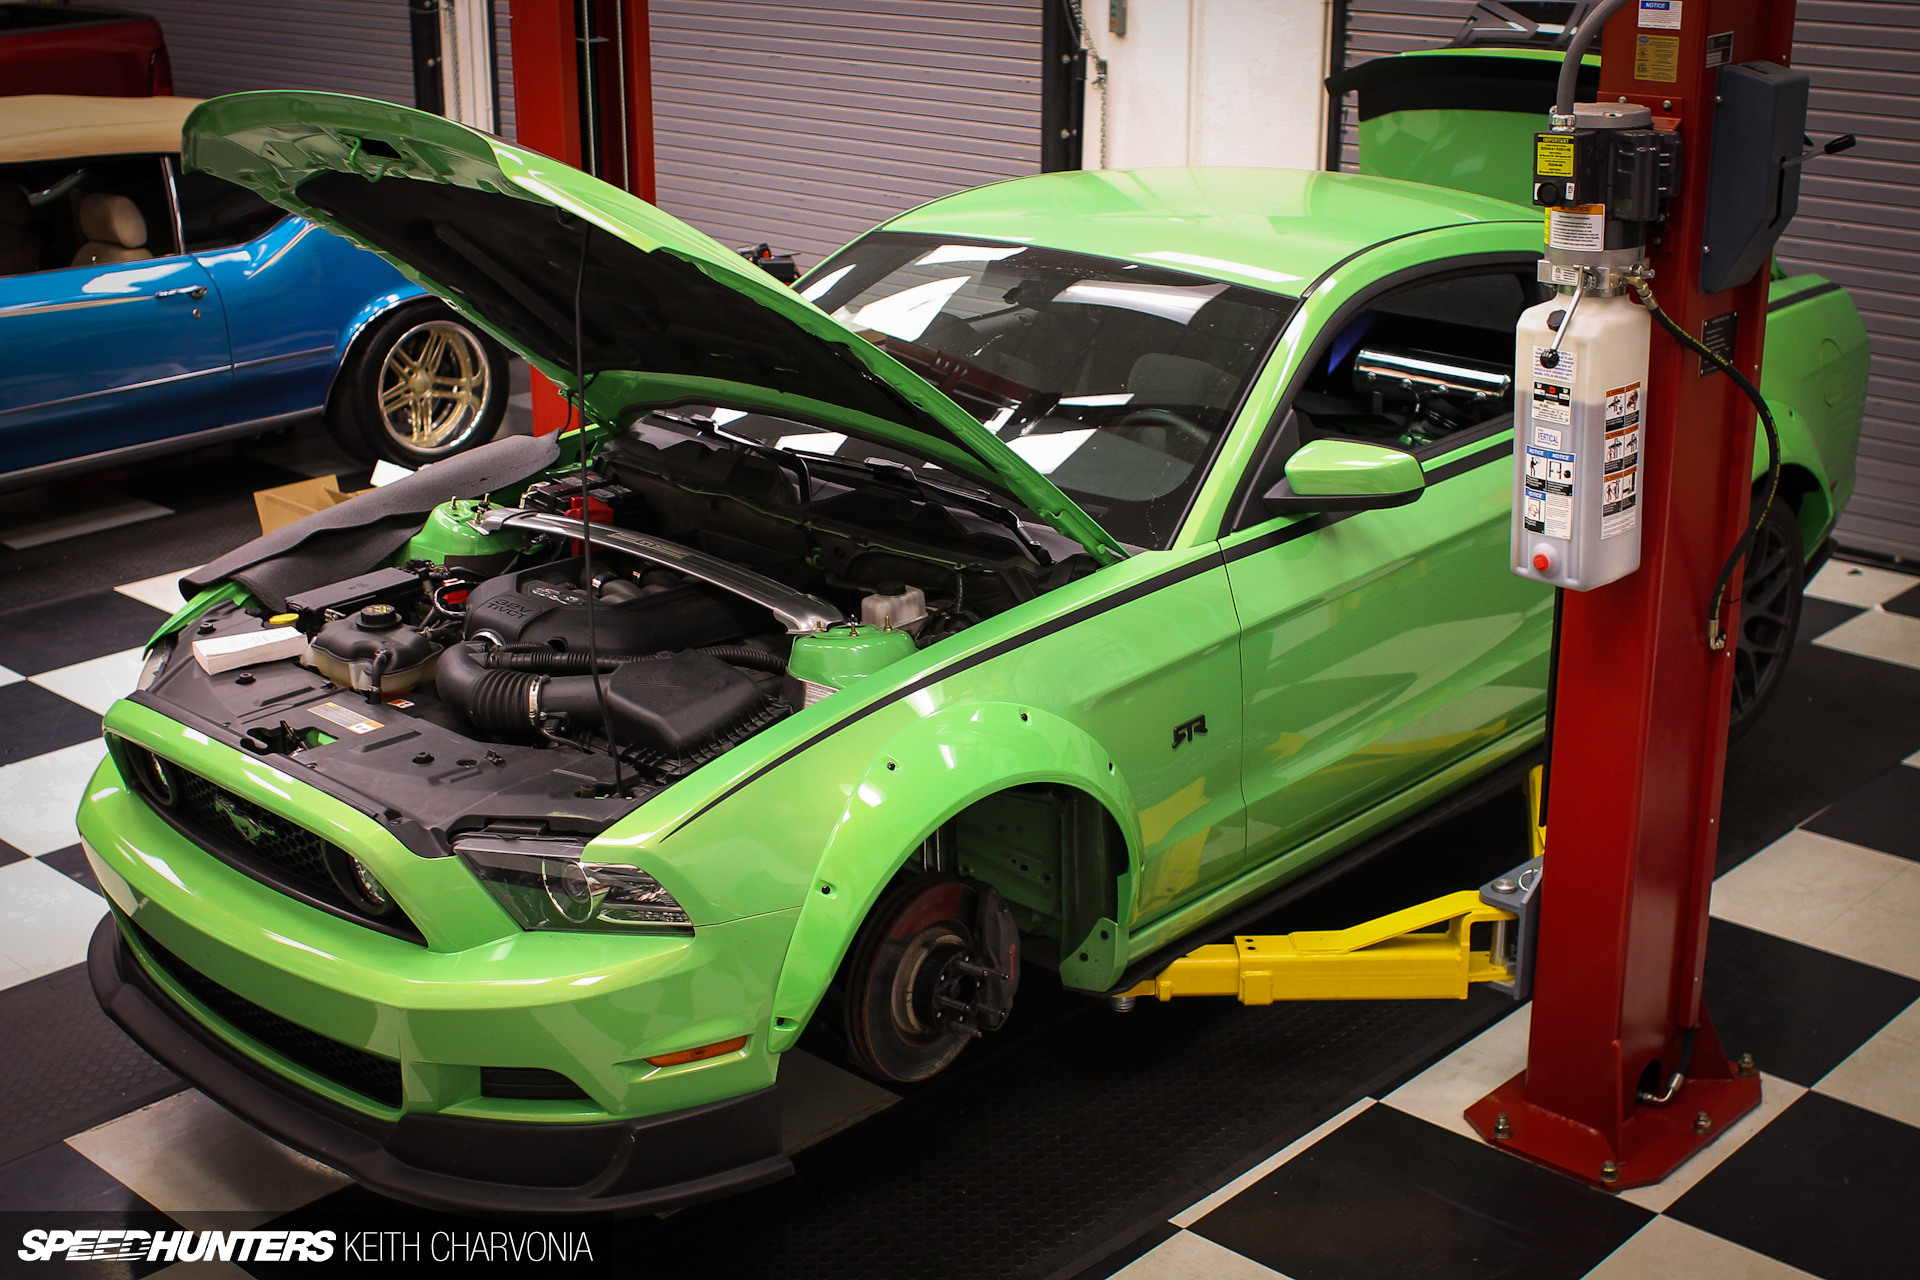
Soon we had the RTR racked and ready for surgery.

The Air Lift stuff had been shipped ahead of time, so we dragged it all out of my office and into the shop.
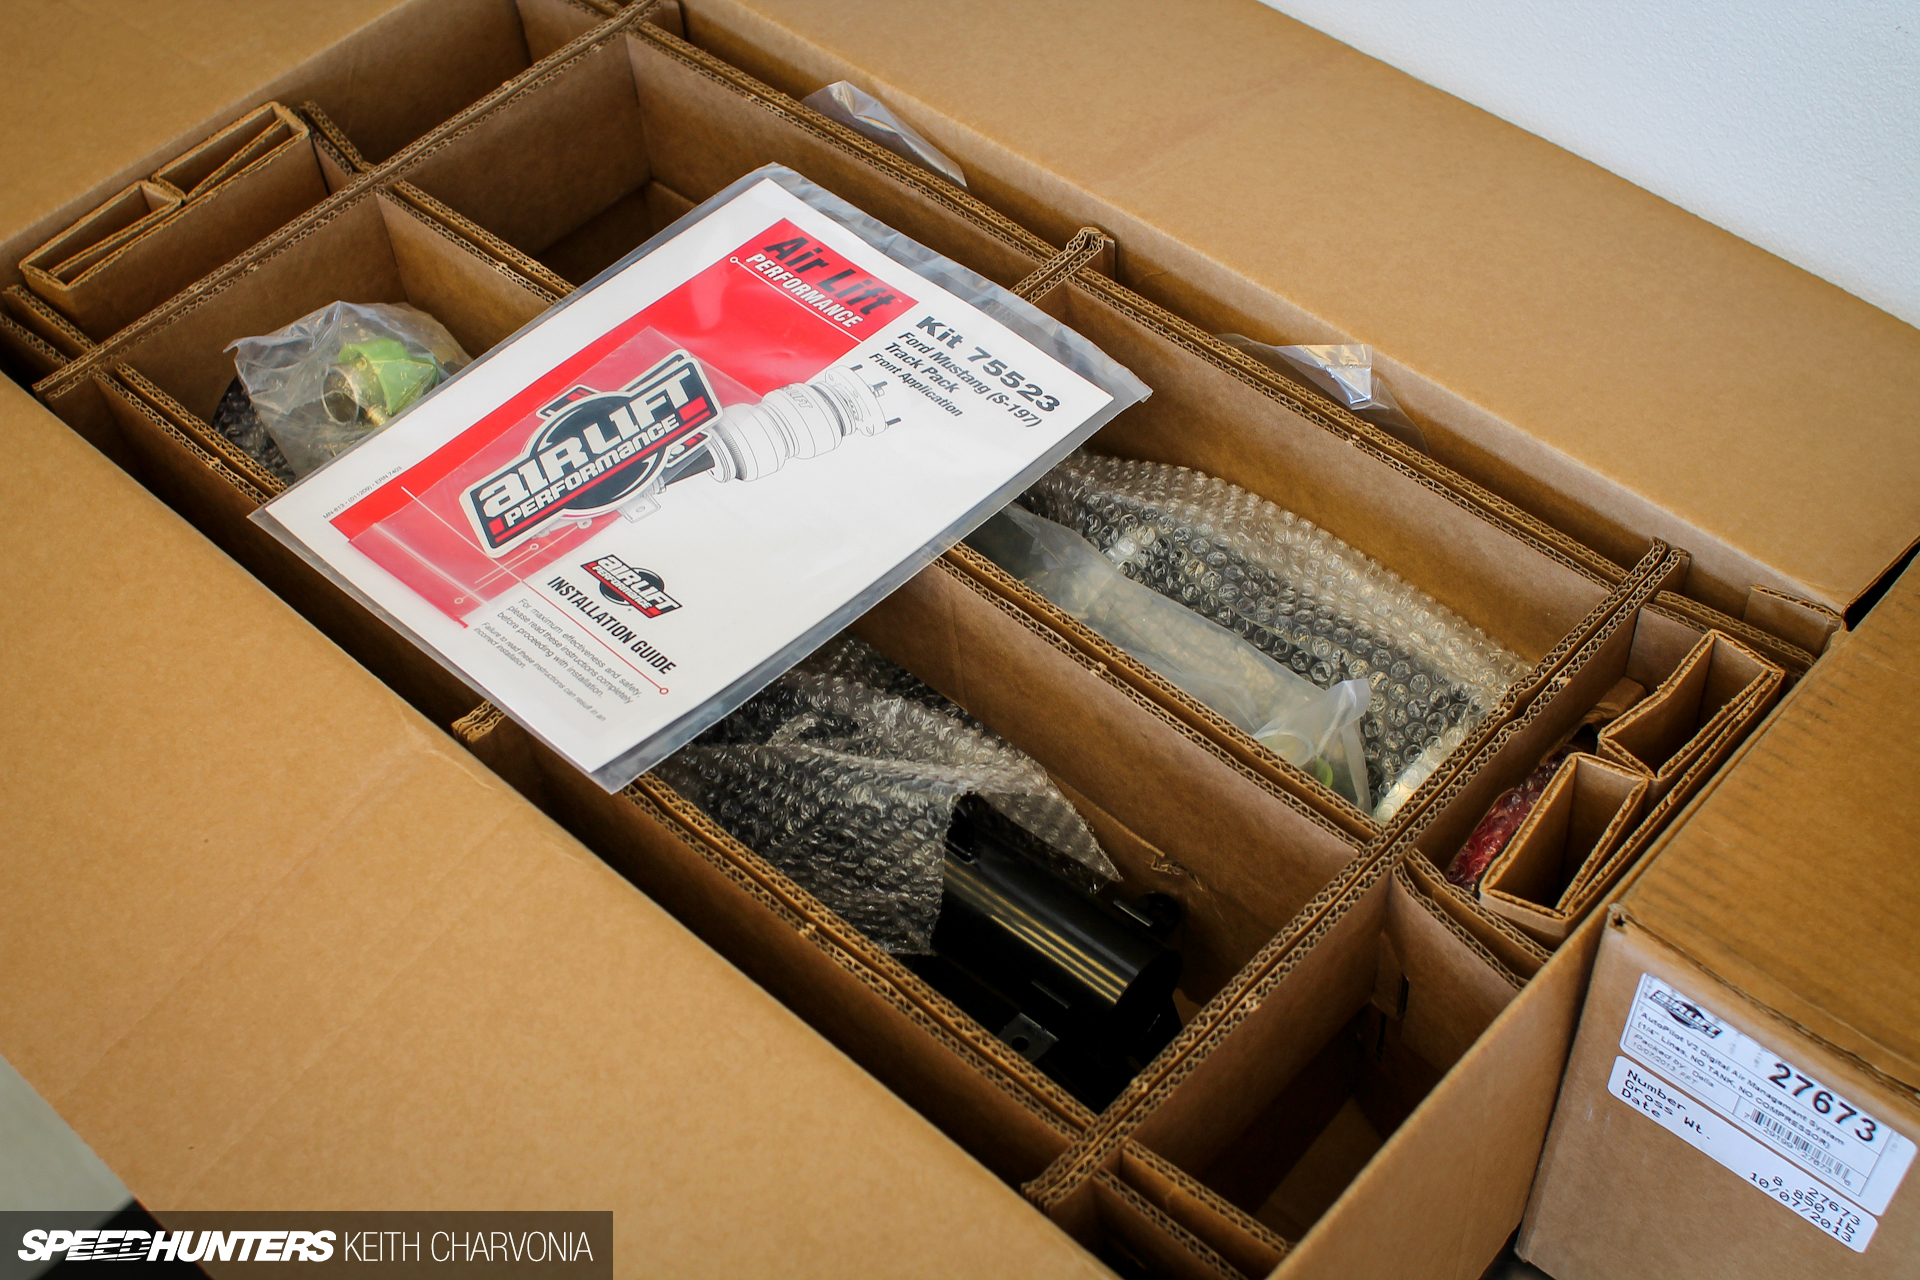
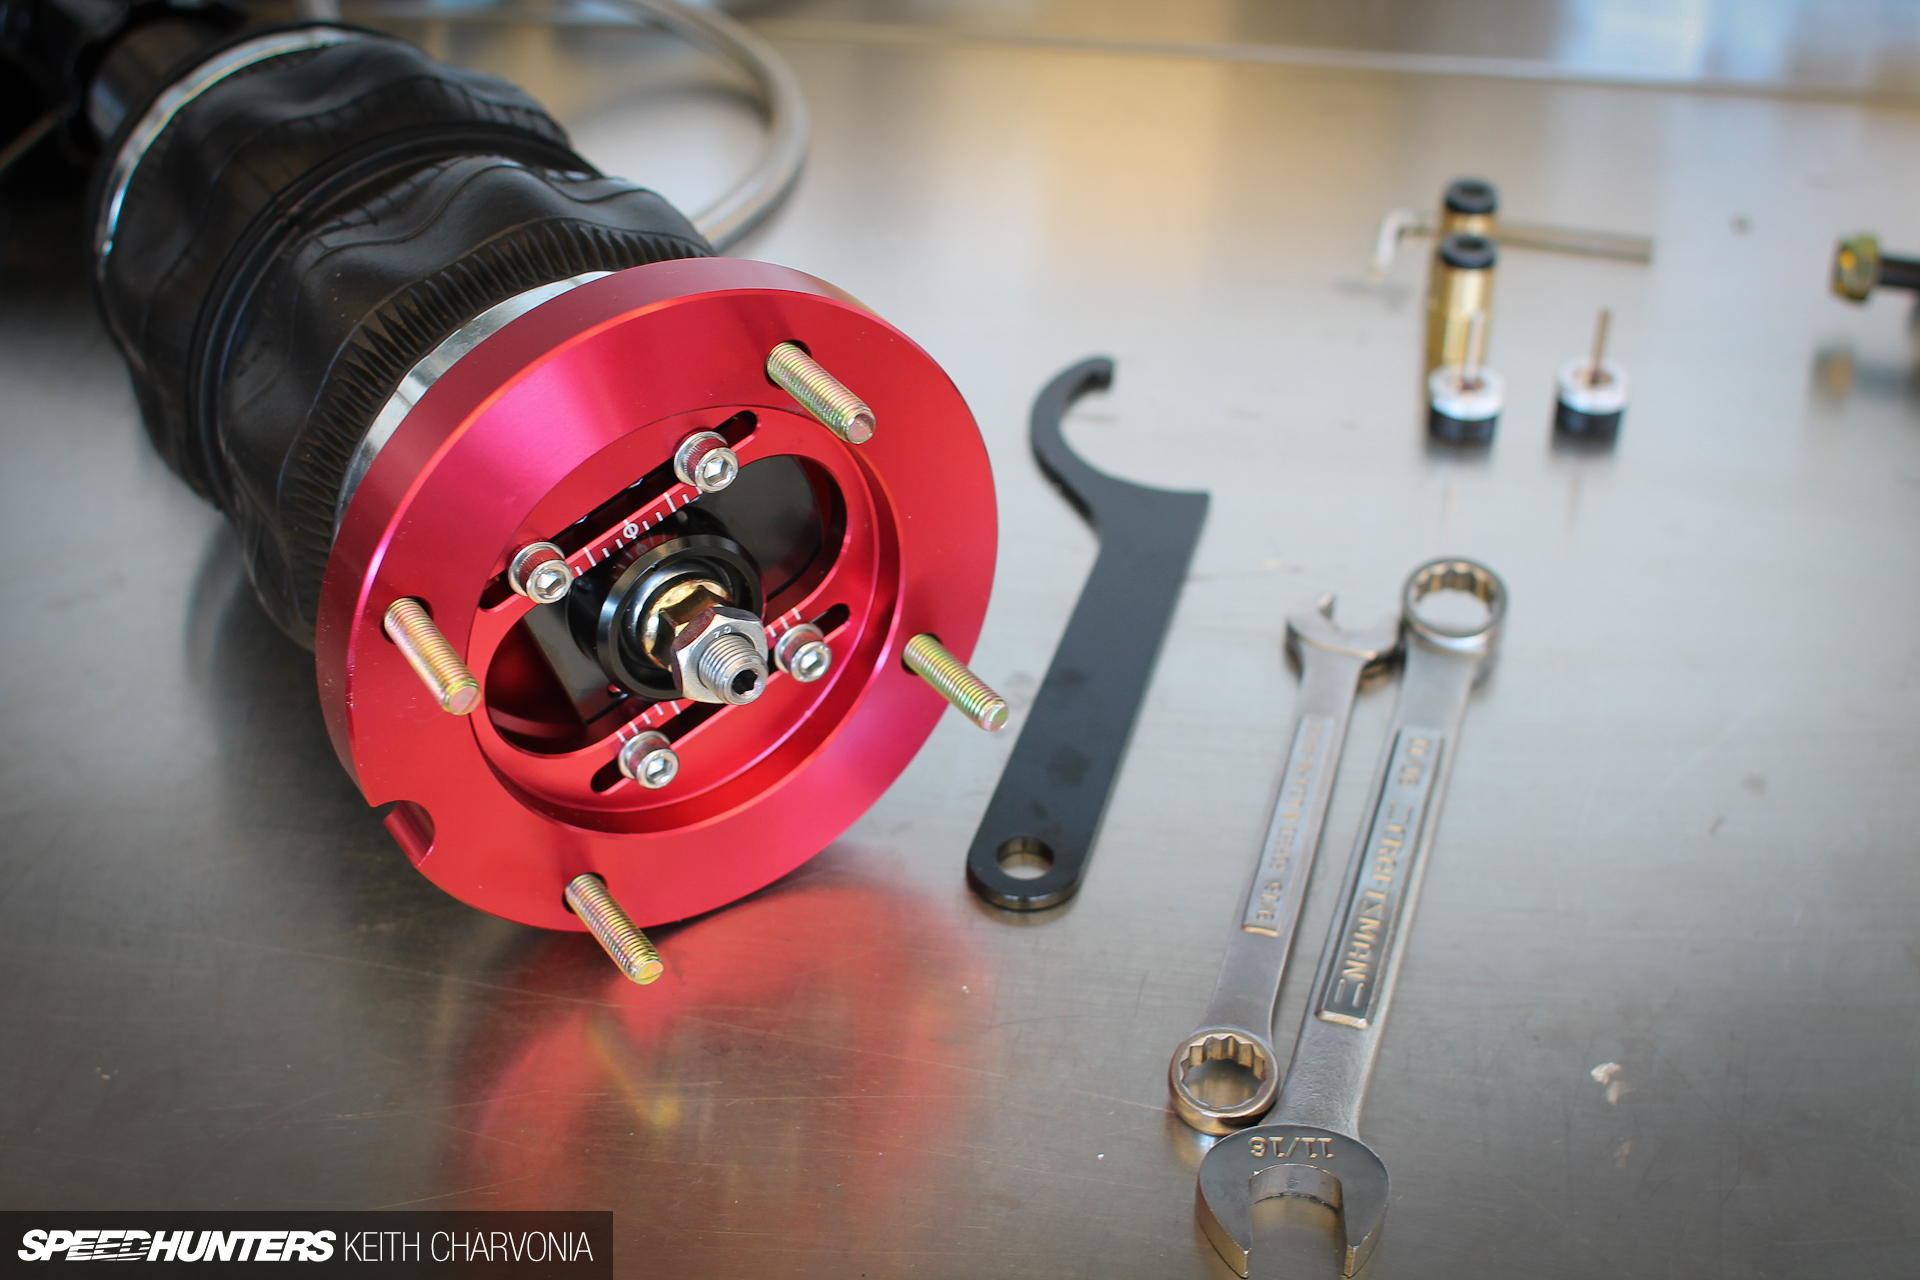
I could finally unwrap all the shiny new parts and see what we were installing.

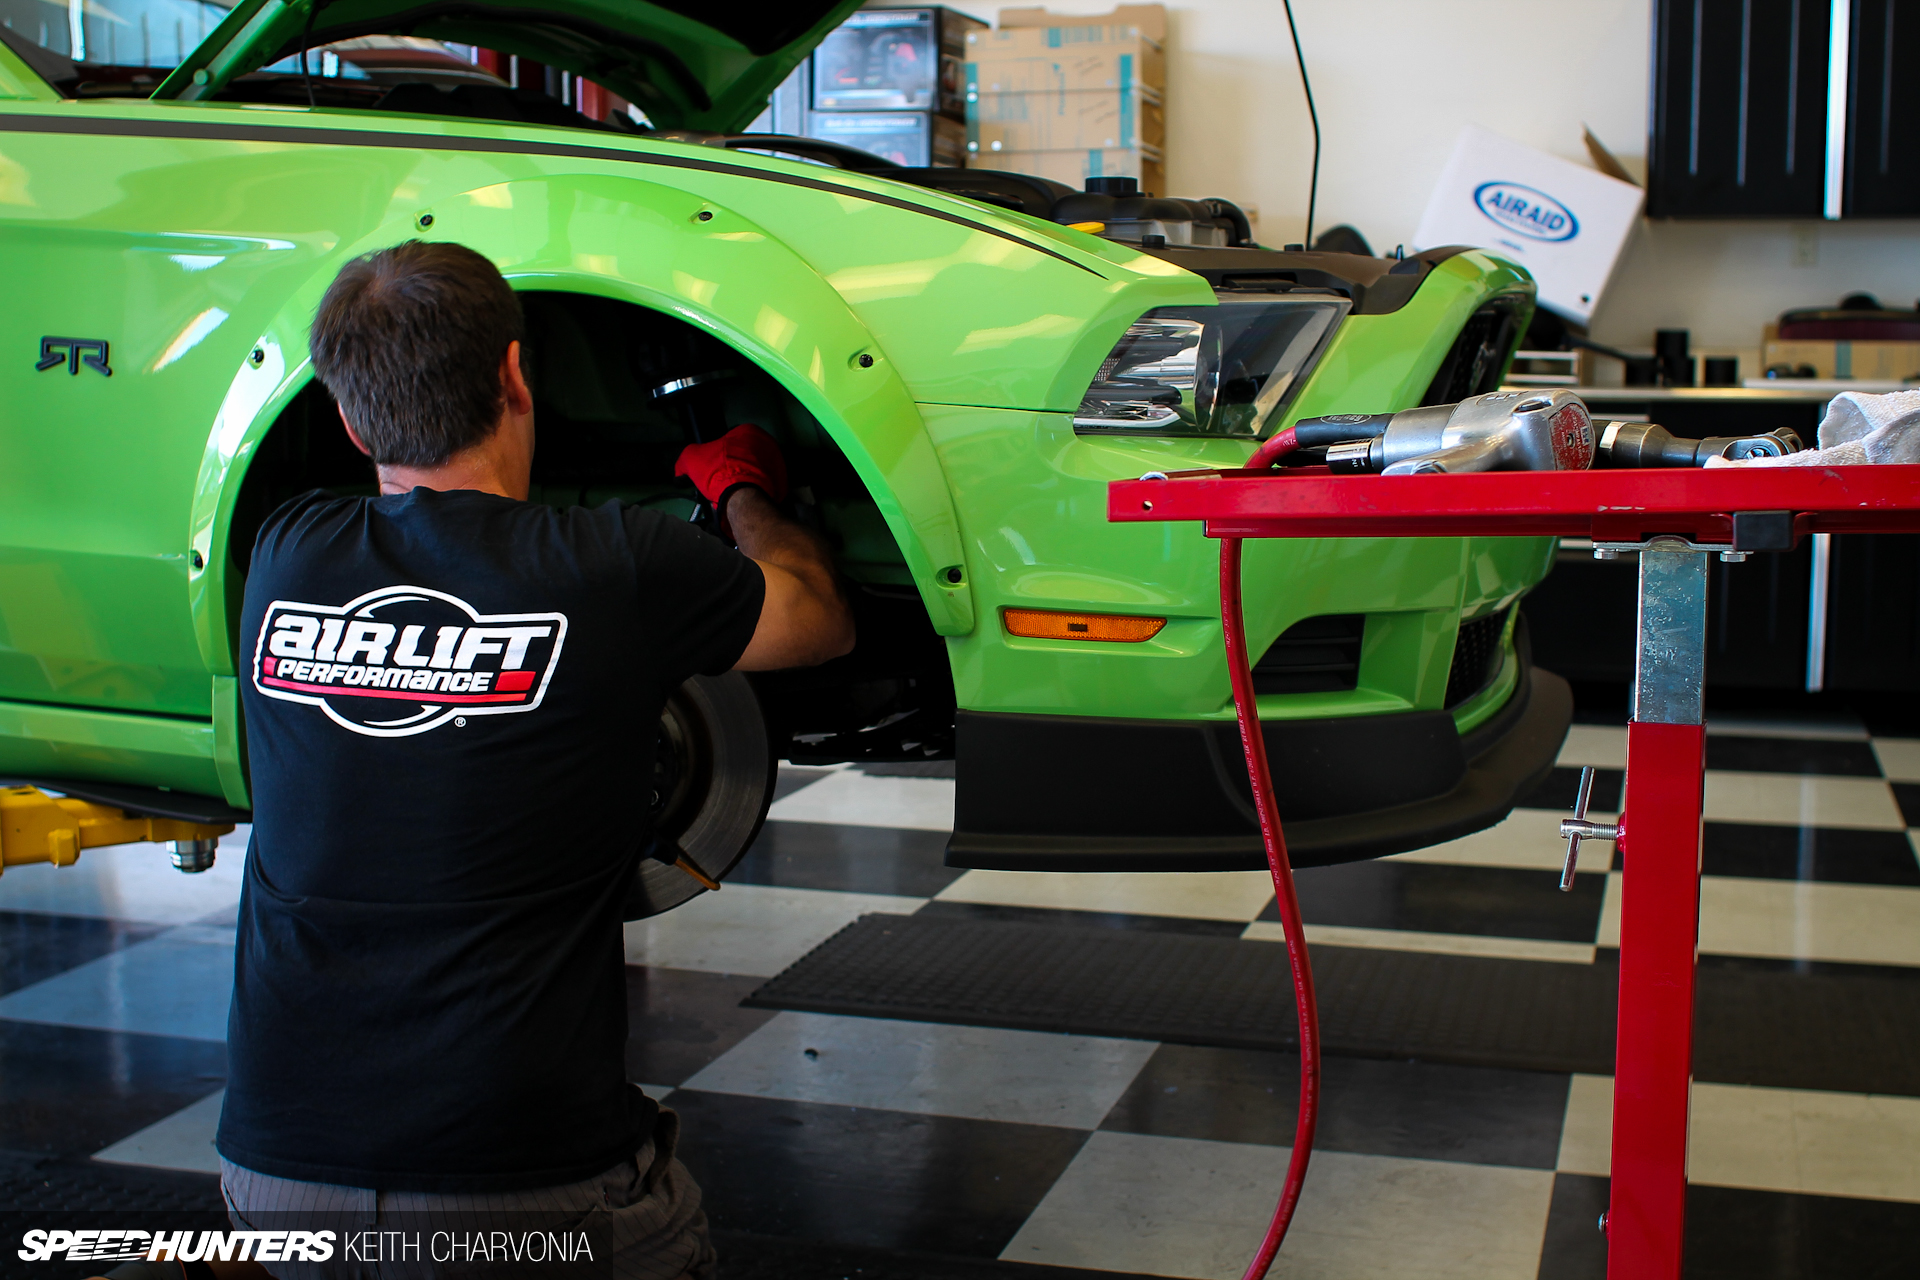
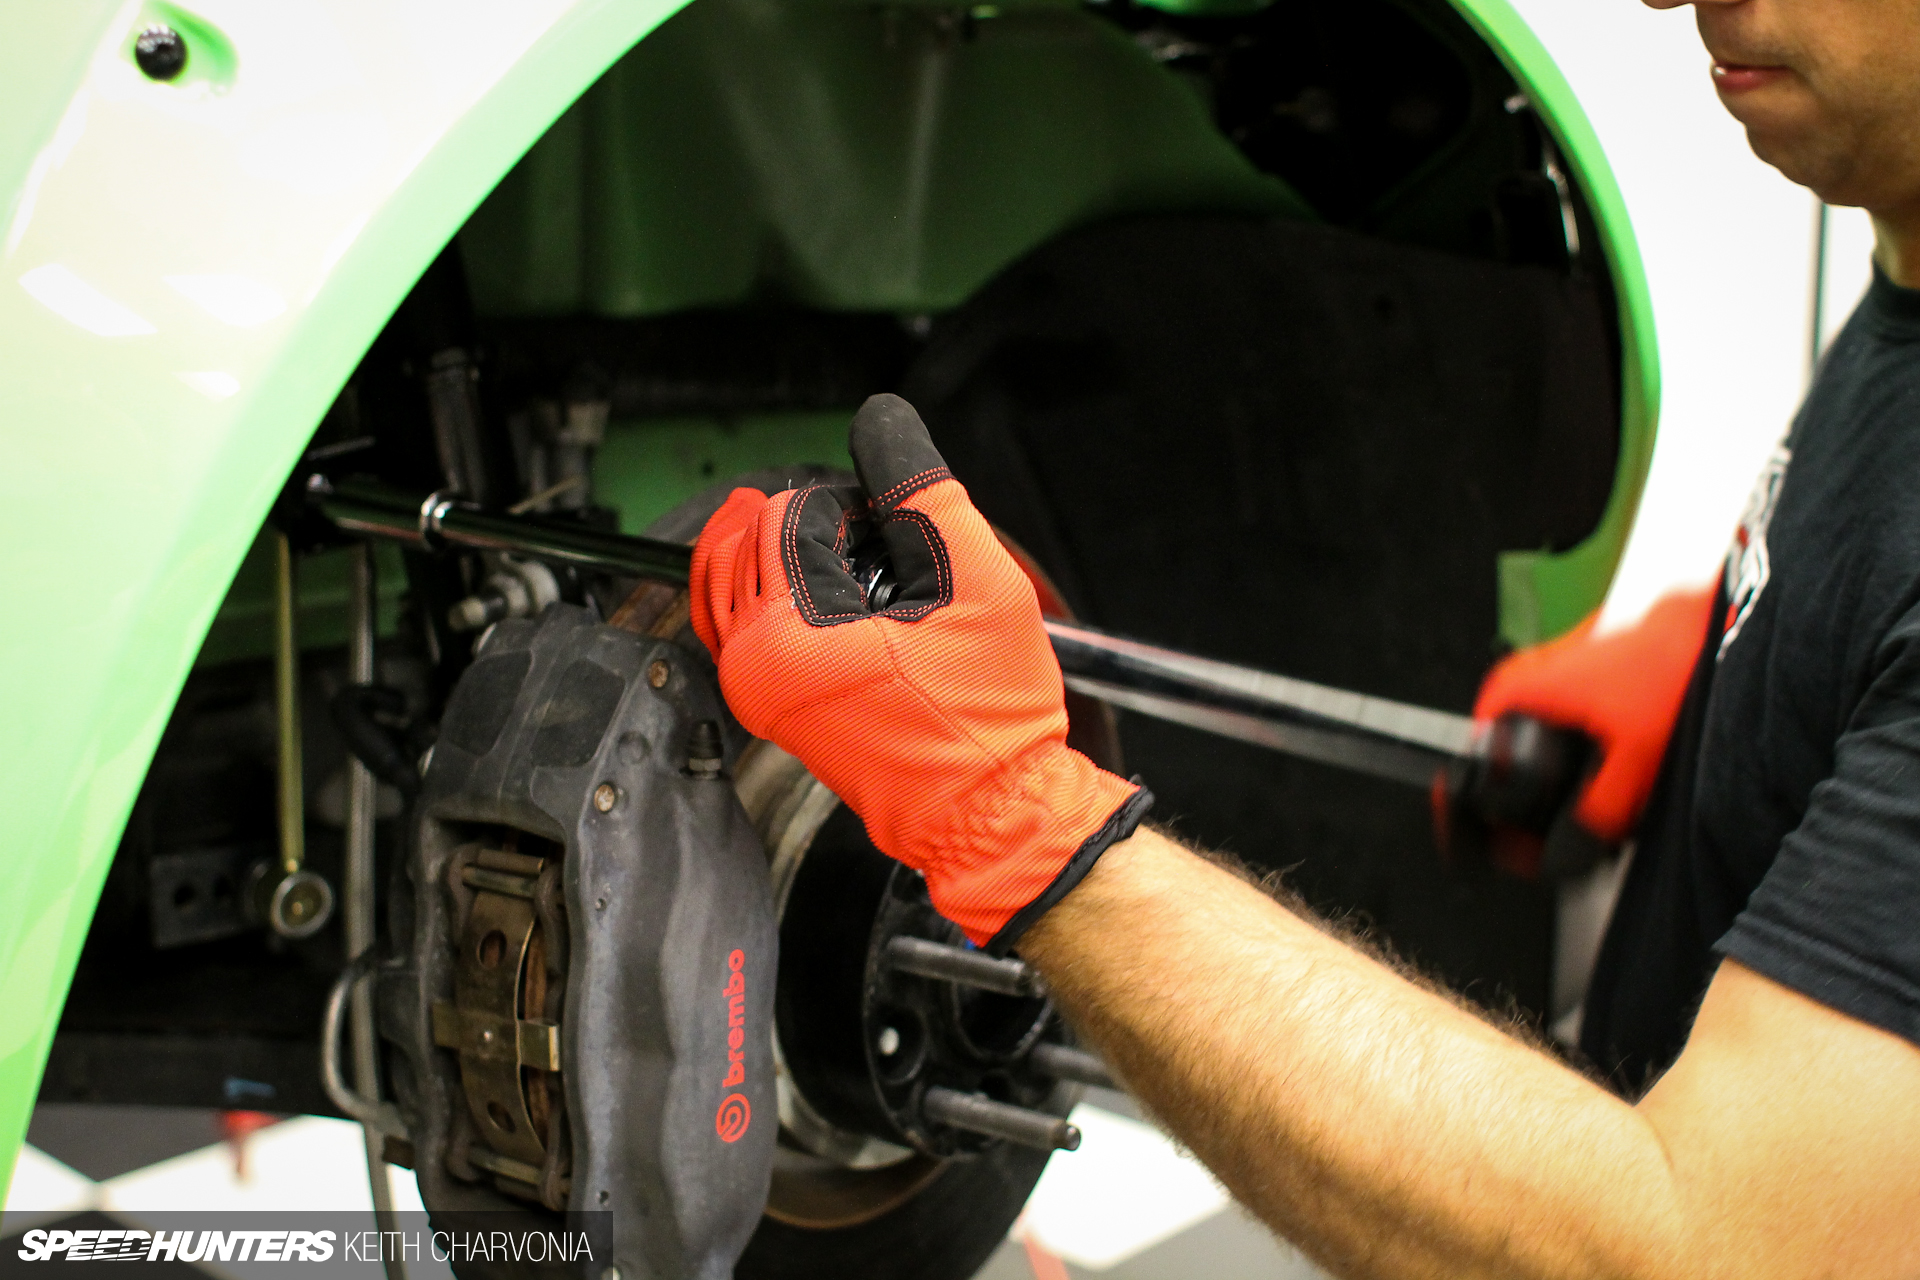
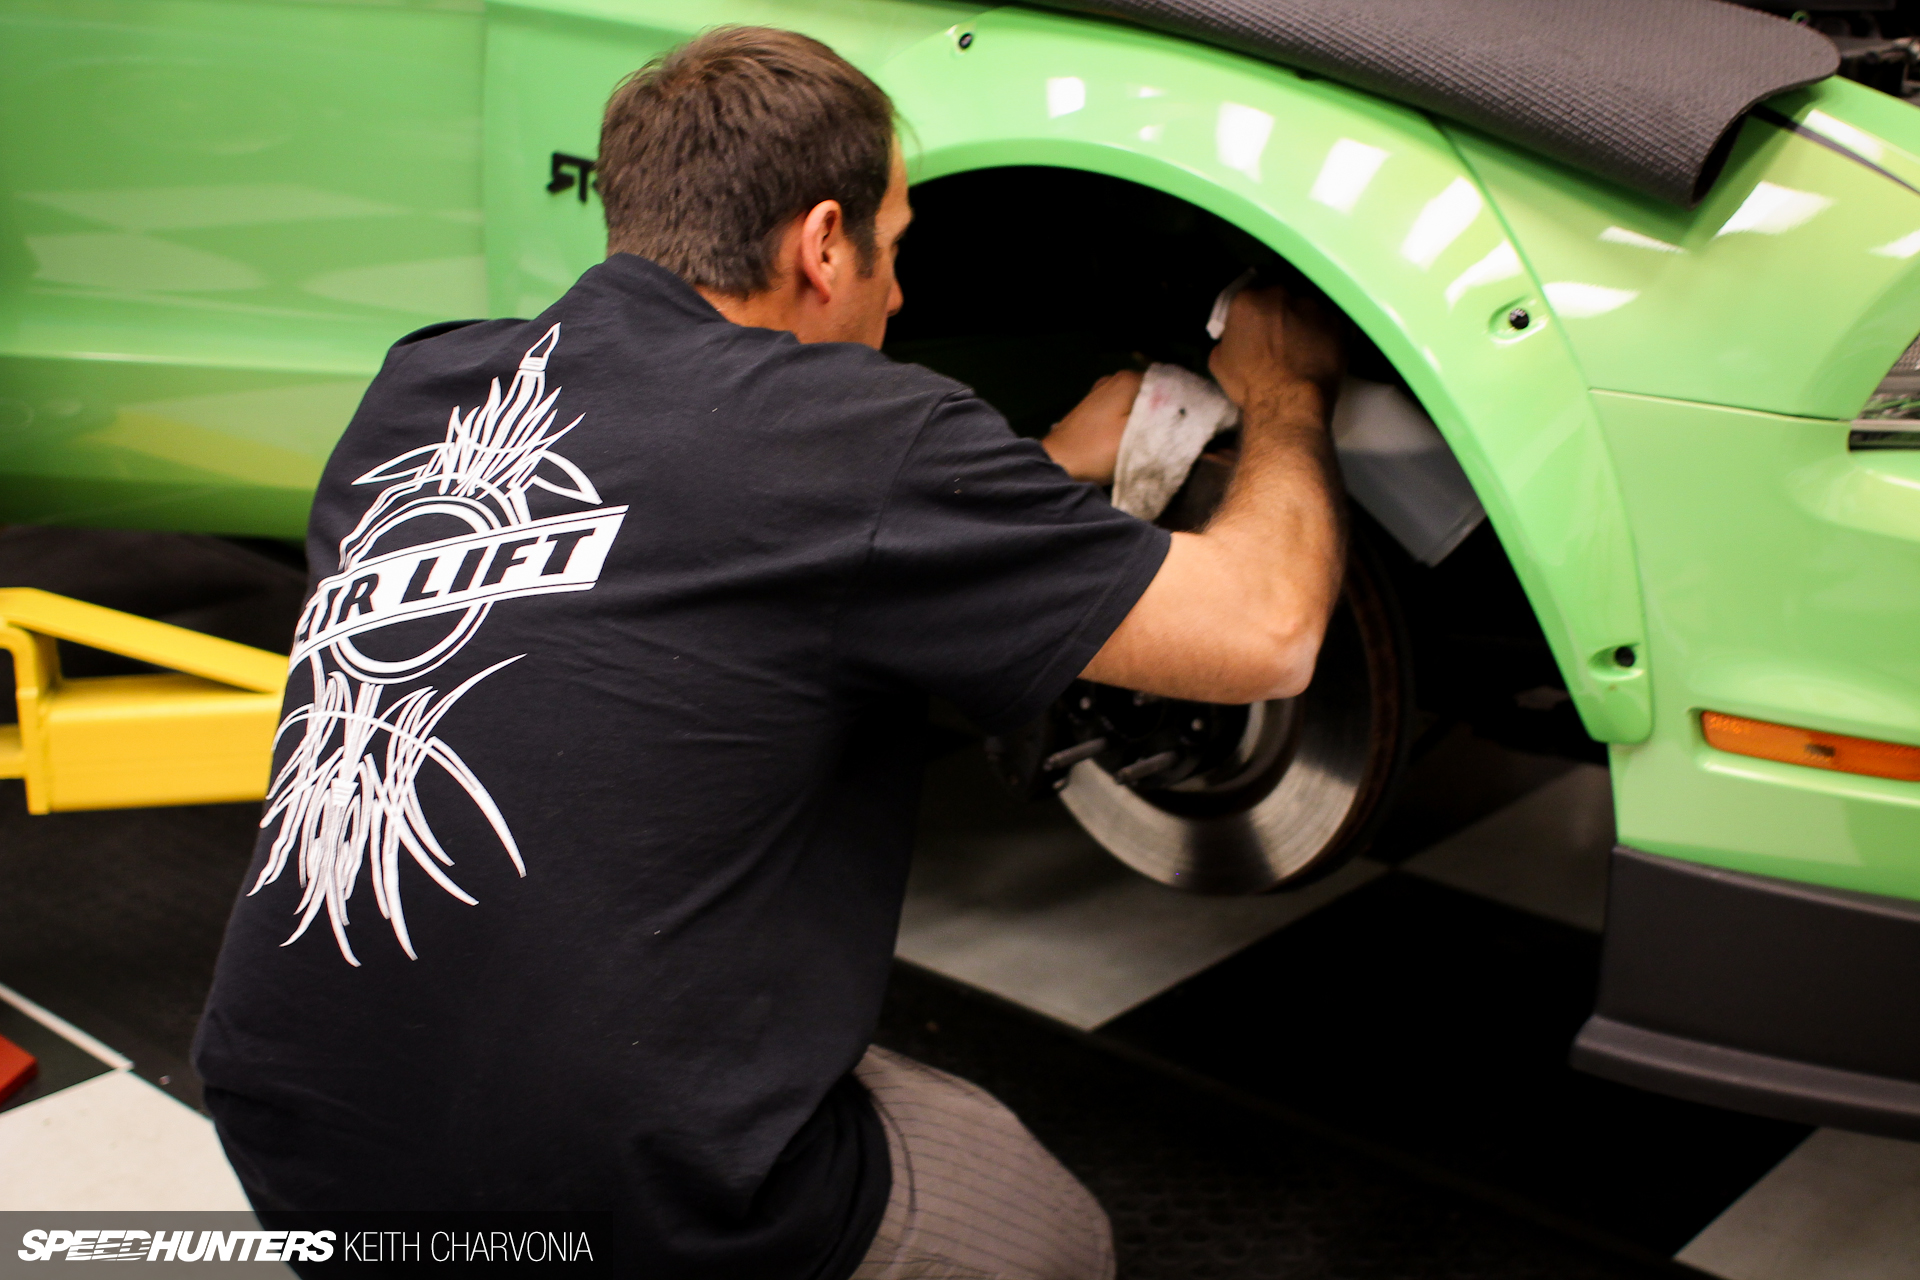
With the wheels off, we pulled the front struts: a pretty straightforward process.
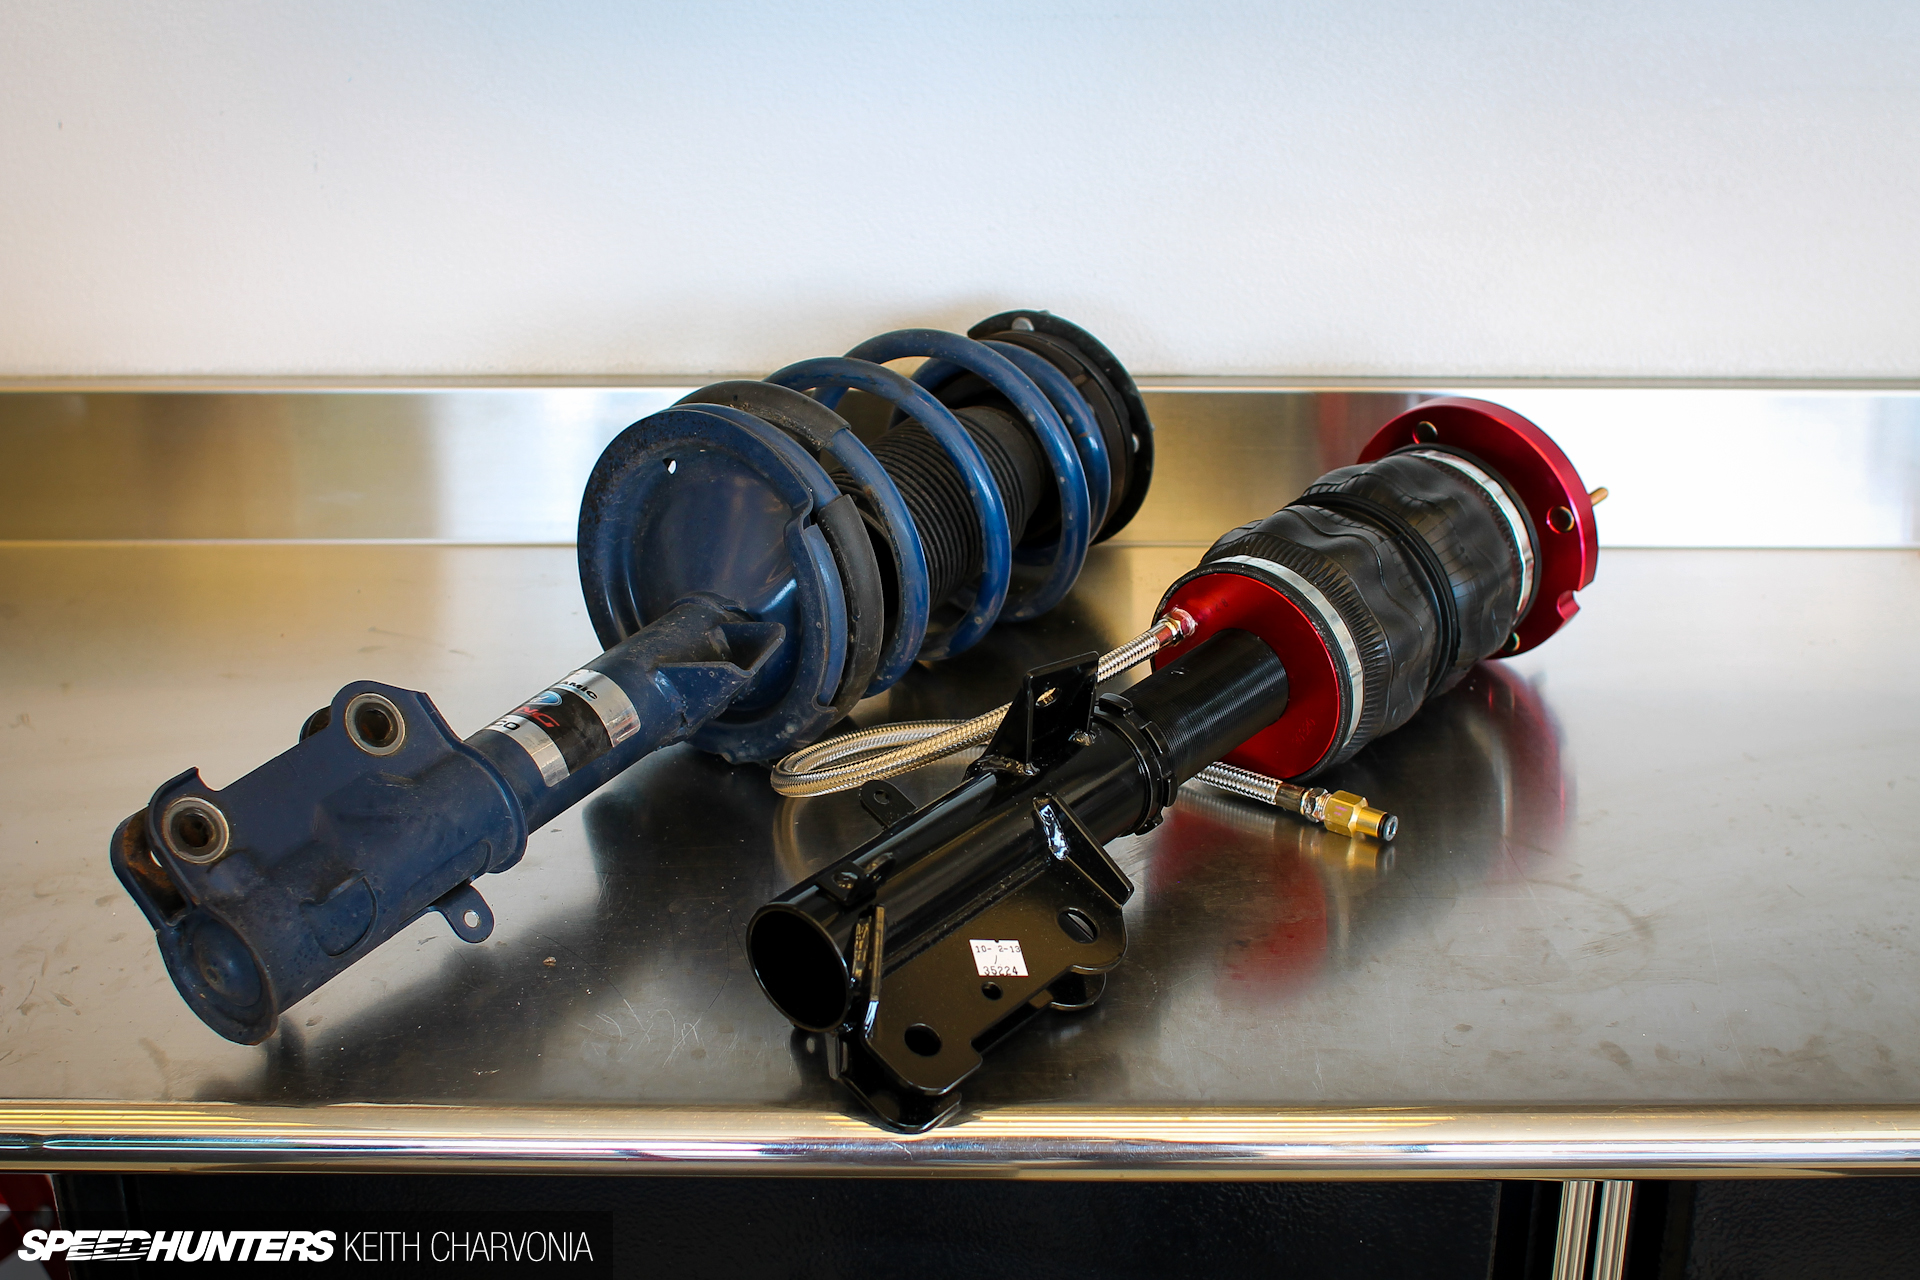
Brian assembled the braided stainless leader hoses while I removed the other strut. Believe it or not the air struts are actually 7.5 lbs lighter than the stock parts!
As I worked on the installation I realized that these were basically coilovers with air springs instead of coils.
Installation is just like installing a normal strut.
Of course you want to re-torque everything to the factory specs.
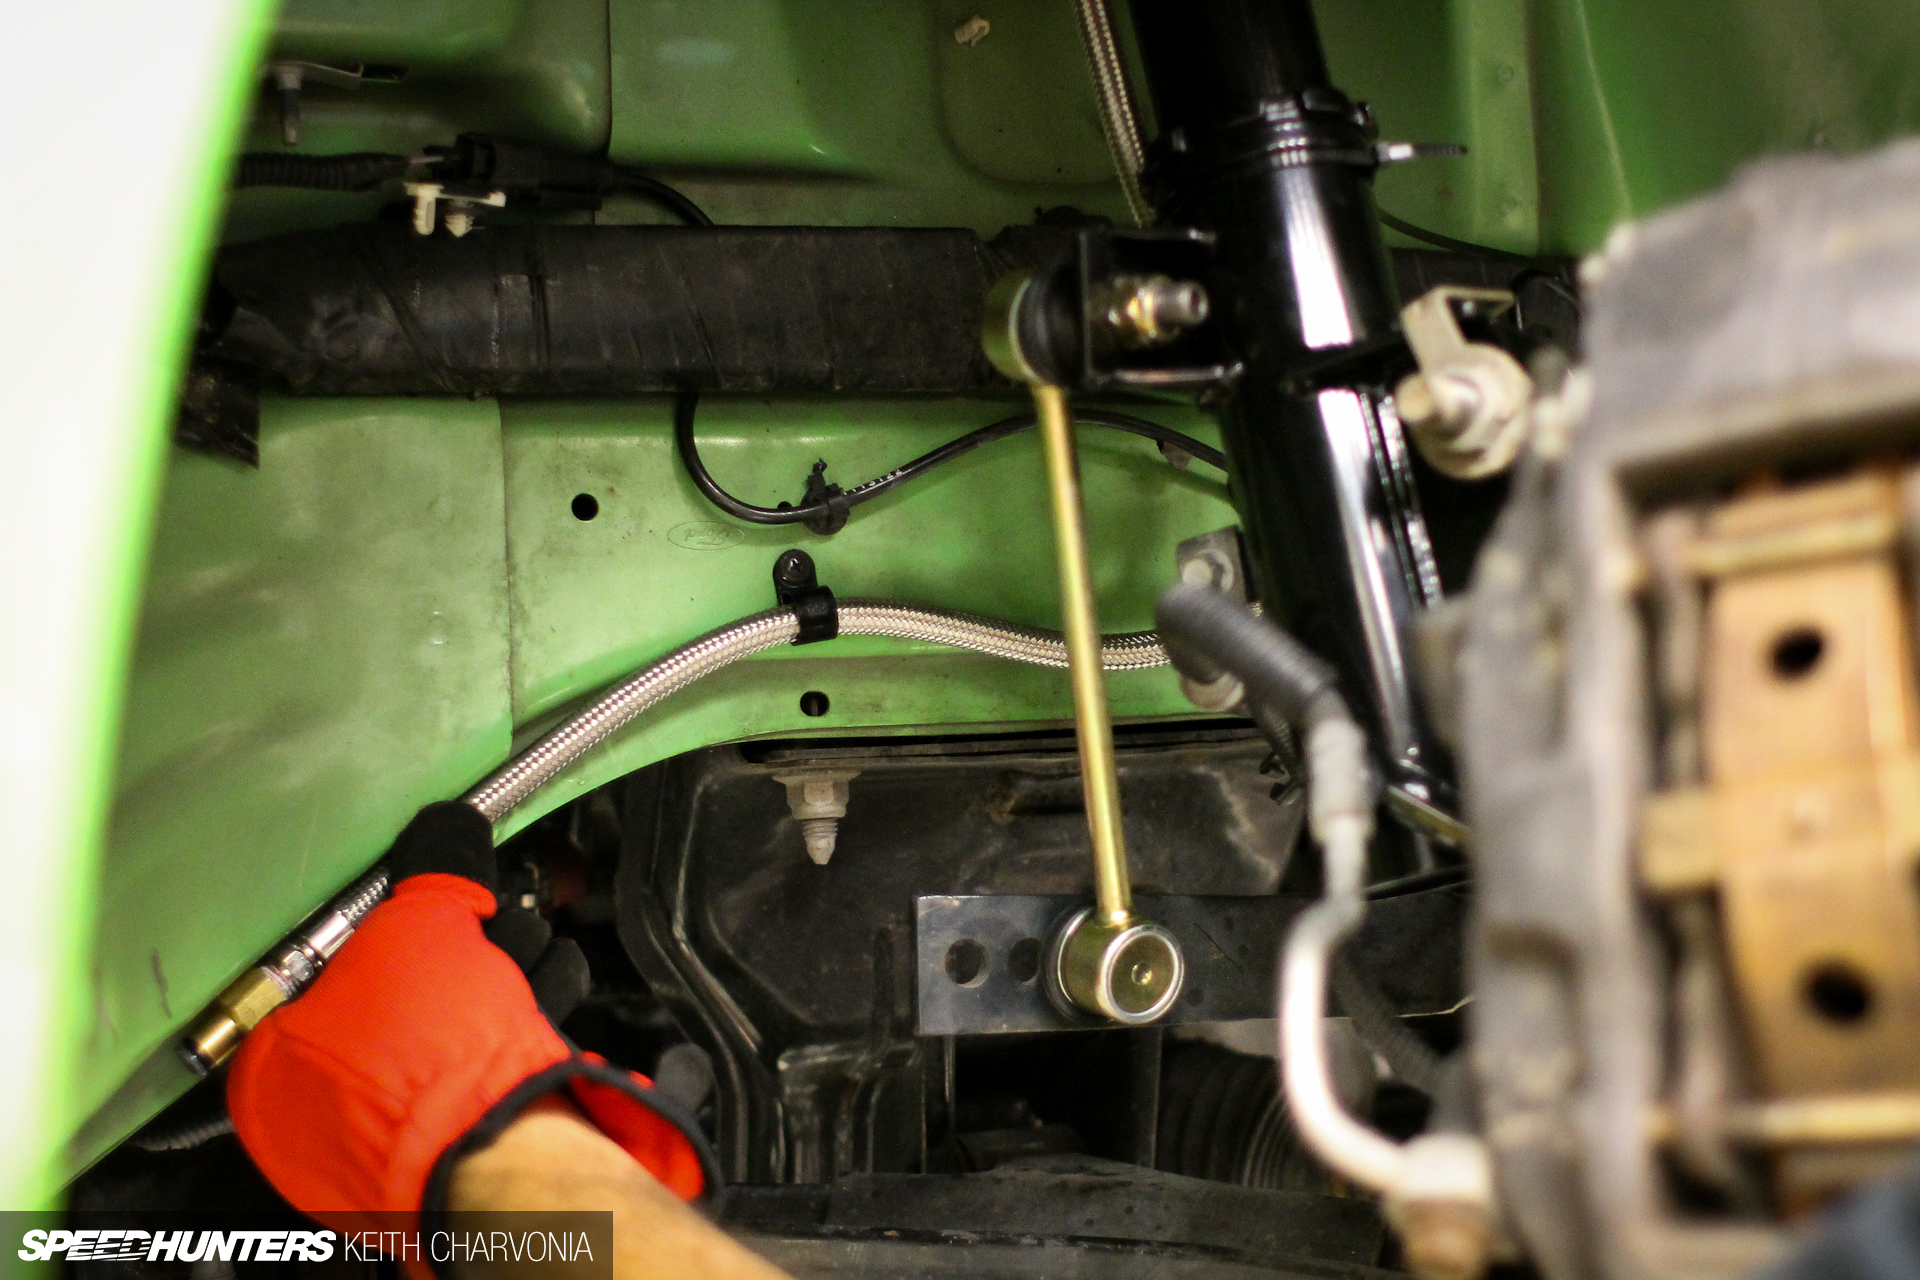
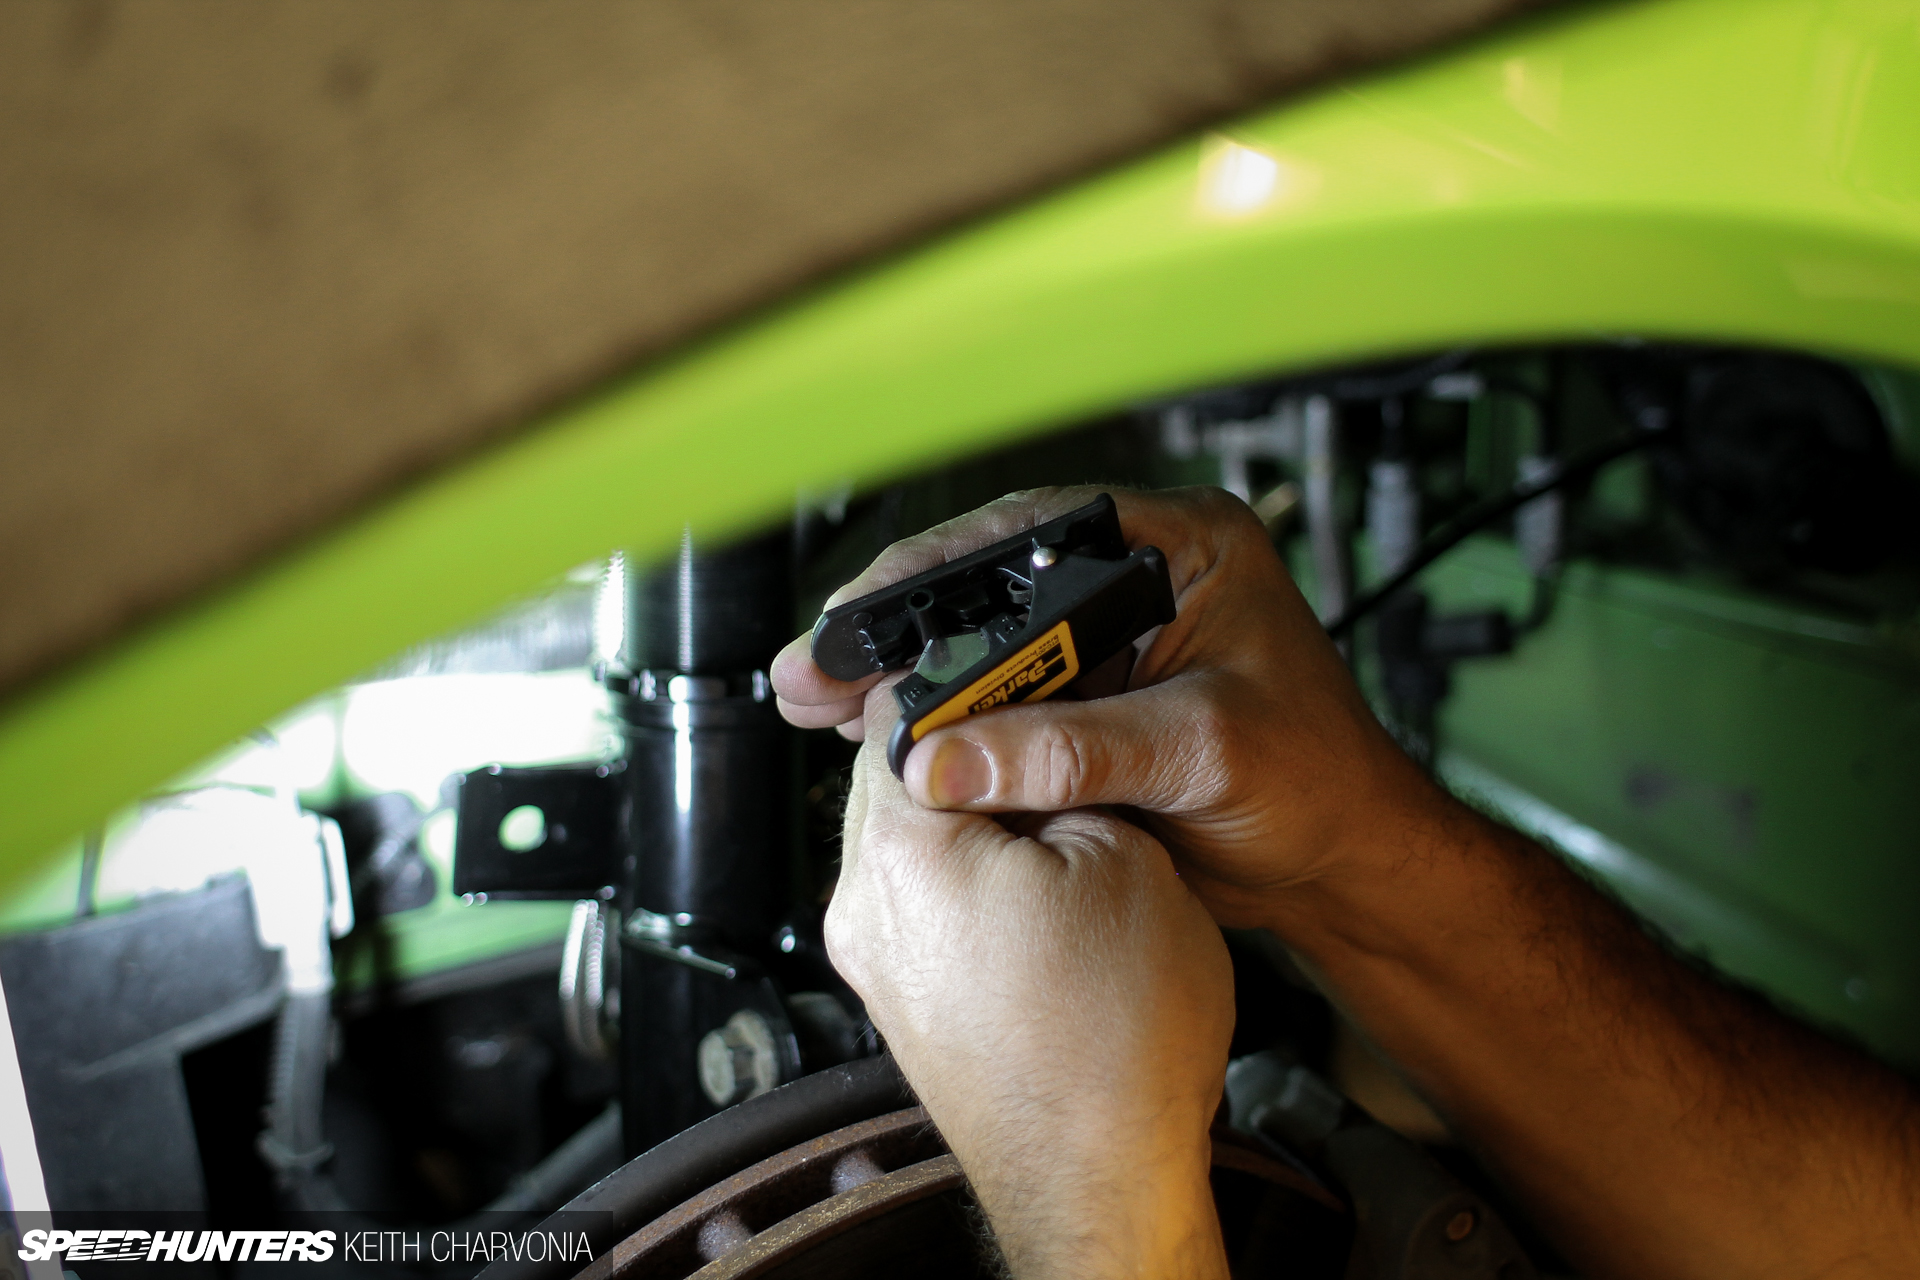
Here’s where the installation starts to differ from a normal coil spring. You do need to give some thought to how you are going to route the air lines. They should be positioned safely away from anything that could rub, and also need enough slack to let the strut turn with the wheel.

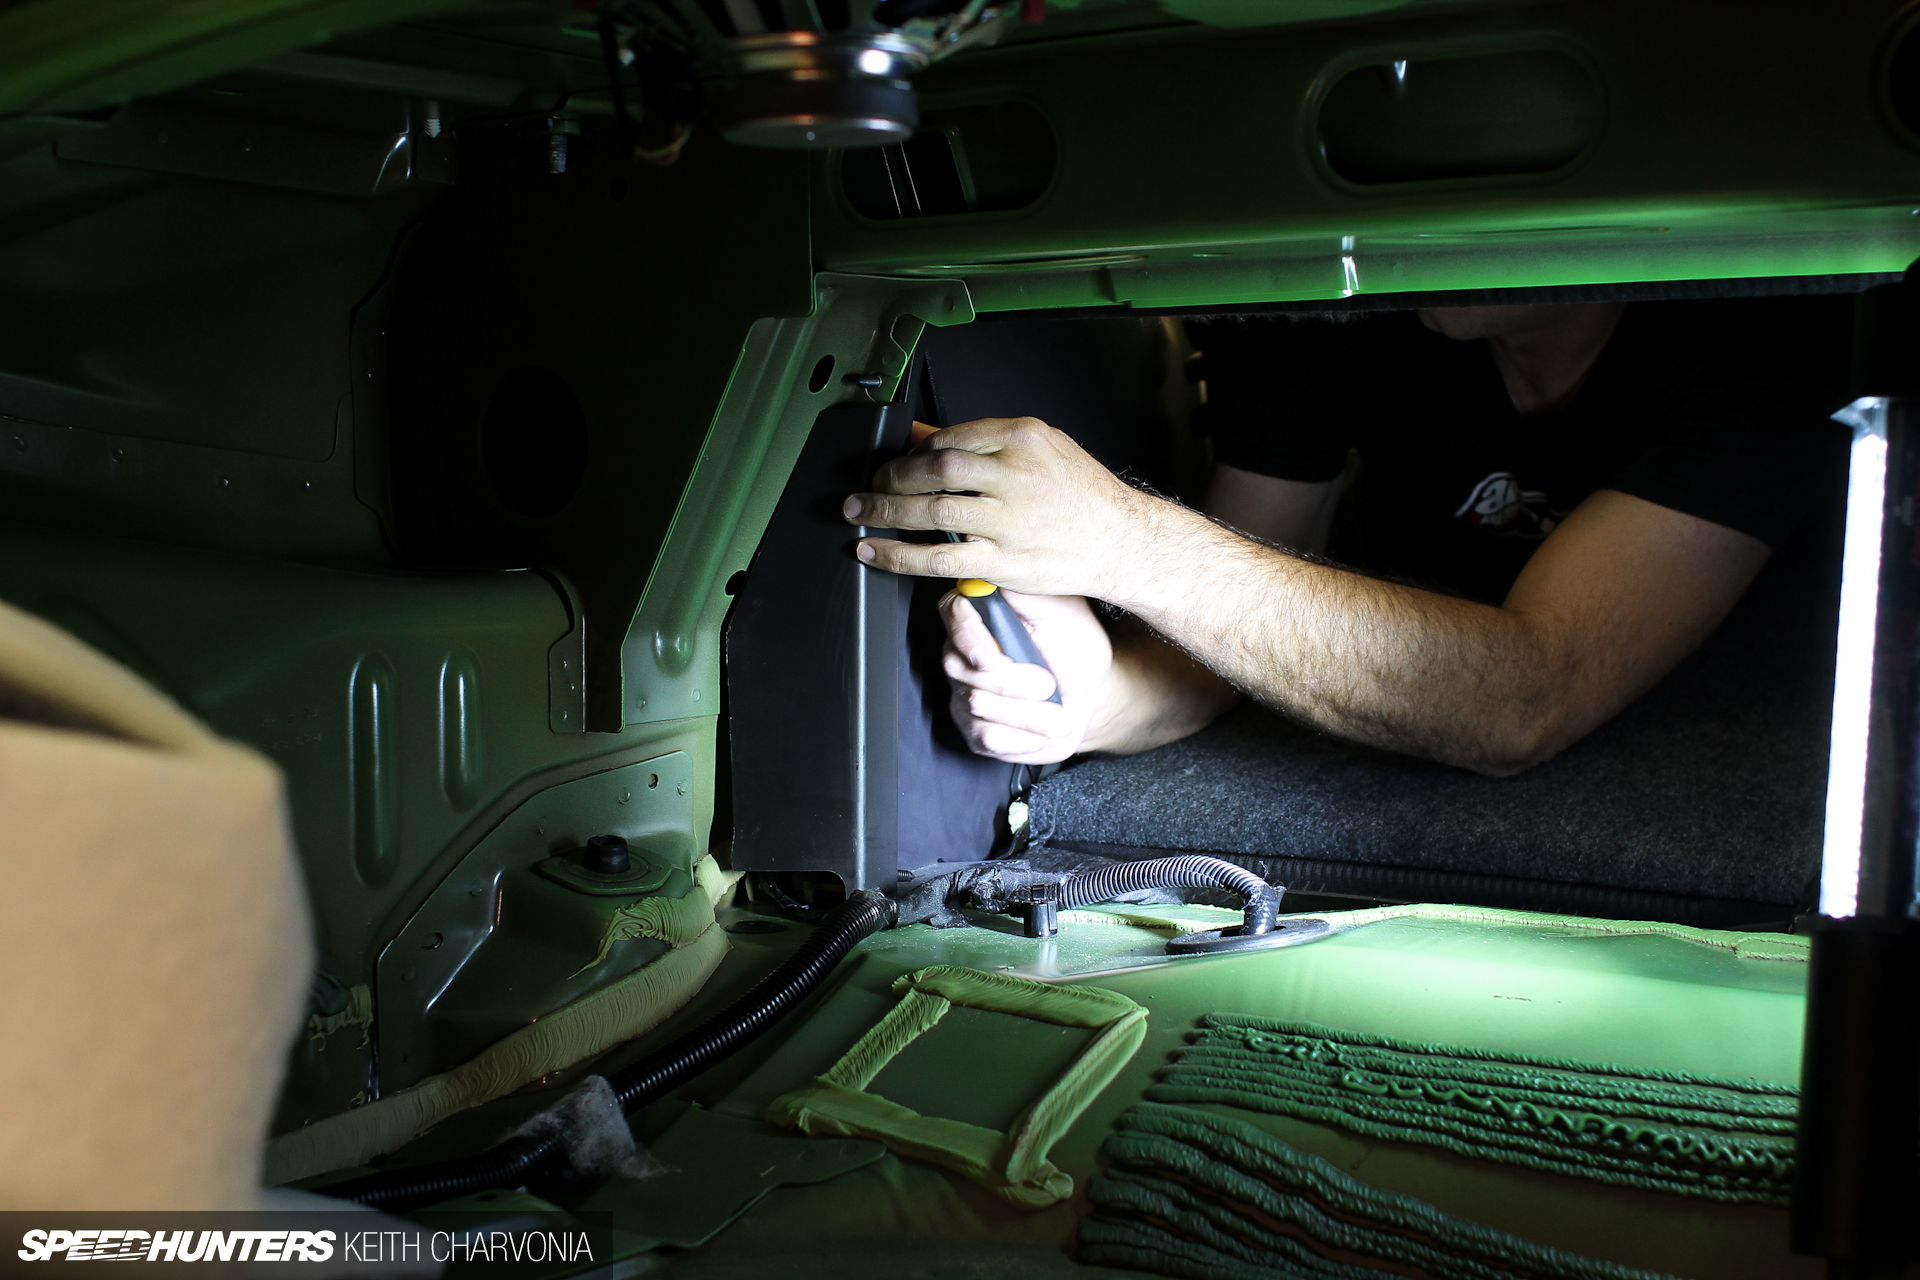
You also need to think about where to run the air lines, since they will eventually be connected to the manifold. We planned to mount the manifold and tank in the trunk, so we chose to run the lines inside the car. Luckily Ford provided the perfect blank spot in the factory grommet.

This was definitely one of the easier times I’ve had routing things through a firewall.

Brian had a good tip here: Make a loop in the air line (without kinking it) and leave it under the carpet. This way you won’t have to run an entire new line or use a splice if you need some extra length later on.
Once you have the line routed, it’s good practice to trim the end with a nice square cut so it seats well in the fitting.
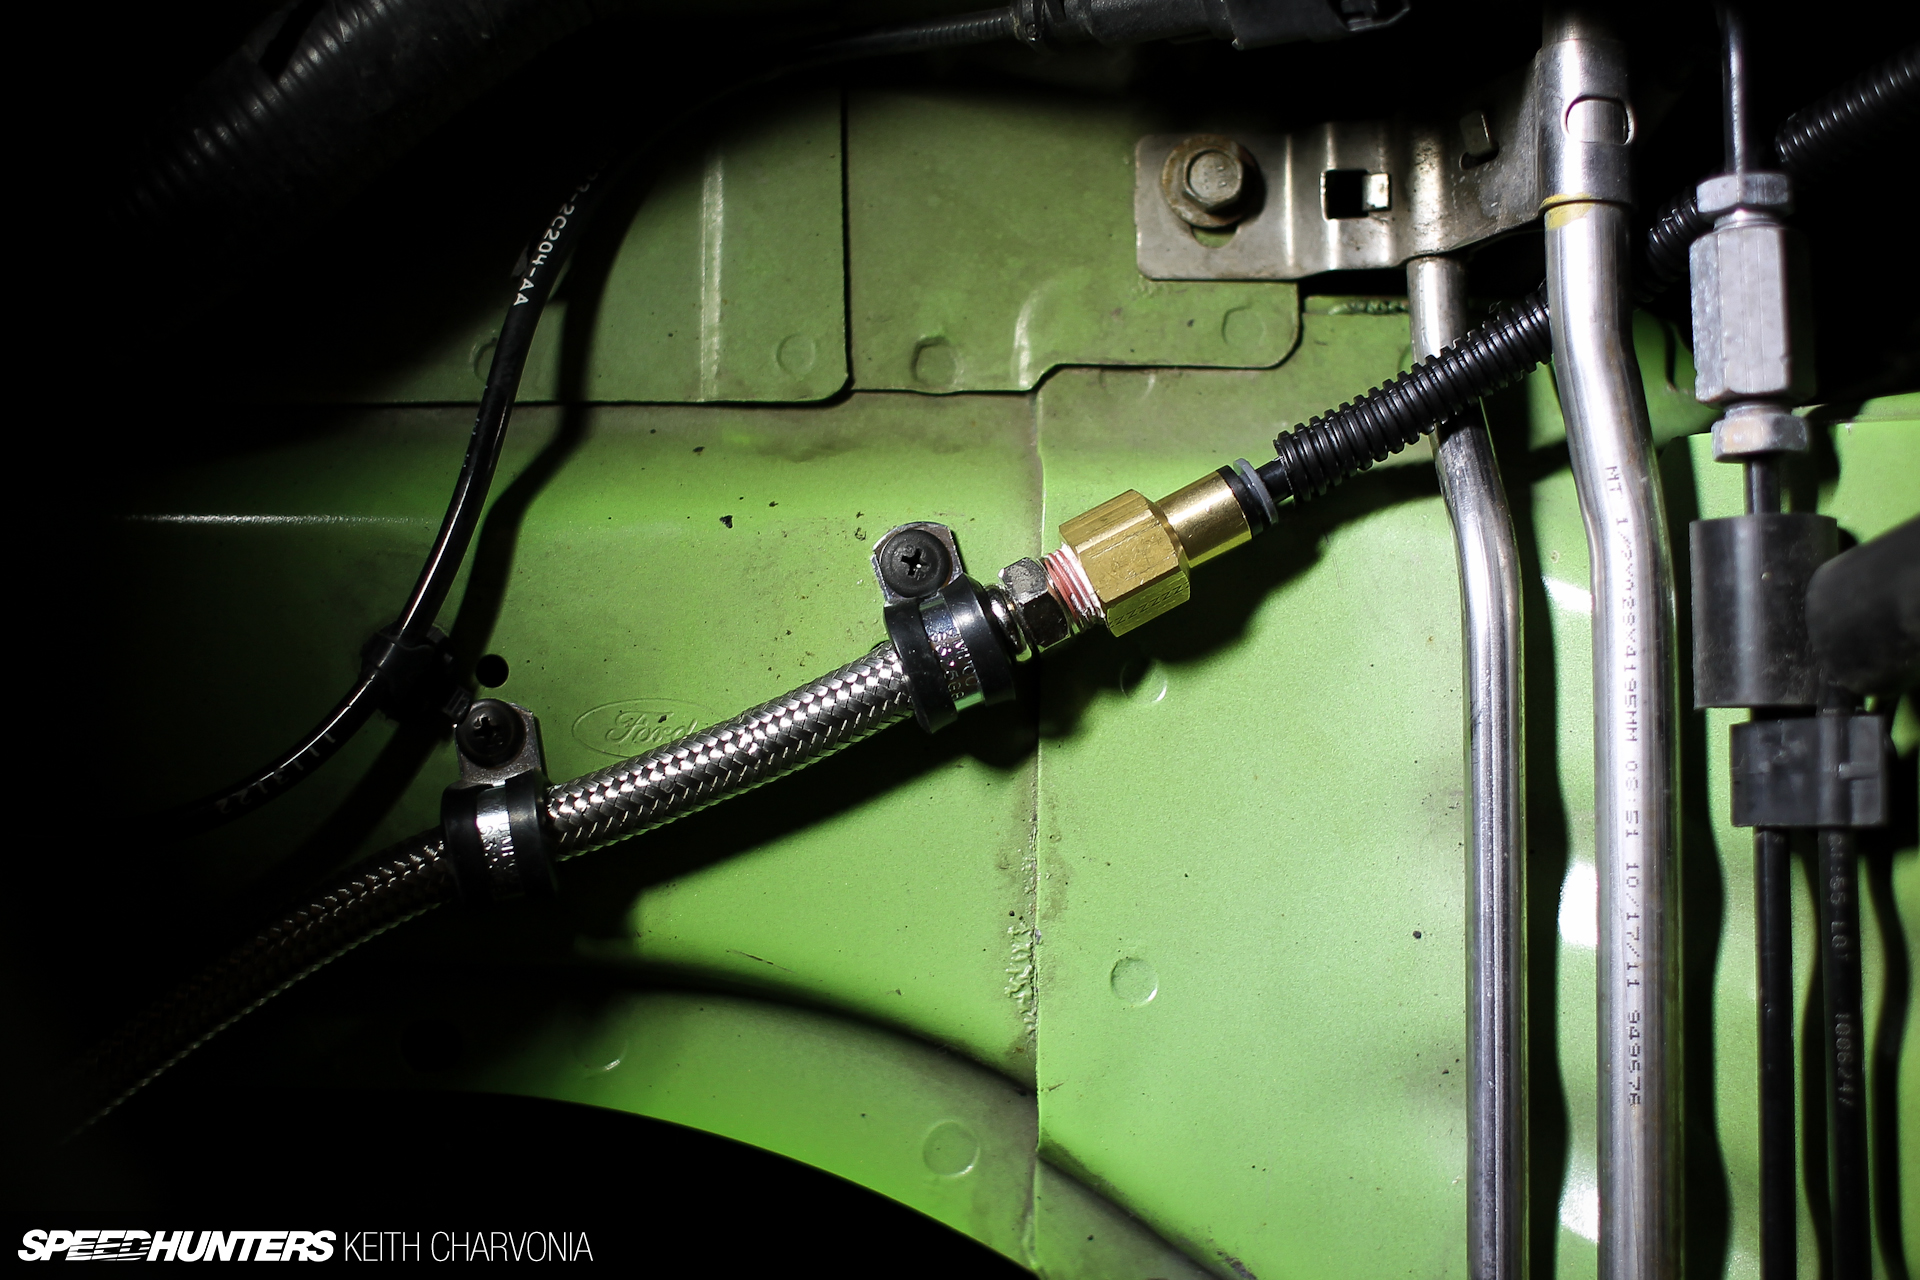
We also added a bit of rubber over this sheetmetal edge and installed some convoluted loom for an extra layer of protection. These are the small things that make an air system reliable.
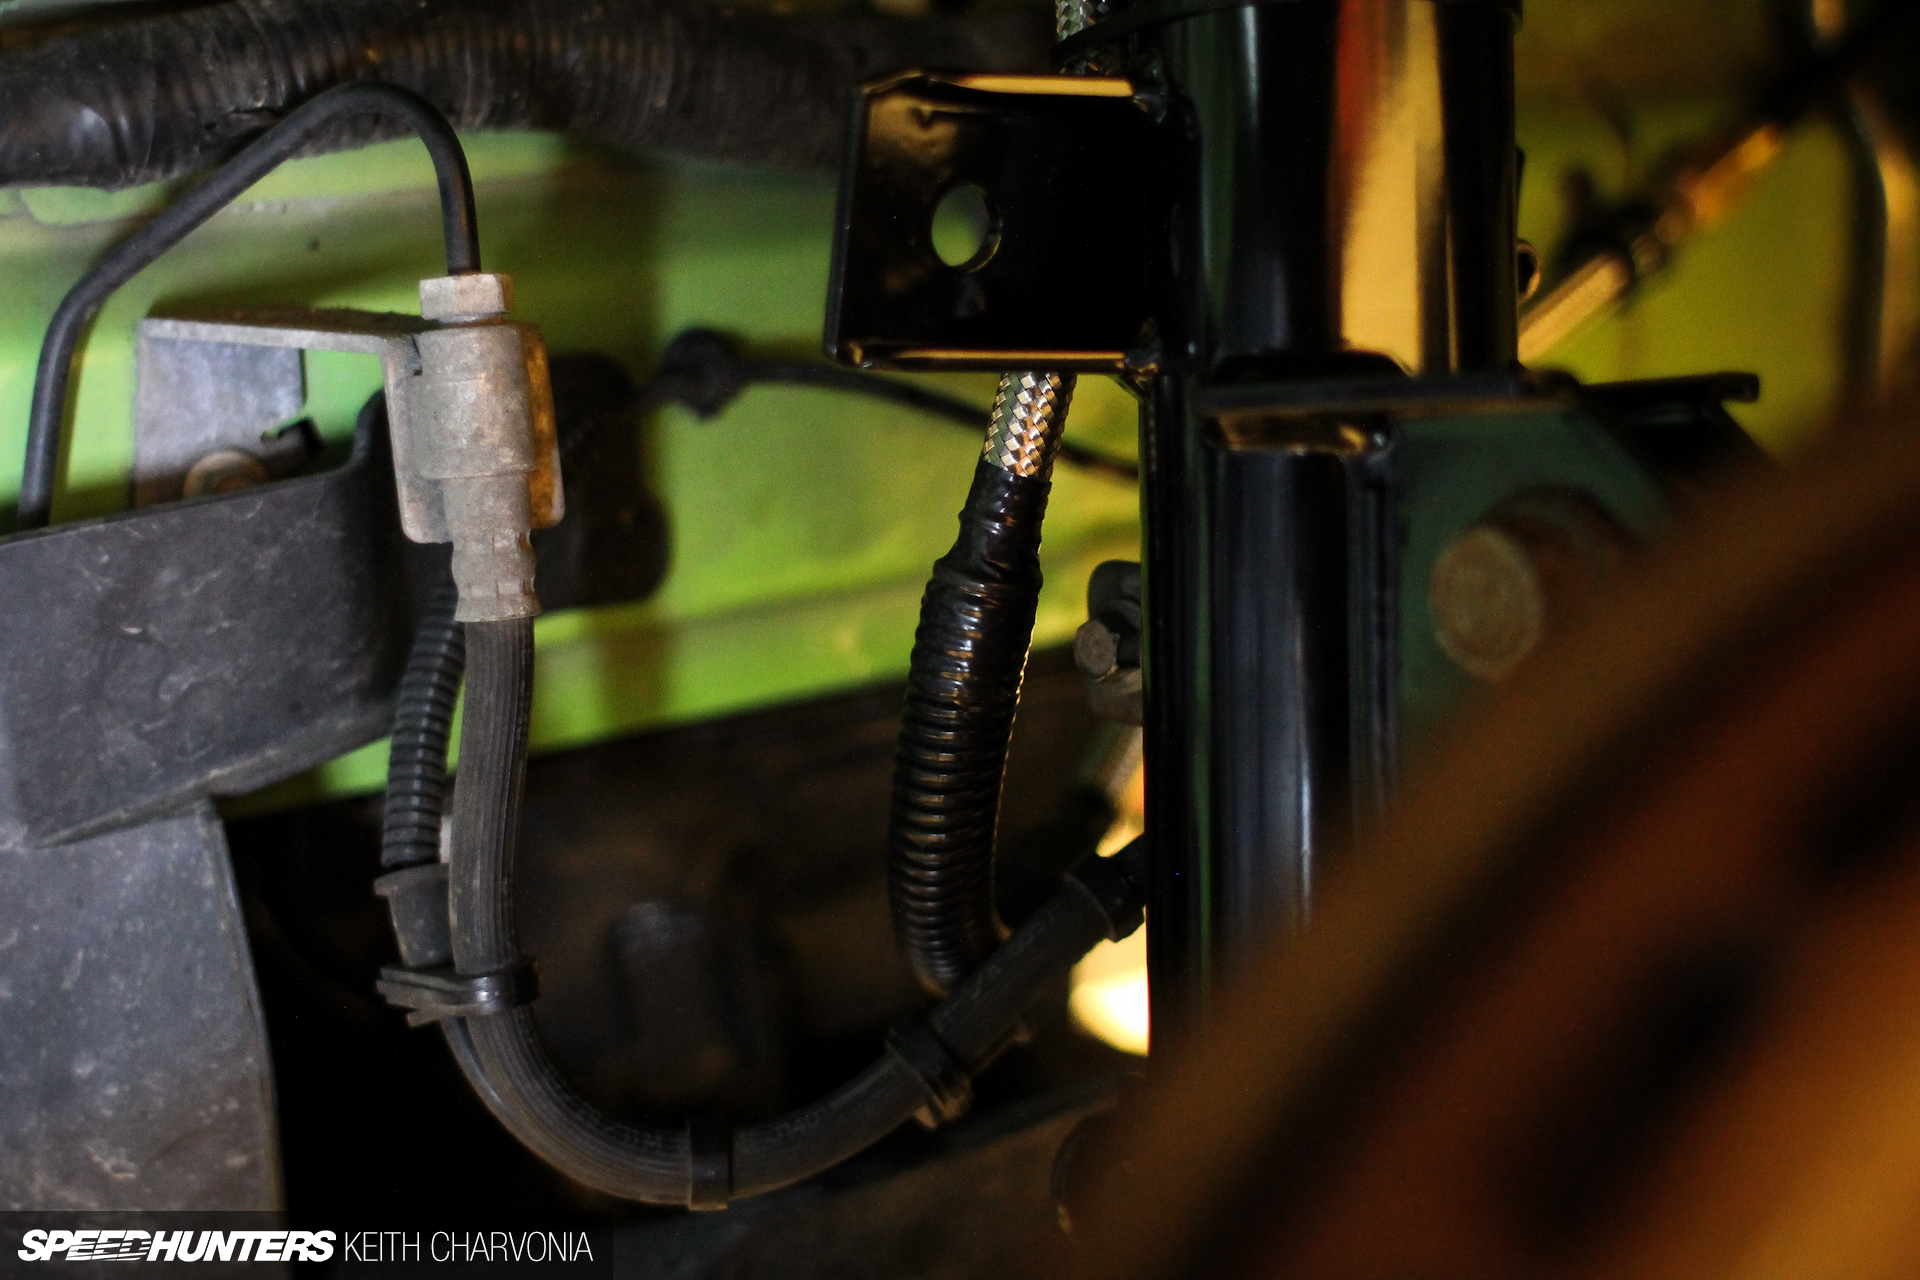
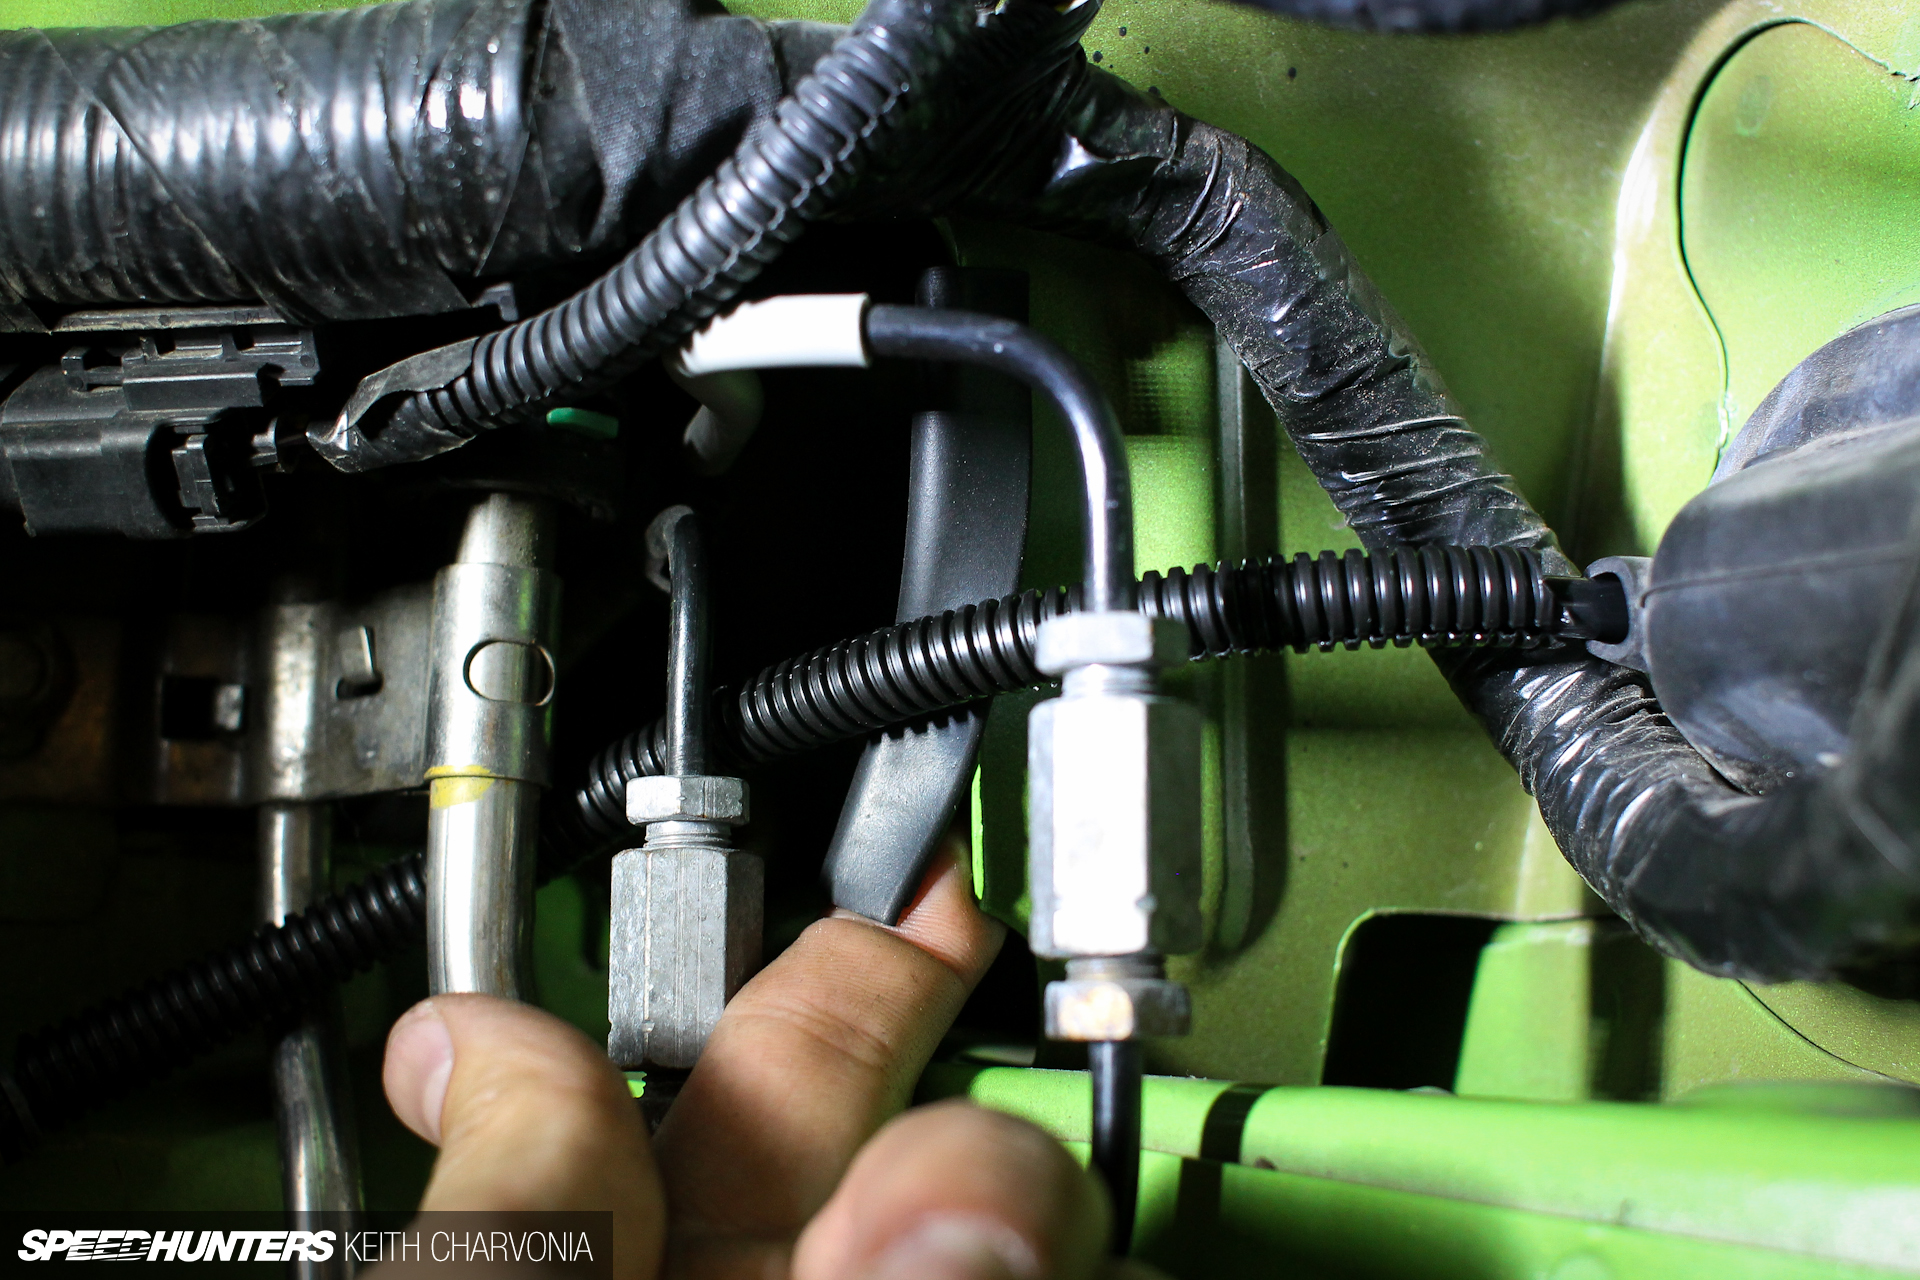
The braided leader hose could possibly contact the brake lines while turning, so we added some loom to keep it from rubbing on the brake line.
Finally we tethered the line using loop clamps, making sure to leave enough slack for the wheels to turn.
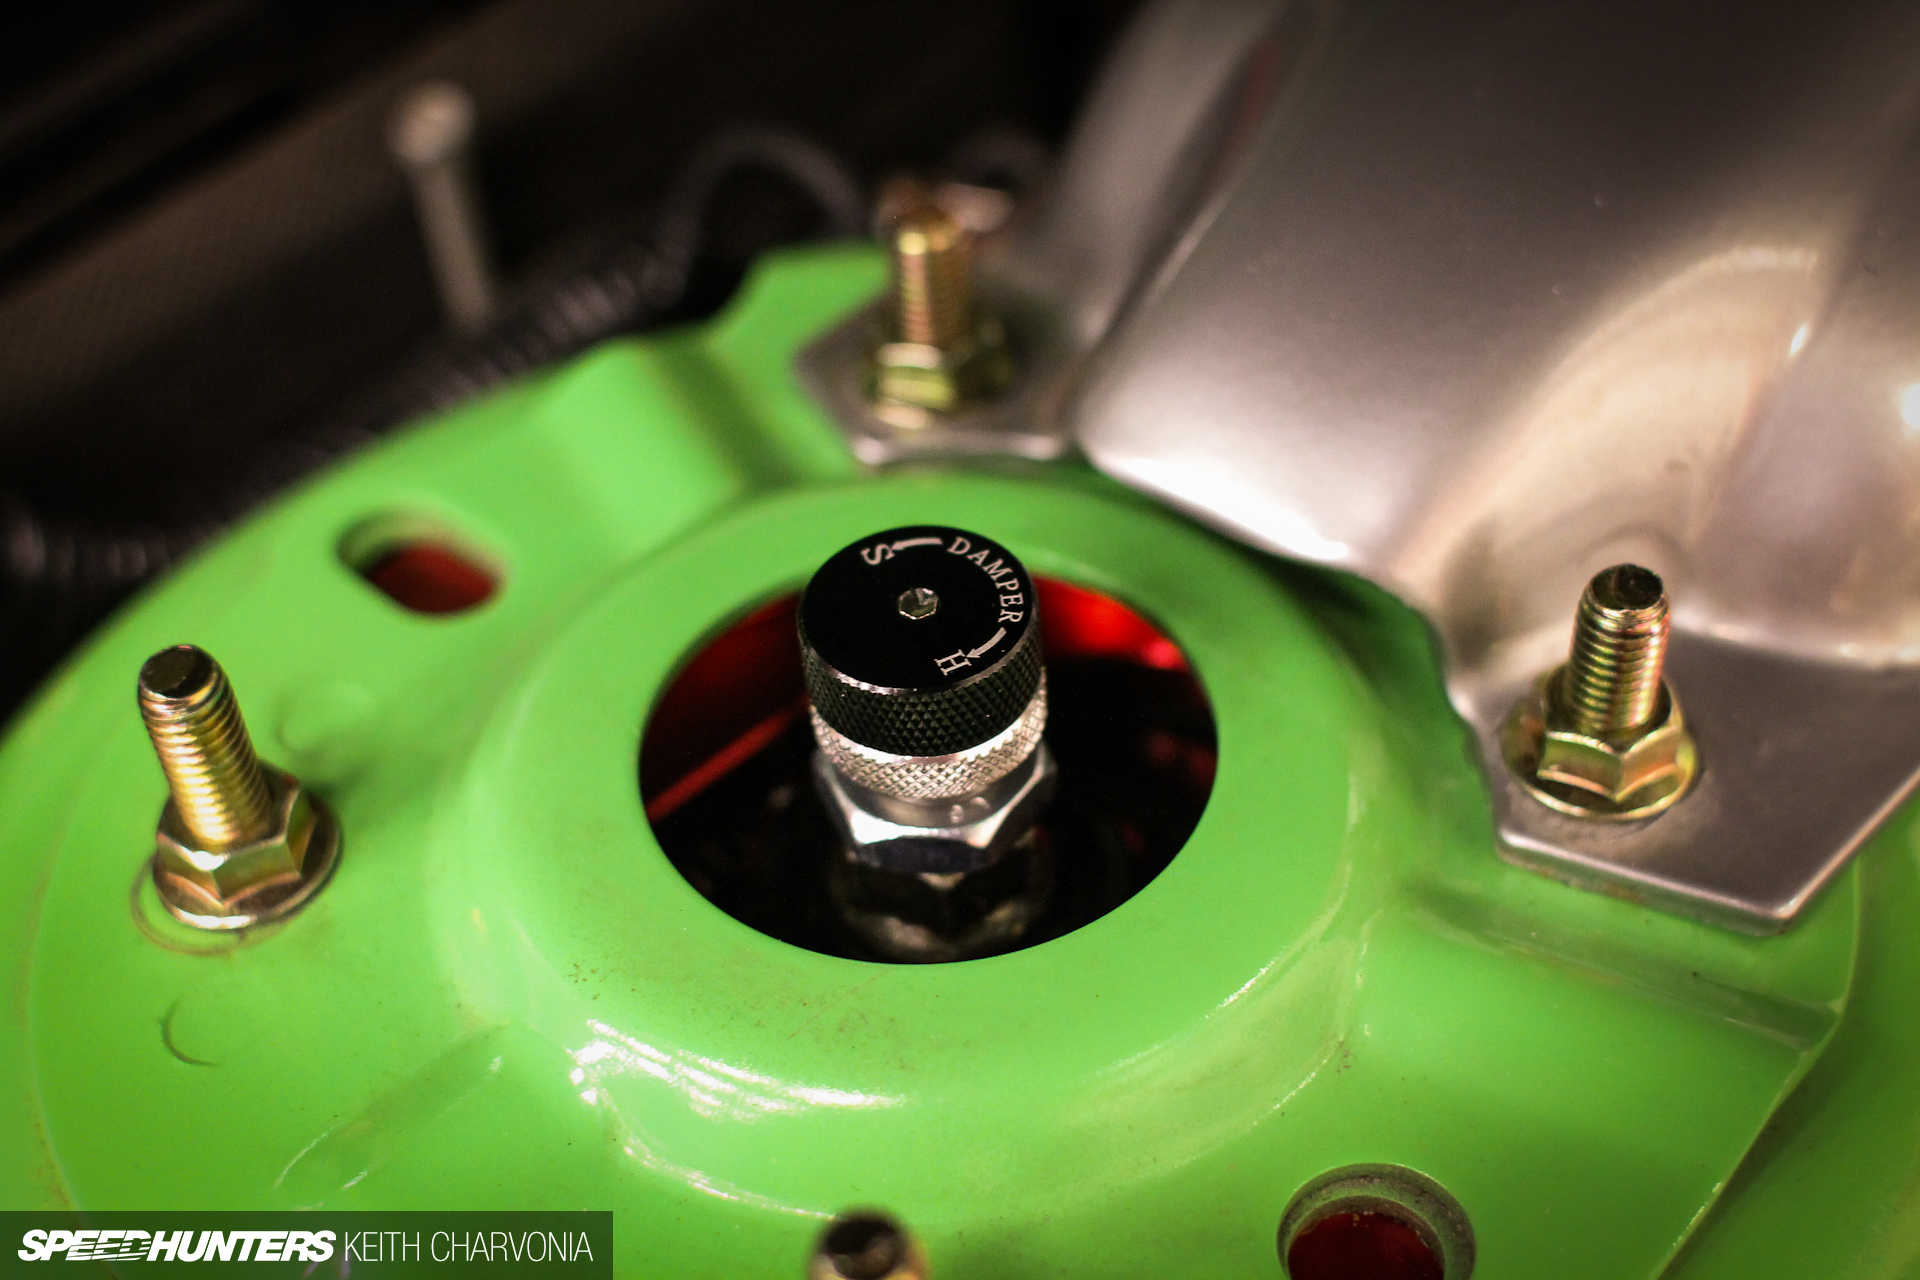
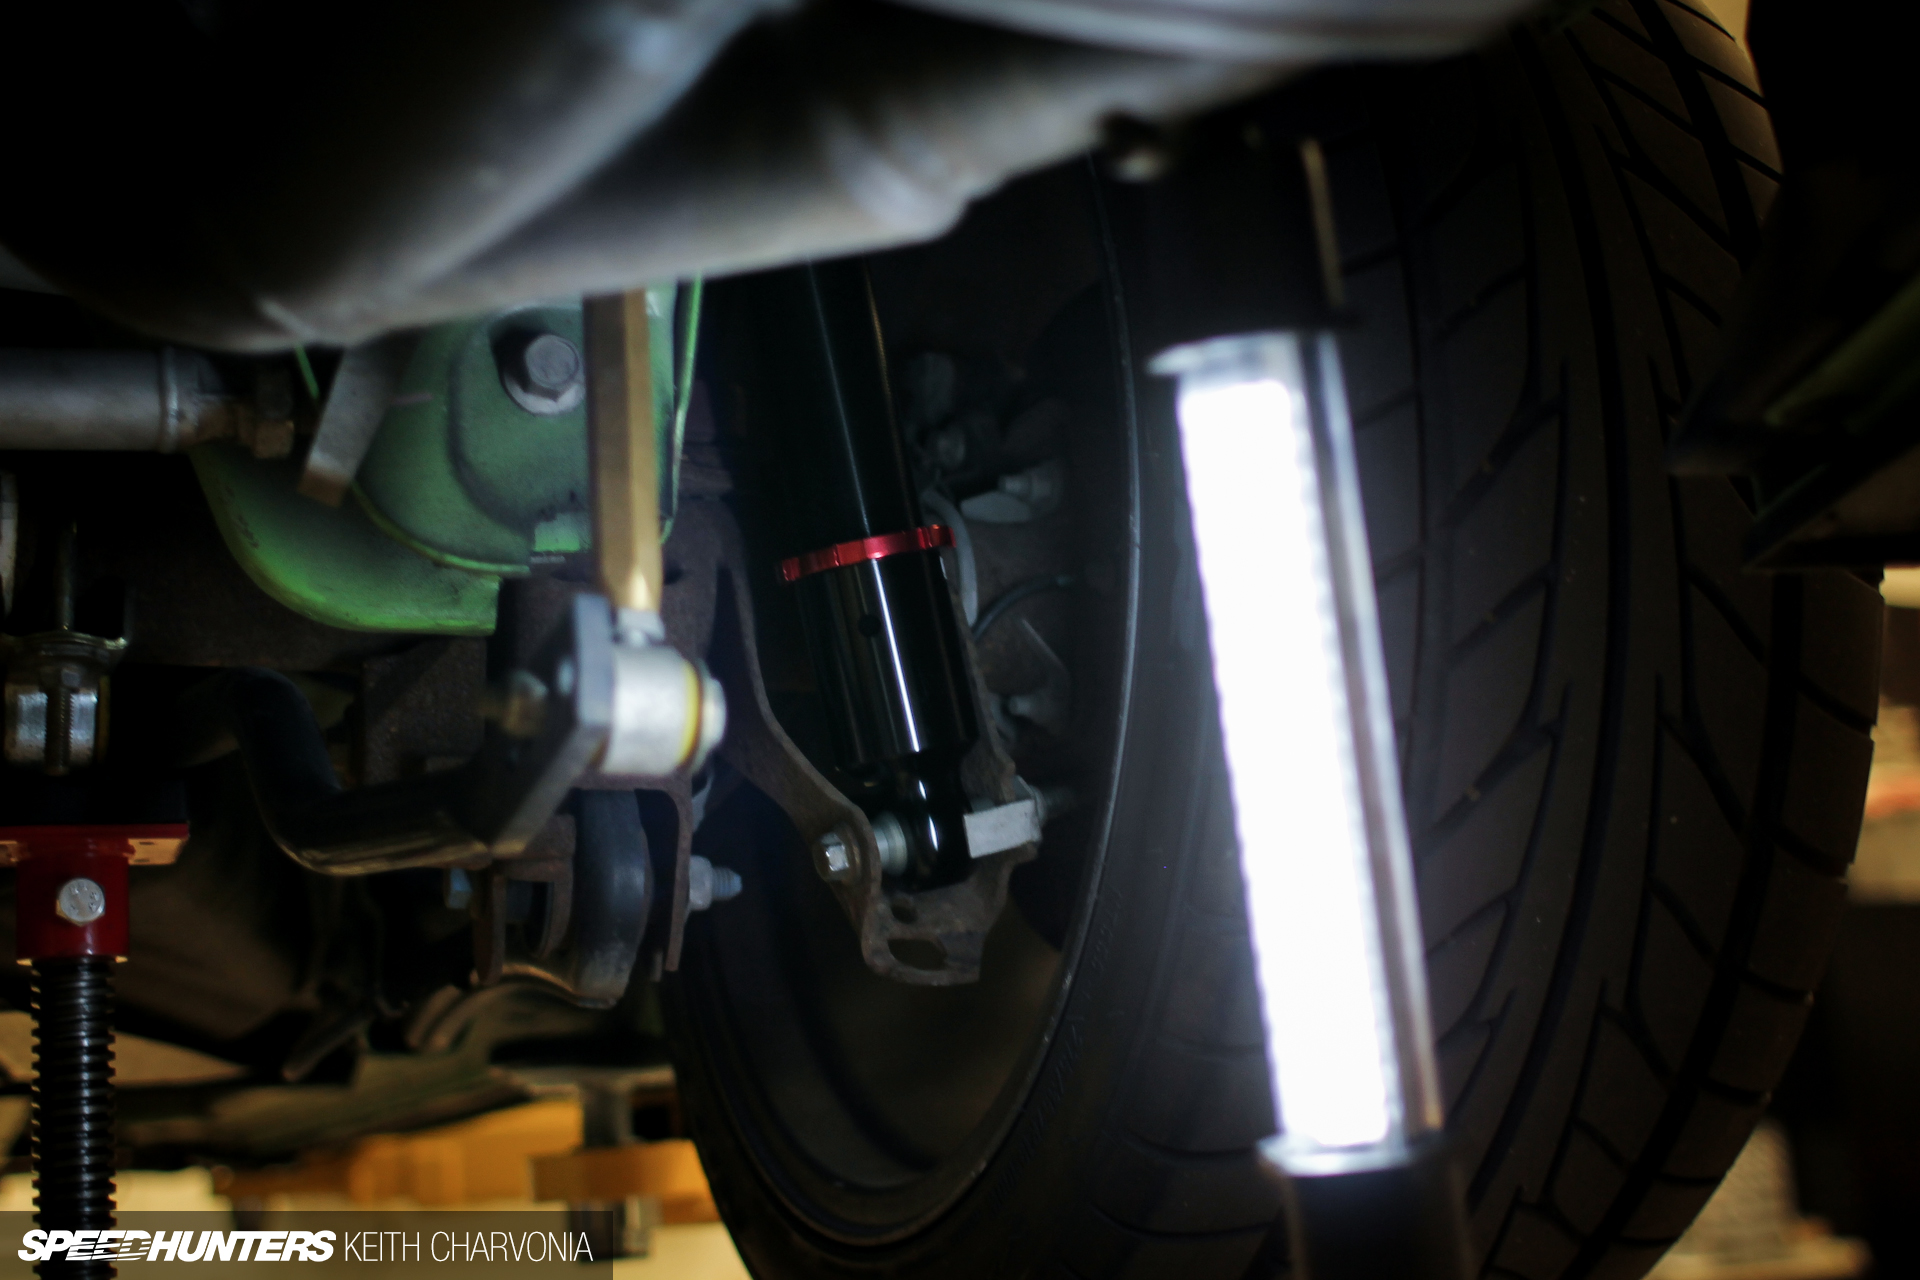
Brian showed me how to use the shock tool to adjust the damping from soft to hard. You get 30 clicks of adjustment with this kit: plenty to tune with.
On to the rear
The first step in installing the rear set-up is to remove anything that’s in the way, like the back seat.
We also pulled the plastic interior panels.
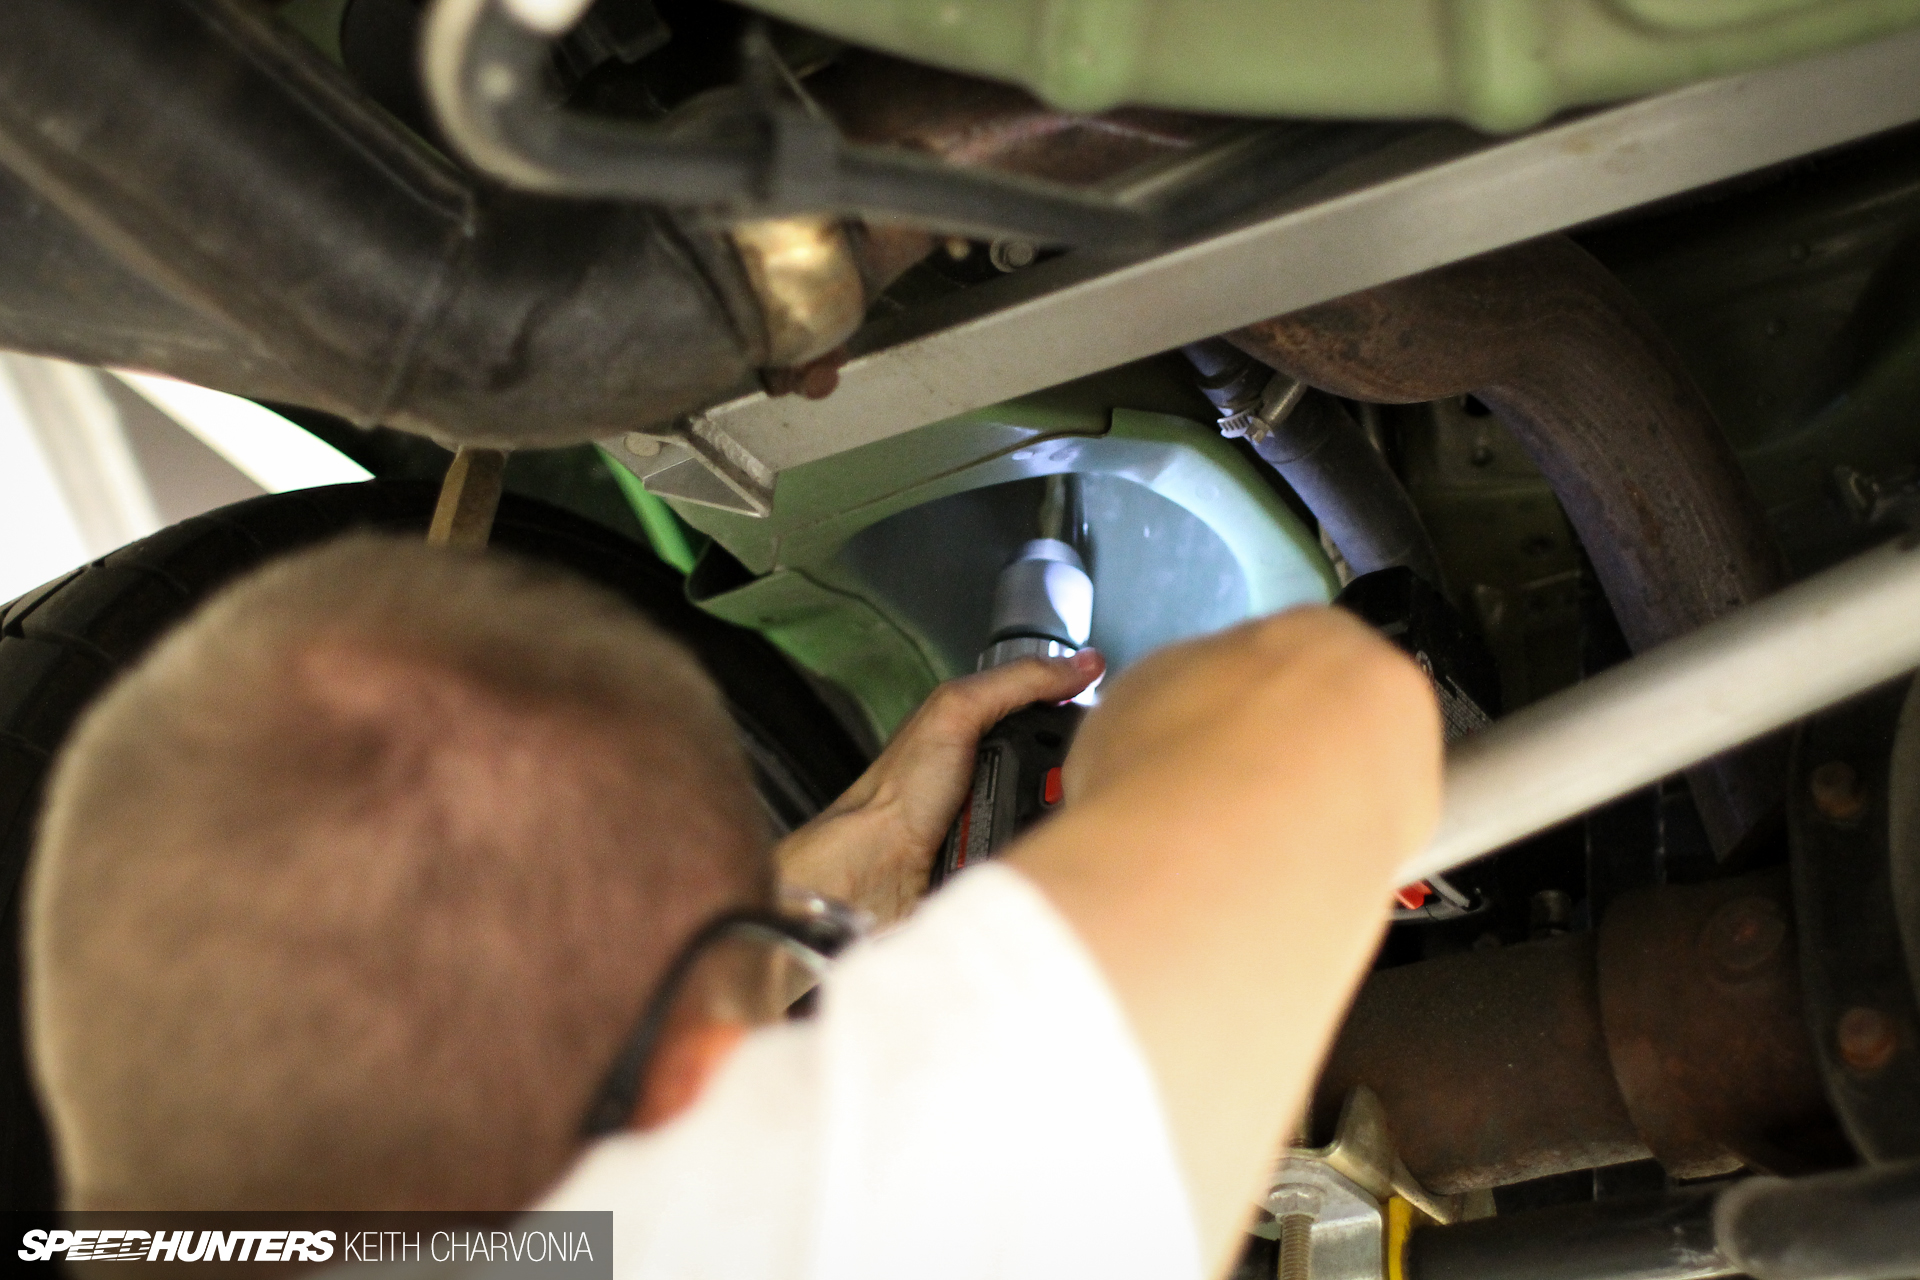
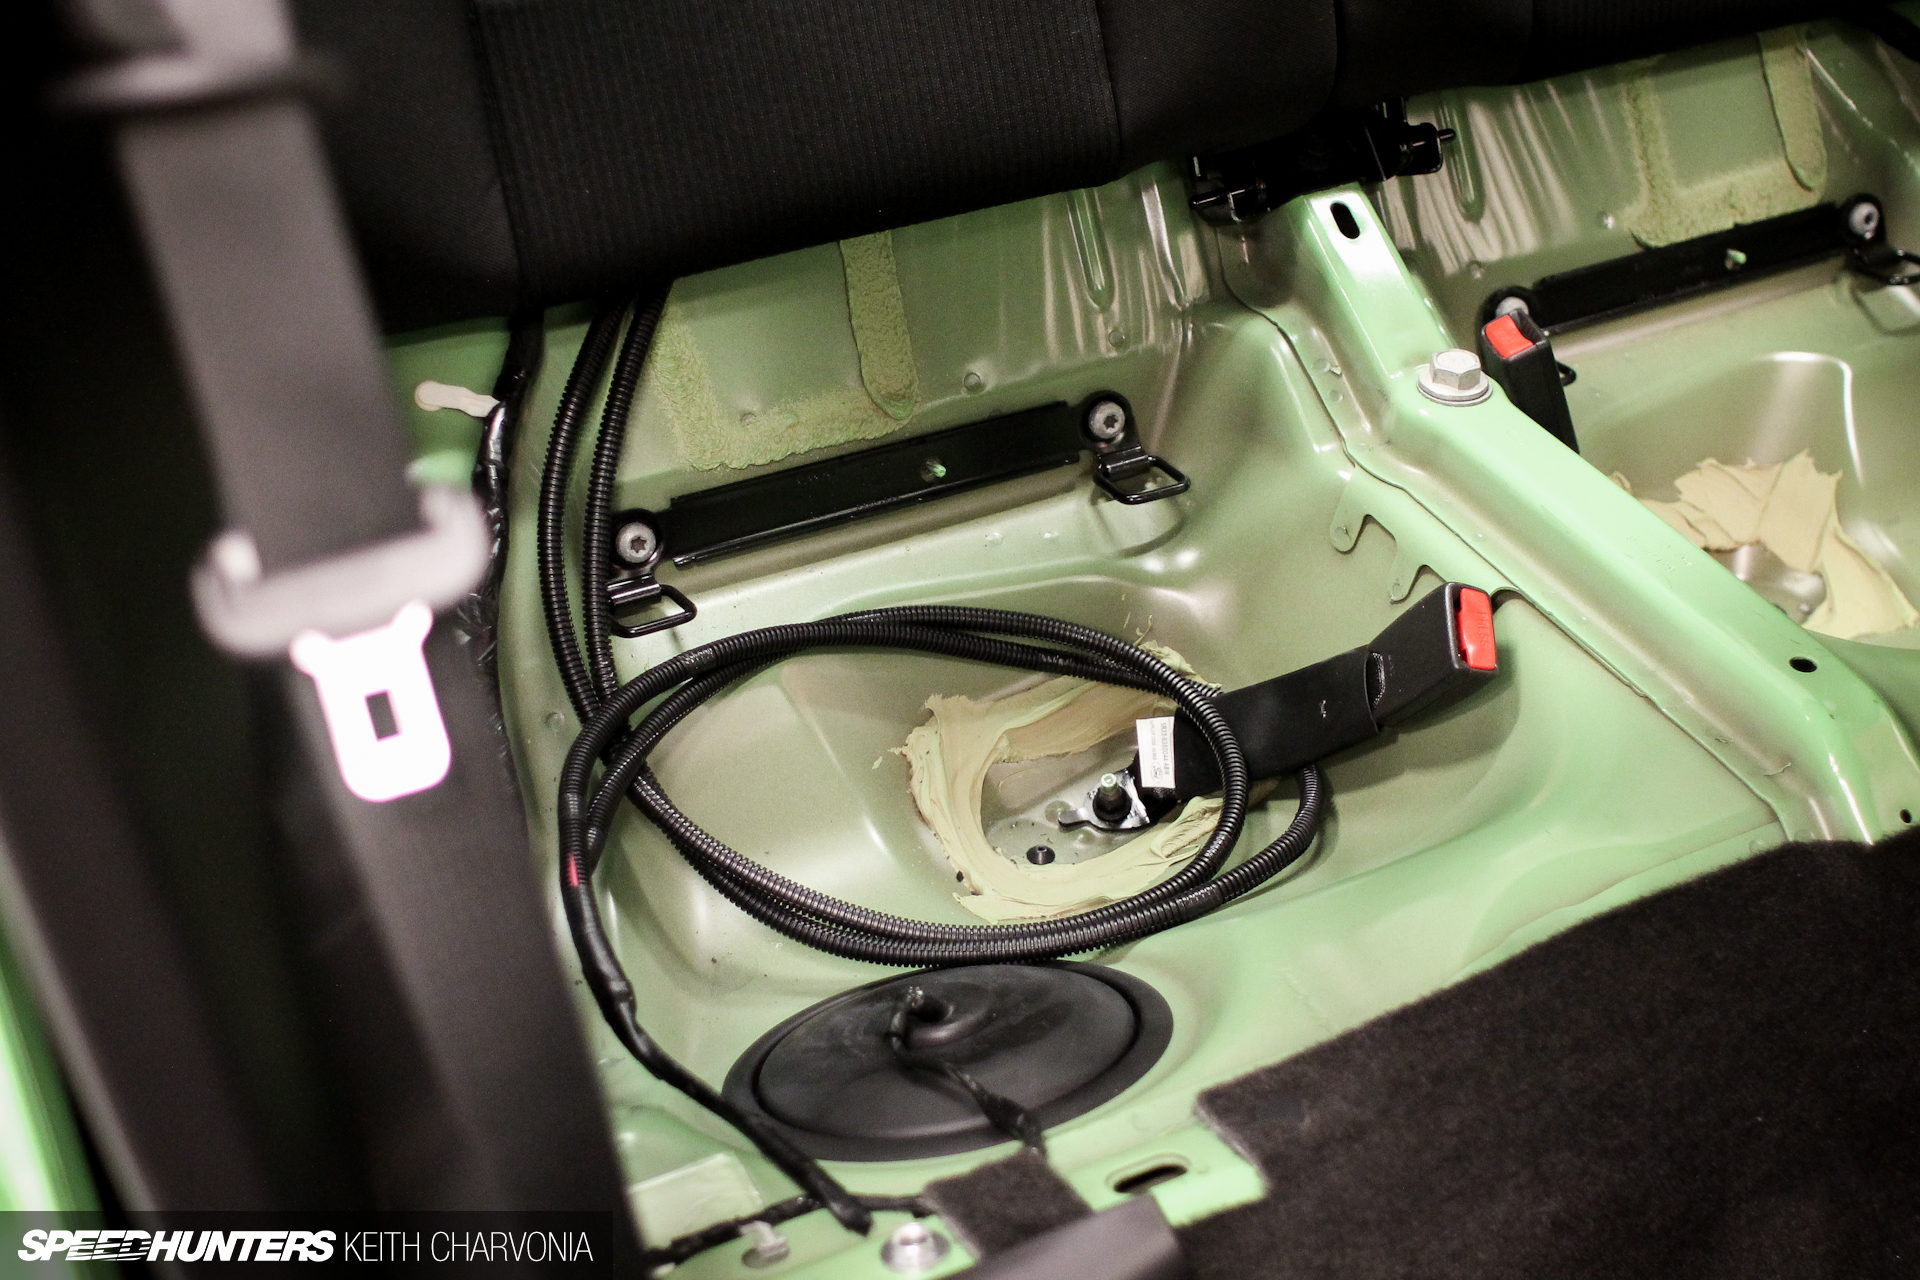
Since I’m a fabricator I was entrusted with measuring and then drilling the four required holes.

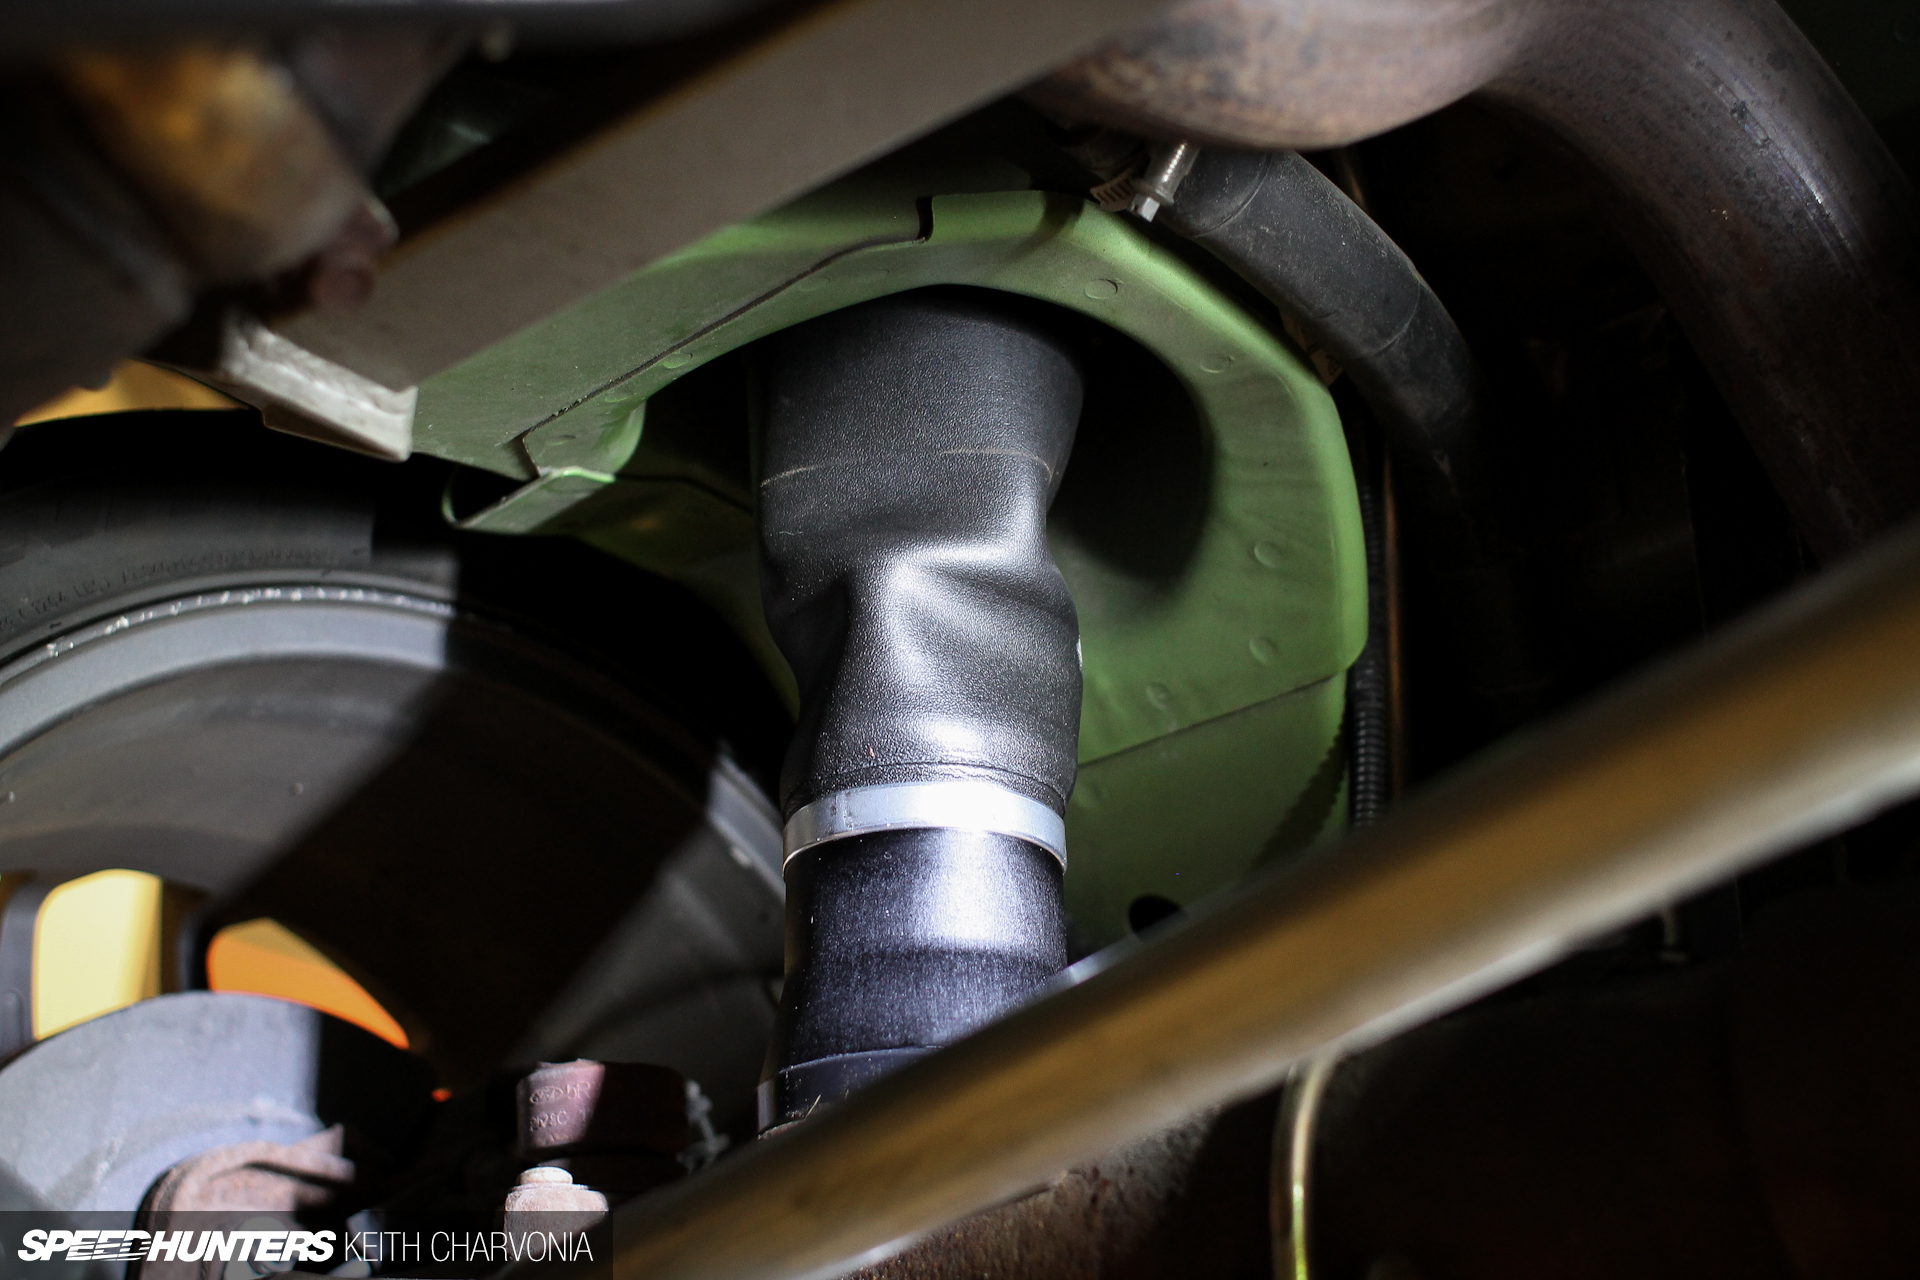
The center hole is where the airbag bolts in and the side hole is where the air line will be routed.
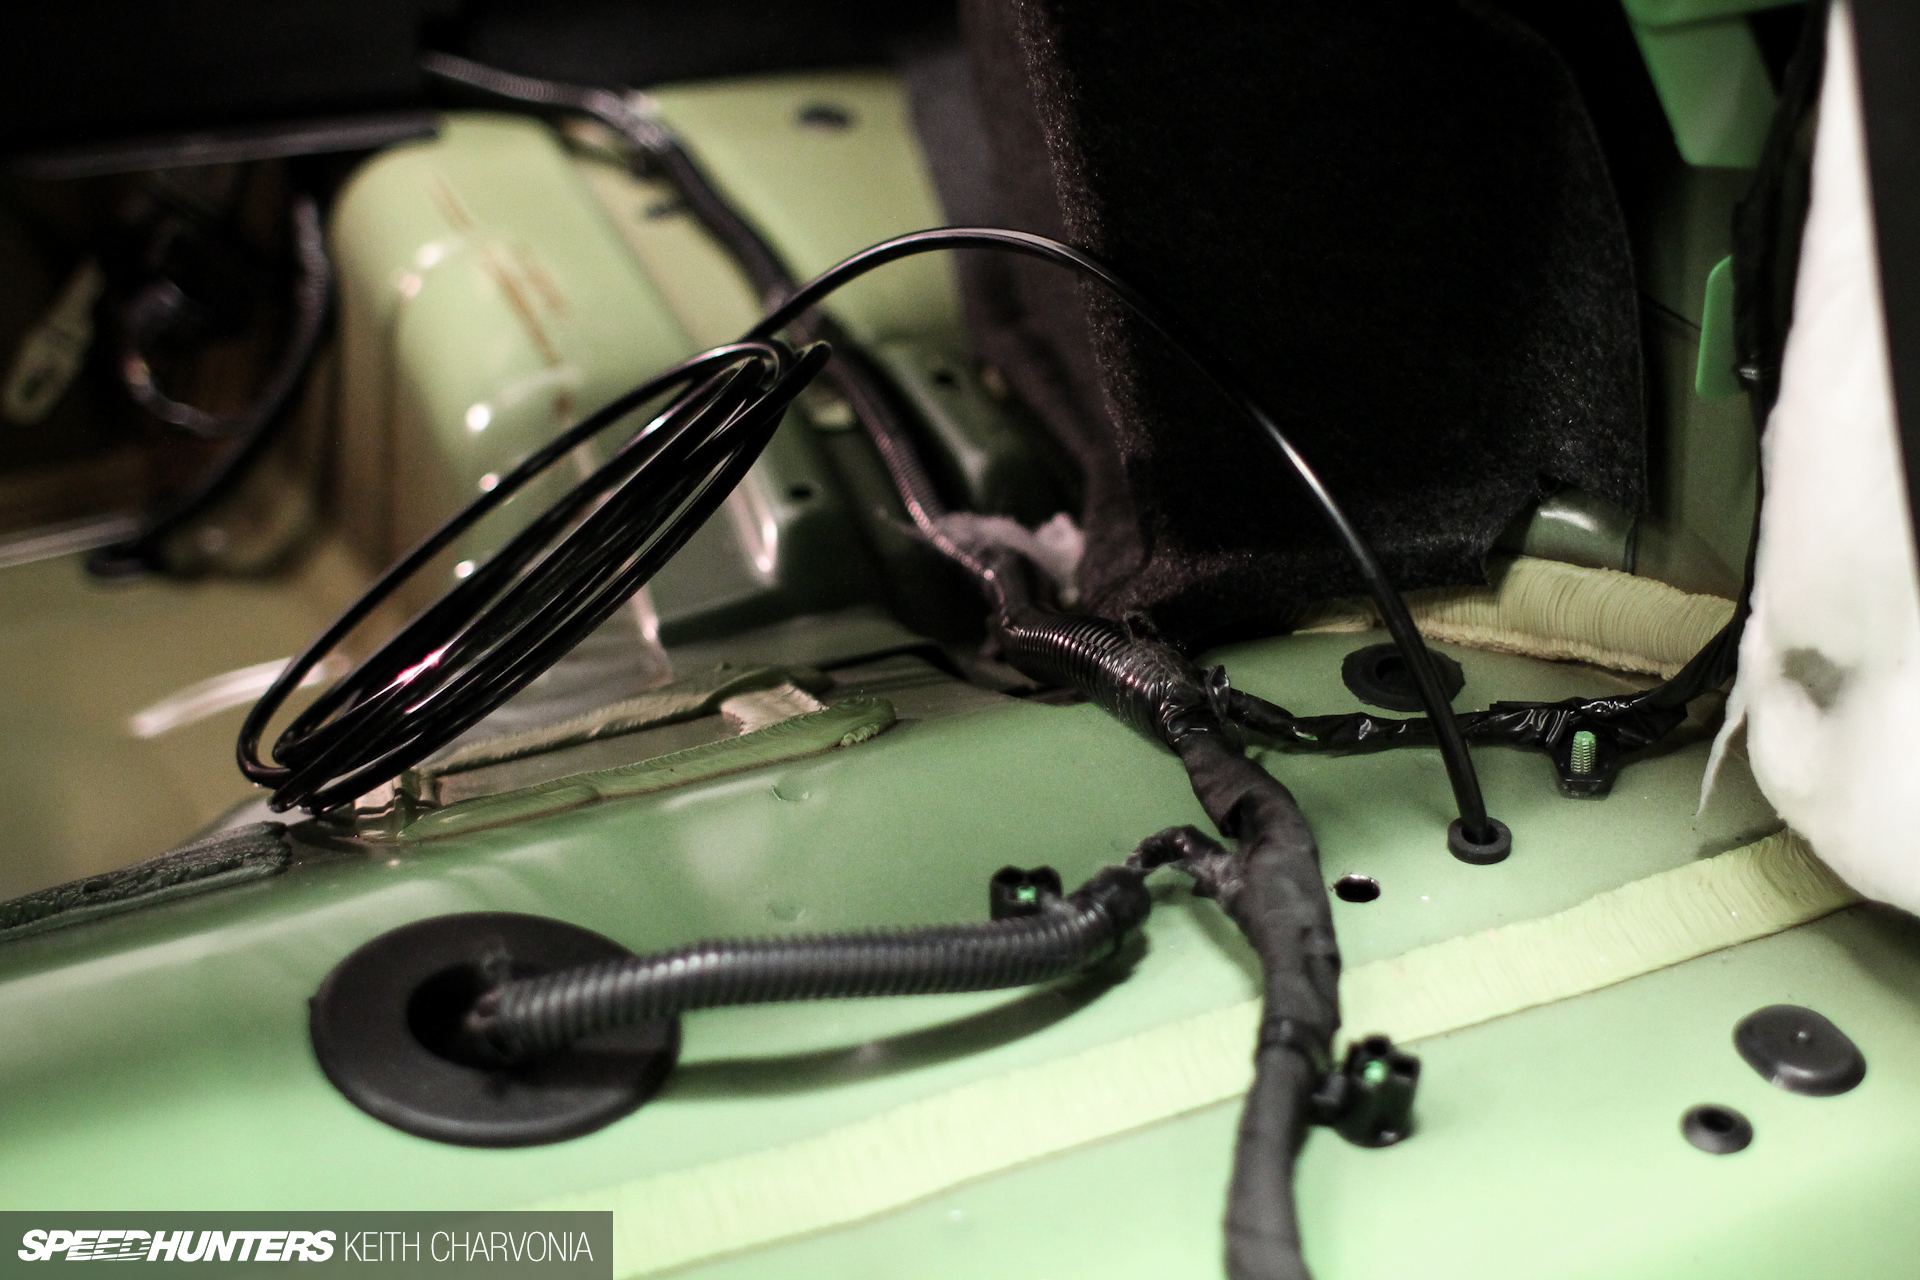
I stuck a grommet in the hole and ran the air line through, leaving lots of excess line to work with.
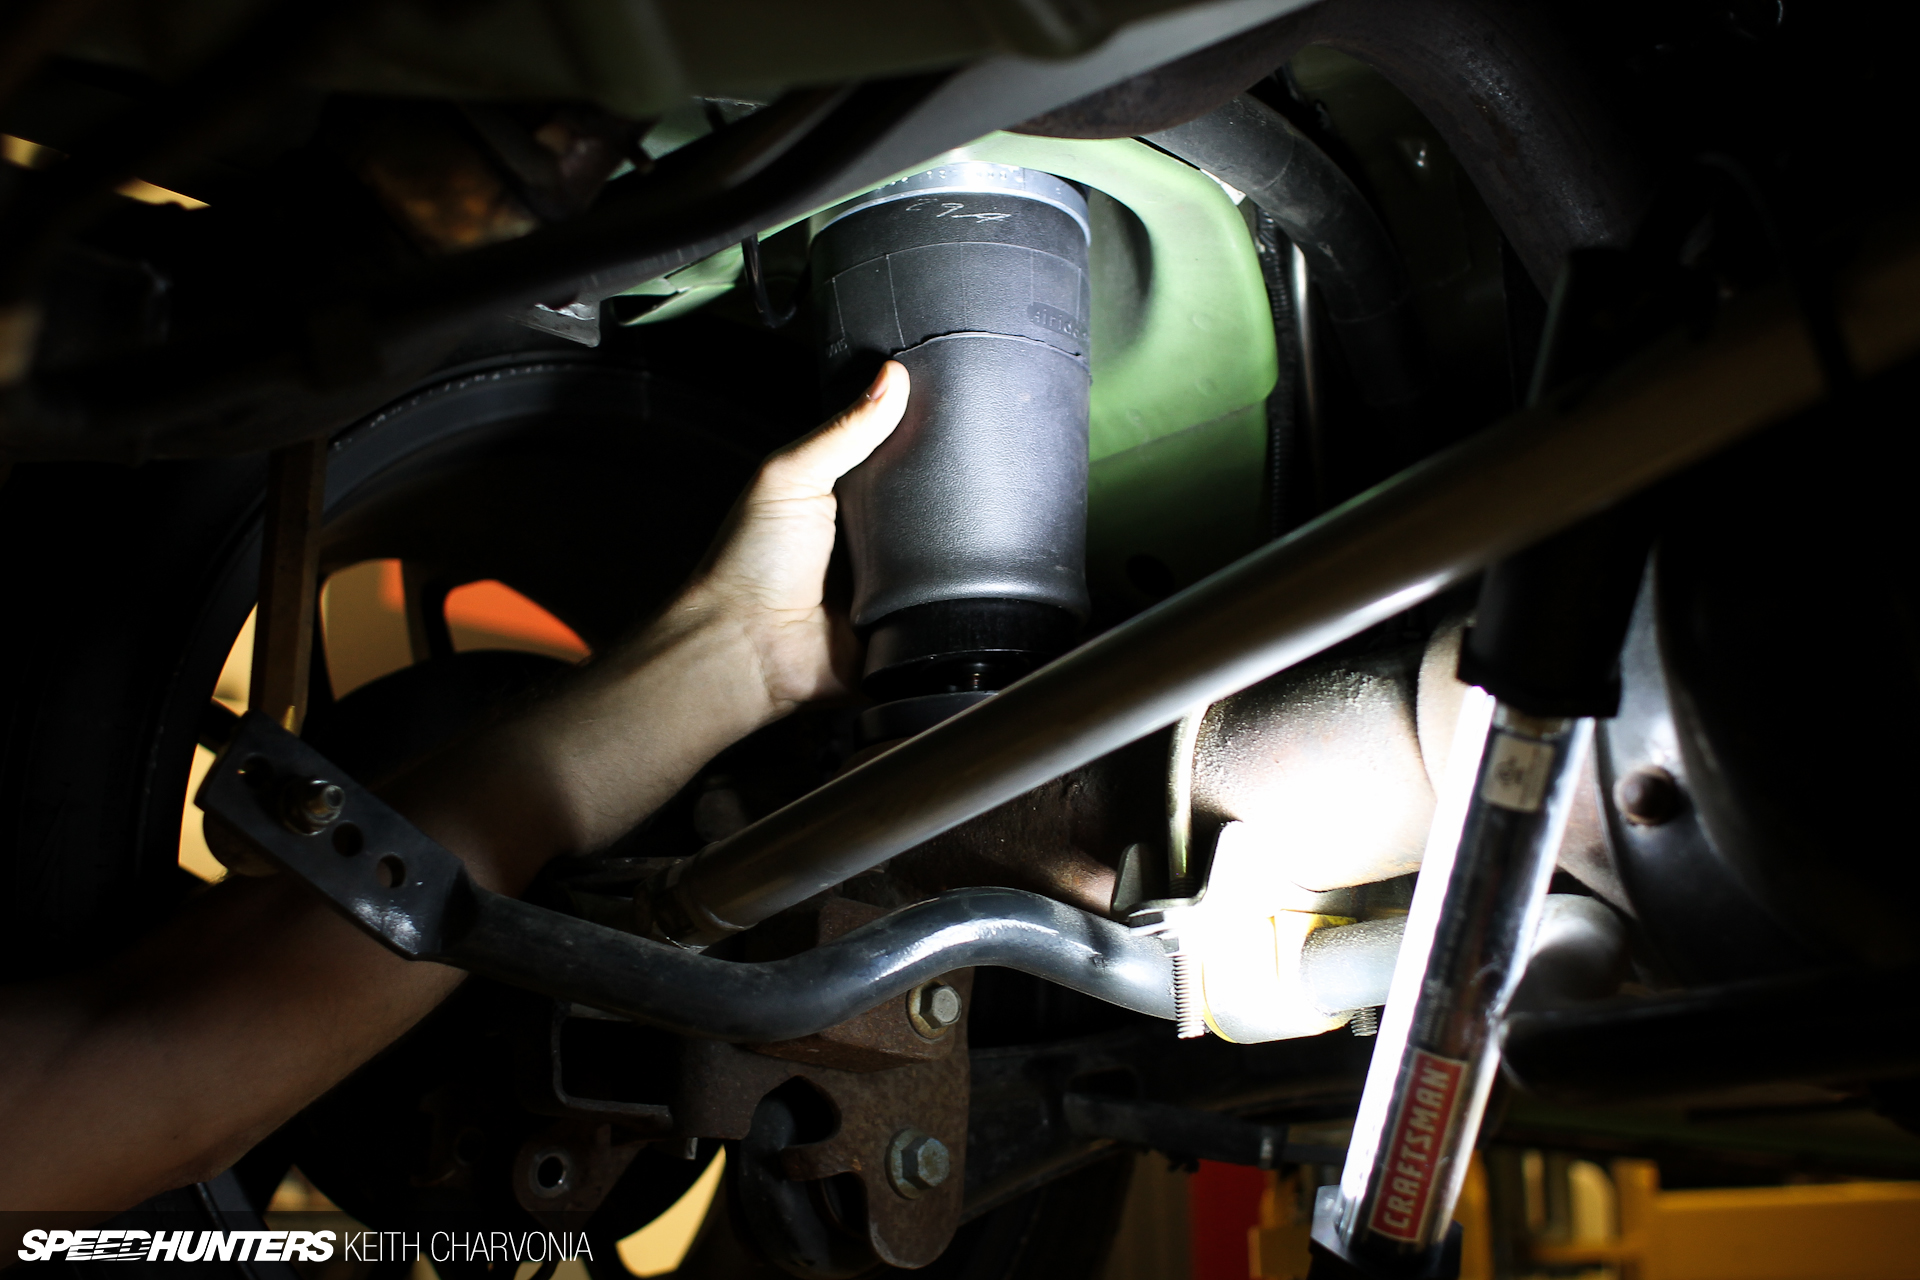
Brian slipped the provided threaded plate into the lower spring mount and spun the airbag onto the threads.

Next we compressed the bag so we could plug in the air line. Again, it’s advisable to trim the end of the air line so you don’t have to undo all your work later to repair a leak.
Finally we could bolt the top of the bag in through the holes I just drilled.
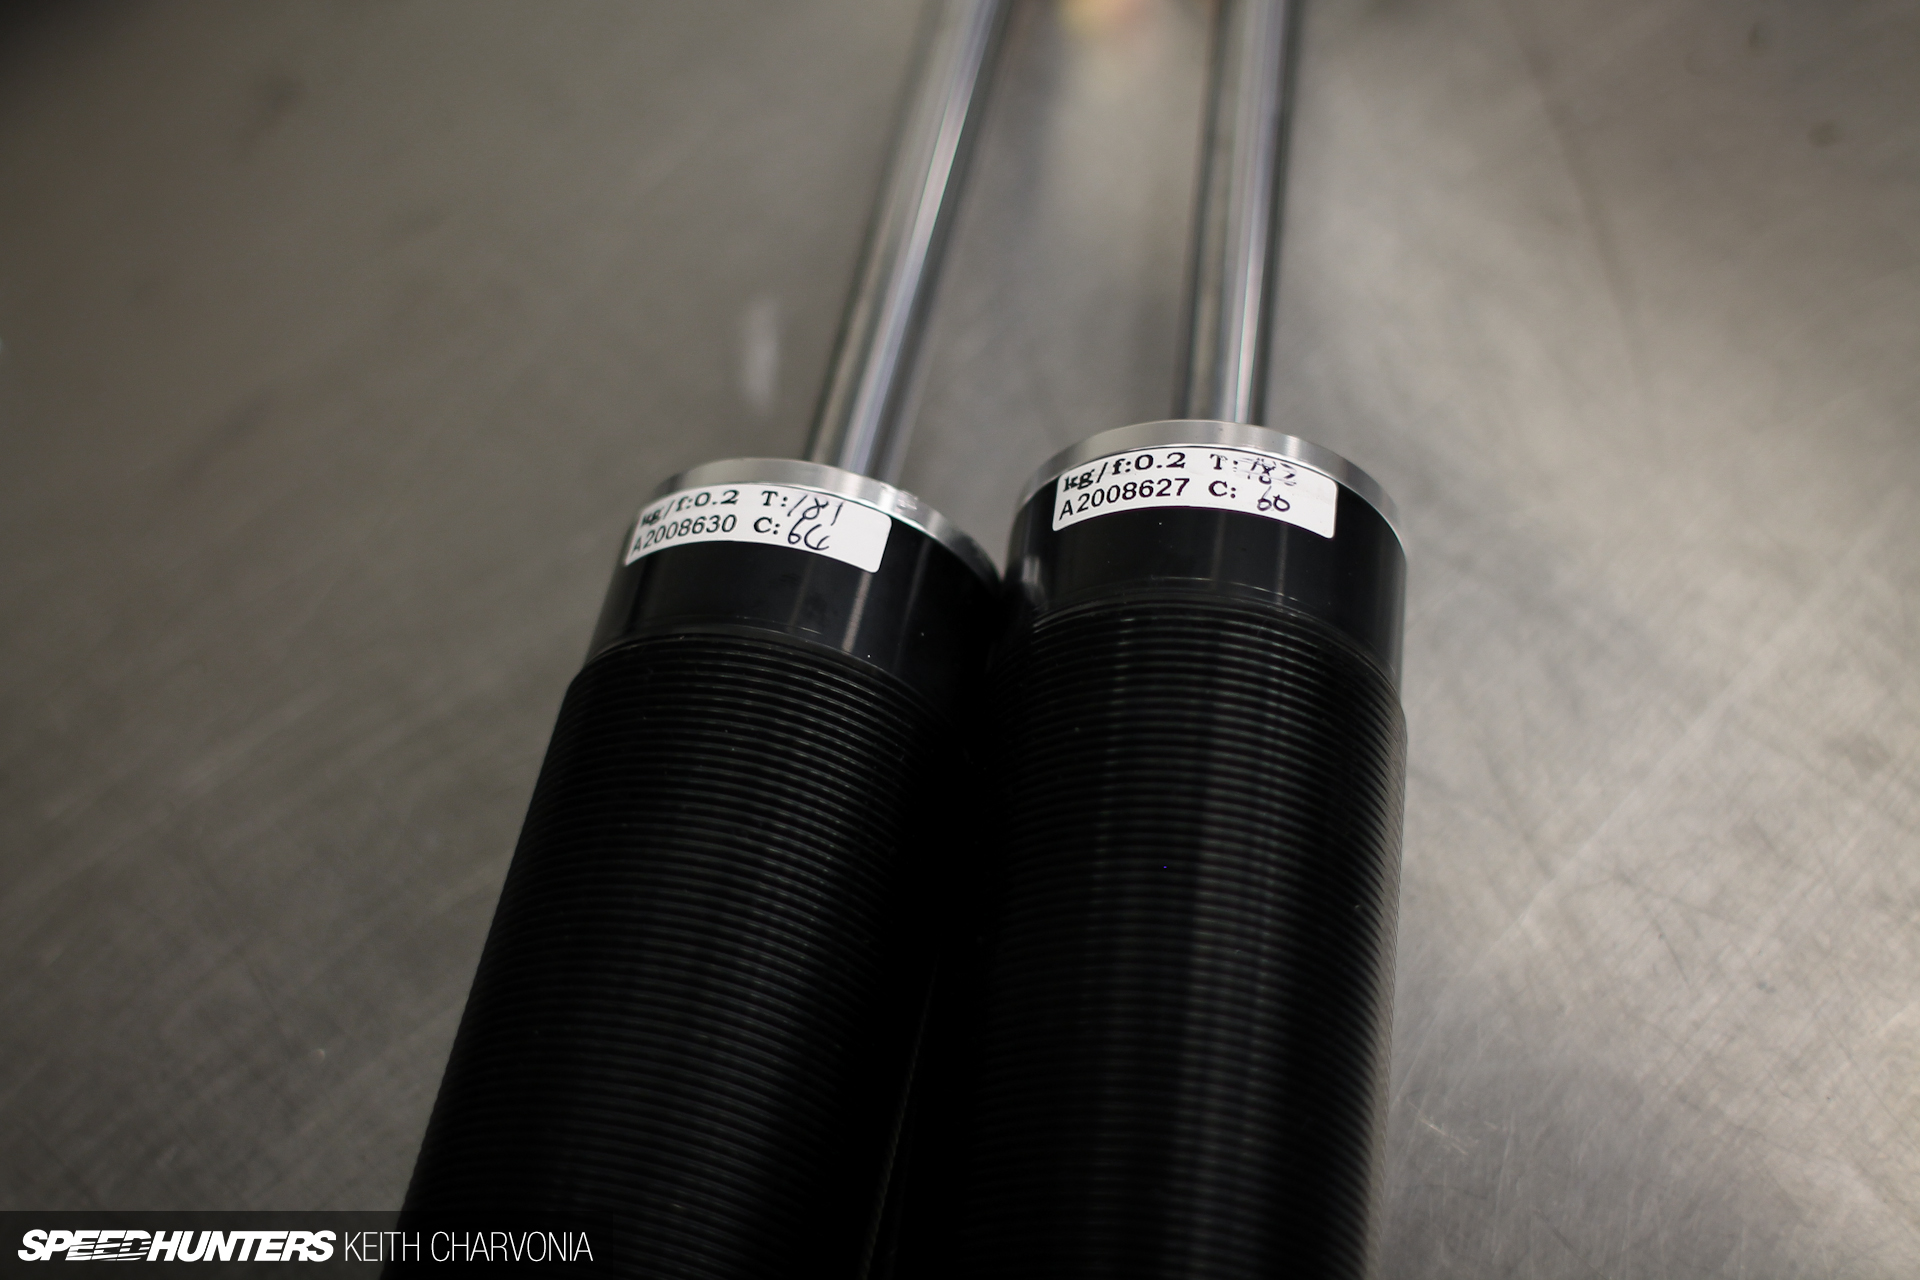
These hand-written numbers caught my eye. According to Brian every shock is run on a shock dyno and the rebound and compression ratings are written on these tags. A pair of shocks must be within a few pounds to be deemed a matching set. Also notice the threaded bodies: clearly a set of coilovers could be built with this same hardware. No sealed monotube shock absorbers here!
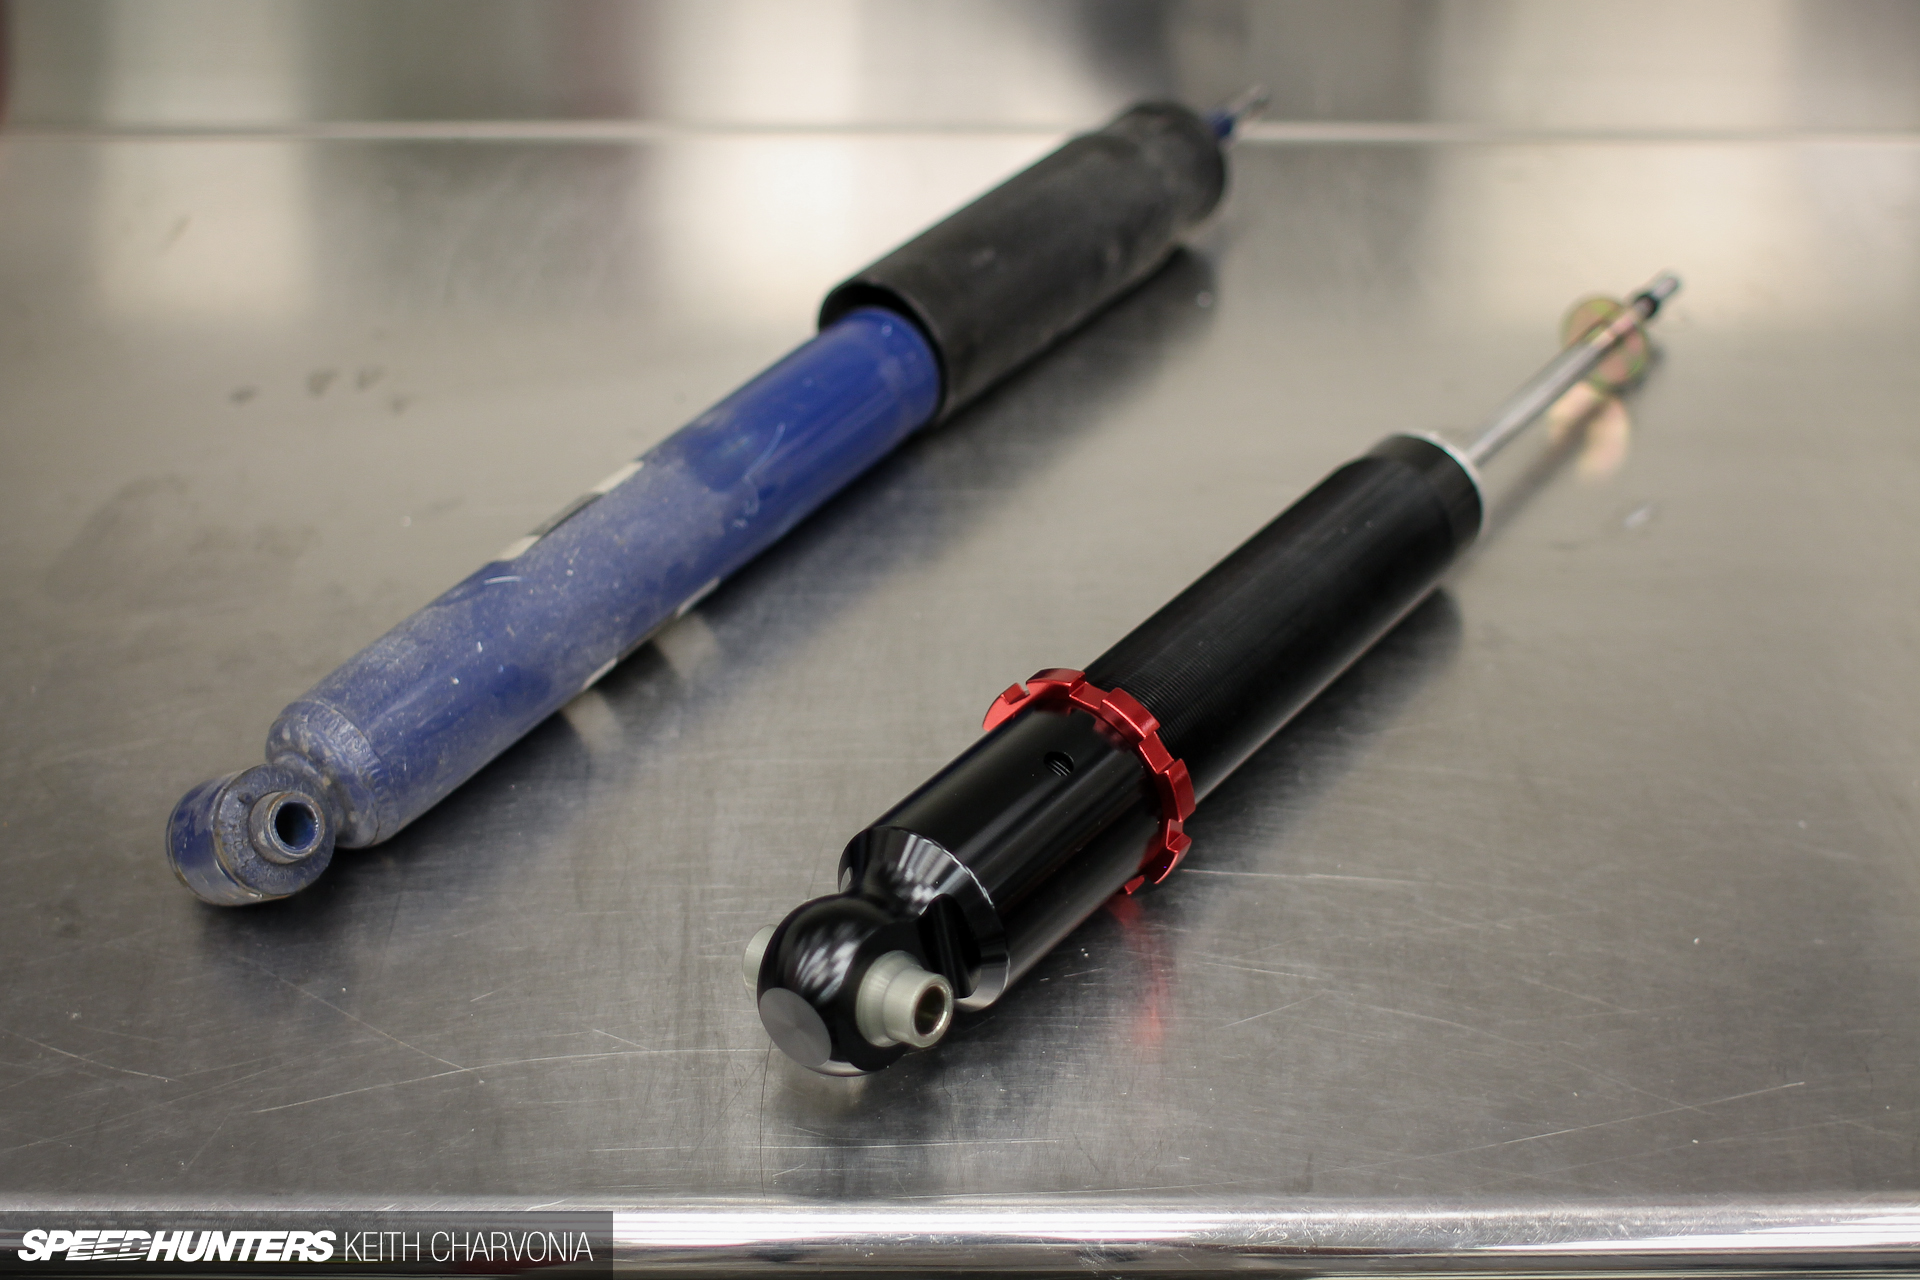
Here’s what came out and what went in.
They bolted in just like any other rear shock.
Wiring and plumbing, the fun stuff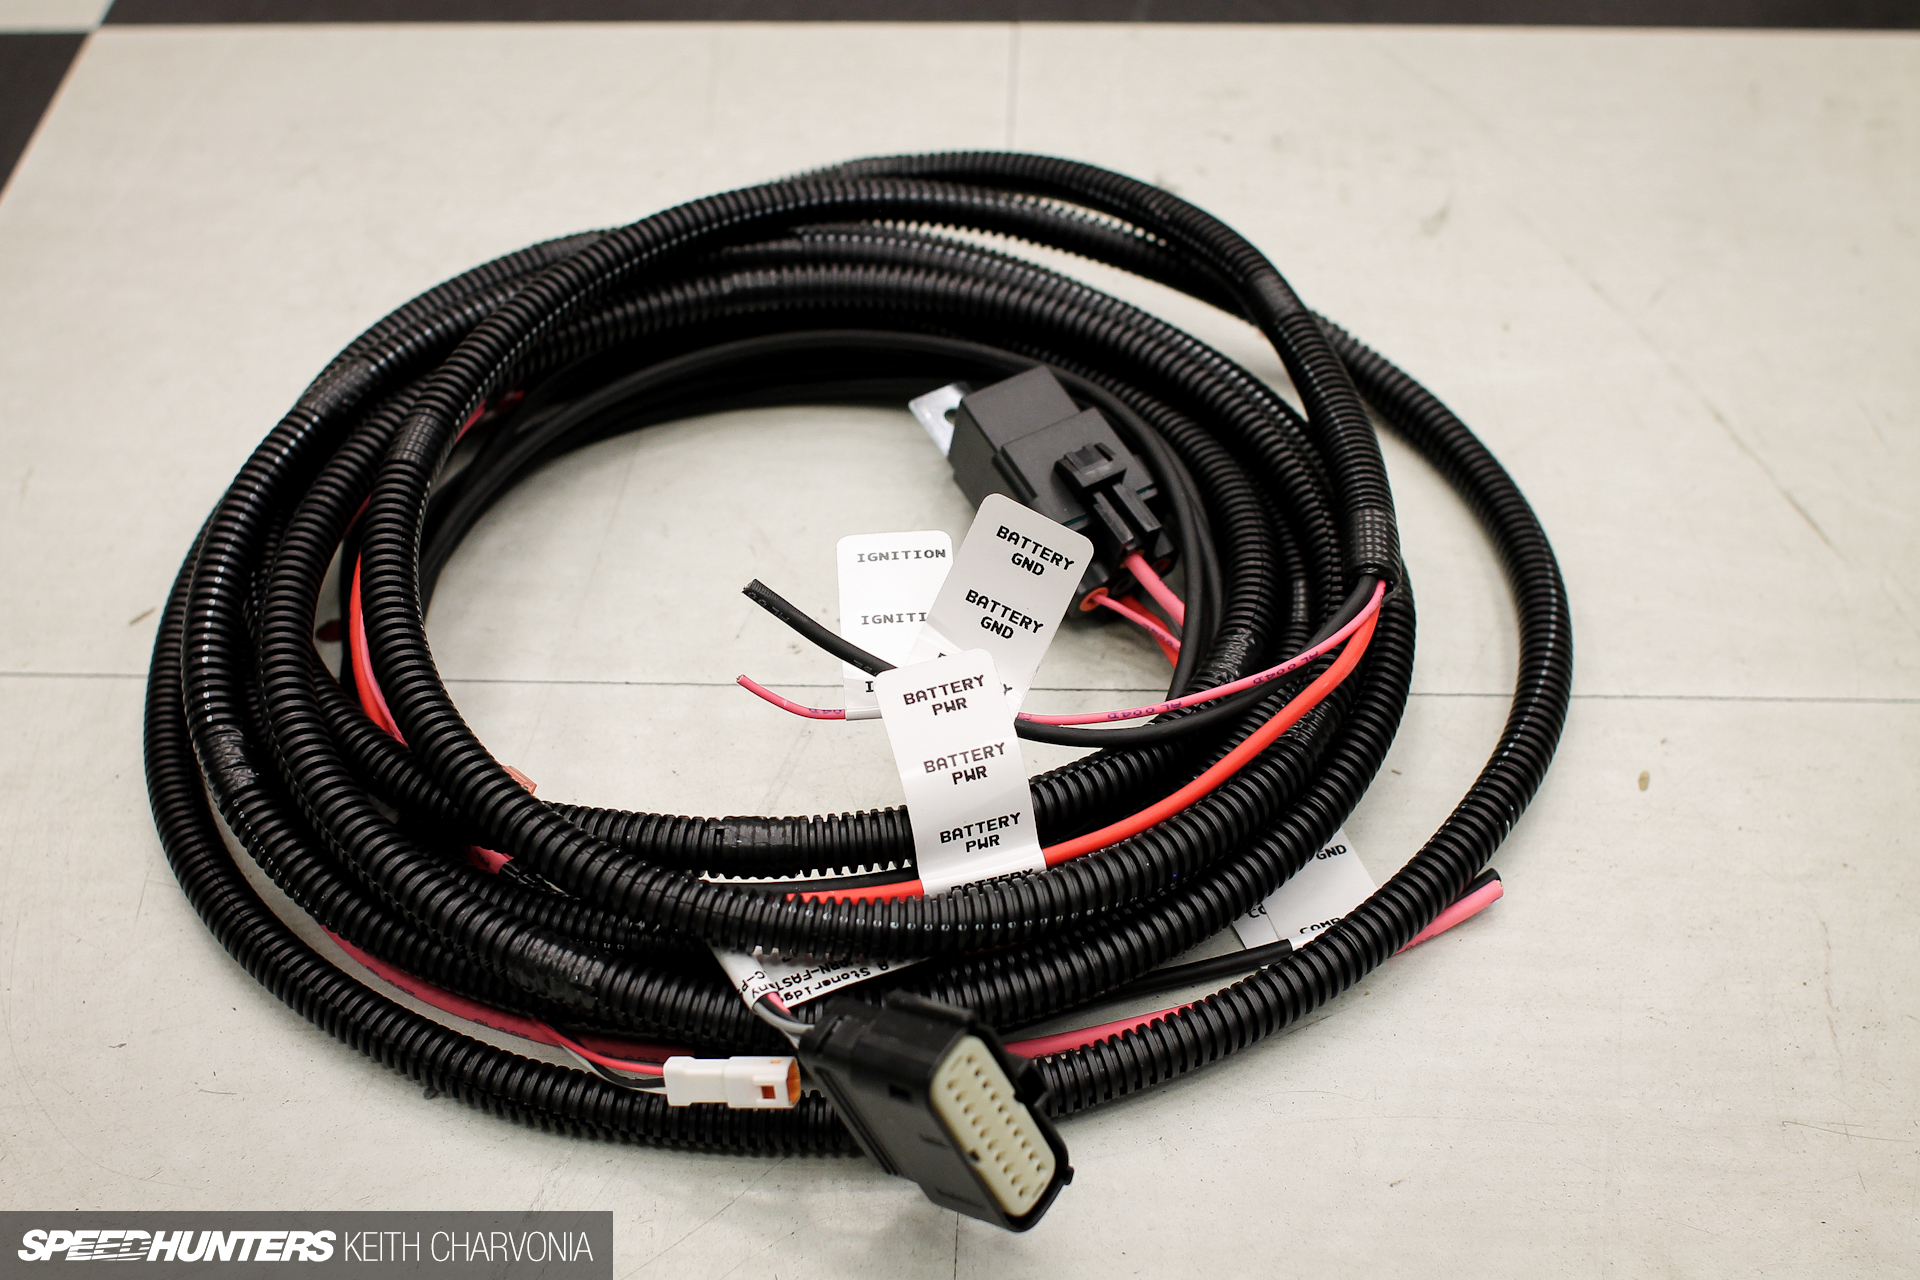
With all the wrenching out of the way we could finally turn our attention to the tasks that I really enjoy – mounting the manifold and tank, and running the wiring and air lines. As you can see, Air Lift provides a plug and play harness. The only wires you need to connect are power, ground and switched ignition for the system plus two wires for the compressor.
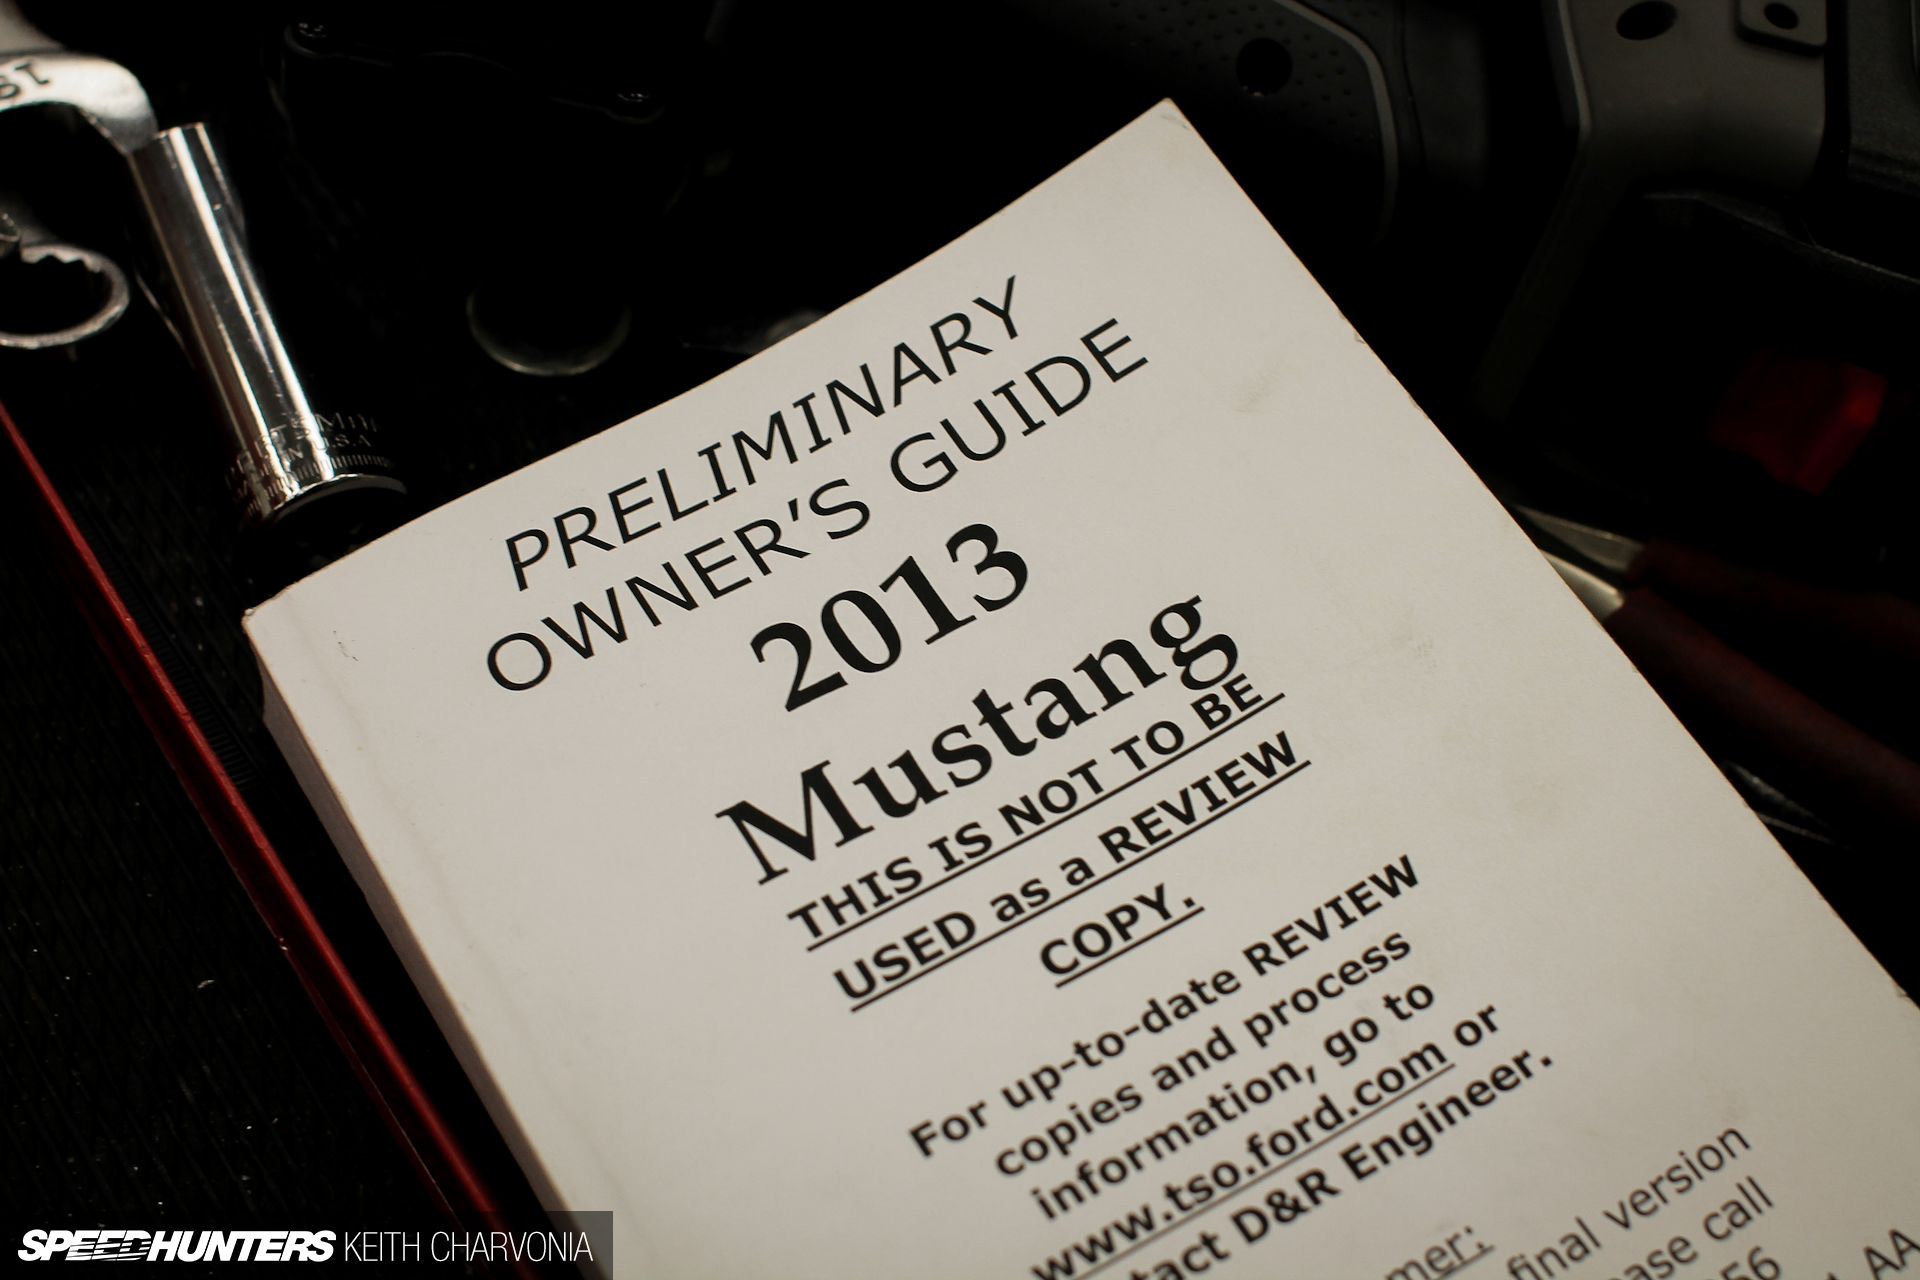
We grabbed the manual from the glove box and noticed that it wasn’t any ordinary manual. Brian was still able to find the hot and ignition switched spots in the fuse box that we would need.
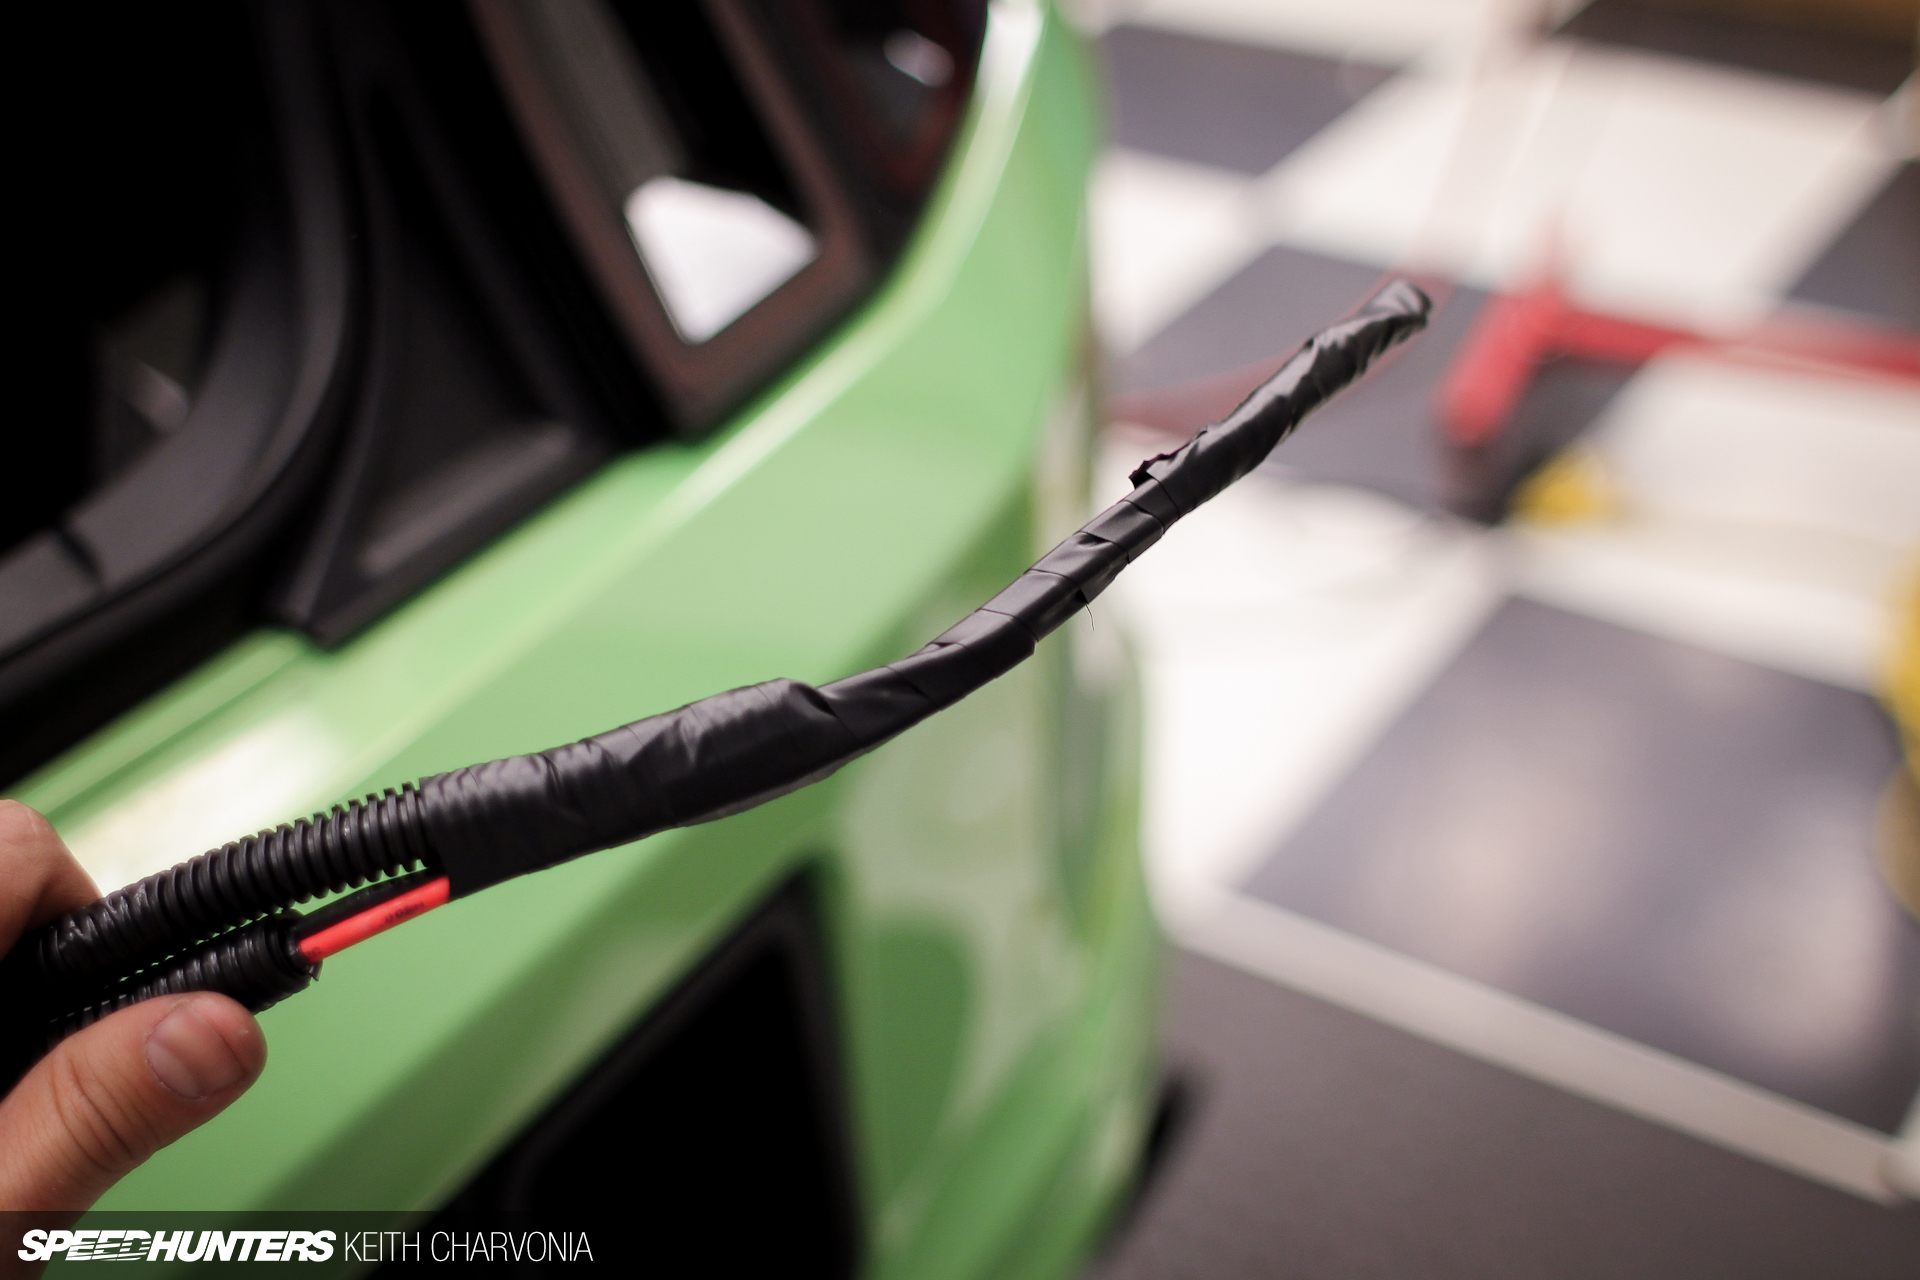
As he looked for the electrical connections, I started running the harness. It helps to tape everything into one tight bundle at the end so you can just stuff all the wiring through any tight spots or grommets.
I made my way through the car with the harness.

Meanwhile Brian had moved on to assembling these trick vibration-isolating feet for the compressors.
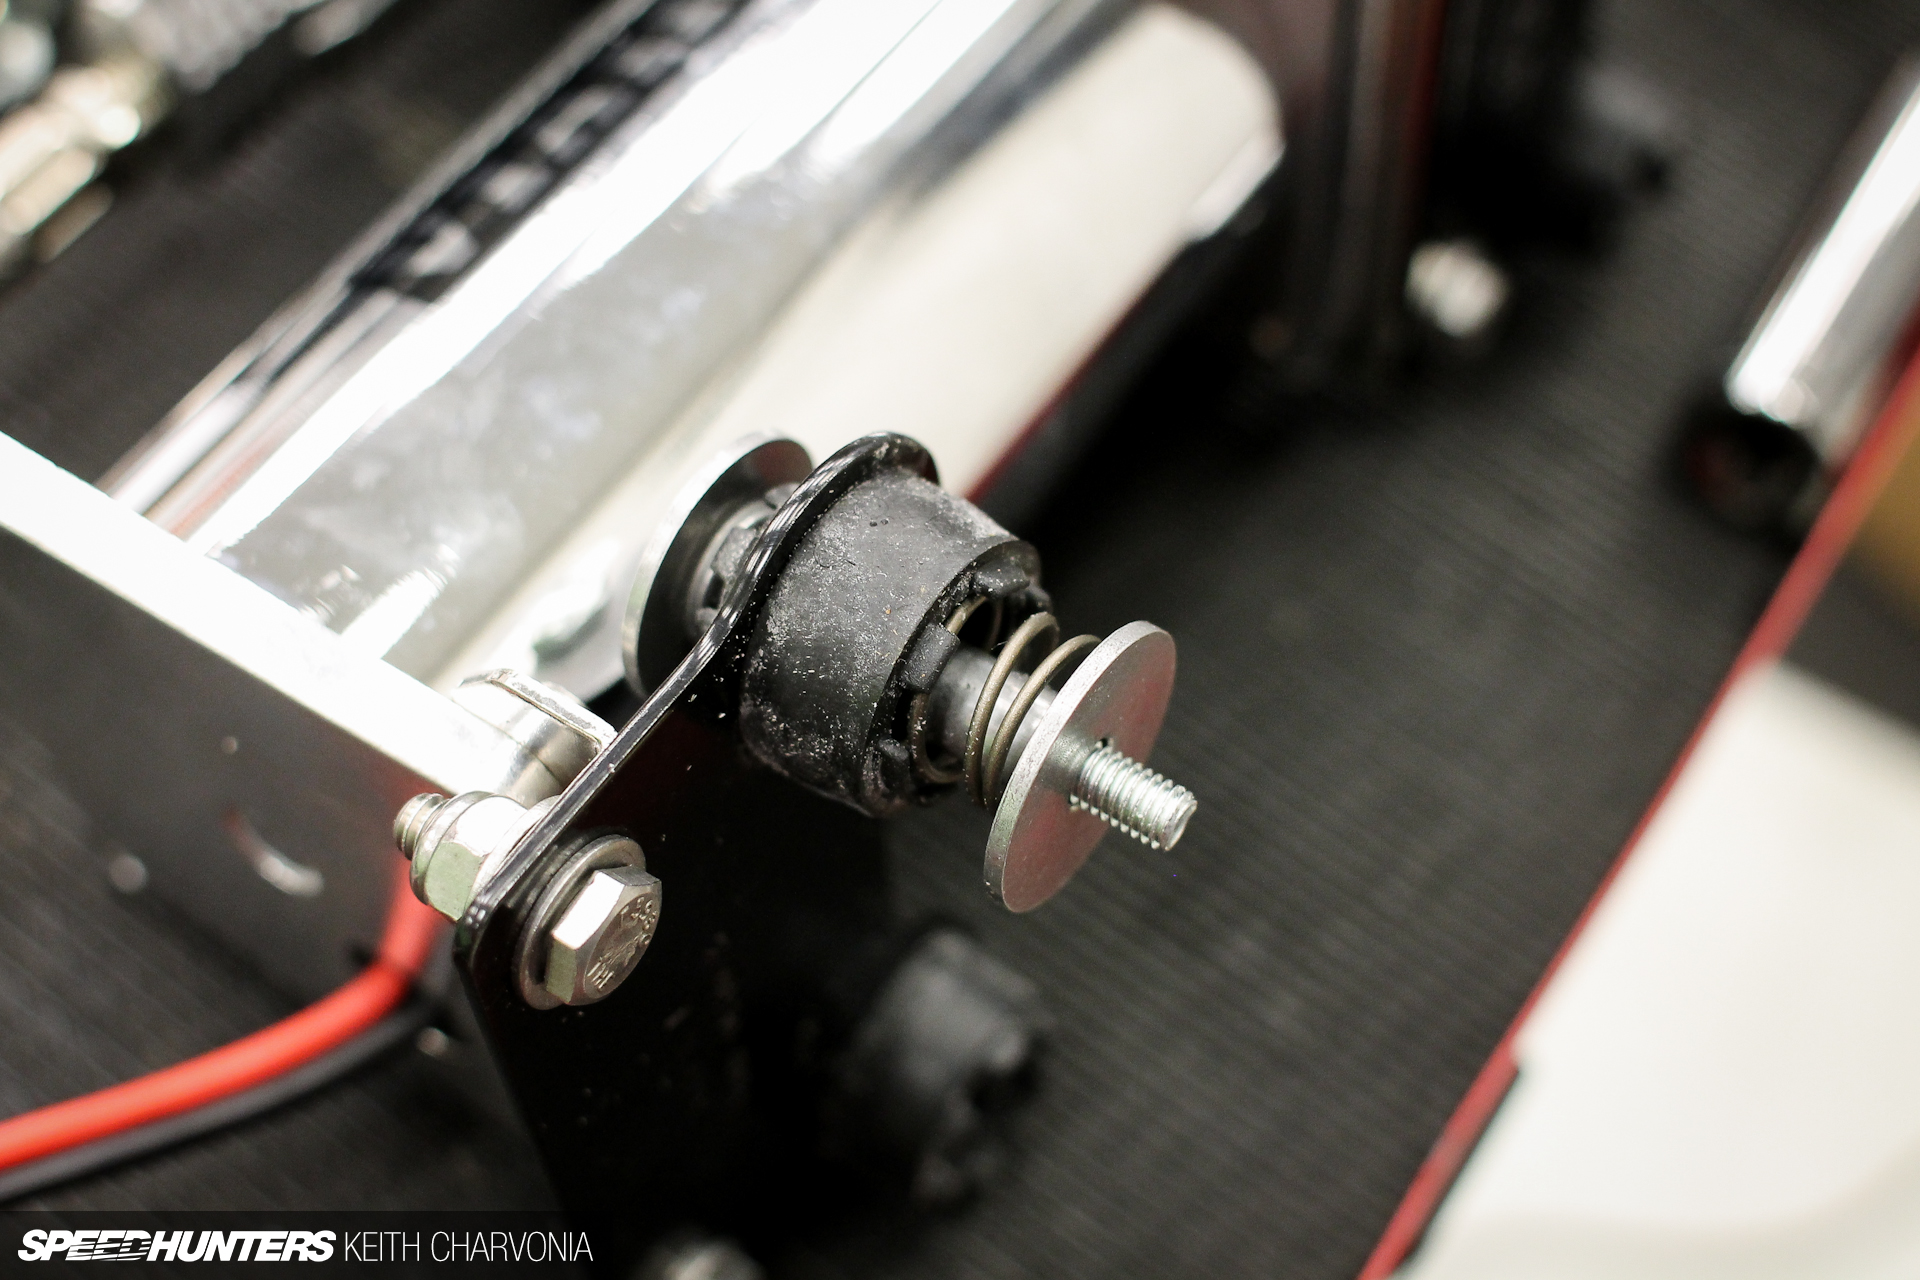
Instead of the little rubber grommets that come on the compressors, Air Lift adds spring mounted isolation bushings to keep noise to a minimum. I’ve had four of these electric pumps hard-mounted in the bed of a truck before, so I can really appreciate something like this.
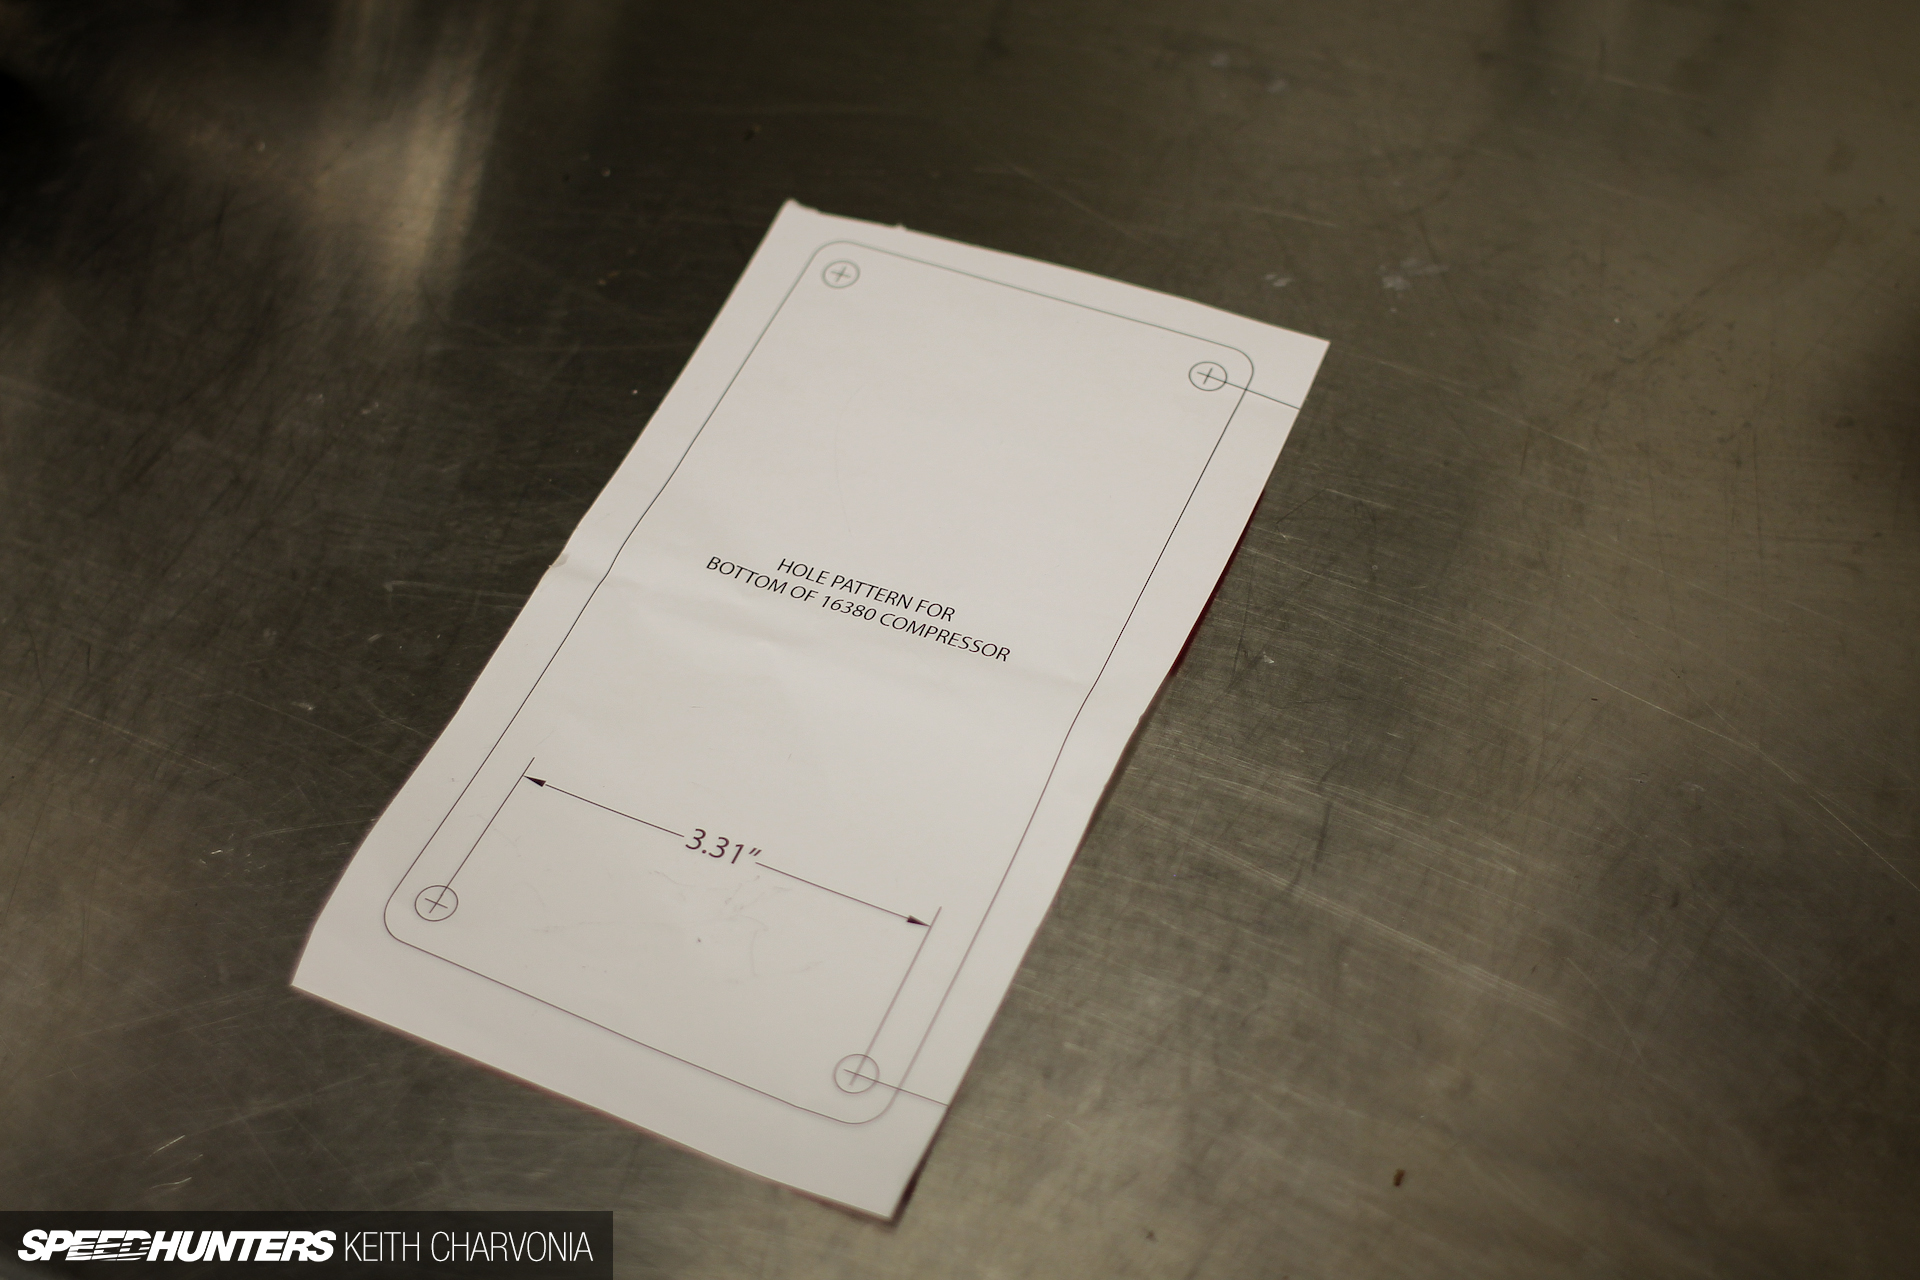
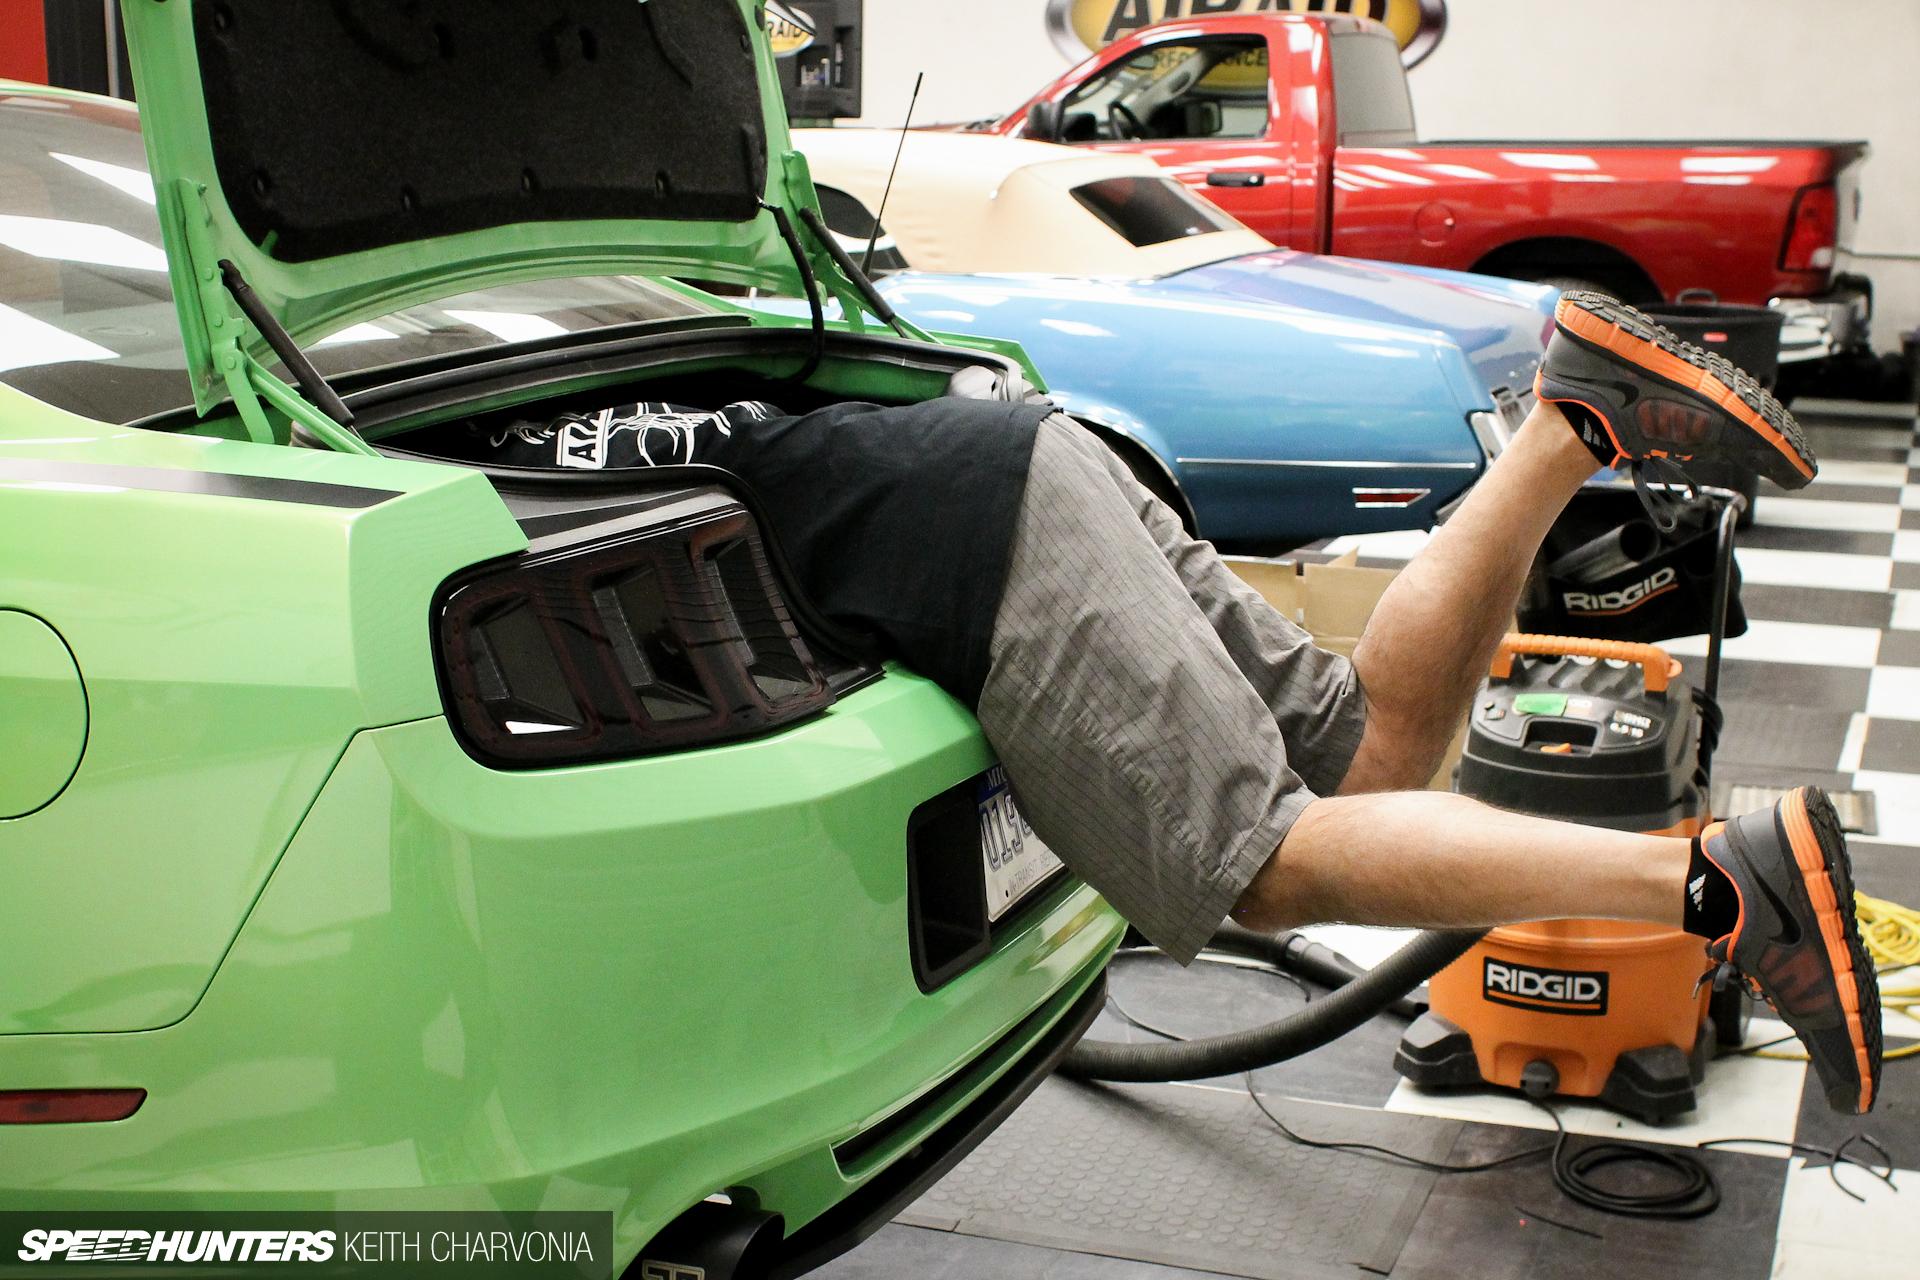
I cut out the template from the instruction manual and drilled some holes in the floor of the trunk.
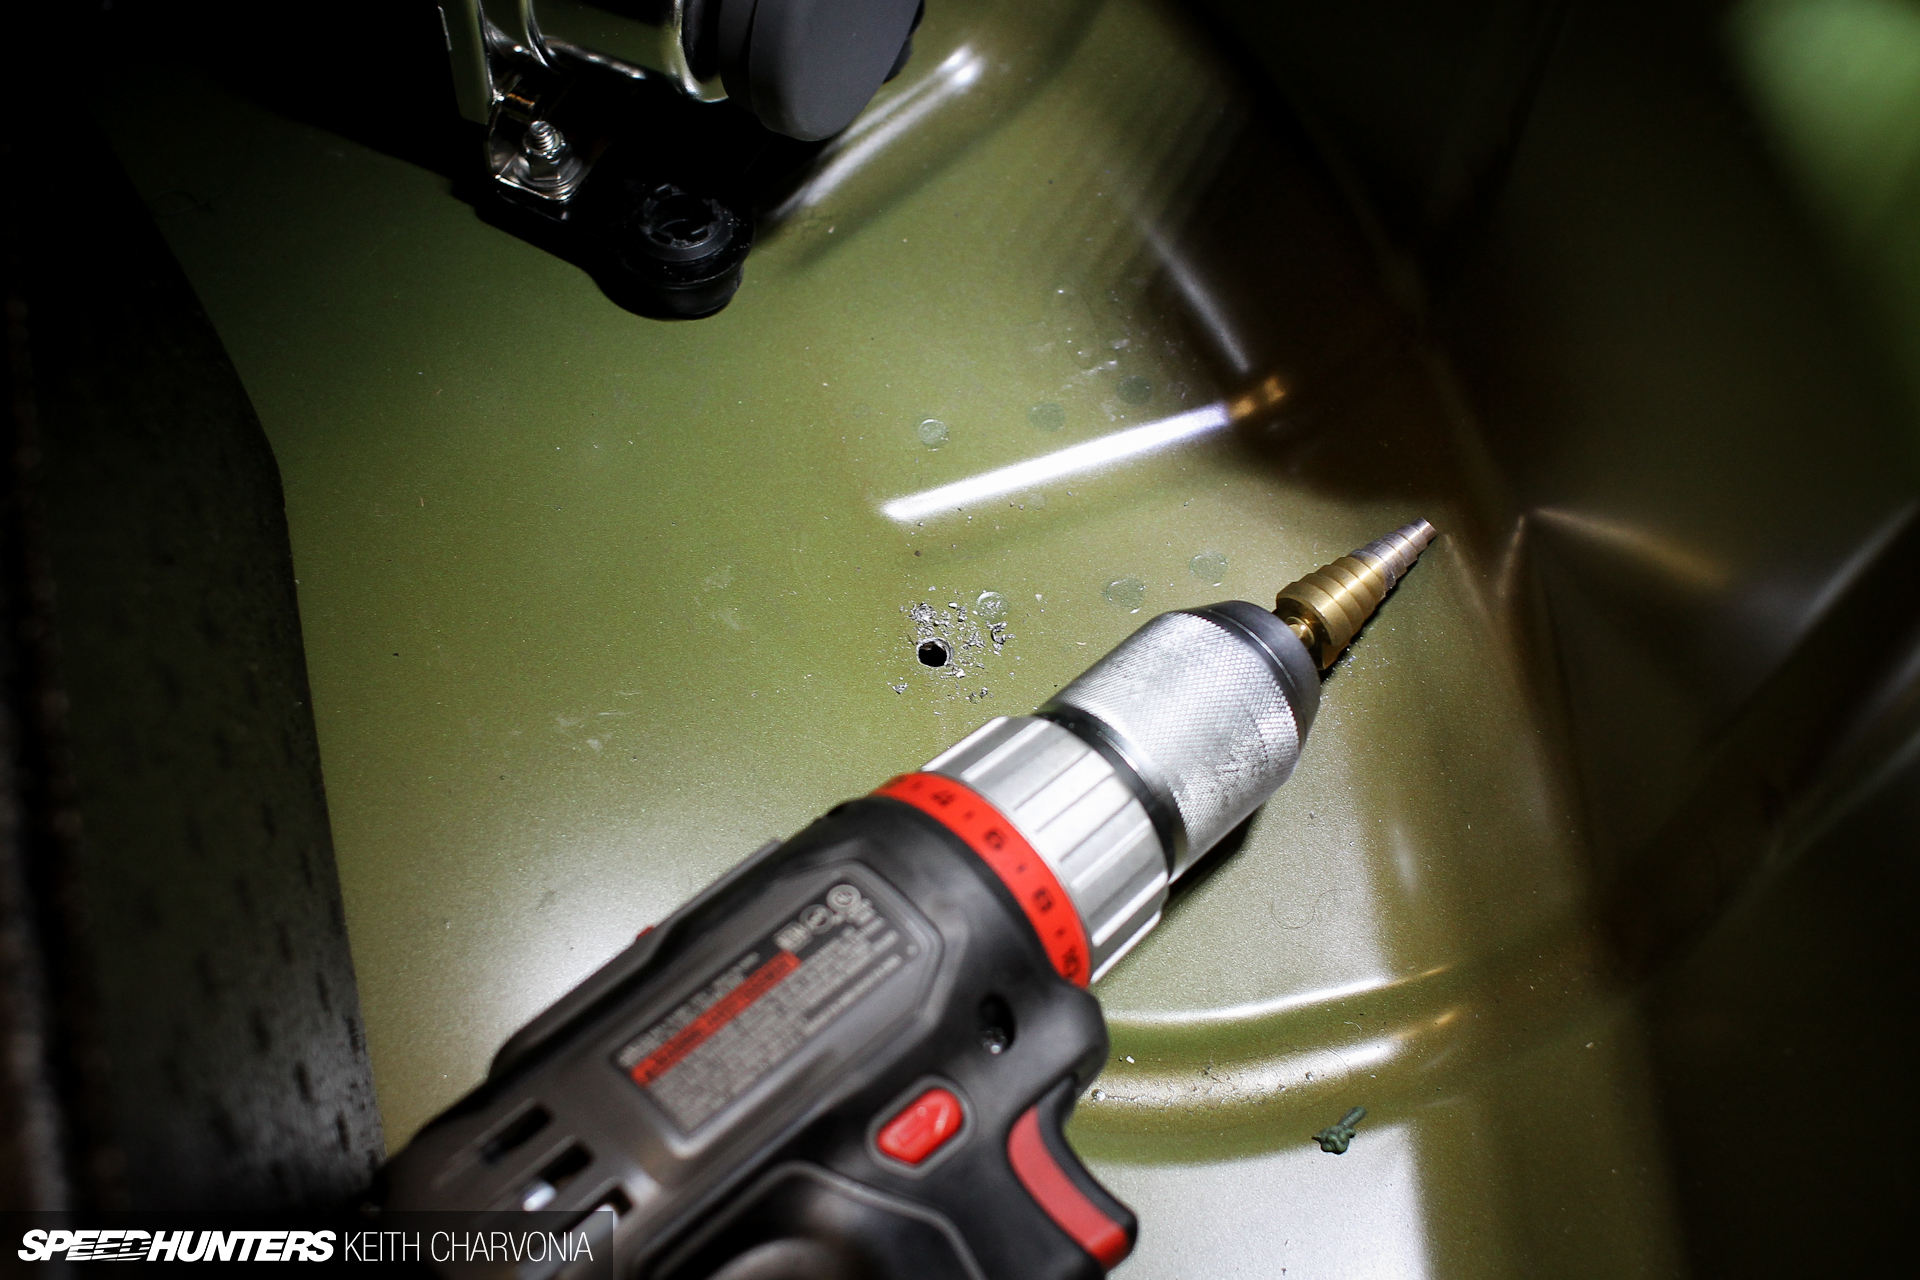
We decided to mount the compressors in the spare tire well since there wasn’t a spare anyway. Putting them under the trunk floor would quiet them down even more.

With two compressors and two relays I was able to do a nice symmetric layout that disappears under the trunk carpet.
When I first started playing with airbags, we were stuck with industrial parts and stuff from big rigs. That meant heavy steel tanks that rusted and individual valves to let air in and out of each bag. There were eight valves in total, and they all had to be wired up individually.
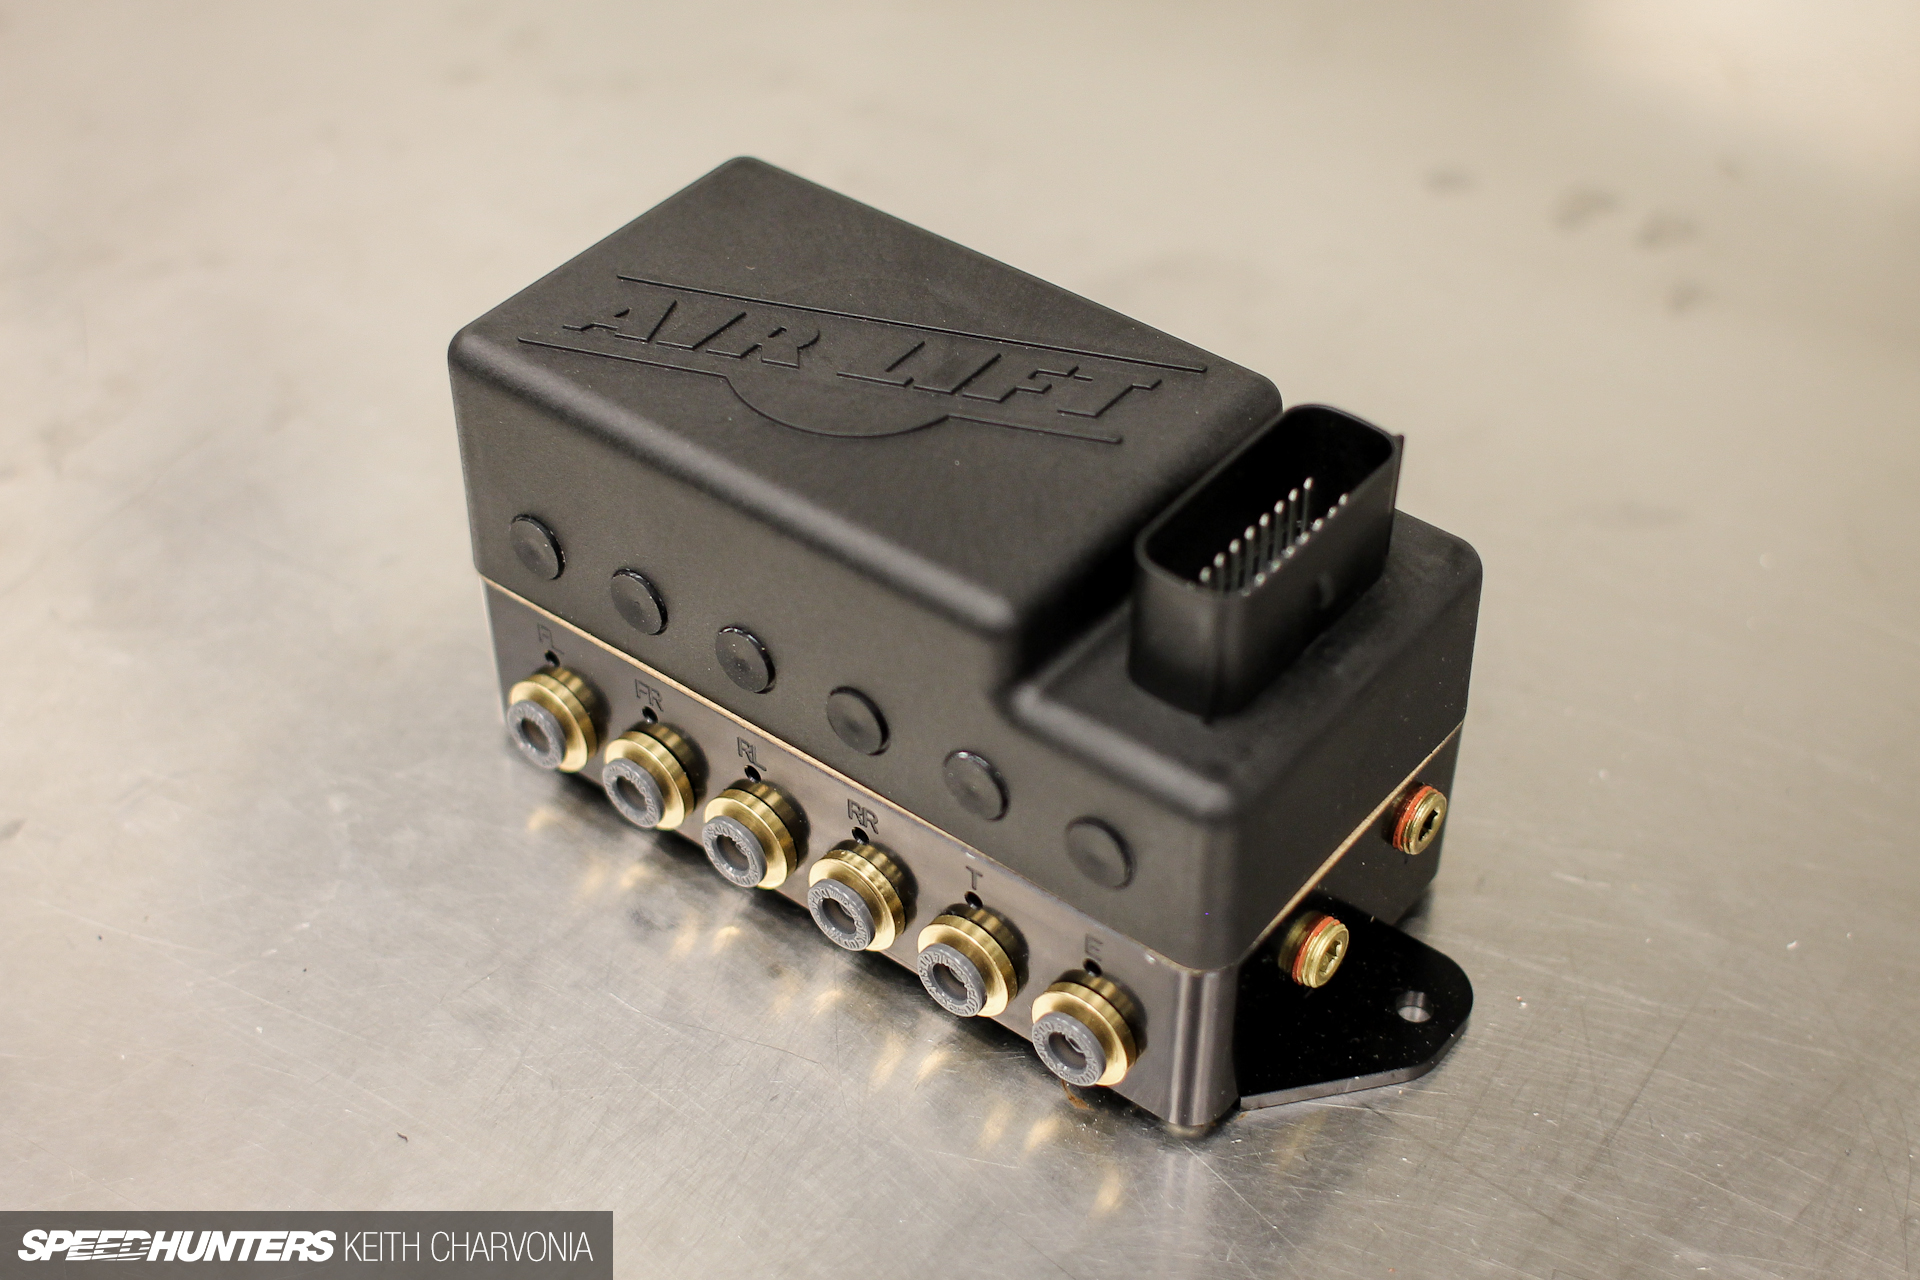
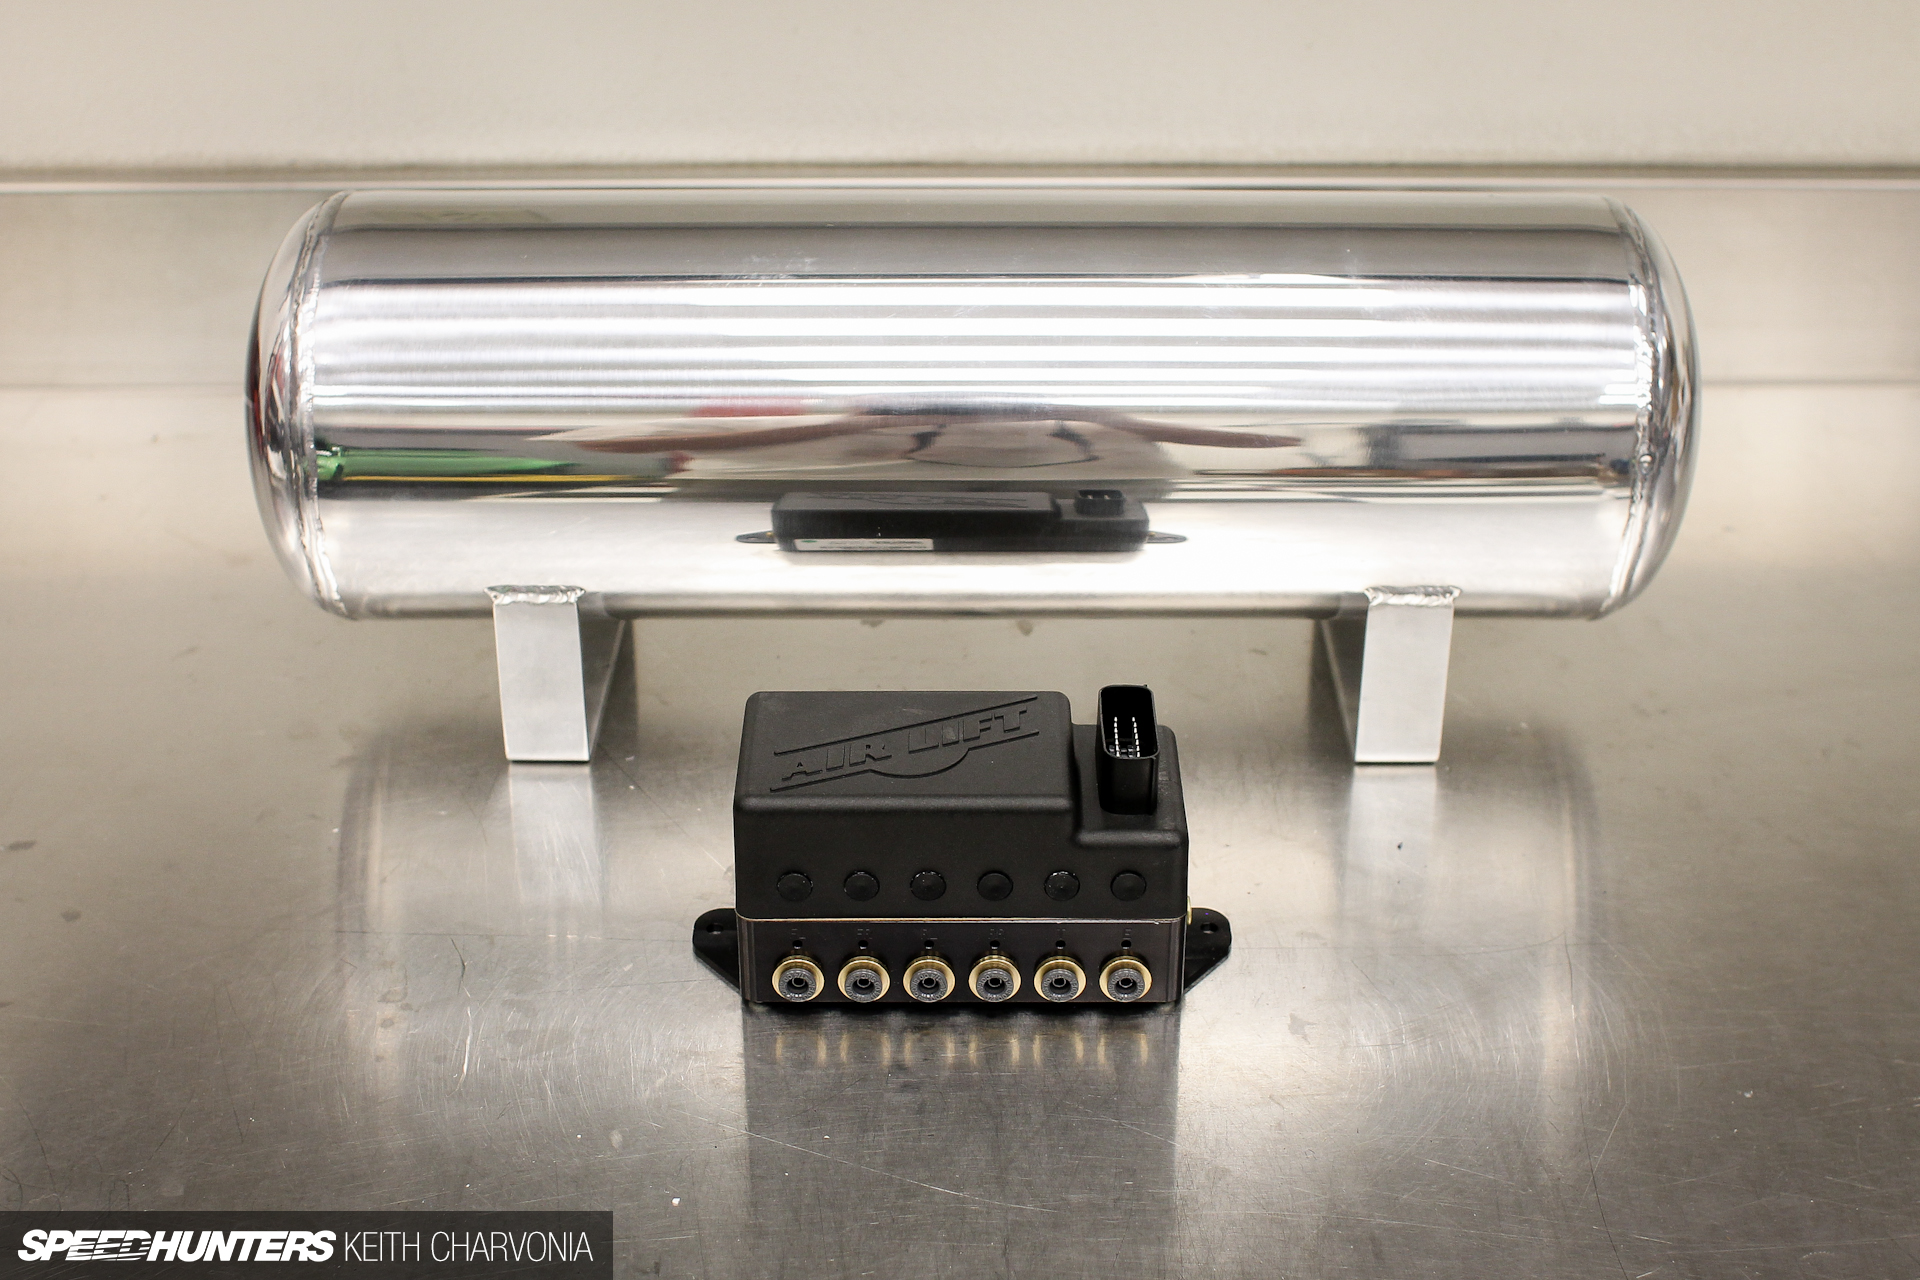
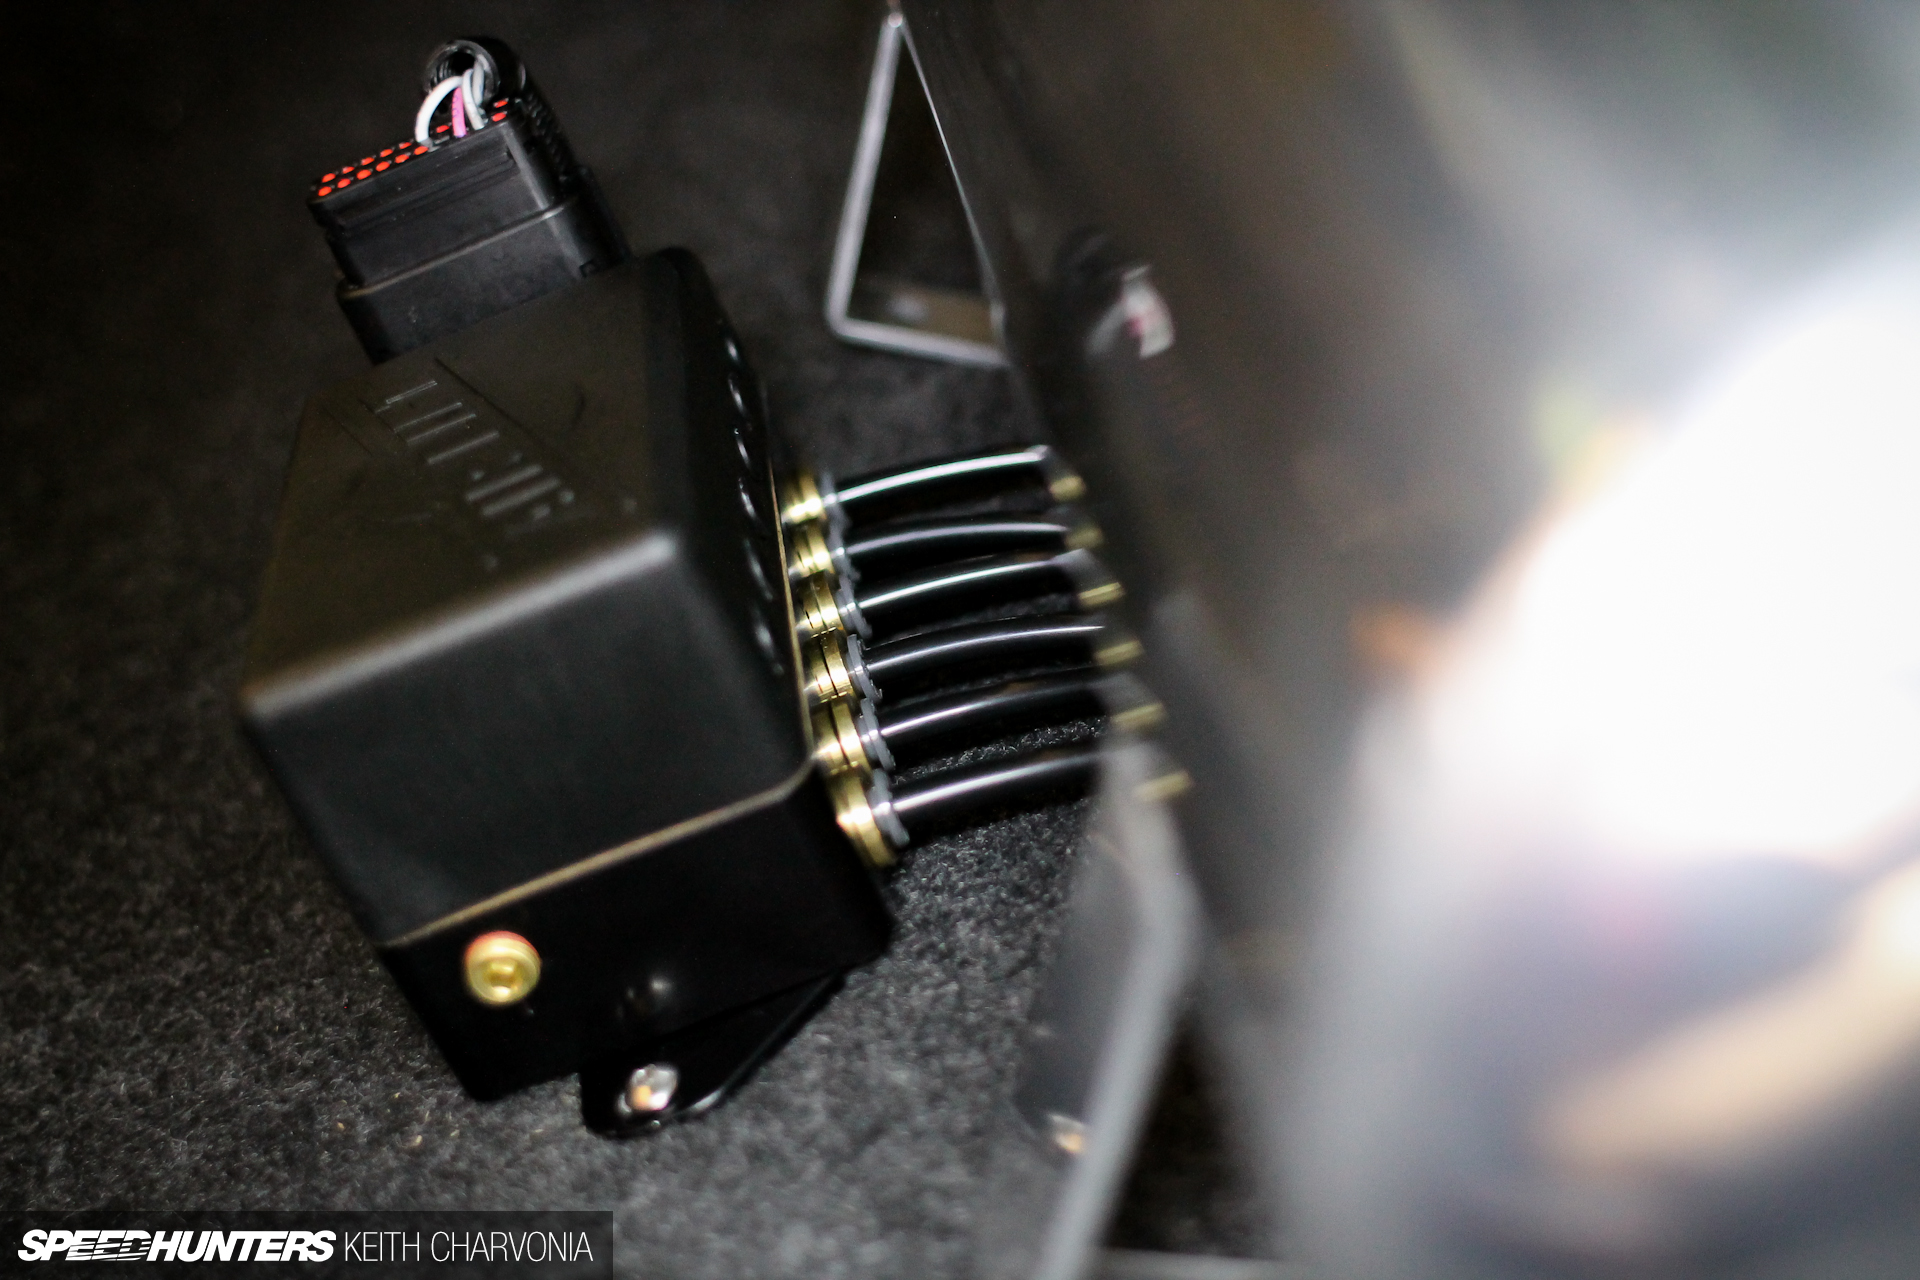
So imagine how happy I was to see this tiny ECU-controlled manifold that controls the whole air system.

Air Lift’s manifolds are made in the USA. No junk here.
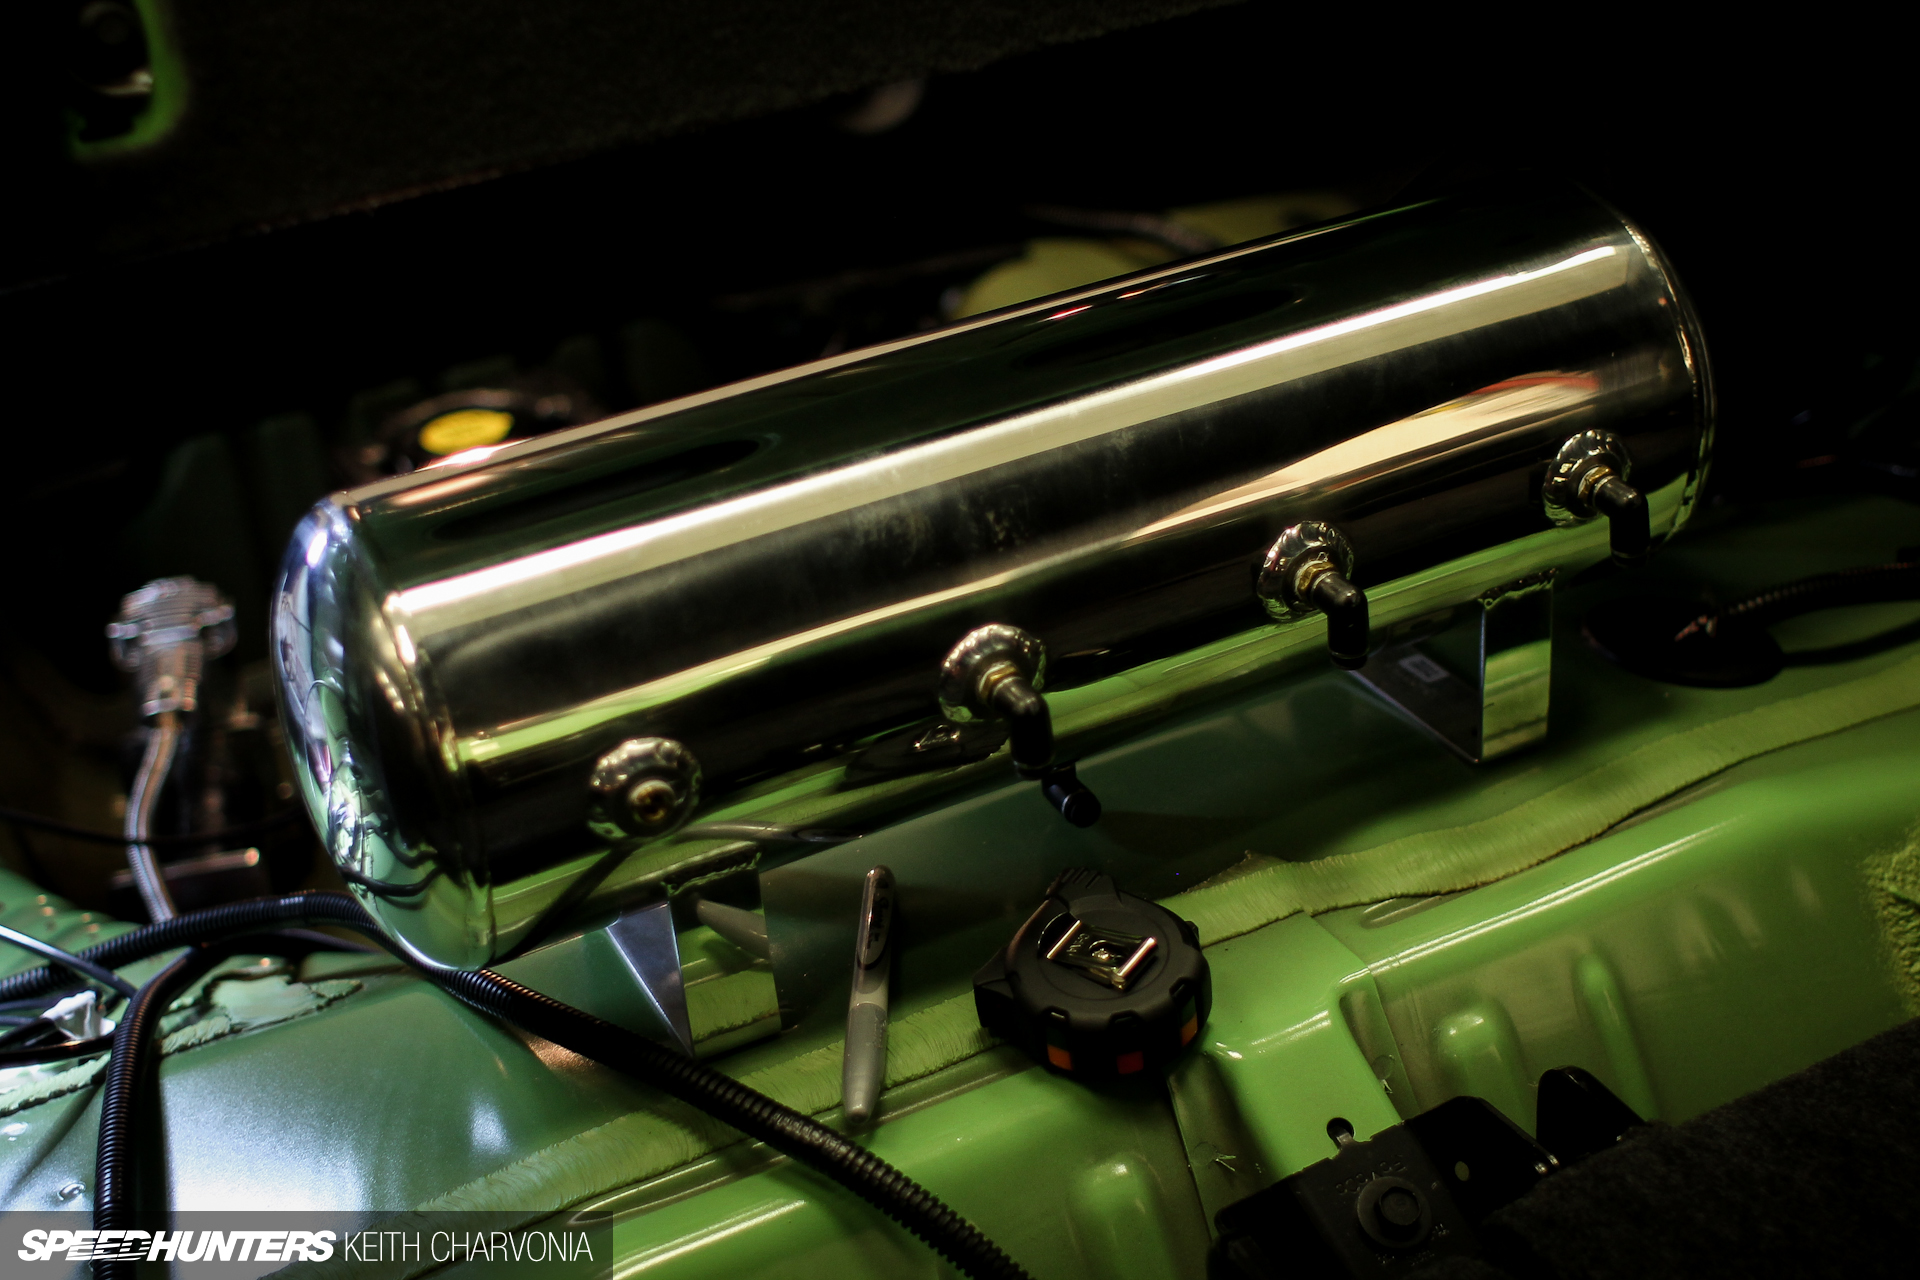
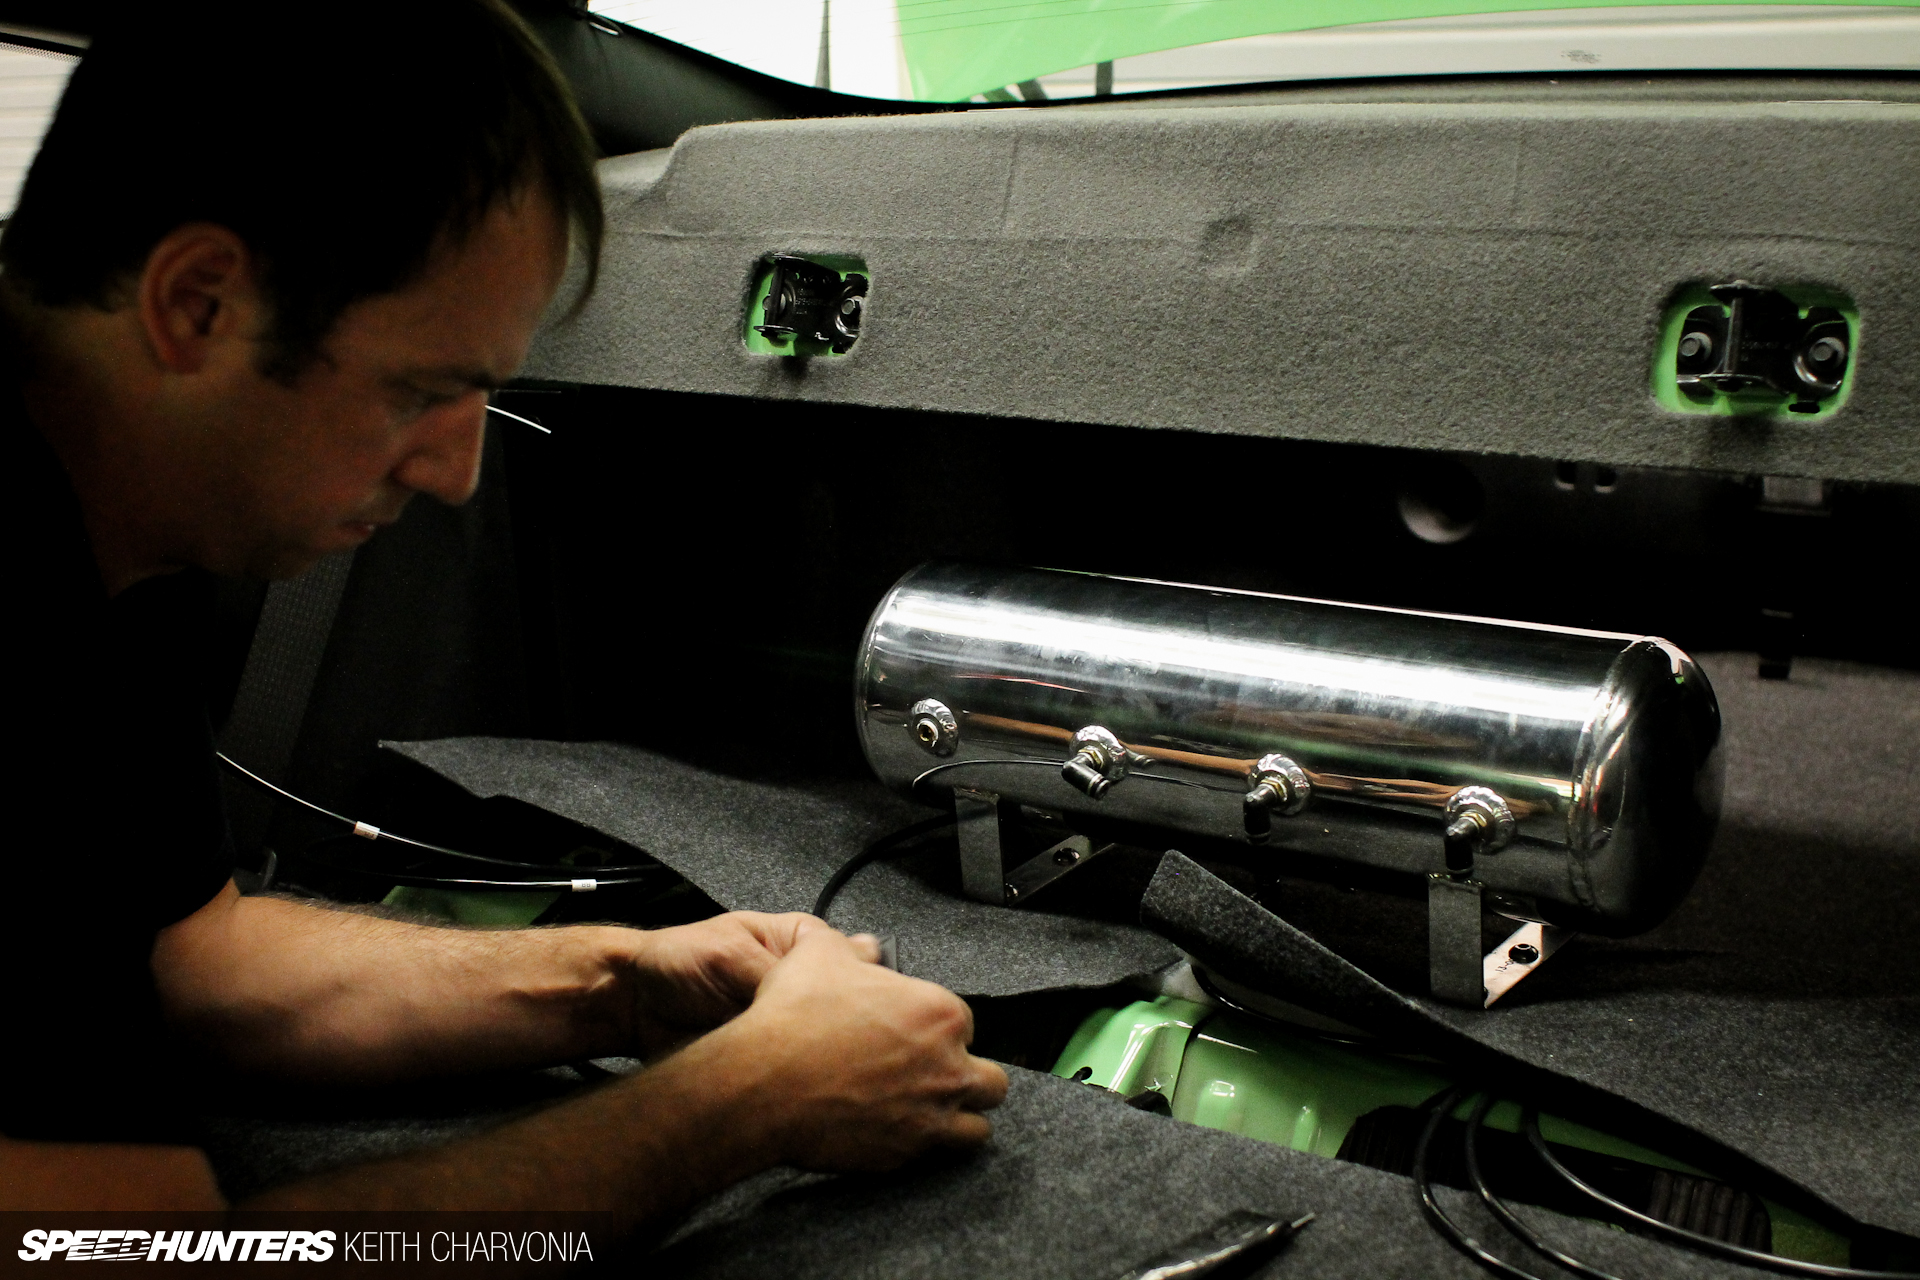
We mounted the aluminum tank in the trunk against the back seat with the air lines hidden from view. The folding back seat made this task much easier.
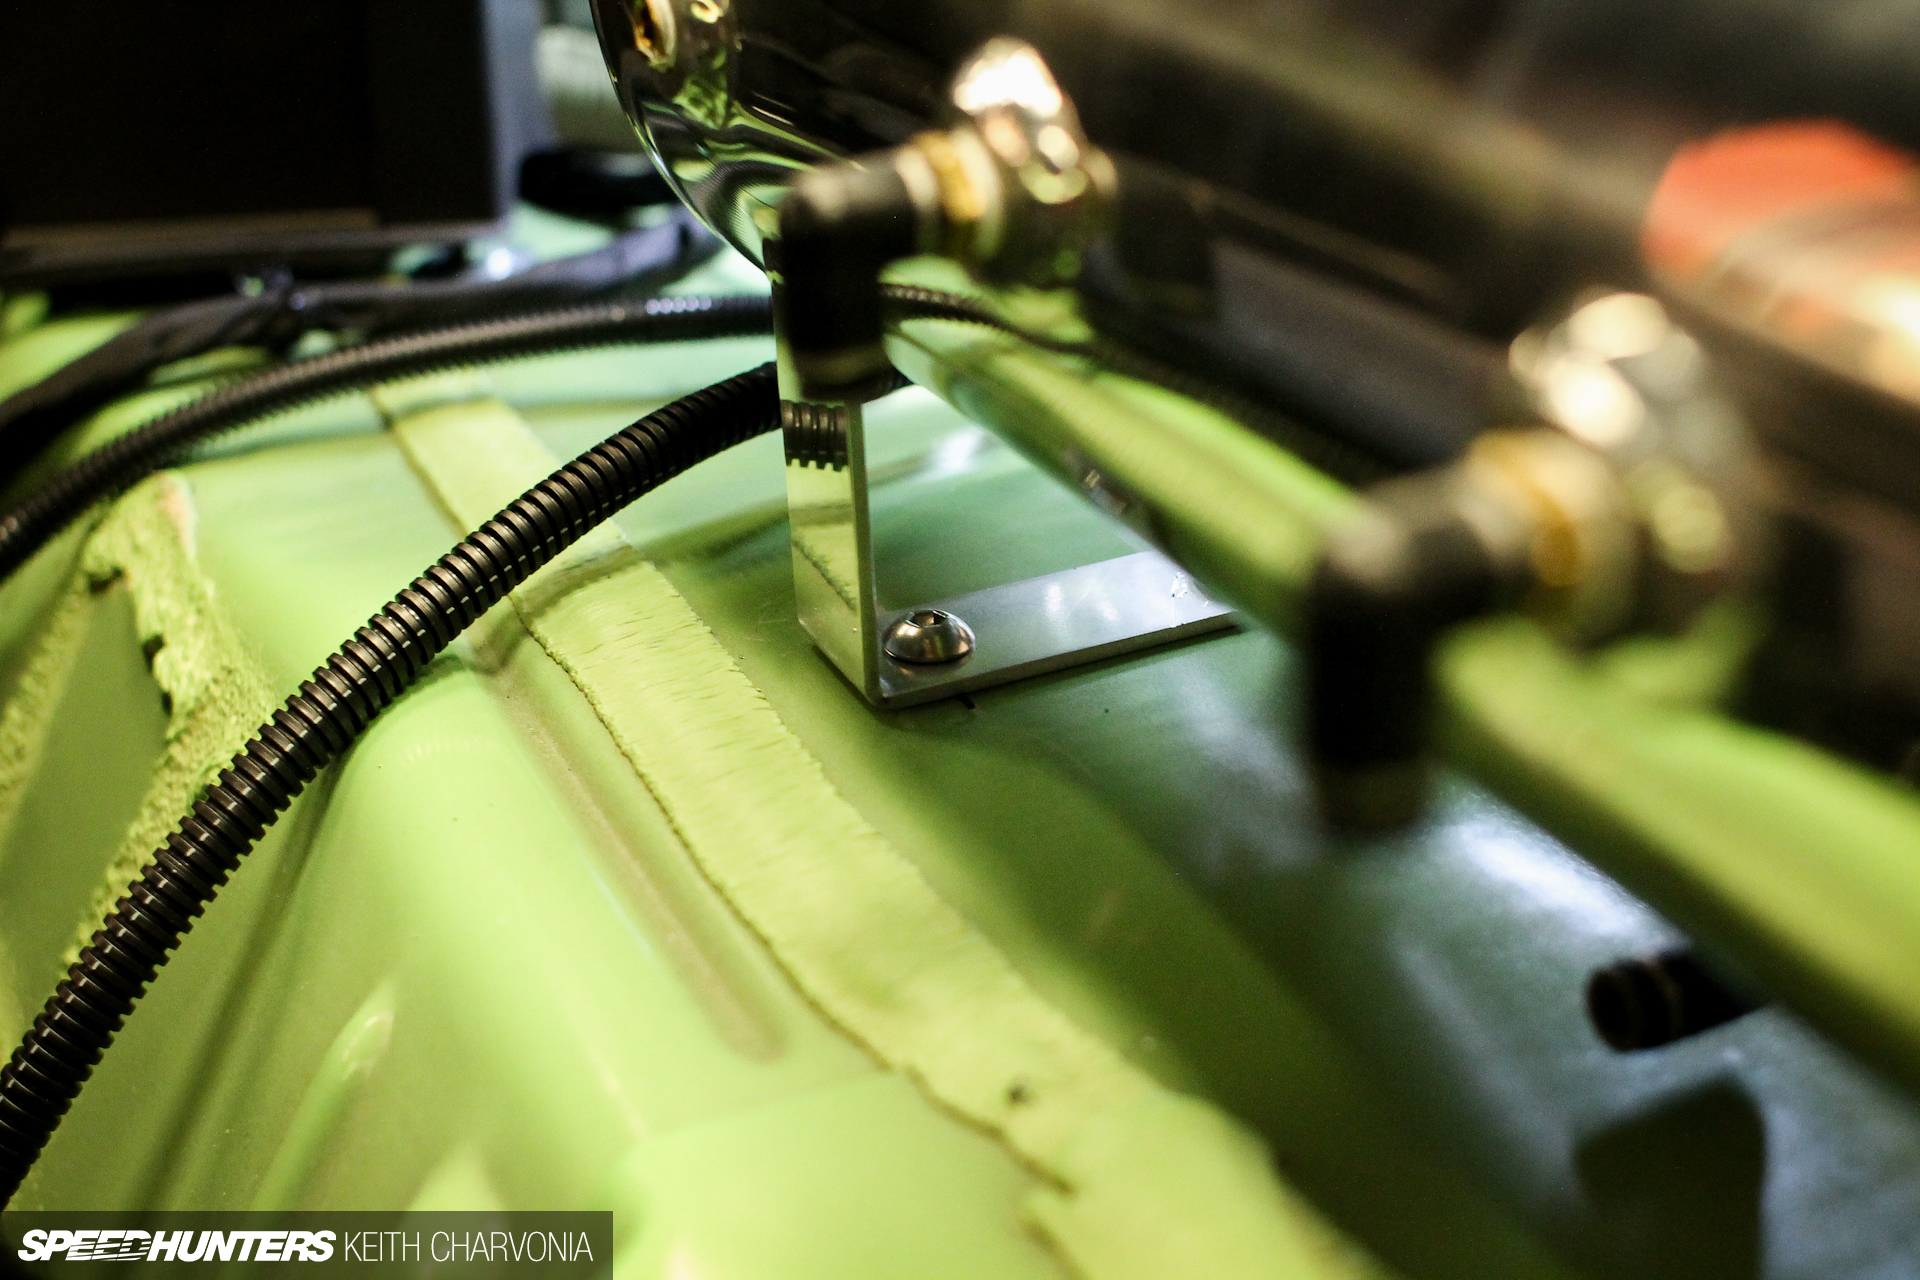
I drilled four holes in the floor and bolted the tank down using stainless button head screws.
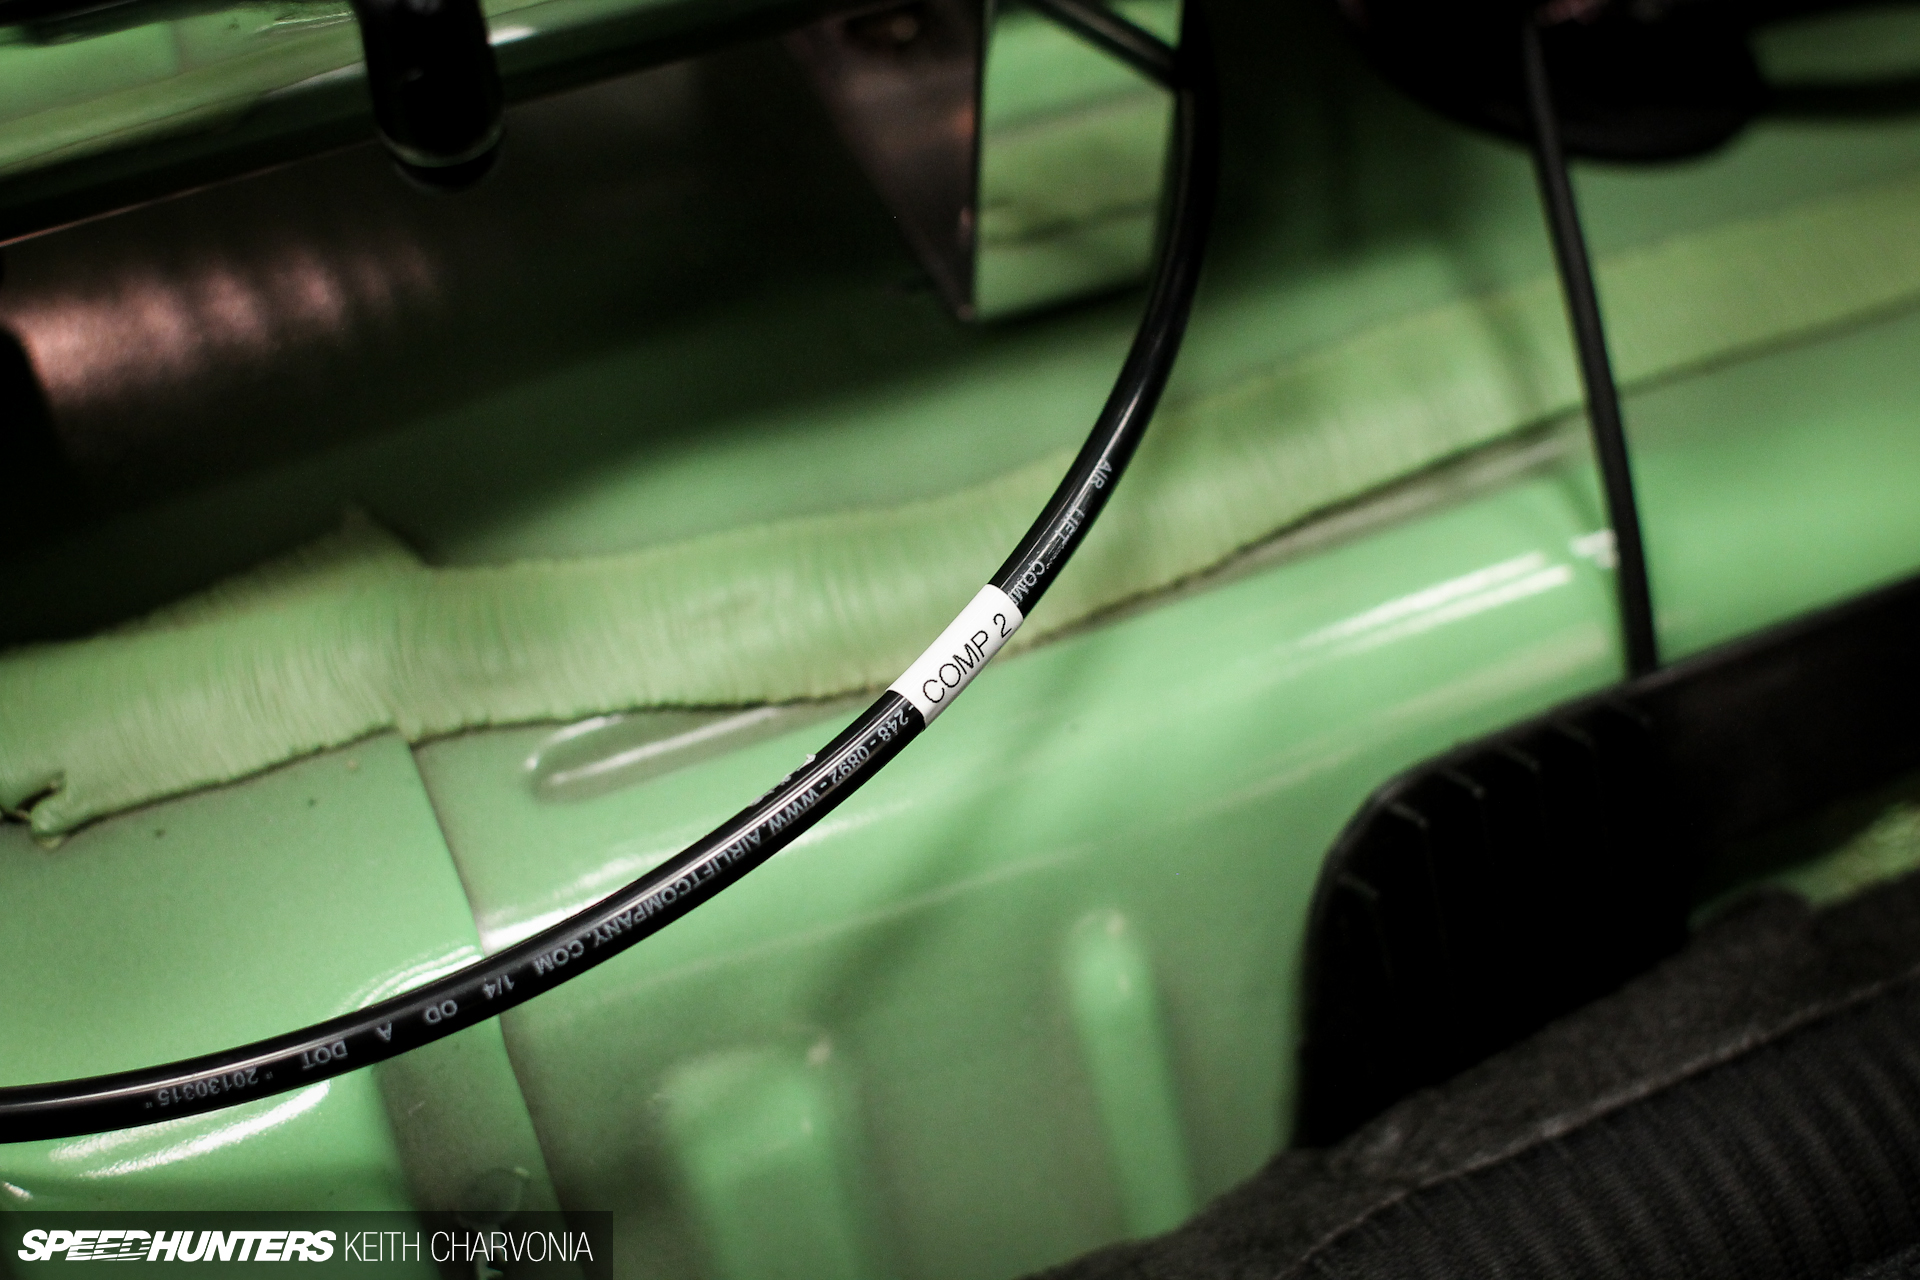
We got out the label maker and marked each line. This isn’t entirely necessary but it sure makes things easier later if you need to service the system, especially if someone else works on it.
Brian climbed inside the car…
… and trimmed each line to length before plugging them into the tank and manifold.
I can’t believe how far air suspension has come in the last few years. This is really a beautiful sight if you’ve ever plumbed and wired eight individual valves.
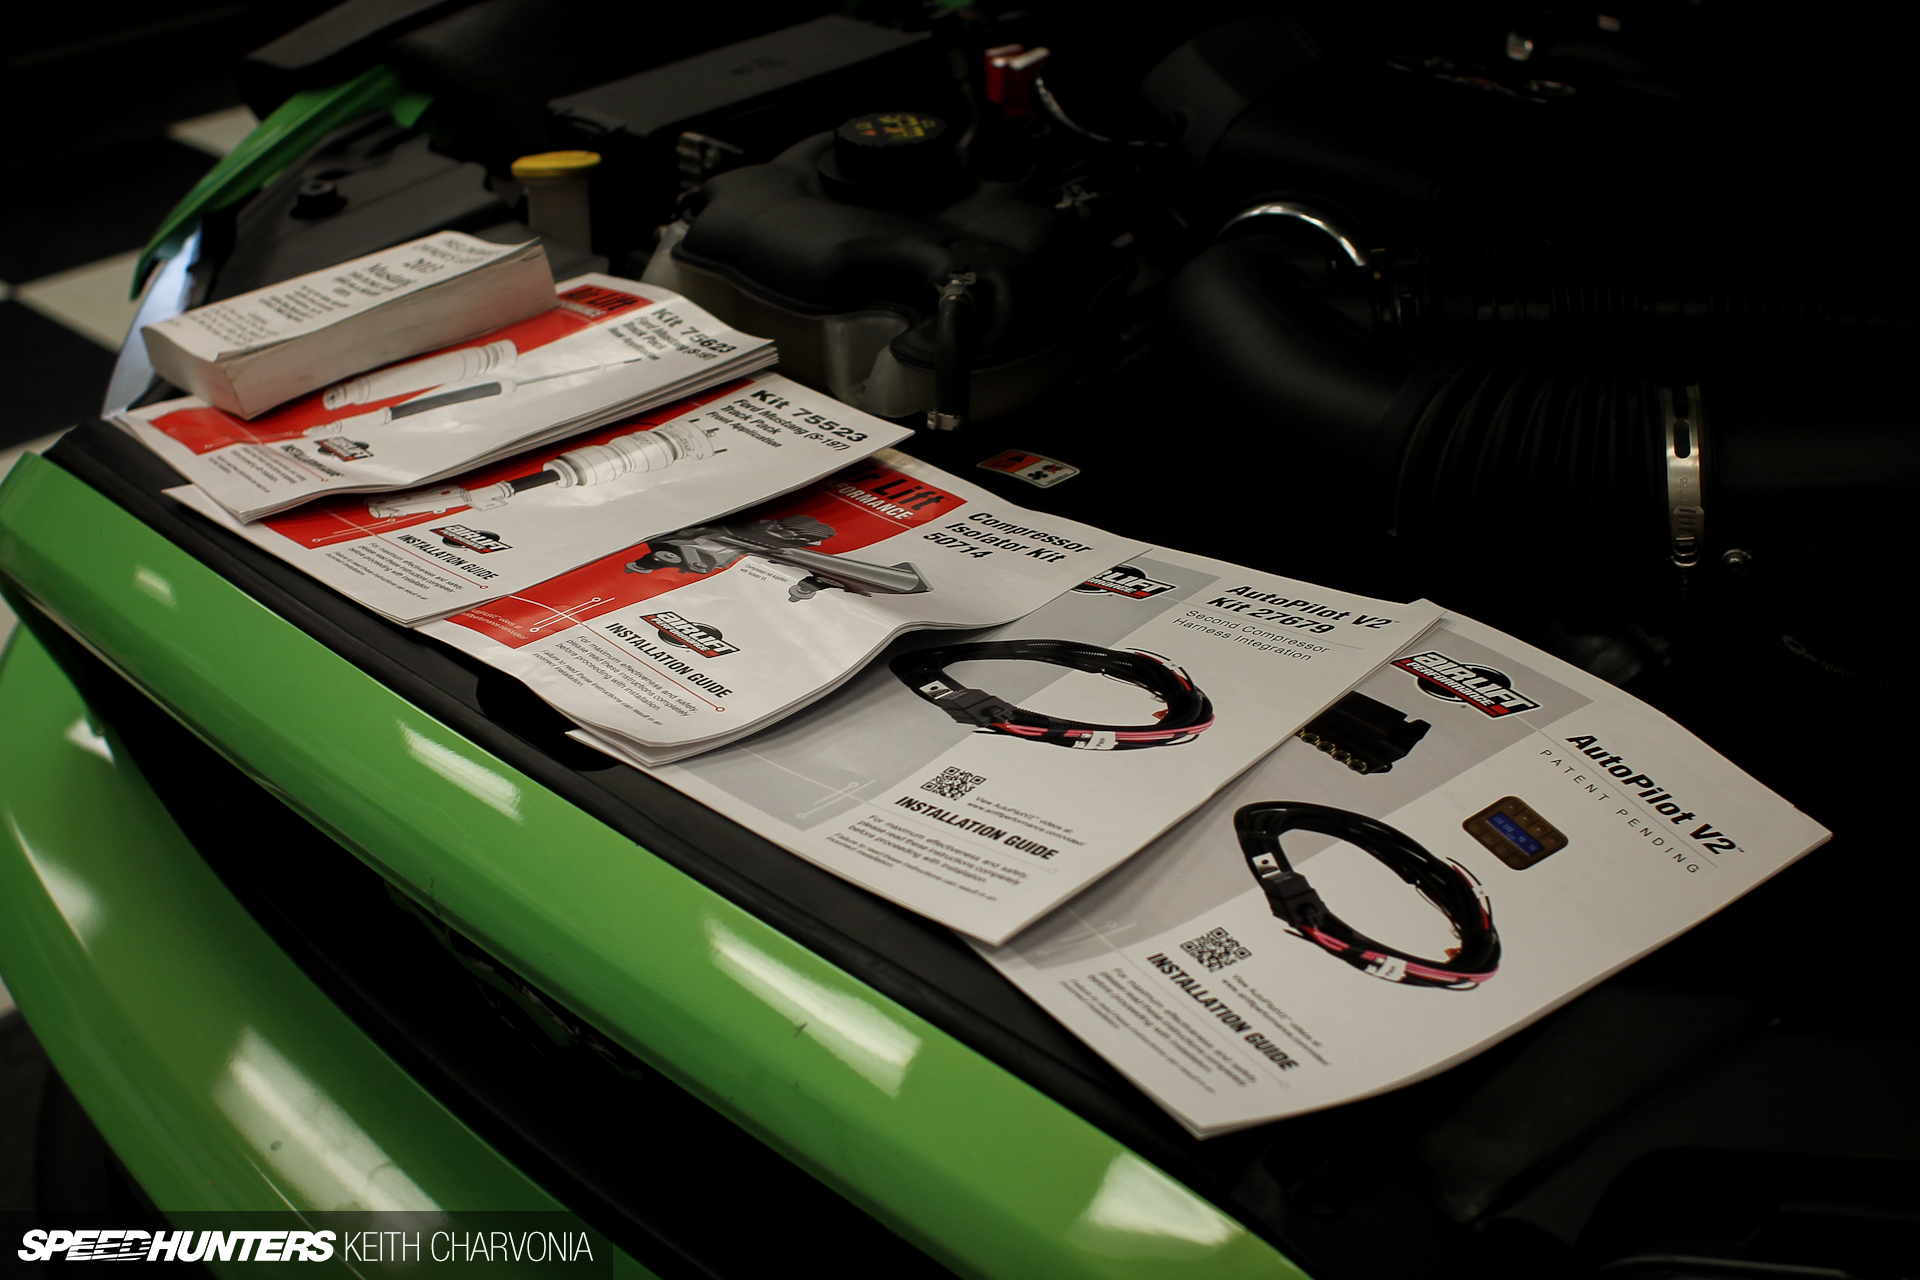
We thought we should show all of the manuals you get with each component, but to be honest we didn’t use them much since I had the engineer there to guide me through the installation.
With everything plumbed and wired, we finally turned the key and let the compressors fill the tank. With a little air in the bags we checked for leaks using a soapy water solution in a spray bottle. Brian must have done this before, because we didn’t find a single leak.
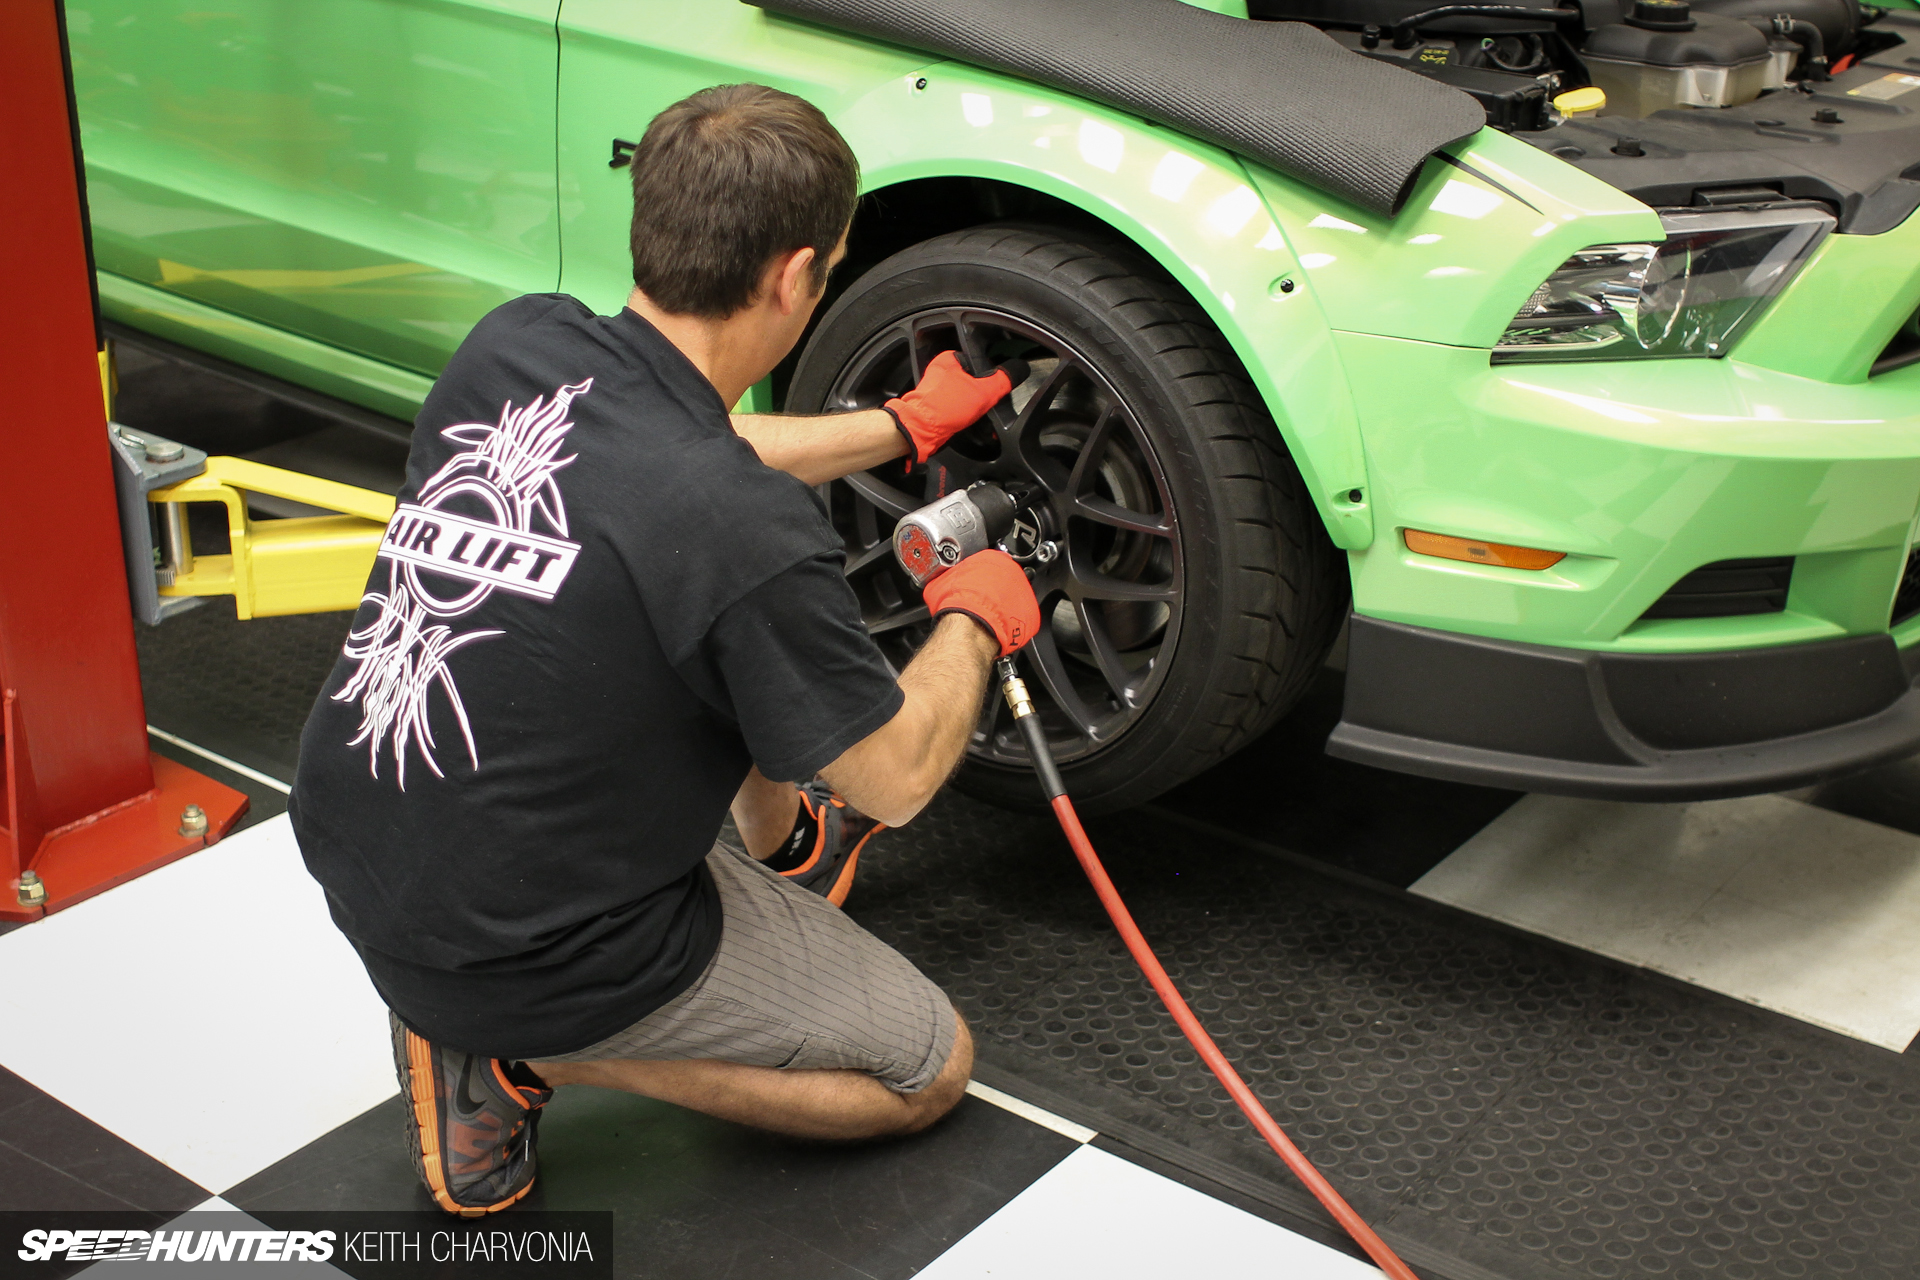
We hurried to mount the wheels so we could test out the new system.
With the car back on the ground we had no problem getting the lift arms out – we just lifted the car up with the new air suspension.

Check out the trick little switchbox Brian is holding. I used to use three way momentary toggle switches and terminate every single wire in a ten switch box. Air Lift’s Auto Pilot V2 system is light-years ahead of the way we used to do things.
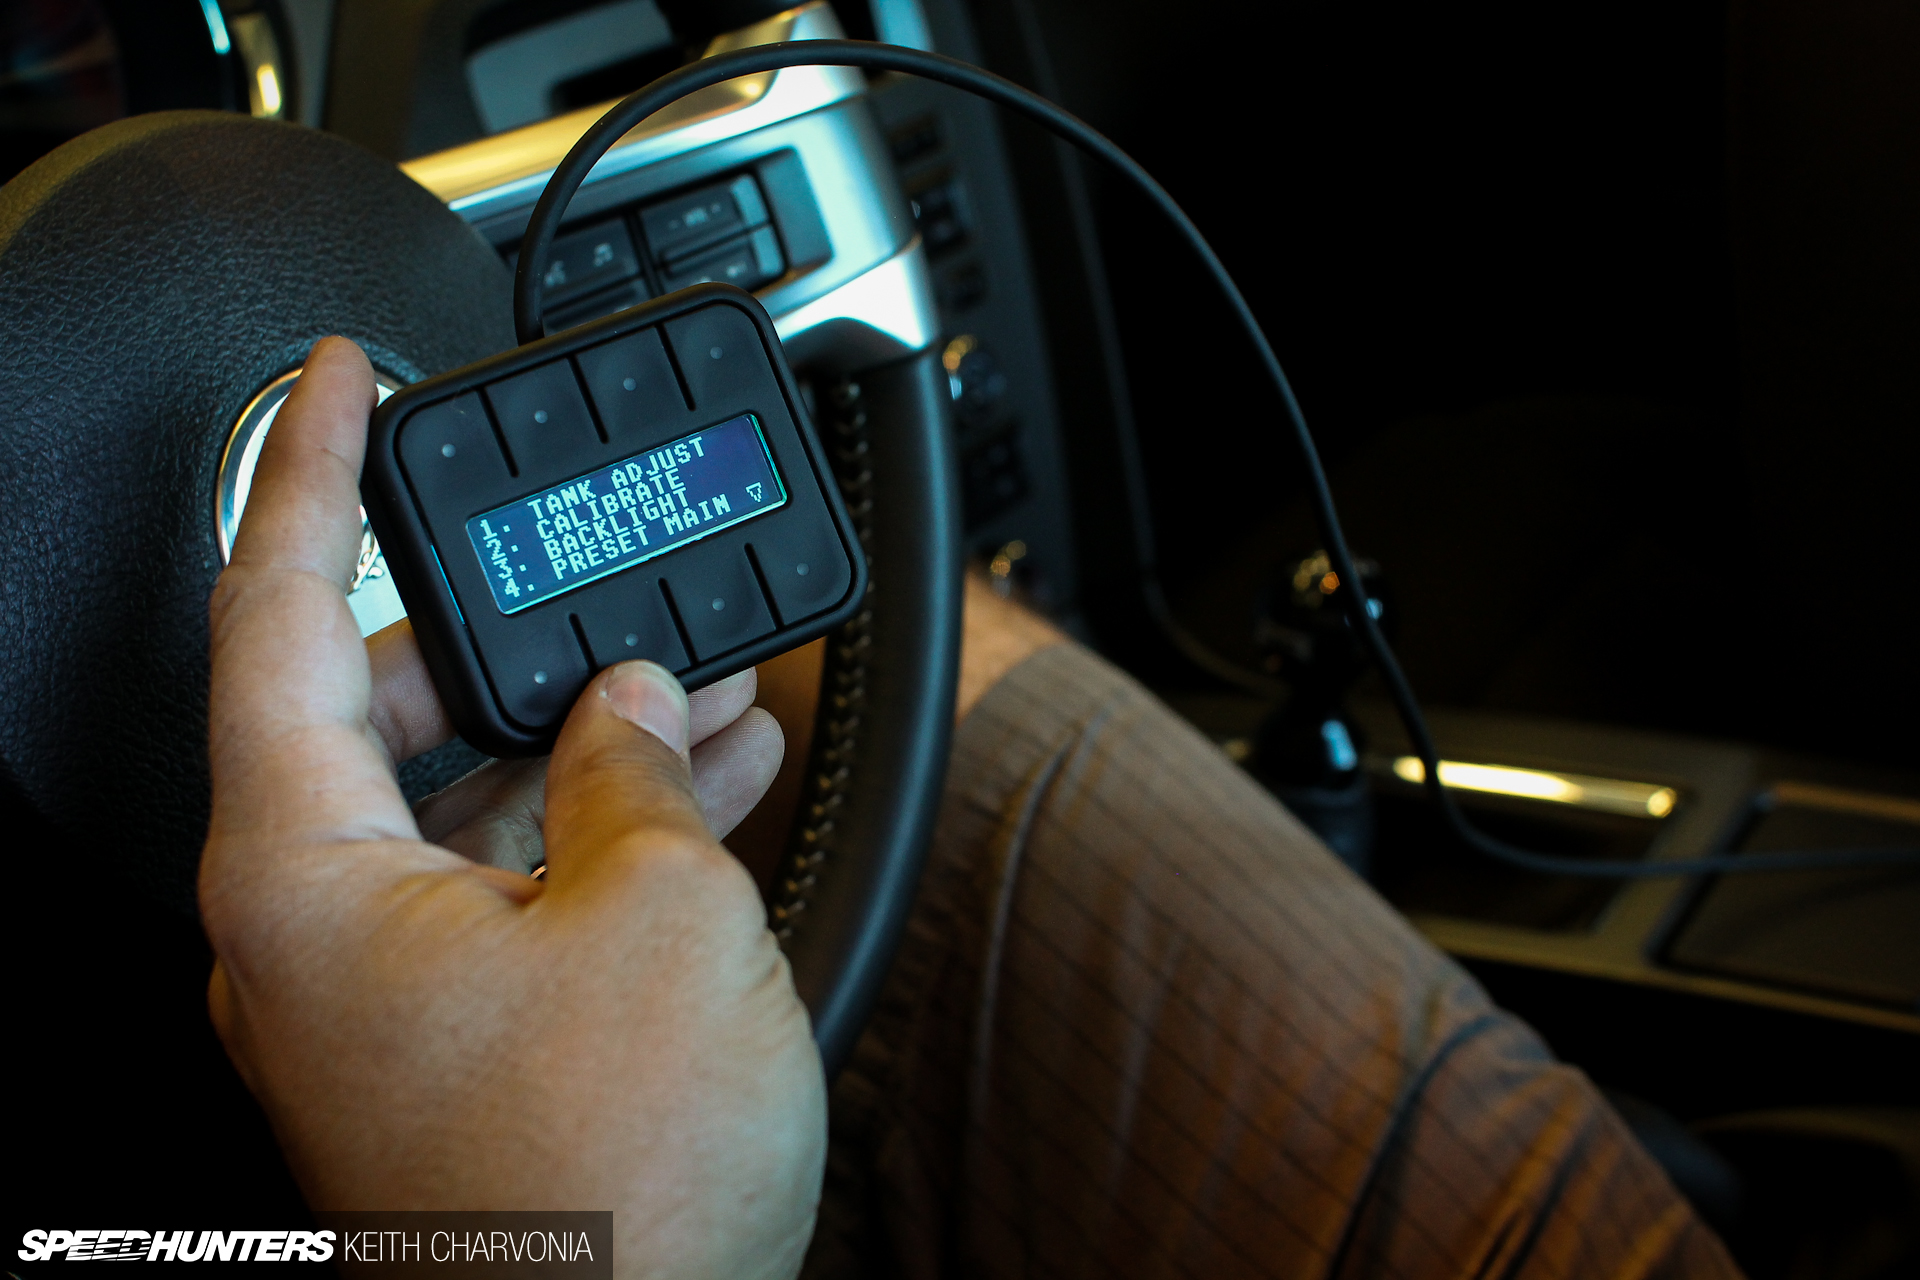
Brian ran through the menus with me and showed me how to calibrate the system. The calibration process was very interesting: basically burping air in and out of the bags then checking to see what the resulting pressure is versus the valve-open time. It plots a curve so the ECU knows how long to open each valve to reach a desired pressure.
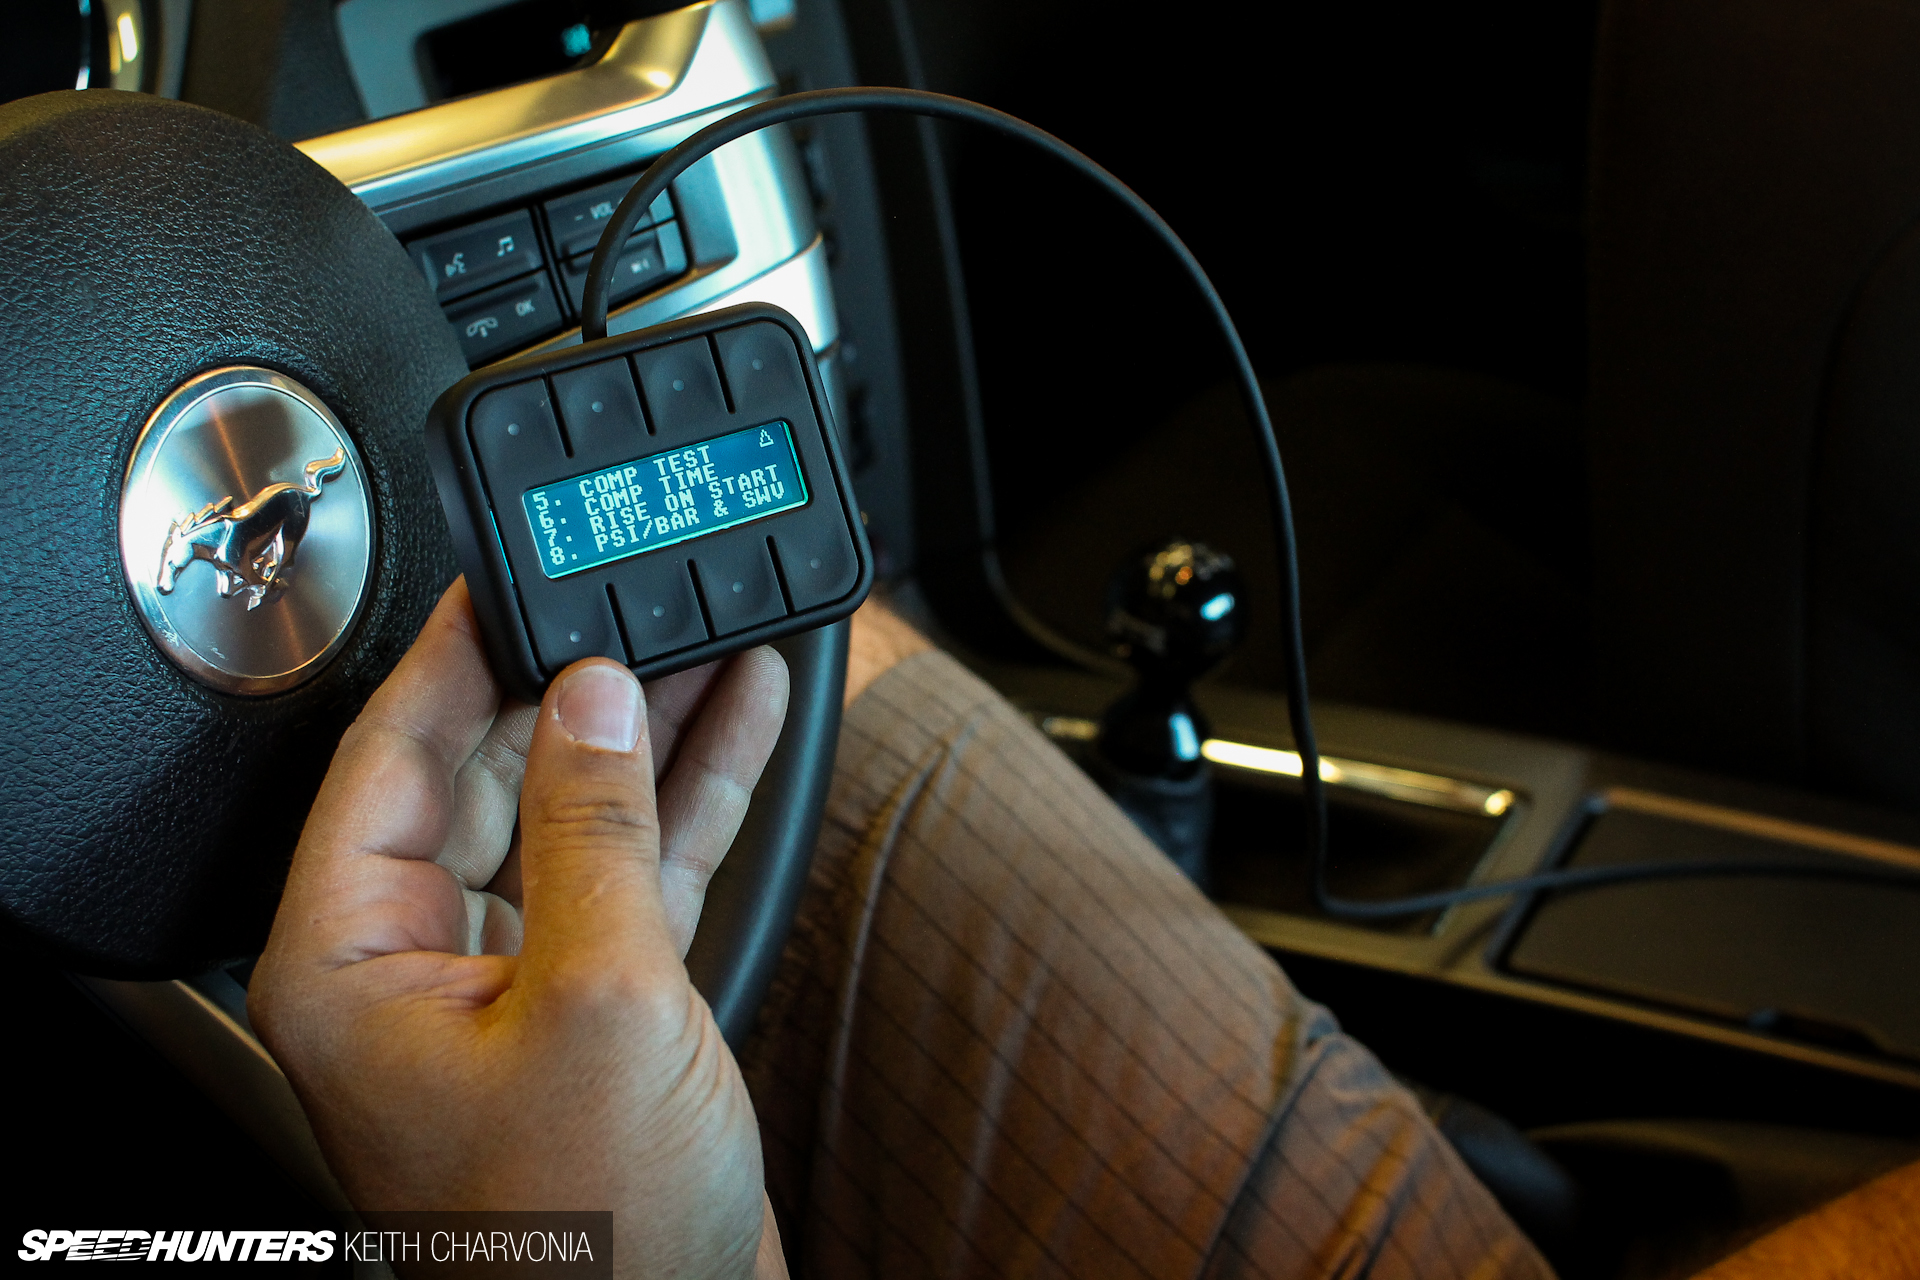
We set the pressure at which the compressors would turn on and off, similar to the function of an analog pressure switch. As you can see, you can do other things too, like command the ECU to rise to your preset ride height when you turn the key.
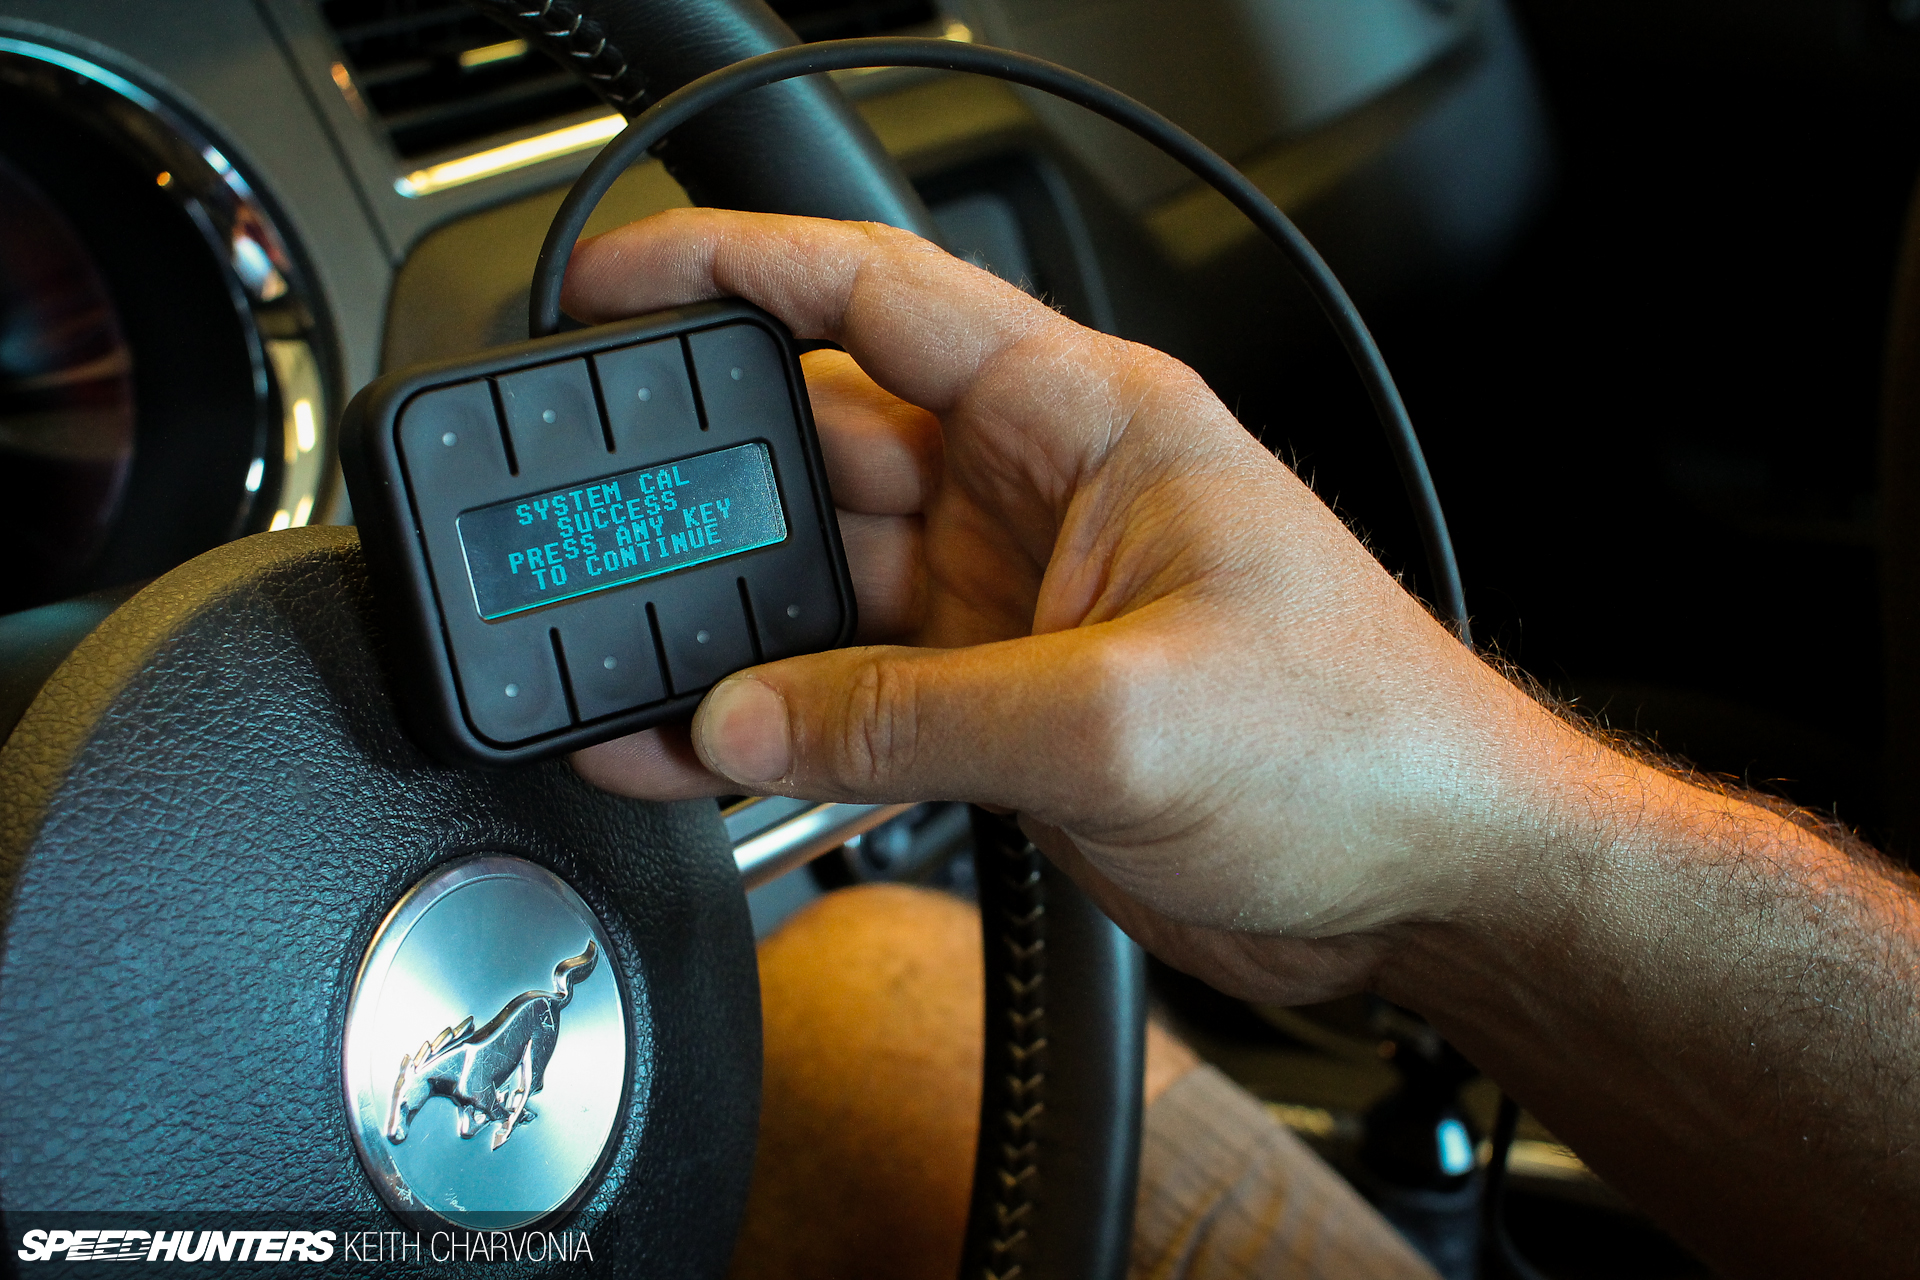
With the calibration complete, we could now dial in our ride height.
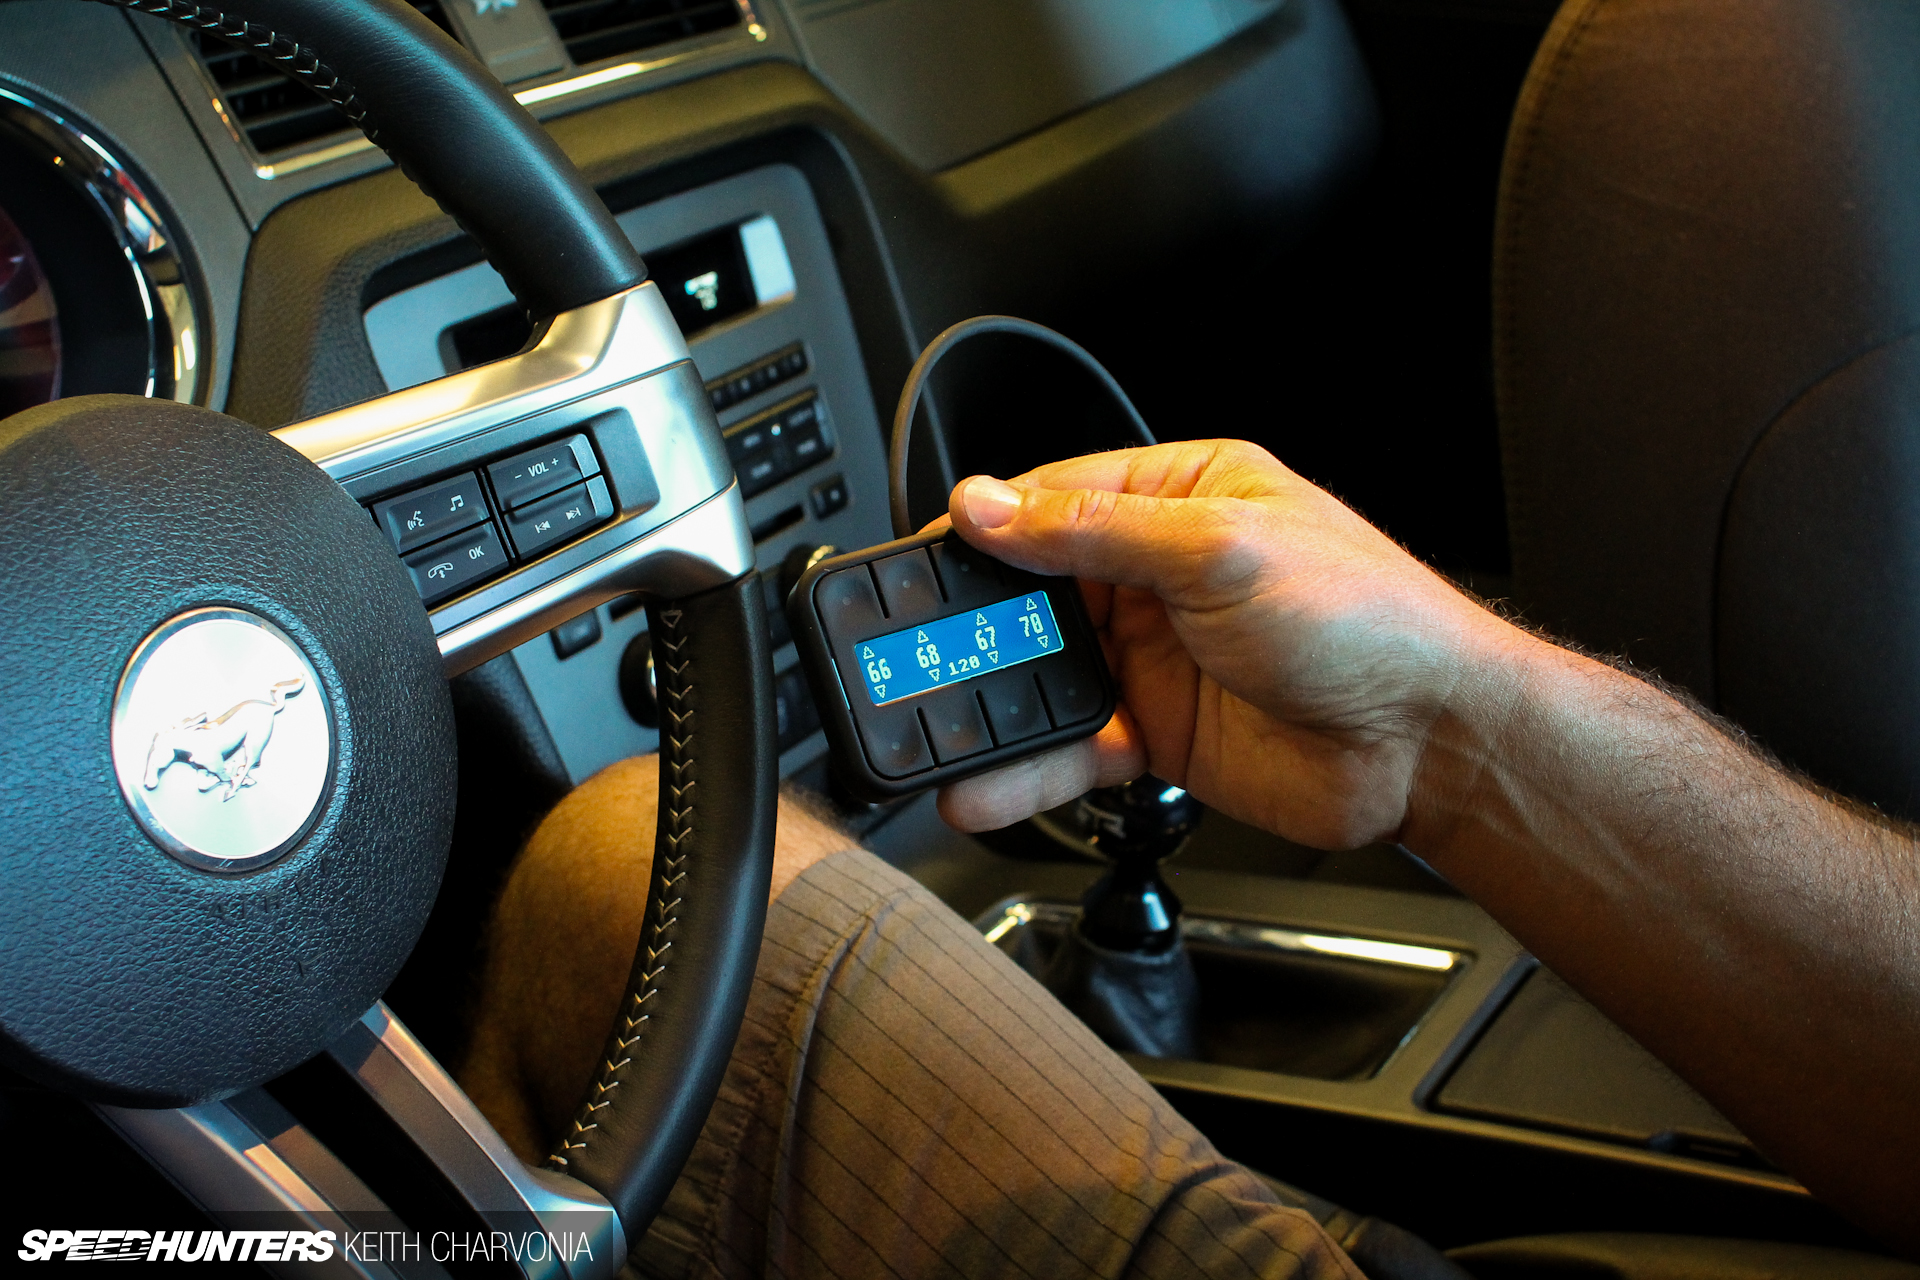
In manual mode the eight buttons control each wheel up and down, but in preset mode you can have up to eight preset ride heights. I have since set up three: a normal driving height, a lifted height for speedbumps and driveways, and a maximum lifted height. Of course there’s also a preset to put all the bags at 0 psi for that show stance. Admittedly this one is used quite often.
The test drive and the verdict
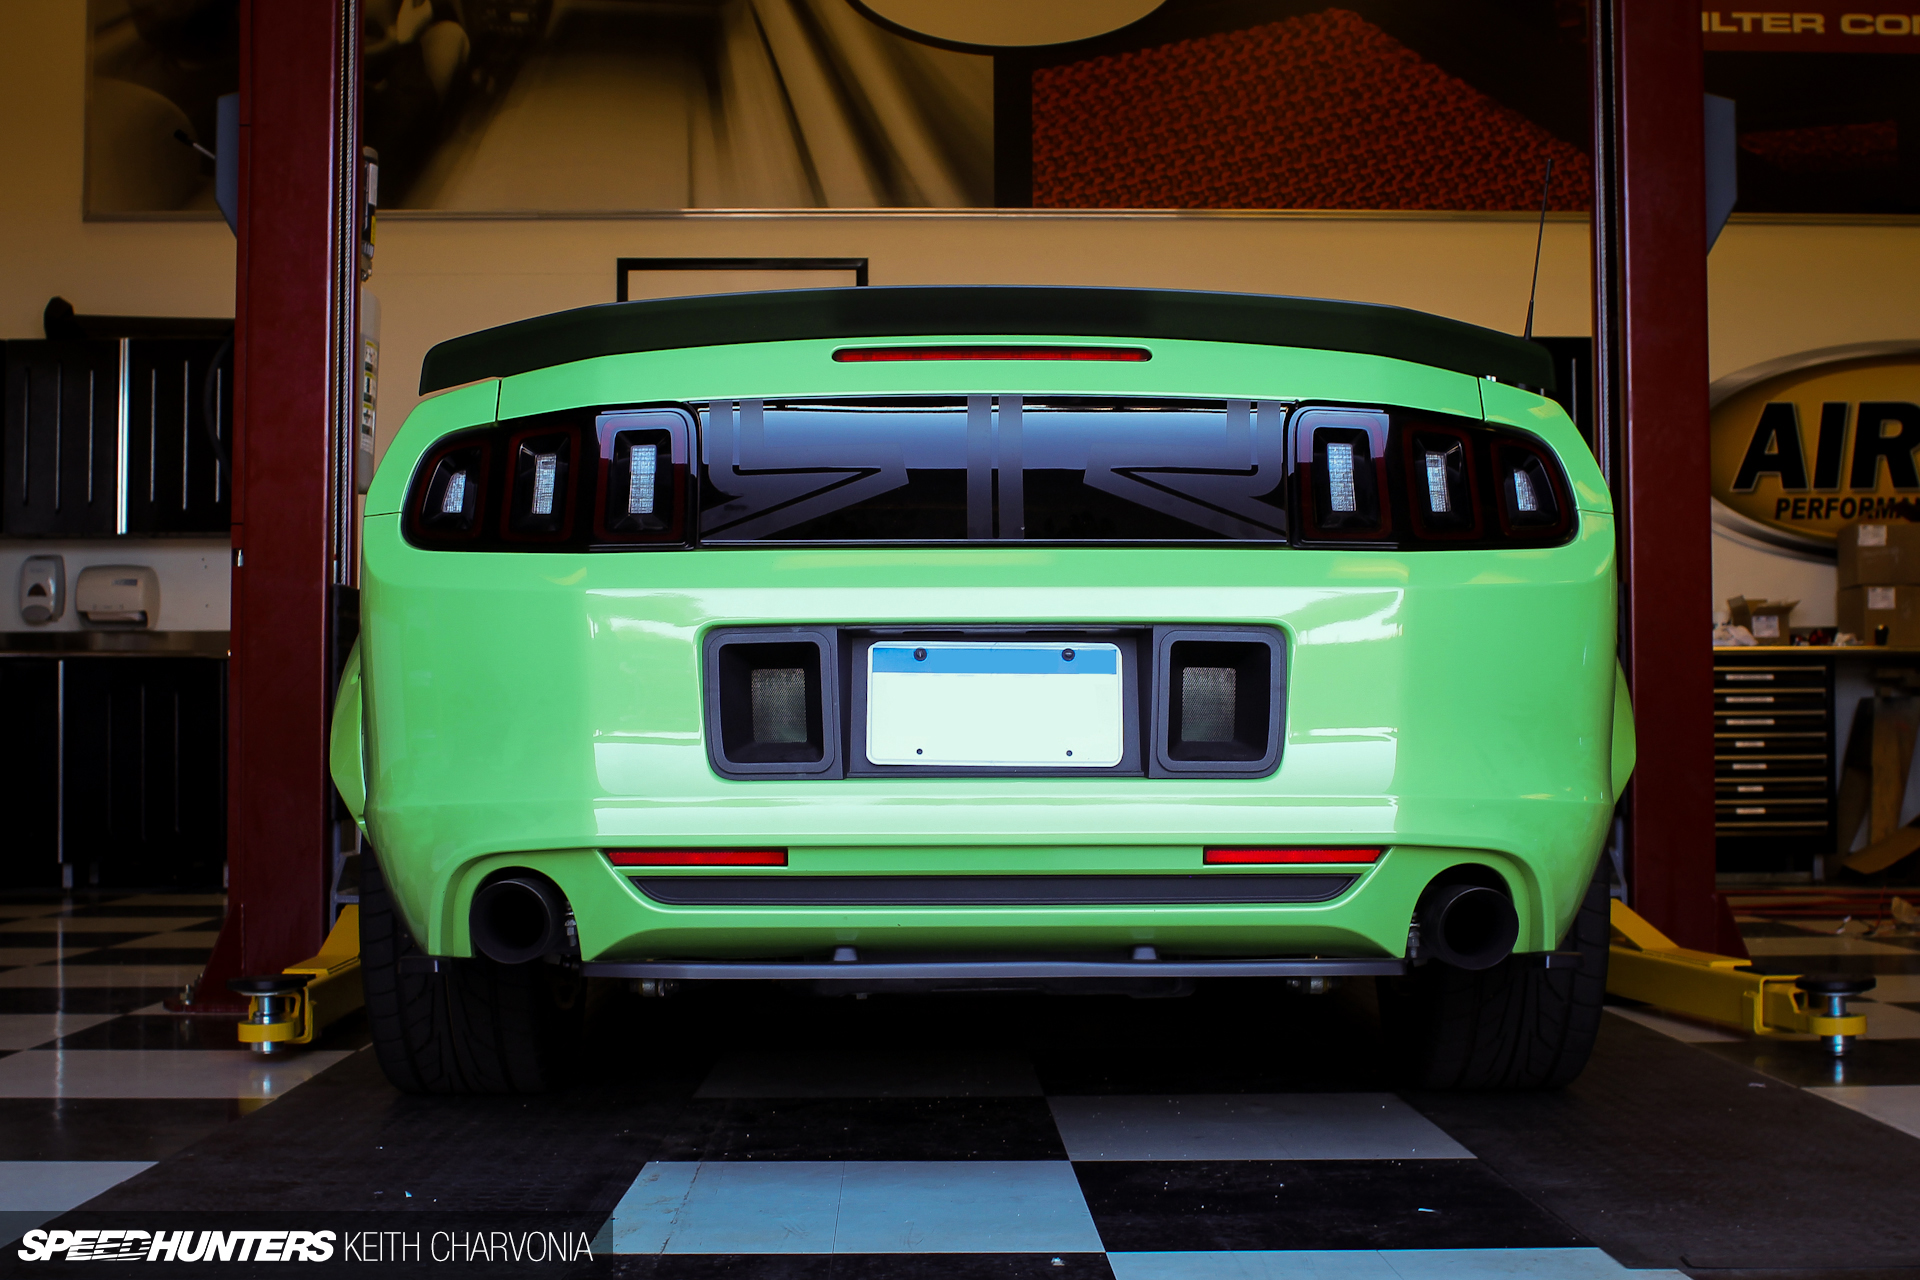
Before Brian pulled the car out of the bay I just had to see it dumped for the first time. I was not disappointed by what I saw.
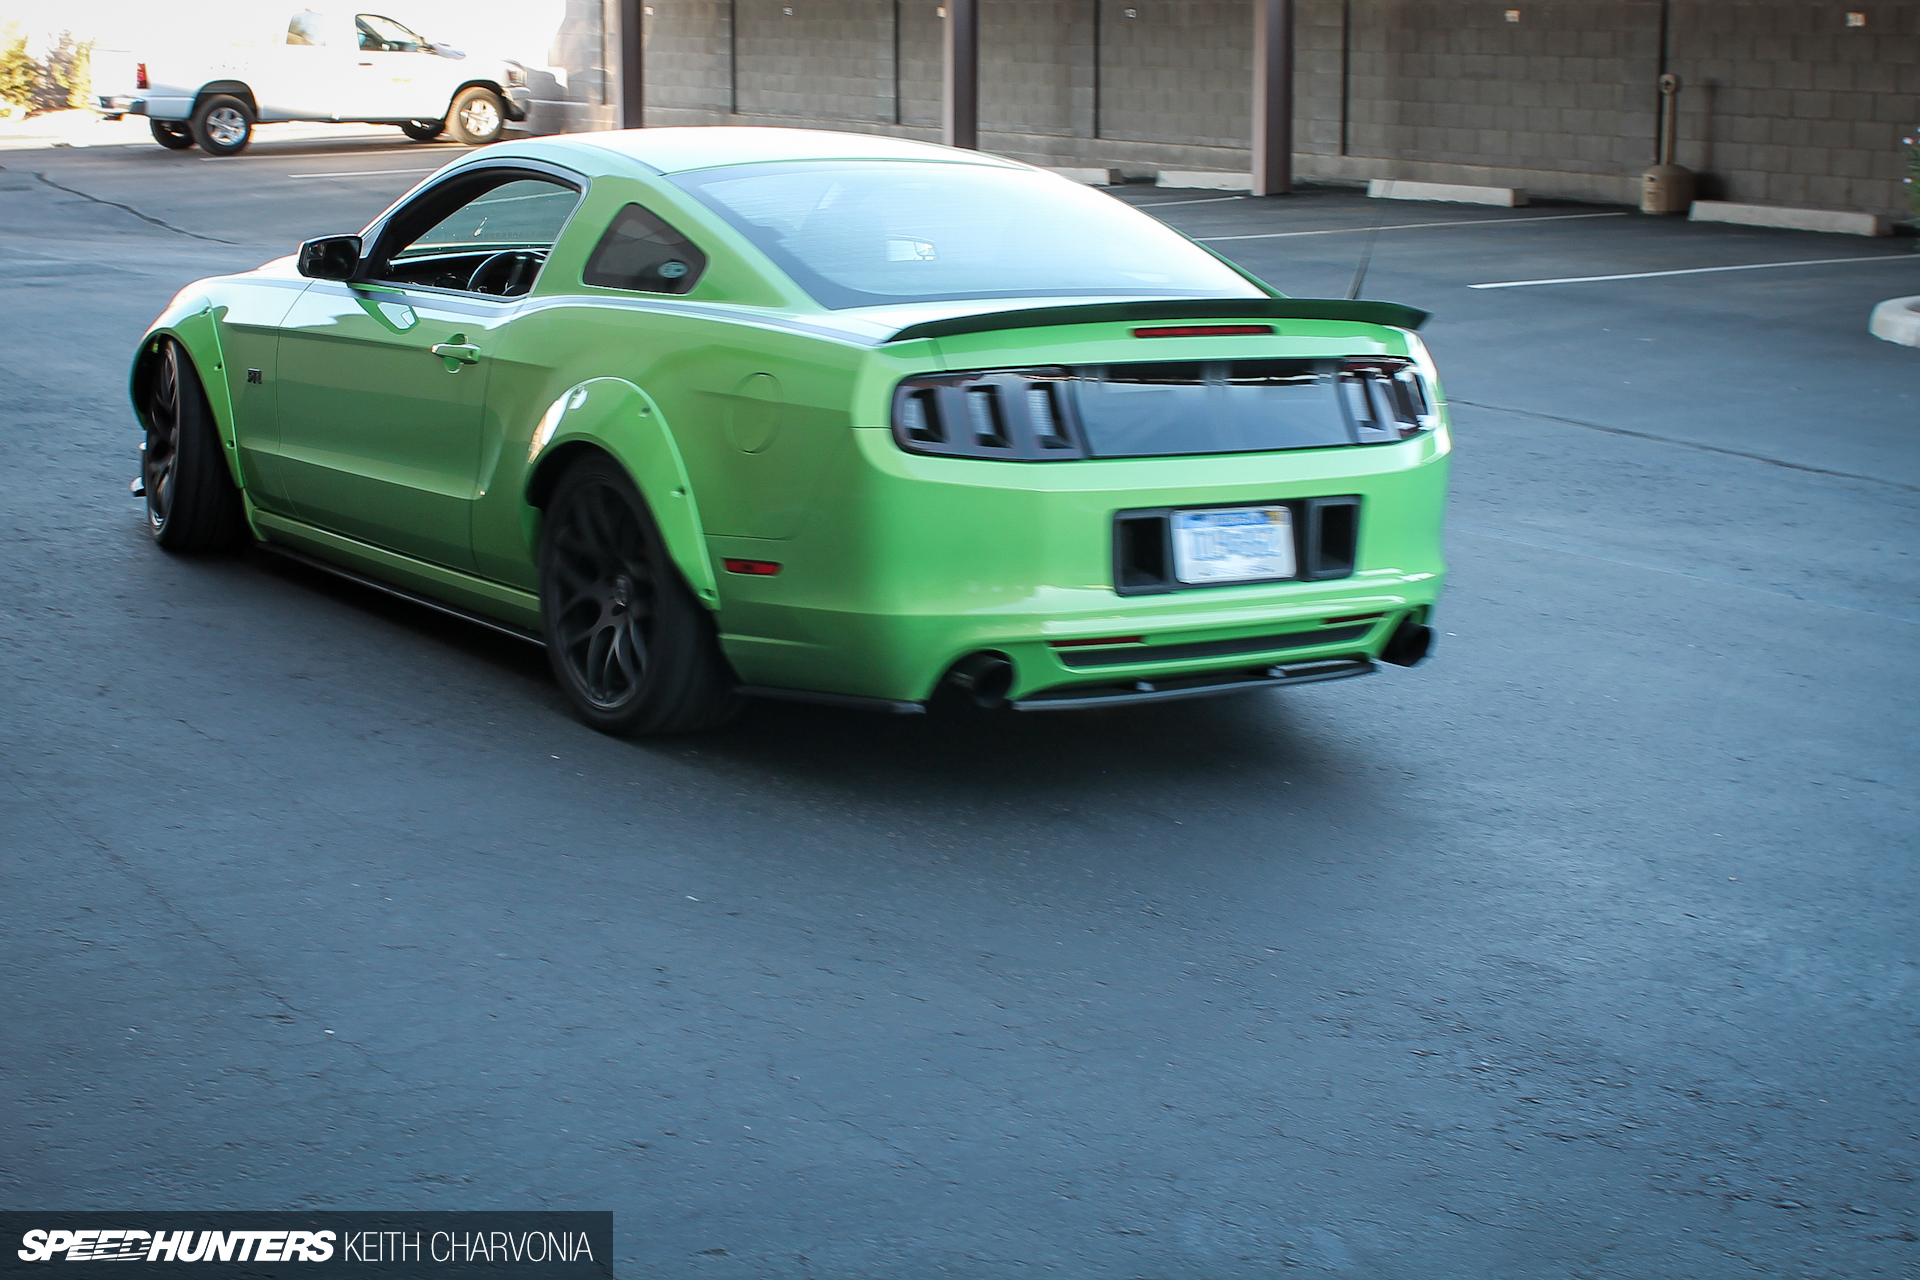
We were off for our test drive to see how it would perform.
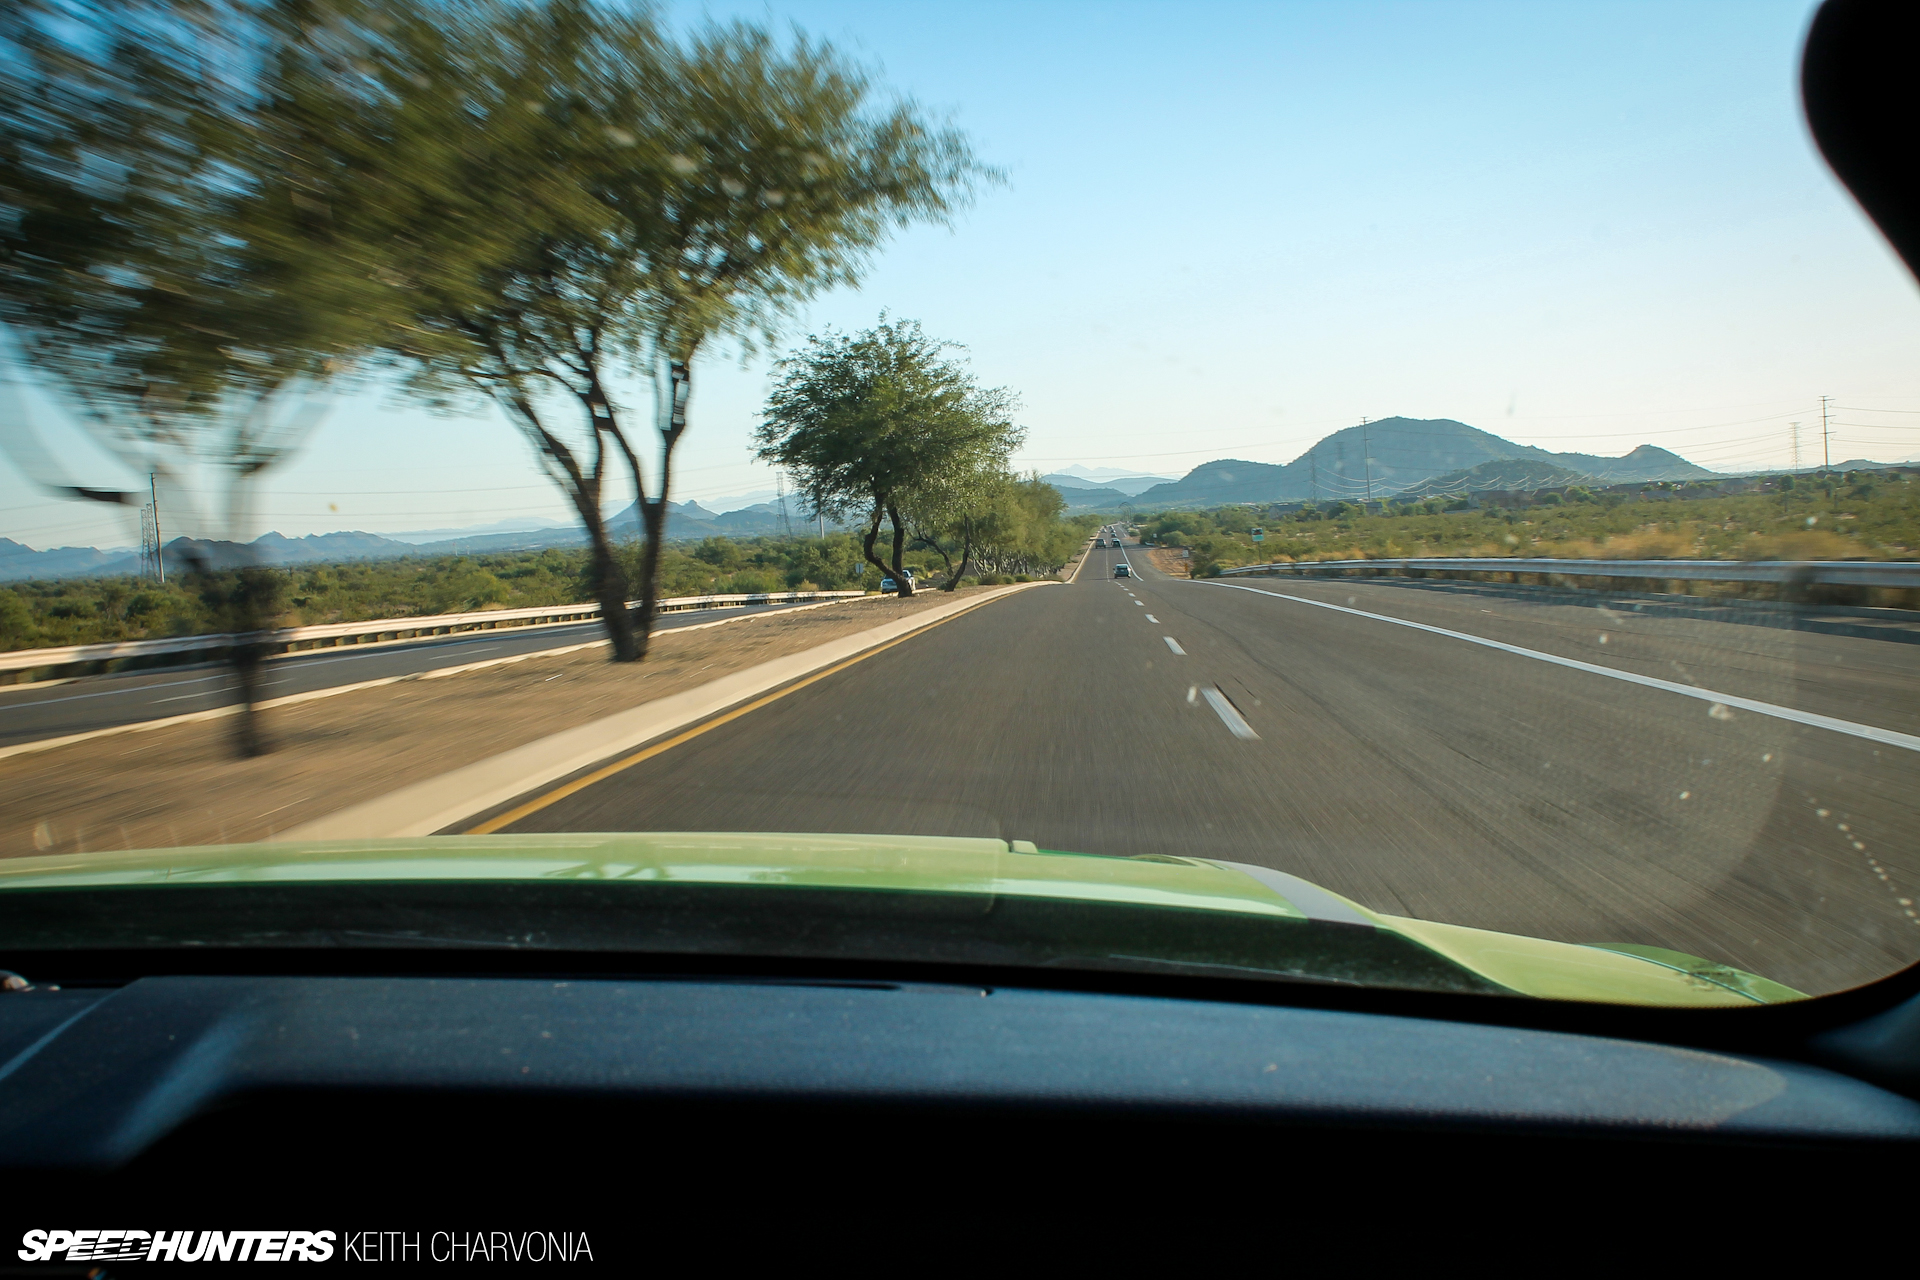
Once again Brian took the wheel and I attempted to take pictures. What he did next was something I’ve never in my life done in a lowered car – he aimed for every rut, dip and pothole he could find. The first time I cringed, then I just started blubbering about how I couldn’t believe the way the RTR soaked up bumps. No jarring, jumping or swerving, the Air Lift system took everything in stride. I’ll sum it up this way: I could hide the switchbox in the center console and you would swear it was riding on a premium set of coilovers.
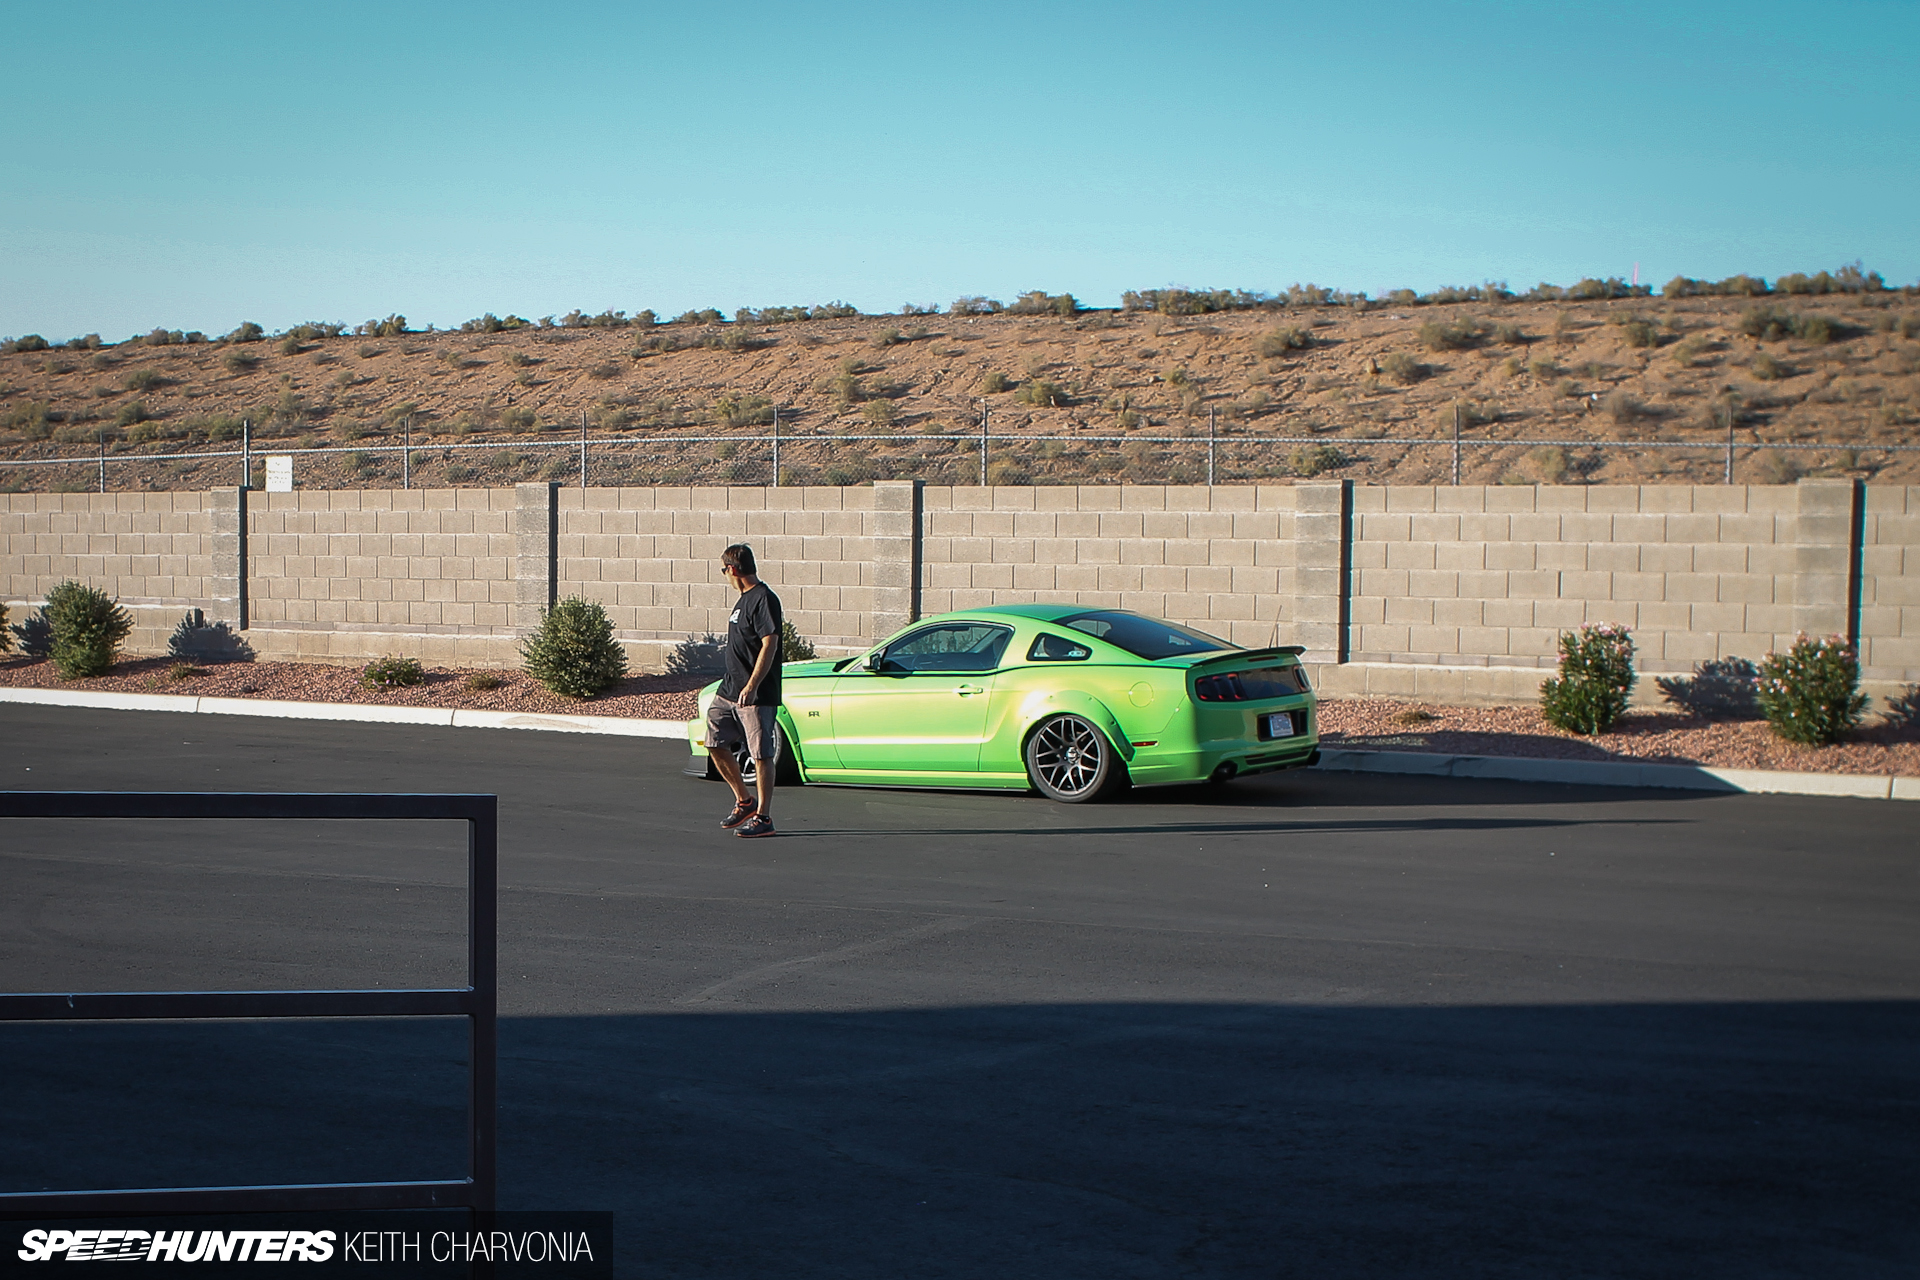
After the test drive we parked the car back in the same spot to take an ‘after’ photo. I loved seeing Brian turn around to check it out as he walked away. He’s seen this view plenty of times, but being a hardcore petrolhead like the rest of us, he still couldn’t wait to see how badass it looked.
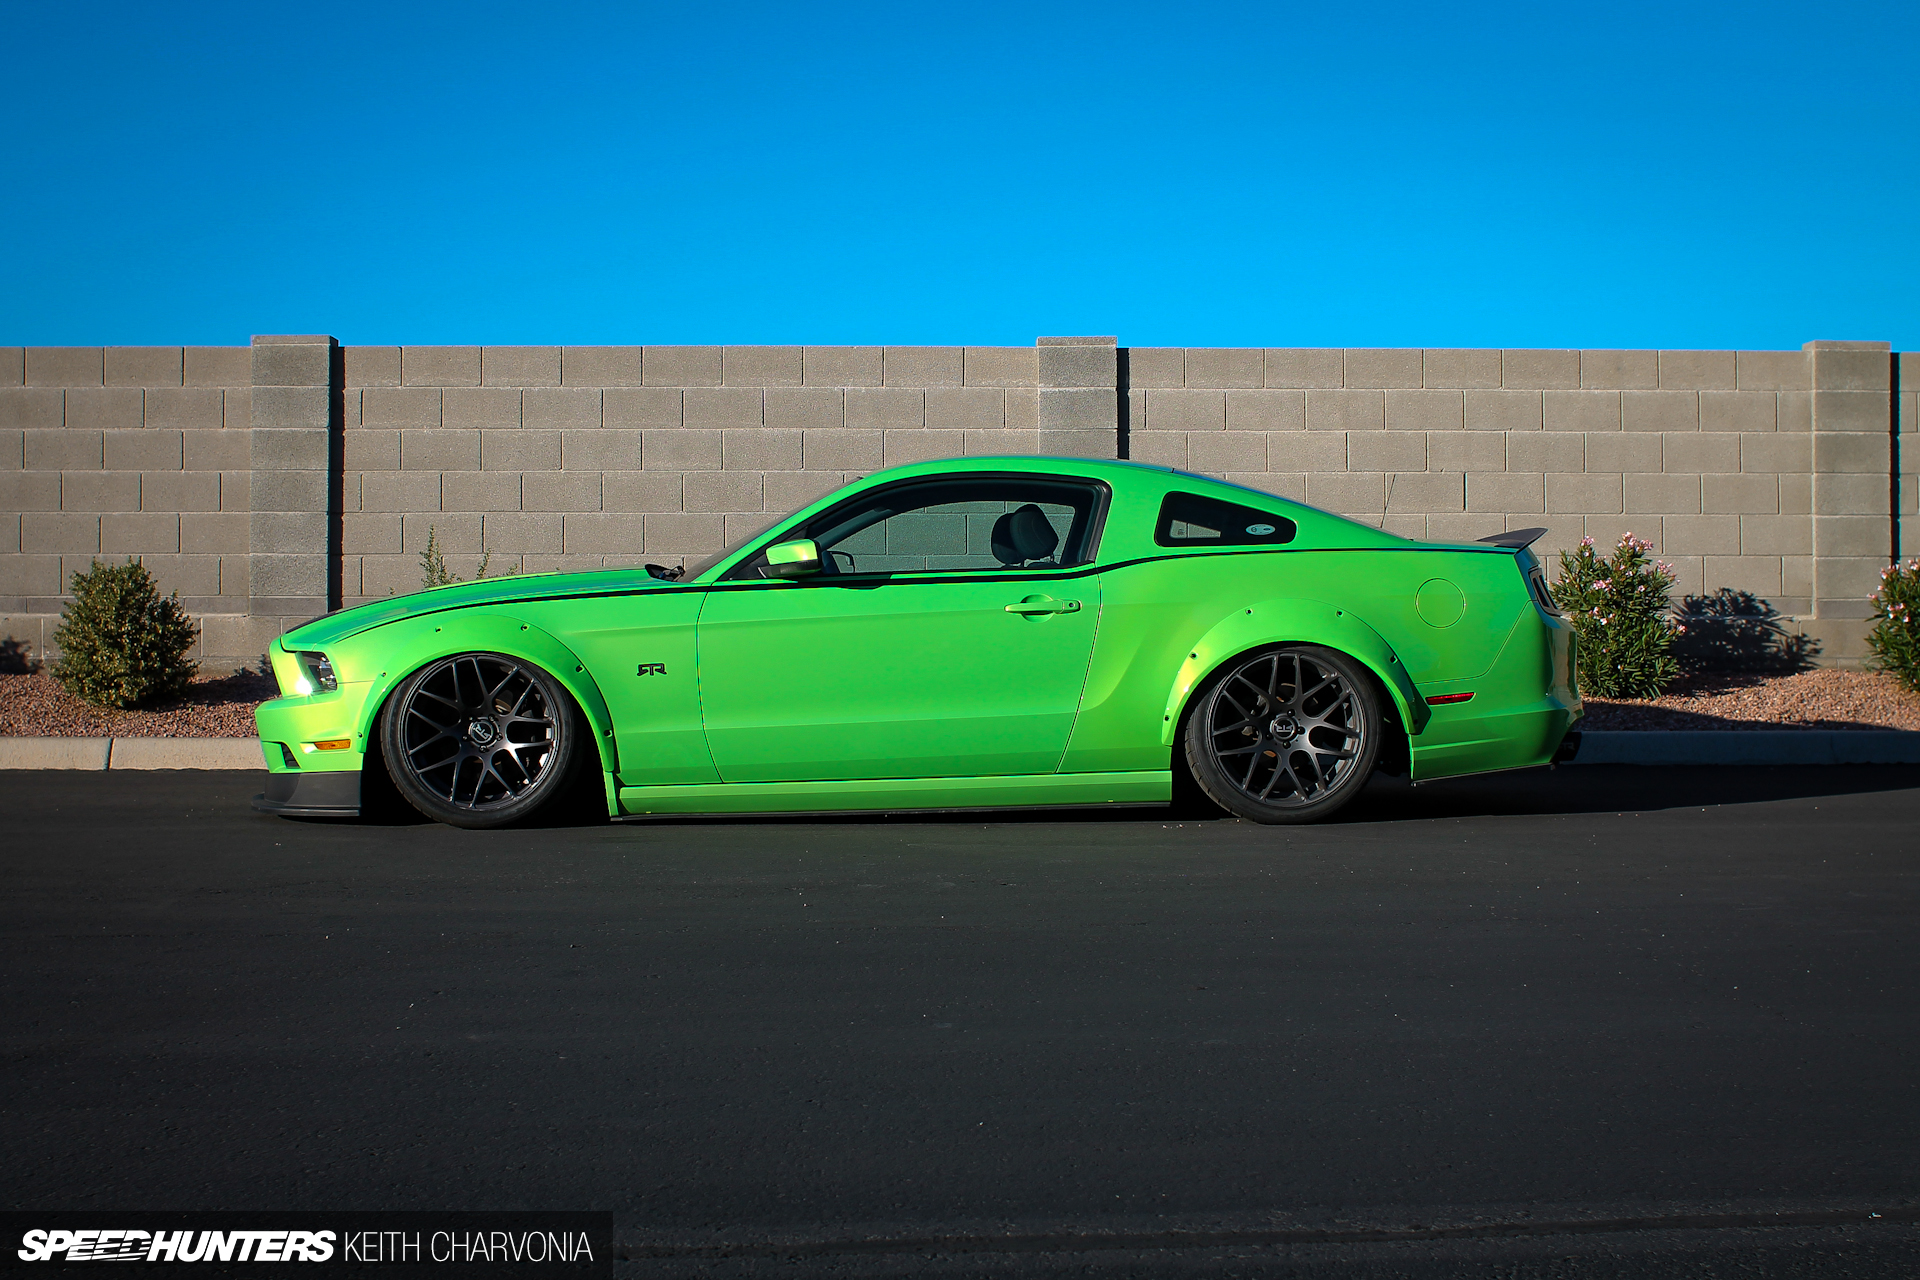
Here’s the other side of the dual-natured car I started the story speaking about. While you could drive the car at ride height all day and be perfectly comfortable, or take it to the track and lay down competitive lap times, you can also air it out for the ultimate stance. We’ve been doing it for years with kustoms and mini-trucks, and now it’s hit the modern car scene too; with much better hardware to boot.
Since this install I’ve driven the car over a thousand miles and I have yet to find something to complain about. It’s simply a bullet-proof system that does it all. No leaks, no wiring mess, and no fuss; just push the button and drive away. If you don’t feel like messing with the air suspension, then don’t. The beauty is that you can completely forget about it, or you can go for the ultimate stance. Take your pick – you really can have both.
Keith Charvonia
Instagram: SpeedhuntersKeith
keith@speedhunters.com
Double Down RTR: The SEMA Thrash
More RTR stories on Speedhunters