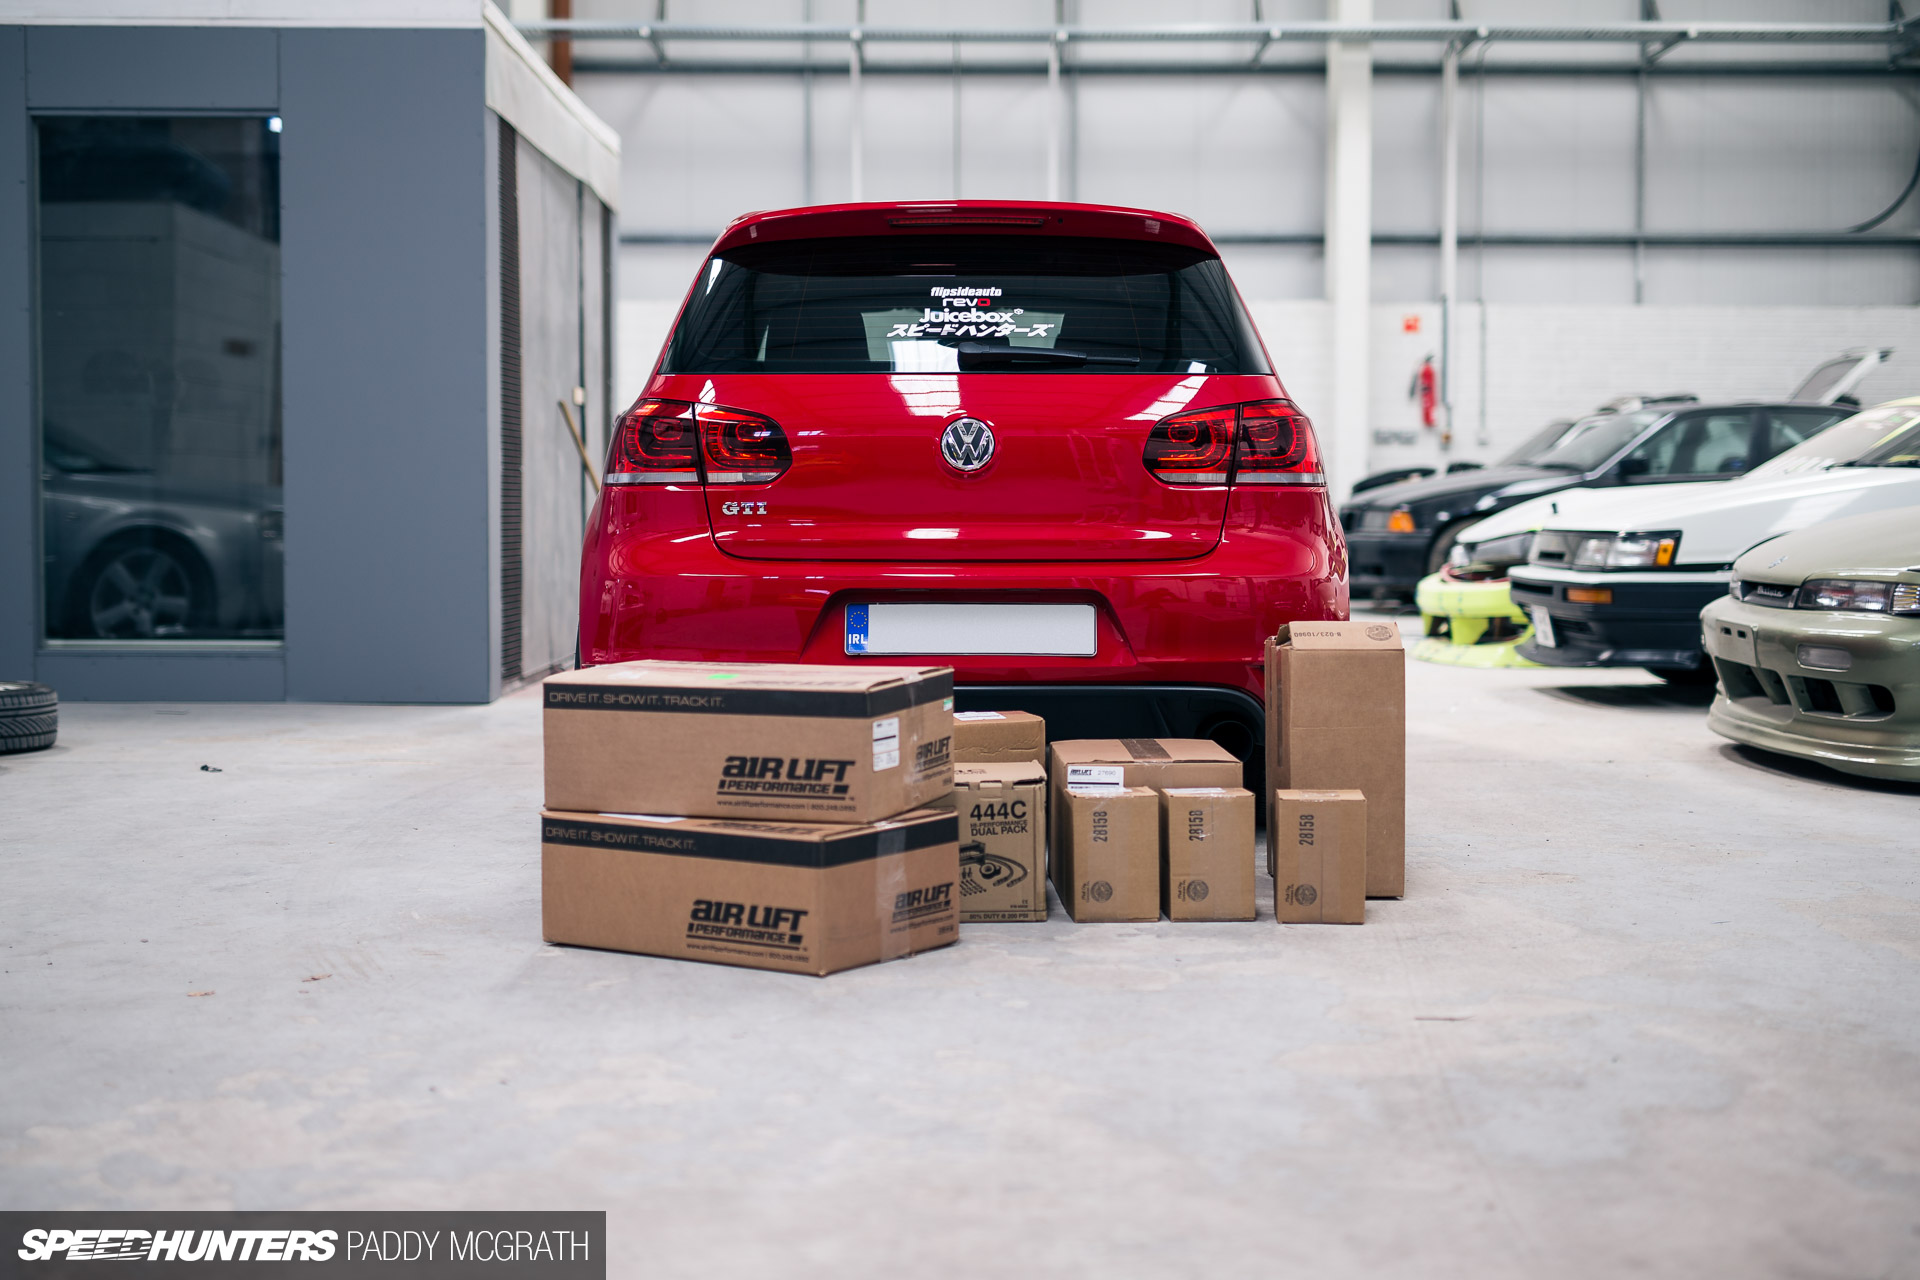
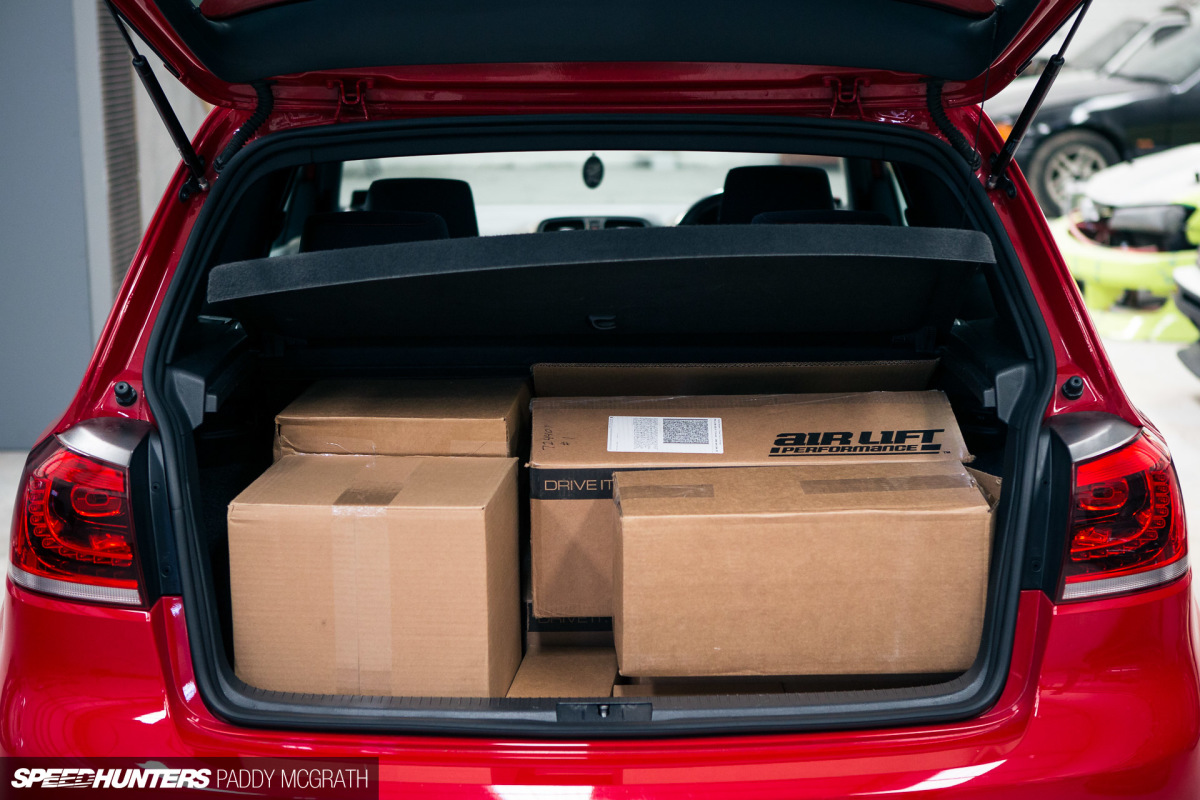
For some, it will probably come as no surprise that the next step for Project GTI is to run the car on air suspension. In fact, this has been the idea since I bought the car. I did allude to it during a previous project car update, but it’s taken until now to finally realise this plan.
I like to do things a little bit differently, but if you think that this update means that Project GTI is going to become a rim-poking stance car, you would be very much mistaken. Not that there’s anything wrong with that, it’s just not what this car has been or will ever be about.

I like driving my car, and I do so quite a lot. I’ve come to absolutely adore the duality of my GTI and how easy it has been to live with. Recently, I racked up around 2,000kms in the space of a week and the car didn’t so much as even break sweat at any point.

For me, it’s what makes the GTI special. There are faster cars, there are more refined cars, but you won’t find a car that’s as capable of both things as the GTI. It’s the benchmark. In between the recent long distance driving, I was able to peel off on a backroad and scare myself on more than one occasion, before returning back to the main road and cruising along in comfort and peace.
This all-round ability is something I cherish, and those of you who frequent these updates will know that it’s something that I’m not willing to sacrifice.

Every upgrade made so far has improved the car without inflicting any major drawbacks. I don’t want to get to a point where I can’t bring the car somewhere because it’s too aggressive. I want it to fit in when I’m at a business meeting as much as it does if I drop into Mondello for a track day or an event. It’s difficult to maintain and develop a project along these lines, with these goals in mind, but it can be done. It just requires thought, logic and consideration. It’s with this that I can’t even think of any other option than running the car on air going forward.
Logical
I’m not writing this update to convince myself that I’m going down the right path – I’m already pretty convinced of that. Instead, I want to talk you through my own logic and the reasons why I’ve chose Air Lift Performance.
Having such easy access to the sales staff and also feedback from the engineers at Air Lift was a huge benefit for starters. I wanted a custom tank setup, and the ability to have any question answered pretty much immediately was a huge incentive for someone with relatively little experience of air. Add to that the recent introduction of Air Lift’s new 3H system and I was sold. Obviously, anyone who is considering going on air is doing so for a reason; the reason usually being that you need the versatility of being able to increase or decrease ride height quickly and easily. This is very much true of my situation.

My last car, which I still miss, ran on KW Variant 1s. As you can see, I liked to run it quite low on the street. In fact, I love to run my cars low full stop. By the time I sold it though, I was at my wits end as I constantly had to worry about where I was driving and if there were any speed bumps or poor road surfaces. Multi-storey car parks were an absolute nightmare and scraping was a daily occurrence and not something I was proud of or enjoyed. This was no fault of KW, the V1s were superb, it was just the situation and environment I live in that made it a nightmare to own and drive a static low car. So that’s one huge part of my decision. The other part comes from my inner car nerd in that I just want to experience what it’s like to live with a car on air so I can form a proper opinion based on experiences and facts, rather than the word of others.
I’m going about this installation and setup in a very specific way and knowing precisely what I want to get from it. I want to develop Project GTI as an on-air track day car, so performance will be at the fore of what I want, as opposed to achieving maximum low.
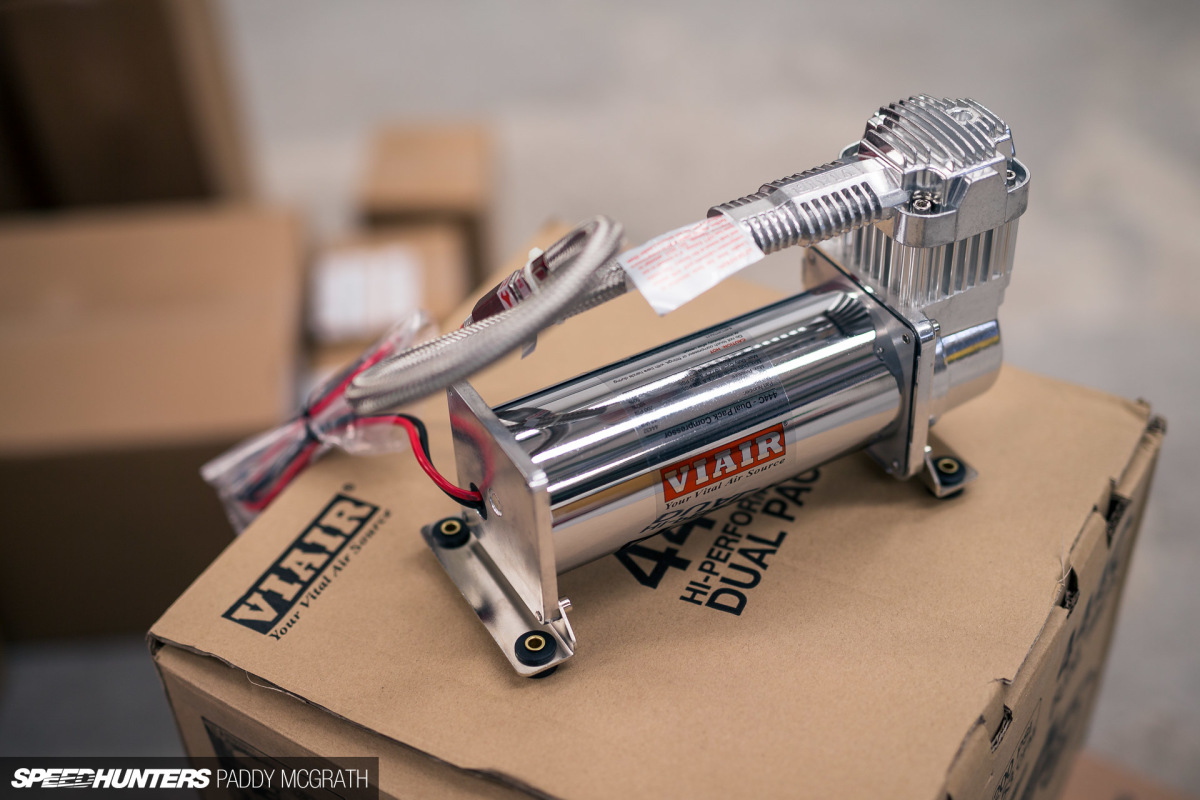
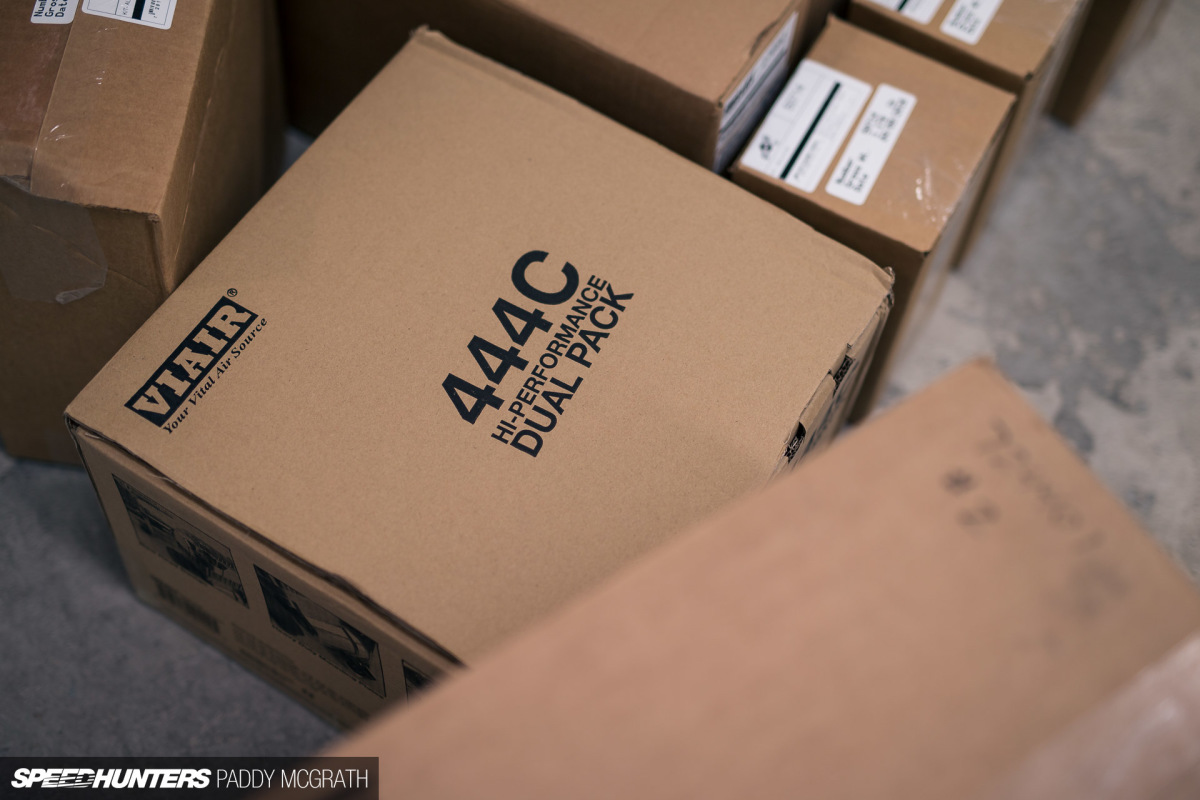
Key to any air setup is the install. I’m not going for a big boot build with hard lines, LEDs or an ironic beer keg air tank. In fact, I want the install to be completely hidden from view but to still achieve maximum efficiency and redundancy. To start with, I’m going to run two VIAIR 444C compressors which are rated at a maximum of 200PSI each. Previously, Air Lift Performance’s V2 management was designed to accommodate a maximum working pressure of 175PSI, while 3H and 3P can a deal with a maximum working pressure of 200PSI. This opens up a much improved hardware offering.

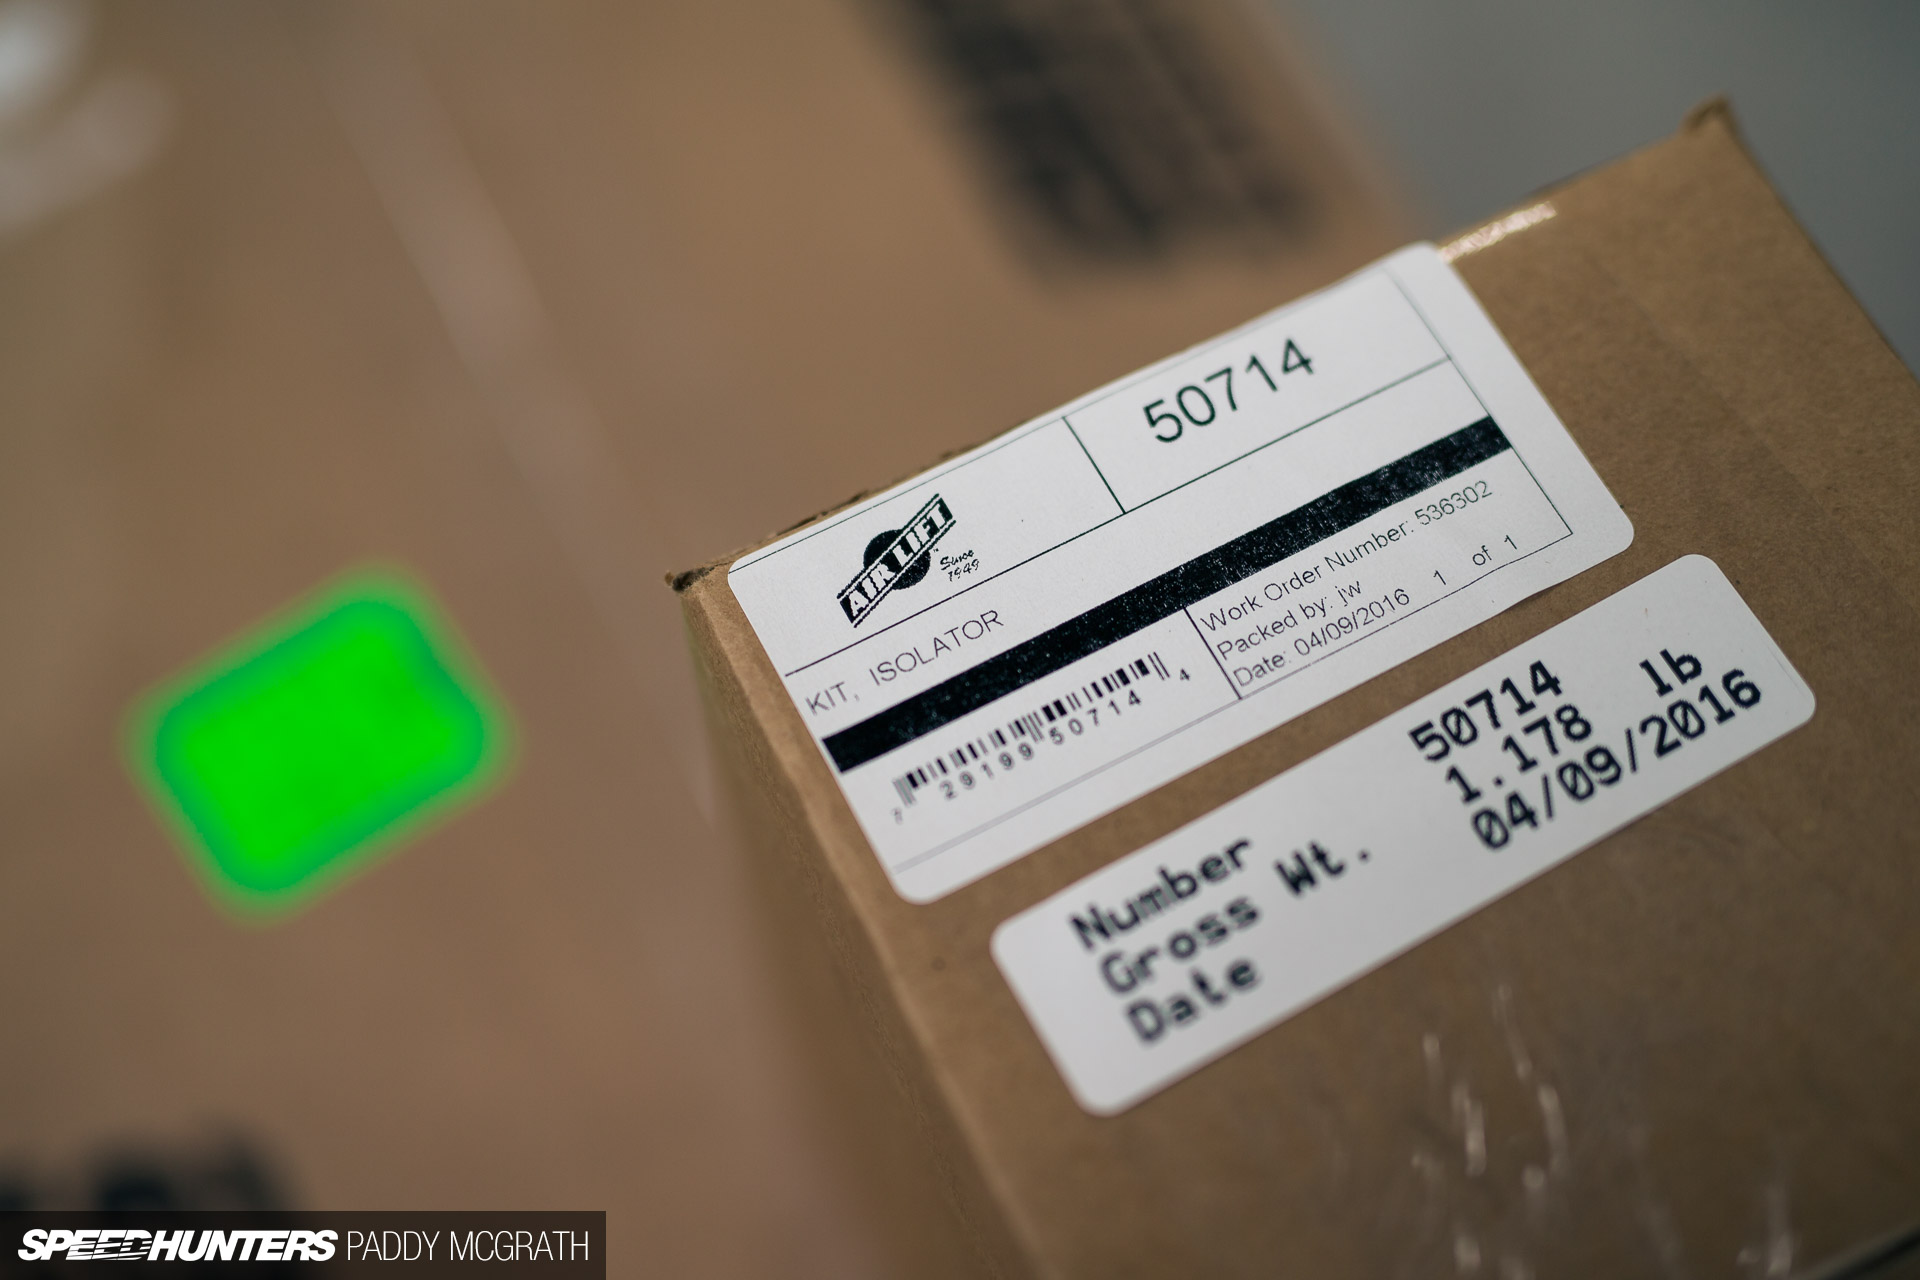
Both compressors are going to be isolated from the car’s body, so as to keep noise and vibration to a minimum. Essentially, they’ll float within the rear spare tyre well.
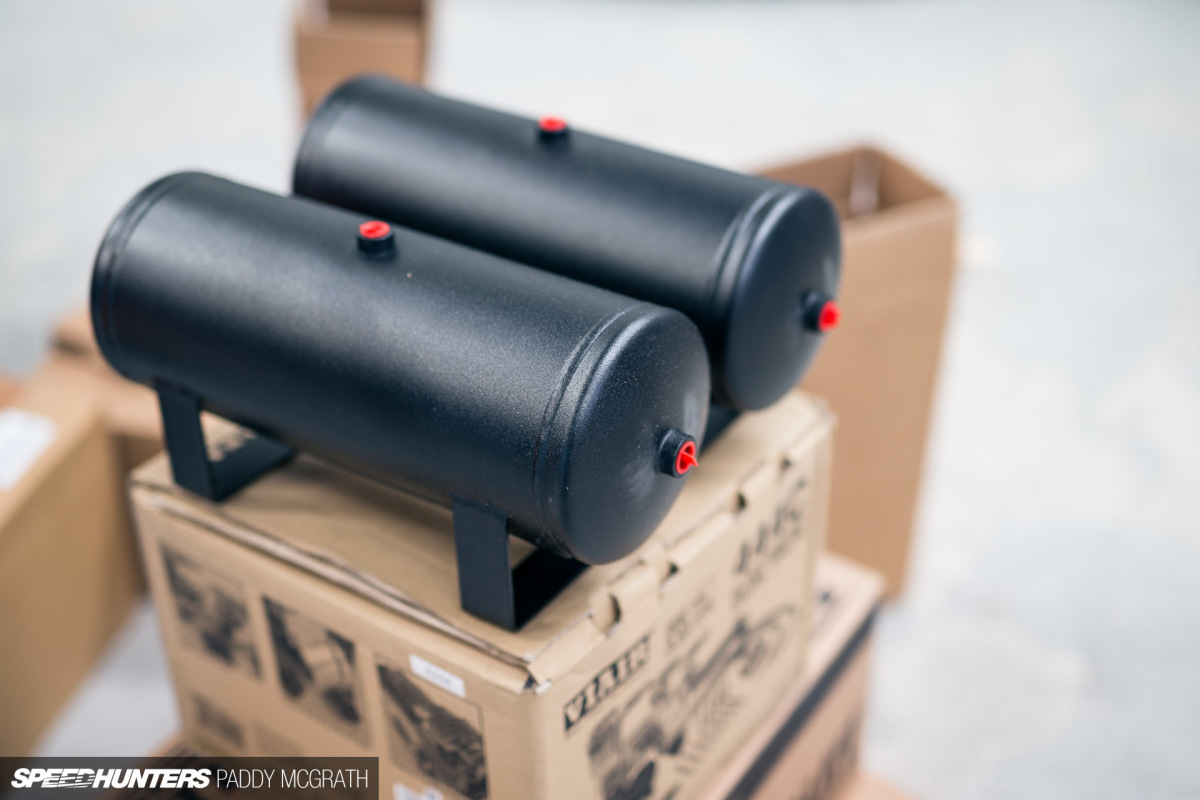
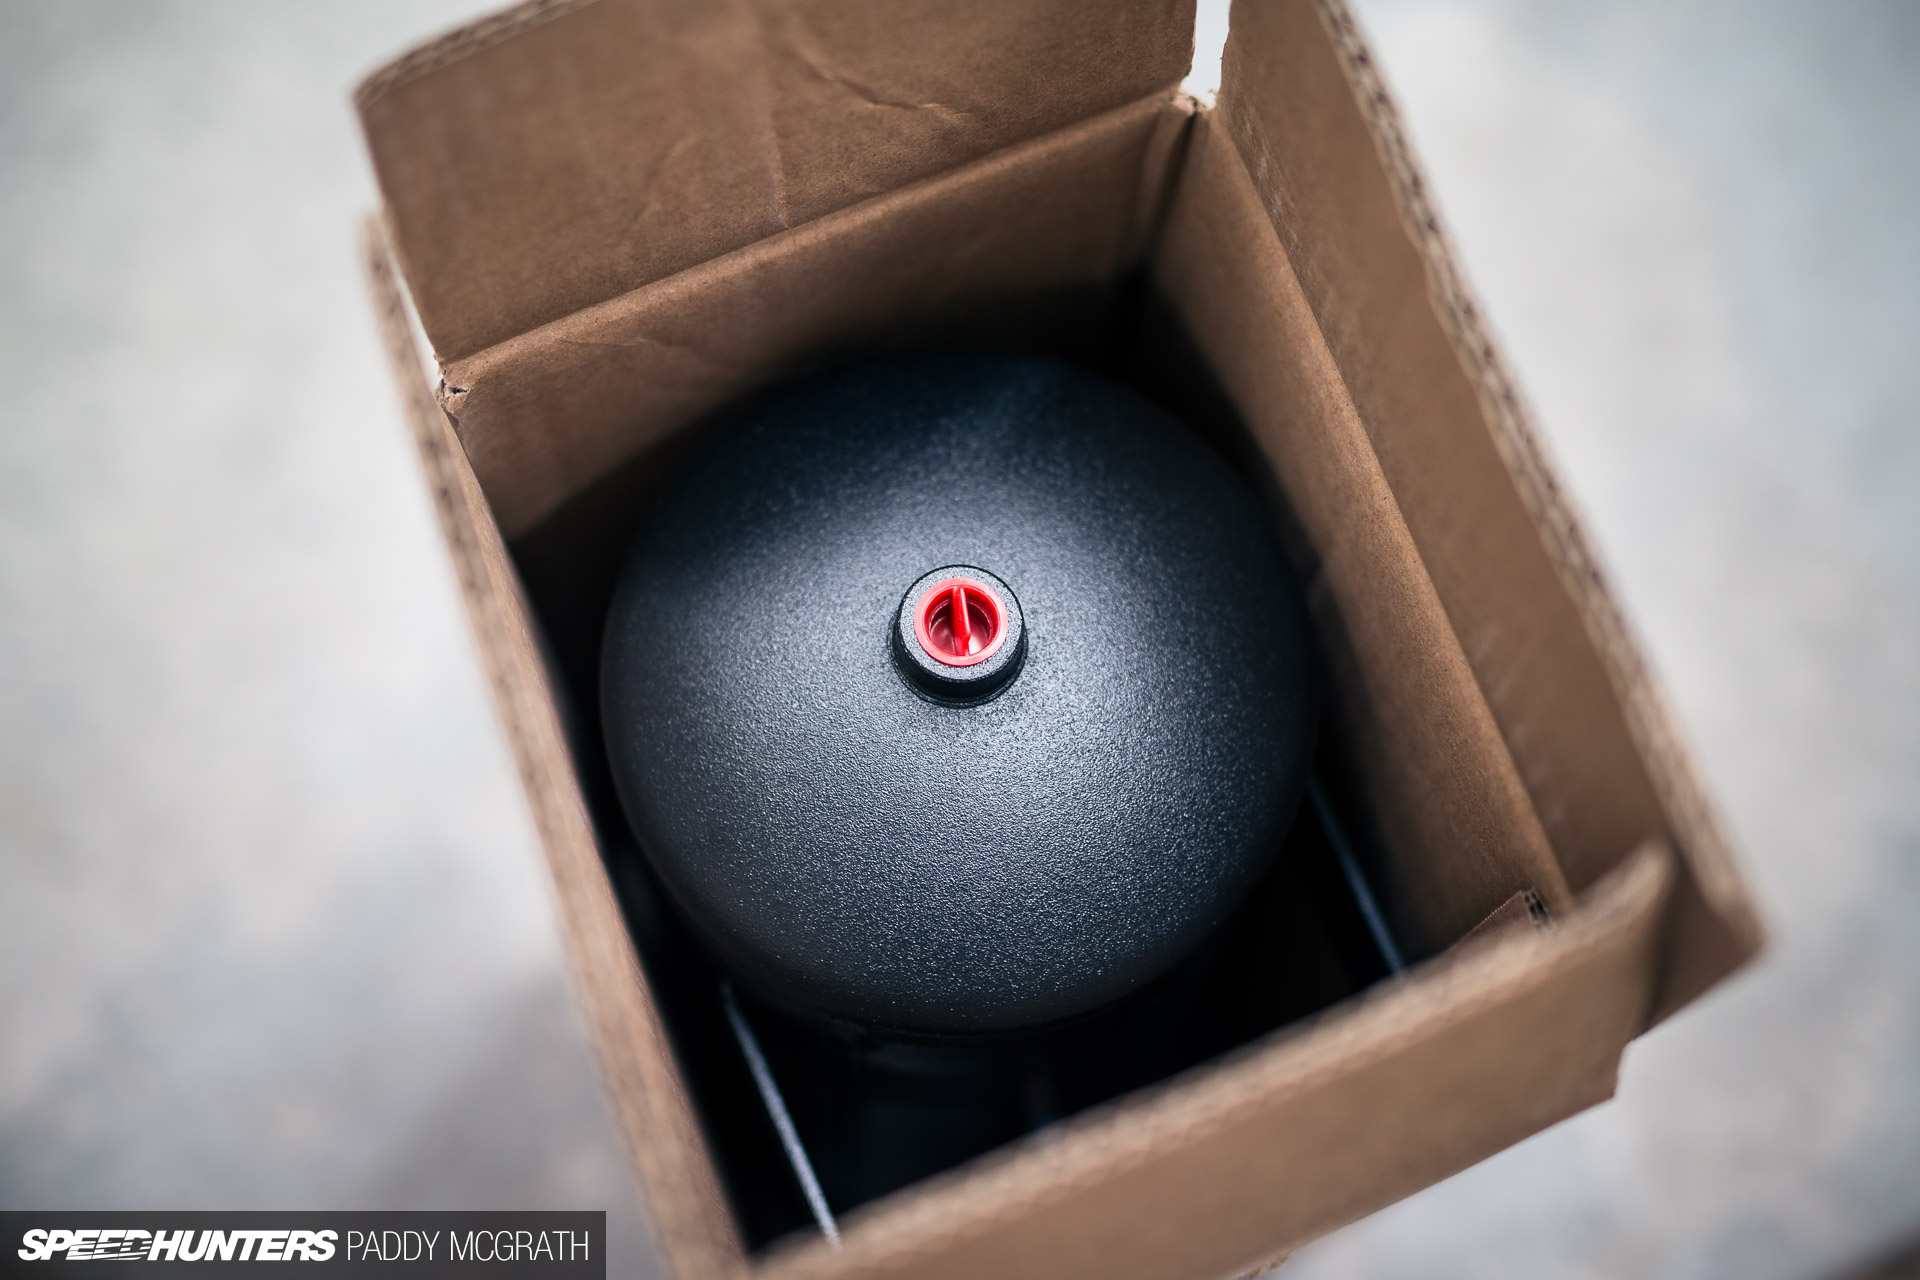
The air needs to be stored, so I’ve chosen the smallest tanks that I can get my hands on. Each of these is capable of storing 2 gallons, giving me a combined total of 4 gallons in air capacity. The thinking behind this is that two small tanks will be easier to mount and hide than one large tank. Plus, their relatively small weight can be distributed in the best possible way.

This is how much room we will have to play with with the spare removed. The tanks sit around an inch higher than the current boot floor, but I’ve already sourced an OE solution to raise the boot floor slightly without having to build a frame to raise it. When it comes time to install, I’ll show you that solution. I haven’t got the weighing scales out just yet, but I’m pretty confident that the completed install will weigh either the same or less as the spare with the jack and tools inside of it did. It’s my hope that once everything is installed, we won’t add any weight to the car and will even lose a little bit of unsprung mass.
As an aside, since I installed the Tarox brakes, the spare wheel is useless anyways as it won’t fit over them. Instead, I’m going to revert to a 12V compressor and a couple of cans of TyreWeld in case of a puncture, something I’m comfortable with as the E90 had no spare from the factory anyways.
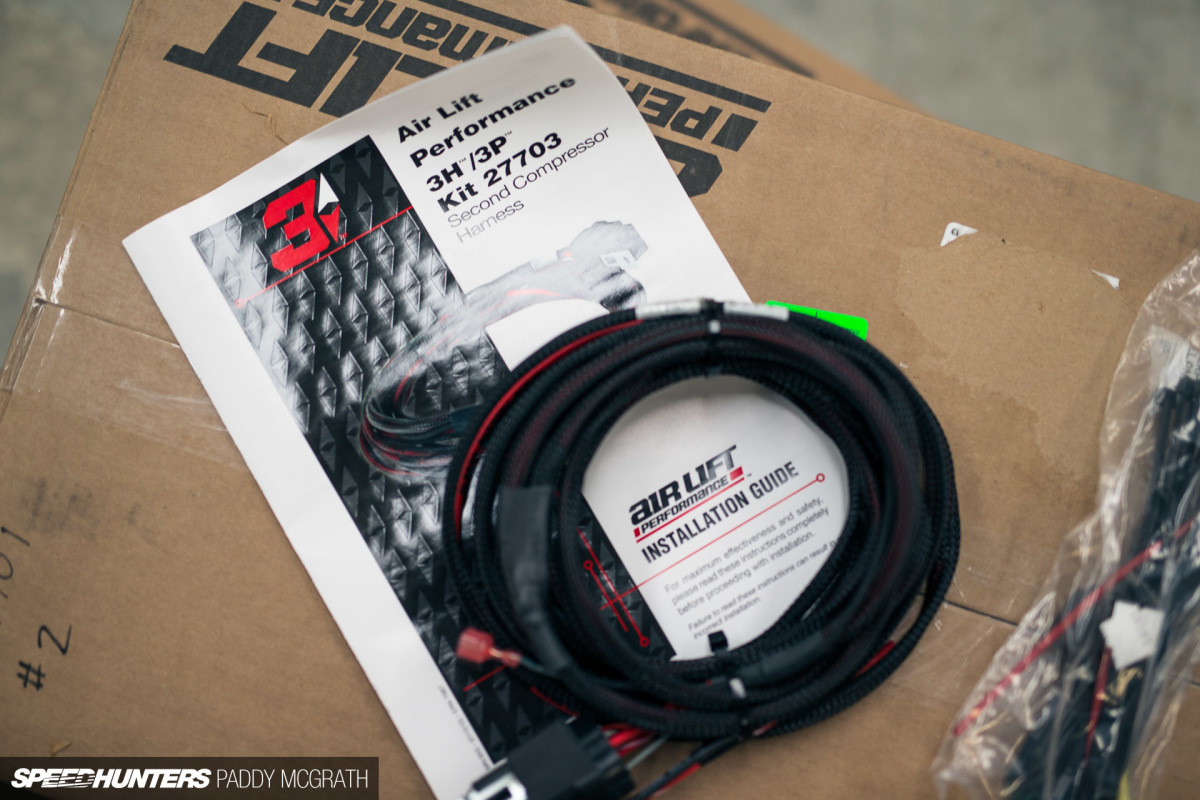
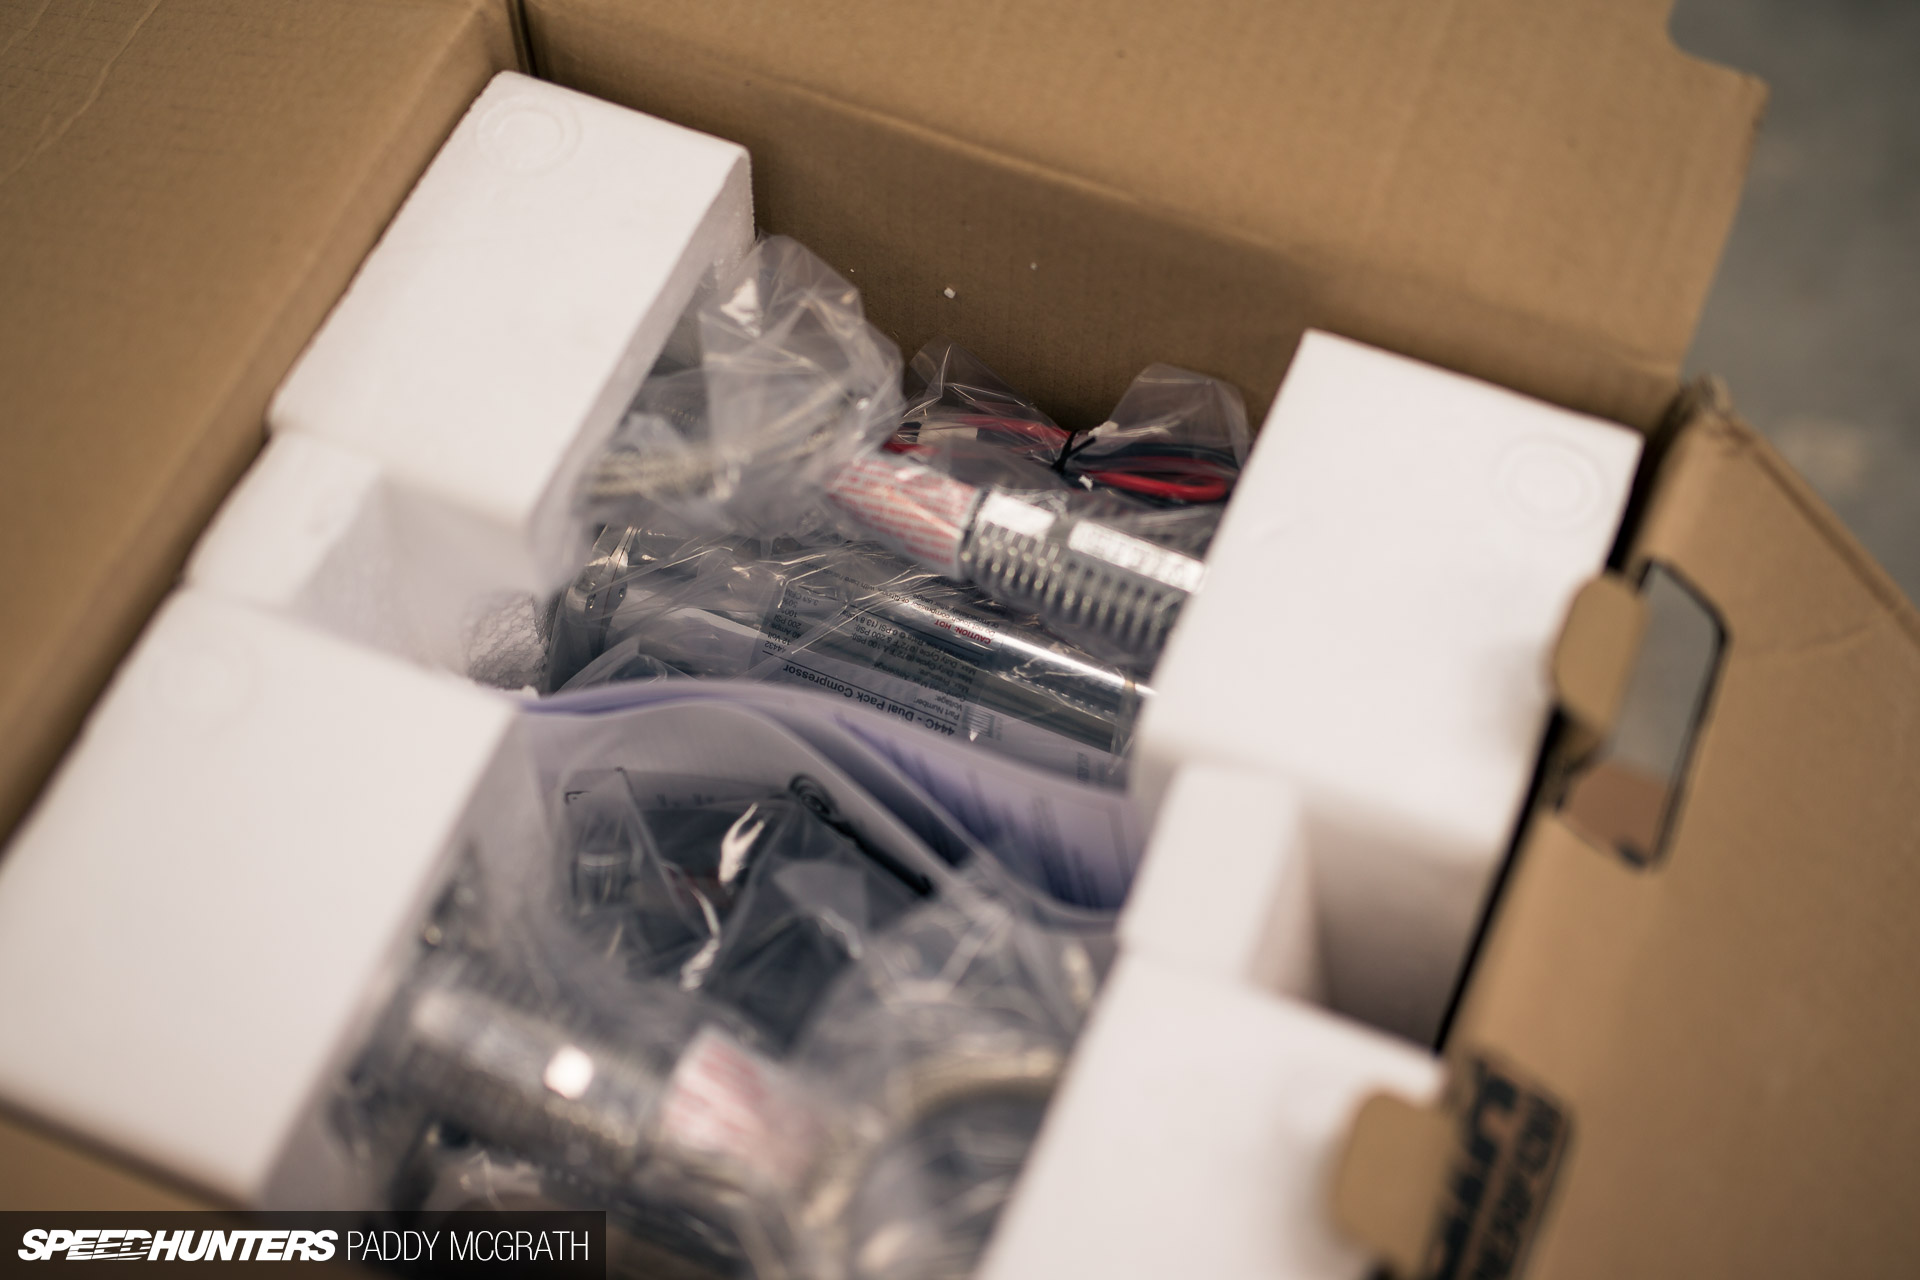
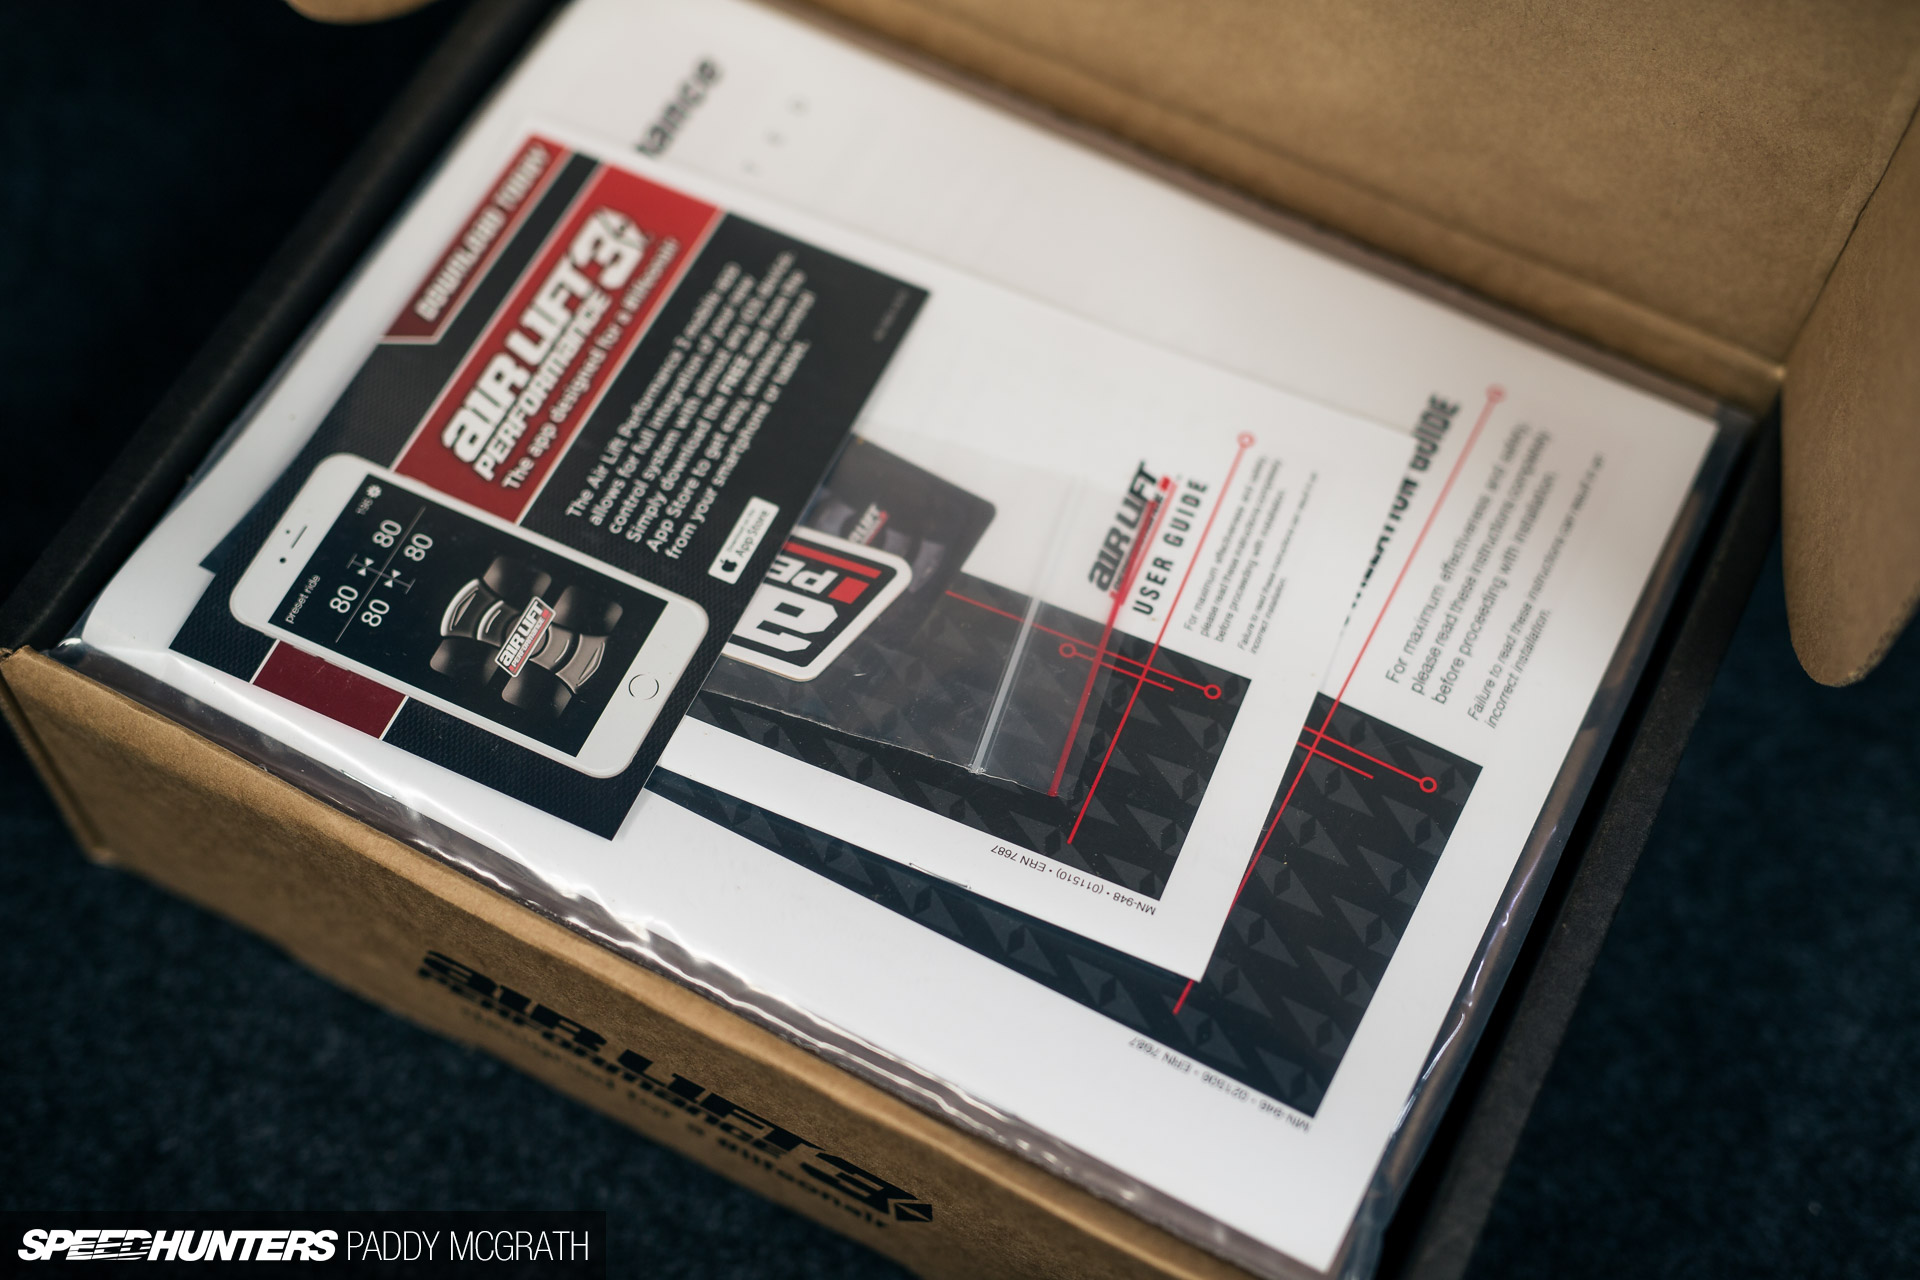
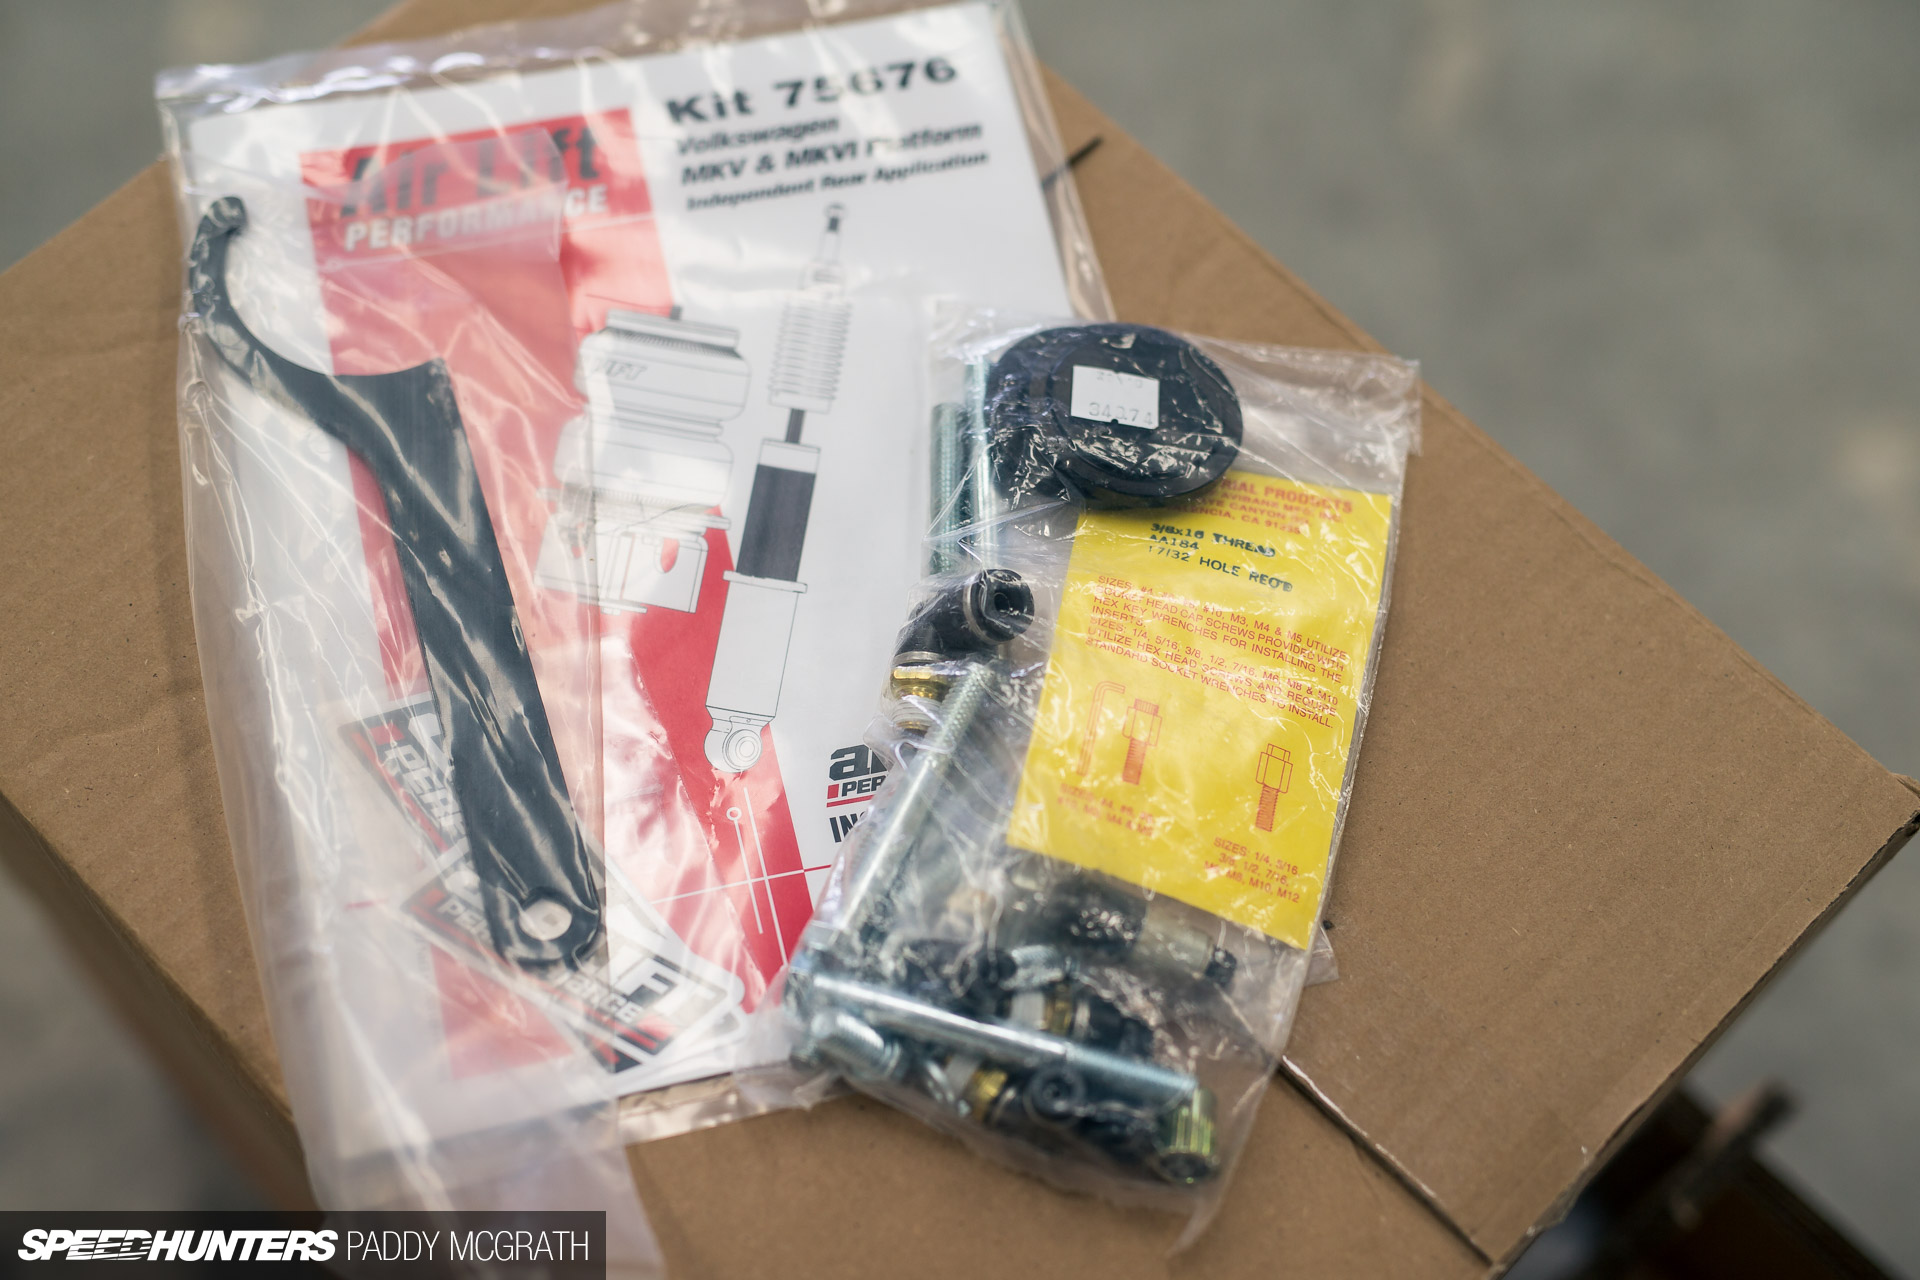
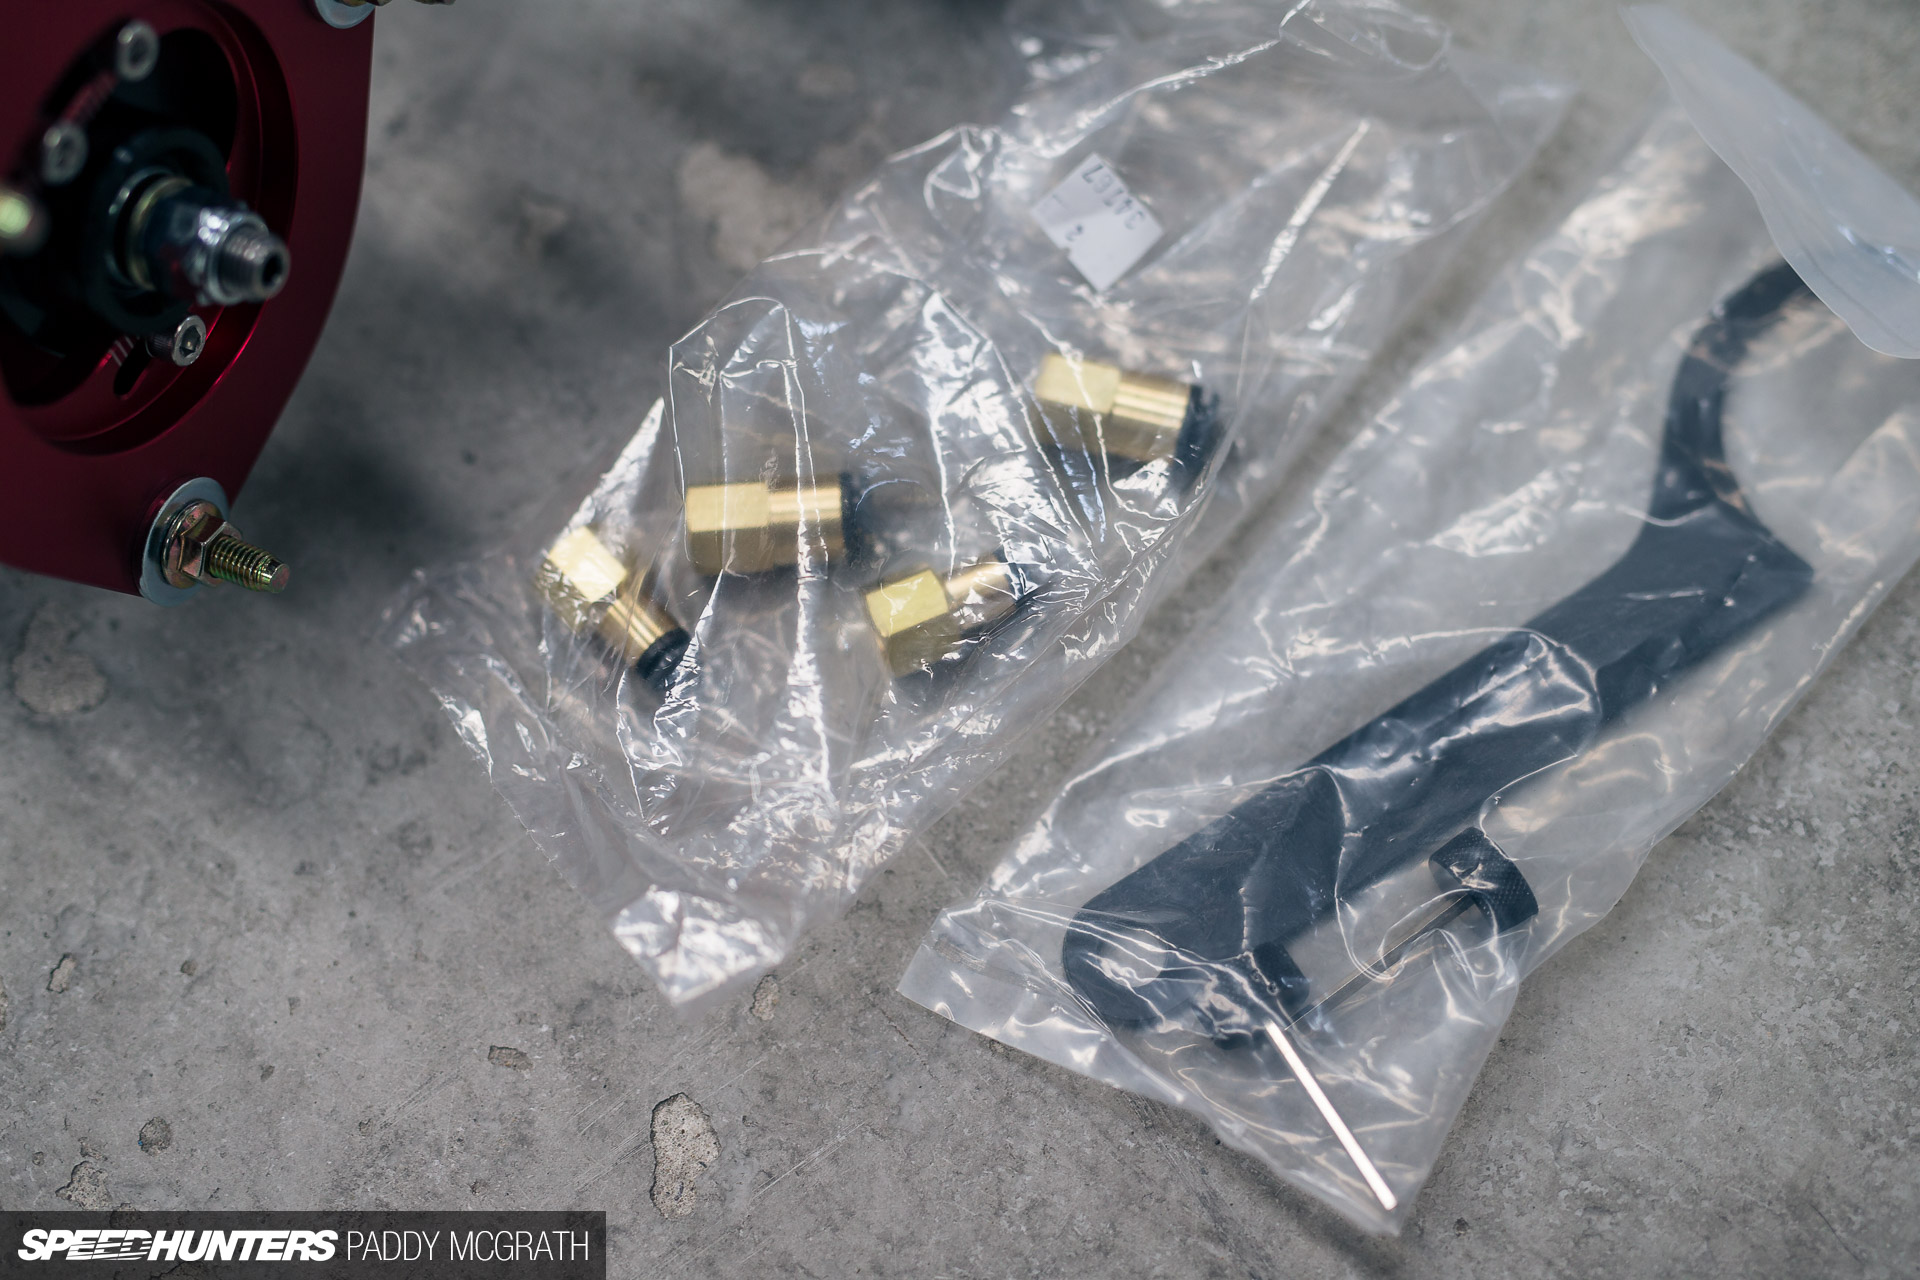
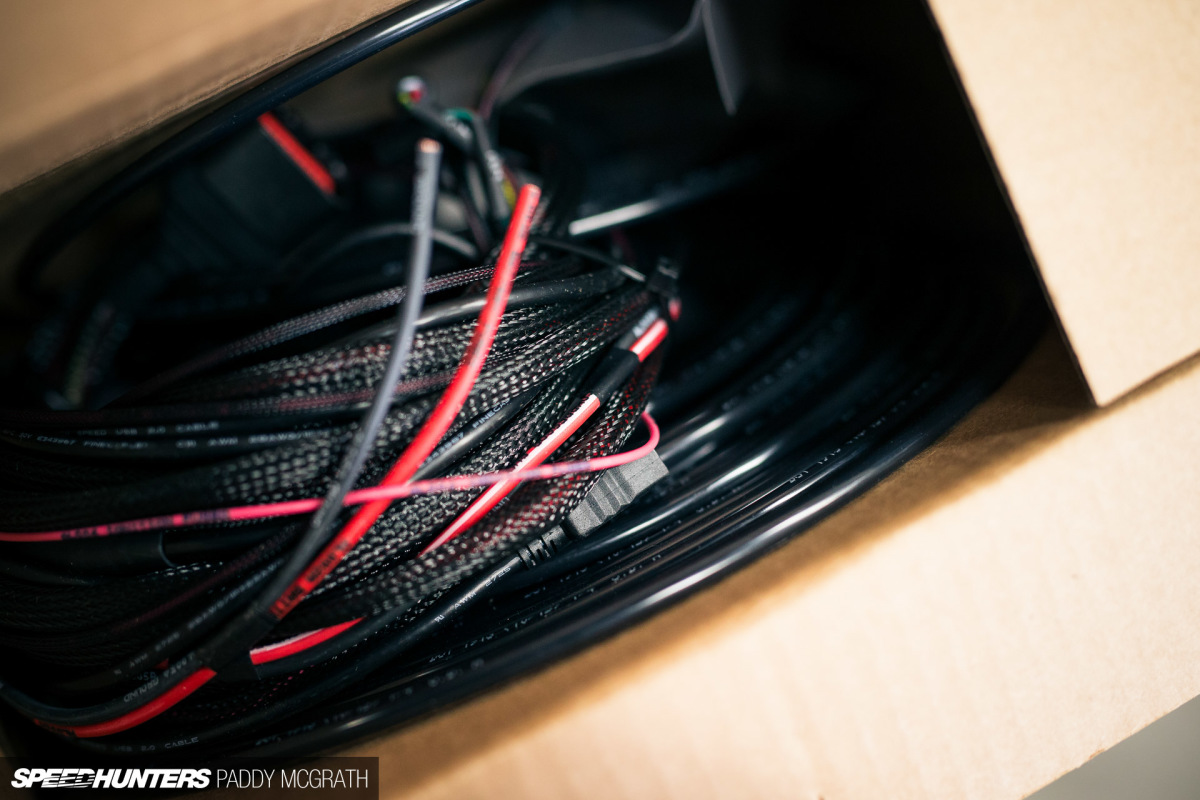
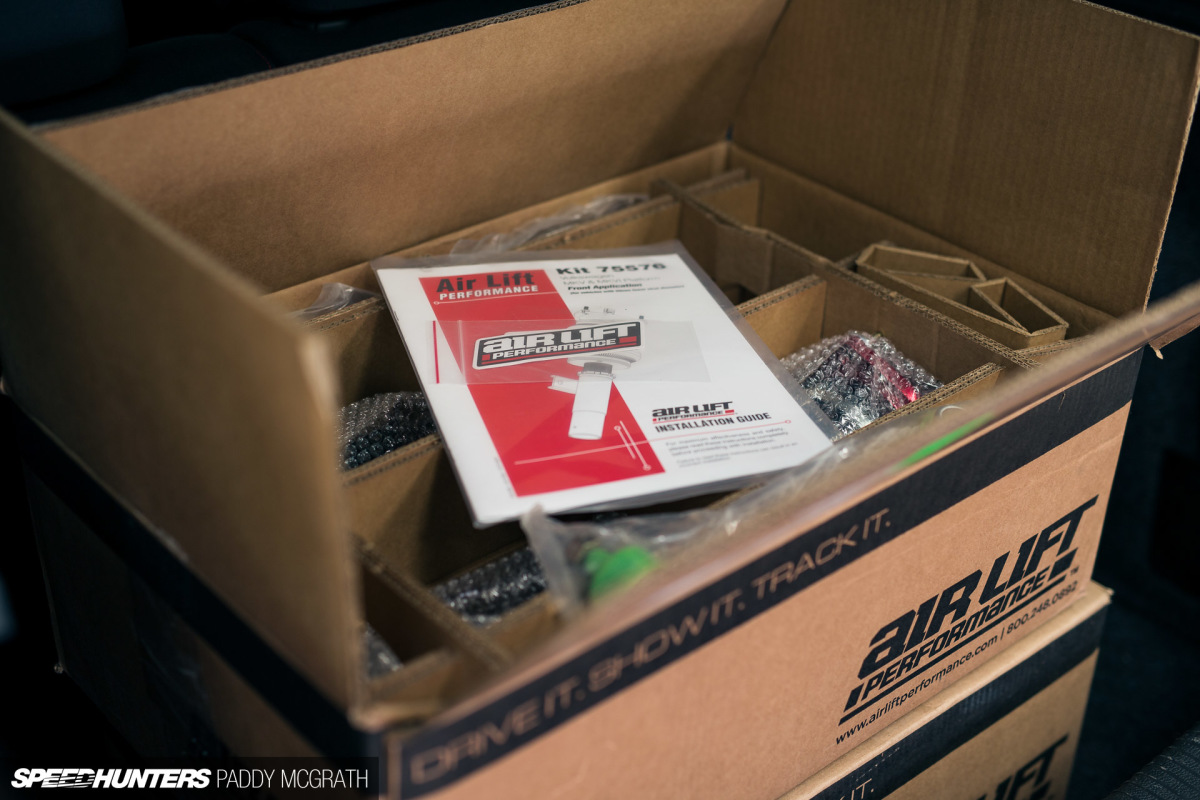
Air Lift Performance have supplied absolutely everything we need to get this into the car without needing a trip to a hardware store or to order anything online. This extra harness ensures that the second compressor is a simple plug-and-play addition.
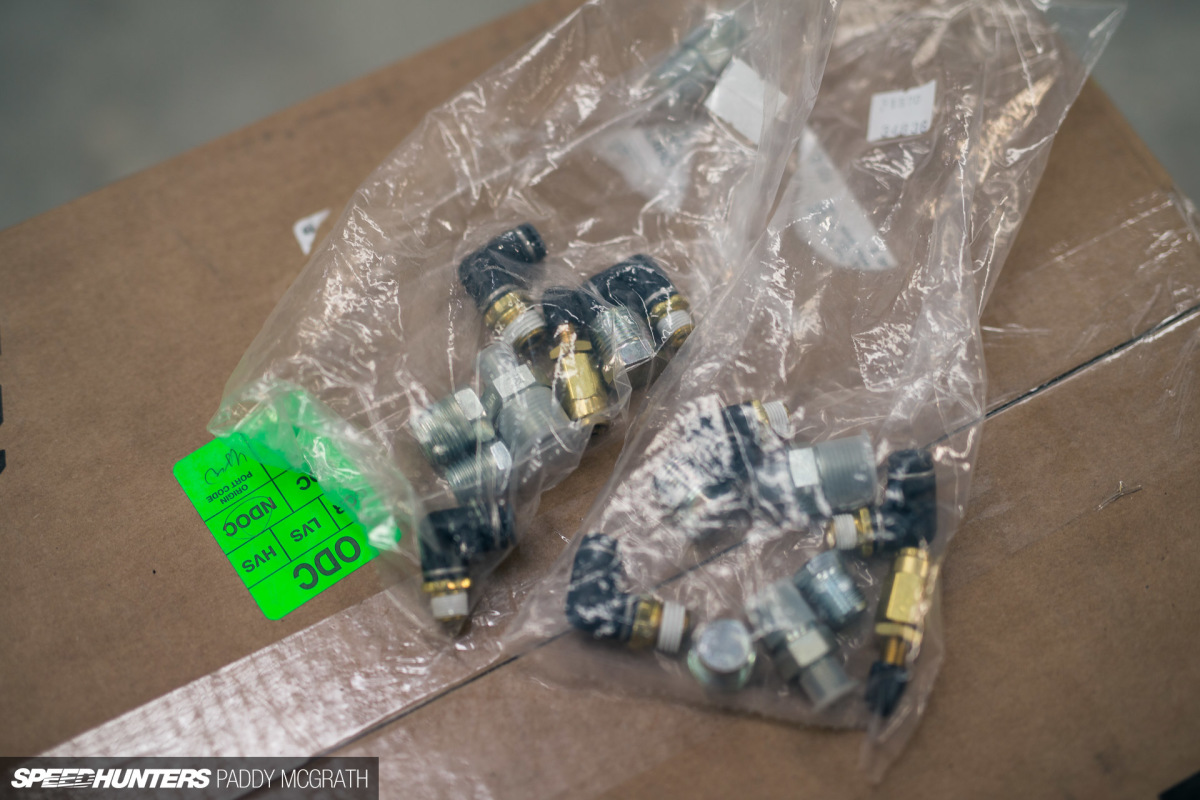
When I say everything, I mean absolutely everything. I was scared to open these bags in case something went missing, then it would most certainly be my fault. Also, notice how the connections are already taped to ensure a perfect seal and fit. I love that someone thought to do that before shipping them out; it’s a wonderful little touch.
The Brains Of The Operation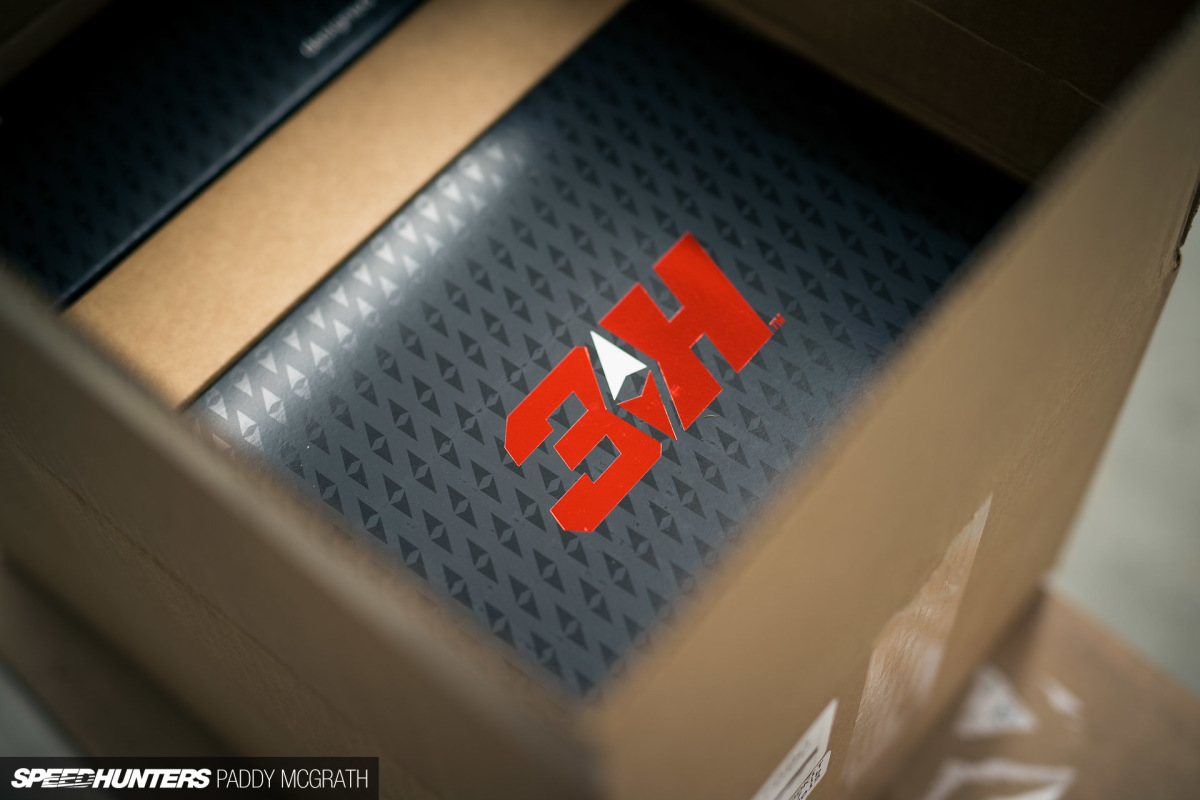
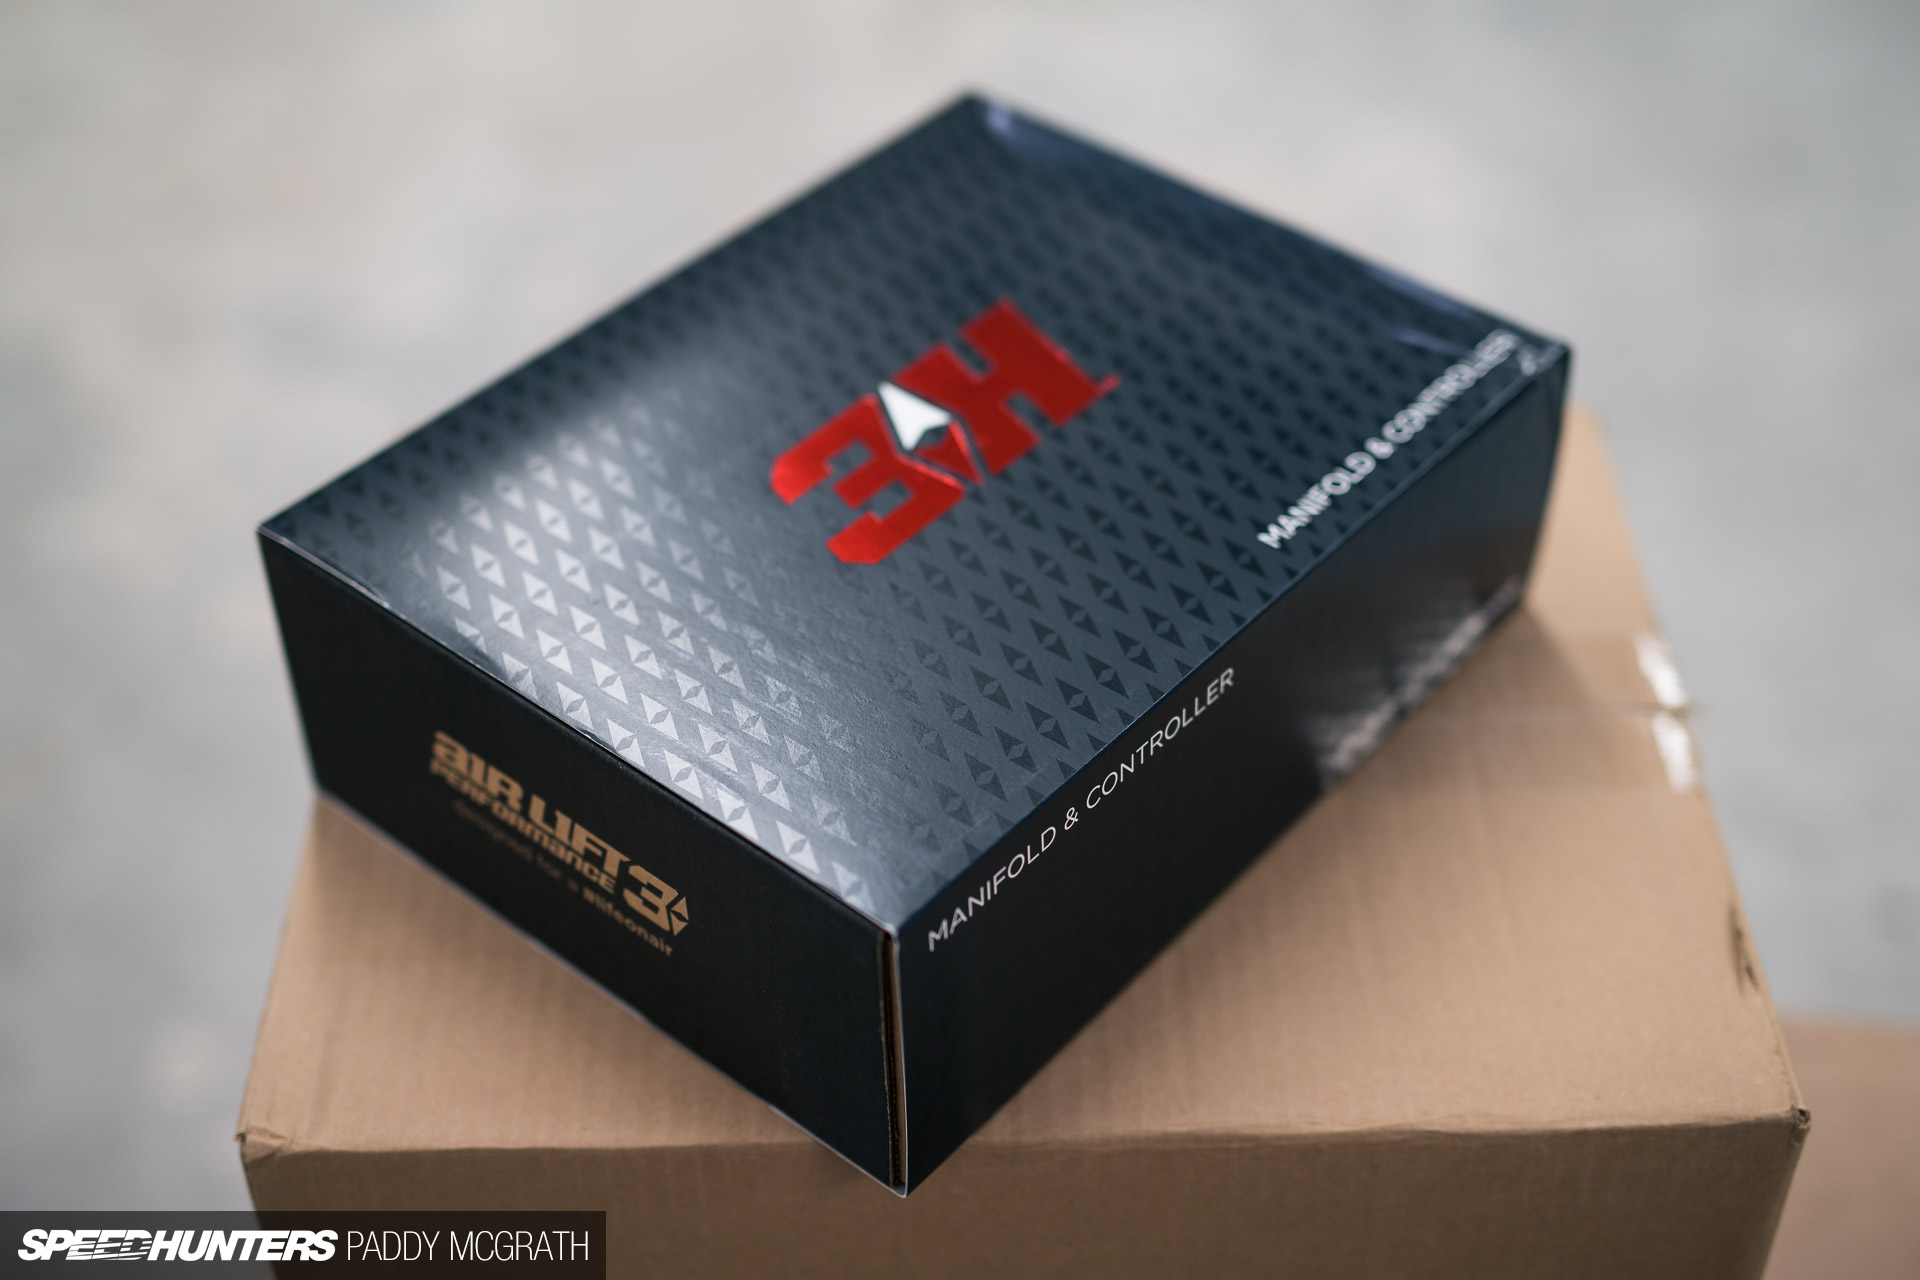
All air setups will of course run compressors and tanks, but it’s in the management where the real difference is made. Air Lift announced its new 3H setup late last year and the system has proven to be a huge step forward for the entire industry. The ‘H’ in 3H stands for height and I’ll show you how this is relevant in just a moment.
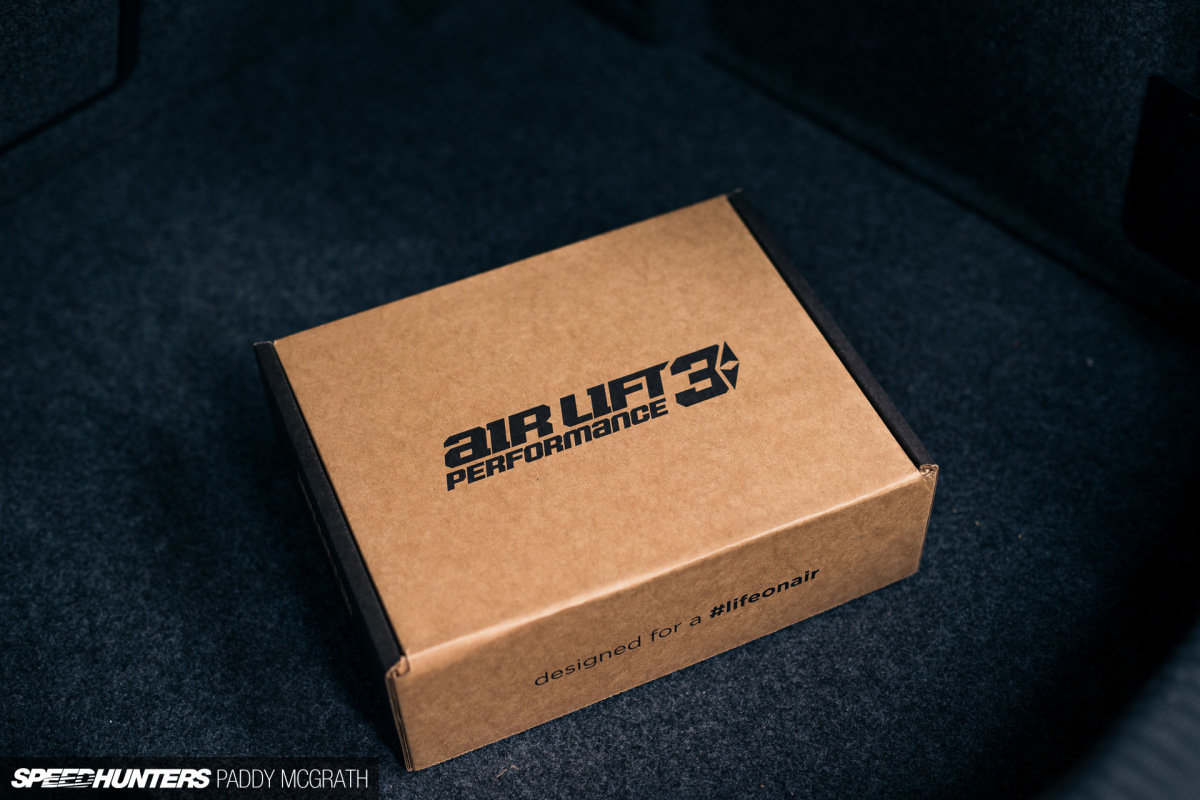
The last time I unboxed something quite this nice was when I got my iPhone a couple of years back. It just feels good.
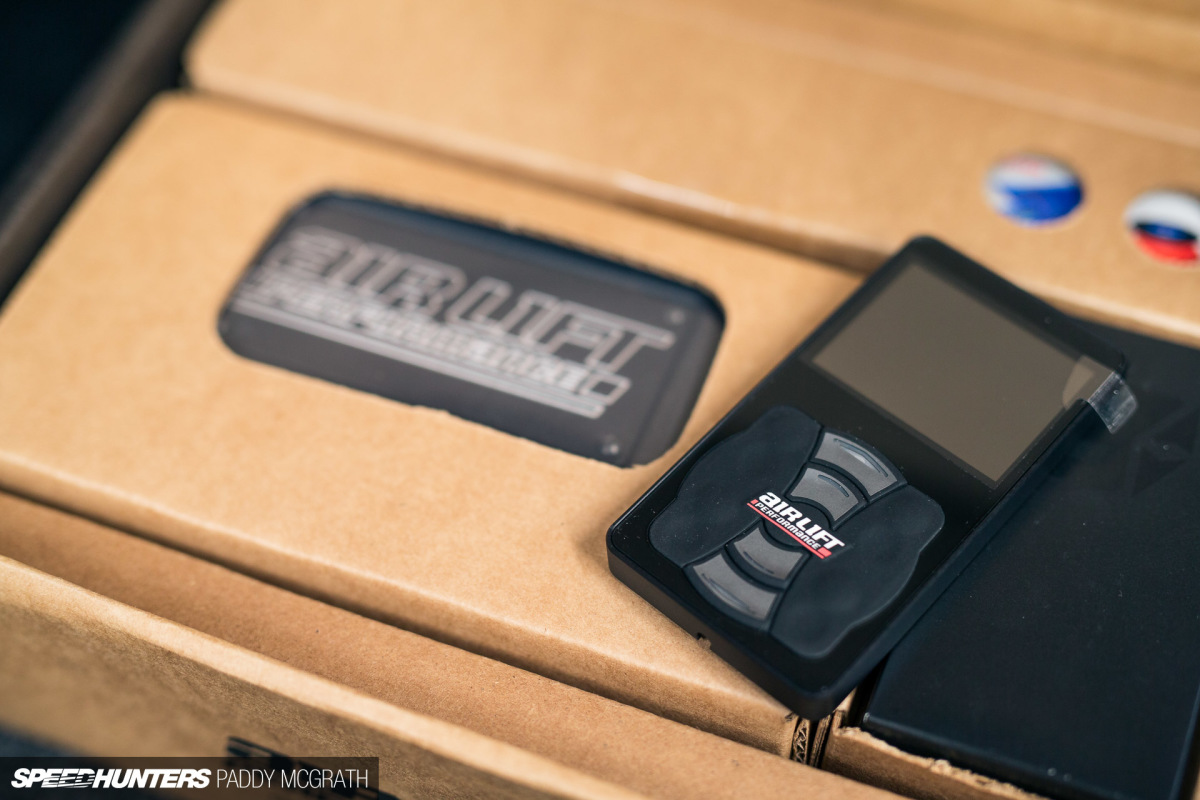
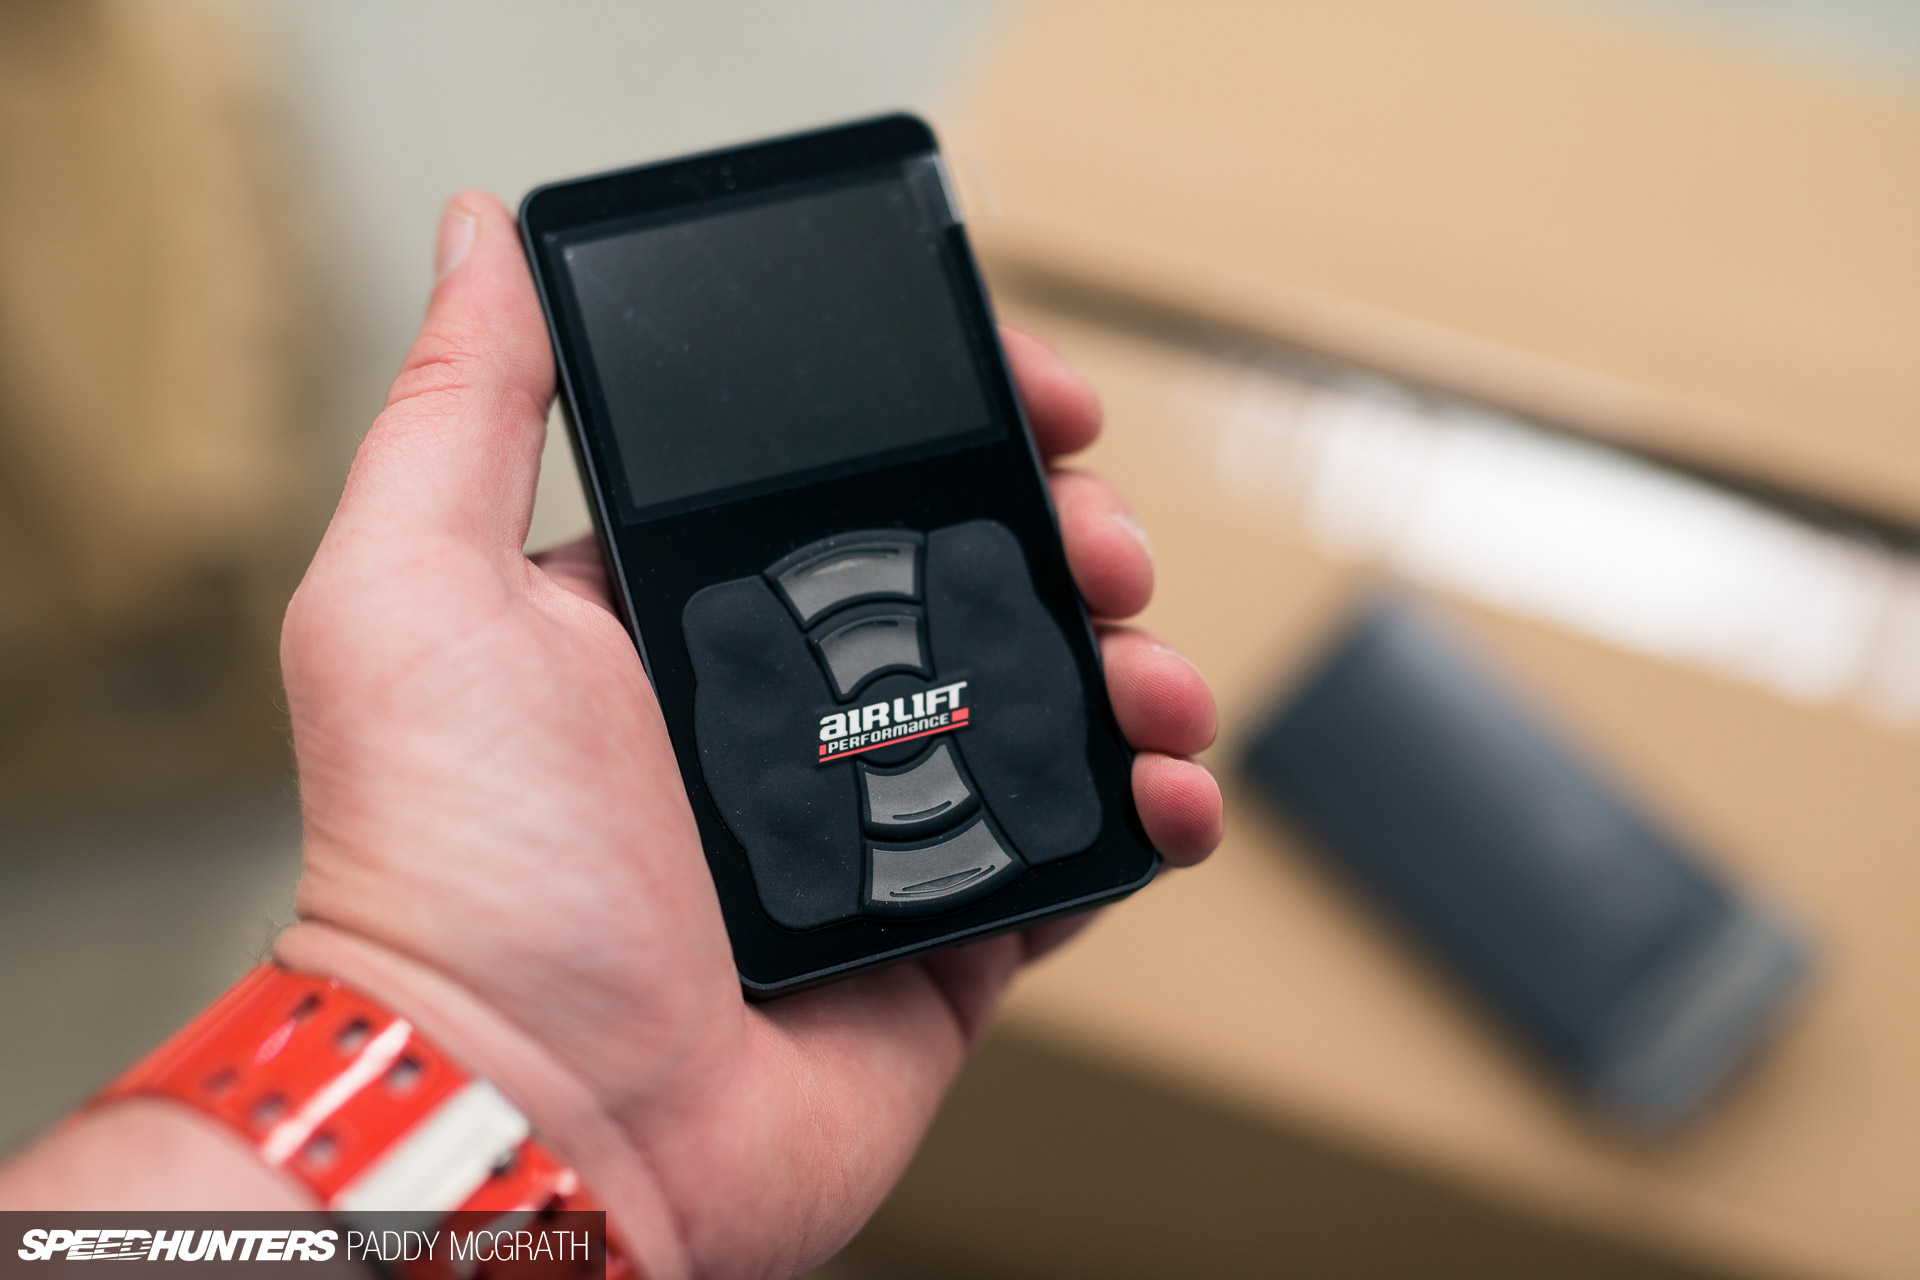
Inside I found the new ALP controller, manifold and harness. The controller feels especially impressive. I thought it would be constructed of plastic, but instead it’s machined out of billet aluminium and anodised black. I’m trying to avoid using another Apple comparison, but it does feel quite similar in the hand as last of the iPod Classics. The buttons can be re-orientated too depending on how you want to install the controller.
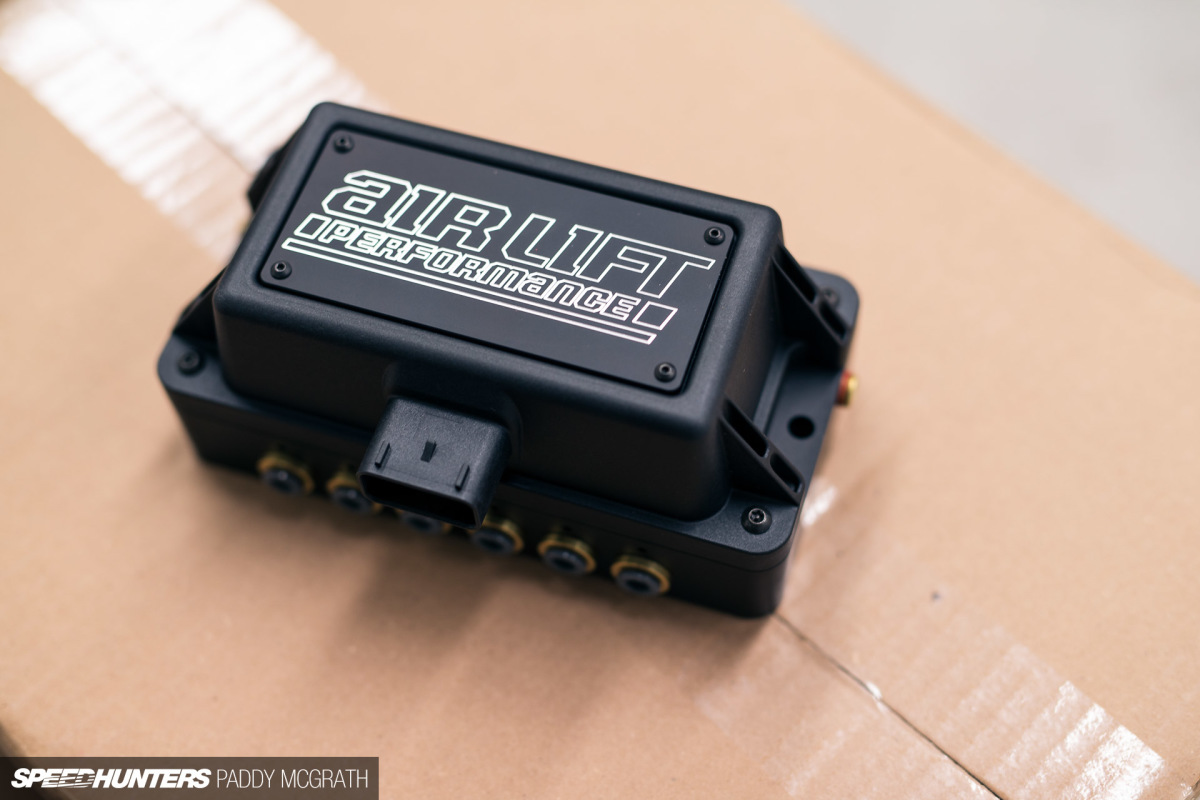
The real heart of the setup is the new fully integrated manifold. This relatively small box of tricks features the ECU, pressure manifold and Bluetooth module in one unit. It’s pretty crazy how much technology has been packed into something so small.

Like the controller, it feels solid. There’s a little bit of reassuring weight to it too, although this time I don’t have any Apple-esque comparisons to throw at you.
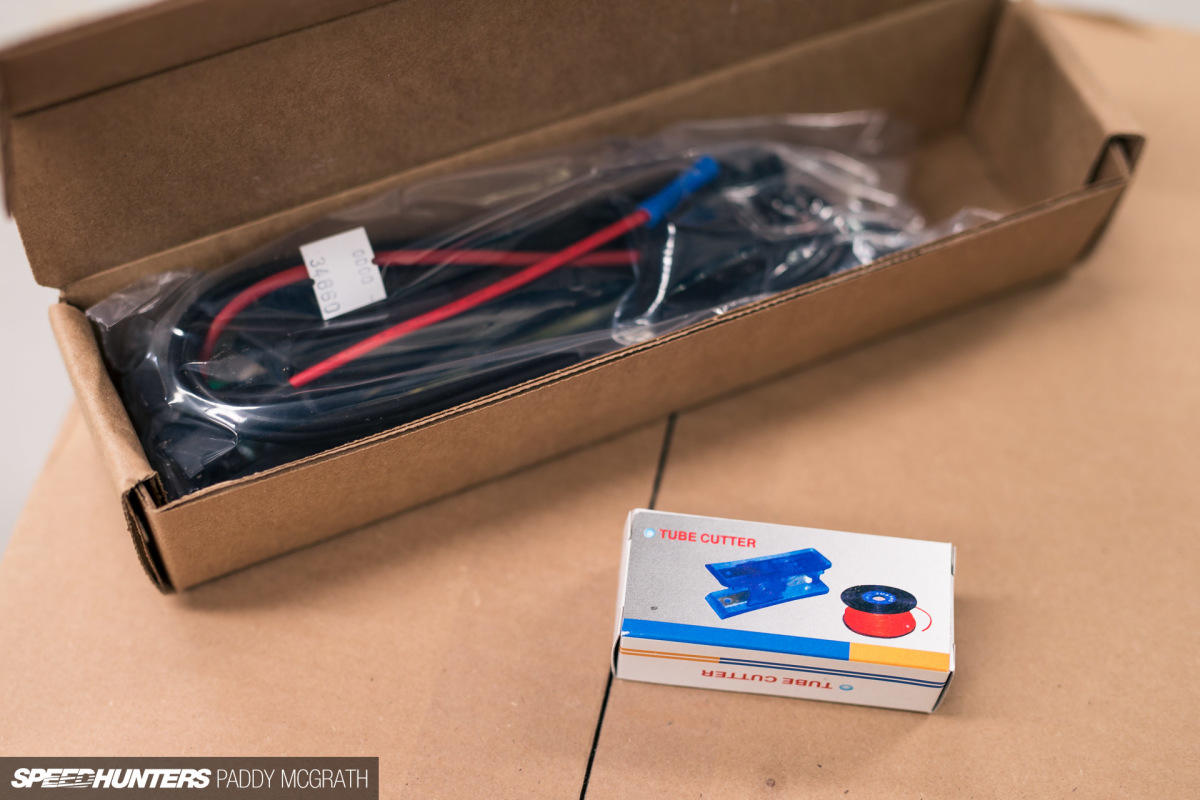
Again, everything is included for a plug-and-play installation, so there’s no need to rewire anything. Air Lift also included a proper air-line cutting tool, something that will prevent leaks when used correctly (using something like a snips will only crush and deform the air line, creating a sub-standard connection and seal, and quite likely a leak too).
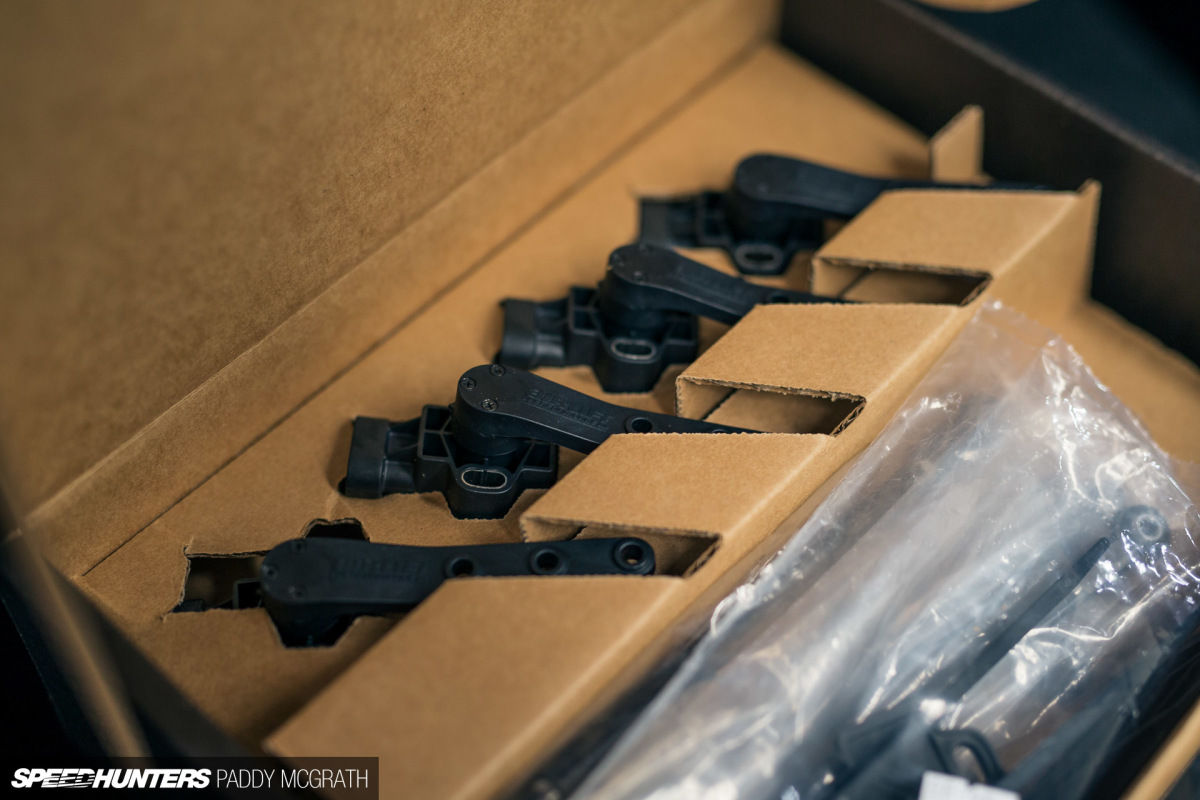
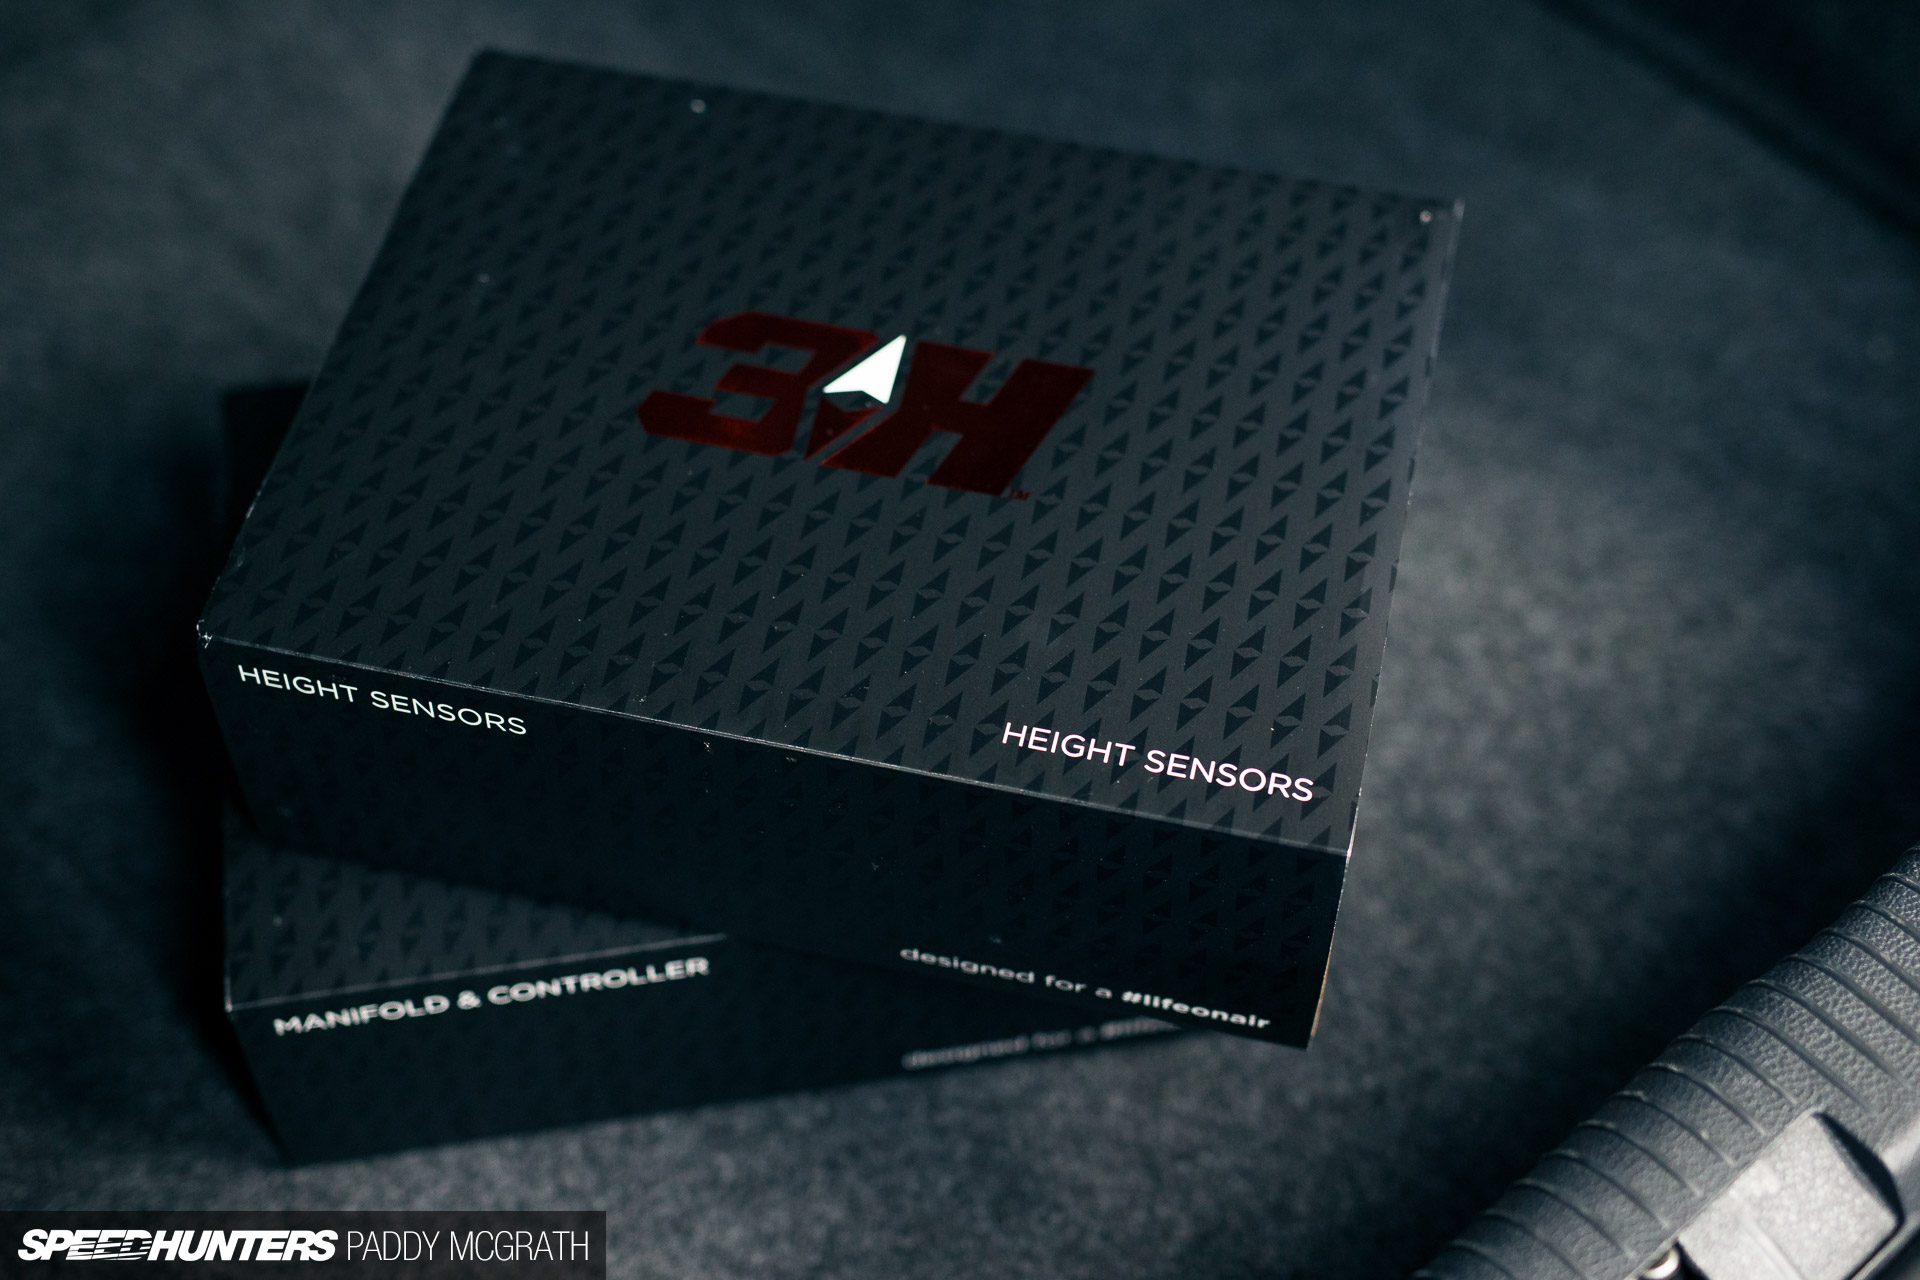
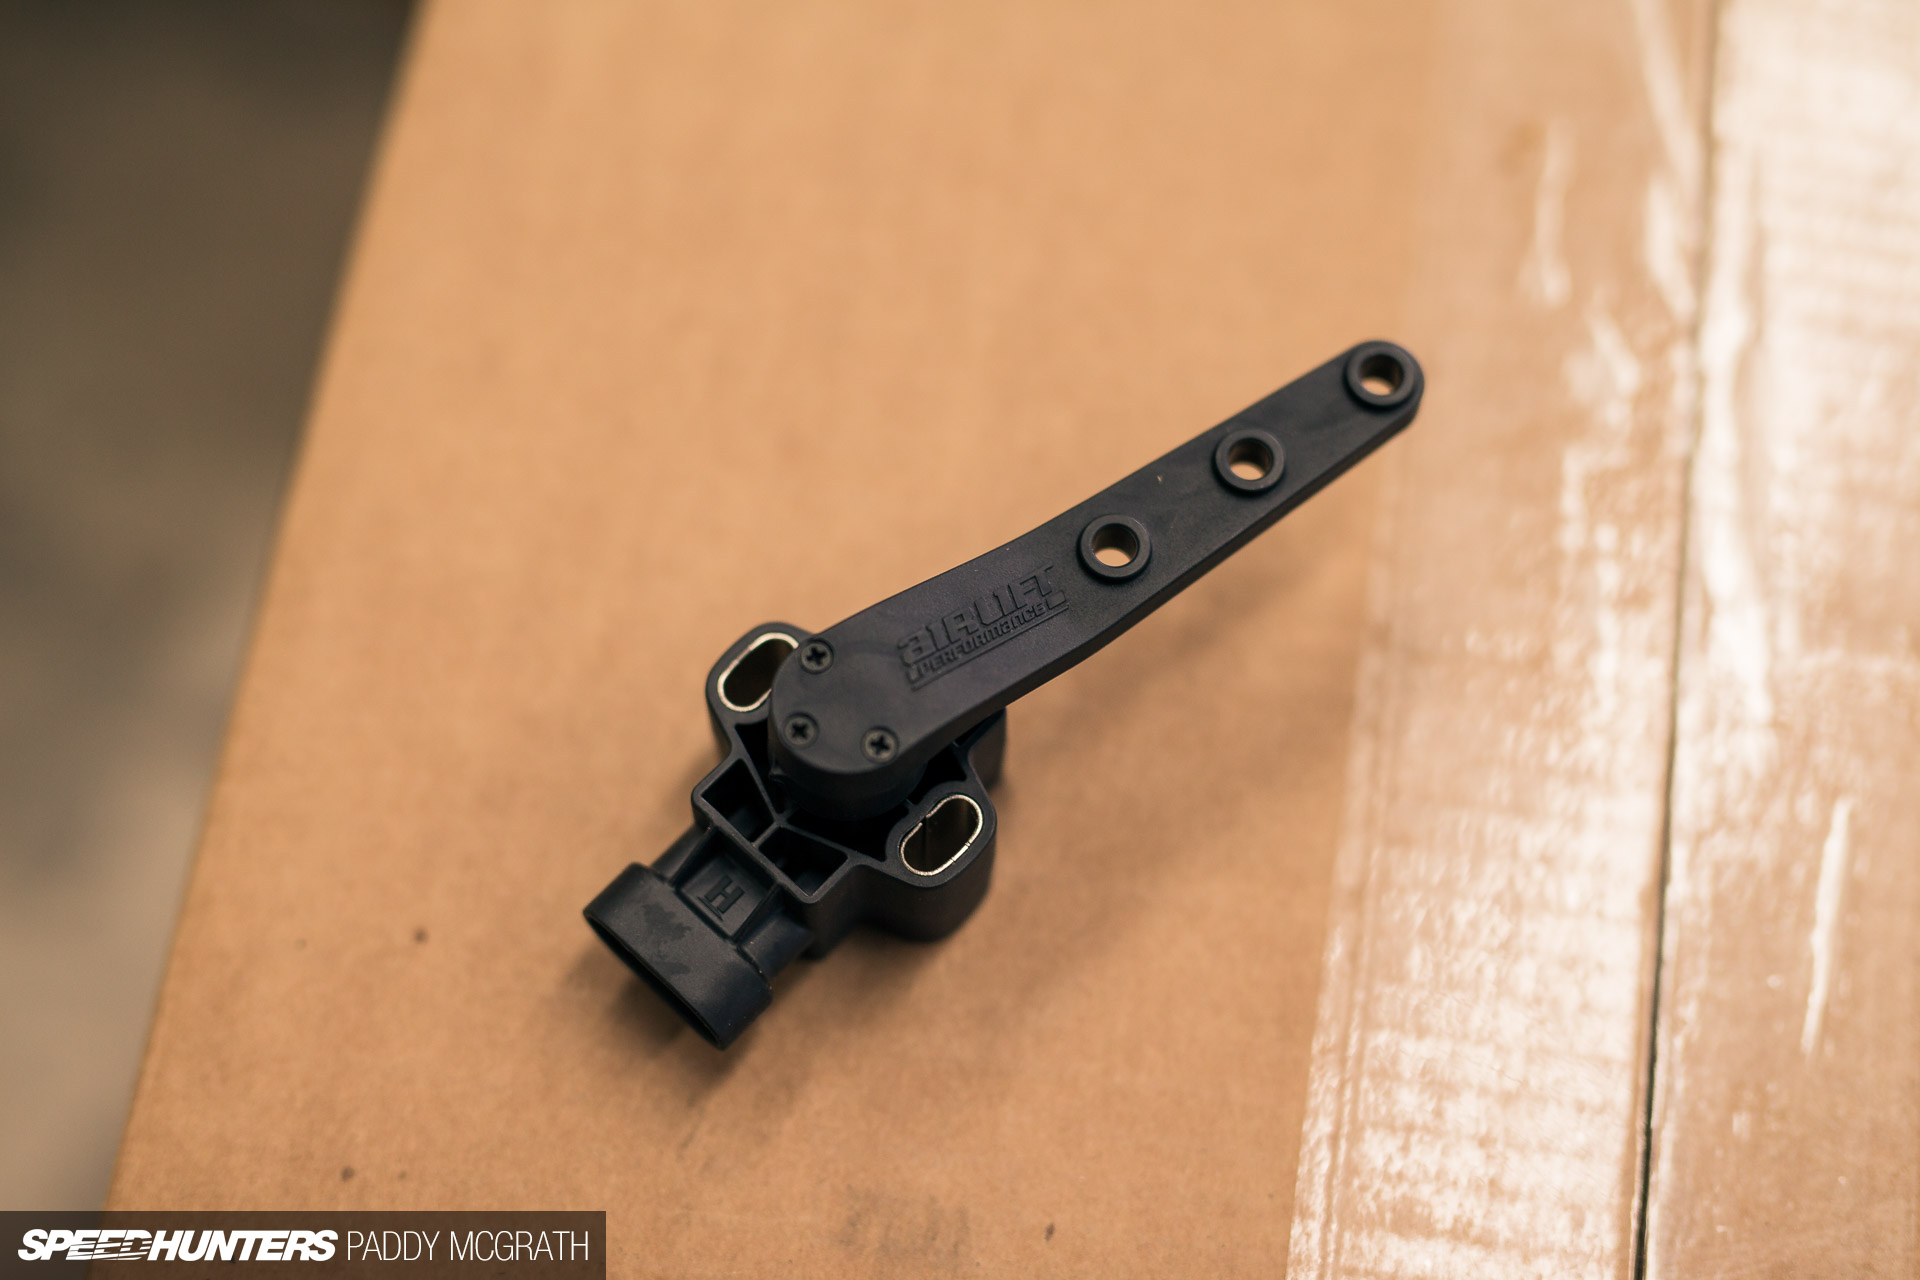
What really helps add to the performance side of this setup are the height sensors (the ‘H’ in 3H). The height sensors work in combination with the air spring pressures to ensure that the vehicle is sitting evenly, to prevent cross loading and to ensure axle equalisation. It also means that you can load up the car with luggage (or camera gear in my case), start the car and it’ll rise to its usual unladen ride height. The same applies for passengers entering or exiting the vehicle. You don’t need to worry about trying figure out how much air you need to add to each bag to keep the car level; the height sensors will communicate everything to the new integrated manifold and it’ll adjust the car accordingly. Further to this, there’s also a built-in accelerometer in the manifold which further plays into how the system adjusts to motion.
Again, everything is included to install the management and sensors. From controller wiring, sensor plugs, air line etc. I’ll be honest though – this box terrifies me as I have a complete allergy to auto electrical parts. It’s all witchcraft.
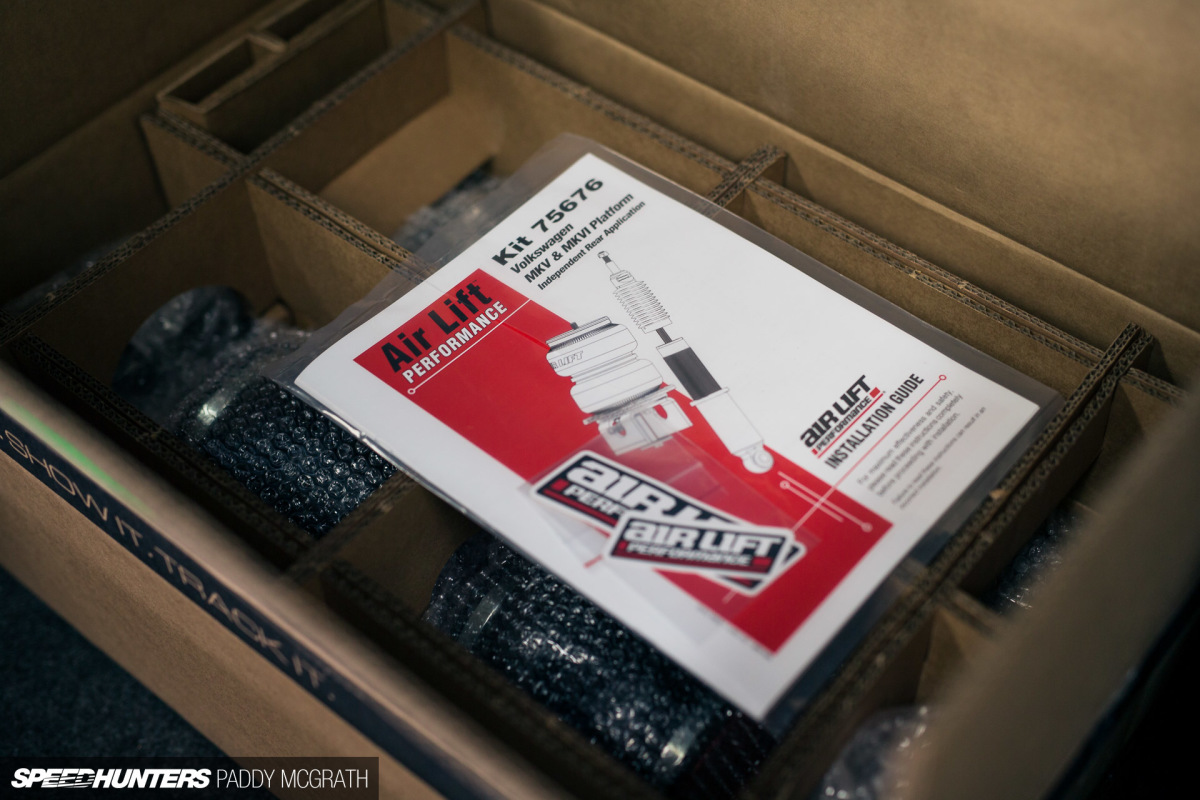
Of course, this entire setup would be useless without the actual suspension parts.

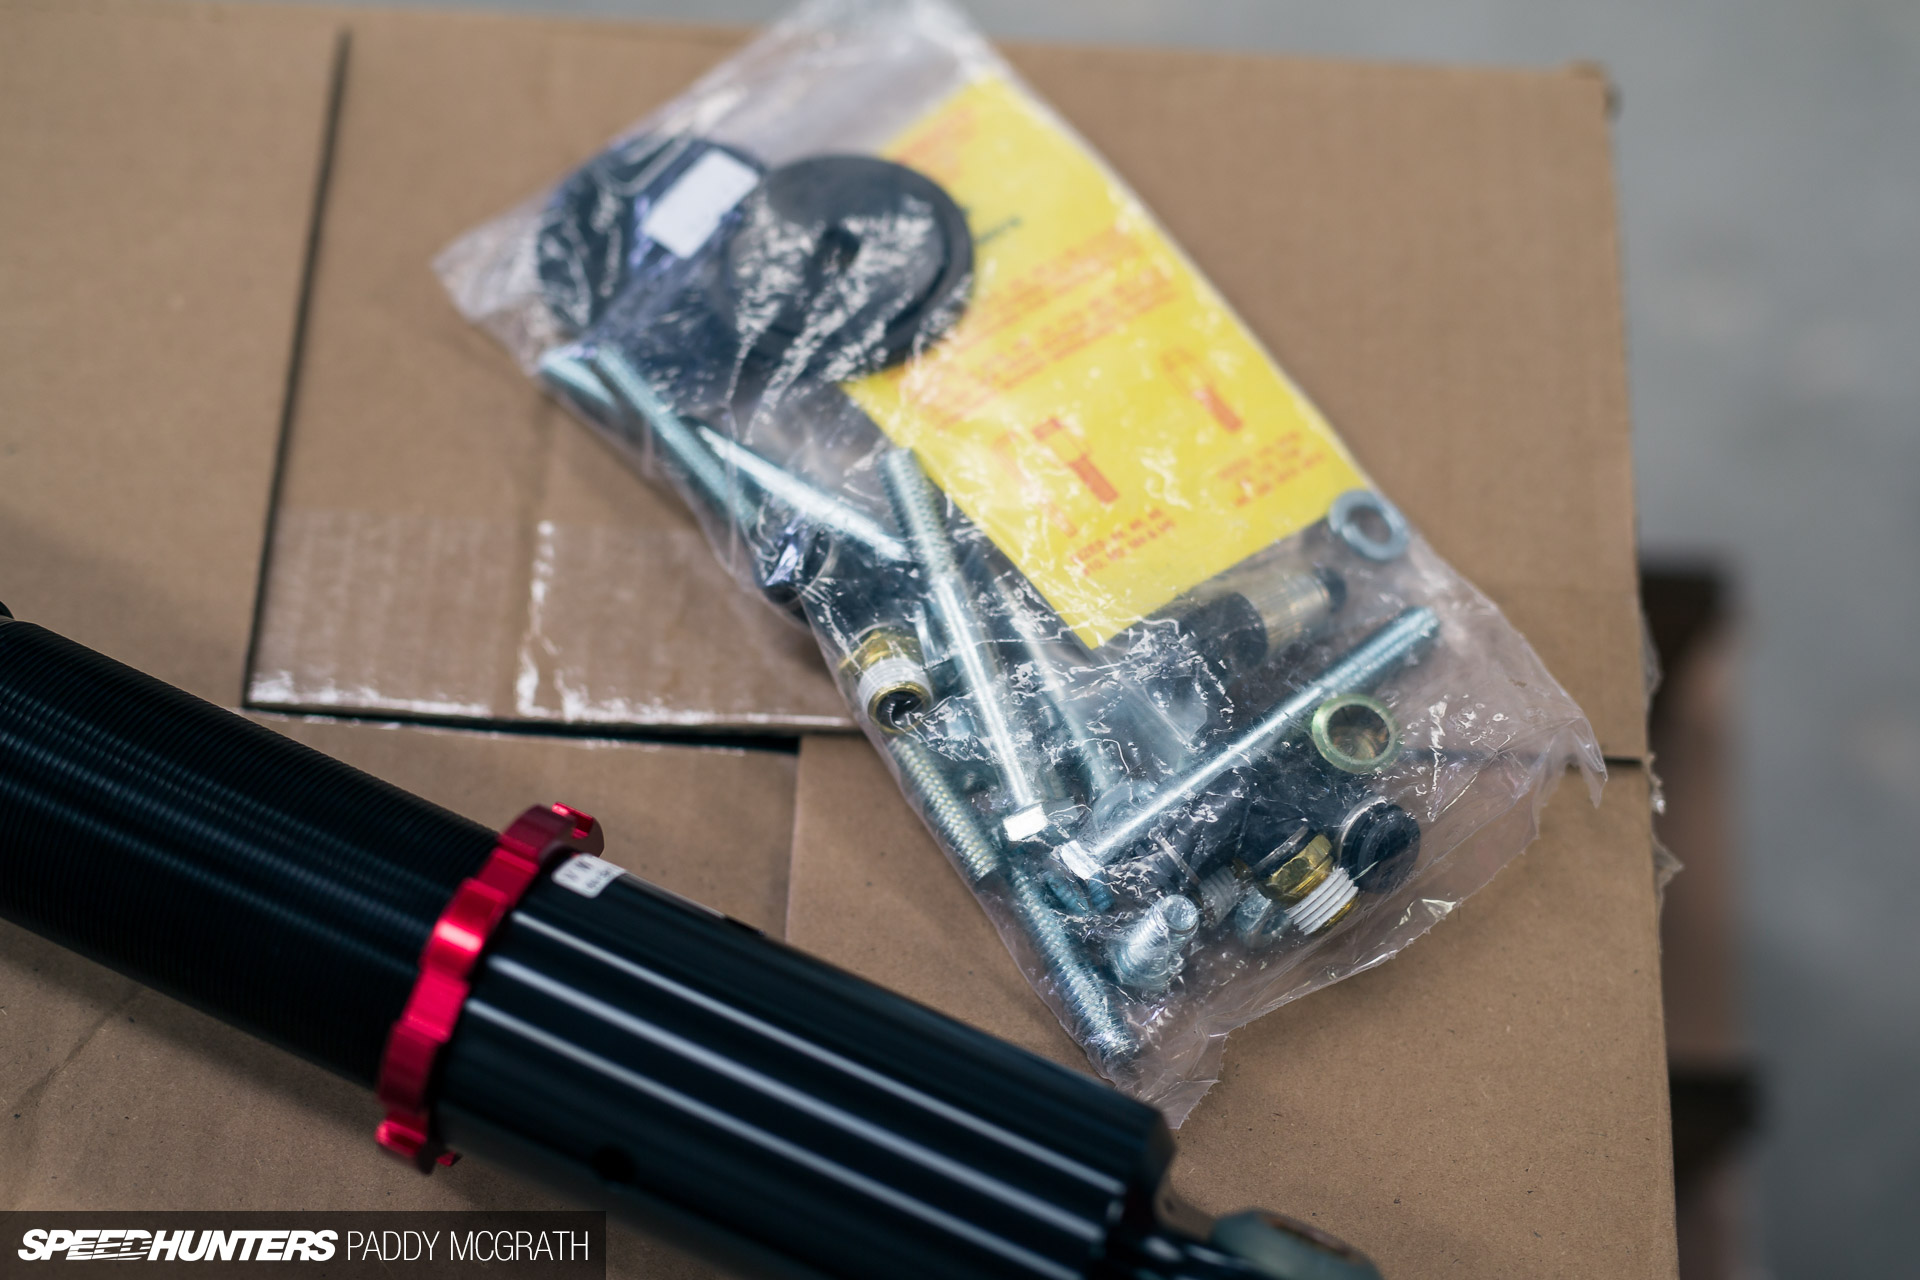
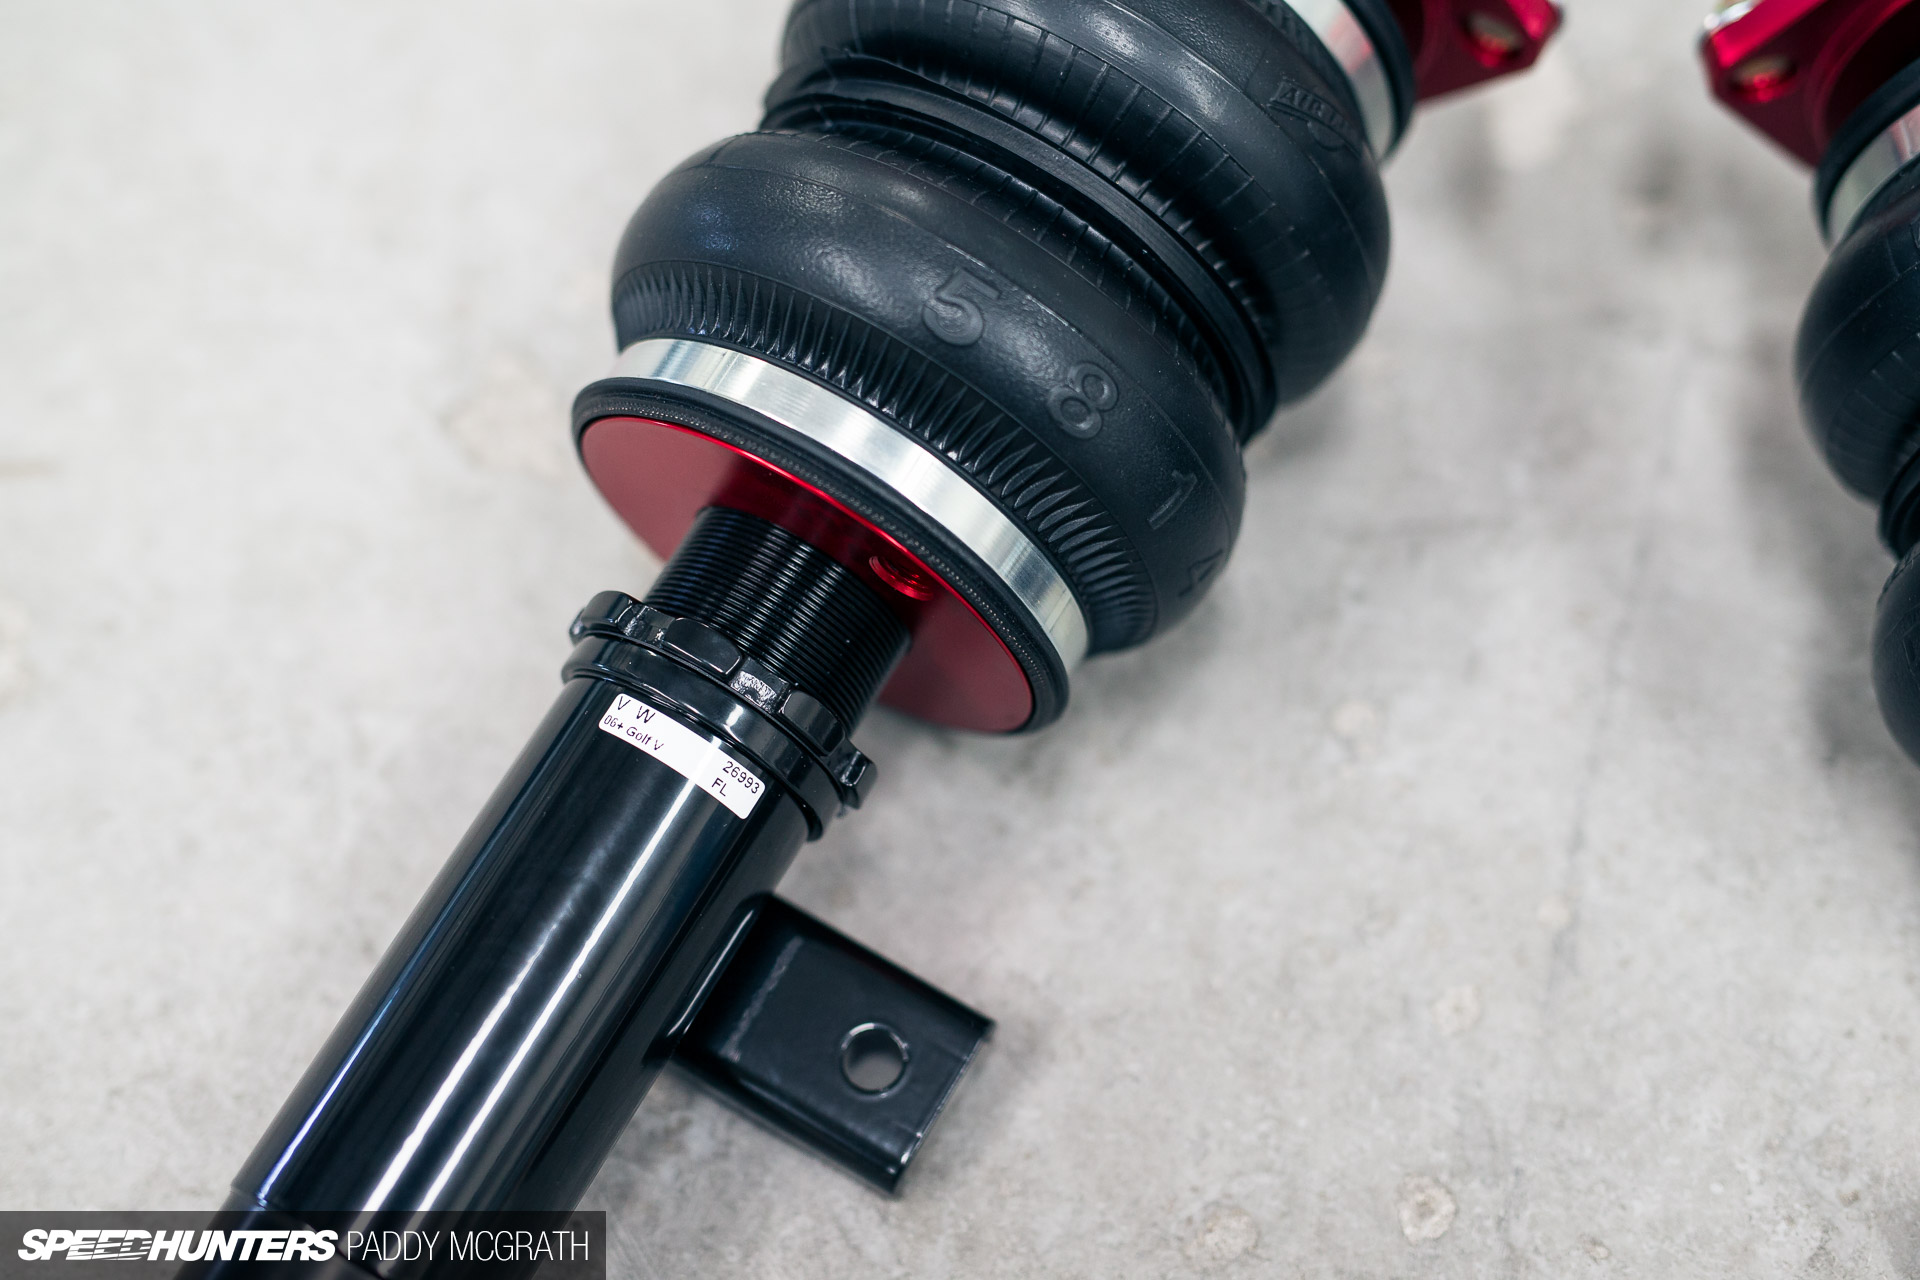
It’s probably this part that everyone will be familiar with and may not be aware just how simple it is. So, where you would typically find a steel spring, instead, you have a double bellow air bag. That’s pretty much the main difference between a comparable traditional aftermarket suspension setup and a modern air suspension setup – an air bag instead of a steel spring. There’s no voodoo or magic, it really is that simple and is why modern air setups can now compete against coilover setups both on the street and on track. Any variation in performance will be down to the quality of the damper used. The Mk6 GTI uses a separate damper and spring setup in the rear, so that’s what you get with the Air Lift Performance setup – a new spring and damper.

The damper features a threaded body so you can fine tune your ride height in order to allow you to run the perfect spring pressures to suit your needs. They also feature 30-way adjustable damping.

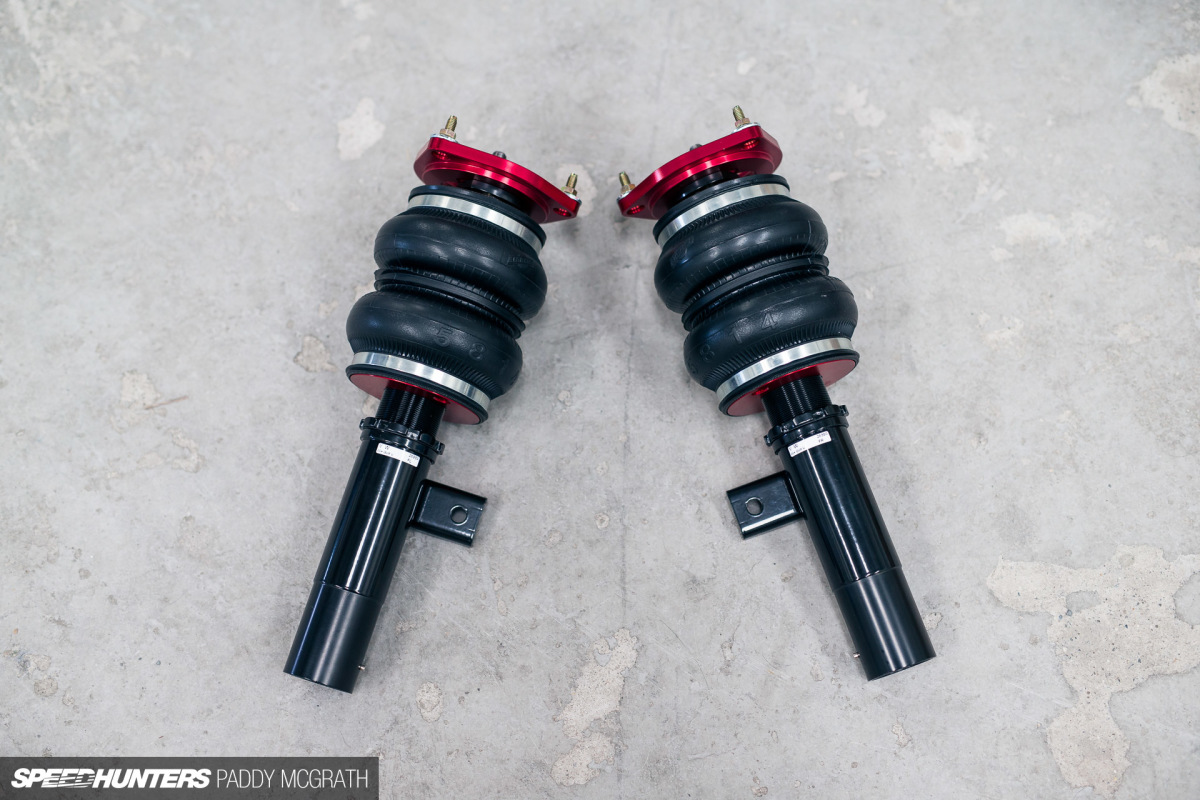
Similarly, the fronts feature a double bellow bag over damper setup with 30-way adjustable damping and a threaded body for, once again, fine tuning your ride height.
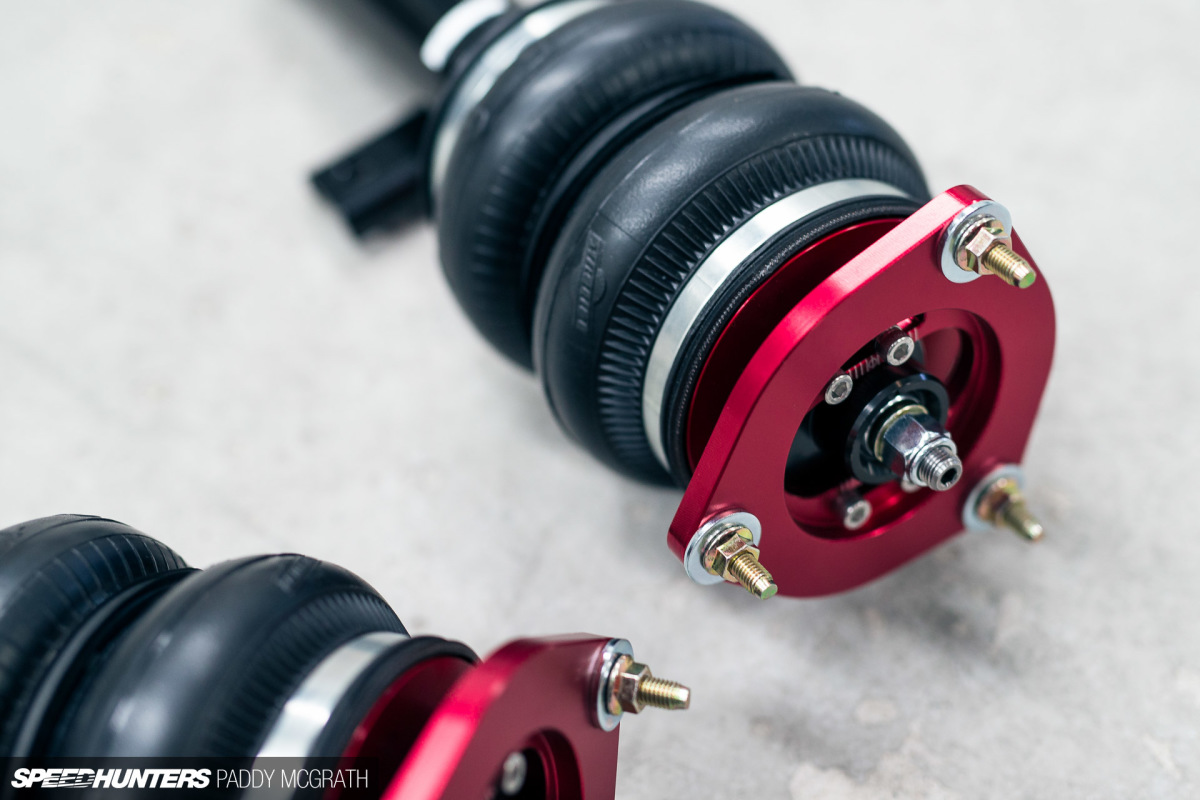
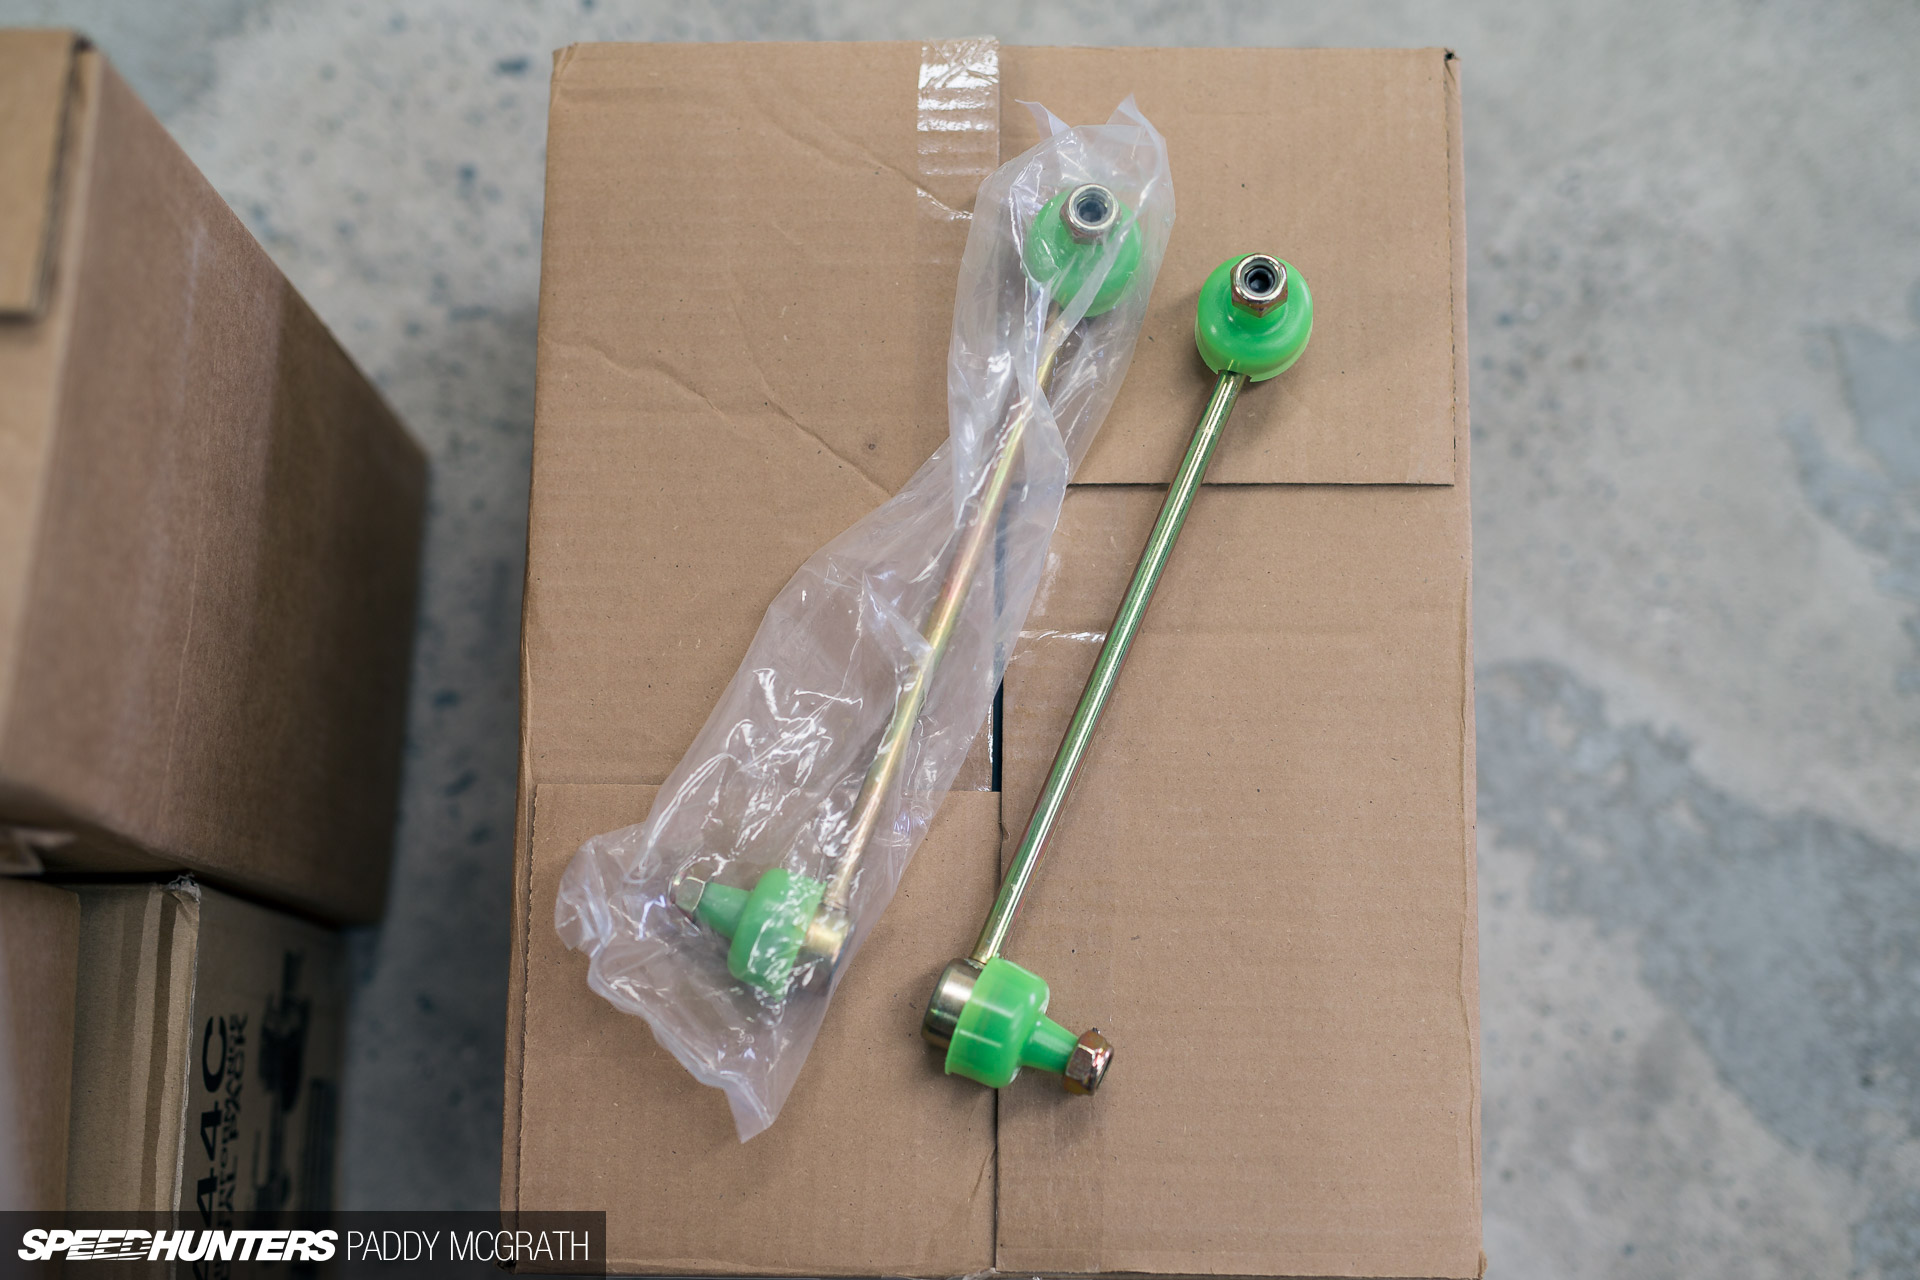
The big difference here is that they have camber adjustable top mounts included too. It’s a shame that these will be hidden from view in the Mk6’s engine bay, because they’re quite nice to look at. Air Lift Performance has also included new drop links to cope with the massive range in ride height adjustment.
I know that for some, there’s nothing that I can say or do to make you think this is going to work on a performance level. I would ask that at the very least, you reserve judgement until everything’s installed and I get a track day or two under my belt. This is new ground for me and I’m genuinely excited to get the car dialled in as quickly as possible and to see just how much performance potential there is. Being honest, I fully expect that I might never be able to extract the full potential from the car on track anyways (something I think that applies to far more drivers than some would like to admit), but that’s an argument for another day.
The potential of performance air has fascinated me for quite some time. Whilst air is typically associated with show cars, I’ve seen enough to know that performance air isn’t a contradictory term. You just have to look at someone like Cody Miles who won his class in Time Attack driving an Air Lift Performance supported Impreza to know that it does work; it’s really not even up for debate any more. If anything, the debate has now moved onto just how fast can a car on air be. I guess I’m about to find out…
Paddy McGrath
Instagram: pmcgphotos
Twitter: pmcgphotos
paddy@speedhunters.com
More Speedhunters Project Cars
Cutting Room Floor