
When we last left off I was introducing my new STI sedan, the replacement for my super-fun (but not family friendly) supercharged KM4SH FR-S. The car was purchased with a load of mods already tackled – built motor, uprated clutch, coilovers and sway bars all installed by the previous owner.
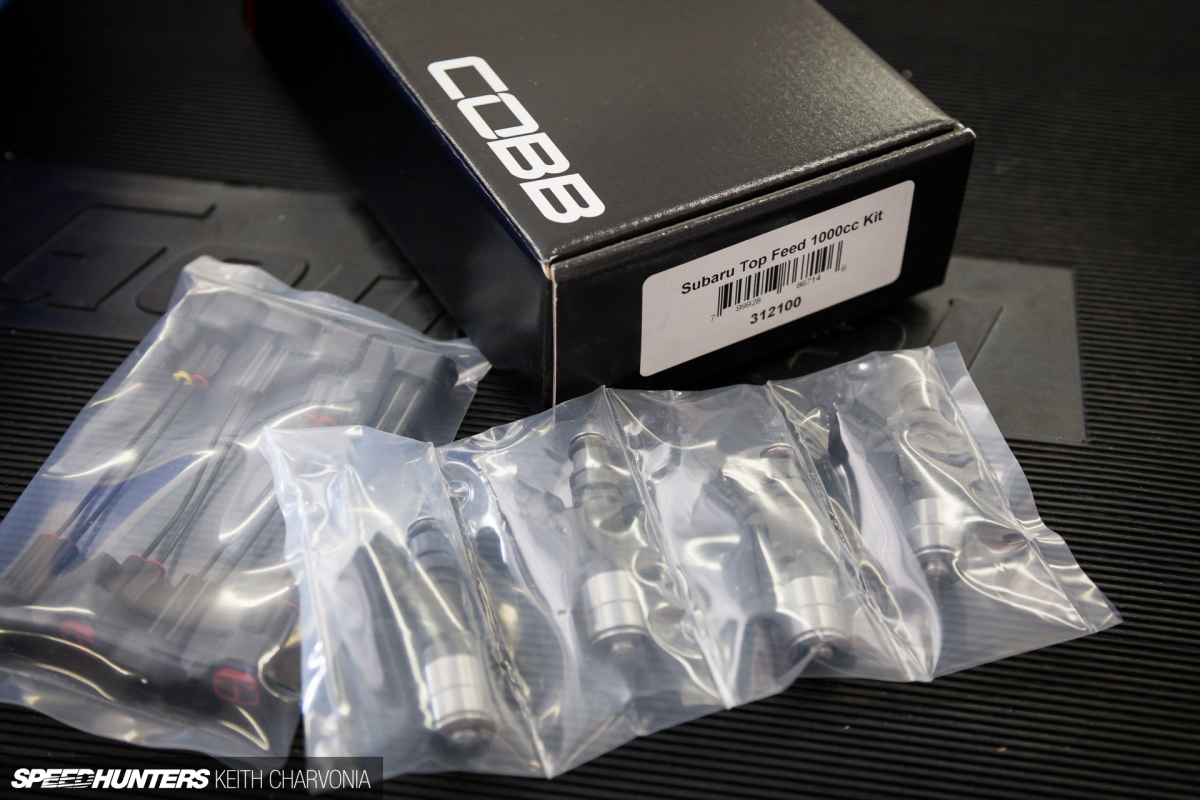
While I had reasoned that the car (specifically the engine) was reinforced with a robust set of parts that typically fail from the factory, I was about to be unpleasantly surprised as I learned the turbo needed a rebuild, followed by the injectors giving out. I sent the turbo out to be freshened up, and fortunately COBB Tuning came to the rescue with a new set of high-flow 1000cc injectors.
The COBB guys actually supplied far more than the necessary injectors, but more on that later.
I stayed late at work one night to tear into the engine and see what was causing it to seemingly run on two or three cylinders and refuse to build boost. After working in the cramped bay to check the obvious – plugs, coils, boost leaks and other apparent signs of failure – I waved the white flag and had the car towed to local tuner Dyno-Comp.
The thing is, as much as I insist on working on my own junk, I can admit that the Subaru is foreign territory for me. I could spend hours troubleshooting and researching, or bring it to the experts who were able to pinpoint the issue in minutes.
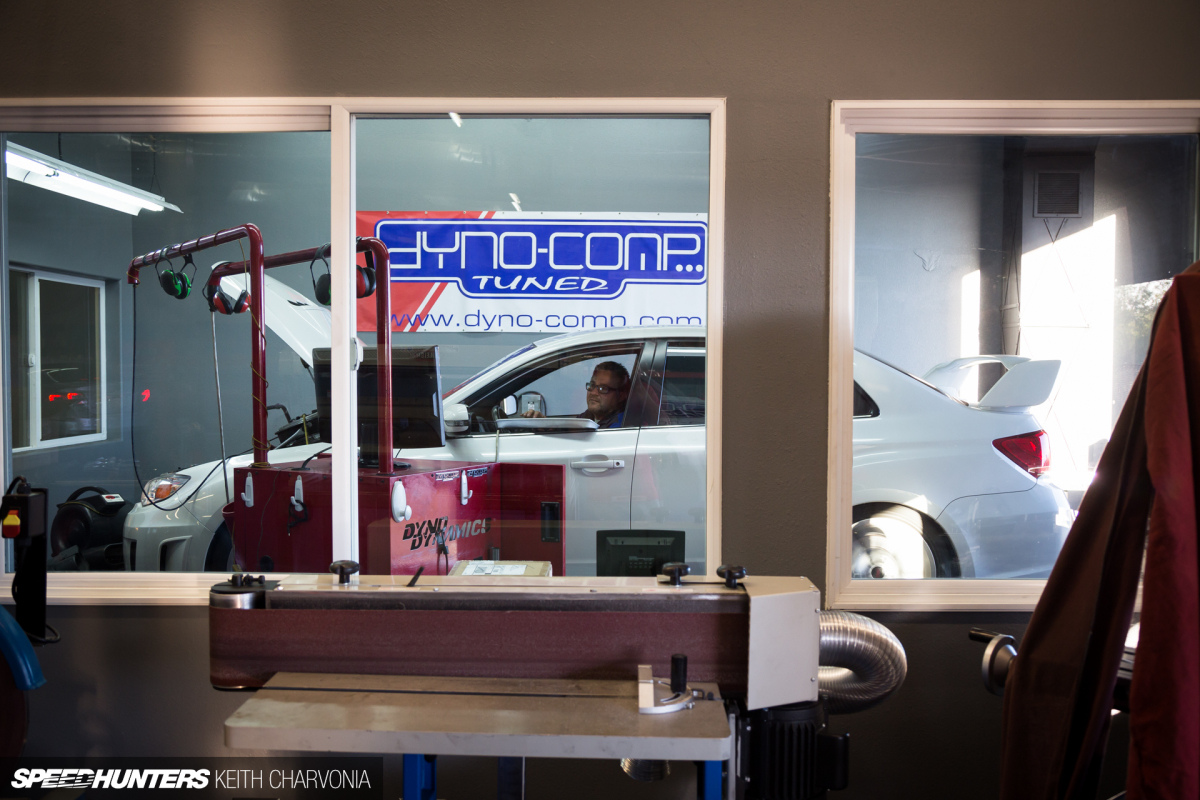
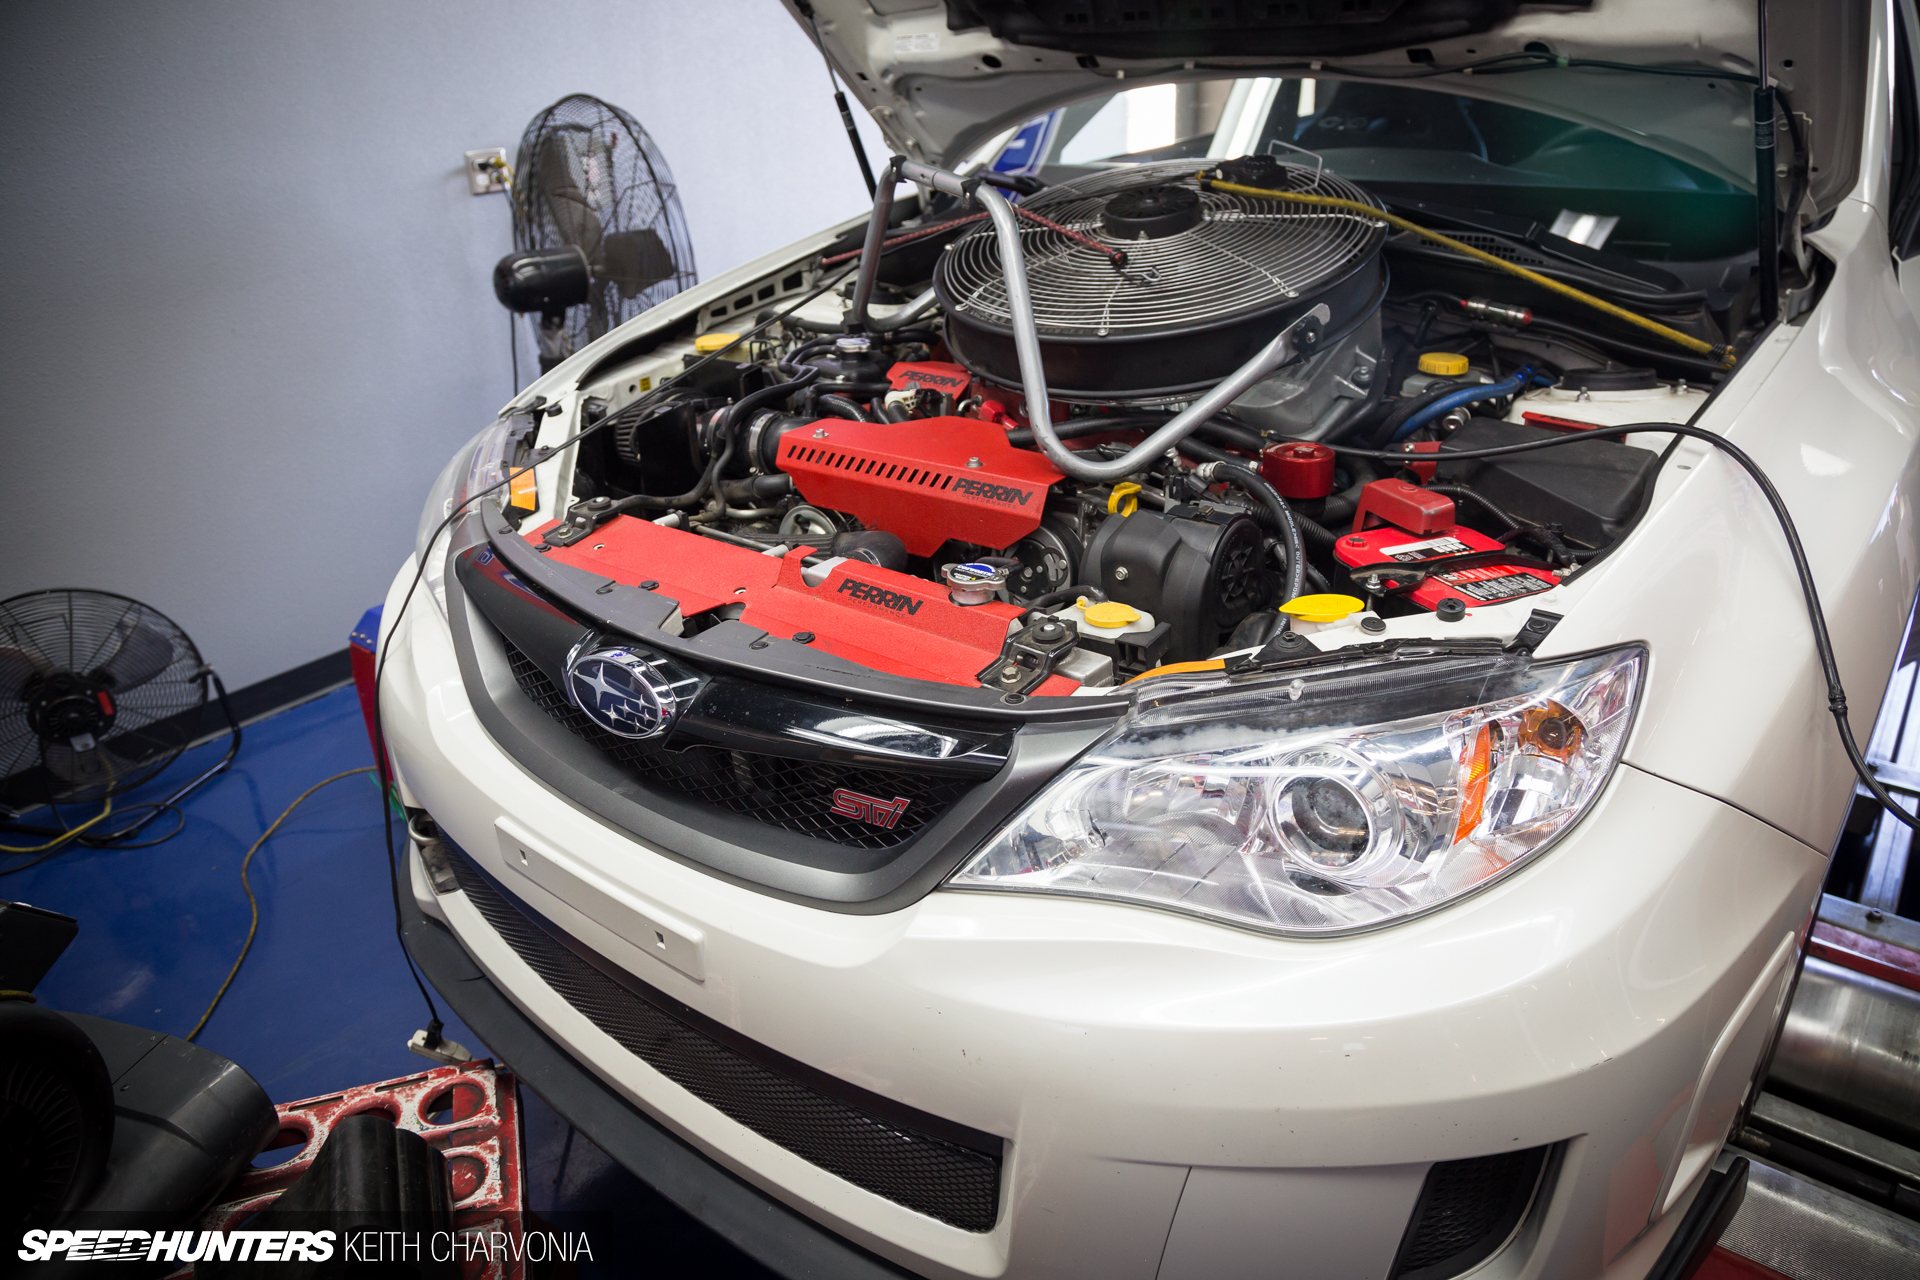
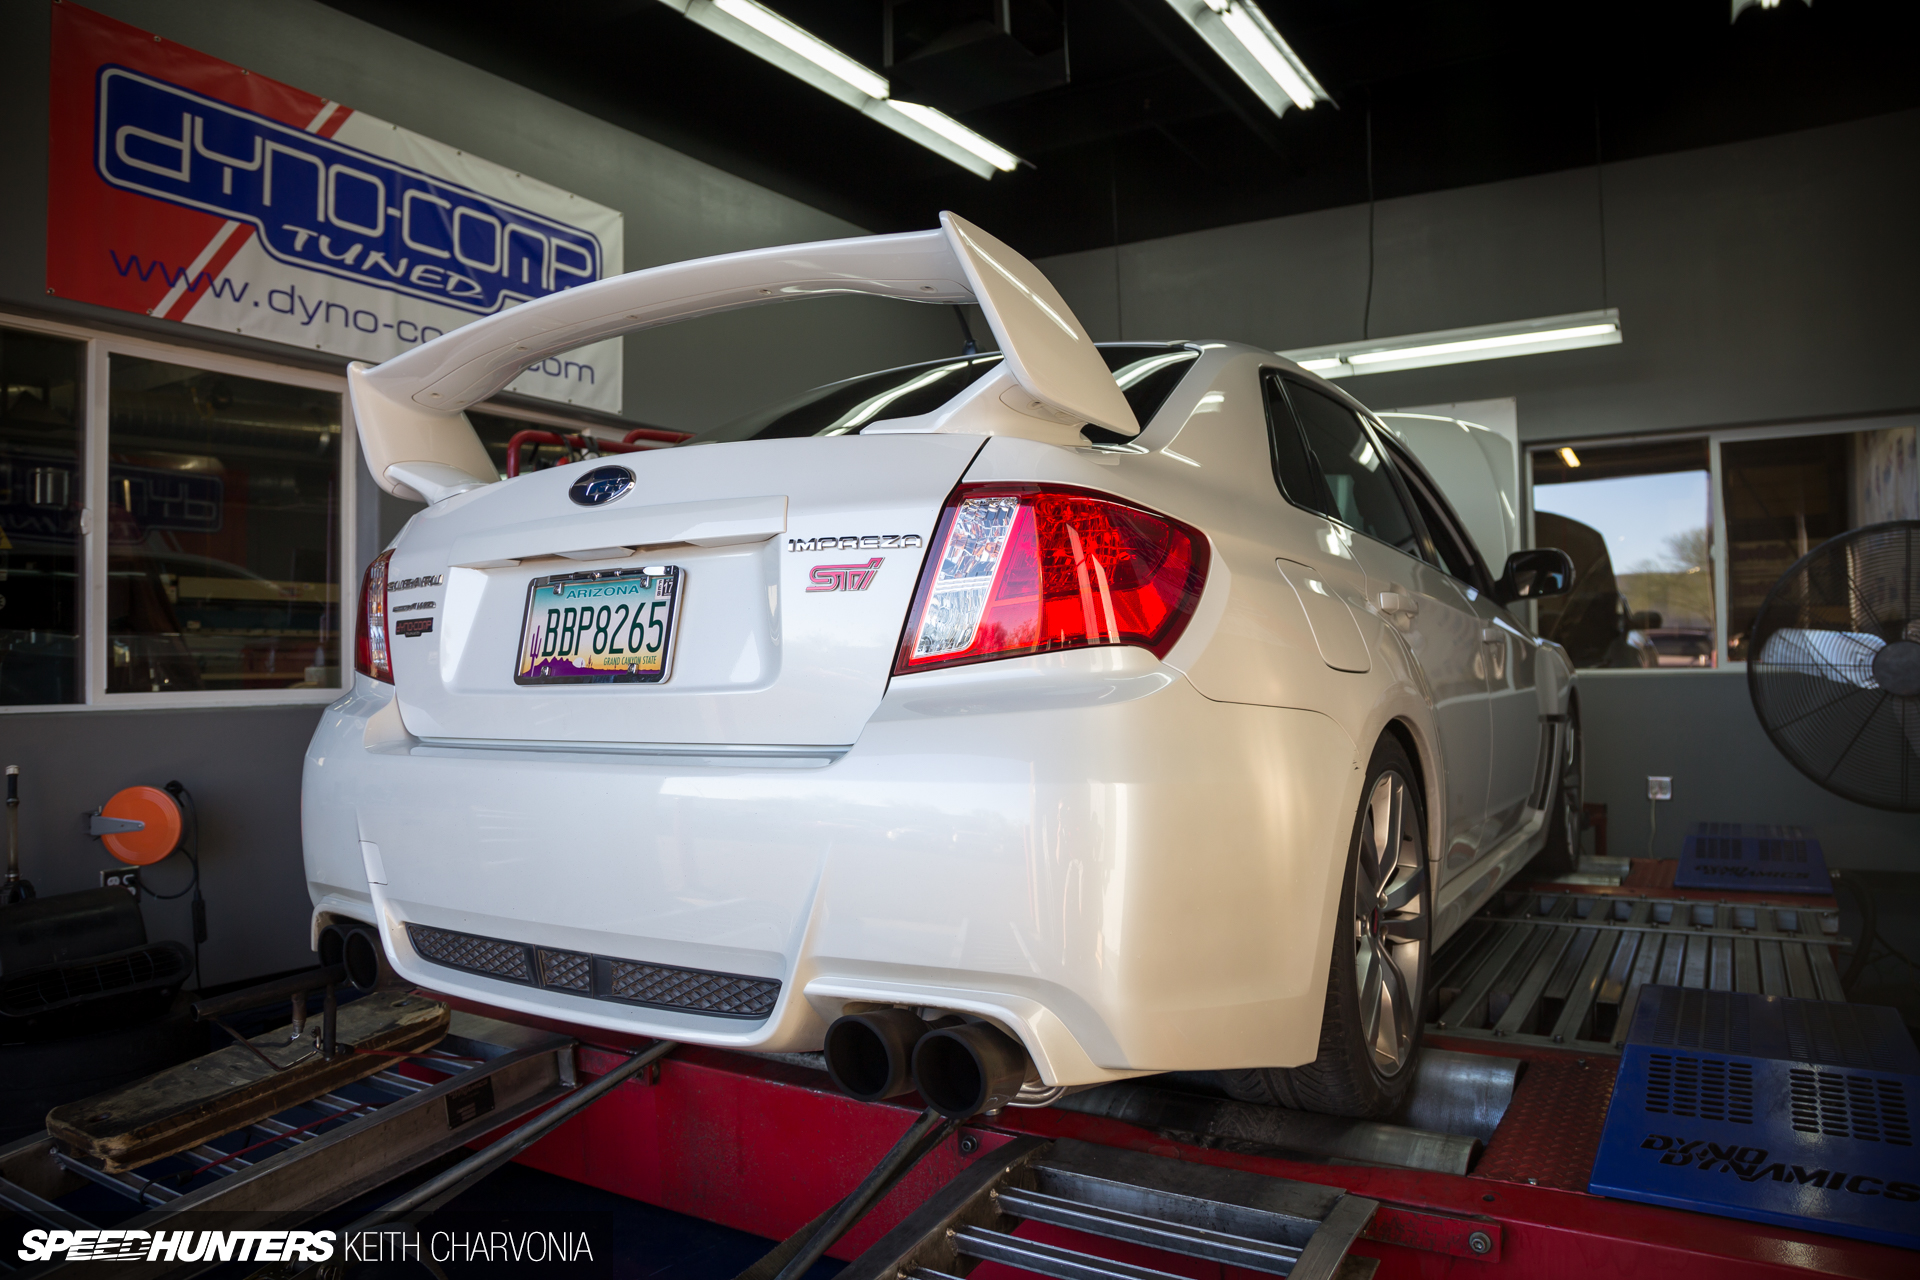
When I arrived after work, the car was already strapped on the dyno so owner and master tuner Richard Garcia could touch up the tune for the fresh COBB injectors. I swear he must have hundreds of thousands of miles logged on this dyno!
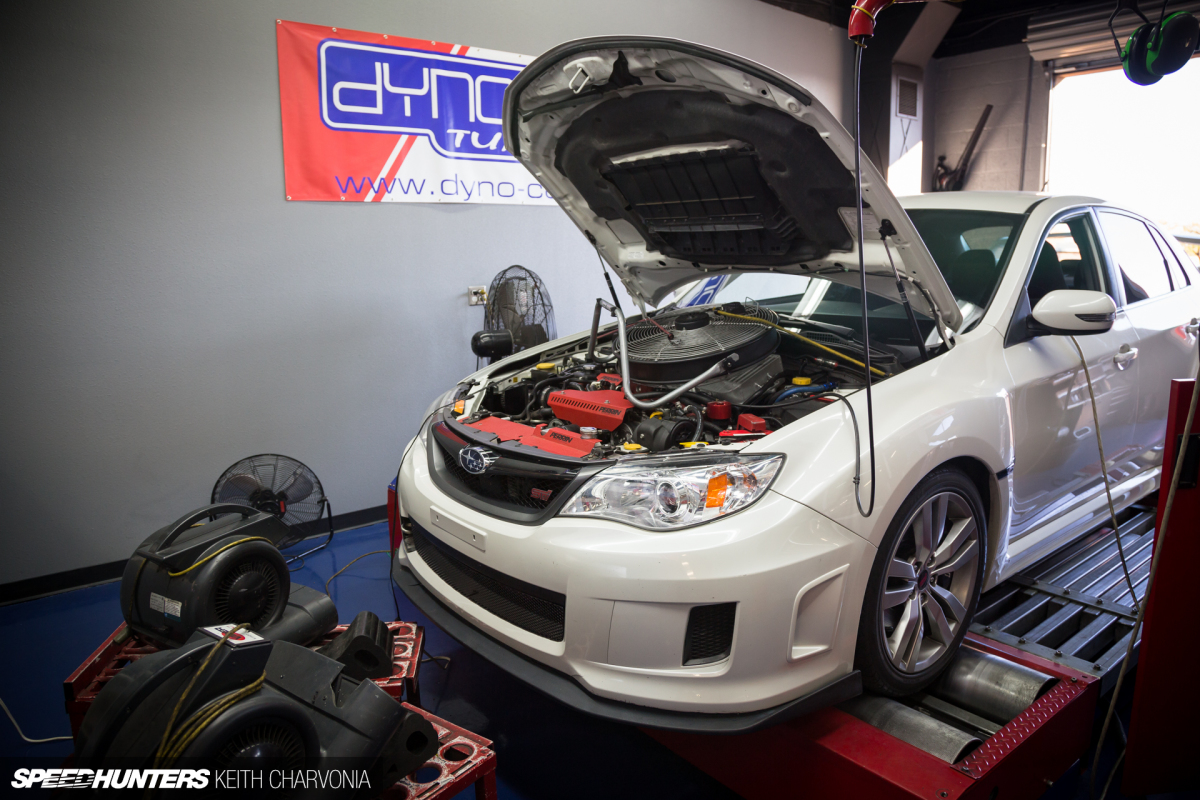
I had 91 octane in the tank, so this wasn’t a dyno session to extract the most possible power. Rather, it was to simply make sure the car was running well and under safe conditions.
Why is it that my cars end up spending so much time on the dyno these days? Speedhunters problems.
A Quick Shop Tour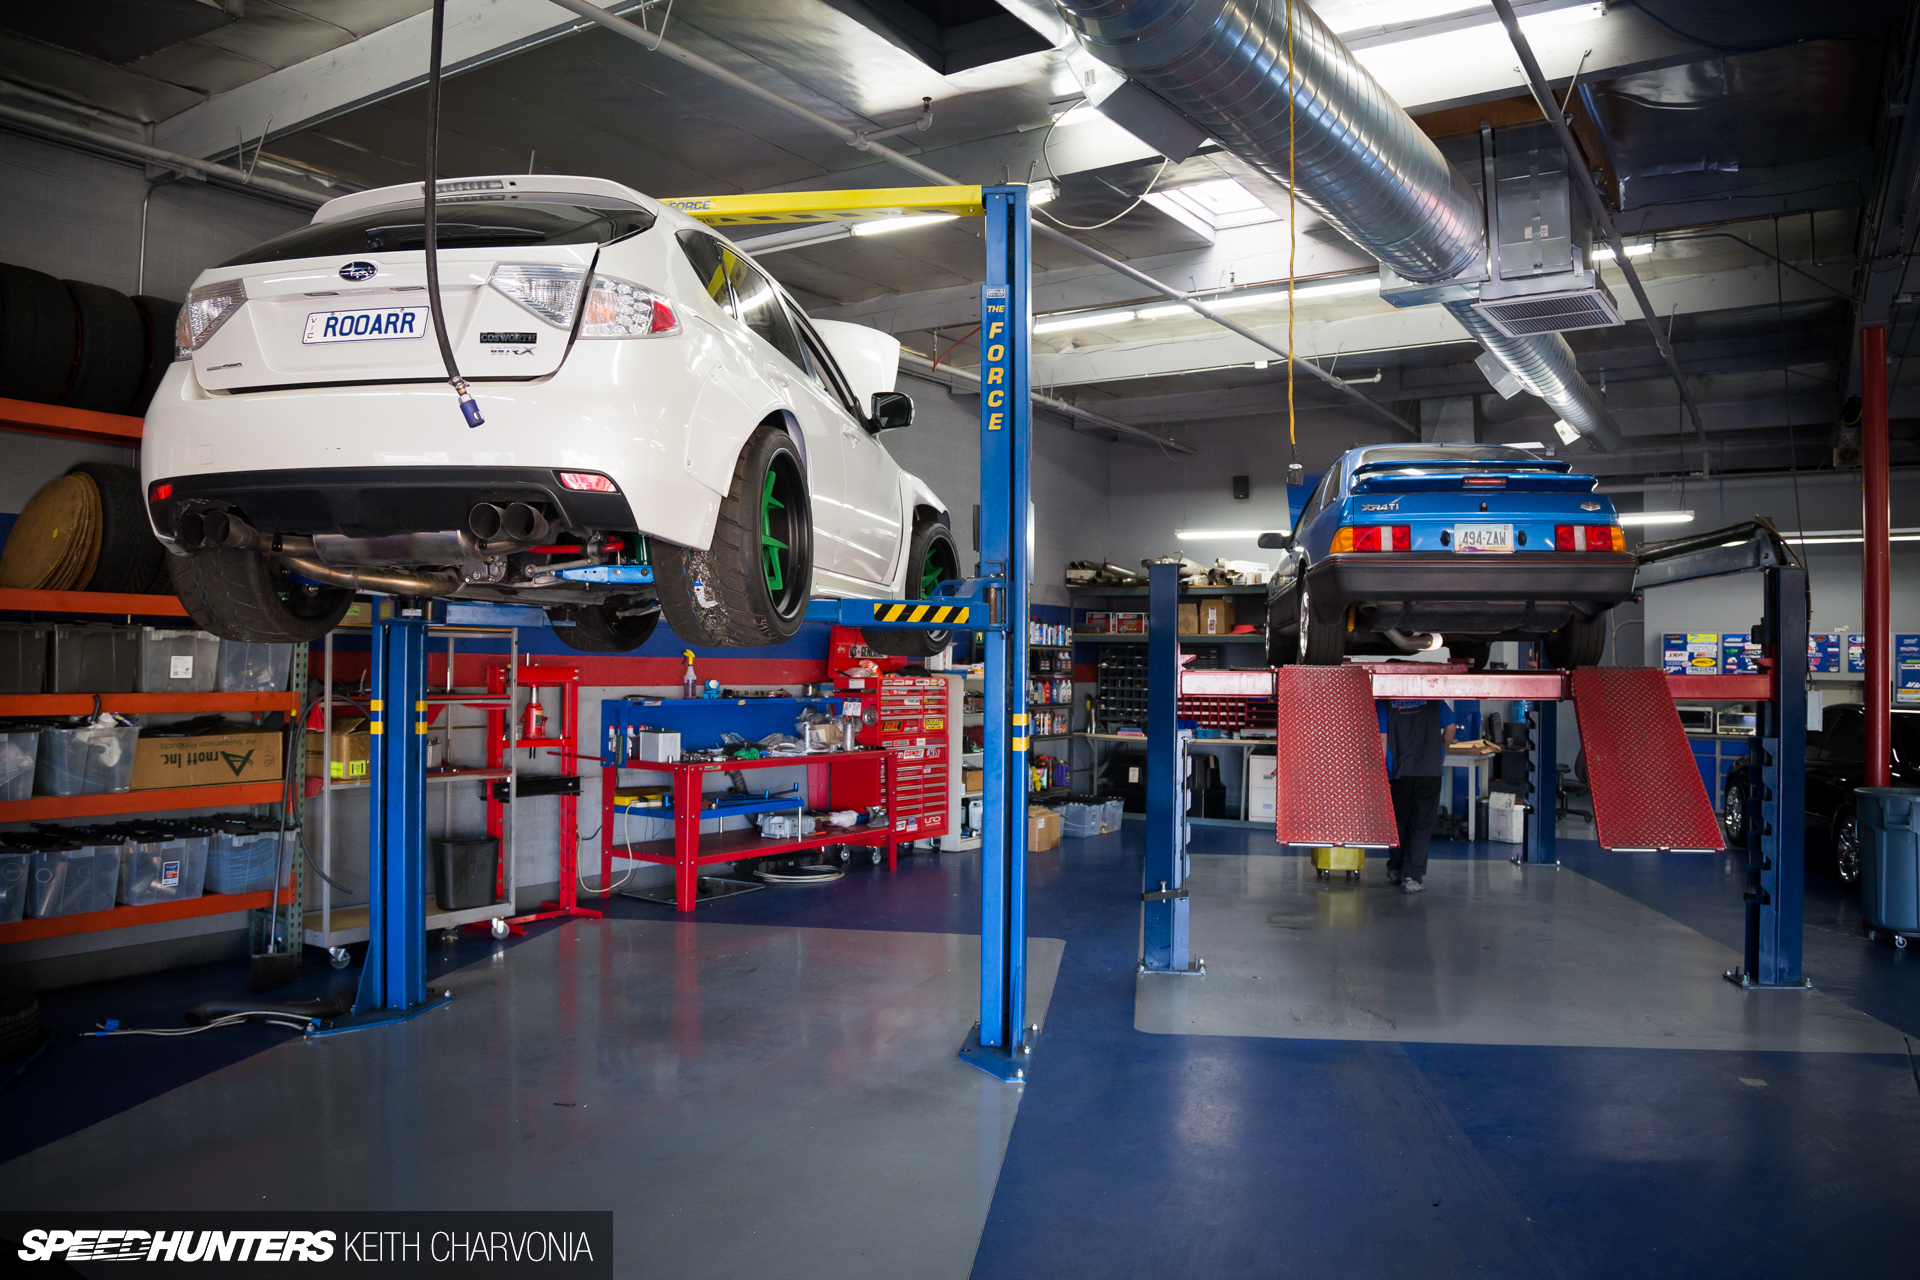
While Richard finished up my tune, I took a stroll around the ridiculously sanitary shop. Up on the rack to the left is my friend Jarrod Scott’s widebody STI hatch. I’ve been keeping tabs on it for him since he lives in Australia and spends a lot of time travelling the globe for his modelling career (no, seriously). The raced-out hatch will likely be in my garage for a diffuser installation as soon as Dyno-Comp is finished breaking in the new closed-deck Roger Clark motor.
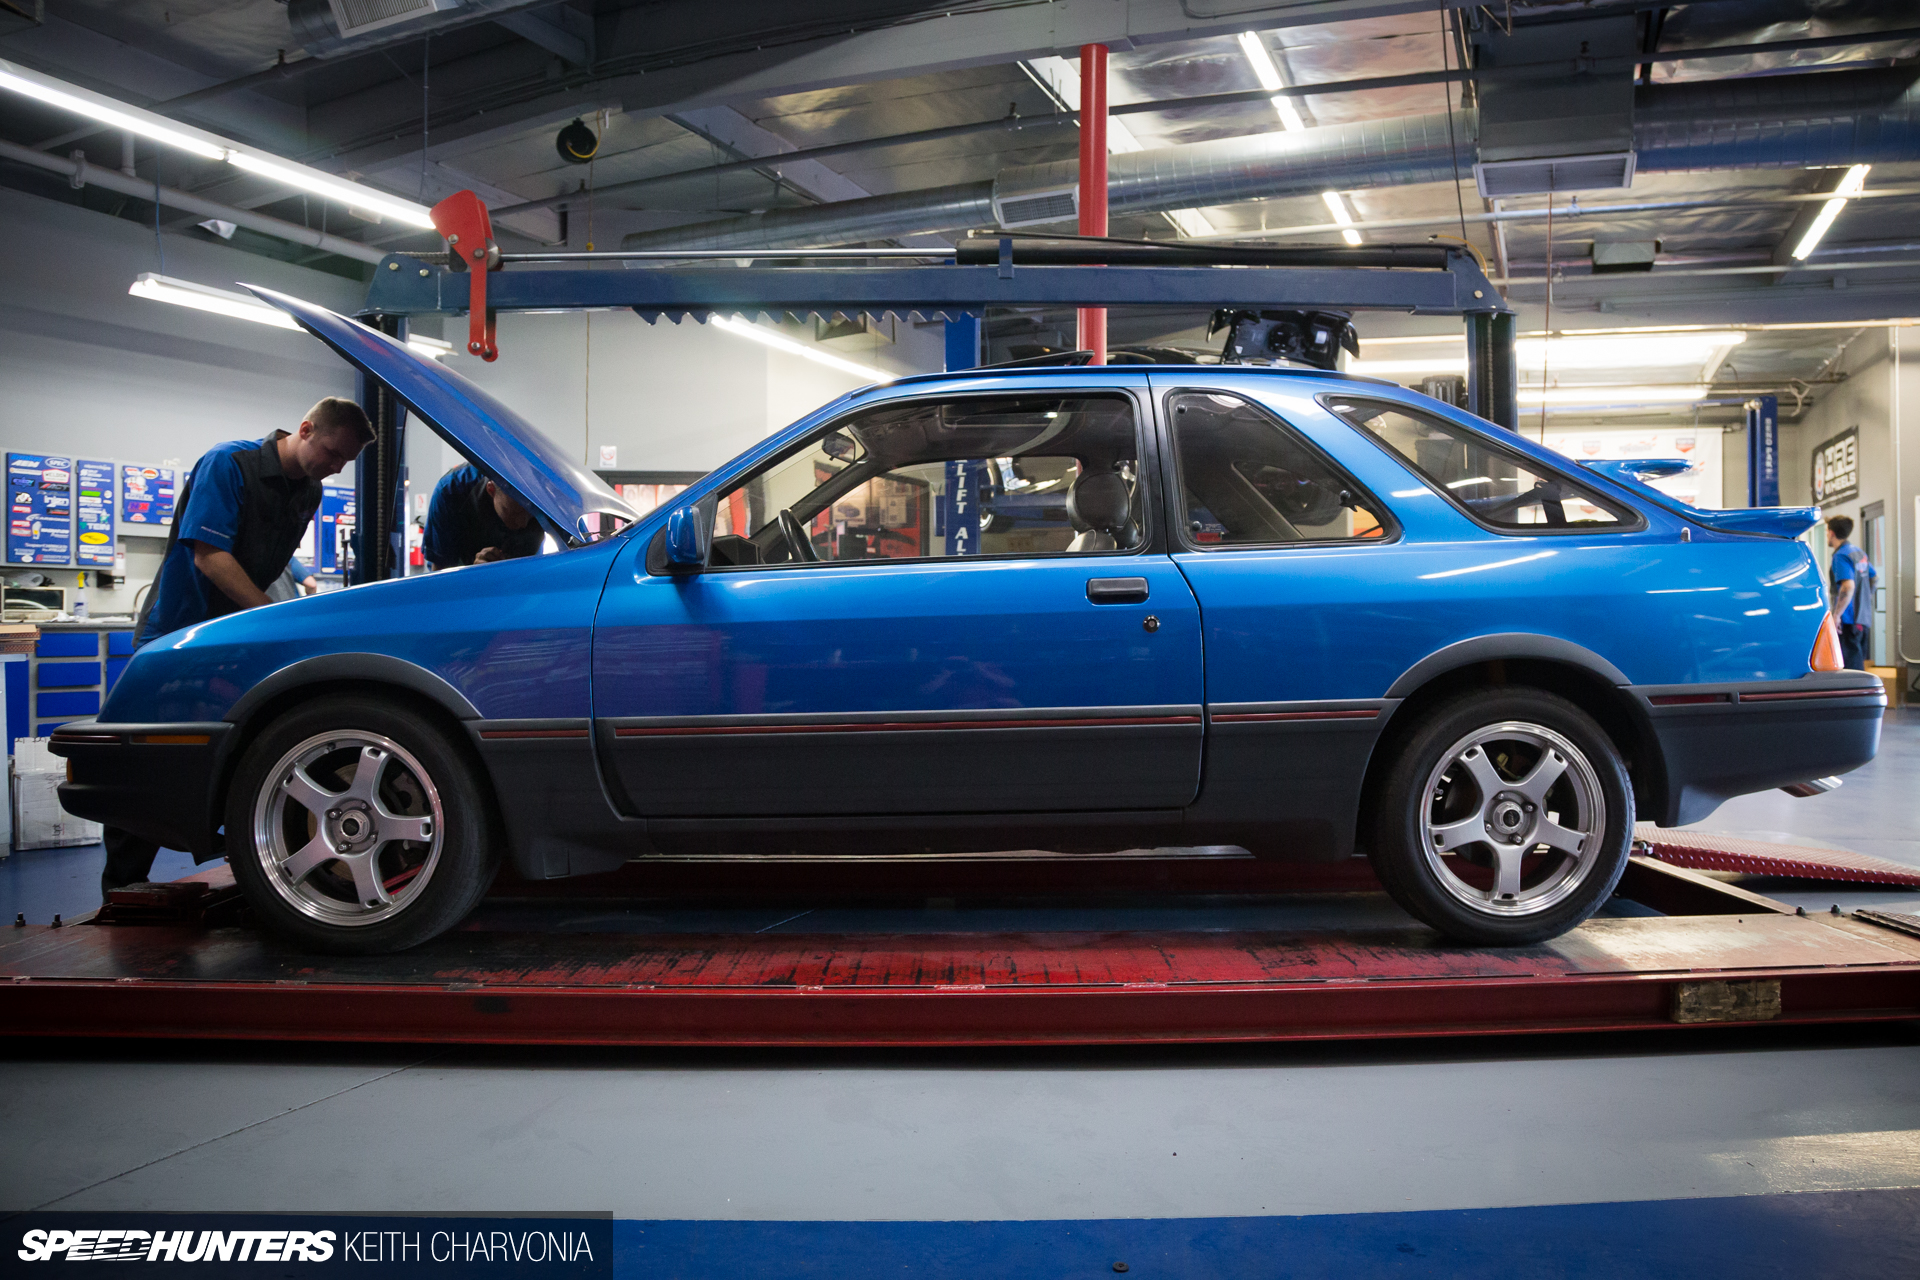
In the next bay I found a Merkur XR4Ti having its oil changed.
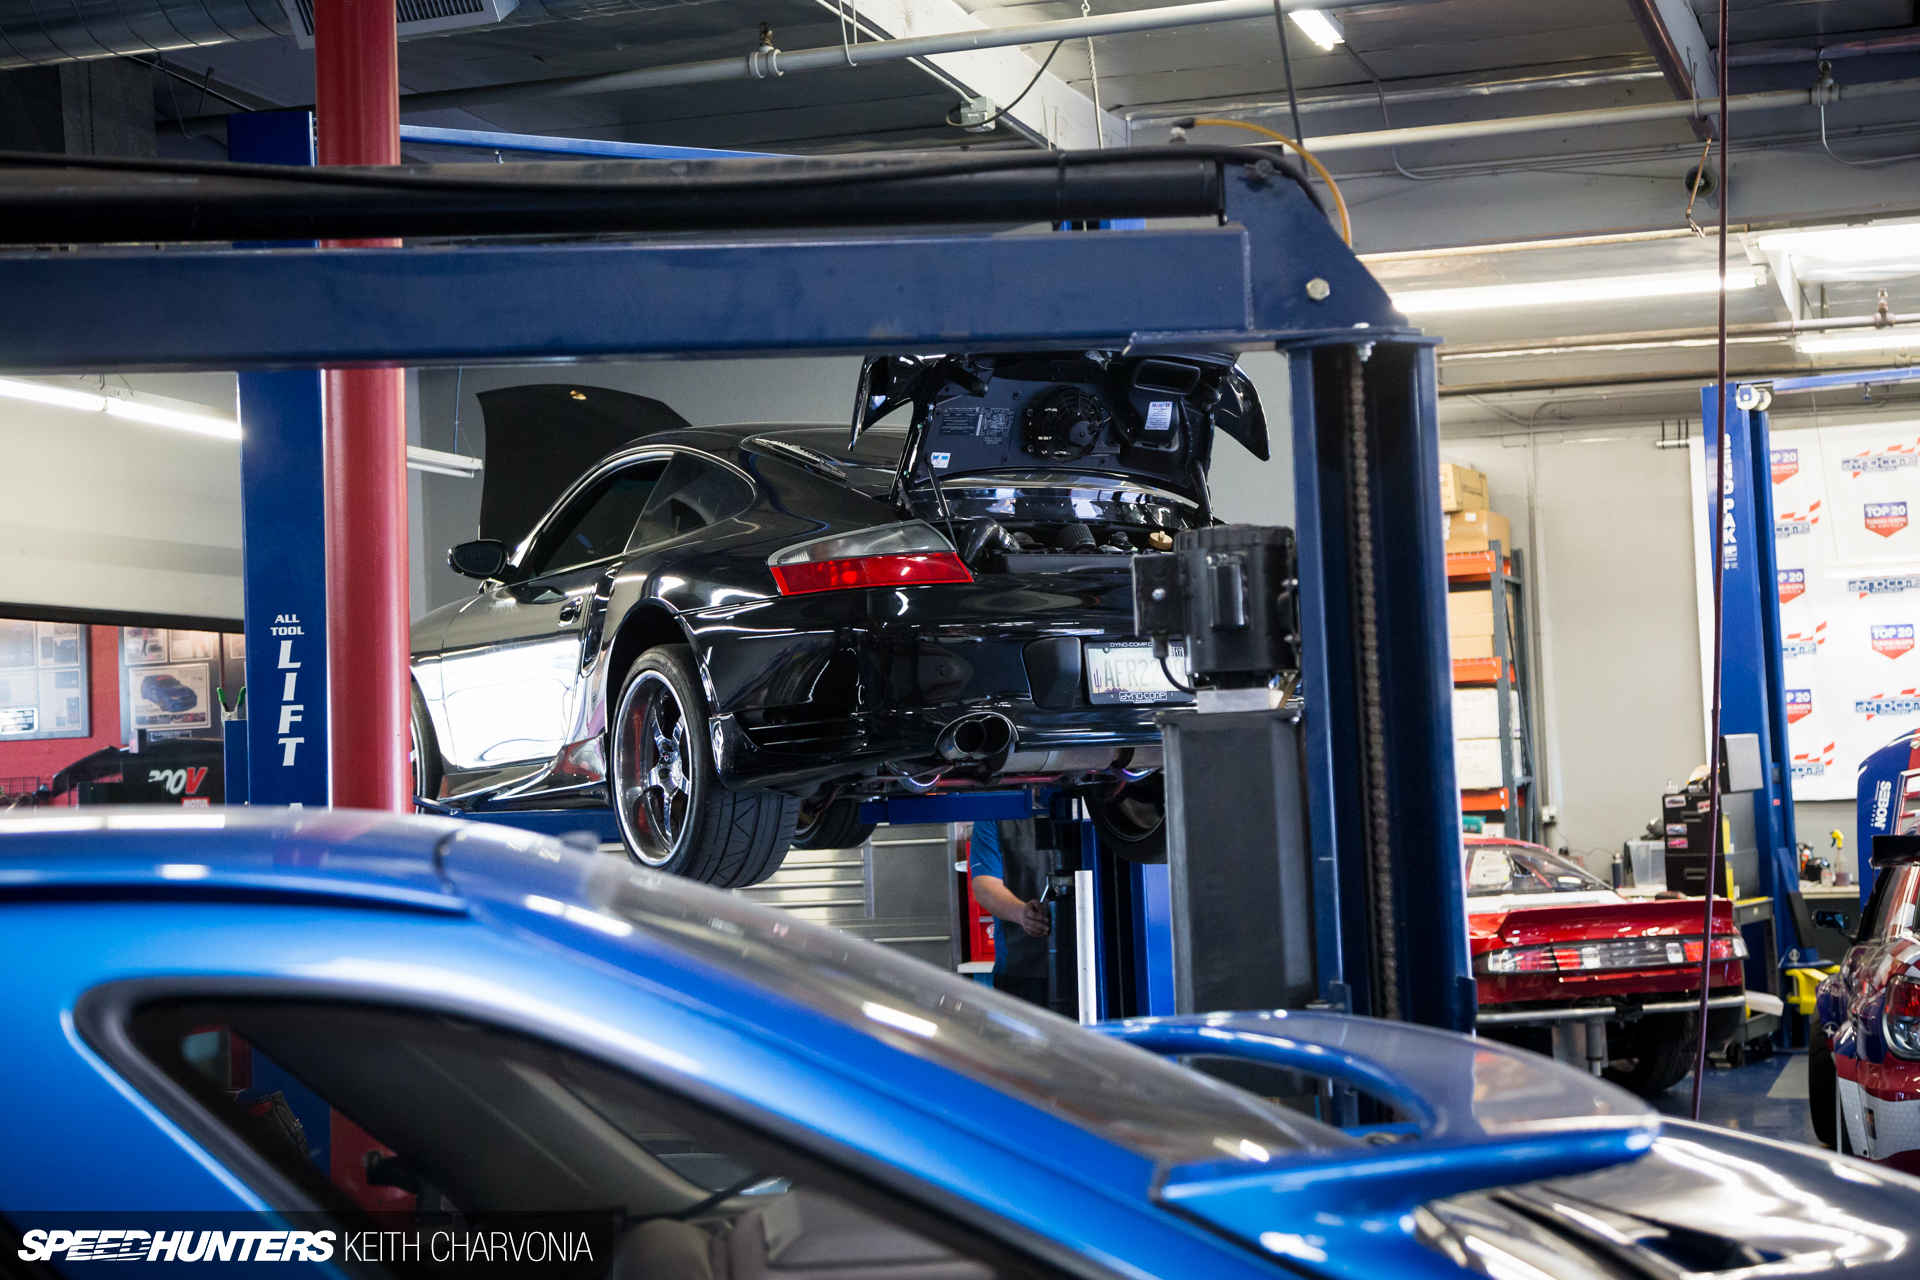
Not far away a 996 was getting a new fuel system.
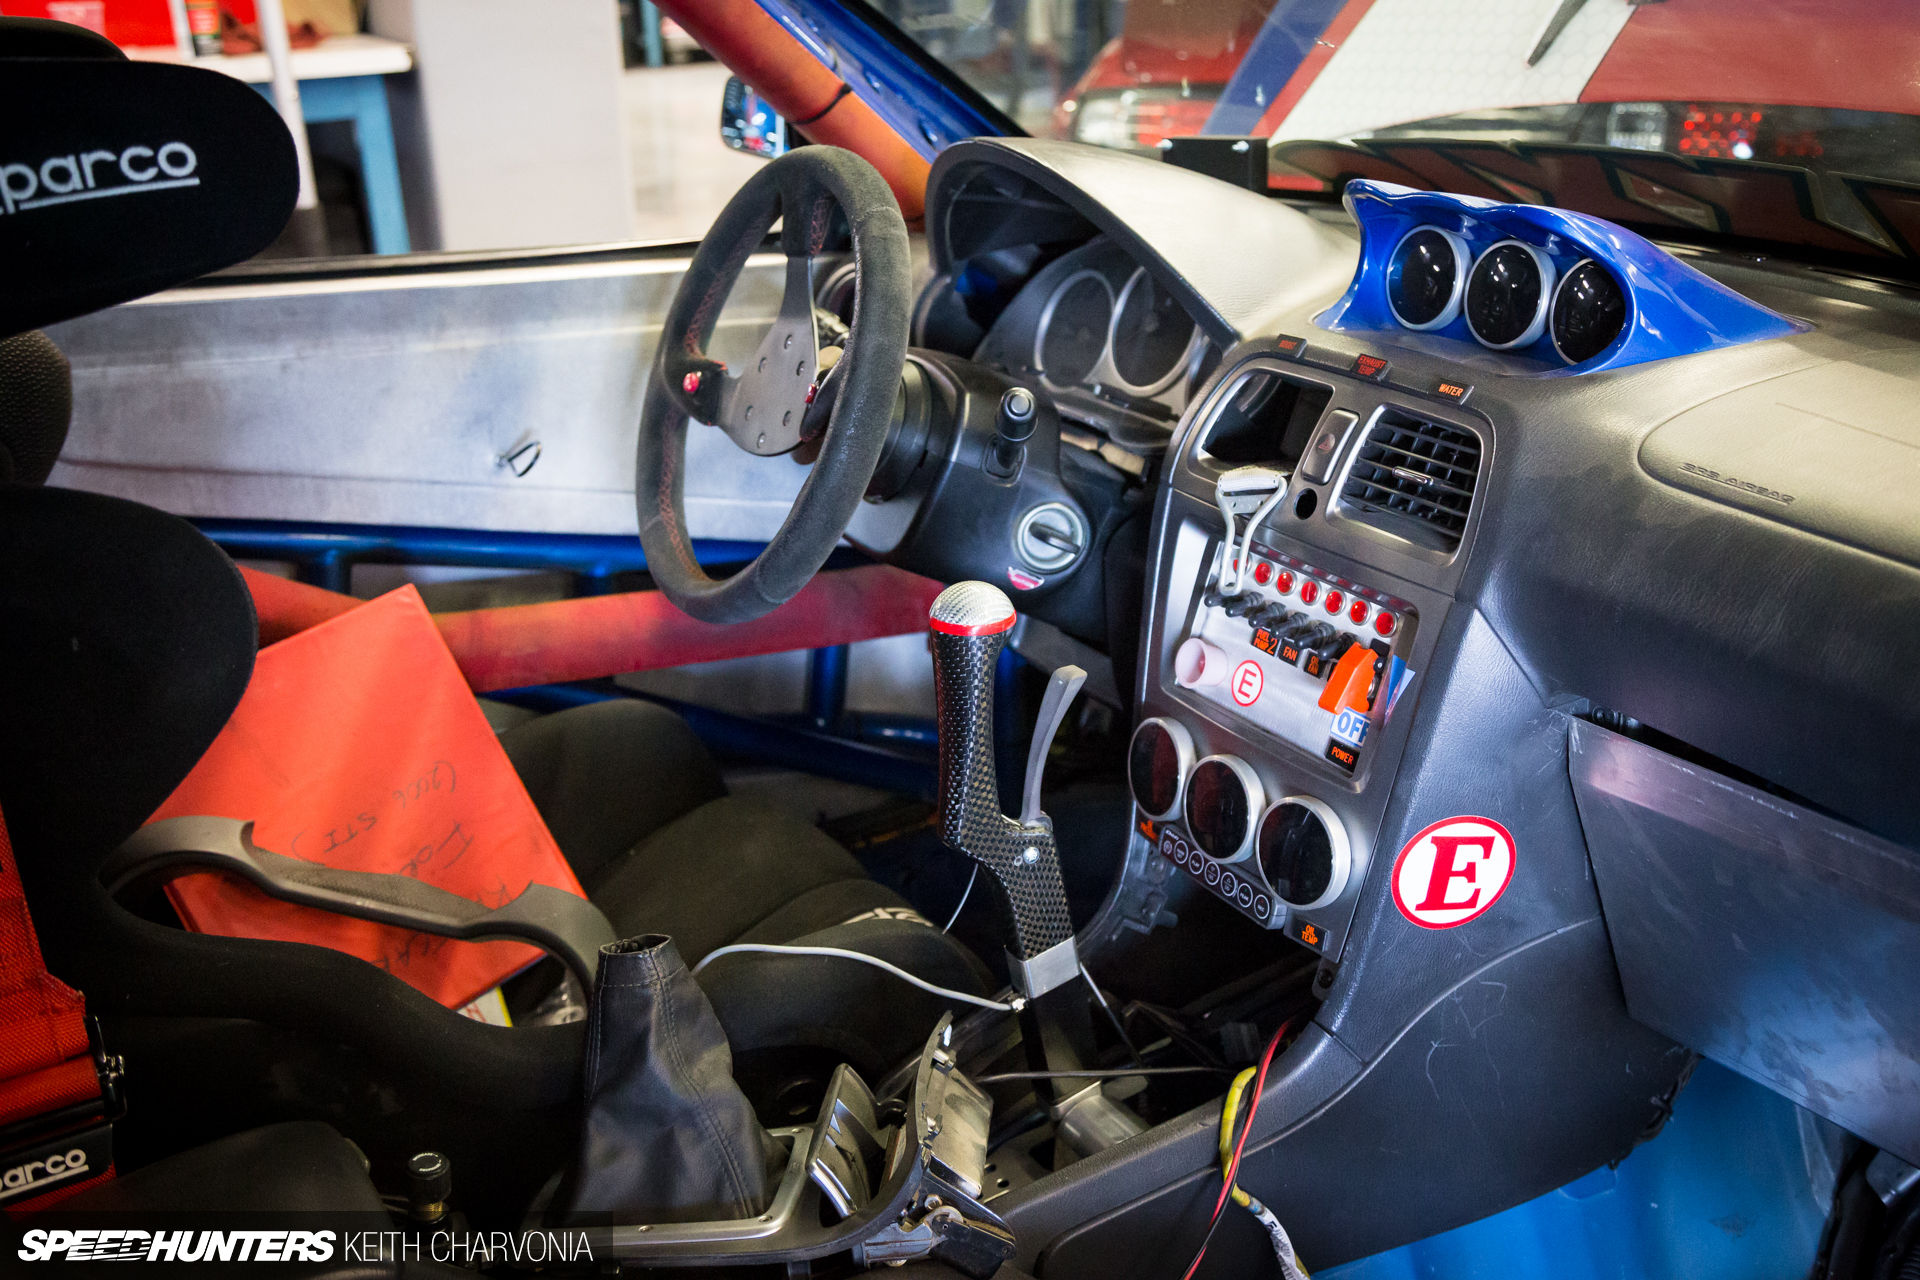
My buddy Jarrod went with a sequential transmission in his track car, which prompted Richard to finally install his own sequential that had been sitting in a box up on a shelf. This is in the Dyno-Comp race car, which has seen many, many miles competing in time attack among other things.

It’s not all boxer engines at Dyno-Comp though; check out the GT-R on the lift, with an LS-powered Boss S14 sitting below.
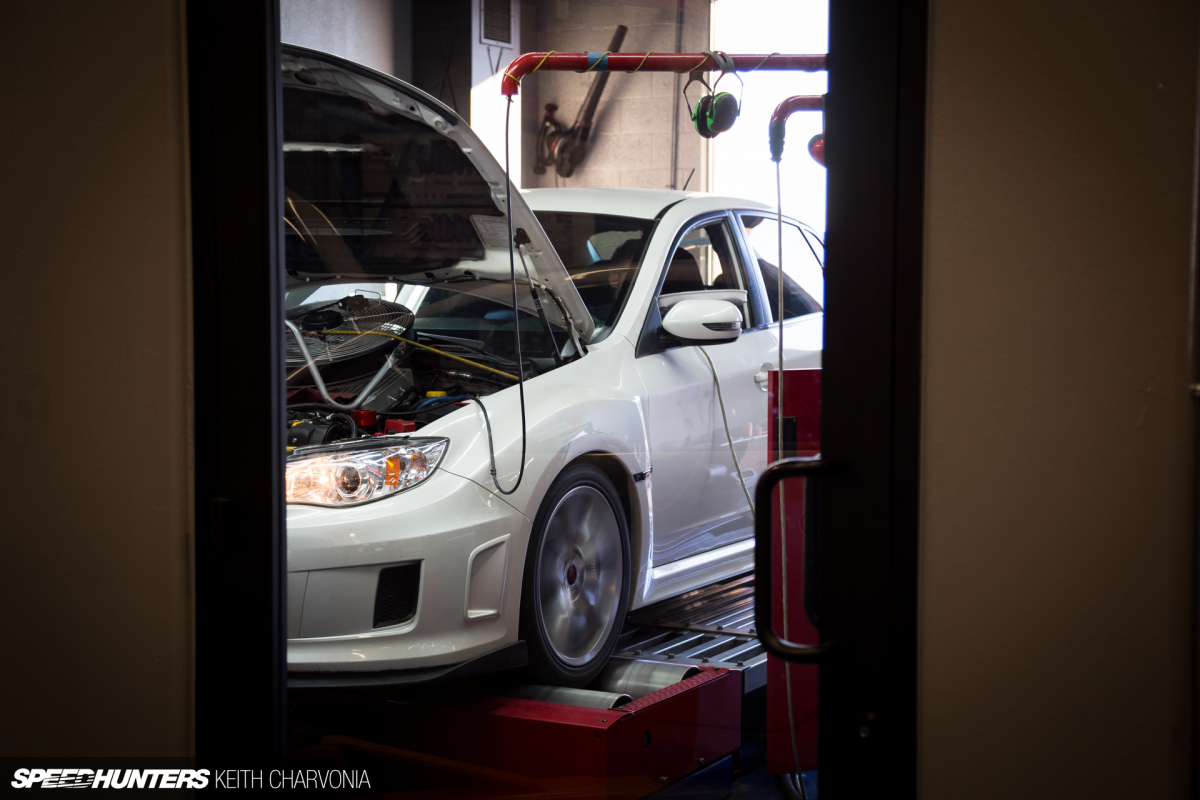
I heard my STI winding down on the rollers, so I came over to see if it was ready.
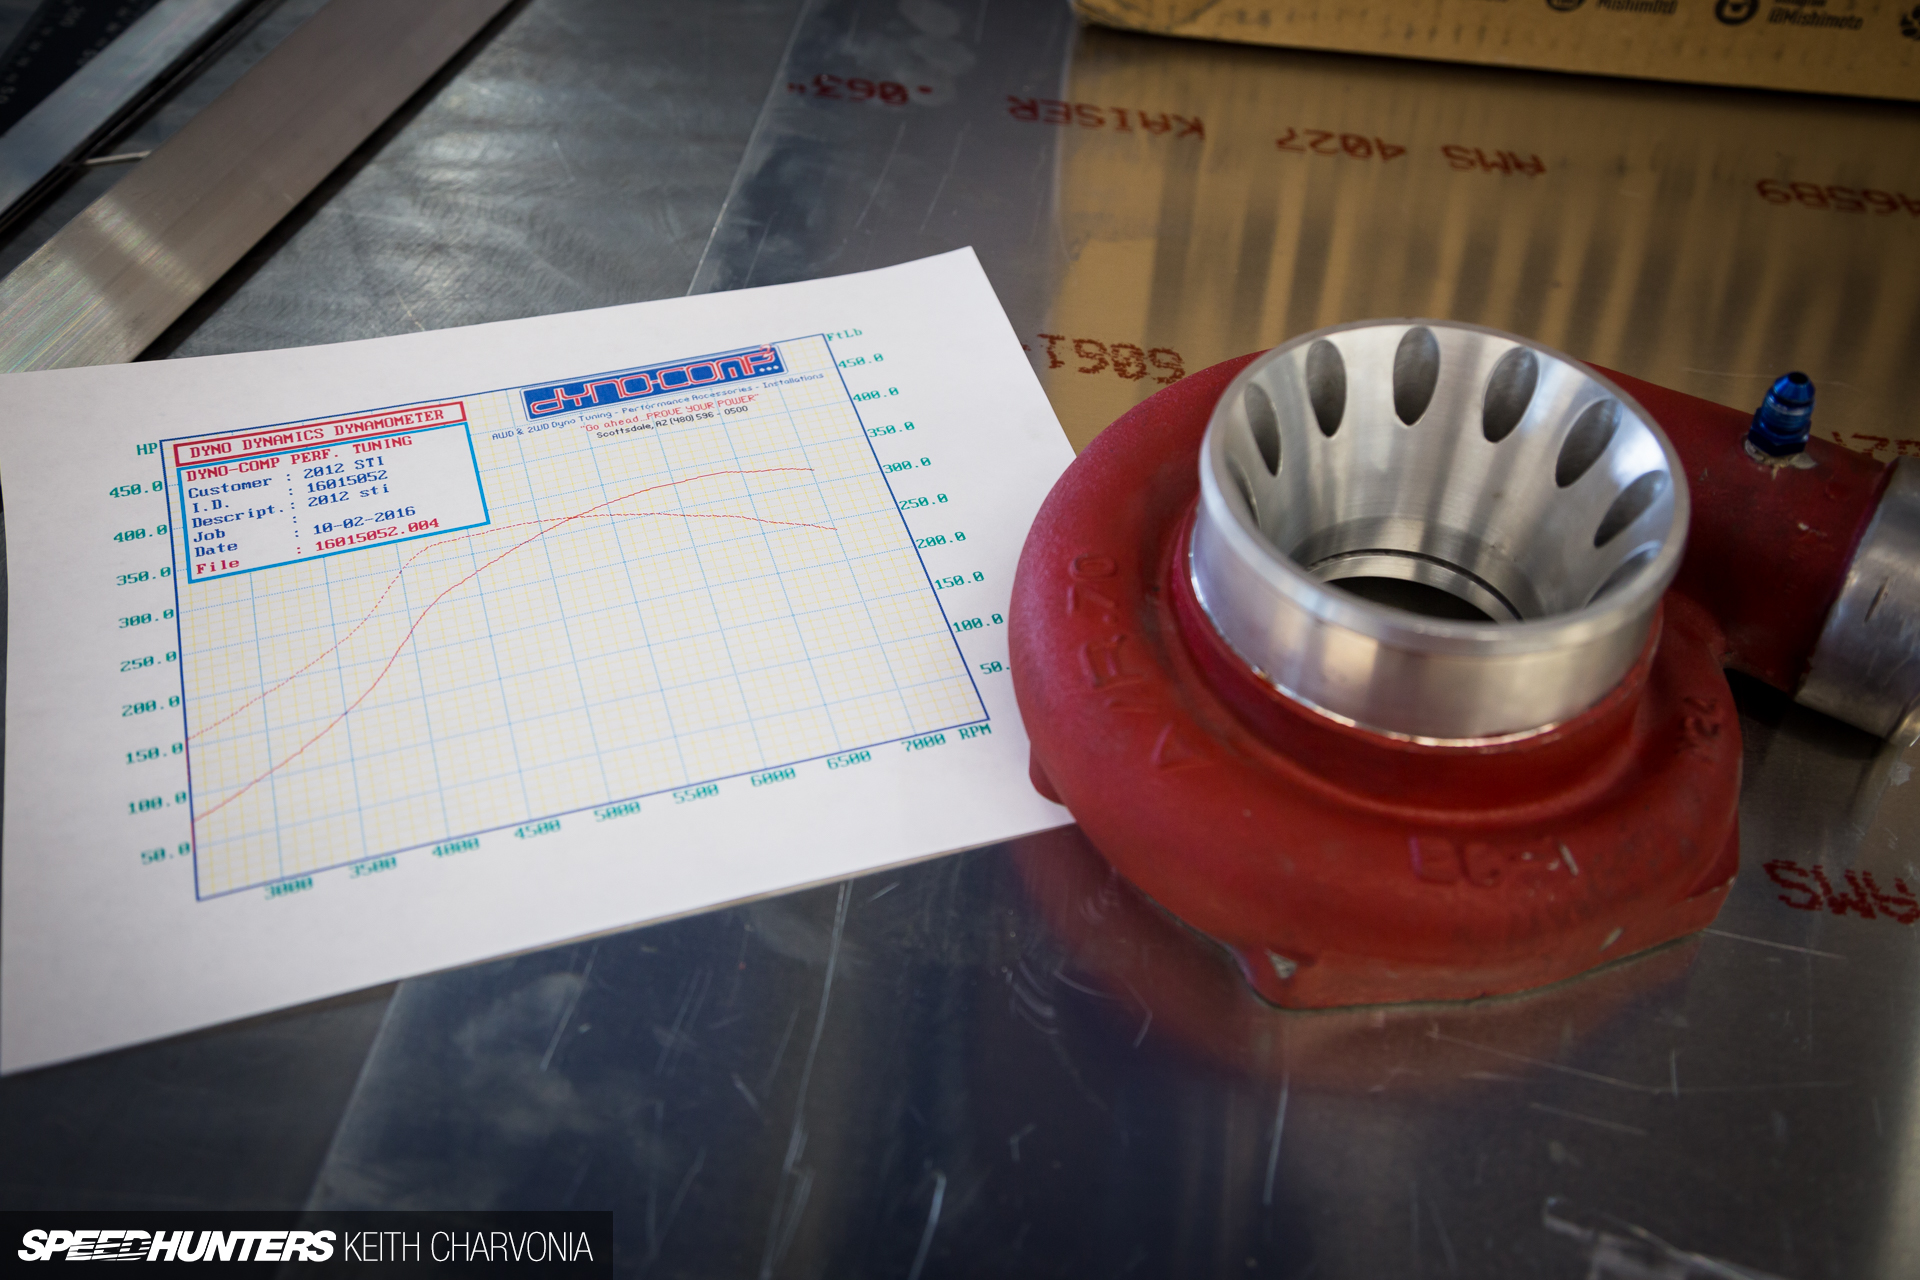
This car makes a safe and solid 400 wheel horsepower on E85, but with 91 octane in the tank it put down 330 on this day. You can see why we like to run E85!
Establishing A Maintenance Baseline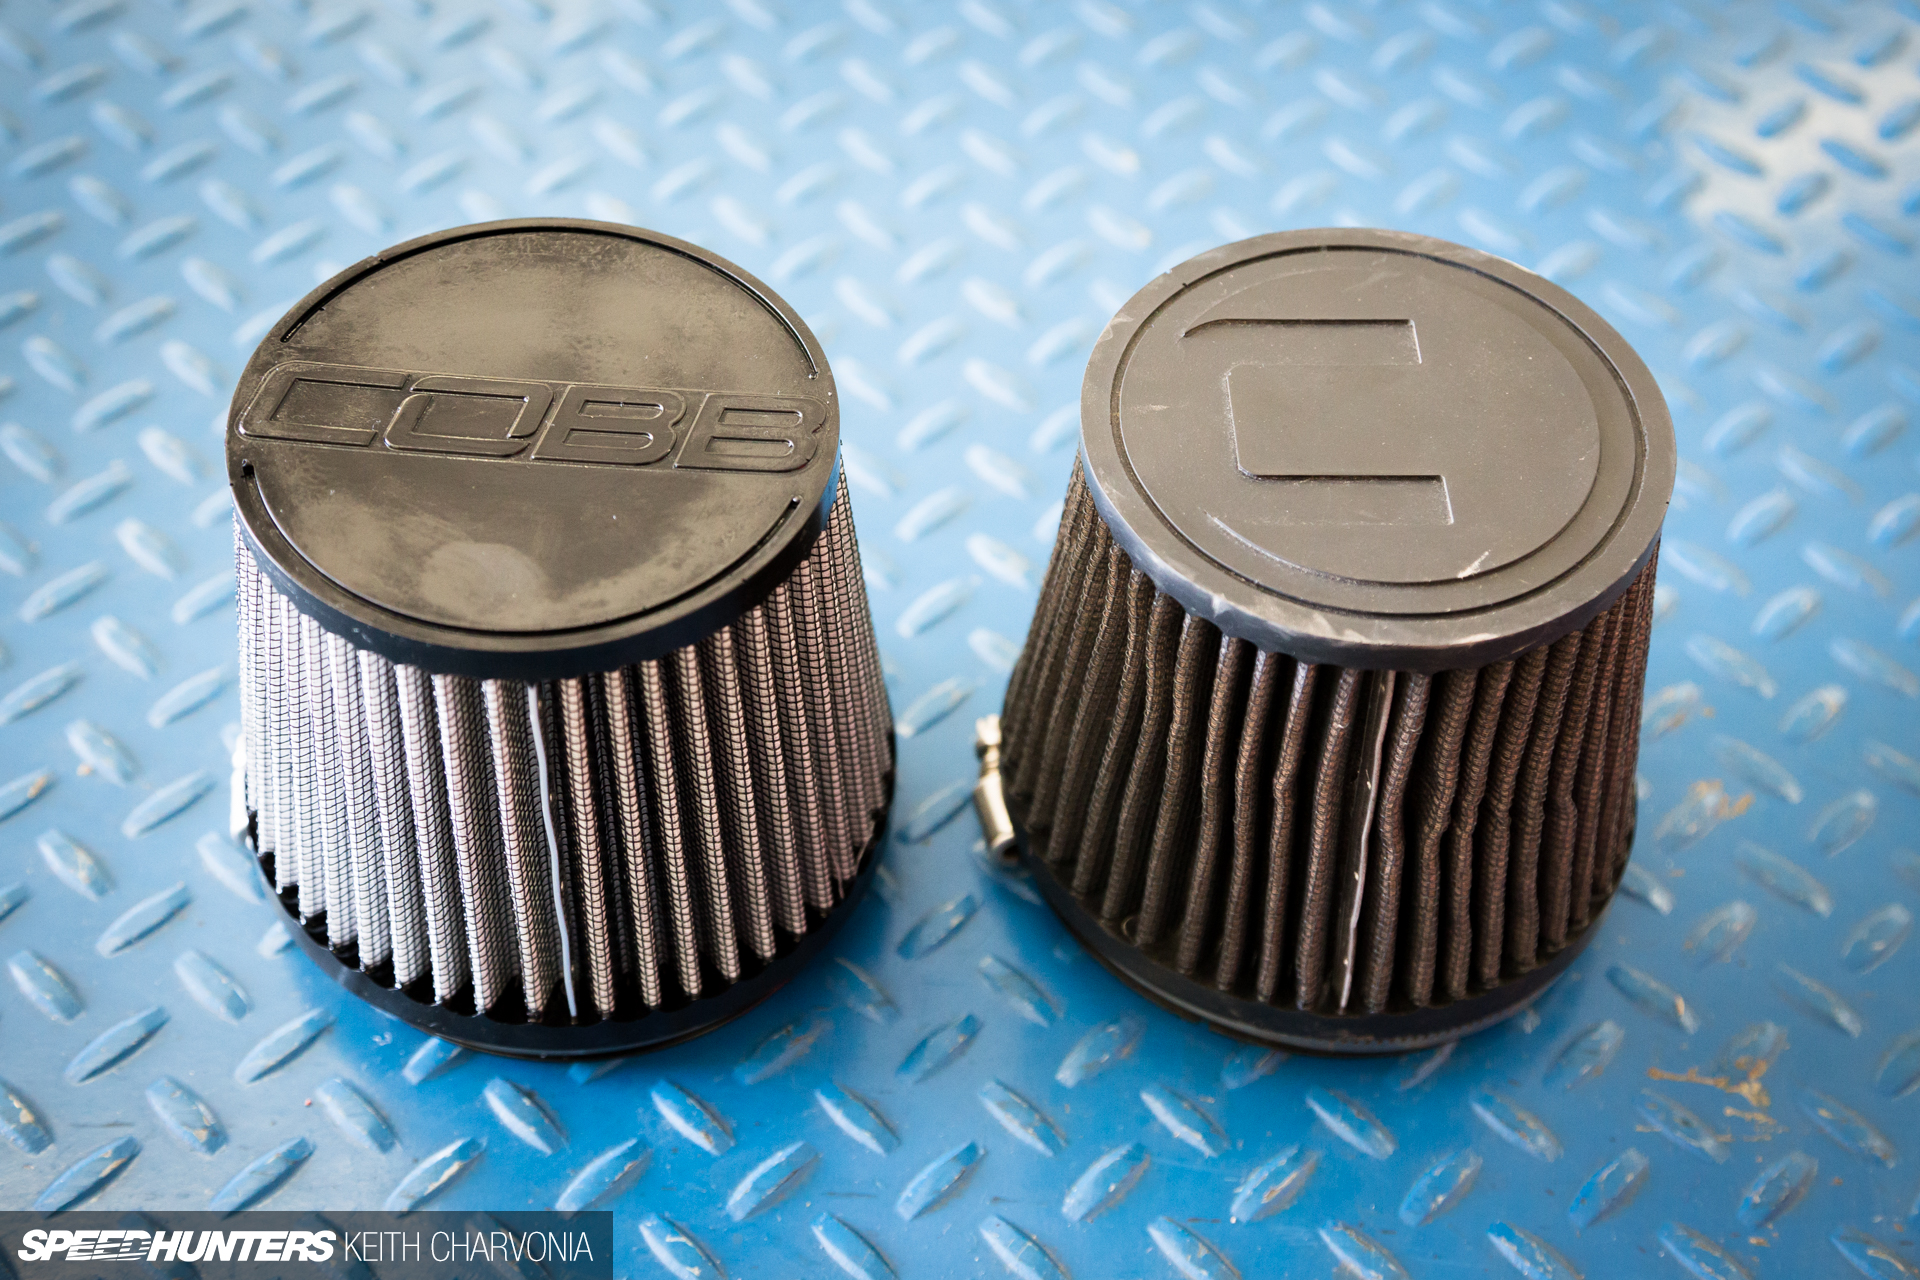
With the unexpected turbo and injector repairs out of the way it was time to make sure my STI was up on its maintenance, which began with a fresh air filter. While the old one is washable and reusable, I like to have two filters so I can just swap a clean one in and clean the dirty one later.
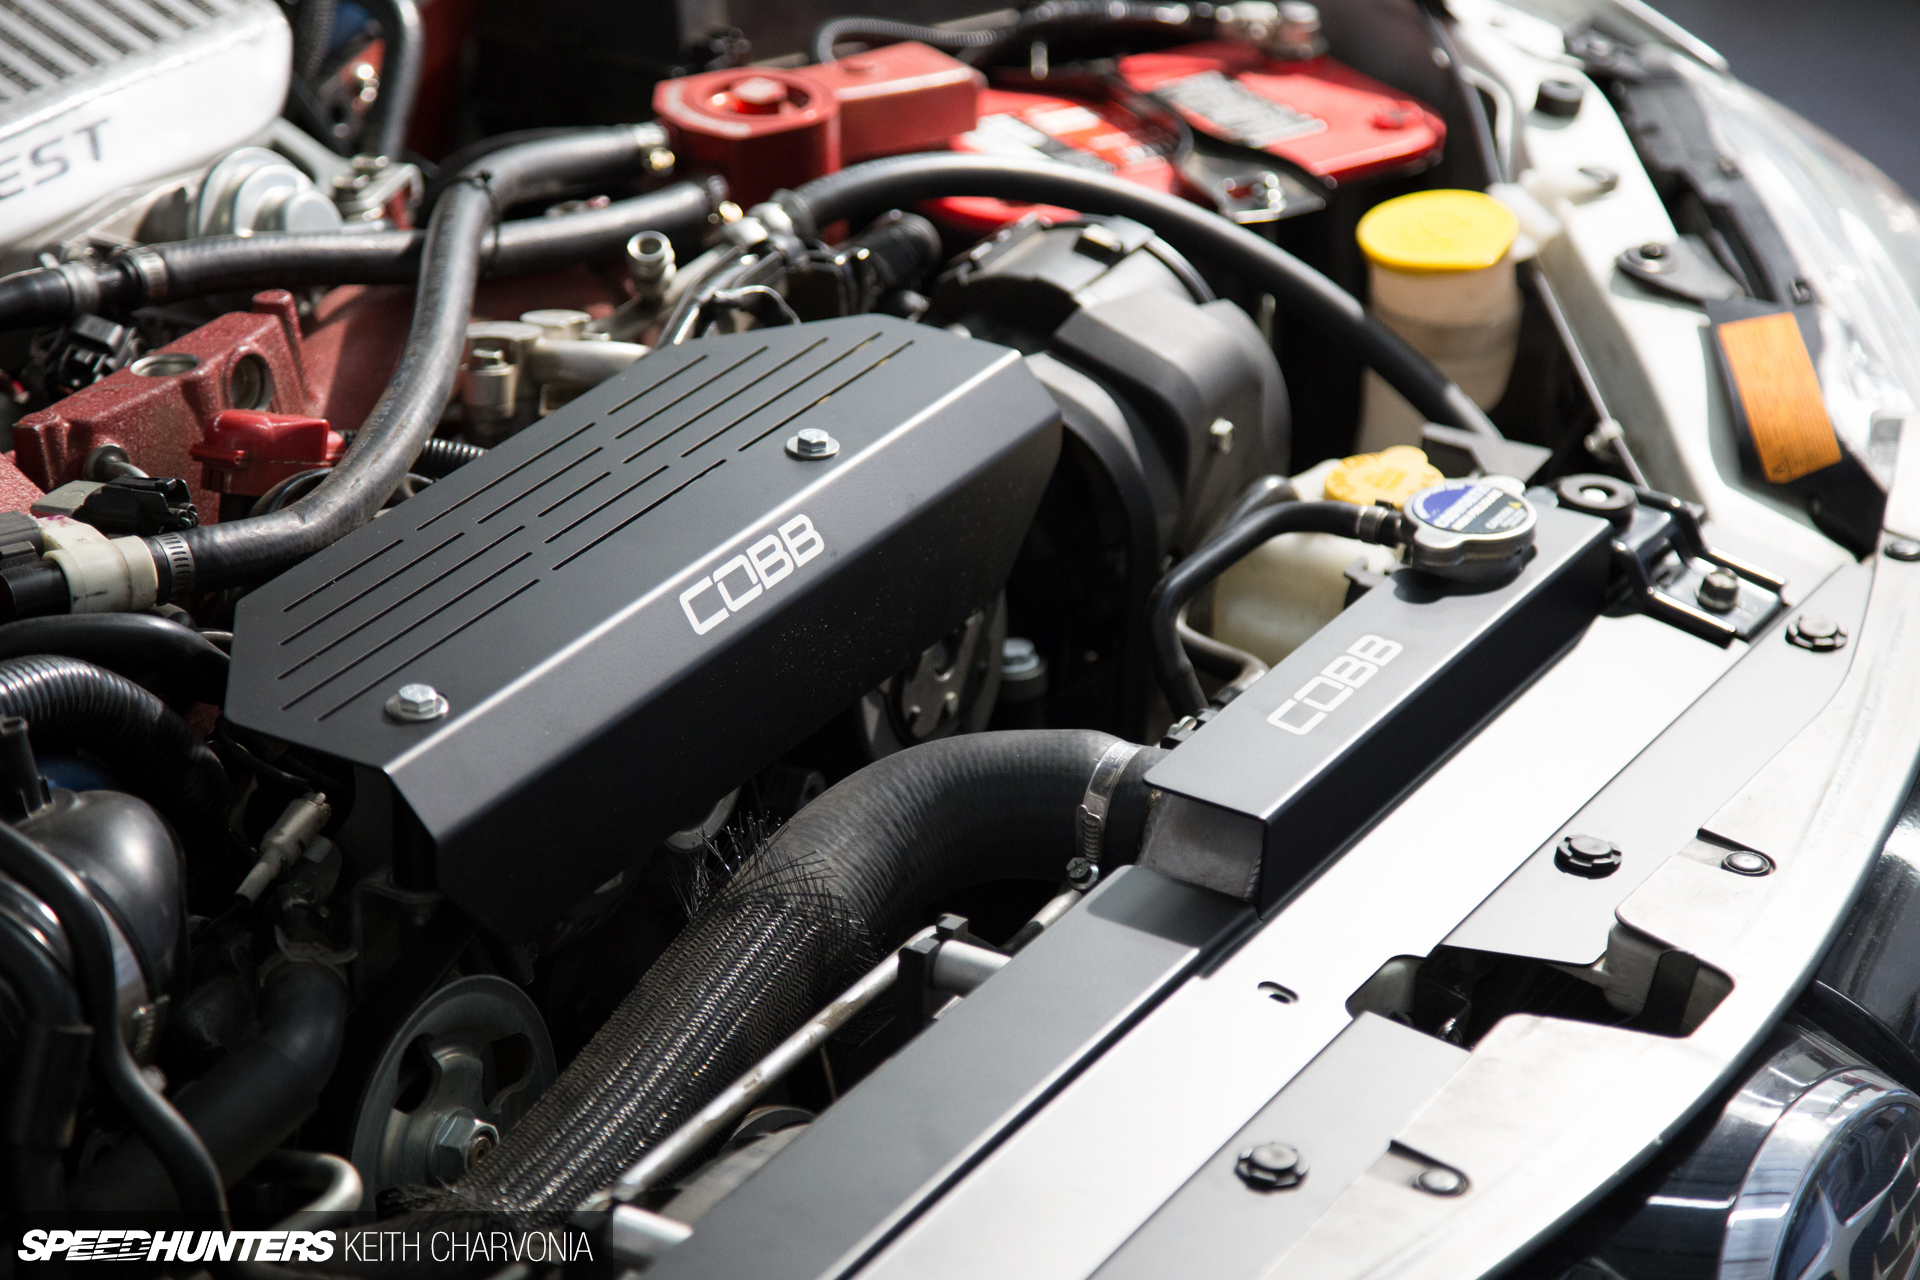
The guys at COBB were also kind enough to hook up alternator and radiator covers in black. I like the subtle look over the red covers that the previous owner had installed.
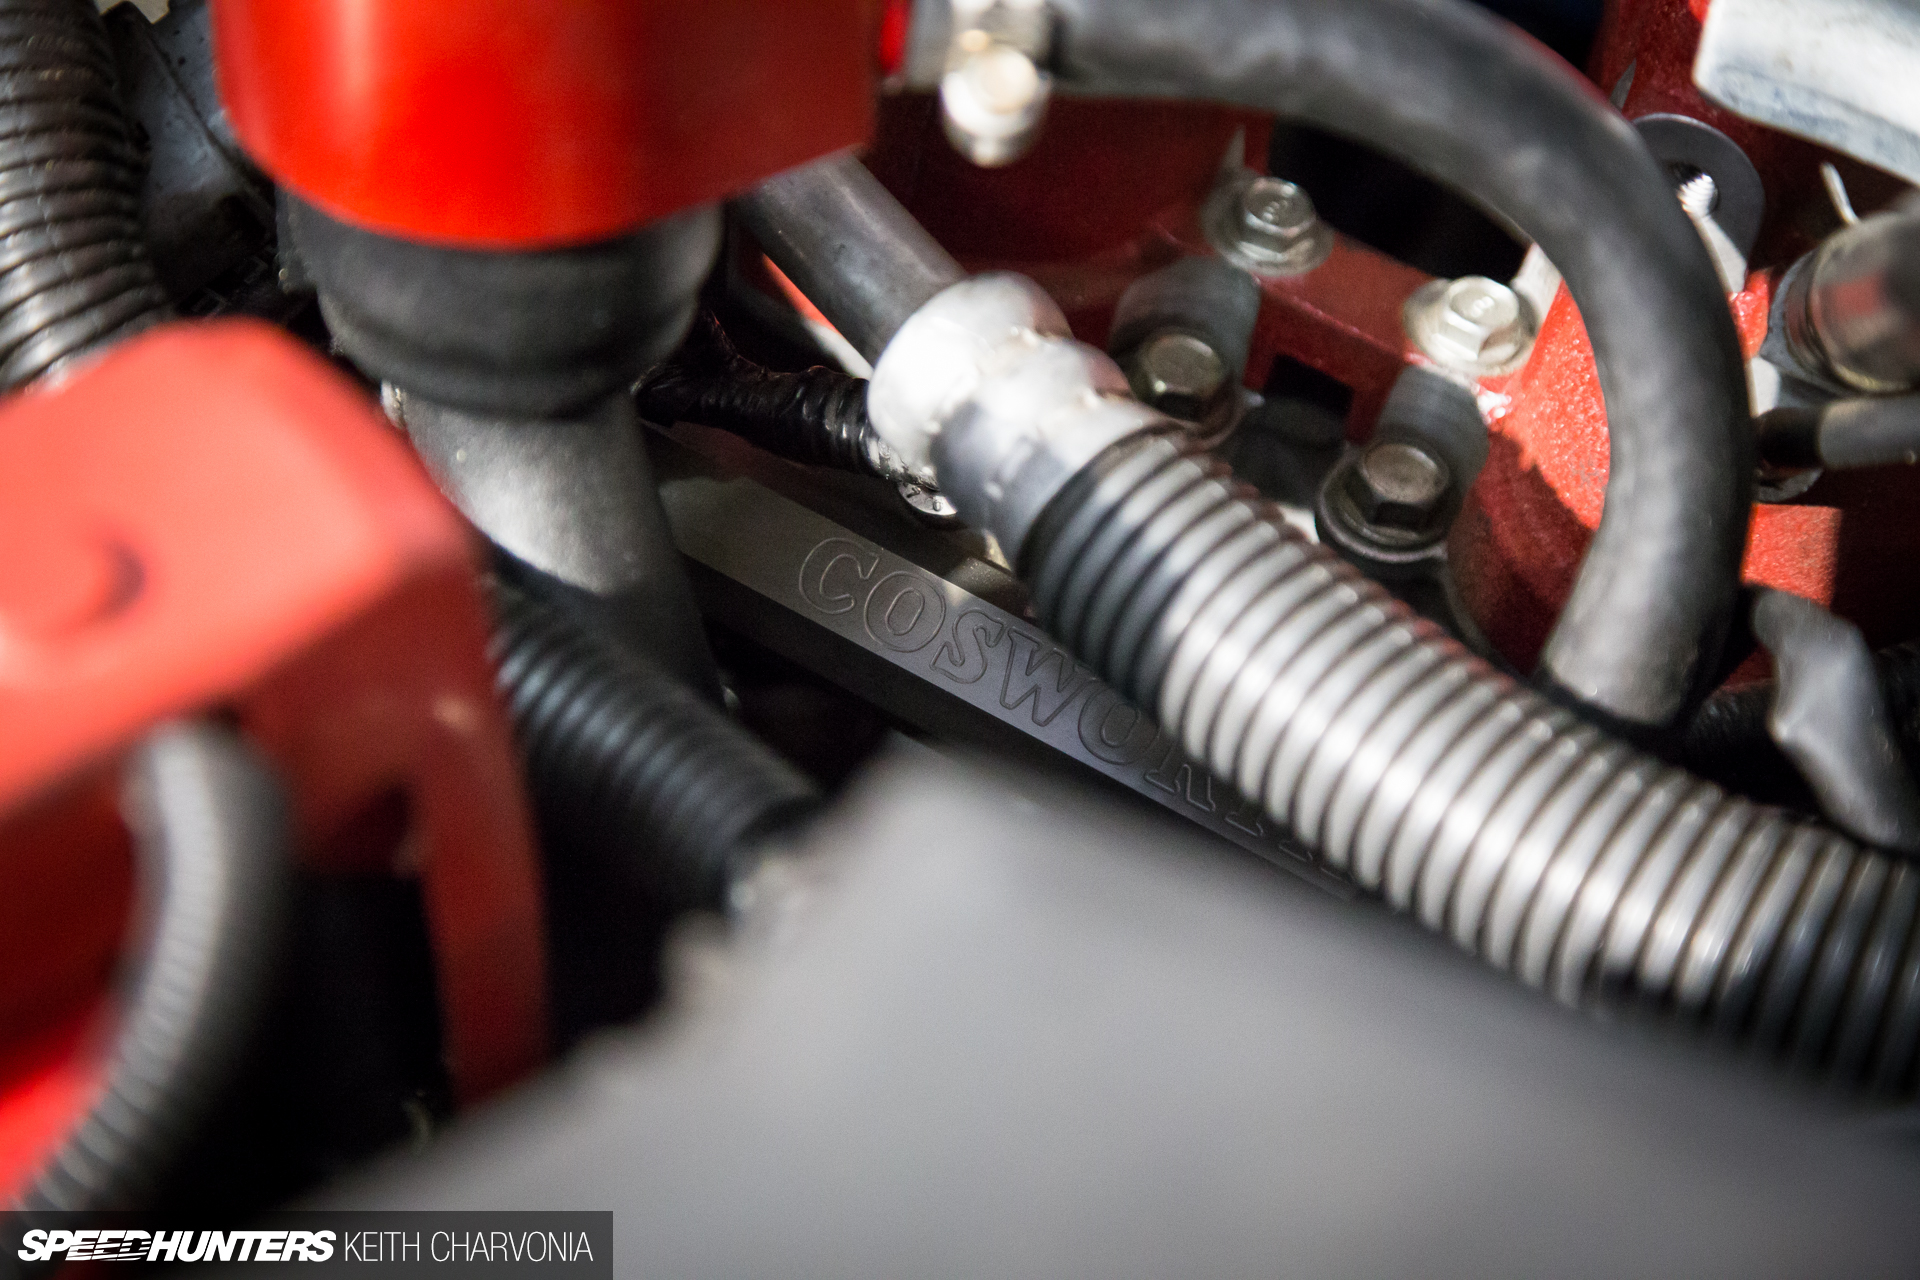
Next I turned my attention to the oil, which is a point of much contention among Subaru owners. The forum debates are enough to make your eyes bleed and still not get to a conclusion, so I instead reached out to a trusted pool of industry contacts, including Cosworth, Dyno-Comp and Torco.
All agreed that any quality synthetic would do the job, so it just came down to choosing one with a good additive package and then testing via used oil analyses to see how much additive remained given the oil change interval. There just isn’t as much voodoo behind oil choice and blown Subaru engines as some would have you believe.
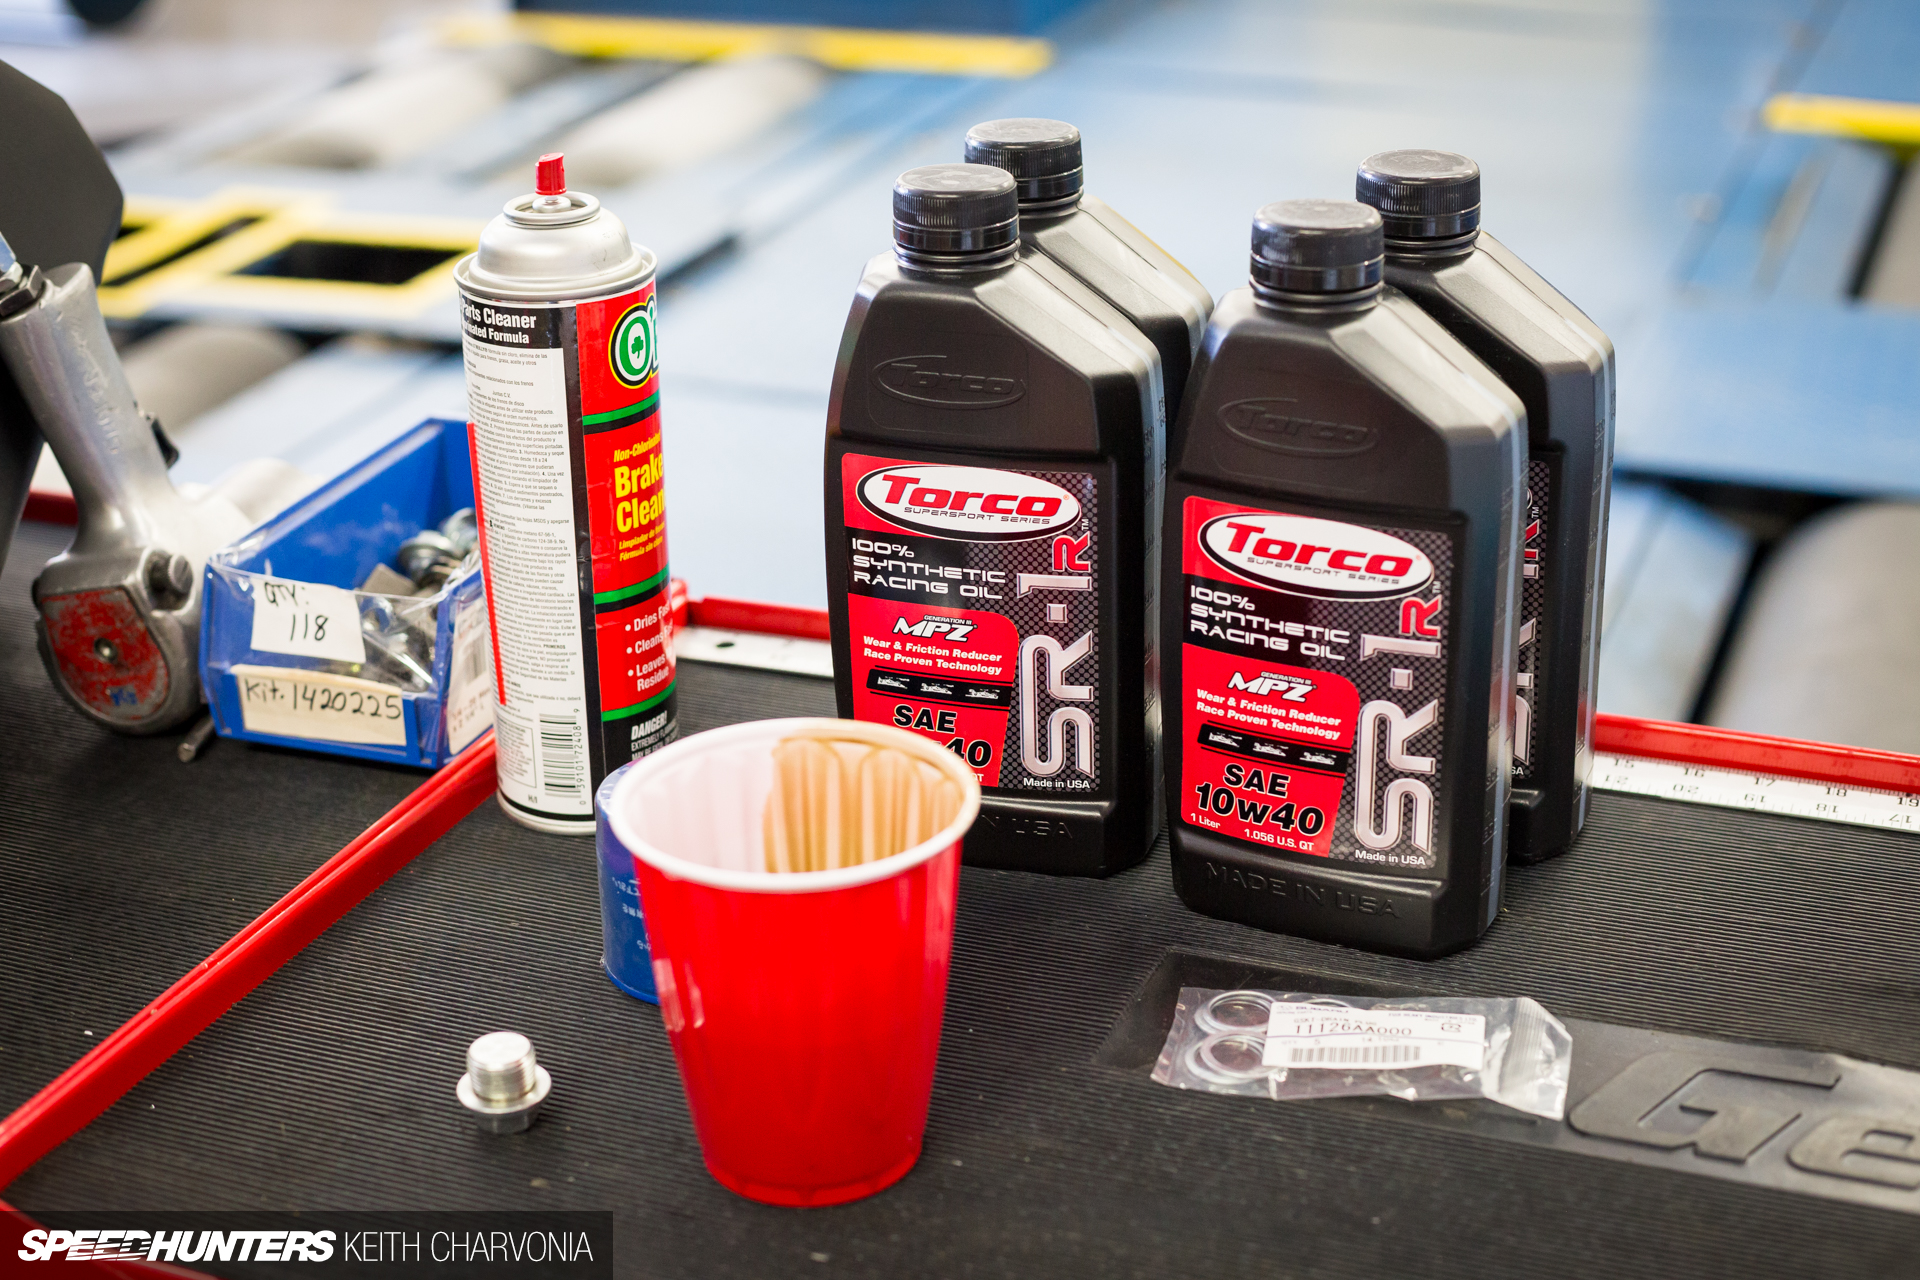
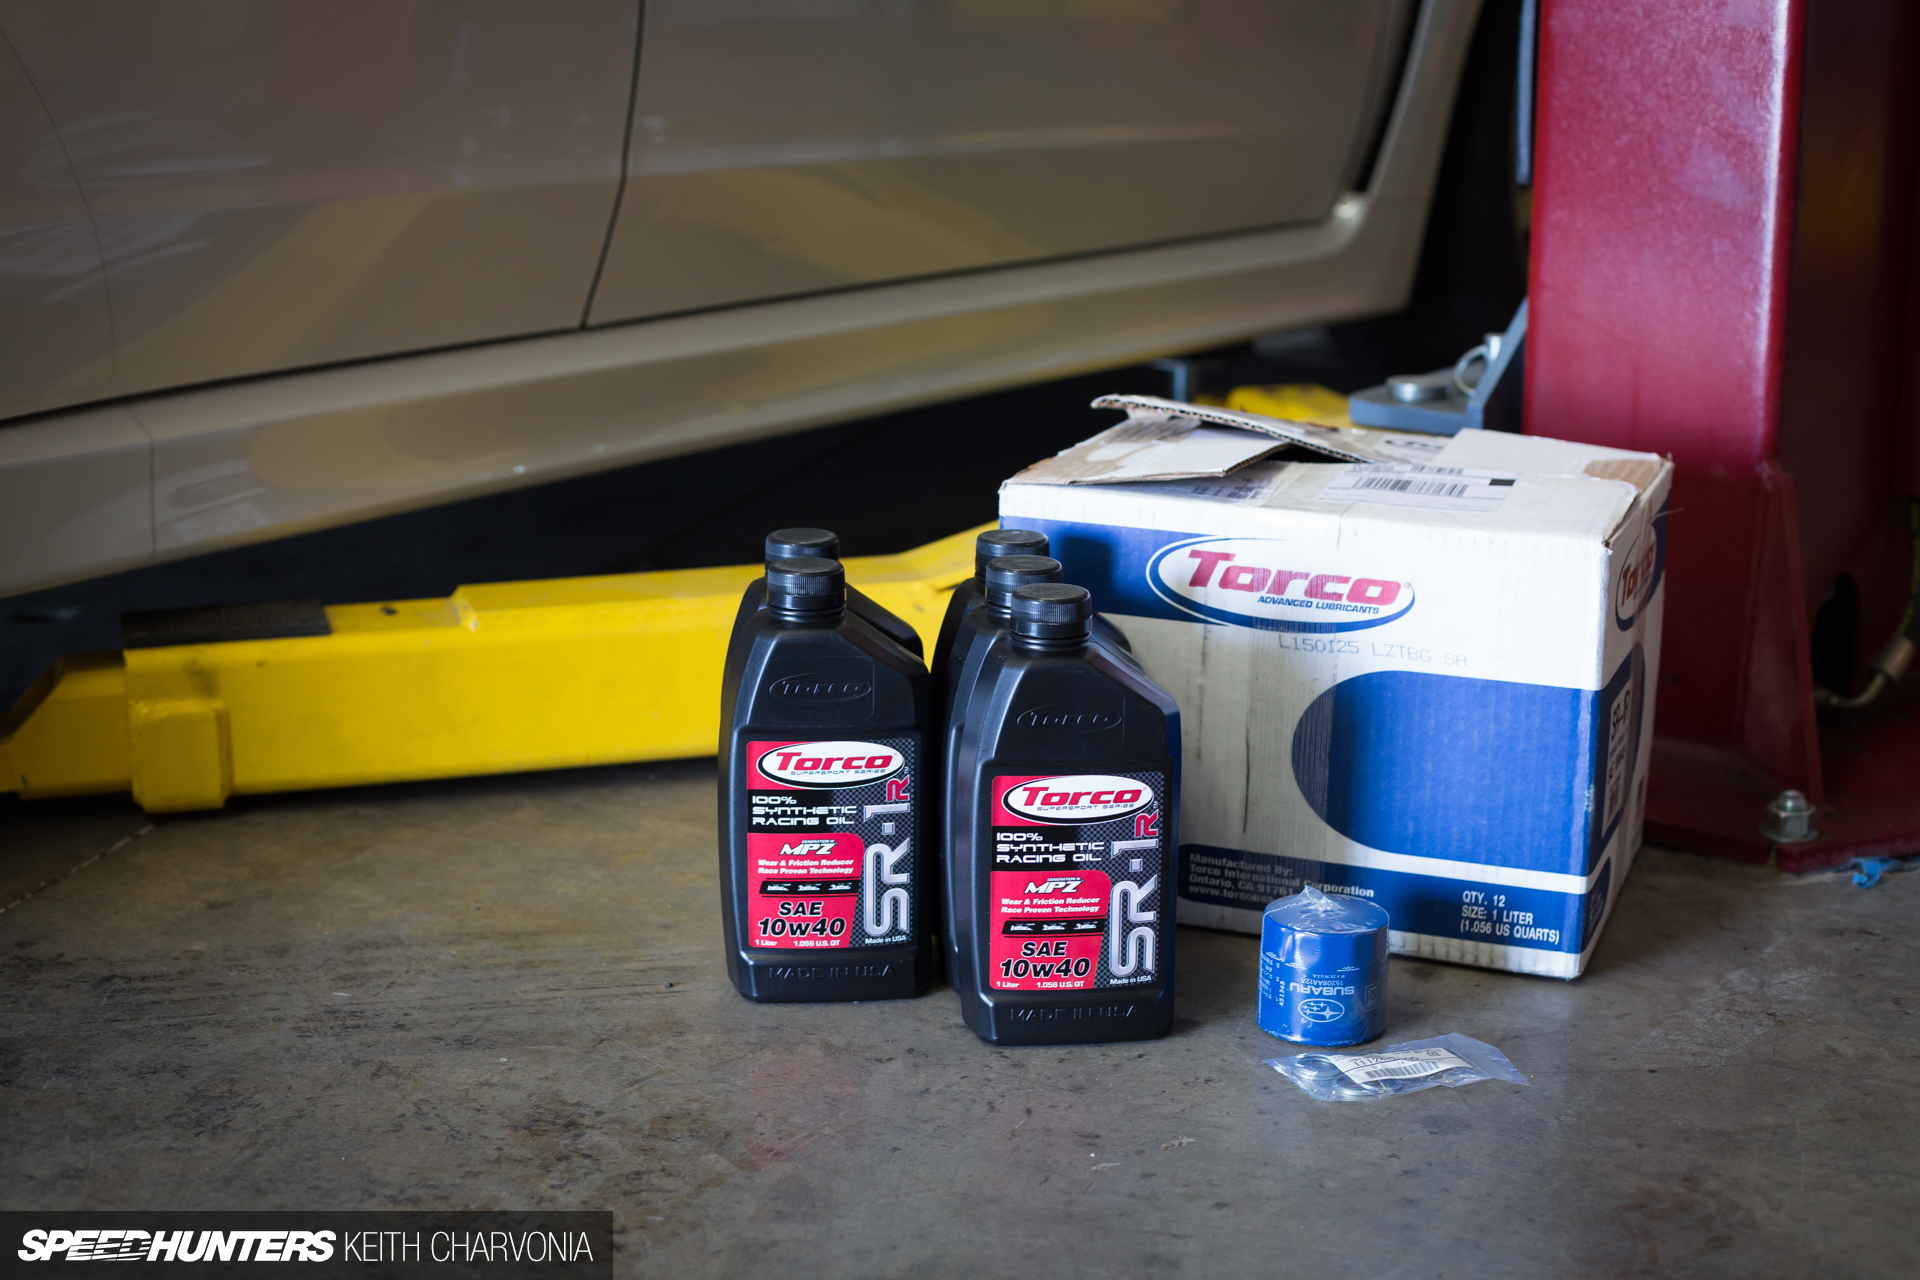
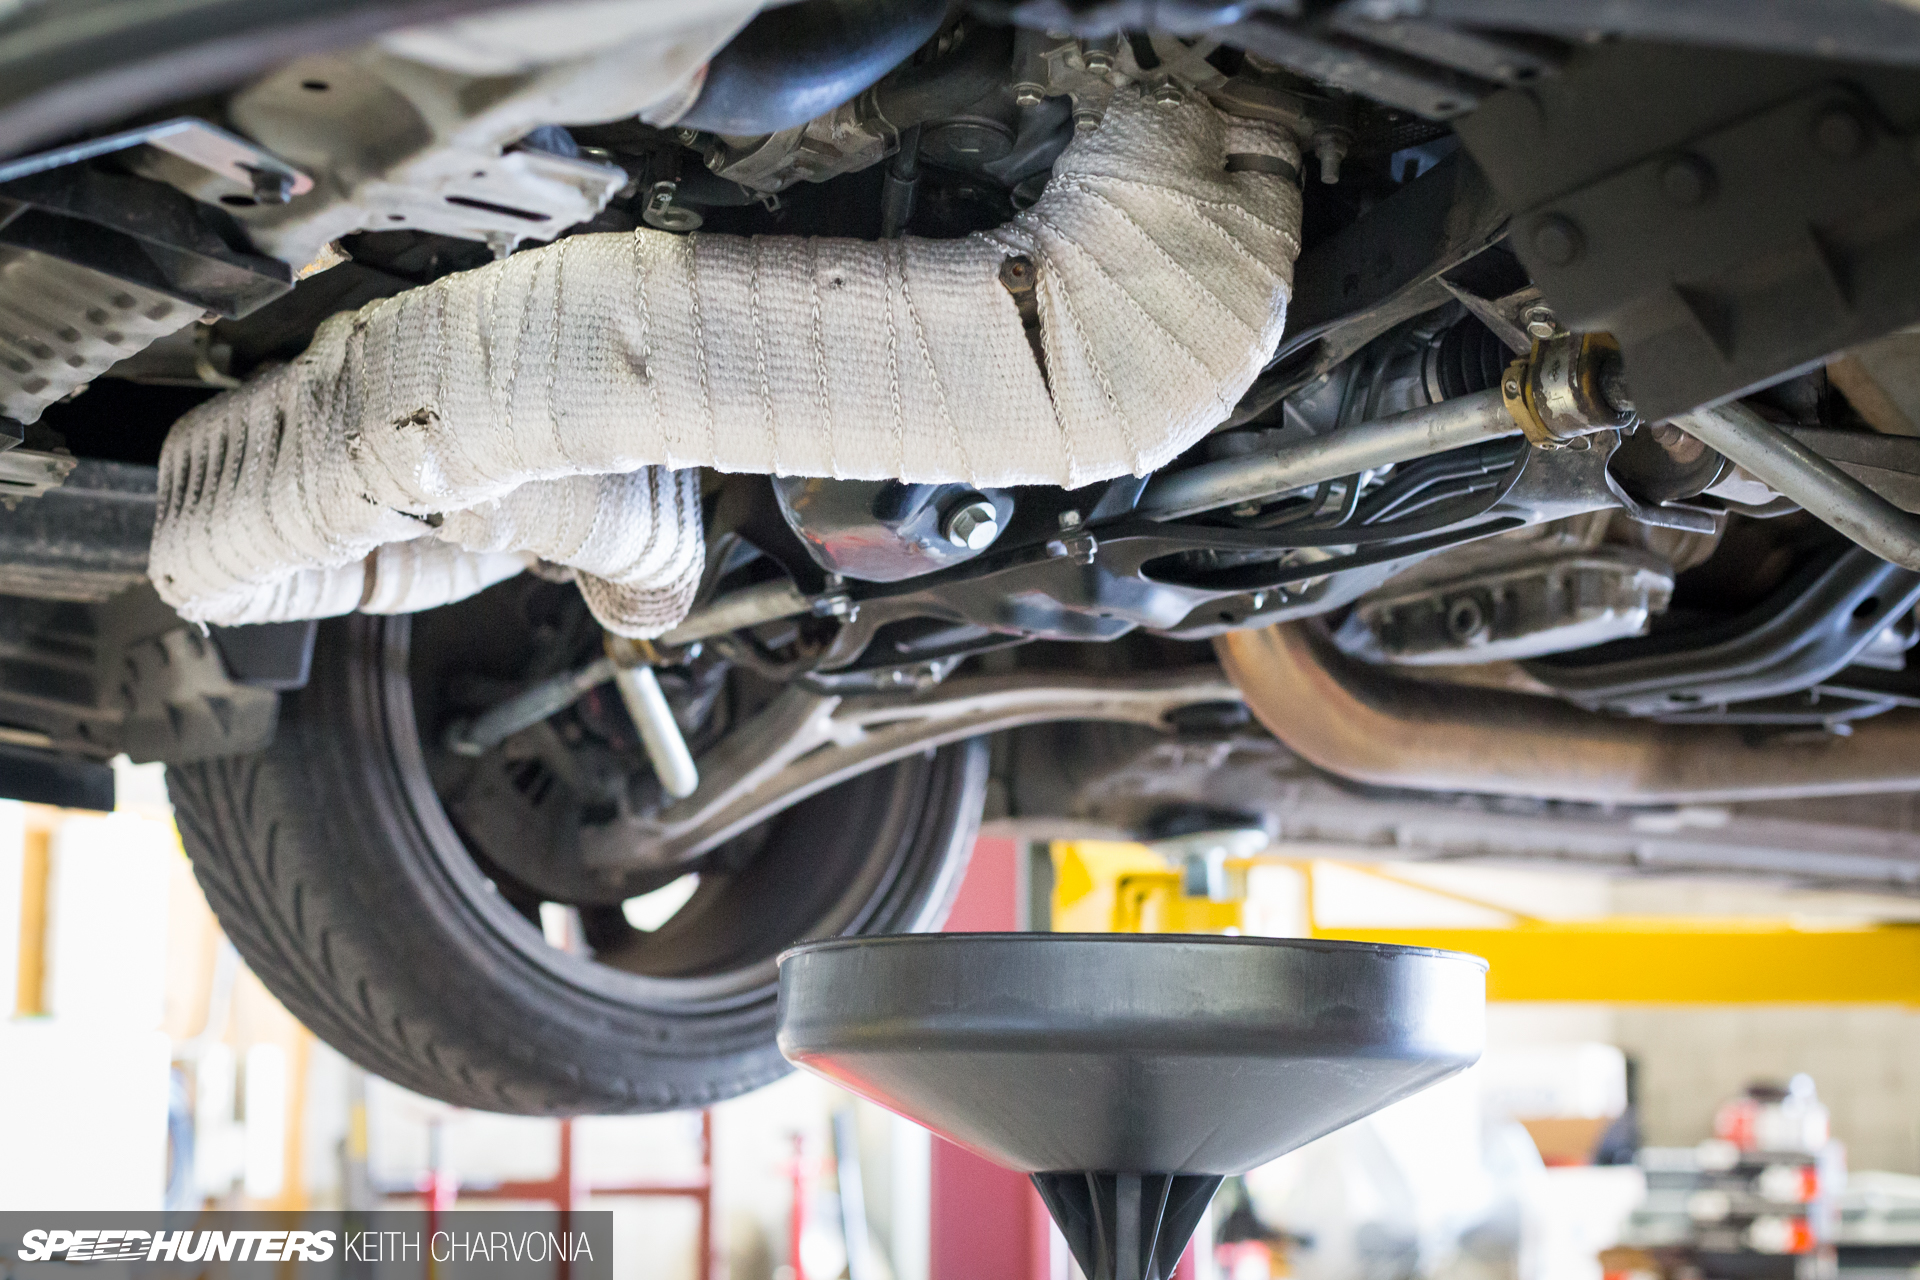
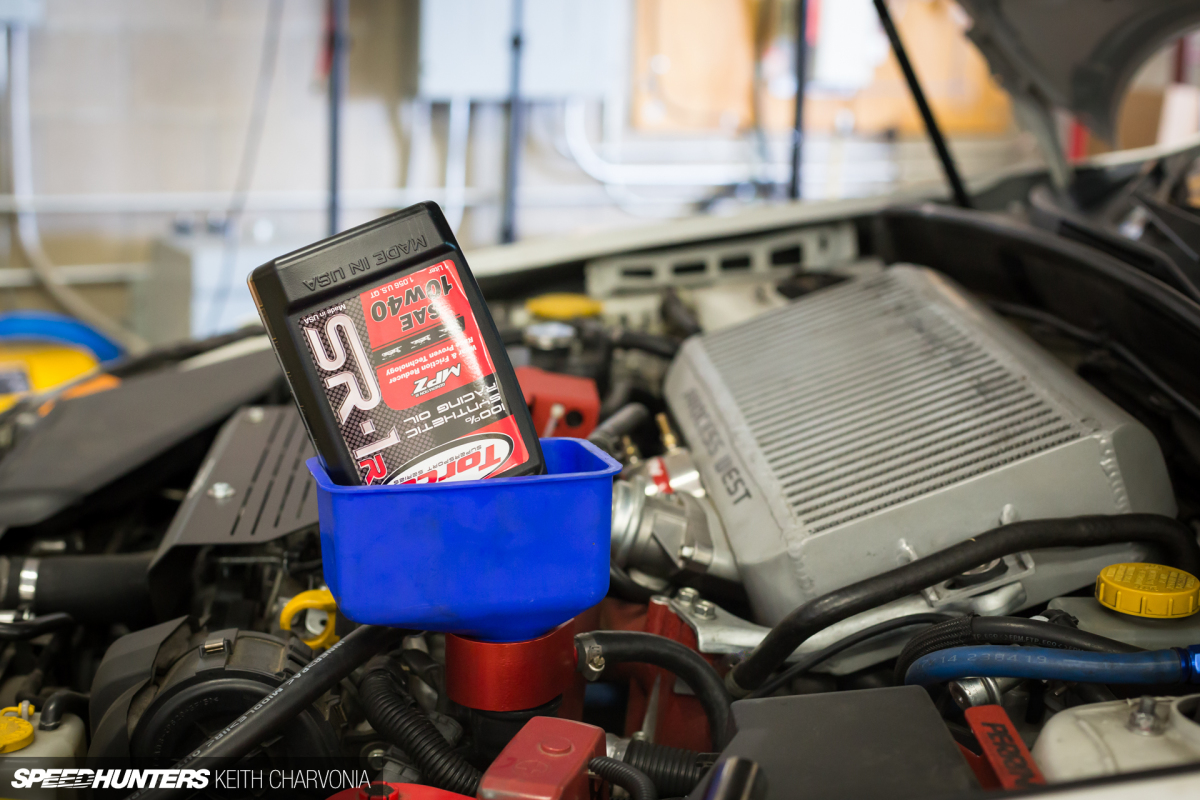
I went with Torco SR-1R synthetic 10w40 this time, and made sure to capture some of the old oil to send in for a used oil analysis.
According to Torco, its proprietary MPZ additive package is what sets it apart from other premium oils on the market. Torco’s Ernie Soliz explained it this way when I inquired: “When two parts are sliding against each other on a layer of oil and the heat, speed and load are increased; at some point the layer cannot support the two parts any longer. At that exact moment when the two parts make contact these additives, if made correctly, go to work to protect these parts from wearing, scuffing, galling and transferring metals.”
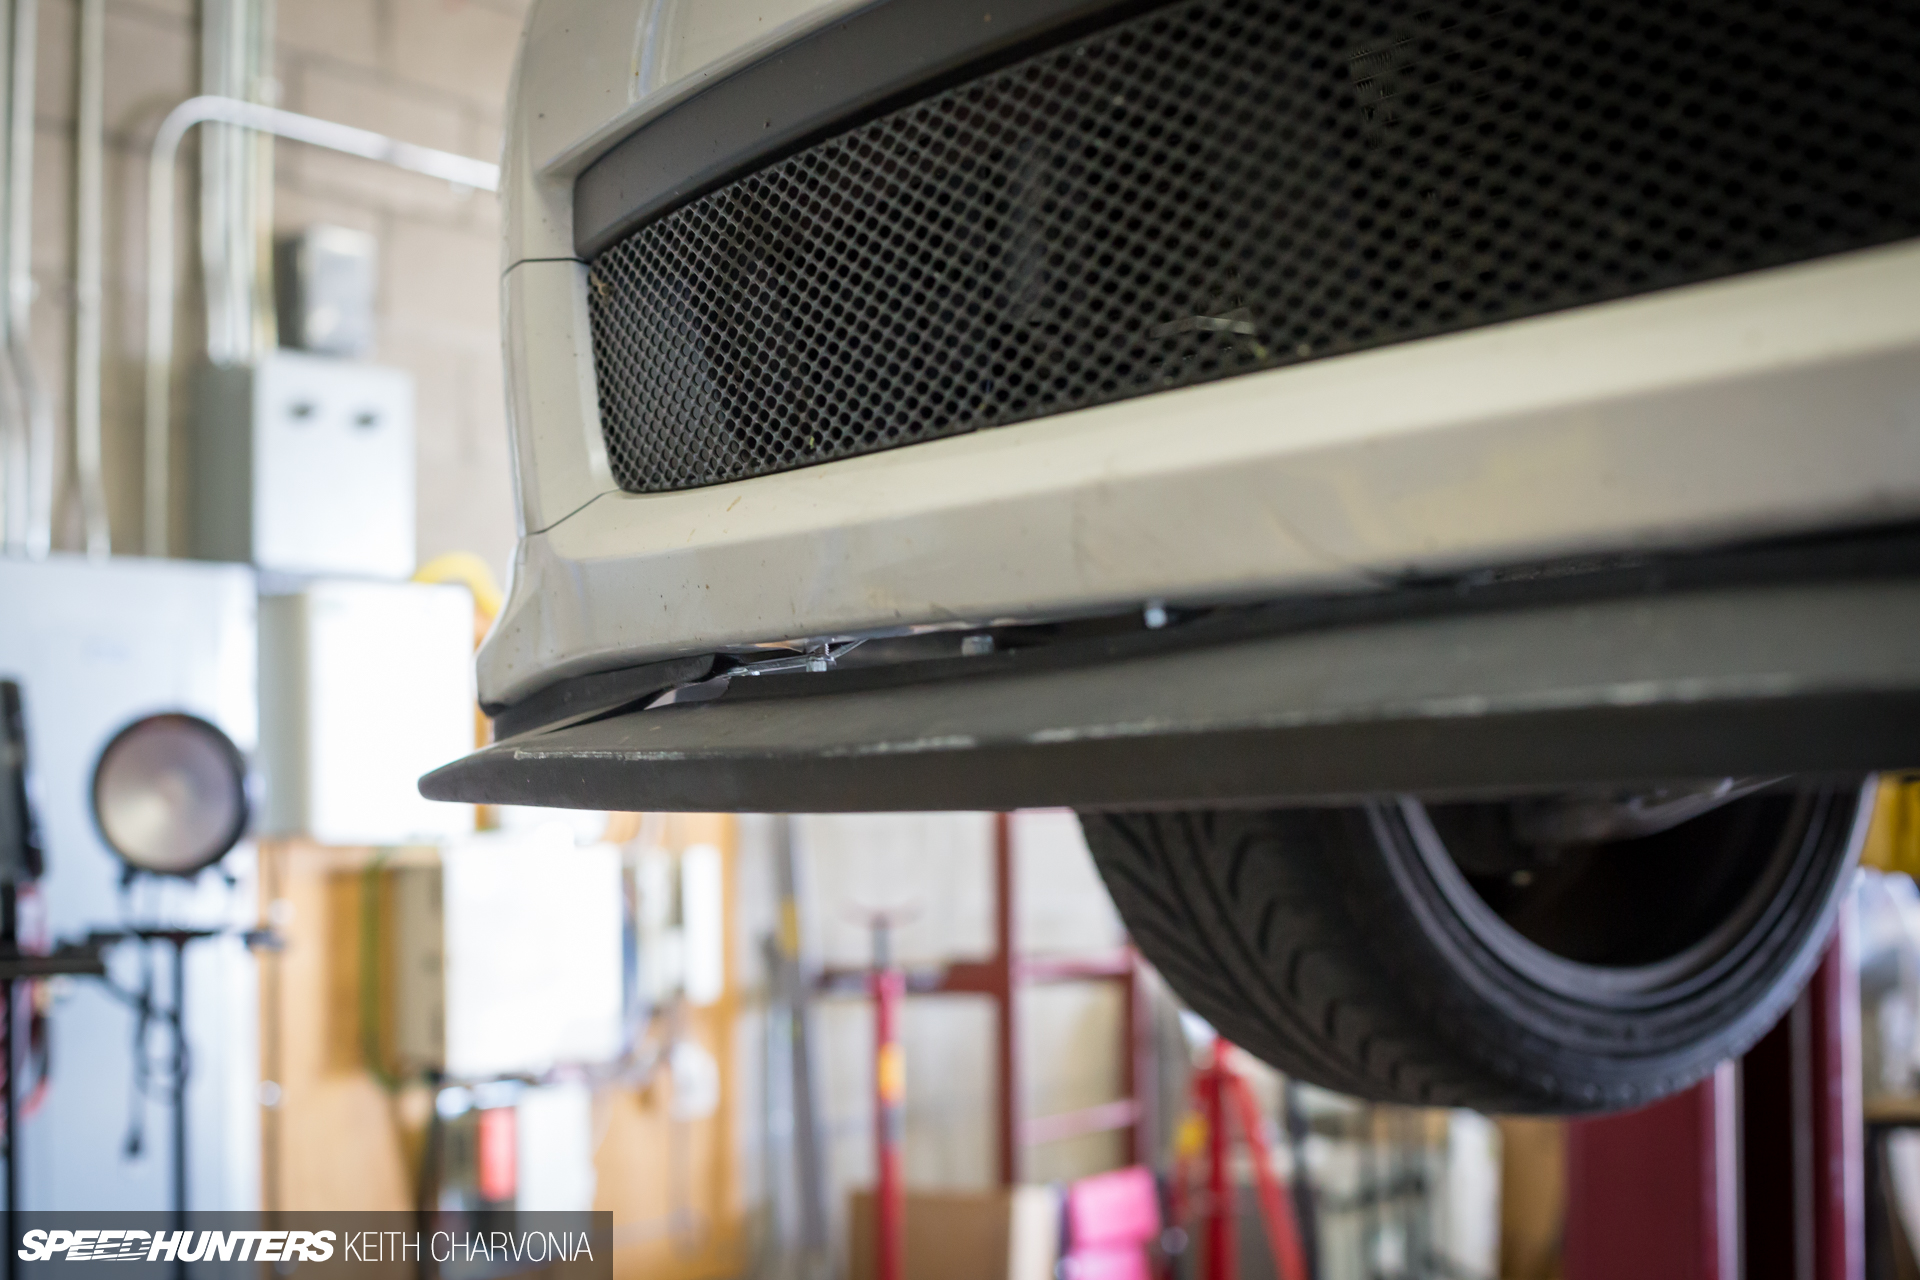
While the car was in the air, I also swapped out the front lip which was damaged by a cardboard box on the freeway. I’ve seen too many people lose control swerving to avoid things on the freeway, so my premeditated policy is to run stuff over when I can’t safely make a lane change. It was worth destroying a cheap piece of aftermarket ‘aero’ to not potentially cause a major accident.
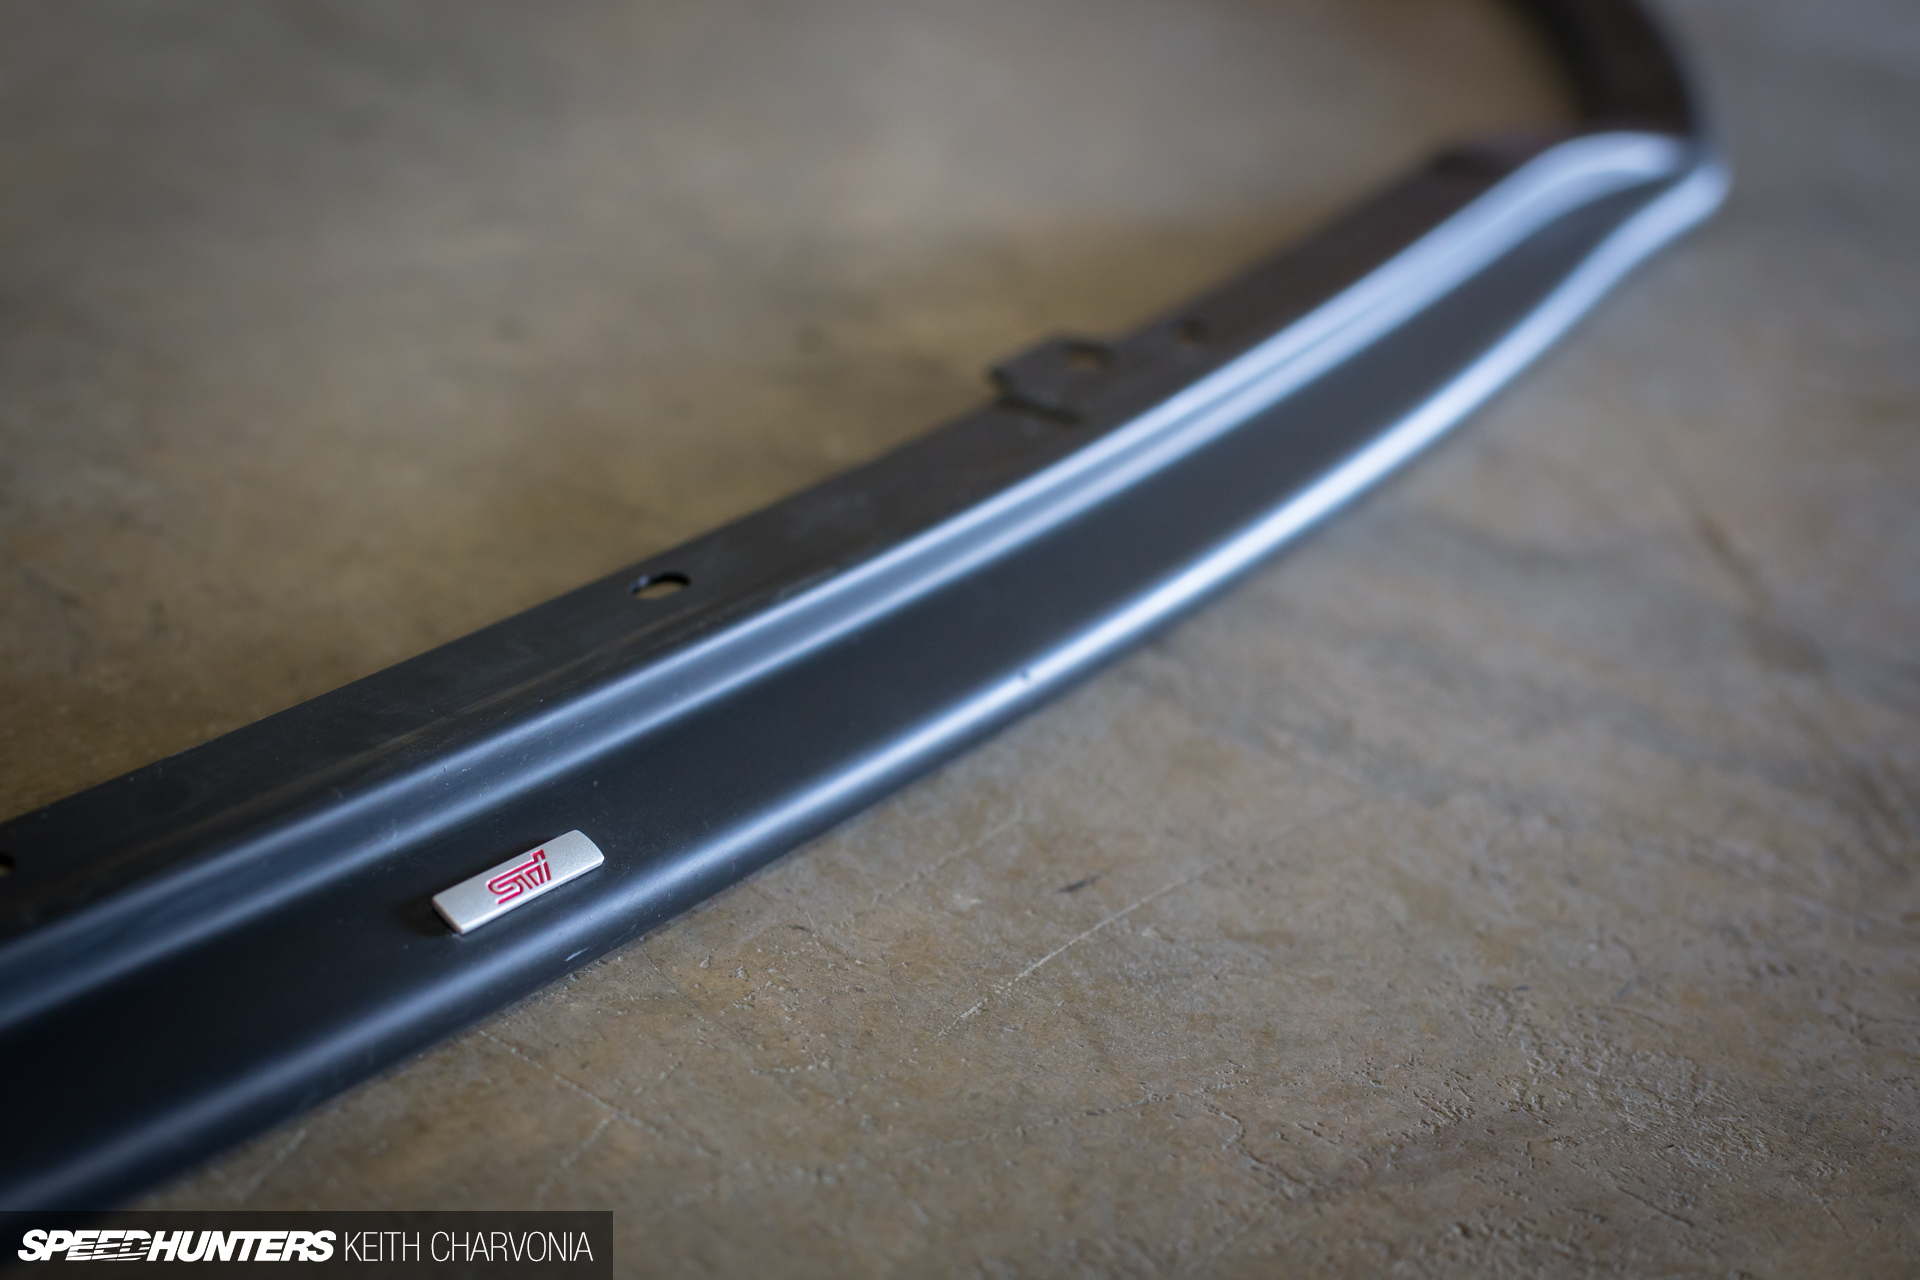
Plus, in this case I had a free replacement ready to go on. My buddy Jarrod gave me his hand-me-down STI lip since we built a one-off front bumper for his car.

The bumper is a bit battle worn, but at least I got that busted front lip replaced.
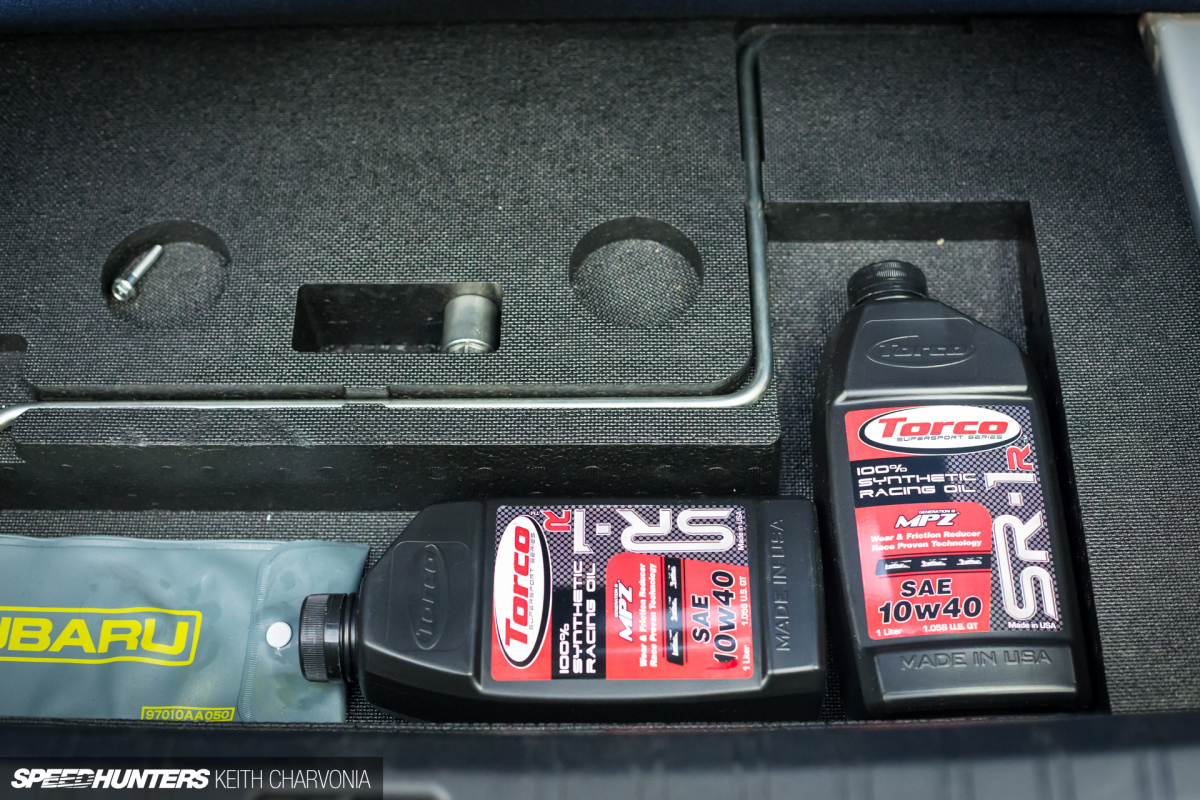
If you’re running a high performance engine that consumes oil, it’s a good idea to keep some top-off bottles in the trunk. I discovered that two bottles of Torco fit perfectly in the recesses of the factory trunk foam. It’s little things like these that just make my day.
Knowledge Is Horsepower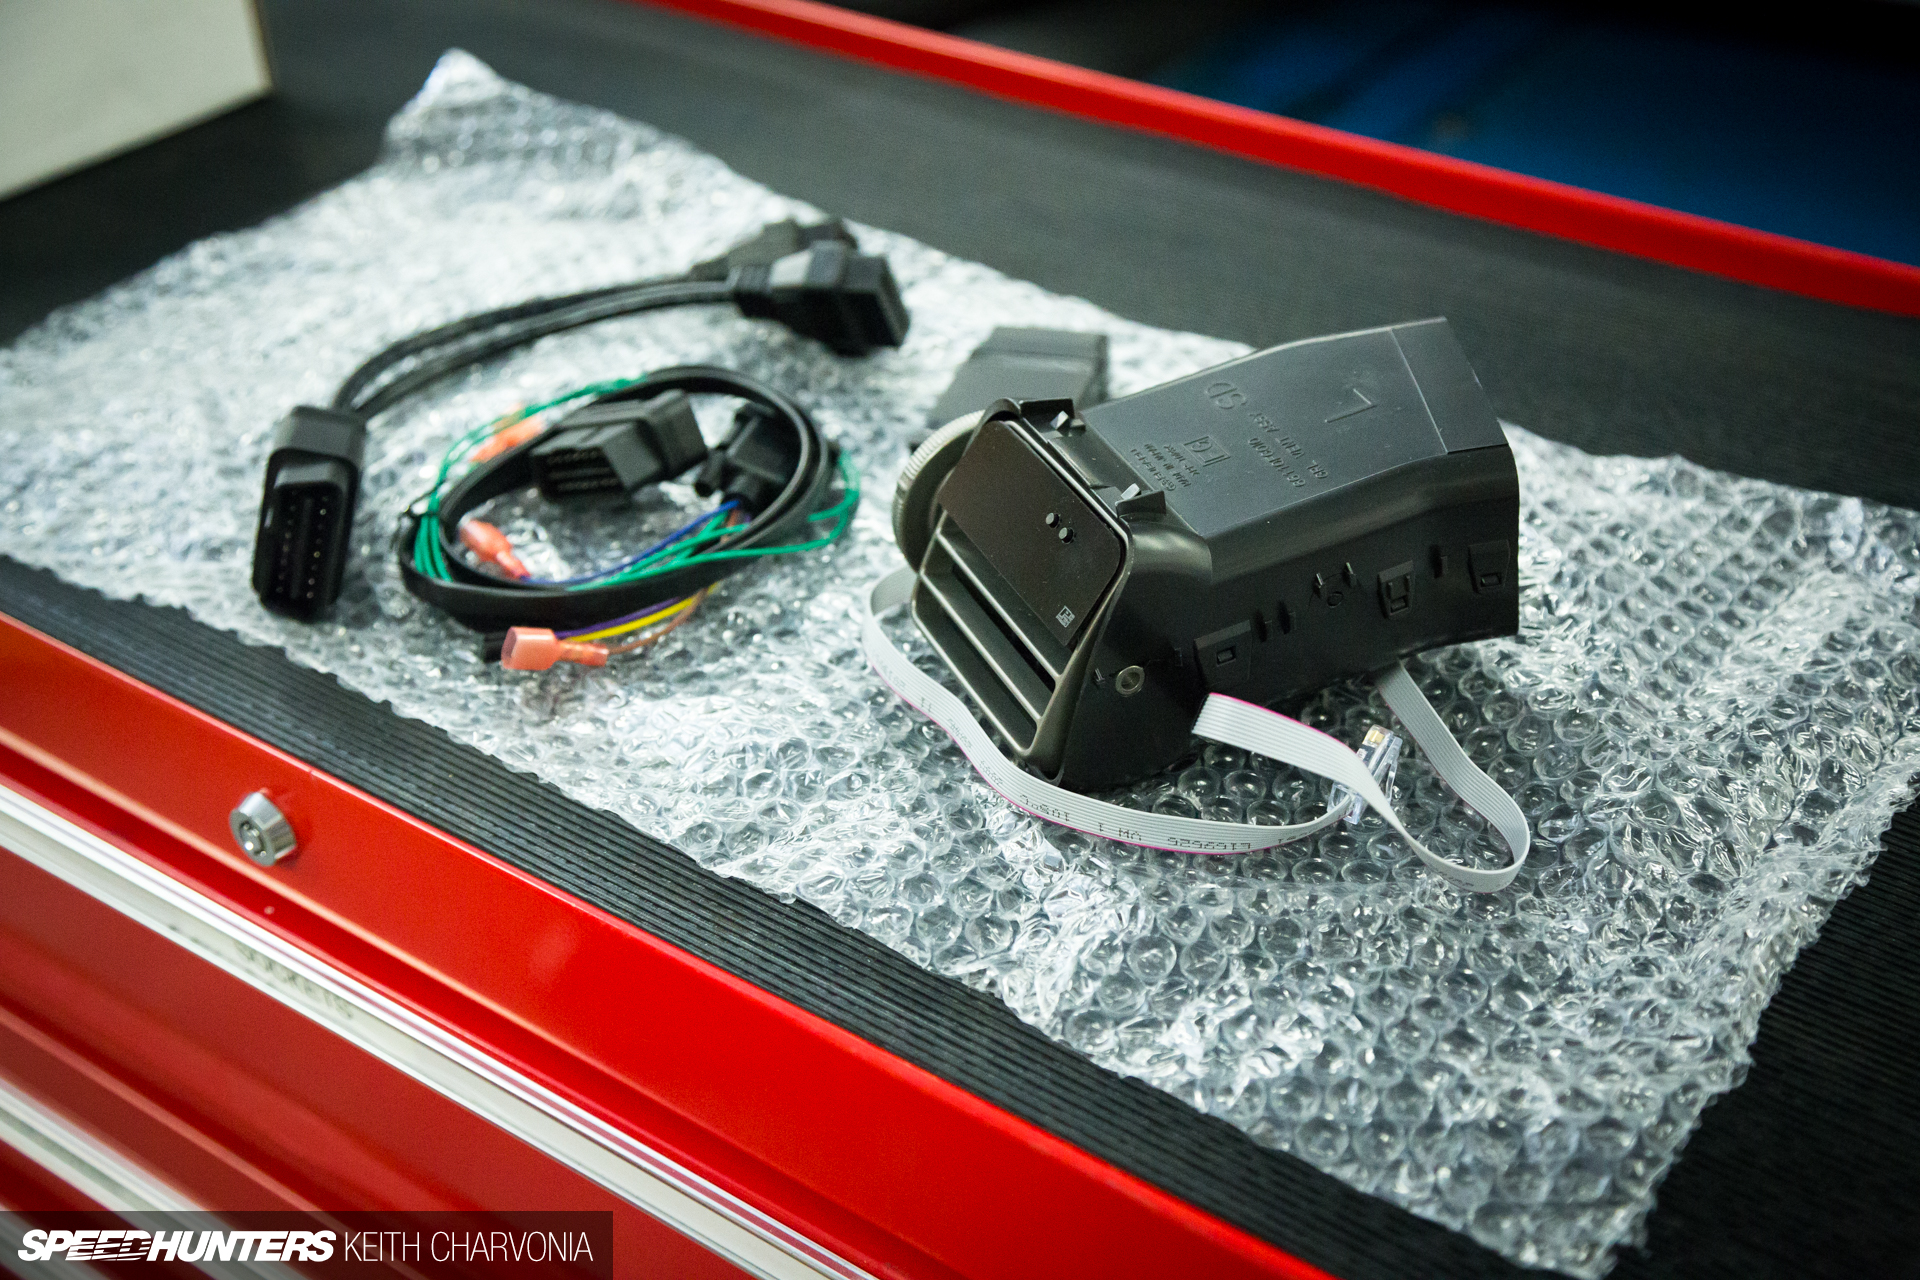
To be honest, I’ve found living with a stressed motor can be a bit stressful for me too. After the issues I experienced earlier, I decided I could be keeping better tabs on my engine. I turned to P3 Cars for a vent replacement gauge since I had one in my FR-S and loved it.
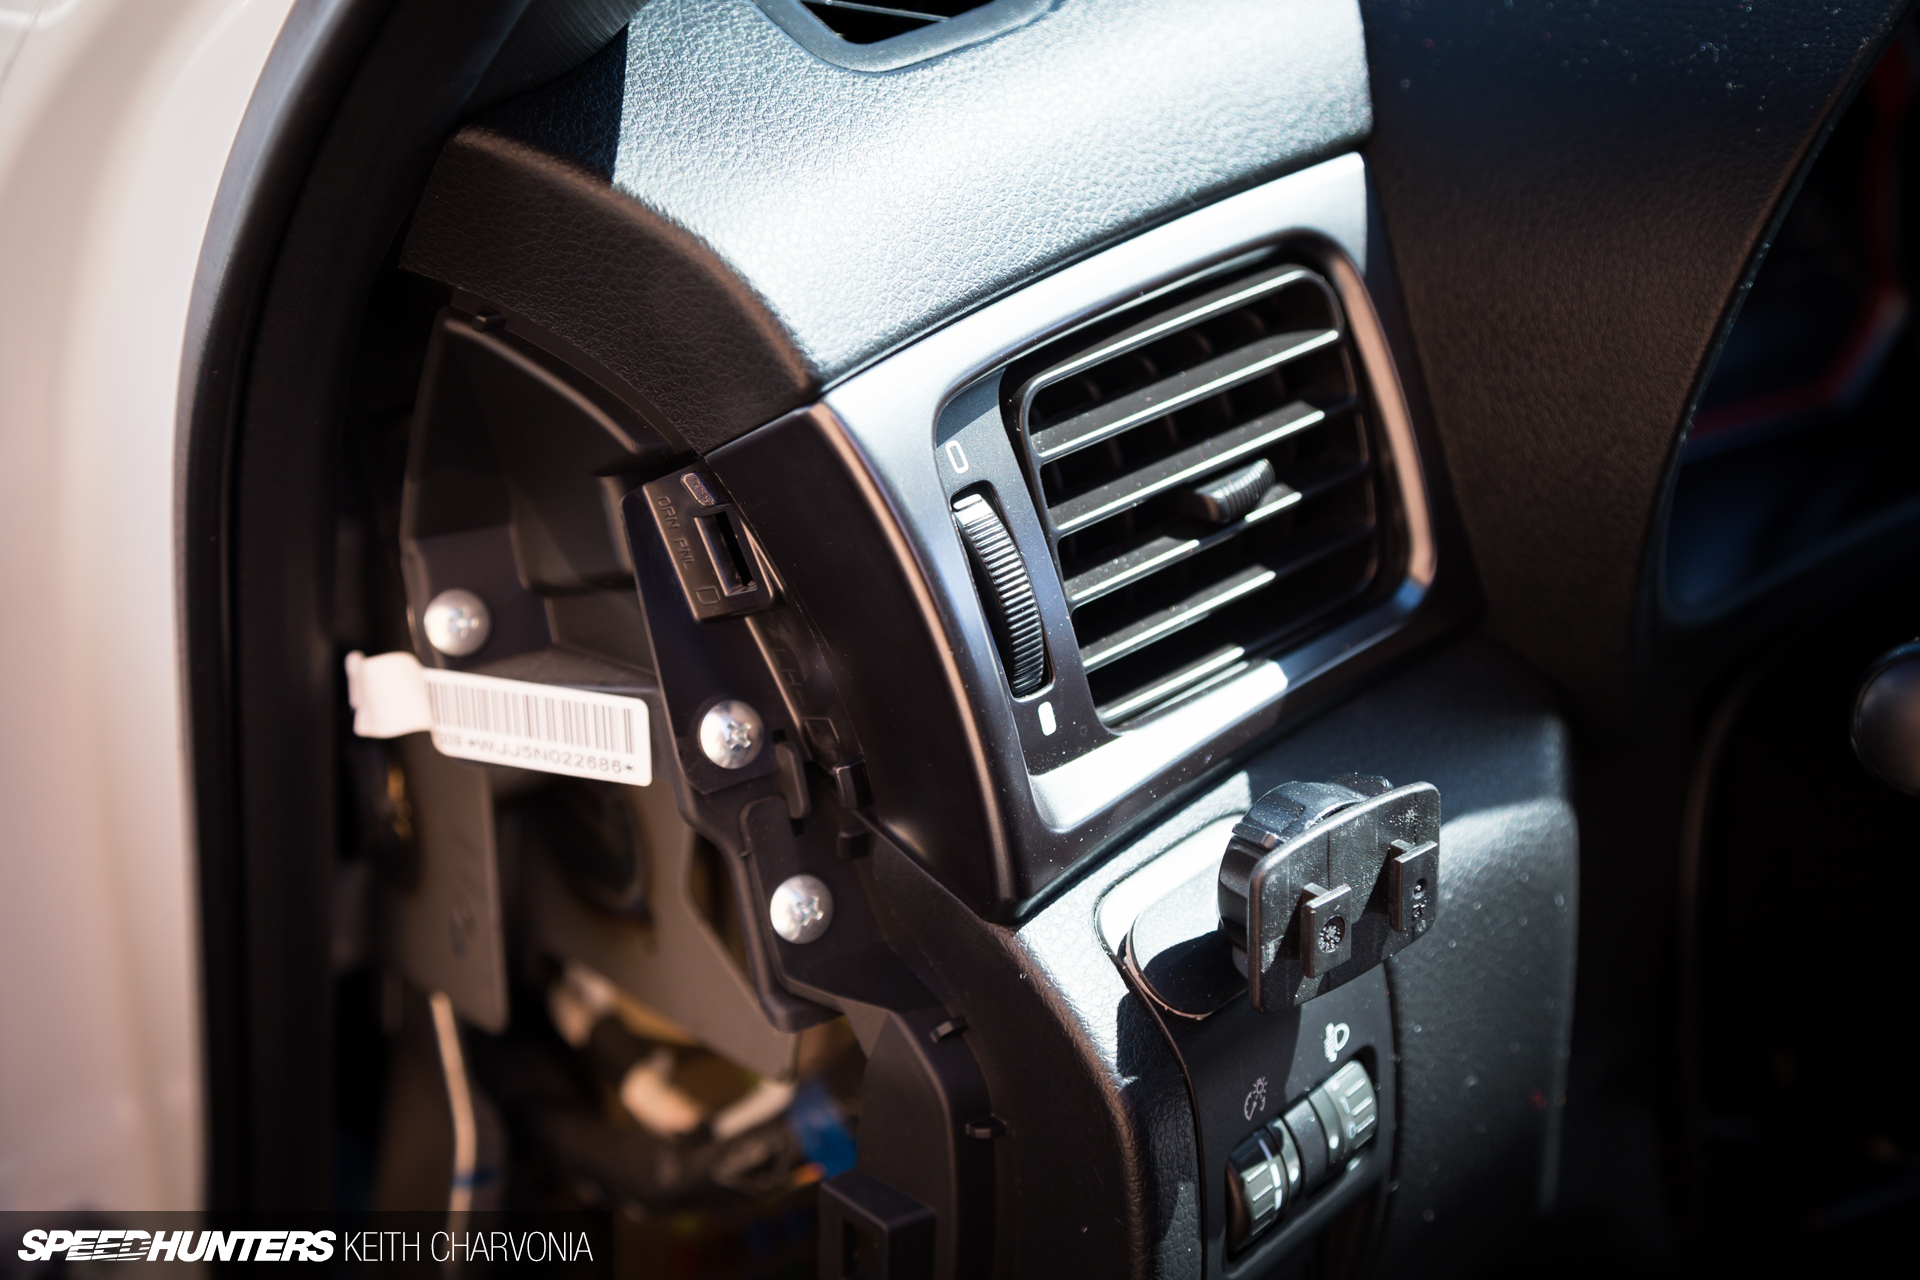
The vent looked pretty easy to remove, so I tackled this on a lunch break one day.

You can see how easy this is. My plan was to monitor things I needed to see at a glance on the larger display of the P3, as scanning the COBB Accessport can take a second longer if you’re looking for a specific metric.

The trick would be making both the Accessport and the P3 gauge work off the one OBD port. I tested this with a splitter that we use on the dyno at work.
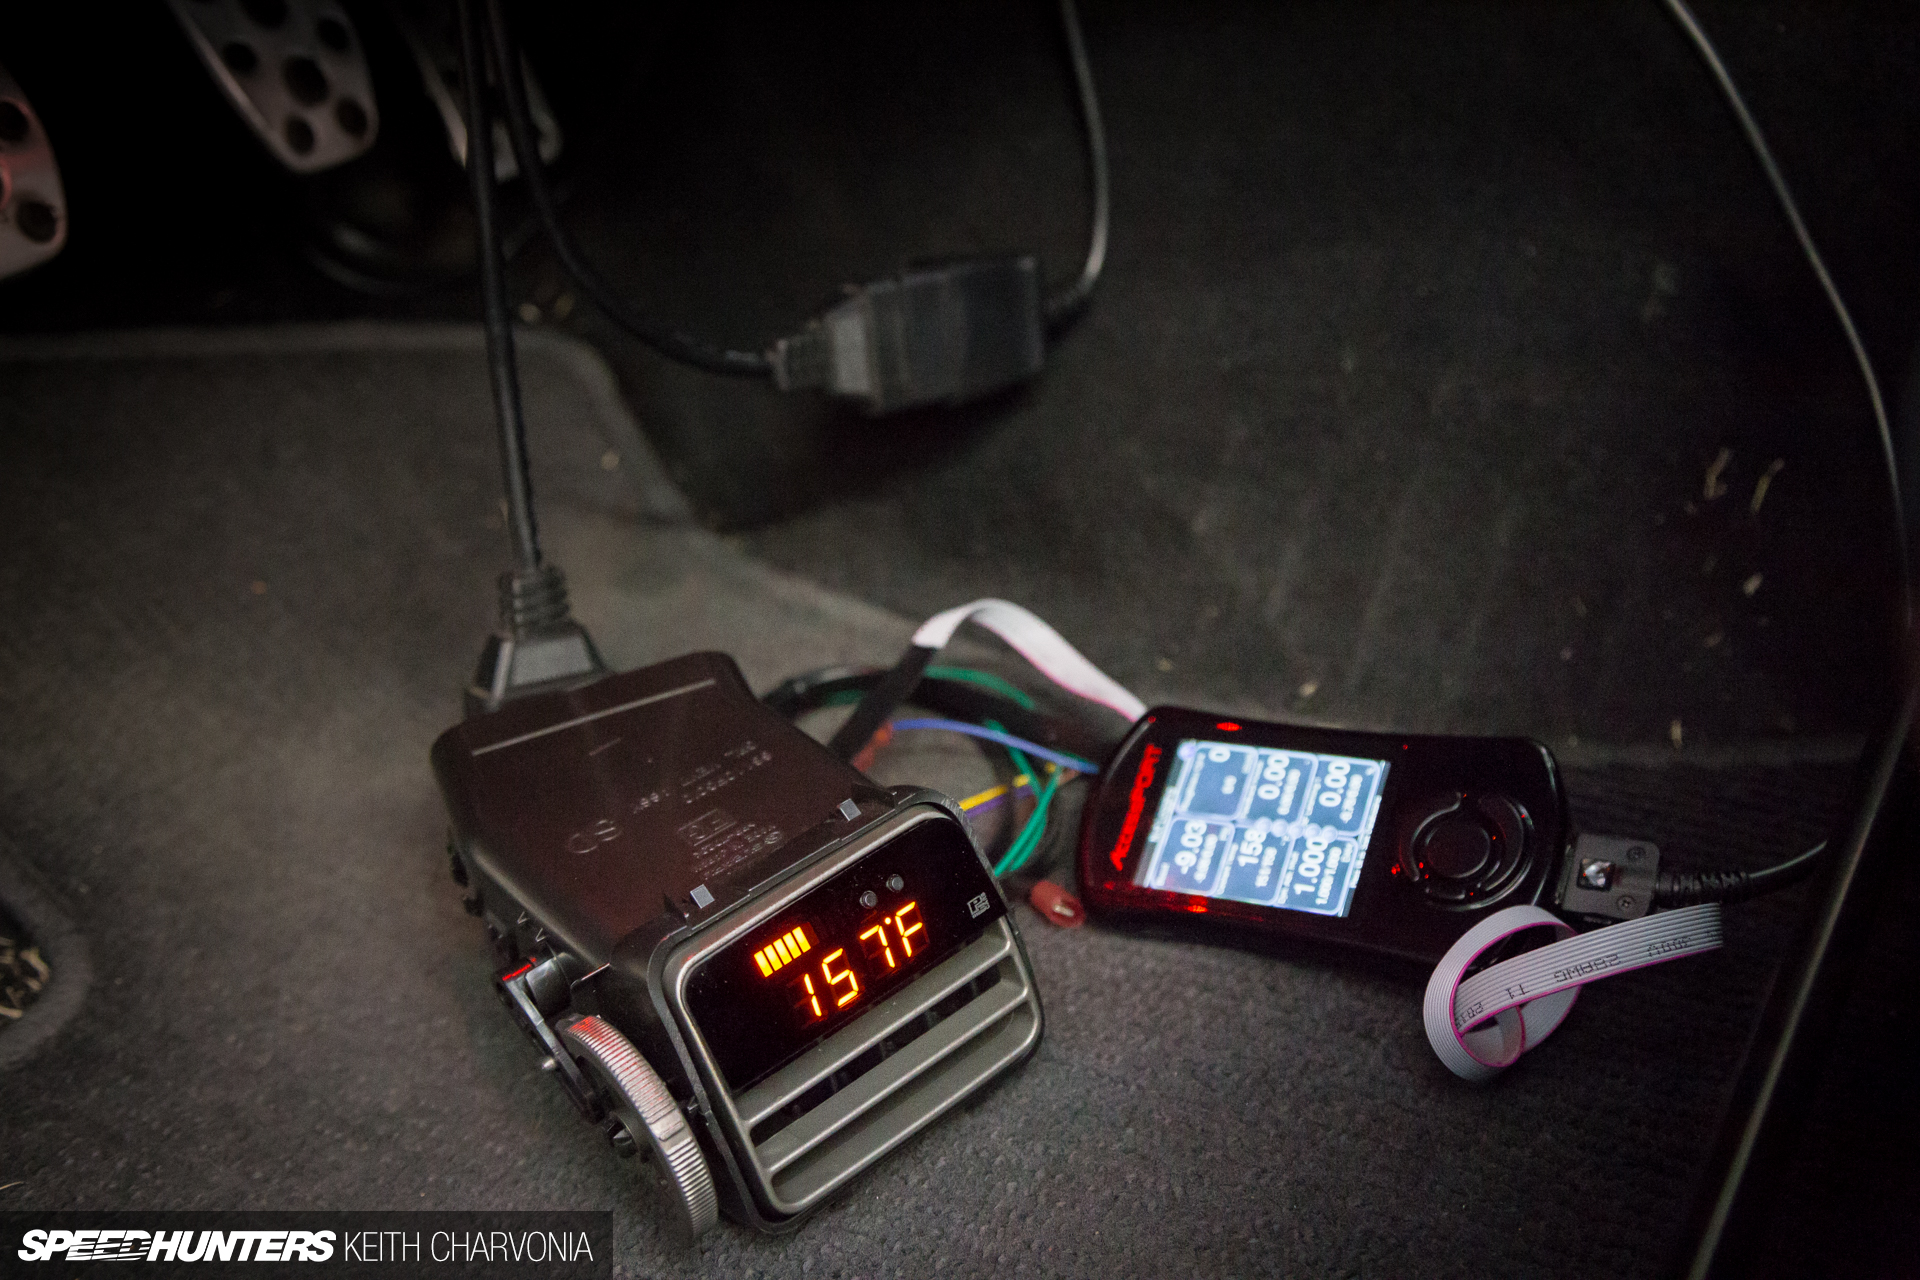
I’ve seen hardware that didn’t like sharing an OBD port before, which I believe is due to the amount power coming through the splitter being insufficient for two devices. In this case it worked just fine though.
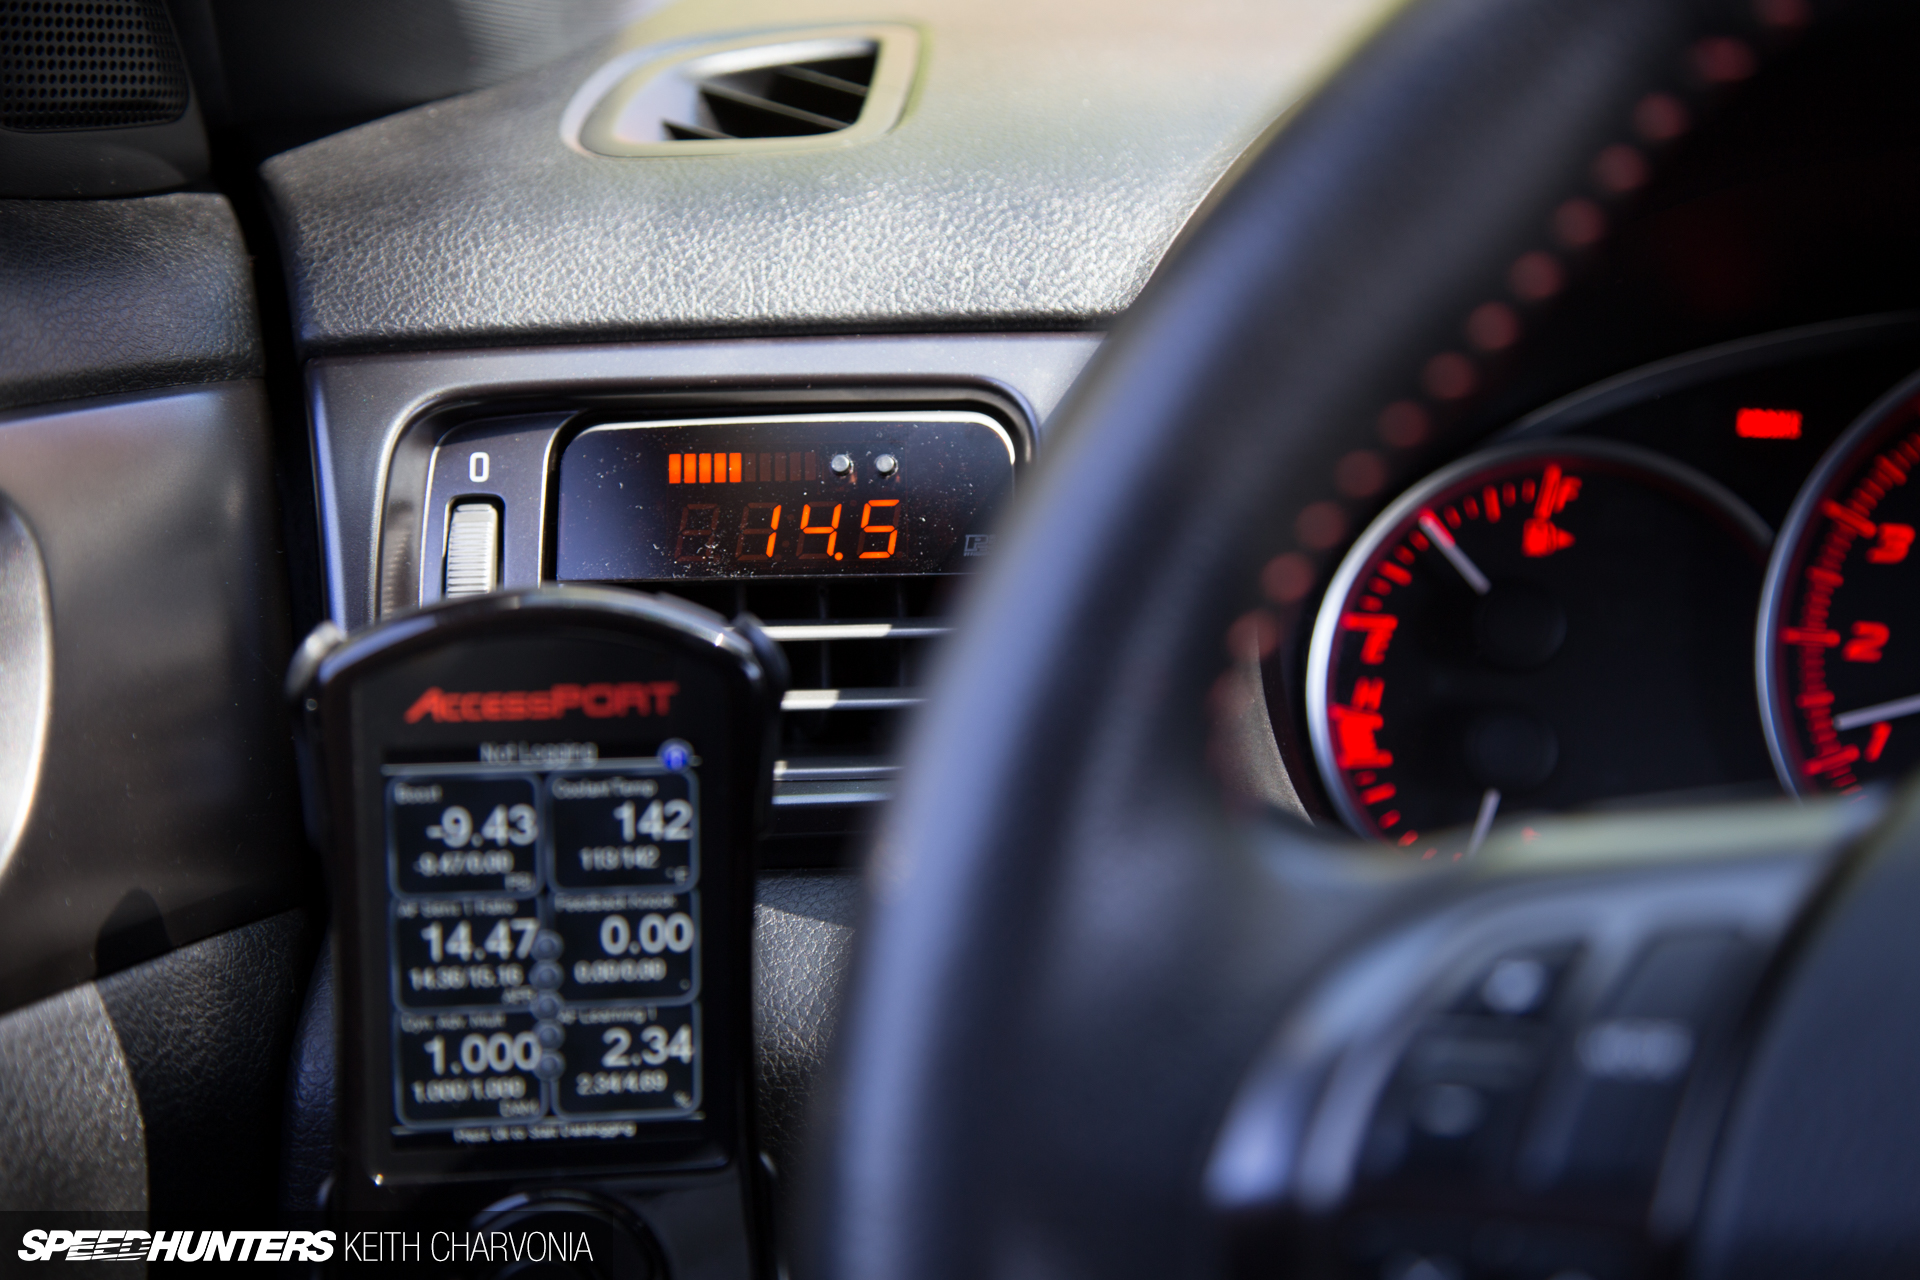
Since I design intakes for a living, I like to monitor things like AFR and IAT. I’ll keep these on the big P3 gauge, while monitoring things like coolant temp, DAM, feedback knock and MAF learning on the Accessport.
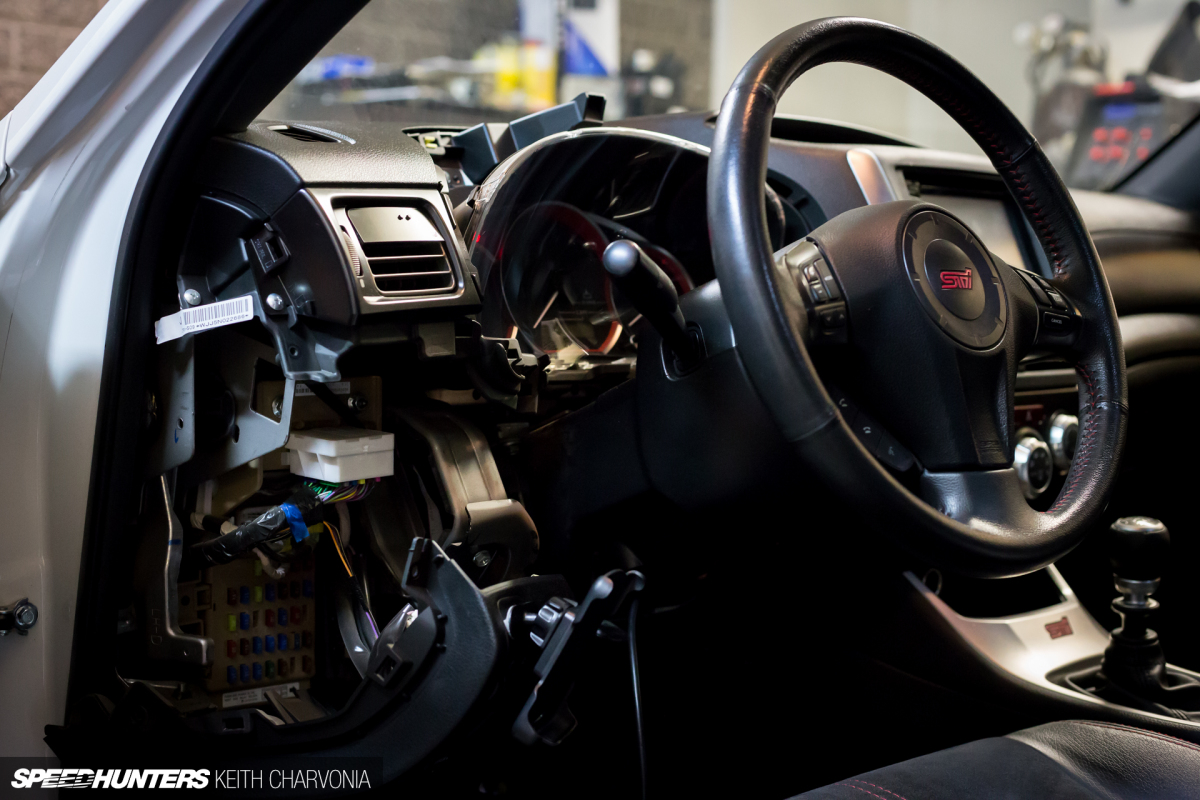
Even with the new vent gauge I still lacked the ability to monitor oil temperature and pressure, key things to be aware of on a built engine. So hey, why not tear the dash apart again and add even more gauges?
I sourced the needed oil gauge from Innovate Motorsports, and they mentioned a new ethanol content and AFR gauge that was perfect for a turbo car running on E85 such as mine. Yeah, I had to have it.
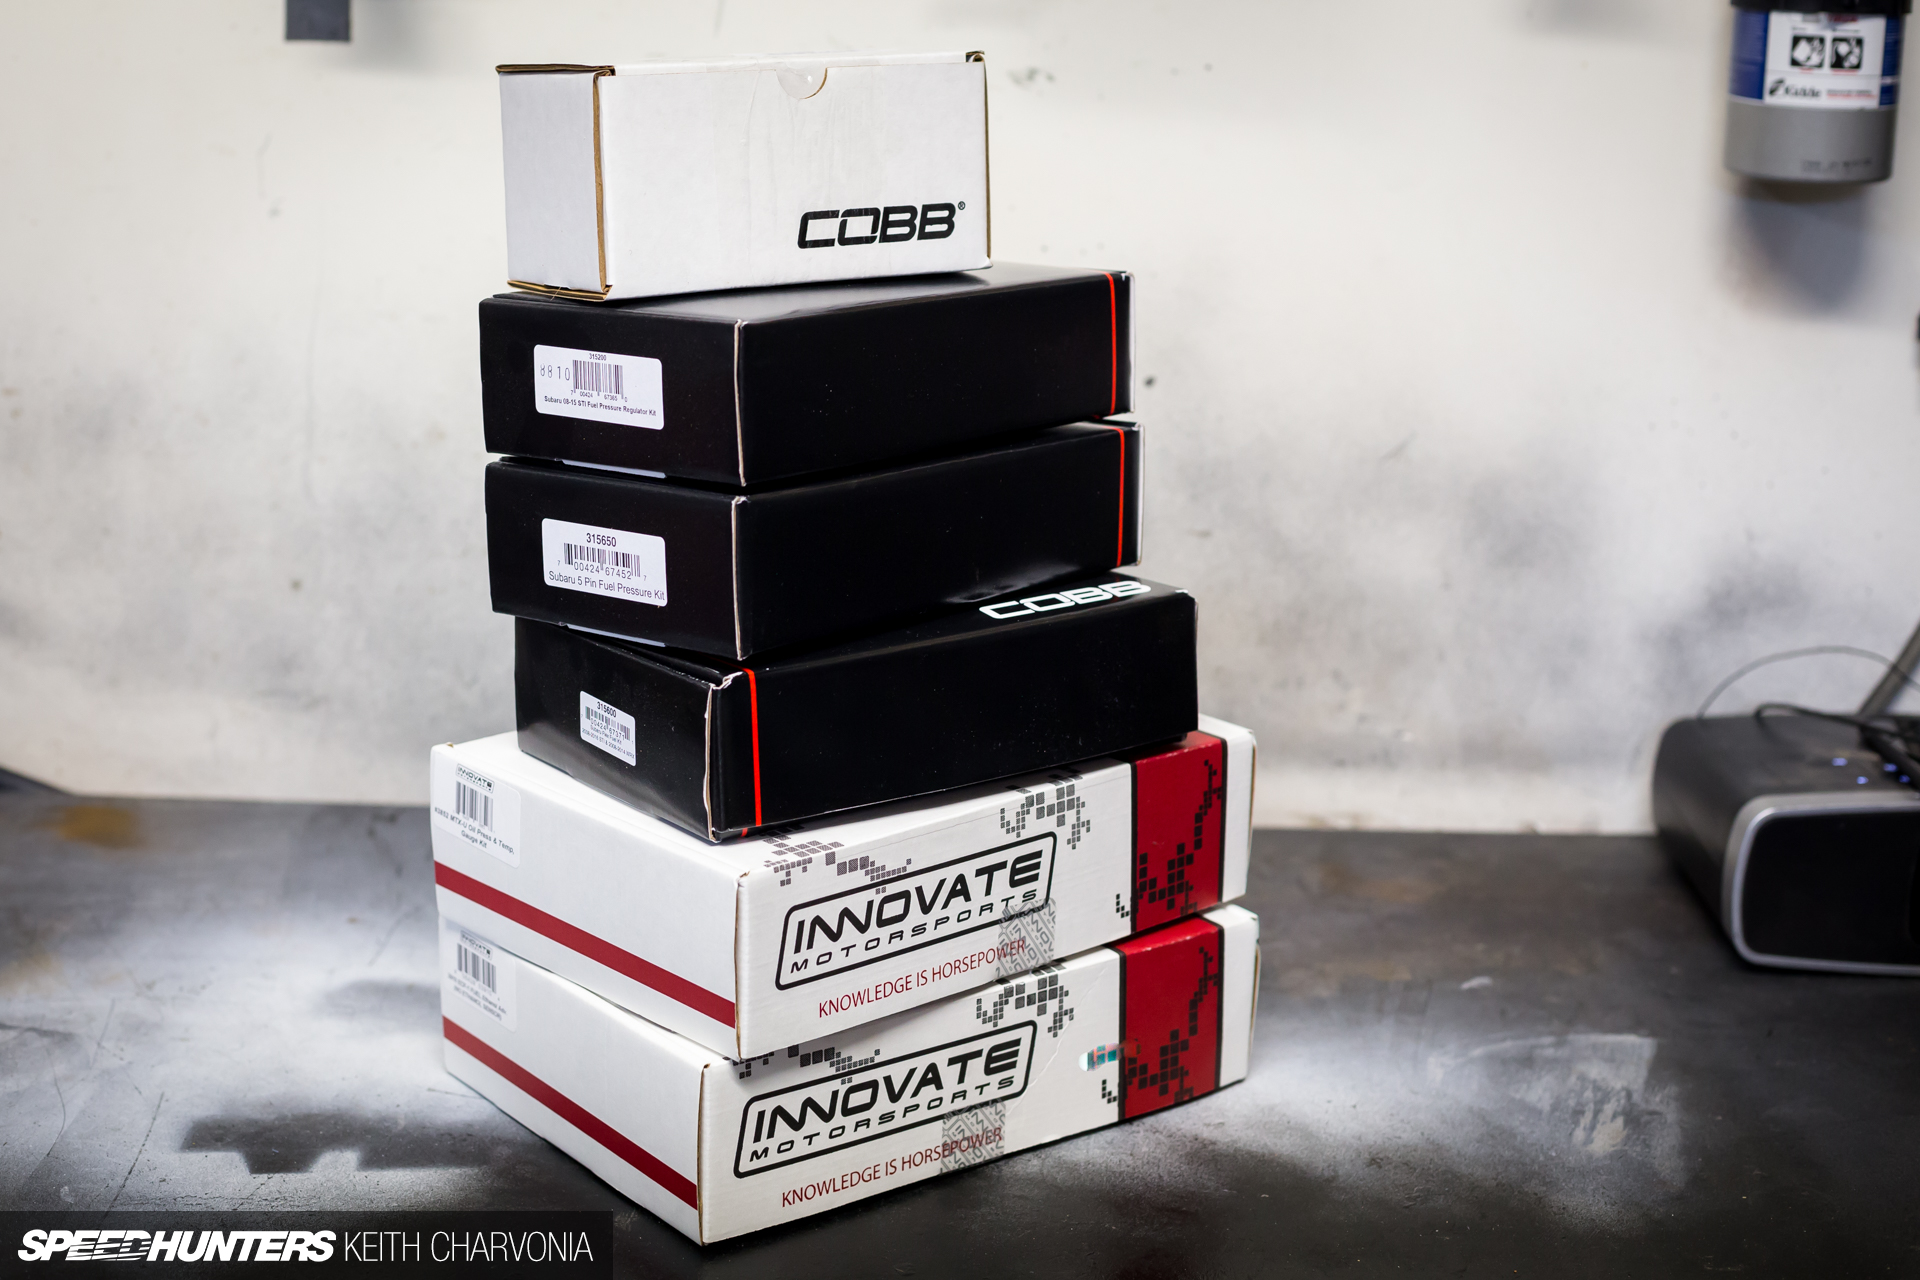
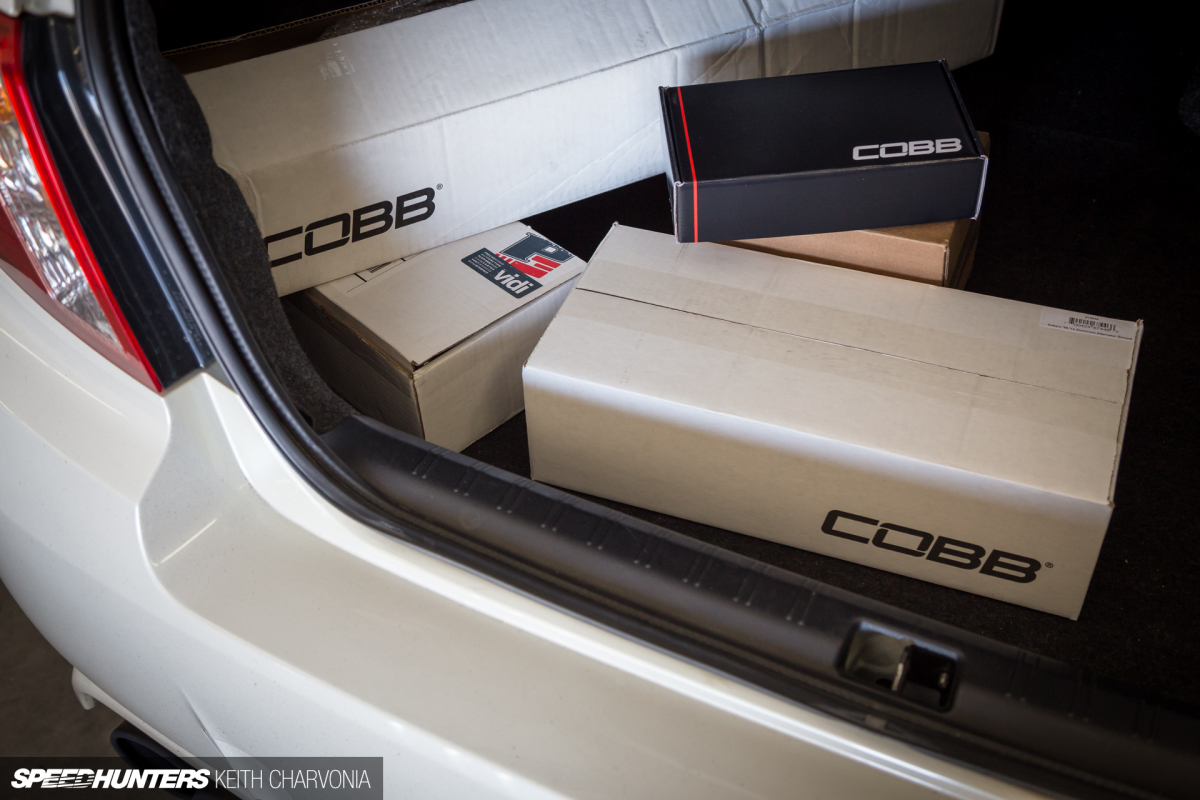
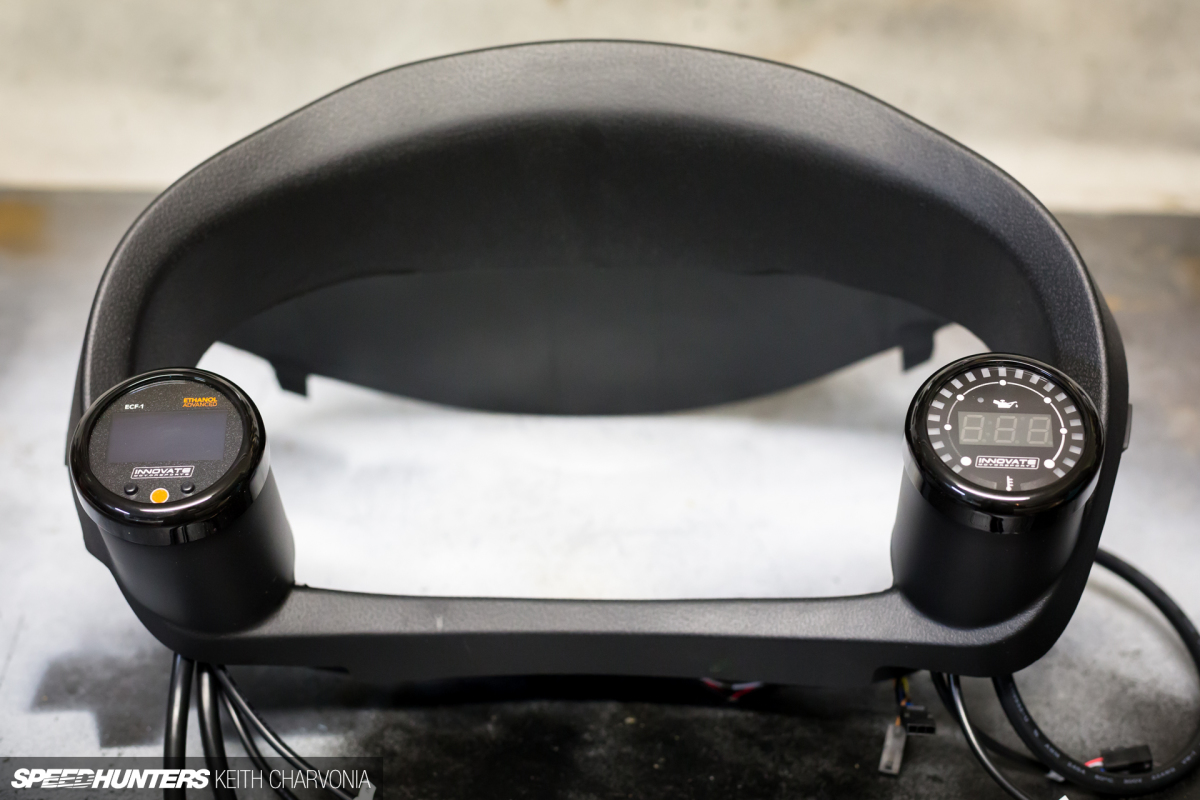
Before long I had a new stack of boxes waiting to be installed in the STI. Here we have the Innovate oil gauge kit, and the new fuel gauge which monitors ethanol content, fuel temp and pressure plus AFR. The black boxes are COBB’s recently released Flex Fuel kit, which shares many of the same parts as the Innovate fuel gauge.
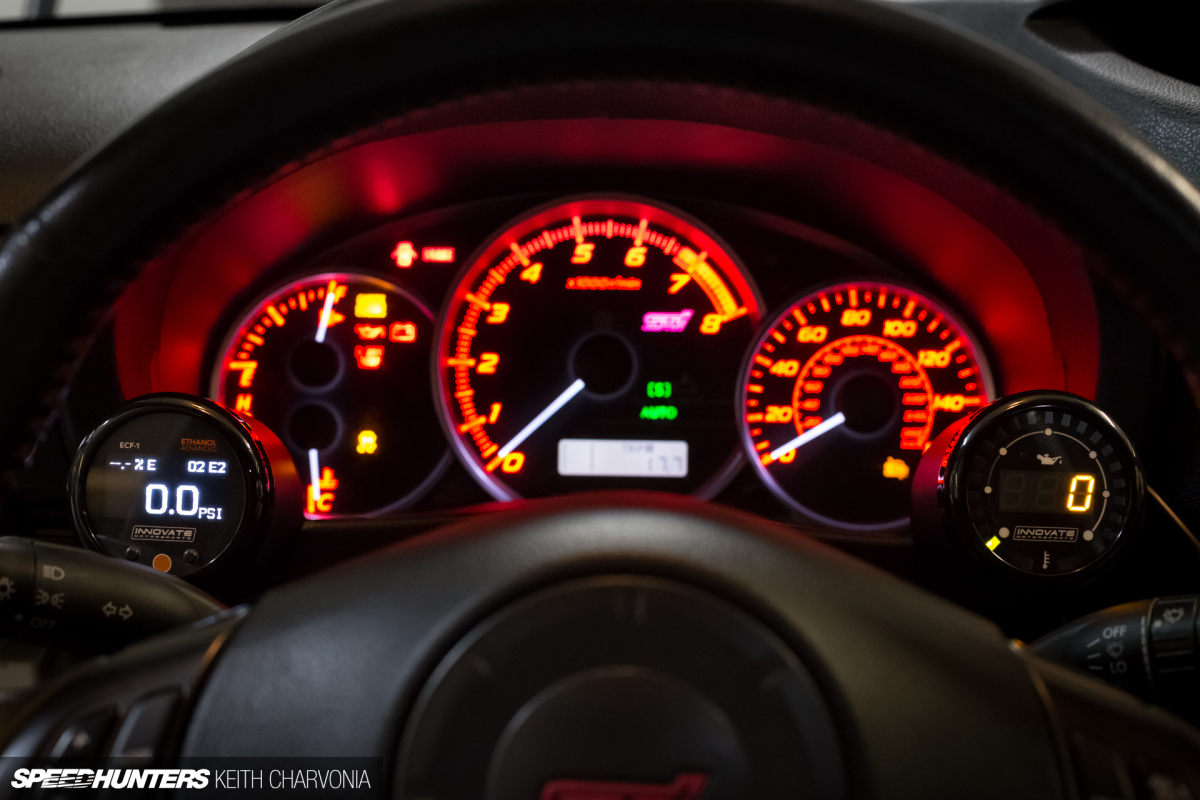
Now at a glance I’ll be much more aware of what my car’s systems are doing, which can only help me keep the engine safer. Check out the modern OLED display on the fuel gauge. Hopefully Innovate releases an OLED oil gauge too so I can upgrade it for a perfect match.
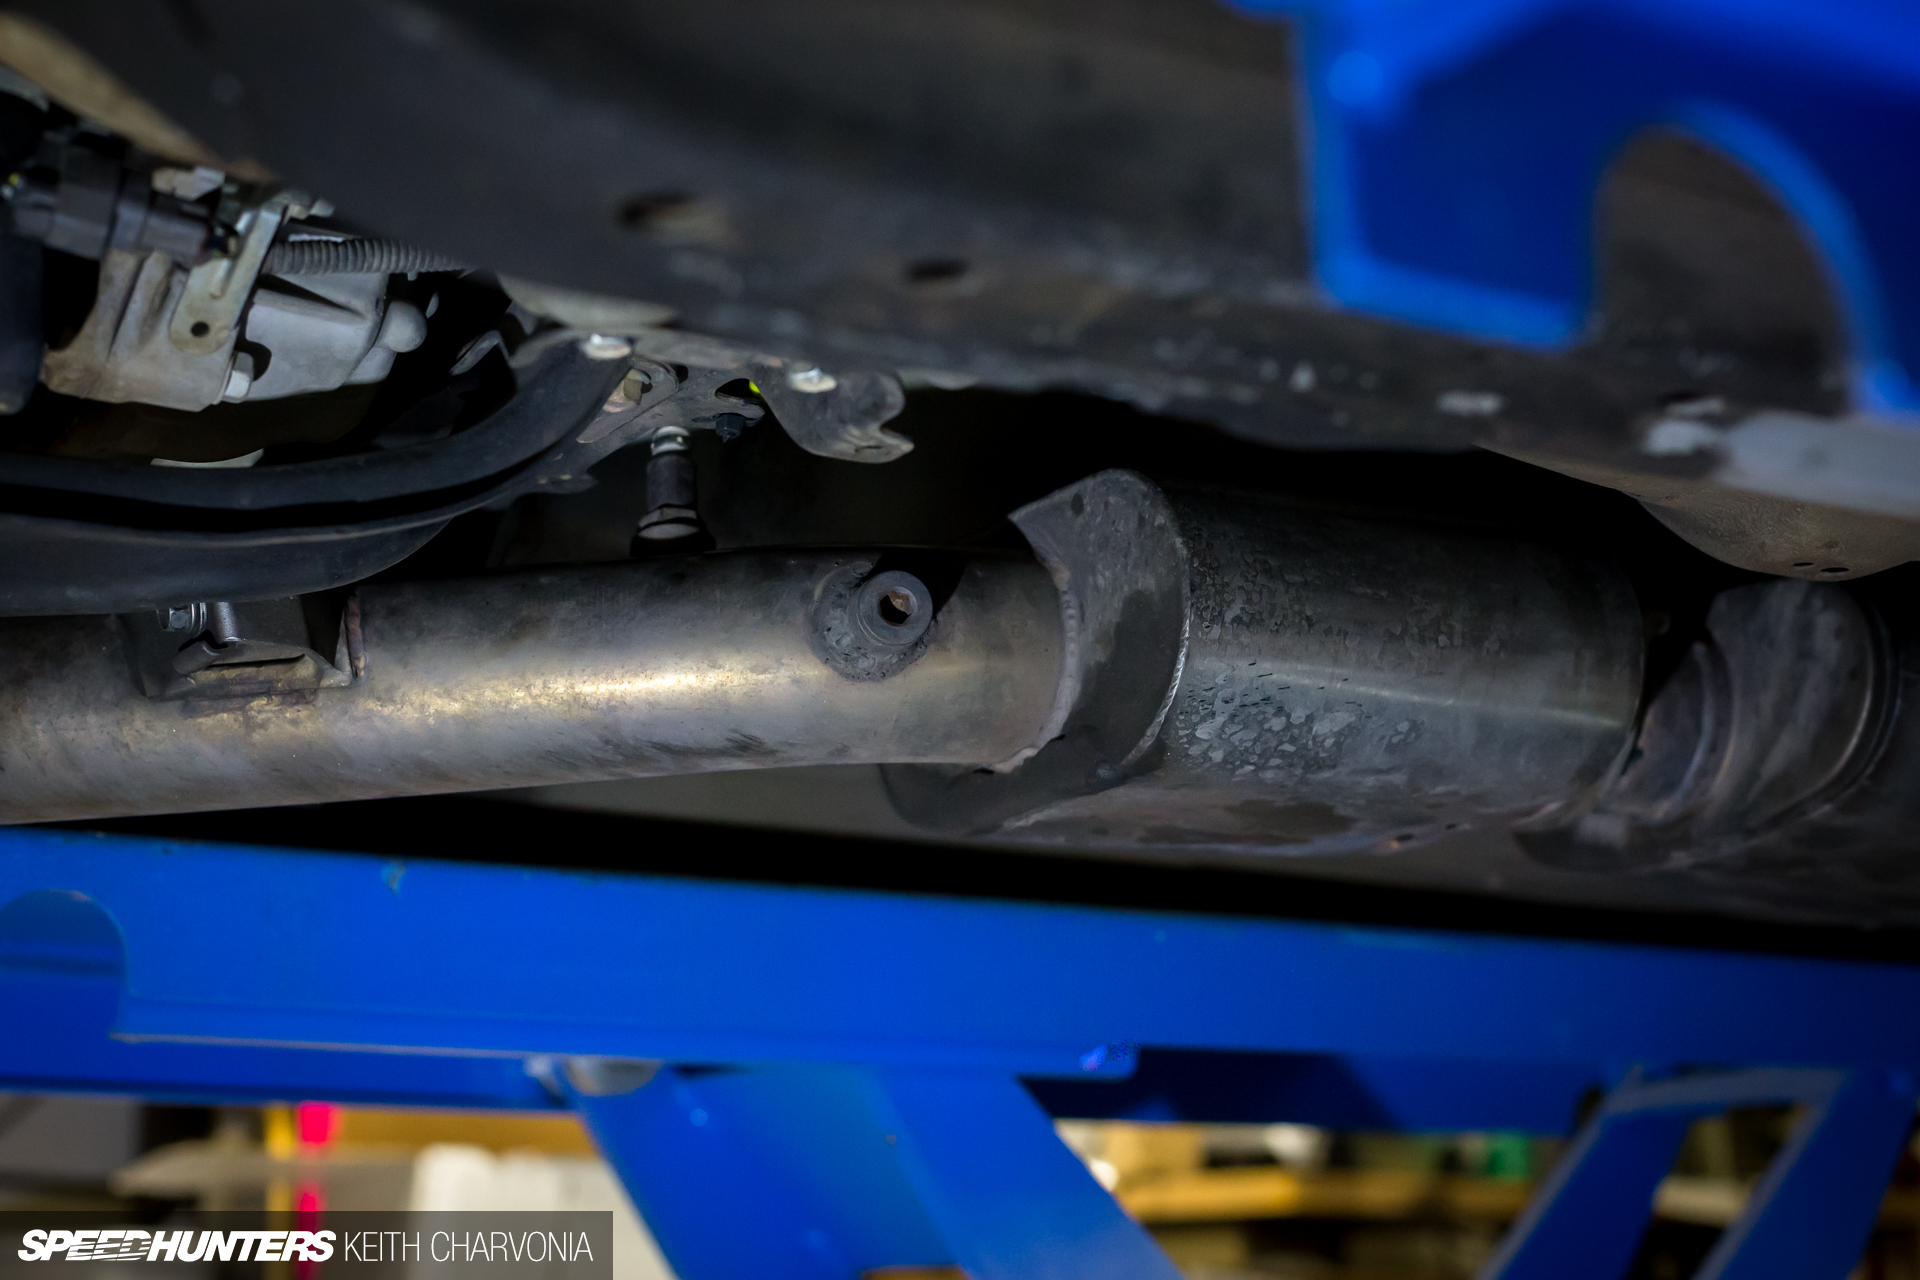
I checked under the car and was pleased to find an additional O2 bung had already been welded in. This will make installing the wideband a simple task.
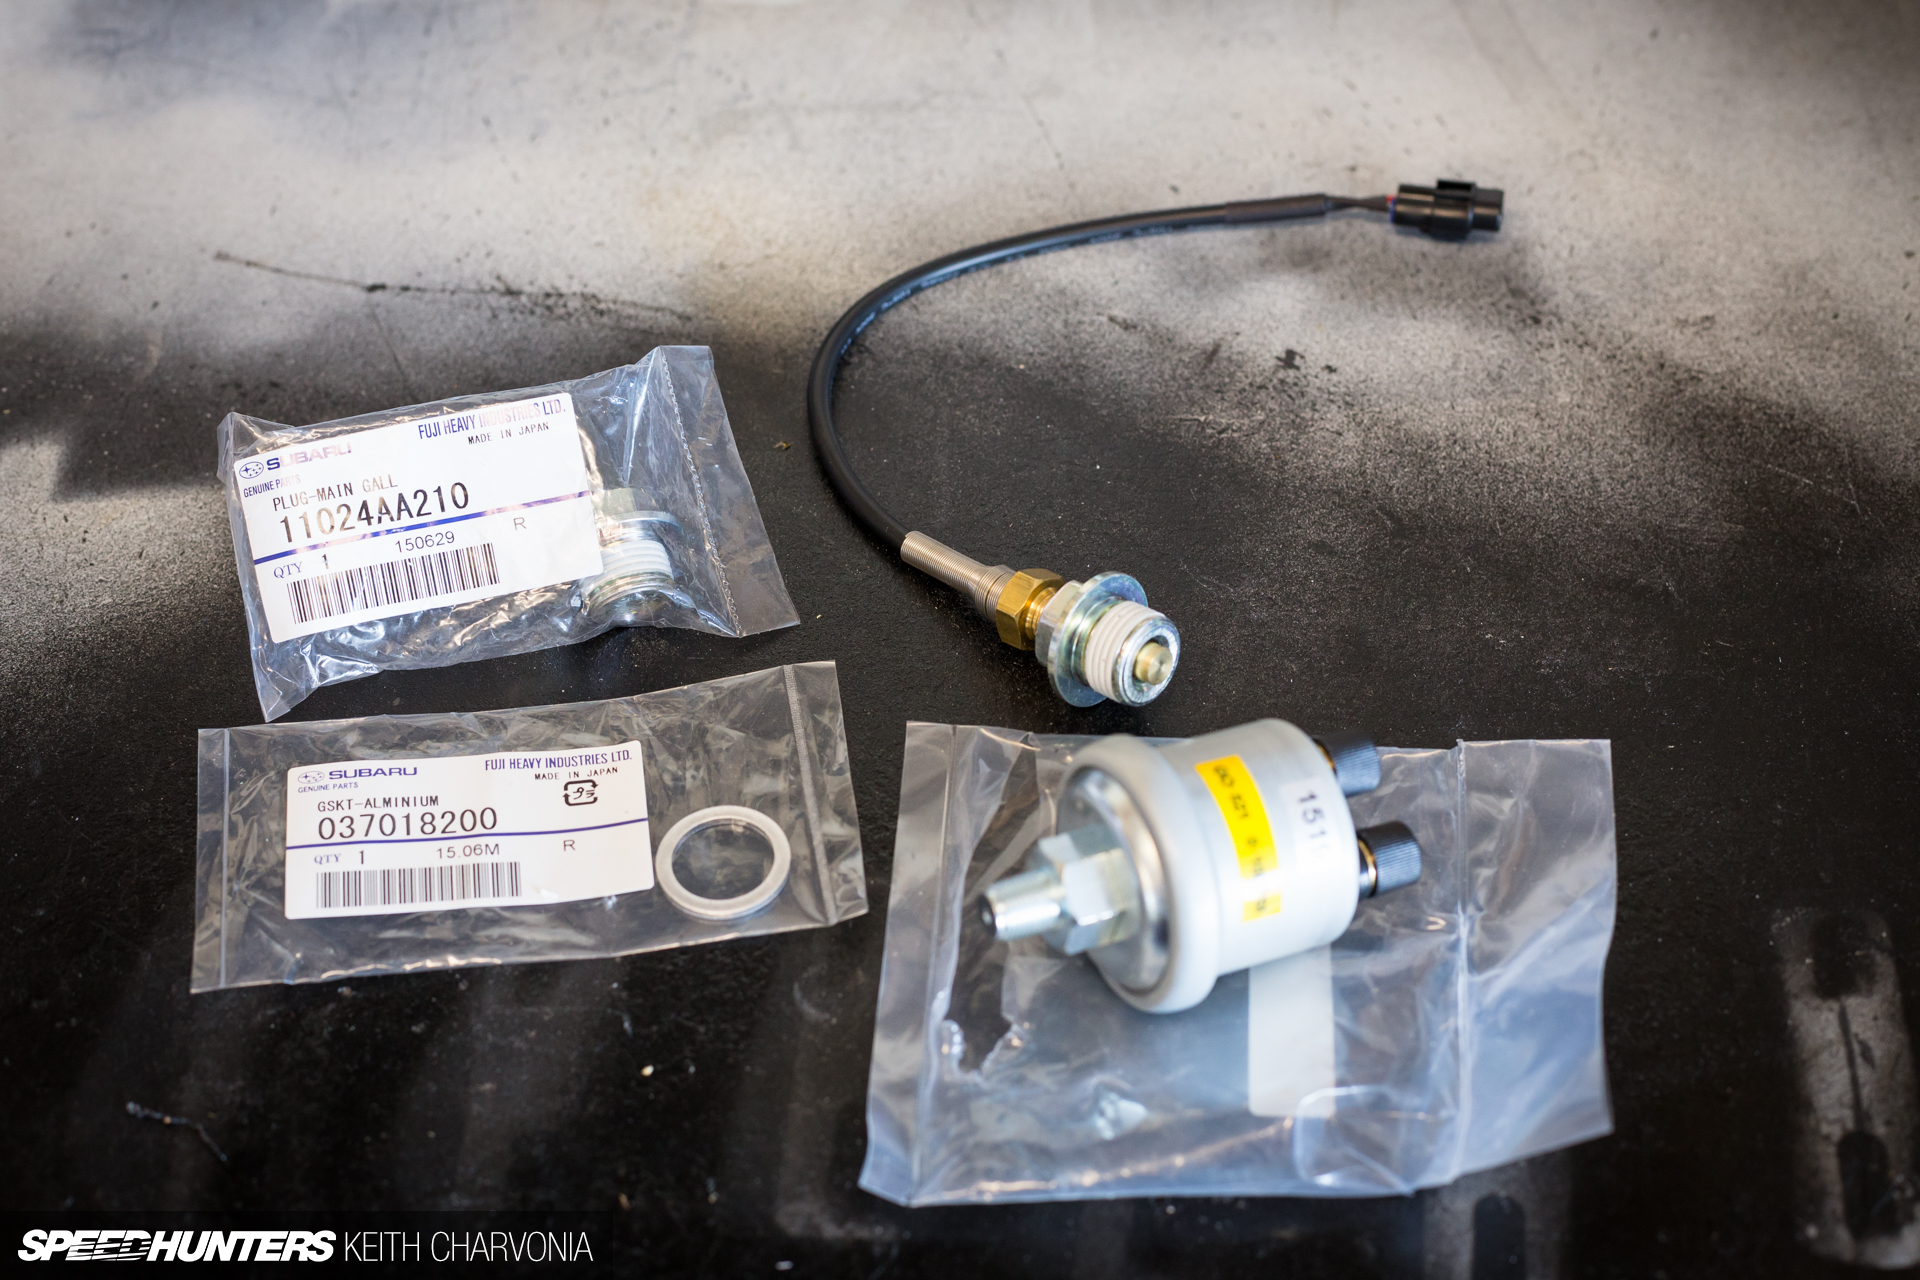
Up top, I realized that I would need adapters to install the oil temperature probe and pressure sensor which both have 1/8-inch pipe threads. Fortunately, these are available from Subaru, and are known as oil galley plugs. I also made sure to order the factory sealing washer; you can’t go wrong with OE parts when they’re available.

Here’s the heart of the COBB Flex Fuel kit, the ethanol content sensor. The Innovate gauge uses the same type of sensor, so I figure I’ll wire into the COBB harness to feed the gauge.
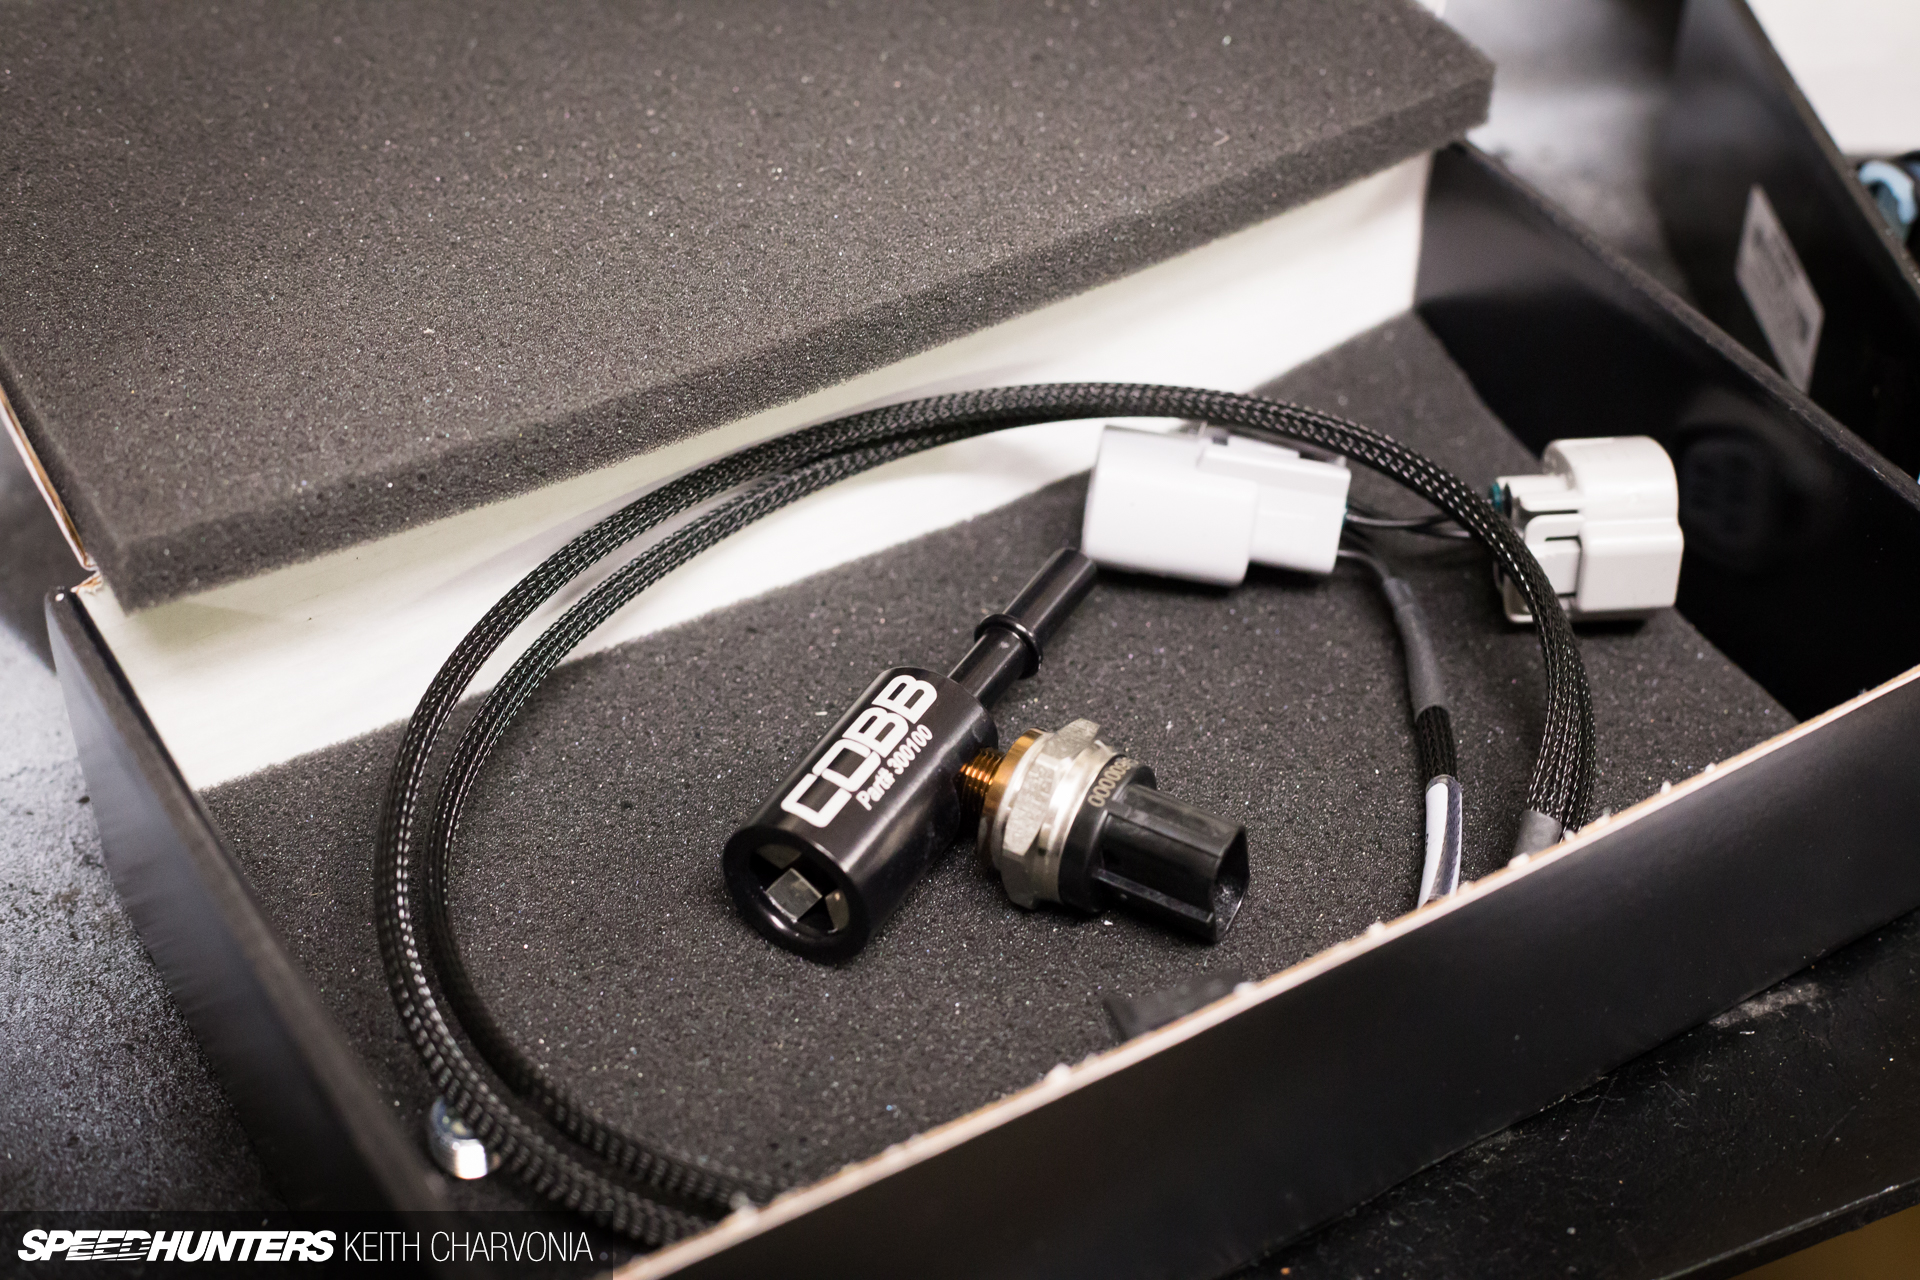
Similarly, both the COBB Flex Fuel kit and the Innovate gauge use a pressure sensor, which I intend to hi-jack to feed the gauge.
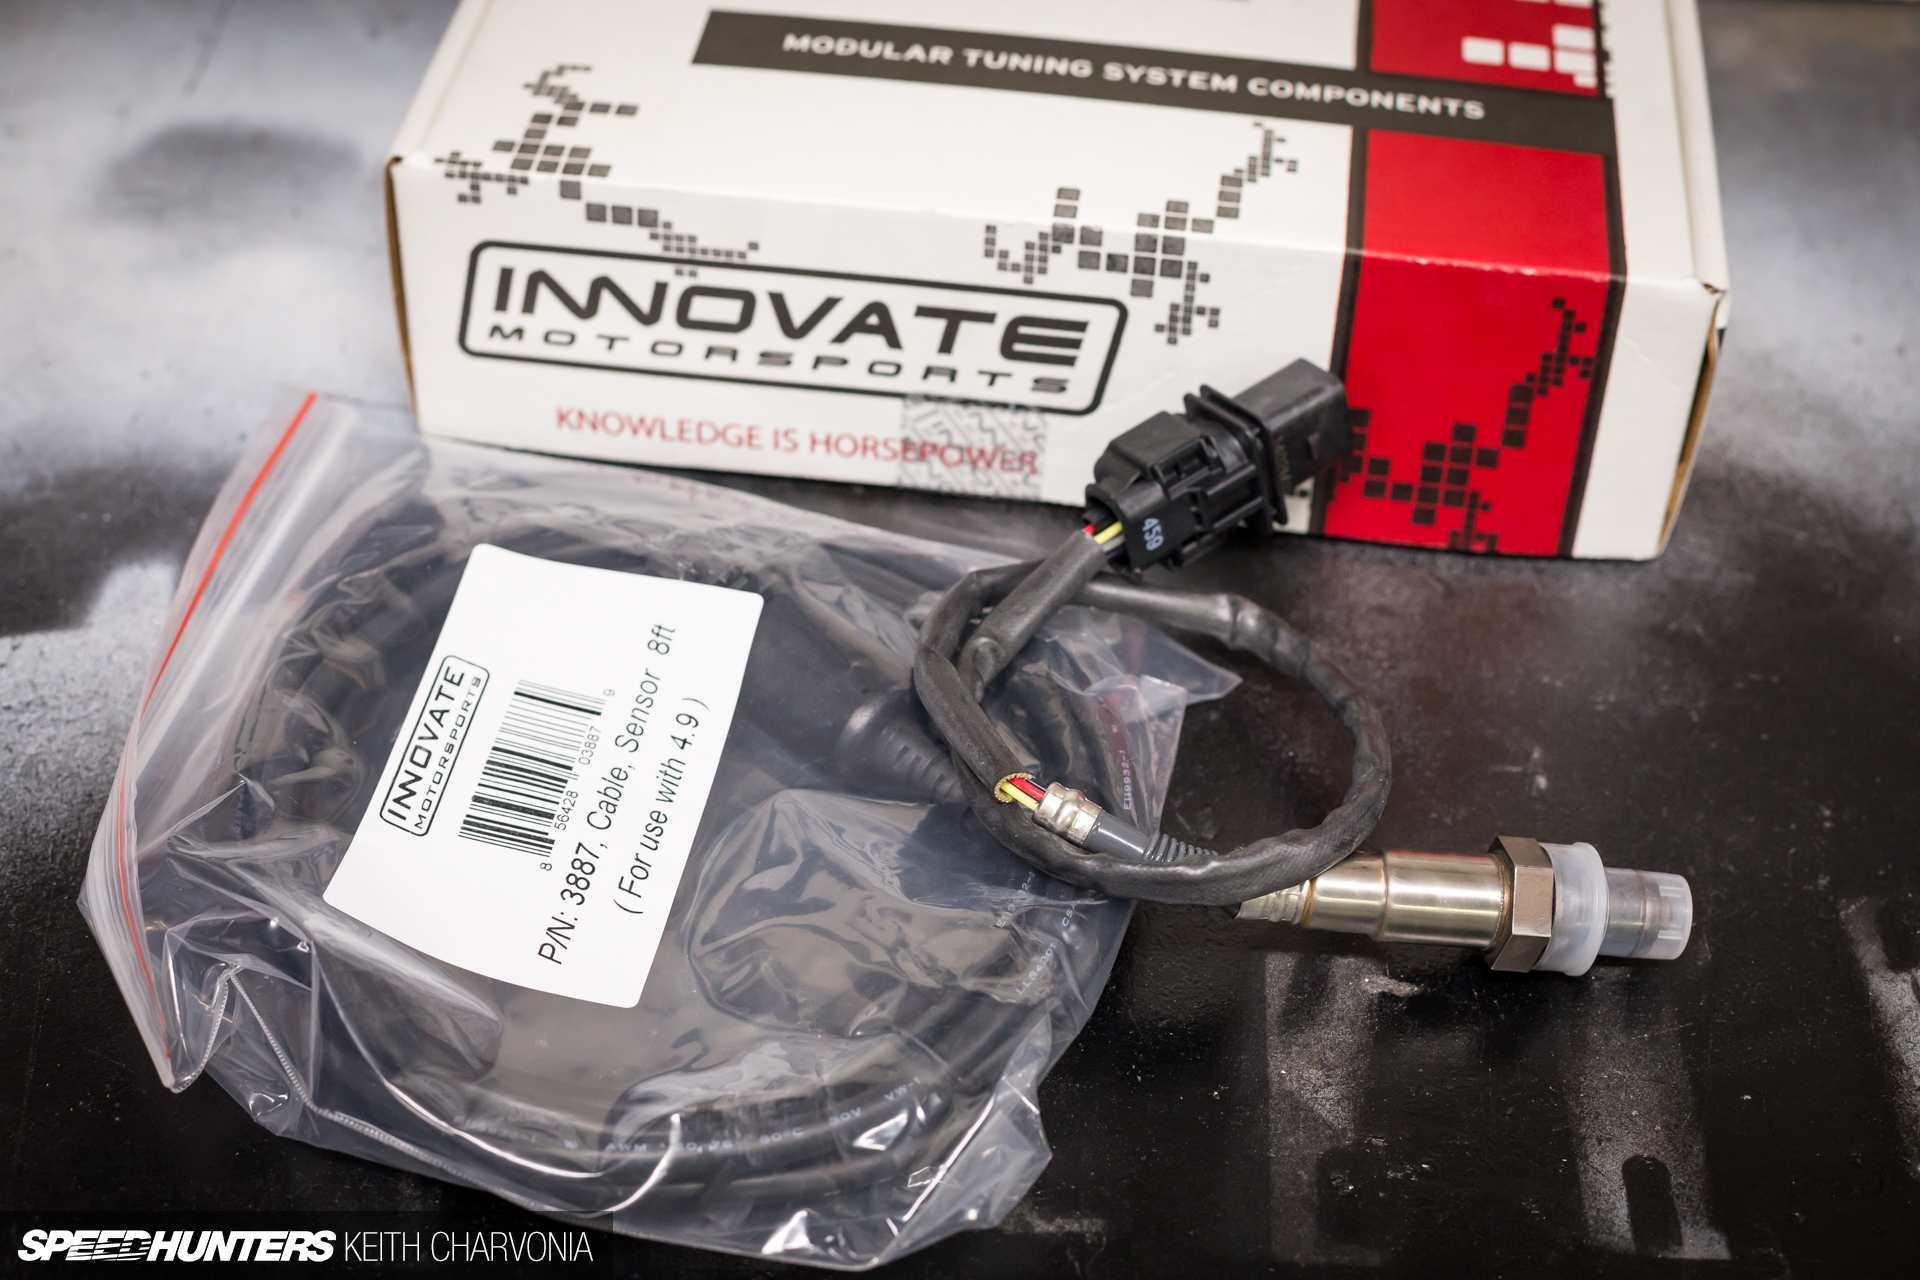
Here’s the wideband O2 sensor, which will give me a true air/fuel ratio. No interpretation by the ECU here, just a solid reading right on my dash. I also read up on how to use this as an input to the COBB Accessport so I can data-log this vital chunk of information.
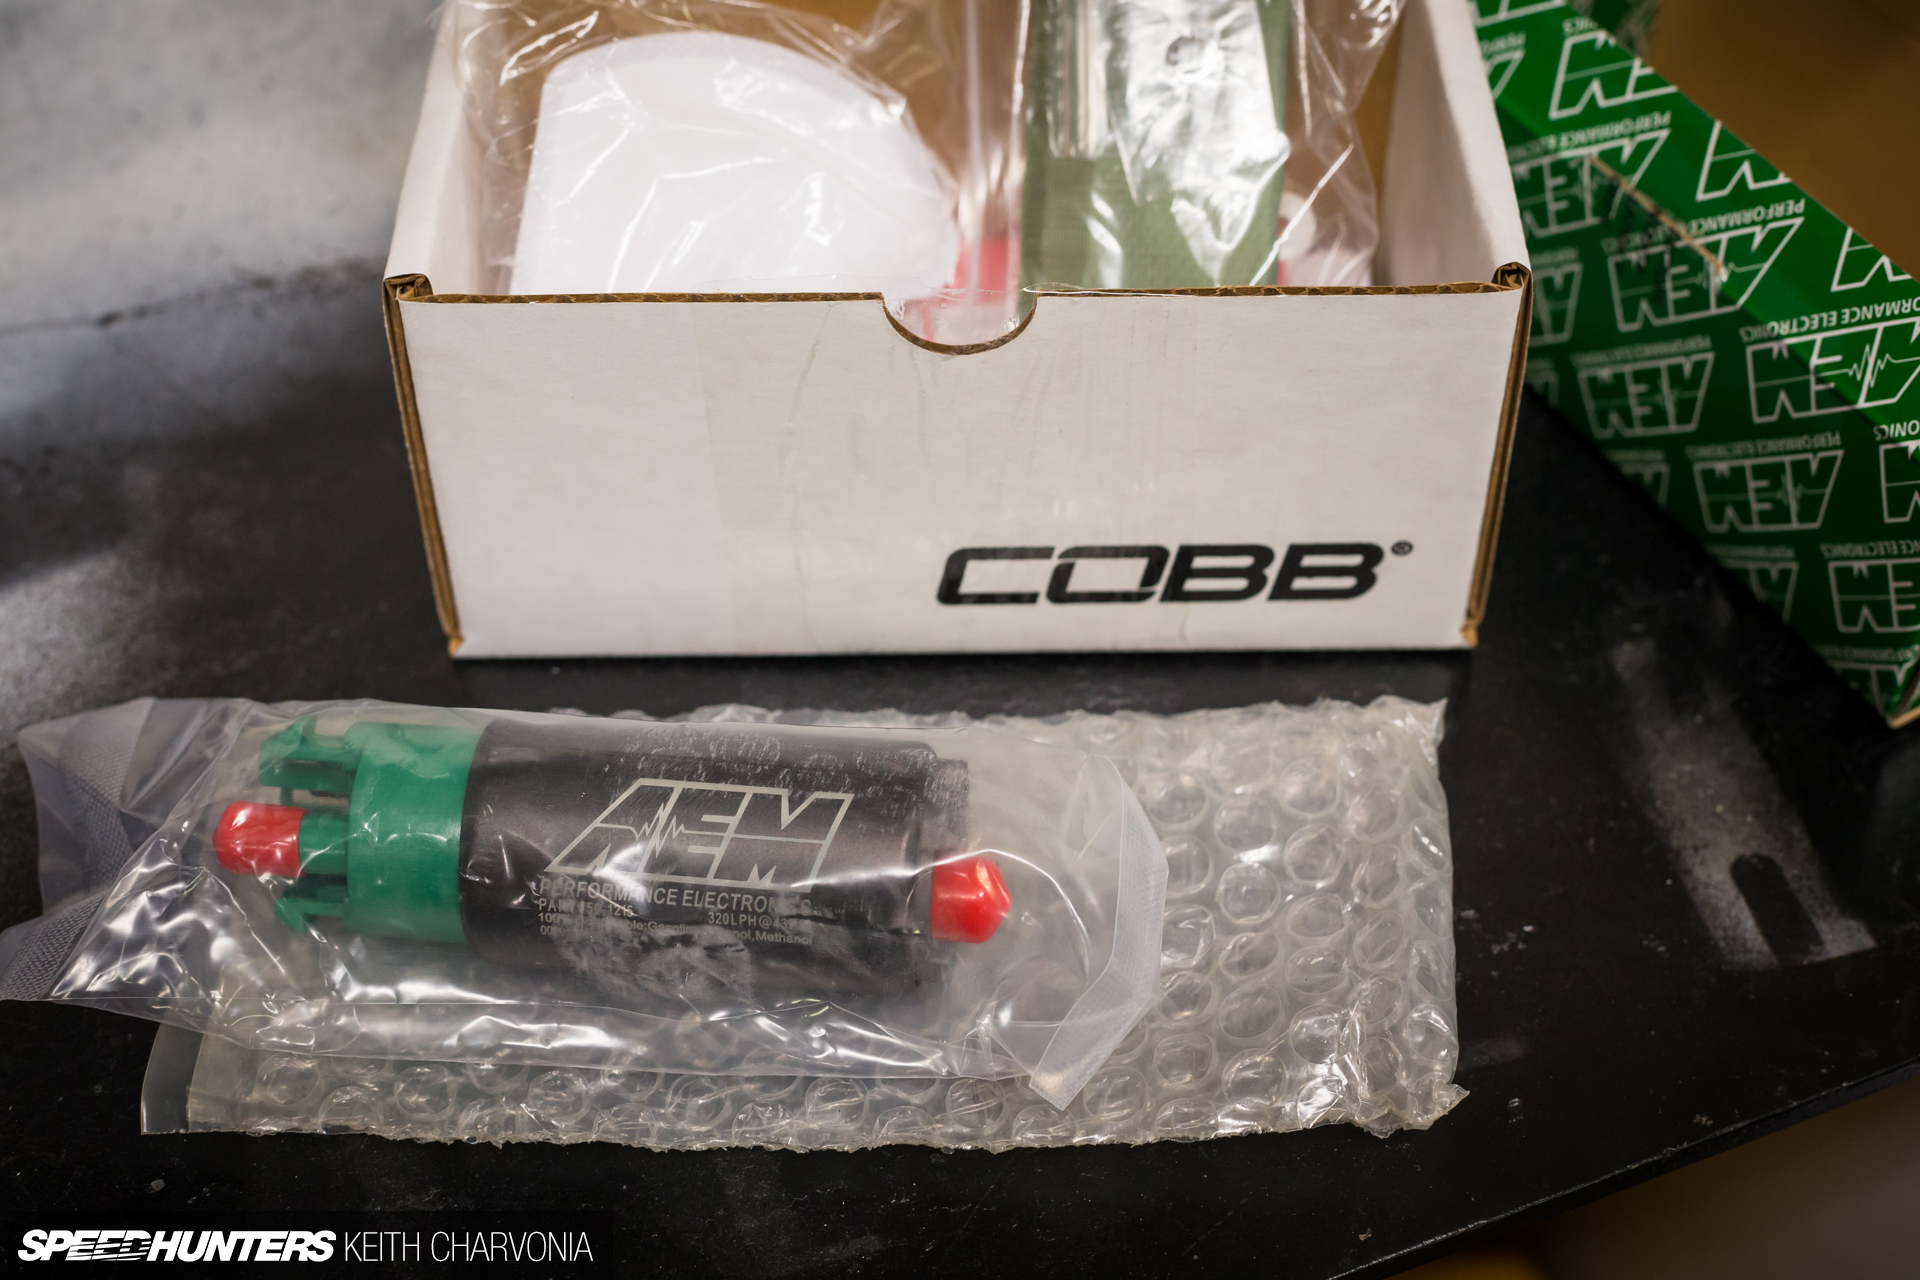
The final piece of the Flex Fuel puzzle is an upgraded AEM 320lph fuel pump. I currently have a 265lph installed, and after the failures of the turbo and injectors, I’ll gladly take this opportunity to install a fresh fuel pump.
As you can see, installing the COBB Flex Fuel kit along with the Innovate gauges is going to be a fair amount of work, so I’ll save that for the next update. Once the hardware is in, the car will also be back on the dyno to install variable Flex Fuel maps. Stay tuned for Project STI’s next big set of mods!
Keith Charvonia
Instagram: SpeedhuntersKeith
keith@speedhunters.com