
Twelve days. That’s the amount of time remaining between the moment I’m writing this and the official opening of the 2016 SEMA Show in Las Vegas – and the debut of Project Yankee, my 1975 Dodge Dart Sport.
When I first set out on this project over a year ago, I never intended it to become a ‘SEMA build’. At least, not in the sense of rushing to get the car finished as the clock ticks down, anyway. But here we are with about a week and a half to go before she’s loaded up for Las Vegas.

Last time around, I covered some of the exterior modifications that were made to fit the RAYS Volk Racing TE37Vs and Toyo rubber, along with our custom bumper mounts. Today, I’ll be catching up on some of the other exterior and interior work that’s been happening lately.

A few weeks ago, I mentioned that our friends at CSF had sent over one of their brand new BOSS dual-pass oil coolers to complement the CSF aluminum radiator that’s already been fitted. Initially developed for use with the Rocket Bunny BOSS S14 body kit, the oil cooler was made with external mounting in mind, so all I had to do was figure out where to place it on my Dodge.

Vintage race cars and Japanese street machines are a big part of Project Yankee’s inspiration, so I figured the front bumper would be a fine place to mount it. As it turns out, the Dart’s factory license plate slot provided a perfect location.

Matt from Caliber Customs, who has built some ridiculously powerful engines using very heavy duty parts, was very impressed with the build quality of the CSF oil cooler, and needless to say, it was going to be totally functional.
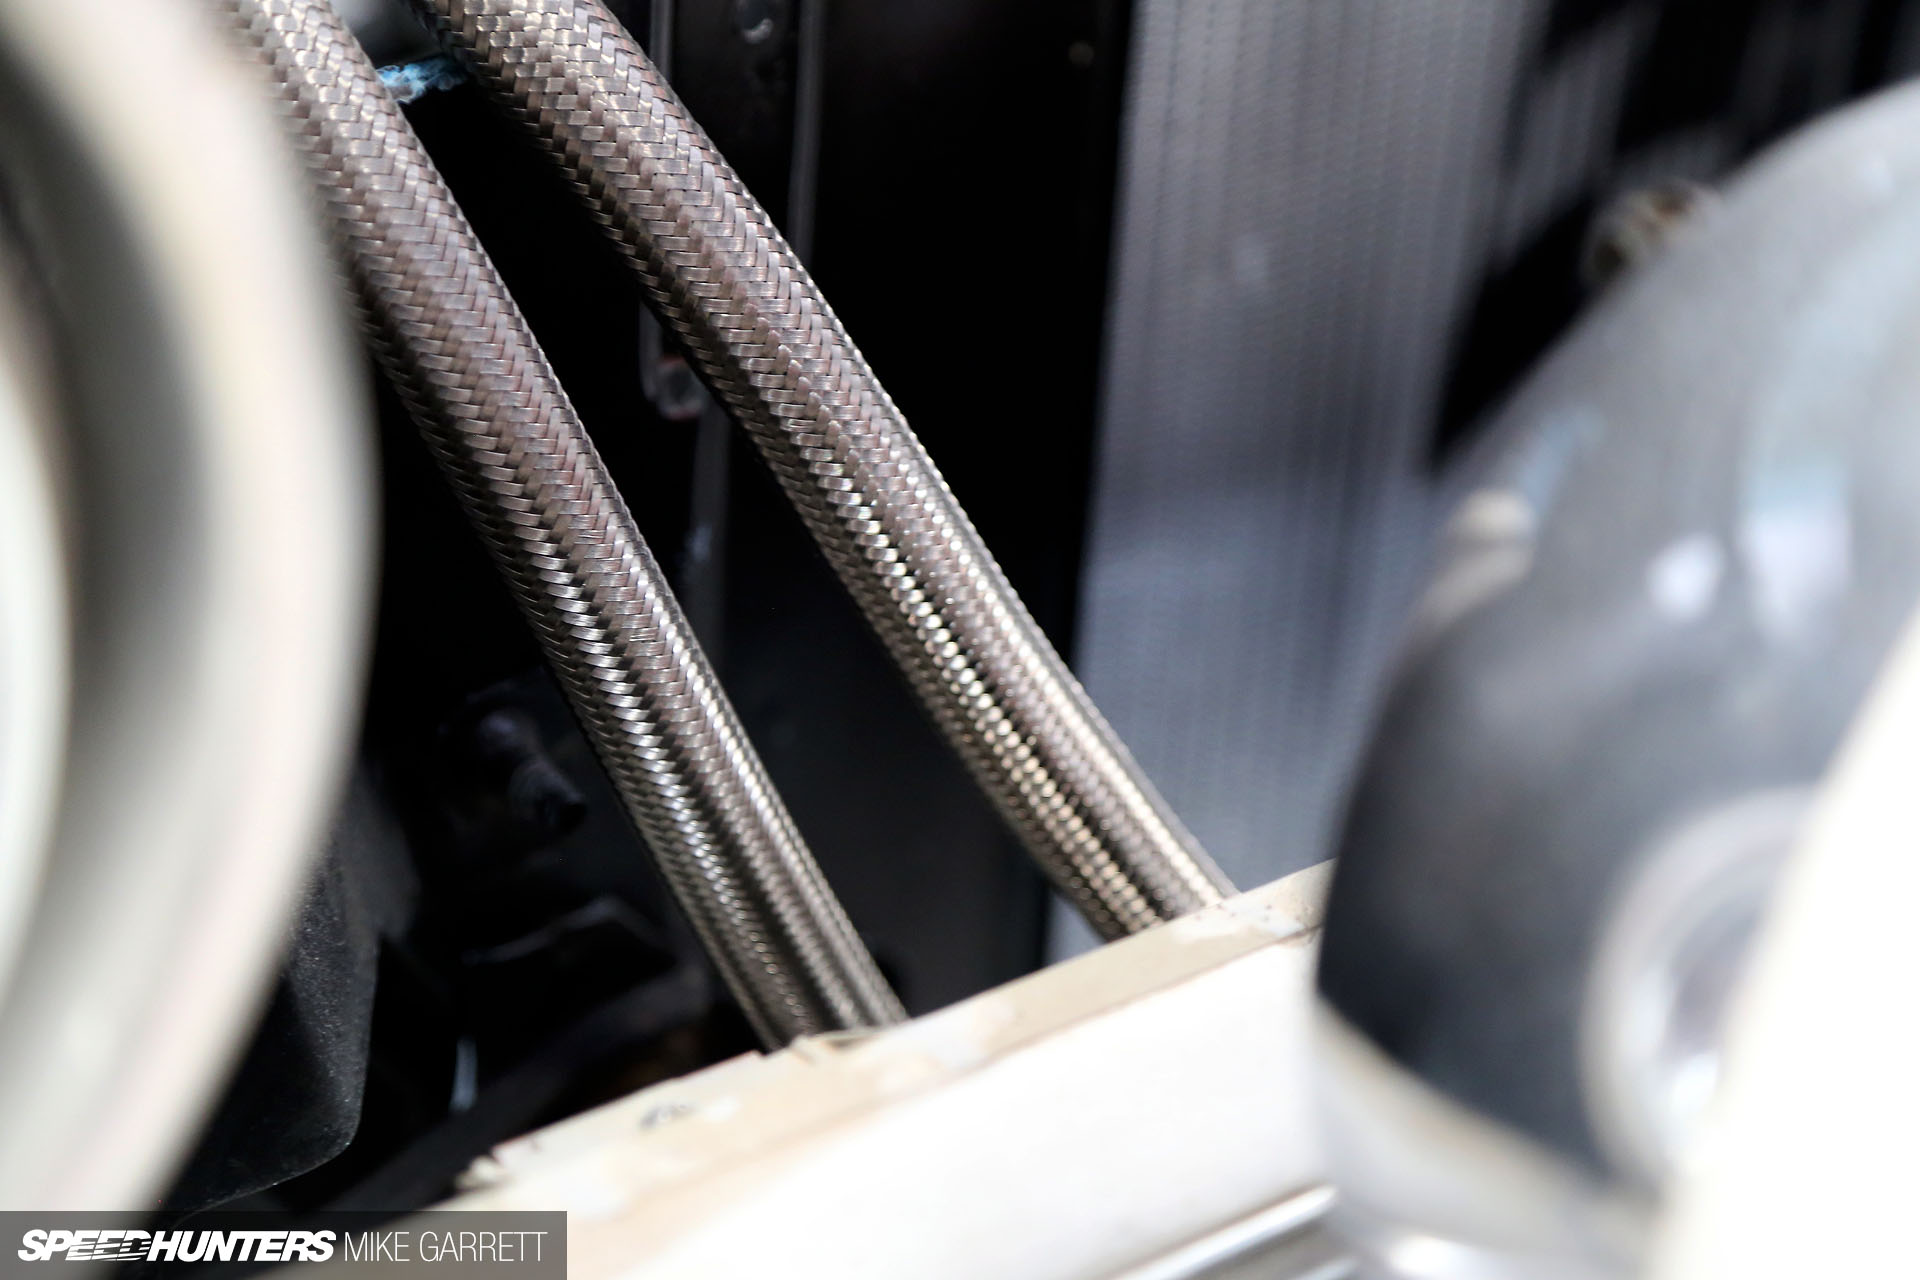
Now we just needed to figure out how to route the oil lines. We wanted something that would add a some character, but not to the point of looking obnoxious with the oil lines looping all over the place. Our solution simply feeds them through the bumper and up into the grille area toward the engine bay. I dig it.
Nose Job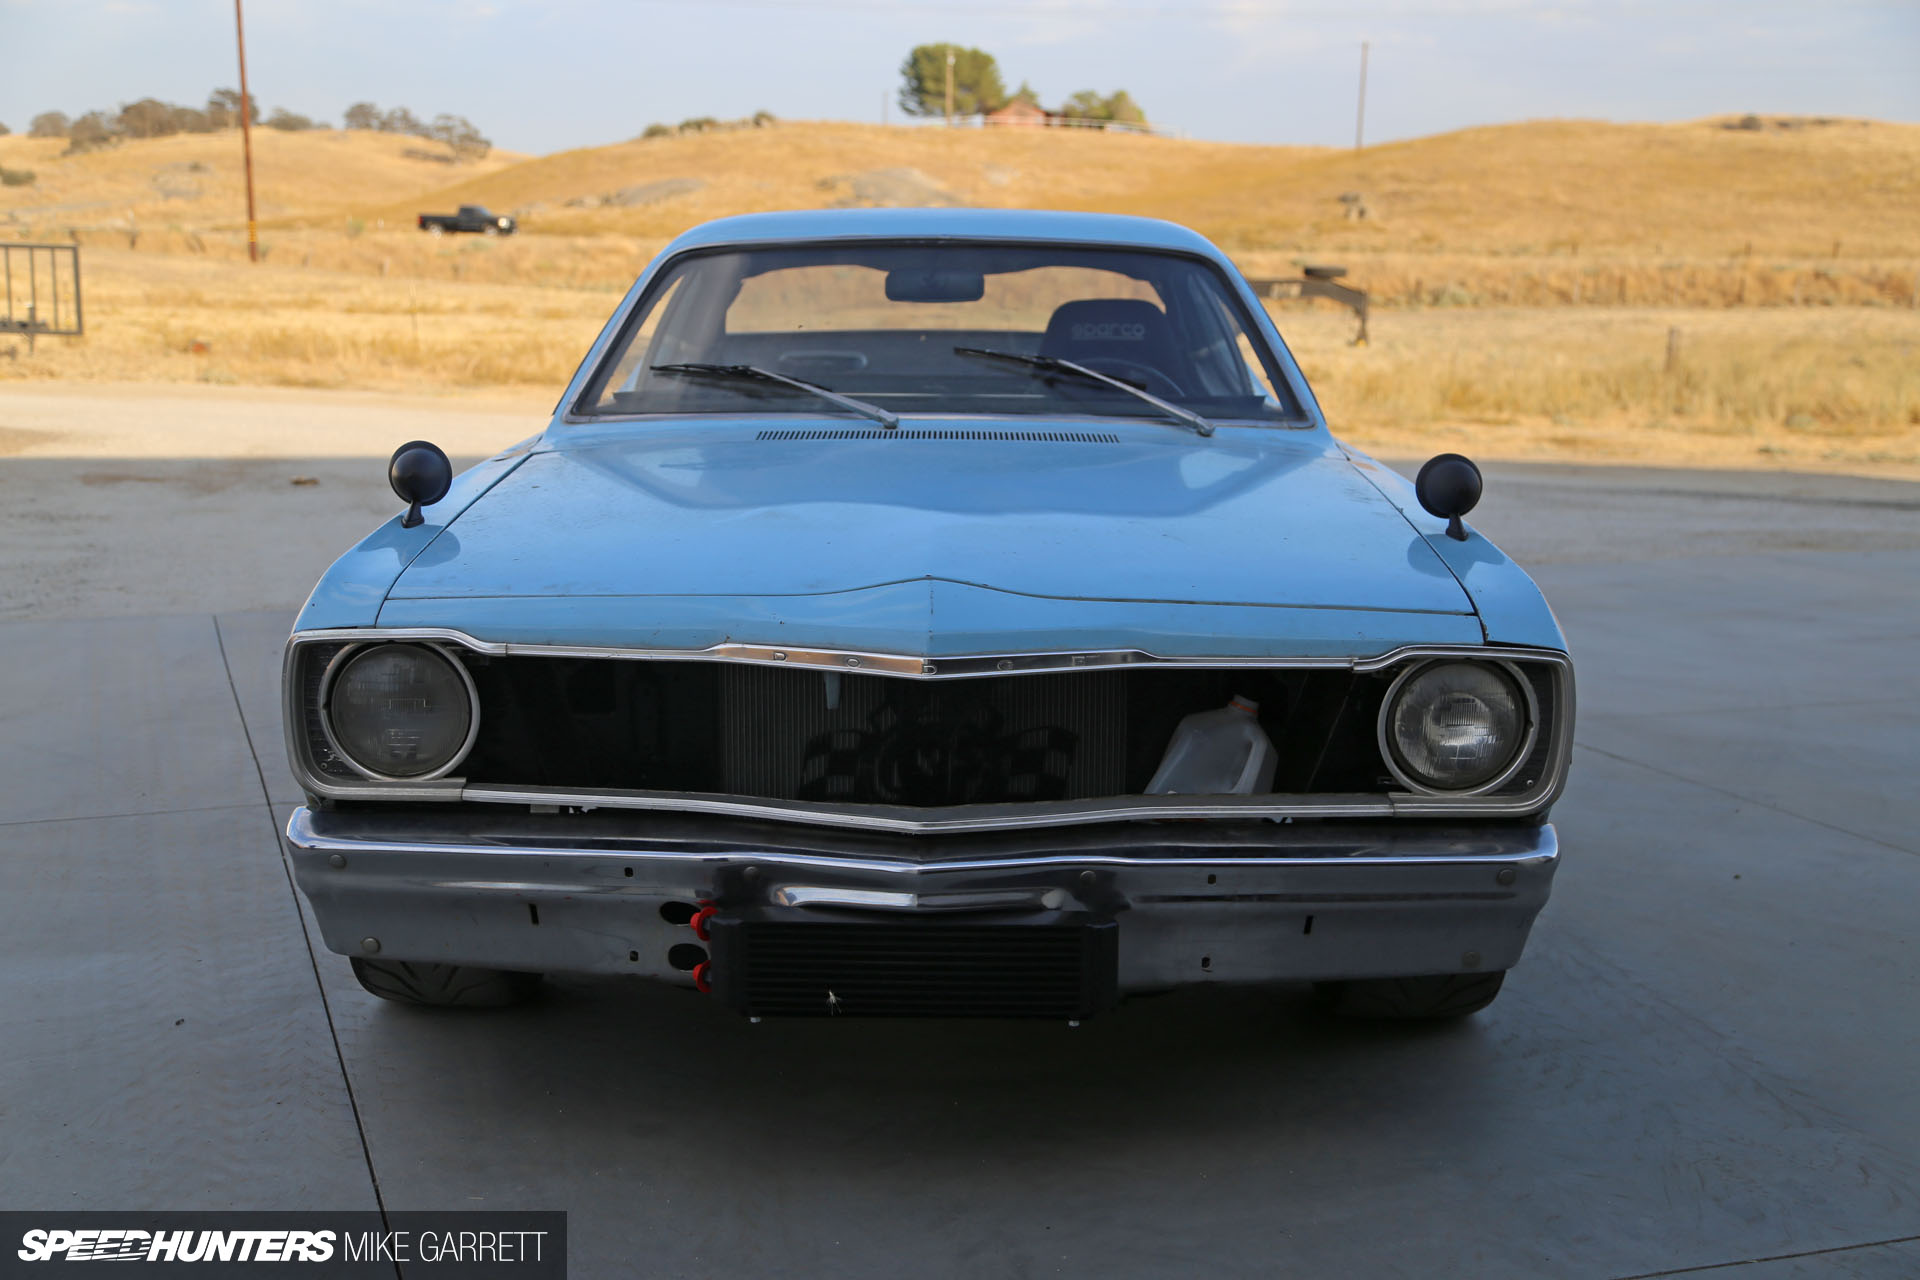
I’ve noticed a lot of you guys commenting about Project Yankee’s need for a chin spoiler, and I can assure you that it was part of the plan from the very beginning. The only was question was, what style and what material to use.
I knew that an off-the-shelf aftermarket piece wasn’t going to work, and I briefly considered adapting something from another car. But eventually we decided to just build one on our own.
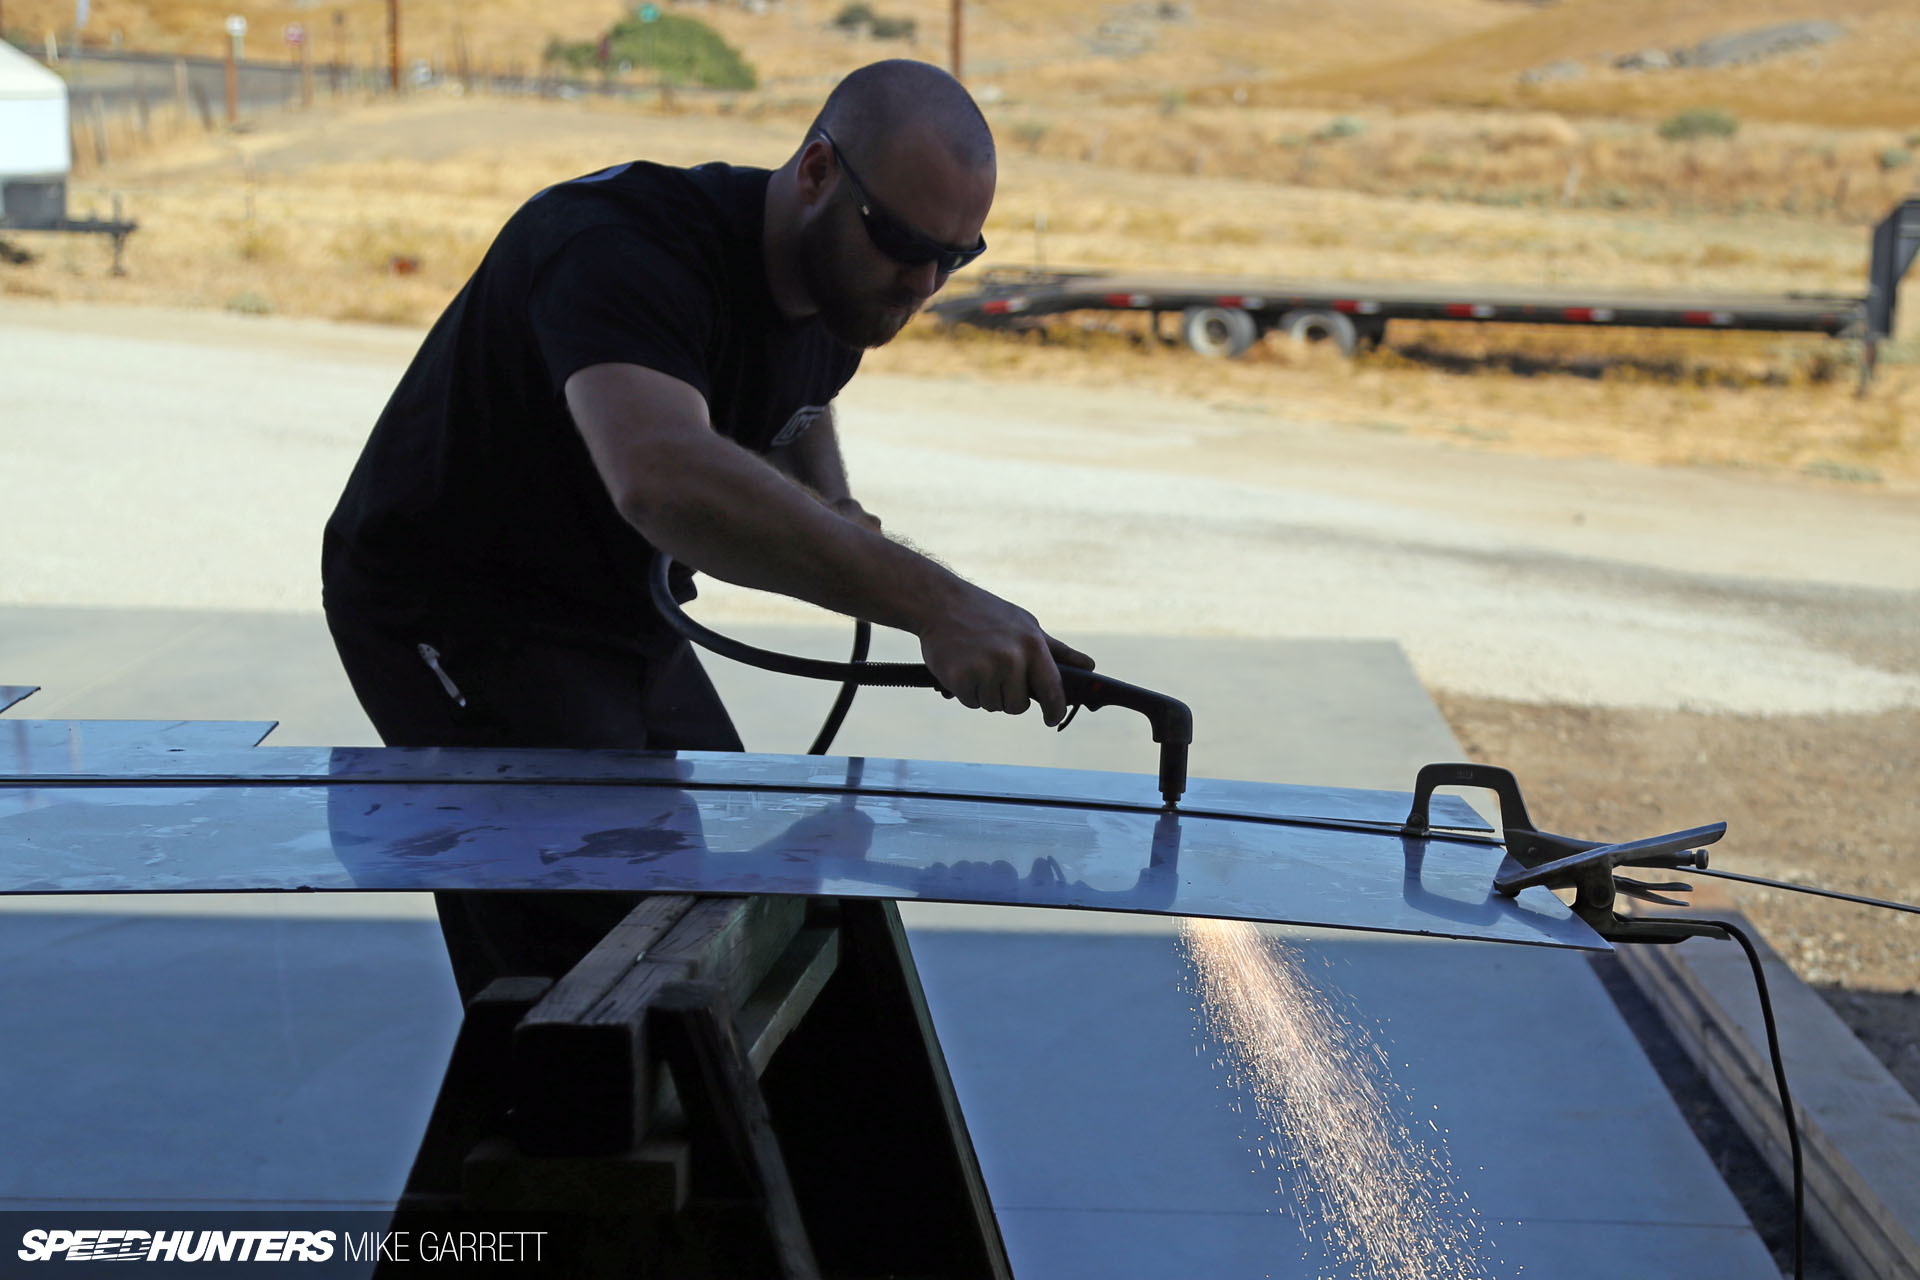
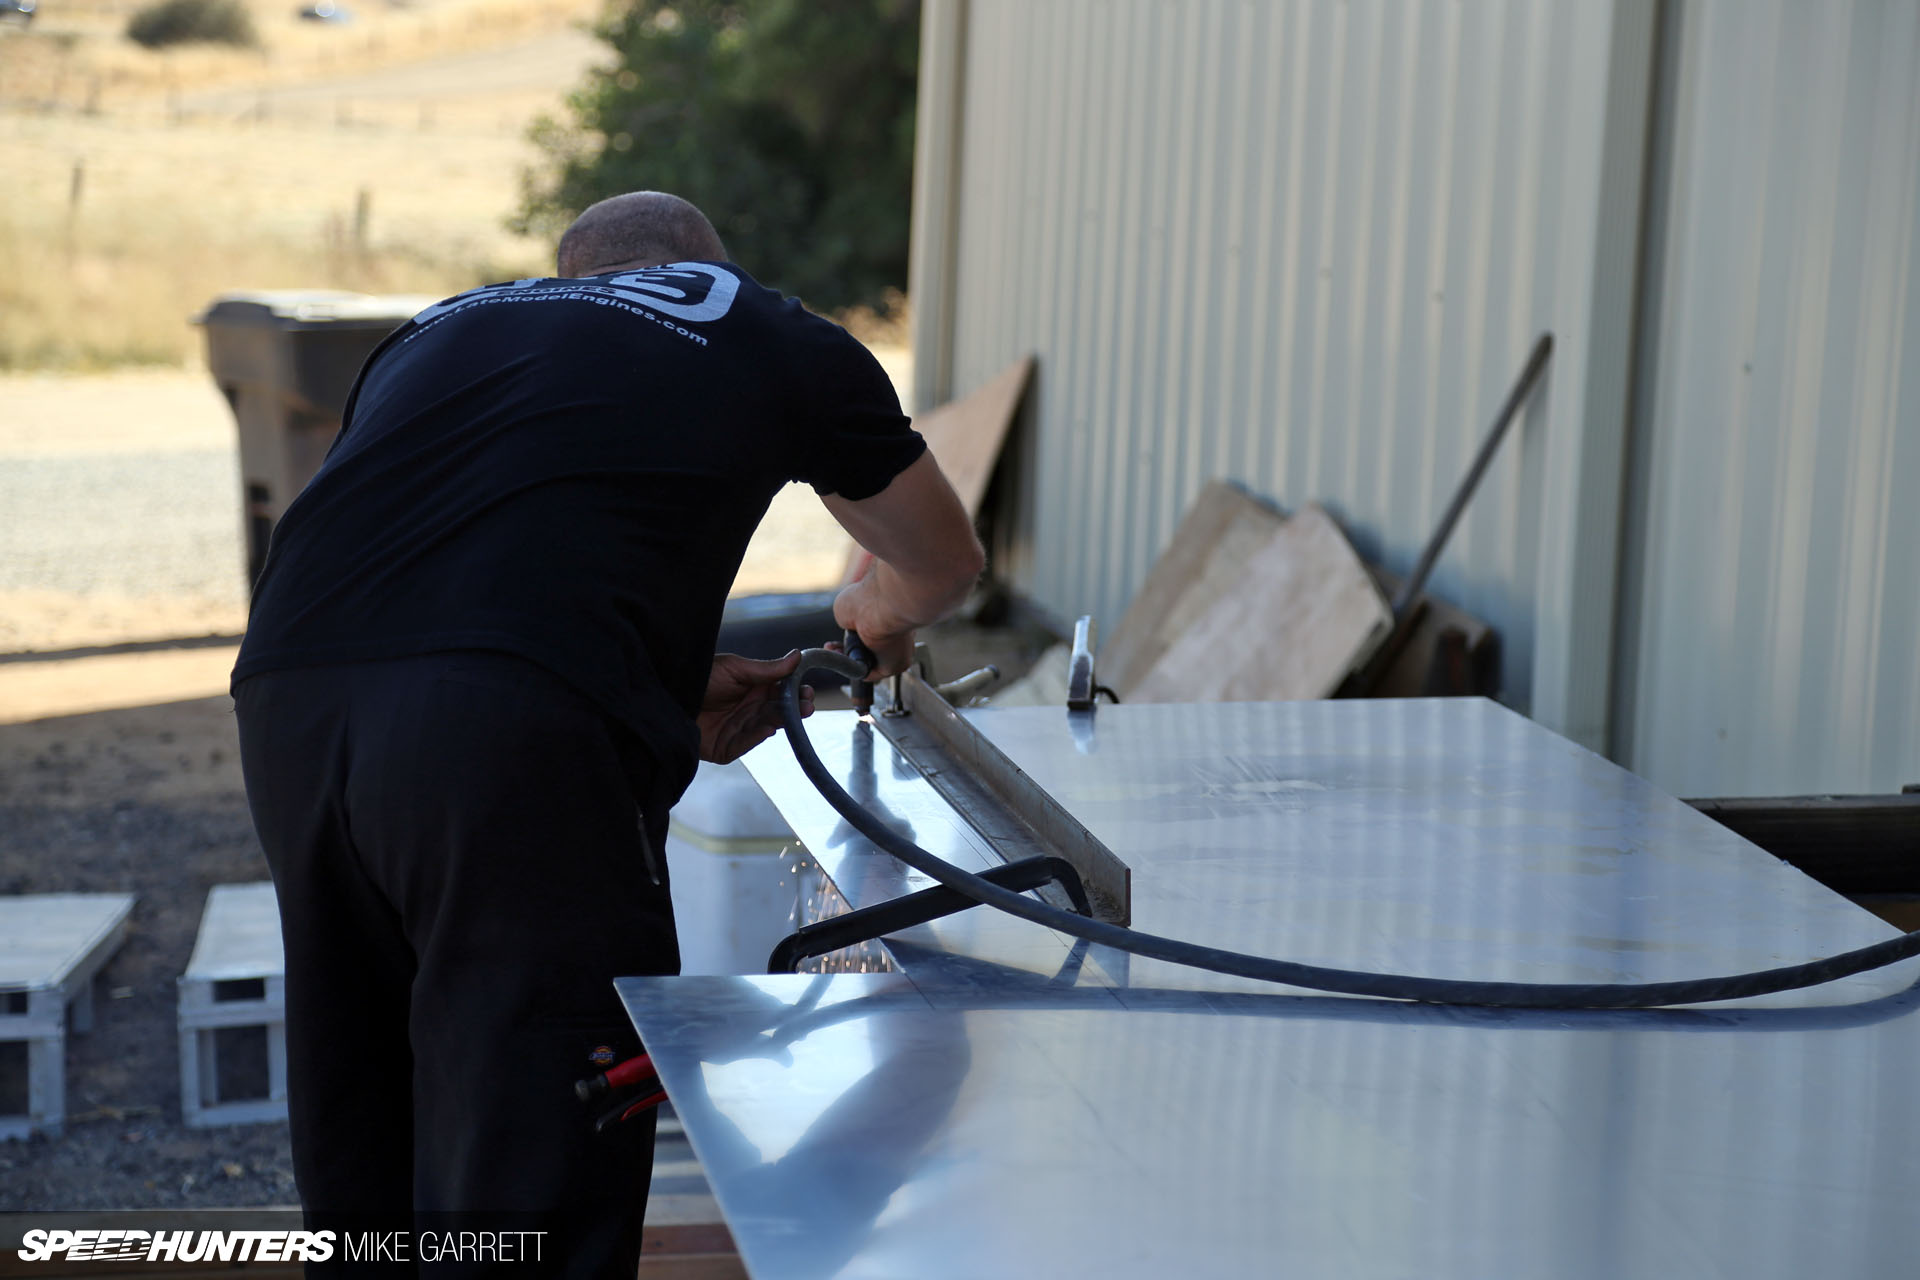
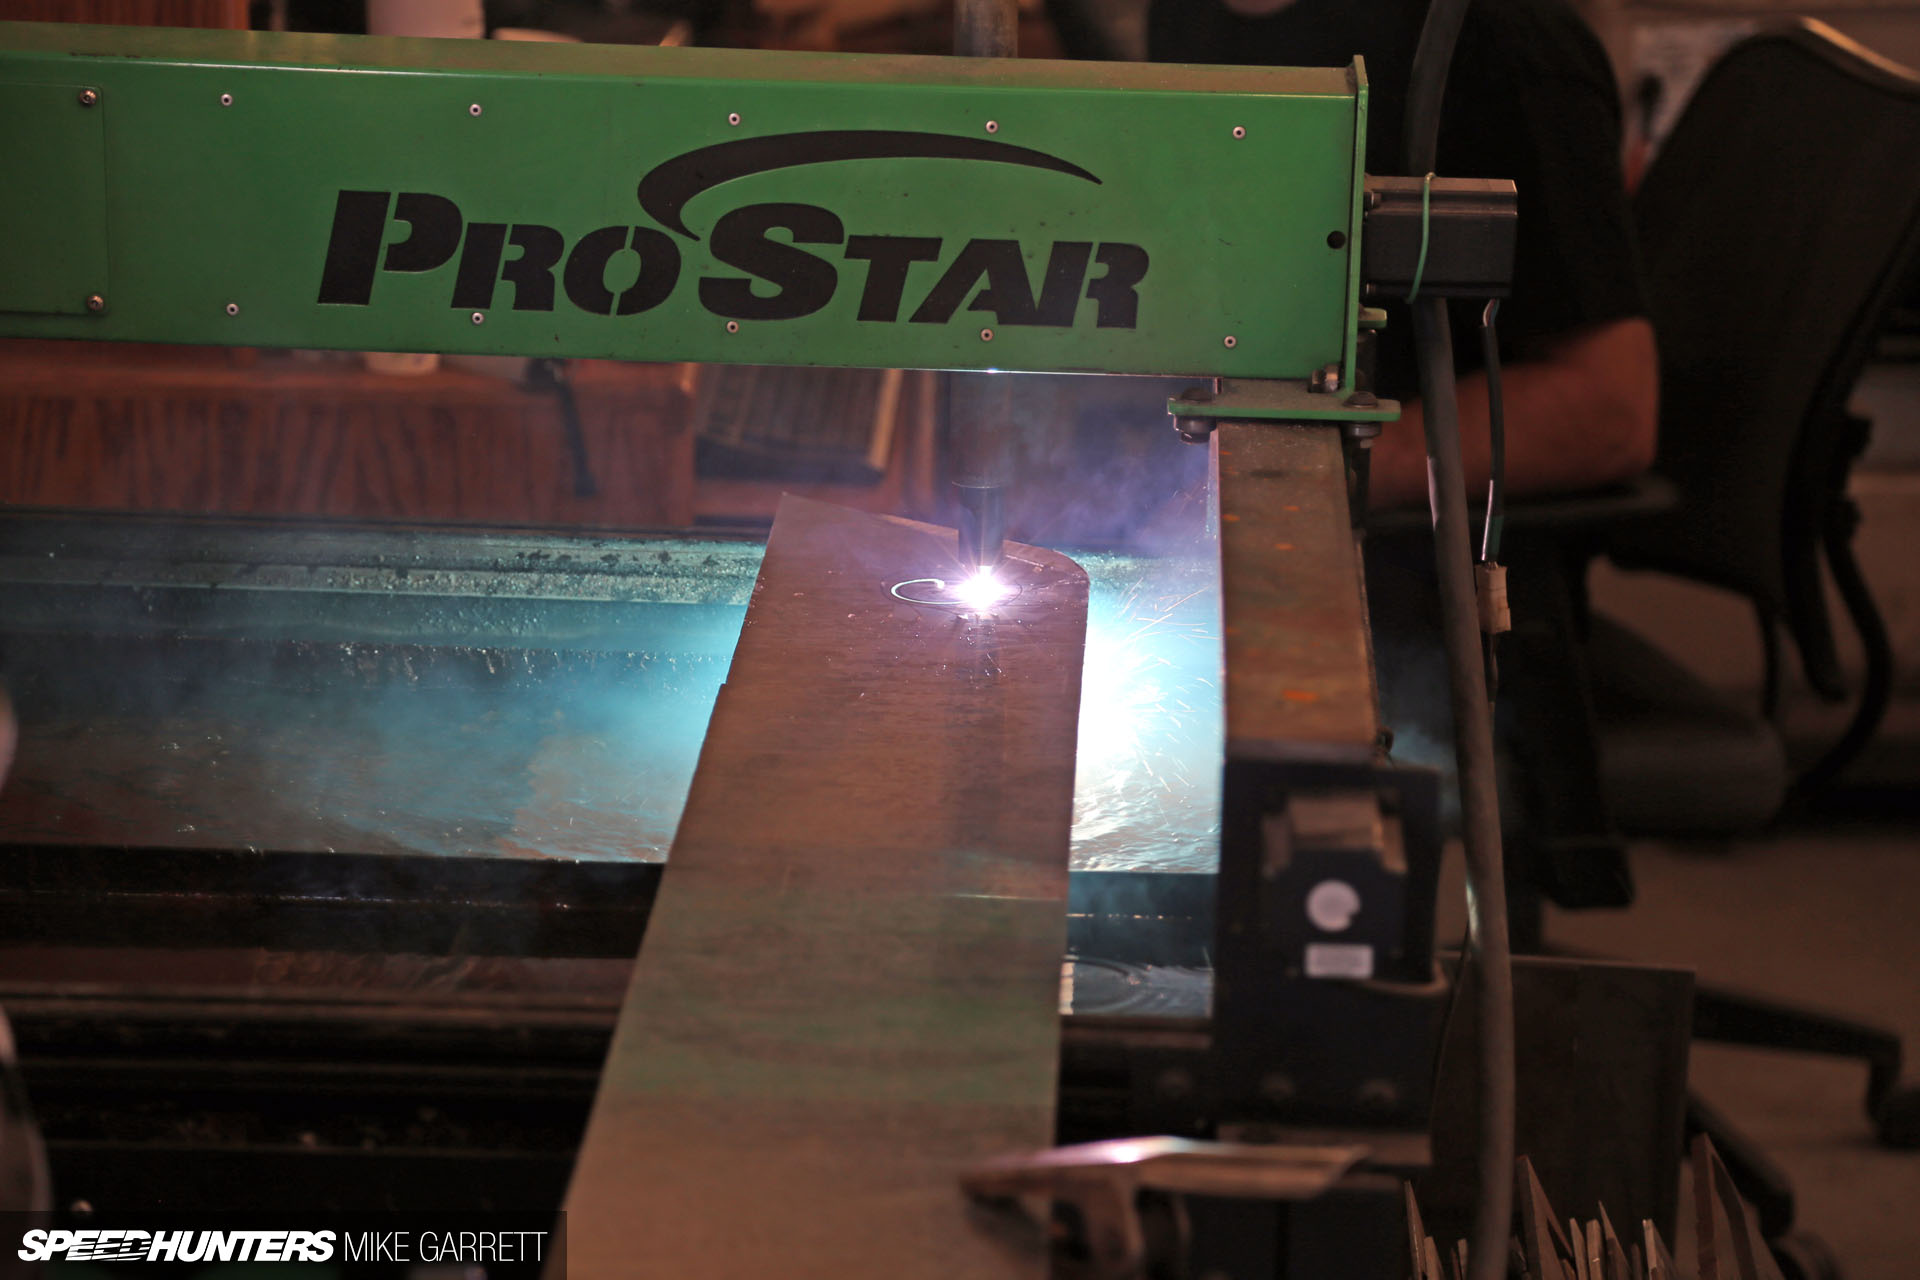
It was another chance for Matt to show off his fabrication skills and for me to shoot more photos with sparks. Because you can never have enough of those.

It was actually a pretty simple process. We first took some basic measurements and then did a little eyeballing to ensure we had the proportions right.
The inspiration were the simple aluminum air dams used on the Trans Am cars of the early ’70s, and after studying a number of photographs we came up with a pretty cool design.
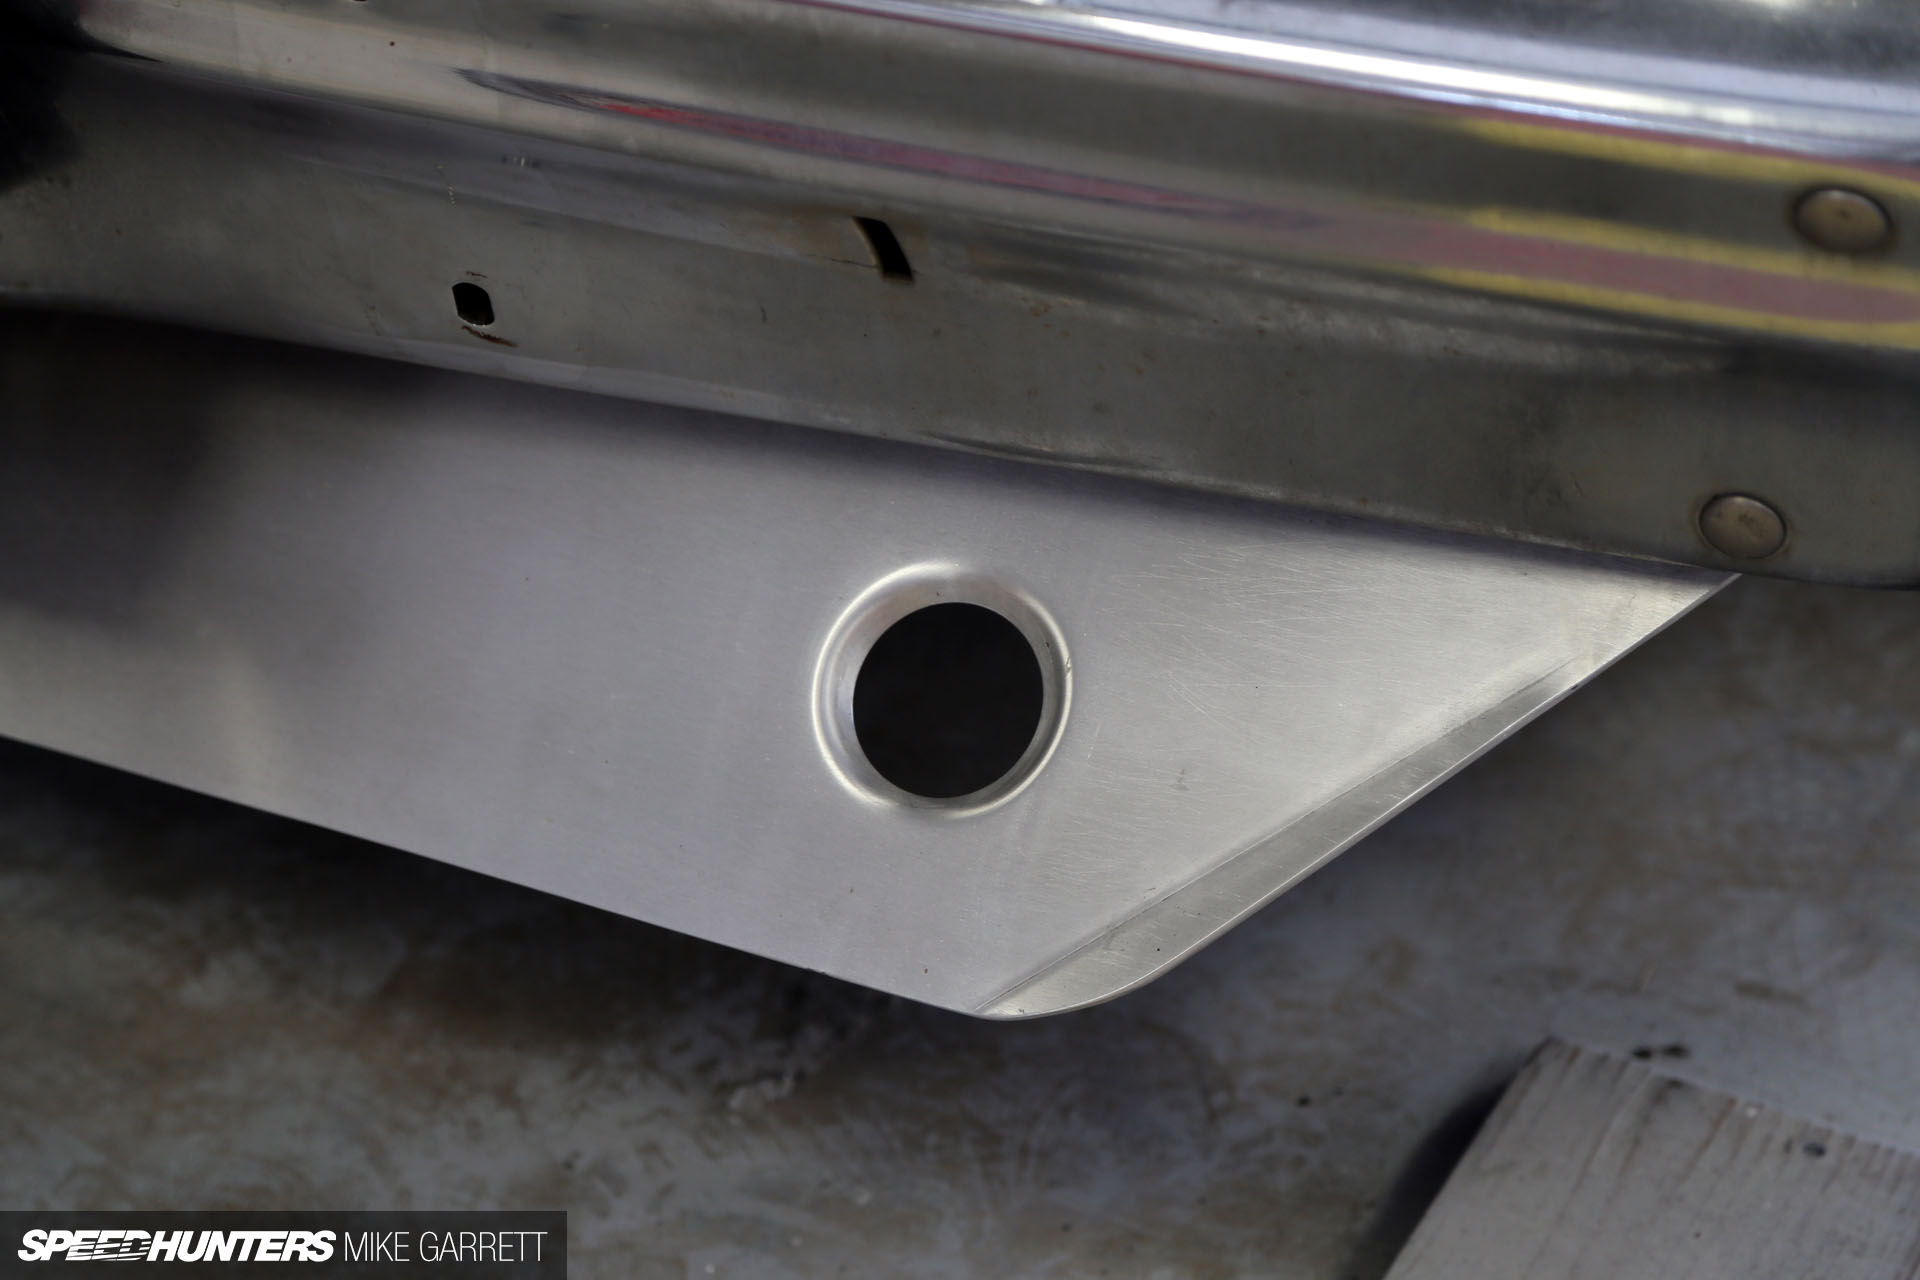
It even features a pair of dimple die ‘brake ducts’ that add some more visual character. Is the air dam functional, though? I guess we’ll find out soon enough…
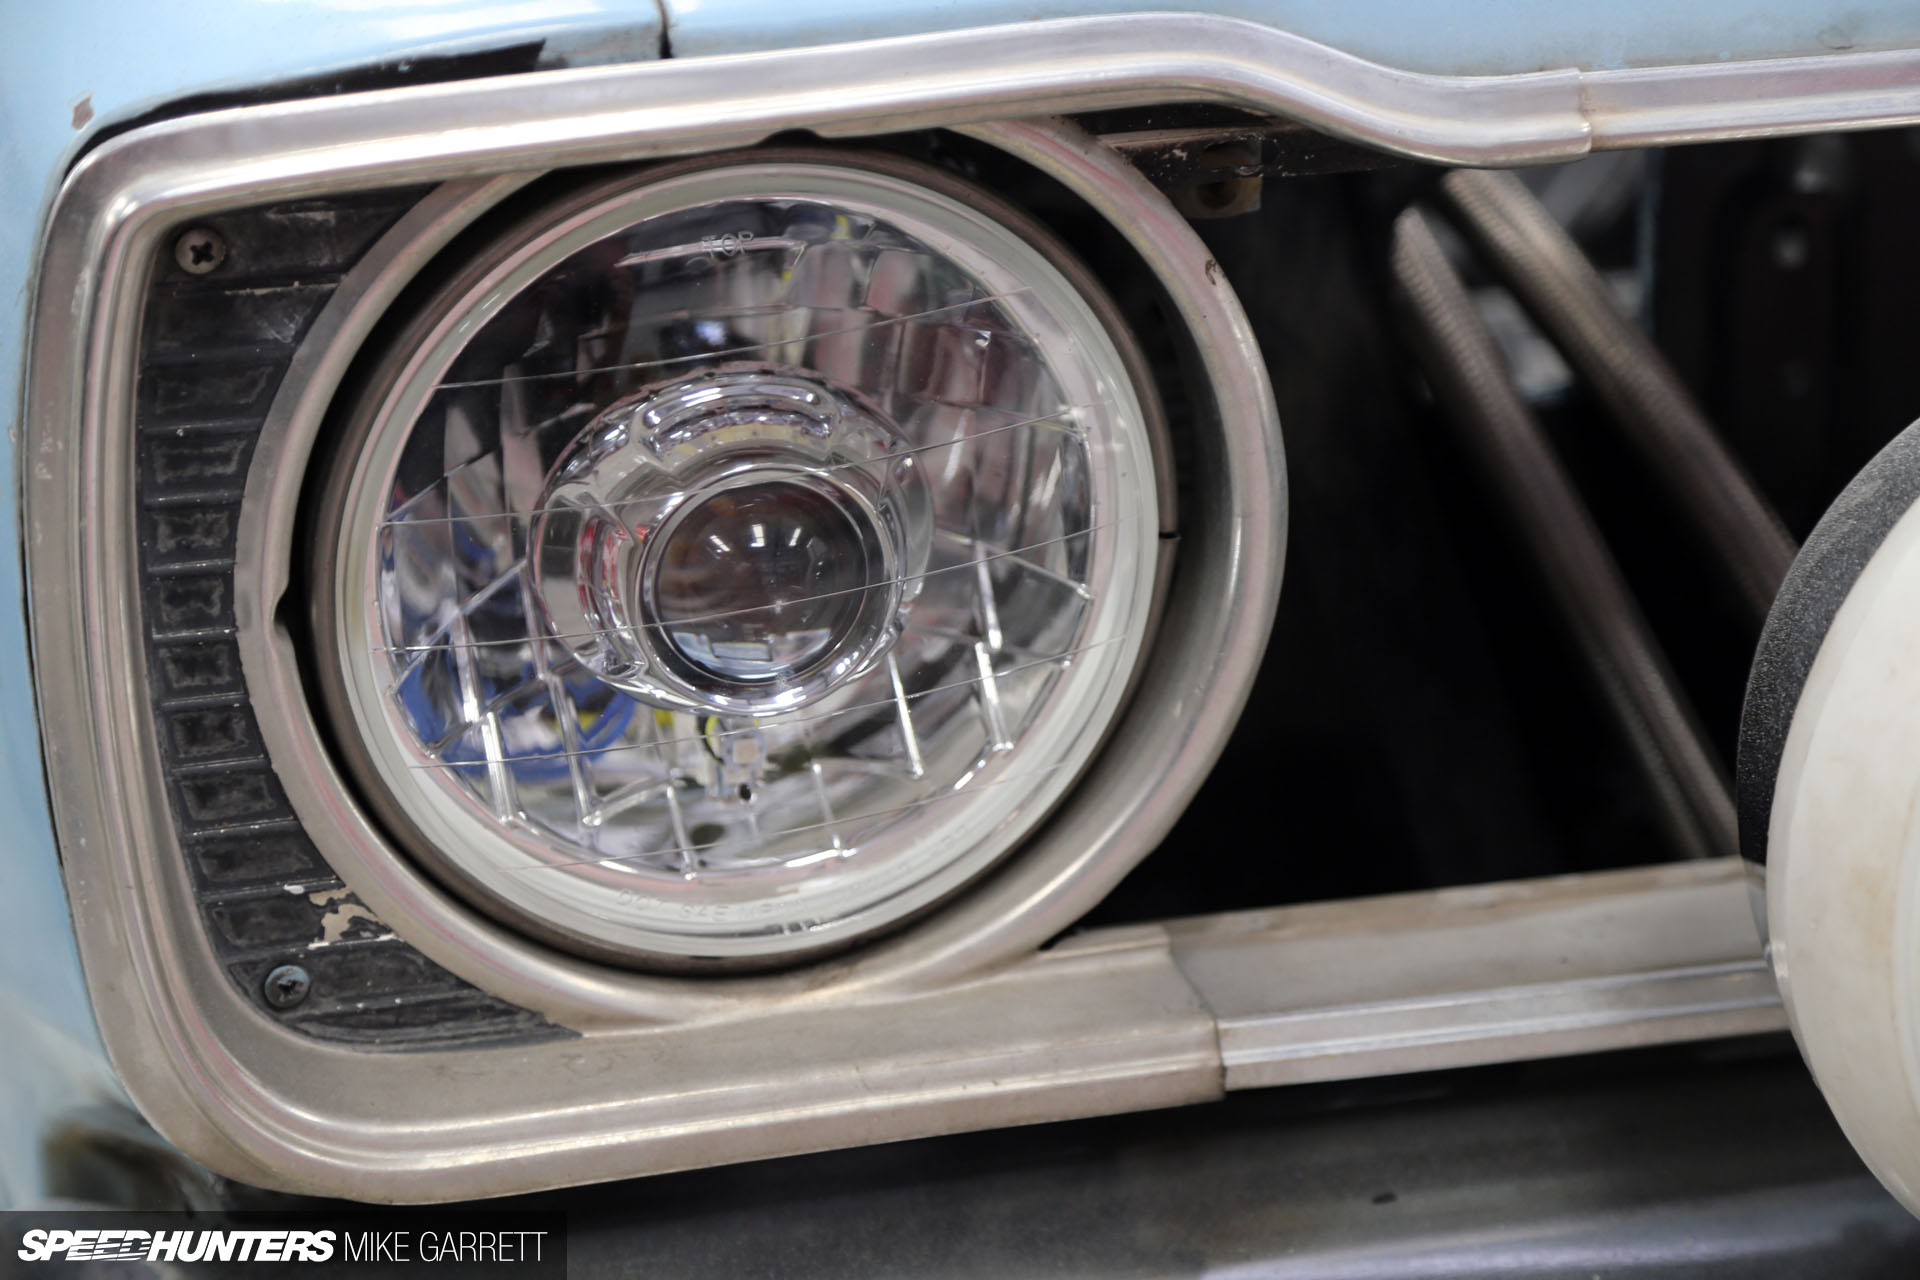
Another aspect that I wanted to upgrade was the lighting, and not just because the headlights on the car were foggy and old looking. I actually wanted to be able to see in front of me when I drive at night! That’s where Dapper Lighting comes in.
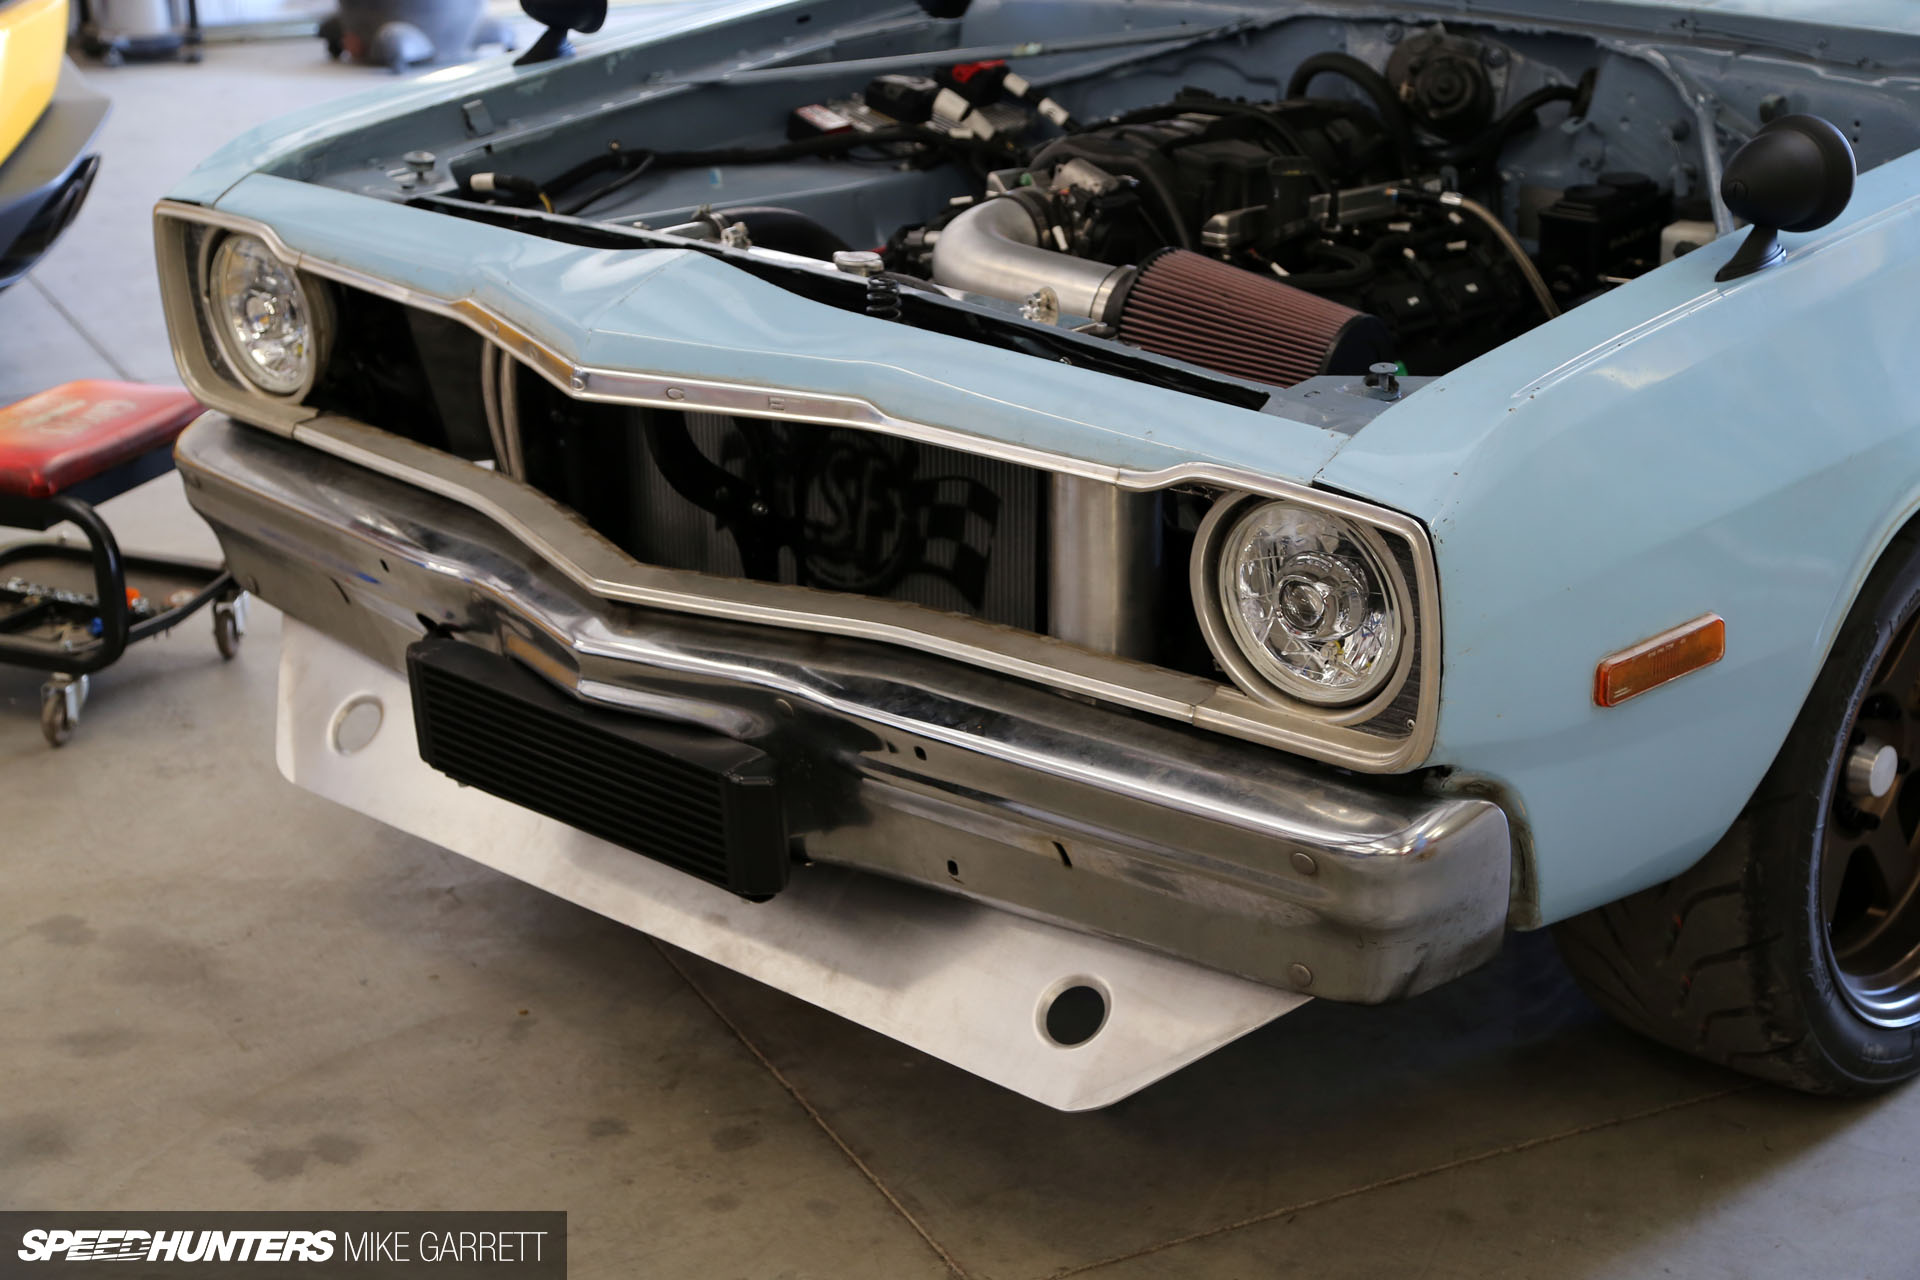
Having previously improved the lighting performance of Larry’s 240Z, Ben from Dapper Lighting set me up with a pair of the company’s Classic V1 series projector headlights complete with HID bulbs and wiring harnesses.
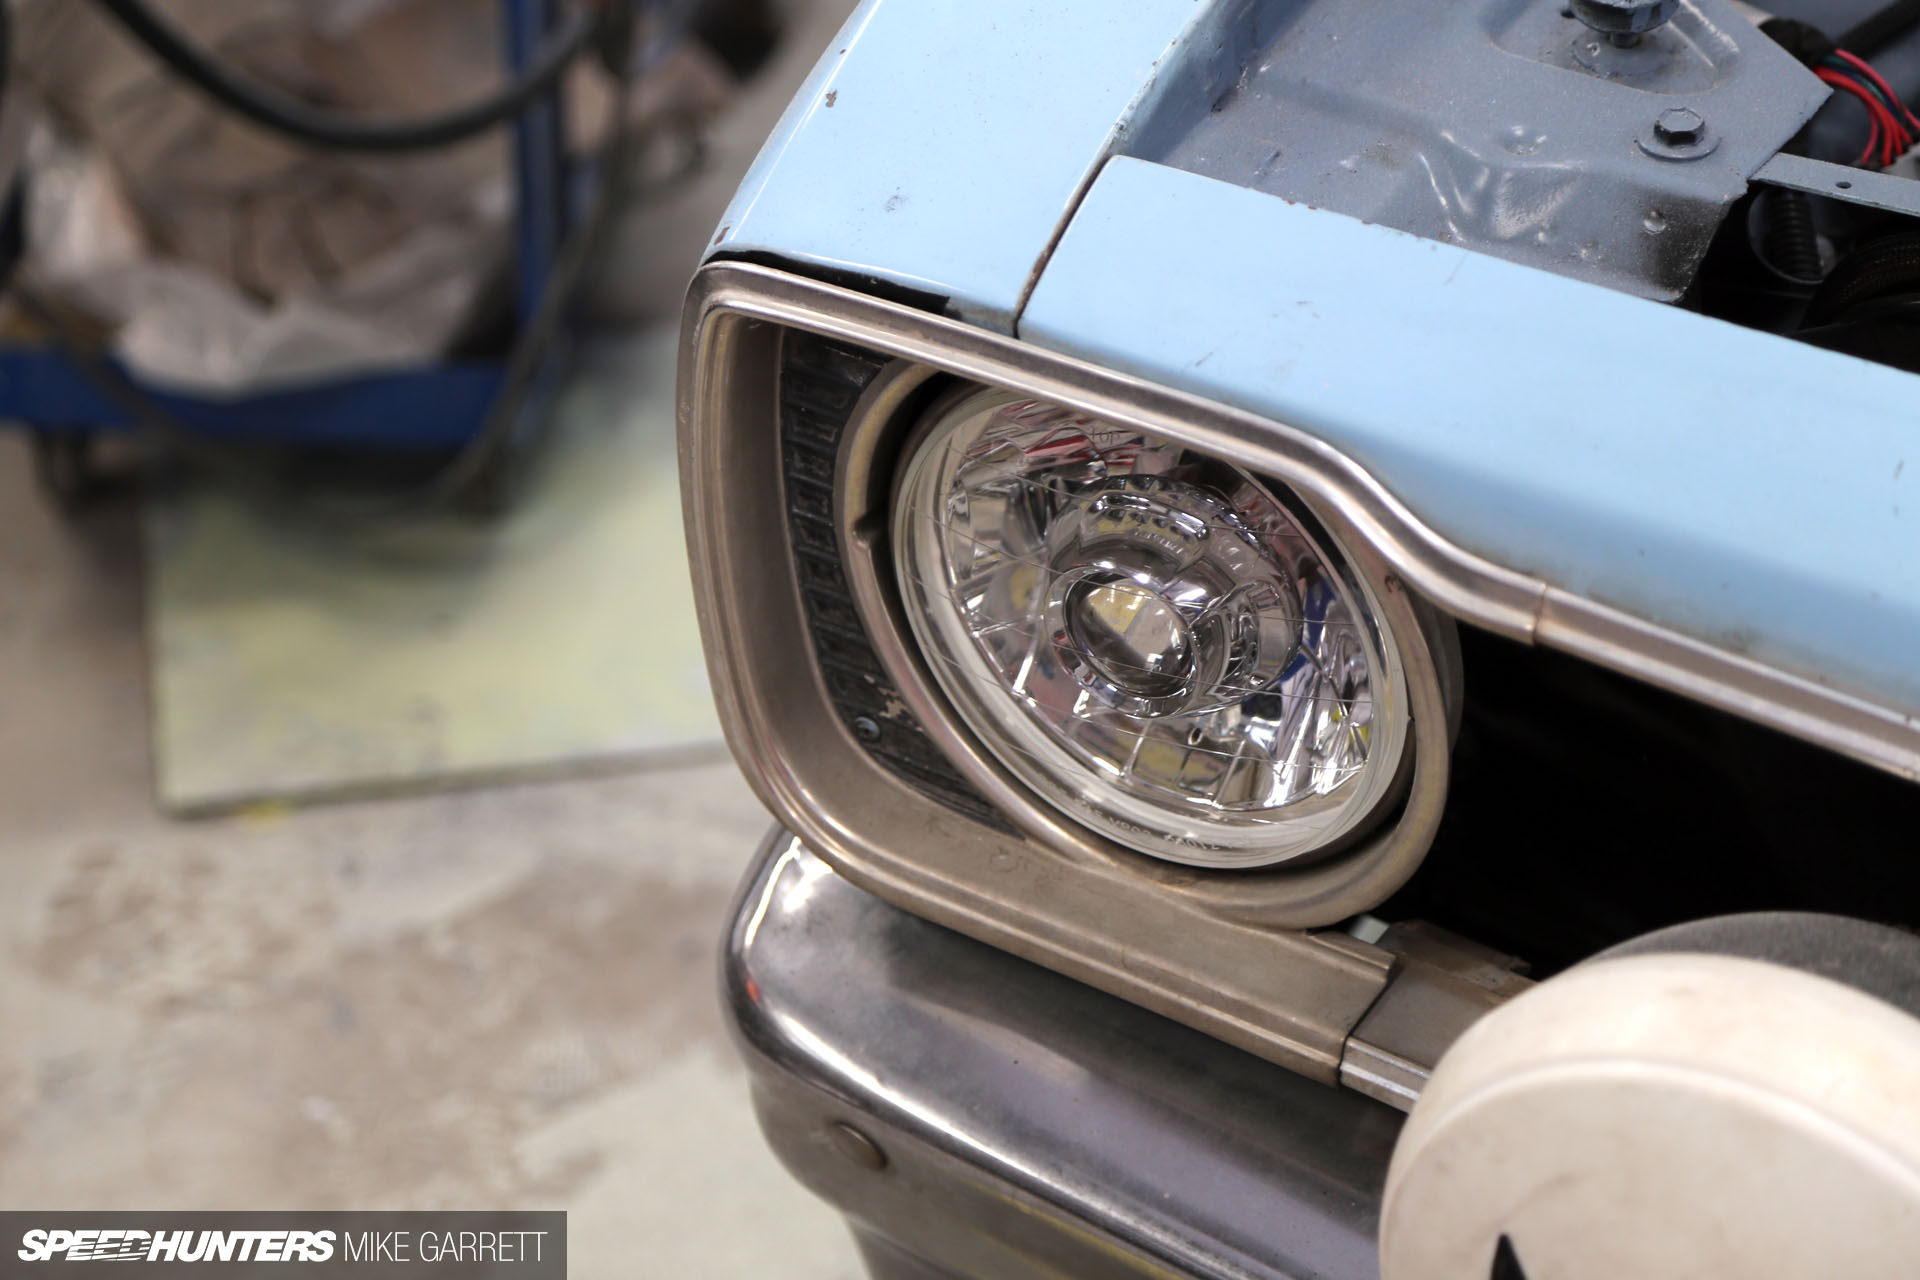
Dapper Lighting offers several different designs aimed at vintage car owners who want to upgrade their lighting, and I think the V1s do a great job of that without looking too modern. I can’t wait to see how much they help out at night.

So with our remounted bumpers, ‘custom’ grille, chin spoiler and upgraded headlights, the nose of the car had come a long way. However, there was one more idea I had for a finishing touch.
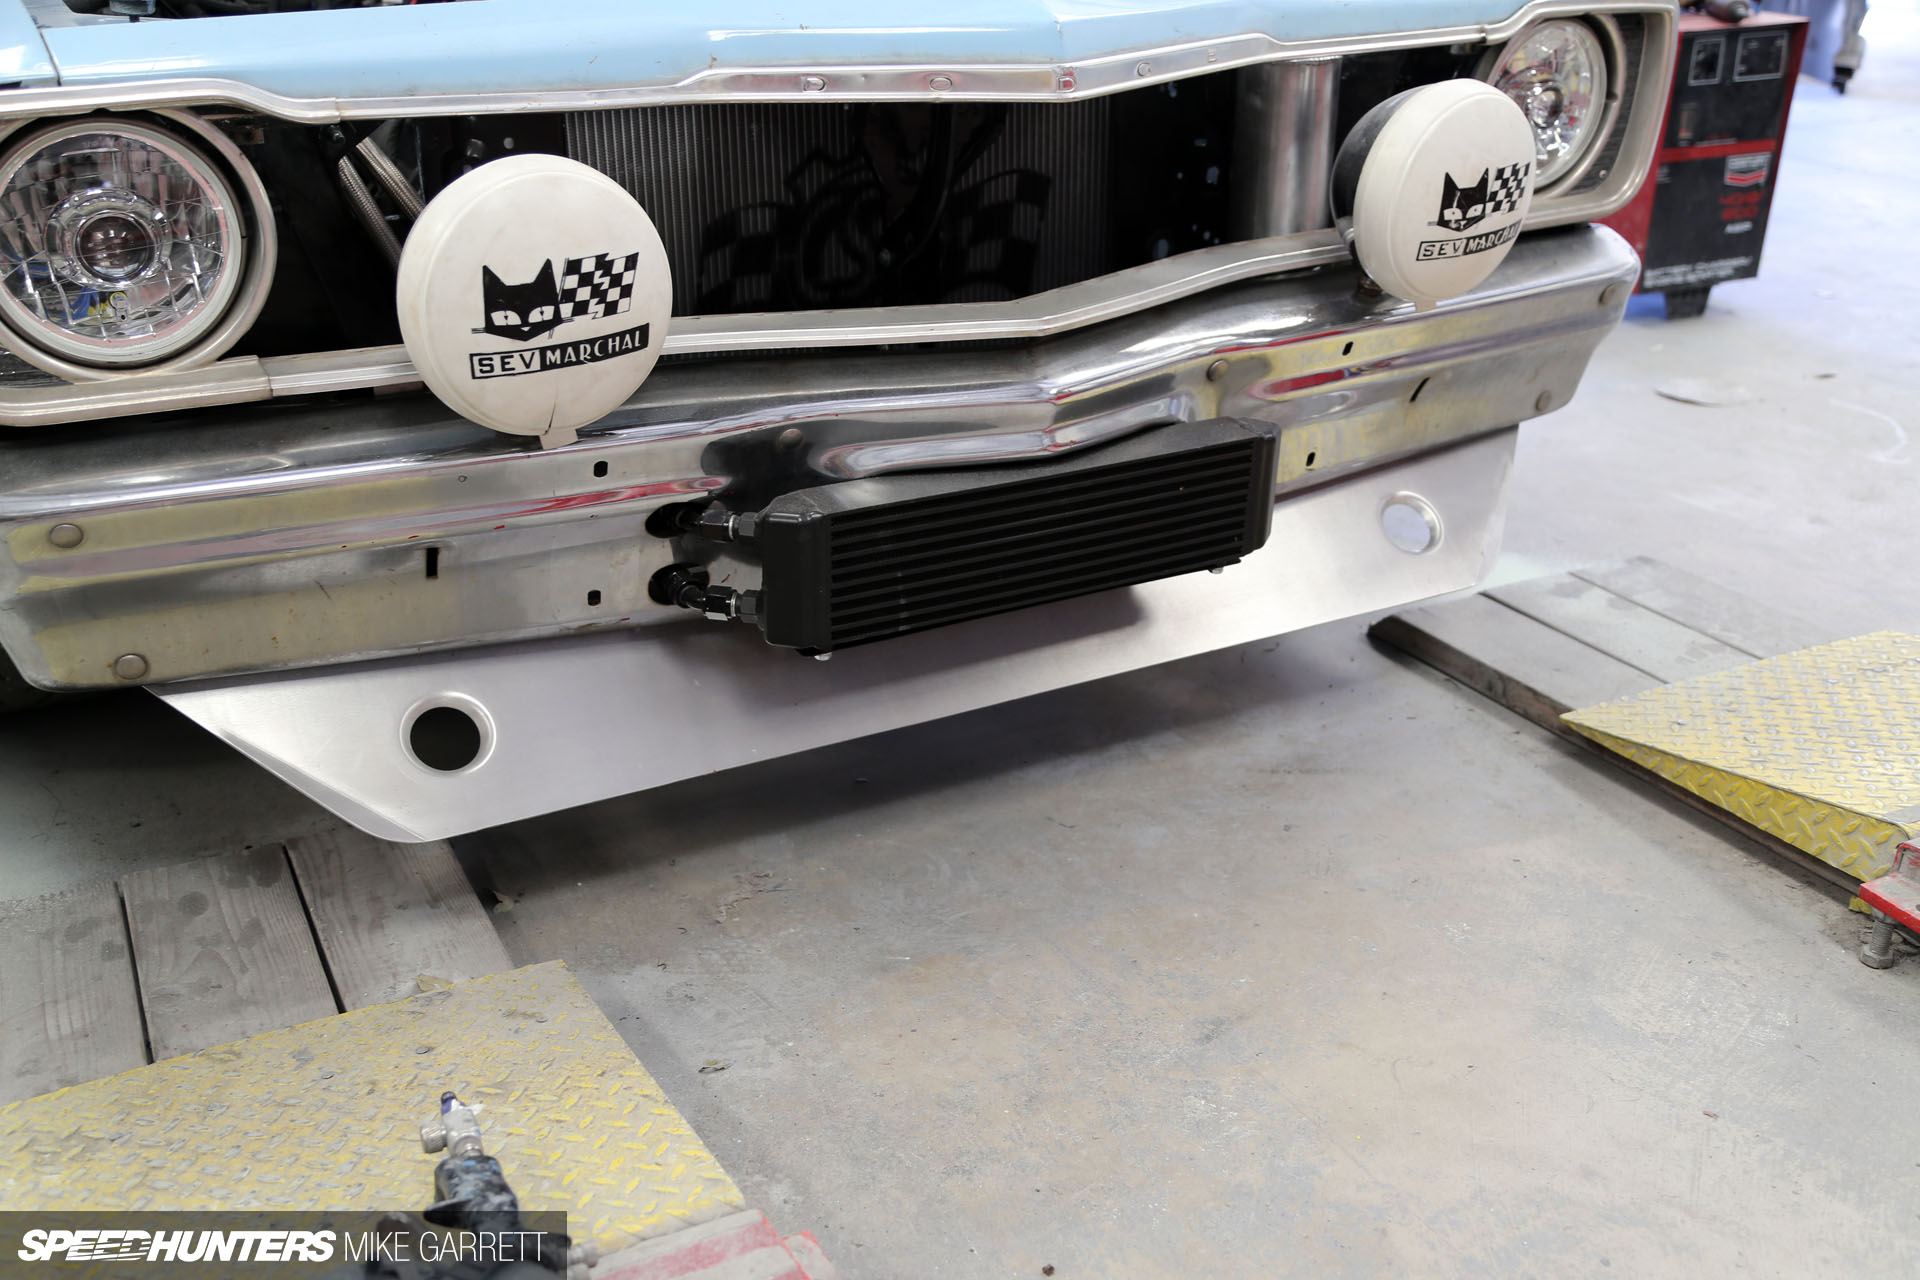
And that came via a pair of genuine SEV Marchal 7-inch driving lights that I scored on eBay for 80 bucks. They are far from show quality, but I actually kind of dig the patina on the covers, and they look pretty mean mounted atop the bumper. They’re like something you would have seen at Le Mans or Daytona in the ’70s.
Interior Makeover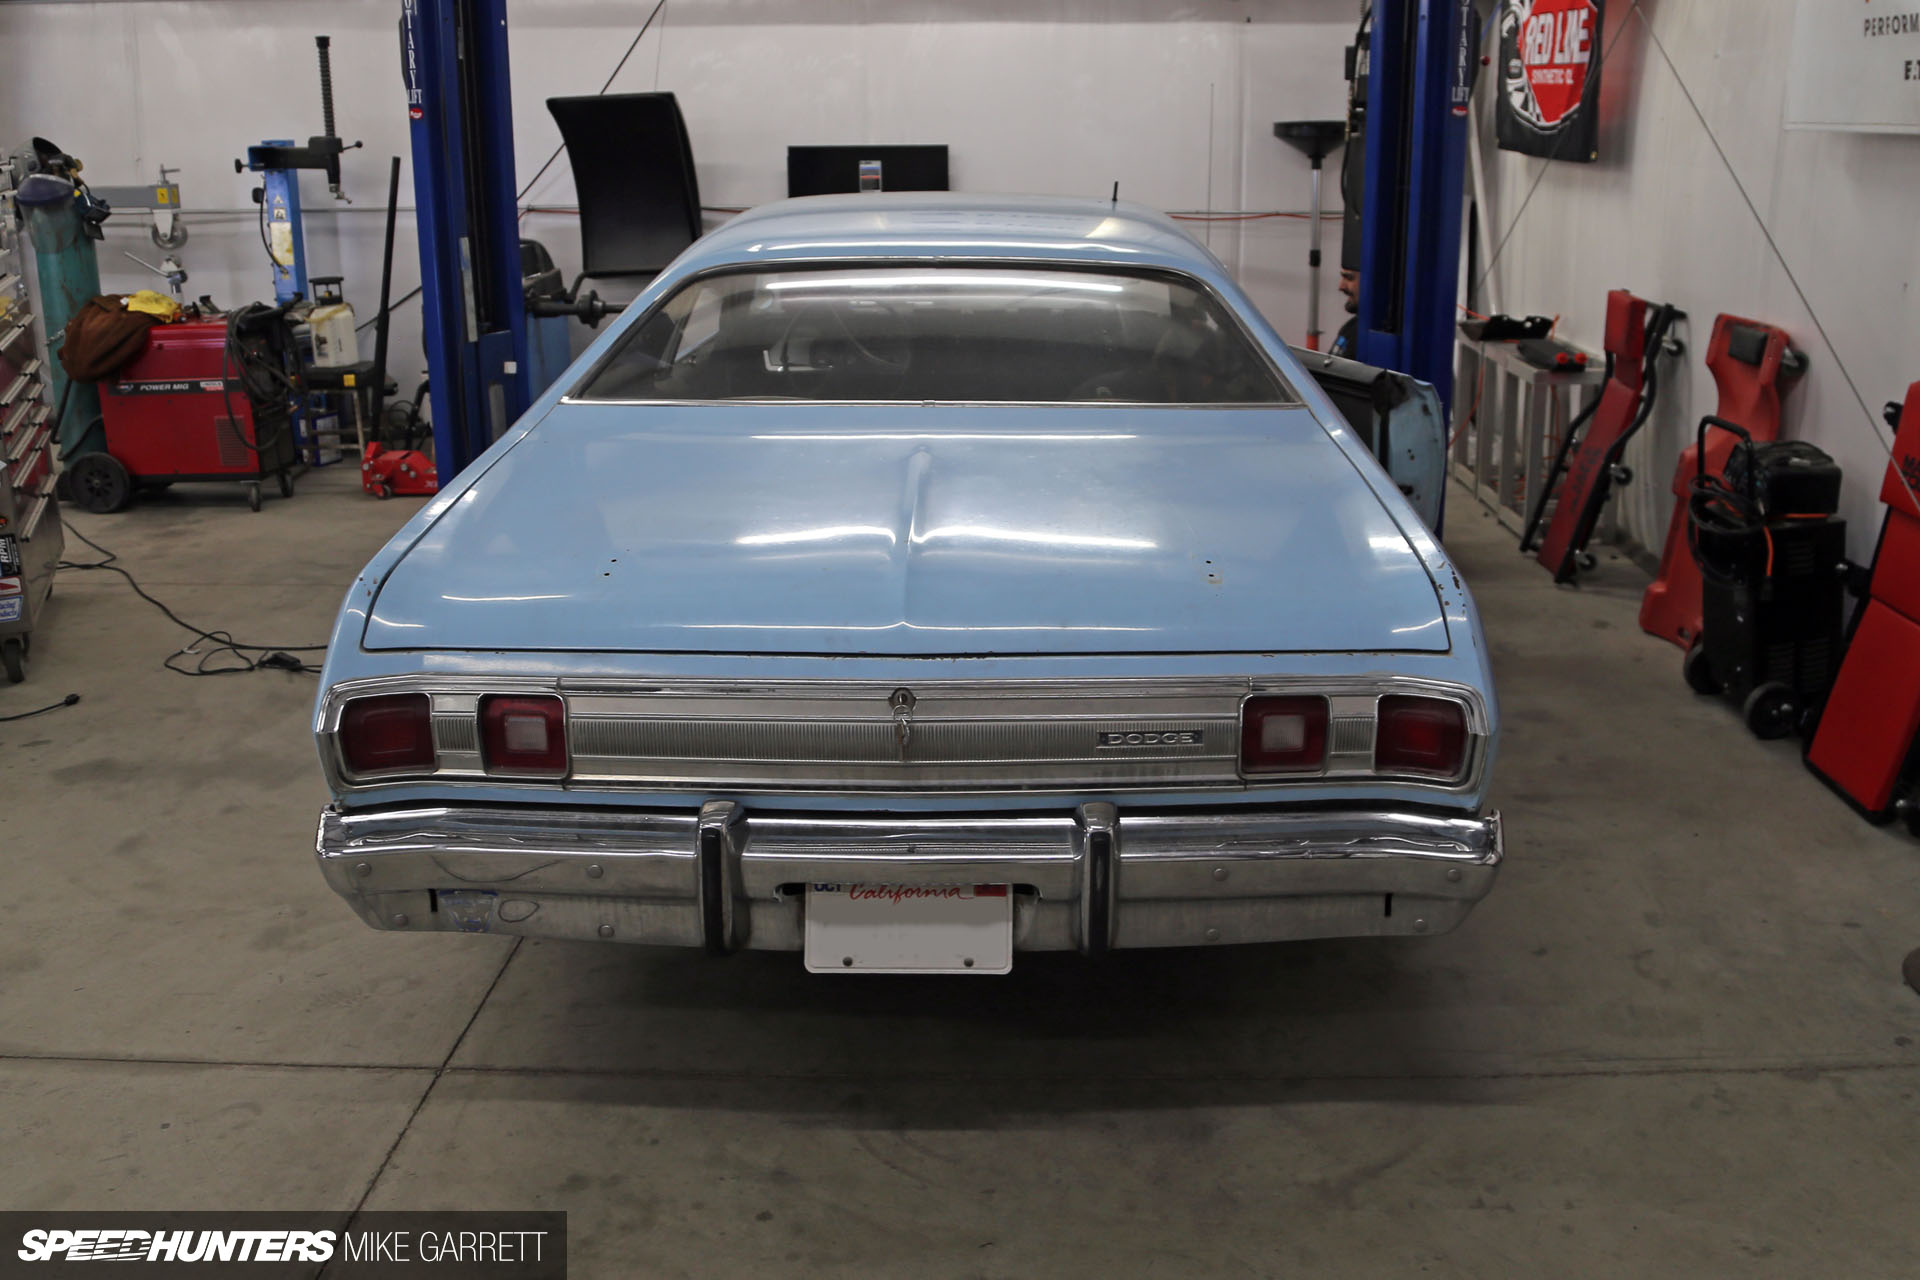
With the front end taken care of, it was time to the move to the rear. Bringing the bumper in a few inches had already made a big improvement to the profile, but there was another thing I wanted to add to the mix.
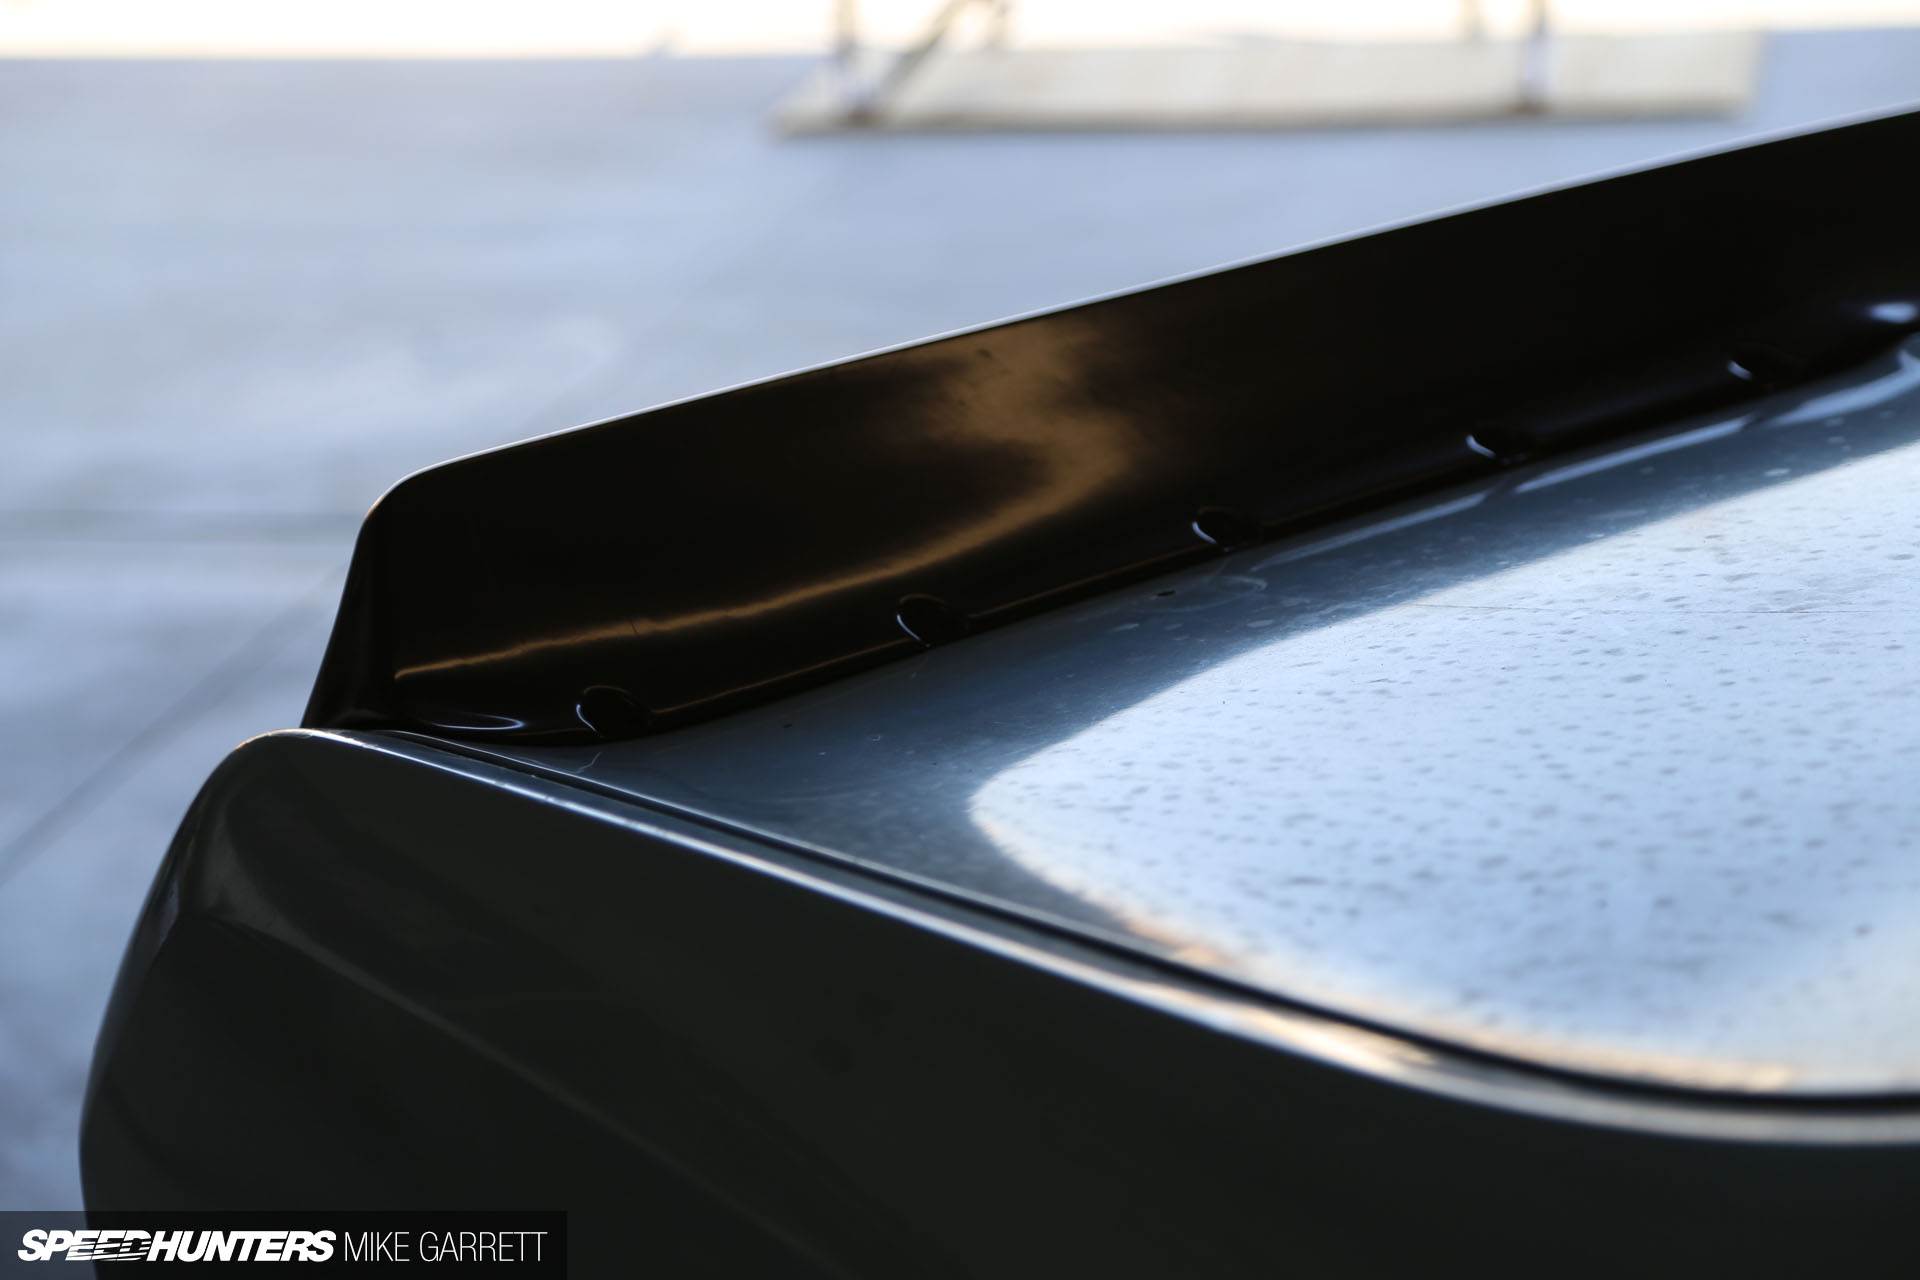
And that would be my prized NOS Direct Connection rear ducktail spoiler that I purchased soon after buying the car last year.

Originally available from Mopar dealers in the ’70s and ’80s, the wing matches perfectly with the look I’m going for, and the fitment is excellent too. I can’t wait to see what it looks like when it’s matched to the body color.

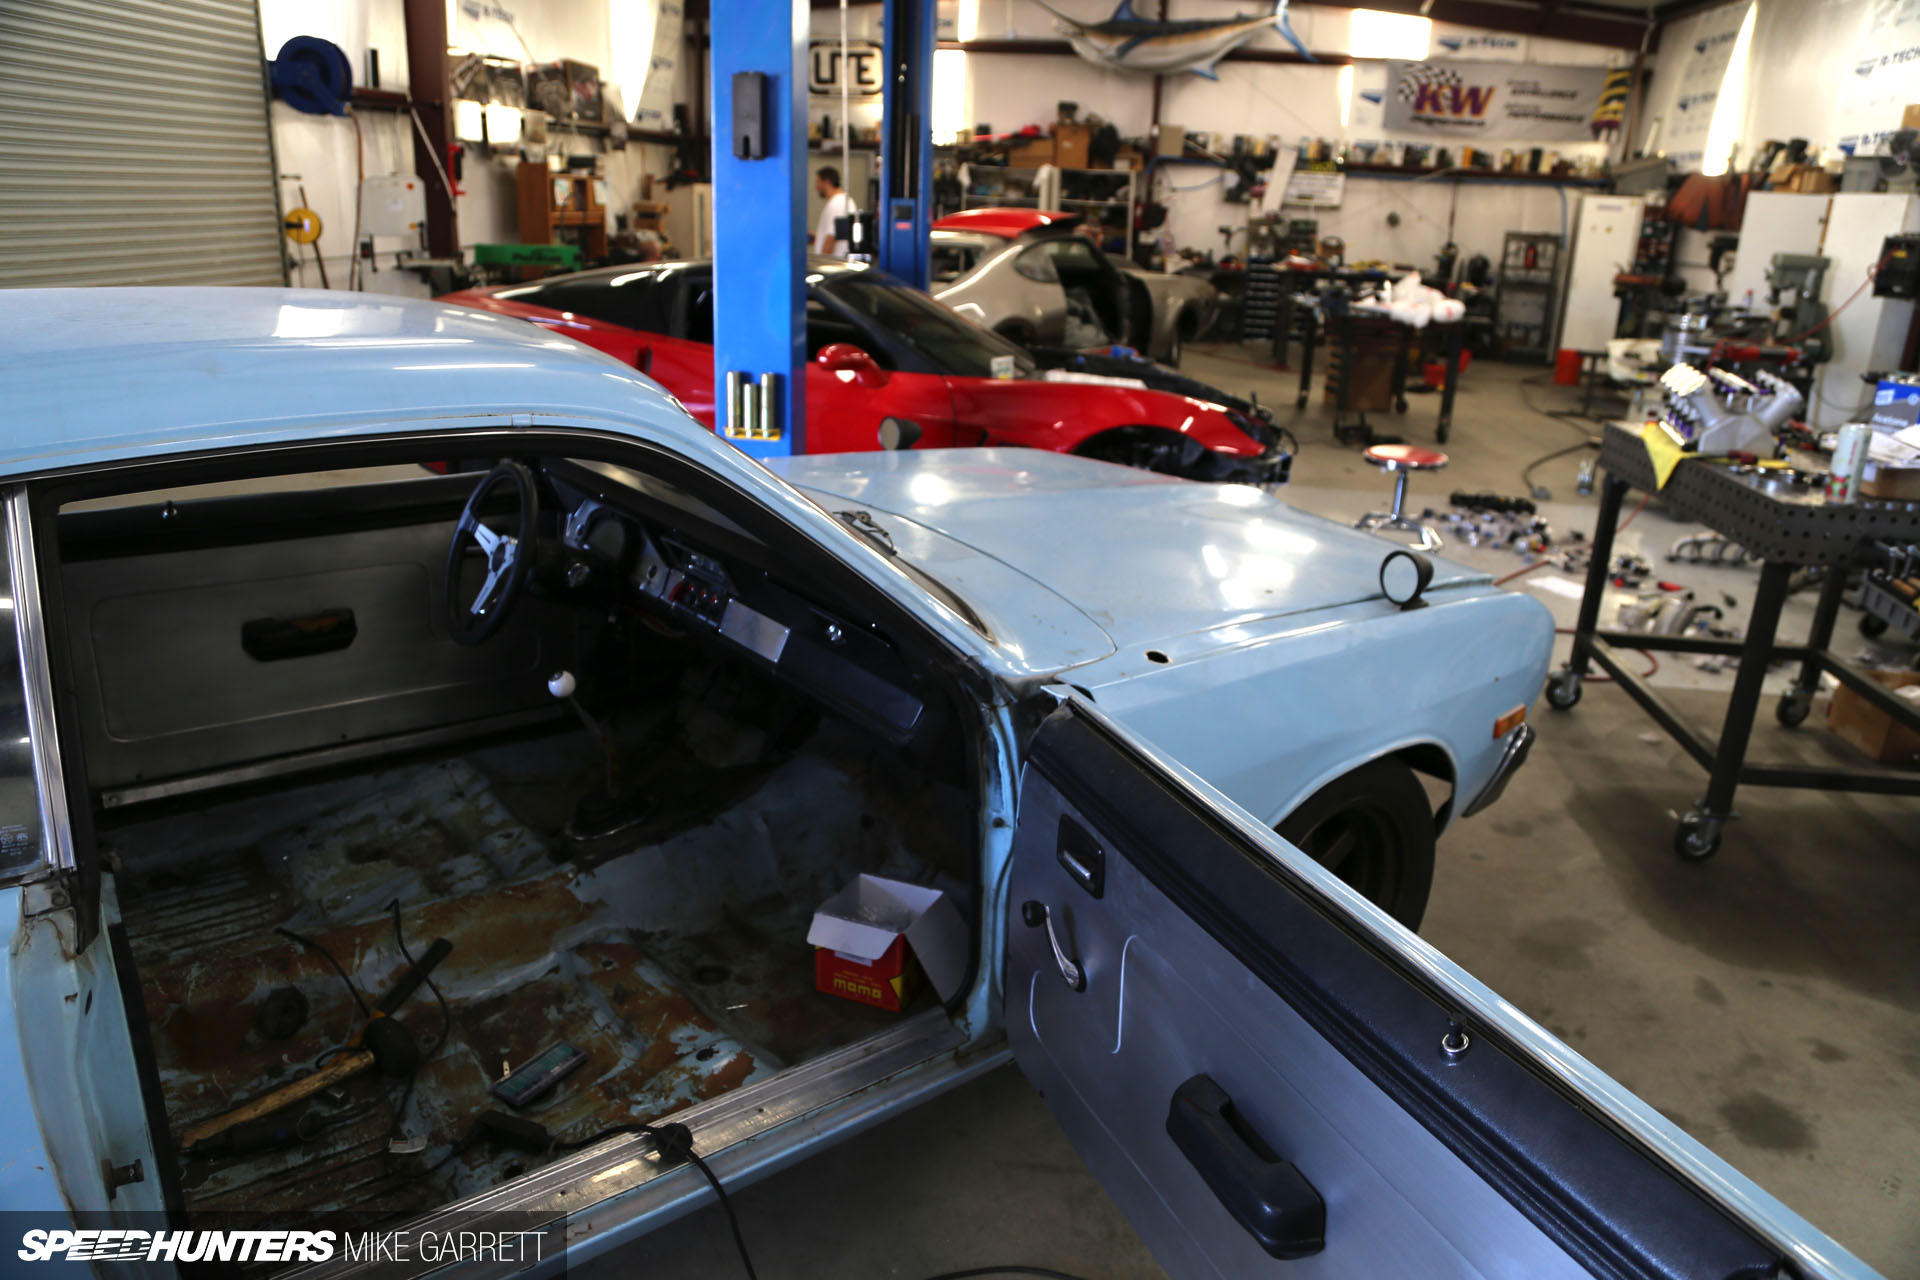
With the exterior modifications taken care of, the next area to tackle was the interior – an area that was in serious need of attention.
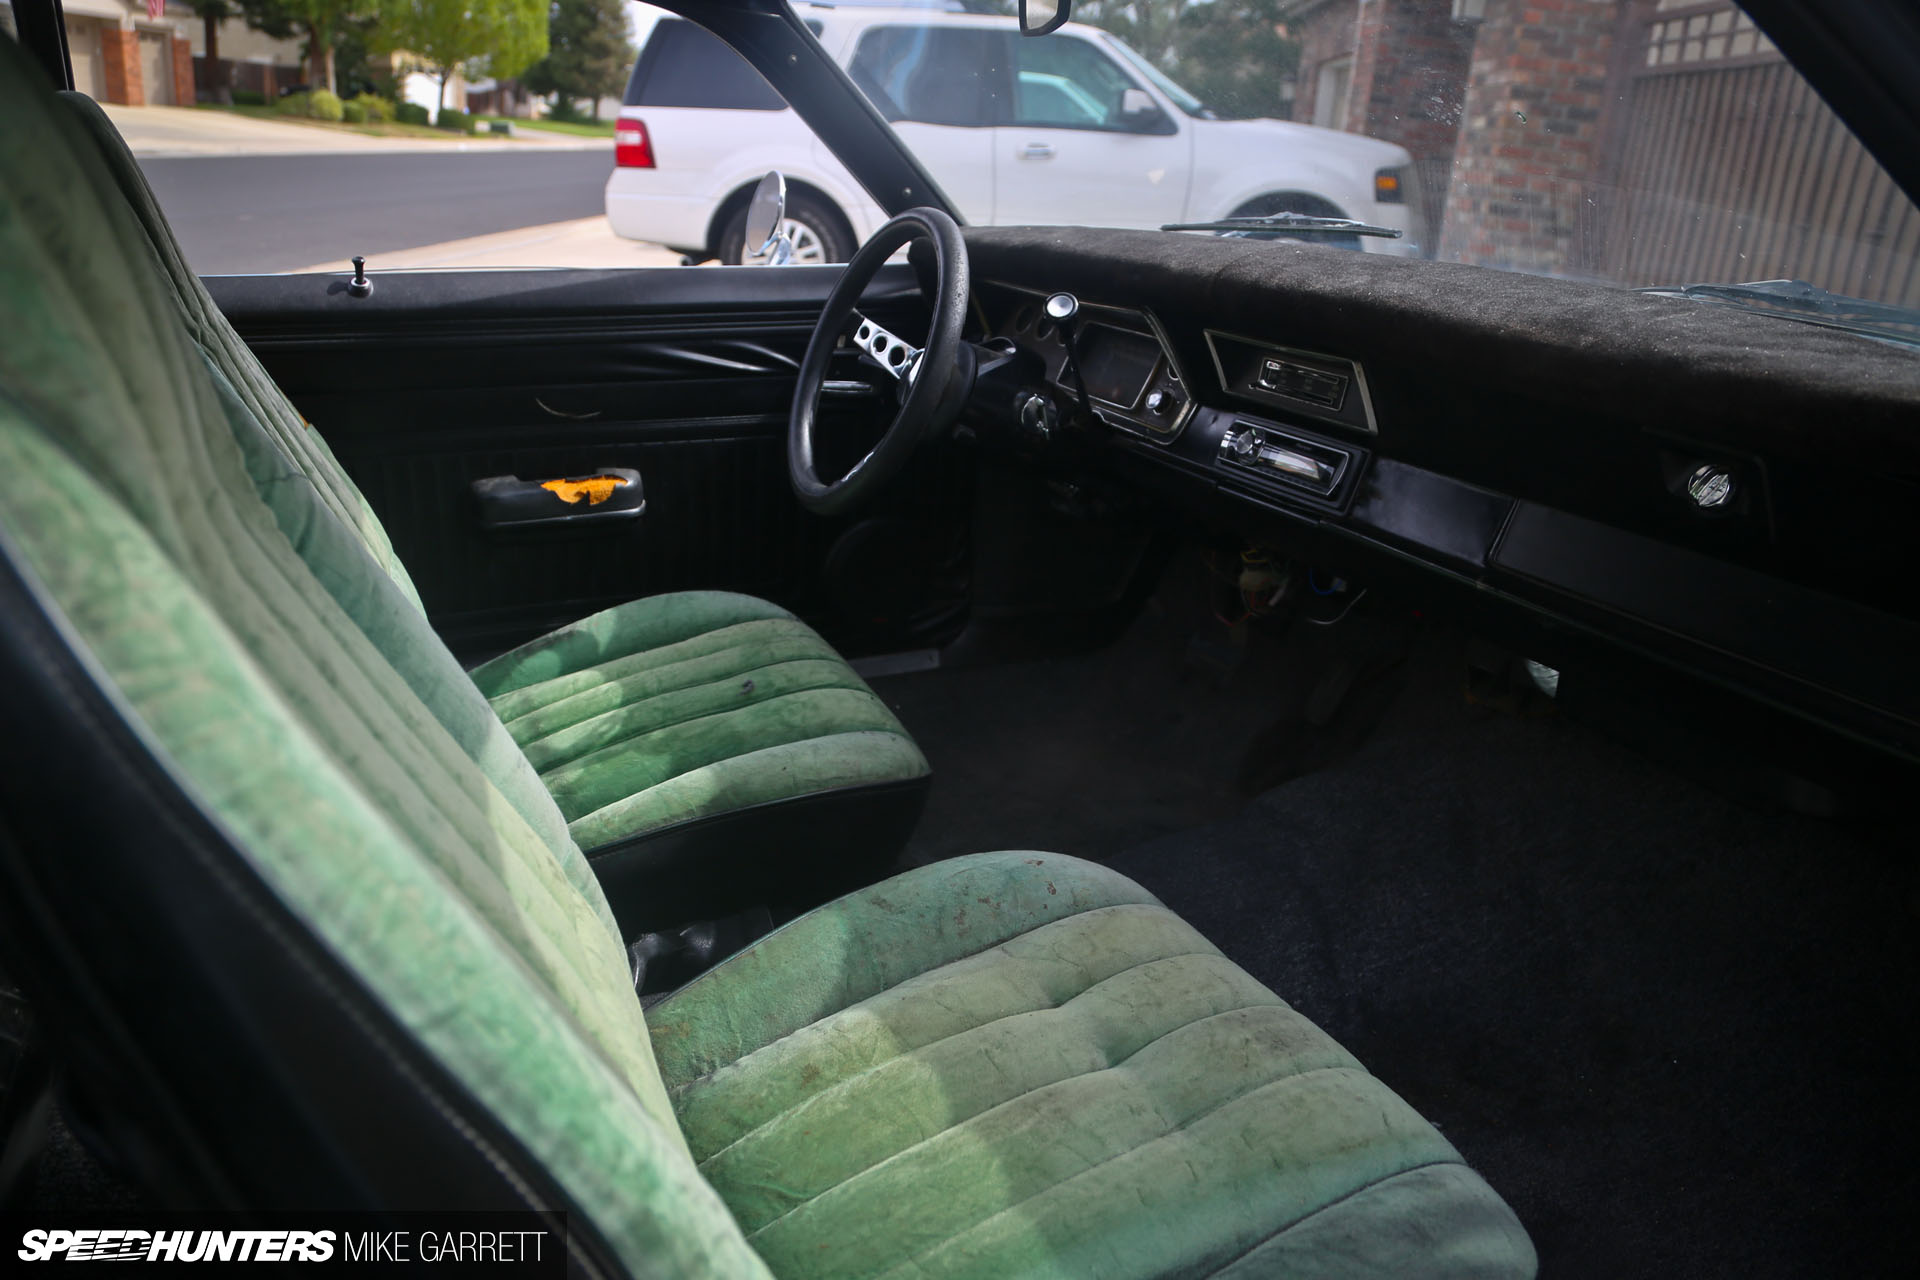
For a refresher, here’s what the interior looked like when I first picked up the Dart: old carpet, ripped green velour seats, a sagging dash cover and torn up door panels. It was sort of cool in a funky way I guess, but not something I wanted to live with for any longer than I had to.
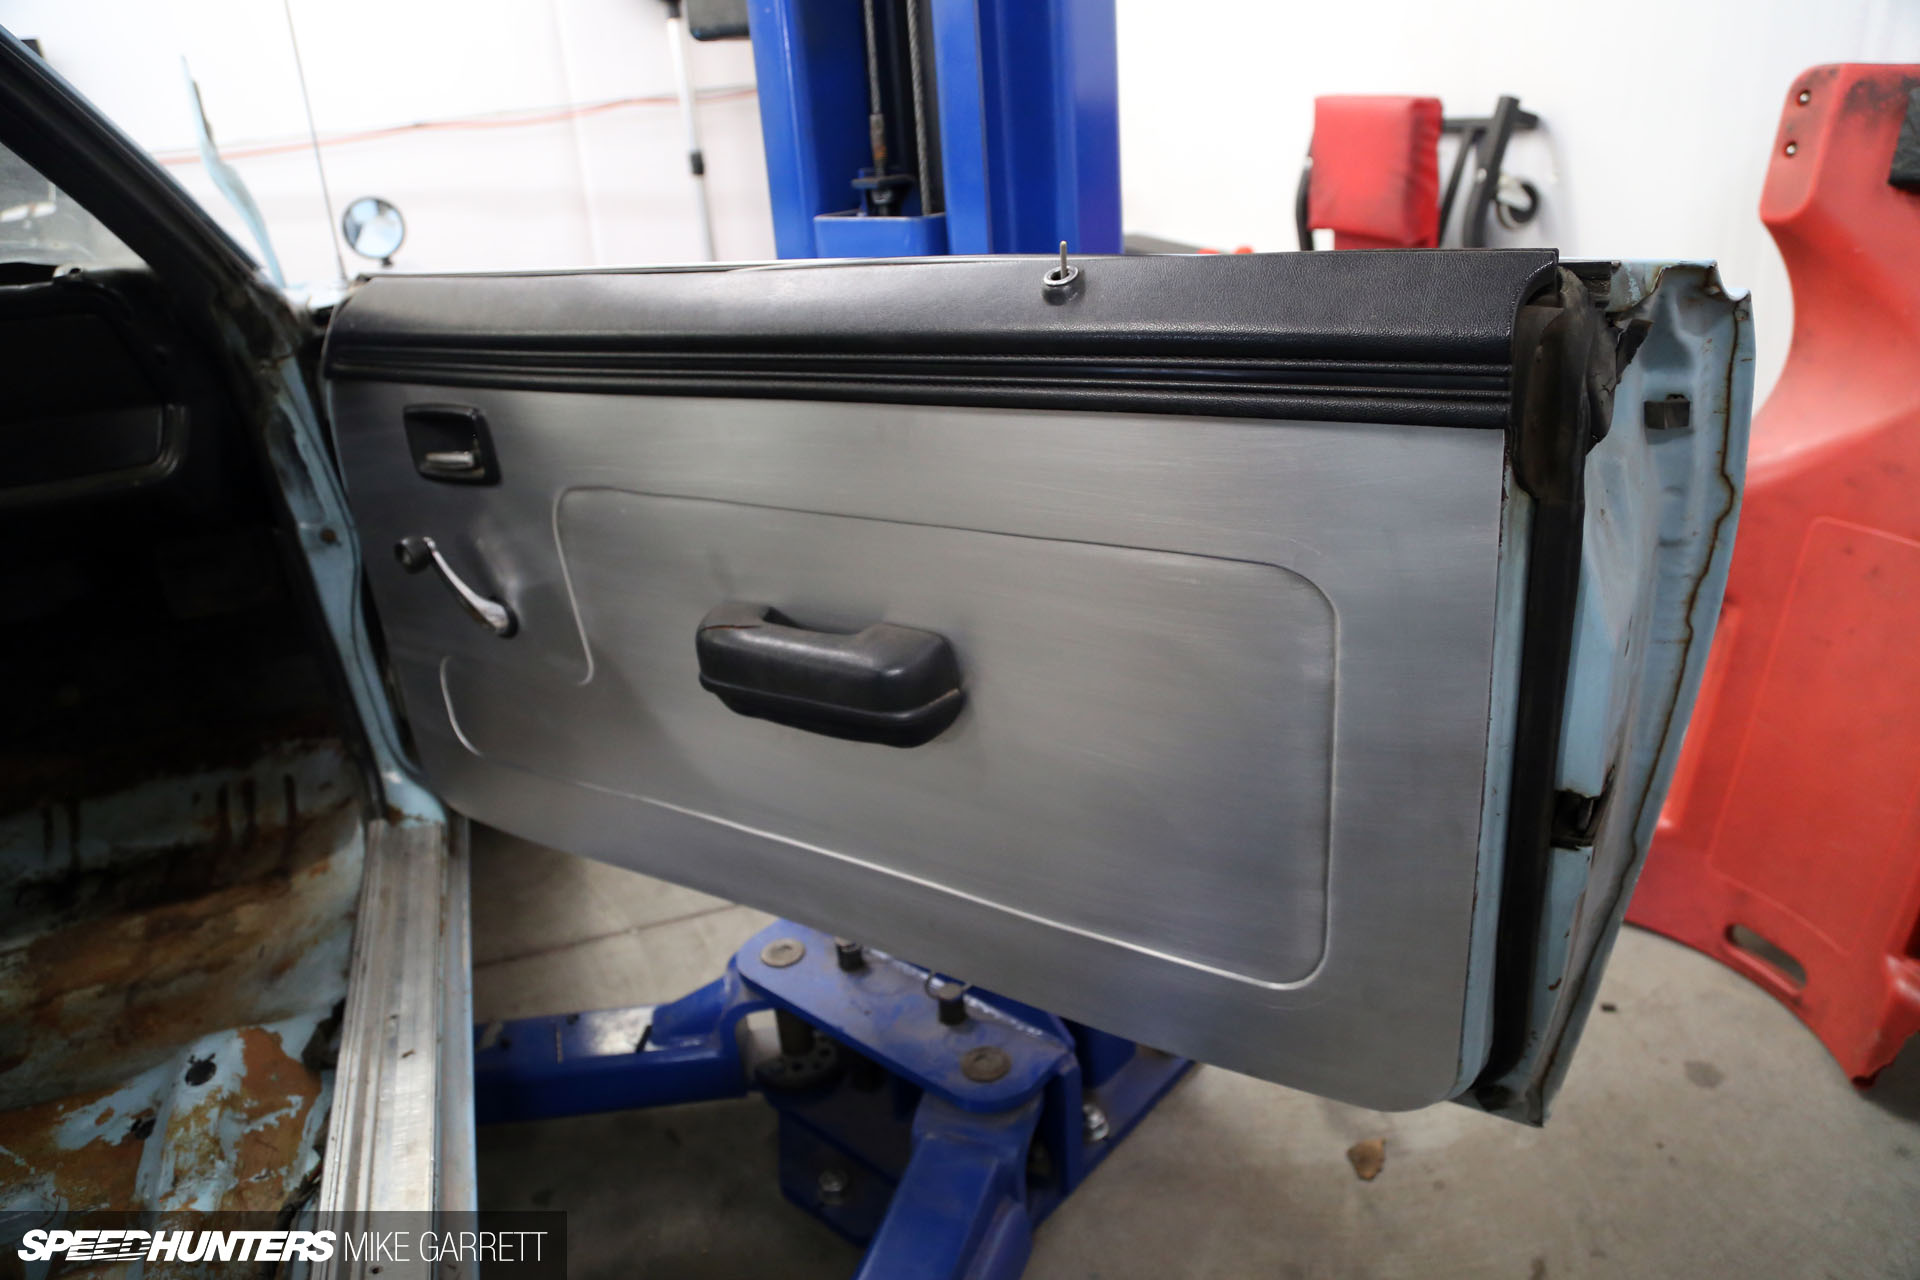
The first things to go were the shredded up door panels. Rather than replacing them with reproduction parts, we’ve gone for aluminum door skins that retain the factory door handles and window cranks.

My original arm rests were also pretty beat up, so Matt designed some trick door pulls complete with finger cut outs.
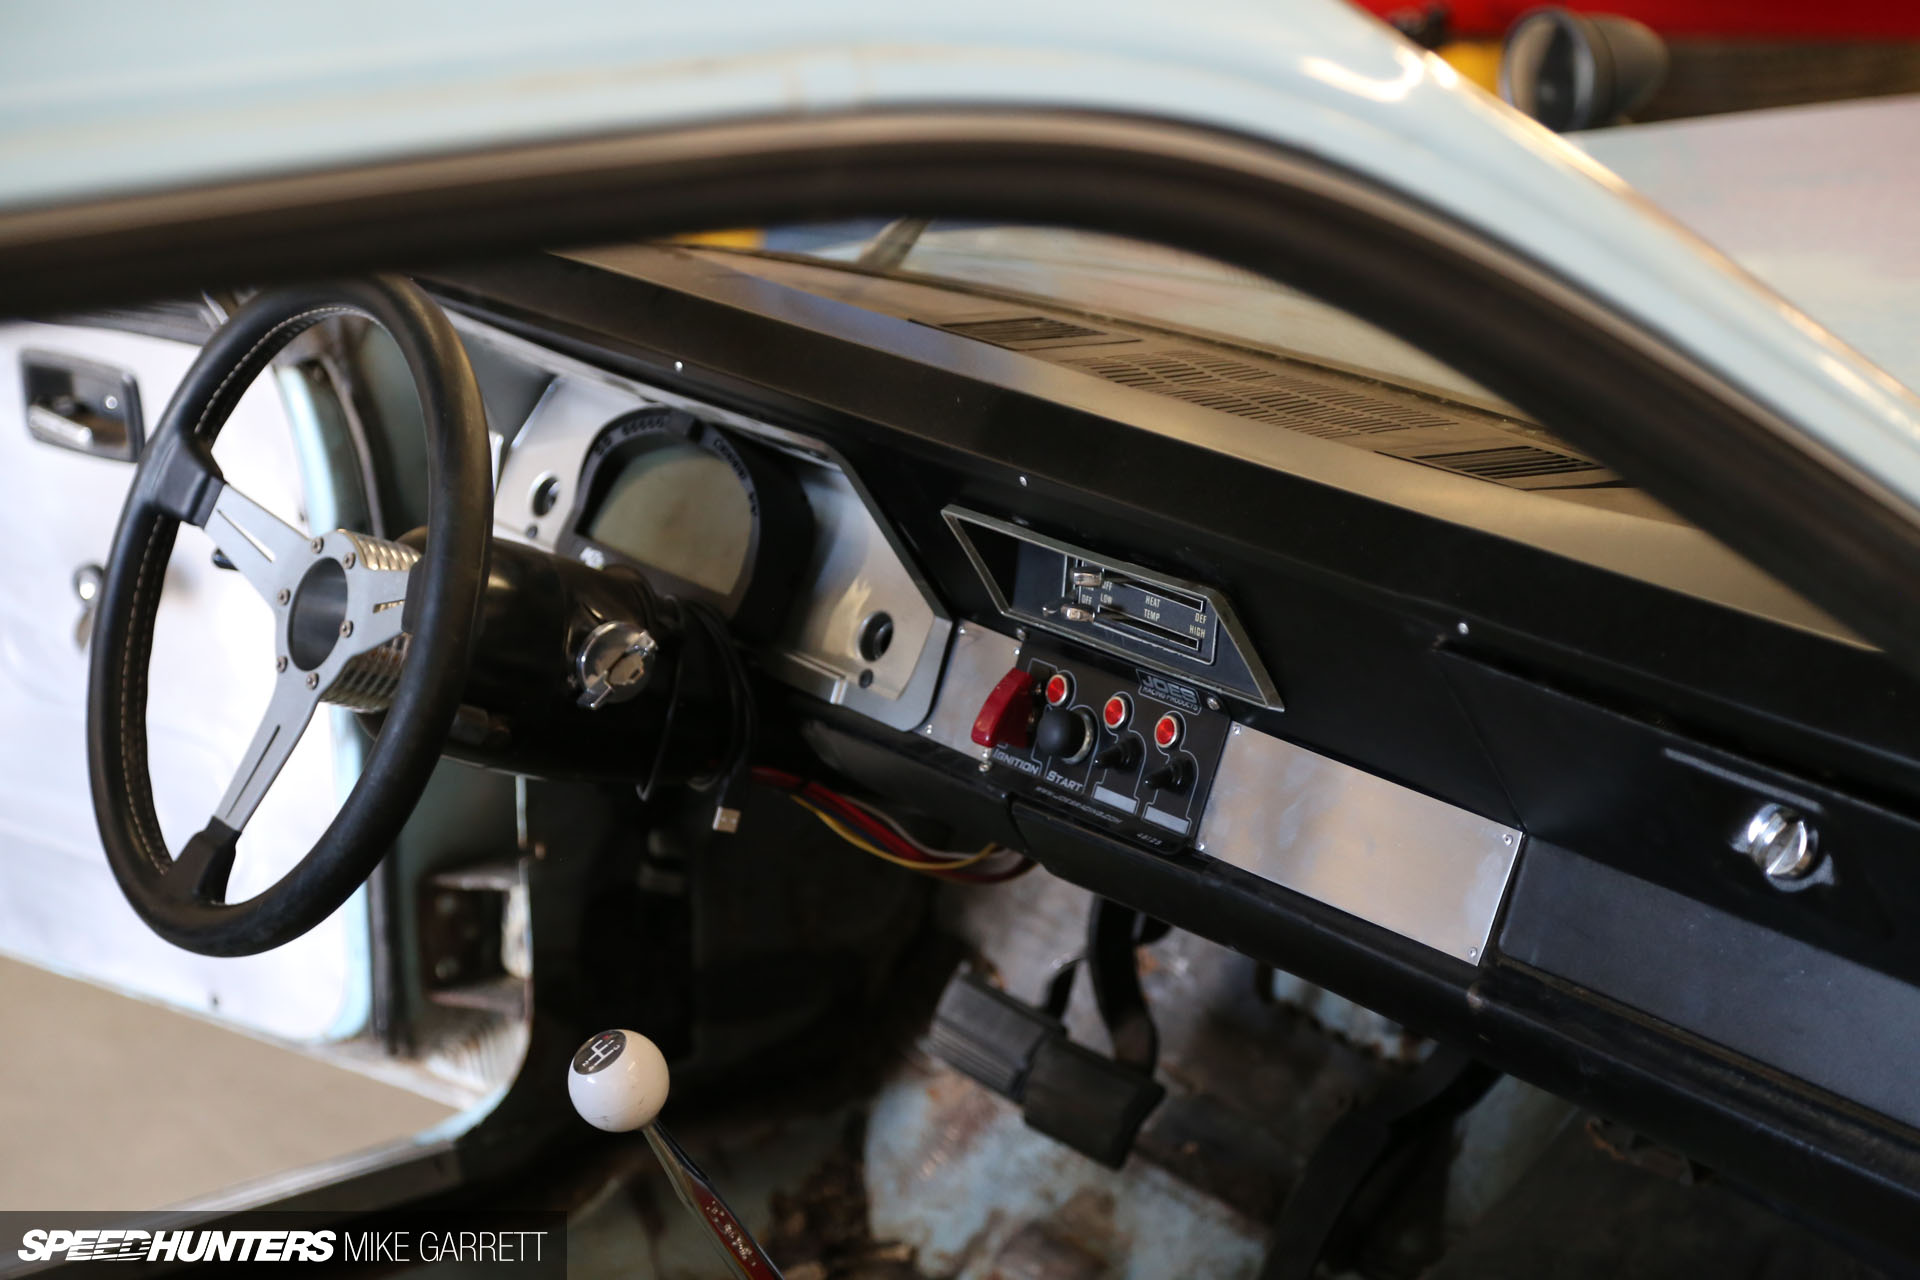
The dash pad was another part that needed to be replaced. Again, rather than fitting a stock reproduction pad we decided to keep the race car theme going with a simple aluminum cover to tie up the metal dash frame.

One of Caliber Customs’ specialties is building roll cages for time attack cars and machines that eclipse 200mph in the half mile. For a mix of street and occasional track use, Project Yankee wouldn’t need something quite that extreme though.
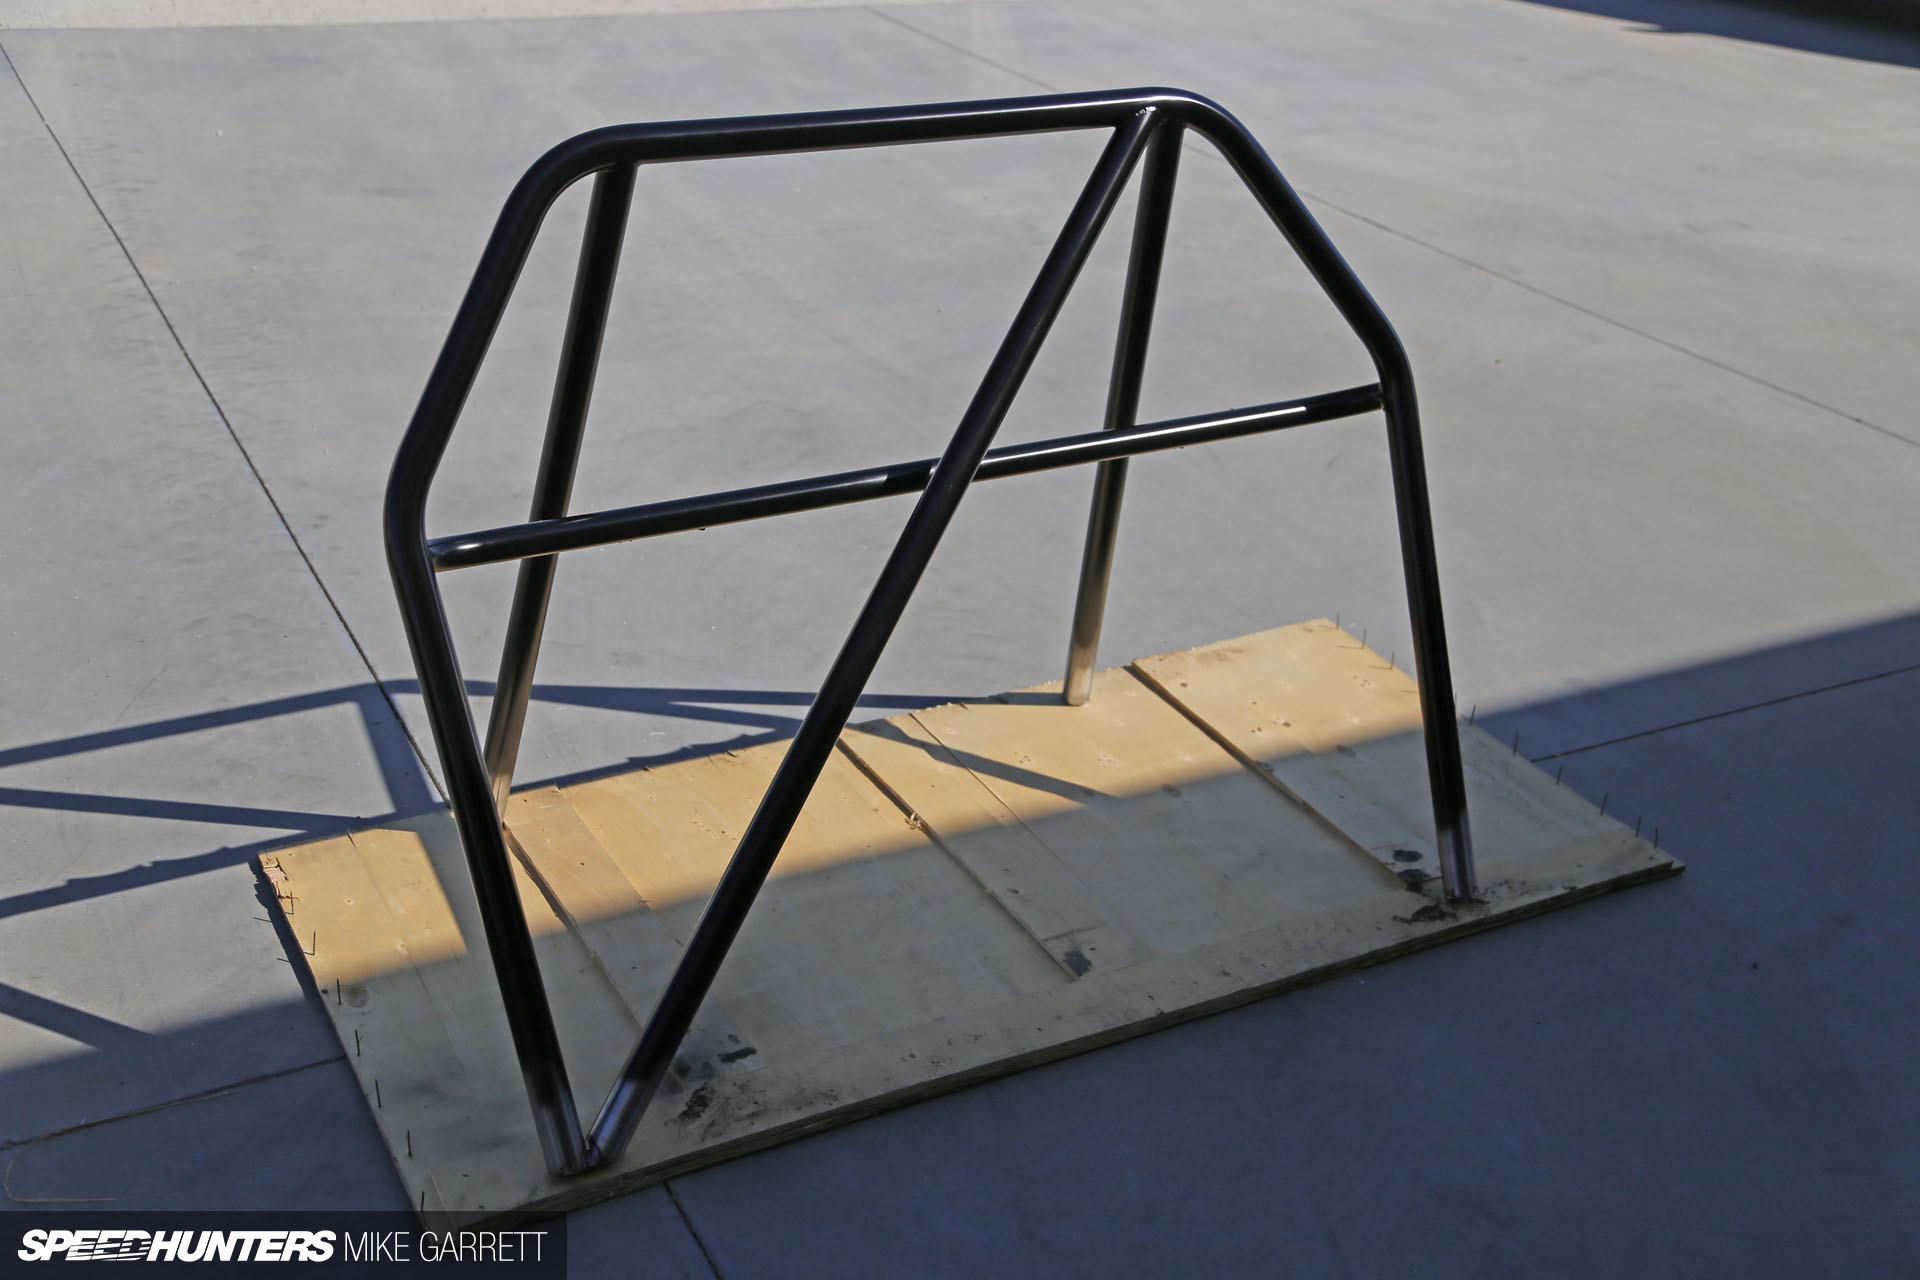
For Matt and the Caliber crew, my simple 4-point roll bar with a single diagonal and a harness bar was a piece of cake. Once I saw the completed piece I realized why so many serious racers trust these guys.
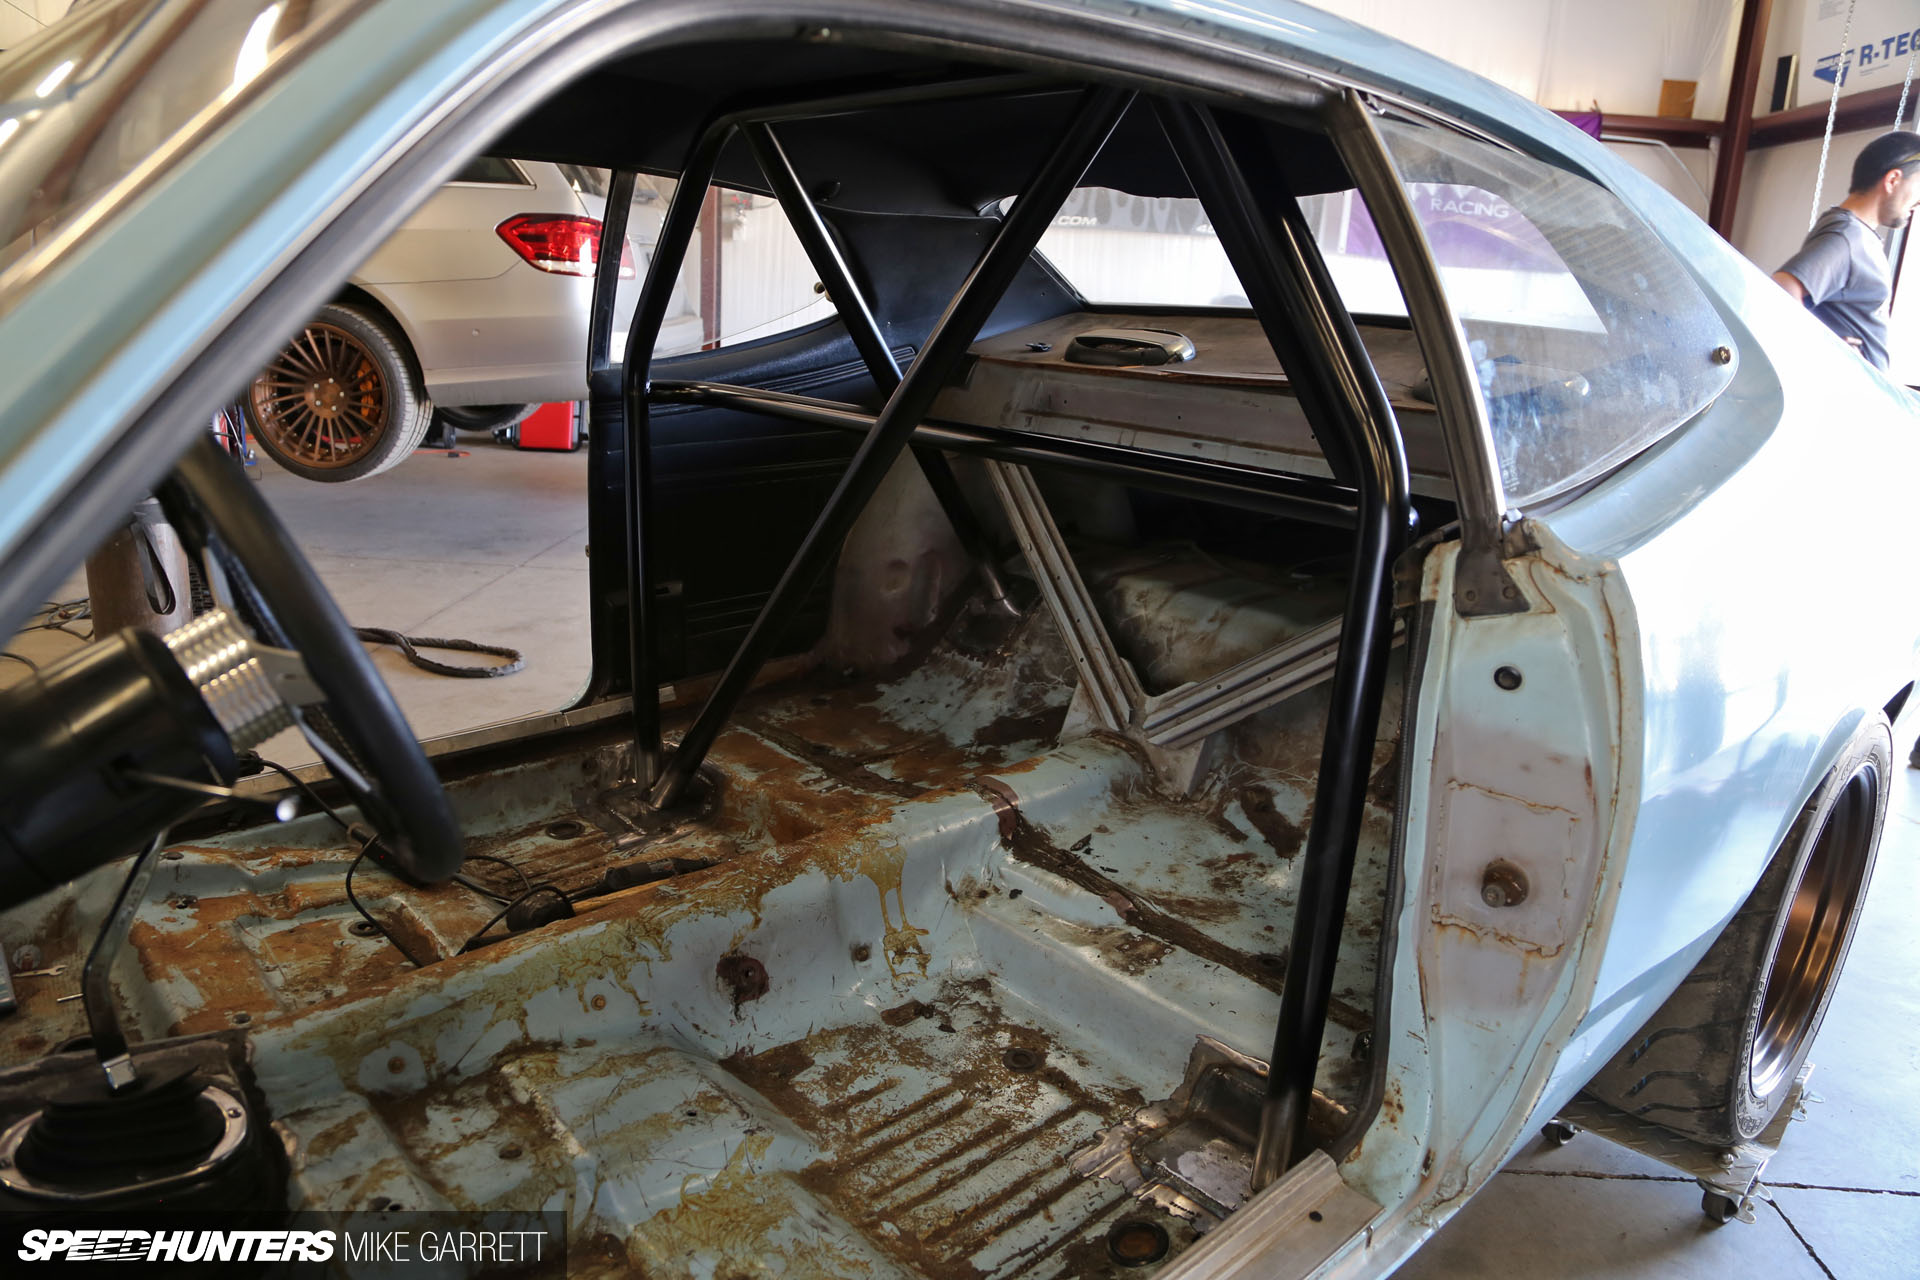
The craftsmanship is fantastic, and it should improve both safety and rigidity without getting in the way. It also happens to look pretty damn cool.
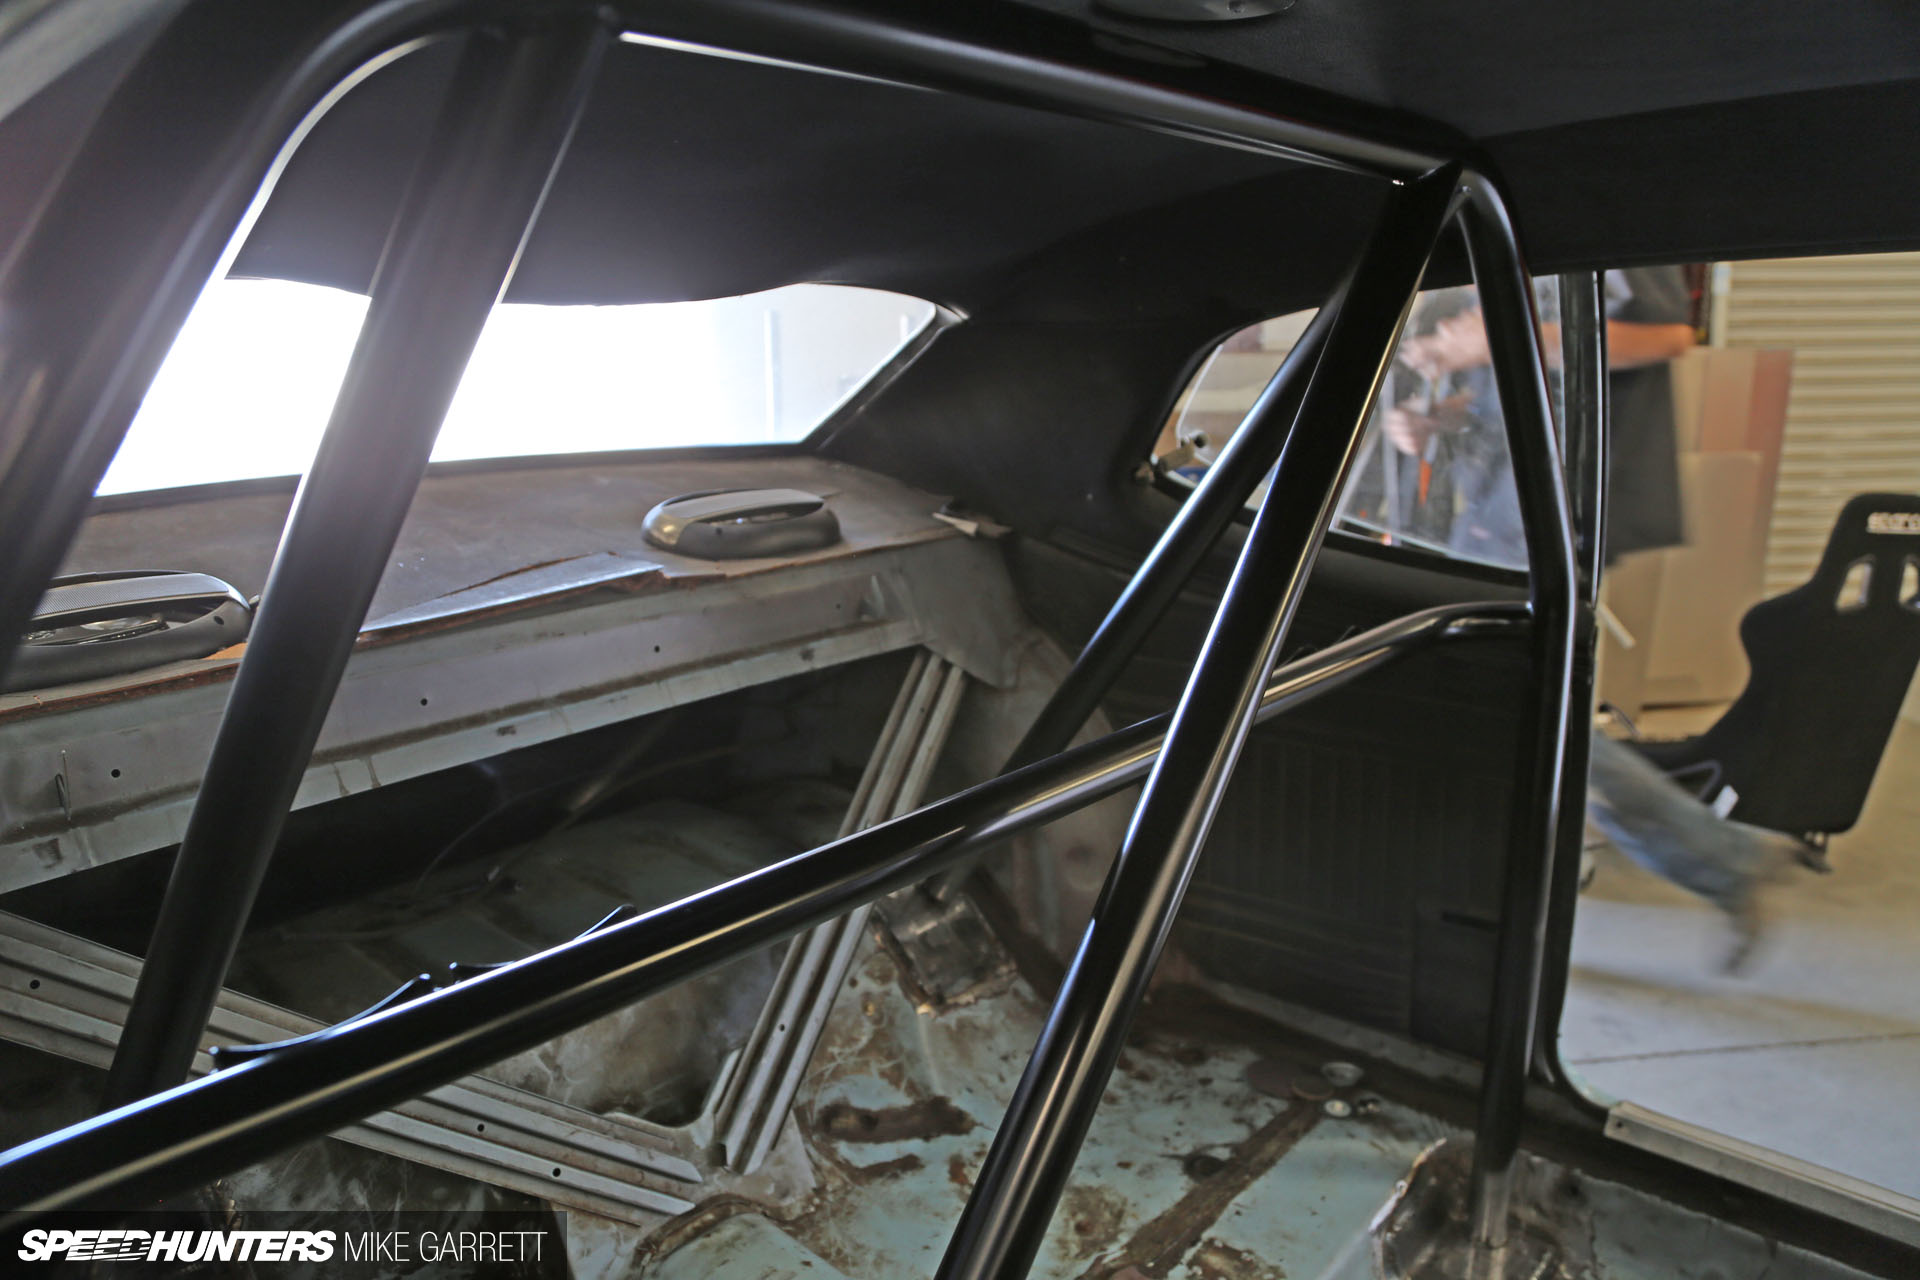
Needless to say, Project Yankee is now strictly a 2-seater. The next thing to do was fab up some panels to cover everything in the rear, and to replace the busted up package tray. Look for that in the next update.

Also in the next update: seats! Here’s a little sneak peek at what we’ve done with the good folks at Cobra Seats in the UK. More on these bad boys soon.

Along with finalizing the interior, the last big thing to do is bodywork and a new color, so keep an eye out for that next time.
There’s not many days left till SEMA, but with the help of some very good people I think it’s all going come together just in time. Stay tuned!
Mike Garrett
Instagram: japanifornia
mike@speedhunters.com
More Speedhunters Project Cars
CSF Radiators
Dapper Lighting
Cobra Seats
Caliber Customs