
“Honestly, why the f**k do I even like cars?” I turn my face towards the cool pavement under the car, spitting out pieces of dried engine bay gunk as I ask the question to nobody in particular.
It’s day four of a one day job. My right arm is balancing a 5-speed gearbox on top of a jack while my left tries to gain some leverage on some protrusion of 1980s subframe steel to send the gearbox home. It just won’t go. The splines need to be lined up perfectly, and no matter what I do, a half inch of empty space remains between gearbox housing and engine block.
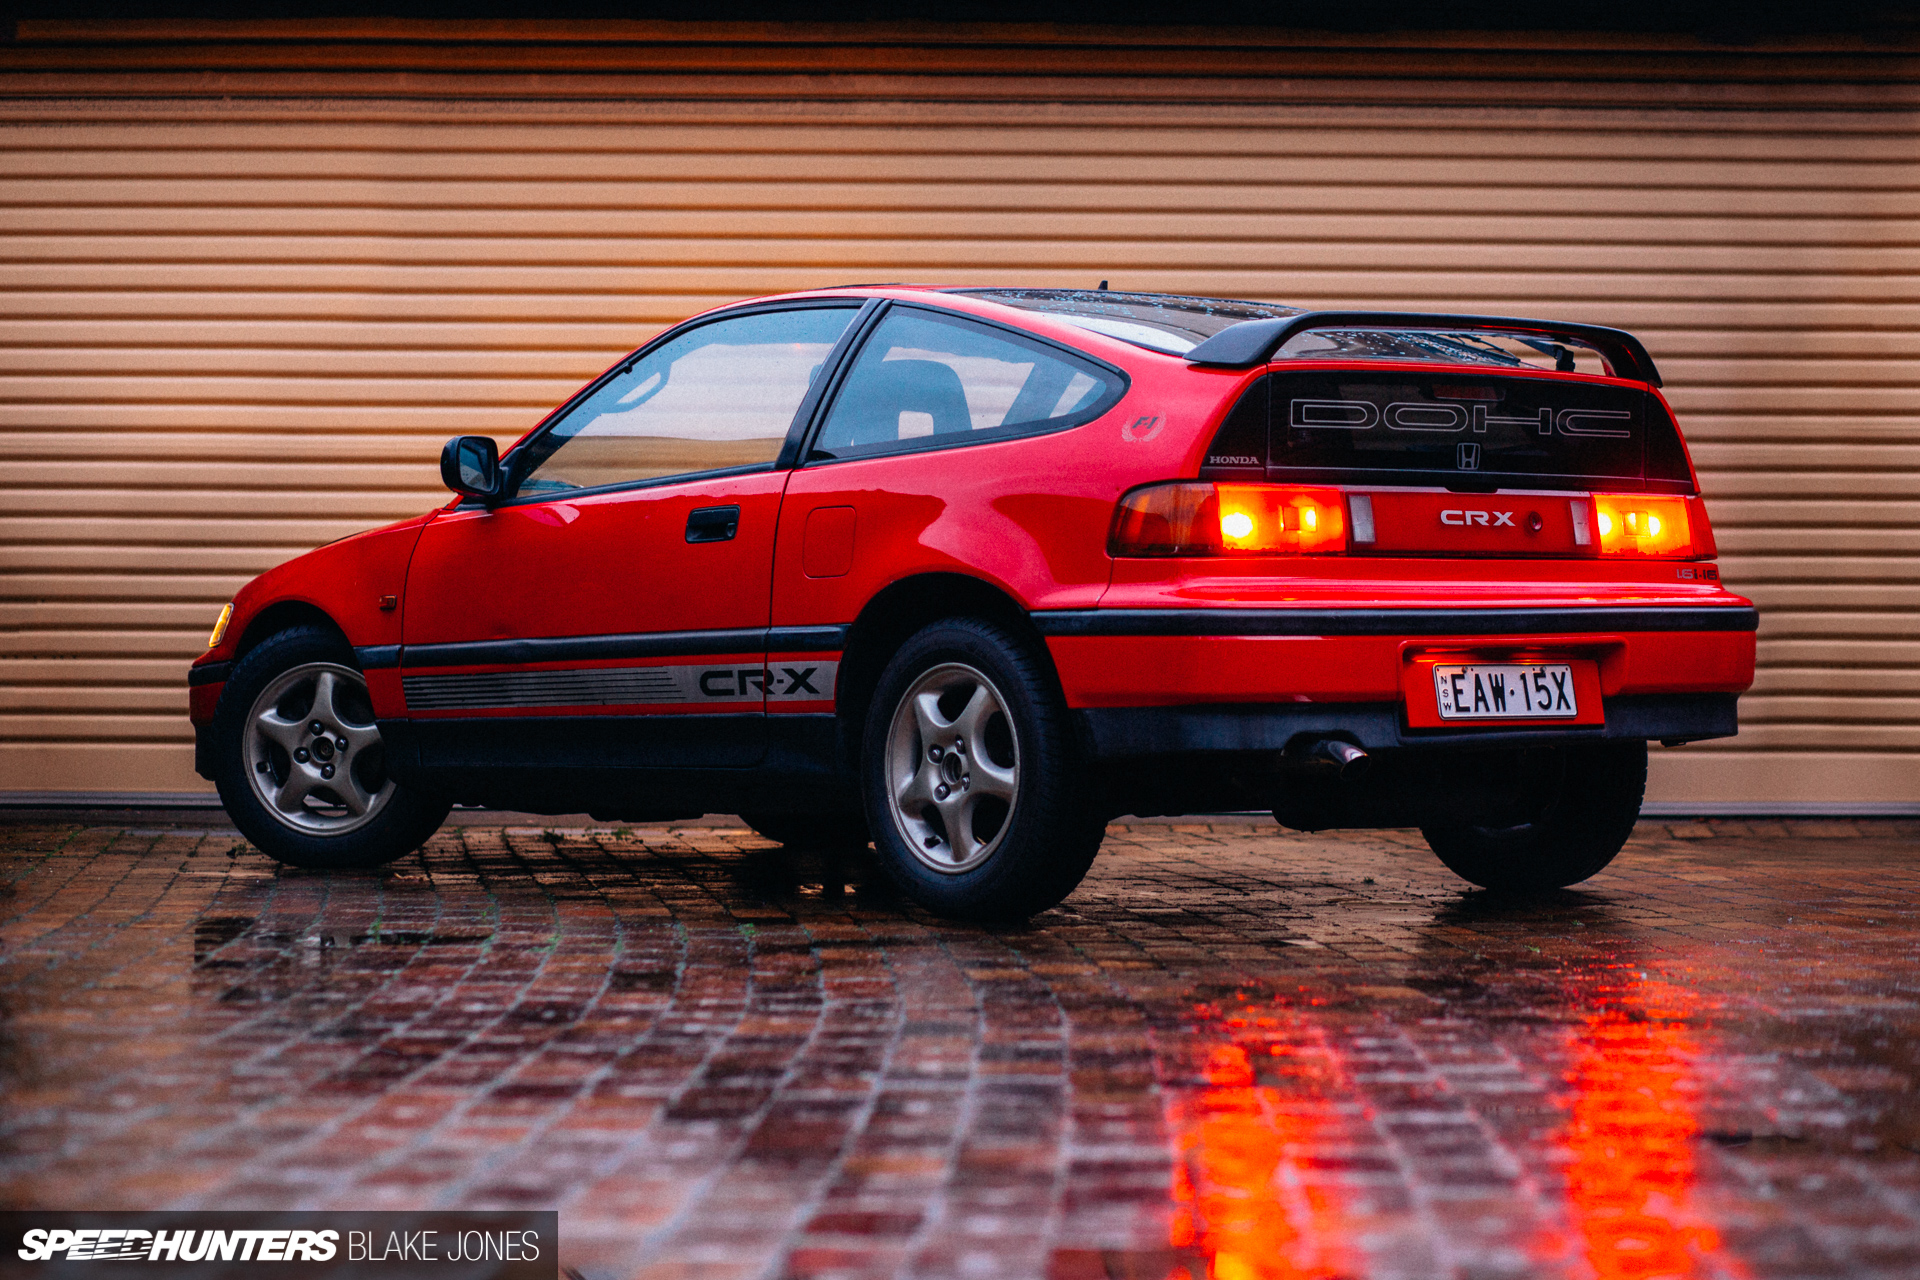
YouTube tutorials were watched. I briefed my girlfriend on floor jack operation and proceeded to get my arm half crushed. My iPhone was lowered through the starter motor hole to film the mating procedure like some sort of OnlyFans content grab. Still, nothing. Tools down, hands washed, time for a beer and a promise to try again next weekend. Defeated by what was meant to be a simple project car to get me back into wrenching now that I finally have a garage – this 1988 Honda CR-X.
“Is it the right clutch?” Neal asked me. Neal is the mastermind who builds the Yaris AP4 cars which have been dominating the Australian Rally Championship, but is polite enough to listen to my problems before we talk business. “[Prominent Australian Online Parts Retailer] said it was, so I assumed so,” I replied.
“Drop the gearbox out and see if the gearbox shaft fits the clutch; they might’ve sent you the wrong part.”
Neal, of course, was completely right. Honda had made a year model change to the gearbox, adding an extra spline in the process, which aforementioned retailer had neglected to reflect in their catalogue. A protracted email-based argument ensued, I finally got the right clutch and, after a test-fit, of course, got it hooked up first go. Feeling that input shaft slide home was, in a word, orgasmic.
Lesson One: Always Test-fit Your PartsDid I heed this lesson straight away? Of course not.
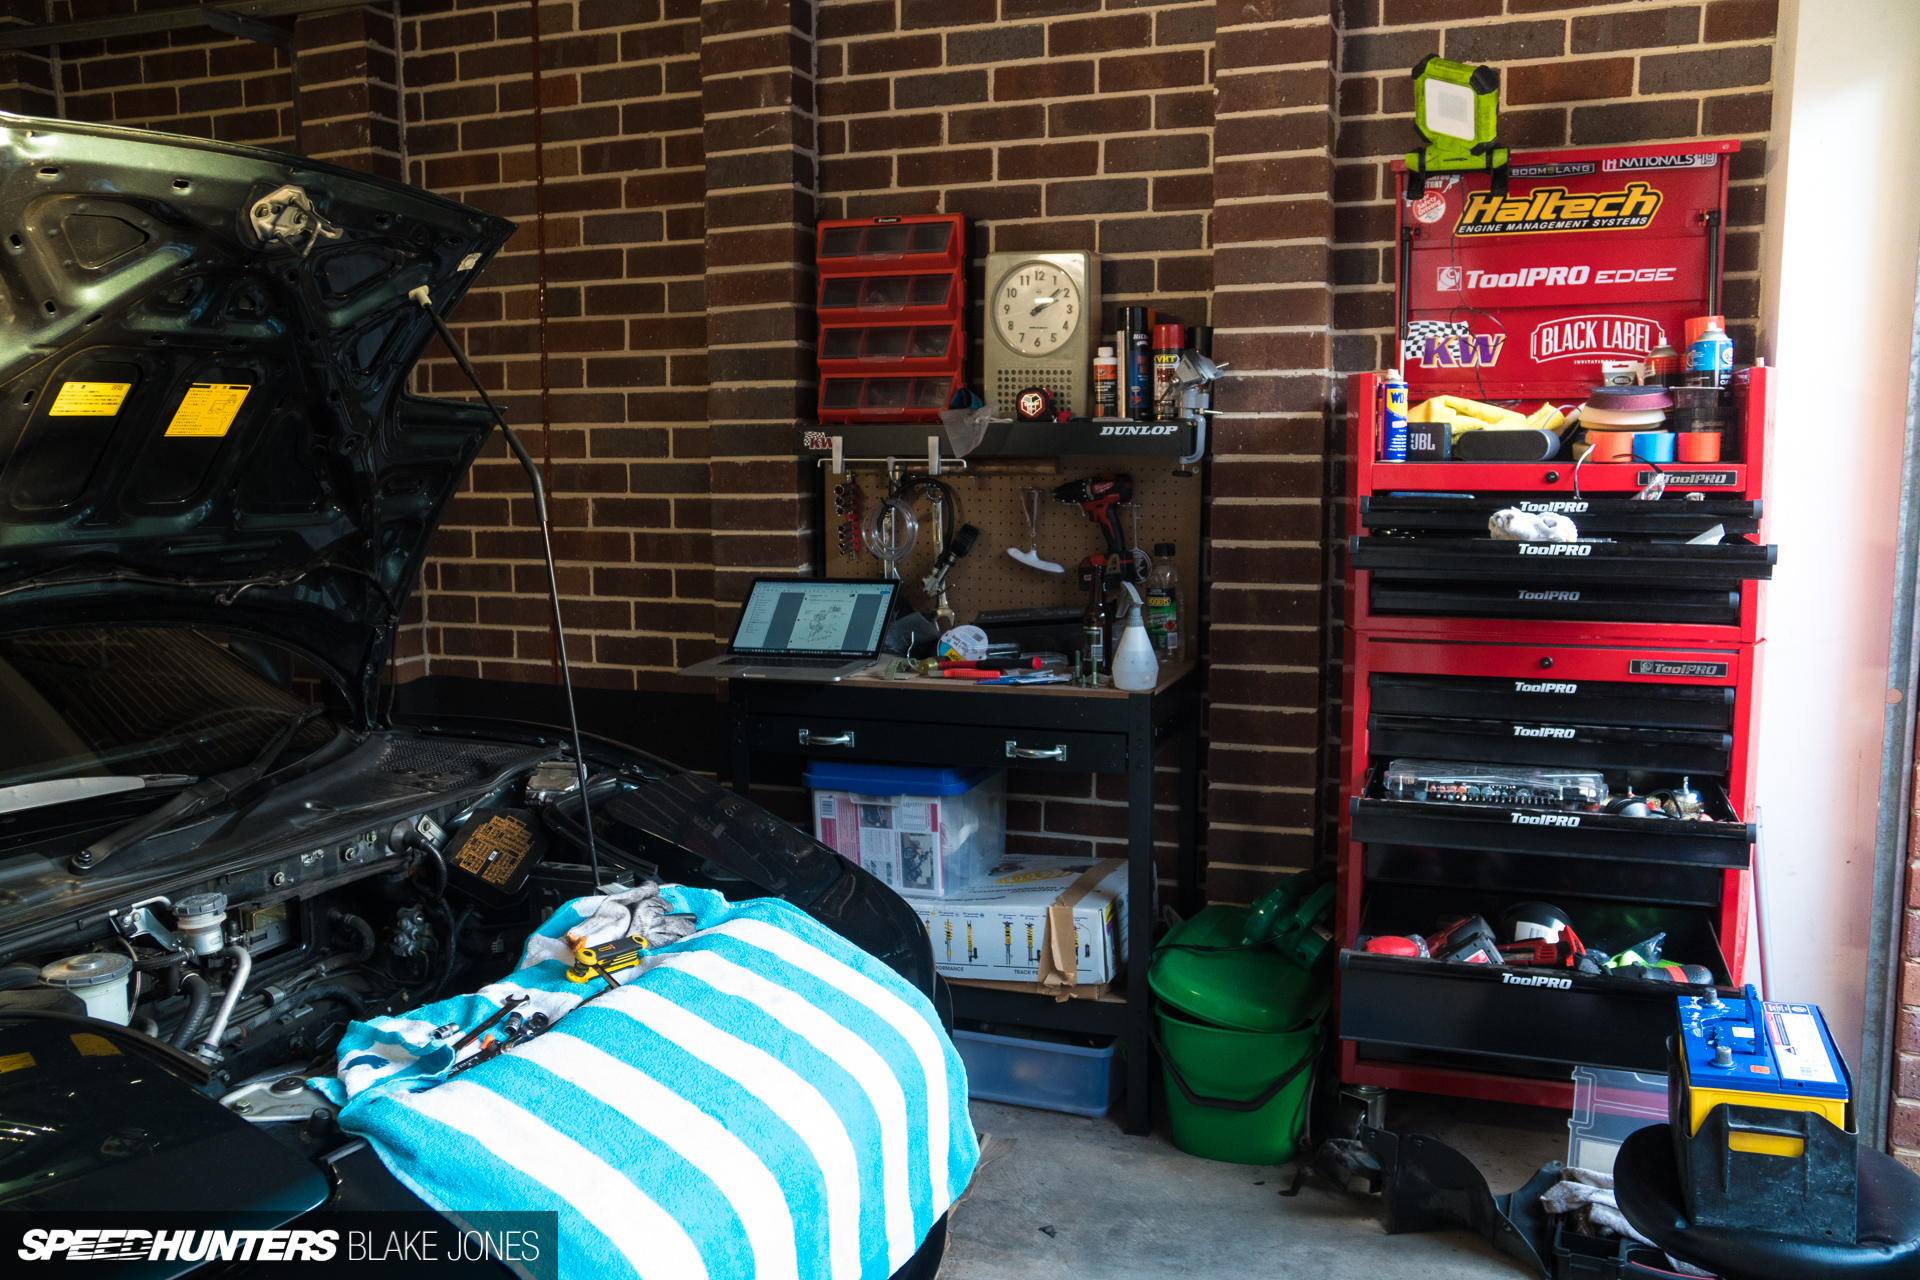
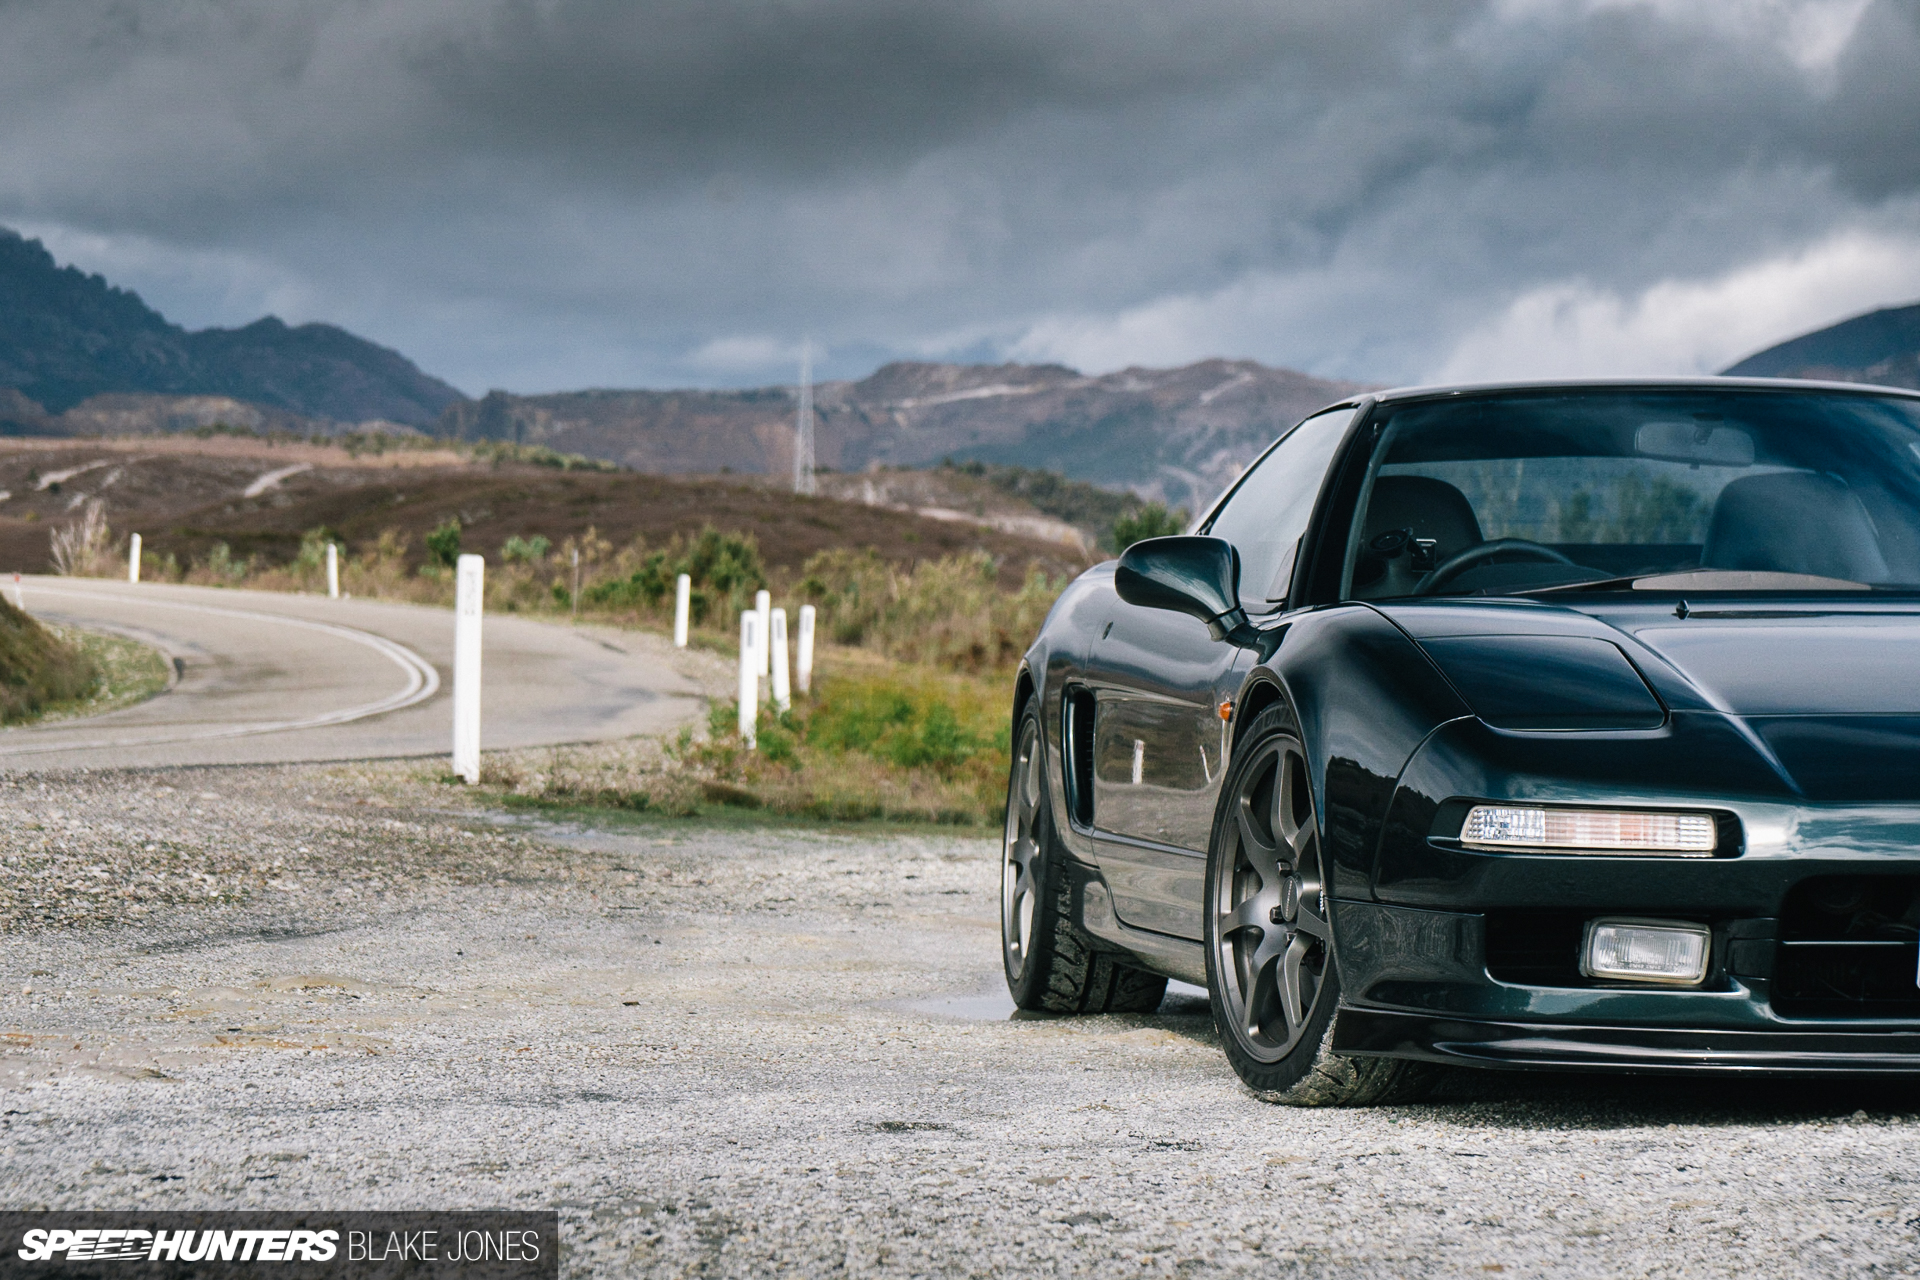
Back on Project NSX’s side of the garage, some work was underway. Under a layer of dust sat a little pile of parts I’d been collecting since last year: all the components required for an OEM ABS modernisation, and a few bits cobbled together for a long-overdue injector upgrade.
It’s work that should have been done earlier, but I really rather enjoyed having the car on the road and exploring the roads around Melbourne. COVID-19 put an end to all that – Australia was locked down and recreational driving was expressly forbidden. Time to get stuck in.

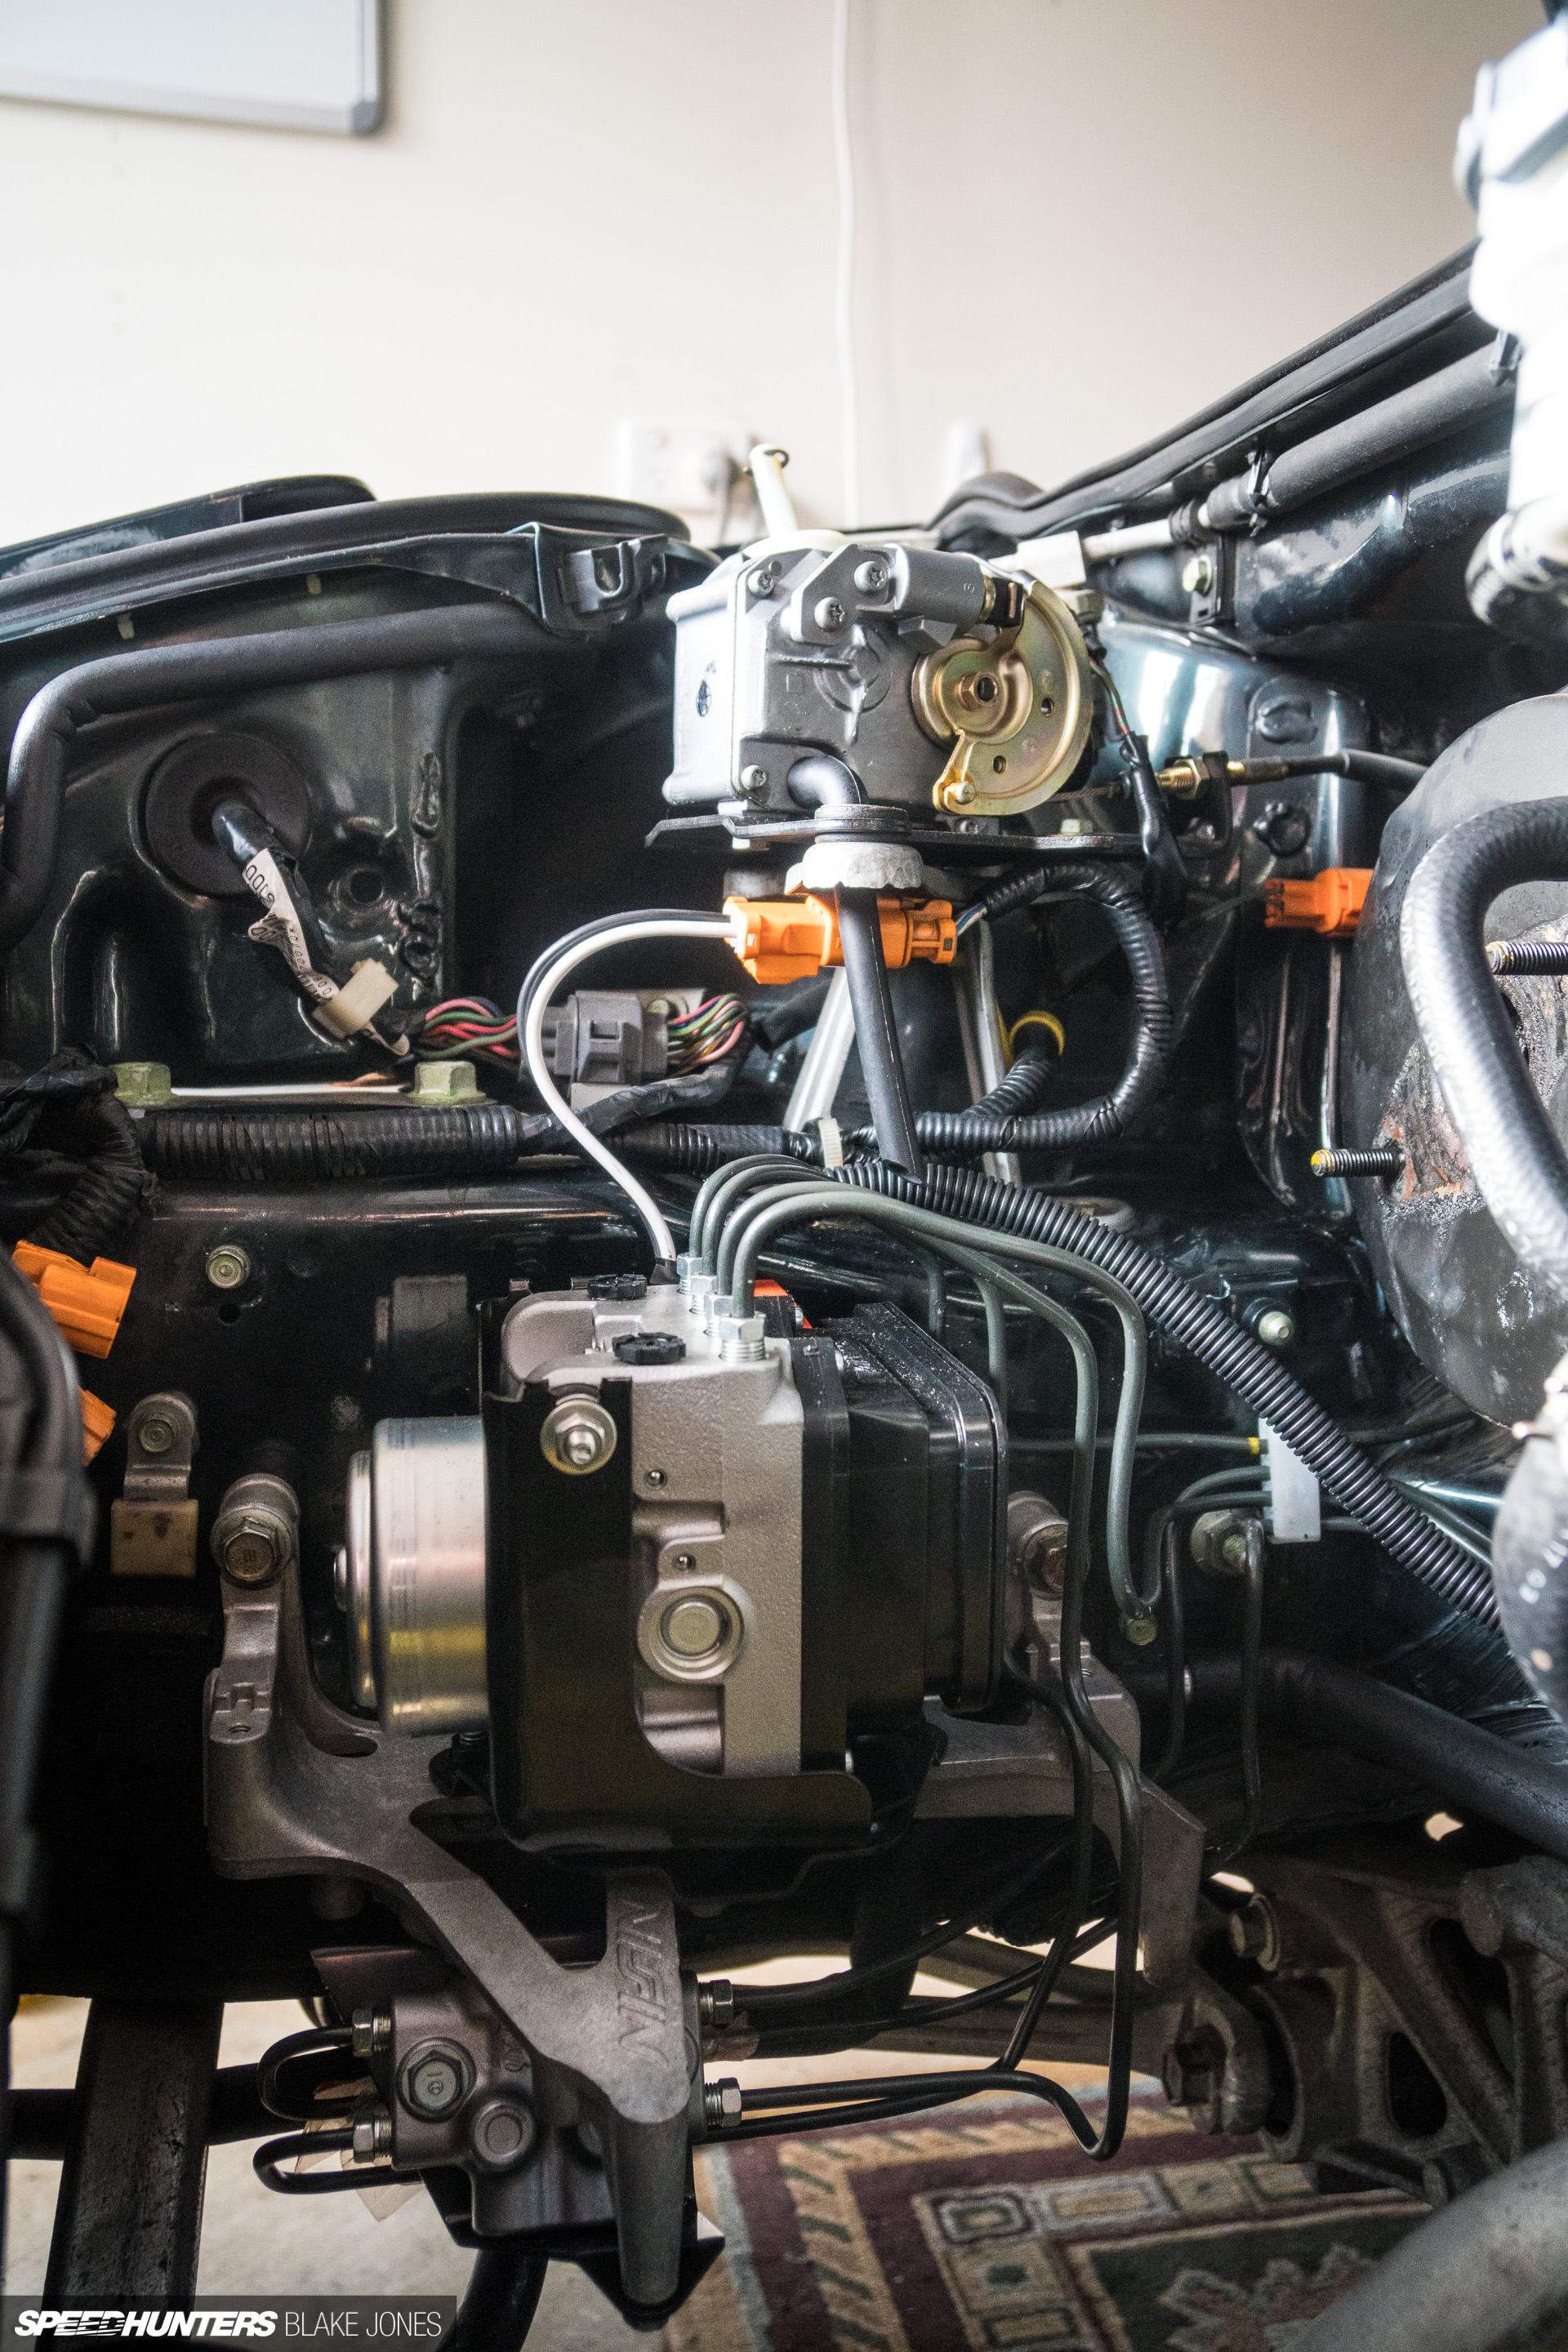
The NSX’s frunk is a functional space holding the radiator, heater, fuse boxes, battery and braking system. You can see that on the left side of the photograph; the two reservoirs are for the brake master cylinder (closest to firewall) and ABS modulator.
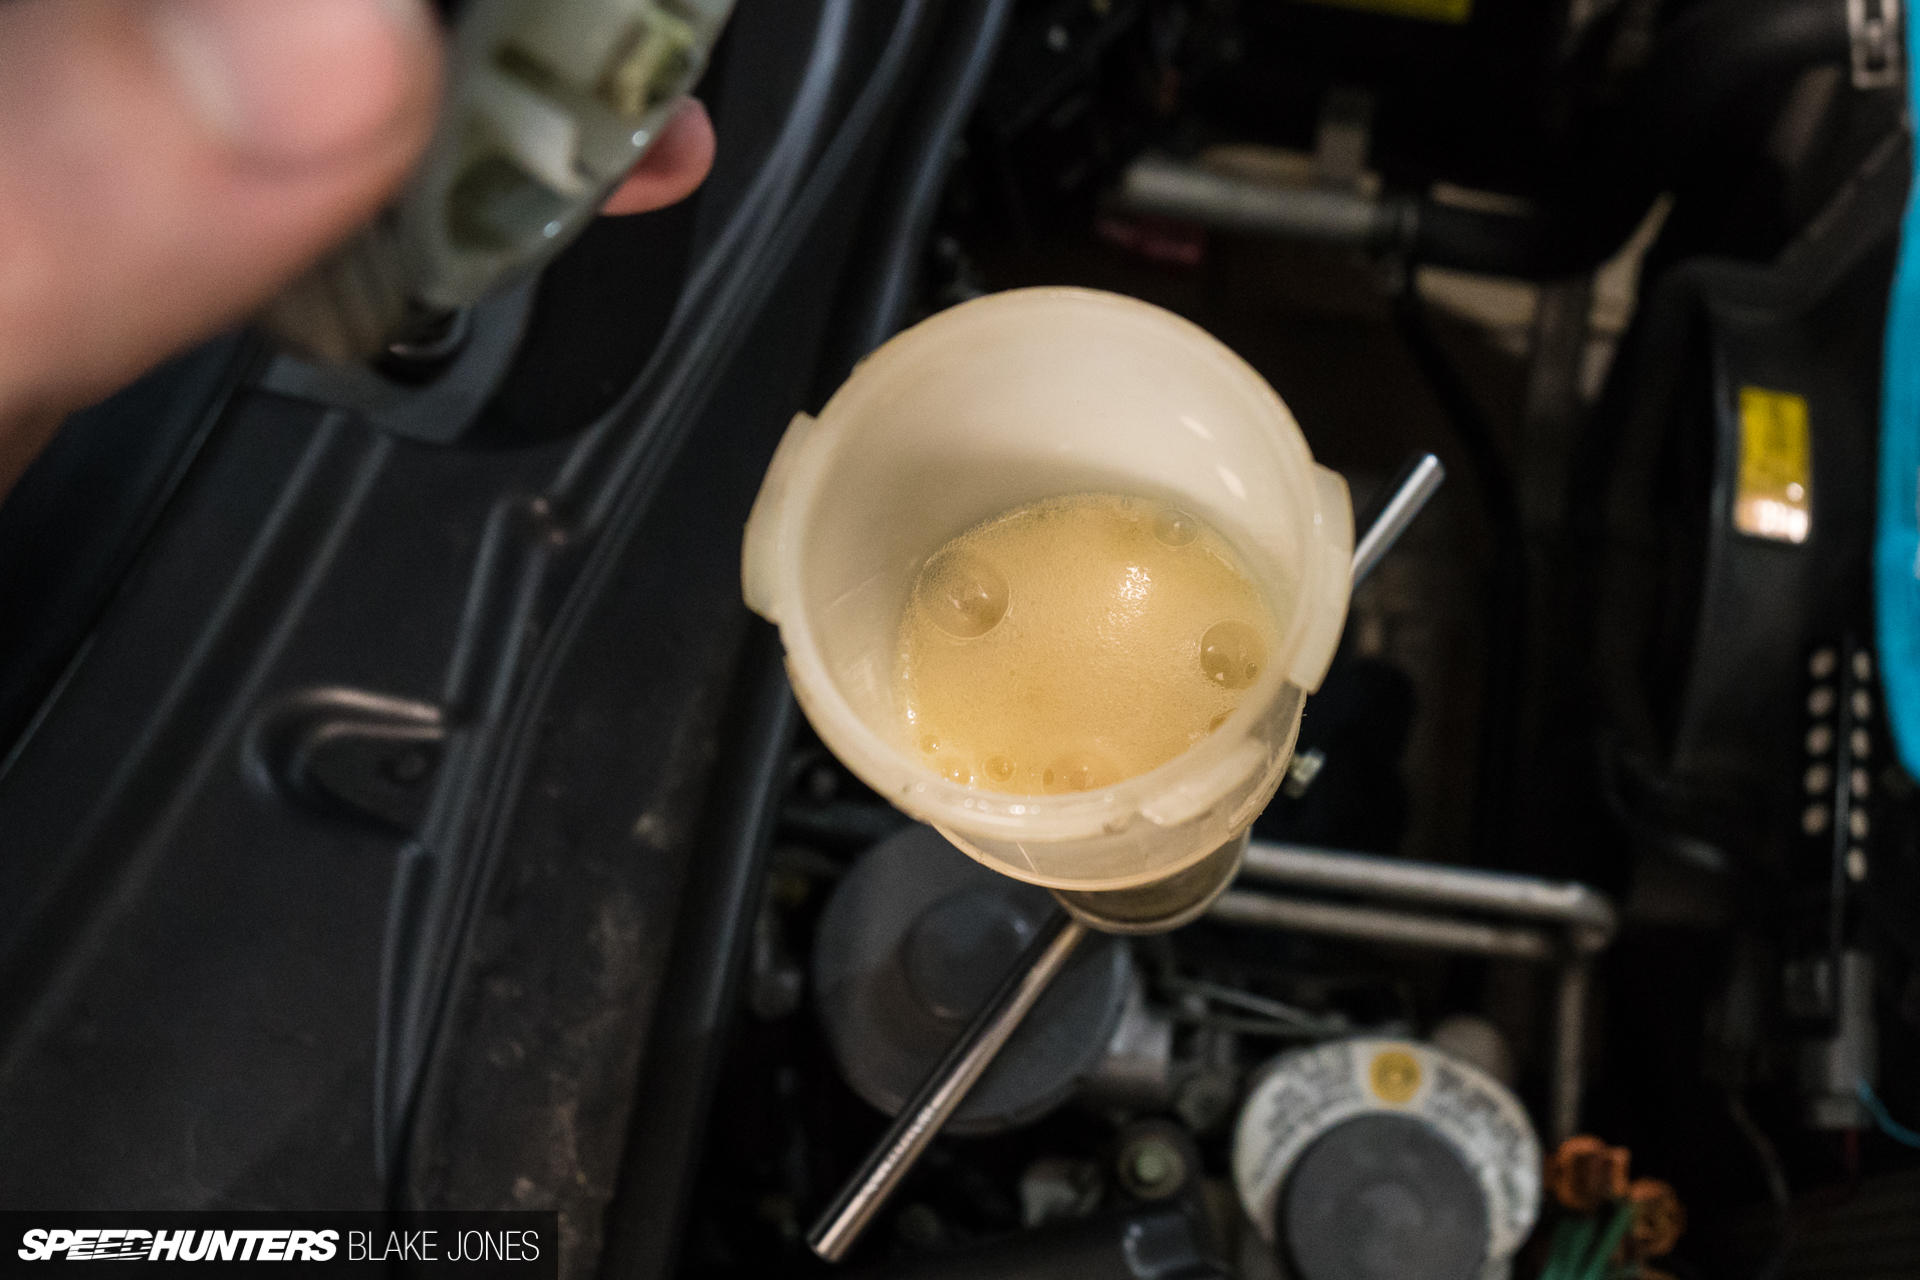
The old ABS system uses a pressurised accumulator which is prone to issues. The friendly members at the Honda Car Club of Victoria came through with this Honda dealer tool designed to loosen the drain bolt and catch the brake fluid that rushes out and quickly foams up, as you can see in the tool’s reservoir above.

That’s the old system as yanked out on the right, and the updated integral unit installed in the NSX from 2000 onwards on the left. The new system is better in every way – smaller, lighter, more reliable and higher performance.
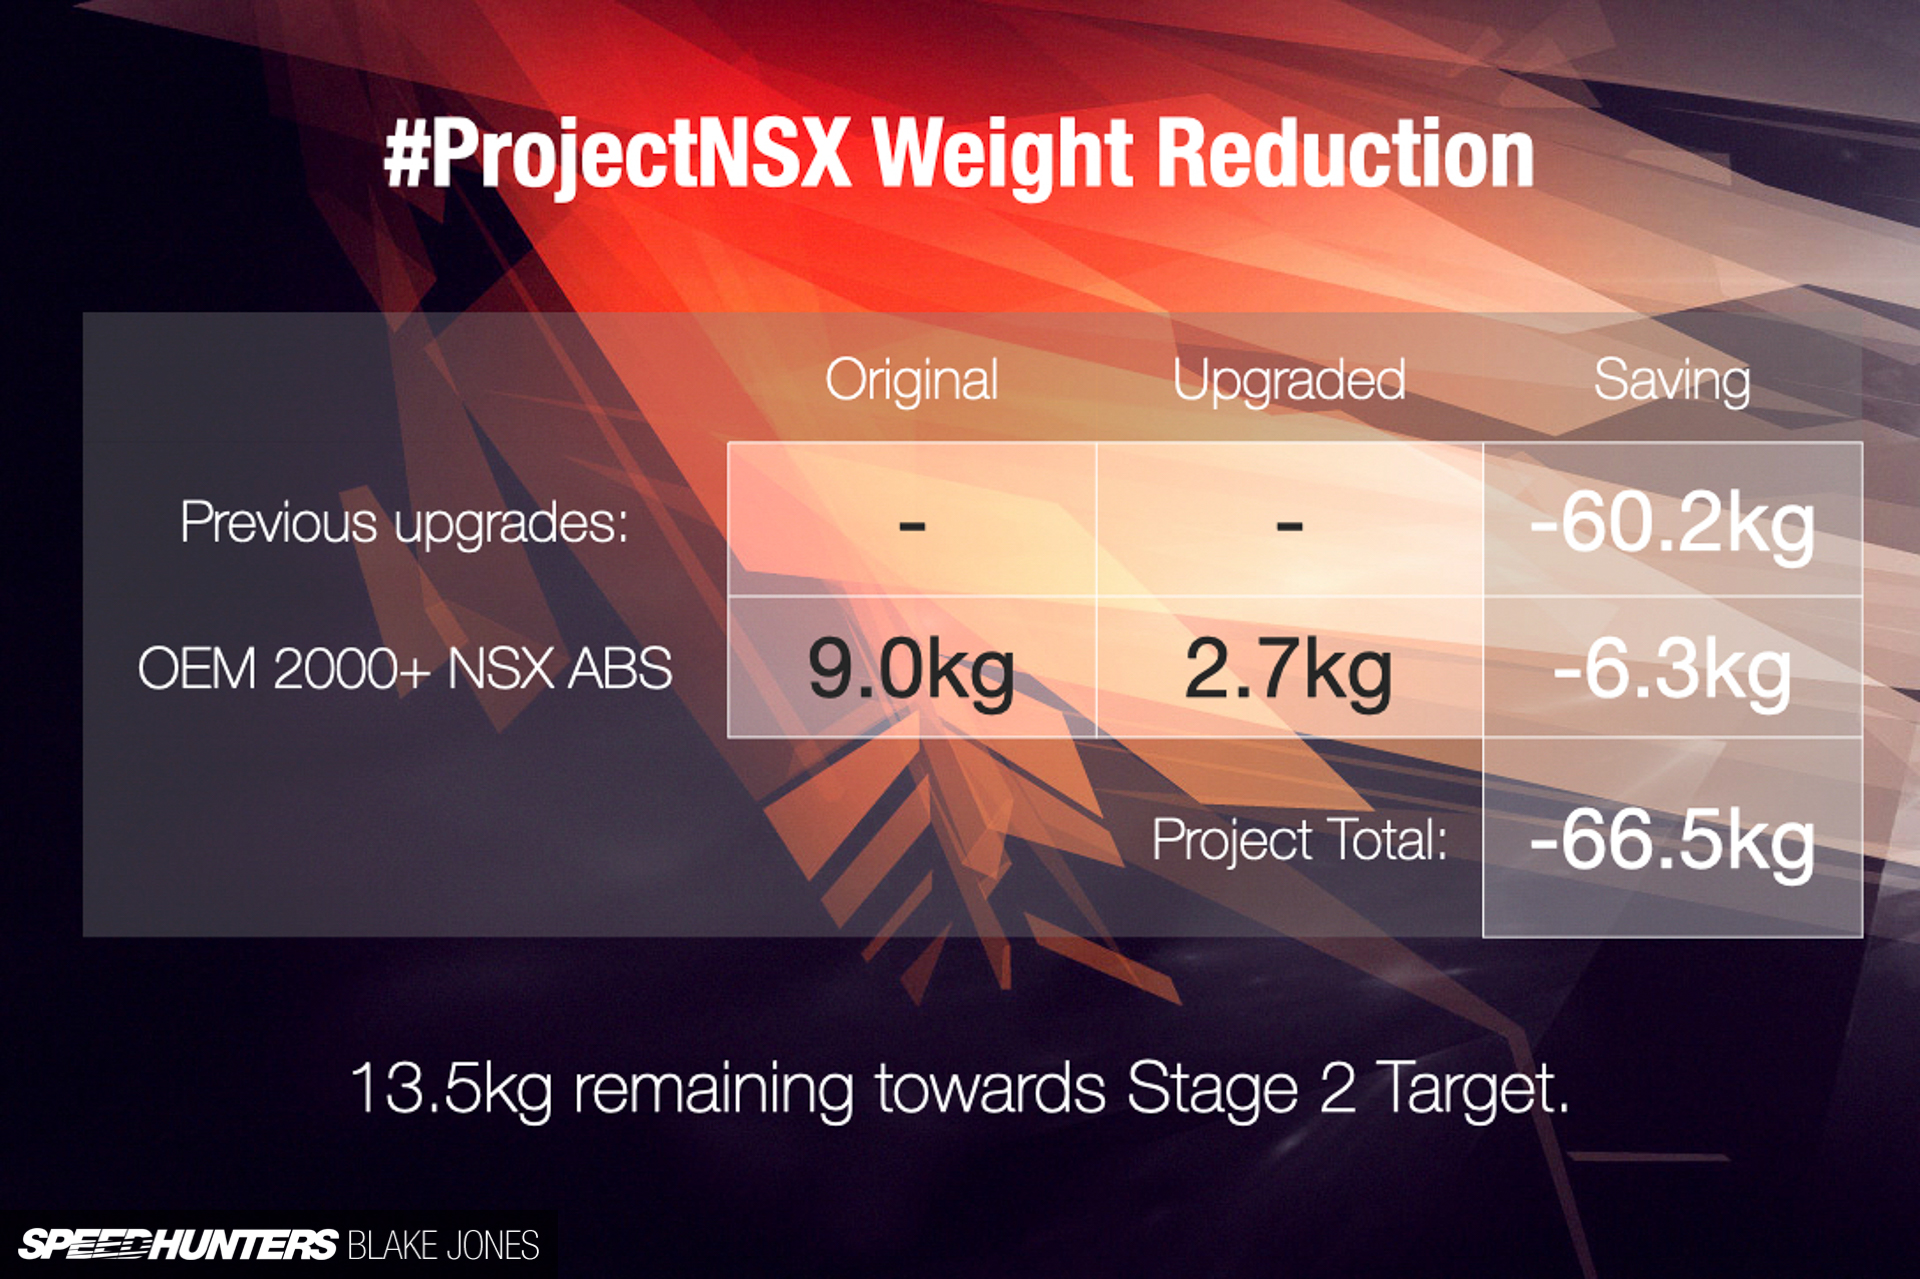
I’ll take a 6.3kg saving any day. The loss is probably more due to the reduced volume of brake fluid required in the new system, but that’s a bit too much for my iso-brain to calculate right now.


The new system also incorporates the control unit in that tiny pump, so the old box was removed from behind the dashboard, revealing a mysterious message from Honda’s engineers on the Traction Control Unit – ‘An eternal sportsmind for you’.

Quite a few NSX suppliers make (or resell) harness kits for this upgrade, but I went with the Racing Factory Yamamoto unit. This high quality option includes diagnostic points for the dealer ABS checker tool, and keeps the traction control and dashboard lights working as they should.
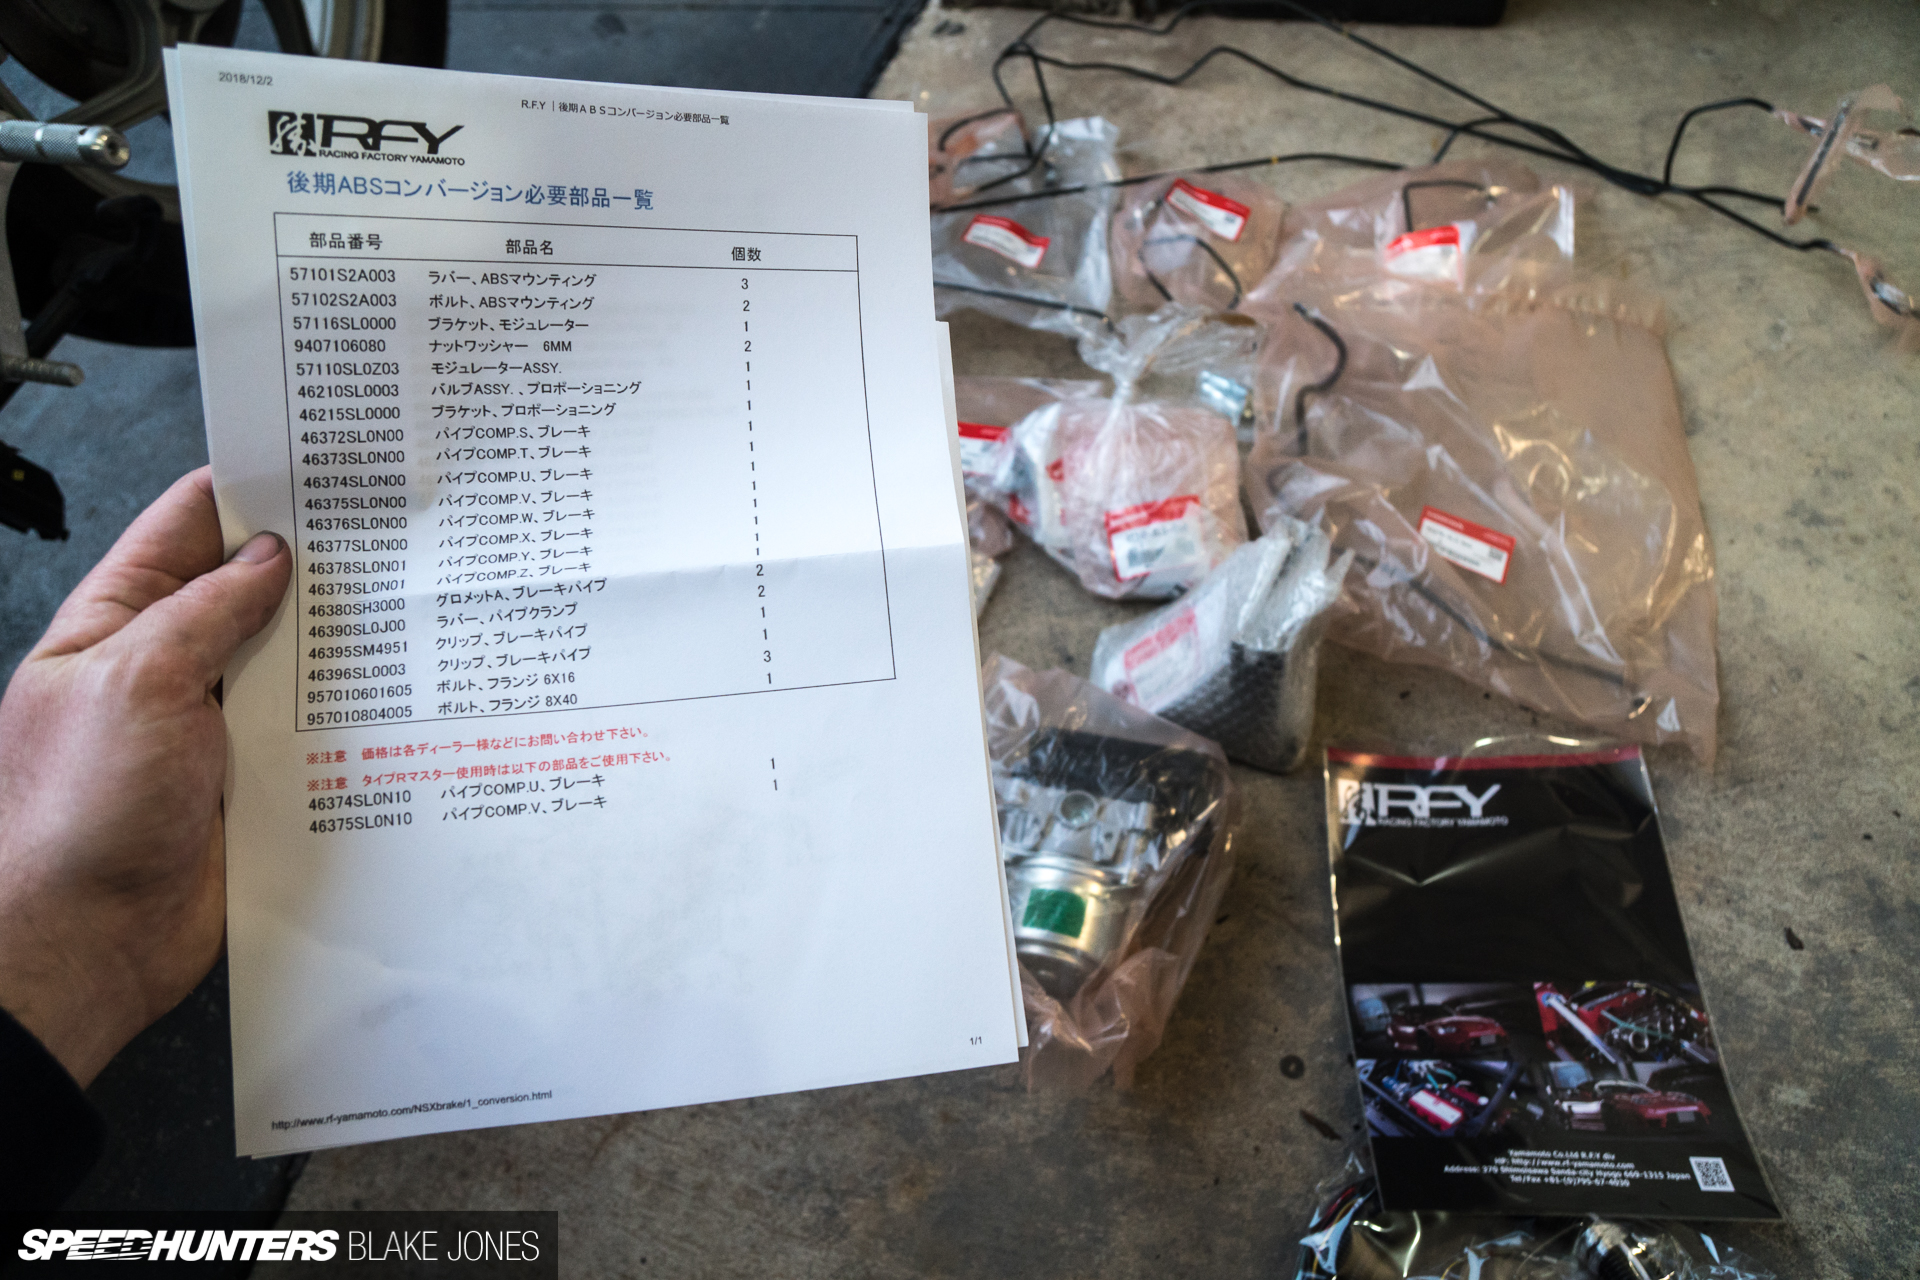
Included was a list of all the Honda parts required – mainly brake hard lines and brackets to suit the smaller integral unit. Remember that lesson about test fitting parts? Well, I was about to get a refresher.
My man in Japan had sent out all the brake lines, two of which were marked as corresponding to the NSX-R as opposed to my run-of-the-mill standard car. I was assured that it was the same part, but when it came time to bench-bleed the new brake master cylinder (MC), it turned out the NSX-R’s MC is a different design, with two 10mm bubble flare fittings compared to mine with a 10mm and 12mm double (45-degree) flares.
Thankfully, the overall shape of the NSX-R lines were the same, so a dash out to the local tool store for a line flaring kit (Lesson 1.2) and we were back in business. Of course, the confusion could’ve been completely avoided had I heeded lesson one. The final step was filling and bleeding the dry system. Note for future ABS tinkerers (Lesson 1.3): Unlike with a normal bleed, the engine must be running during the bleed to fill the pump with fluid.
Lesson Two: Counterfeit Parts Are Out There
Stretch your memory all the way back to 2019 (not such a bad year, in hindsight) and you might remember Project NSX hitting the dyno after receiving a Haltech ECU and Boomslang plug-and-play harness. That tune suggested that the stock fuelling system wasn’t up to scratch, with a lean reading at higher RPMs. I spent way more time than I’d care to admit searching for the perfect injector to replace the standard units, but there was always a compromise – body too long, different spray pattern, wrong delta angle. Eventually, I ended up circling back to a solution that had been used successfully in NSXs before – the OEM injector for the Acura RDX.
That ugly SUV never thought it would have any reason to be remembered by the enthusiast community, but it turns out the injectors are quite good at making power in Honda’s most popular tuner engine – the K-series. With a multi-hole design, 410cc flow capacity and OEM Denso reliability, they have also become a popular choice for NSX owners running aftermarket engine management. With an ingeniously simple ‘fitment improvement kit’ from an NSX Prime member (shout-out to Brad), the injector would sit in precisely the same position as stock and should thus provide an optimally atomised fuel mist without wasteful port wall wetting. I’ll probe into this topic in a little more depth in the next project update.
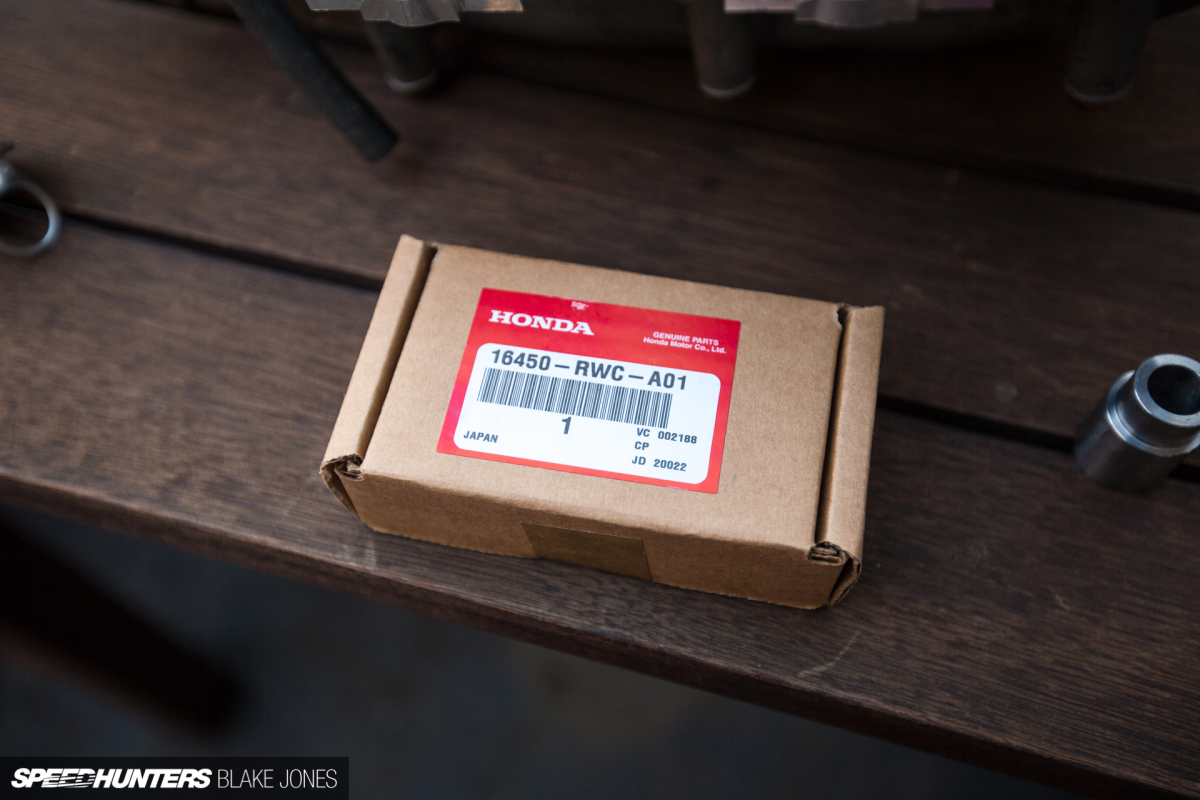
As the RDX was never sold in Australia the parts need to come from the US. I bit the exchange rate bullet and ordered six from a Honda dealer and made a prayer offering to the god of international package delivery to ensure they would get here without any COVID-related disruption.

As with anything popular in the aftermarket, unfortunately it is inevitable that fake parts start to pop up. Jump on eBay or Amazon and you’ll find hundreds of supposed ‘OEM RDX injectors’ for bargain prices, many undoubtedly making their way into otherwise expensive K-series builds around the world. Buying direct from the dealer should give you confidence that the parts you’re receiving are genuine, but it seems even that isn’t foolproof.
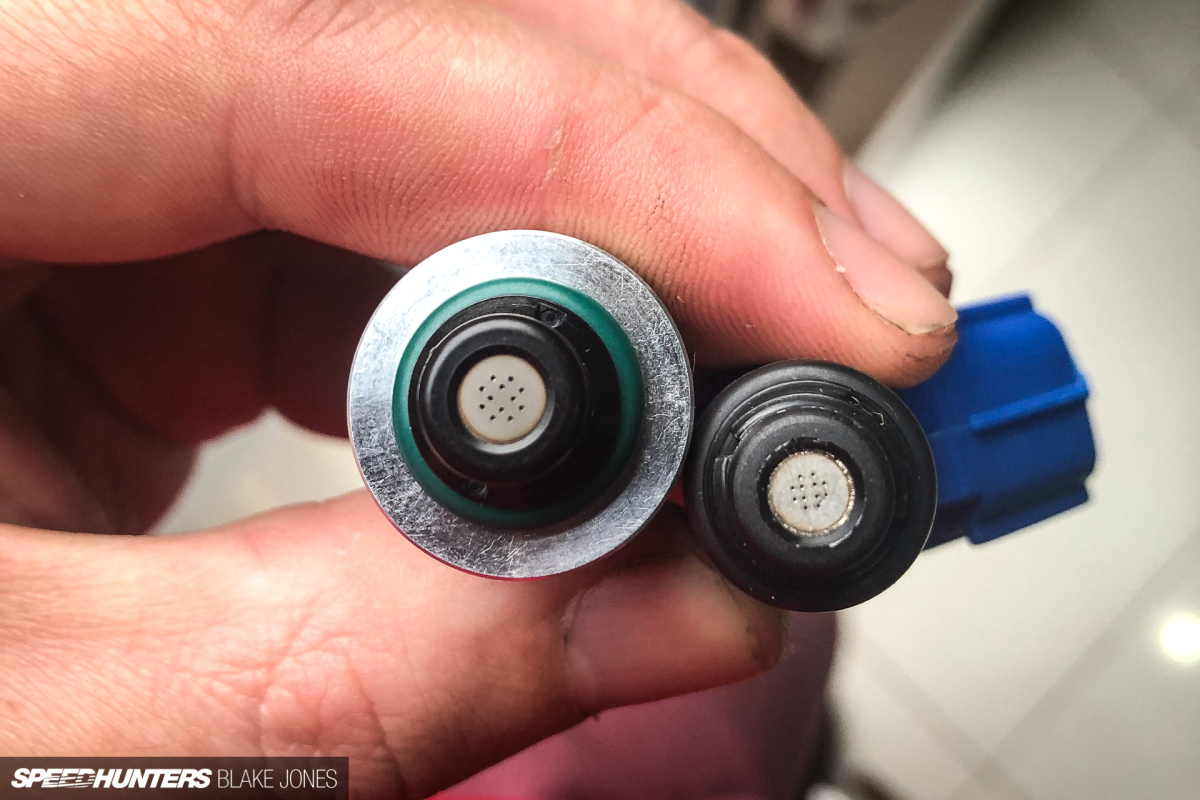
Somehow (I’m guessing returns fraud from another customer), a non-genuine injector made it into my order, meaning another few weeks wait for the correct injector to make the journey across the pacific to my letterbox in Melbourne. From a distance the injector was a good enough fake, but any comparison to a genuine injector makes the counterfeit obvious. The build quality overall was poor, but most telling was the spray head itself; the OEM holes are angled relative to the face of the head (to give a conical spray pattern), whereas the fake has smaller holes drilled perpendicular (a much simpler manufacturing feat). Despite the extra delay, I’m very glad I caught this before installing it into the car and causing further issues.
Lesson Three: Tolerances MatterThat’s one iso project finished, one delayed, and now for one just getting started.

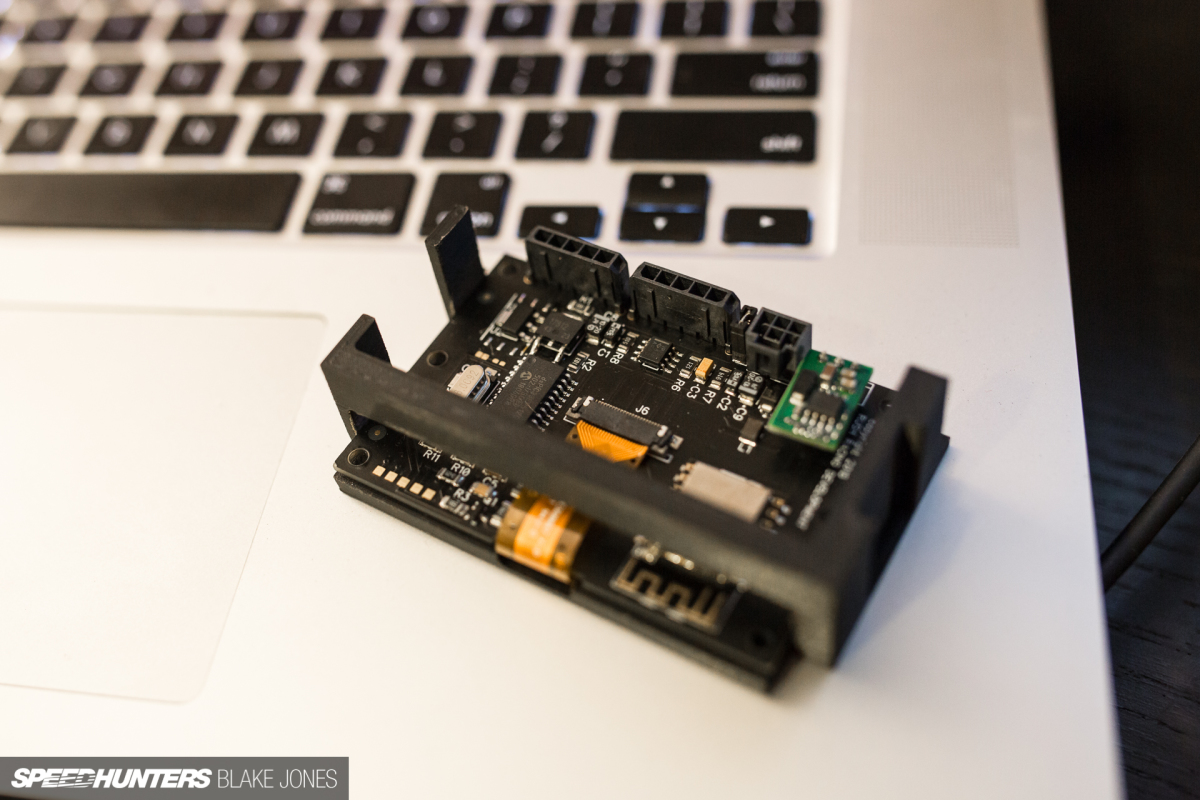
The Haltech Elite ECU which runs Project NSX is a pretty smart bit of kit, and the Boomslang harness means all the stock gauges retain full functionality. This keeps with my theme of keeping the car as factory functional as possible, but the factory gauges are very simplistic and compared to the wealth of data that a Haltech can pump out, a little underwhelming.
Considering the engine has been modified and the car does see occasional track work, keeping an eye on some critical outputs (oil pressure and temperature, fuel pressure, and air fuel ratio) is desirable. I refuse to stick an auxiliary gauge to the dash surface or A-pillar, so had to get a bit creative. I’ll save the actual location for the install story, but safe to say it’s hidden out of view until required. With plenty of time on my hands I fired up a free copy of Fusion360 3D design software and started to play around.
A few hours later I had something workable, having taken the measurements from a 2.4-inch GaugeArt panel mount gauge I’m using to show the data. The last time I’d designed anything in a CAD program was barely a pass grade effort in high school, but the software has come a long way and was easy enough to work out with help from a few YouTube tutorials. A few days later, and I had a 3D-printed bracket on my doorstep, ready to plug and play.
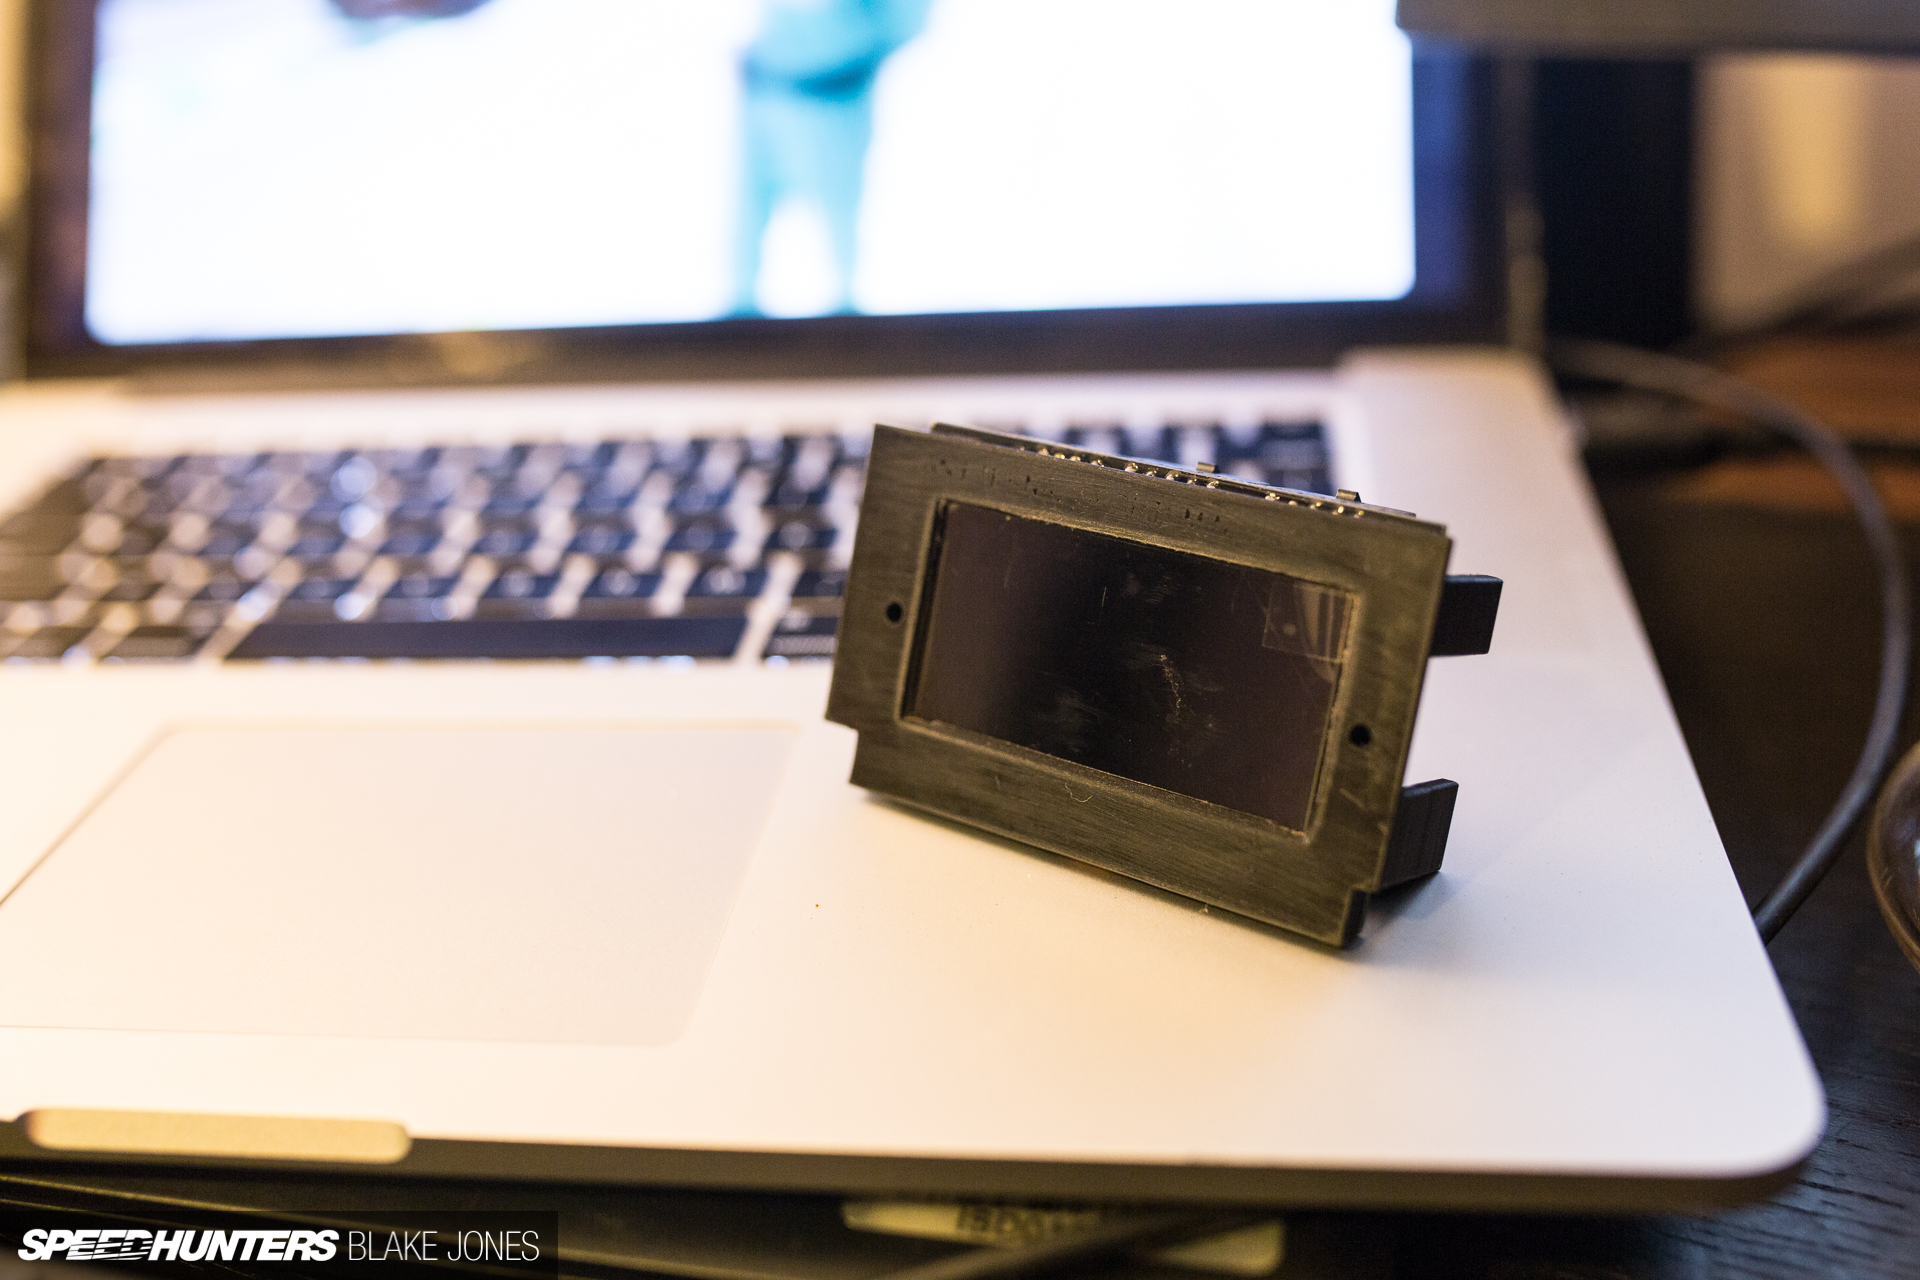
Well, not quite. In taking measurements from the screen and circuit board with a set of digital callipers and applying them directly to the 3D model, I’d completely neglected to allow for any tolerances, meaning the model was about a millimetre too small in every dimension.
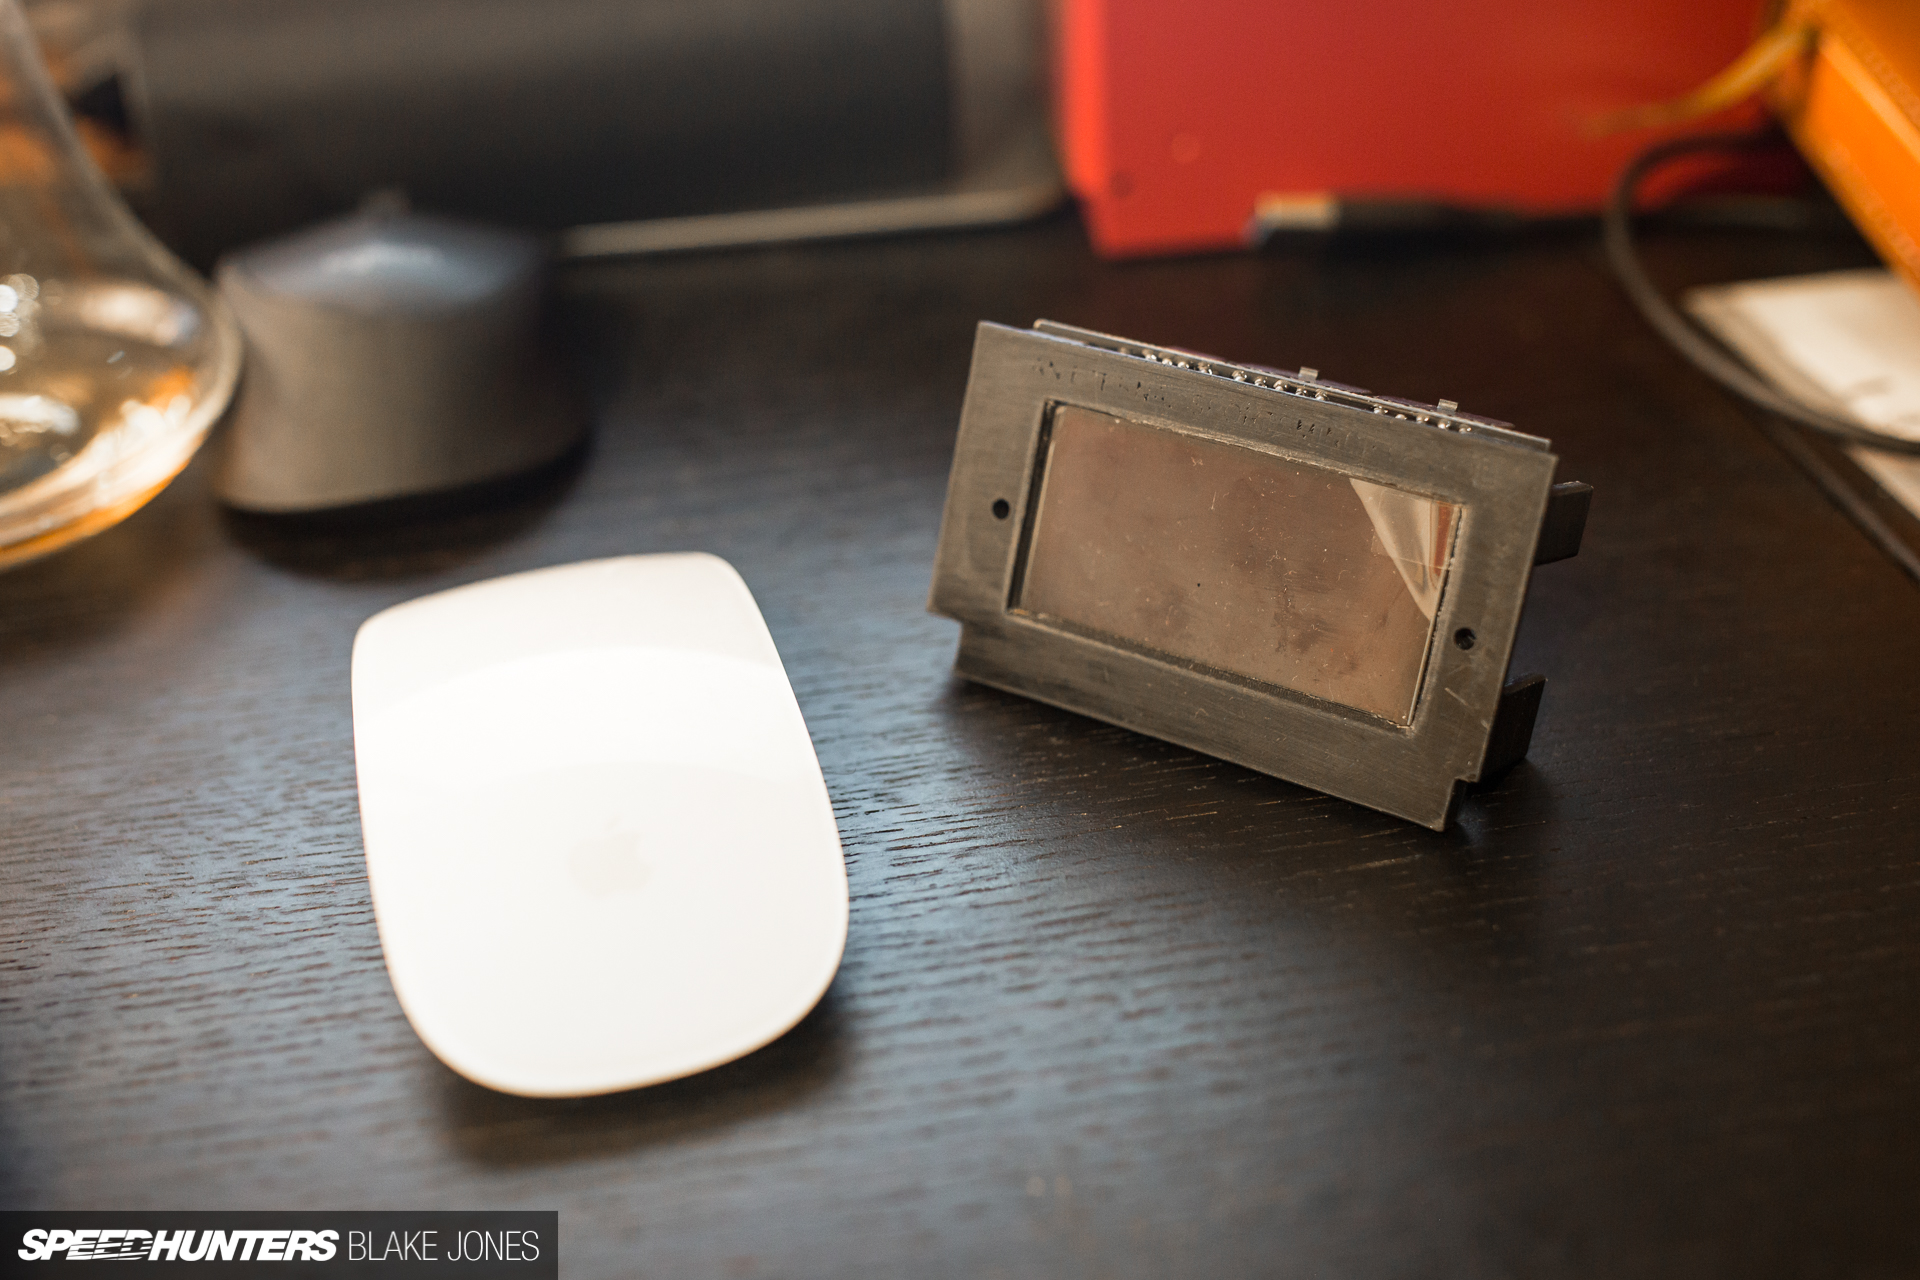
The problem was ‘fixed’ with a file and some sandpaper, but the exterior finish of the model came up second best which might mean a lick of paint or even a Ver.2 print in its future. Additive manufacturing is a fascinating industry developing at a rapid pace; I’m very tempted to get a small printer for home but can’t quite justify the investment yet.
All of these mini-projects have taken far more time, effort and money than expected, but that’s not a surprise to any of you out there with your own garage iso projects. Lesson Four is the simplest yet most important of all: just to be patient. Nothing good comes from a rush job, and you can take solace that once the job’s done there’s always another skill or trick tucked away in your mental toolbox, ready and waiting for the next project.
I’m curious to hear what our readers are tinkering with in their iso garages; let us know in the comments below.
Blake Jones
Instagram: blaketjones
blake@speedhunters.com